Here is my latest project.

20 Likes

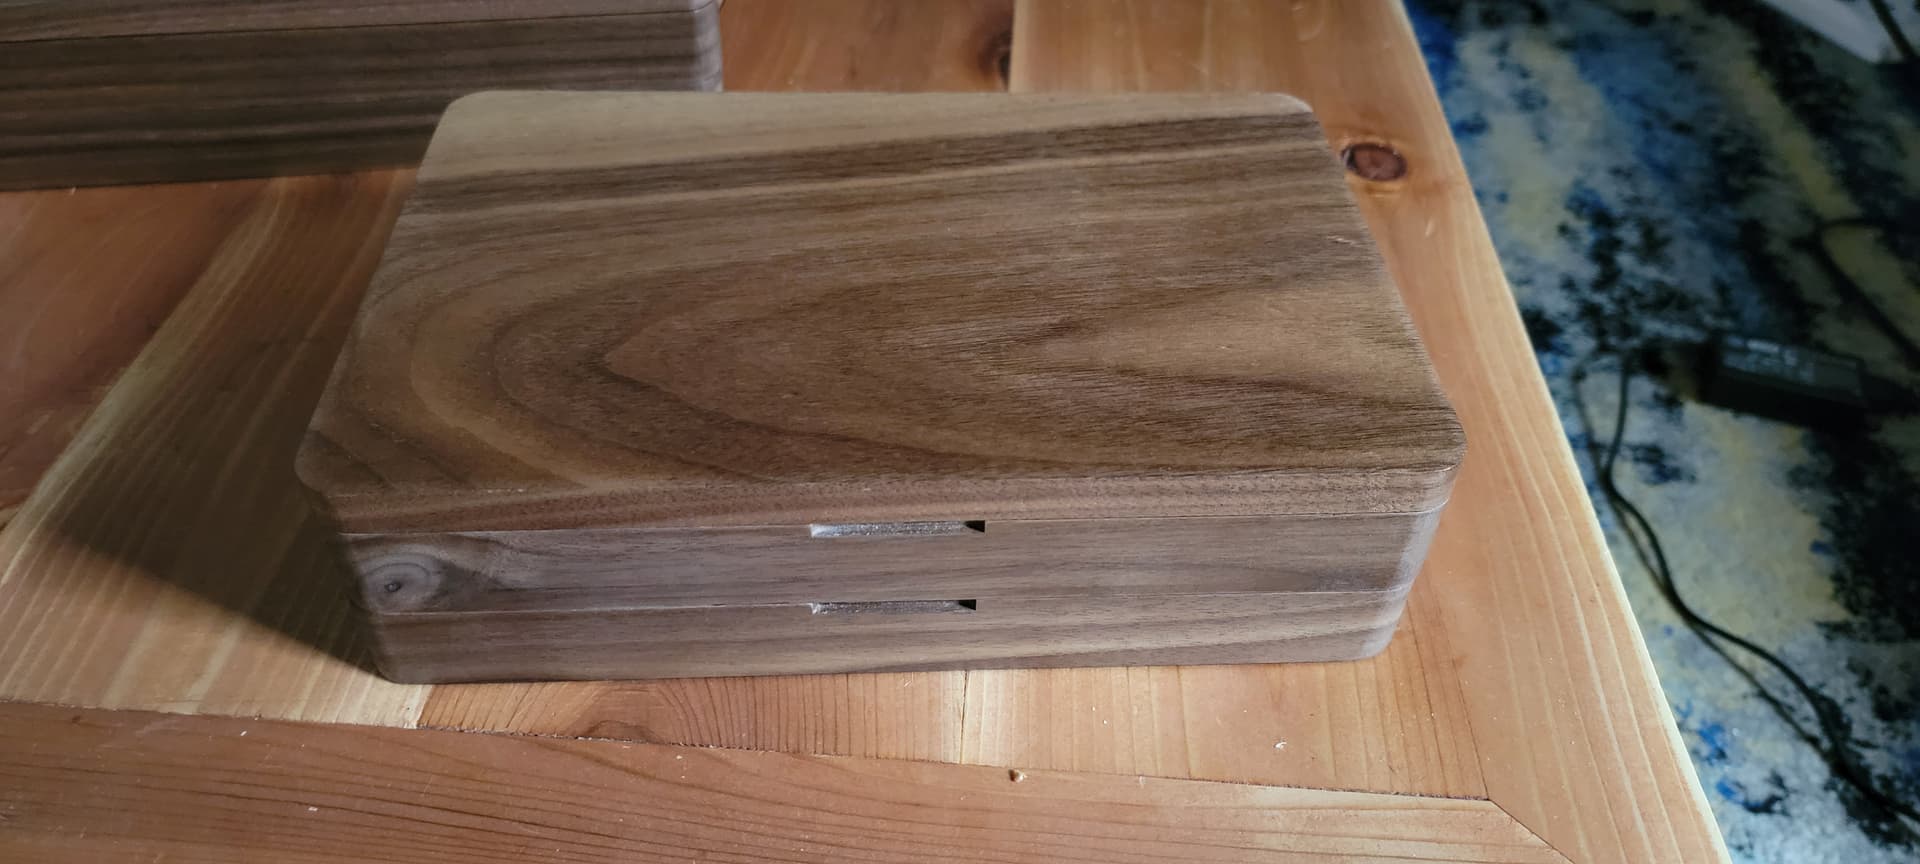
Nice! How did you manage the second side of cutting for the middle piece?
I used a fence, and crossed my fingers. It was about a mm off in the x-axis (perfect on the y), so I had to end up sanding a bit.
5 Likes
That looks great. Did you use Black Walnut?
Thank you. Yes this is walnut from Woodworker Source.
1 Like
Sorry for the ‘projects dump’ but have managed to be somewhat productive the past couple weeks and everything eventually turned out pretty well.
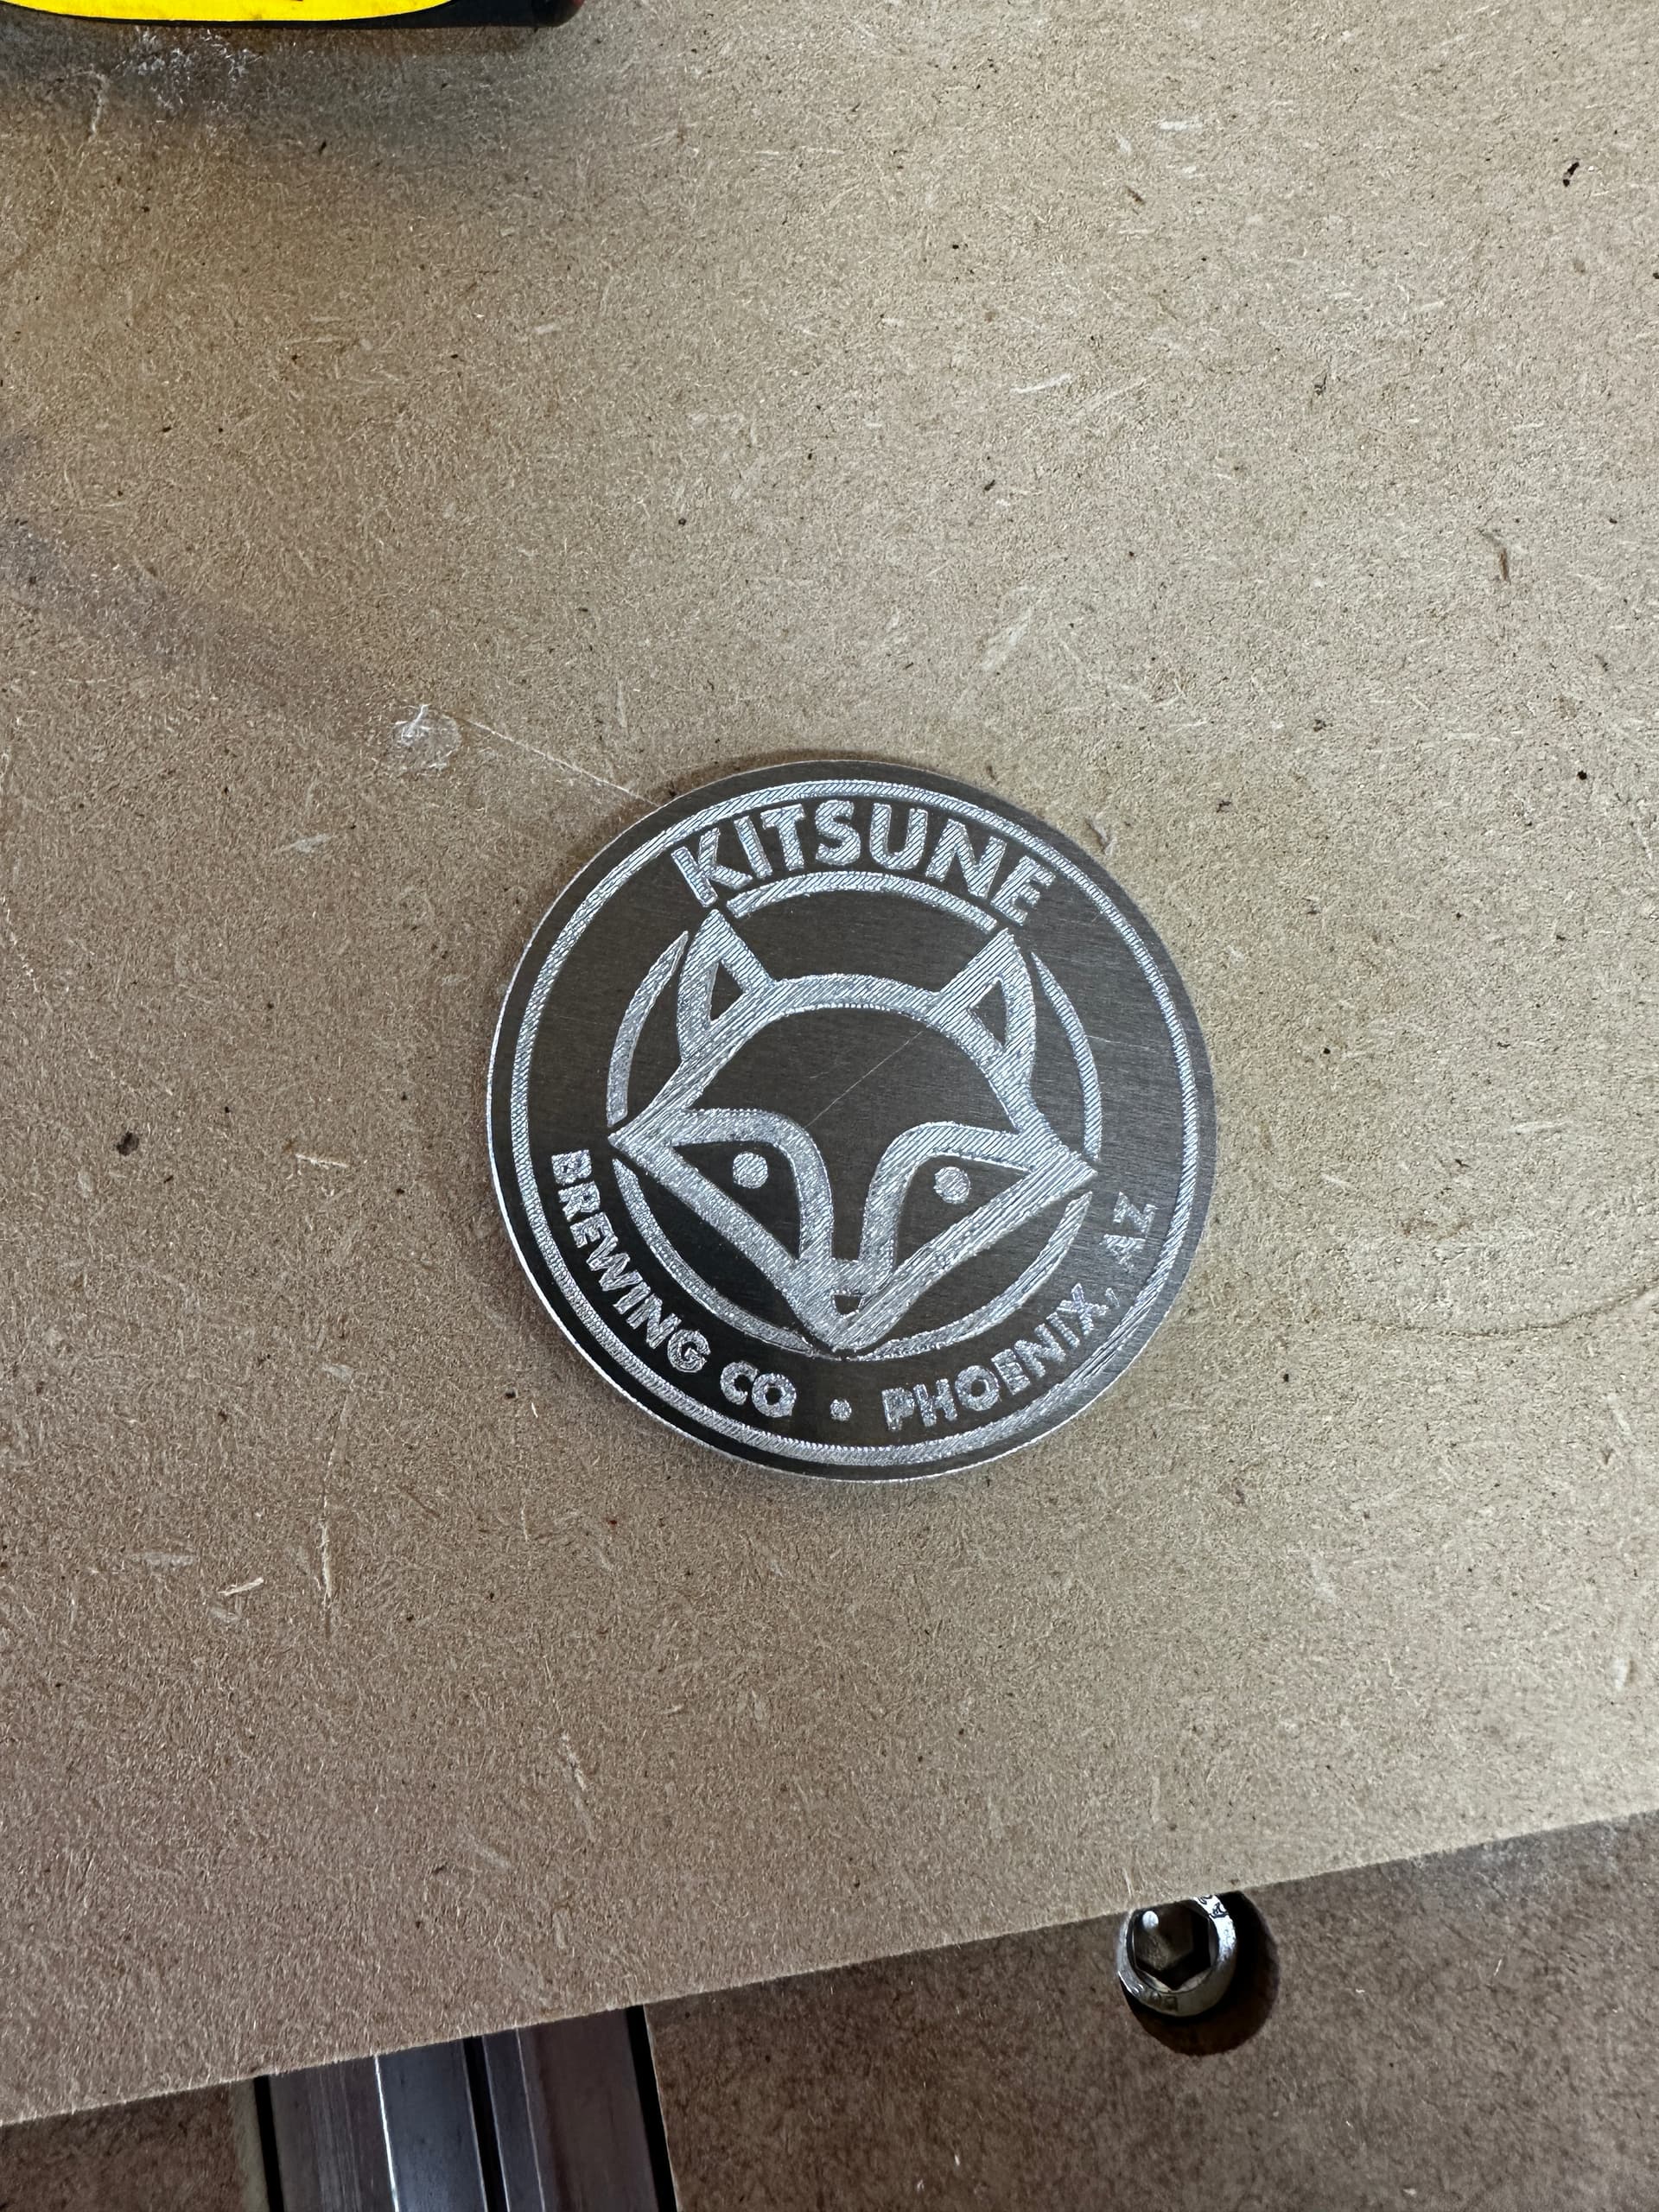
Engraved some challenge coins for a friend in Southern Illinois in preparation for the upcoming eclipse event that will cross there in April.

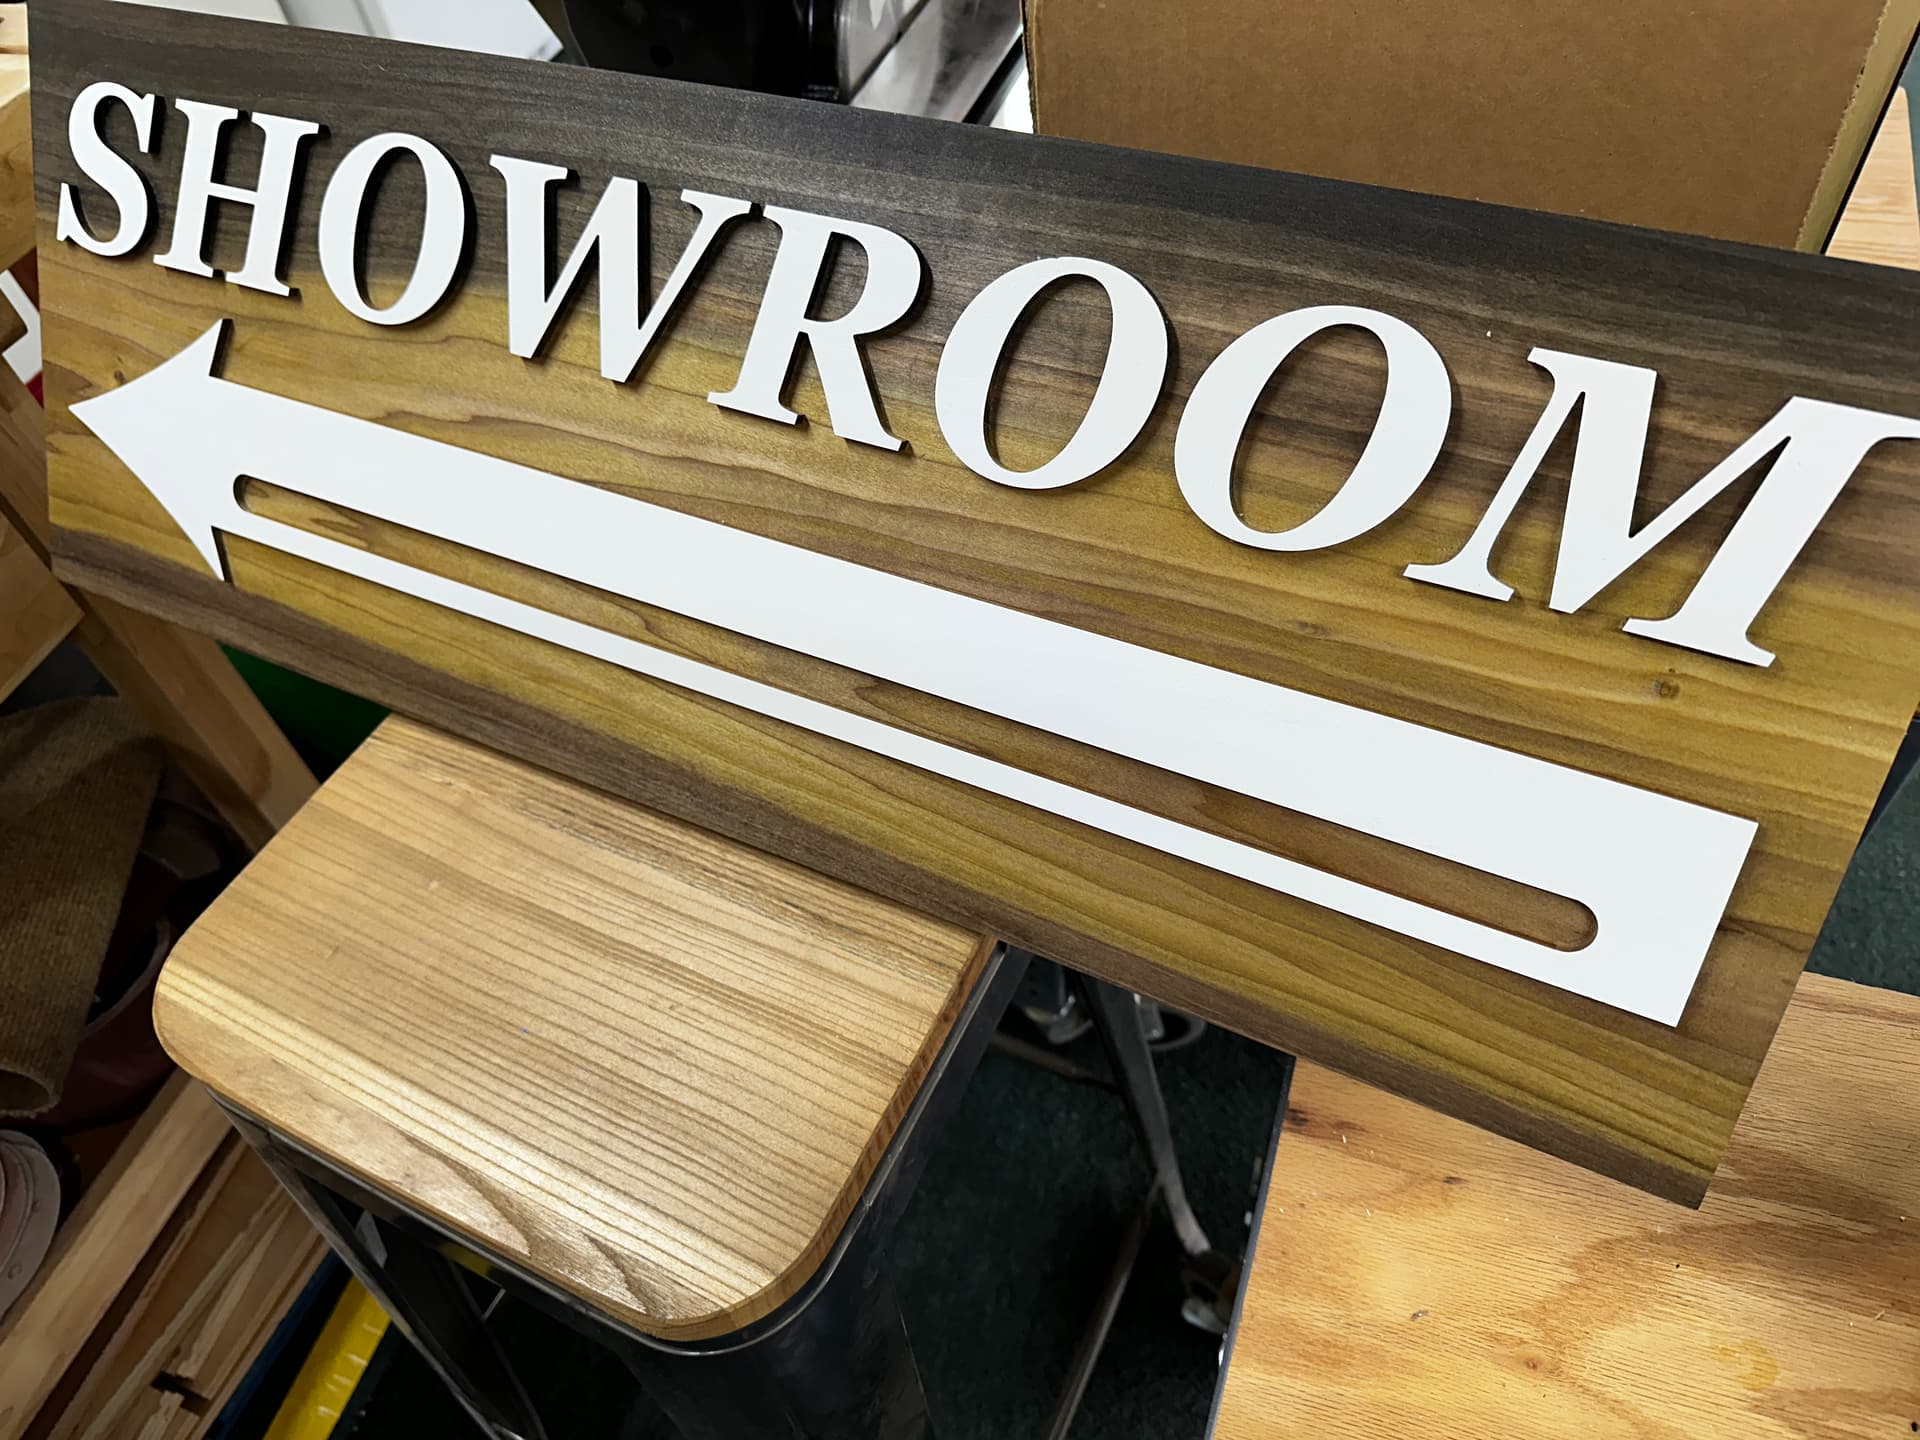
Also he needed a new outdoor sign for his business. Cut into poplar and he likes the grain and color variances, so once the Danish oil cures will coat it with spar urethane, which will yellow the white more than I like, but it’s actually the look he wants.
Additional side project for a local brewery beerfest. The owner gifted taster glass holder lanyards to all the attending breweries. I made about 40 of these in red oak, which is what I happened to have enough of for all of them. Prototype cut in some cherry scrap.
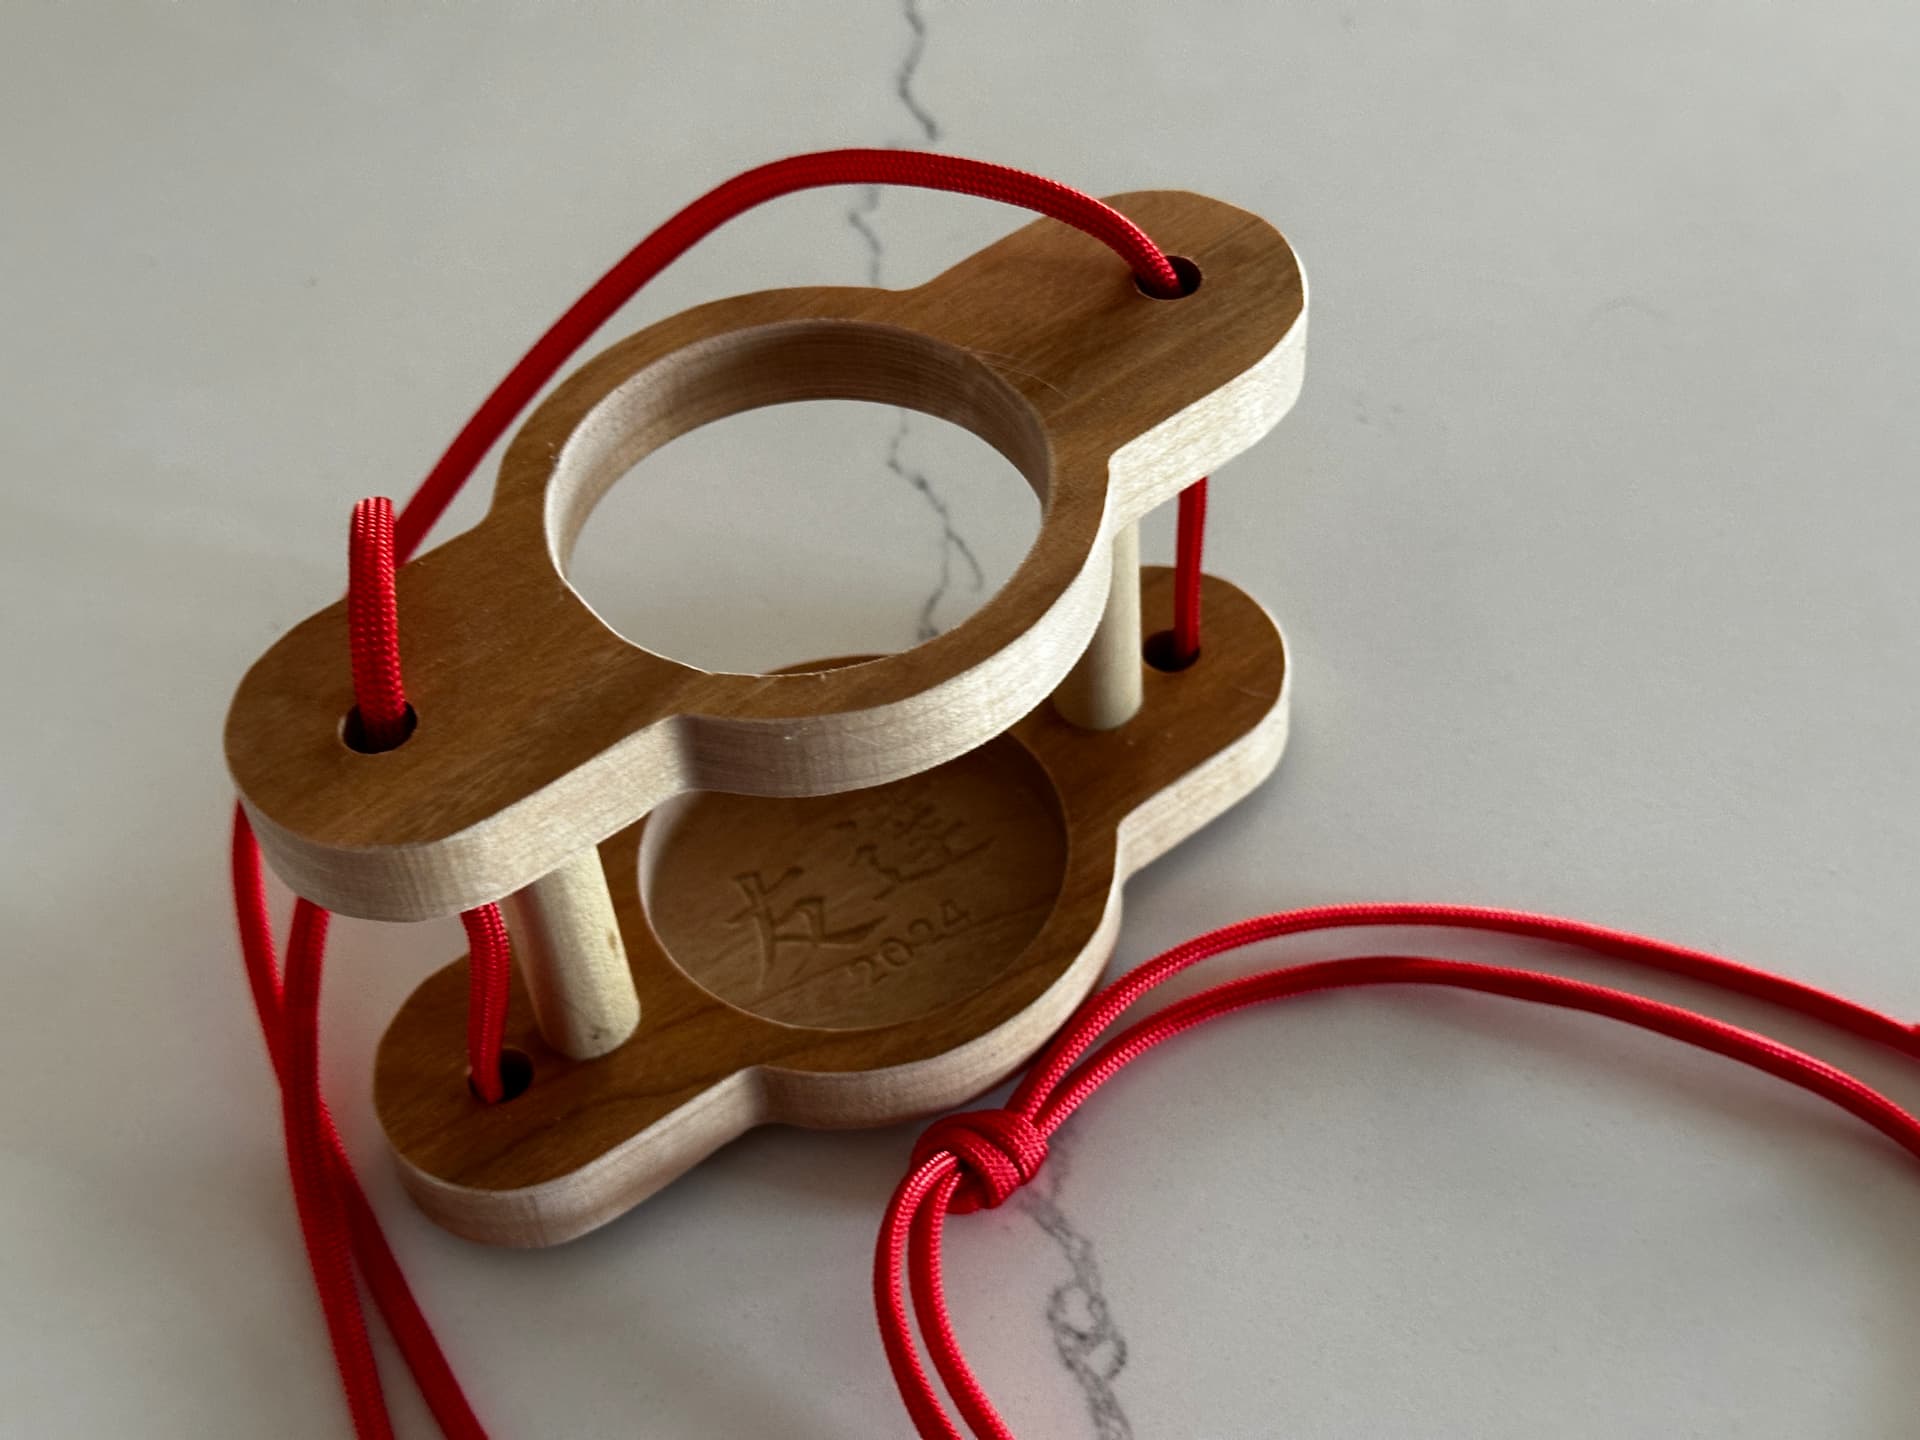
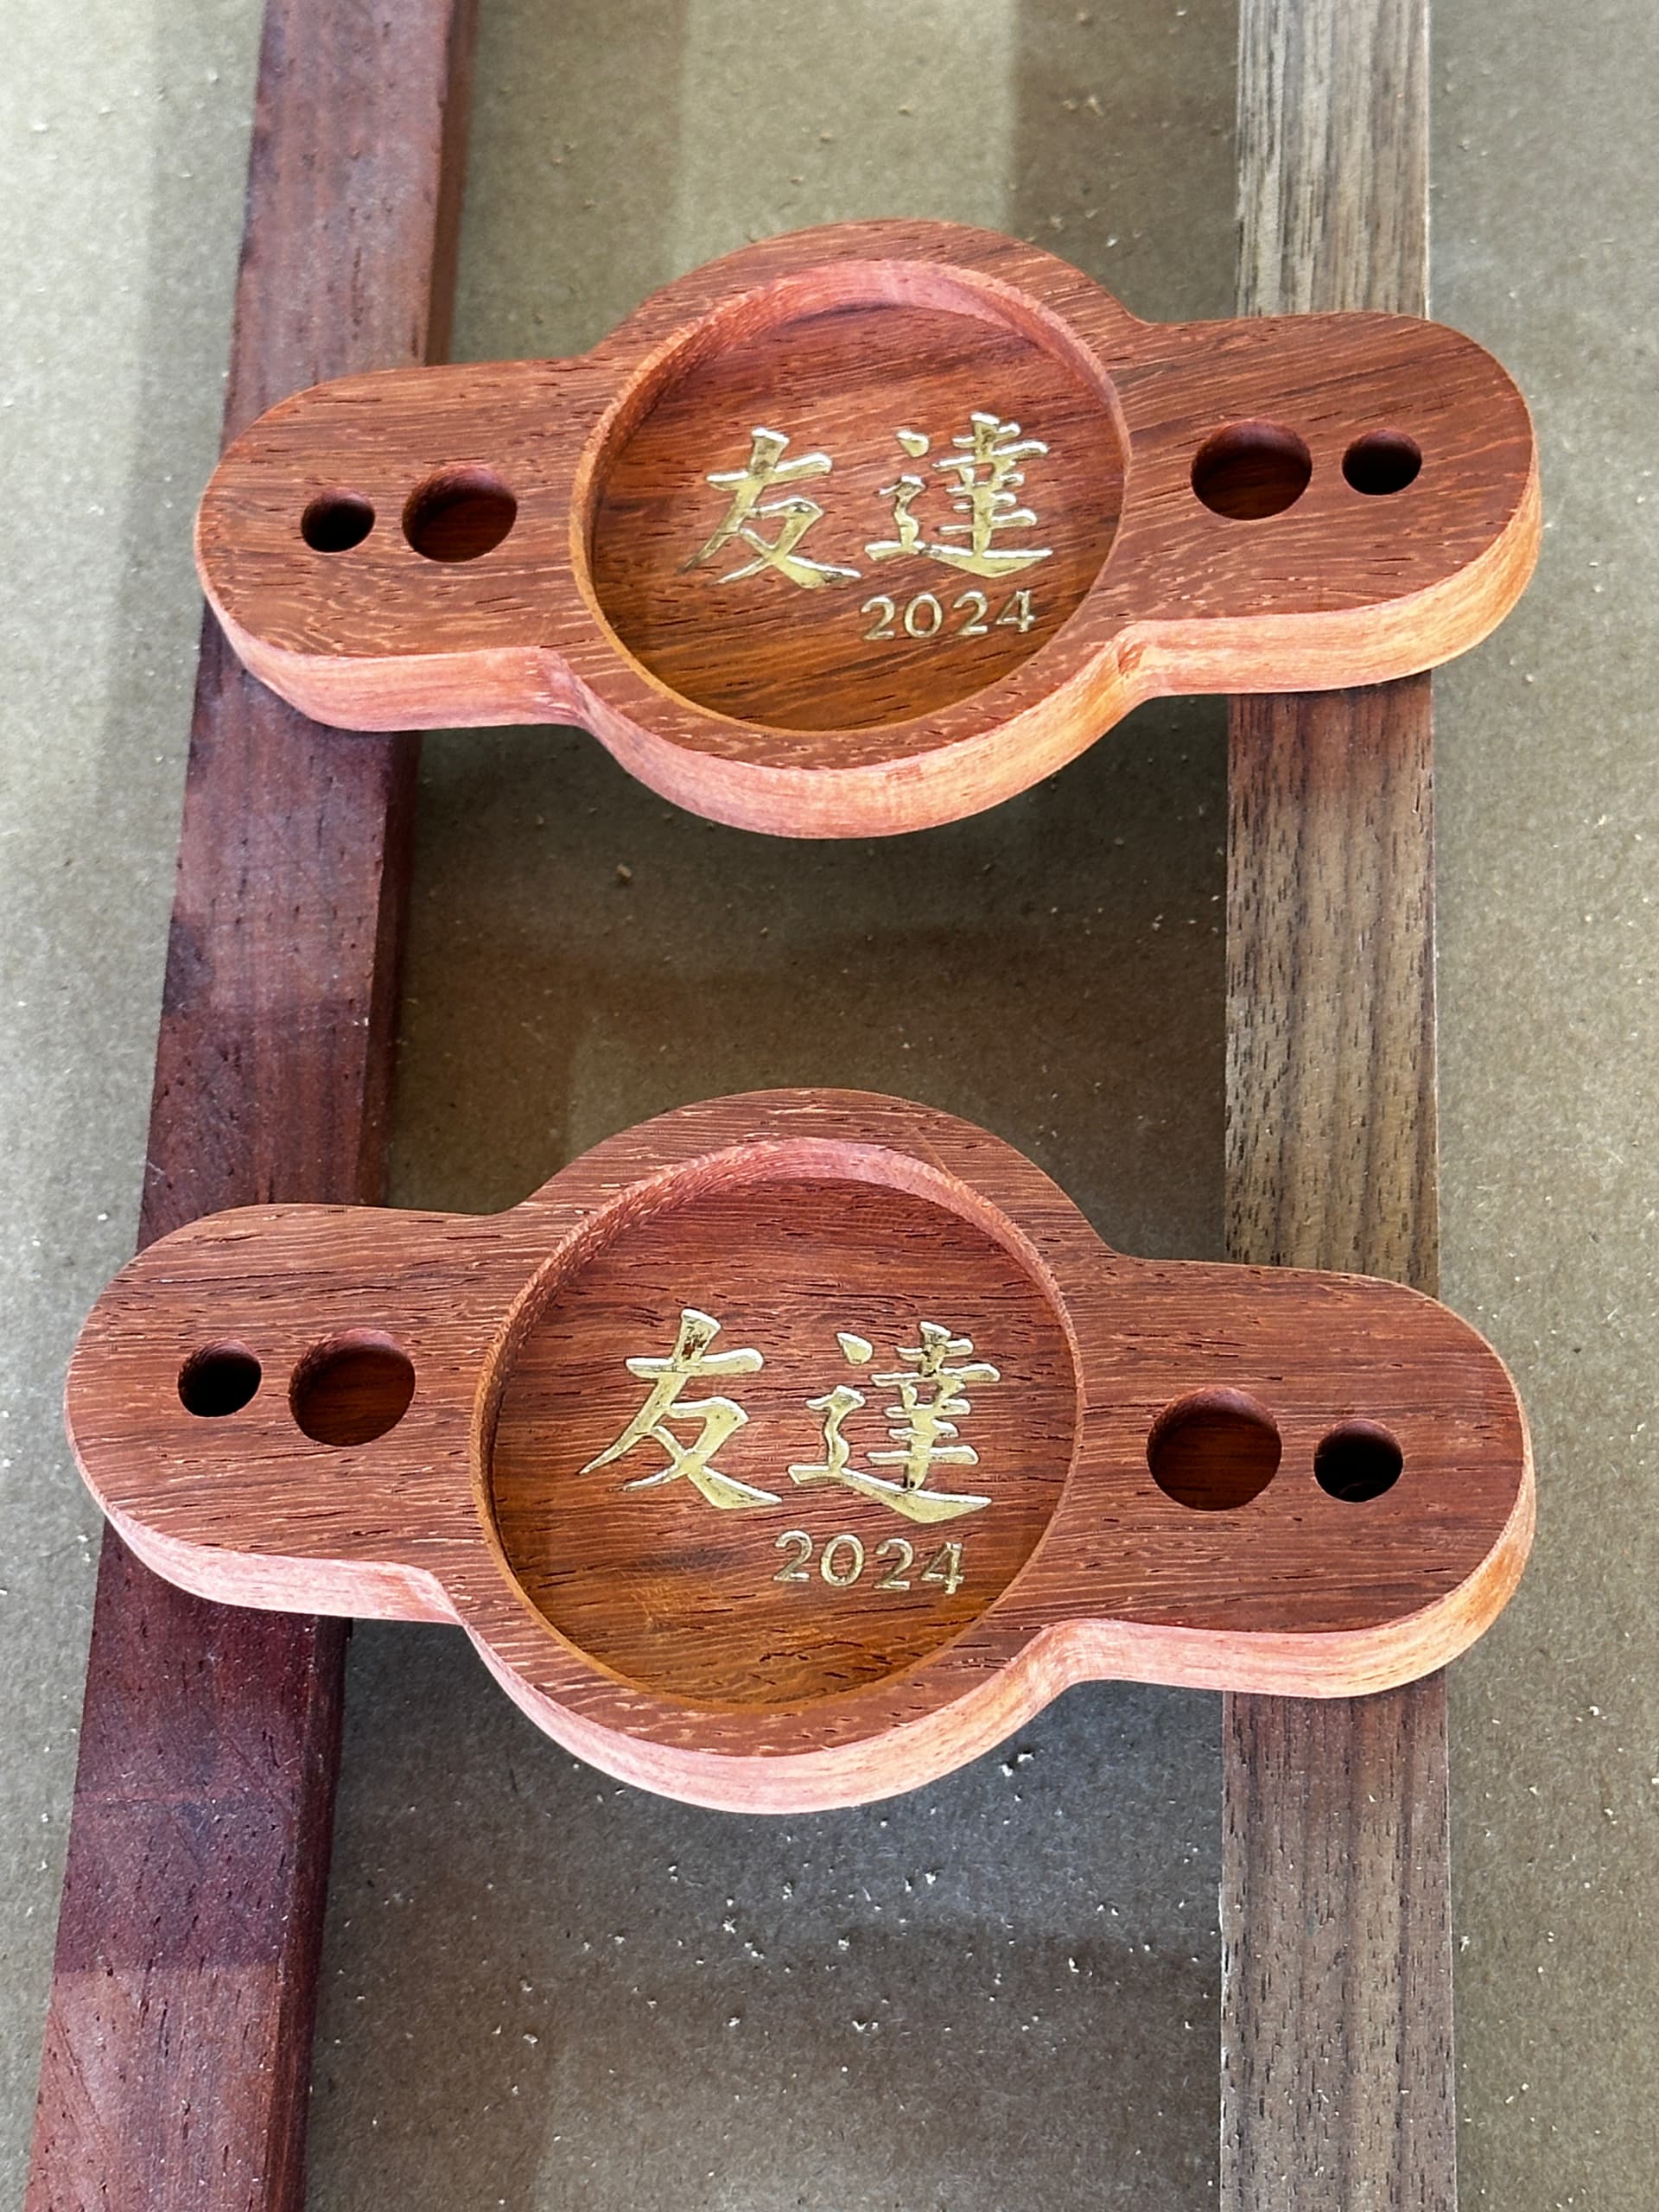
I made a couple out of padauk for the owner and his brewer and painted the event name (Tomodachi, “friends”) in the bottom AVC.
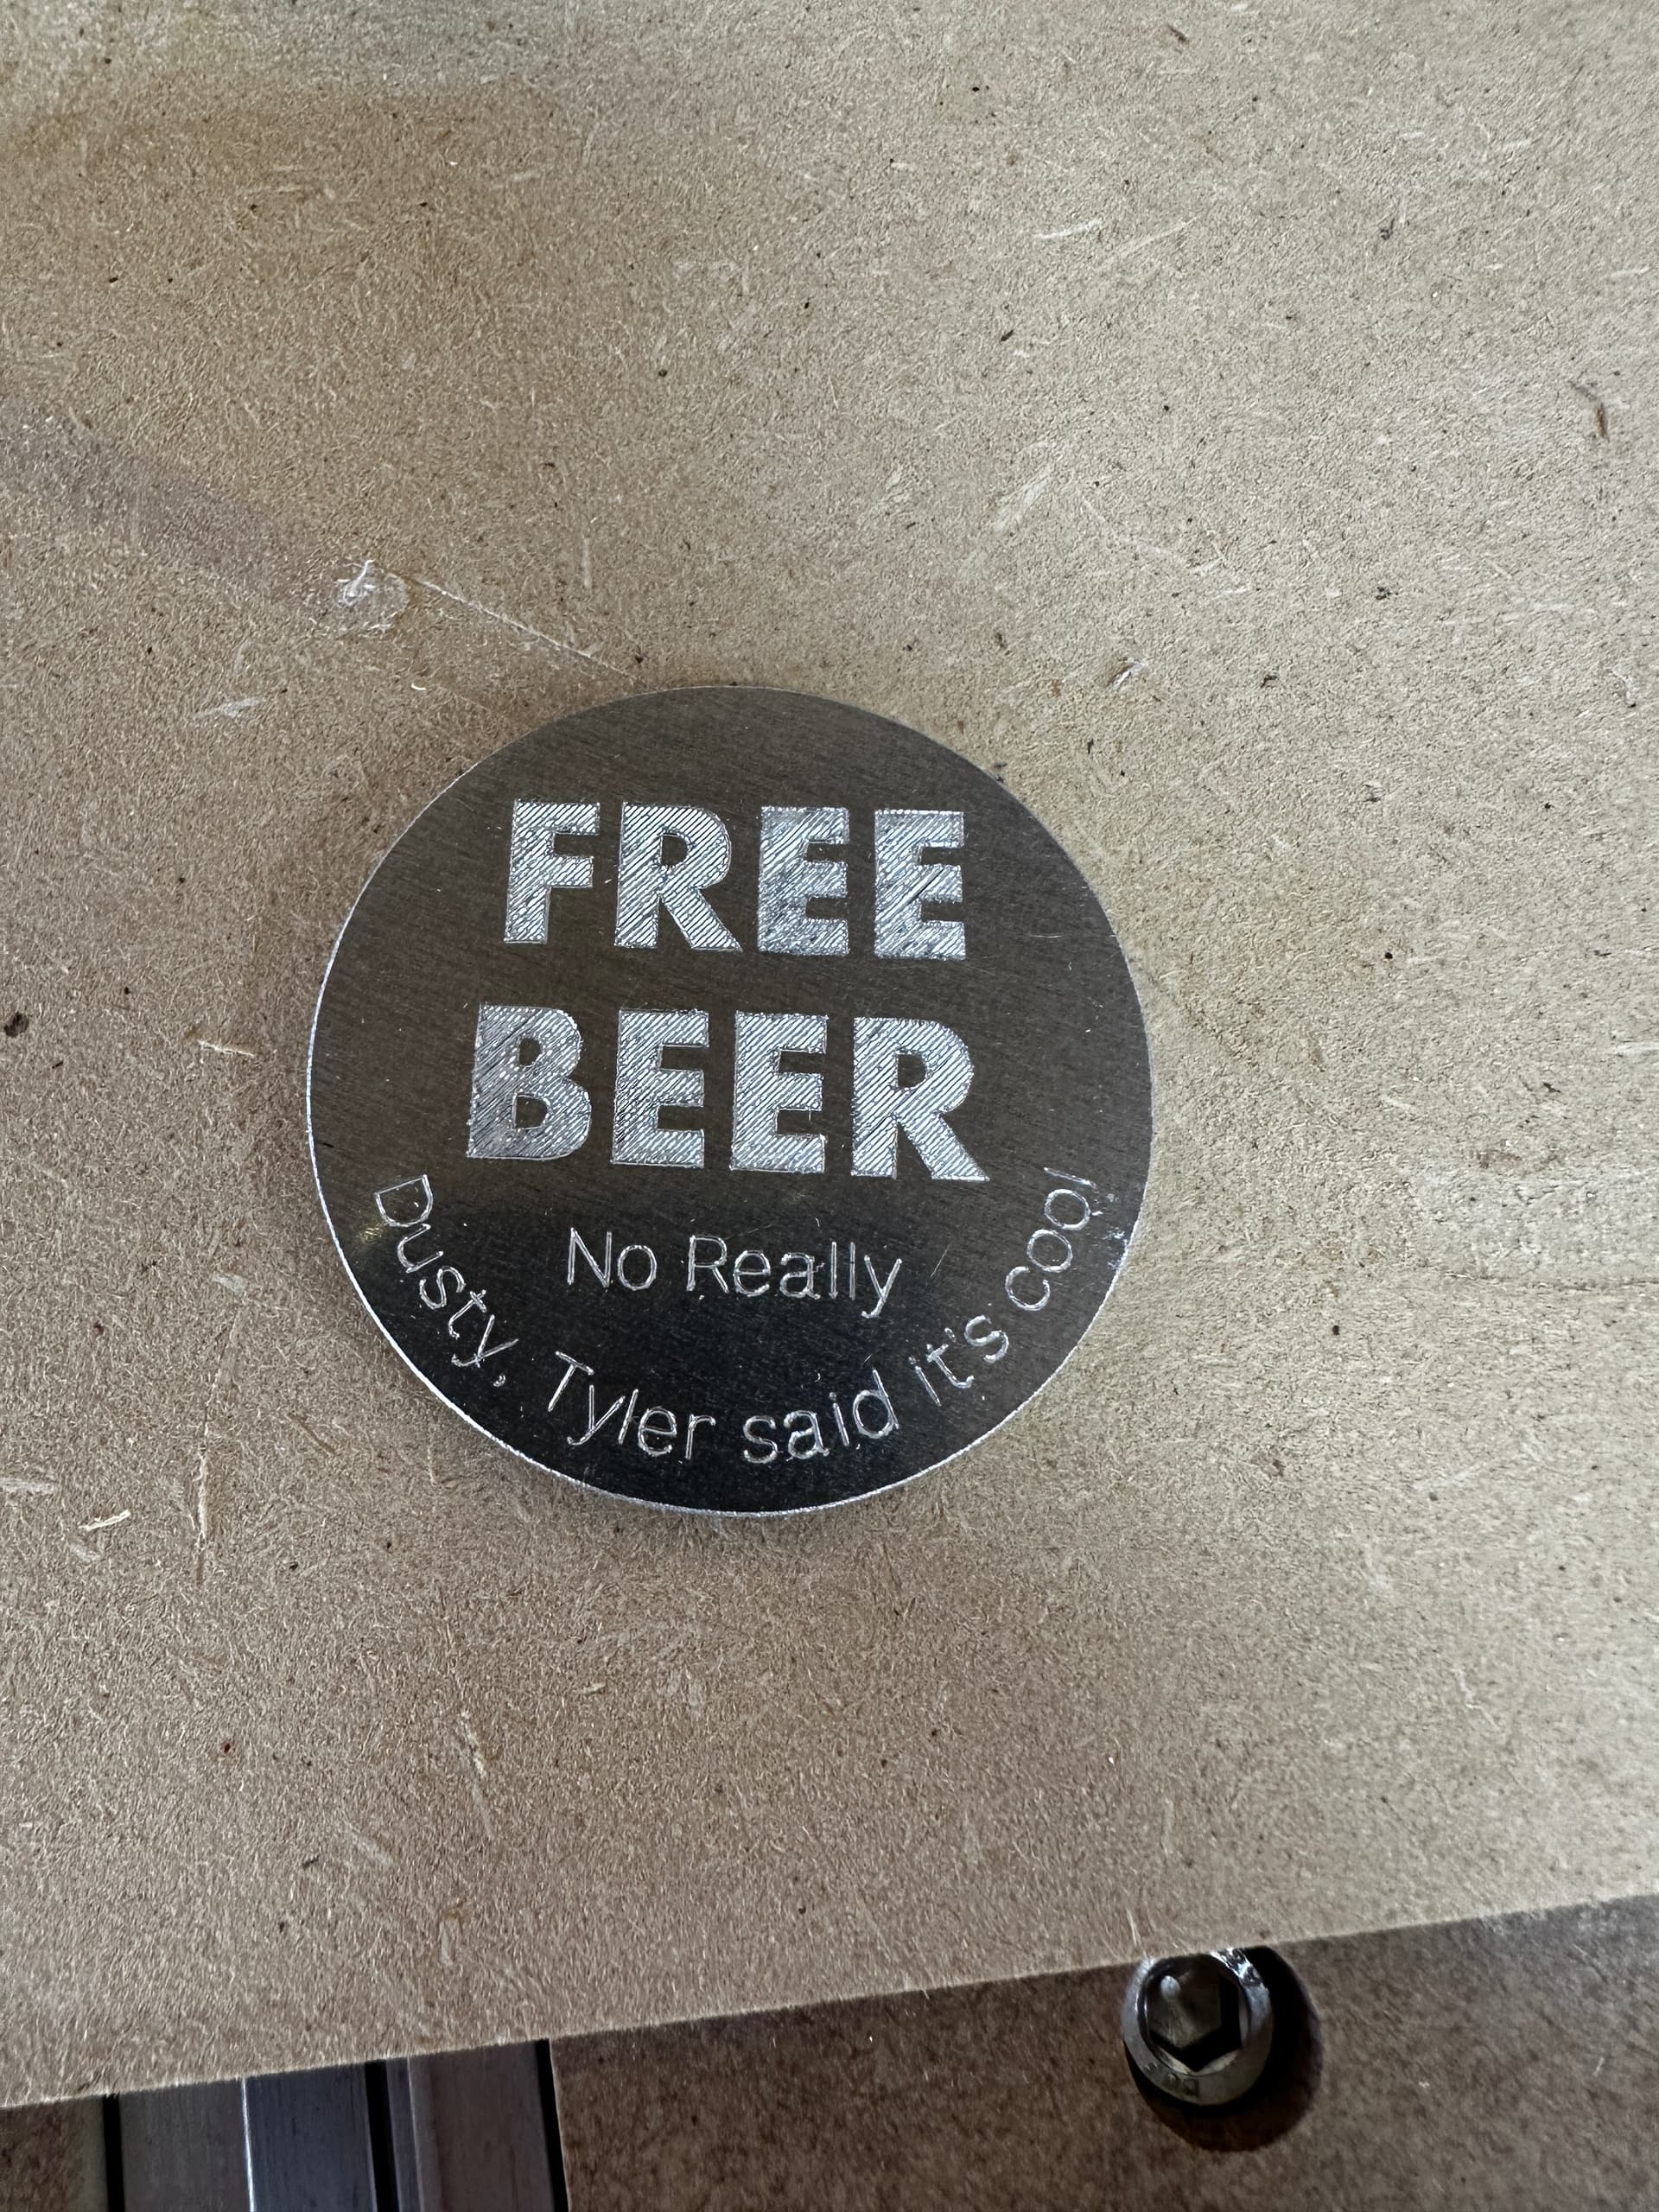
And finally, before making the eclipse coins I practiced engraving on some aluminum and made a gag coin for one of the staff at the brewery.
22 Likes
I did a couple more Coroplast items. After this I promise I will shut up and go back to doing “real” CNC work.
First was an Open House sign as a proof of concept for a sign shop.
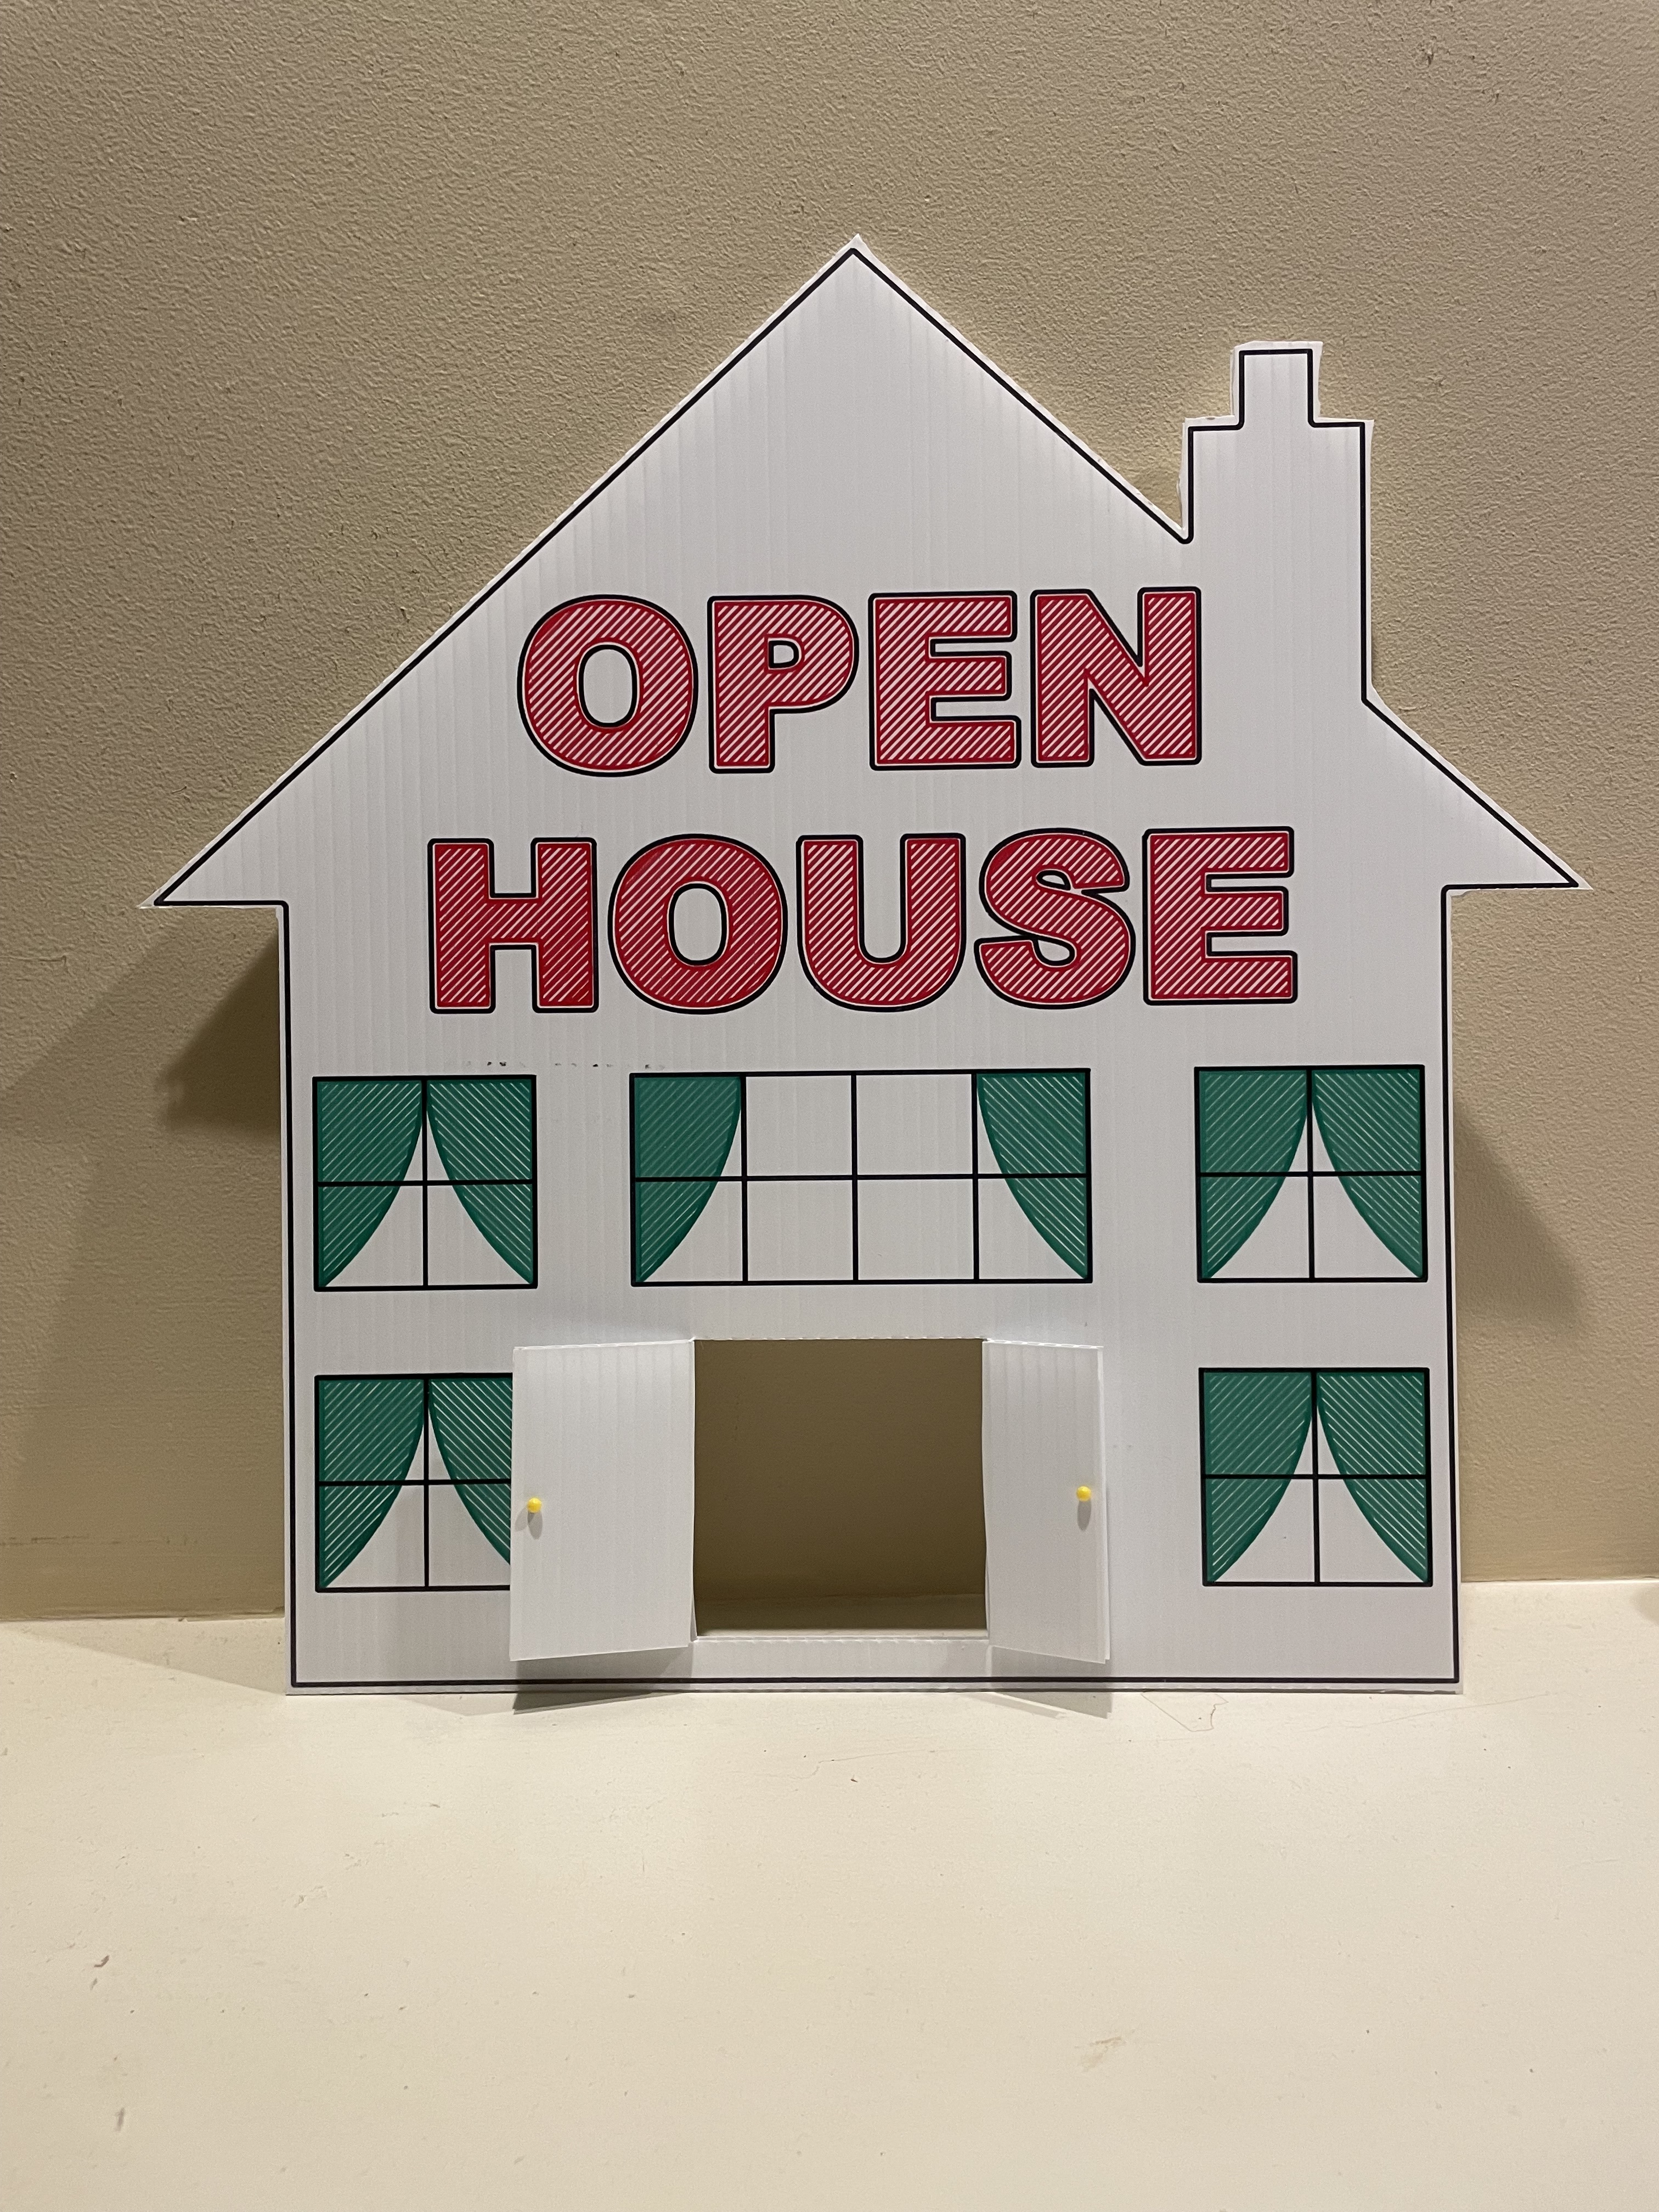
Video on the process is here:

In short, I used the Shark Tooth with various colored Sharpies and then the SST dragknife to make the cuts. I won’t lie, this was try #2.
Then that sign shop asked me to come up with a foldable stand that they could put on the back of some life sized cutouts that they are auctioning for charity. I found something similar on YouTube and then did the design with some mods and then made a small prototype to prove out the idea. It needs some adjustment and to be scaled up to at least 4 feet but it’s an interesting idea. It has to fold flat for transport. One side here would be glued to the back of the cutout.


12 Likes
I love the glass holder lanyards. It makes “hold my beer” moments a solo activity.
You have inspired me to try some aluminum
1 Like
Haha! Yeah, the prototype passed user testing that included exaggerated laughing and simulated loss of self-control. I recommend a spring clip on the paracord so whoever is wearing it can position it where they want it.
3 Likes
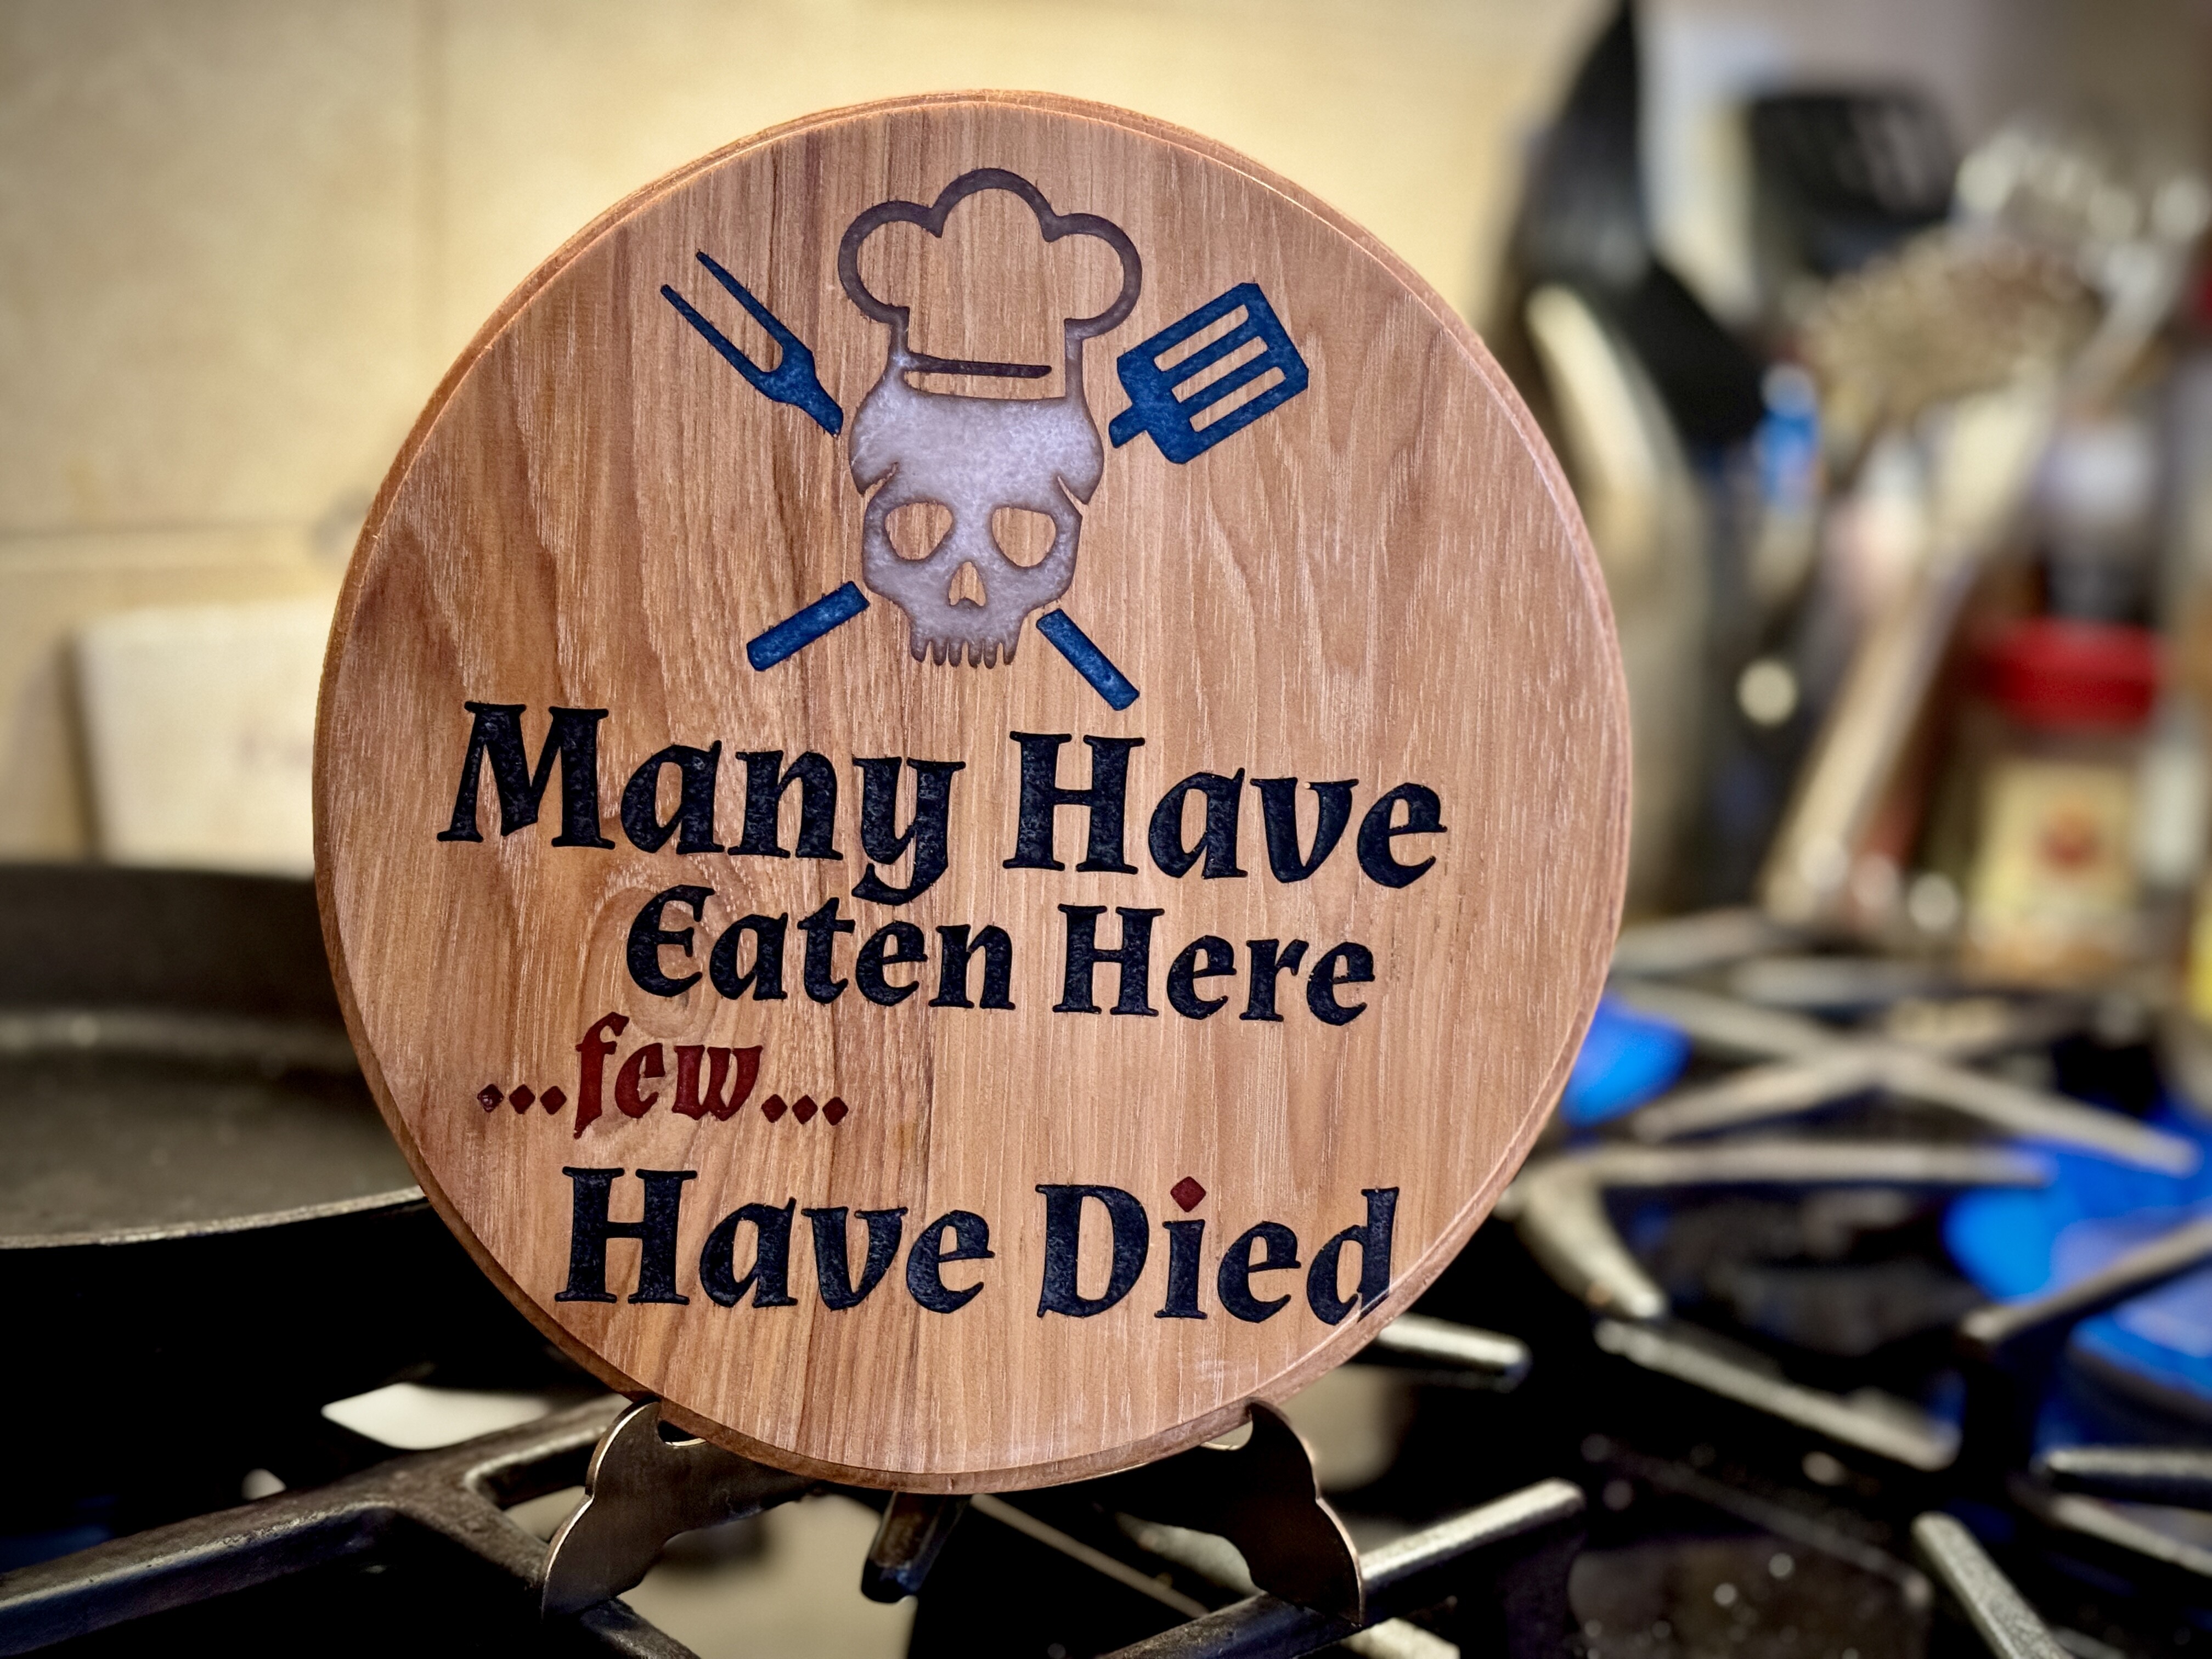
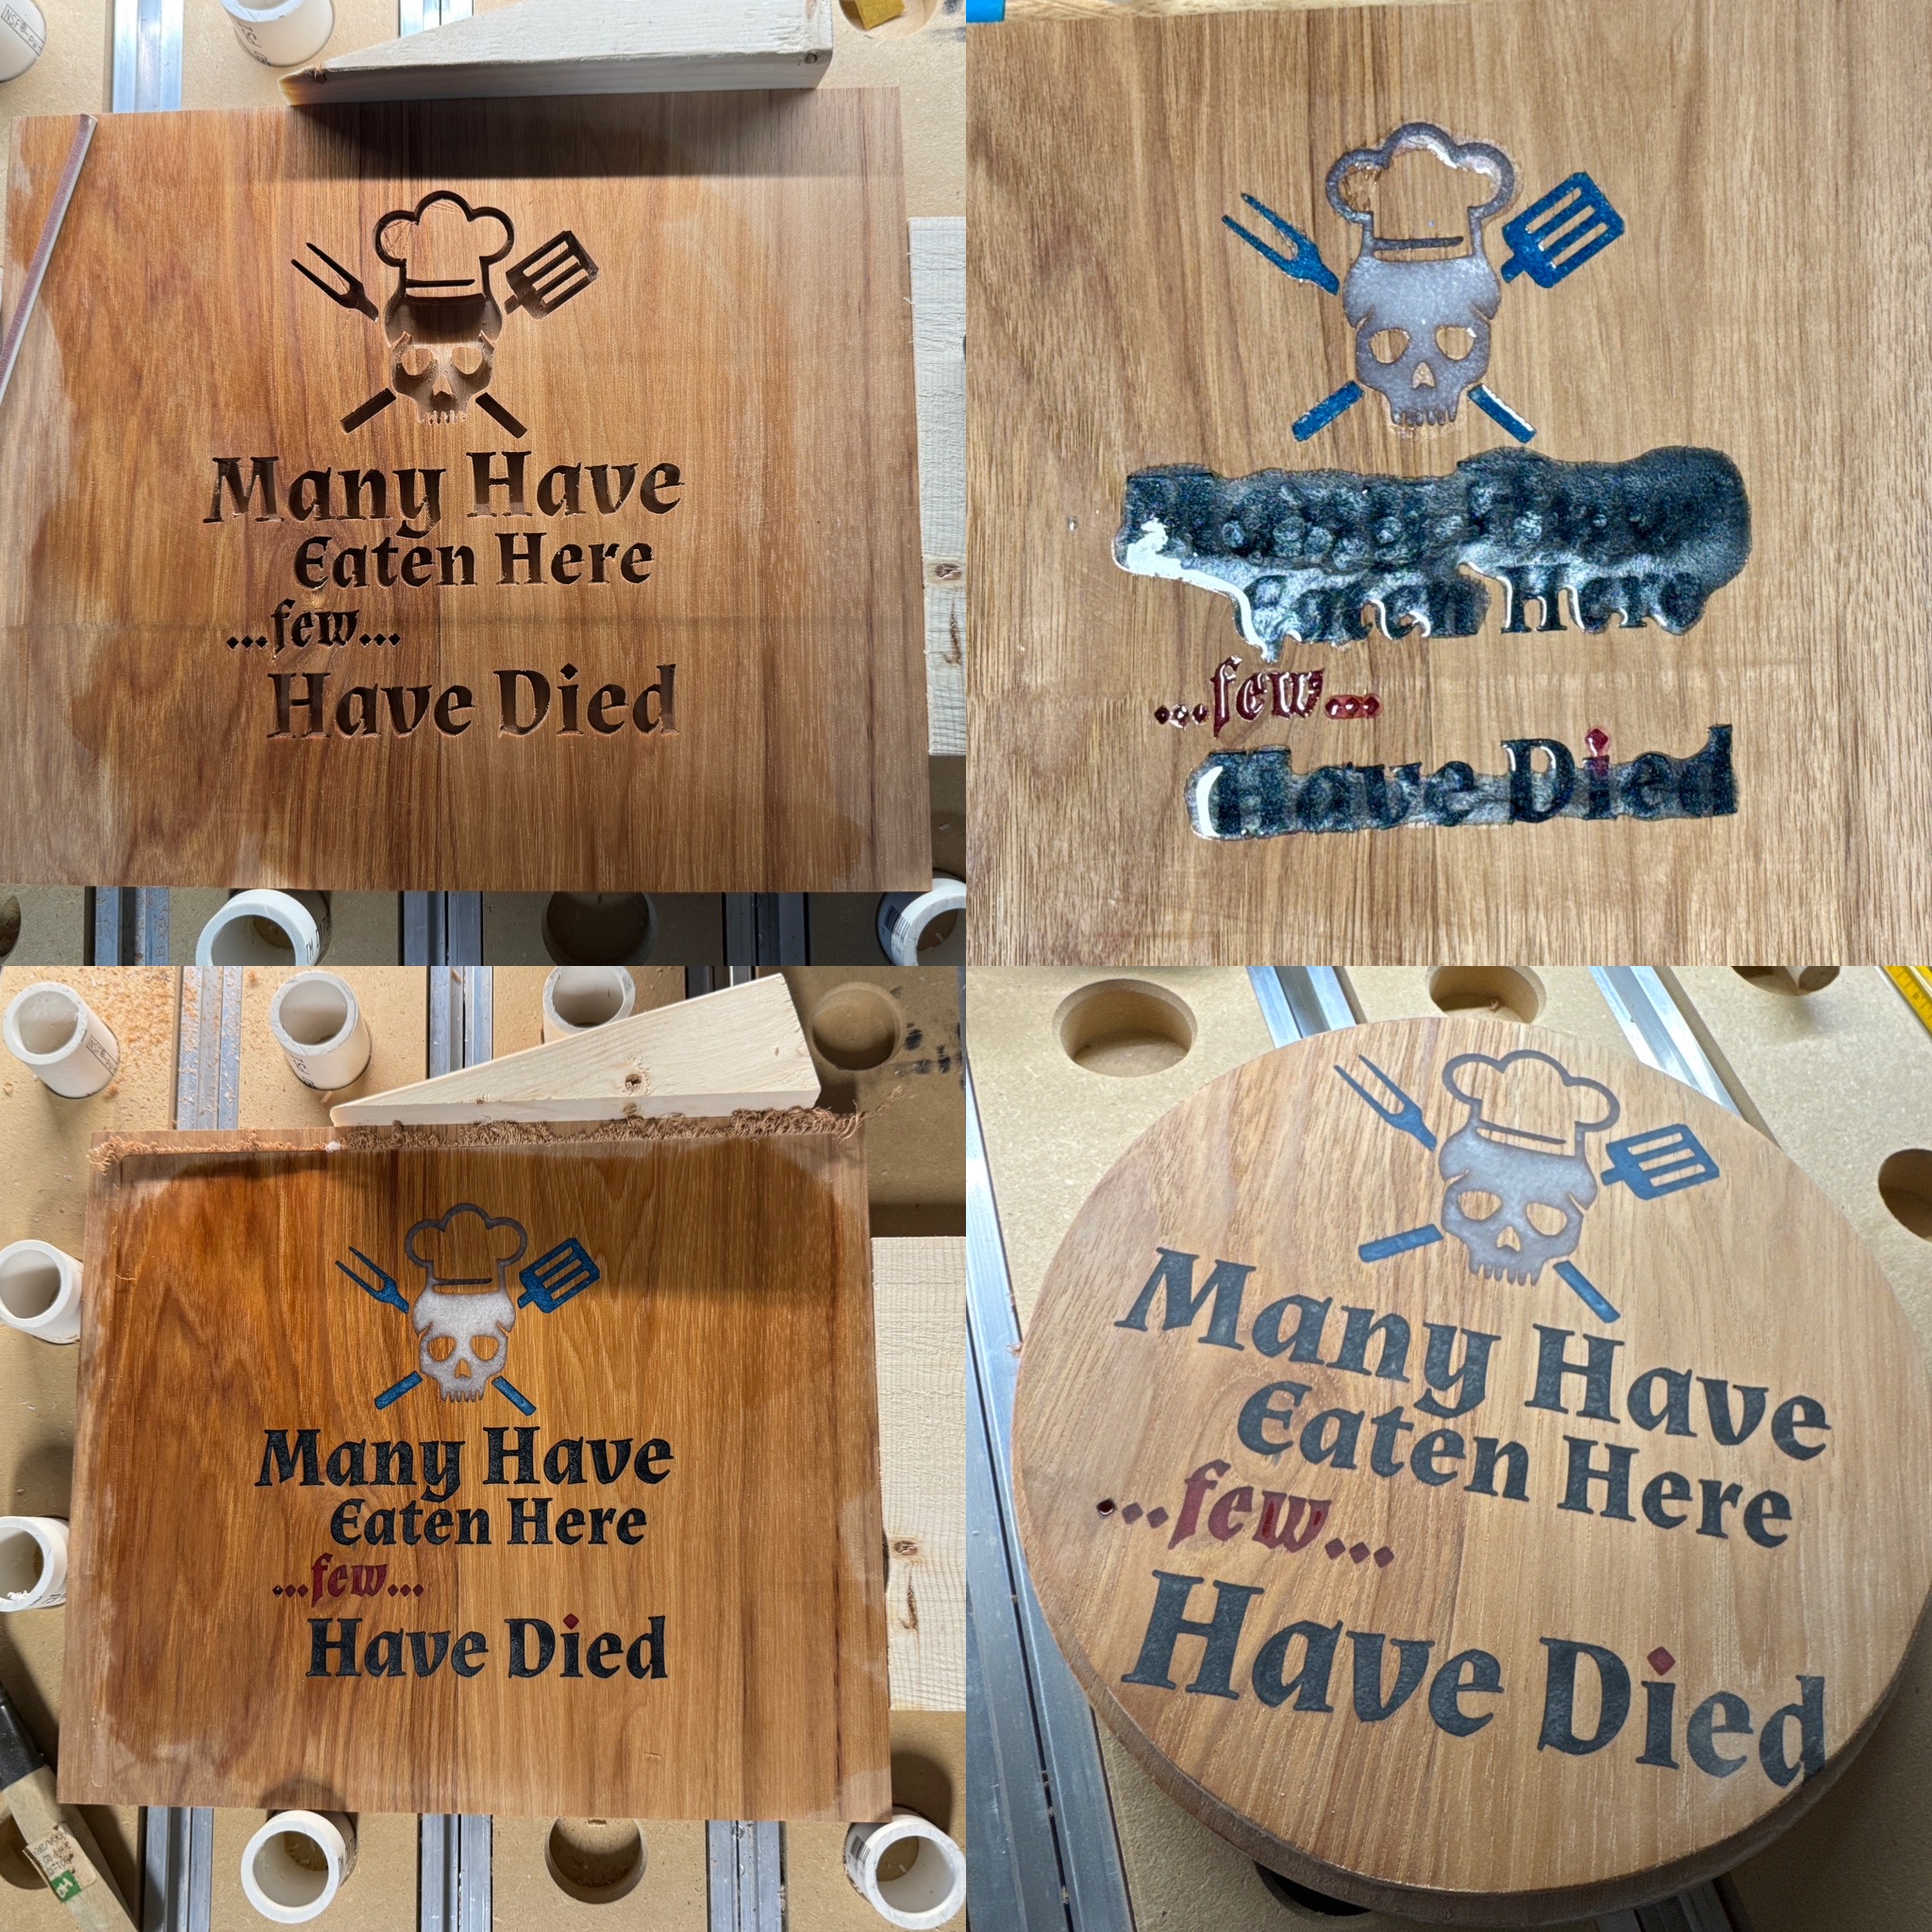
On to an epoxy inlay— worked out well. Losing my file and having to judge how it was going to be cut out was fun…. Still a good result.
15 Likes
This is great. Women generally get jewelry boxes but what do men get? That’s a question I’ve been posing a few months when I am getting dressed and trying to herd the cats of pocket and wrist things. I like this idea and feel the calling to use the concept. If you had anything to share, let me/us know. ![]()
1 Like
How big are the challenge coins, what material, and what tool (s) did you use? Your results look better than what I have seen with more detail.
That’s a question for @RichM.
Sometimes I hit the specific reply instead of the general one or vice versa.
Thanks!
The challenge coins are 1.5” zinc alloy (Amazon). Likely available for less elsewhere with a greater quantity but I didn’t need a lot this time.
I used 90° McEtcher at a depth of 0.012 with 0.04 stepover. Anything finer didn’t improve the results in the lettering and I pushed the speed just 10%. For the single line font text I ran the tool path twice to try and make it clearer without hitting it harder.
Each side took about 20 minutes or less to finish. I removed a lot of fine detail from the artwork to speed it along, but left a lot as well because the additional lines catch the light and different angles and make it a little more interesting to look at.
When each finished, I rubbed it down while still in the jig with a regular 3x5 notecard to knockdown the rough edged, brushed it out with an old toothbrush and few blasts of air.
8 Likes
Thank you Rich. I may try some of those. My difference is probably hardness of material. I work mainly with stainless 1.18 inch tags (100 @35$ on Amazon ) but they take 0.05-0.08 depth setting with the 90 McEtcher and are still very shallow compared to yours. I also see a big difference in straight lines (under a magnifying glass) when the bit barrel becomes worn leading to run out. The black coated stainless tags were not good with the McEtcher.
1 Like
I haven’t seen this going the rounds lately and I know there are many new Carbide users here so I thought I’d post it again.
I don’t know the name, but I know how you can find it, or any other font.
WhatTheFont Font Finder - Identify Fonts by Image
WhatTheFont Font Finder - Identify Fonts by Image)
3 Likes
Very nice work!
I like your design very much,
Using a fence for two sided projects is very touch-and-go. I use pins in stock and flip it to ensure lining up properly prior to the final cut out.
I got my pins at a local hardware store. They are actually 1/4" steel shelf pins. I think they came in a pack of 12.
3 Likes
That’s very impressive!
This is my first project. It’s a new top rail for our porch bench. French Satee cut Red Oak with inlays. I also used a round-over bit to radius the profile (front side only). A 60 degree “V” bit was used to make the profile groove. I did have trouble trying to make the v bit work for the inlays so I used a 1/16" two flute end mill to do them. I’m thinking about an epoxy fill for the inlays. Since I’ve never worked with epoxy inlays, I will probably make a test piece using some scrap MDF

17 Likes