CAM software as digital tooling is a nice way to look at this.
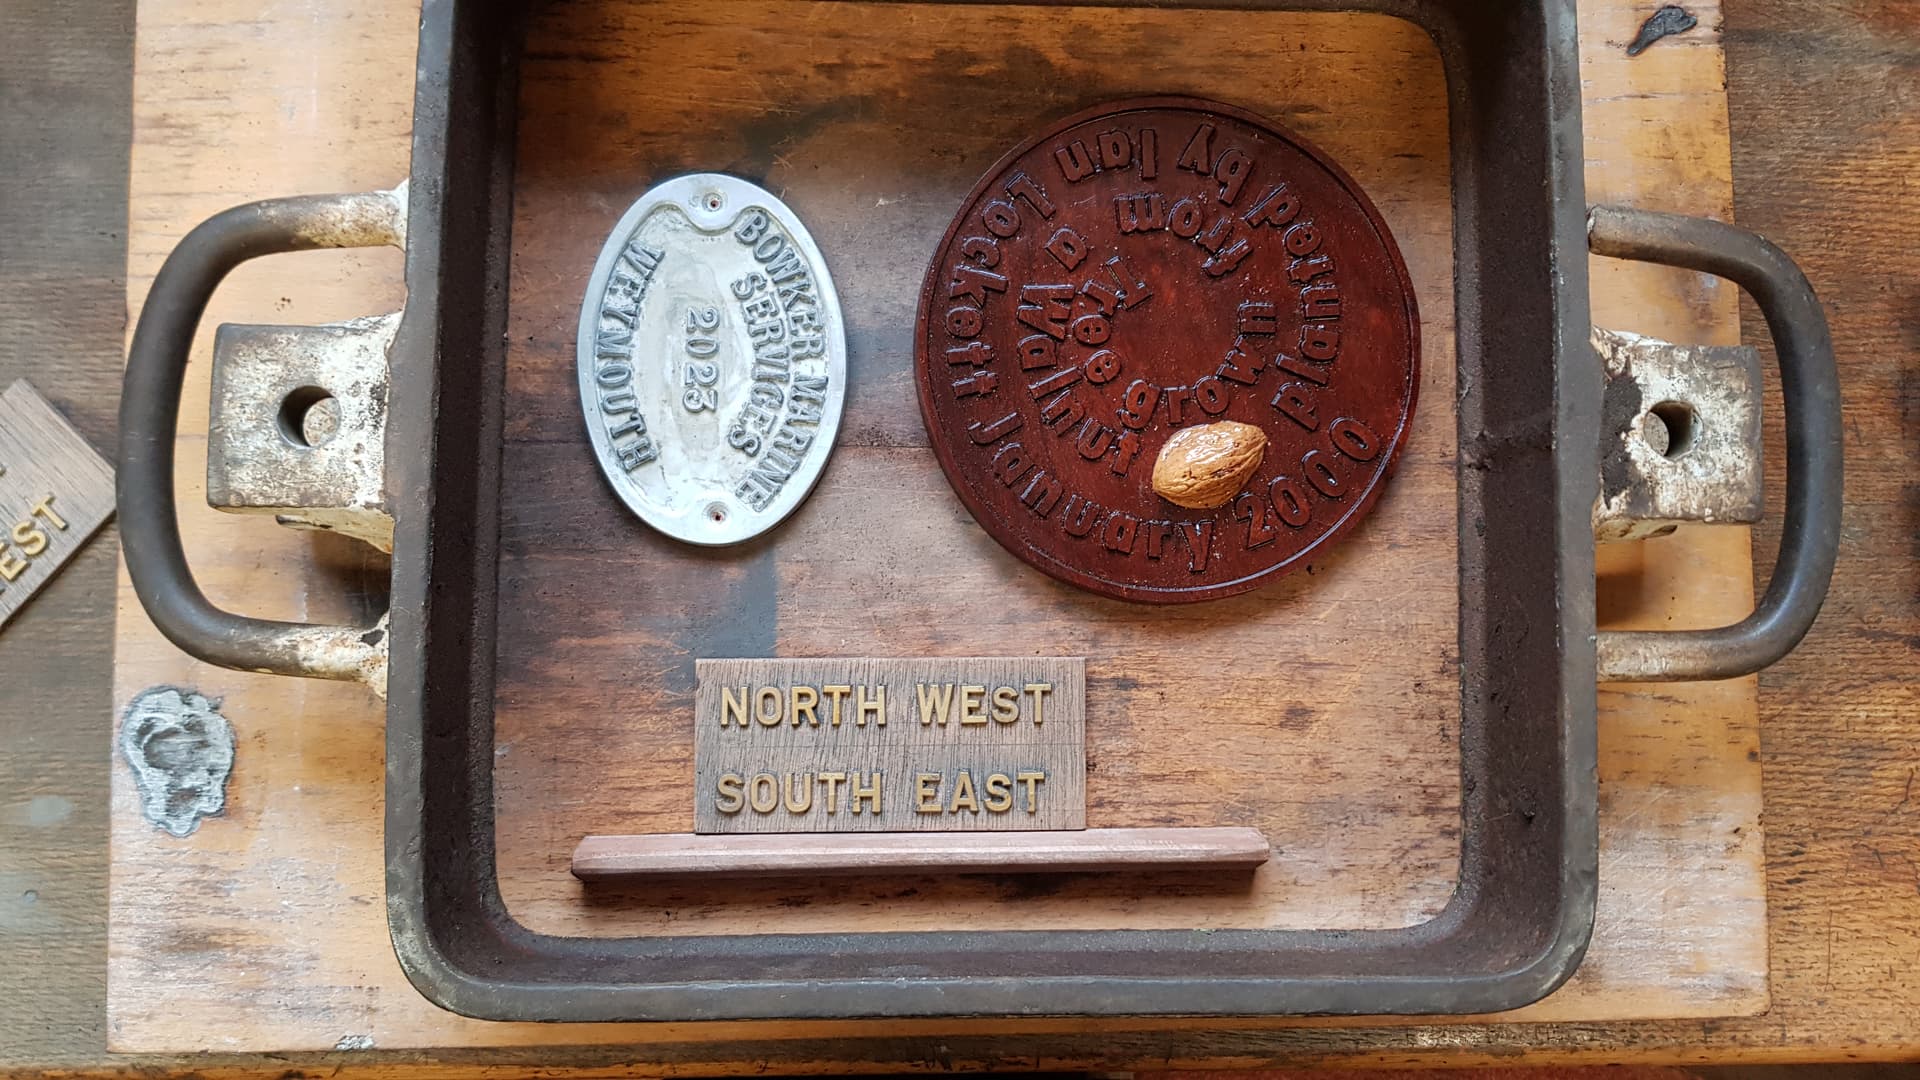
If it is a simple 2D sign, the sign is placed face up in a casting flask (drag) the oil sand is placed on top to a depth of about 2" then it is rammed down with a wooden hand rammer. This continues until the sand is level with the top. The flask is then flipped over, French chalk applied (to prevent the 2nd flask sand sticking to the first). The top flask (cope) is then rammed the same, runners are cut to allow entry of the aluminium, then the two flasks are separated and the pattern removed. The two flasks are then re- secured to each other ready for pouring. That’s the gist of it anyway.
The picture below shows a flask with the patterns ready for the sand to be applied.
11 Likes

Wood: BW
Inlay: Total Boat
Pigment: Black diamond Ghost Sapphire and clear
Cuts: shapeoko 4 standard
Finish: Rubio pure
Photo: potato quality sorry
13 Likes
Ok,
So you guys guilted, I mean inspired me to do better. After this post I tried again.
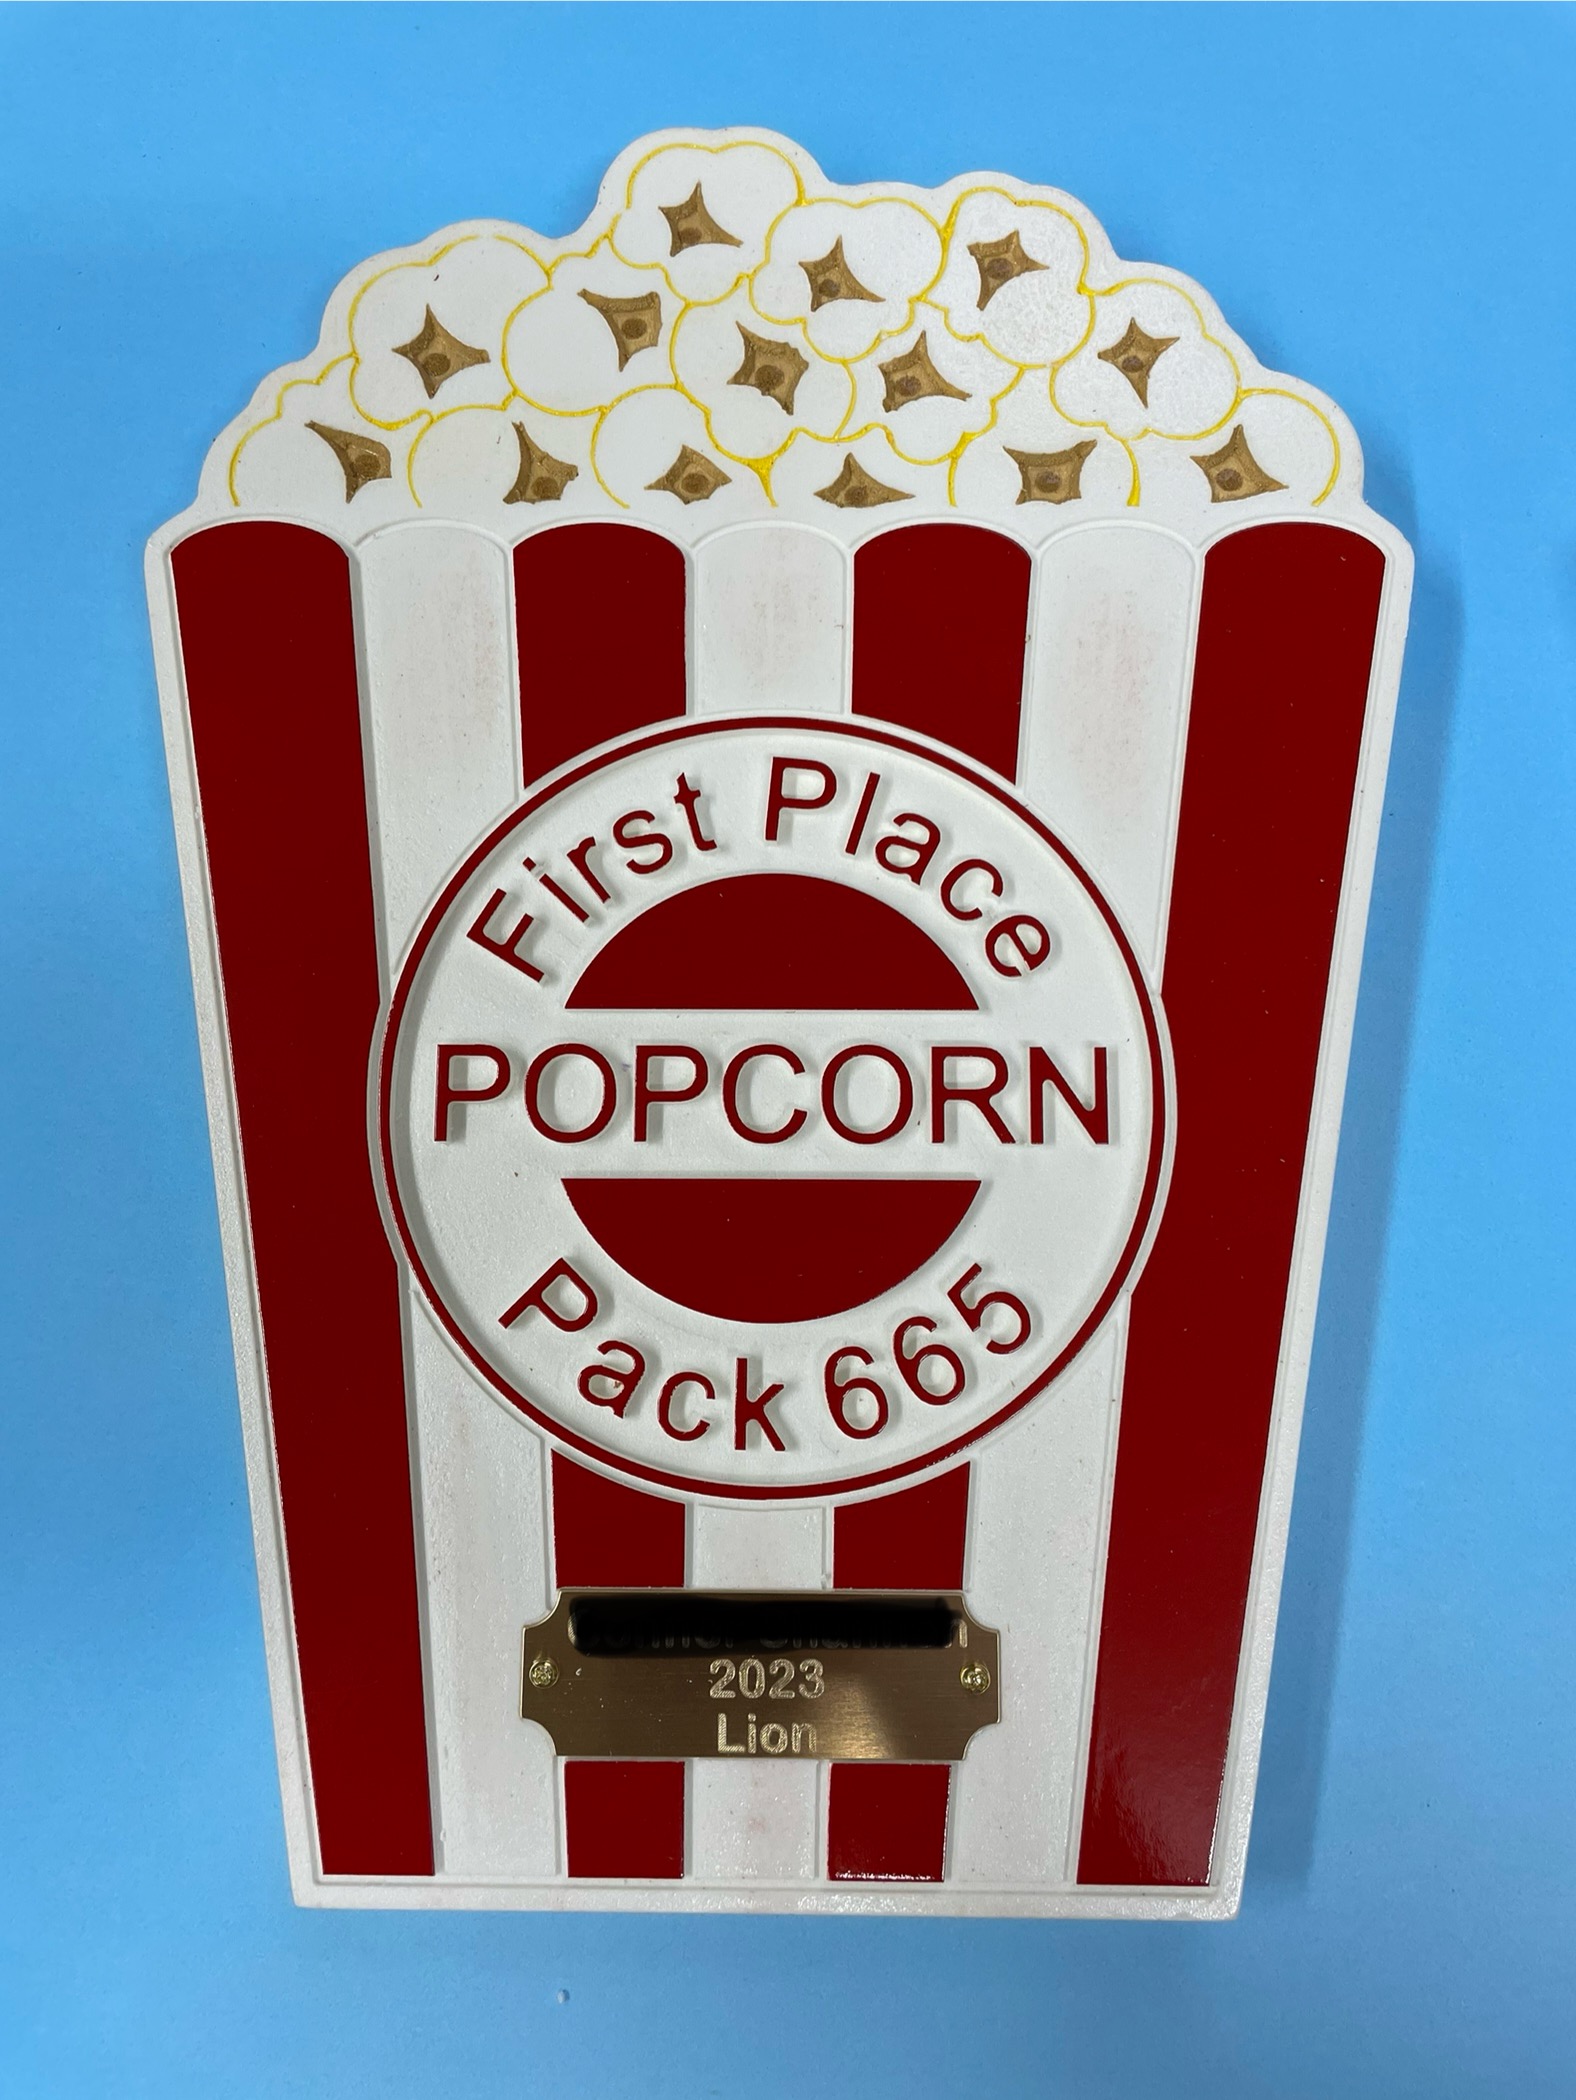
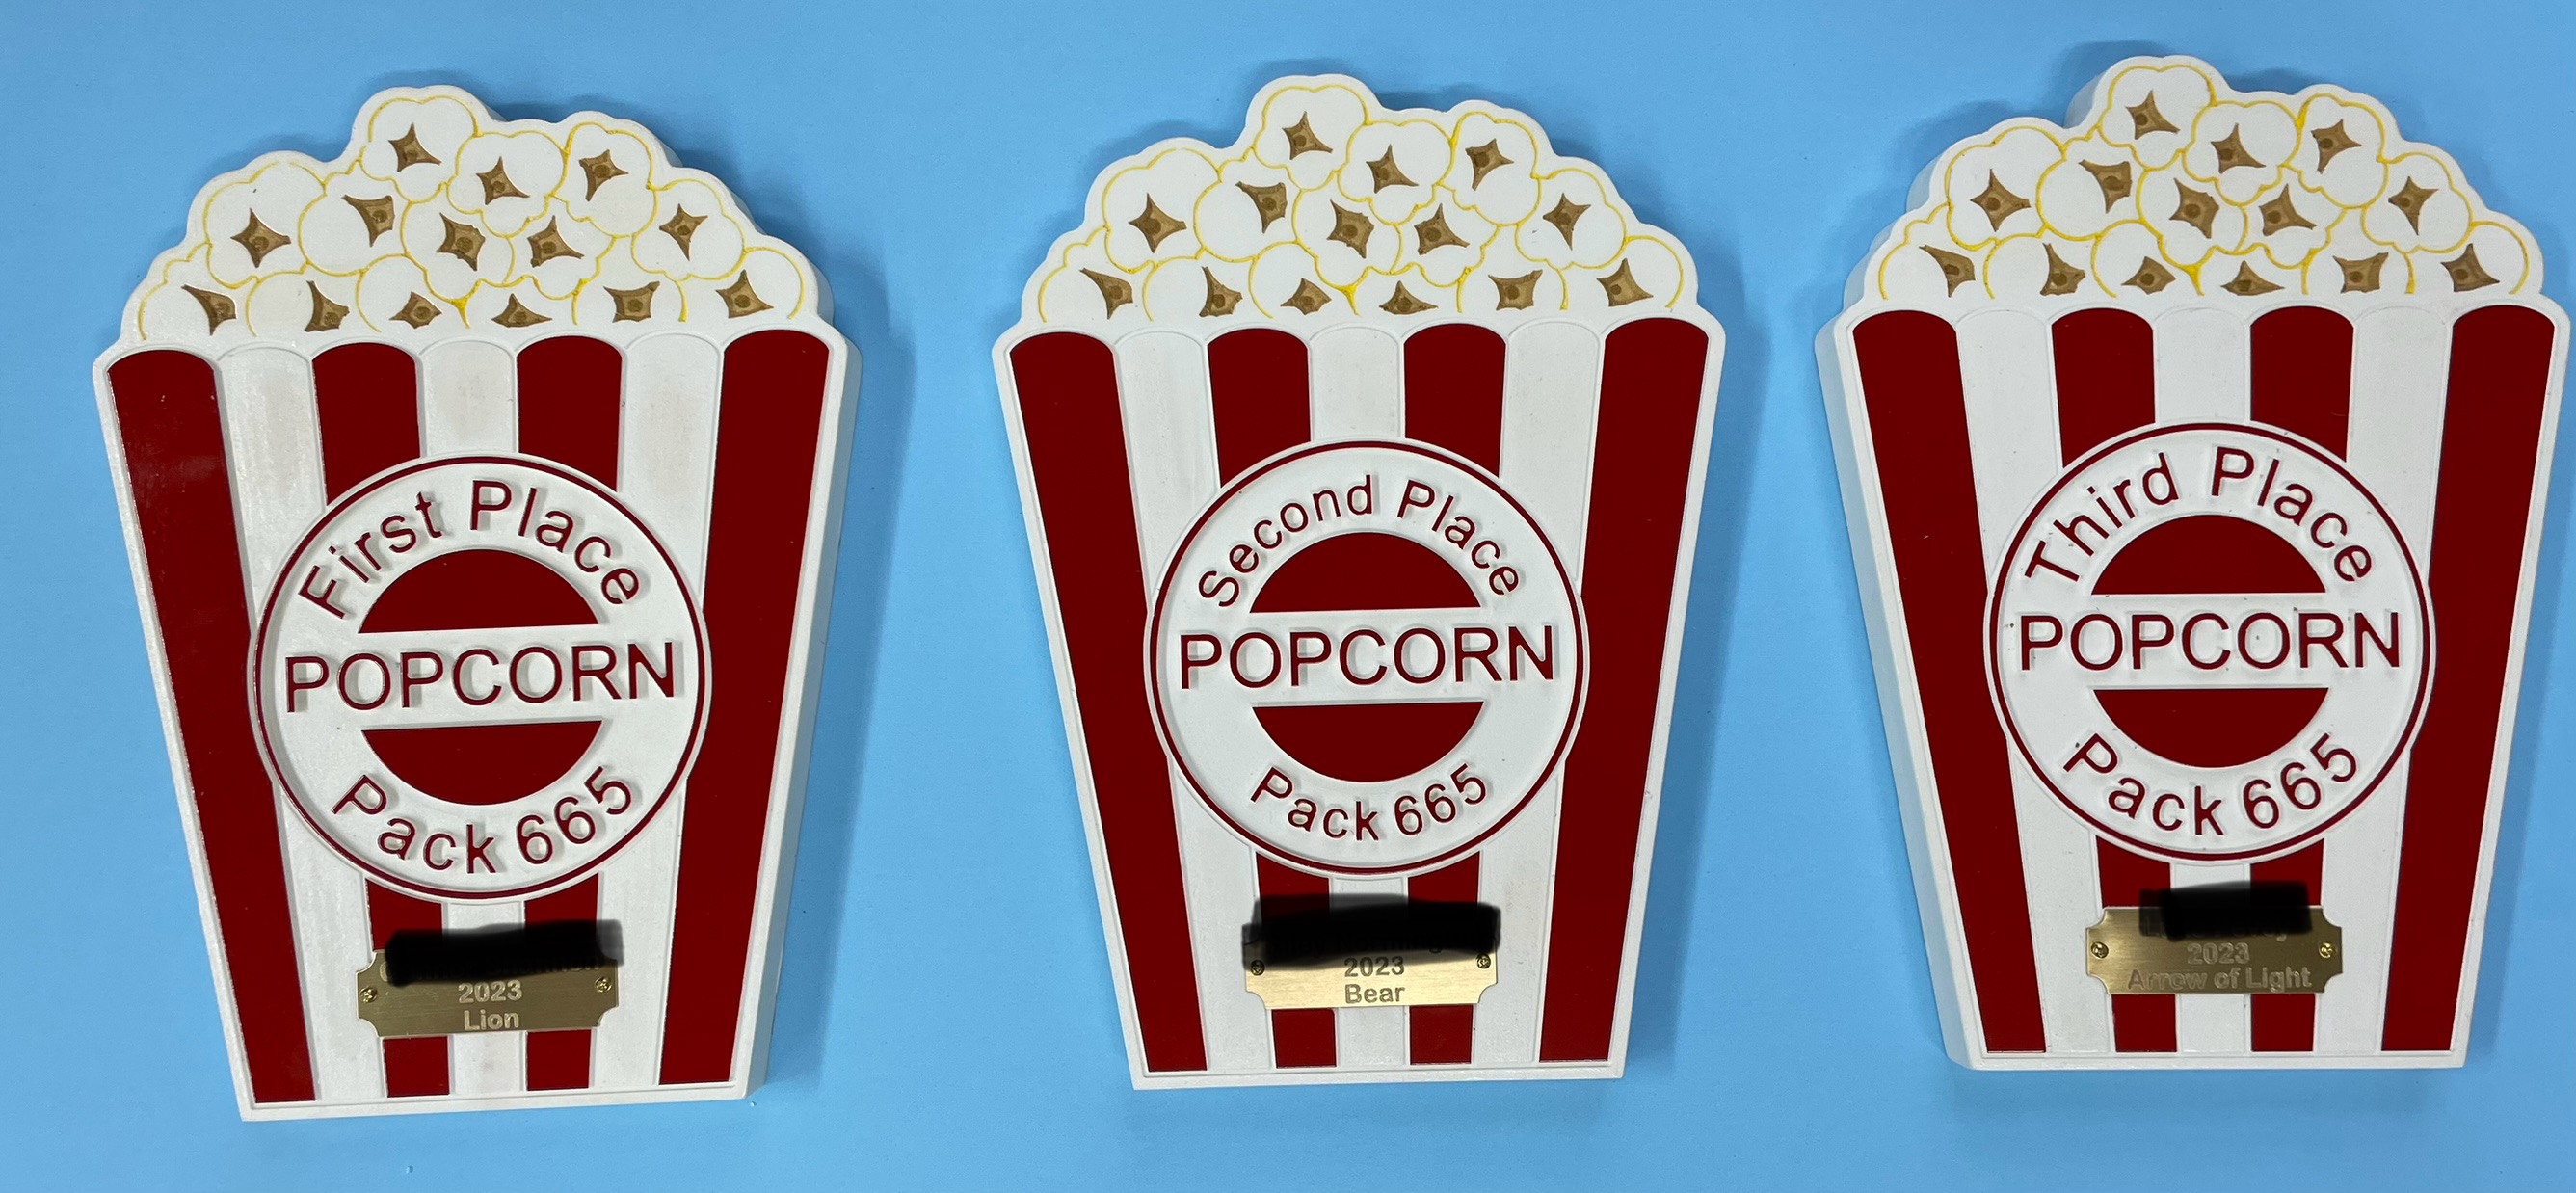
I am super happy with the results and I am glad that I only did First Place initially since only that one was trash.
In this incarnation the V bit was only used for the lines around the popcorn and the recess for the kernel. Every thing else was done with 1/16, 1/8, 1/4 O flute bits. Painted the whole thing red first and then carved and painted the popcorn lines and kernels by hand. Then I used the O flute bits to peel away the red paint and leave the white. I sanded the rough white PVC slightly but overall there was very little cleanup required.
4 coats of laquer on top.
24 Likes
Good show! What a difference! +1
PS. The only problem is that they’ll be back for more! ![]()
2 Likes
Especially since they were free.
I will get them to pay for the PVC board though.

Back in the 80’s I worked for Eastman Kodak and went to Rochester NY a lot. We were there for weeks and on the weekend we would go to the finger lakes and the winery area. In those days they would give you unlimited samples of their wine. So driving down those windy roads will a full tank of wine you can image the peril. Later they changed it to 2 samples per winery and likely made the roads more safe.
Oh the good old days. One of the most interesting museums I ever went to was the Curtis Air Museum. There are a lot of museums in upstate NY and that one was special.
3 Likes
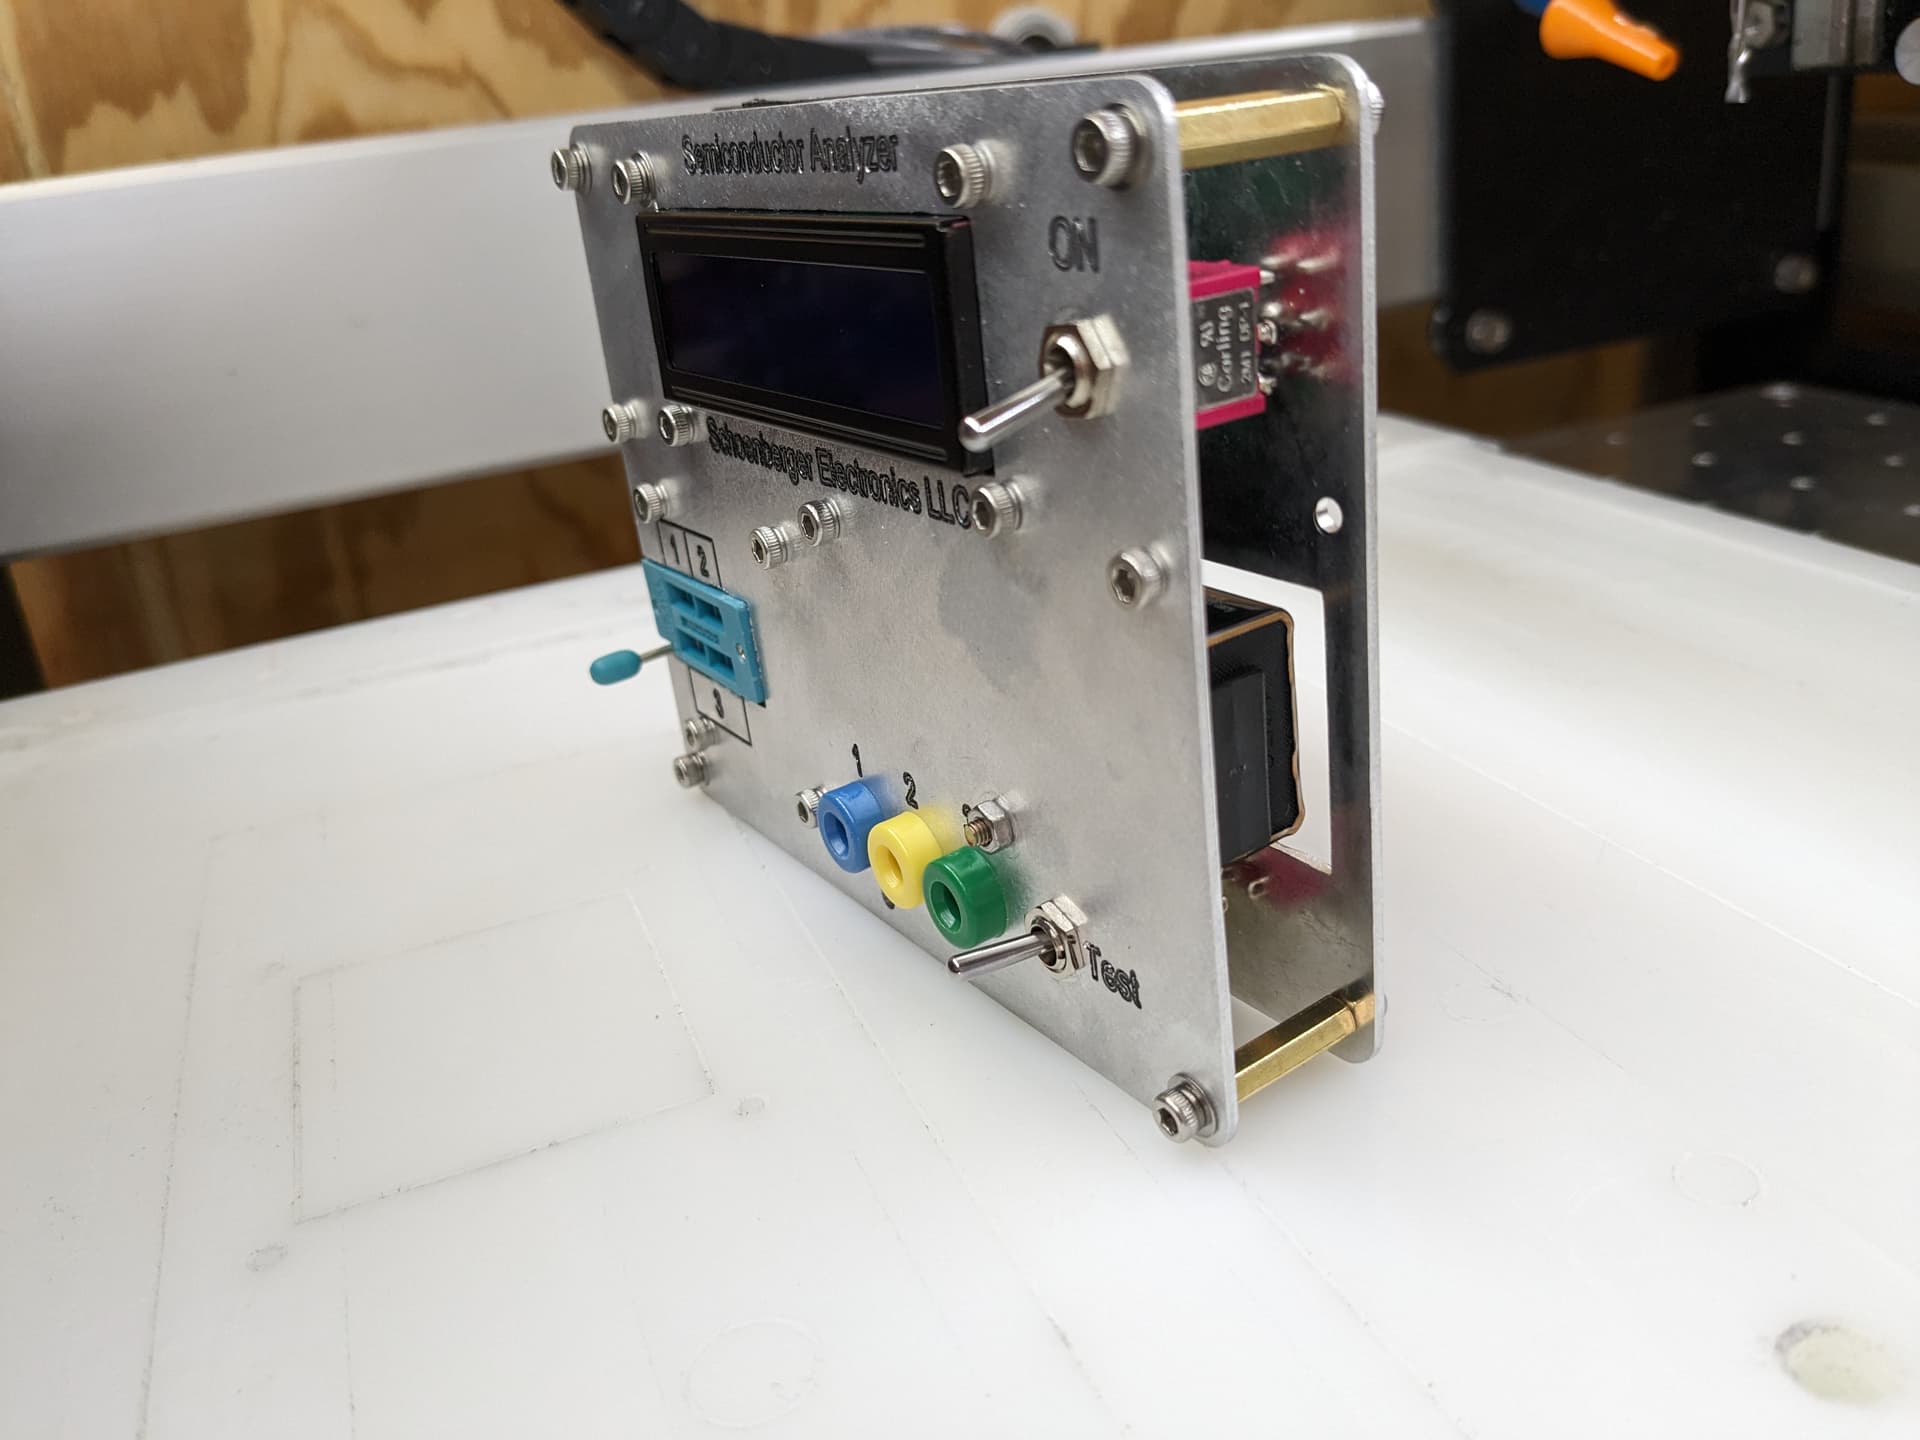
Nice, how are you doing the labelling? Looks engraved then, hand painted?
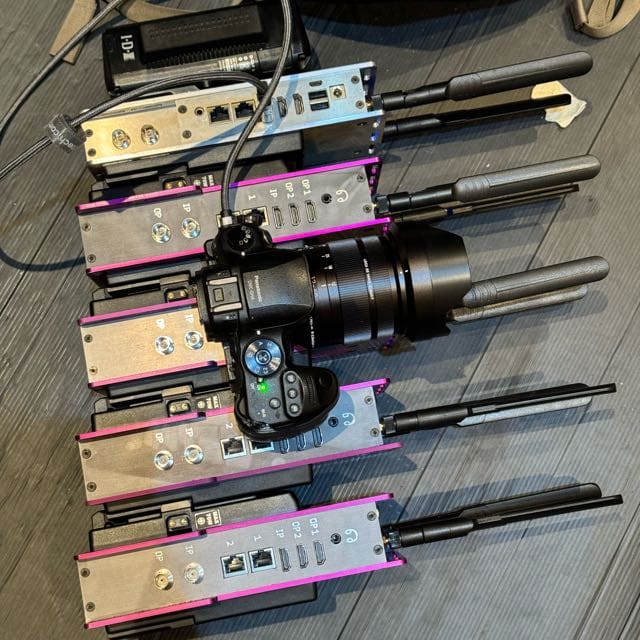
Im making casings for my sons project, a video wifi encoder. The latest version, unanodised at the top is thinner and shorter. Im curious as to your lettering as when prototyping we dont anodise.
1 Like
Wow! Fantastic results!
1 Like
I just noticed those dark flecks in the third place one. That must have just been trash on the surface when I took the pic they are all clean.
Thanks. I use a vee-bit, engraving toolpath, 0.020 deep, no fill. Flood the grooves with a paint pen, sand the surface so only the paint in the grooves remains. I began using the vee-bit engraving method years ago when I grew tired of screenprinting aluminum enclosures for production runs.
Your cases look great. Are they screenprinted or labeled?
2mm end mill engraving through anodised surface.
Screen printing sounds interesting. I will look into that aswell.
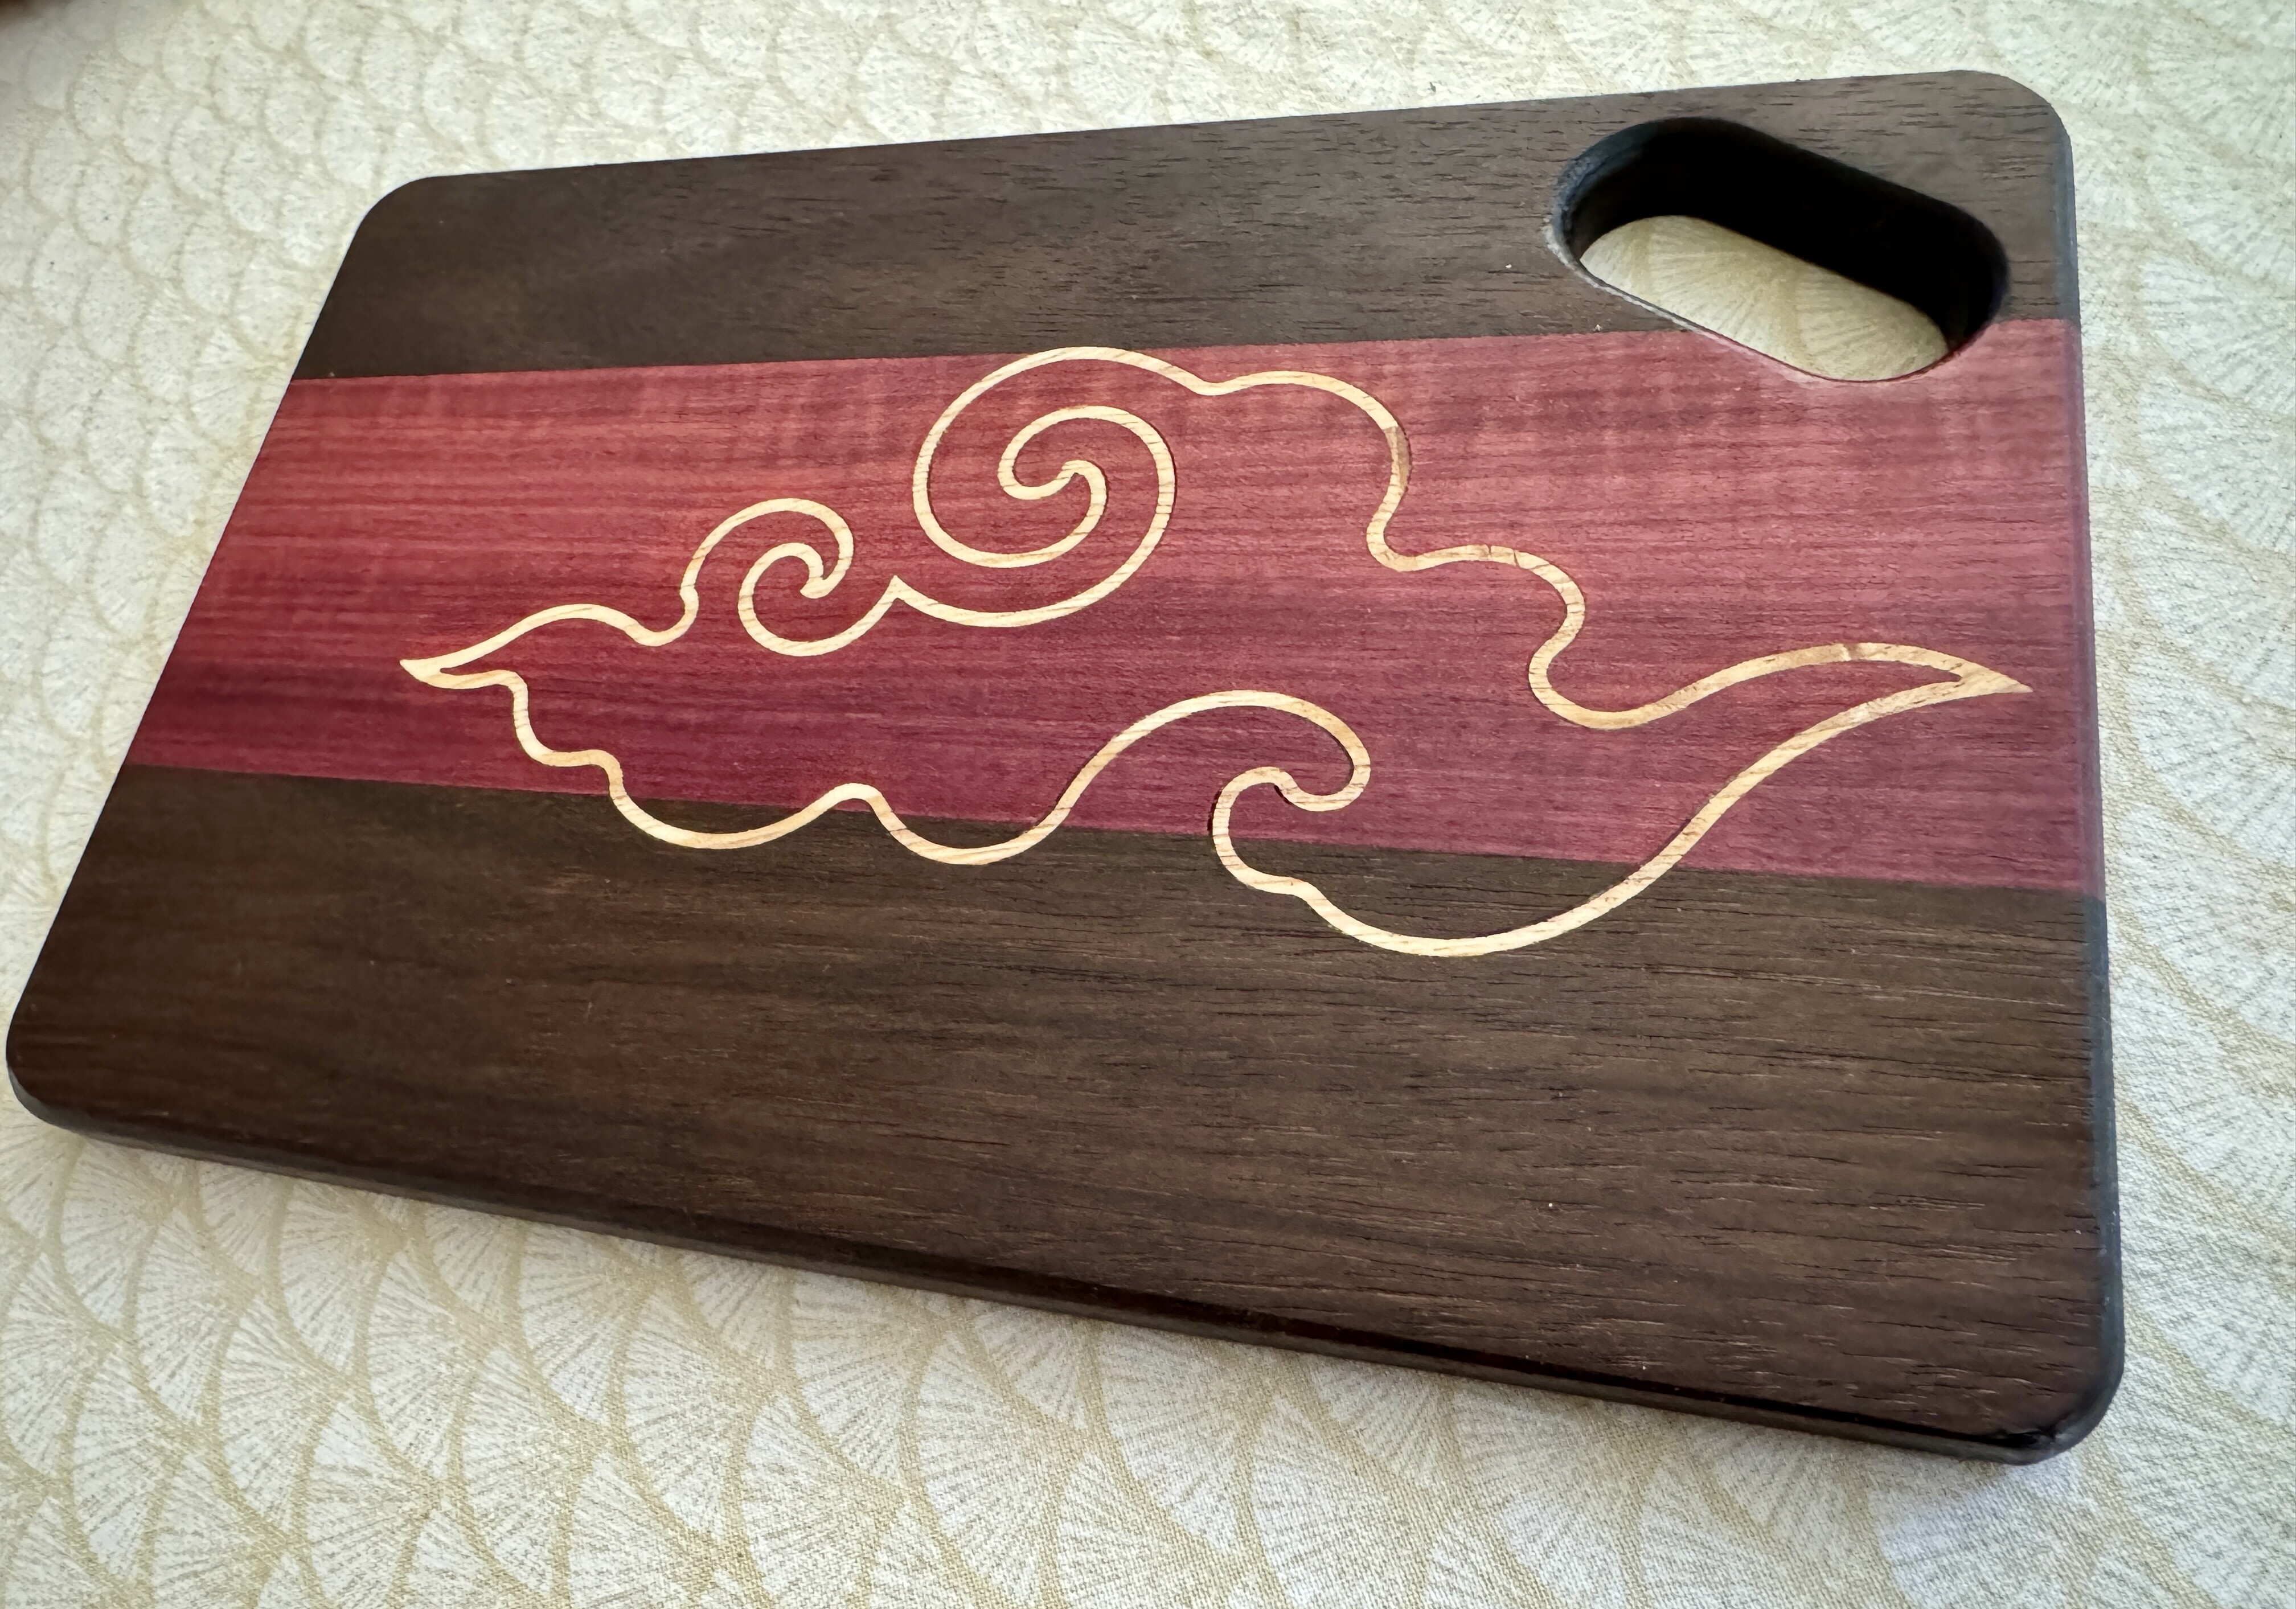
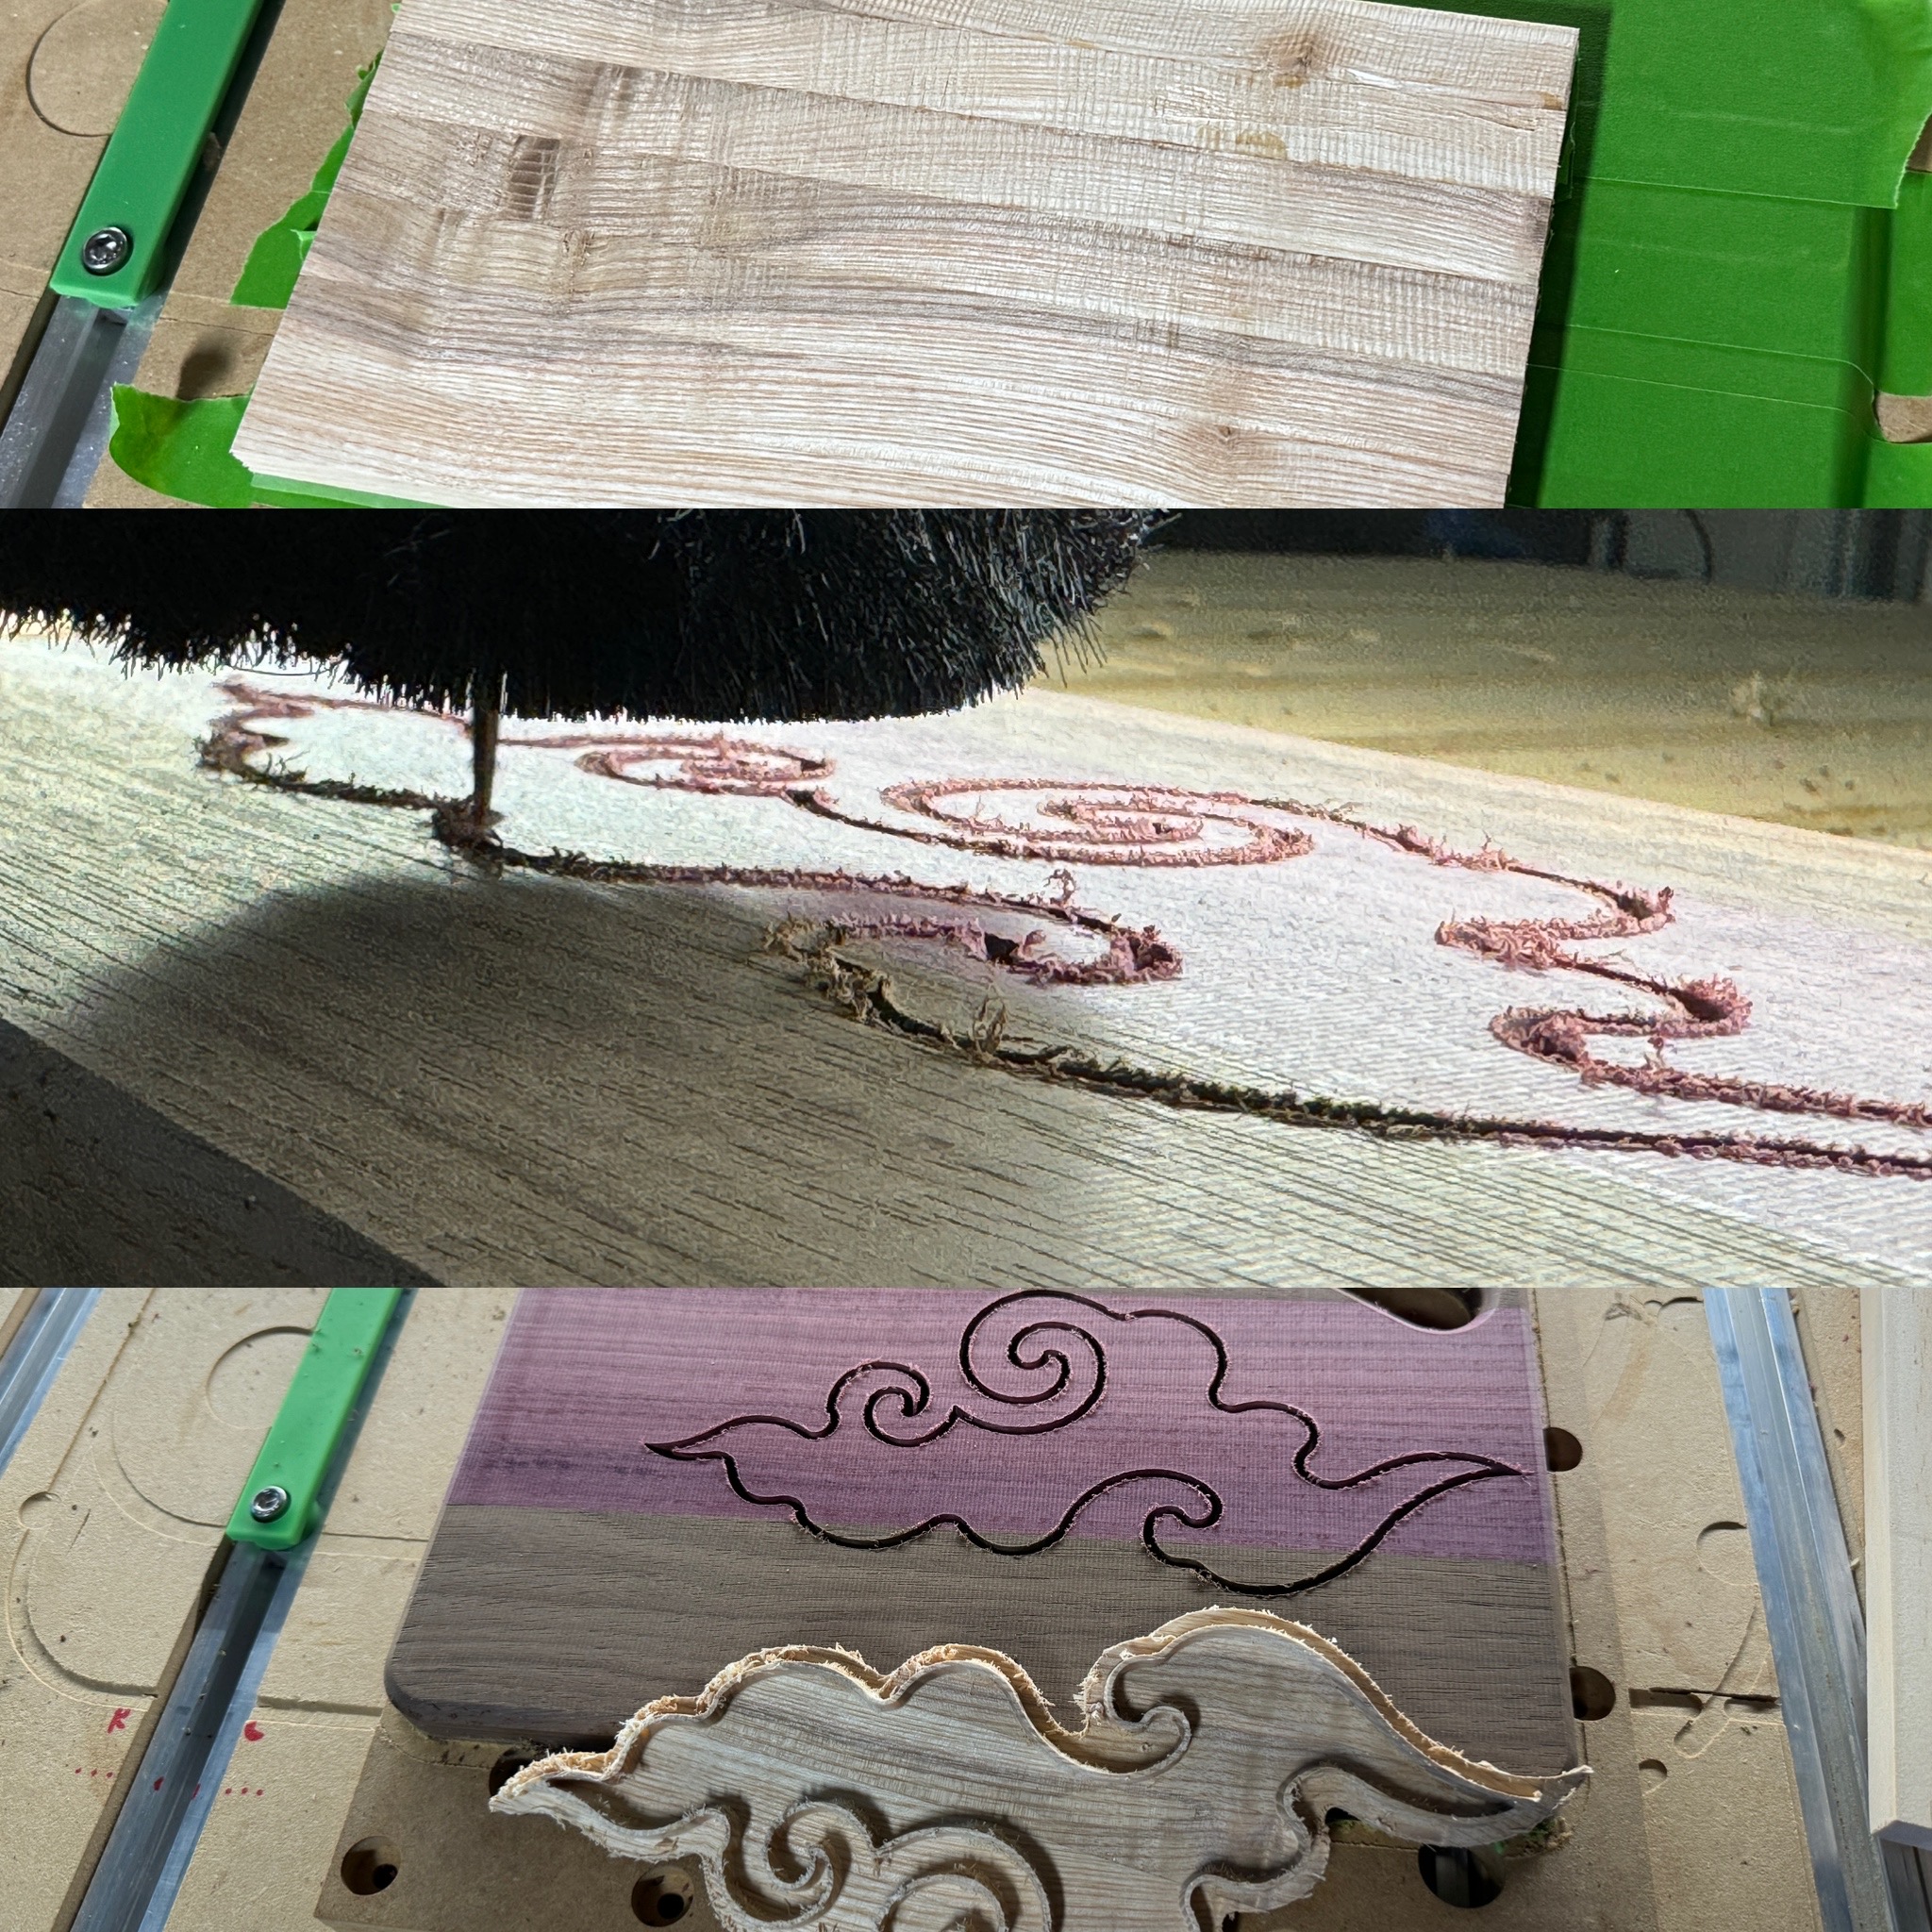
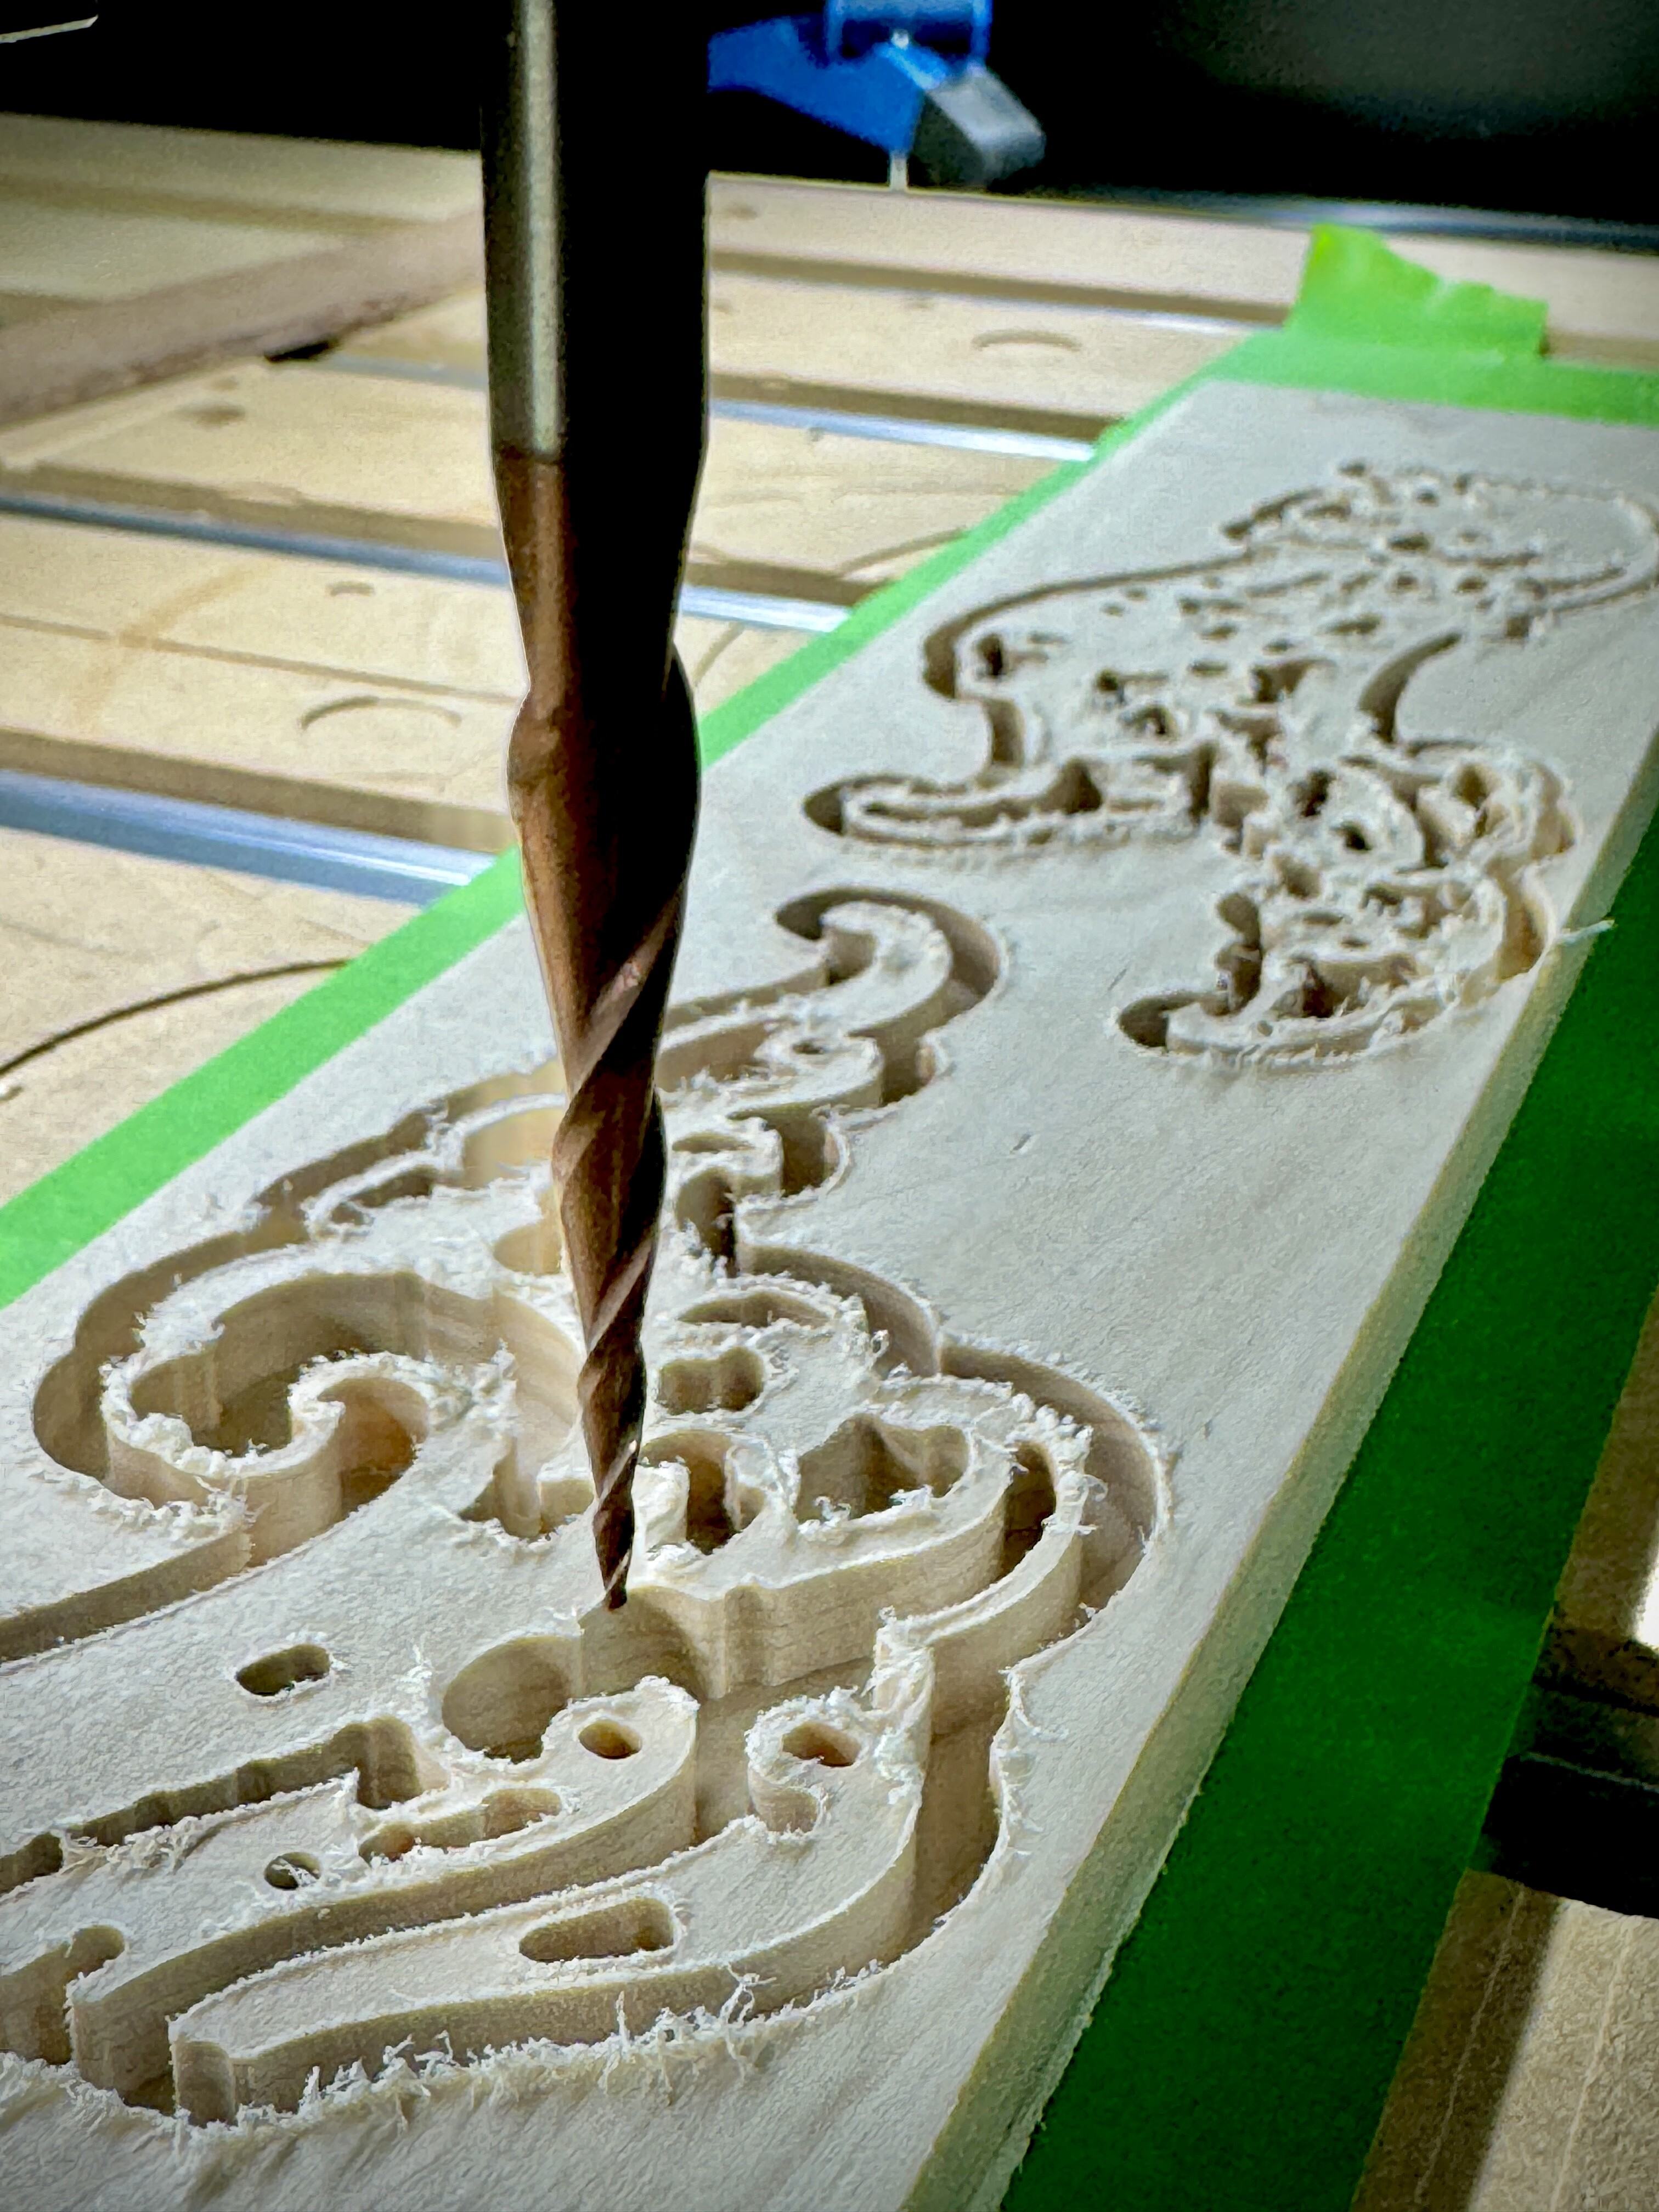
Slowly working my way to understand tapered inlays. Think I’ve got the idea now. Feature size is what’s been getting me more than the process. There’s only so small a feature you can carve before the wood can’t hold up. And that’s even with going end grain. This is about 6x10 and I think those lines are about as good as it’s going to get before failure shoot’s up.
Anyhow. Like all there journeys they are enlightening.
Walnut, Purple Heart, end grain maple. Finished with some butcher block wax/oil.
17 Likes
Using a tapered ball nose there?


That camp must be for rich kids if they can afford all that colorcore ![]()
2 Likes
Donated, yeah. It’d be too much.
1 Like
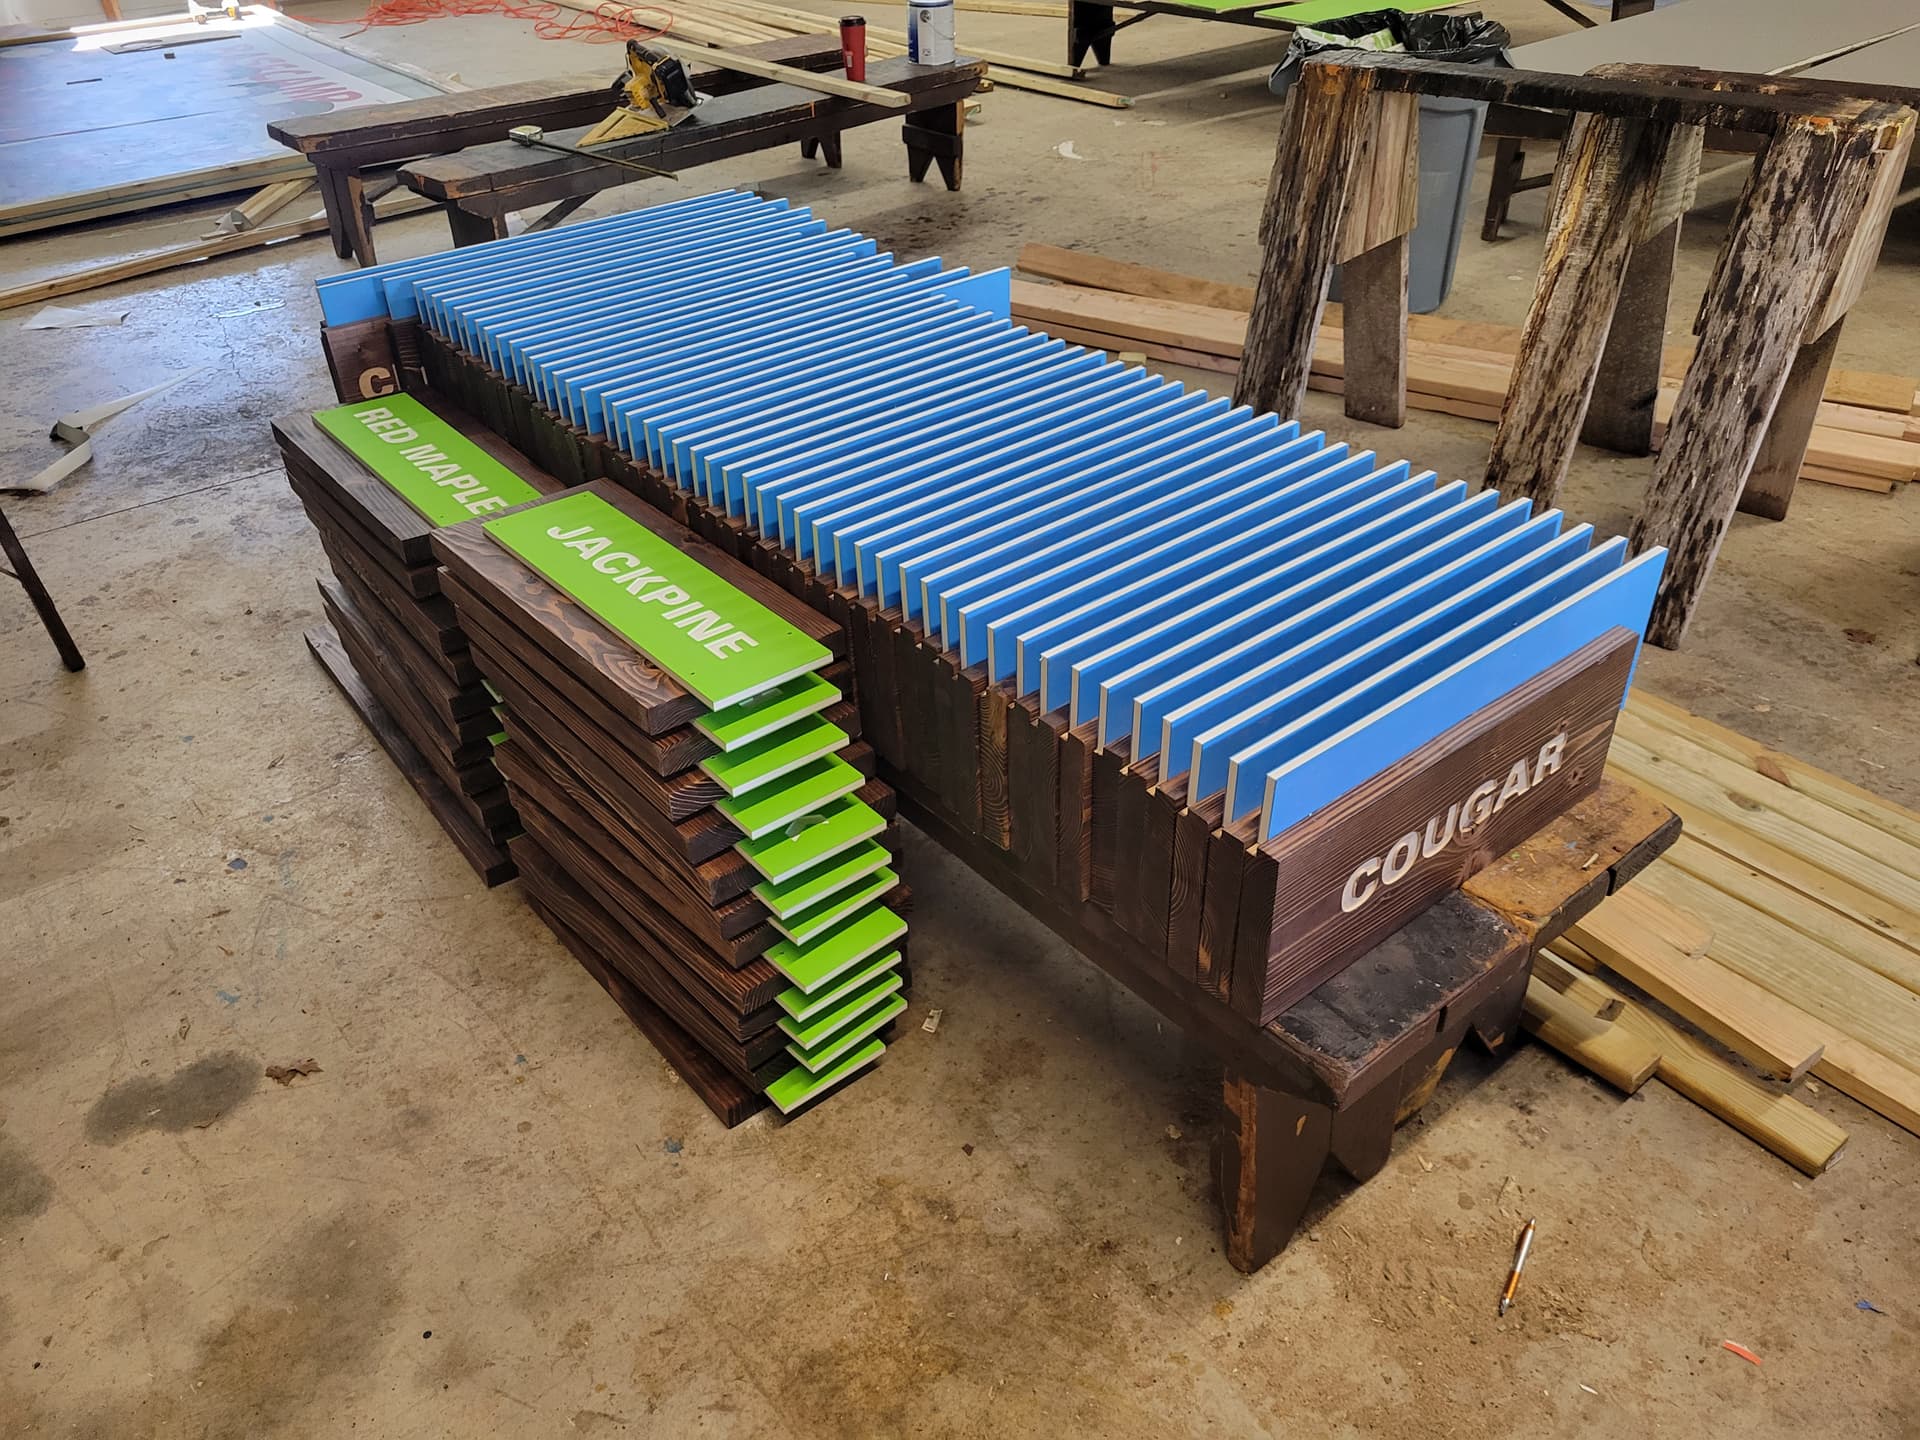
Nice. I am working with the local Girl Scout council to make some signs for their camp. I will be donating my time but getting them to pay for or get materials donated.
I mentioned the color core to them but fear it would be out of their budget as well. Also maybe not in keeping with the rustic feel of this camp.
1 Like