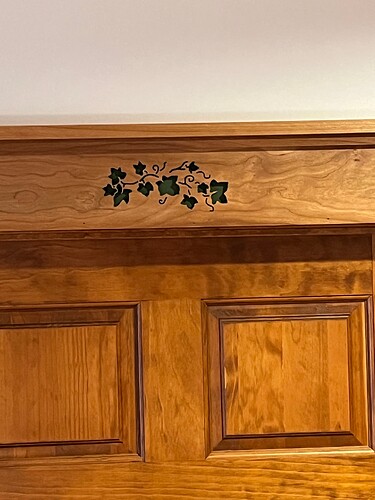
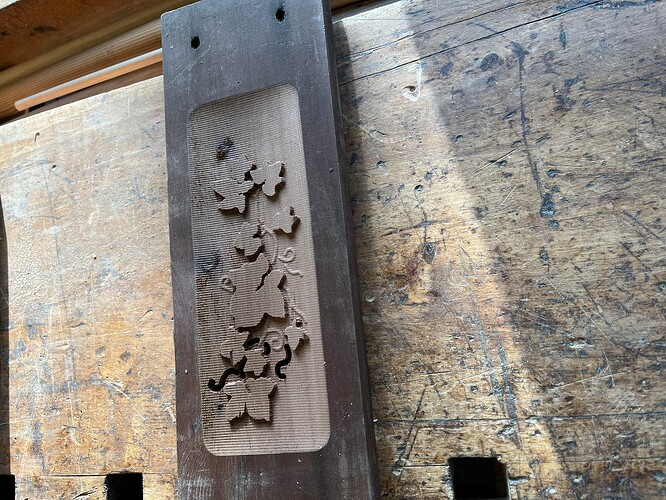
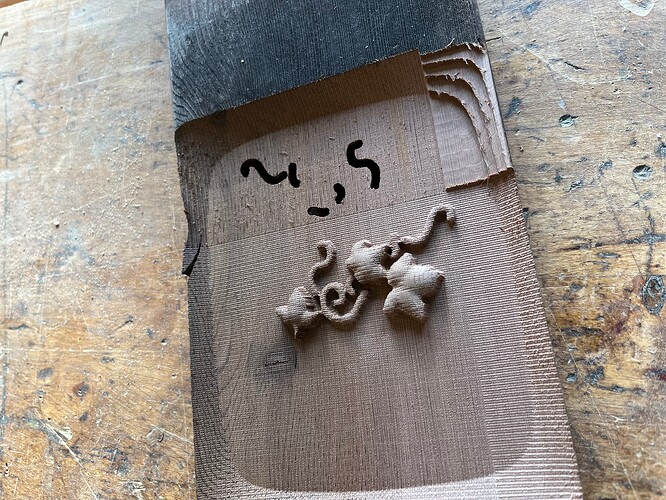
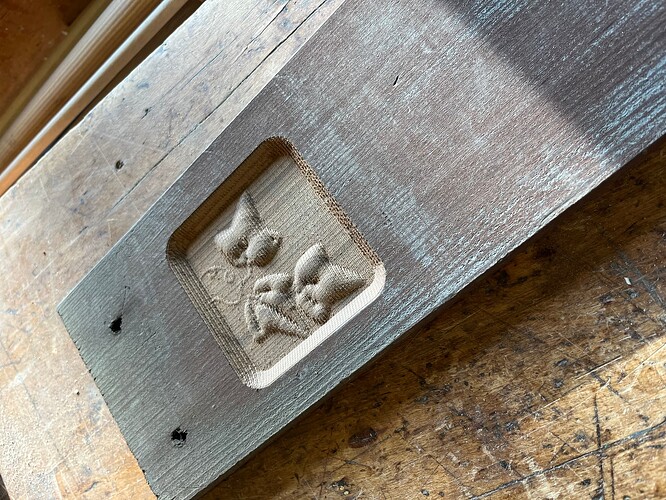
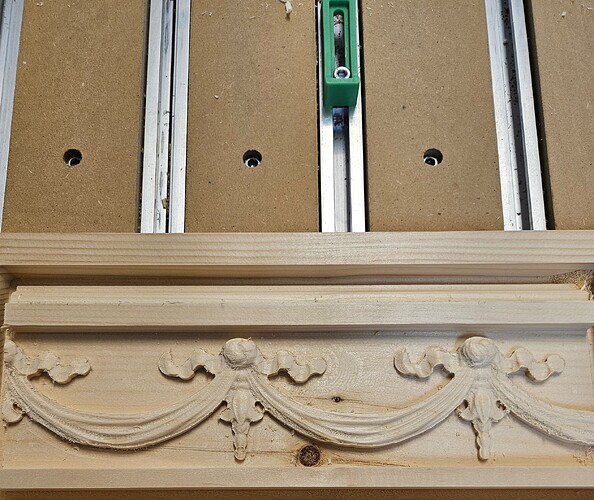
Wanted to add some Ivy Leaves on Cherry Trim for a Bedroom door. After several tries came up with this one. Made Pocket cuts with 1/4" End Mill Followed by a 1/16" Down-cut End Mill. I tried a 1/16" tapered ball nose but found that the sides were tapered just too much and the lighter wood showed up too much. The straight 1/16" bit worked better. The Leaves are 1/2" deep and Vines 3/8". Kept masking film on to paint the Leaves but, vines were too narrow to paint so I pushed pieces of black electrical tape and also black wire into the vines. Other wise you could see the lighter wood. Photos show finished product and some other 3D attempts to come up with a design that worked.
Water/milk bottles, since Champagne and wine are in a proper cellar ![]()
Storing booze like only Europeans know how to ![]() . I have to buy mine to demand else I would never be fit for the workshop.
. I have to buy mine to demand else I would never be fit for the workshop.
Where is the Paris Olympics memorbelia?
Nice job on the brass look.
Do we live longer or does it just seem longer. ![]()
So I decided to make this catch try into a personalized box. Mother’s Day is close. Not bad for my first attempt.
How did you capture the design ? Laser or hand measure.
Awesome piece.
Well… we’re technically a tech firm. So we went at it a different way. The client provided us with pictures from days gone by. We took measurements and picture of the same in the same exact spot the pics were taken. Then we had scale. We have 2 full time engineers on staff. One of them worked with one of our modelers and figured it out ![]() I get the easy part… nc file to run and bits to change.
I get the easy part… nc file to run and bits to change.
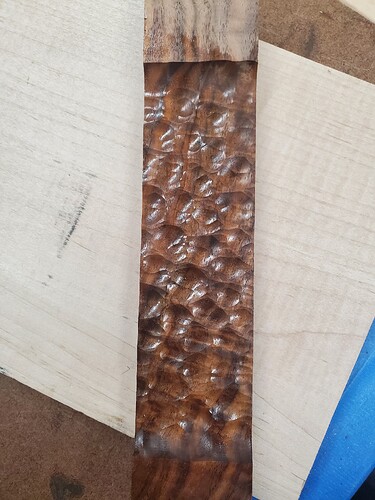
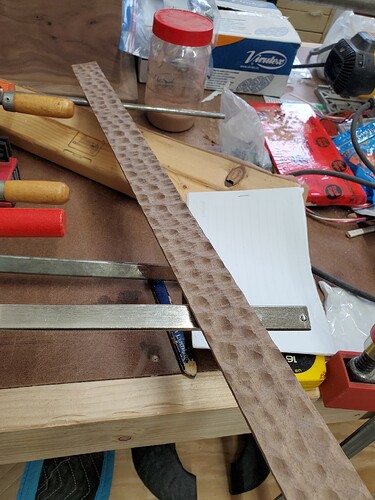
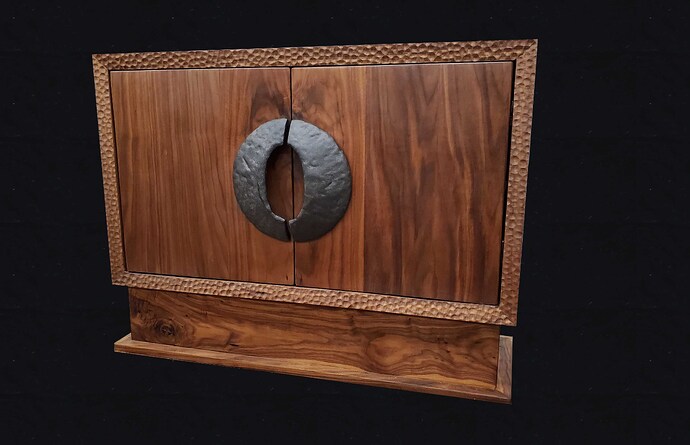
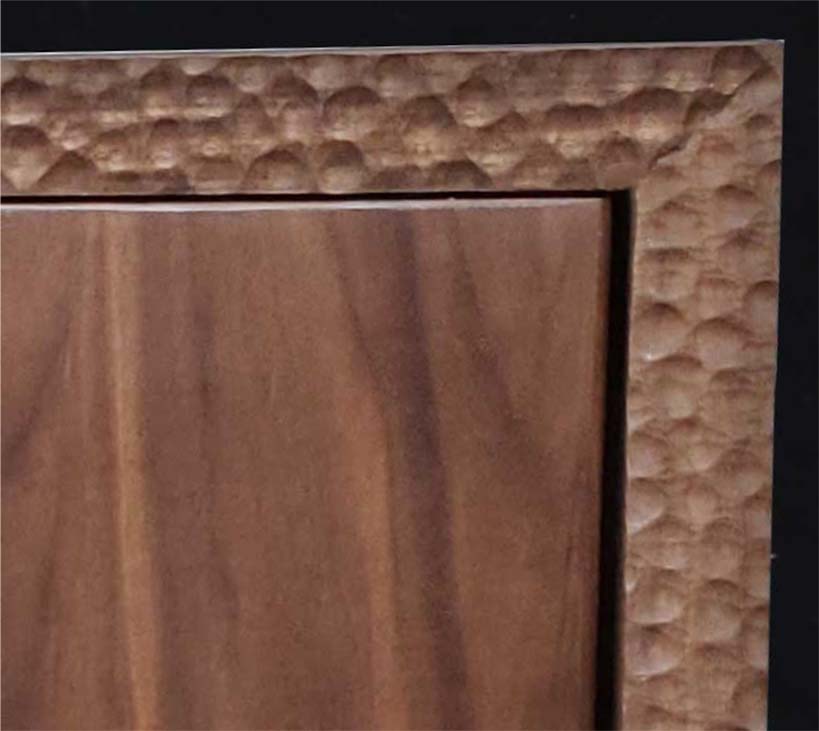
My client wanted to use this very cool texture on a piece I made to highlight his beautiful custom-made hardware:
So I made strips
and applied them to the finished piece:
That looks like it took a while.
I ran 2 jobs: 48" by 4" and 23" x 4" - then ripped the strips 1 3/4" from those to get the four pieces. The 48" job used Tiling. The jobs took:
23x4 - 78 minutes
48x4 Bottom “half”: 78 minutes
48x4 Top “half”: 49 minutes
So, all told, a few hours.
The piece itself took about 8 days, including finishing.
Wow, that is amazing work.
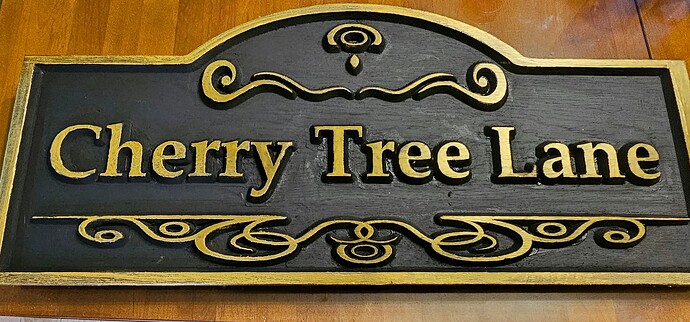
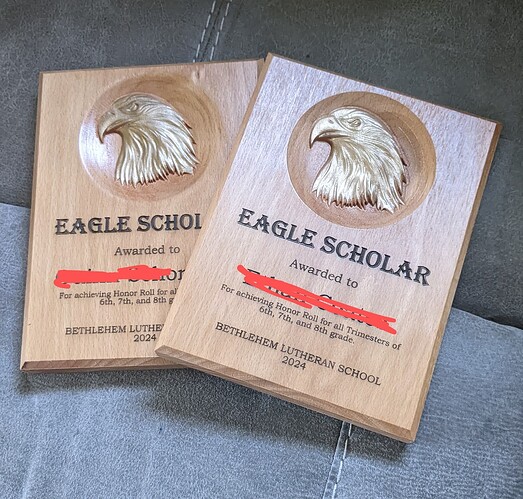
I made 9 of these plaques for the school I teach at. Beech wood. First did the 3d carve. Then used my JTech attachment 44W laser. Beveled edge routing and then finish sanding. Lacquer finish. Then gold Rub and Buff.
That eagle looks great. What kind of operations did you use?
I use Vectric. This graphic happens to come with the program. Rough cut. 1/4 end mill. Fine finish - 1/8 ball nose, 0.5mm tapered.
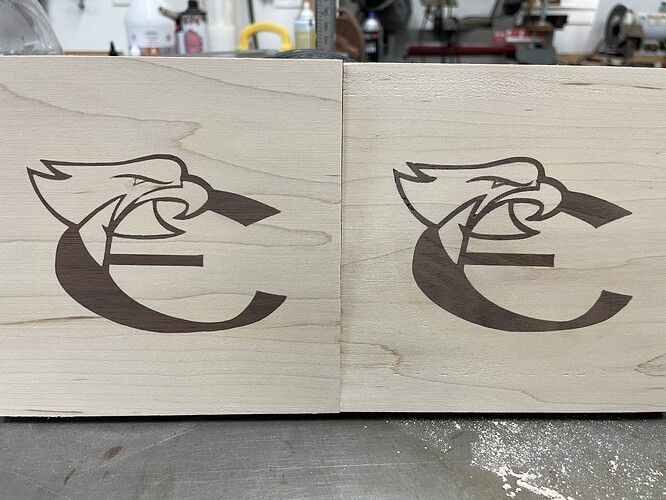
I got my first almost decent inlays. The one on the left used a 60 degree bit and the one on the right was a 30. I had issues around the eyes and added some glue and walnut dust after the initial reveal.
This was only 1/8 deep, thinking I will go to .2 instead as the narrow bits on the plus were very fragile. Maybe that will help. I also may modify the triangle for the eye to allow more space for the pupil even though that would be a change to the original logo.
Here was the original logo I worked from. It was on the front of their yearbook. I guess the thinner lines are more true to the original.
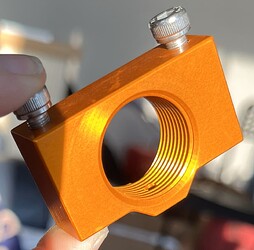
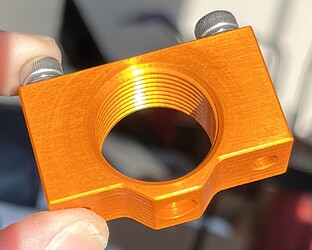
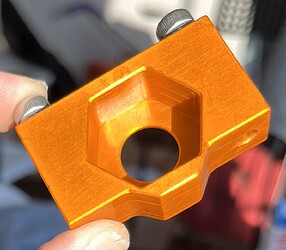
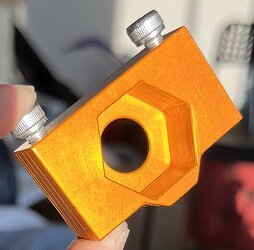
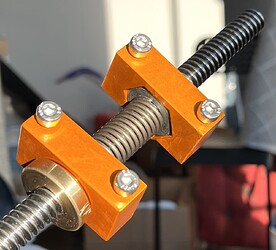
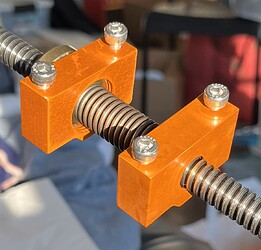
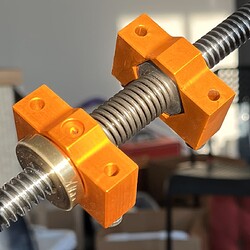
Made a two-piece anti-backlash nut for an M12 leadscrew I’ve been playing around with.
Anodized Aluminum with orange dye. One half is 6061 and the other half is 5083 cast plate because I happened to have a perfectly sized block of each lying around.
I promise I didn’t edit the coloring  Direct golden hour sunlight is doing a lot of work.
First half, for threaded M12 nut
Second half, fits regular M12 nut
Assembled on the lead screw
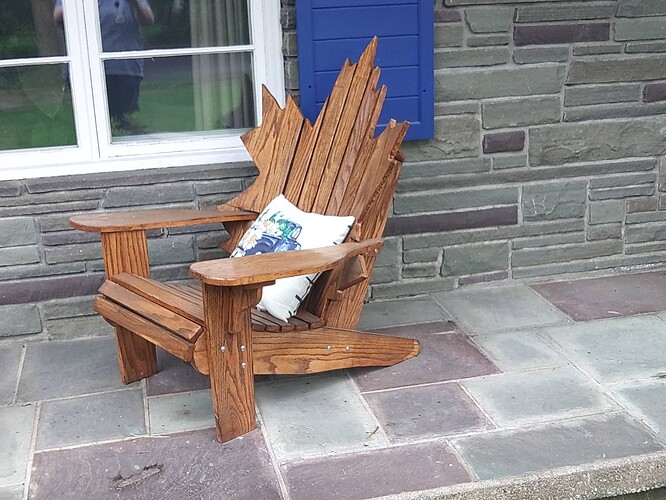
Finished my long planned Richlite Maple Leaf Back Adirondack chair. It is the same project than the oak one I published here before:
(this are the Adirondacks, Maple Syrup is what we are here in upstate NY, so are the Maple Trees: we have some on our place, and Canada is just 3h away…)
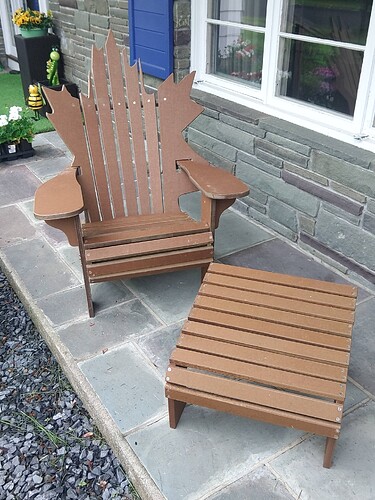
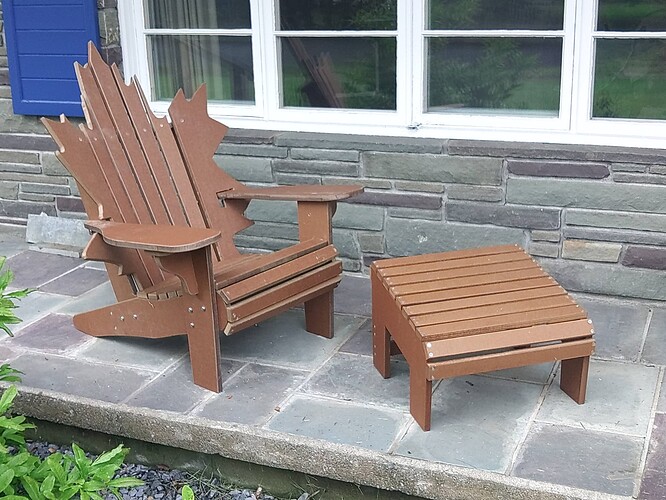
And this now is the Richlite Maple Leaf Back Chair + foot stool:
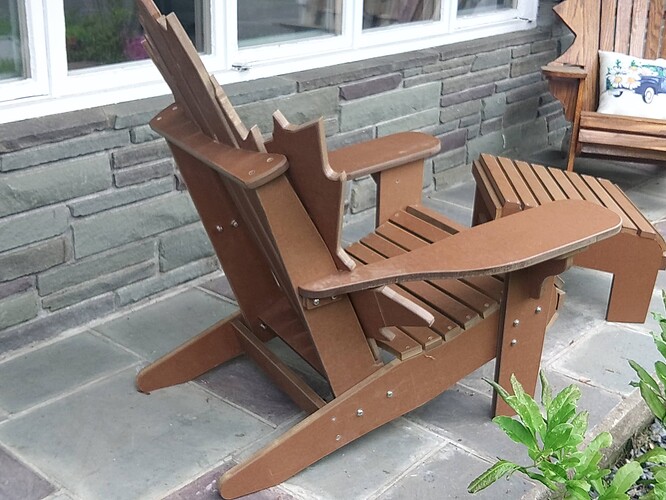
Excellent material, no doubt, this is without finish. Cuts wonderfully with the CNC, does not need any sanding, just the edges were treated with a 0.25inch radius Roundover Edging Router Bit: all smooth, and ready to assemble. The richlite will never rot, NEVER. This color also should not fade.
And now the interesting part:
You cannot set a screw like in wood, pilot hole, and drill it in: every hole needed to be tapped before. That means the time you save for sanding and finishing you spend for drilling/tapping/countersinking… Is a nice project to do for yourself, but I am afraid nobody ever will pay for such an item if one does it to sell. It is about $550 for the richite sheets alone, the work to develop were 18h computer work (adjustment of a project for a regular adirondack chair+footstool I bought for the maple leaf back), the cutting time (0.125 bit because of the holes) was 22hours, and assembling was 15h. That would make a price of appr. $3500. Per piece. The chair can be disassembled, still shipping would have to be added.
Richlite, despite the name, is 70% (76 pounds per cubic foot vs 48 for dried oak, 64 for hickory…) heavier than oak. That thing is heavy!
And: that chair is much less convenient to sit in than you would think.
However I cannot wait to take my wife out to the porch and watch people walking by, watch the bikers passing during the Americade, etc, since we live on Rt 9.
So you know.
