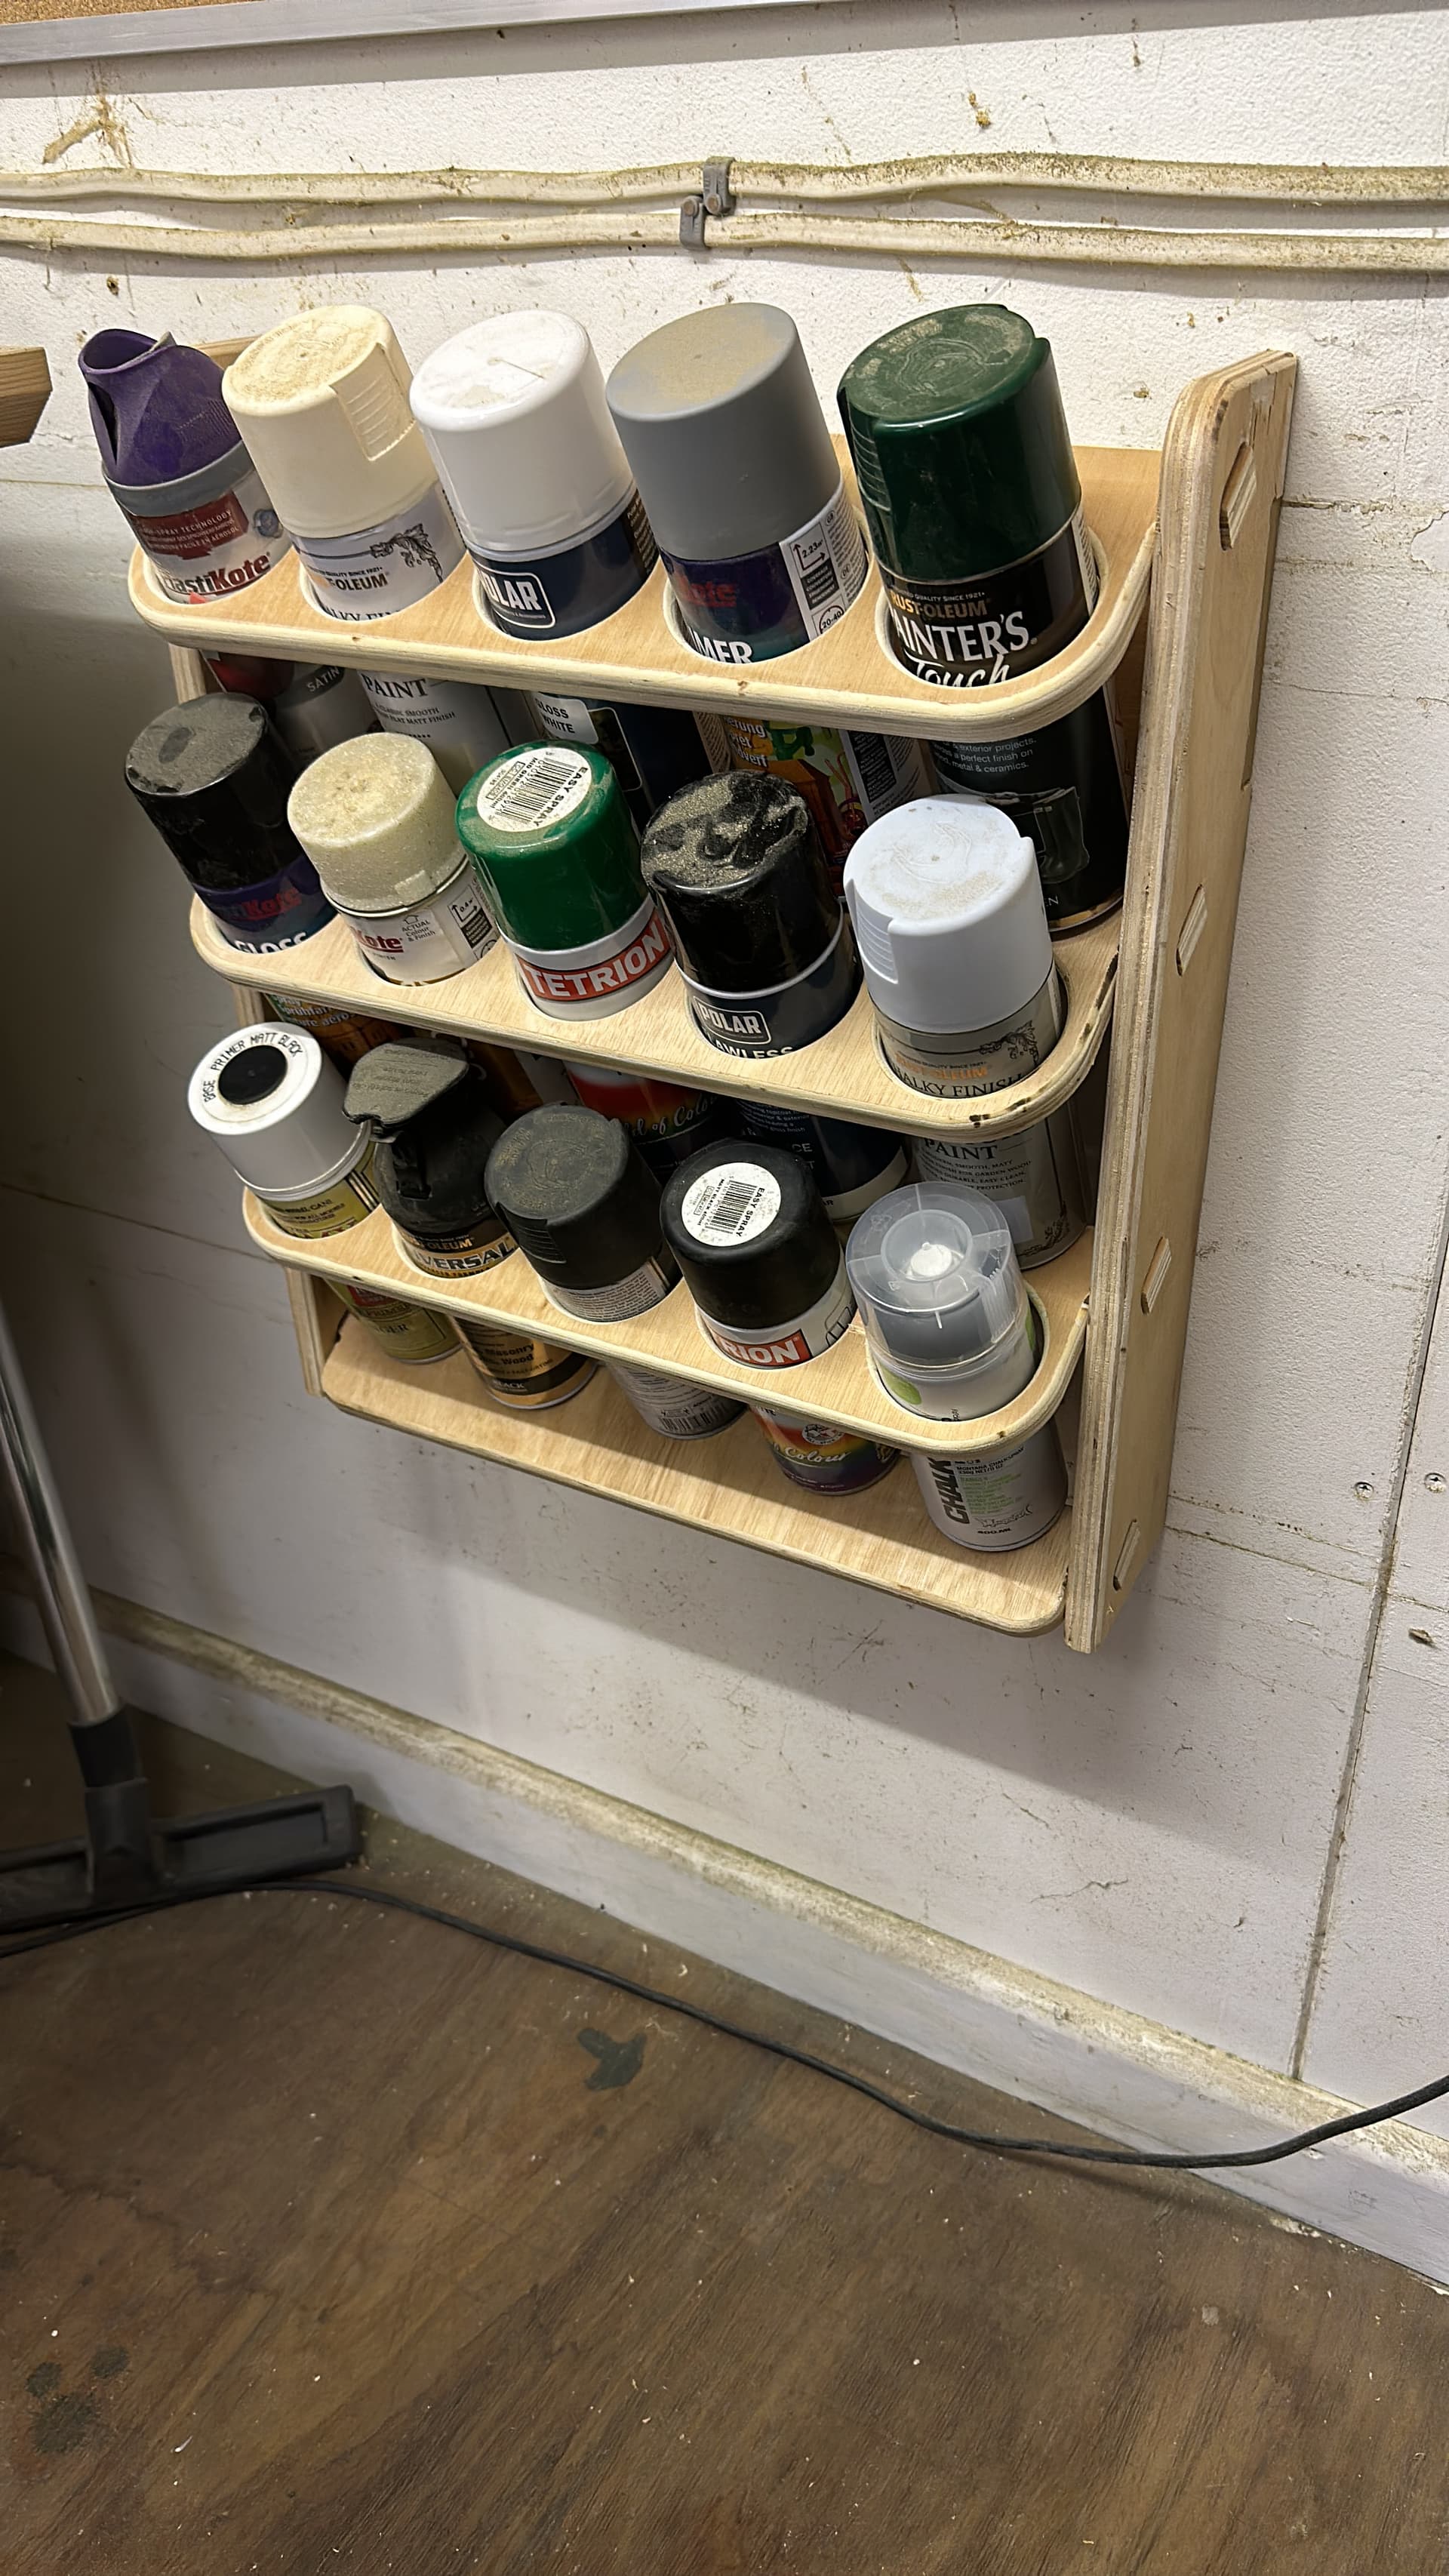
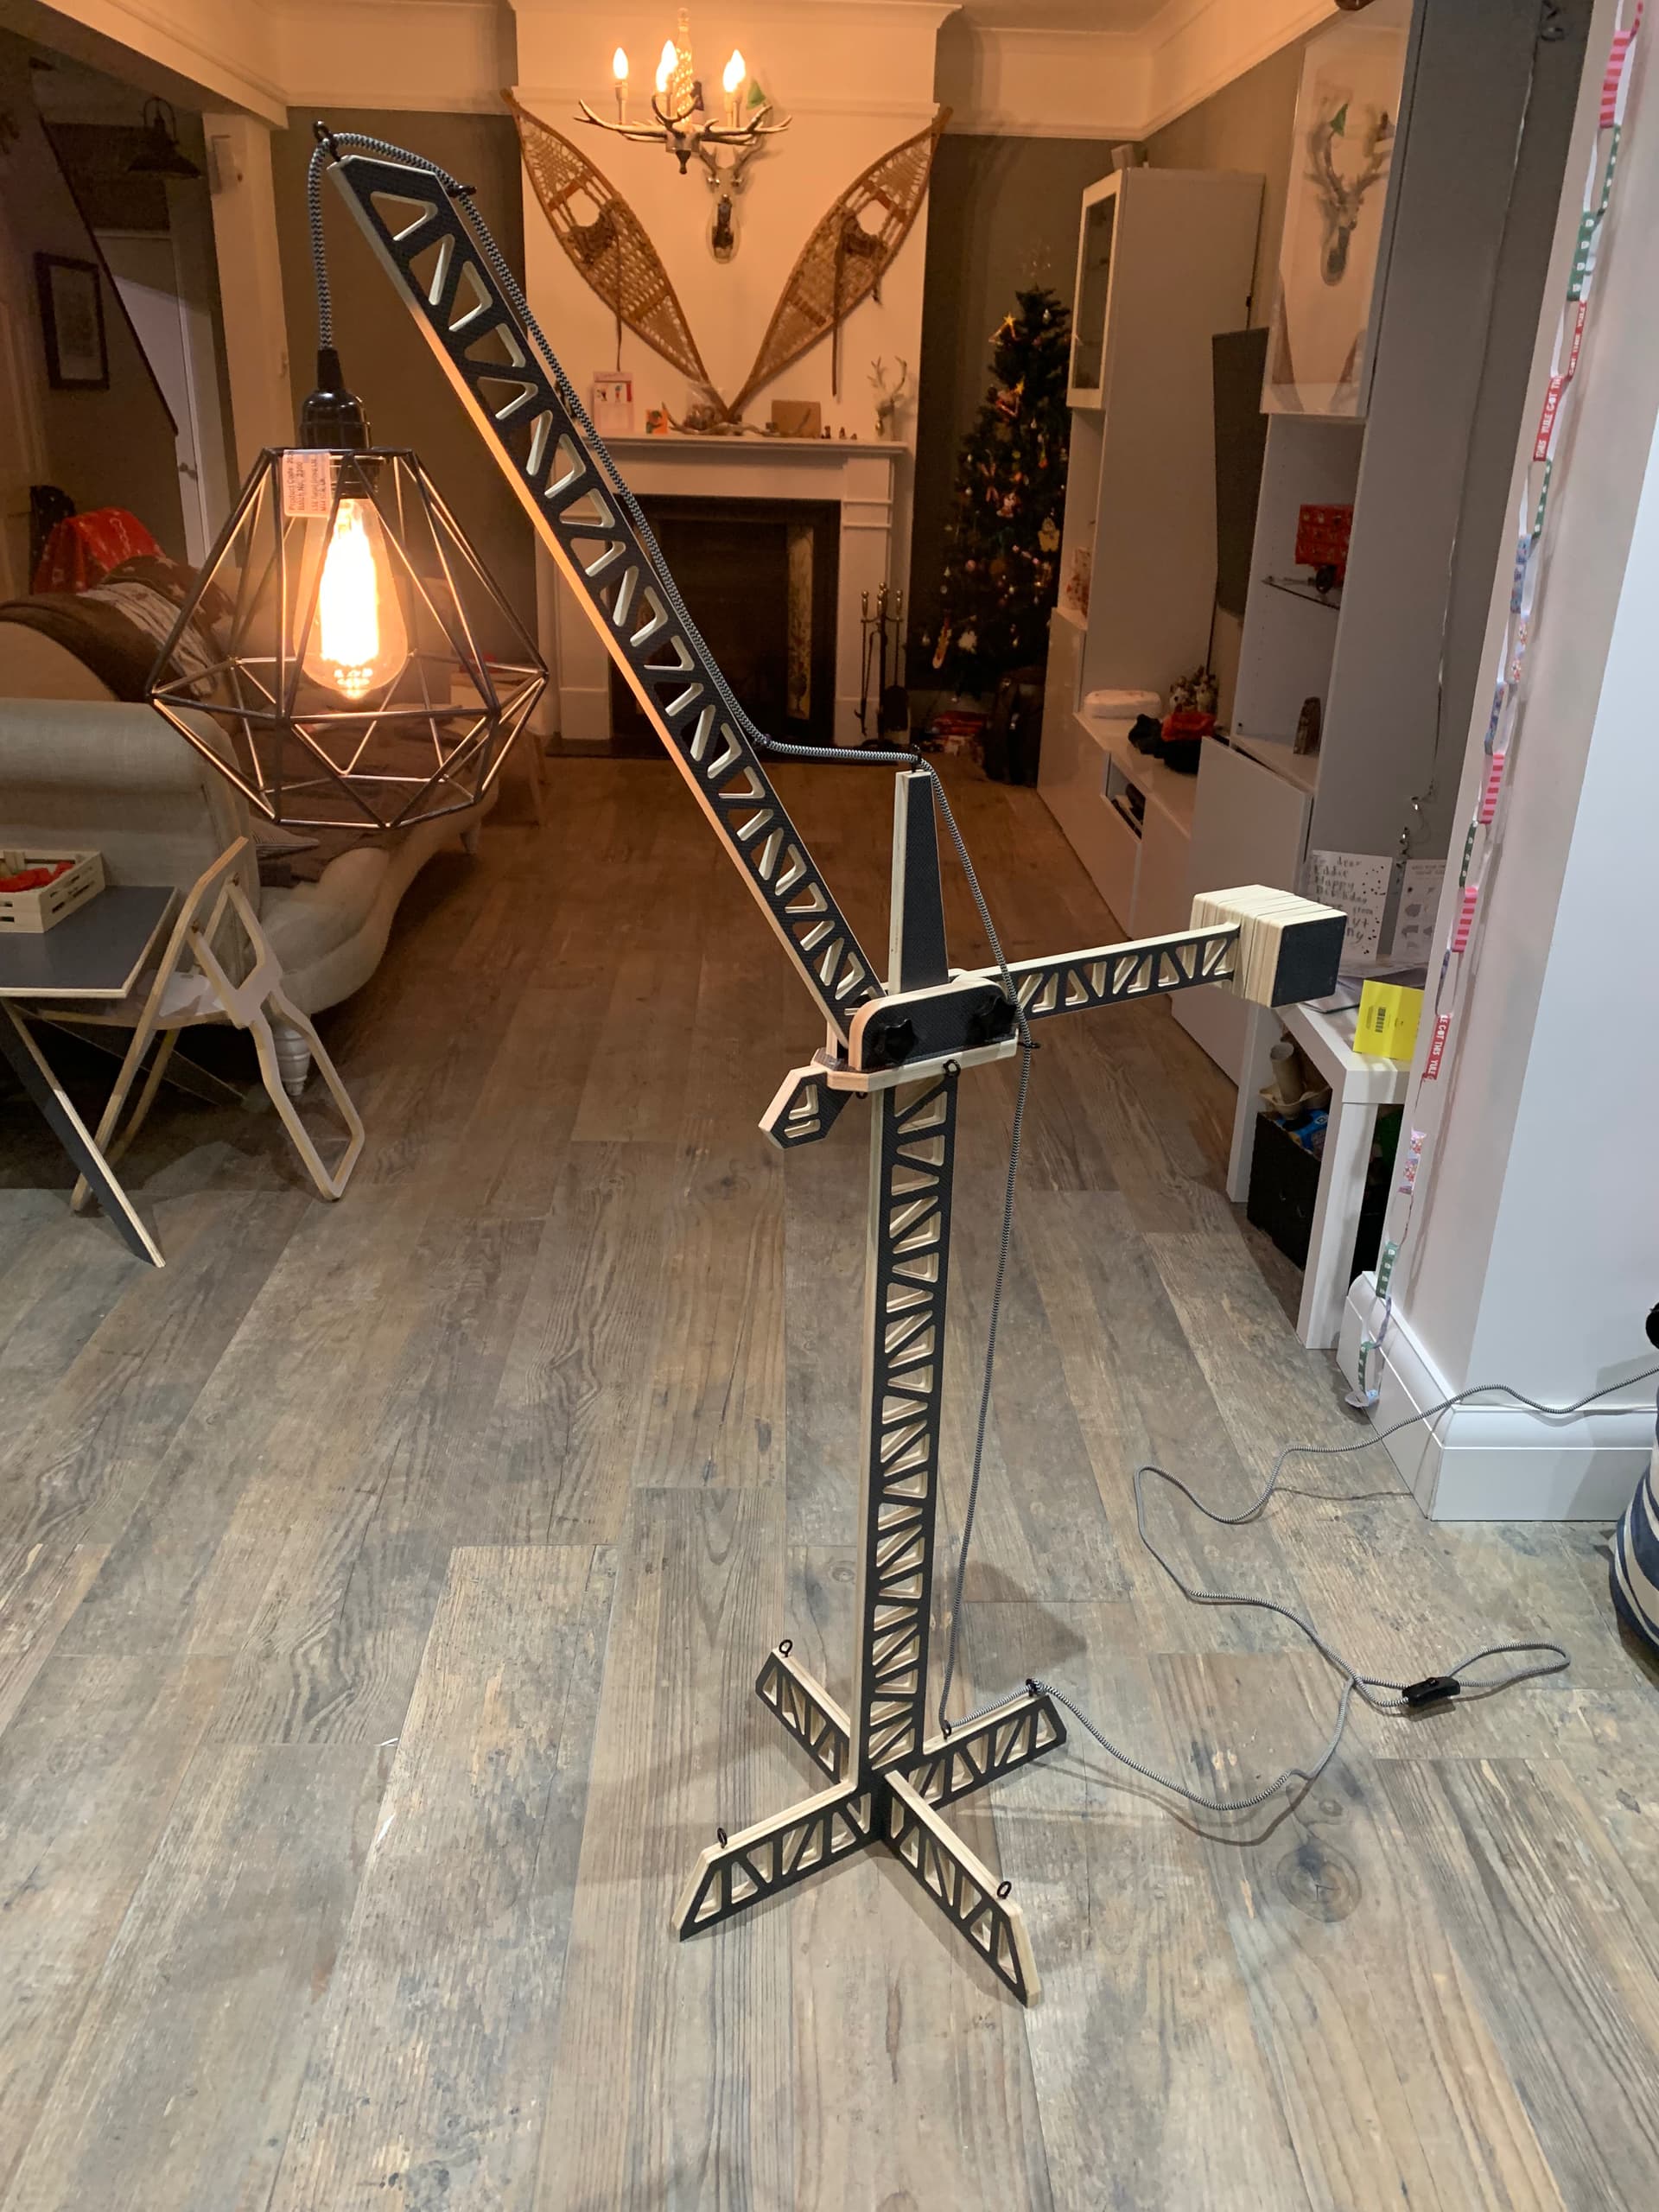
very nice! love a good large sign. What was your mounting method? those little glue on pads with the threaded rods?
I cut all of the pieces upside down so I could put some 1/4" pockets in the backside for threaded rods. The rods are epoxied in and I picked up some 4" aluminum spacers from McMaster to act as standoffs. Giant paper template on the wall to find the mounting holes and just repeated the epoxy on the wall side.
6 Likes
ok that’s what I’ve done as well. and then I’d clean up the tabs with a round over bit on the front surface. Great work!
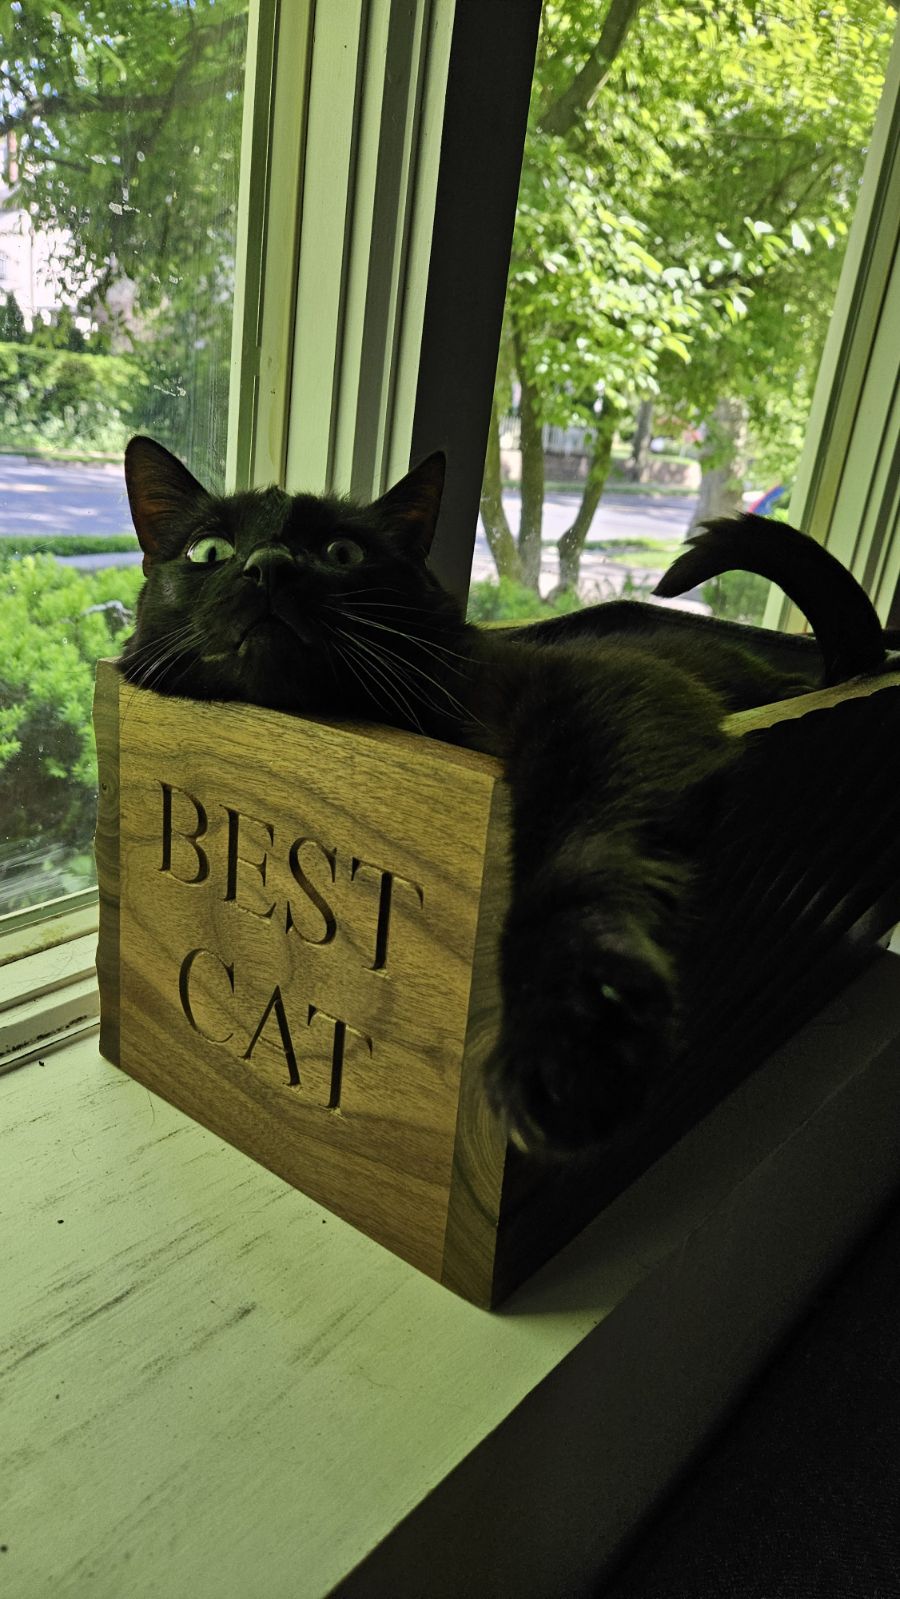
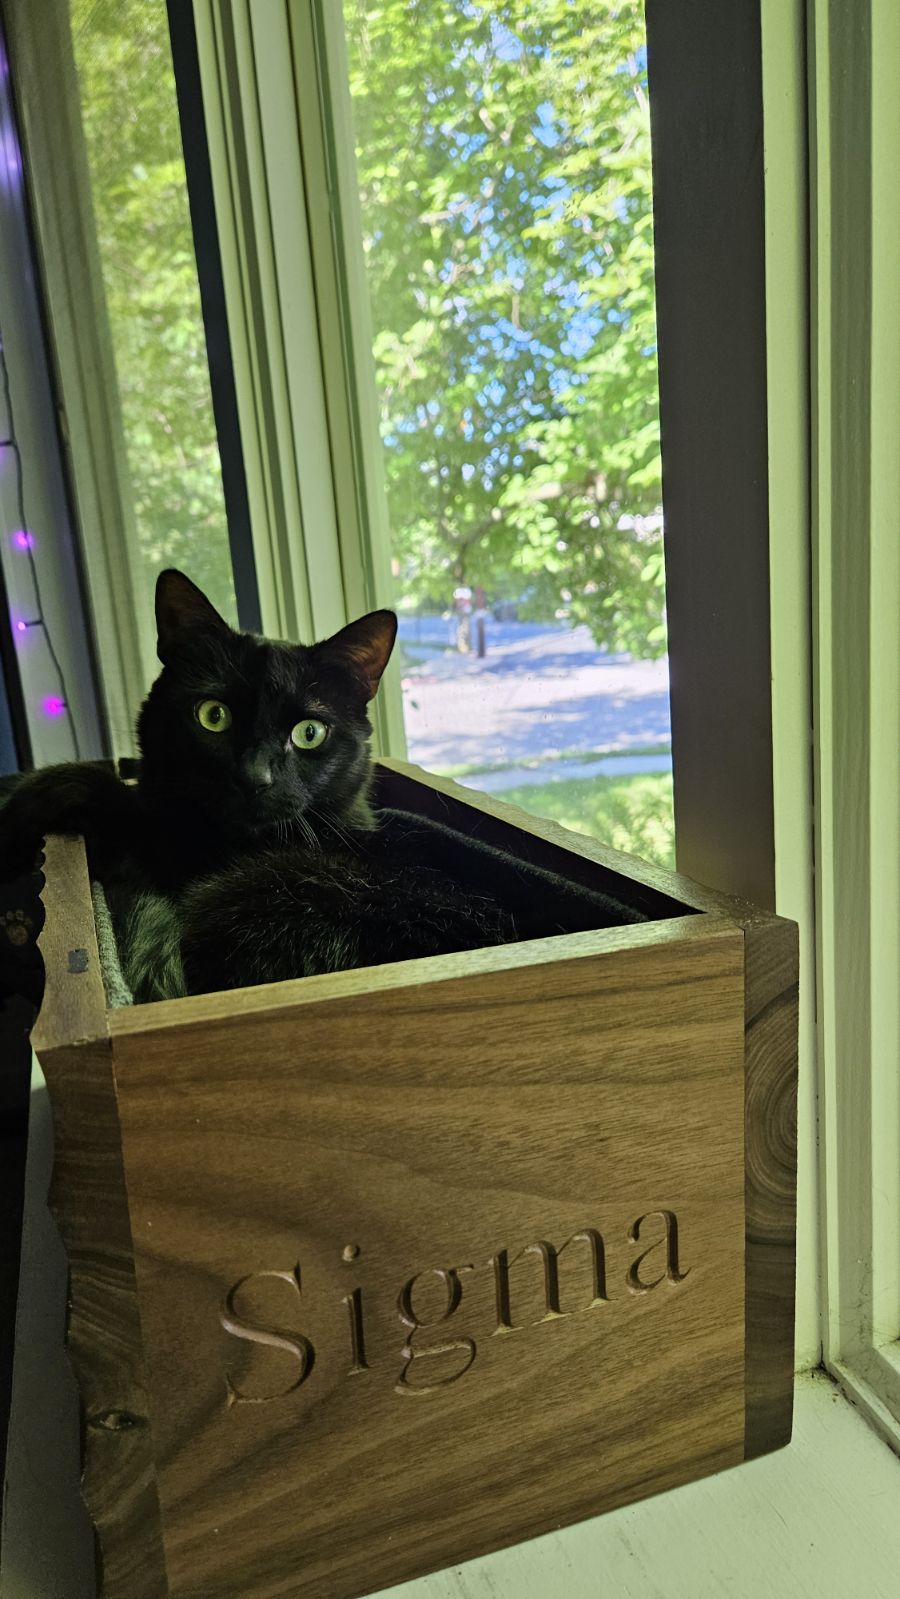
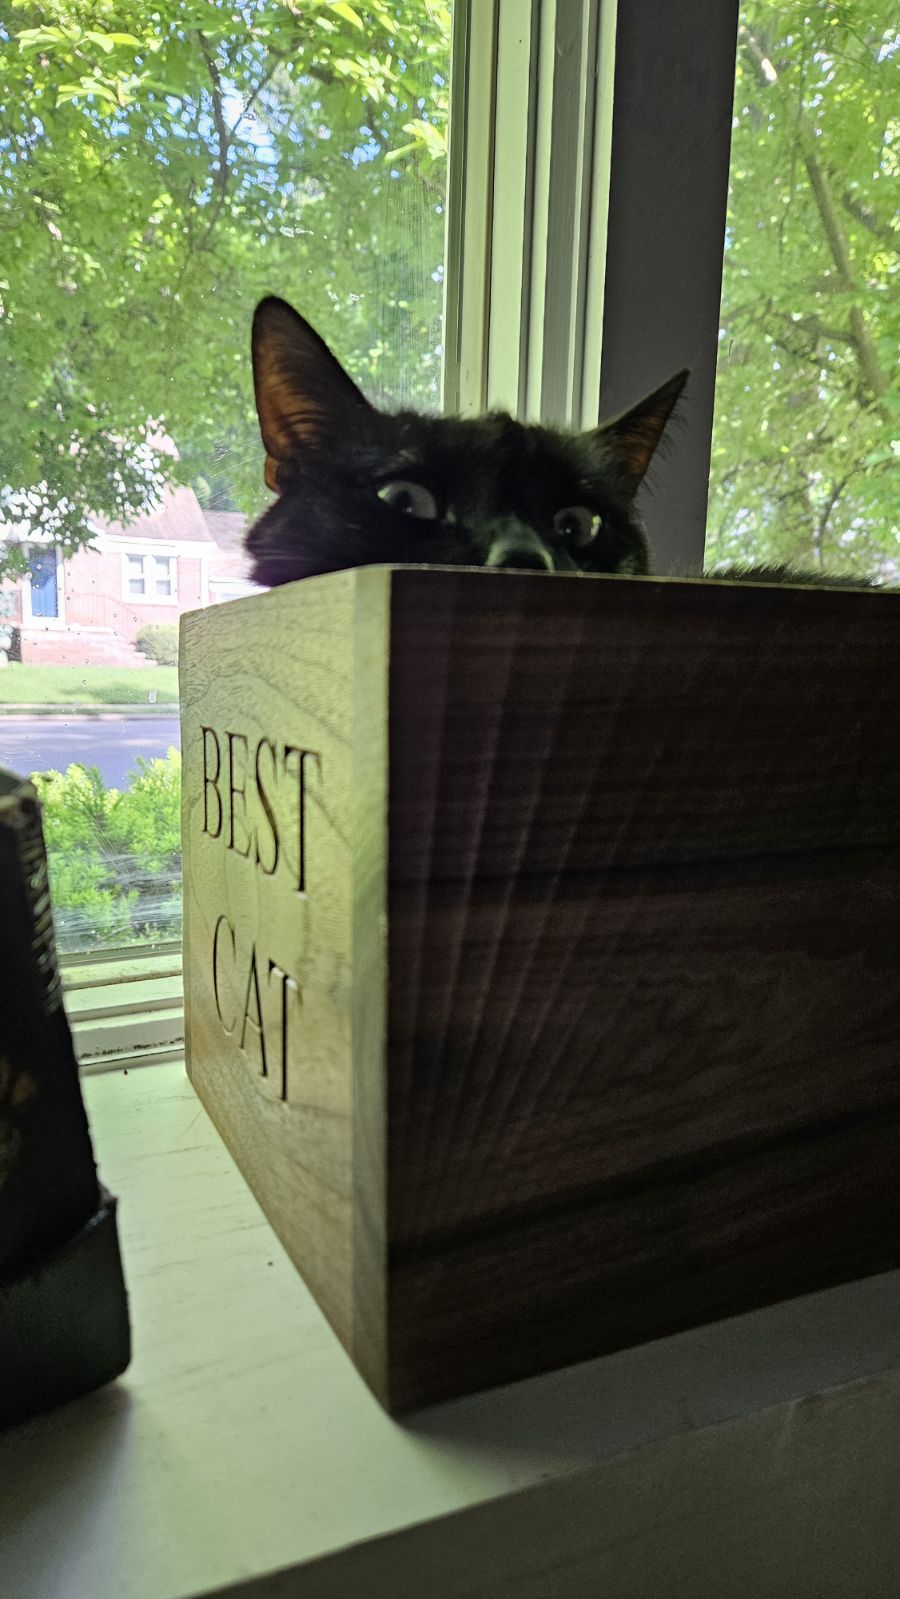
Cats find the strangest places to lay. With this box the cat can watch the house and see outside so he can dream about all the birds that he could catch if he were out there.
Dogs have masters, cats have staff.
5 Likes
Or you could say, Cats have Minions. 
2 Likes
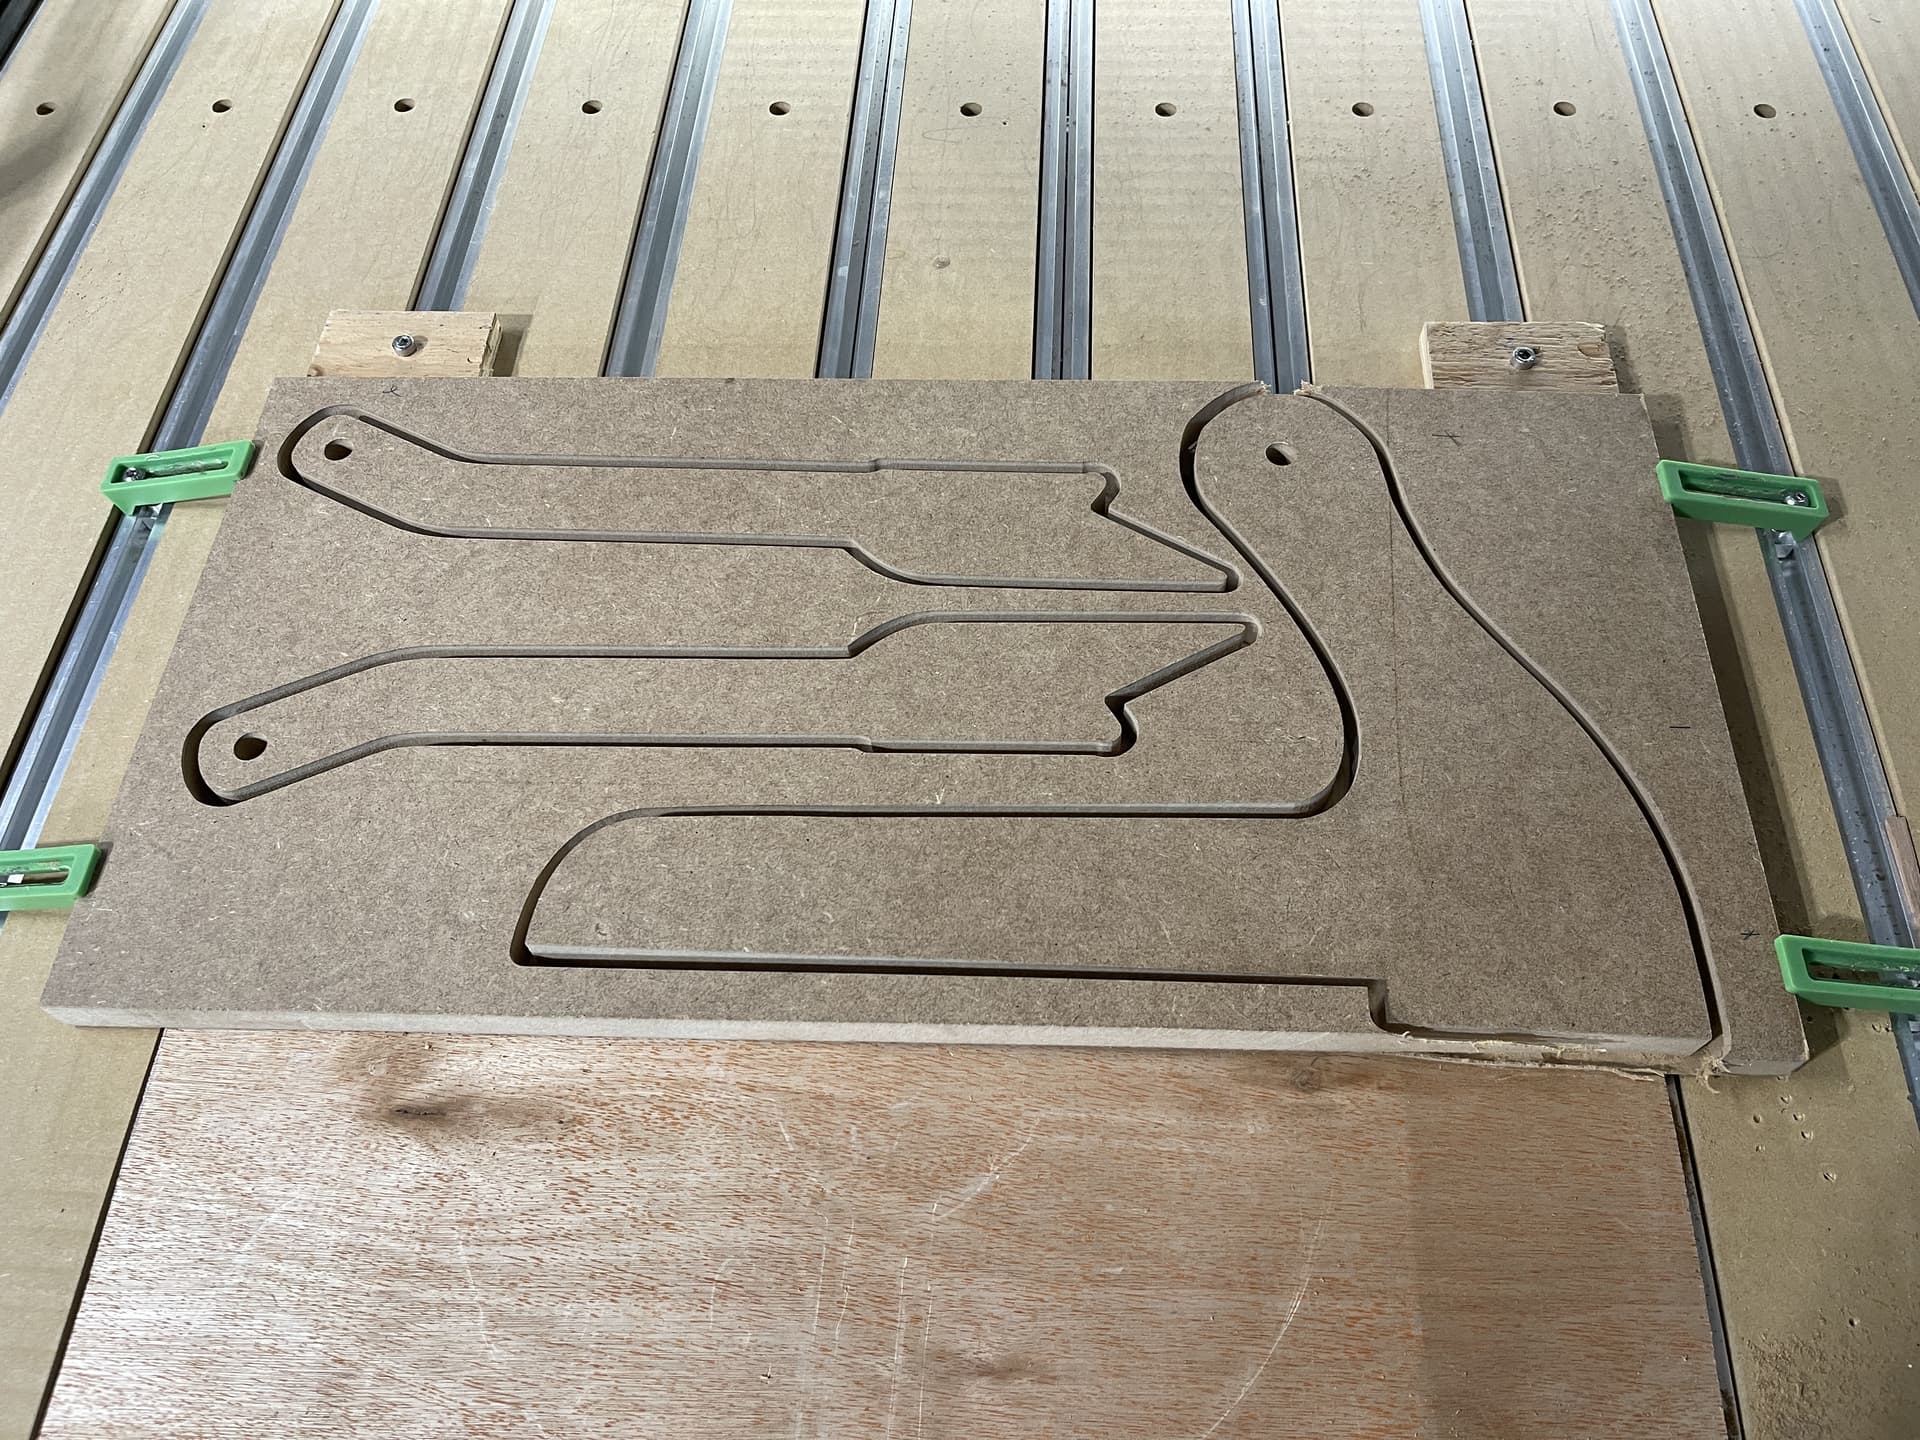
I got a gifted Vectric 7.5 working on my machine, thanks to @neilferreri and his post processor. Made some push sticks to try it out. Vectric running via Lutris on Debian 12 and sent to the CNC running Debian 12 and CM via Playonlinux. Convoluted, but it all works behind the scenes. So much more control over design options, I love it.
7 Likes
I like your big push stick. Be sure to take a chisel and sharpen the inside corner on the bottom. You dont want the piece to get out of control with the rounded corner. The little push sticks are ok for a bandsaw but I dont like them for a table saw. I like my hand well above the blade when cutting.
FYI table saw blades should have about 3 gullets of the blade showing when cutting. This gives you be best chance of evacuating sawdust and get less burning. There are people that suggest that just one tooth above the material is good but I disagree with that. With only one tooth above the material you get much more burning on the sides of the wood.
With your big push stick make the push part a little taller and attach a flat piece of plywood or solid wood to the bottom of the push stick. That makes it easier to control wider boards when using the push stick. You cannot have too many variations of push sticks for different operations. I make mine with about a 2" wide piece and glue it or use miller dowels to attach it to the bottom of the push stick.
I made a variety of styles of push sticks on my Shapeoko and gave them out at one of my Woodworking Club meetings.
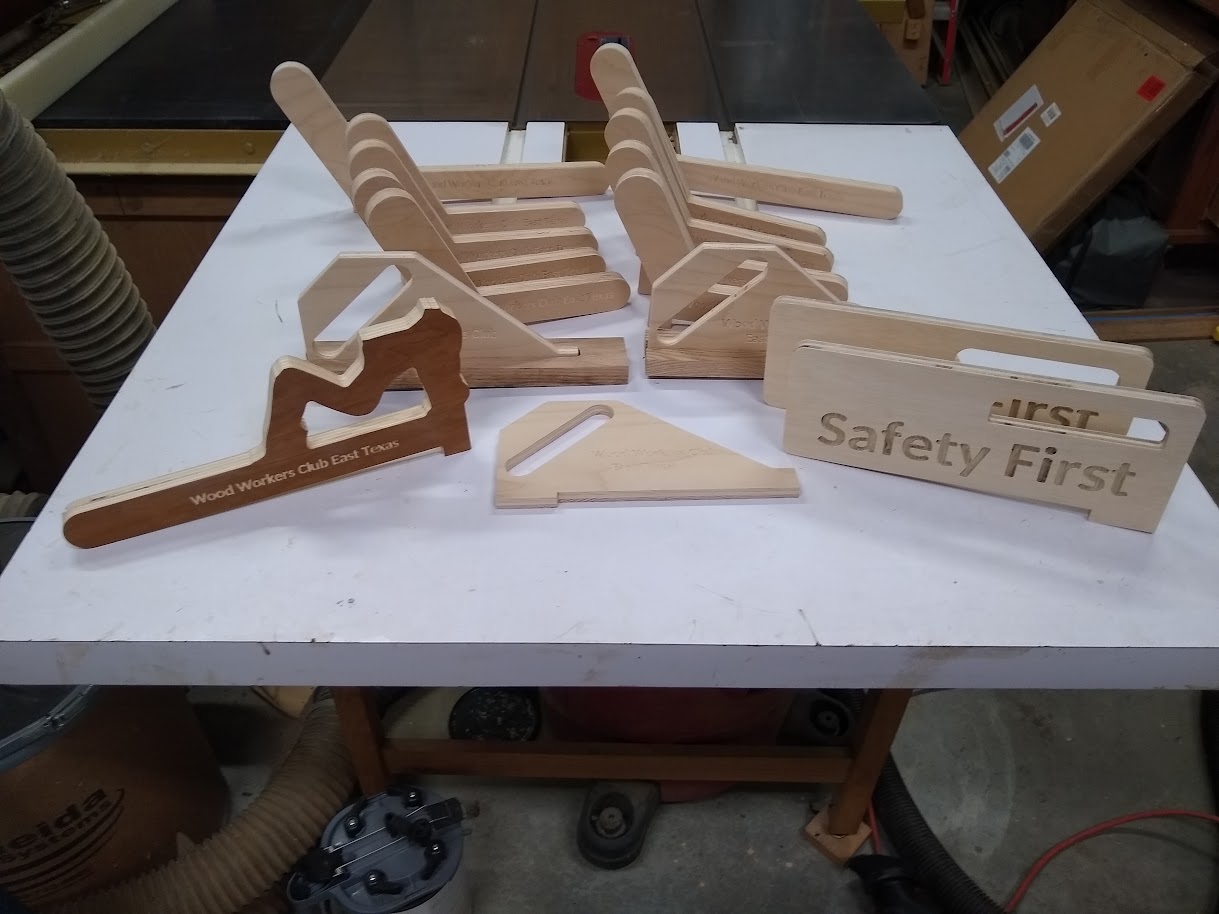
The one with the girl was a special request of one of the members. His wife hated it.
17 Likes
I finally had success with wood inlays. I had tried a year ago and gave up for a while. Once it was added to CCPro I had intended to get back to it but didn’t for a while.
I got VCarve for Christmas and upgraded to 12 Pro when it came out for a few reasons. One was the VCarve inlay toolpath. That path doesnt really do anything that can’t be done in CC, just simplifies it a bit.
So I gave it a whirl for some coasters for my daughter to give to her teachers. I did several attempts with different bits and then ended up modifying the vectors to widen the critical parts of the plug. Took a few liberties with the school logo there but just slightly.
There should be a formula for how close your vectors can be given the pocket depth and bit to be used.
I needed 5 so I made 8. If I had made 5 I would have gotten 3. There were a few that needed some repair with dust and glue but most were good. None were bad enough to toss. My daughter can just give those to her least favorite teachers.
Front row is the best.

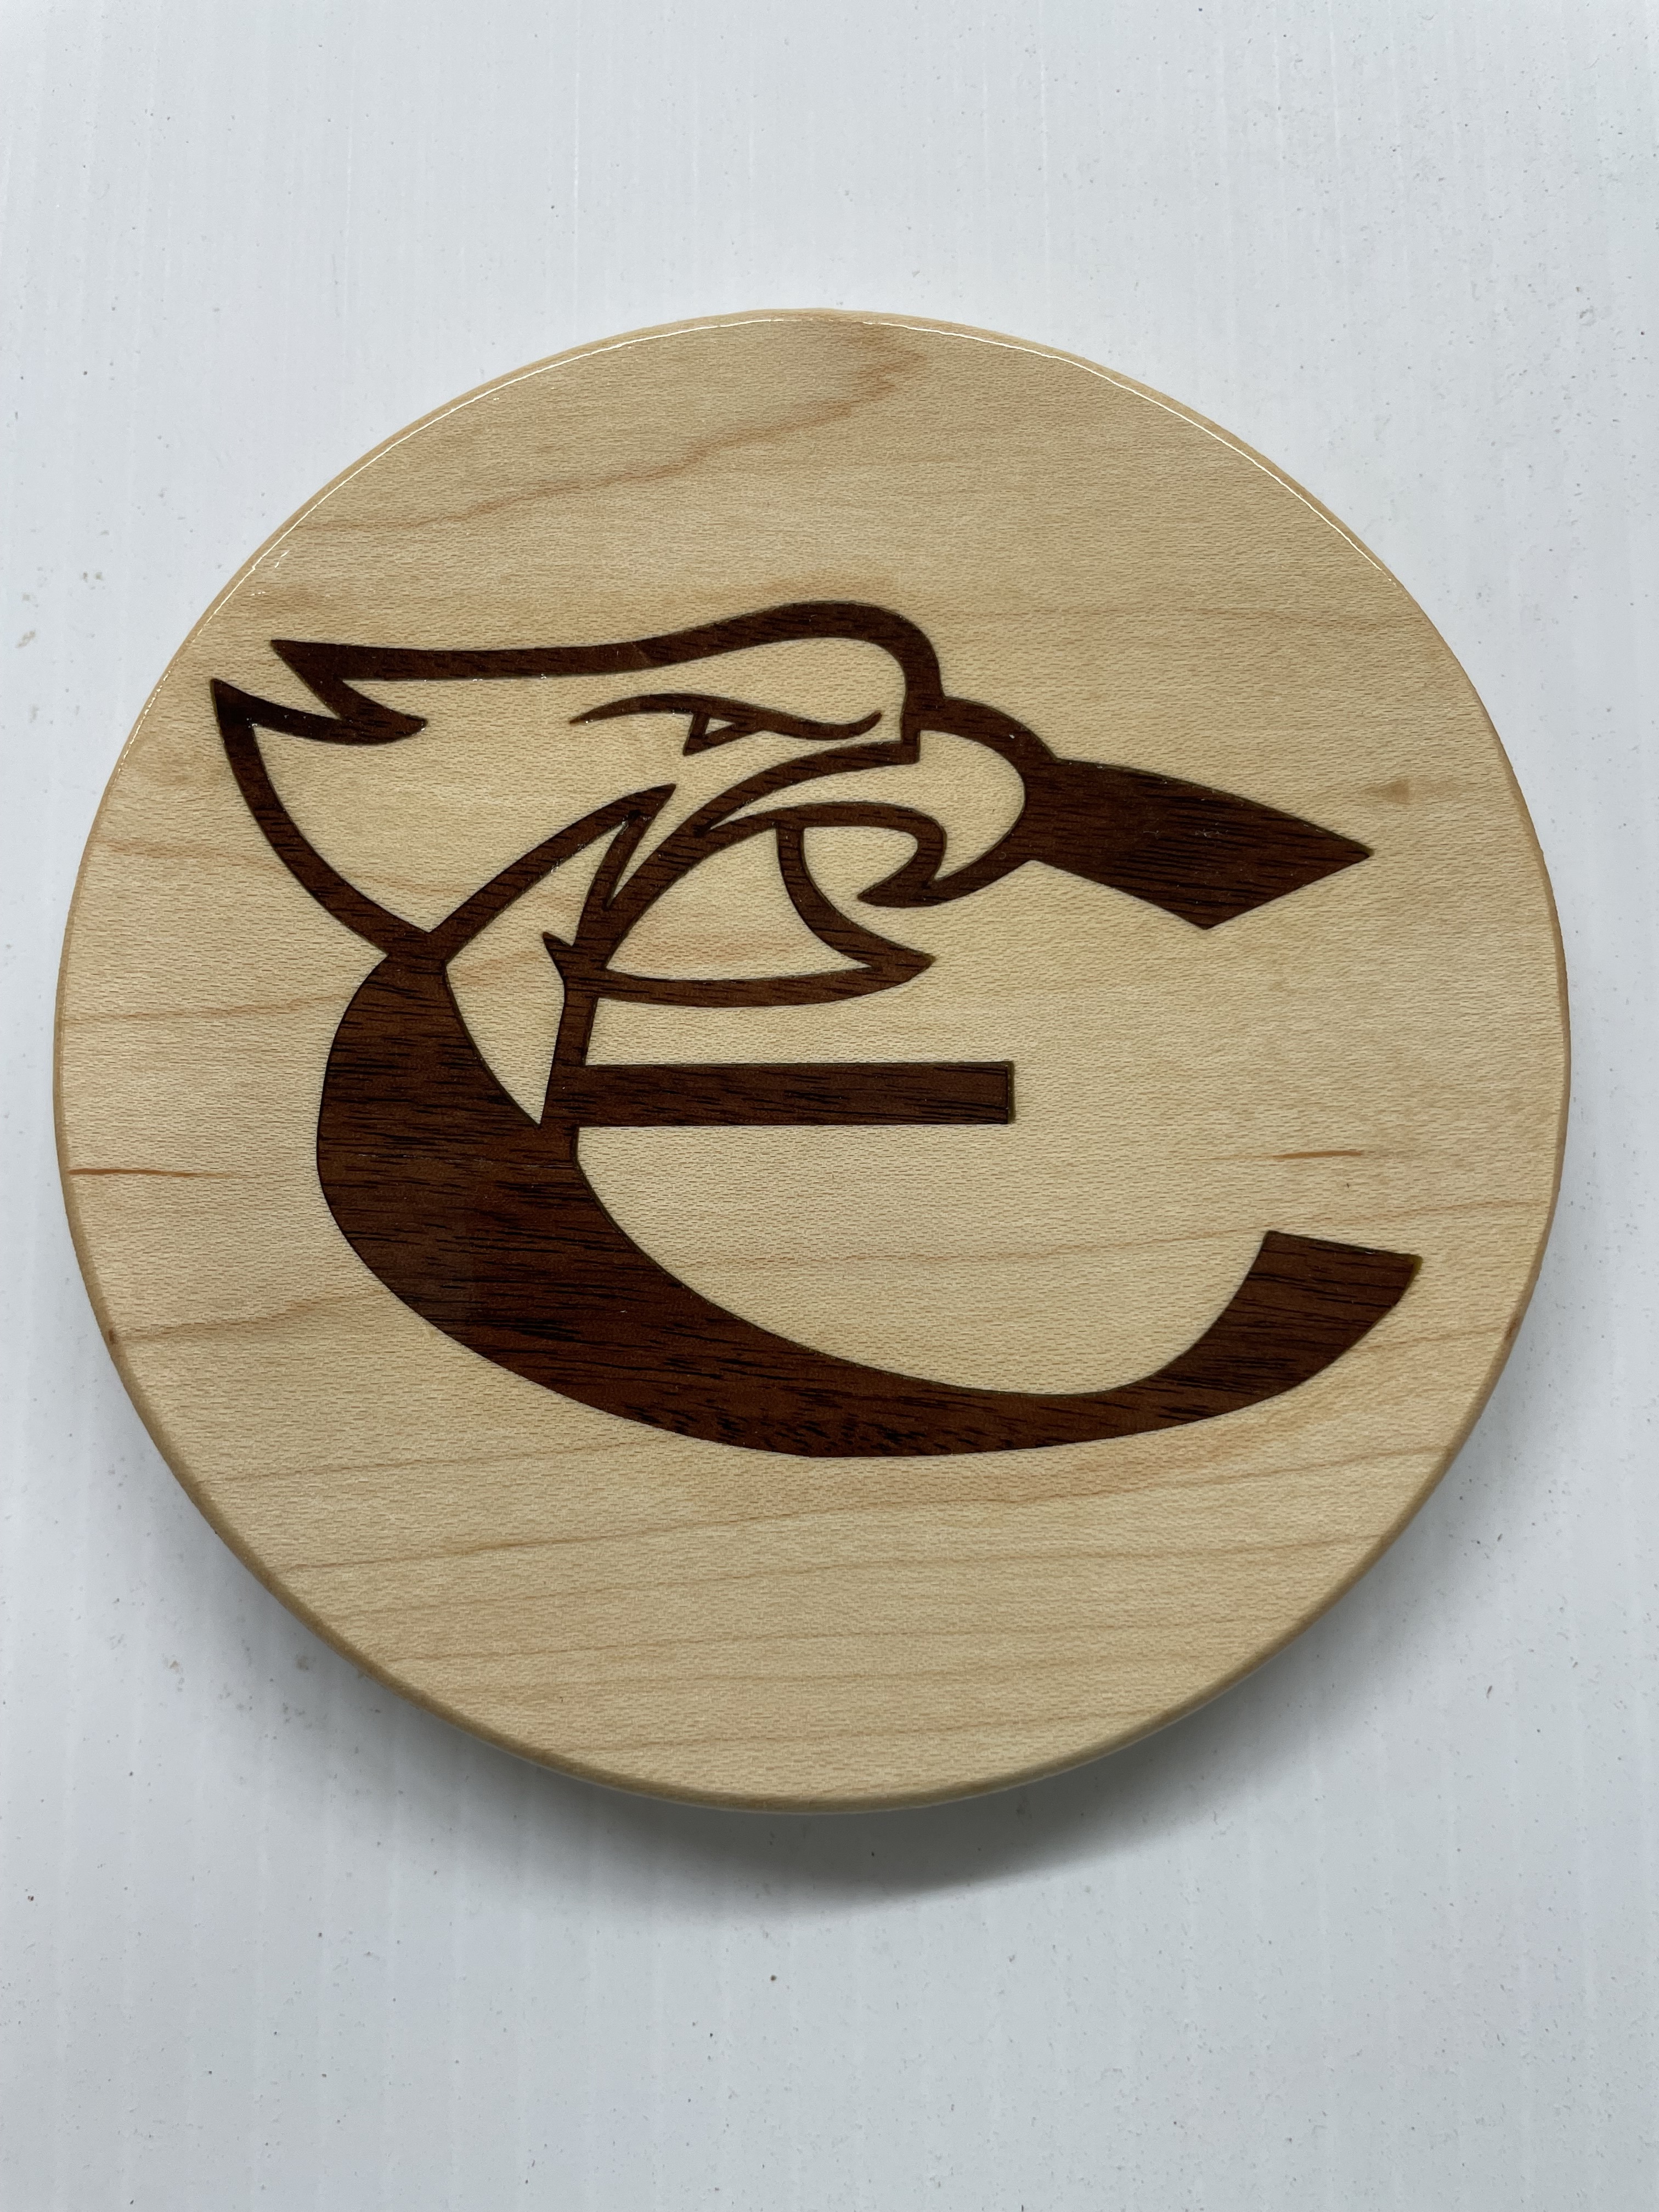
Nothing like waiting until the last minute. The last day of school is tomorrow and I put the 3rd and final coat of poly on today around noon.
19 Likes
I am a deadline person. If you dont give me a deadline that means you dont really want something. Open ended deadlines are a non starter for me.
Nice inlay.
The last time I looked at the Vetric method they start the male inlay at .1" and not top of material. Is that basically what the Vetric inlay does or have they changed it. I think the starting at .1" on the male inlay makes the male inlay just a little bit smaller than the pocket so it seats down inside the pocket better.
2 Likes
With their new tool path you define the female side and indicate the pocket depth,
Desired glue gap, the gap between the plug and the pocket and the bits to use.
You also define another “sheet” for the plug. Then when you hit calculate it flips the geometry, places it on the sheet for the plug and builds all the all the toolpaths with whatever depths the software thinks works for the sizes you specified on the pocket.
So, I can’t directly answer your question about the start depth because I didn’t enter it and I think it may even be greyed out on the plug sheet.
In this case I specified a pocket depth of .125 and when I loaded the plug job into CM it indicated that the depth below zero would be .16 That is more than the sum of the pocket plus glue gap plus surface gap so there must be something else
Figured in.
I know that normally inlays would be done deeper but I was worried about the finer details. I initially tried a 30 degree then a 60 degree then a 1/16” and 1/32” tapered ball nose bits and slightly different depths. I ended up back at the 30 once I had widened the vectors especially on the eye and eyebrow.
Somewhere I heard advice to cut the plug first which is not what I had done in the past. I did it this time and it makes a lot more sense given that the plug is the trickiest and most likely to have issues. I did toss a couple of plugs that didn’t work out but didn’t have to toss a pocket.
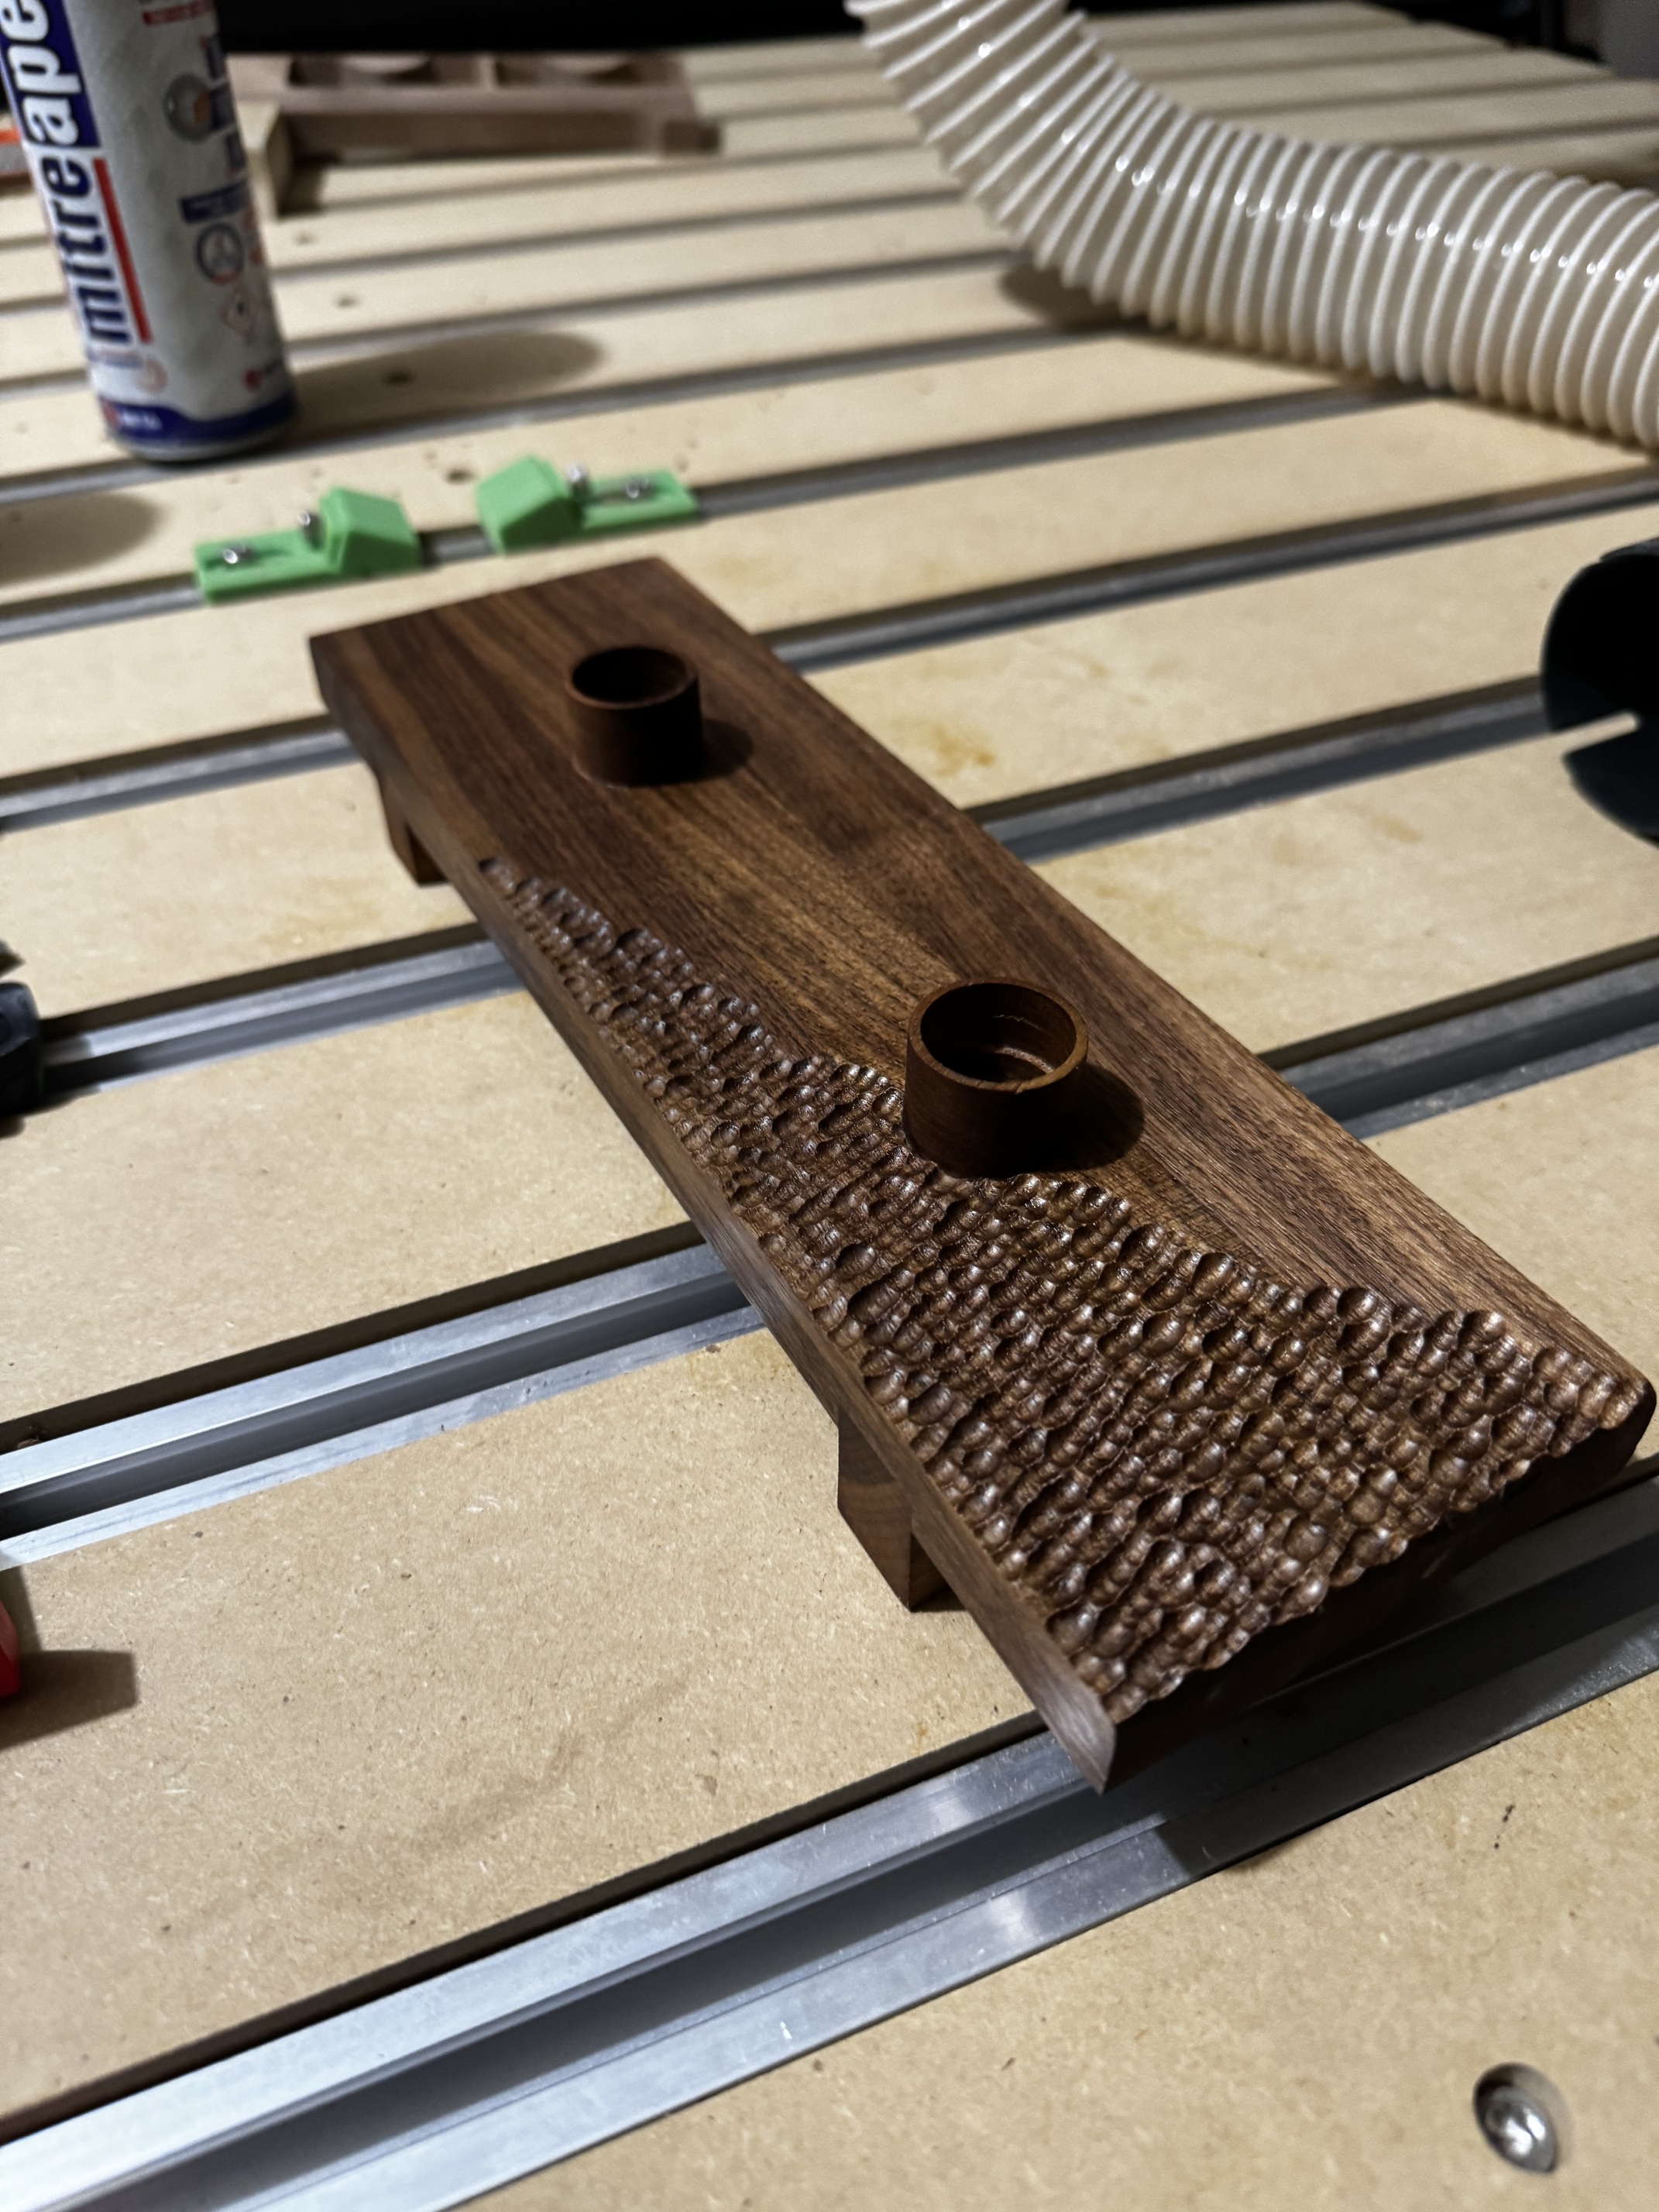
Used some scrap to make a candle holder. My wife approves, so that’s a win in my book. Also really digging the texture effect.
19 Likes
Recently I was in Rockler store and on the clearance isle they had about 6 brass candle stick inserts. I bought them for a future project.
Very nice looking candle holder. Looks like Walnut. Is it Walnut?
19 Likes
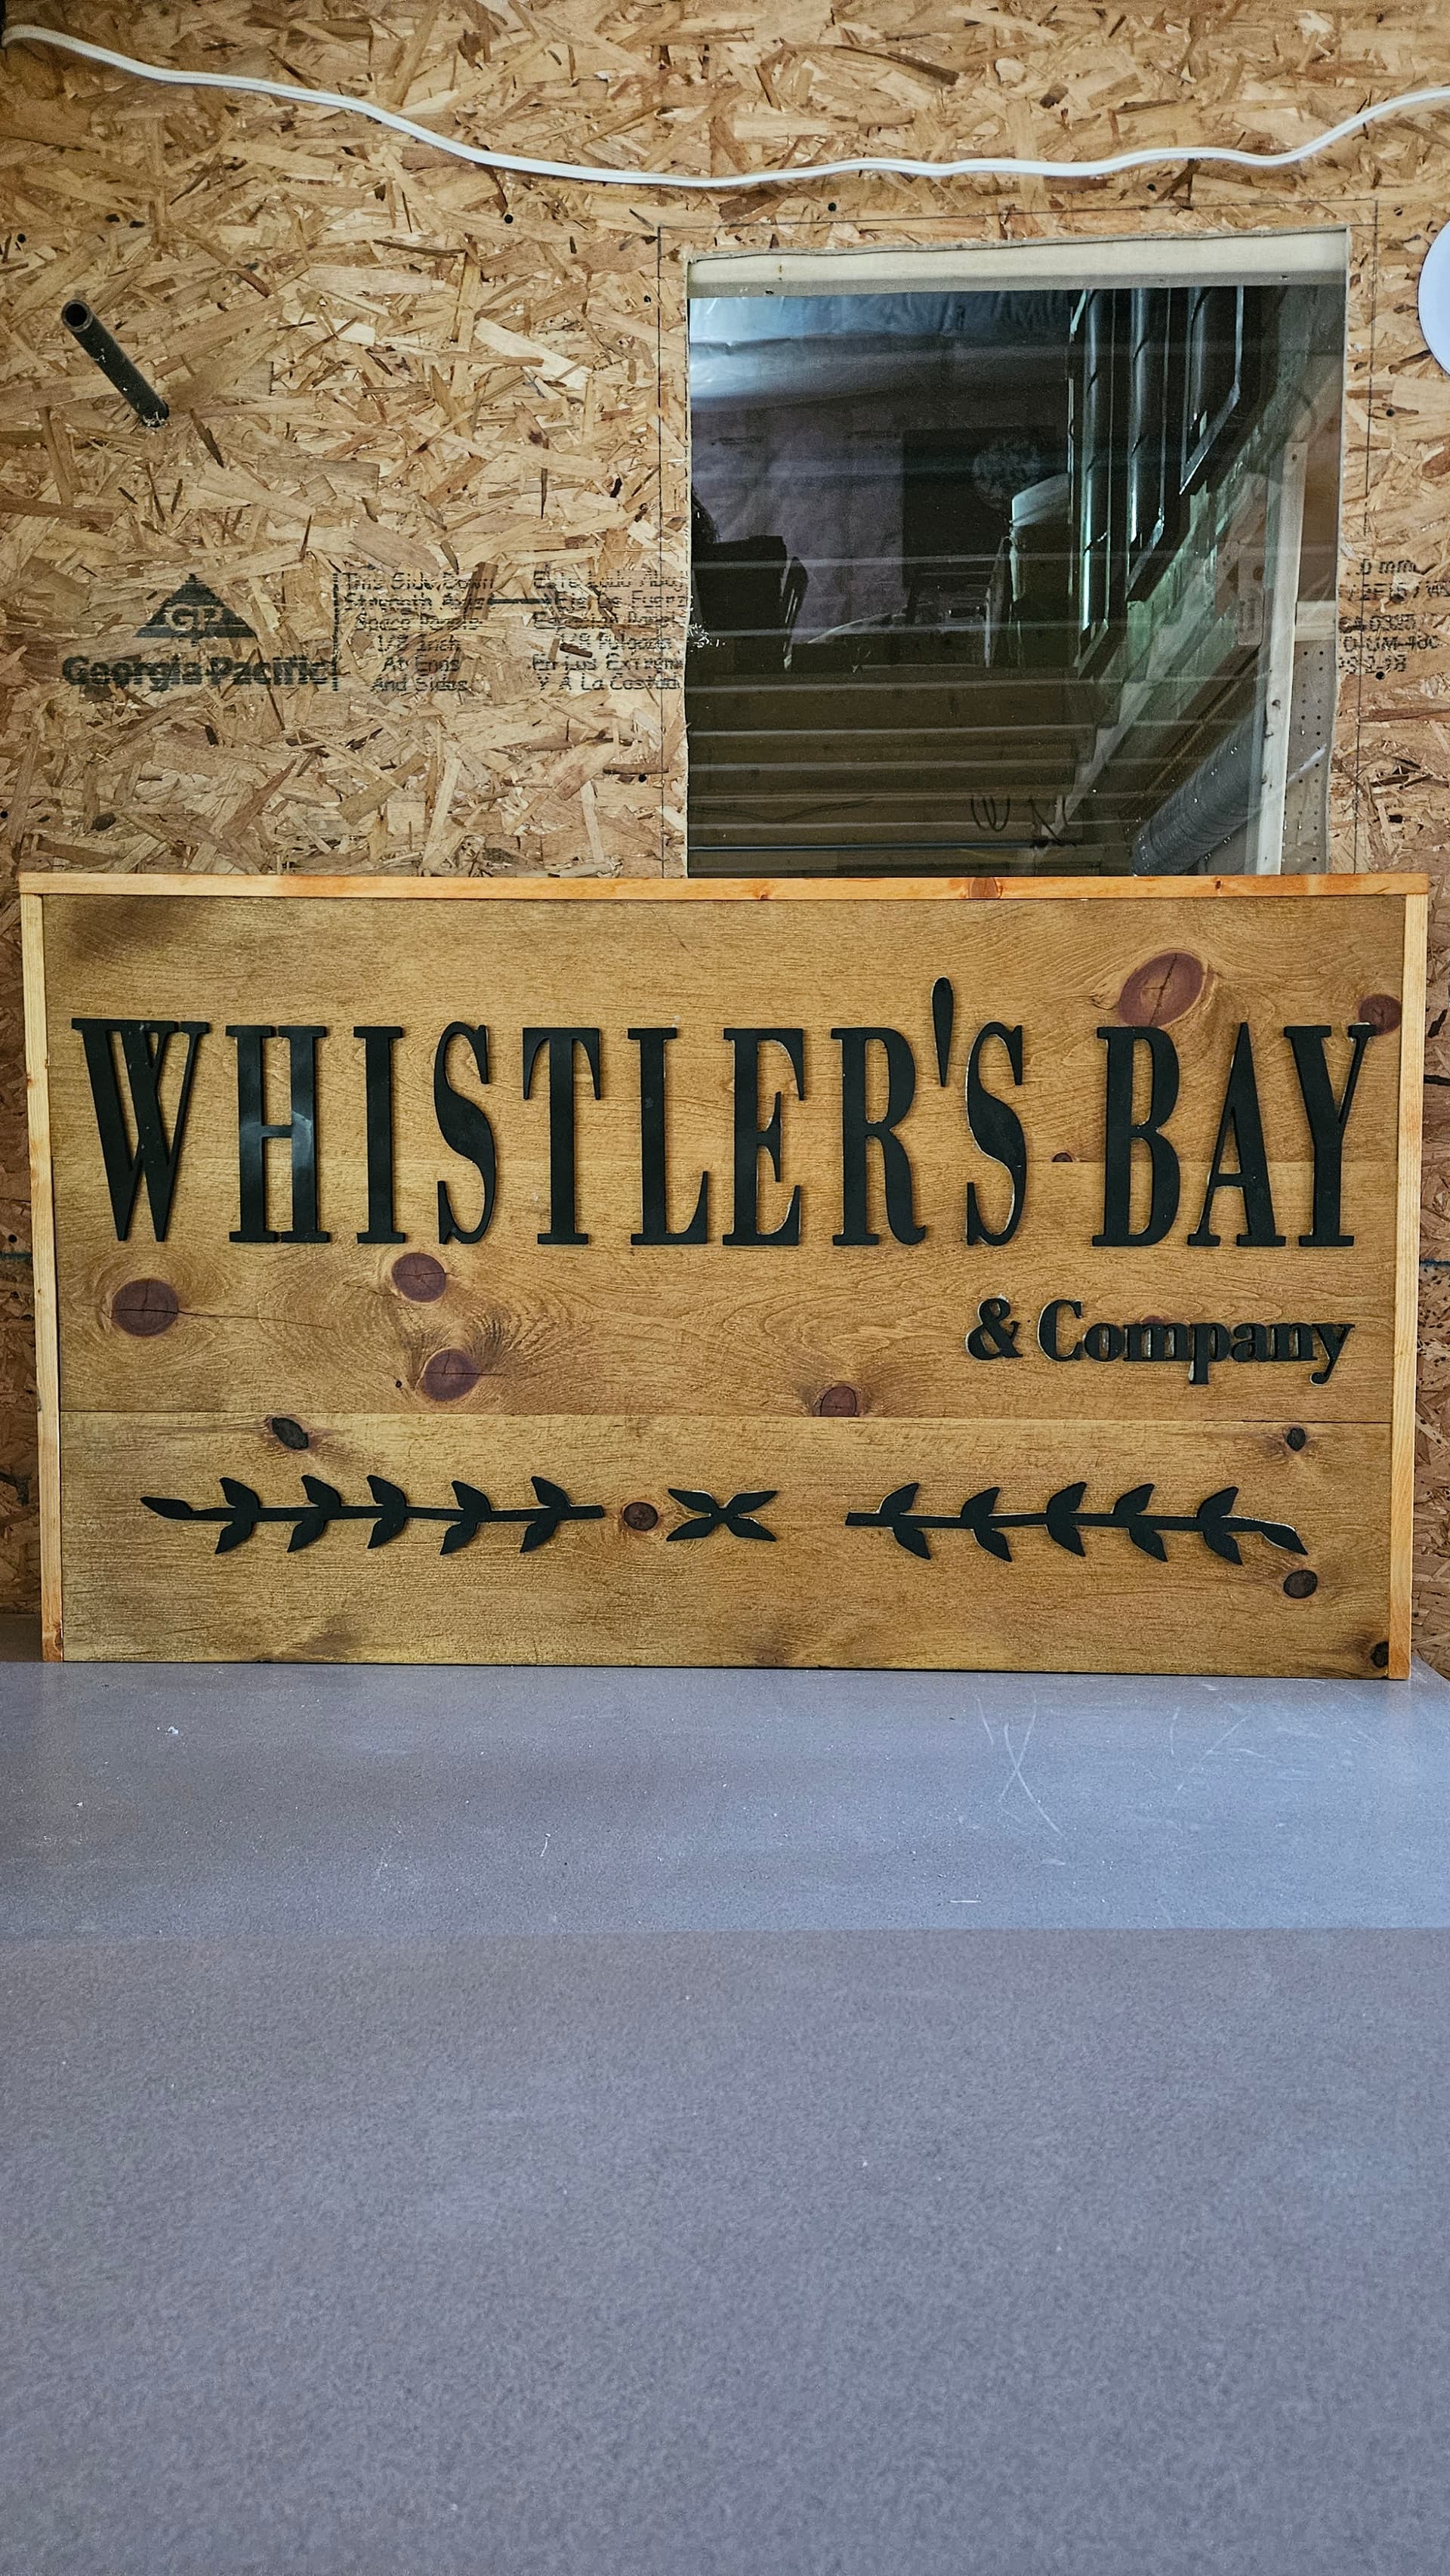
I like the way you did not make the vine below the lettering symmetrical. That gives it visual interest. Too many people want to make matchy matchy on things and having the two items different is very nice. Good Job.
Yep, it is indeed walnut. Finished with Rubio Monocoat (pure). I bought it rough sawn and got lucky with a really nice piece of wood after surfacing. Glad I could make use of some scraps.
One man’s trash is another man’s treasure. You made a treasure. I am in a turning club and the members always put their name or initials, species and date under their projects. Be sure to mark it for posterity.
What bit did you use to cut the lettering?
#102 1/8 0.125 flat cutter endmill