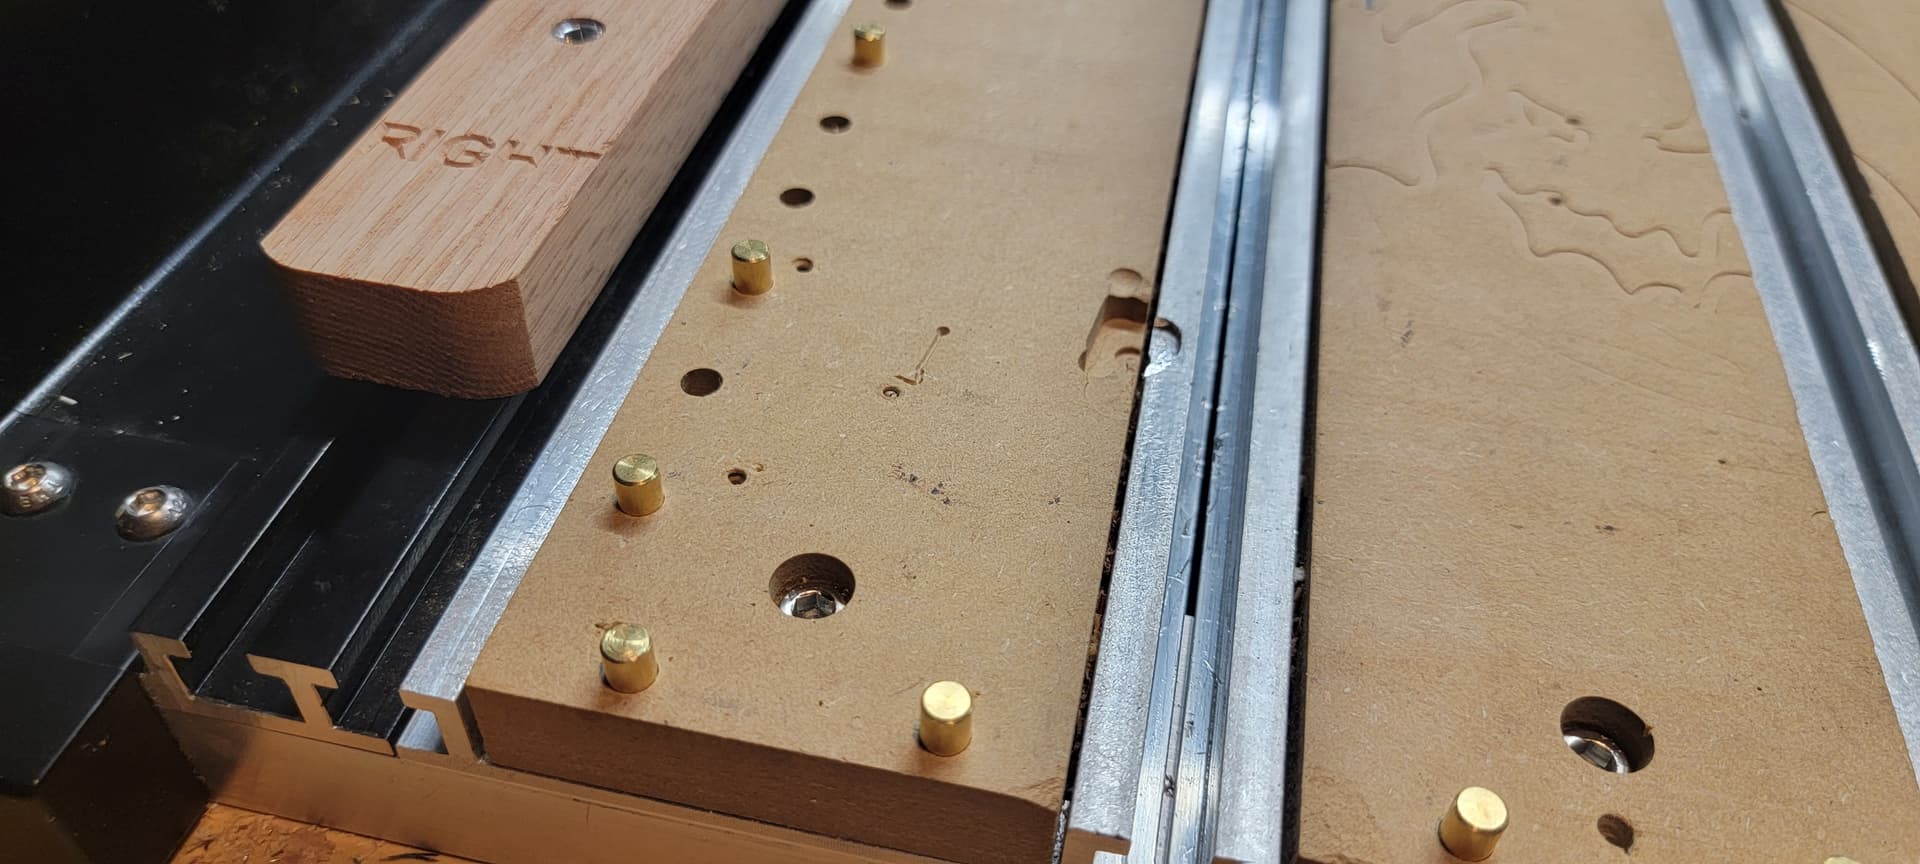
So far so good. I don’t plan on moving them at all. So it should remain square until I do decide to remove them or unless I just accidentally bump them hard enough to move it. Then I guess I’d just put my indicator on it & check the run out. Though seeing as how I’m really just in my garage & not machining actual parts to blue print specs I’d probably just re-skim these or make some new ones. ![]()
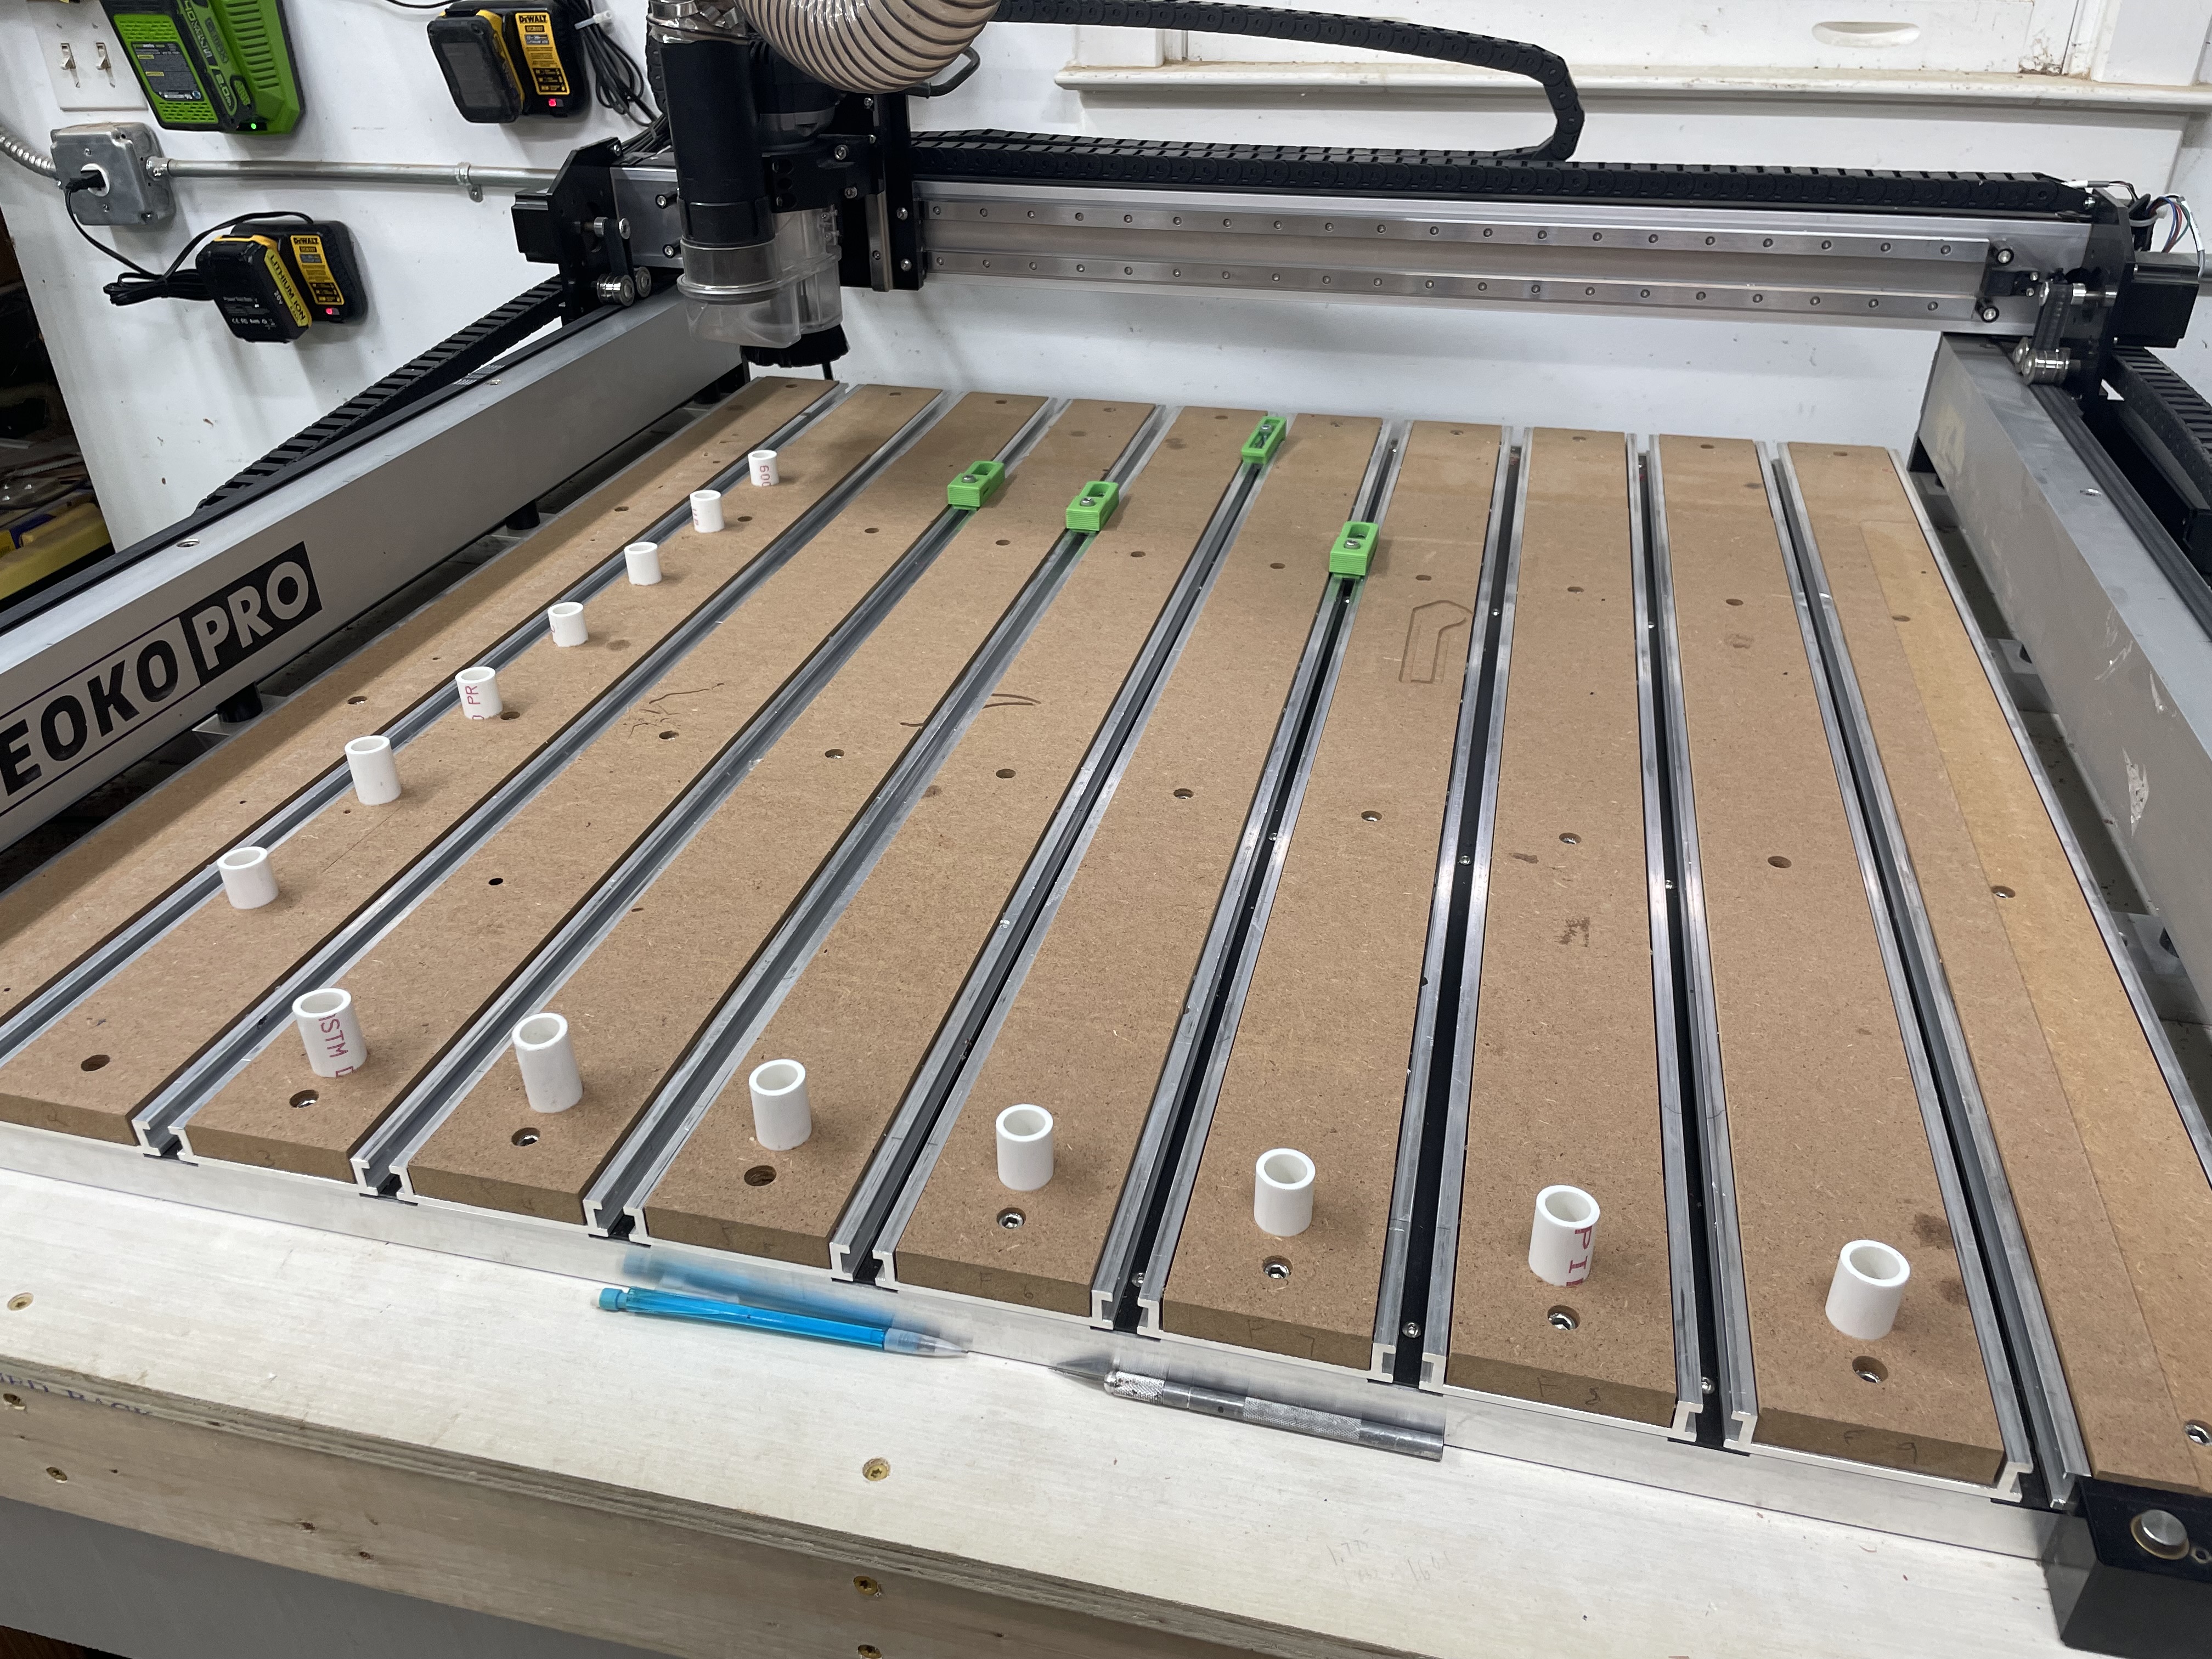
I was struggling with my old screwed on fence, so I decided to make an upgrade. My new pin fence should be more accurate and versatile. They also act as locating pins for any flip machining I will be doing.

20 Likes
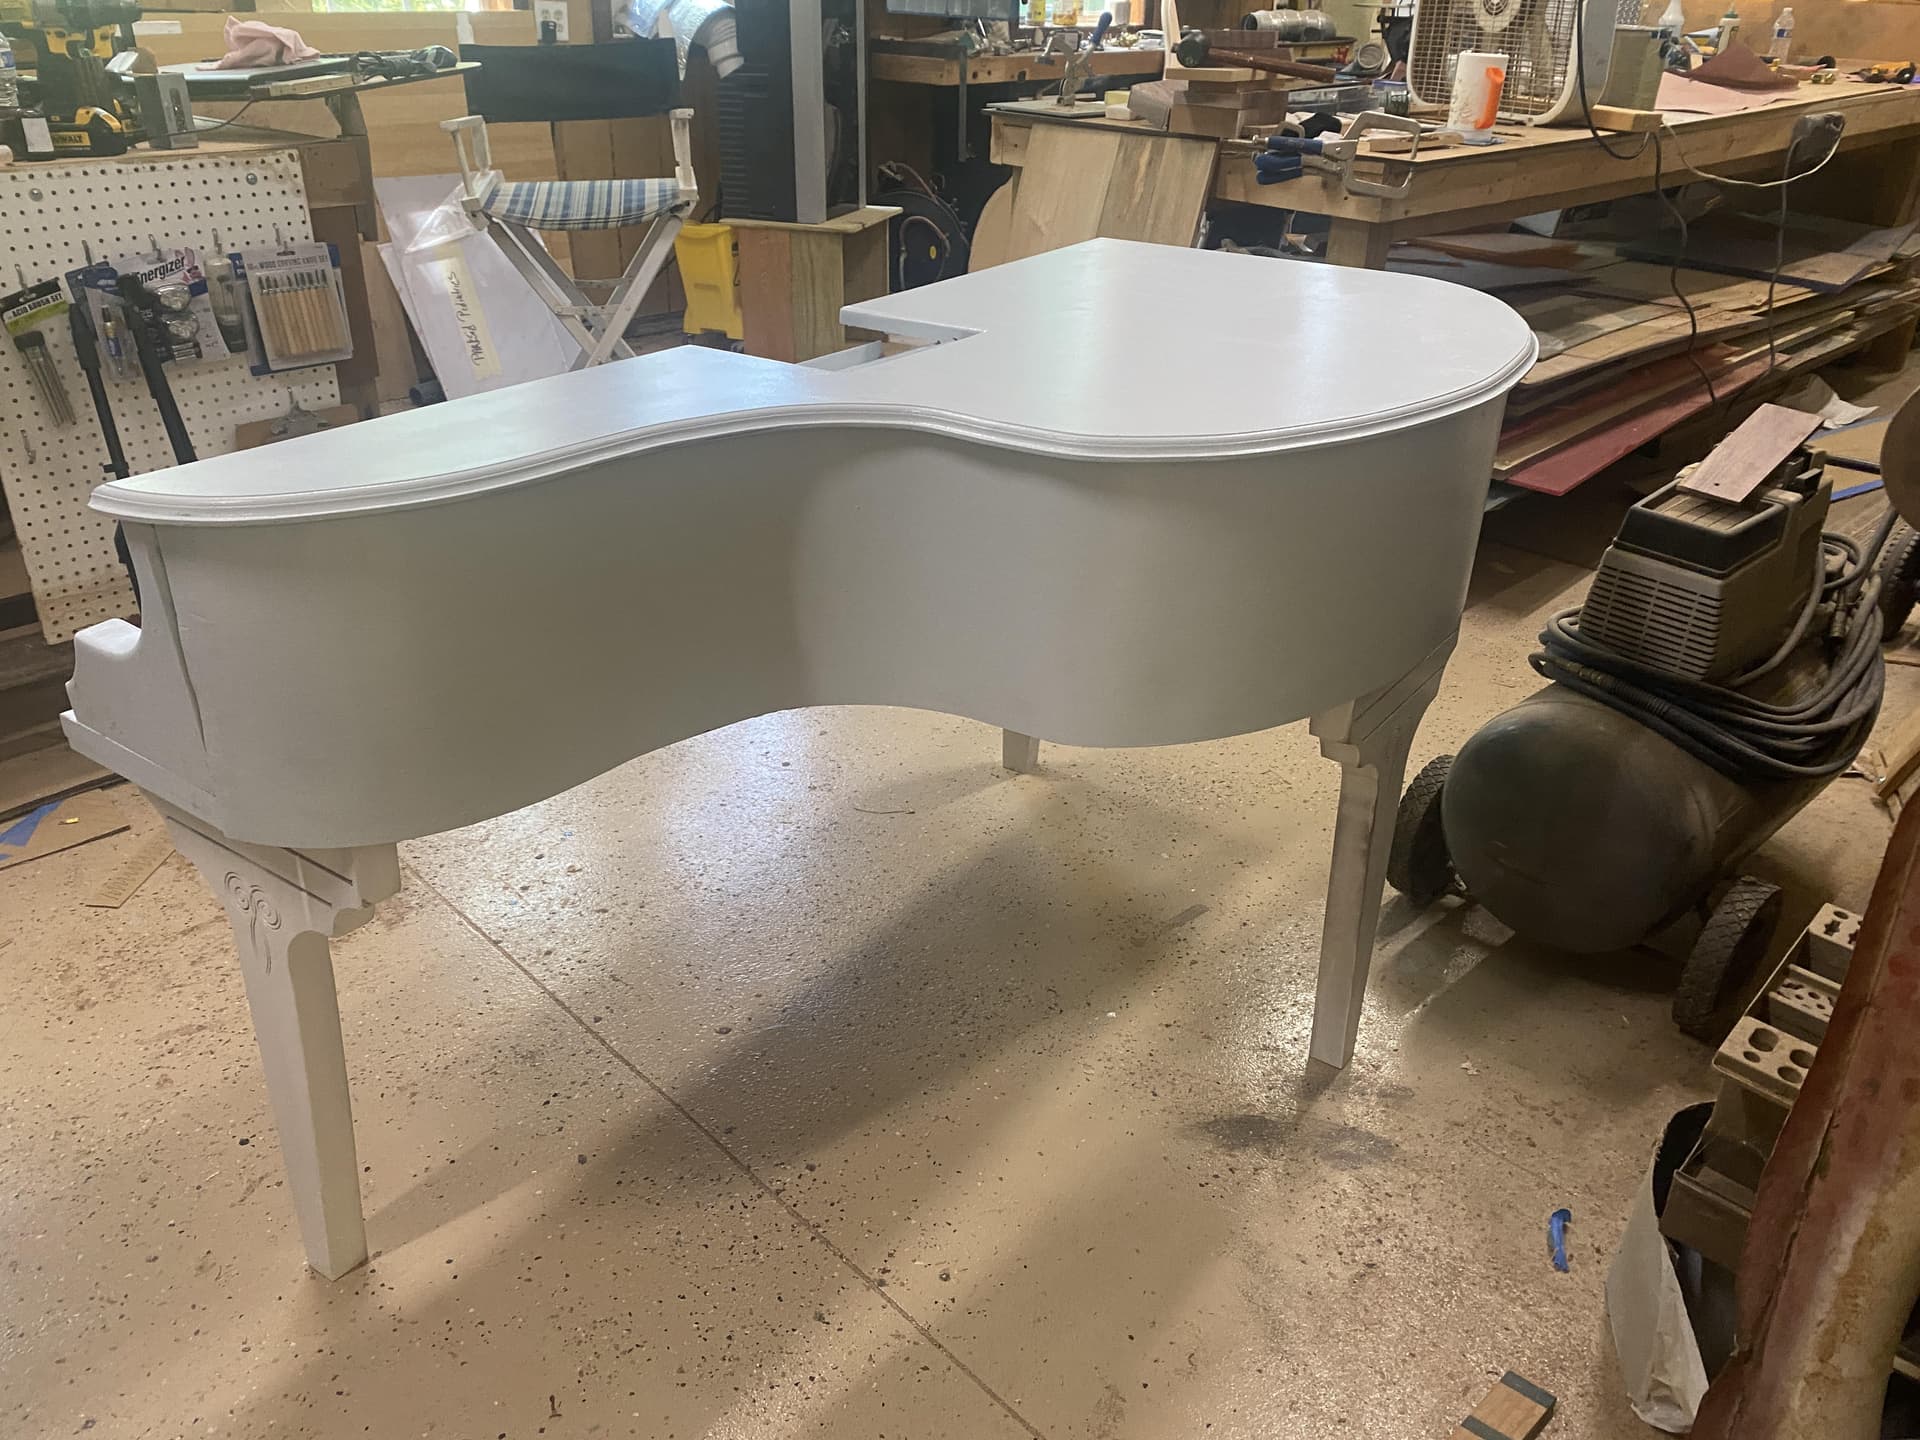
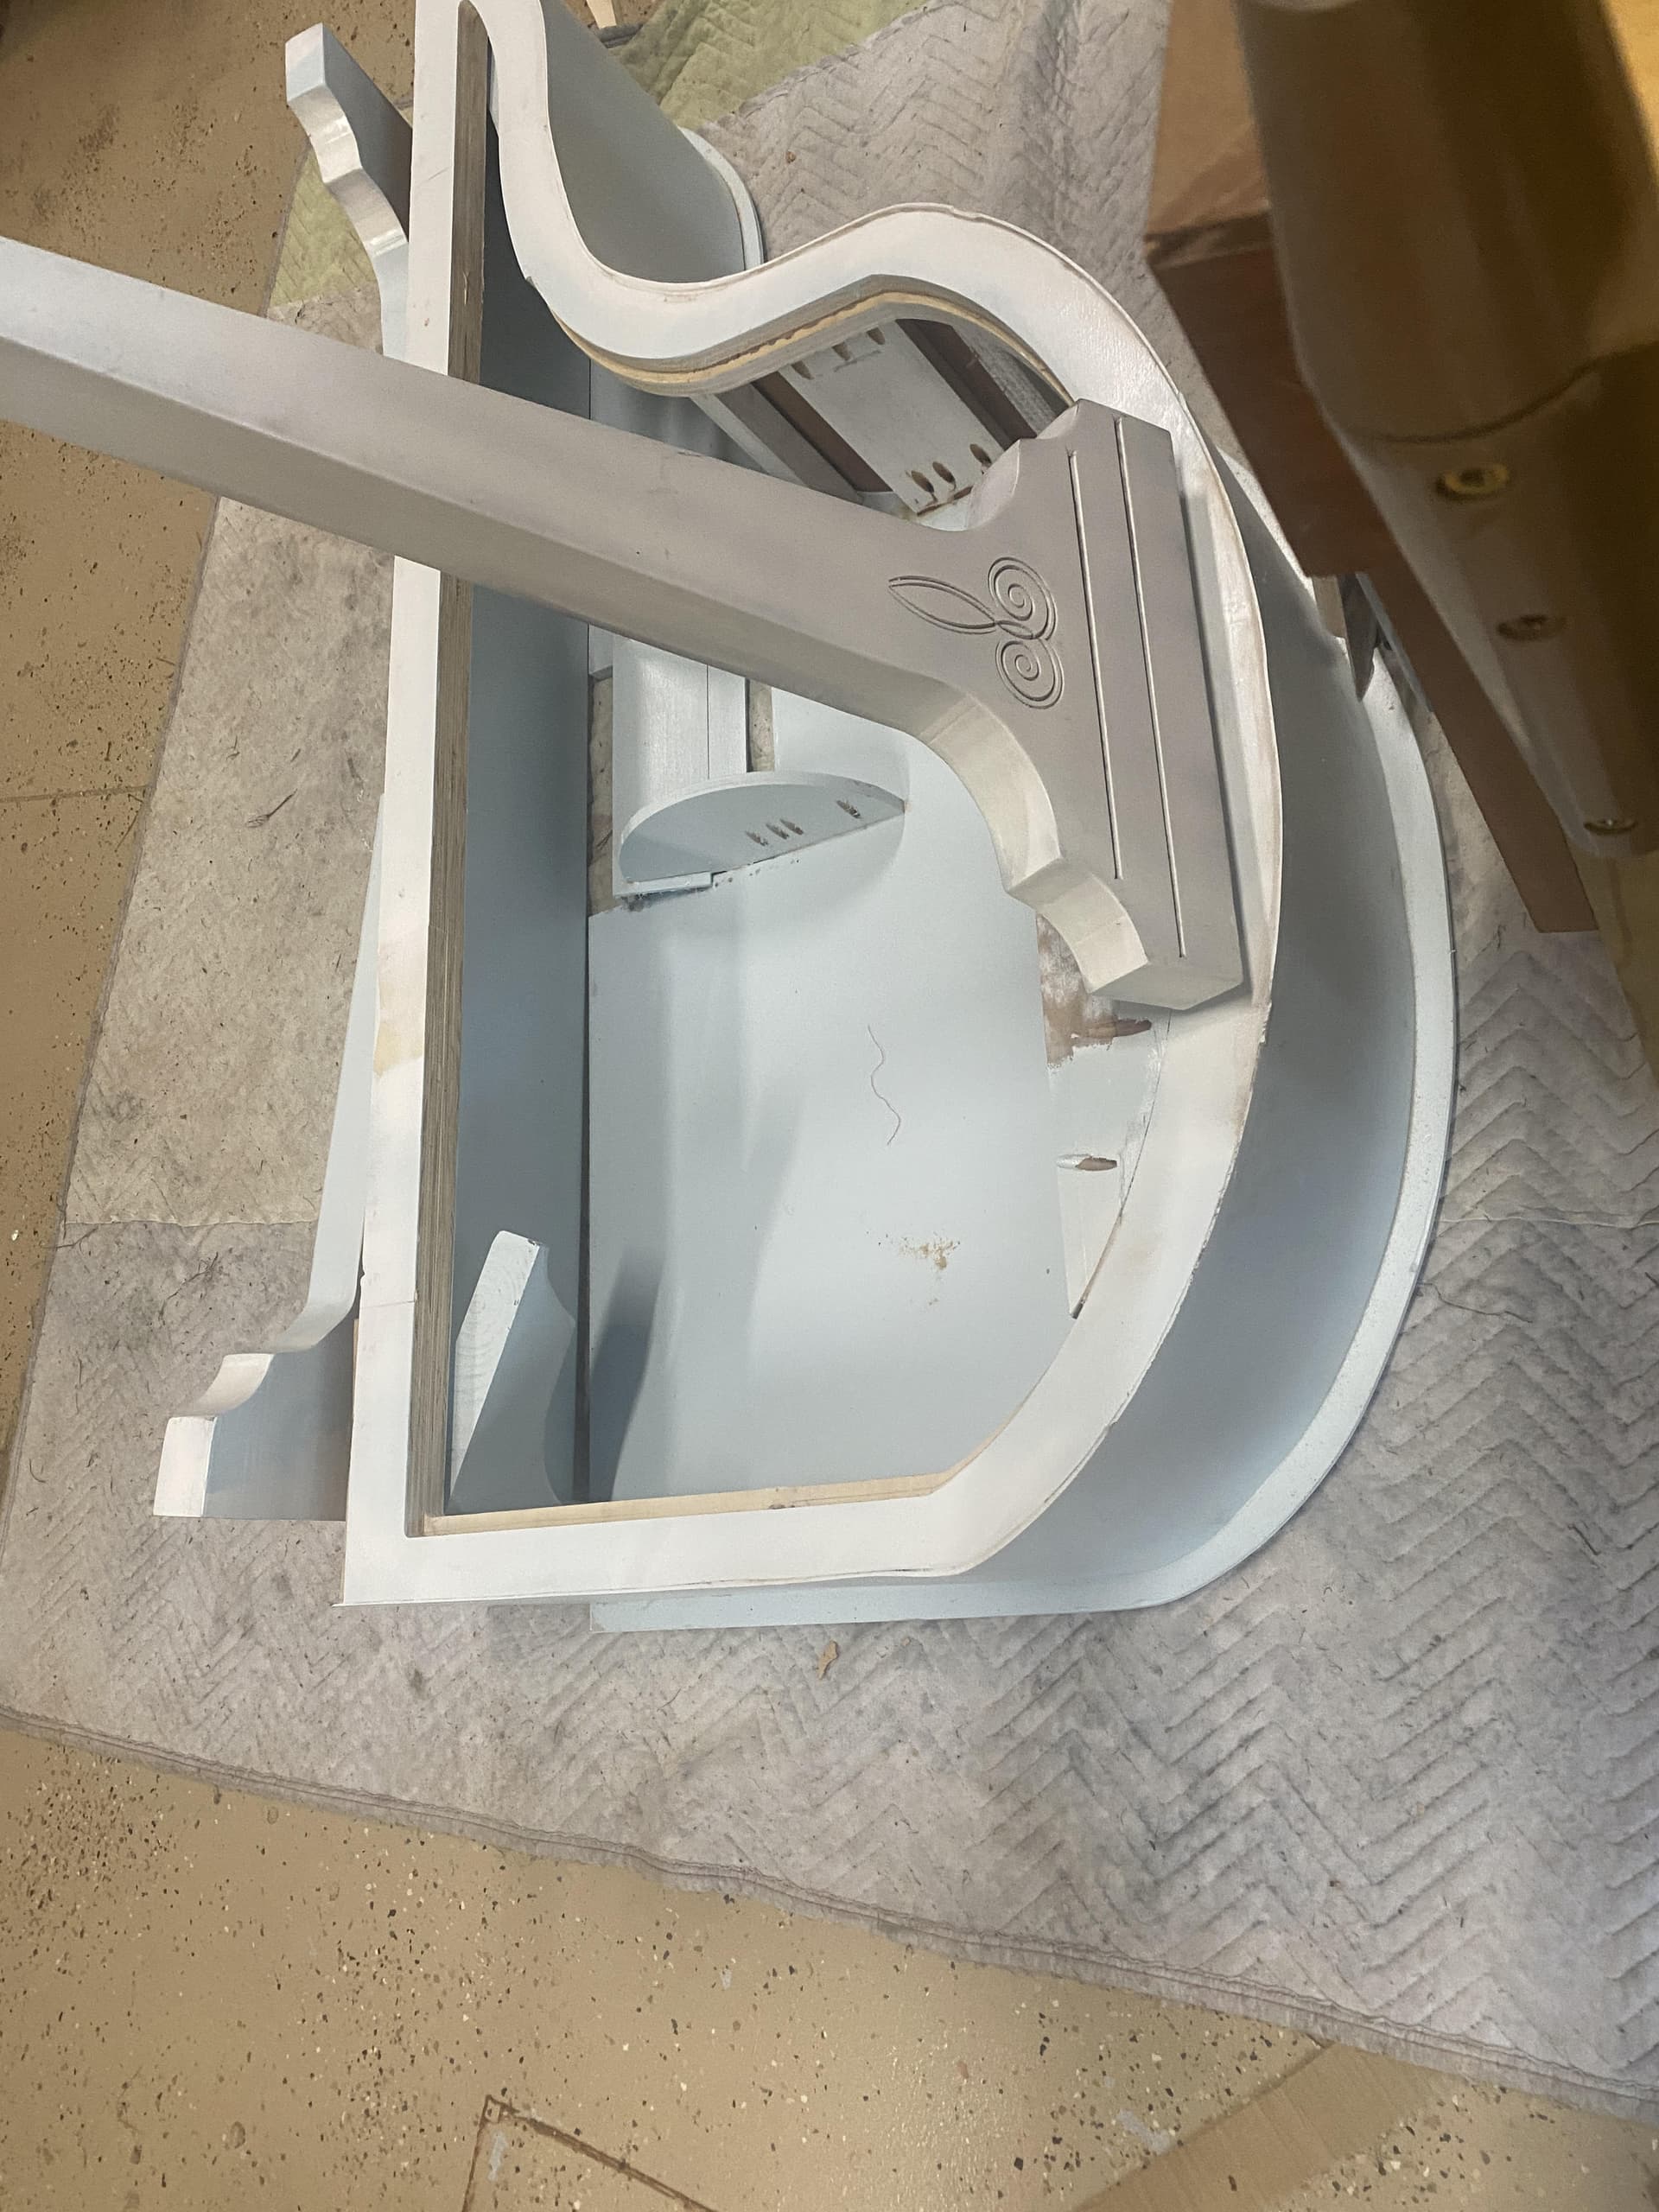
Very nice paint job !
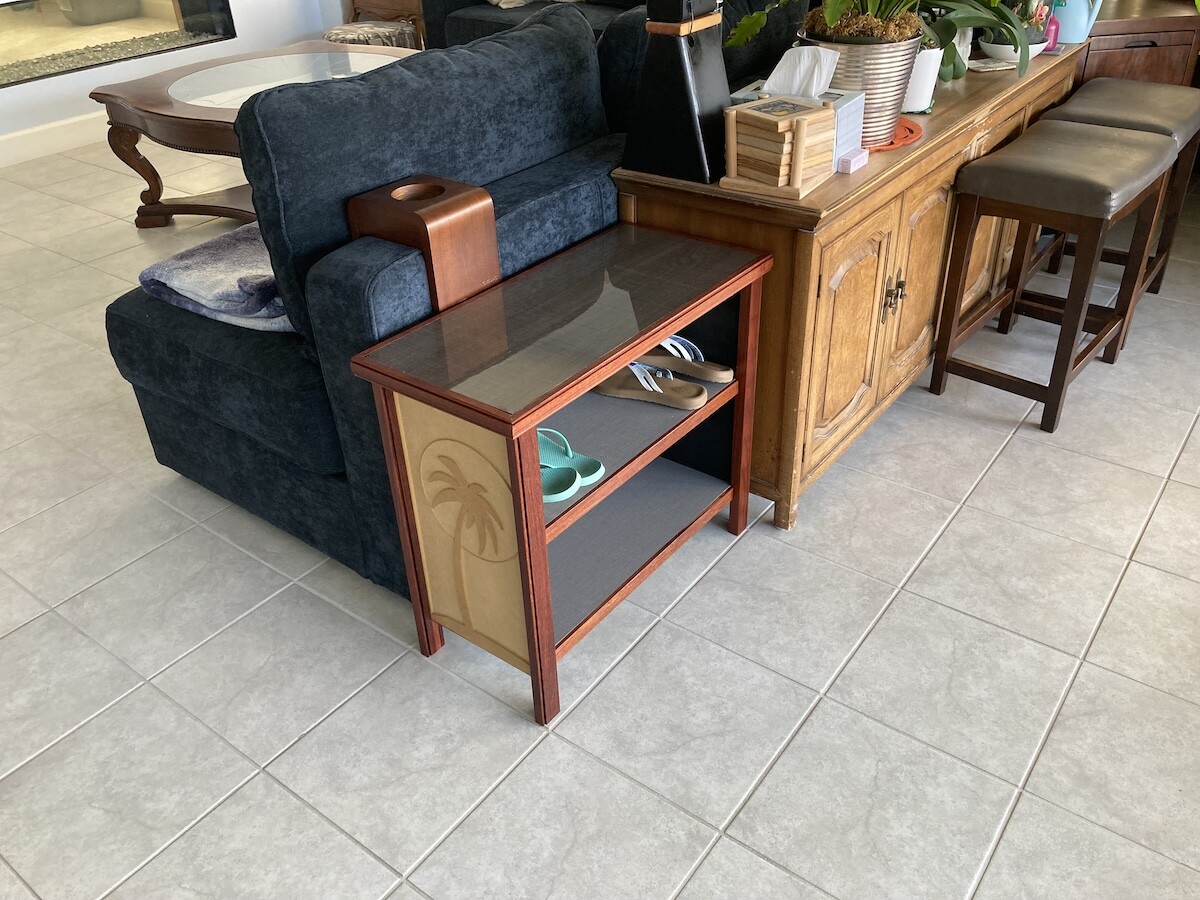
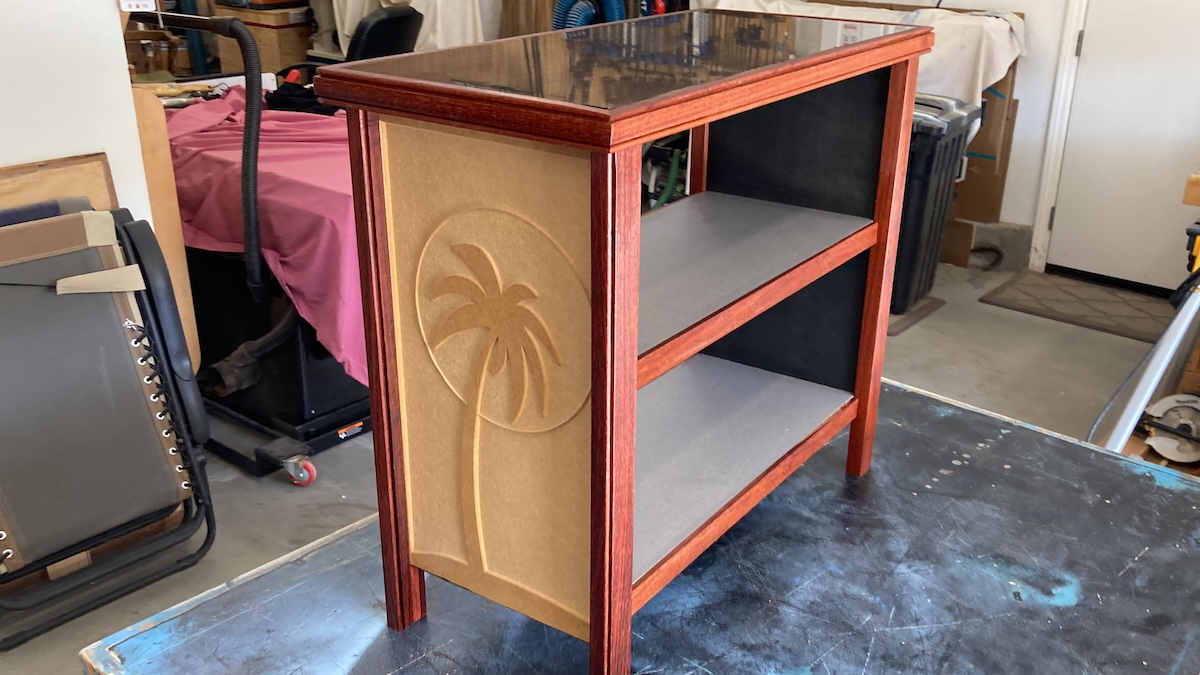
Small shelf for flip flops. Carved the sides and made the rest. All material was scrap from the shop. Sides are MDF with simple sprayed clear coat finish.
26 Likes
Is that glass on top. I had a patio table that was the fake rattan and after 2 seasons it was coming apart so I threw it away but saved the glass top. So I have a spare piece of glass laying around. Not sure if it is regular glass or tempered glass. Not sure if you can cut tempered glass without shattering it. I was chinesiumn patio furniture so it might just be regular glass.
Nice place to put your shoes.
No. The top is a high density core with glossy laminate. I picked up some pieces from a high end cabinet guy who got smart and moved out of California. The material is made in Spain and has a protective wrap that peels off to reveal that wonderful shine.
BTW, tempered glass will shatter if you try cutting it.
1 Like
Nice, You did a good job Sir! ![]()
1 Like
I tried drilling tempered glass. It is good at not breaking unless you cut into it. It explodes.
2 Likes

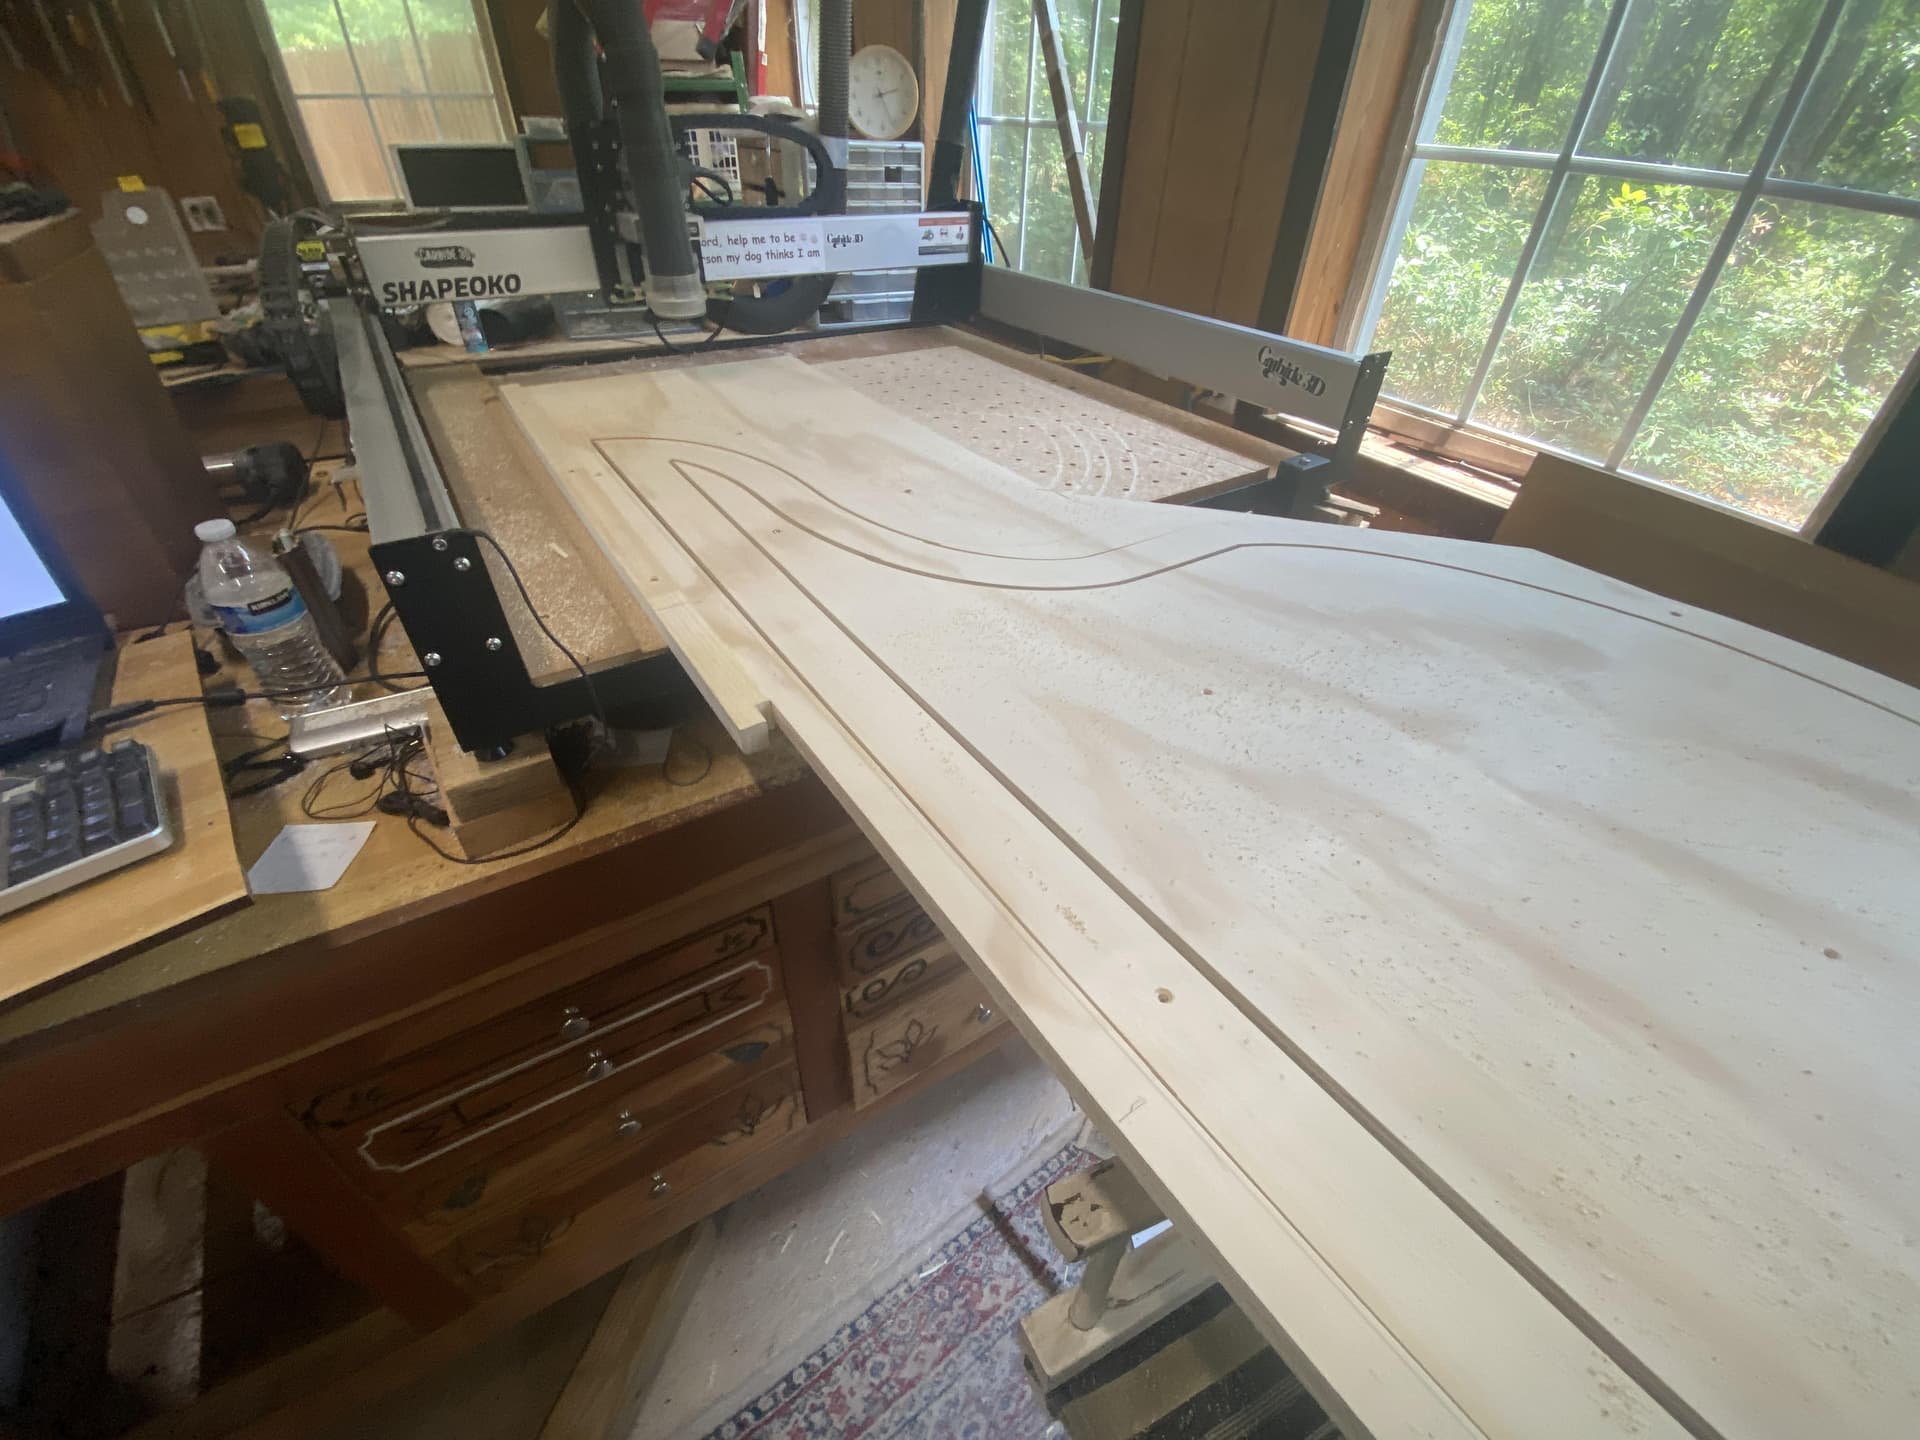
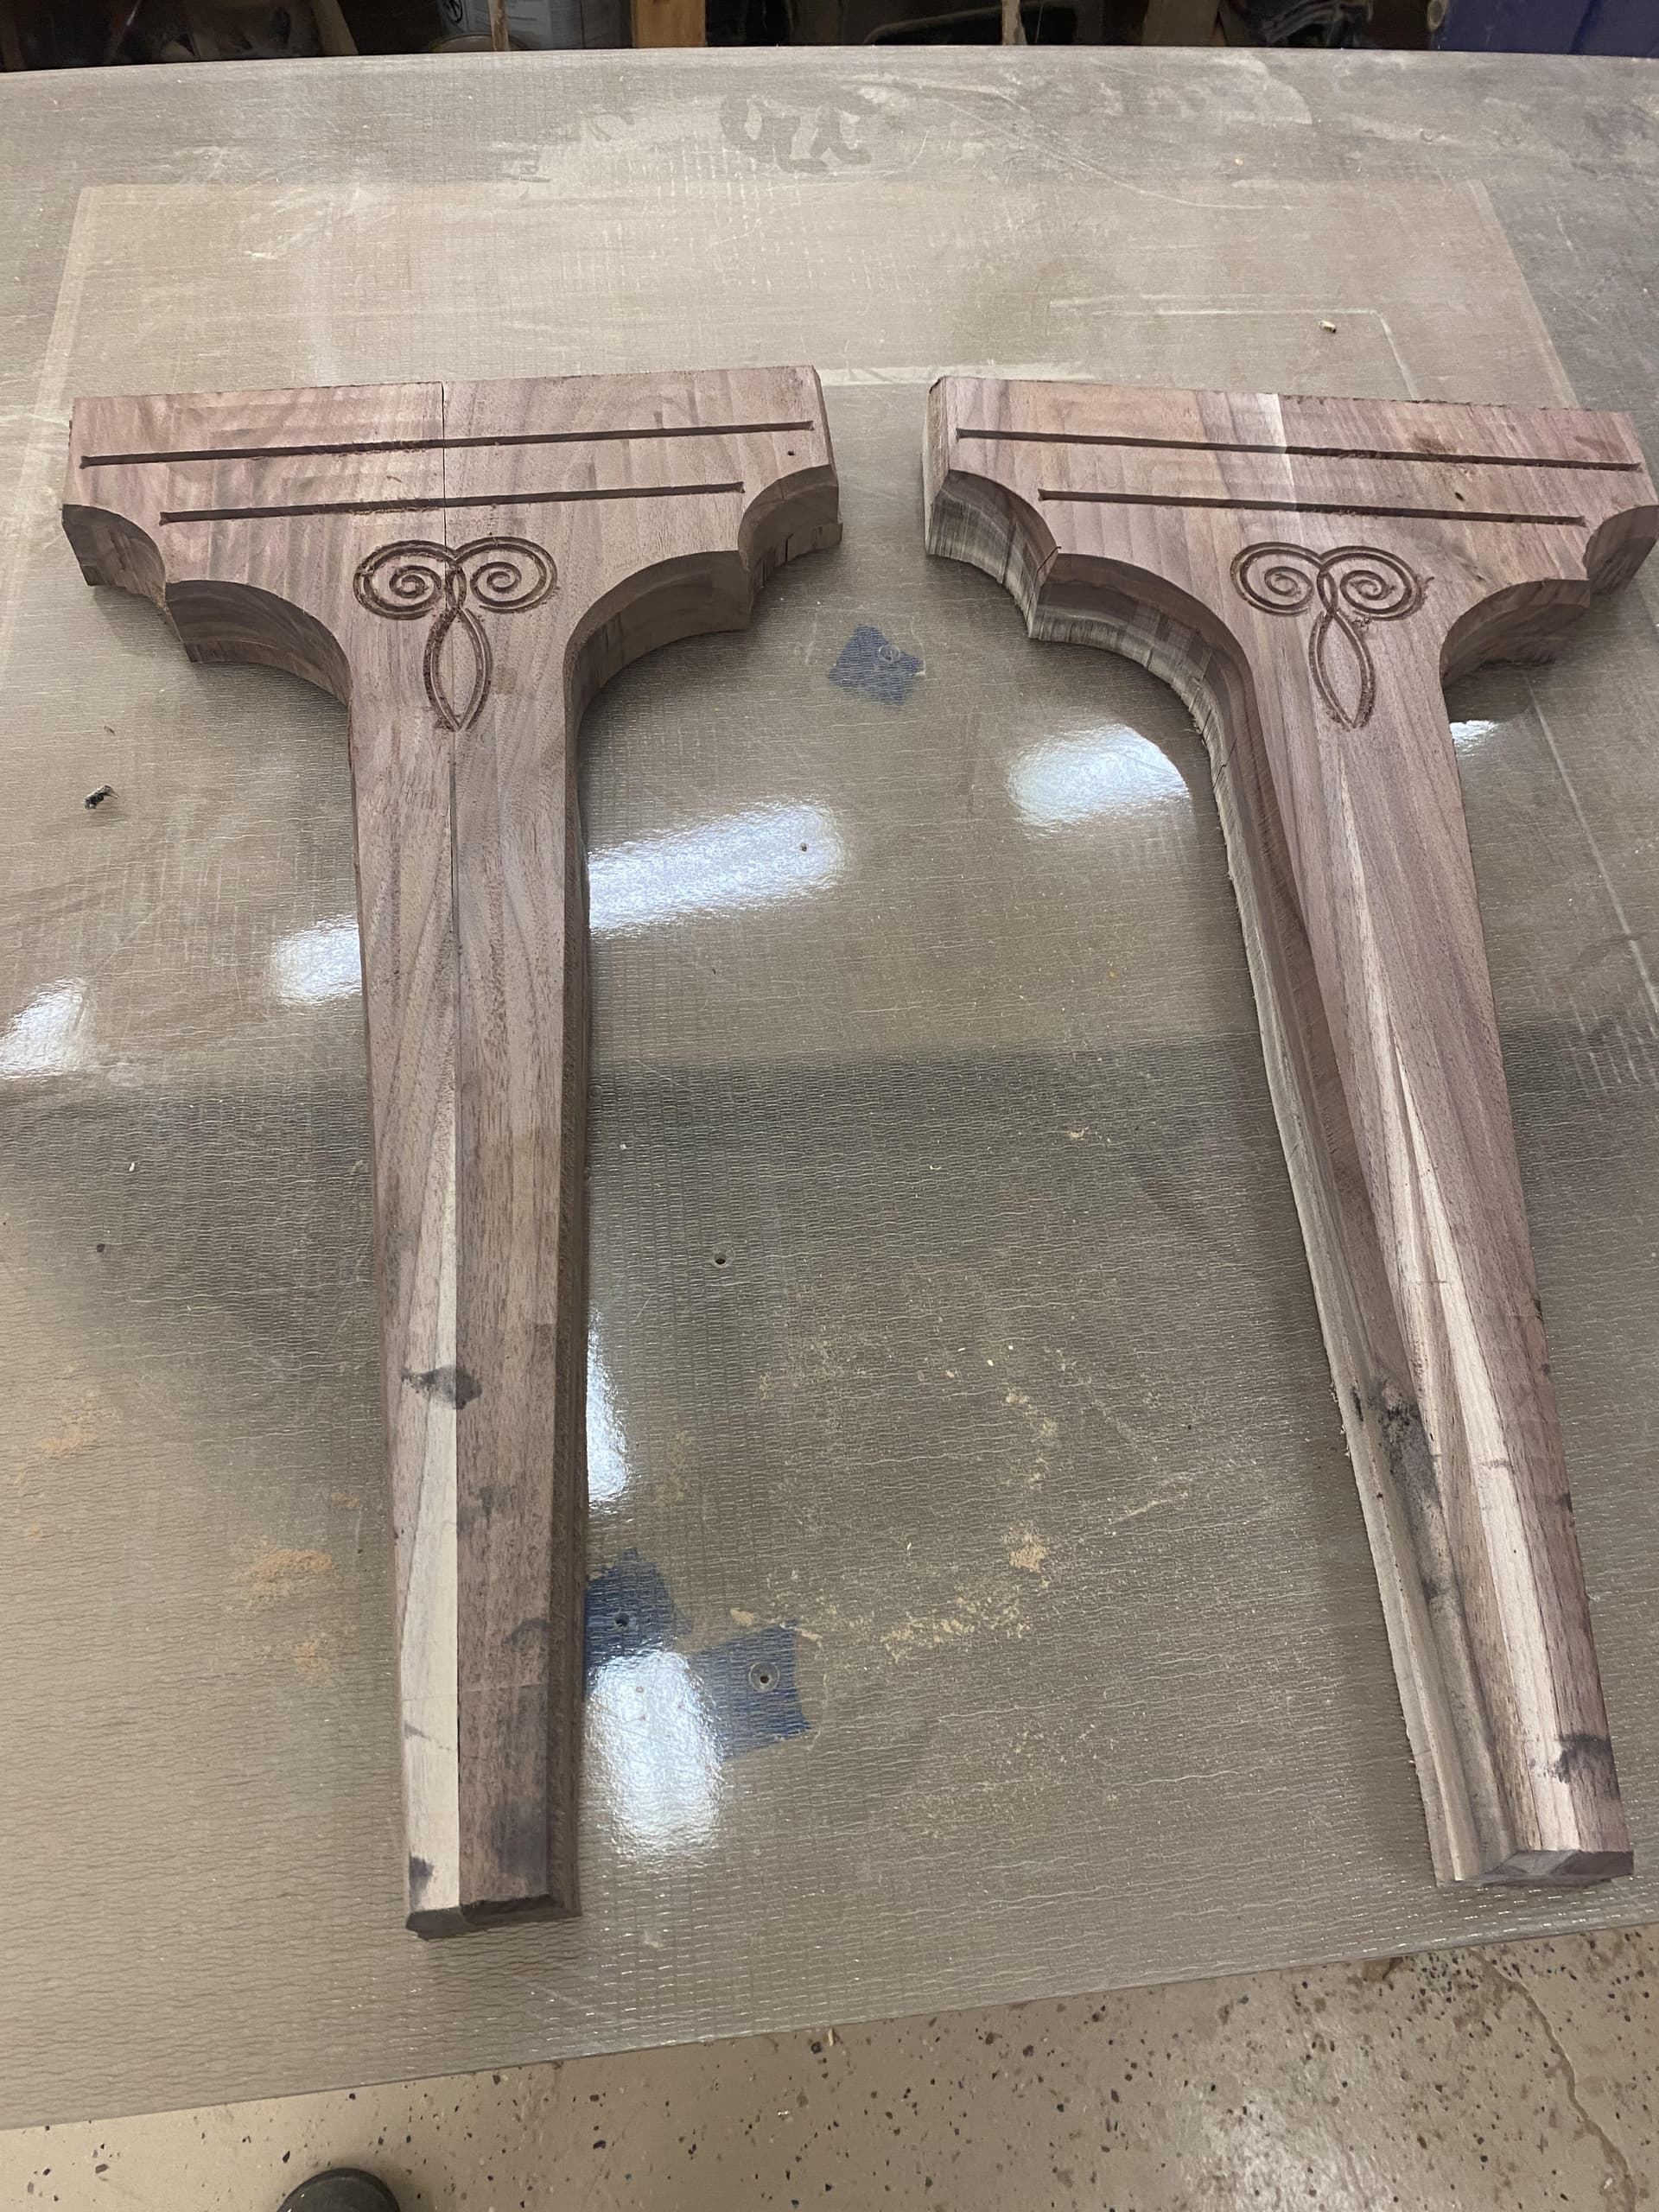
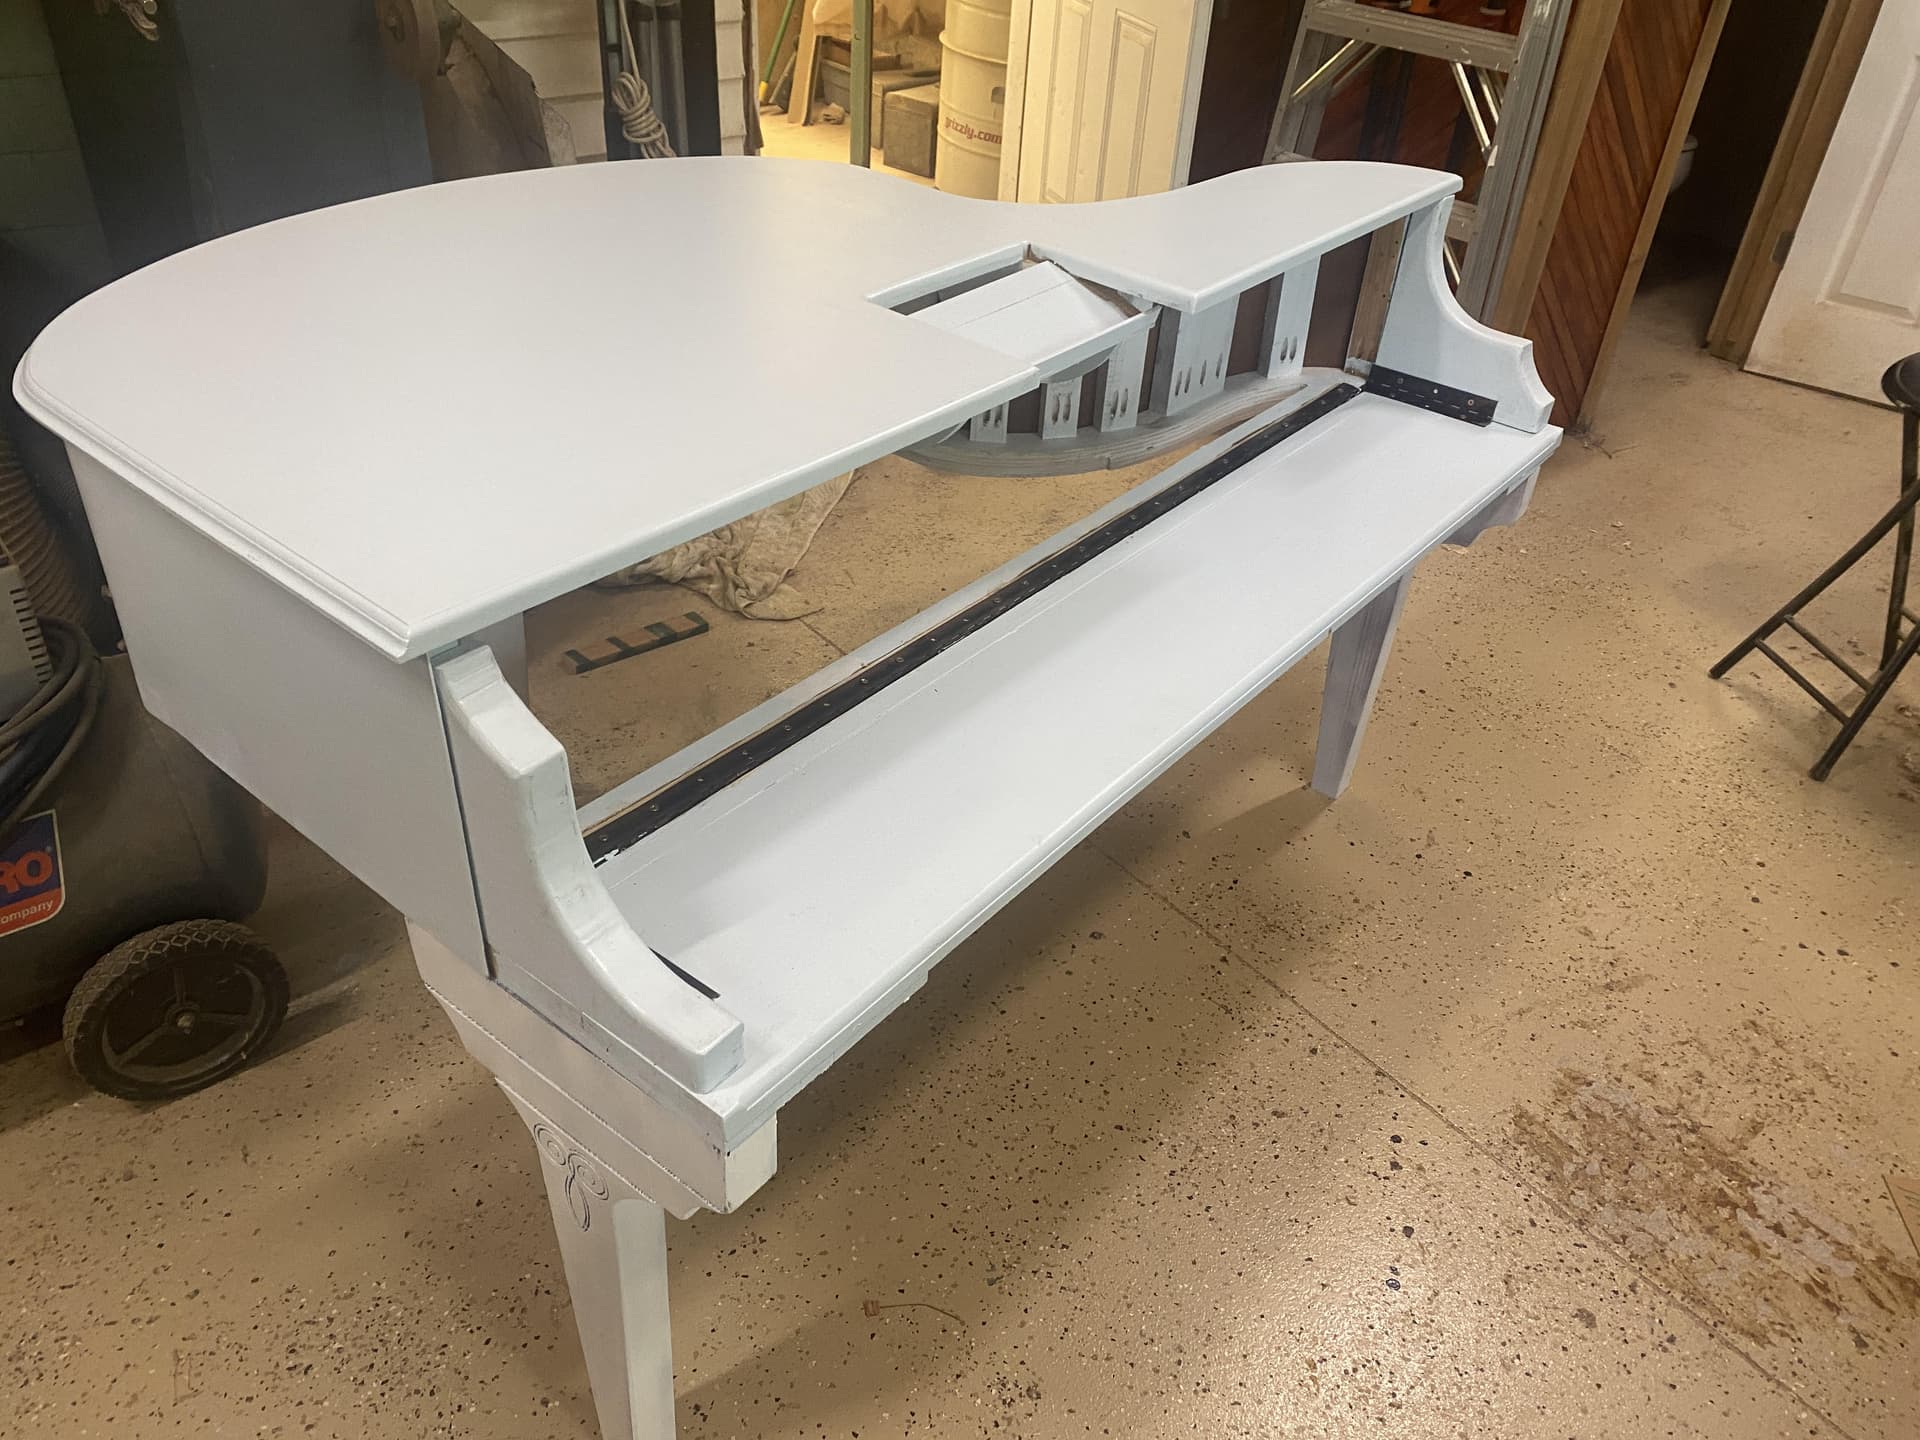
Making two piano shells for my son-in-law to perform at various resturants and bars in a “dueling piano” type setting. Cut the legs, tops and frames with the 3XXL and had to tile the top and frames in three section due to the overall size. Also cut the side arms for the keyboard area.
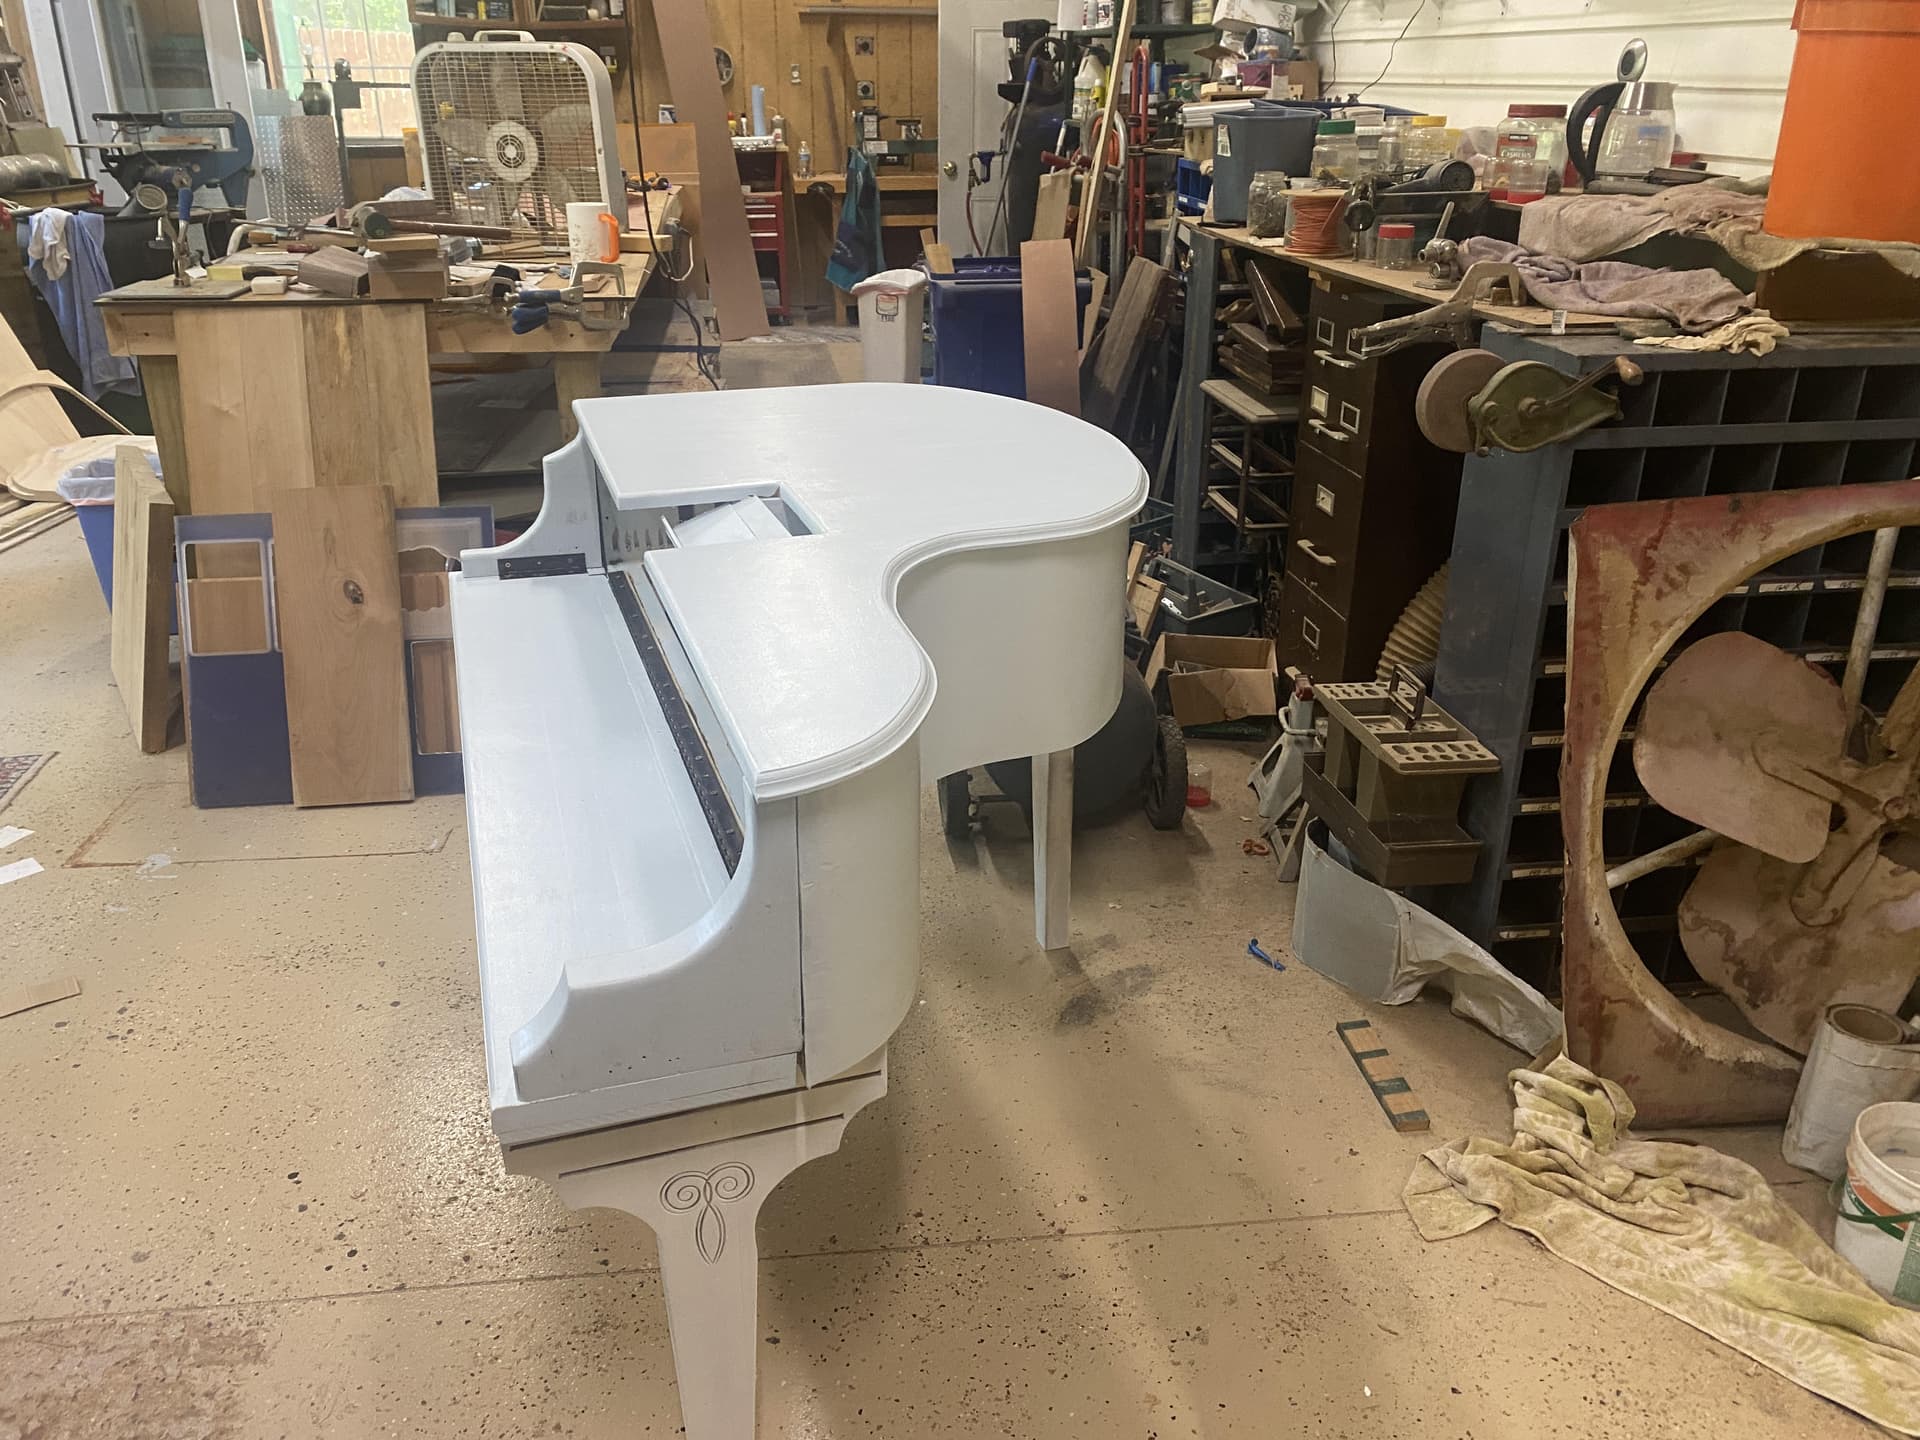
The shells fold up with the keyboard folding along with the legs making both units able to fit into his Honda van easily.
36 Likes
Beautiful work and well done. Are they meant to hold a keyboard with weighted keys?
They will hold an electronic piano keybd that is usually a standalone.
2 Likes
The Trace tool from Shaper Tools would make getting your vectors easier from traced lines.
1 Like
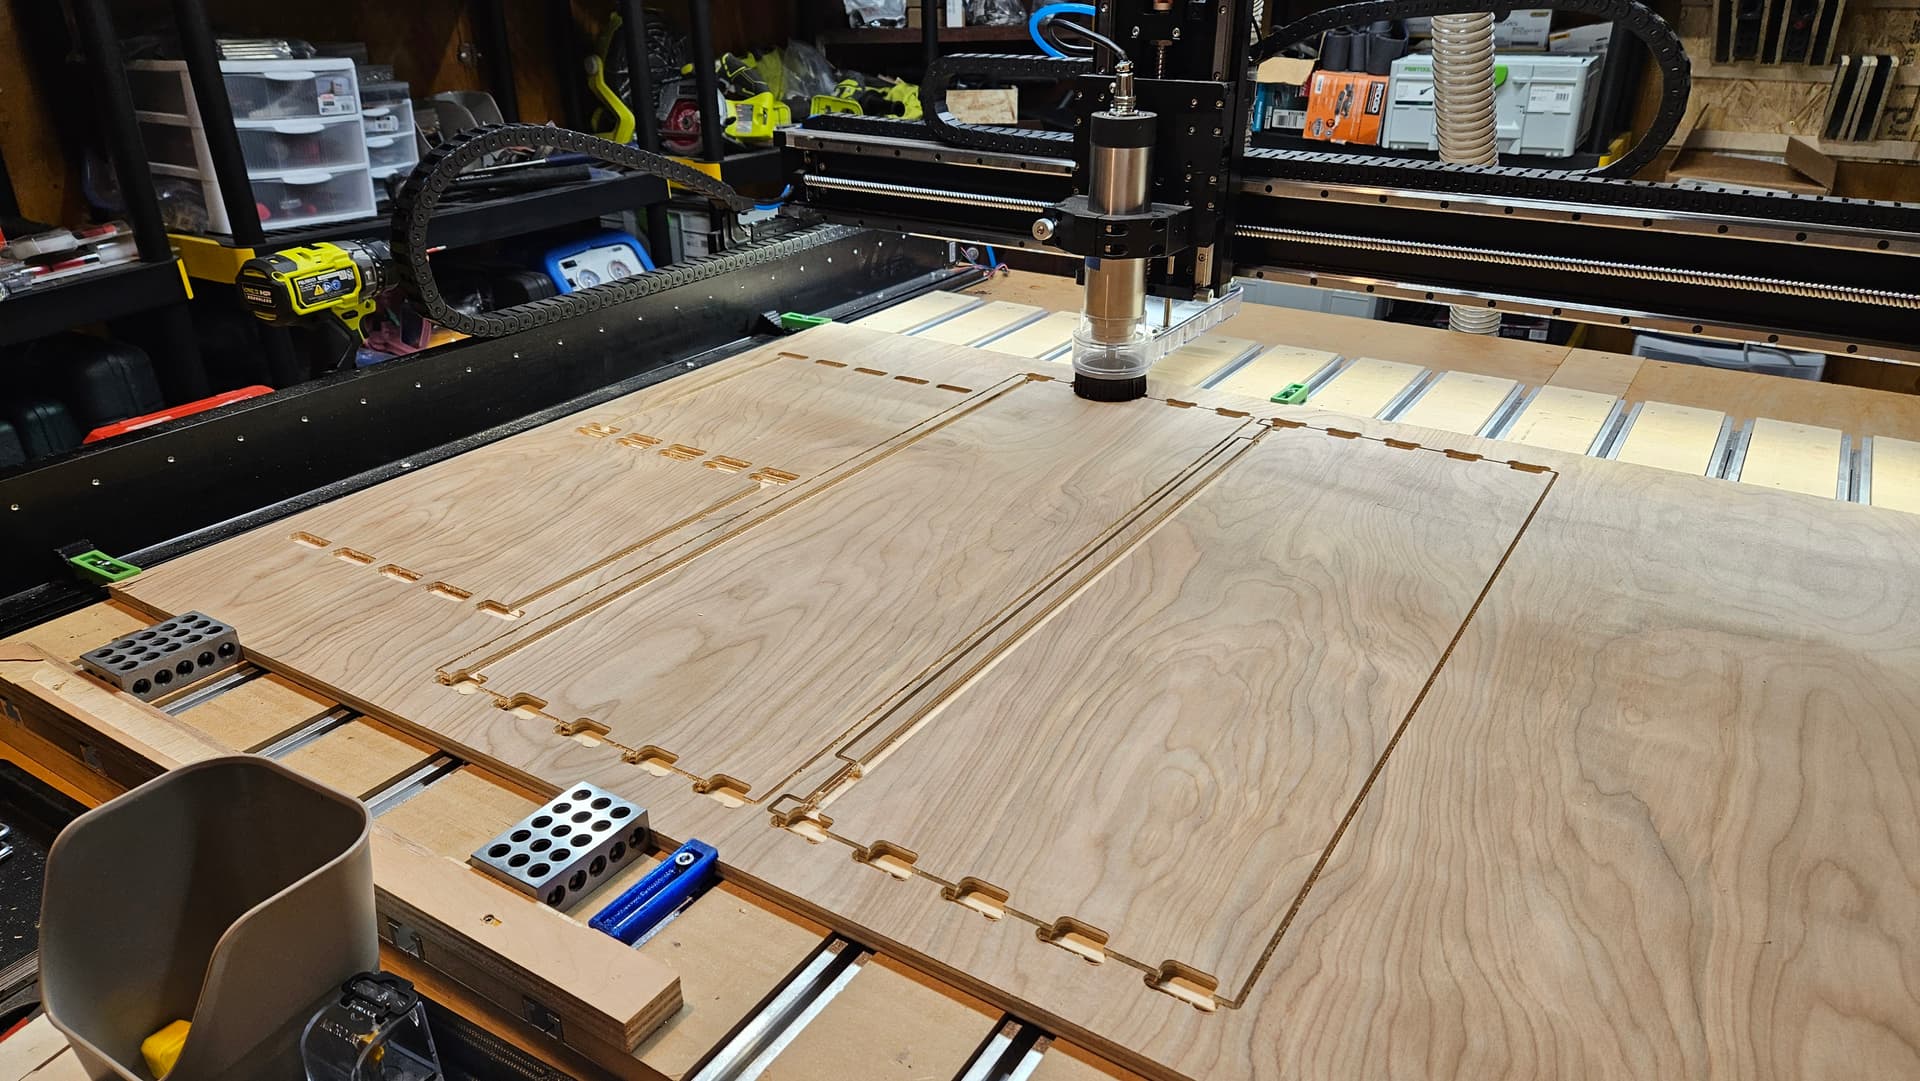
Did you cut your holes all the way through or just partial?
just partial, leaving something like 1/8" thickness. have not gotten around to doing the actual spoil board yet.
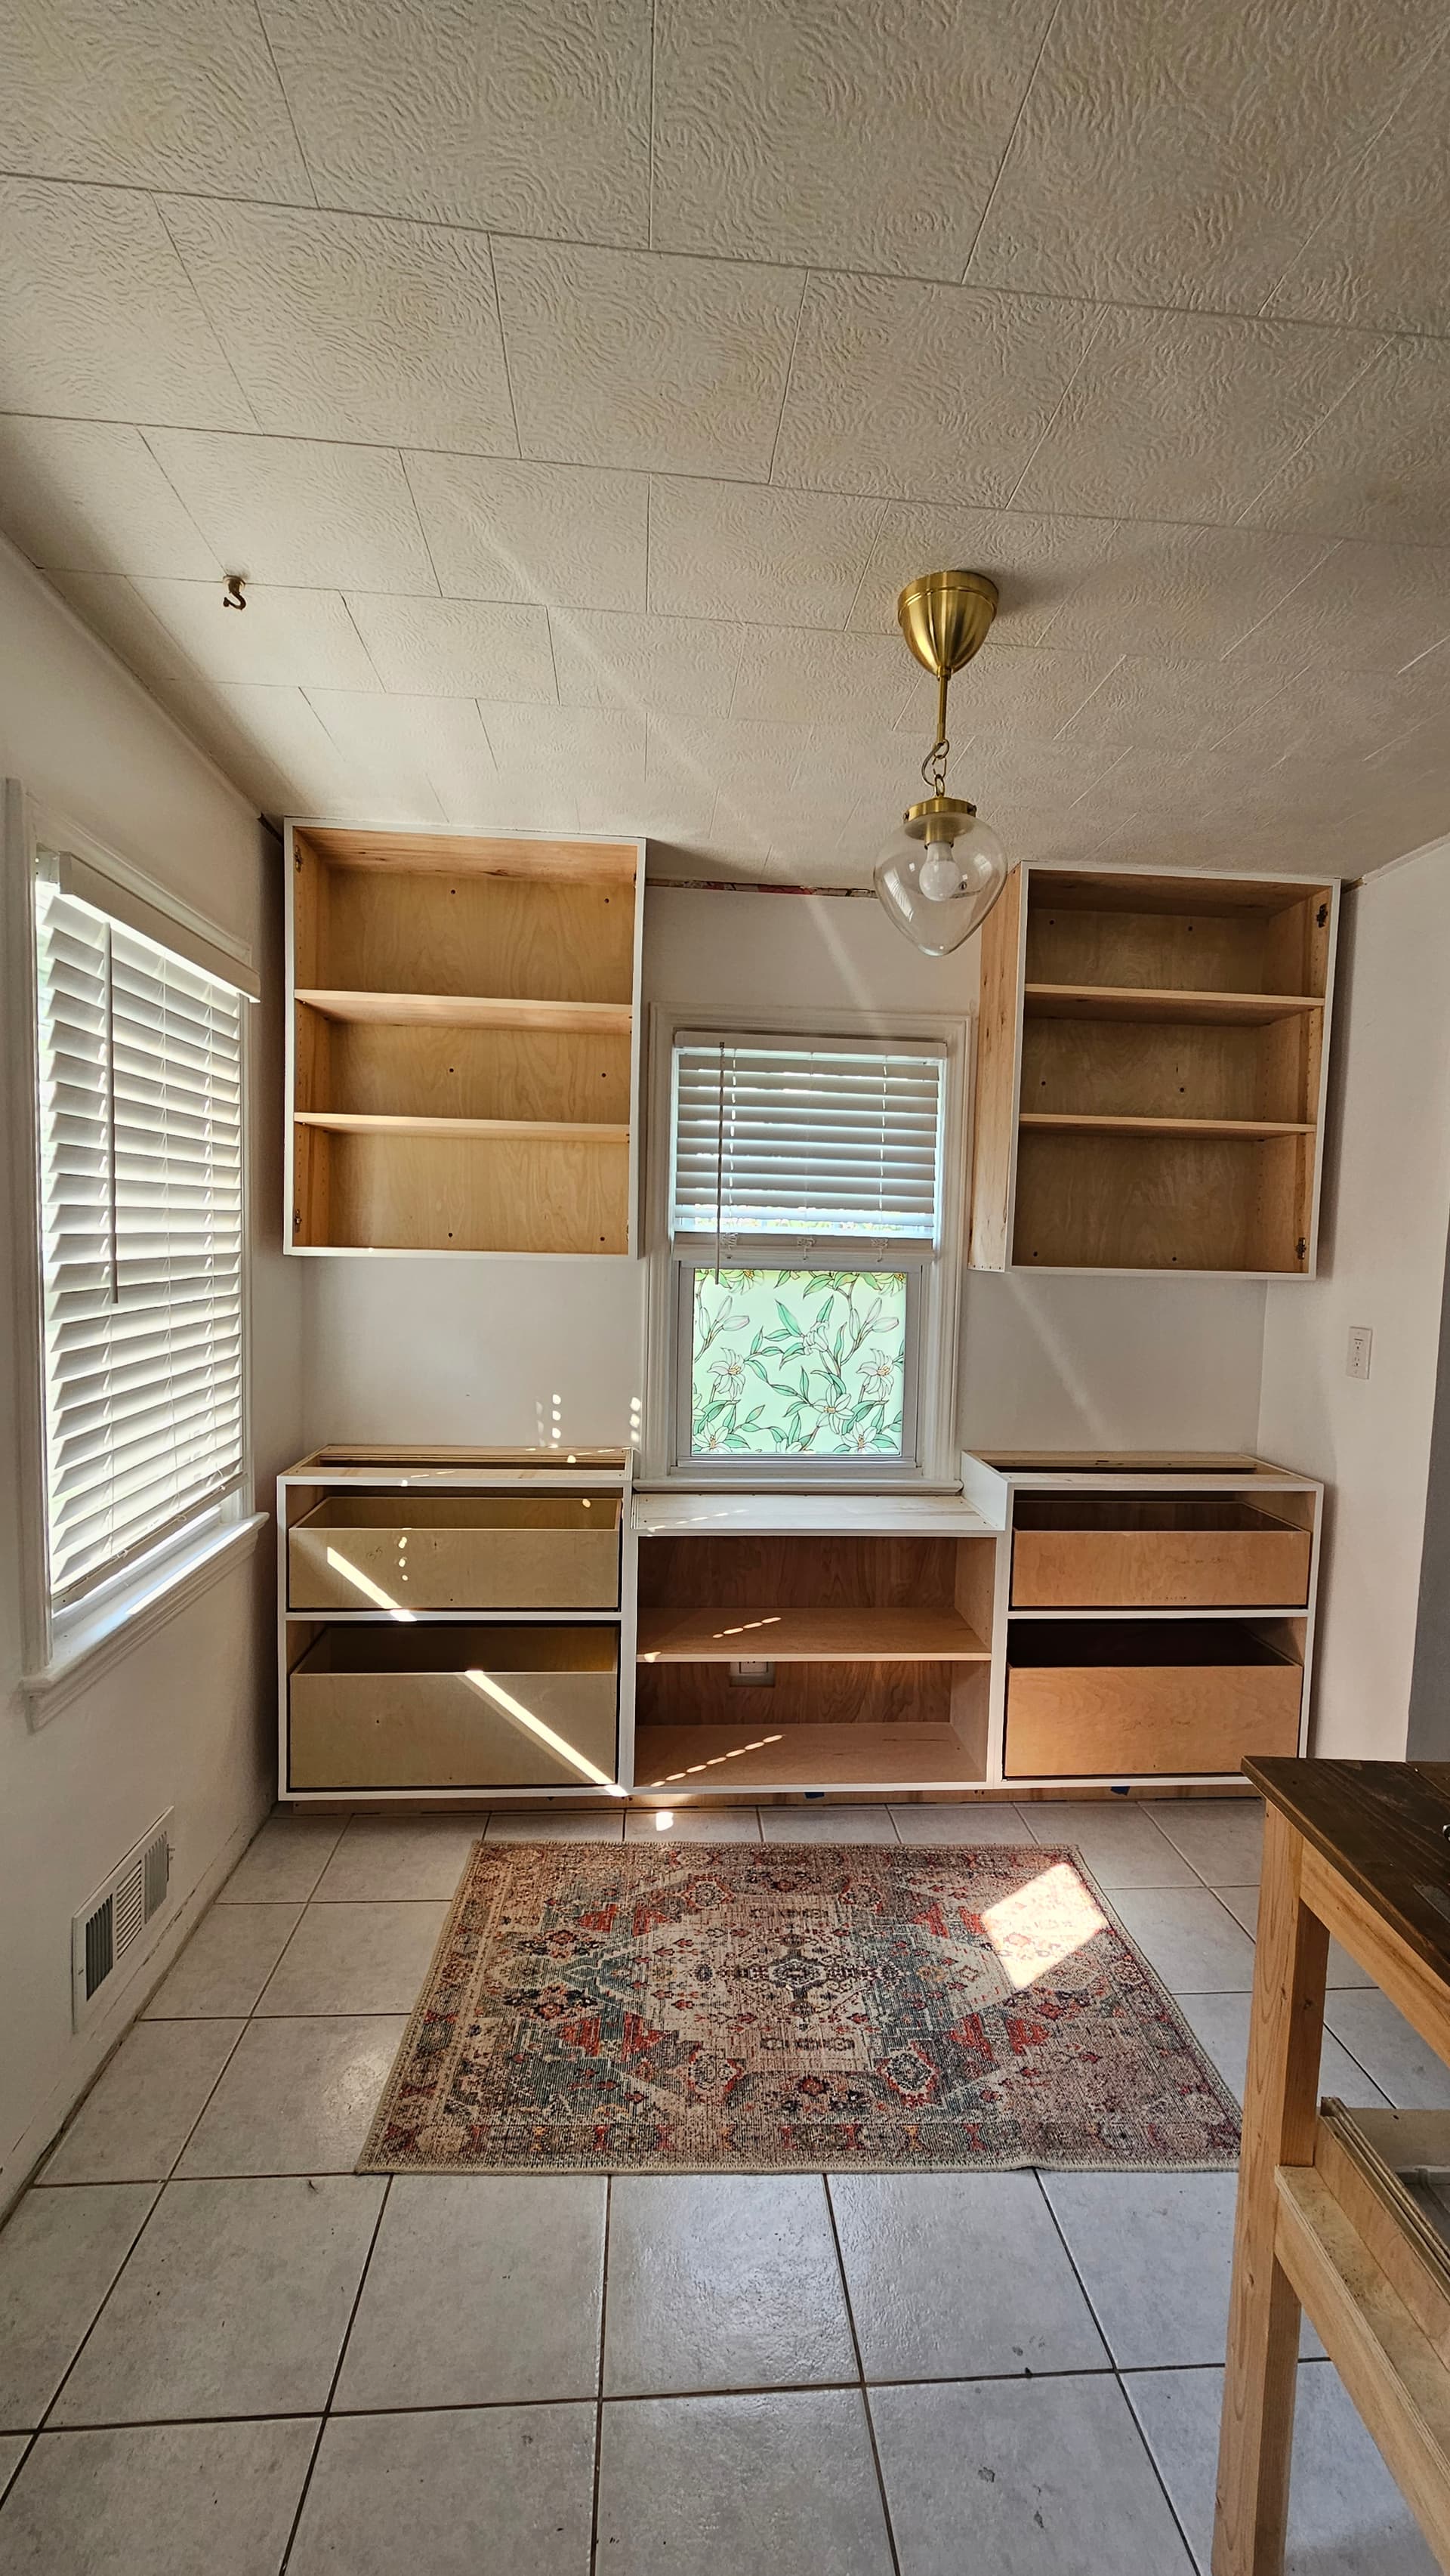
Kitchen cabinets. All cut on Shapeoko 5 Pro 4x4. Some slight issues due to crappy home Depot plywood with bows in them. But overall, it’s going well.
Next: doors, drawer faces, butcher block counter top, filler work and finishing touches. Then, the other side of the kitchen. ![]()
22 Likes
I made the commitment today. I decided to go .5” deep which left about .14 at the bottom.
The left side is centered .75” from the edge of the MDF. This gives me enough reach from the left side TTrack to put clamps in there. I would have moved all the way left to the last MDF slat but then there would have been no good way to clamp other than recessing the threaded inserts.
6 Likes
As an experiment I dummied up some doors for the wife. Shapes like Fleurdilis, hearts, leaves, all supported by the frame of the door. Placed colored plexiglass behind. I loved it, she did not. I liked being able to see the dishes, she did not.
4 Likes
so what are you doing for Zero? do you just have the resulting coordinates from the posts saved? or do you not change it often?
I haven’t actually used it yet, just cut it last night.
I will probably pour a piece in, use bitzero to find the corner and then record the machine coordinates. Possibly then create a macro to go to that spot and do some checking to see how repeatable it is.
If it’s good, the material fits and I use machine bed I should be able to simply touch off on the bed with whatever bit is used to set Z.
The primary purpose though was to allow me to slide in Y for tiling jobs and provide clamping on the left and right.
I do have the zero point of the axes that run through the center of the circles, but that is offset by the radius of the circles to get true XY. I will do the math on that and see if it agrees with what I get with the bitzero.
I may cut the pipes shorter for thinner stock. It was quick and dirty last night.
1 Like