Feeds and Speeds? This is something I’ve been wanting to get better at; so maybe you could share yours?
2 Likes
That is Badass!! Who cares if you built it or not, it’s still BADASS!!
2 Likes
That looks great I always love these.
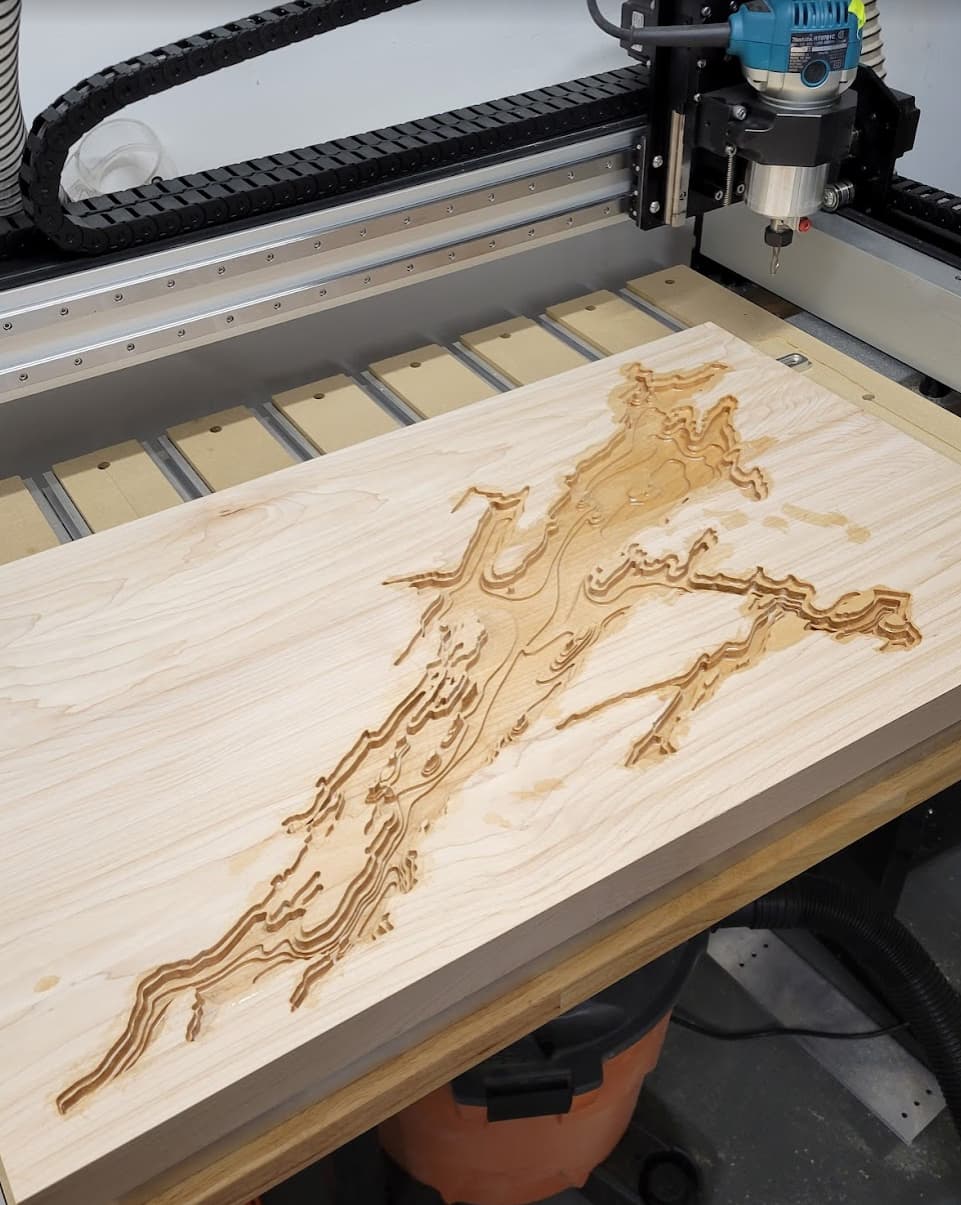
Often when I do Lake Depth Map Charts I mix a darker color for the deepest sections, let it set up and get tacky, then pour next layer lighter, and lighter til I reach the top… Takes a bit more time, and multiple times mixing but effects are really cool.
2 Likes
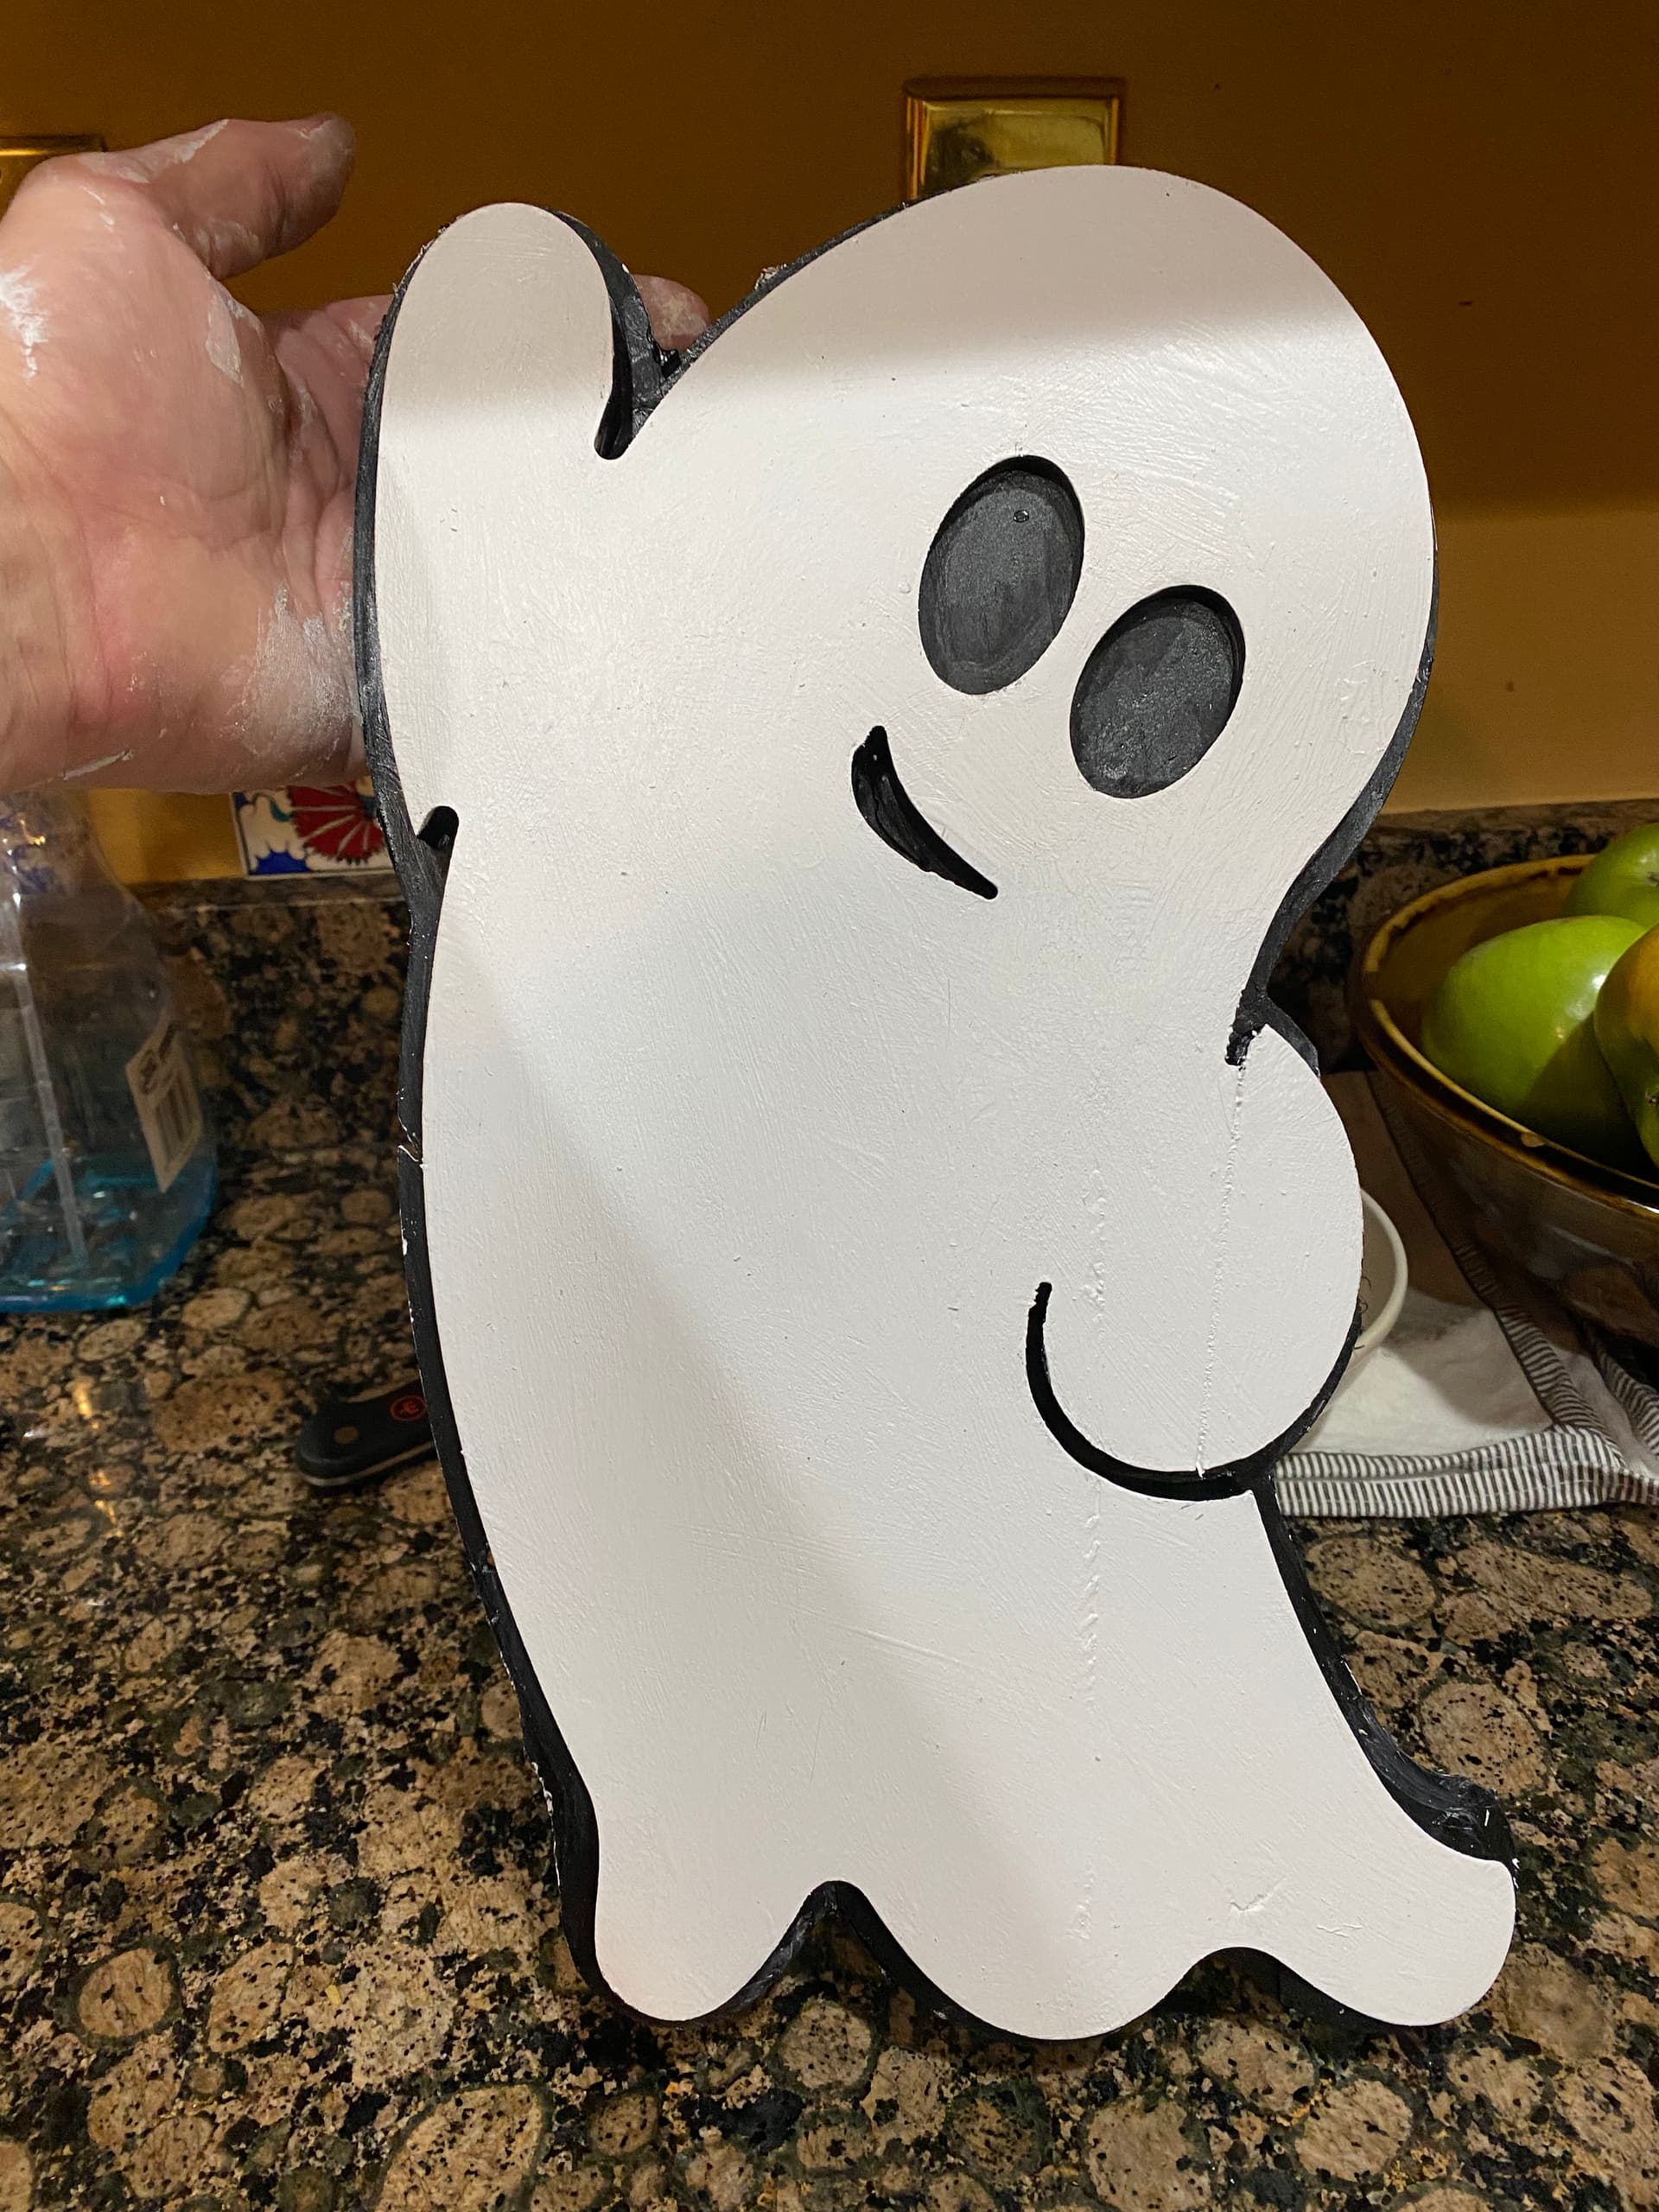
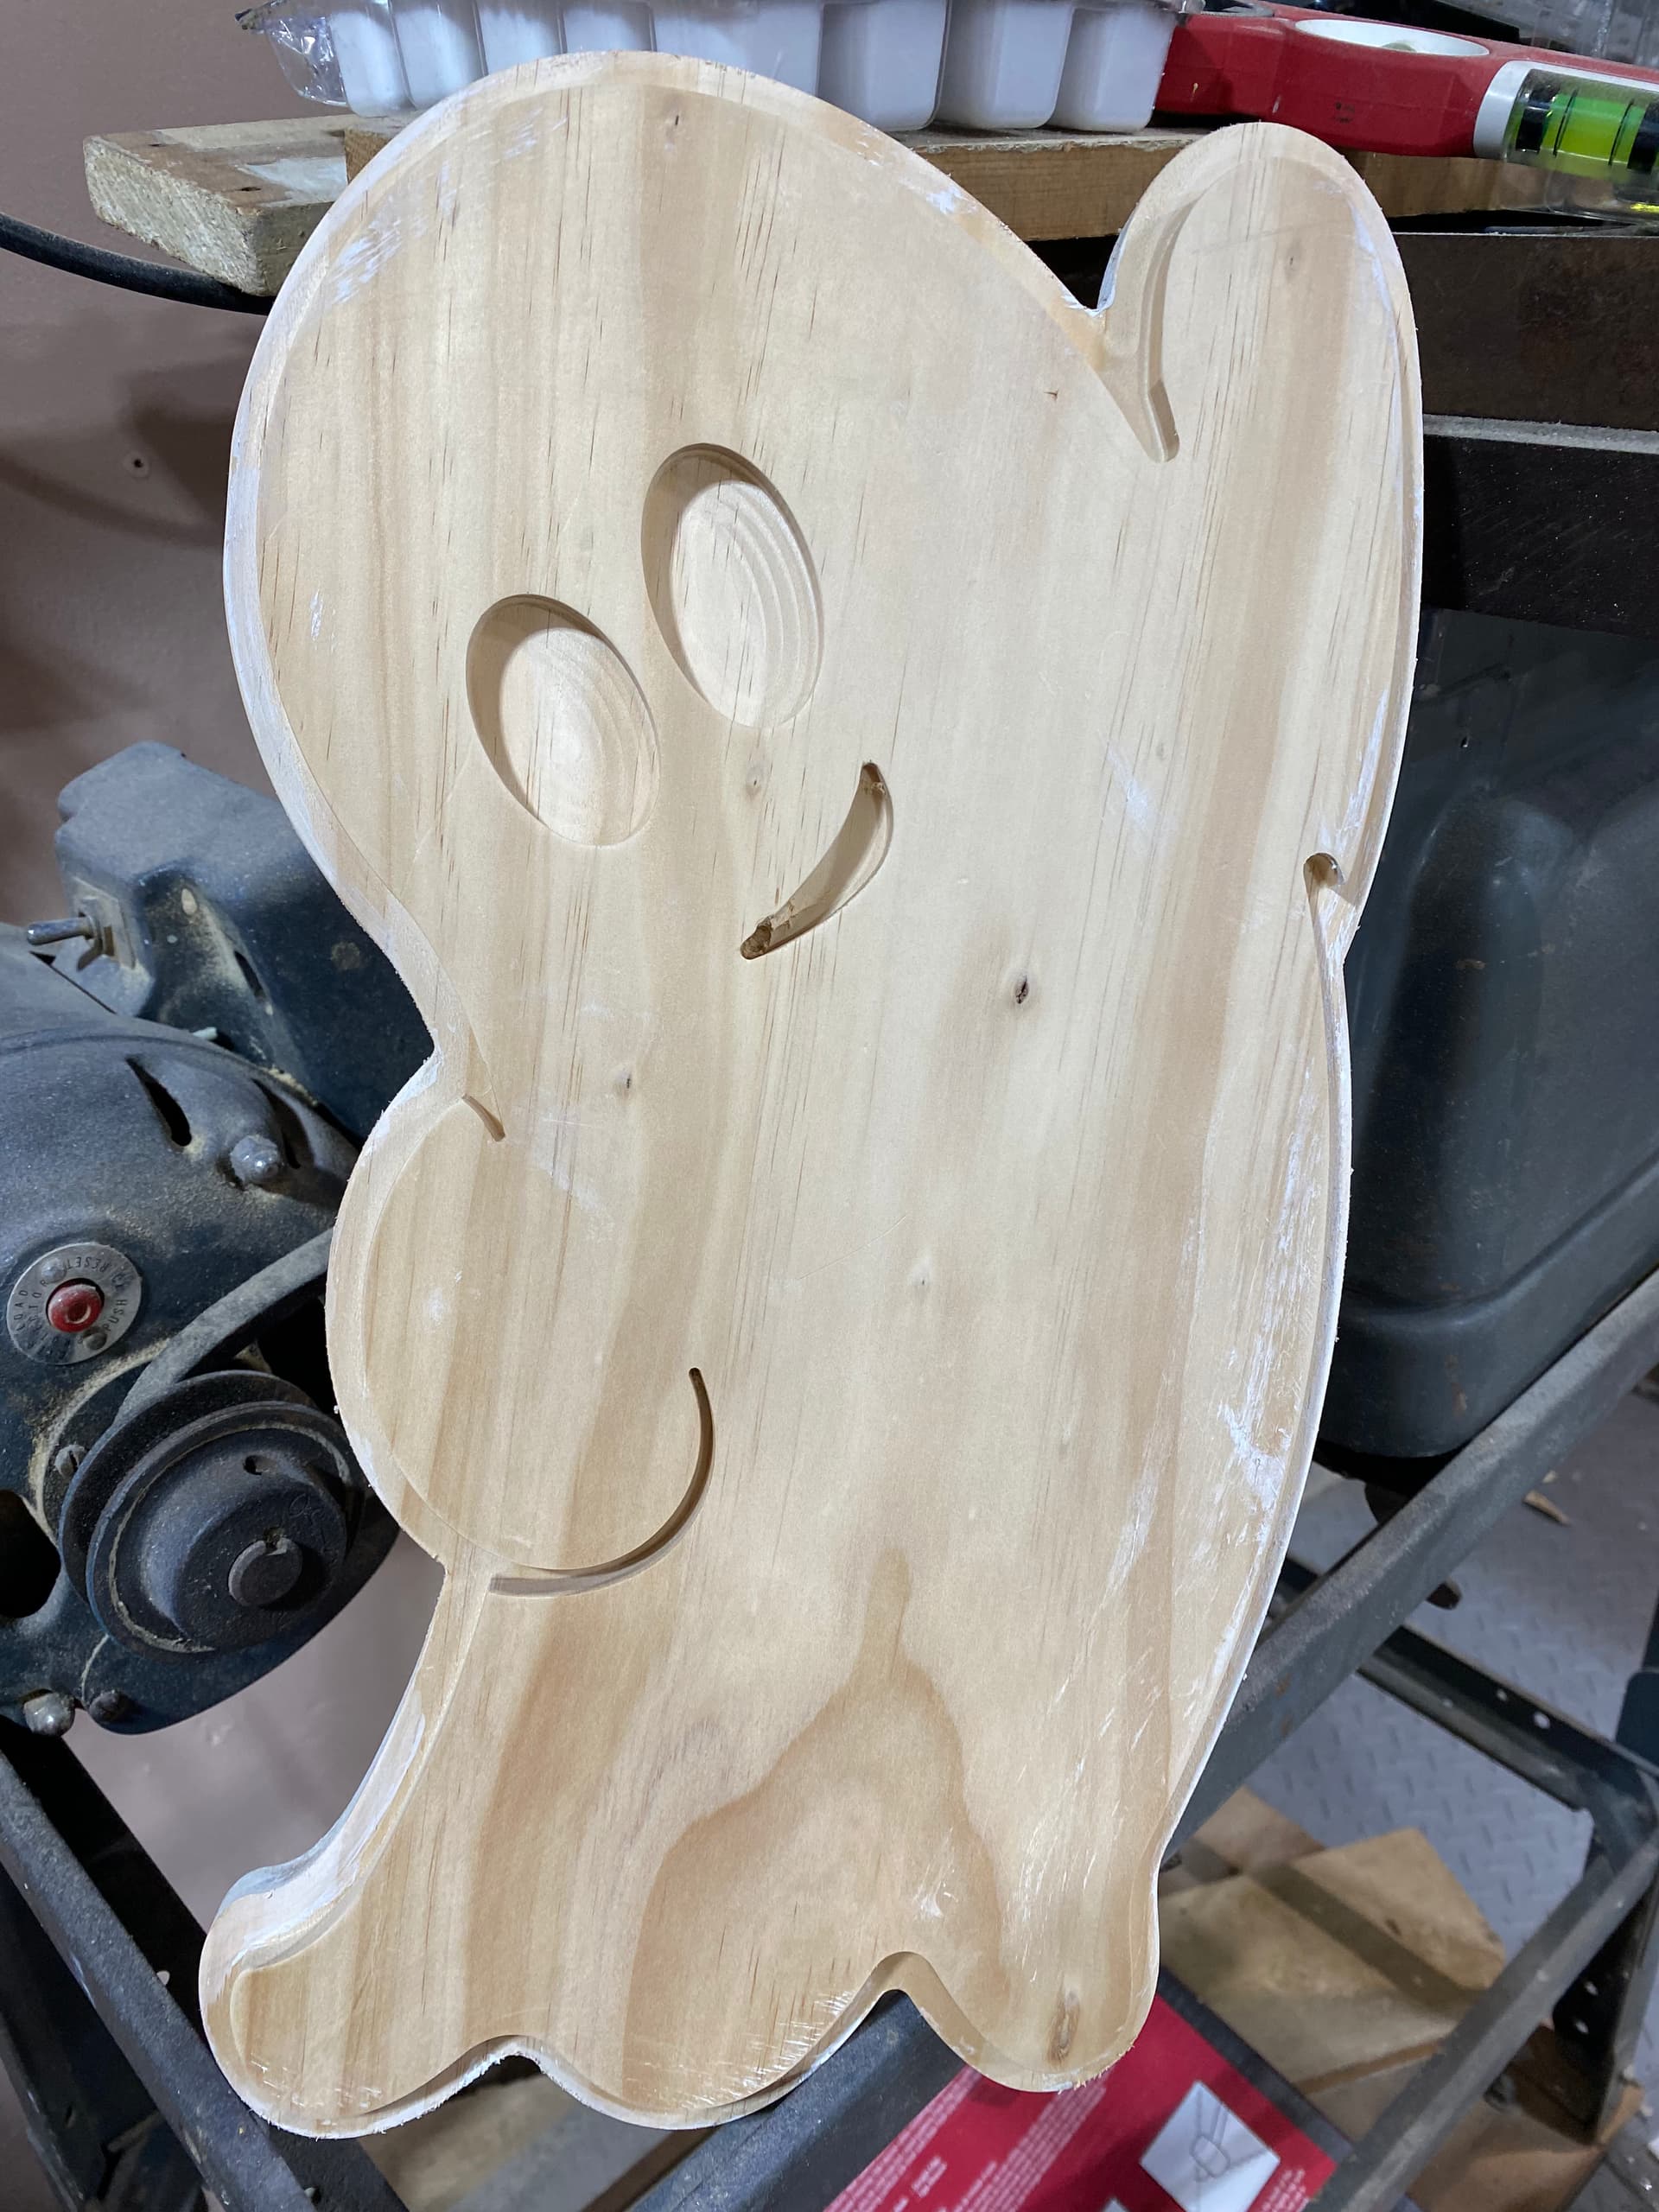
Here is a sign I did using masking technique for painting.

- I used drawer liner as mask whole board after painting silver. (let dry)
- Cut inset and microphone (Advanced Vcarve) and painted white. (let dry) note: masking still over mic. and frame)
- Masked the white area. Advanced Vcarve the Red and blue frame and lettering.
- Covered what I wanted RED and painted the Blue. Then flipped the cover over the Blue portion and painted the Red.
- Removed the cover to allow to dry.
- After dry removed the masking.
Have a little touchup to go before finished.
20 Likes

Oh, he built that.
I think Max was referring to the fact that the 3d printed fence want cut on the Shapeoko.
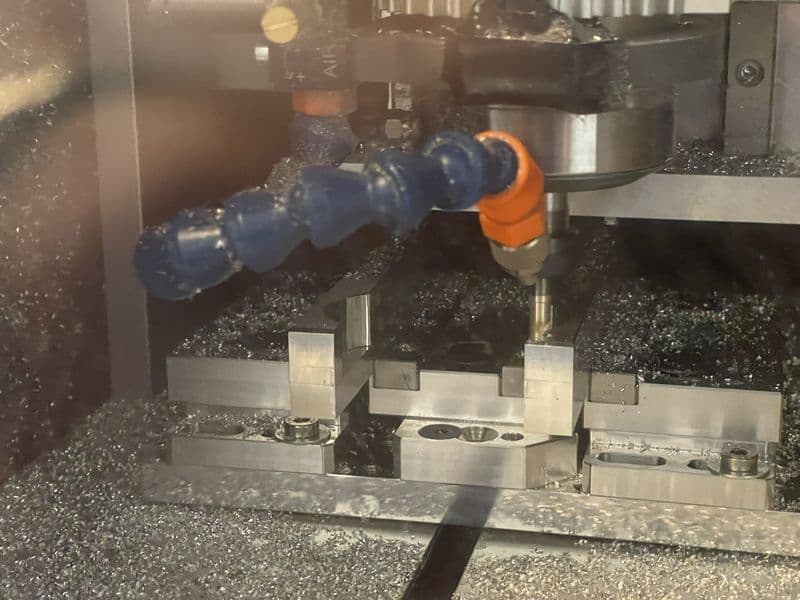
I’m not artistically talented like the folks here but I’ve learned a bunch of lessons with a recent project. Today was a mixed experience.
Successes:
- I slotted two parts at once and pretty deep (12mm with a 1/8" endmill) without any issues:
- The stock measurements and Z-zeroing were so spot-on that by the end of the job, the protective film on the bottom of my stock had barely been touched:
- The endmill left a fantastic surface finish on the walls:
- I used my dual-station mod vise successfully for the first time ever:
- I successfully used my spot drill to lock in the right positions for some deep holes, then used my little Bosch drill press to successfully drill the holes, which I then threaded.
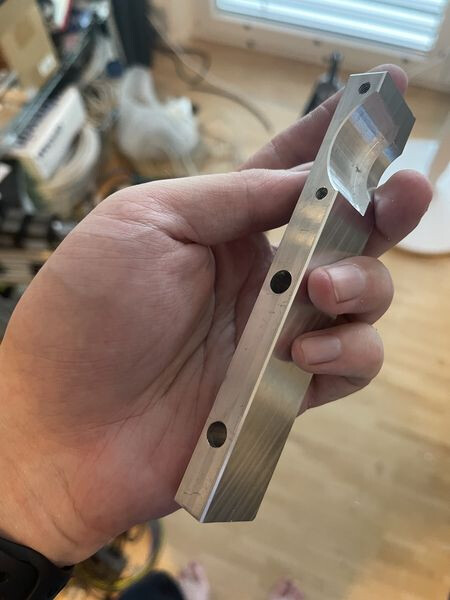
- In the end I got a nice-looking part that matched the design pretty well:

Failures:
-
The two 6mm holes on the bottom end of the part are meant to fit onto some Alumnium extrusion. When designing the part I thought I had 2x45mm extrusion (90mm total) but in the end I had 40mm, so the distance from the center of the circular cutouts on the side of the part to the closest 6mm hole was wrong, as was the total length of the part. That rendered the entire part useless.
-
The layout the two smaller holes are meant to match looks like this:
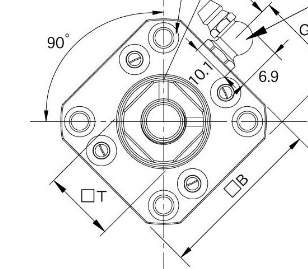
They’re 22mm from the center and they’re meant to be spaced 90° apart from each other. In CAD, I got the distance constraint of 22mm right but and I added a vertical constraint then decided I was done. Unfortunately, I never constrained their distance from one another, so they ended up being at the wrong place on the part and the wrong distance from one another, so they didn’t fit.
12 Likes
Well technically this was made on a Tormach…but its for the Pro/HDM.
Uber lightweight steel “race” indicator mag base mount! Got tired of not being able to mount and indicate in things easily. Prototype in hotrolled but I want to make some in 4140
14 Likes
Nice! This looks super nice considering it always bugged me that I always had to find weird ways to mount my indicator. Does 4140 machine better than hotrolled, is there some reason it is nicer?
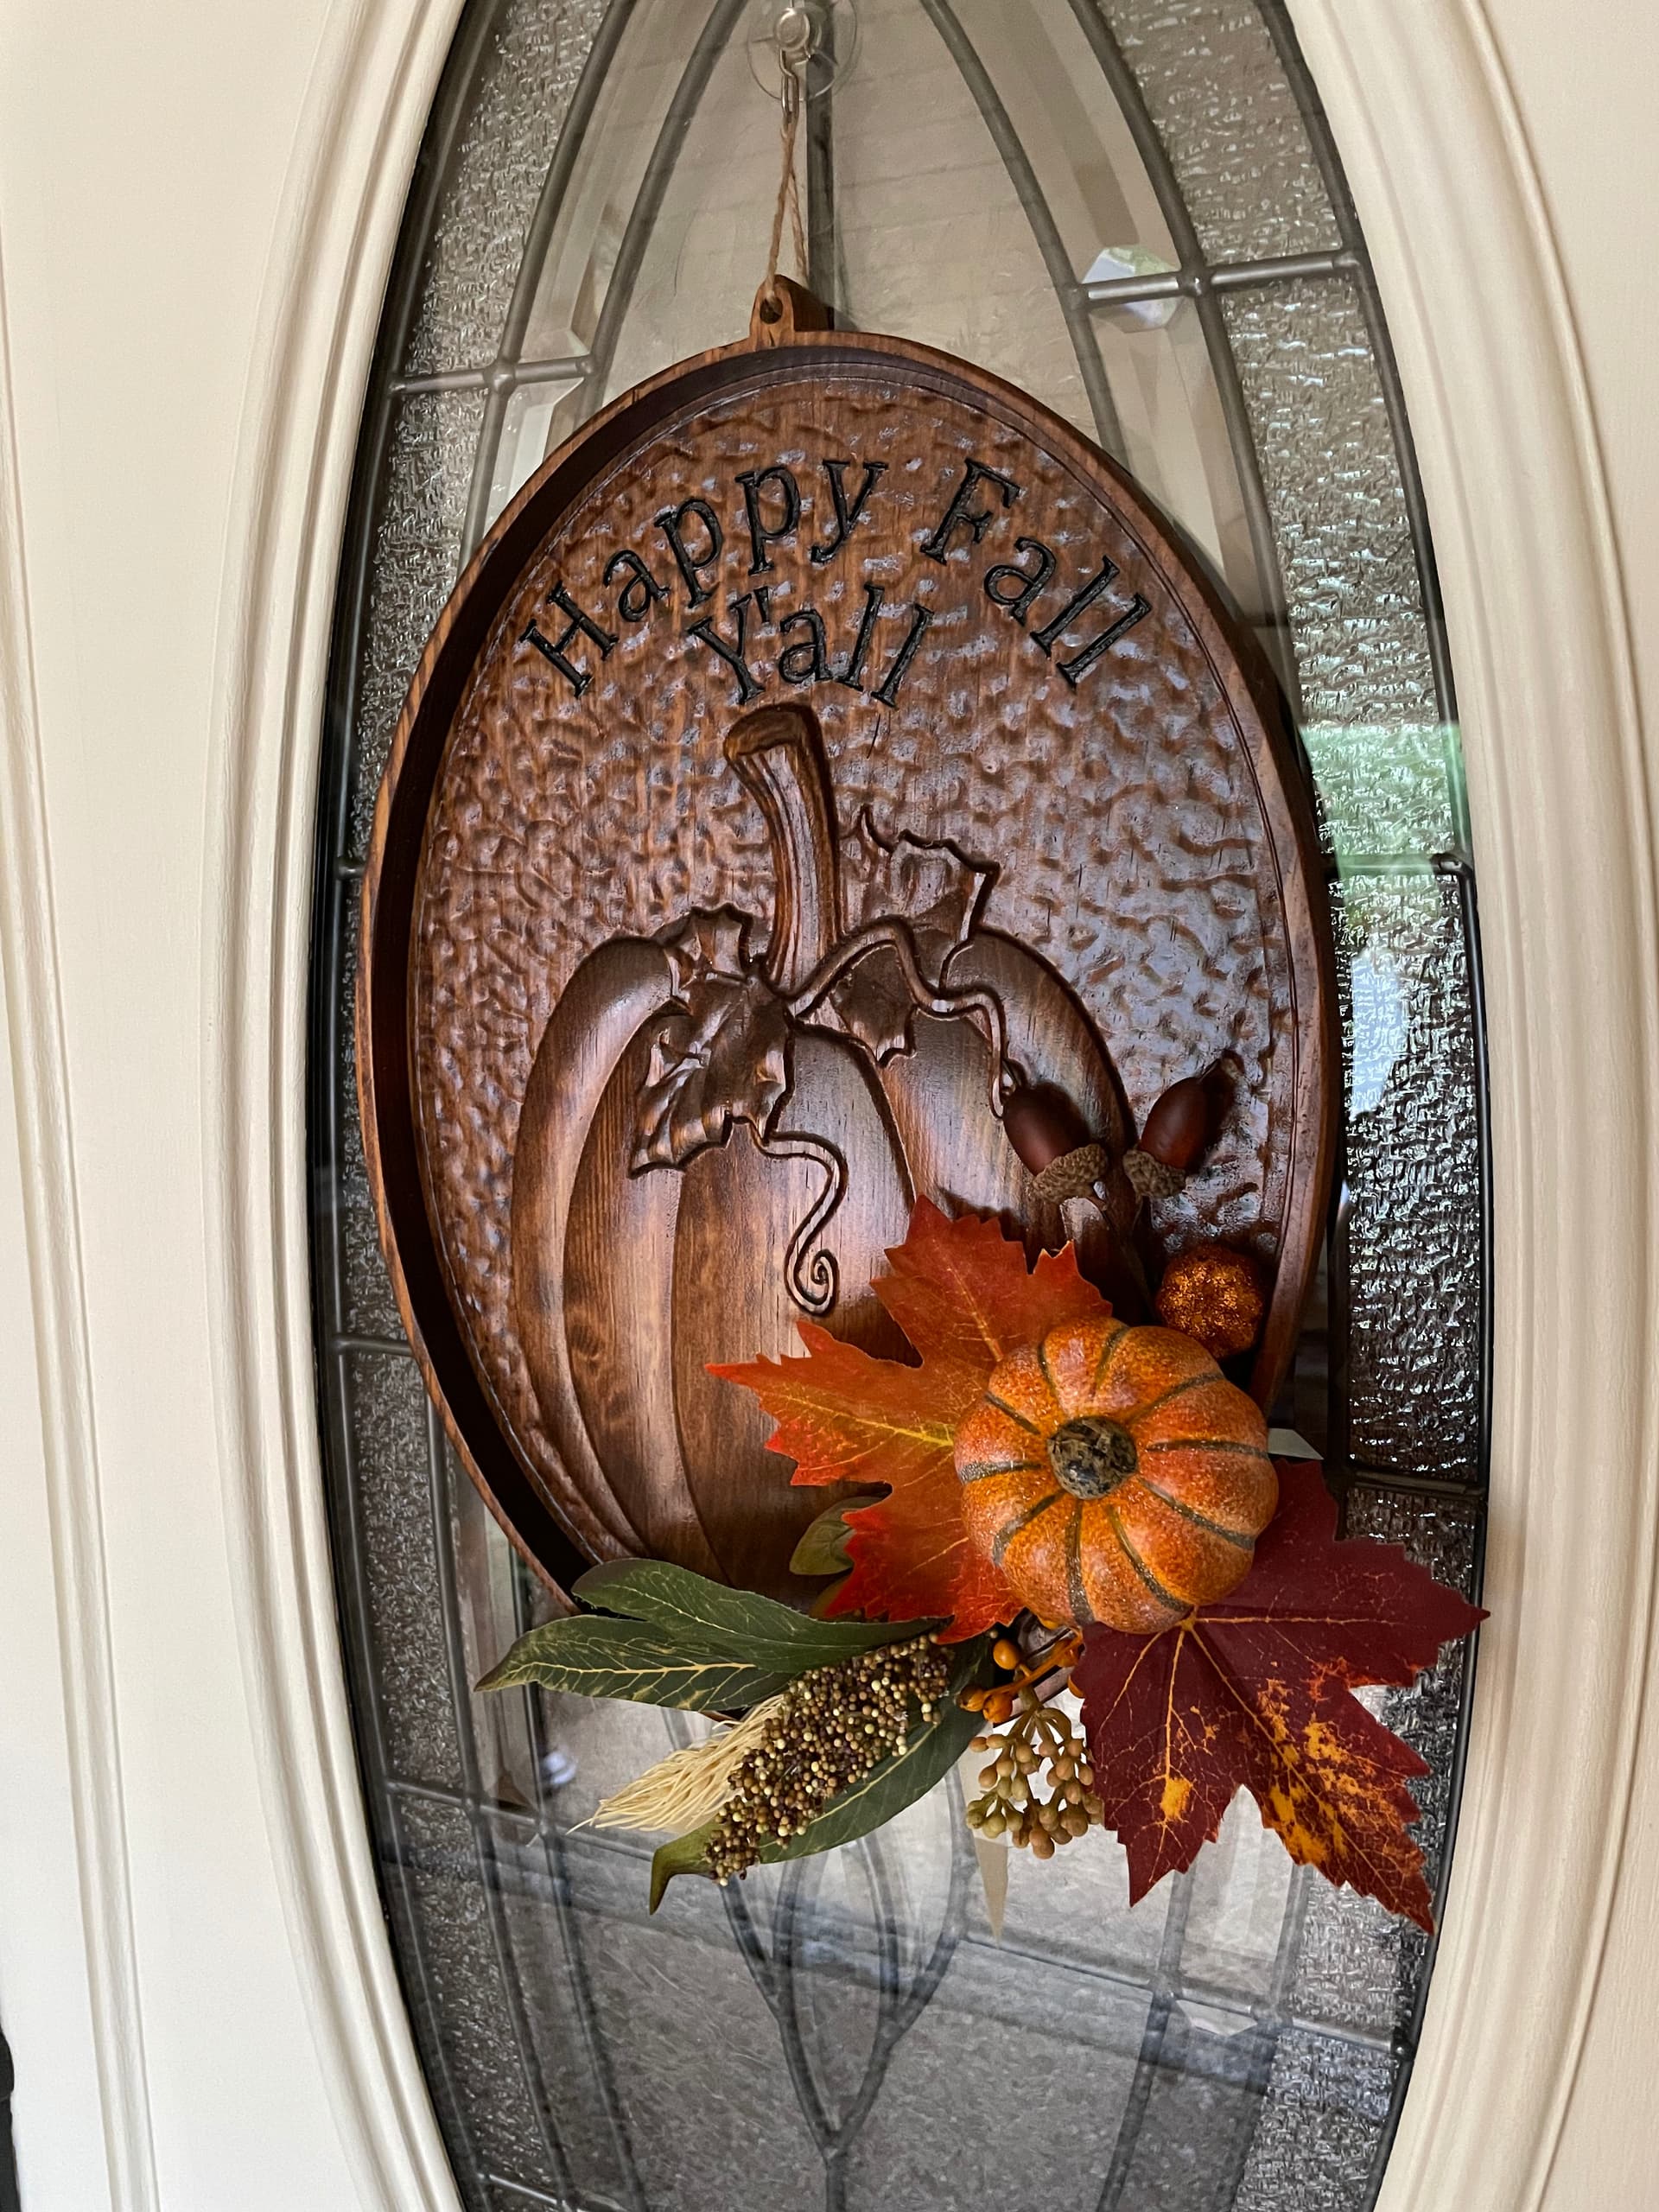
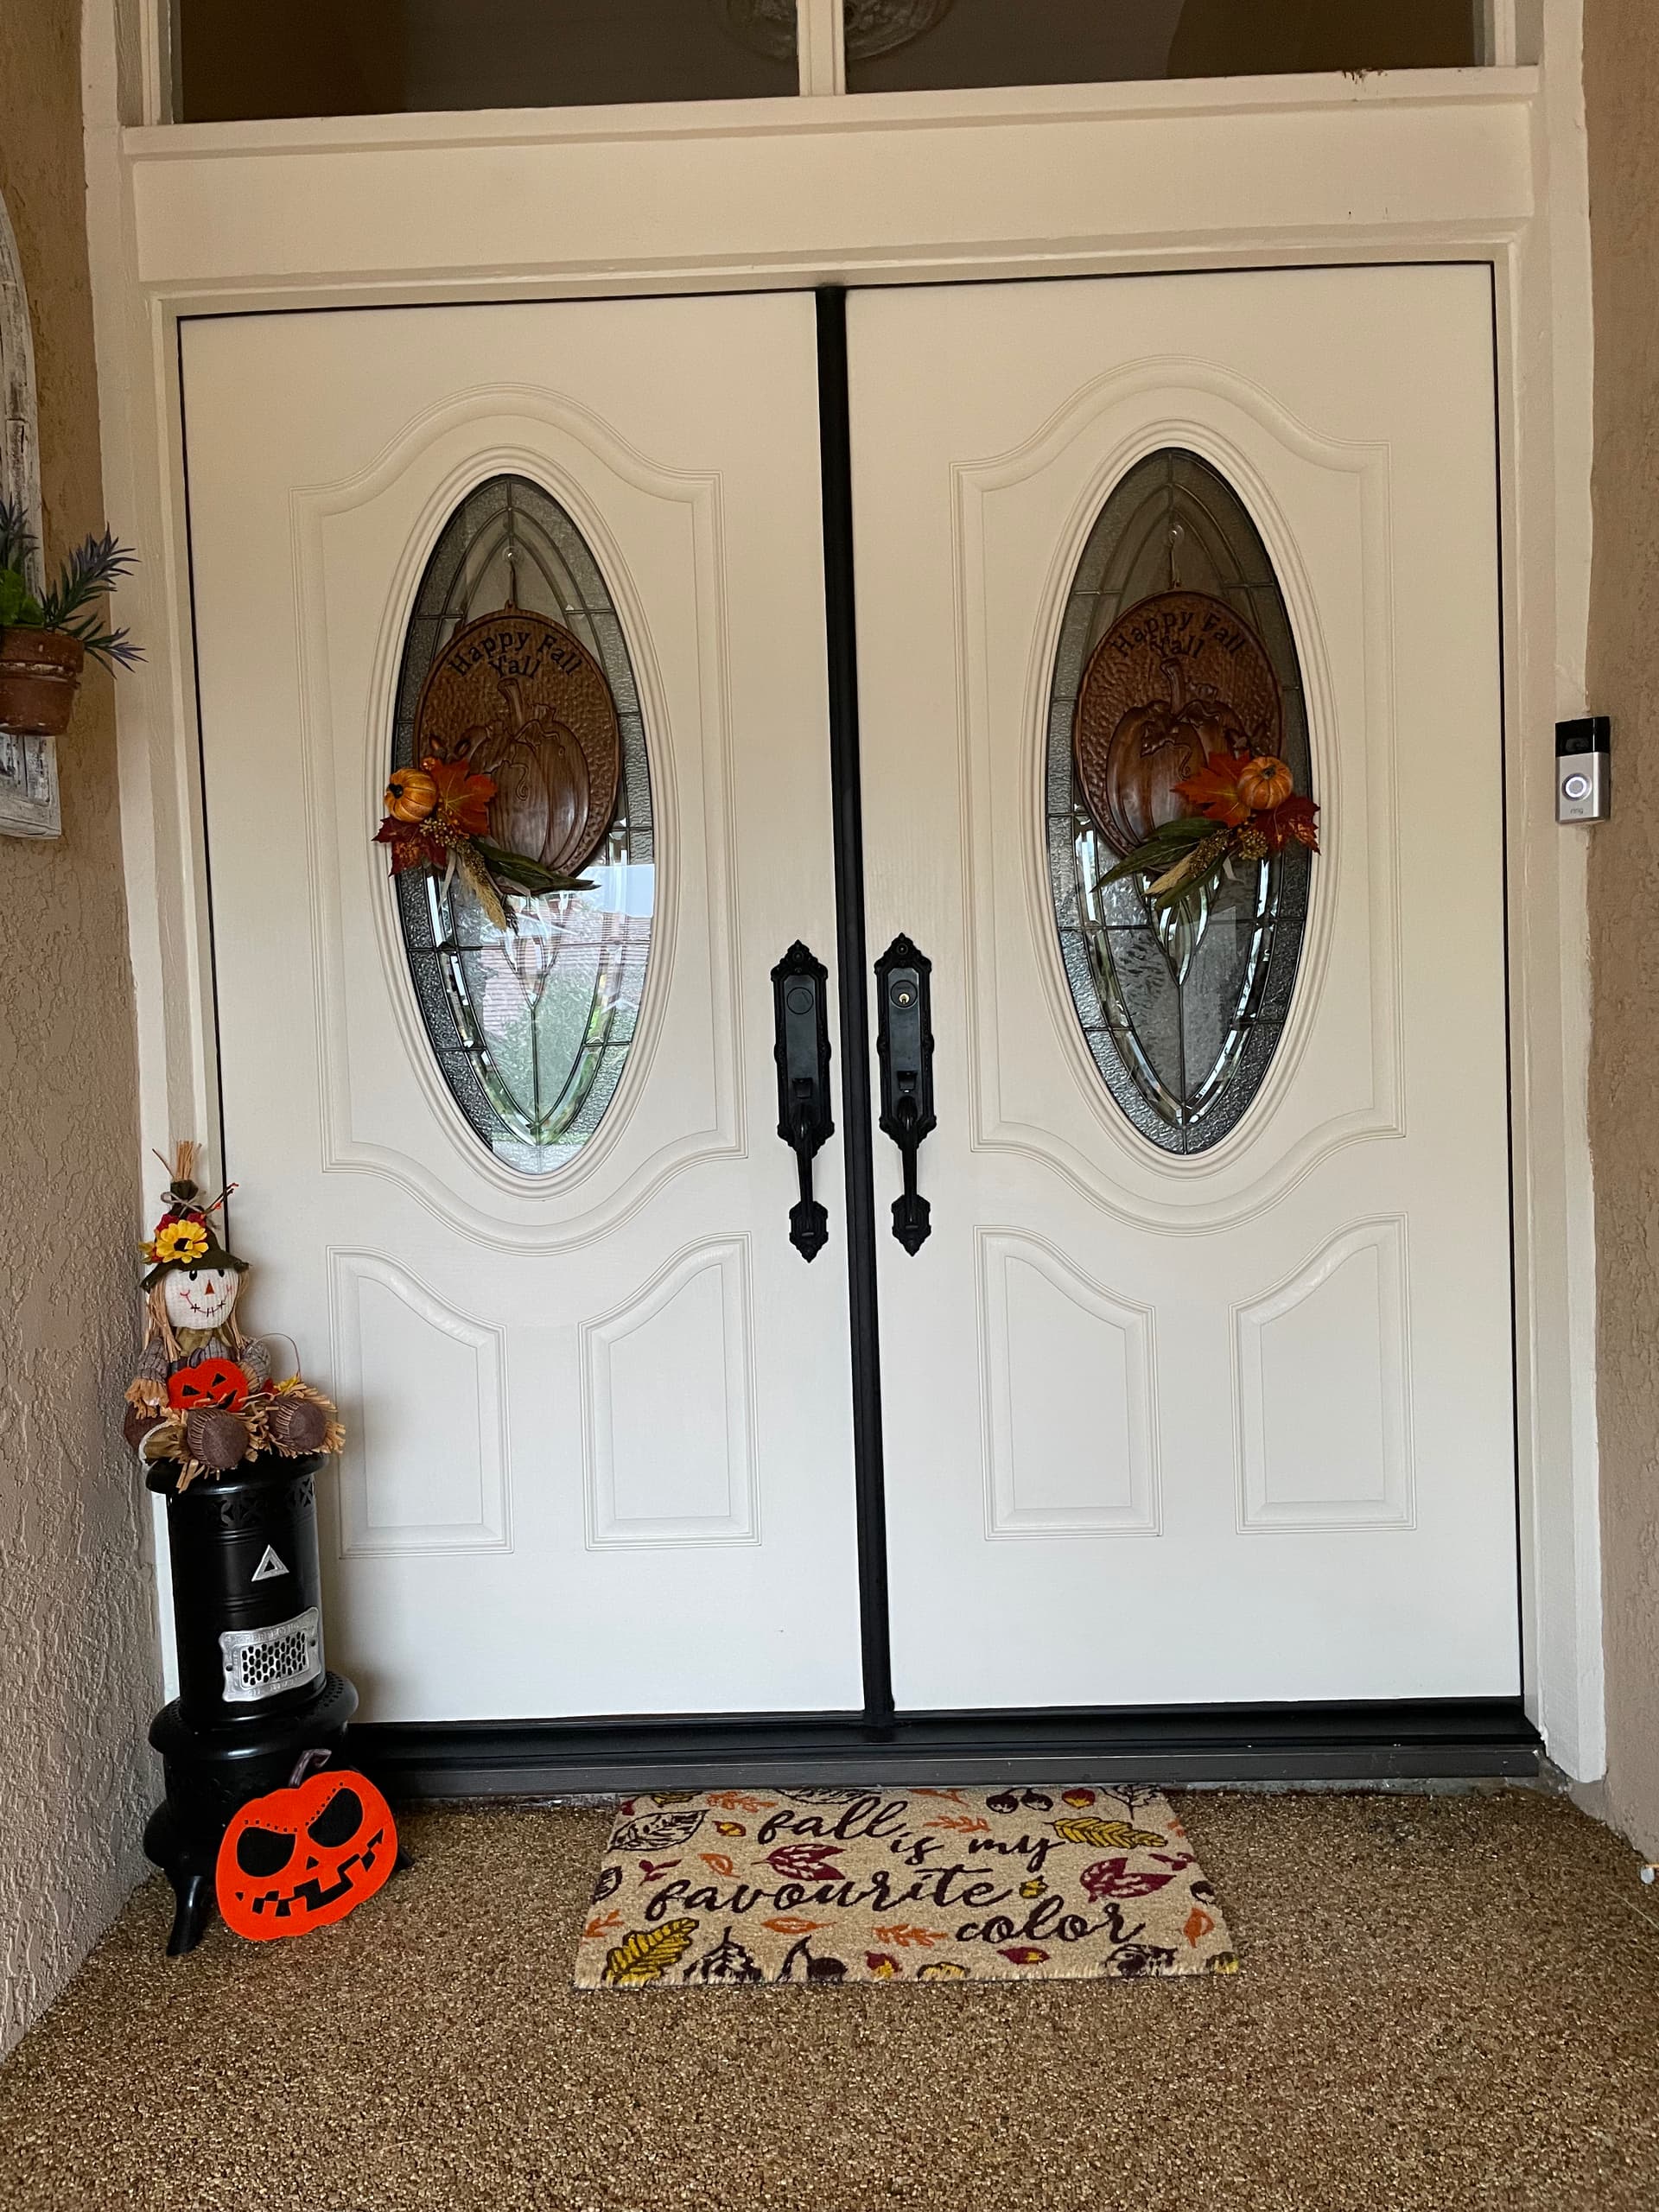
Very nice! How did you do the background texture?
It’s from VCarve pro, beaten copper texture, tweaked a bit for this application.
I know it’s simple, but would you mind sharing the file on this?
1 Like
Those are really cool looking! Did you prep the slate before hand or was it just raw slate?
1 Like
As soon as I get to a PC… Was done in Fusion 360.
Edit: Here you go.
Toy Sword v1.zip (1.4 MB)
1 Like
23 Likes
Max’d out the bed for this cutout on the PRO XL. Had a lot of freezes in CM which was frustrating, first time it has happened since owning the machine in the spring.
5 Likes
Let us know about the disconnects at support@carbide3d.com and we will do our best to assist.
1 Like
I did, we’re talking  The expoxy is poured so weds/thursd I can finish this up to free up the bed and then start the air cutting.
1 Like
Start the air cutting?
2 Likes
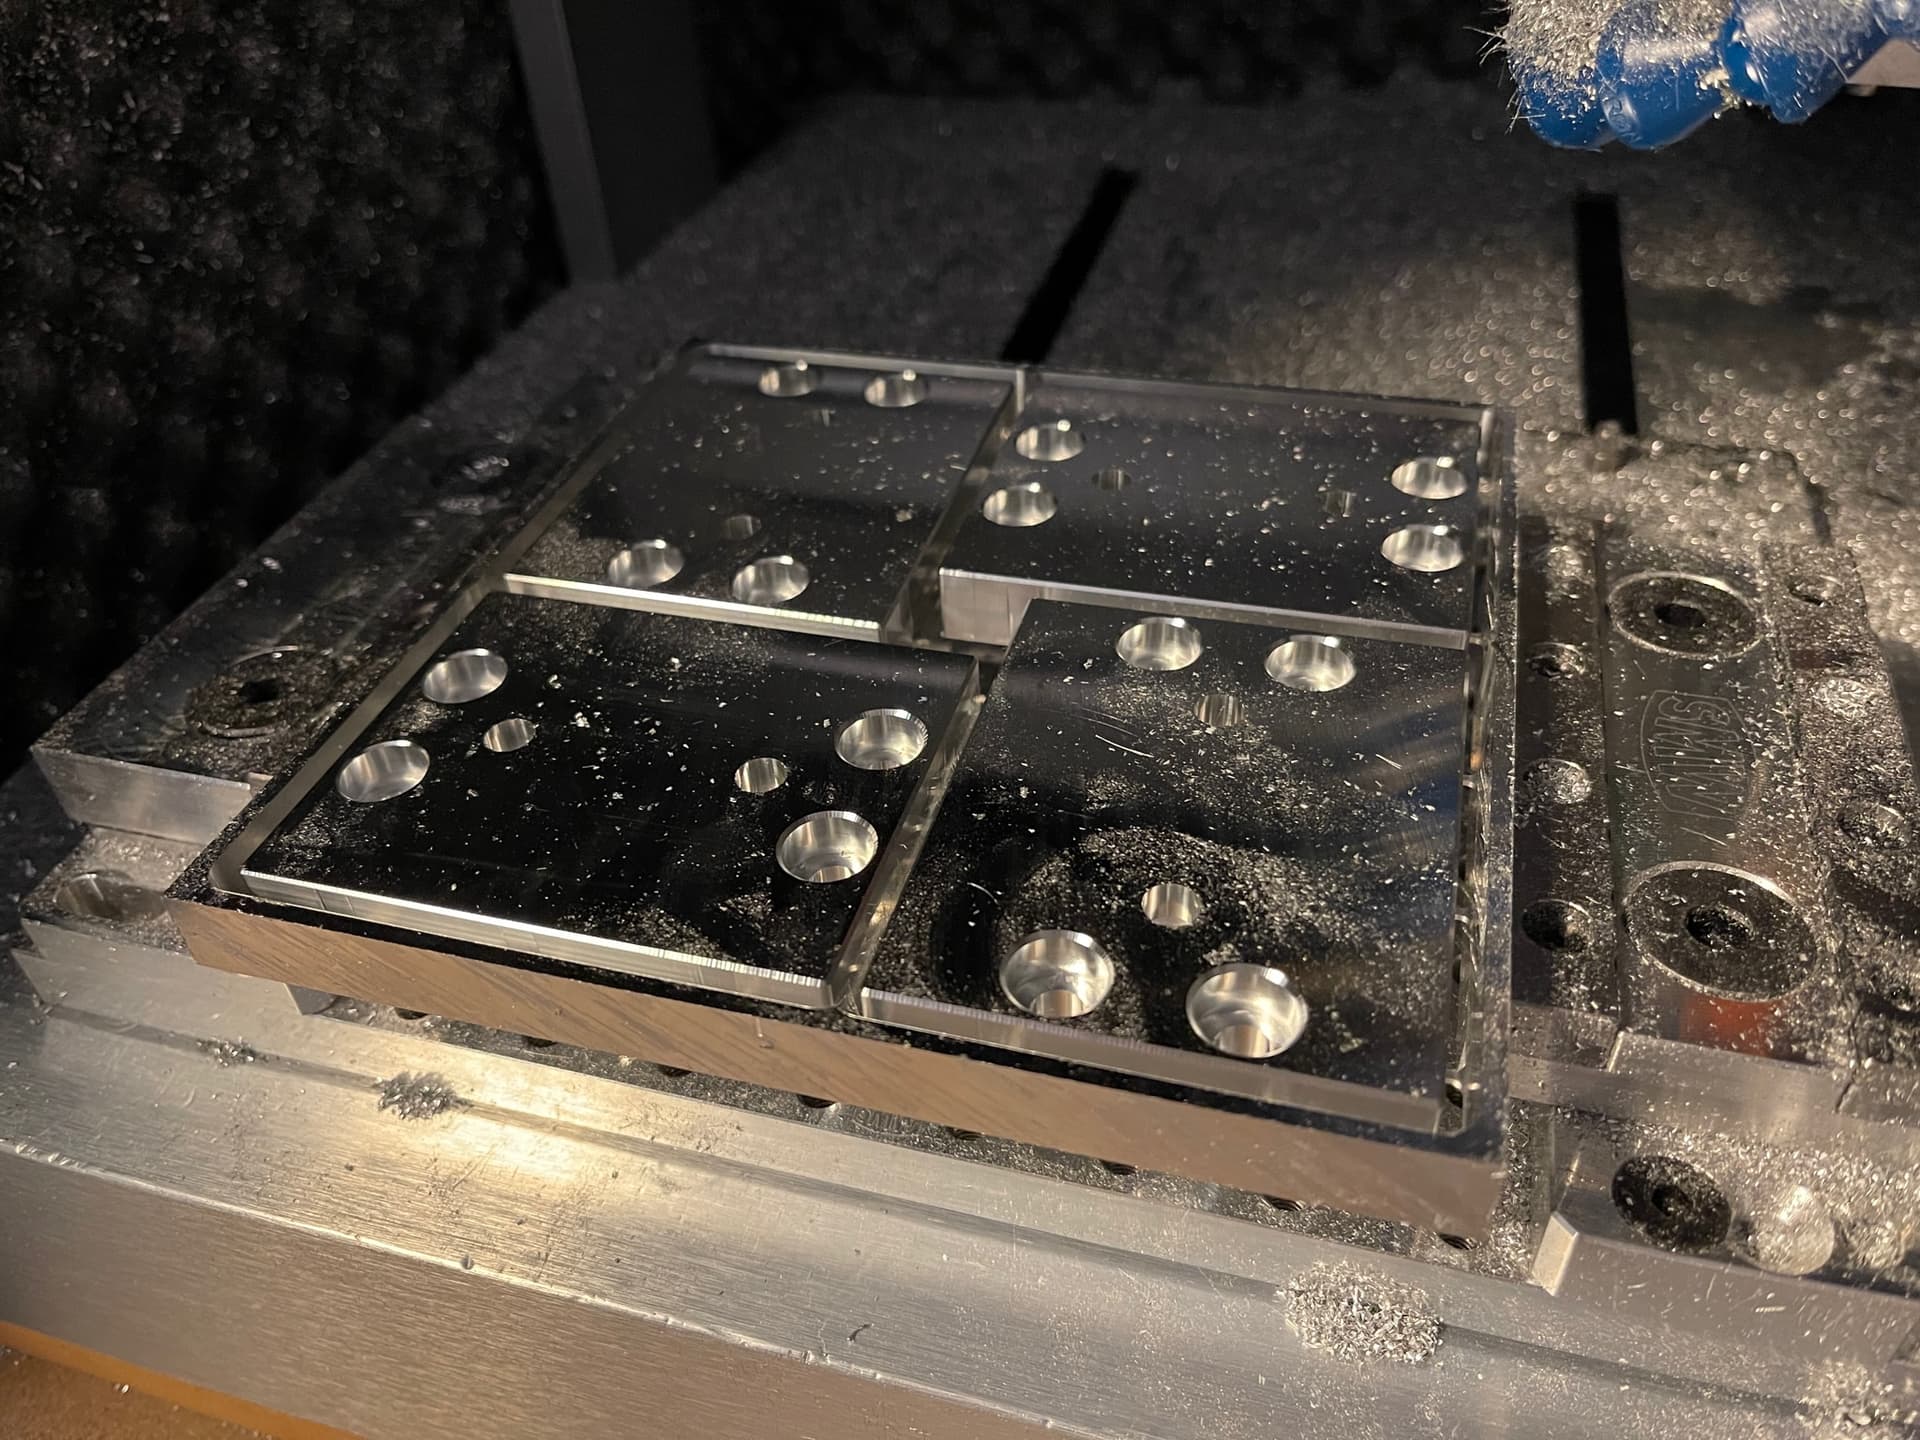

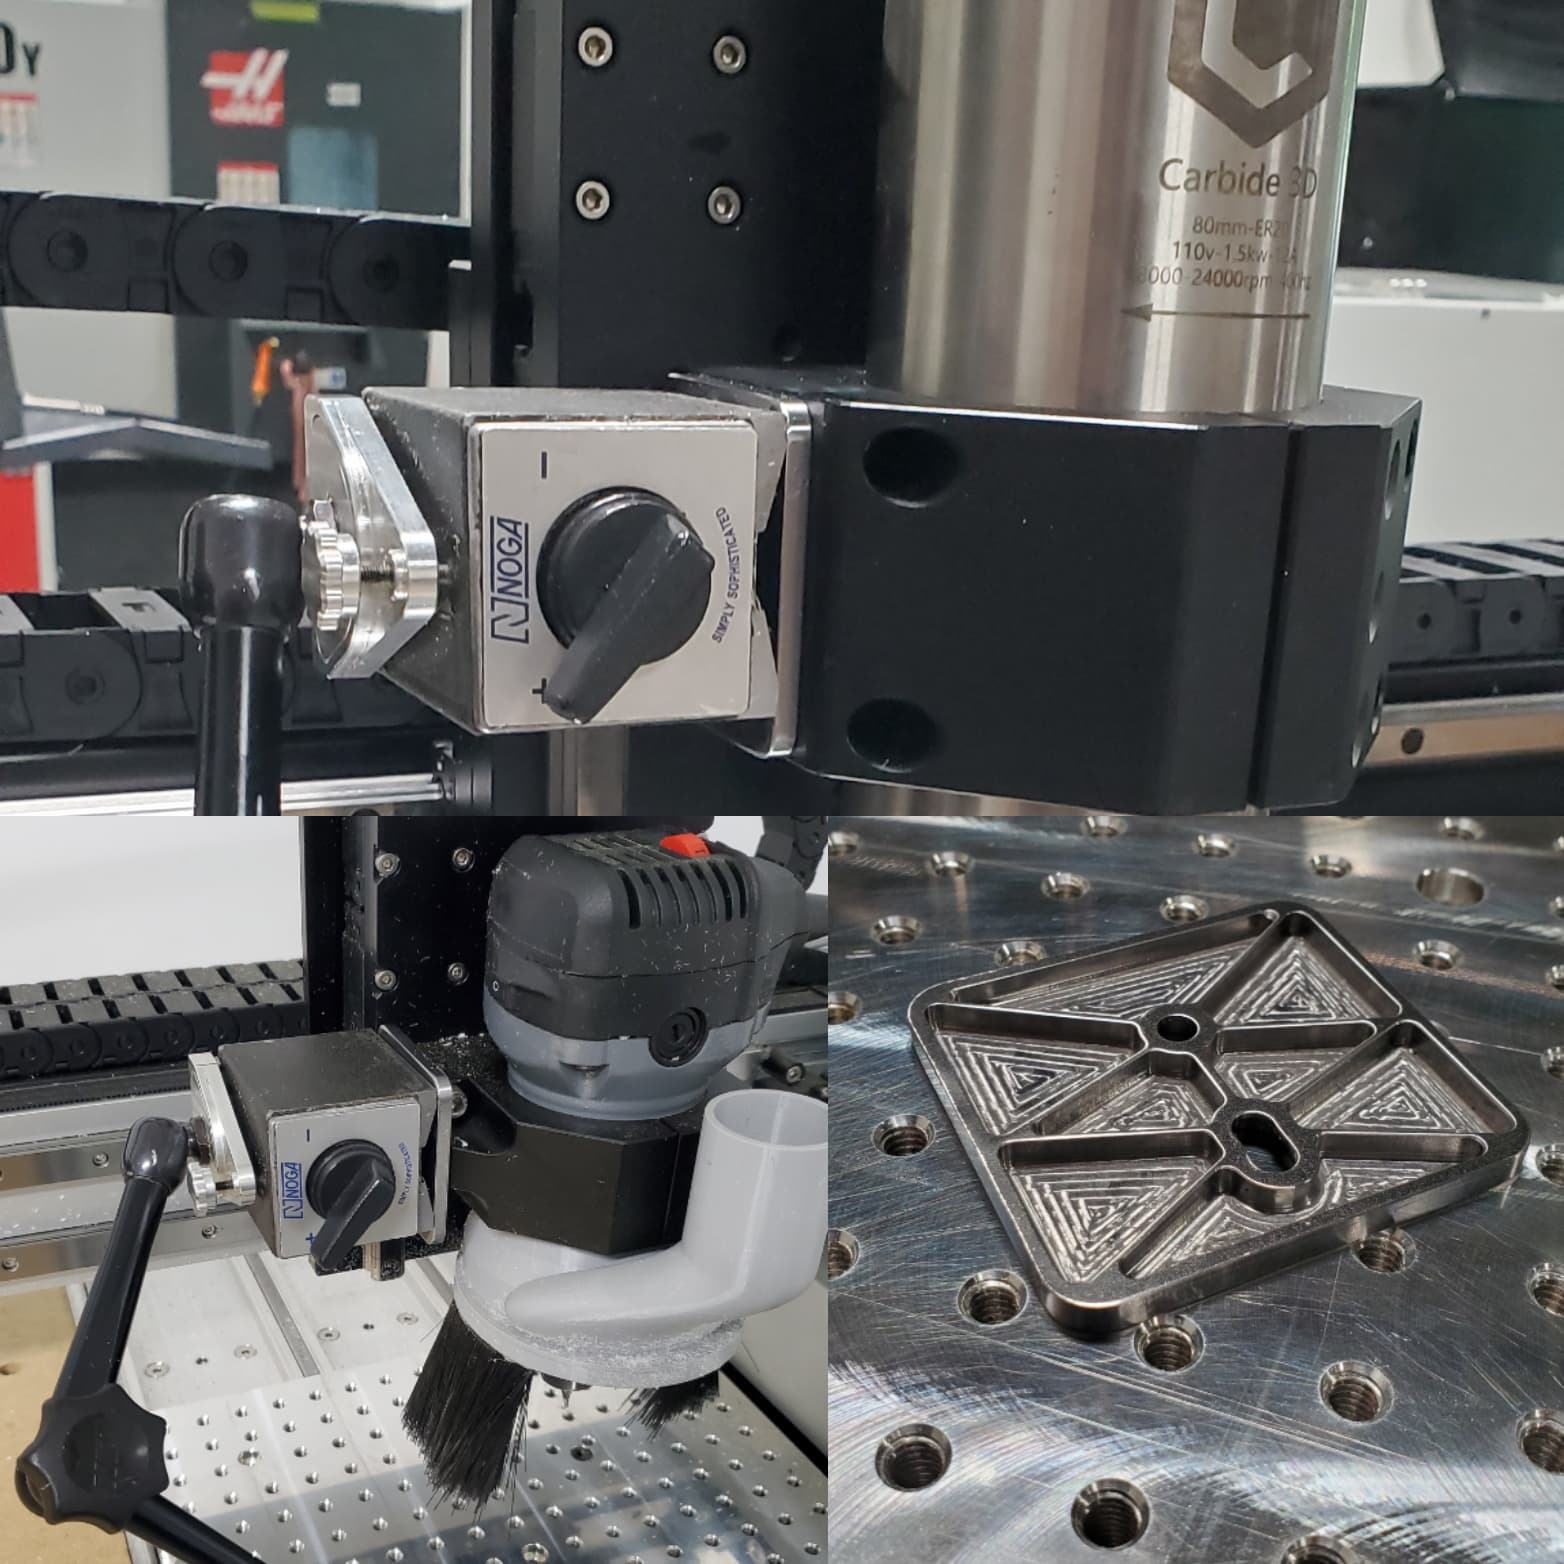
Cut out a few mounting plates. I’m really happy with the layout, at first I thought I could only fit two on a 150x150mm plate but I managed to nest 4.
It doesn’t come through in the photos but the chamfers look so nice. They take like 10s and make parts look clean and professional.
One more plate and the Y-axis of the machine I’m building is done…
19 Likes