These look great! I’m about to start trying out doing guitars on my 5 and kinda wish we had a guitar specific category here in the forums so those with some battle scars could share some tips/tricks with the n00bs
1 Like
Start one on here…be cool
1 Like
I totally would if they let normal users of the forum create categories but i don’t believe they do.
Not sure if we would want to create a specific Project Category with sub-categories (which seems to me to be the right approach, but maybe something else would be better?).
Until then, folks could use a post such as:
under
2 Likes
Thanks! I used an Amana Tool 45771-K, 30 Degree Engraving bit for the Vcarve engraving. I ran it at 18000 rpm’s @ 50IPM. The depth of cut along the surface was .04, at that depth, the line thickness was close to a 1/32” wide.
4 Likes
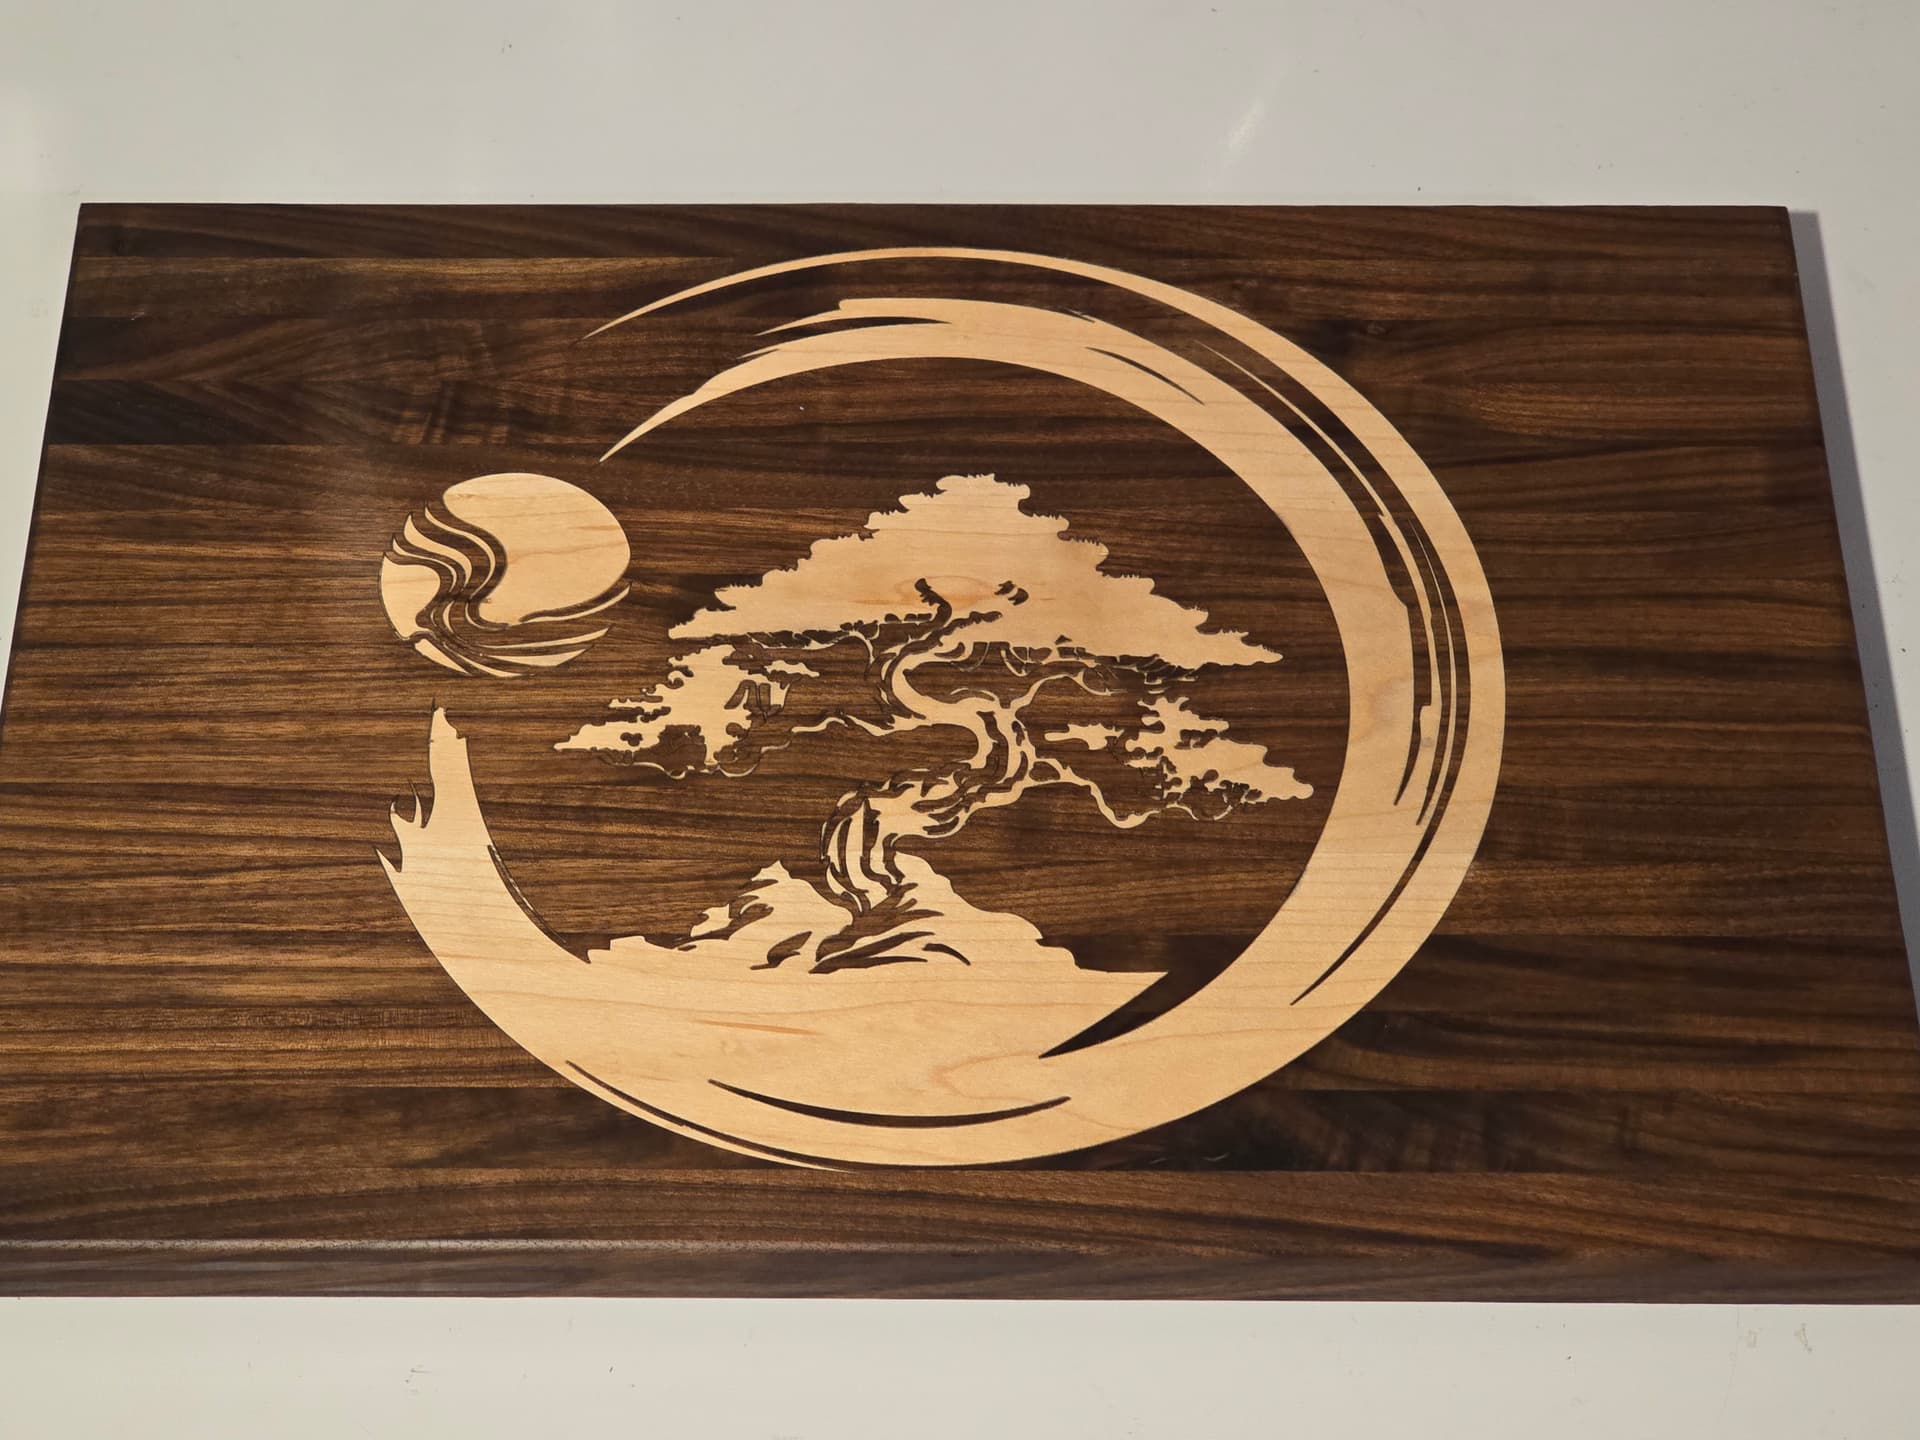
My first inlay. Don’t think I’ve ever been so nervous waiting for the glue to dry so i could see the reveal.
42 Likes
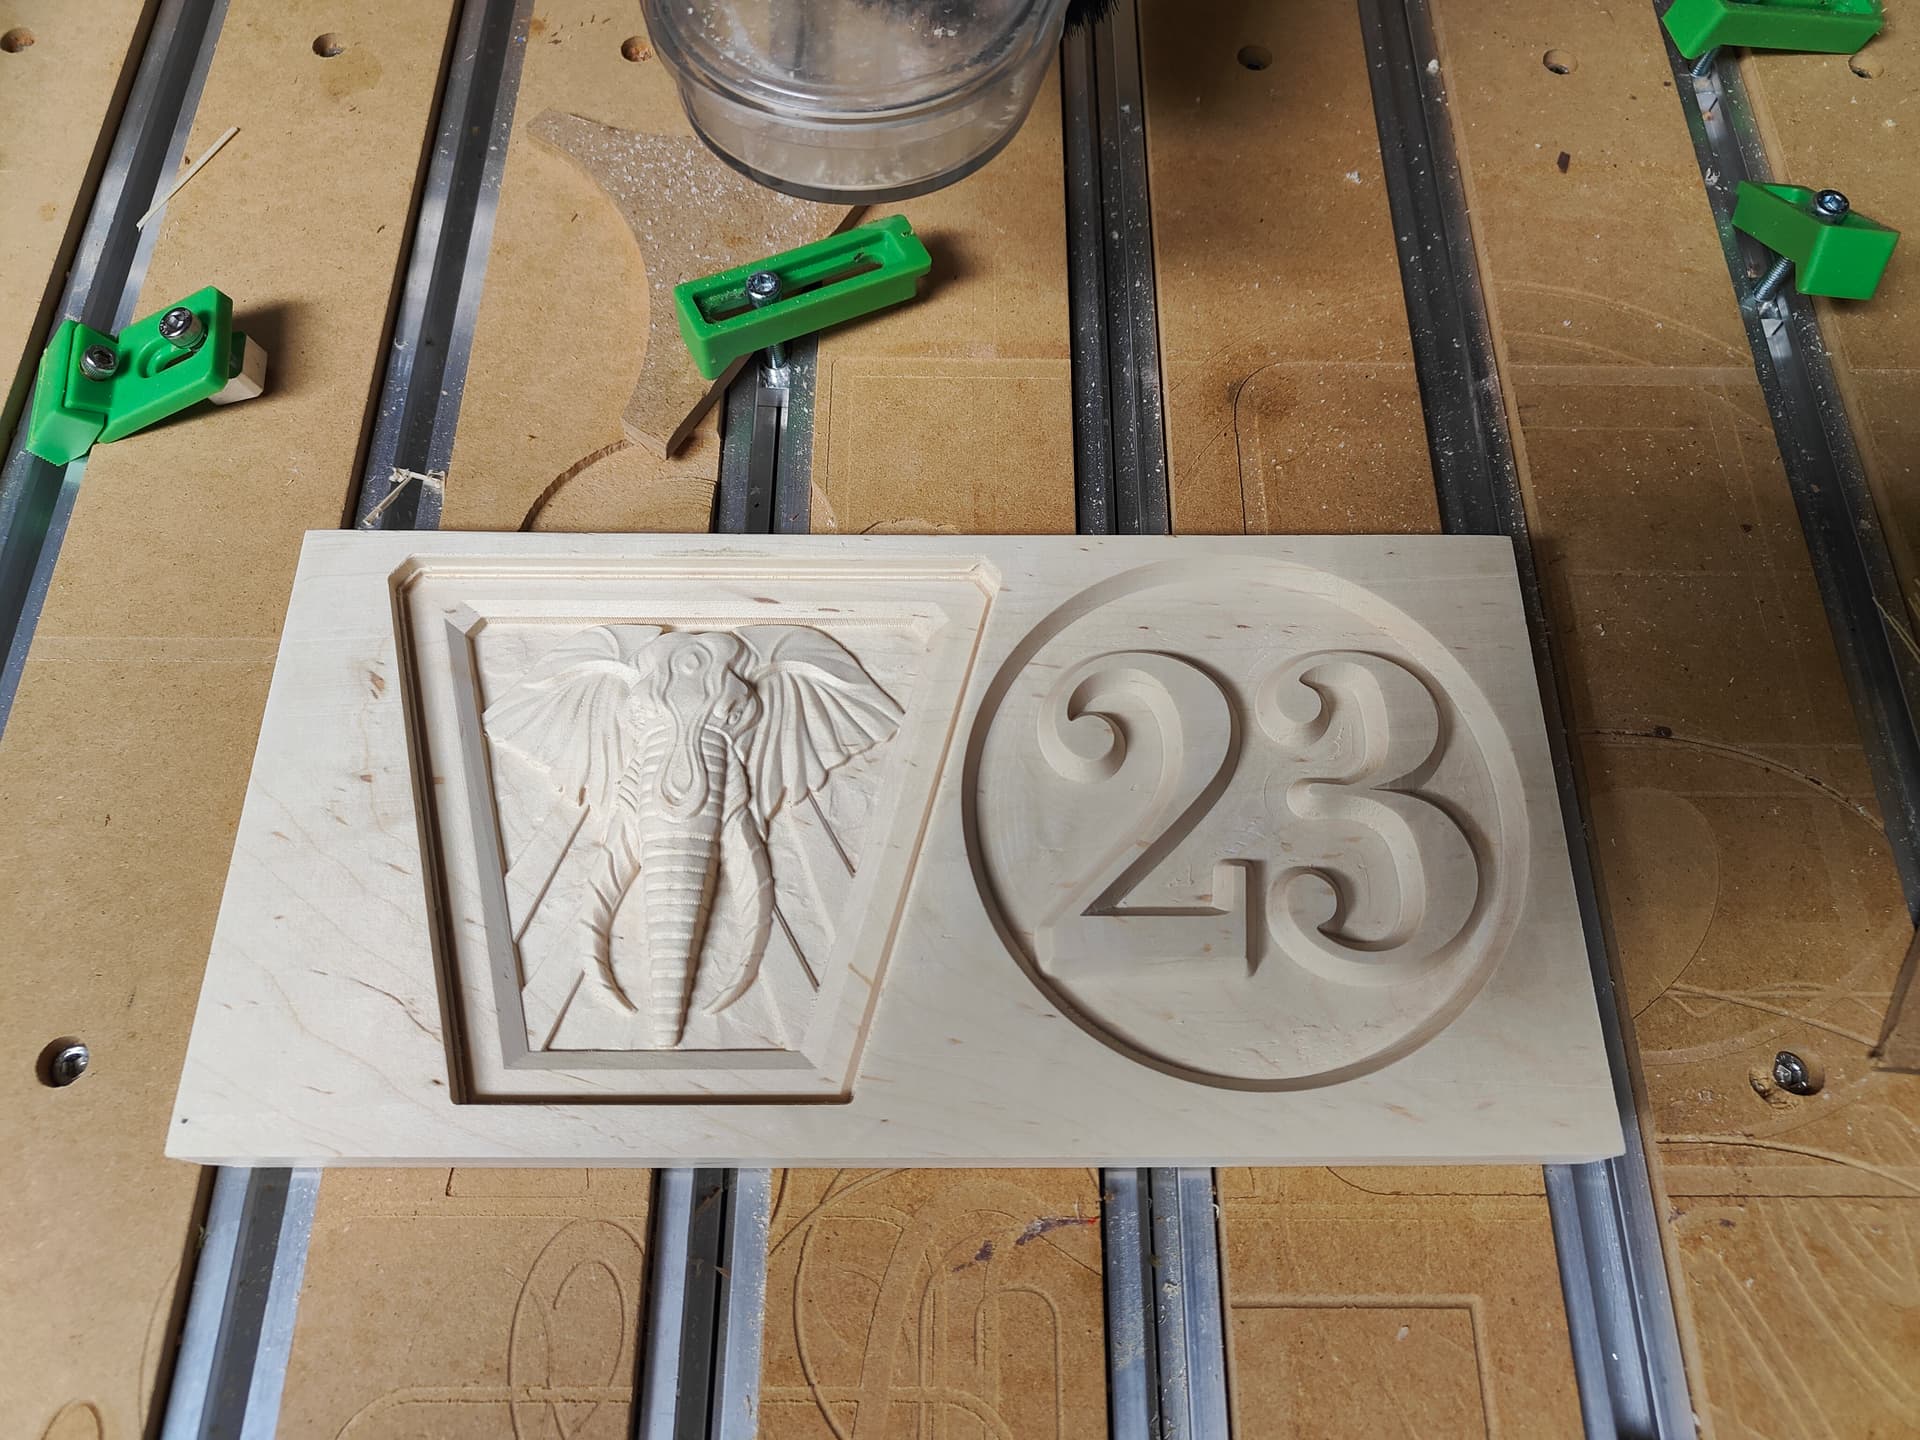
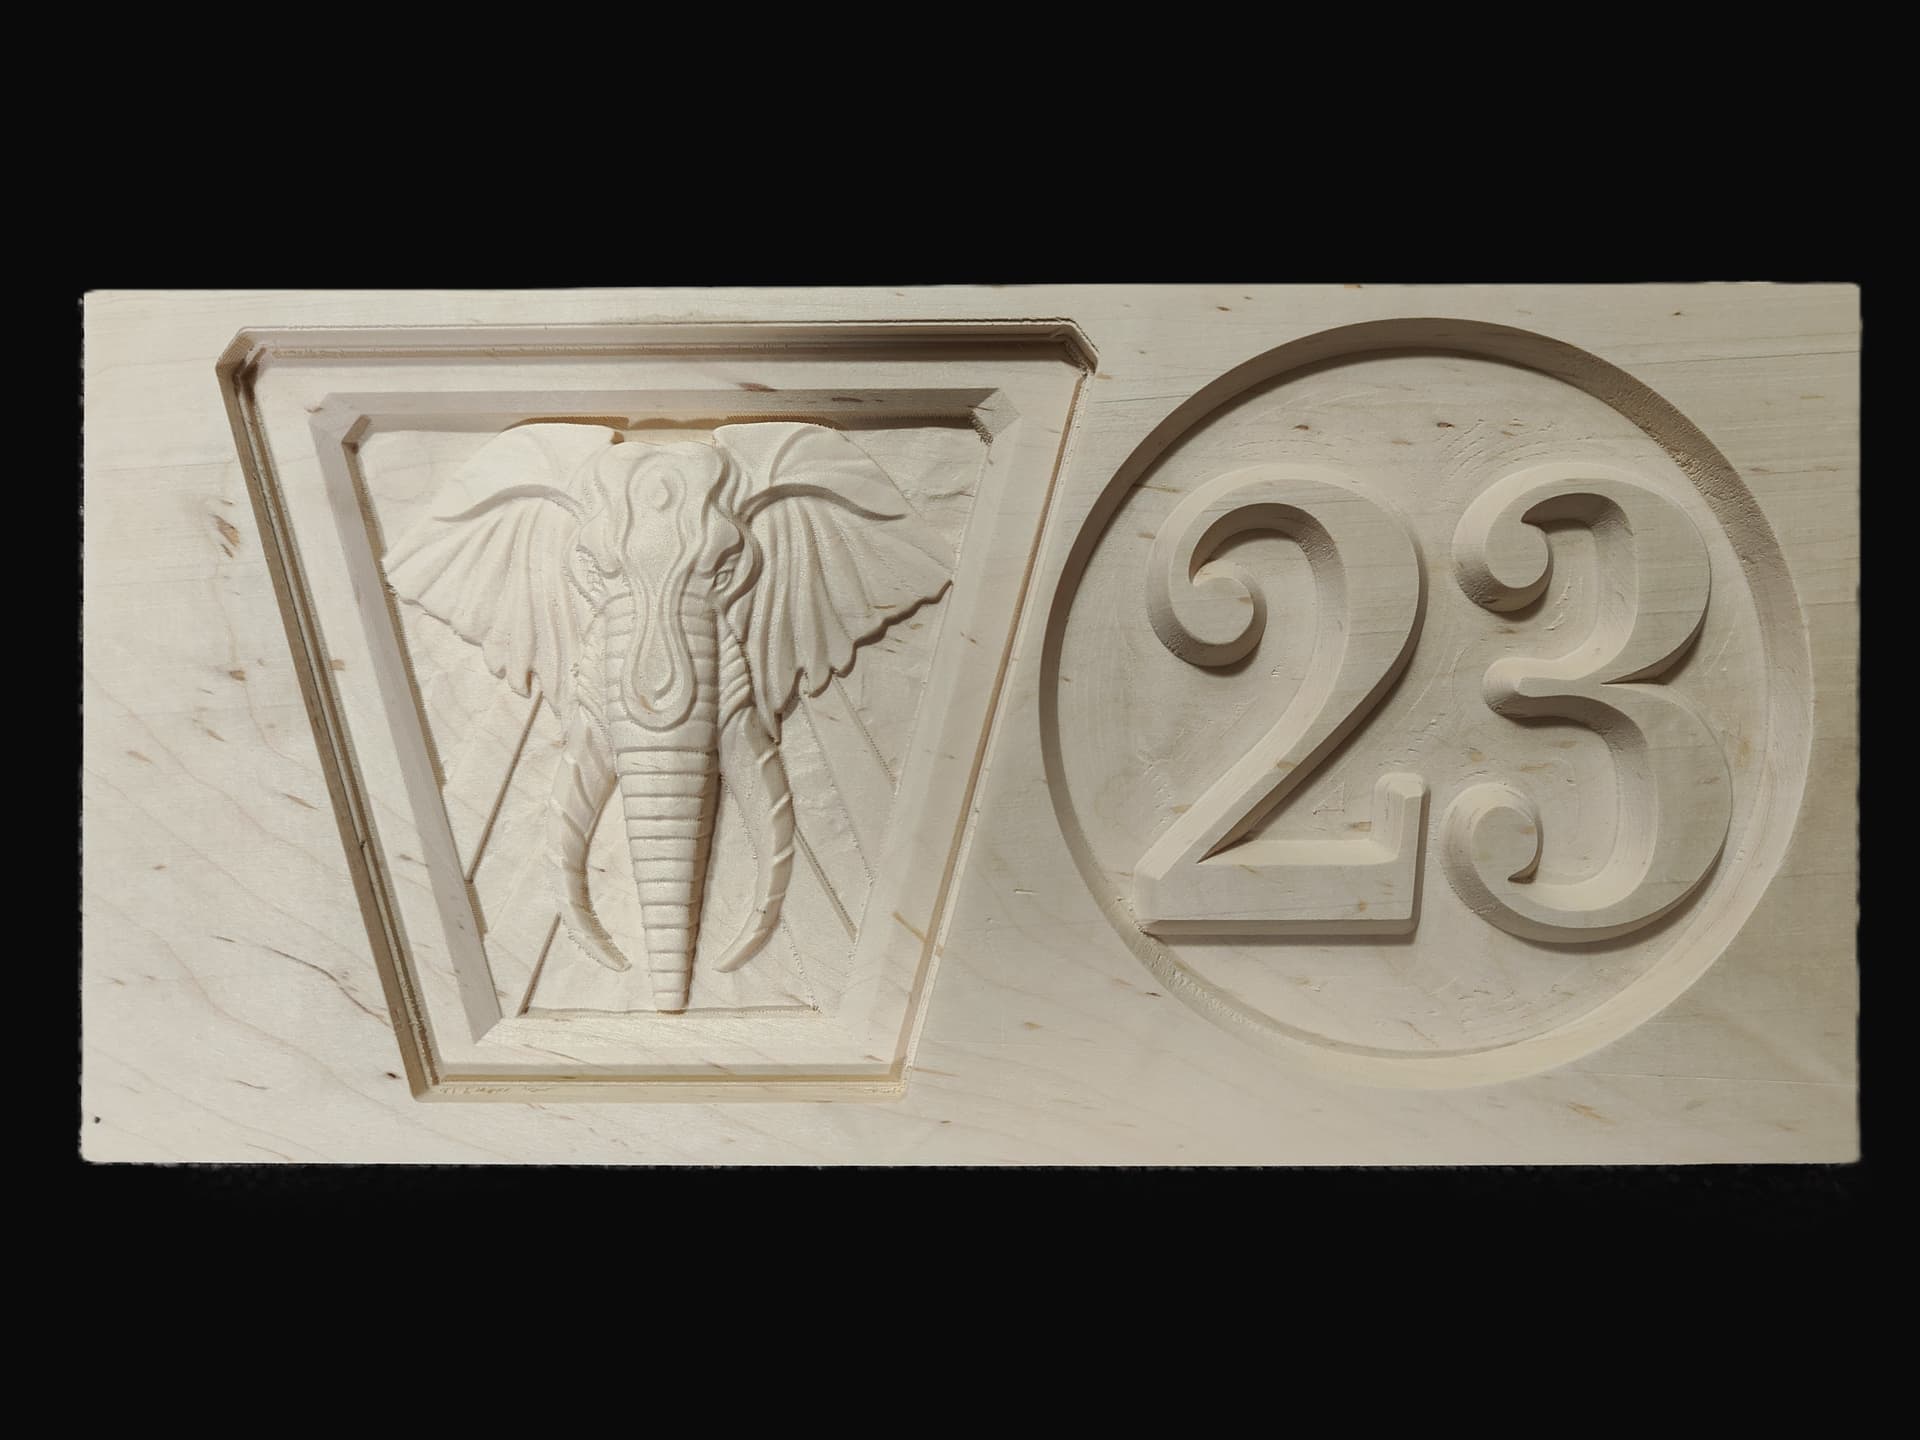
First attempt at advanced V-carve. Made a door sign for my home. In my culture elephant outside the house represents protection for the home. The elephant uses the 3d toolpathing in Carbide Create V7 and the numbers use advance vcarve toolpath. Wood is hard maple. Now on to finishing. Still split on whether I should roundover the edges or leave it sharp as is. What do you guys think?
30 Likes
The problem with those “sharp” edges involves the environment. If you think about it, sharp edges don’t hold a lot of finish. Out there on the end of that edge is almost bare wood exposed to the environment; not much, but it is an entry point.
I always “round” the edges at least with a good fine-grit sanding, but if the sign will get wet I’ll be more aggressive with the rounding.
PS. Don’t get me wrong. I admire a good sharp edged cut. ![]()
7 Likes
I’m with Tex on this one, although I like the sharp edge the weather factor might leave you no choice.
Also, you should consider the surrounding objects like the door and windows and what those shapes are. For me I like a more blending look.
2 Likes
That’s a fantastic job. Well do on the finer details.
Super cool! I love doing inlays too. Wait till you get into end grain inlays!
I like to take a scrap piece of the various woods I work with and use them to make fine saw dust. I keep the saw dust in little plastic containers. I mix the saw dust with wood glue and use it to fill the little voids in my inlays.
4 Likes
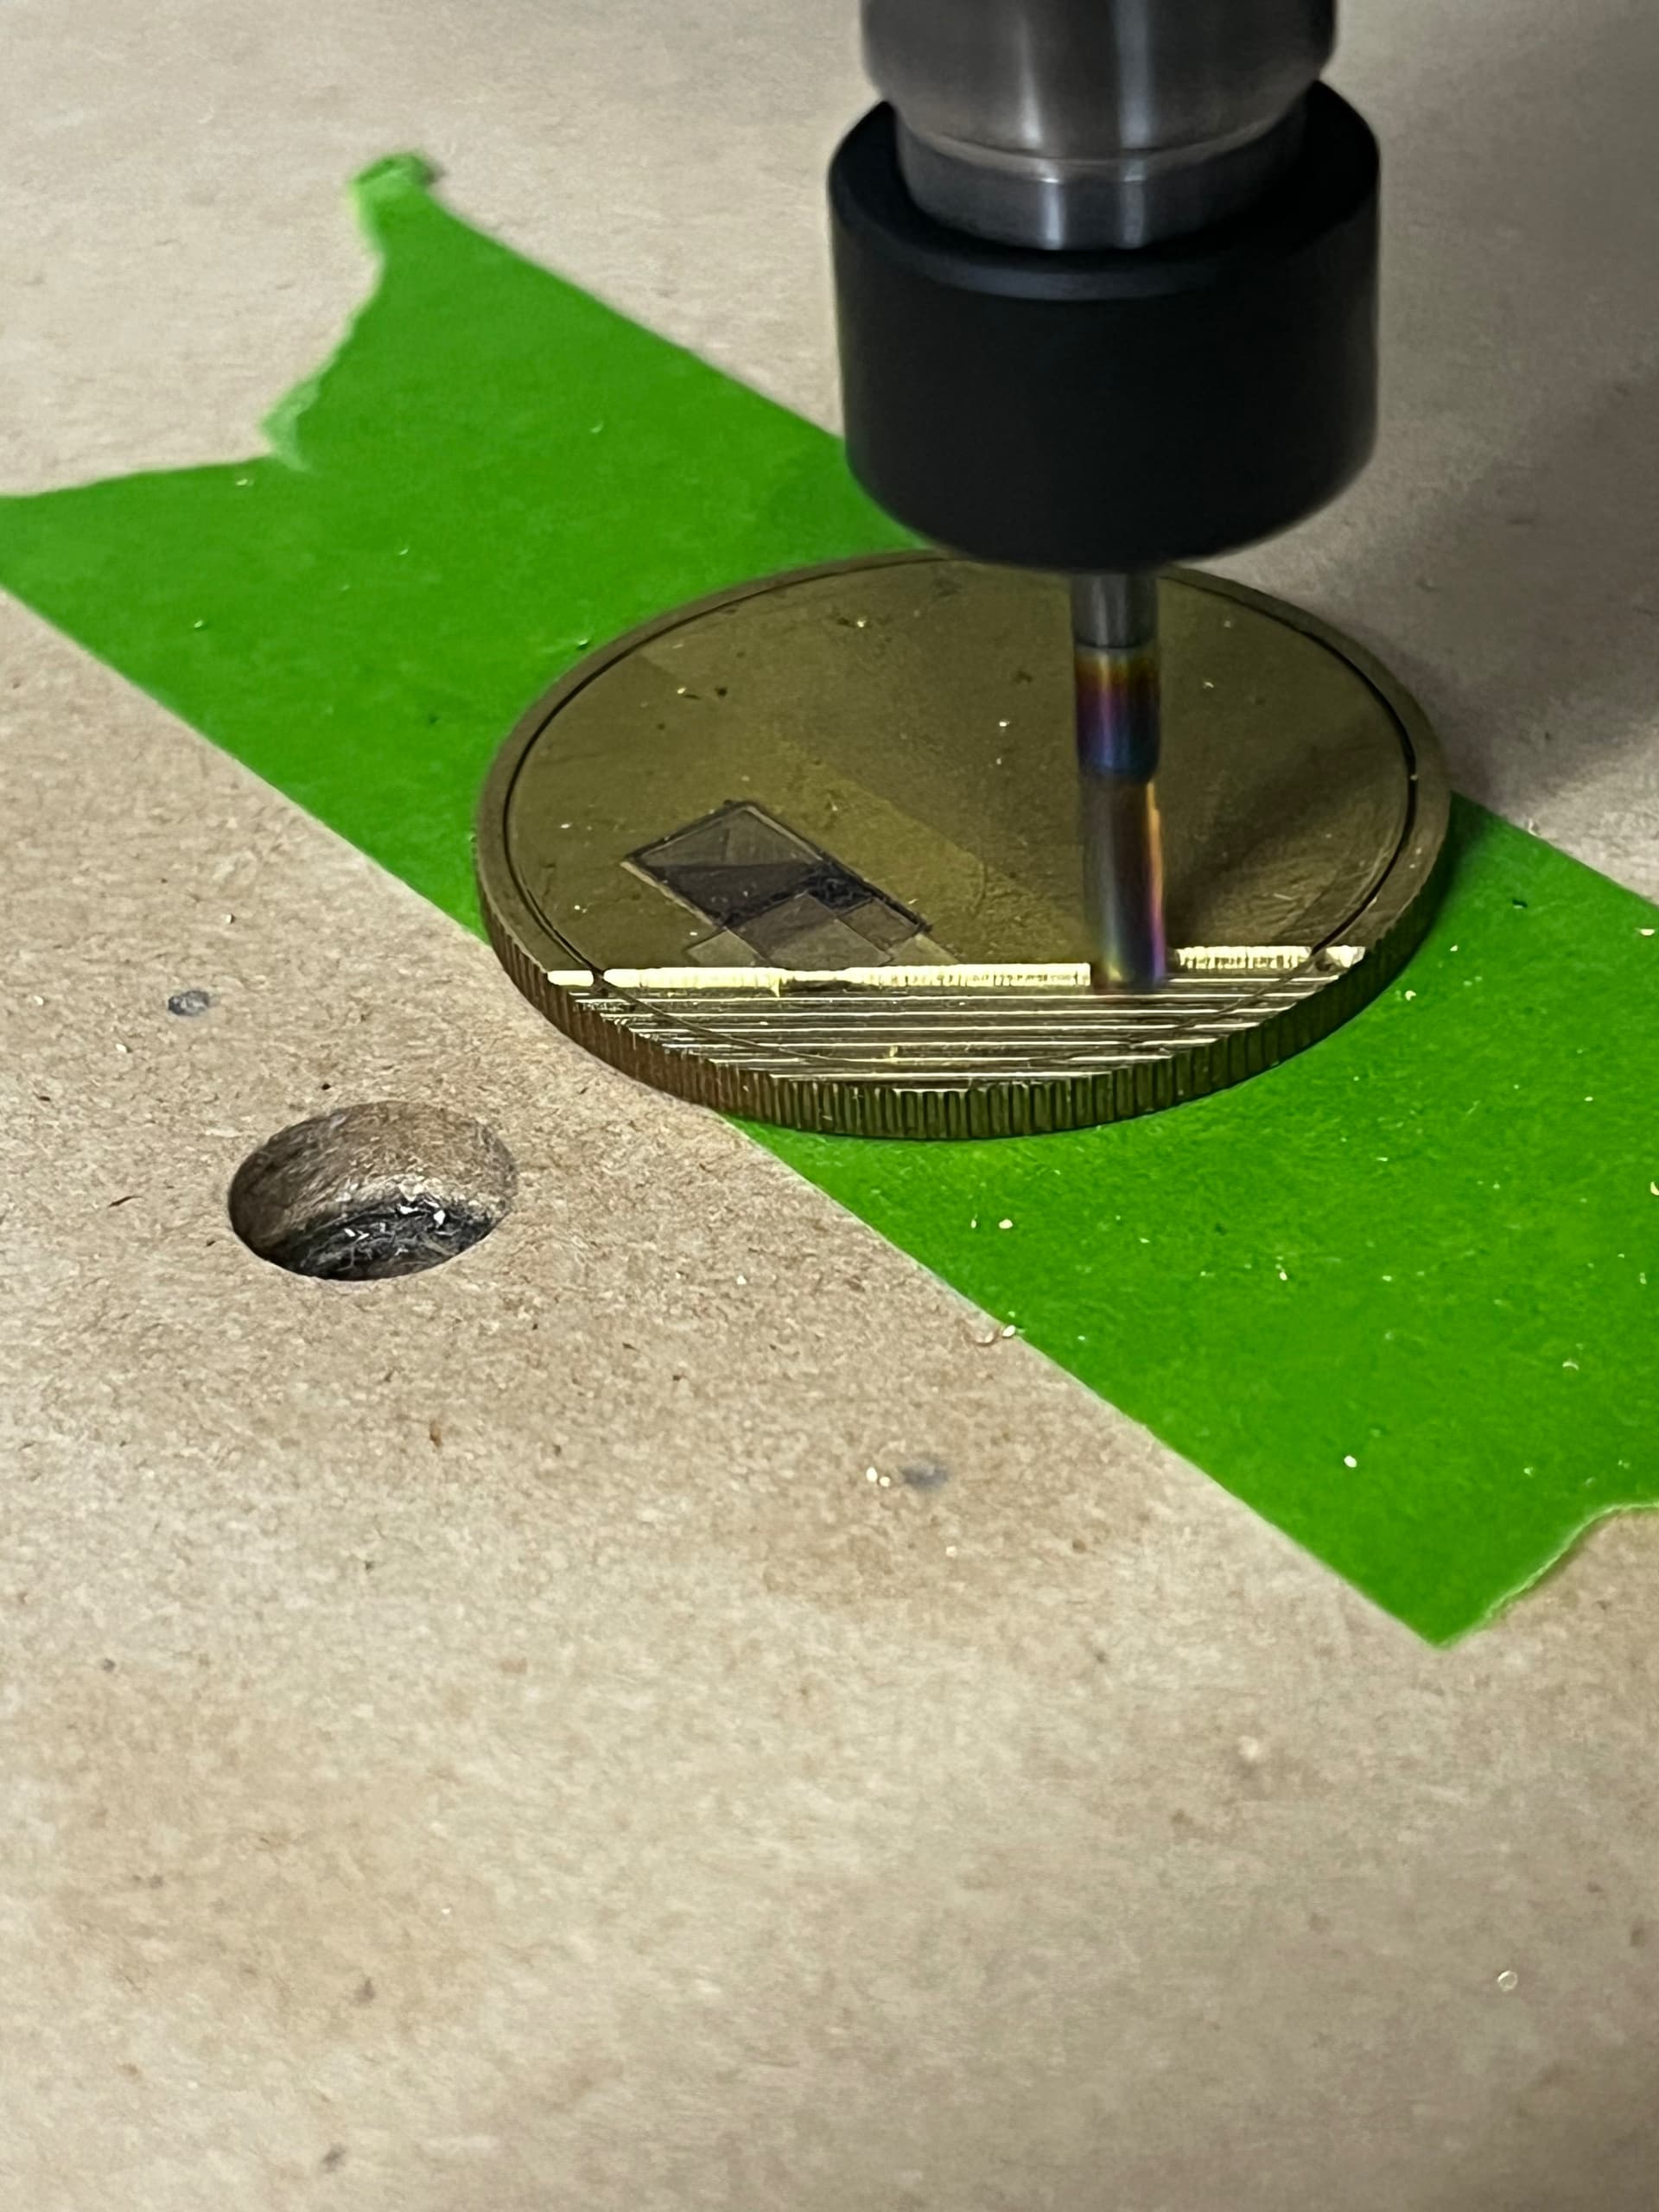
[Work In Progress] Prototyping a fancy 0-99 counter for a friend’s tabletop gaming hobby. He wanted “something metal”…yeah, I can do that ![]()
Started with a scrap brass coin I used for fiber laser testing. Cut it down to a usable level and got to work on cutting grooves to hold the concentric 0-9 rings.
I’ll likely start a gallery thread to thoroughly document progress and decision points but I figured a few photos might be inspirational for the creative jewelry types ![]()
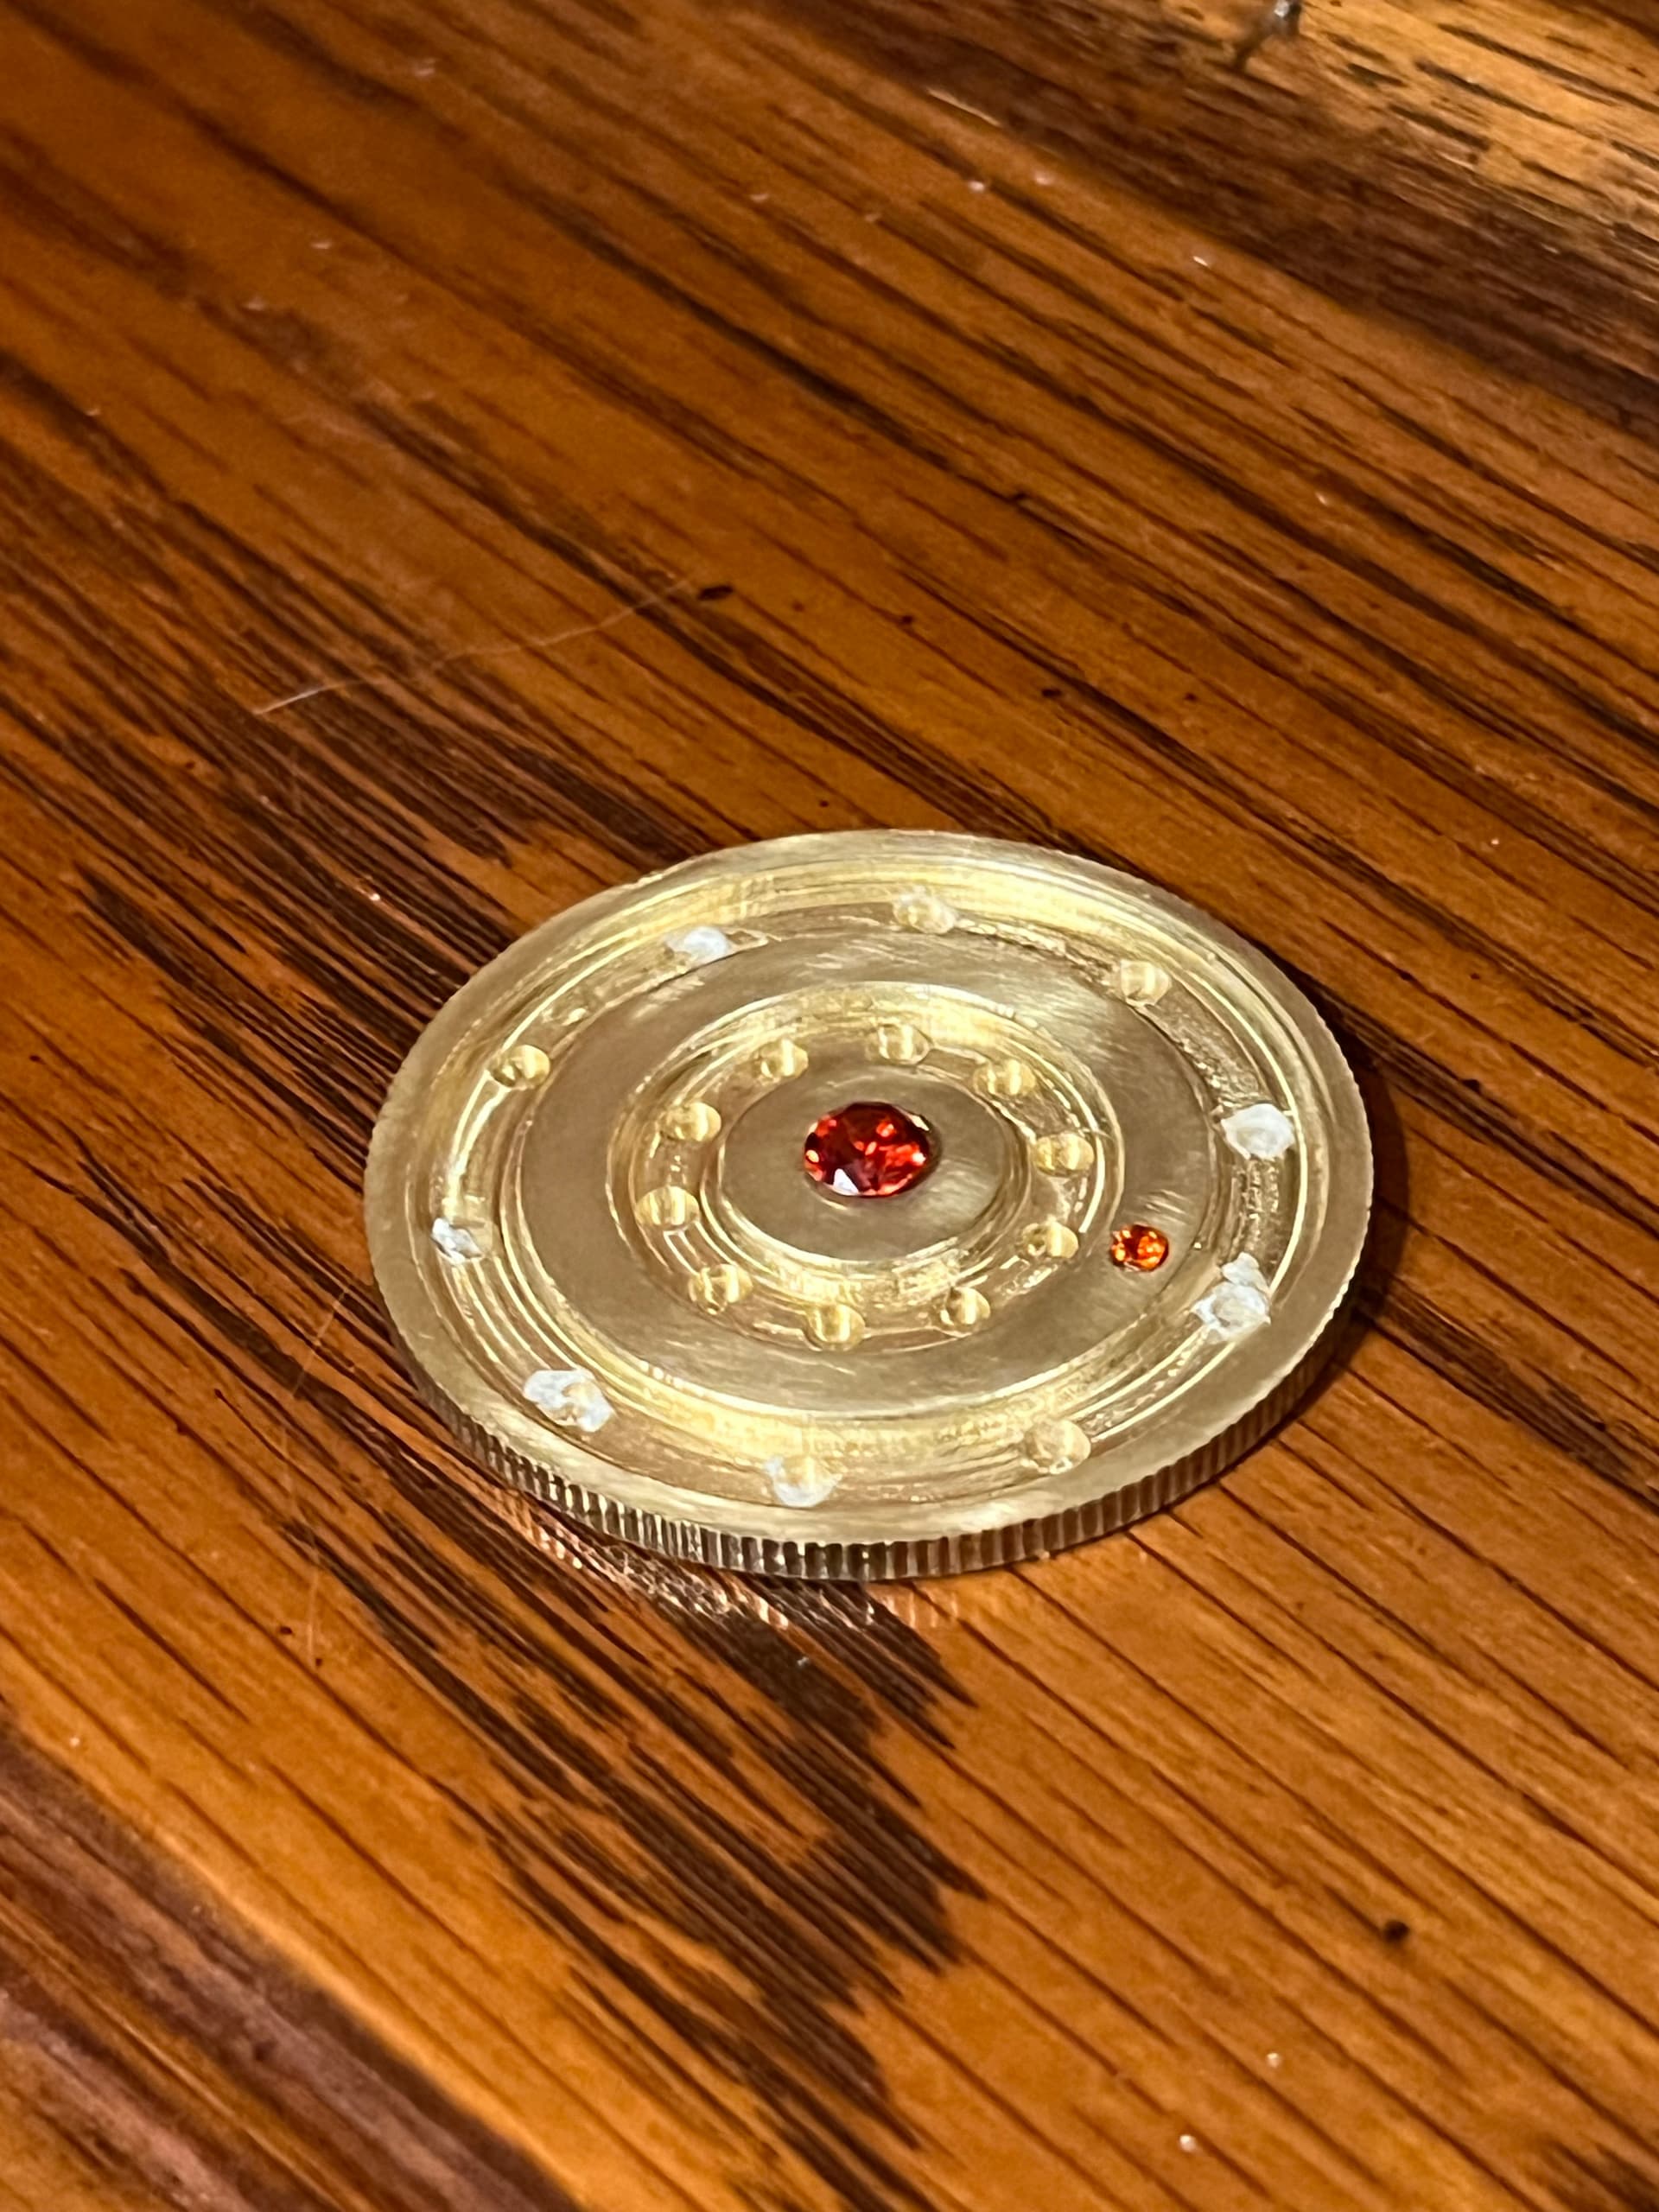
(Stones are lab grown cubic zirconia, dirt cheap and still pretty decent gemstones. I’m practicing stone setting so this was a perfect excuse to integrate the pretty rocks)
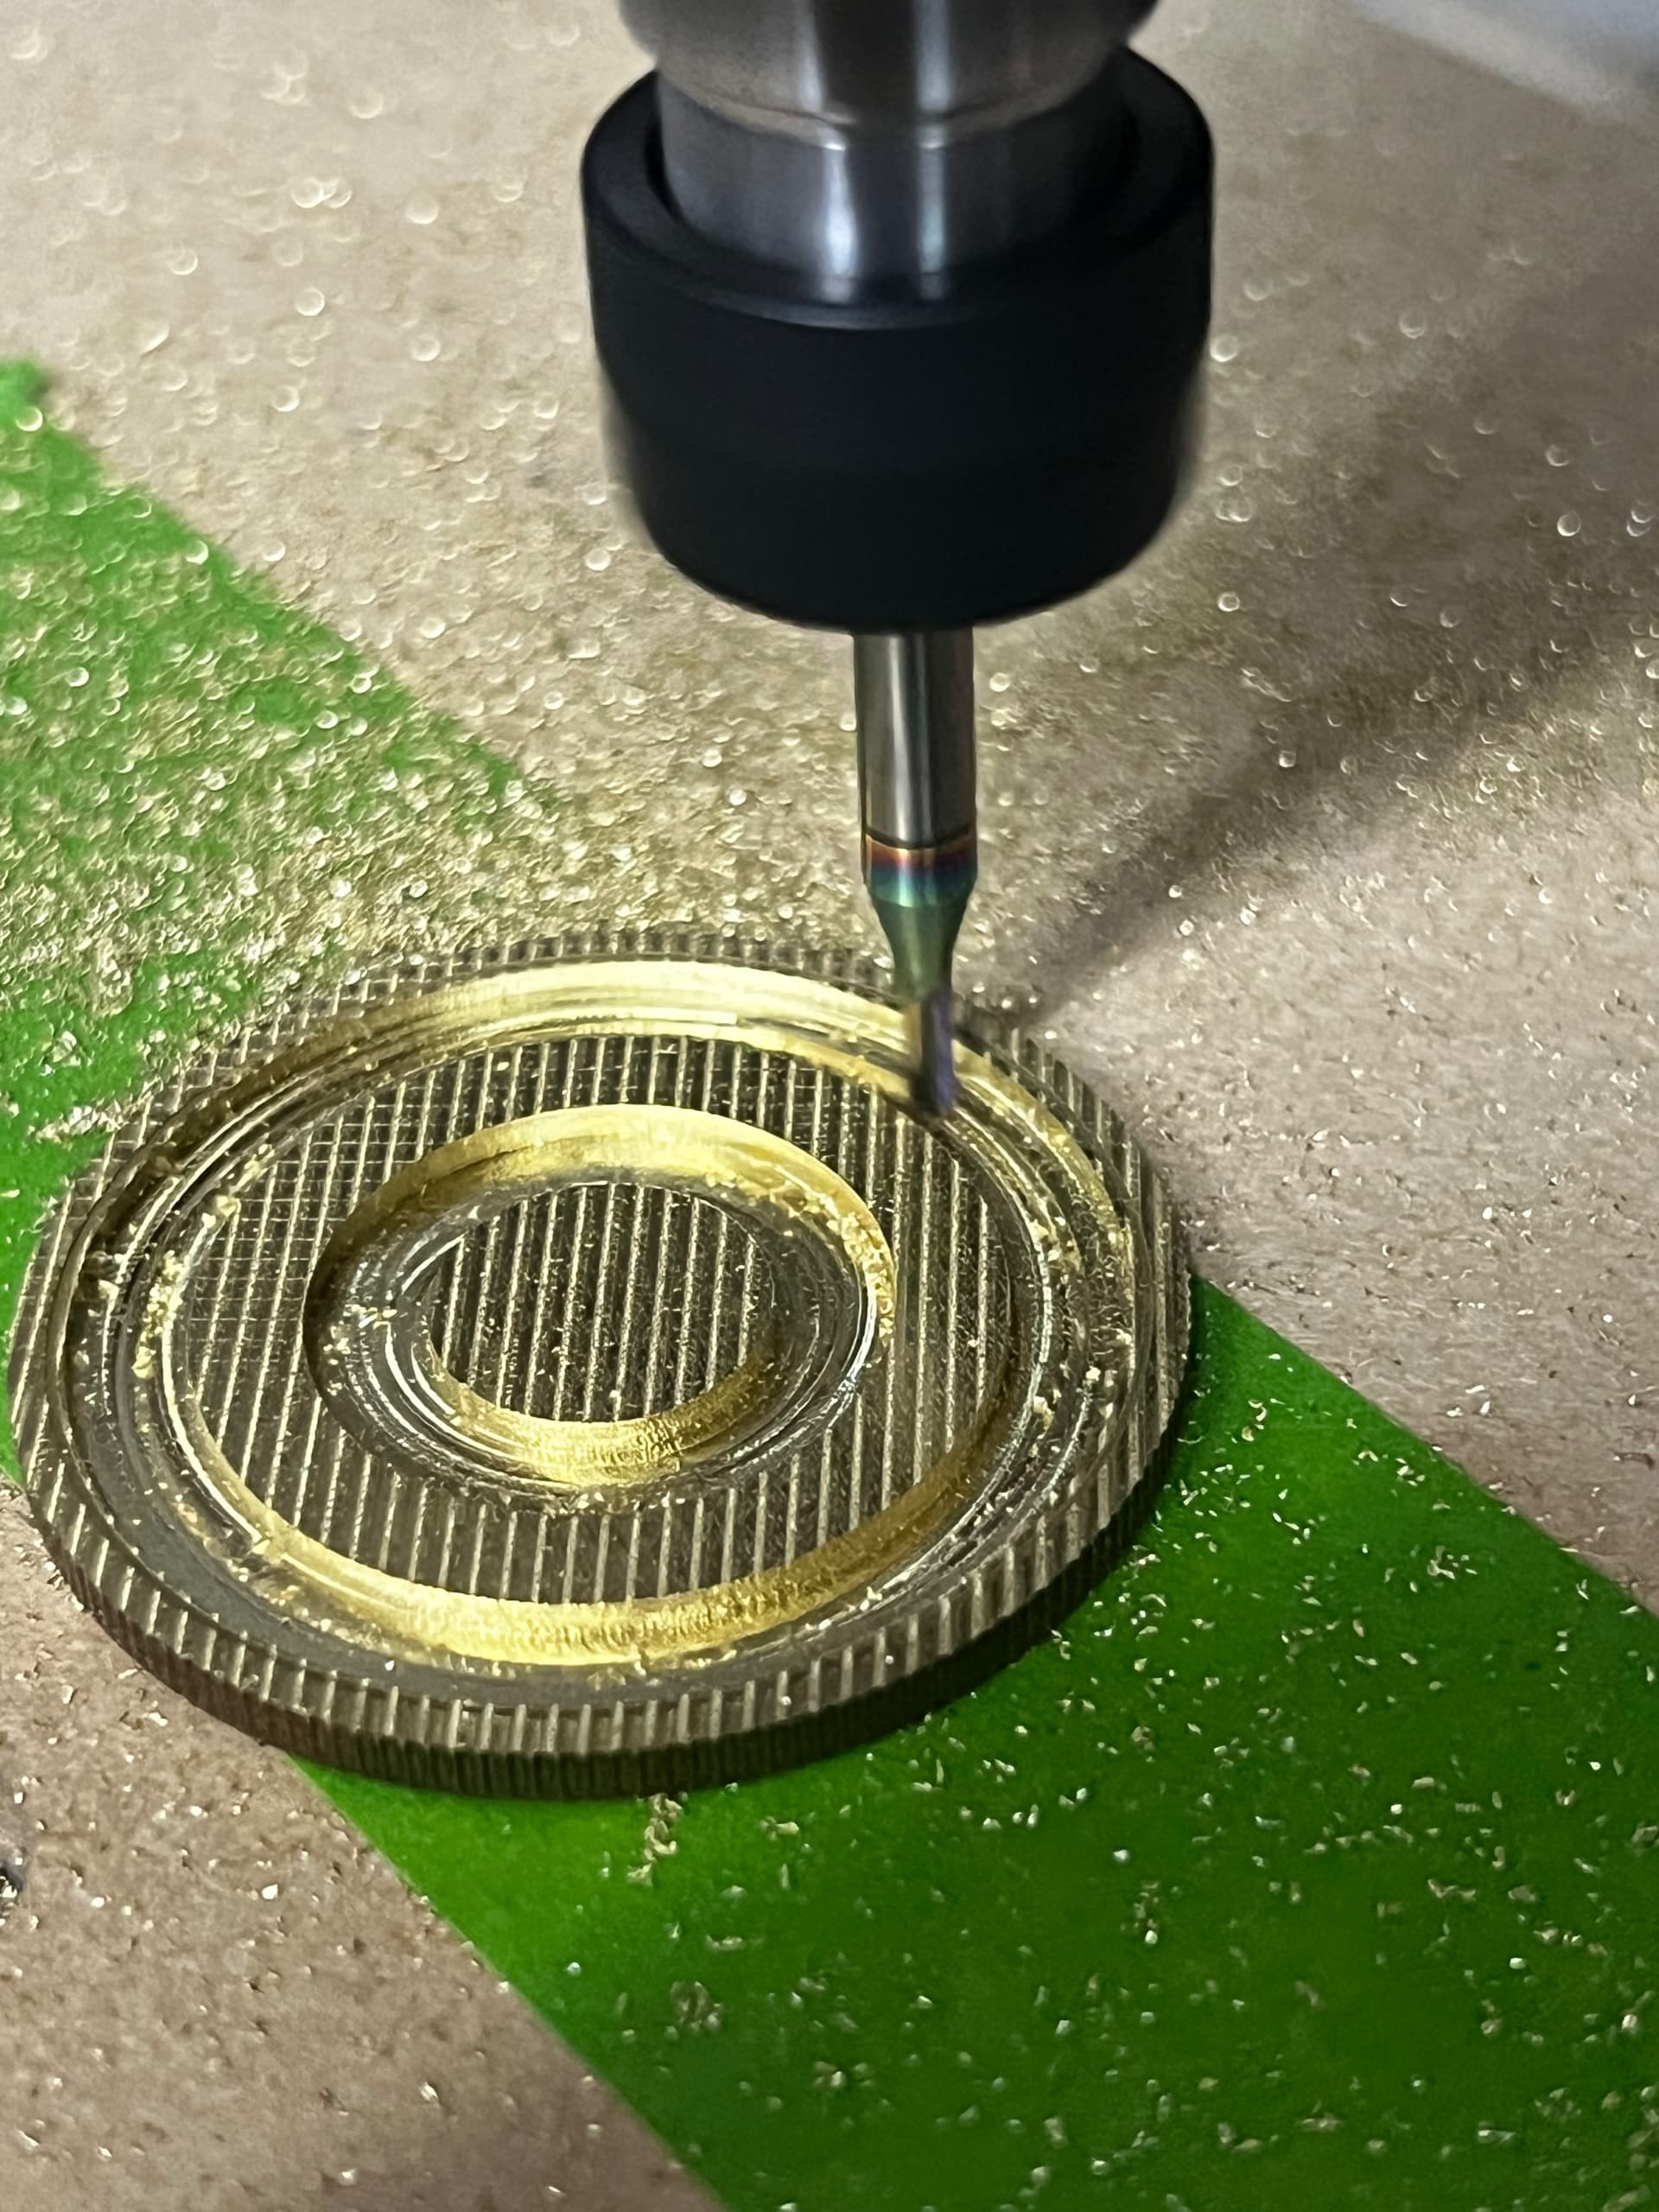
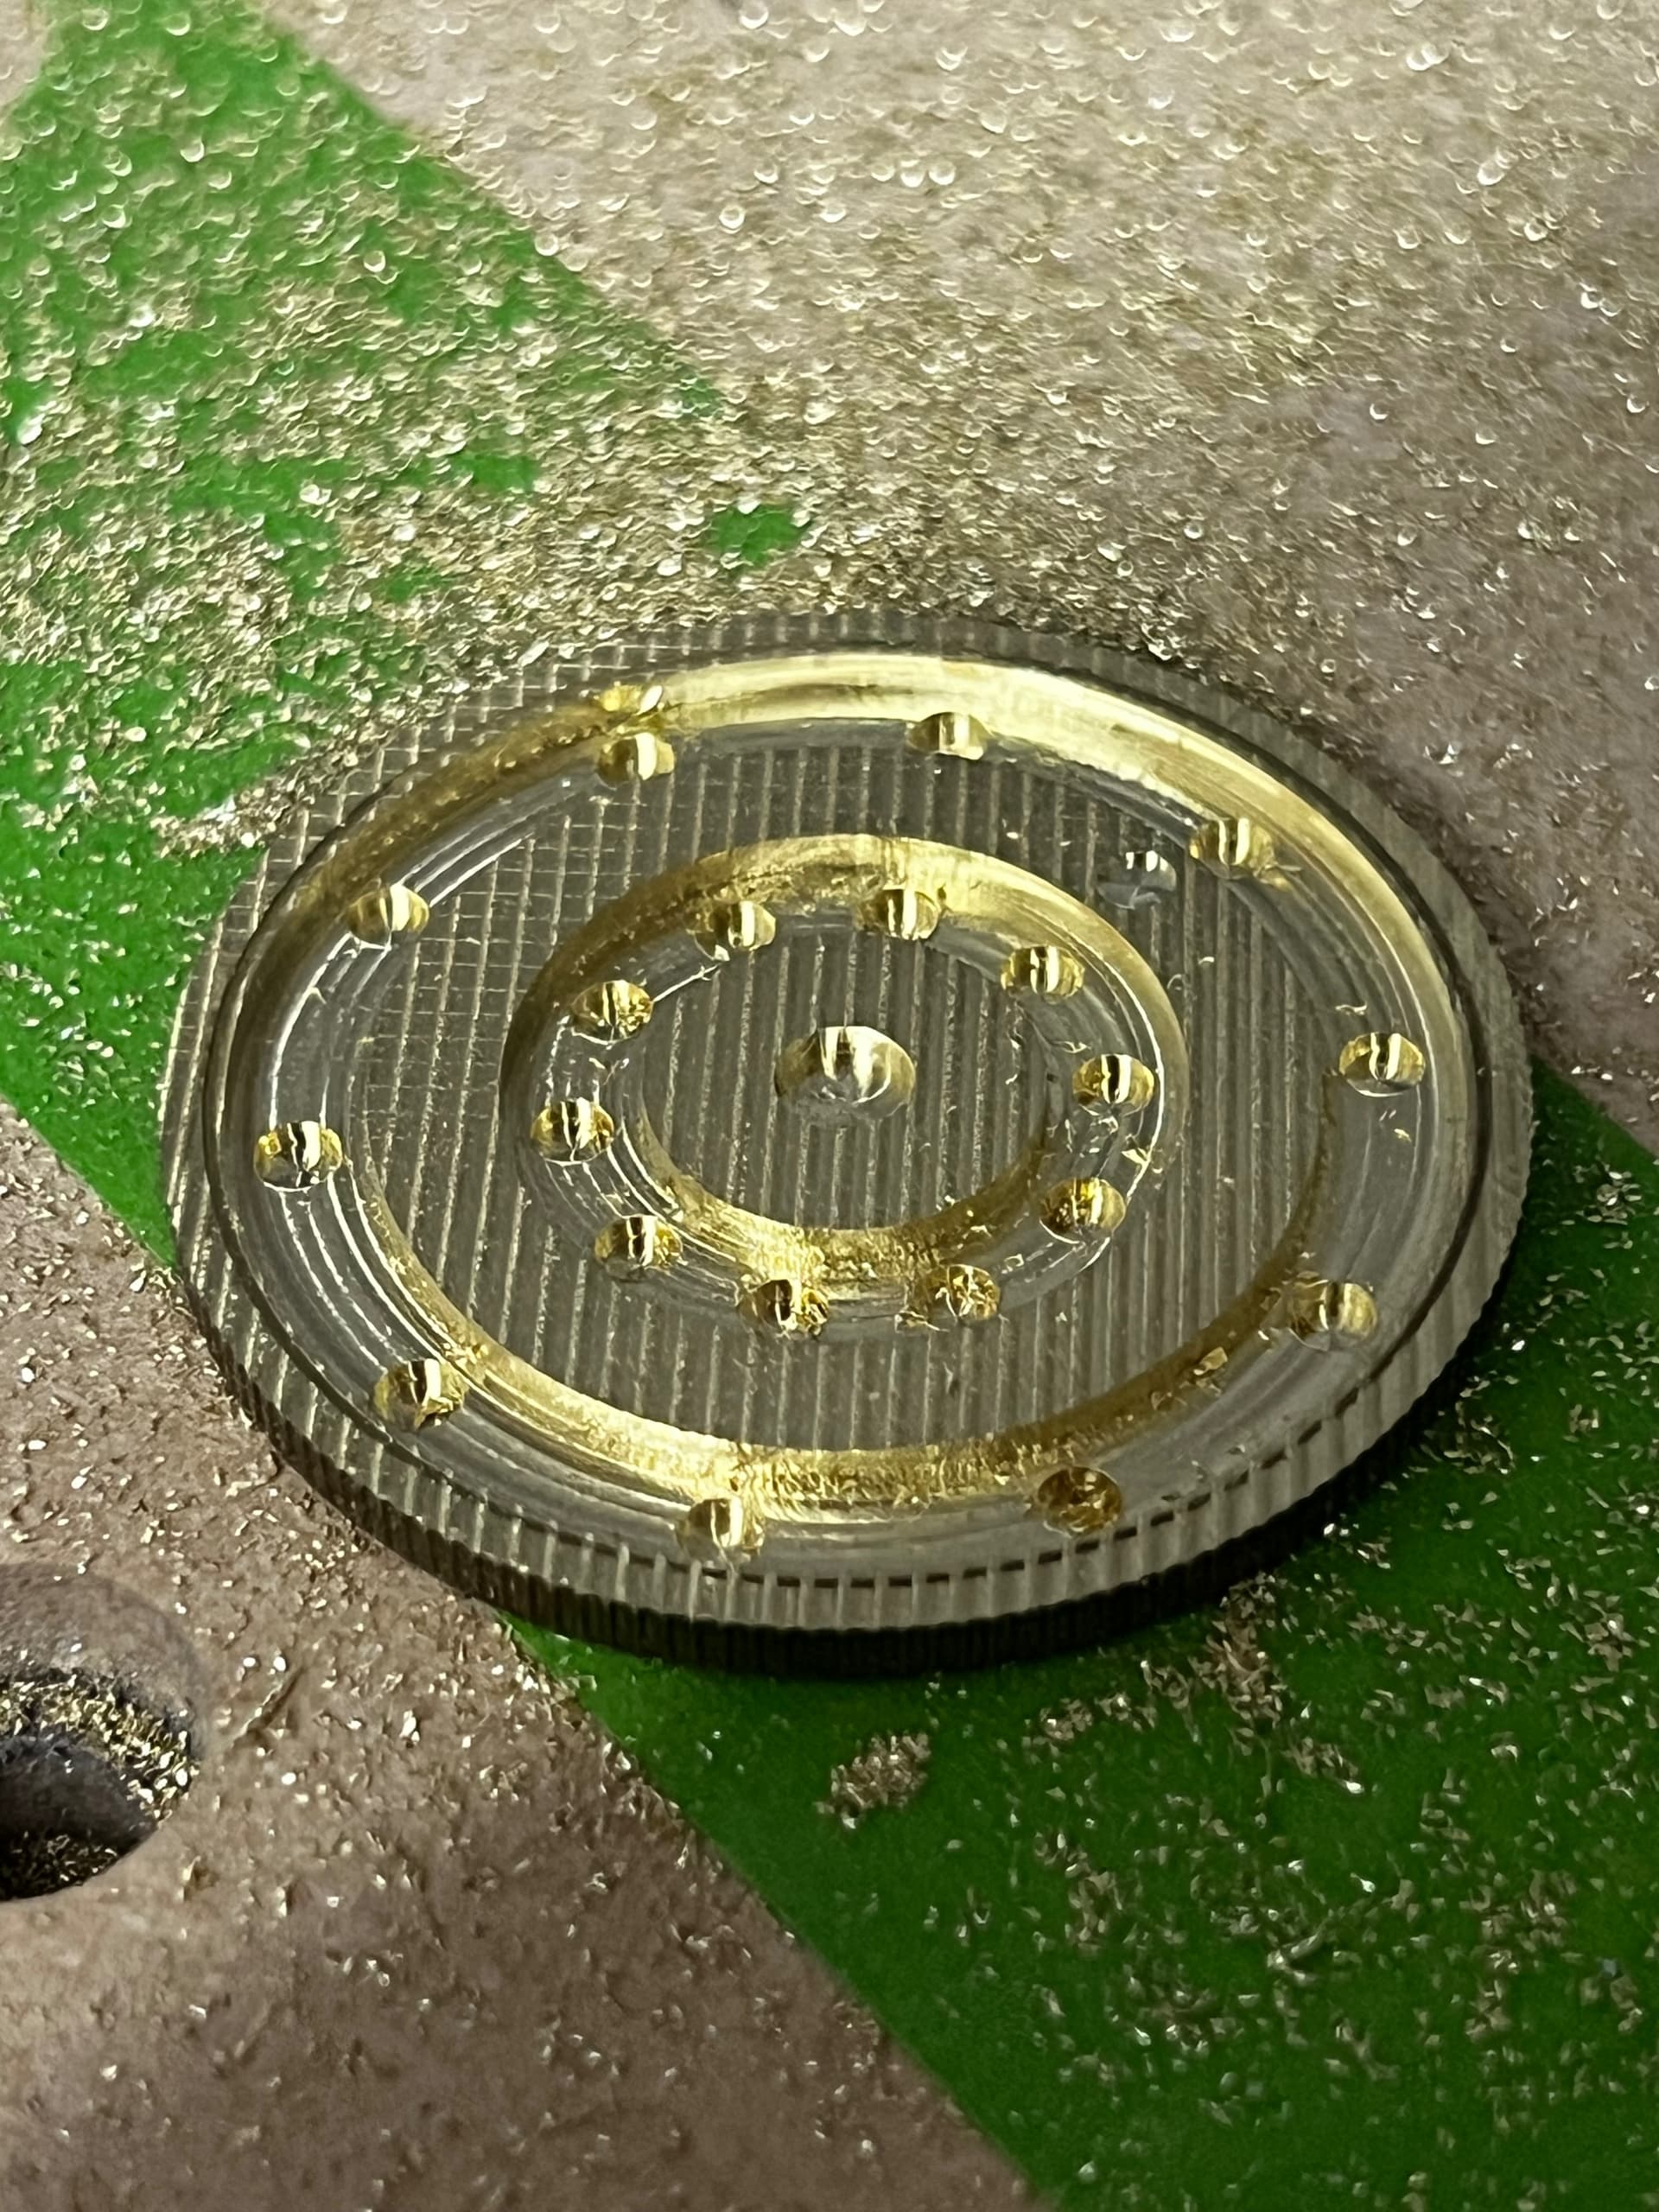
(super glue from some embedded magnet tests. I’ll probably skip the glue and just set them by forming over the surrounding brass)
mediocre rendering to see what a final product is supposed to look like:

30 Likes
I may have to make one JUST like it. ![]()
1 Like
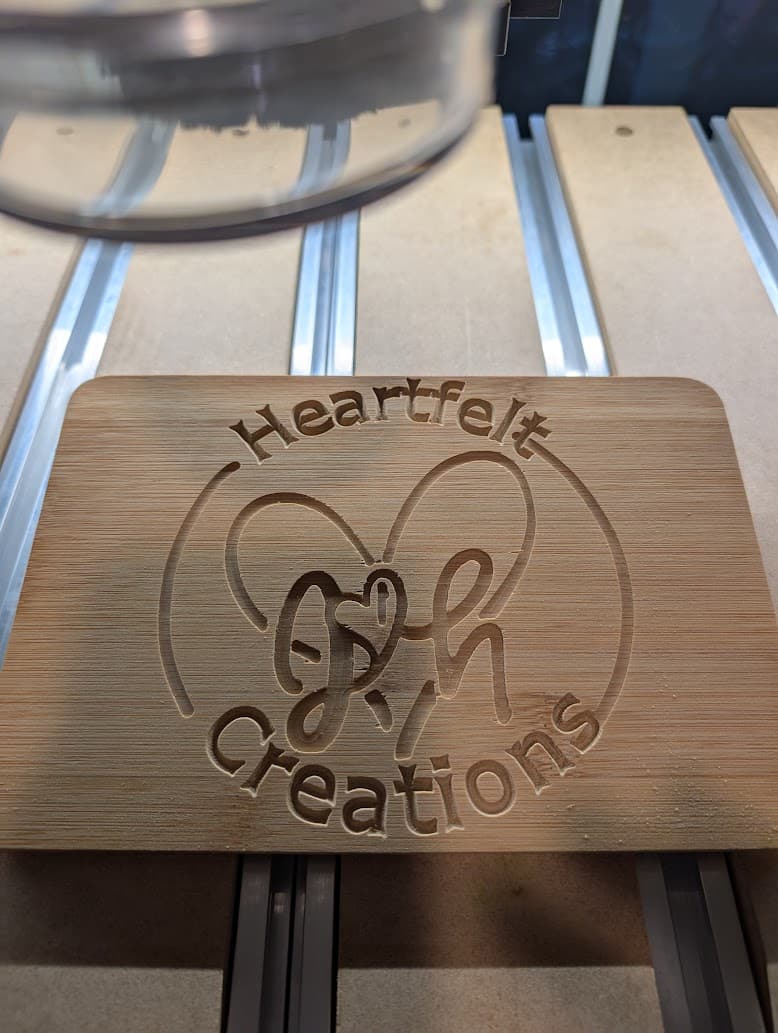
Got my SOP5 4x2 last Wed and my 65mm spindle yesterday (I may have borrowed a Makita compact router from Home Depot in the interim that they were happy to take back). Anyway, today was the first day that I cut something that was my very own creation (and I still have some mistakes but had a blast…a 3-endmill logo of my SIL/BIL’s craft business on those $1.25 Dollar Tree bamboo cutting boards).
And just to share, if you can, I highly suggest two things:
- If using Festool Dust Extractor (I have CT 15) get the 36mm hose. They come with 27mm hose and the bamboo plugged it up pretty quickly - 36mm hose ran like a champ with zero clogging.
- If you want to stop kneeling over, get an adjustable height workbench and bring the Shapeoko up to you and have extra storage where you can hide the control box, the spindle box, and lots of other stuff without using a single drawer.
- BONUS: I have to call out the 60 Days Mistakes on Us Policy. This past weekend I made several user errors. On Sunday night, I sent an email with pictures and descriptions - Carbide shipped replacements same day and I got them today.

19 Likes
Hello All
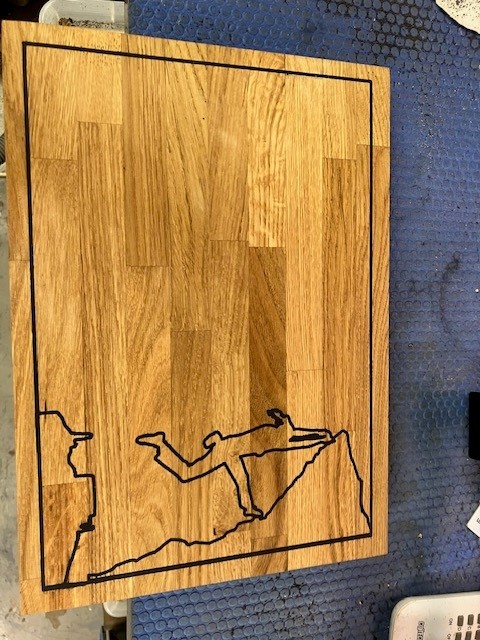
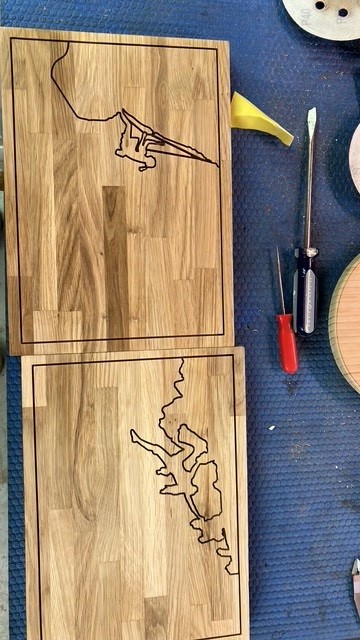
i have had a Pro for some time but never really got around to doing anything with it except build a cabinet around it. I am worried about the neighbours getting upset over the noise. I finally got around to cutting something and this is extremely frigging cool. I have only managed to cut a couple cutting boards for my daughter who is a very good climber but the learning curve has been amazing. I wish I had started this years ago. Hopefully I will get to the skill level of the rest of you over time. Great place to see what individuals are doing, some really amazing work being done. Thanks for sharing
18 Likes
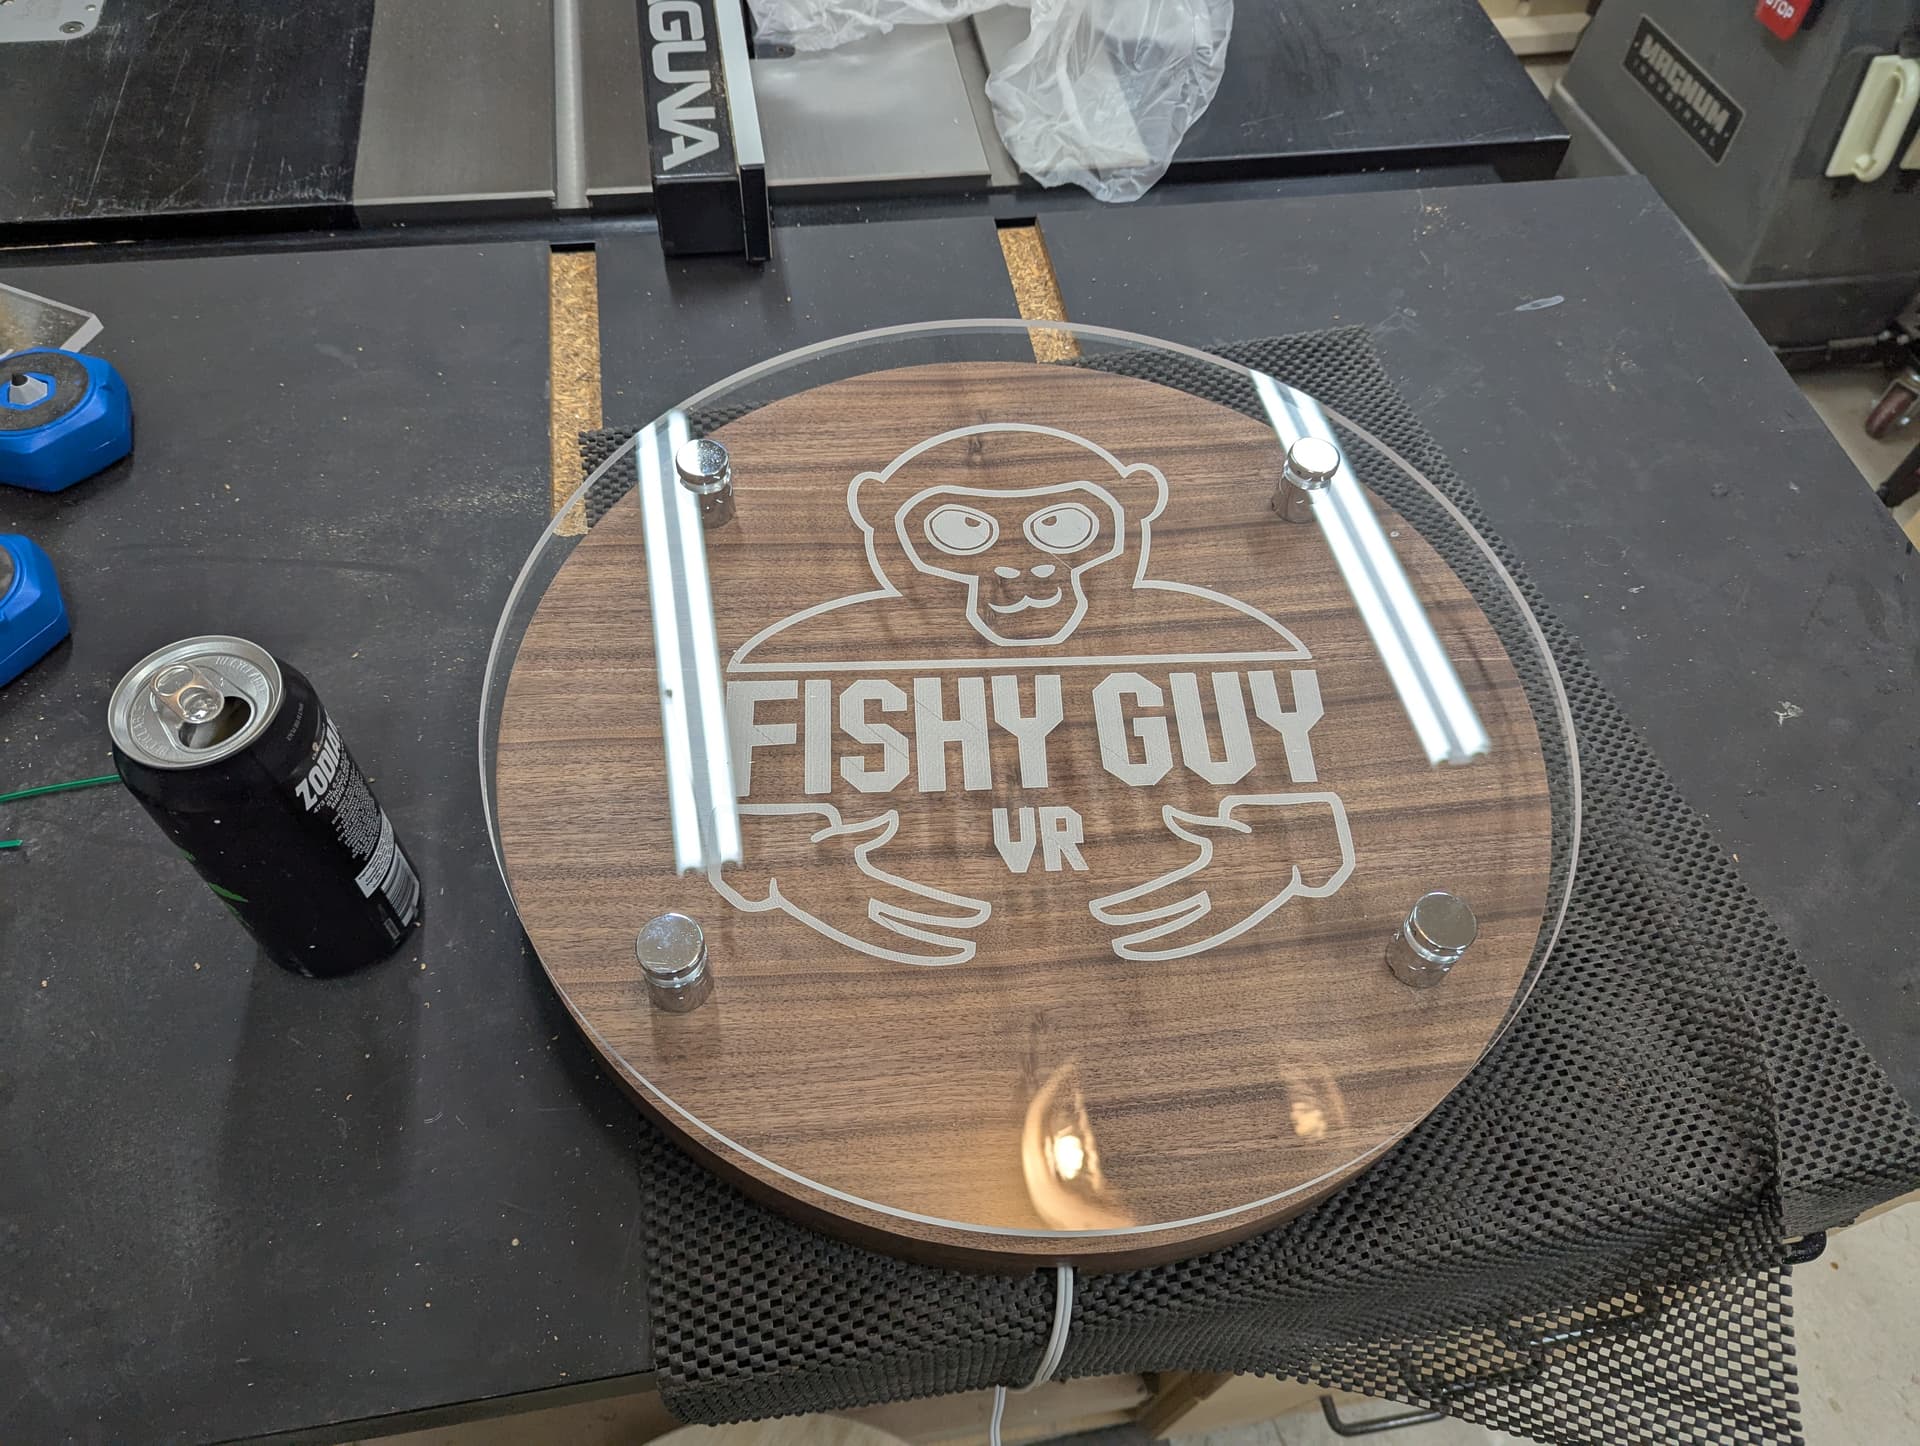

I really like those LED mounting standoffs! Well done.
1 Like
The stand offs have the LED light in them? That is a great idea.
1 Like
I love the artwork and the LED Standoff lights .
Who makes those LED lights ?
1 Like
You can find those on Amazon or through a supply house like JDS.
4 Likes