I eventually switched to a single flute and it worked great. Thanks for the tip on increasing the depth and feed rates. Saved me a lot of time and materials with testing.
2 Likes
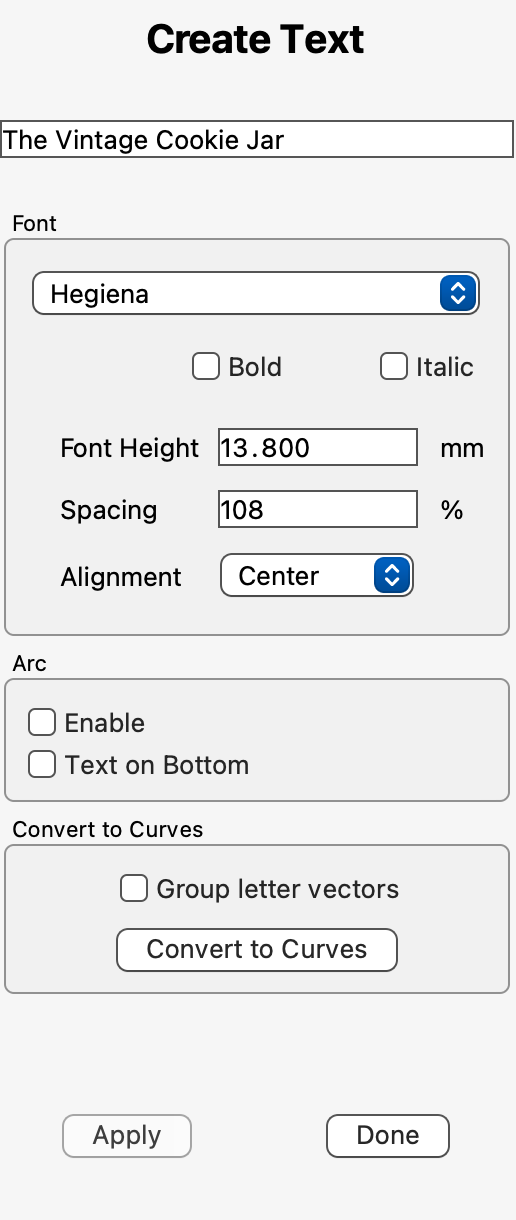
Here’s the free personal use font: Hegiena
@documenta I forgot to add that I always look up your fonts, because I know you have a keen eye for that!
2 Likes
Creative Fabrica also has the font for those that use Creative Fabrica.
What I made recently:

26 Likes
My oldest brother keeps asking me if I can do guitar bodies I plan to try one out of pine as a test the weekend. I glued up the pine the day after Christmas but still been making serving trays and haven’t been able to toss it on yet lol yours looks amazing!
1 Like
I spent the afternoon in the garage cutting my first 3D test project. I converted a pic to .stl, imported it into CC Pro and created roughing and finishing toolpaths after figuring out how to configure the 3D settings. After many simulations I finally found the toolpaths I thought were best. I always run tests in MDF so I set up a 12x6" stock and with my cursor on the pause button started the first cuts. I had to make a couple adjustments on the fly but once things were sorted out the toolpaths ran without a hitch. To say I was impressed with the ability of the machine to cut the small details is an understatment. The finishing cut was done with a 1/32 downcut endmill due to the small details. Since its such a small endmill it took considerable time to get through the complete cut but it did an awesome job. I learned a lot from running this test and now know what to adjust when I run it on a good piece of lumber later this week. The pic was taken at a slight angle to catch the dark shadows which really bring out the design.

16 Likes
Your stepover is pretty aggressive for your finishing toolpath. How we know are by the deep grooved lines running across the cuts per pass. If you are happy with the results then there is not an issue, but if you want those lines gone that are made per pass, then reducing the stepover on the finishing tool would greatly reduce, or altogether eliminate the tooling lines. Most stepovers are set to 0.008 of an inch per pass. For clearer detail, I like to further reduce the stepover to 0.006, or even 0.004 of an inch.
We use a ball nose endmill to make our finishing passes. The tip and one side of the ball nose endmill is cutting only. If the setover is too large and goes beyond the very center tip of the ball nose endmill, then the tool will leave the material that is on the other side that is left between the previous pass and the current pass. Reducing the stepover reduces the material left behind.
There is a give and take from reducing the stepover as well. When reducing the stepover, it creates a longer timed toolpath, but it also creates a better looking finish and more detail. Another thing to think about with creating 3D carvings is what really needs to be carved in 3D and what can be eliminated out of it and just carved regularly in a pocket or contour toolpath.
I think you could reduce the amount of time it takes to carve this whole design by a lot if you just mapped out the fish as the 3D design and then created new toolpaths to the lettering themselves. Of course, you would have to take advantage of step machining where the machine doesn’t carve out the fins of the fish. The rest of the area, “dead space” around the middle carving wouldn’t even need touched in the 3D carving. You could create a pocket toolpath that carves out this material fast and in a hurry with a 1/4 inch flat endmill. Just an idea and I do like the way the fish bones look prehistoric in the bones with those lines. But the lines continue into the outside and inside of the lettering.
3 Likes
Thx for the detailed reply Eli. Exactly why I do MDF test carves. Using feedback like yours and seeing the end result helps me to make improvements.
I left all the settings at default when setting up the toolpaths. When I saw the lines in the cuts I assumed it was from the stepover value. I didn’t use a ballmill because it didn’t give me the level of detail that the endmill did. And I don’t have a ballmill that small either… I’ll go shopping … ![]() . I went through numerous simulations trying all my mills and the 1/32 downcut was the best outcome. I’ll also be increasing the size of the project when I do it in good material so the detailed areas will be spread out a bit more.
. I went through numerous simulations trying all my mills and the 1/32 downcut was the best outcome. I’ll also be increasing the size of the project when I do it in good material so the detailed areas will be spread out a bit more.
I didn’t think about splitting the carves into two parts. Likely a good plan, I’ll check that out and see if I can make it work.
2 Likes
There are tapered ball nose endmills that would help your design look more complete. I only bought the 1/8 inch tapered ball nose endmill, but regular ball nose endmills can do the same thing, but a bit more restricted because the 3D finish carving passes are harder in deflection in multiple directions. I have ball nose endmills as small as 1/32. You have the right idea and also use the simulations as much as possible. I really does help a ton. Happy carving.
1 Like
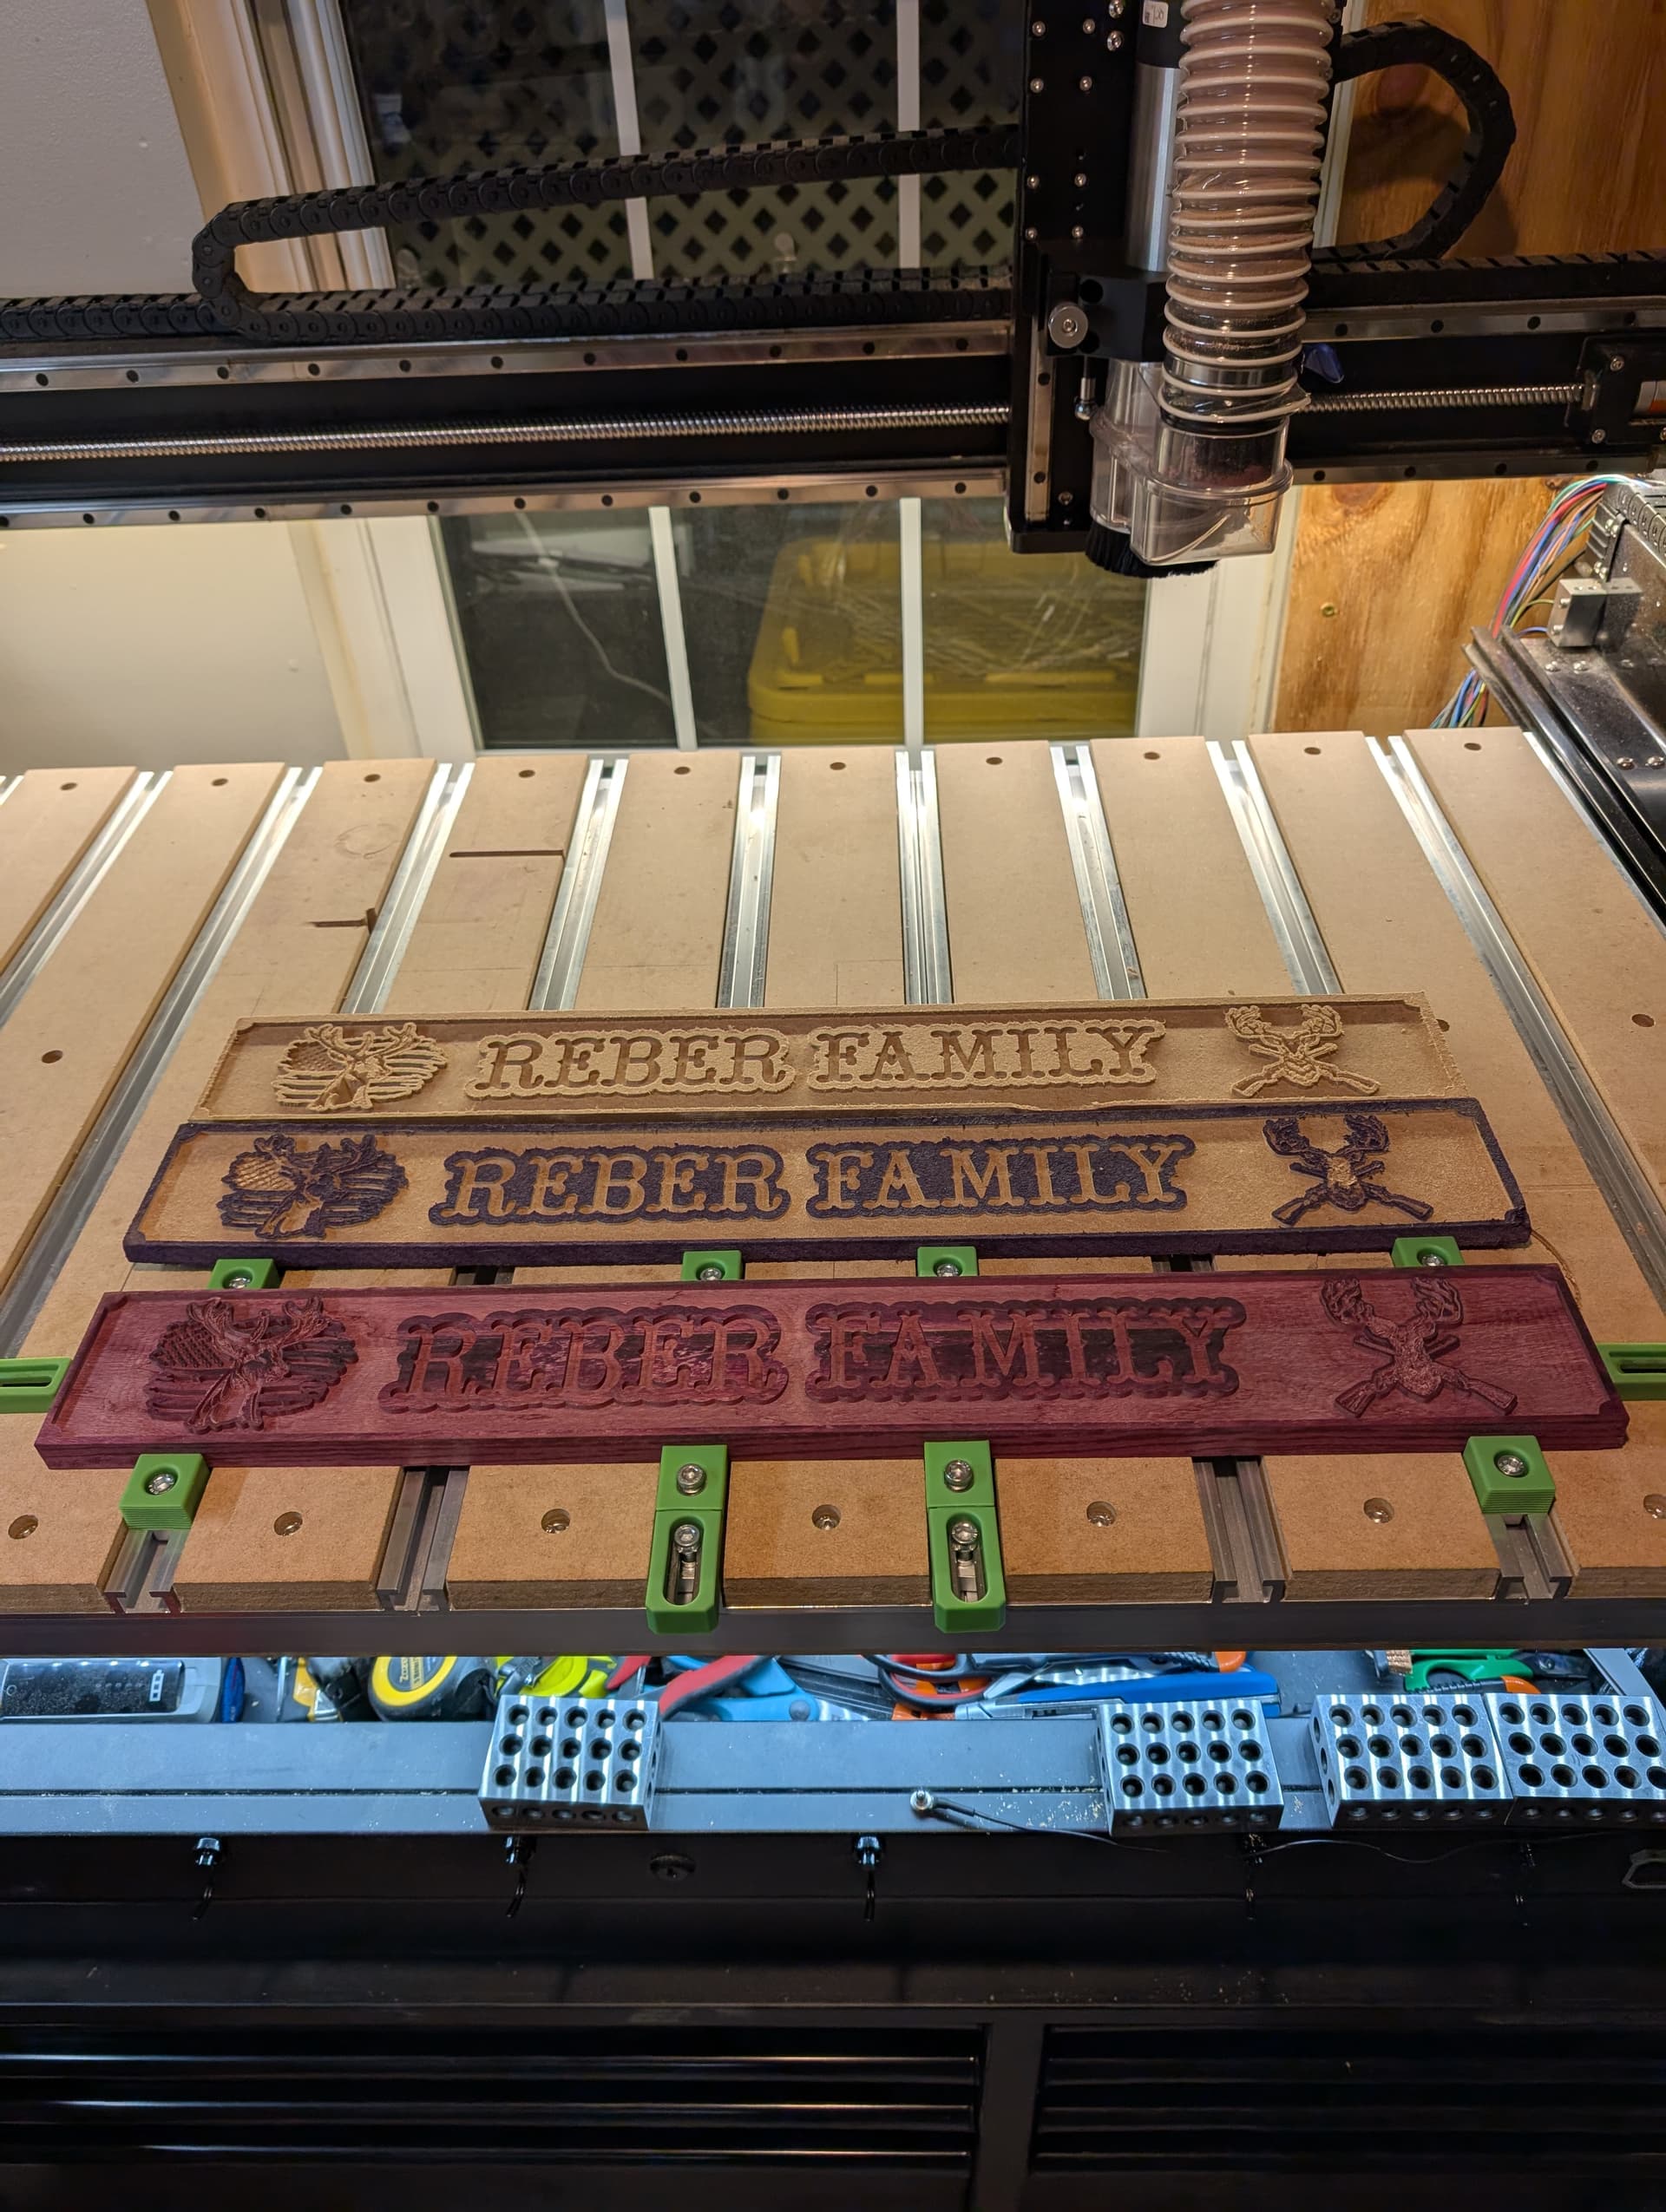
Mark, I’ve never found a (reasonable) way to not burn purpleheart cutting across the grain. It kind of looks like your piece did the same thing. Once burned, you can’t even sand that off.
1 Like
Purpleheart has given me more splinters than any other wood I have ever worked with. Over time purpleheart turns brown. It is oxidation so if you can seal it well it will retard the color changing progress. Purpleheart is pretty but can be a bear to work with. I have gotten some purpleheart that had dark blotches on the surface. If you surface it off it is bright purple but it will blotch again. So when picking out purpleheart skip the pieces that appear to have dark blotches on the surface. The dark blotches are resin/sap.
Nice looking signs. My advise to you is to not criticize your own work. As woodworkers and craftsmen we are very critical of our own work. Others will look at and think it is wonderful. Along those lines if you make a mistake everytime you pick up that project your eye will go right to the mistake. So if gifting projects do not point out the flaws. Most non wood workers will never see the flaws and just love the project you gifted to them. Lighten up on yourself and enjoy the process. The world is full of critics dont be a critic of yourself. Of course we evaluate our own work but keep it to yourself and be happy with what you produce.
4 Likes
7 posts were split to a new topic: Buying lumber from a sawyer/sawmill
Always hard work rounding them up when their small🤣
1 Like
Put together a push toy for a relative’s soon to be here granddaughter. Used a scrap of cherry that I had and bought the wheels.
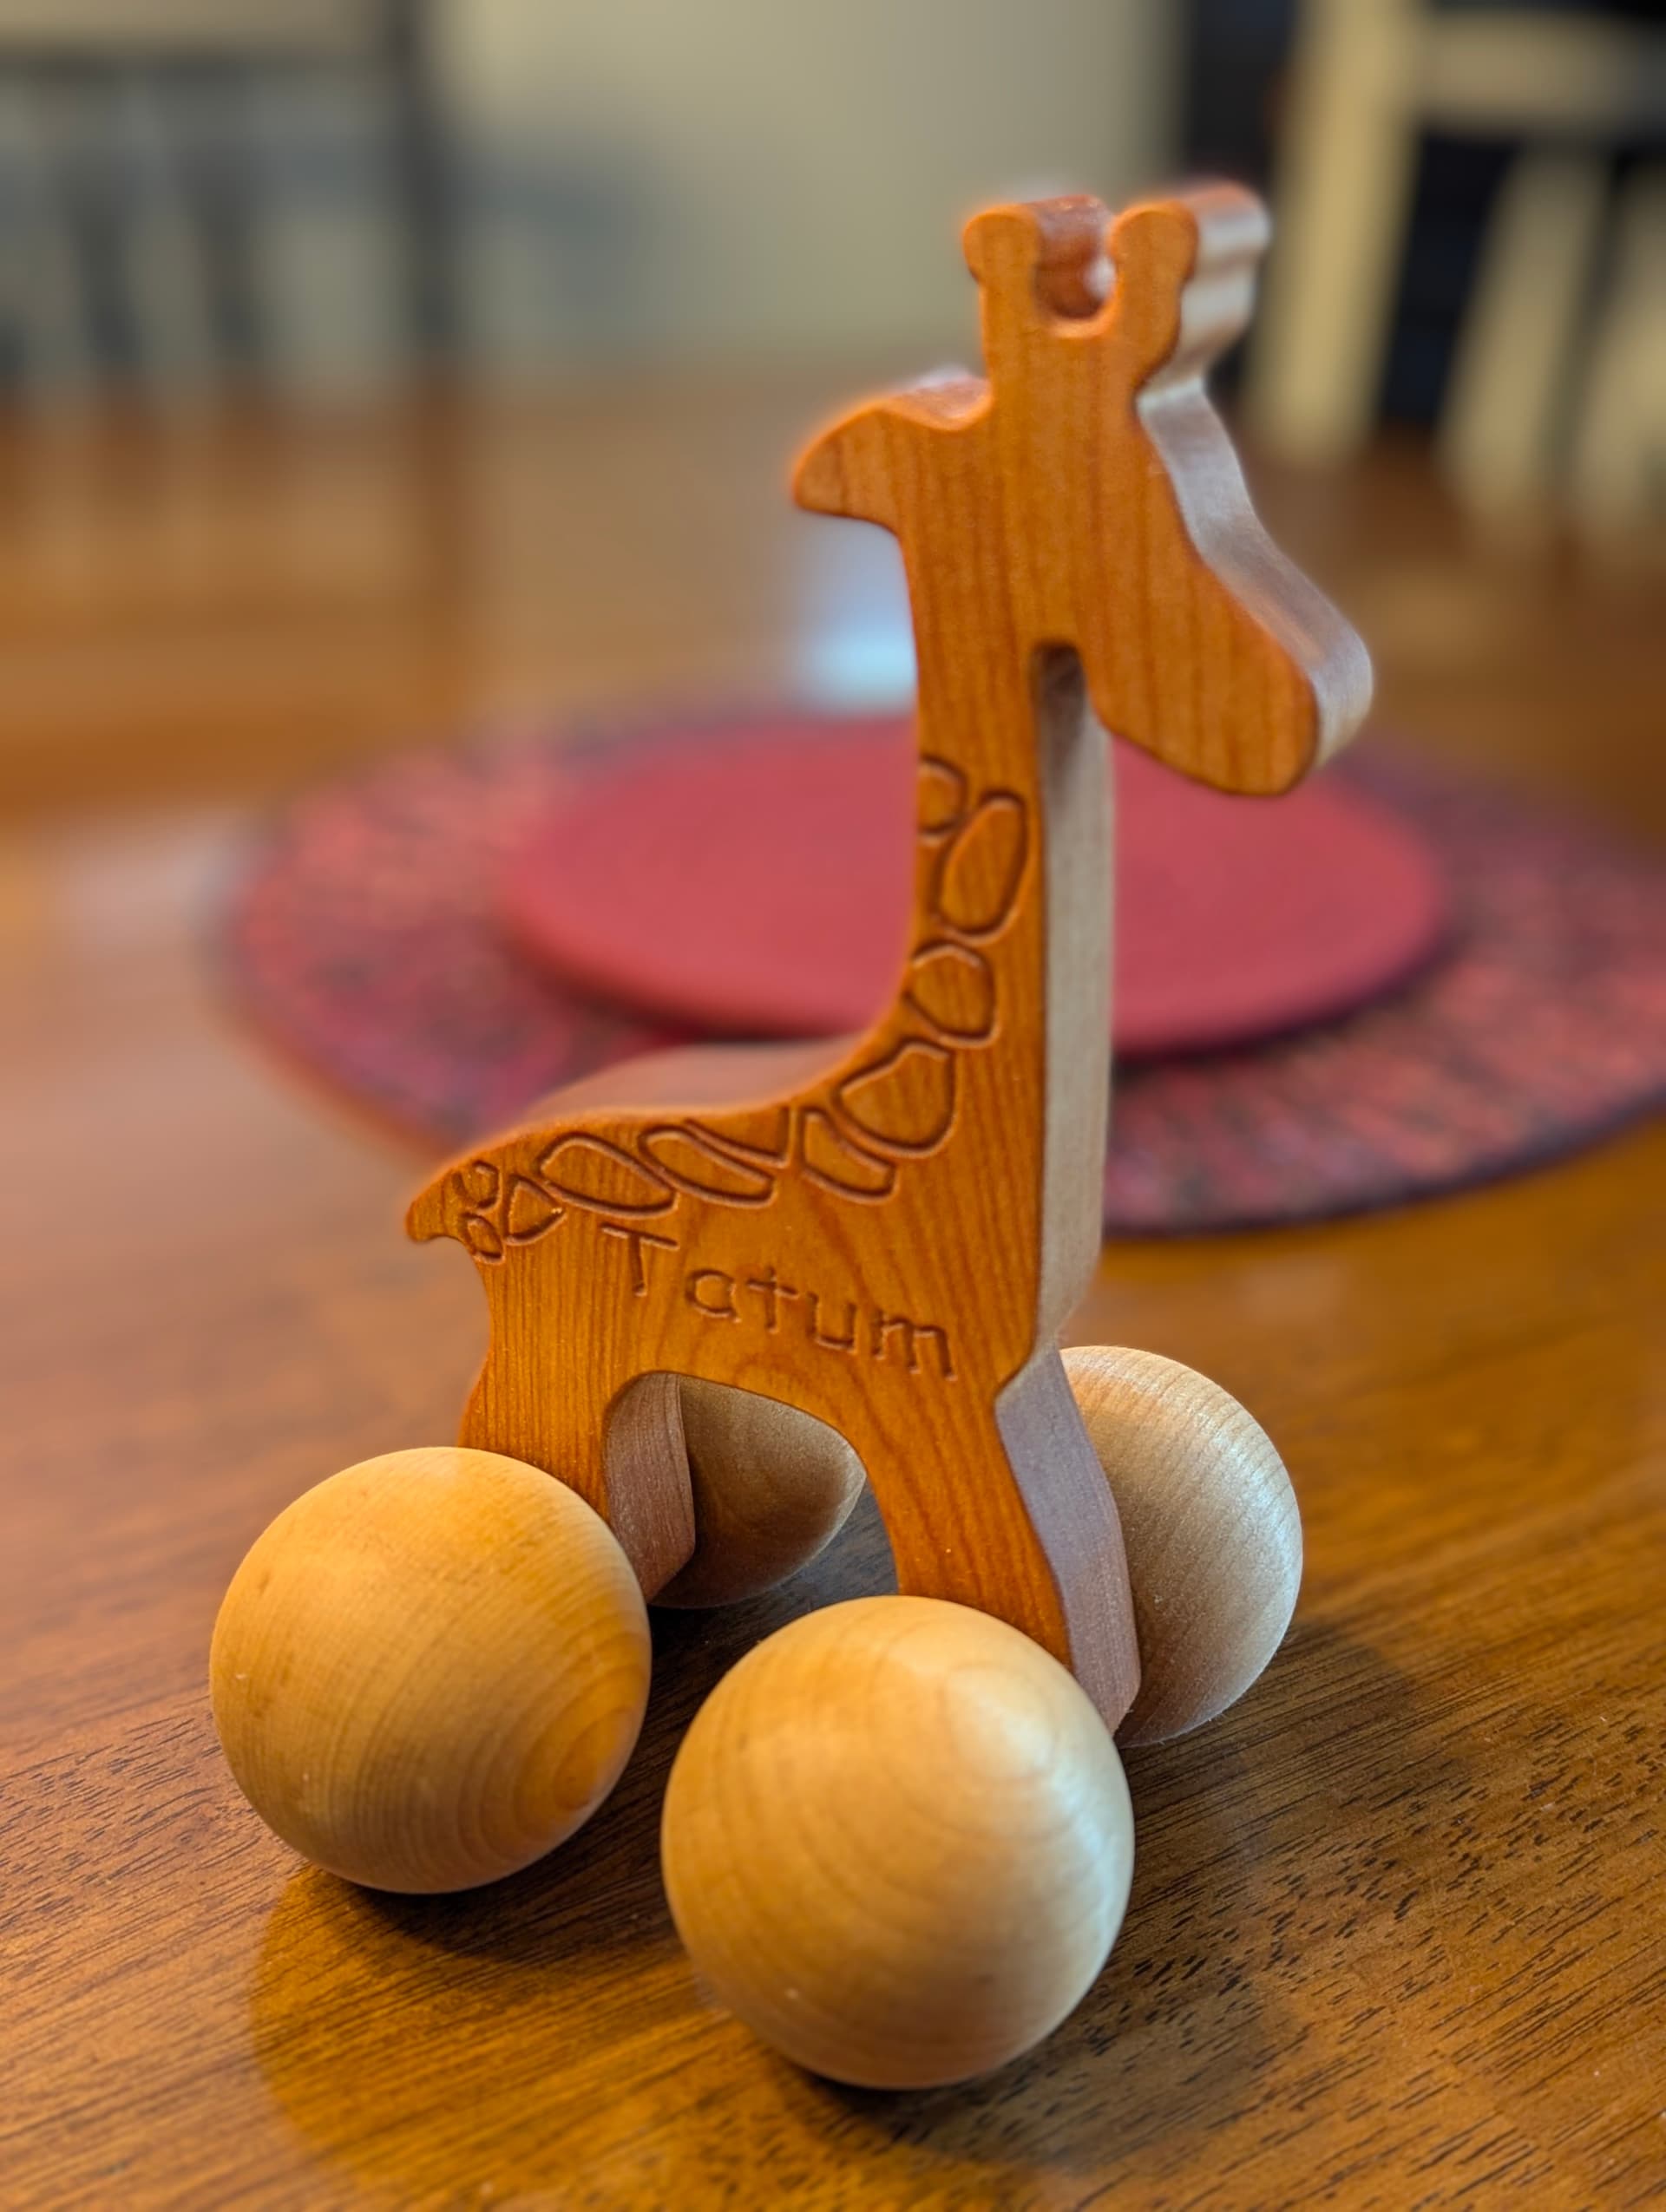
23 Likes
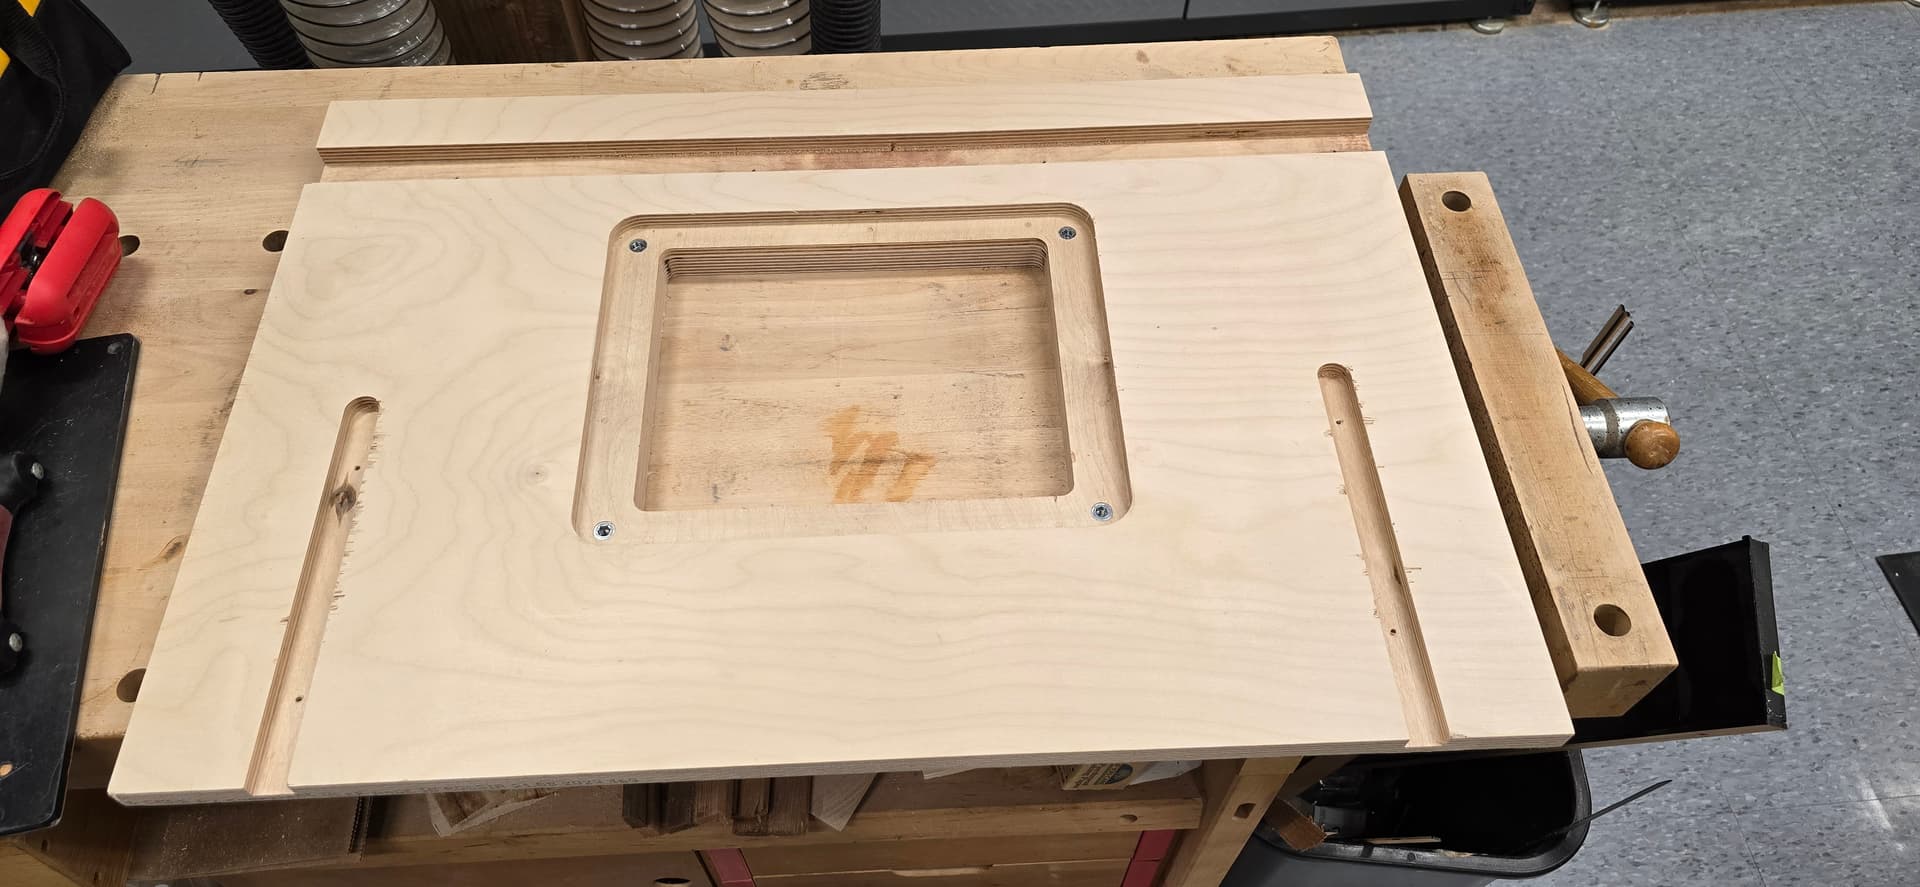
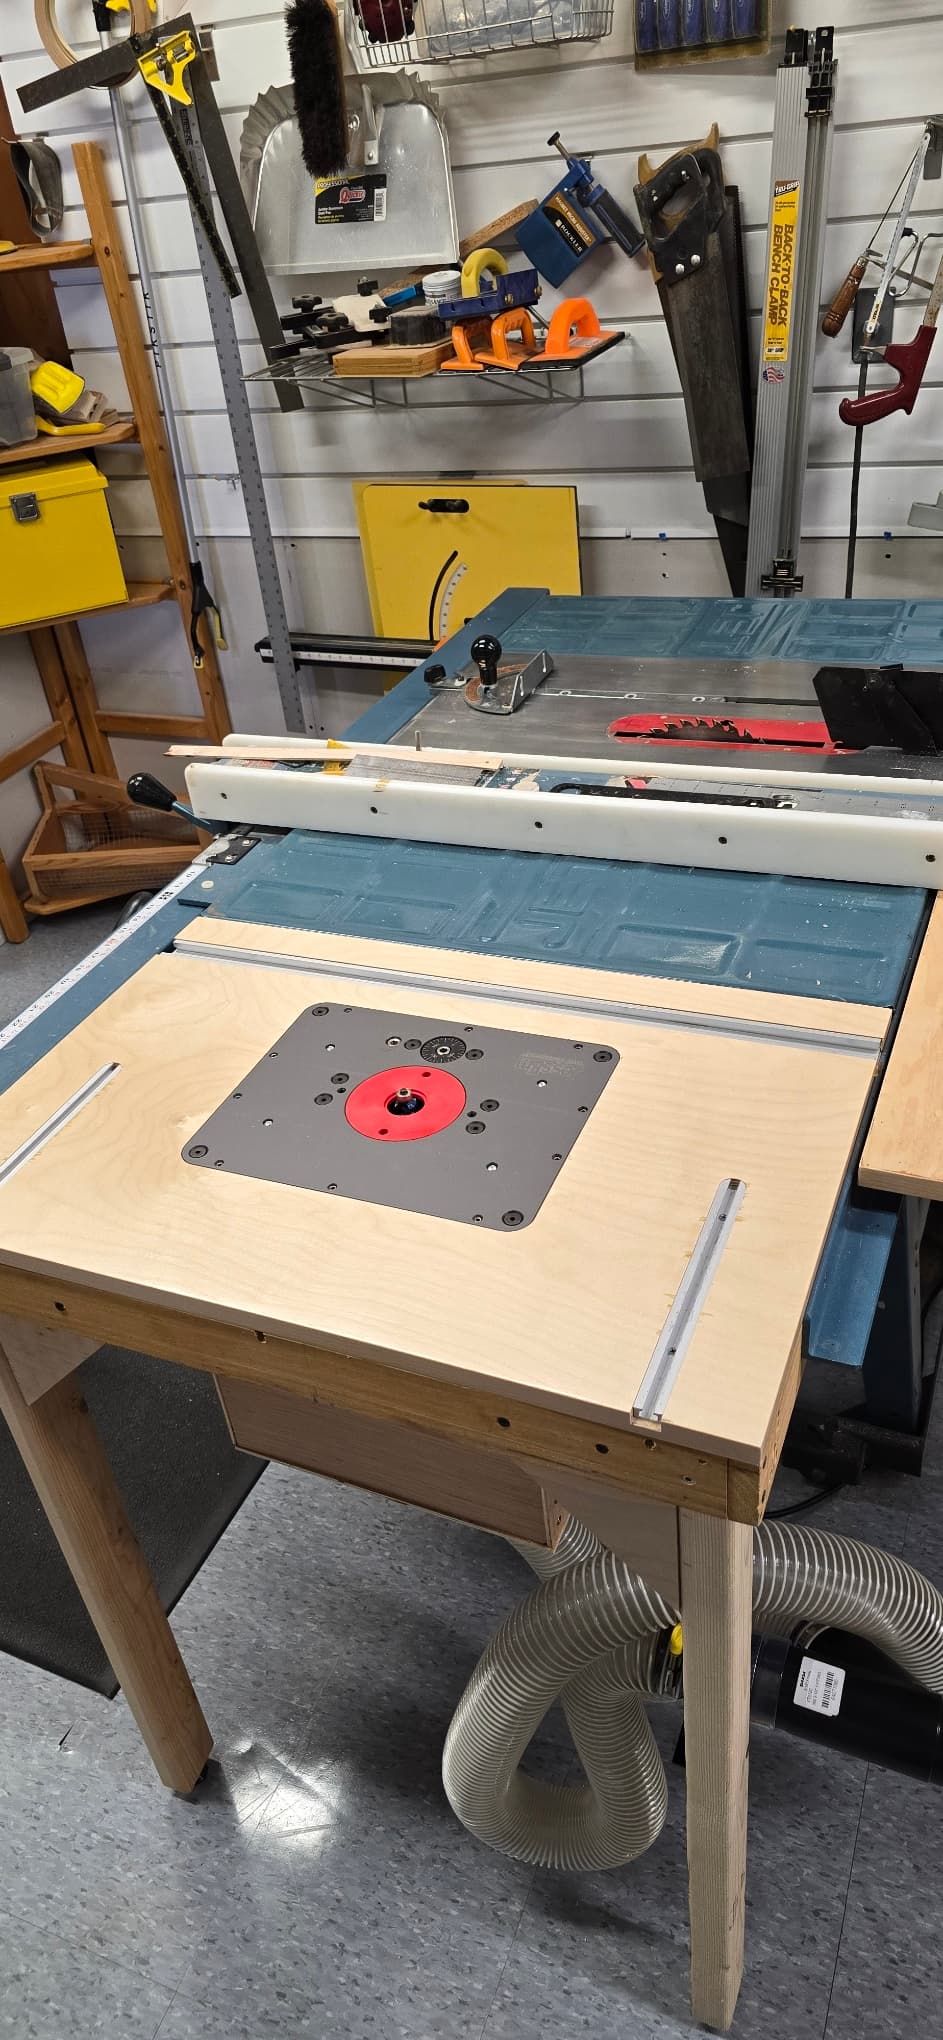
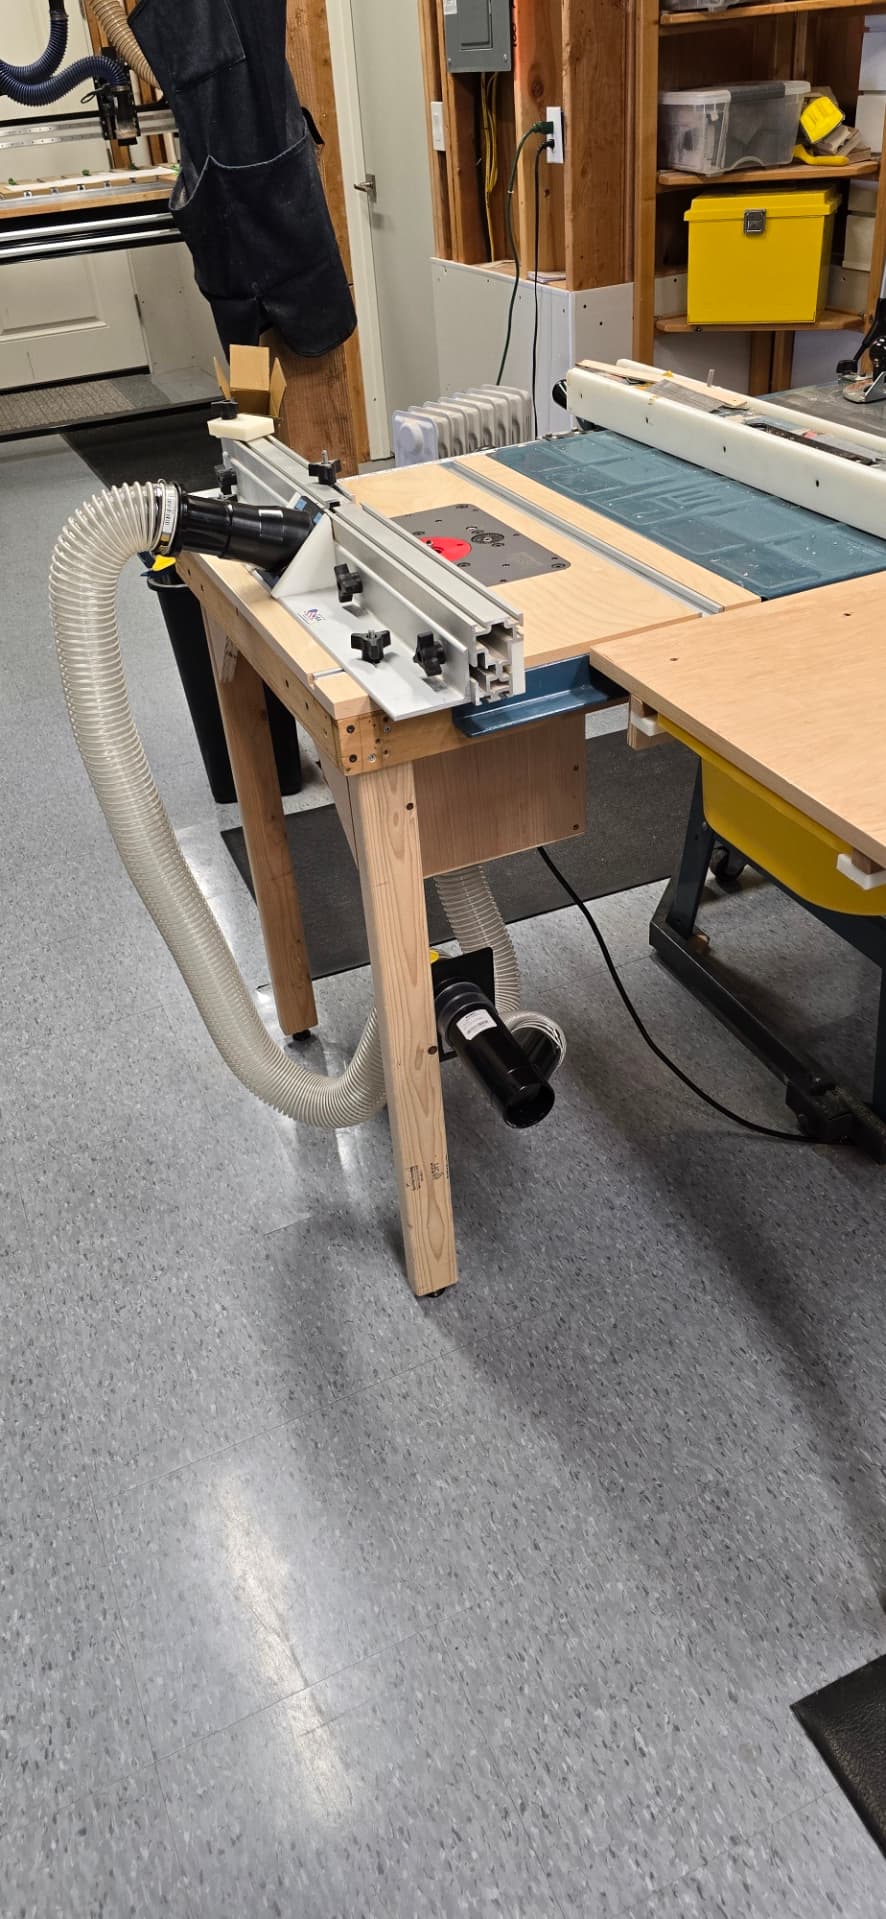
I finally decided to upgrade my router table built into the extension of my table saw. It was a pain to adjust from below so I got a Jessem Rout-R-Lift 2. You could order a router template for something like $50 but I thought it would be pretty easy to CNC.
Here are a couple of pictures and the .c2d file. Note I didn’t include the 4 mounting holes for the plate. They are in the .svg file but not the toolpath. I just used a self centering bit to start the holes and used 1/2 x 20 inserts. For the table I used 2 layers of 3/4" baltic birch plywood. One layer would have deflected. I added dust collection below and a side benefit is a huge reduction in noise.
Jessem router lift V4 no mount holes.c2d (80 KB)

19 Likes
Nice job on the router top. Did you purposely configure the top to have the fence opposite to the table saw fence? Seems it would be easier to use if you flipped the router fence/top 180 degrees. You very well may have a specific reason for installing it that way.
1 Like
Your shop floor is too clean… ![]()
9 Likes
The floor is just another flat space that accumulates junk.
3 Likes