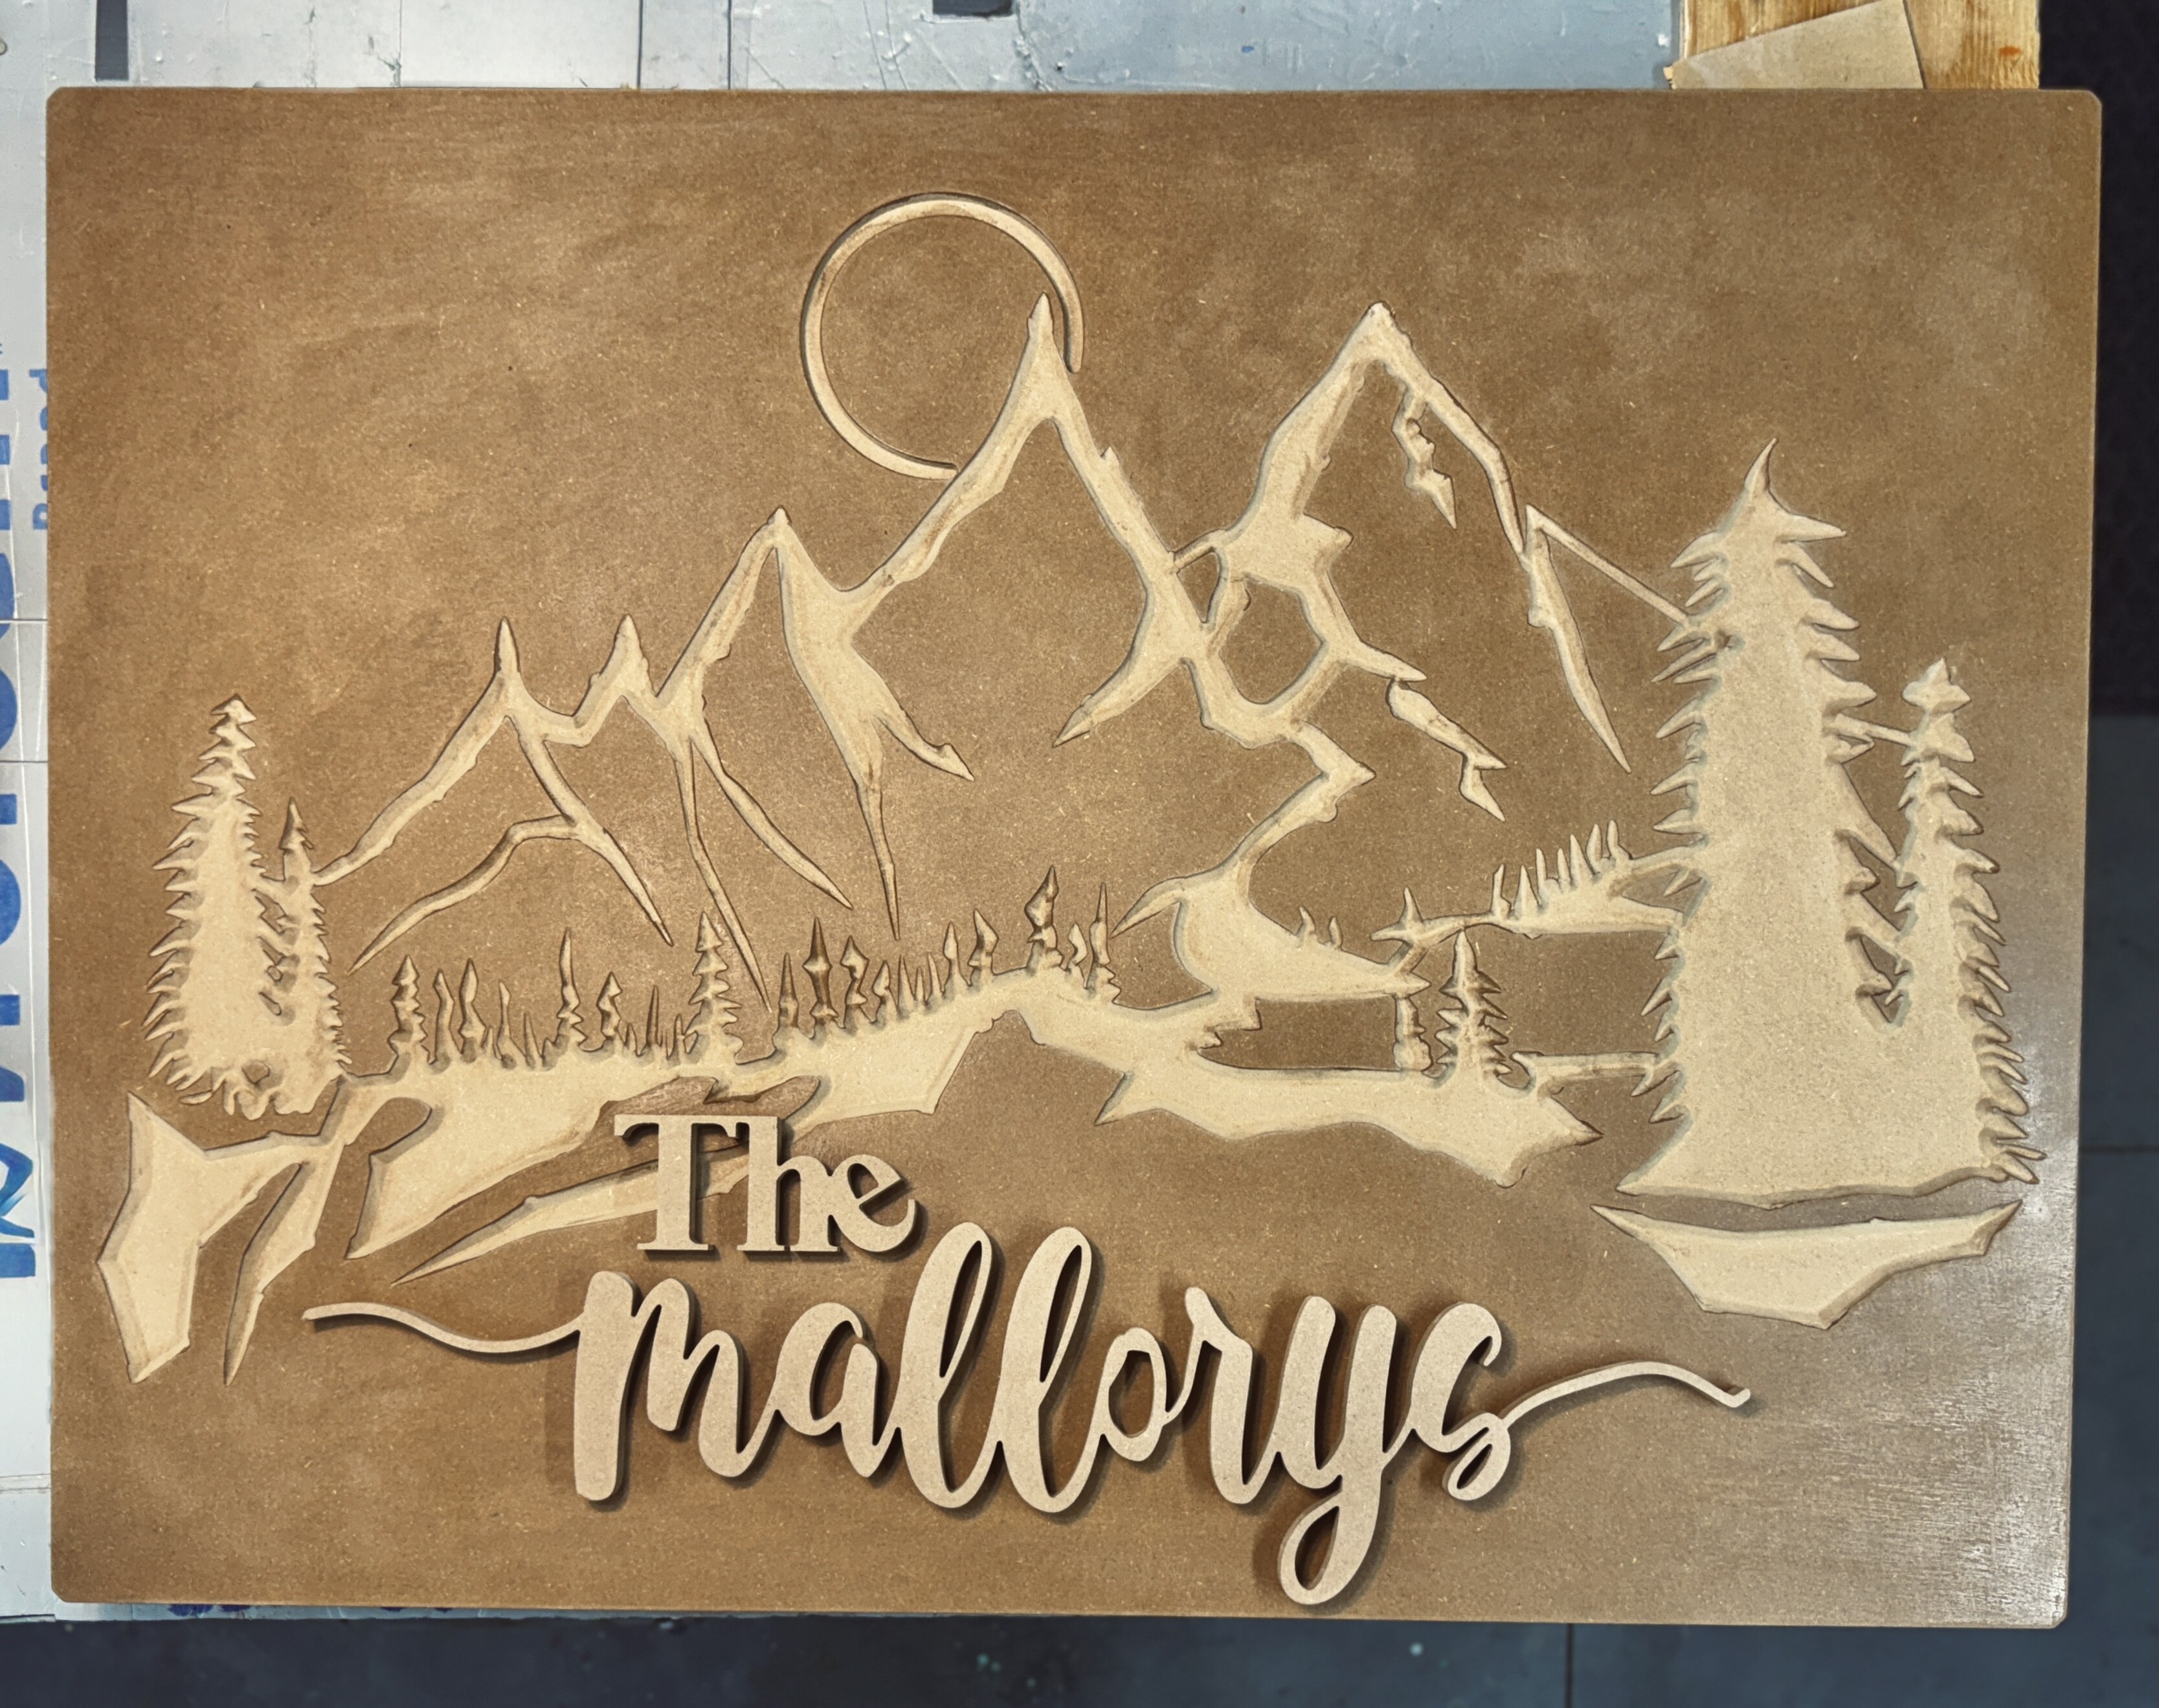
The second piece I’ve made with the machine. Complete newbie using a CNC but having a ball learning how. Tbh, I didn’t realize I would enjoy the design side of things in Carbide Create as much as I am. I’ve spent more time playing in there the past few weeks of owning the machine than I have cutting anything on it.
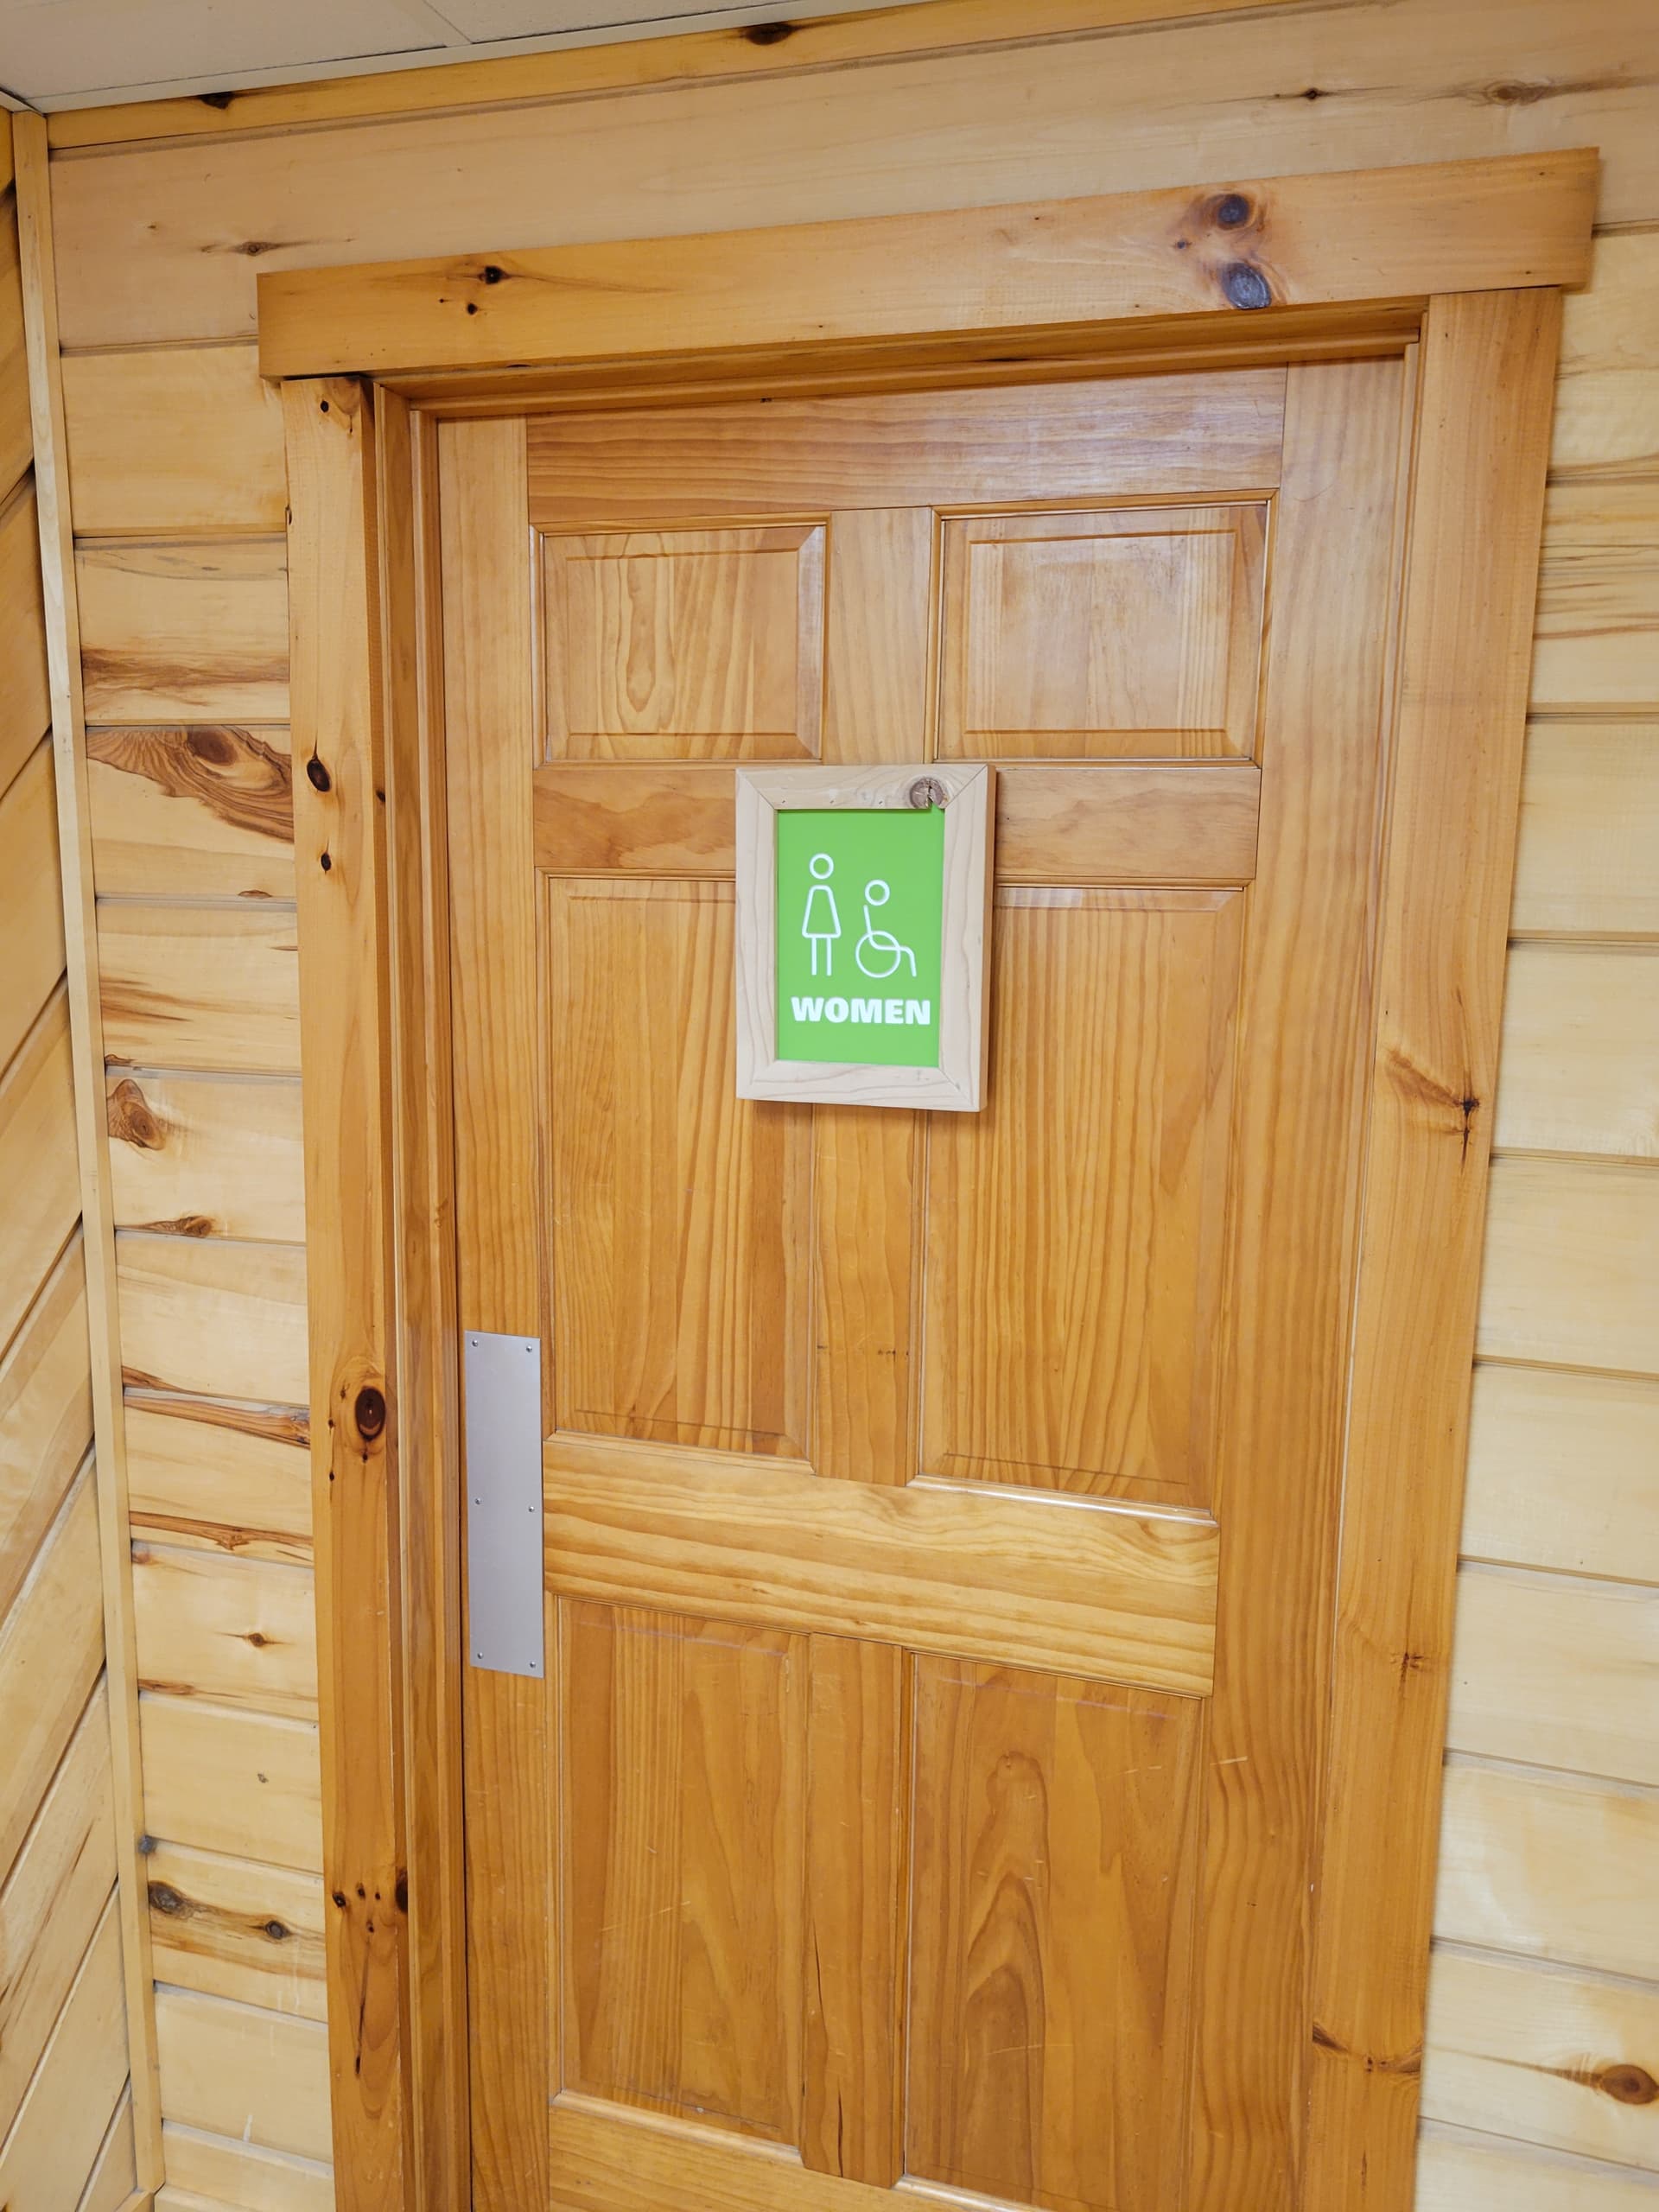
Hard to tell by the pic but the sign is actually 44” x 36”, pretty mammoth and equally as heavy. Just getting ready to paint it then put it in the frame I built with 1x4’s, which I torched and stained black. I’ll post a follow up pic once I have it all together this upcoming week.
Glad to be part of this community, really a neat group just based off reading previous posts.
Thats a great sign! I also enjoy the design side of the hobby. It’s very satisfying to design something in CC and then see the result after you run it on the machine.
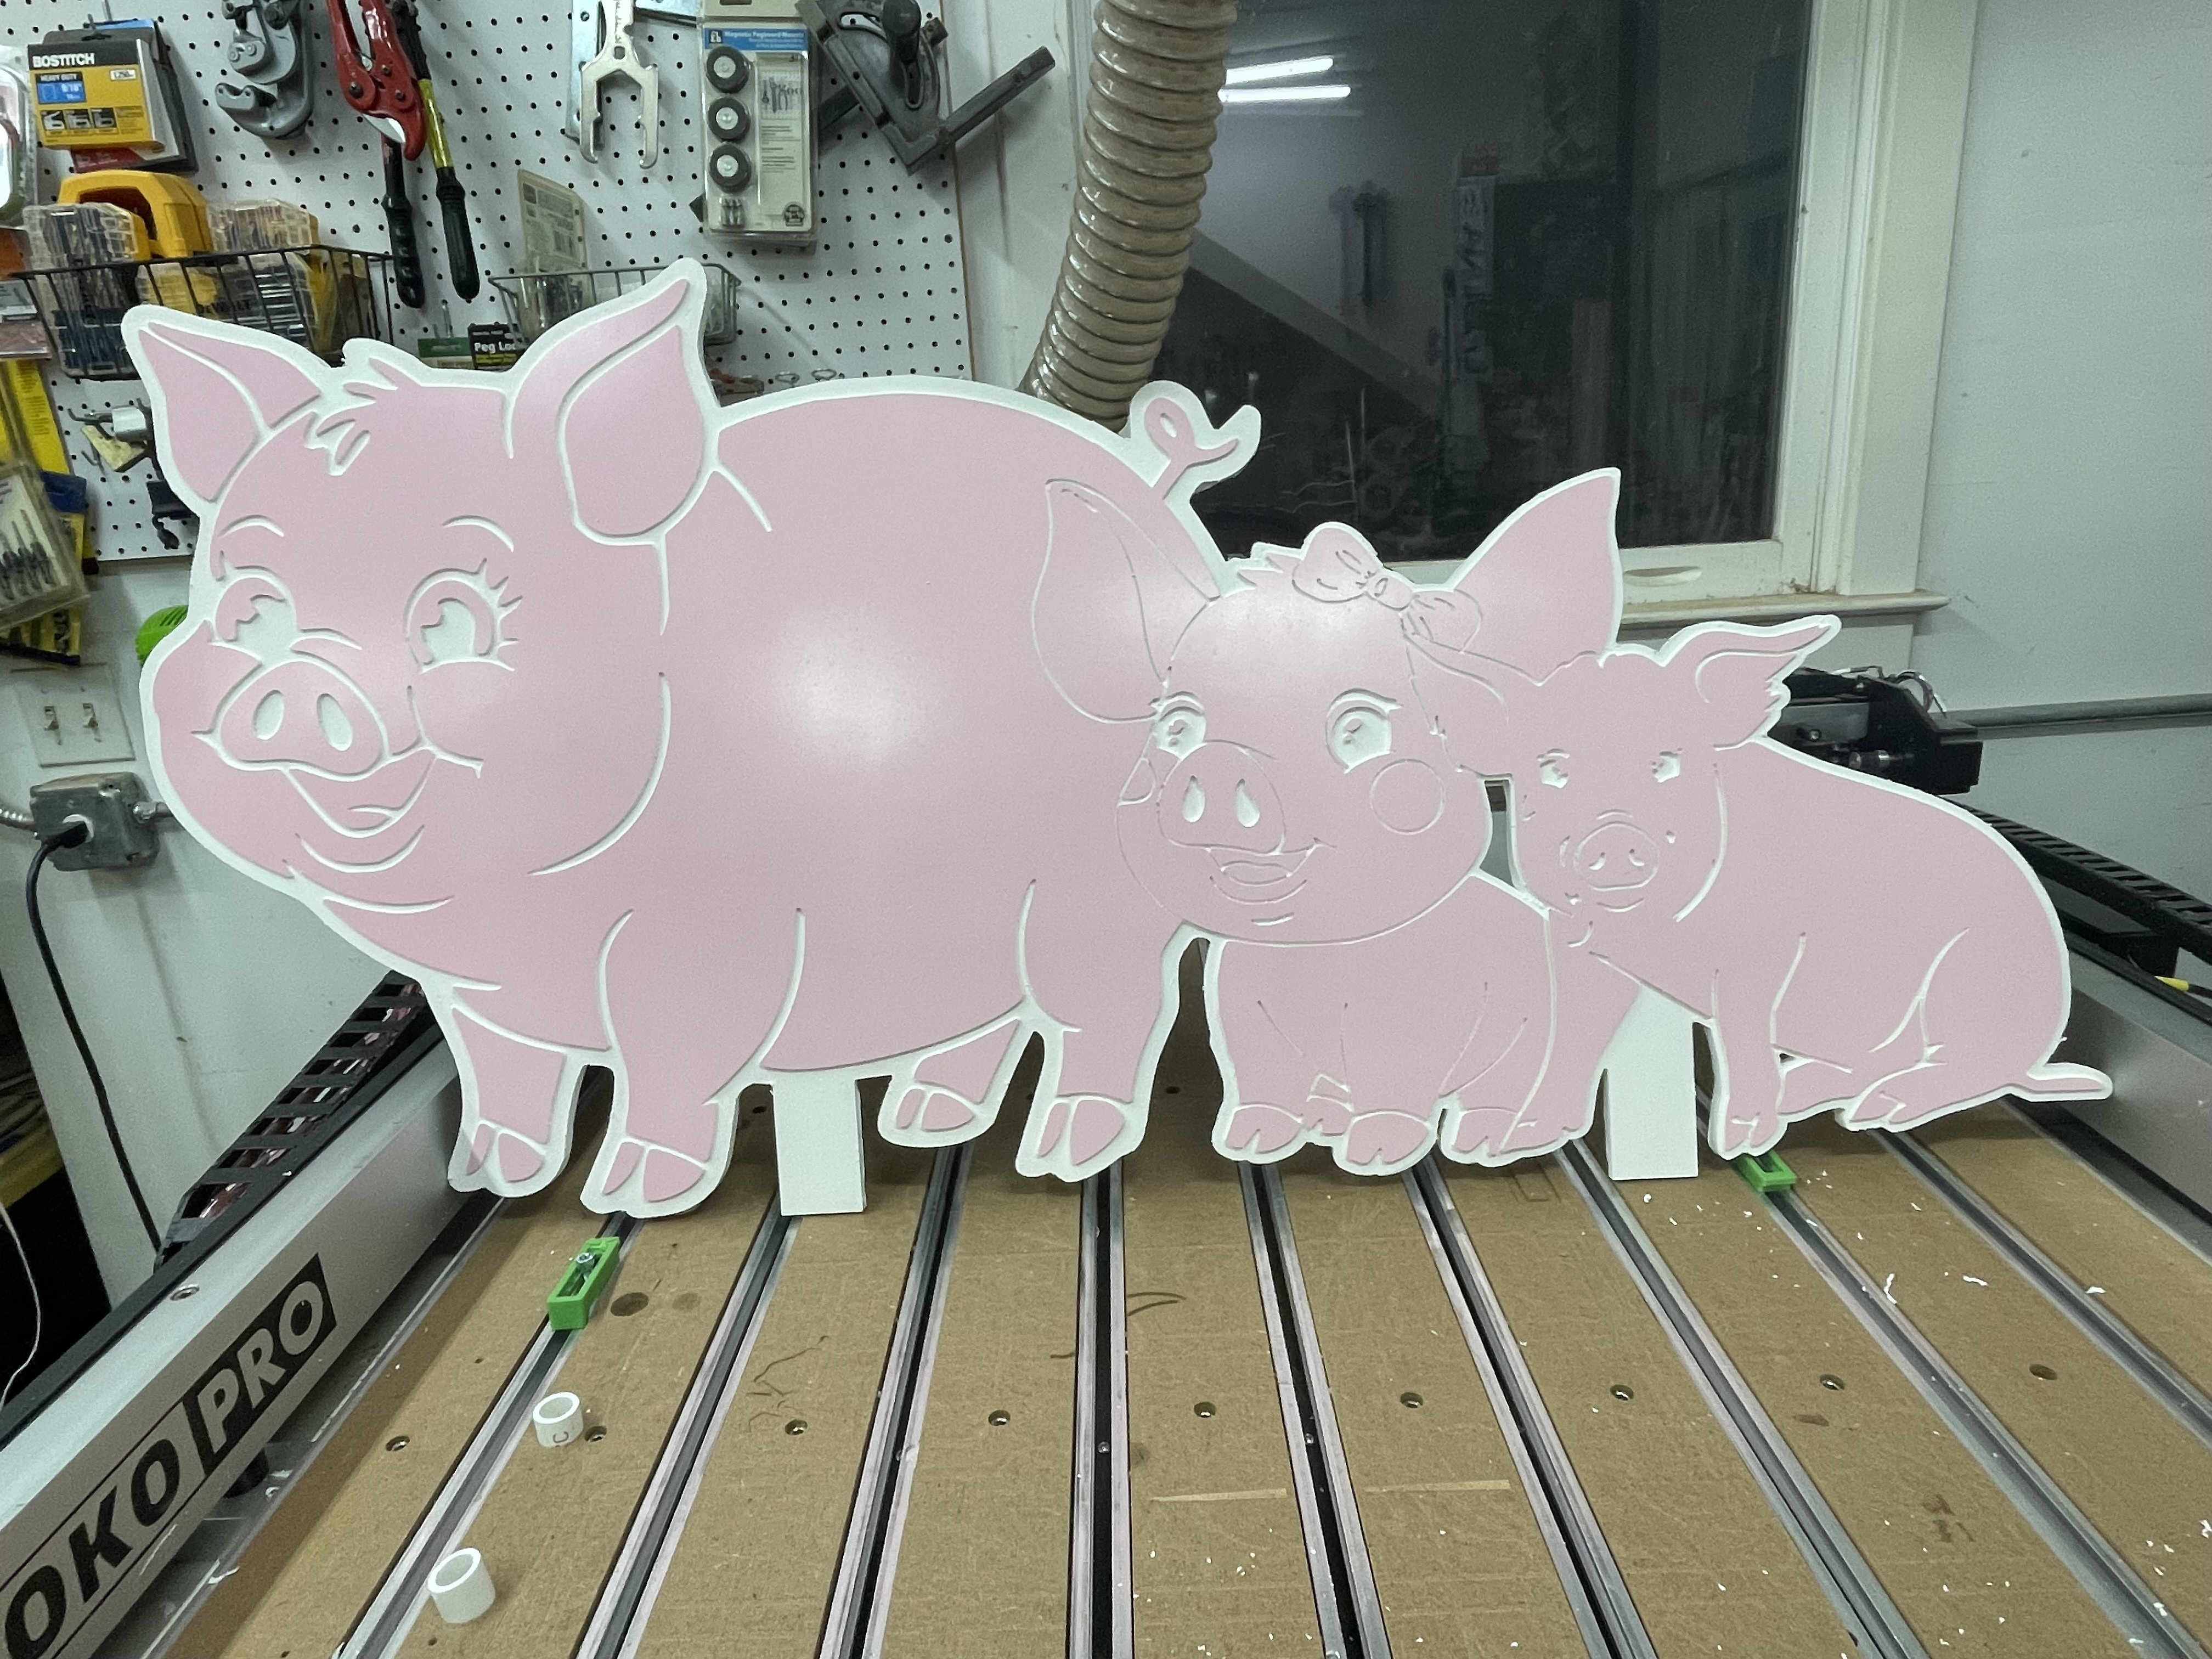
The white area still needs to be painted black. This was a tiling job and my power blinked when the job was 90% done with the second tile. It was pretty close to finishing the carving and about to transition to the cutting so I just redid the job and had it start with the cut. The X was off by about 1/16 of an inch after restart but since it was PVC it was fairly easy to clean it up.
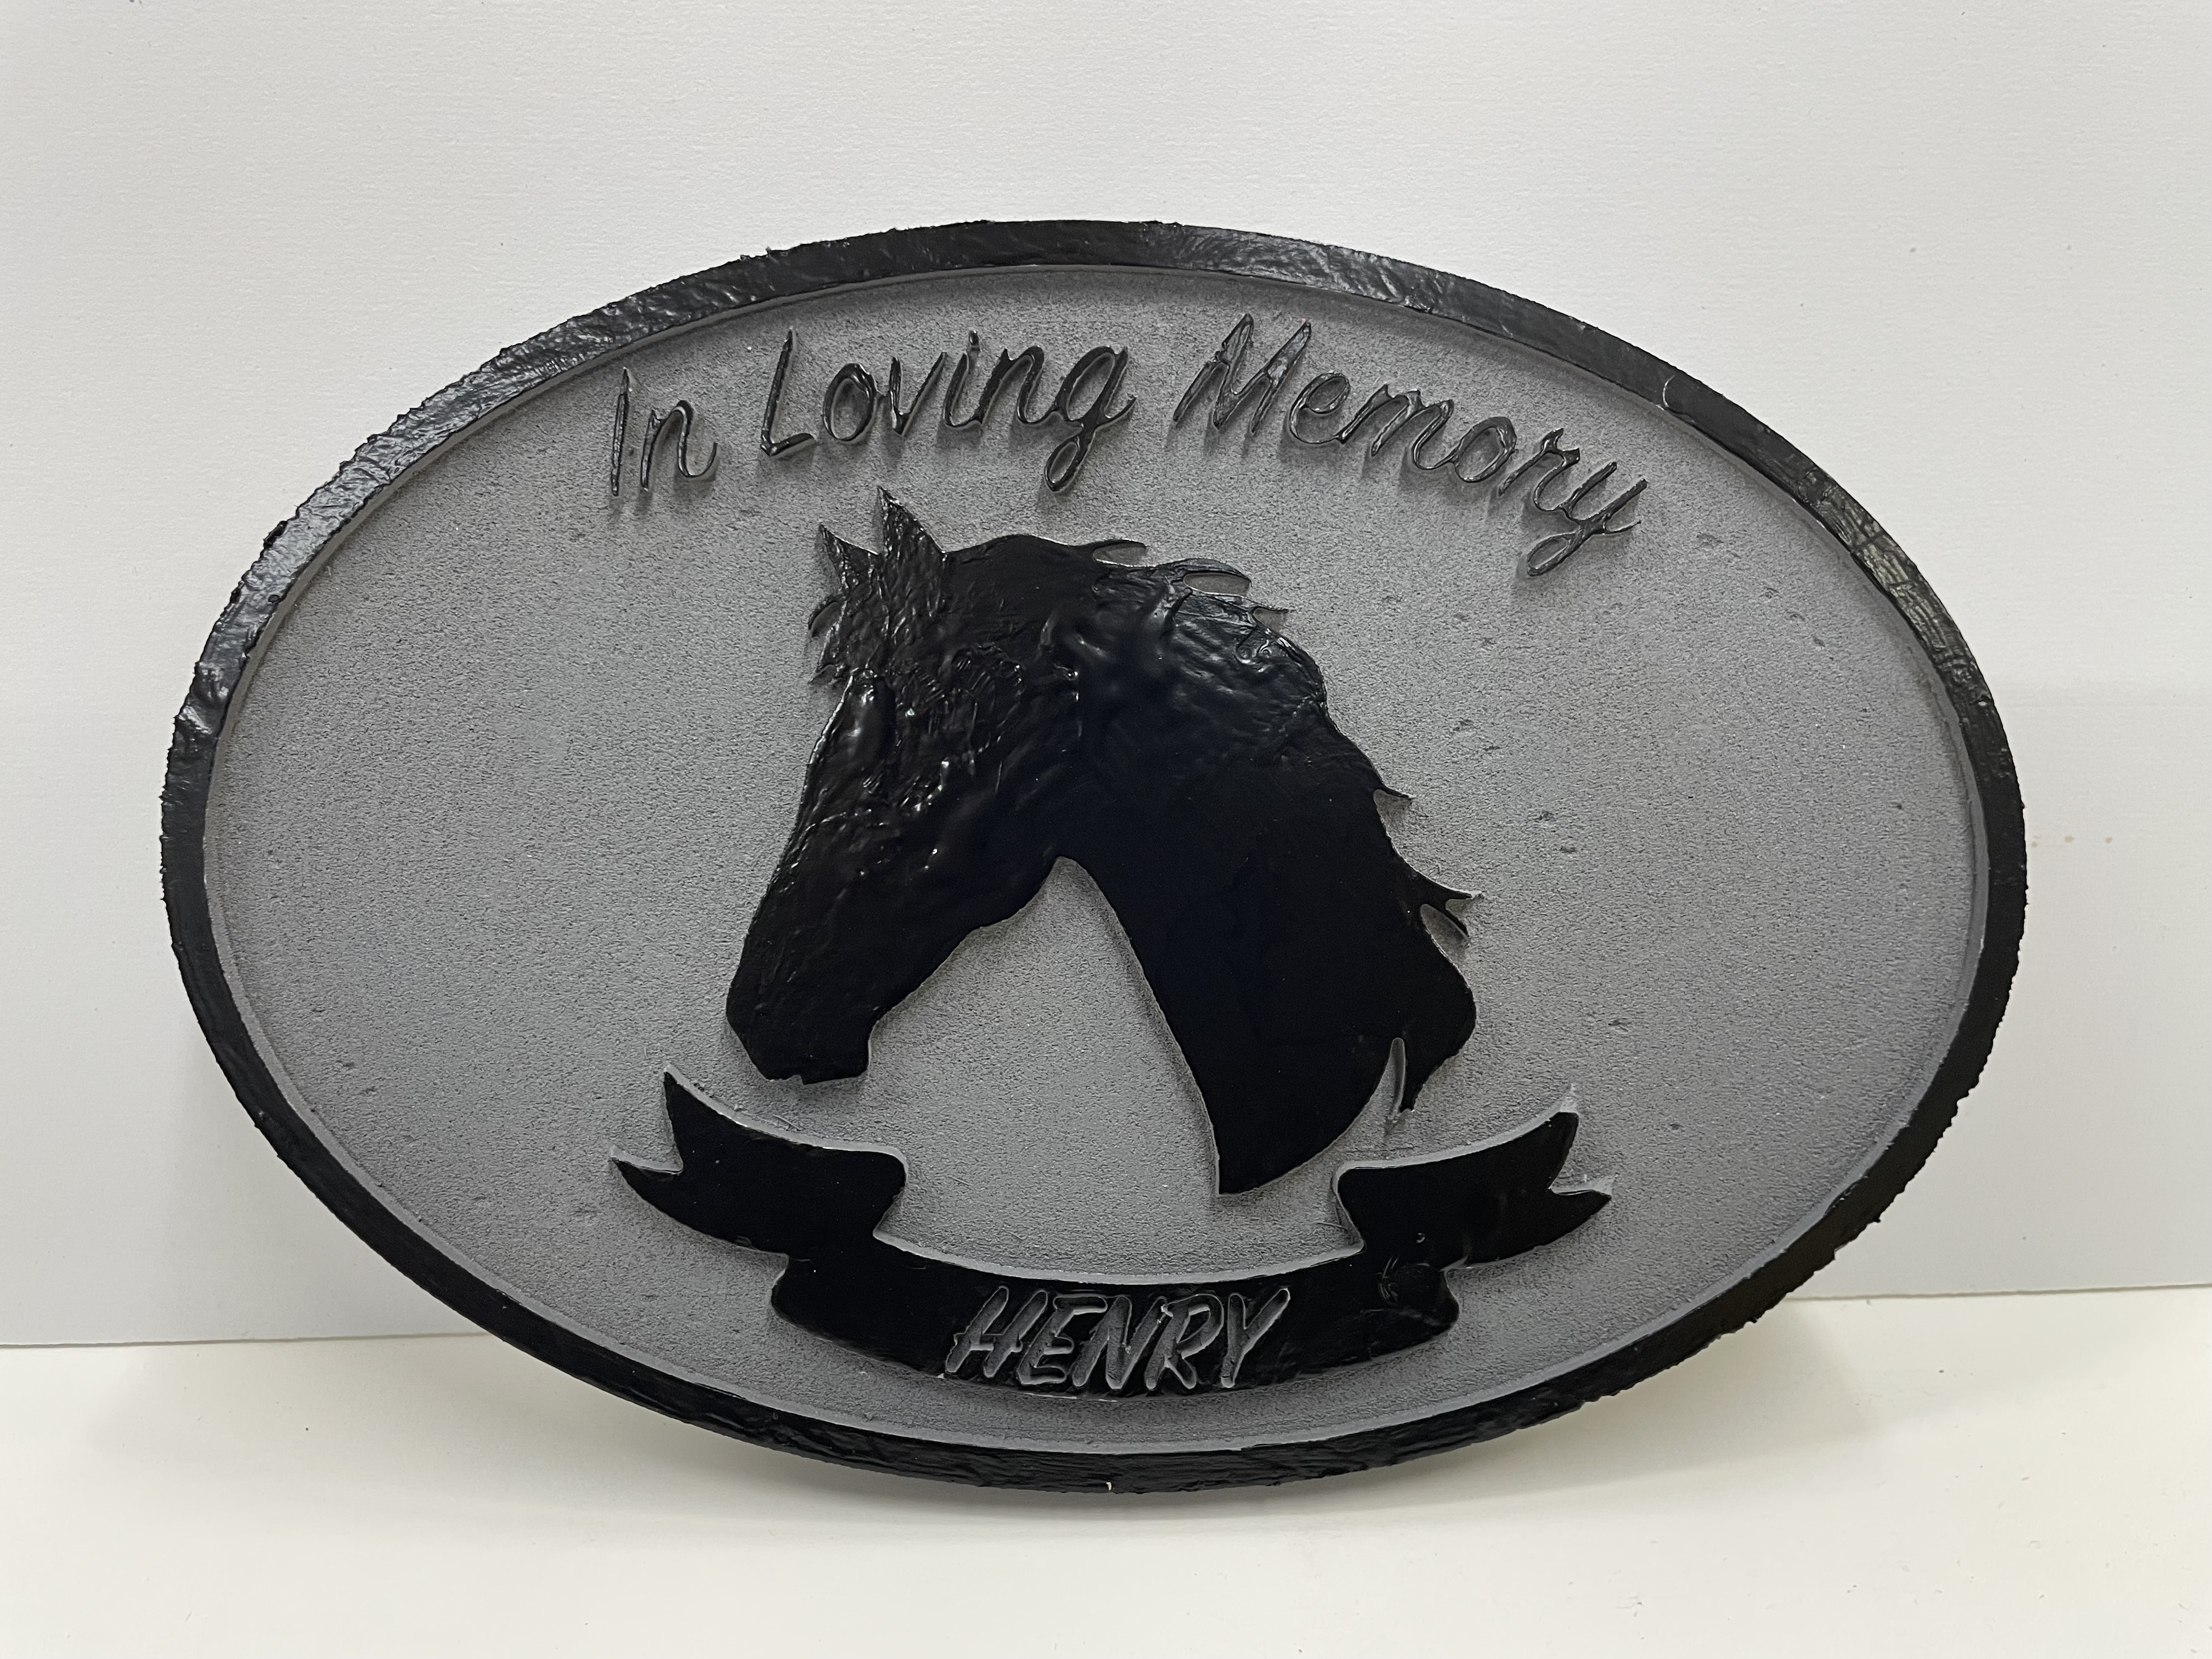
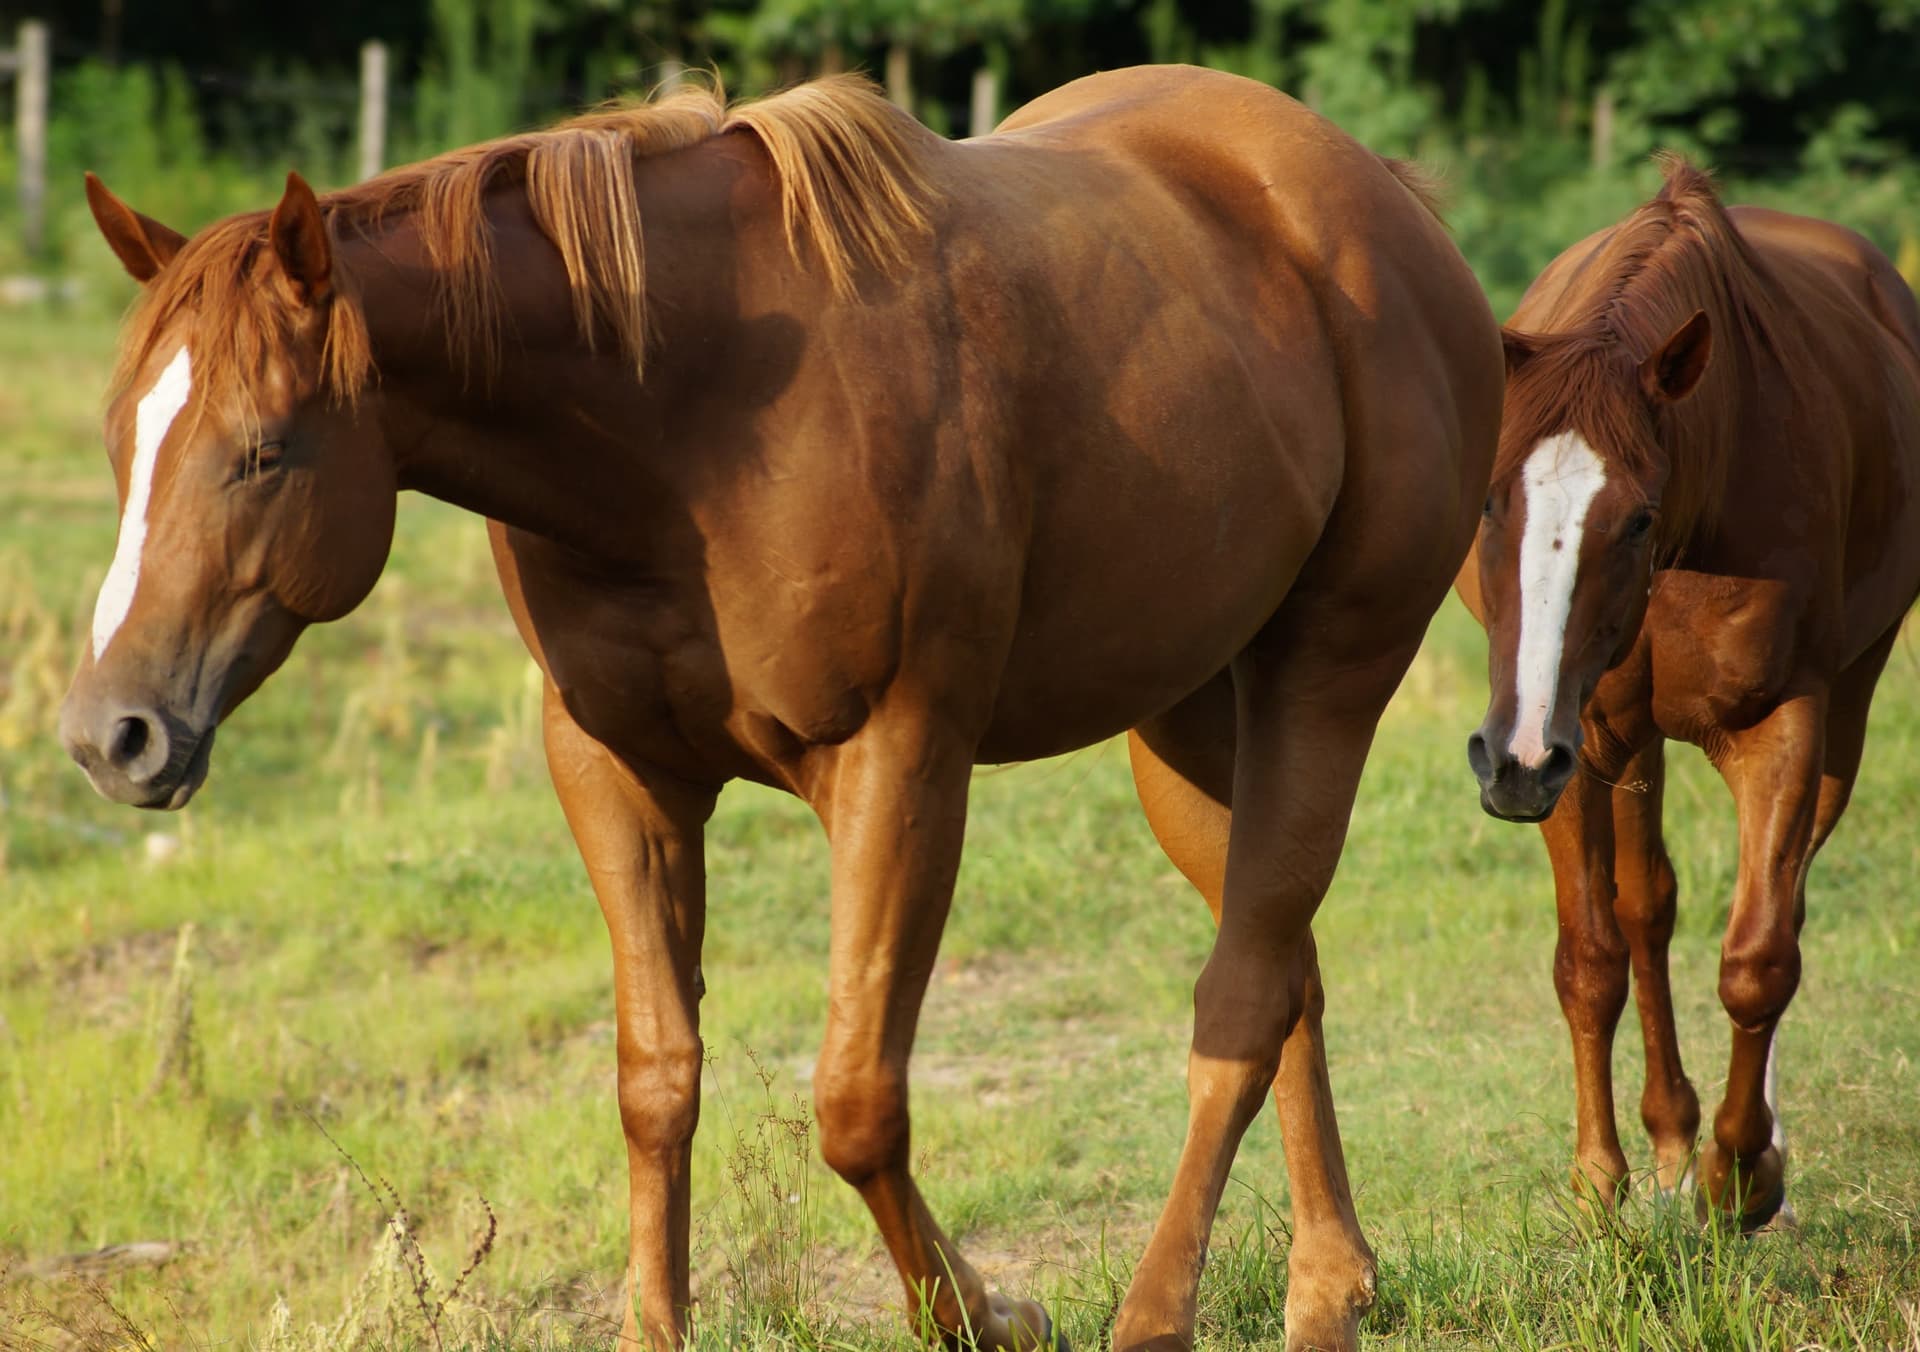
Then I made a memorial plaque for a horse at the barn where my daughter rides. They wanted something small that could be attached to the fence.
Very nice horse plaque. A friend of mine works for Cargil on the Enterprise Equine team and used to be onsite at large horse farms doing veterinarian work . He makes rocking horses that are anatomically correct and gives and sells them. He loves horses. I will show him your plaque. He is also an adjunct professor at SFA and Texas Tech and gives classes to beginning vet students. I have a lot of horses around me and take a lot of pictures. People just love horses.
My daughter certainly loves them. She hasn’t been to the barn for a week due to the extremely unusual snowfall we had in South Georgia. Not just unusual snowfall, but unusually cold temps making it linger. It snowed on Tuesday and we still have some of it on the ground now. It’s made a mess at the barn but she hopes to be back there tomorrow.
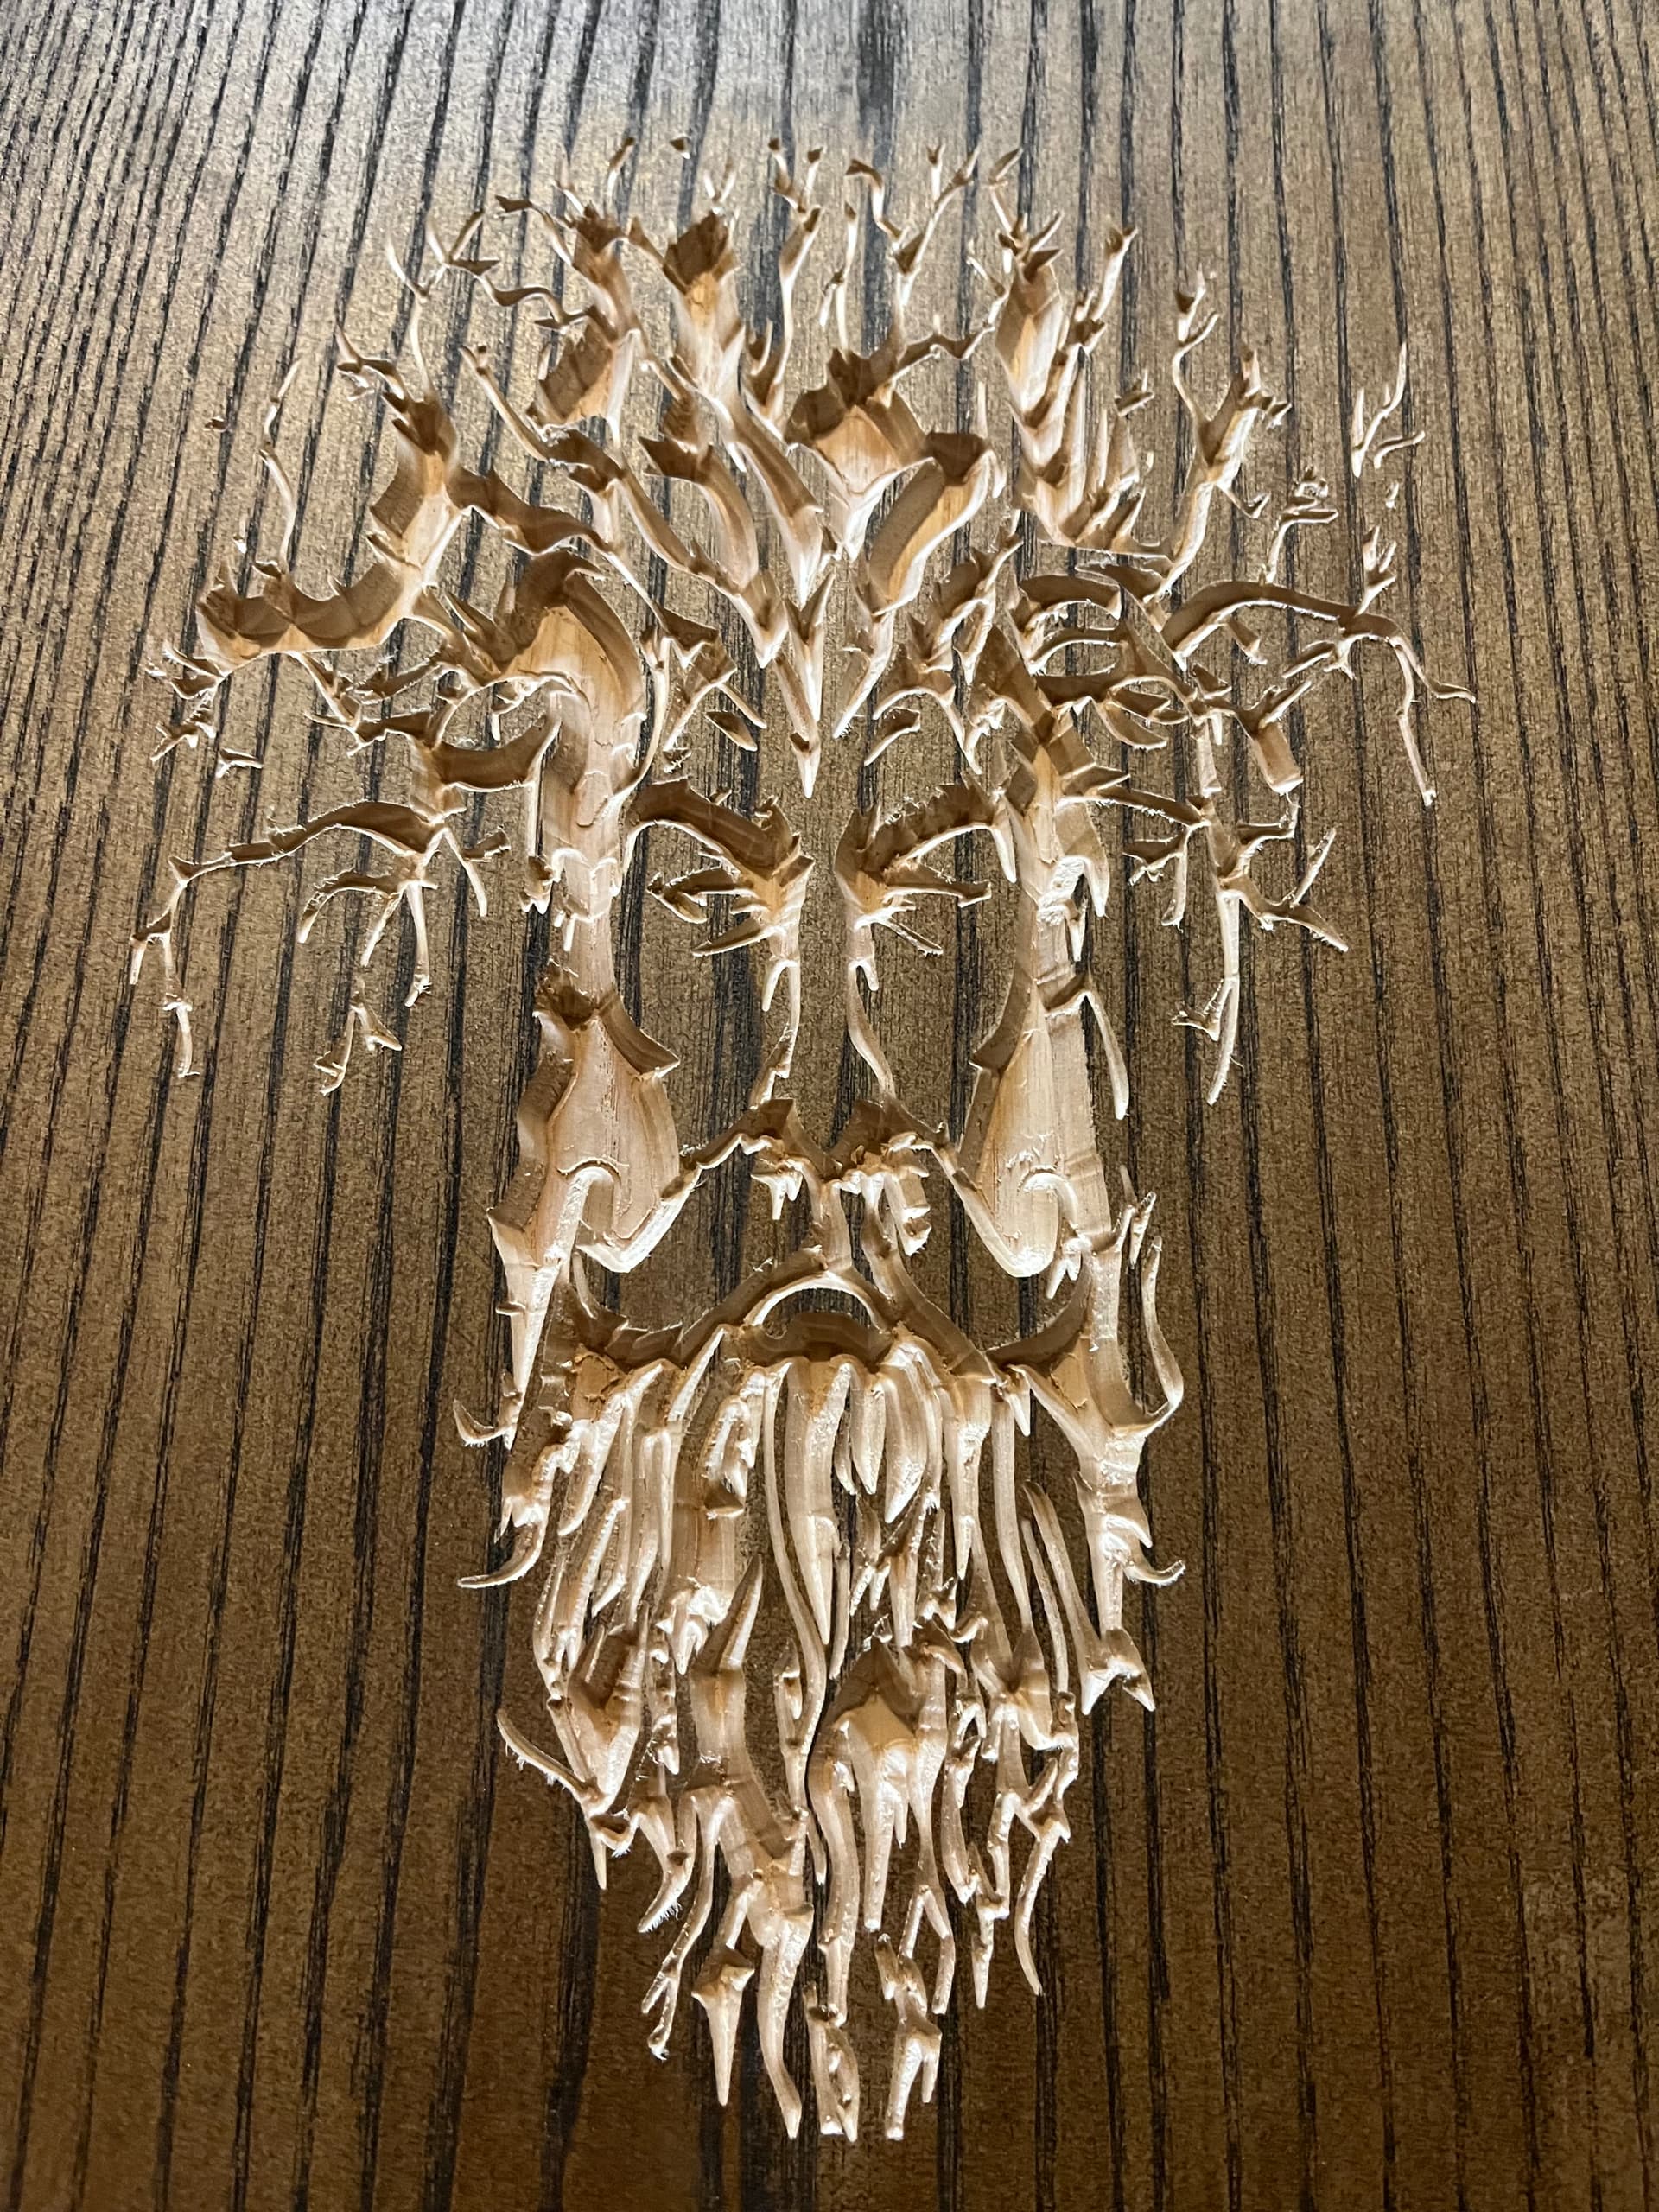
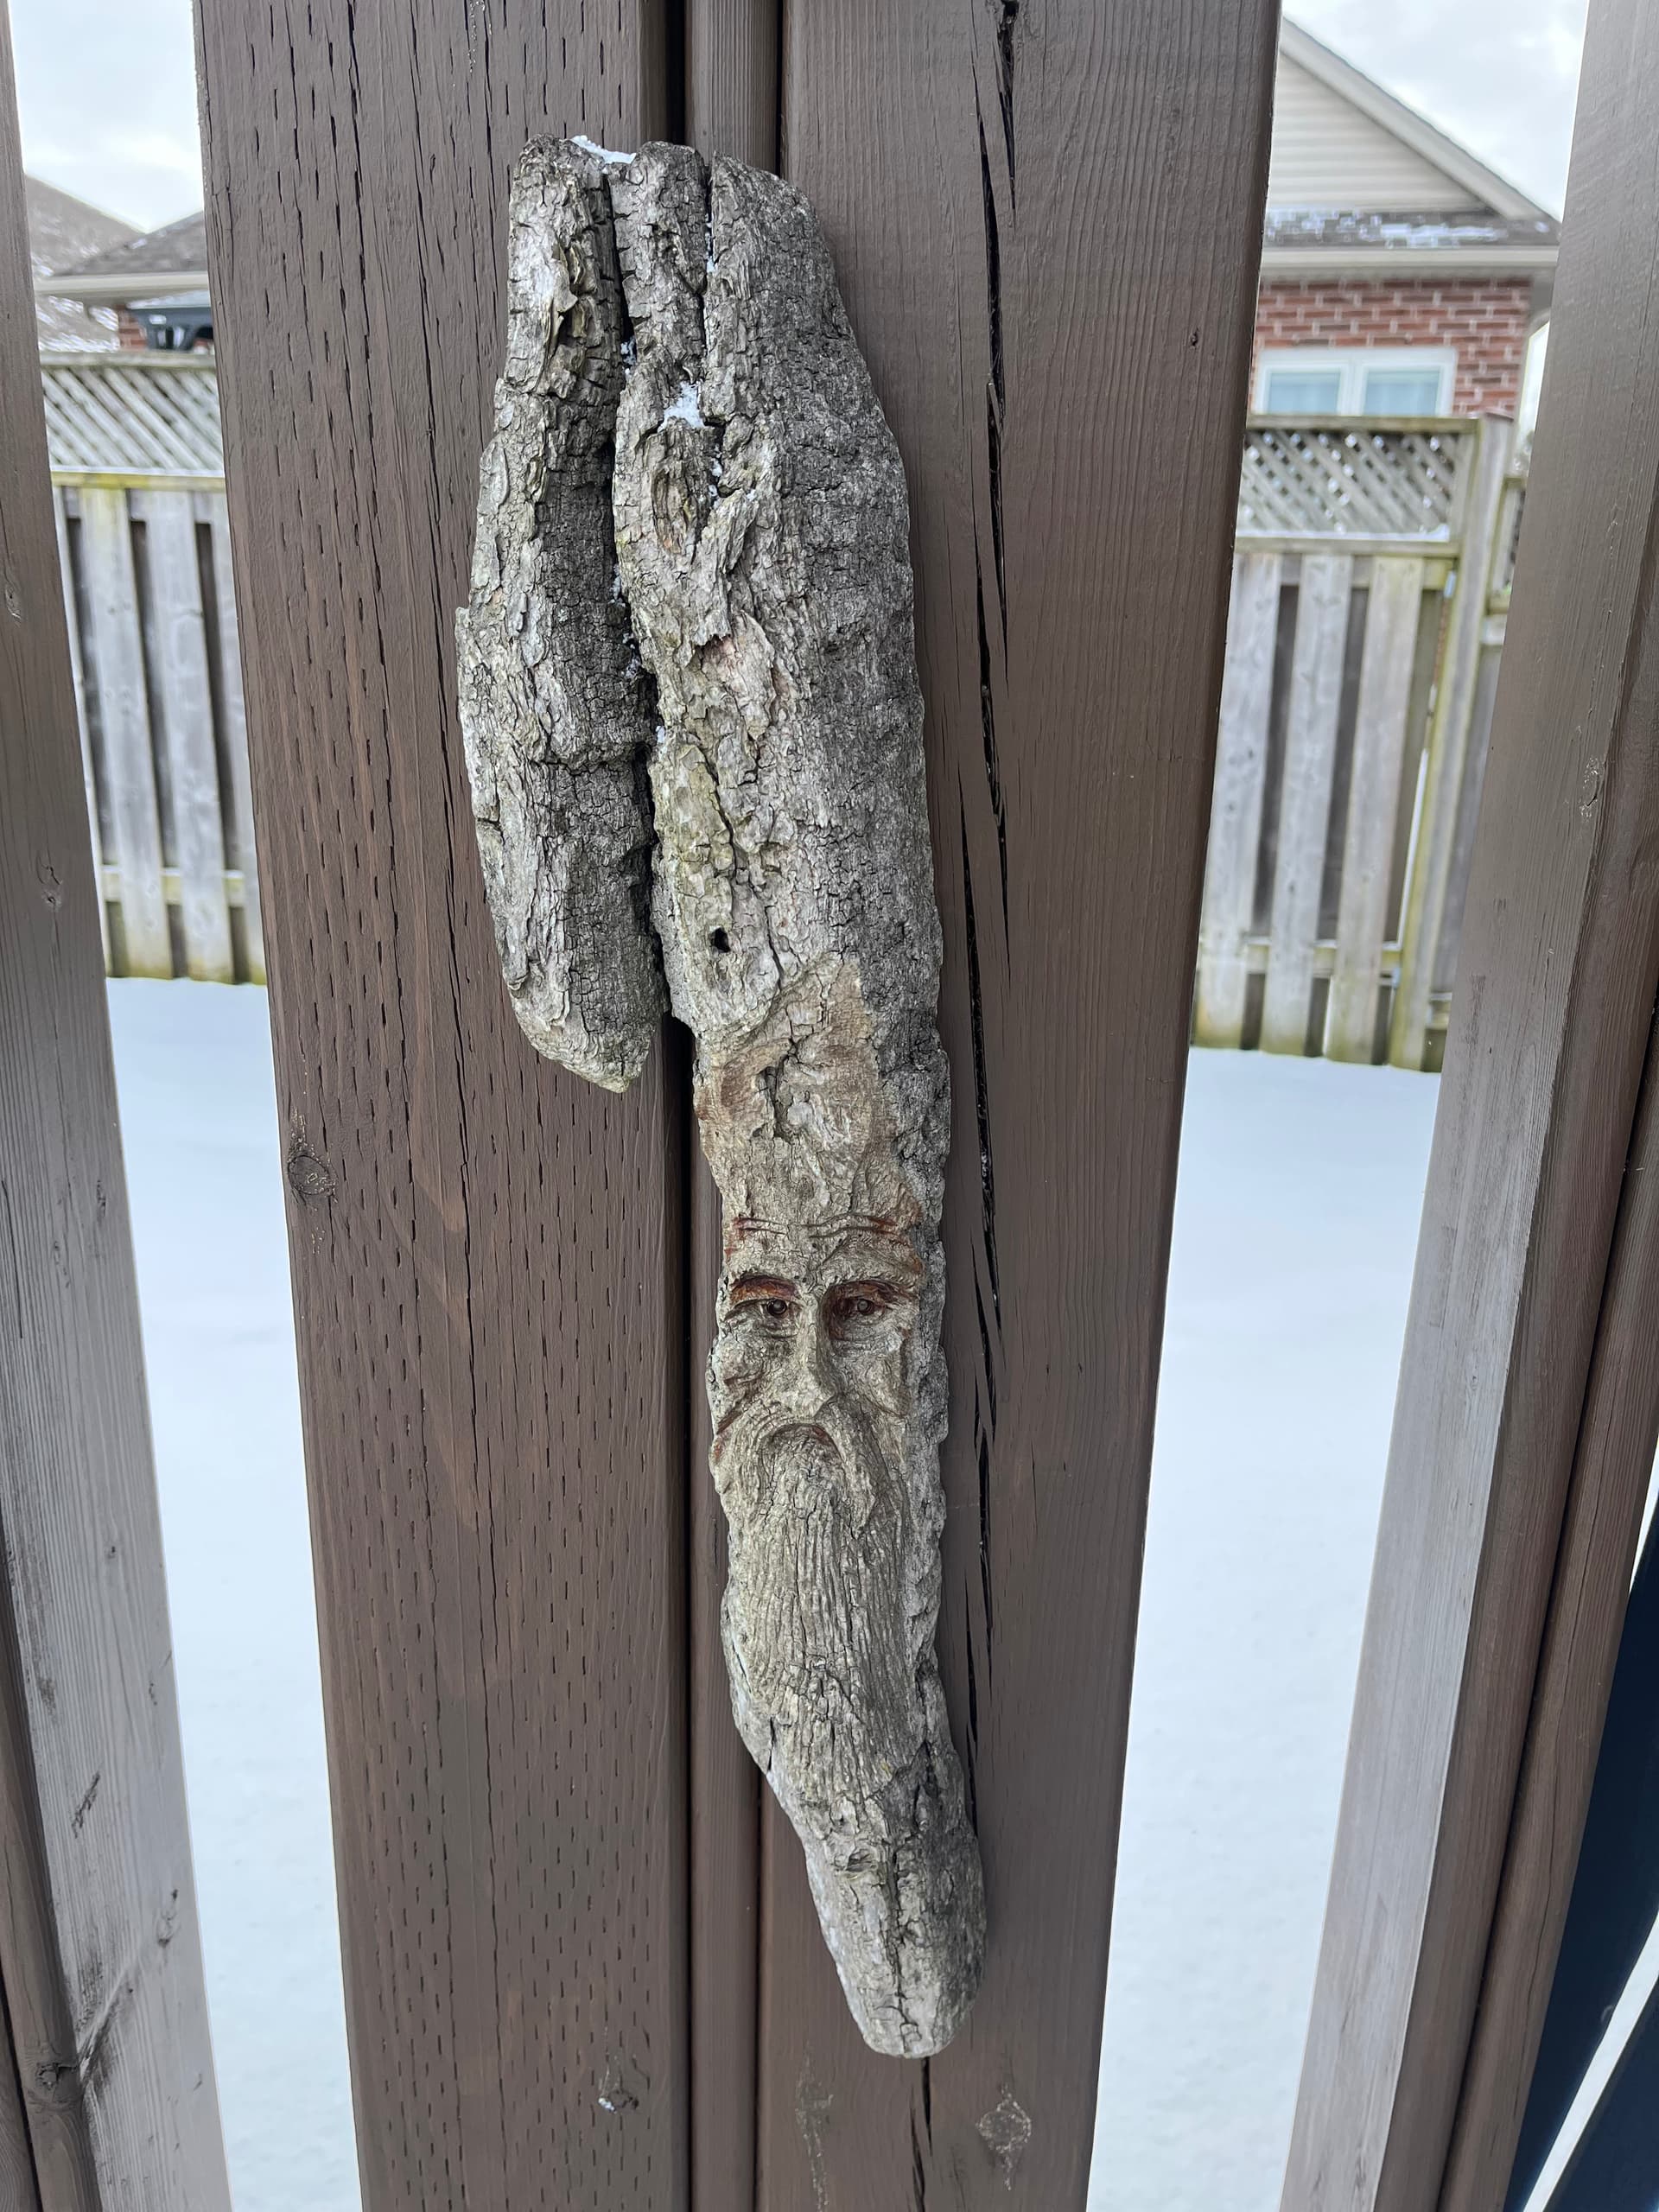
I finally got around to carving a tree spirit today. I pre stained a piece of ash with espresso stain before I cut the design. It took a lot of experimenting and simulations to get the right depth for the V Carve to show the details. I still have to clean up a few fuzzies and seal the bare wood but this is the 90% solution
I have a couple more options to explore with this design. I’m going to invert the color so the face is dark and the wood is natural. The person with whom I cohabitate thinks the face would stand out more that way.
I’d also like to try an inlay but I’m not sure it would work well with the shallow branch cuts around the top of the head. Some of the finer lines are maybe 1mm deep so I think it would be difficult to fill
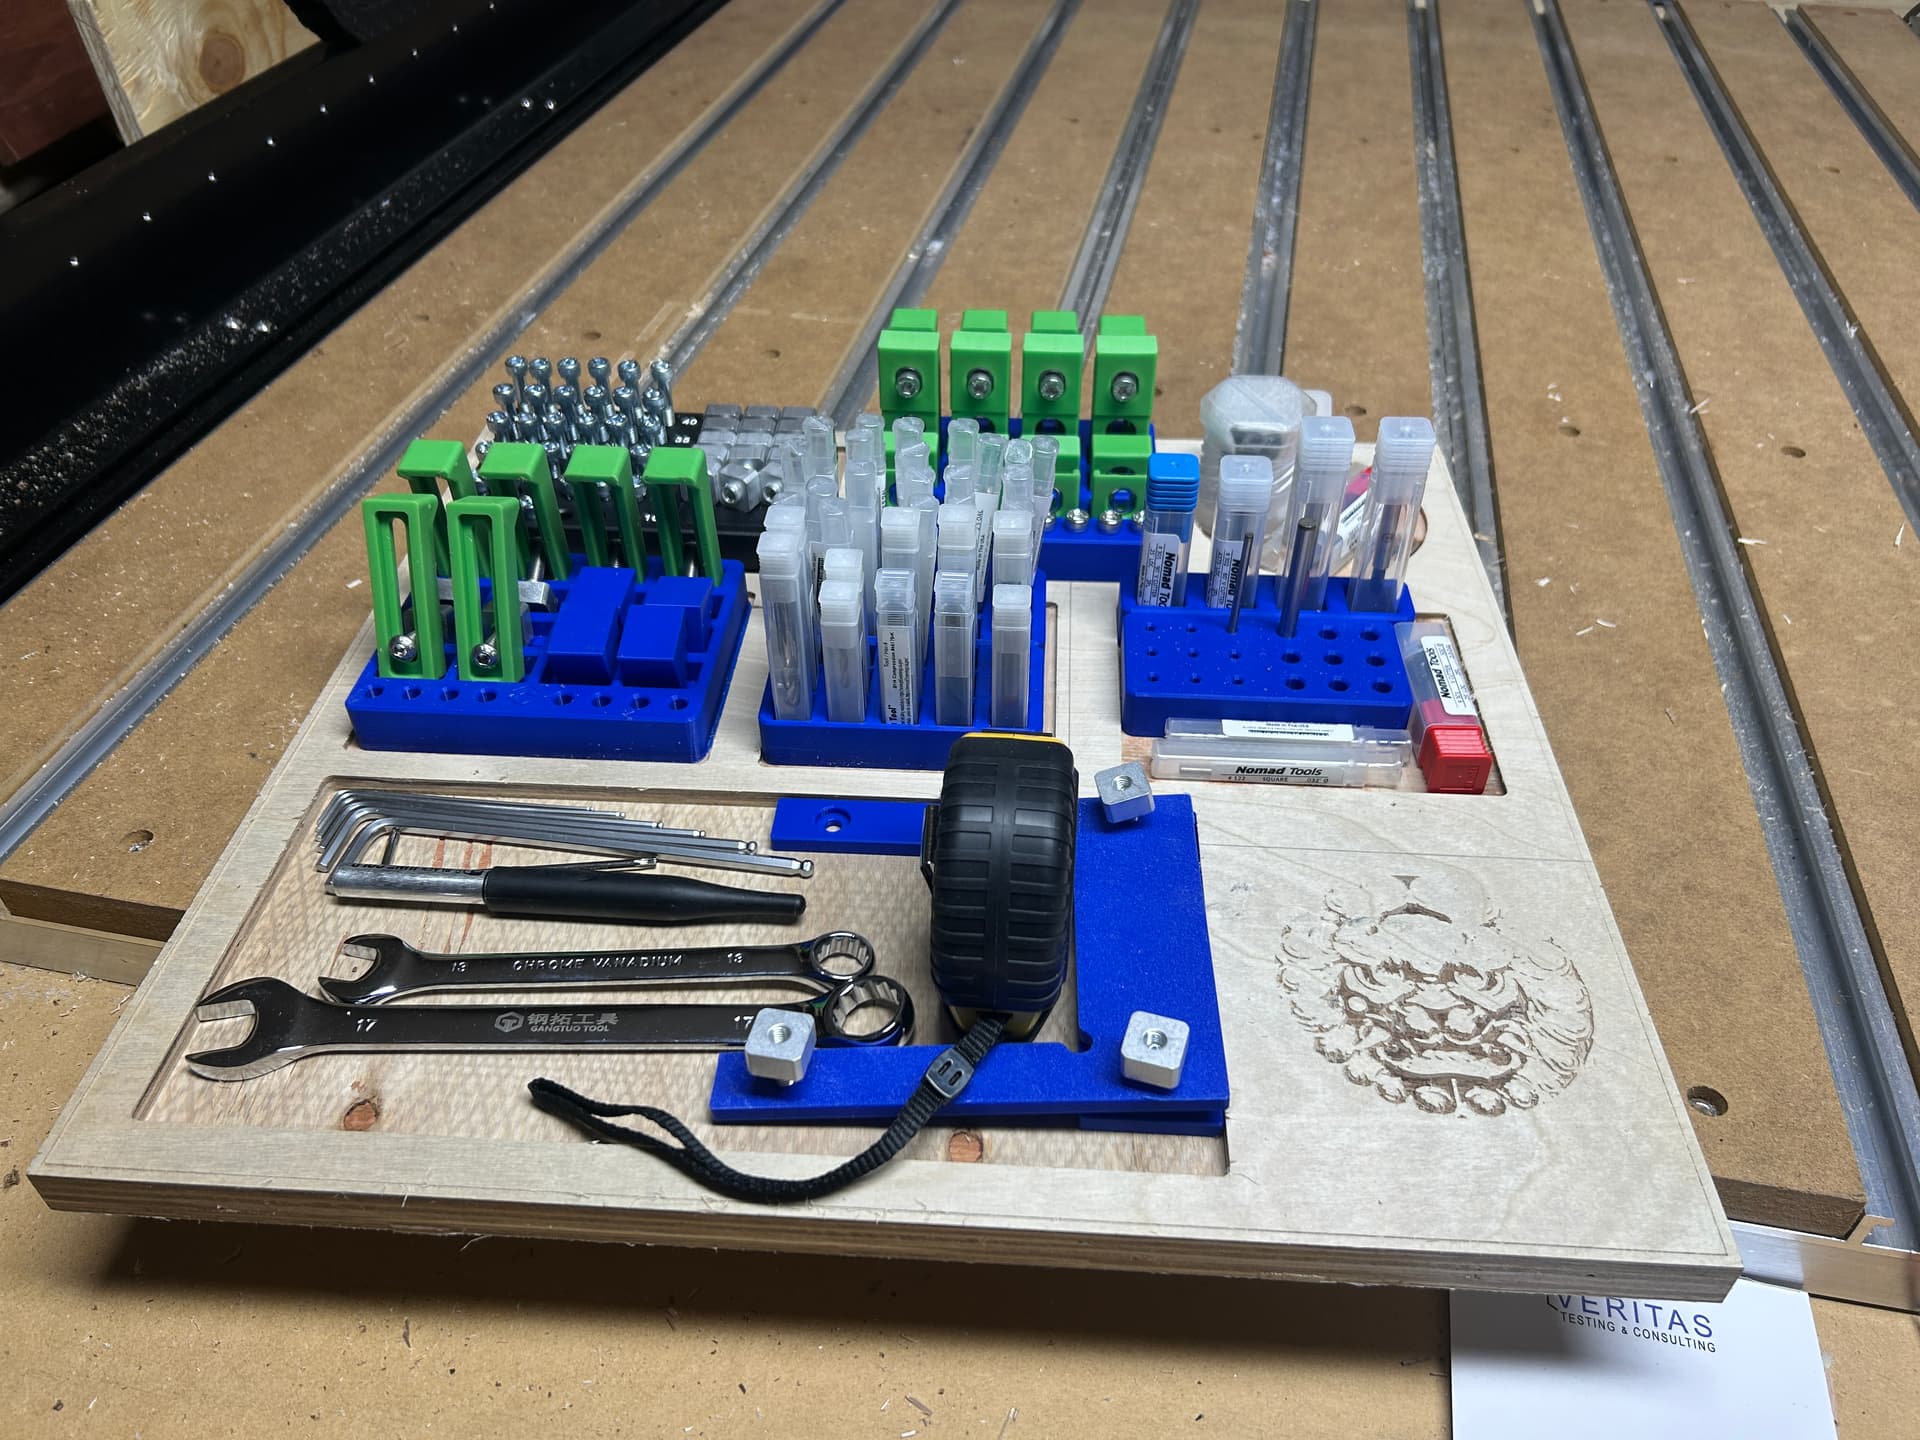
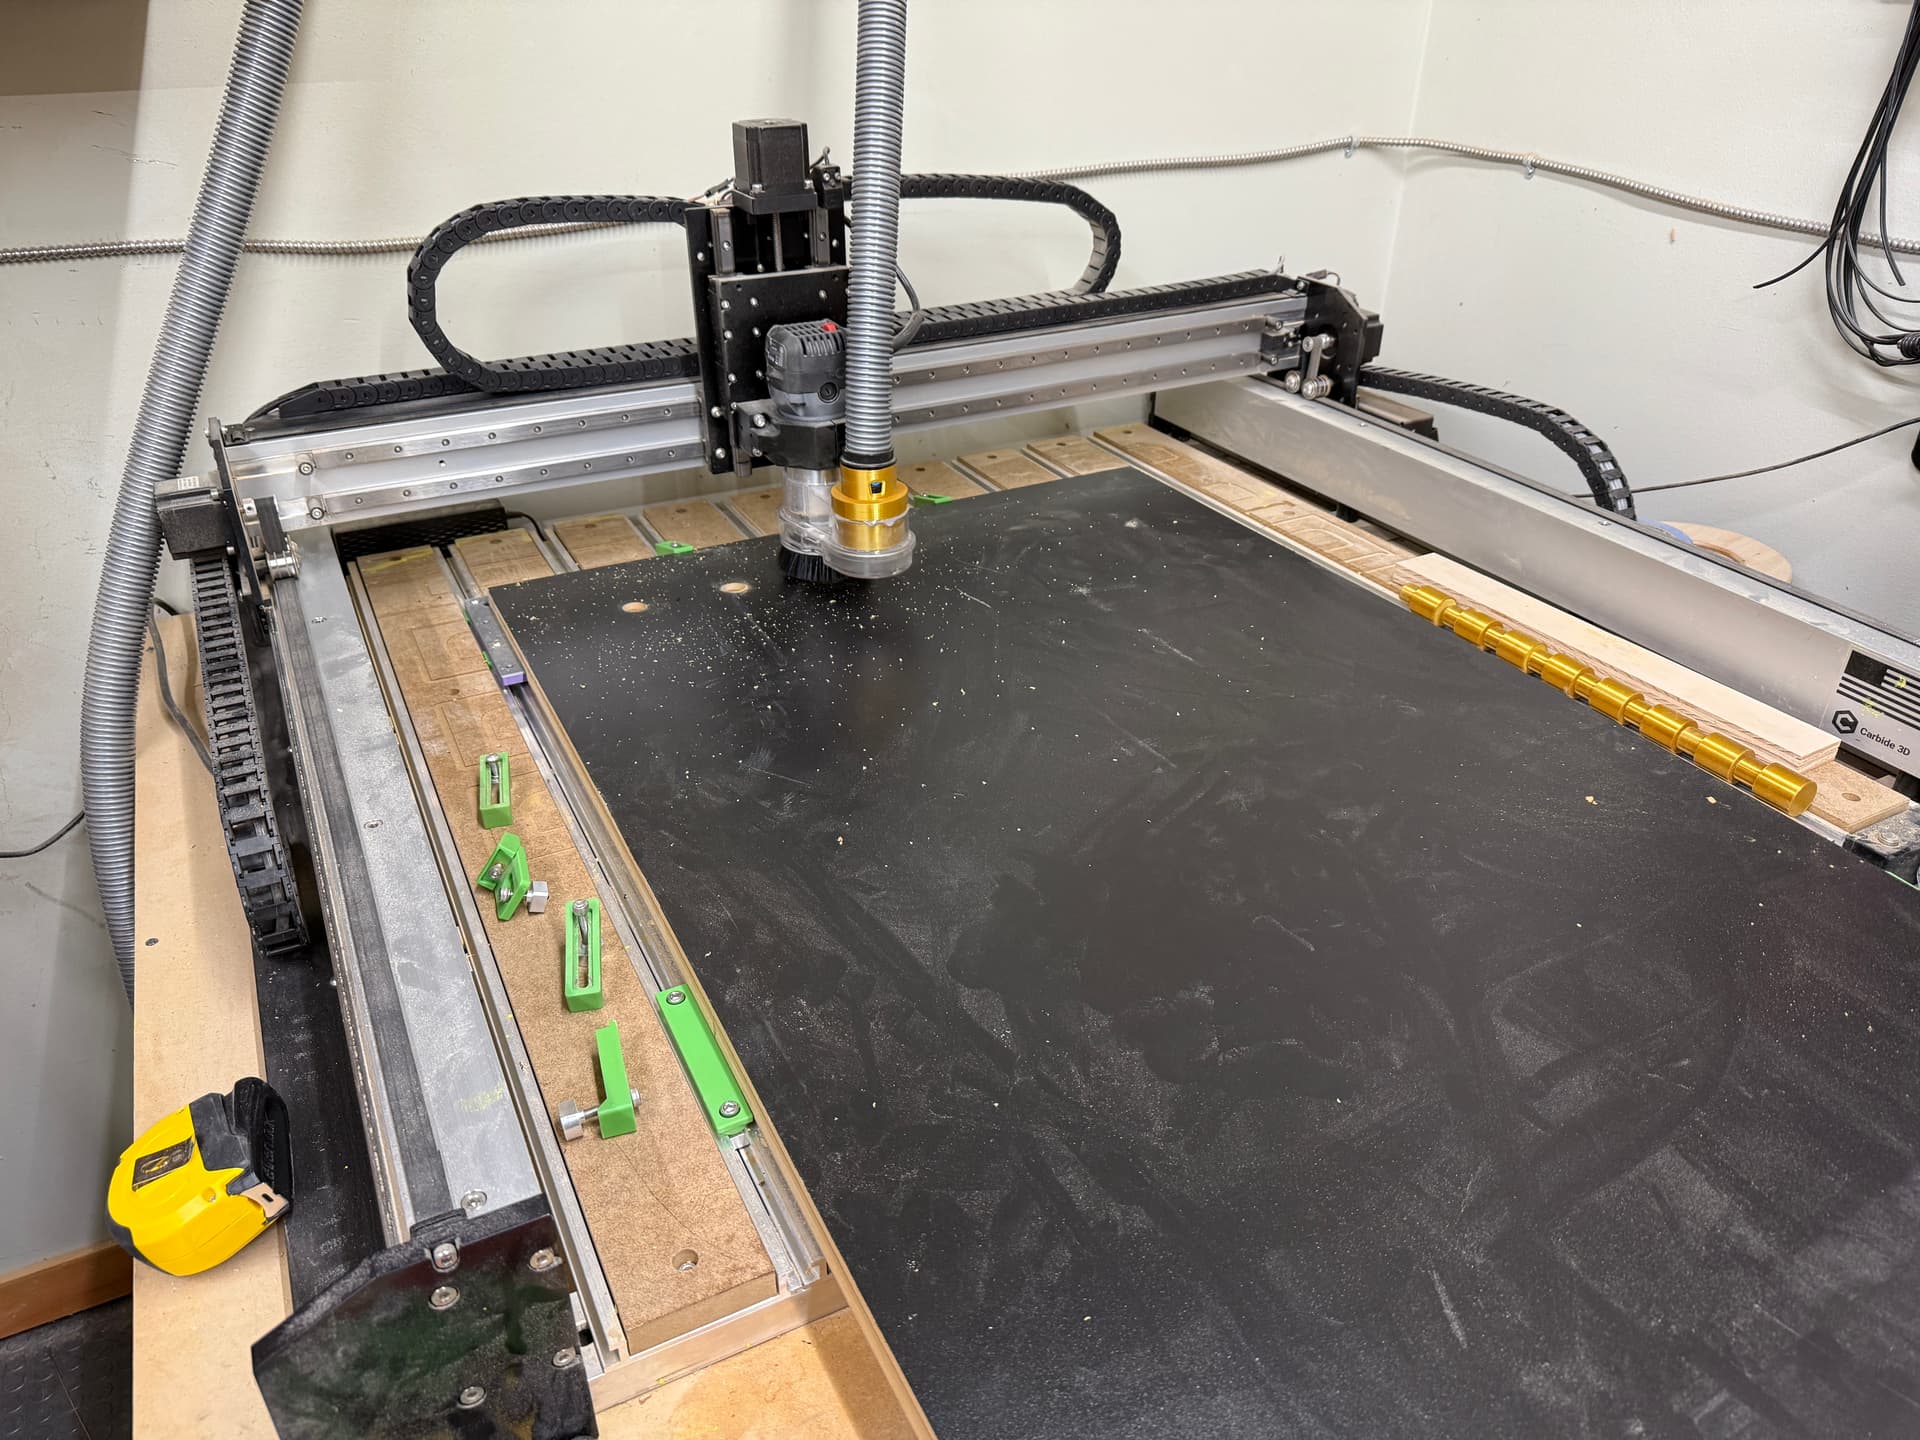
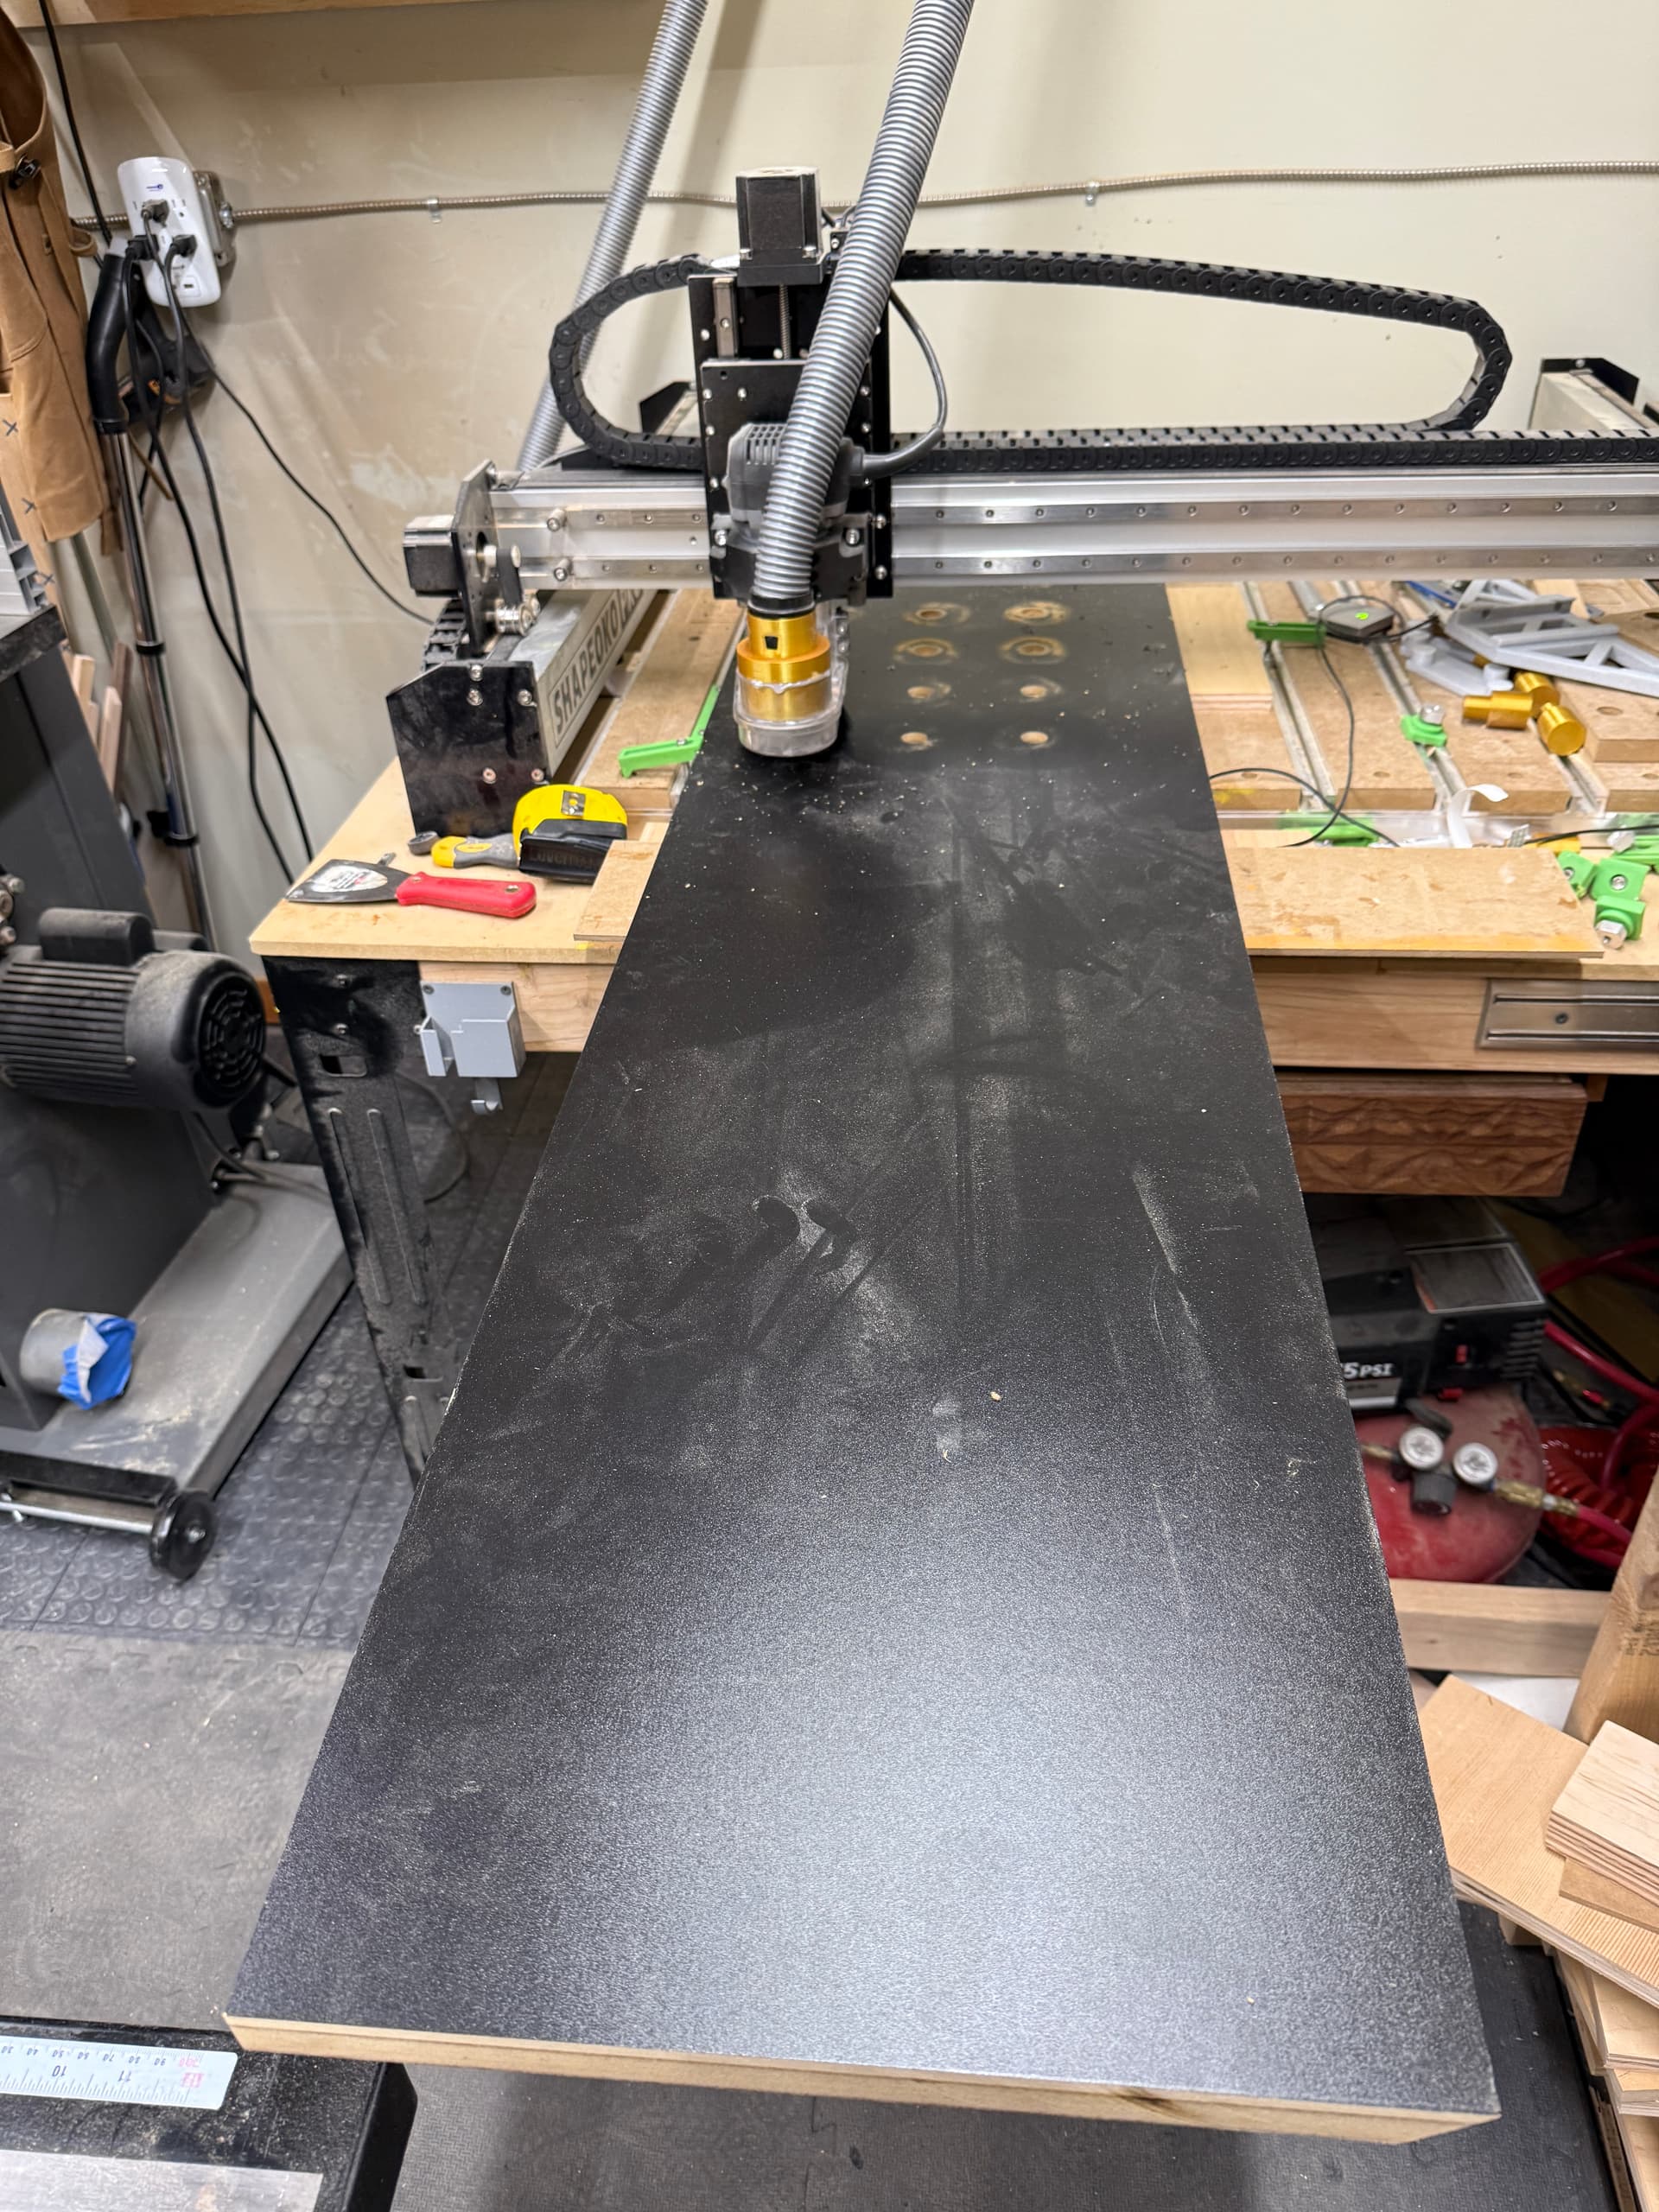
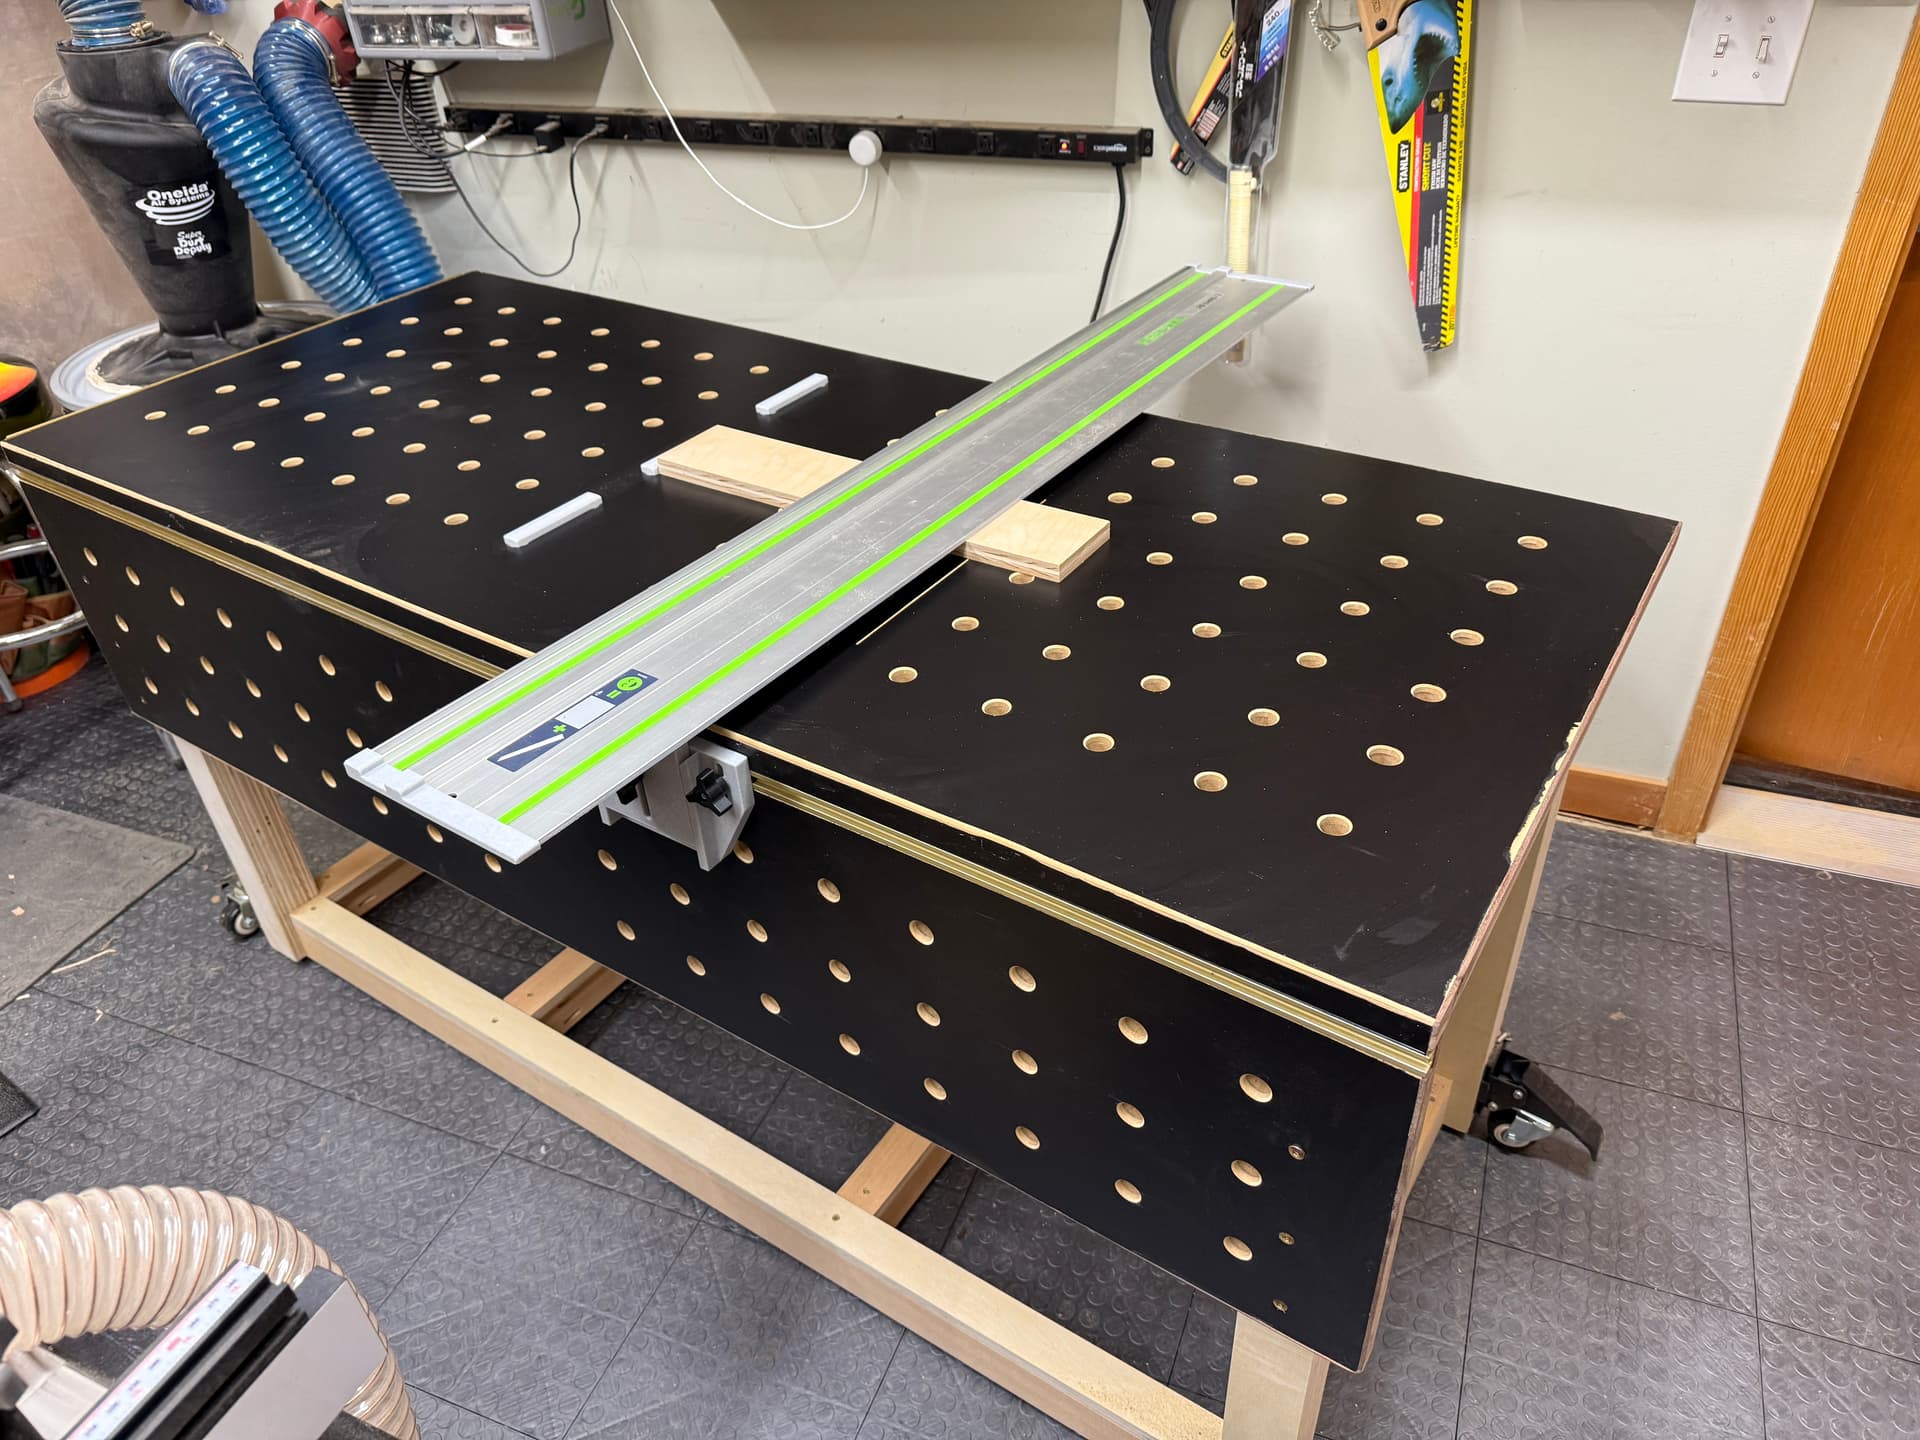
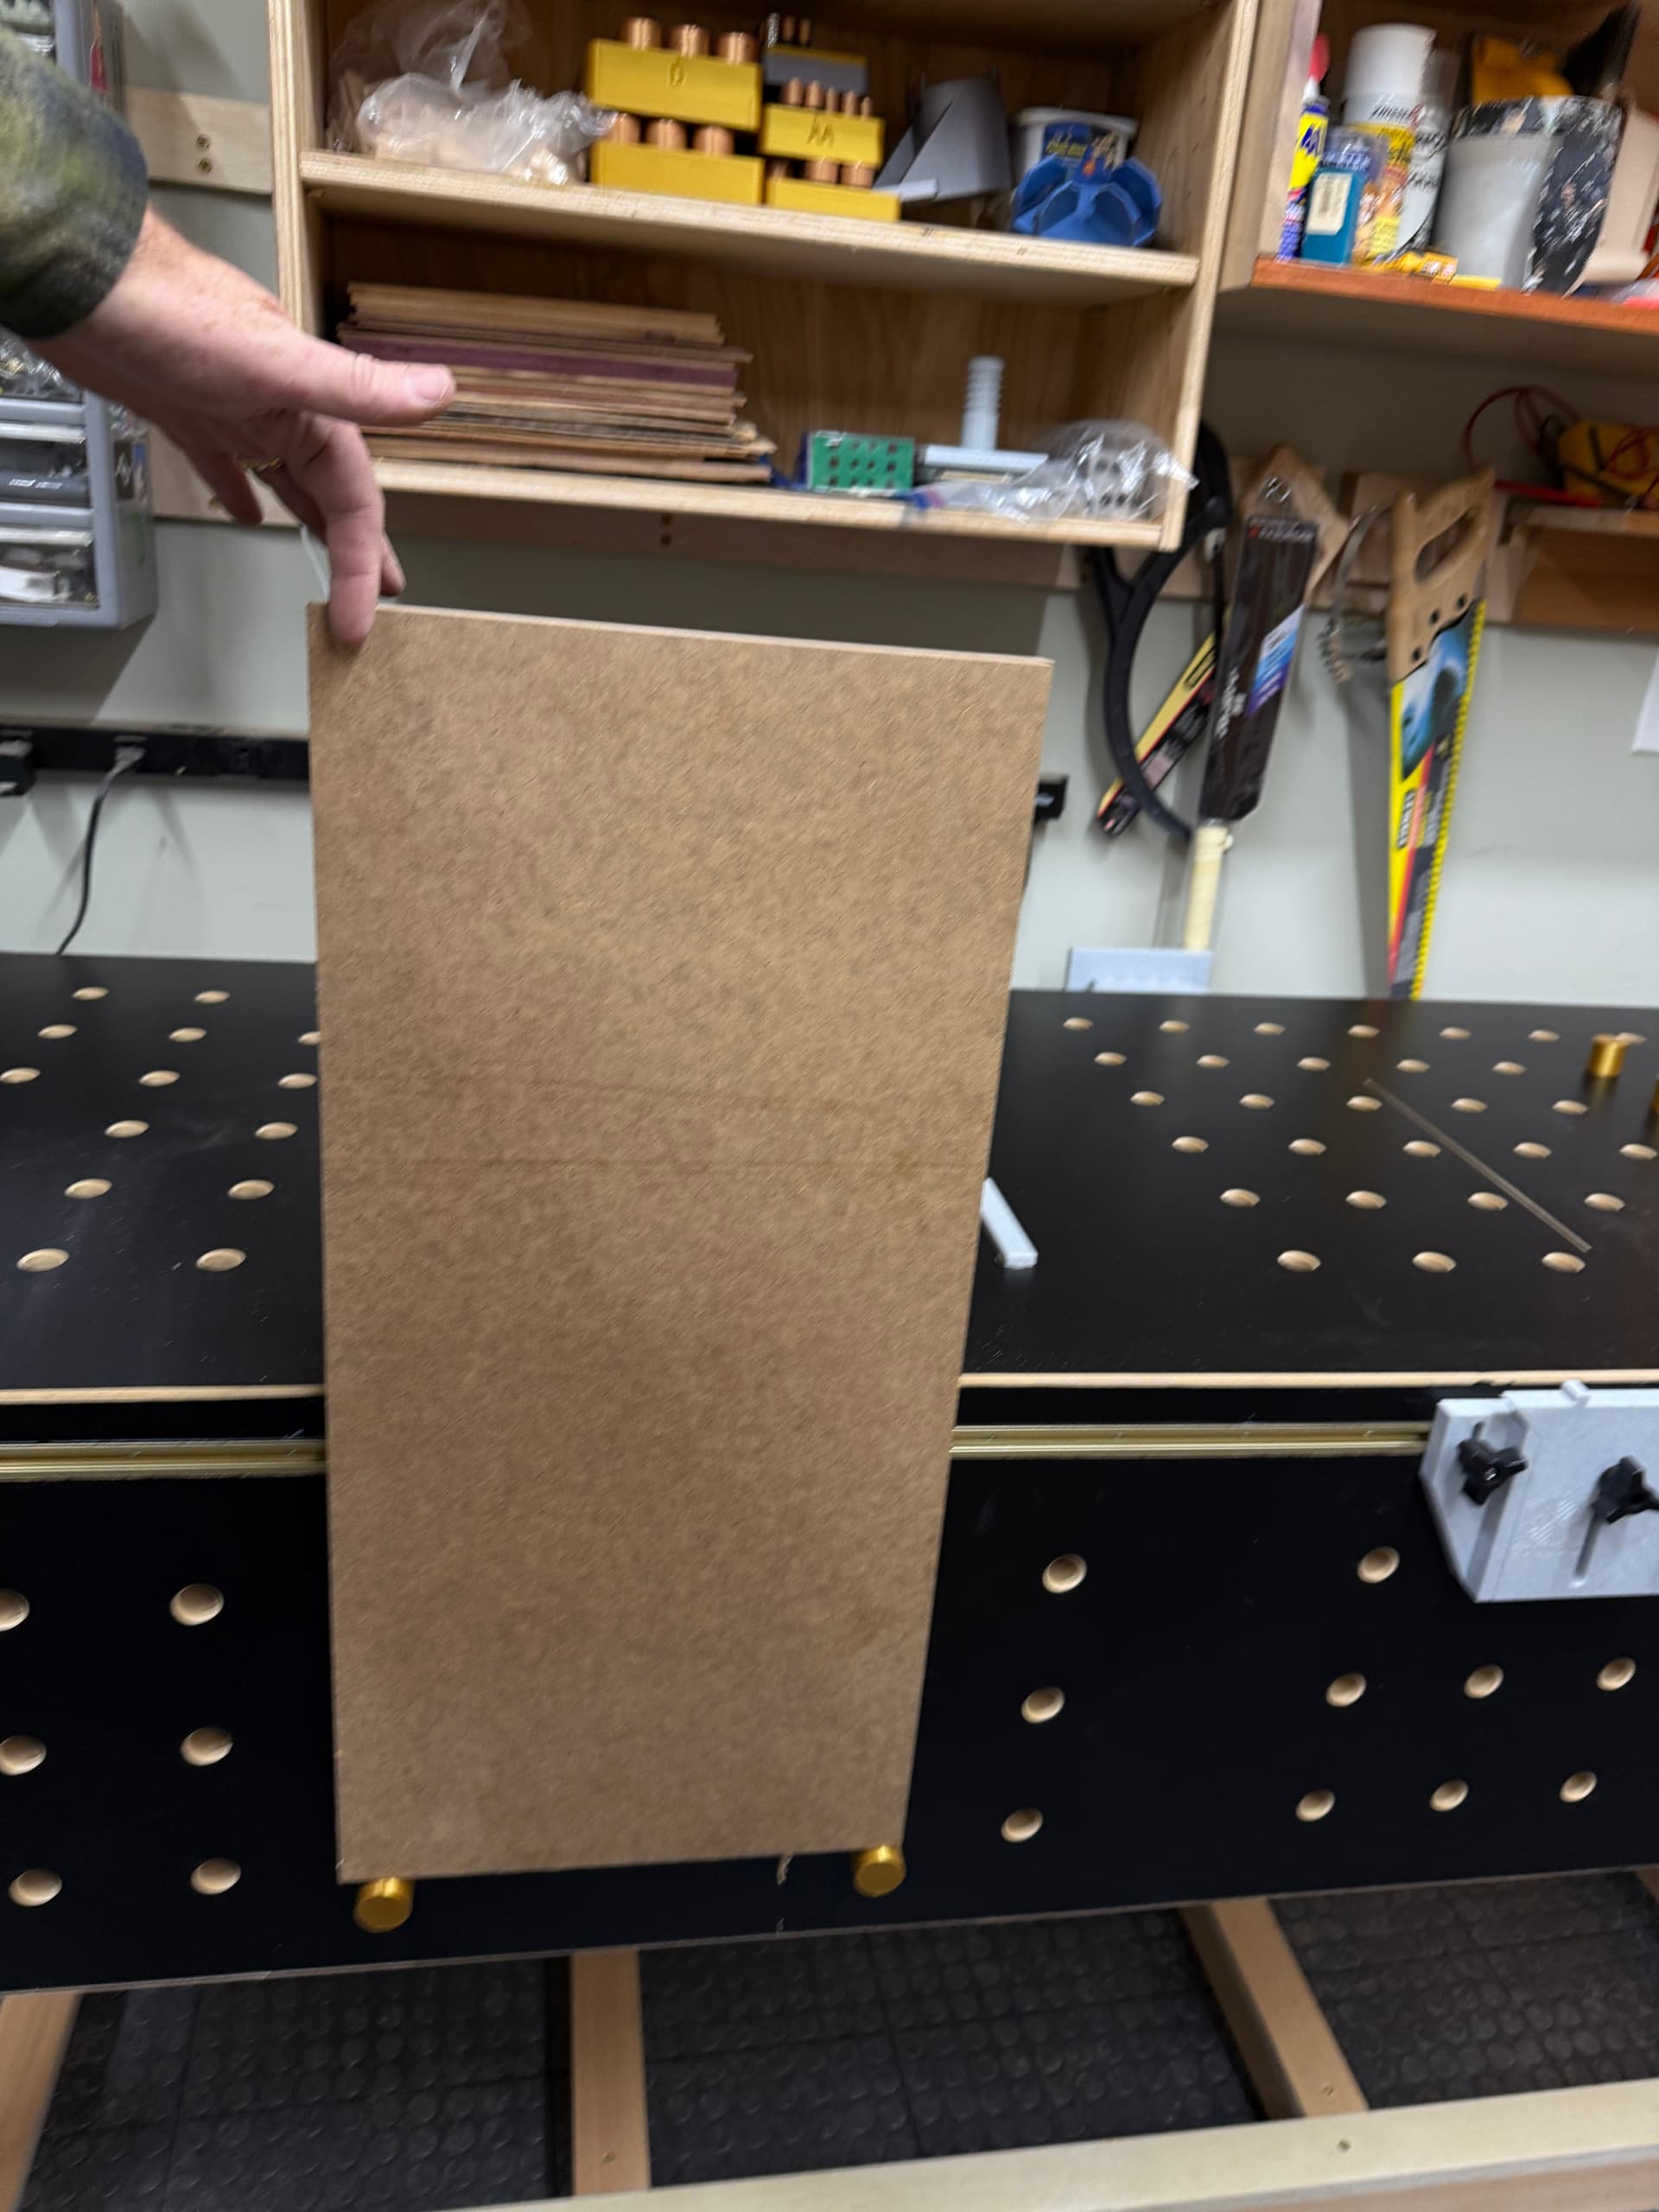
I finished my MFT-style workbench today and used my Shapeoko Pro XXL to drill out the grid of bench dog holes. By centering the grid on the large MDF sheets I was able to drill half the holes, flip the board lengthwise, and repeat the job. By using the Shapeoko, I avoided the need to purchase a $300 jig that many use to drill these holes.
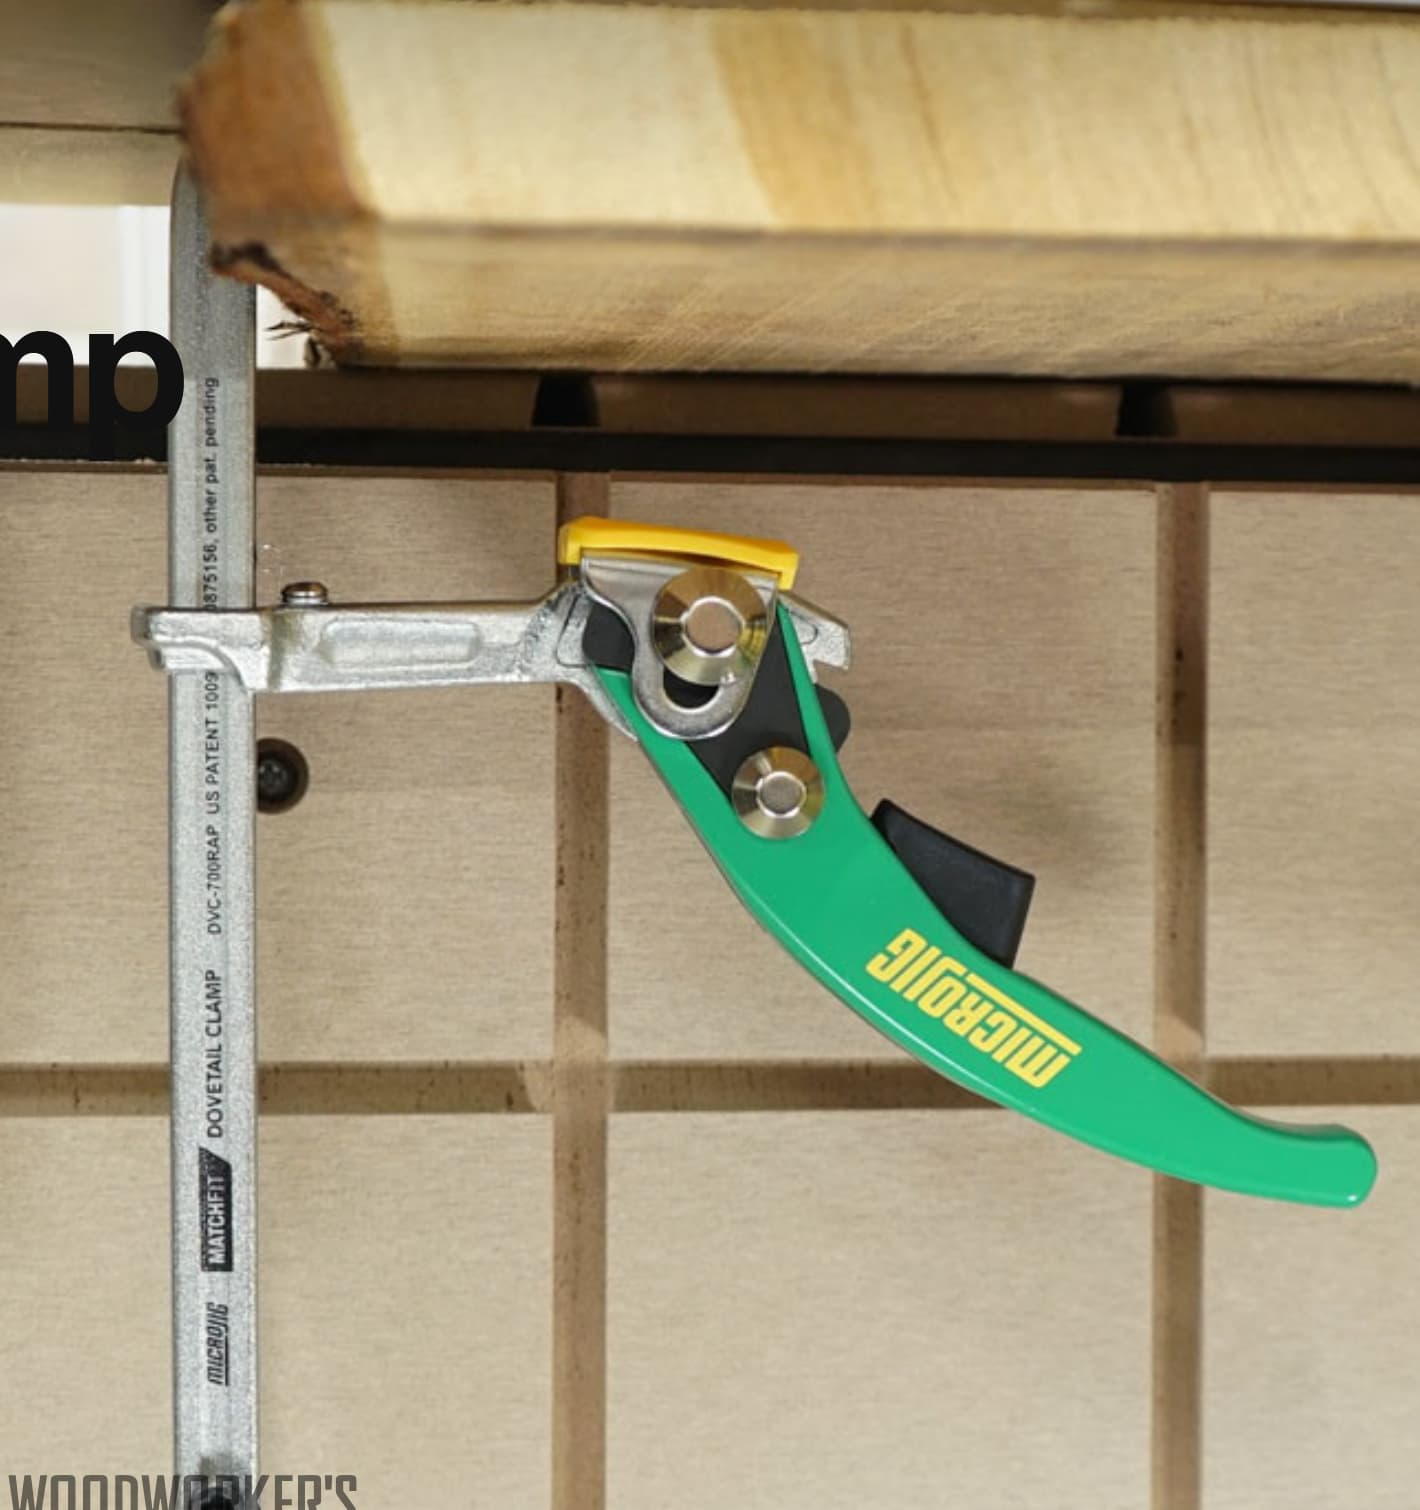
Did you make .75" dog holes or the metric ones? That is a nice bench. I have bought a bunch of those Microjig clamps. I use them quite a bit. The original ones were the screw type. They now have some handled pump ones. I bought the Jessem Workstation for my Master Dowel Jig and the Pocket Mill Pro. The workstation uses the Microjig clamps. The screw clamps worked but if they were screwed out far you had to hold everything while you slowly screwed in the clamp. With the hand pump one it goes much quicker. Someone on the internet has a nice plan to make the microjig bench with the front face like yours. Someday I might have to make one. You know that magical someday.
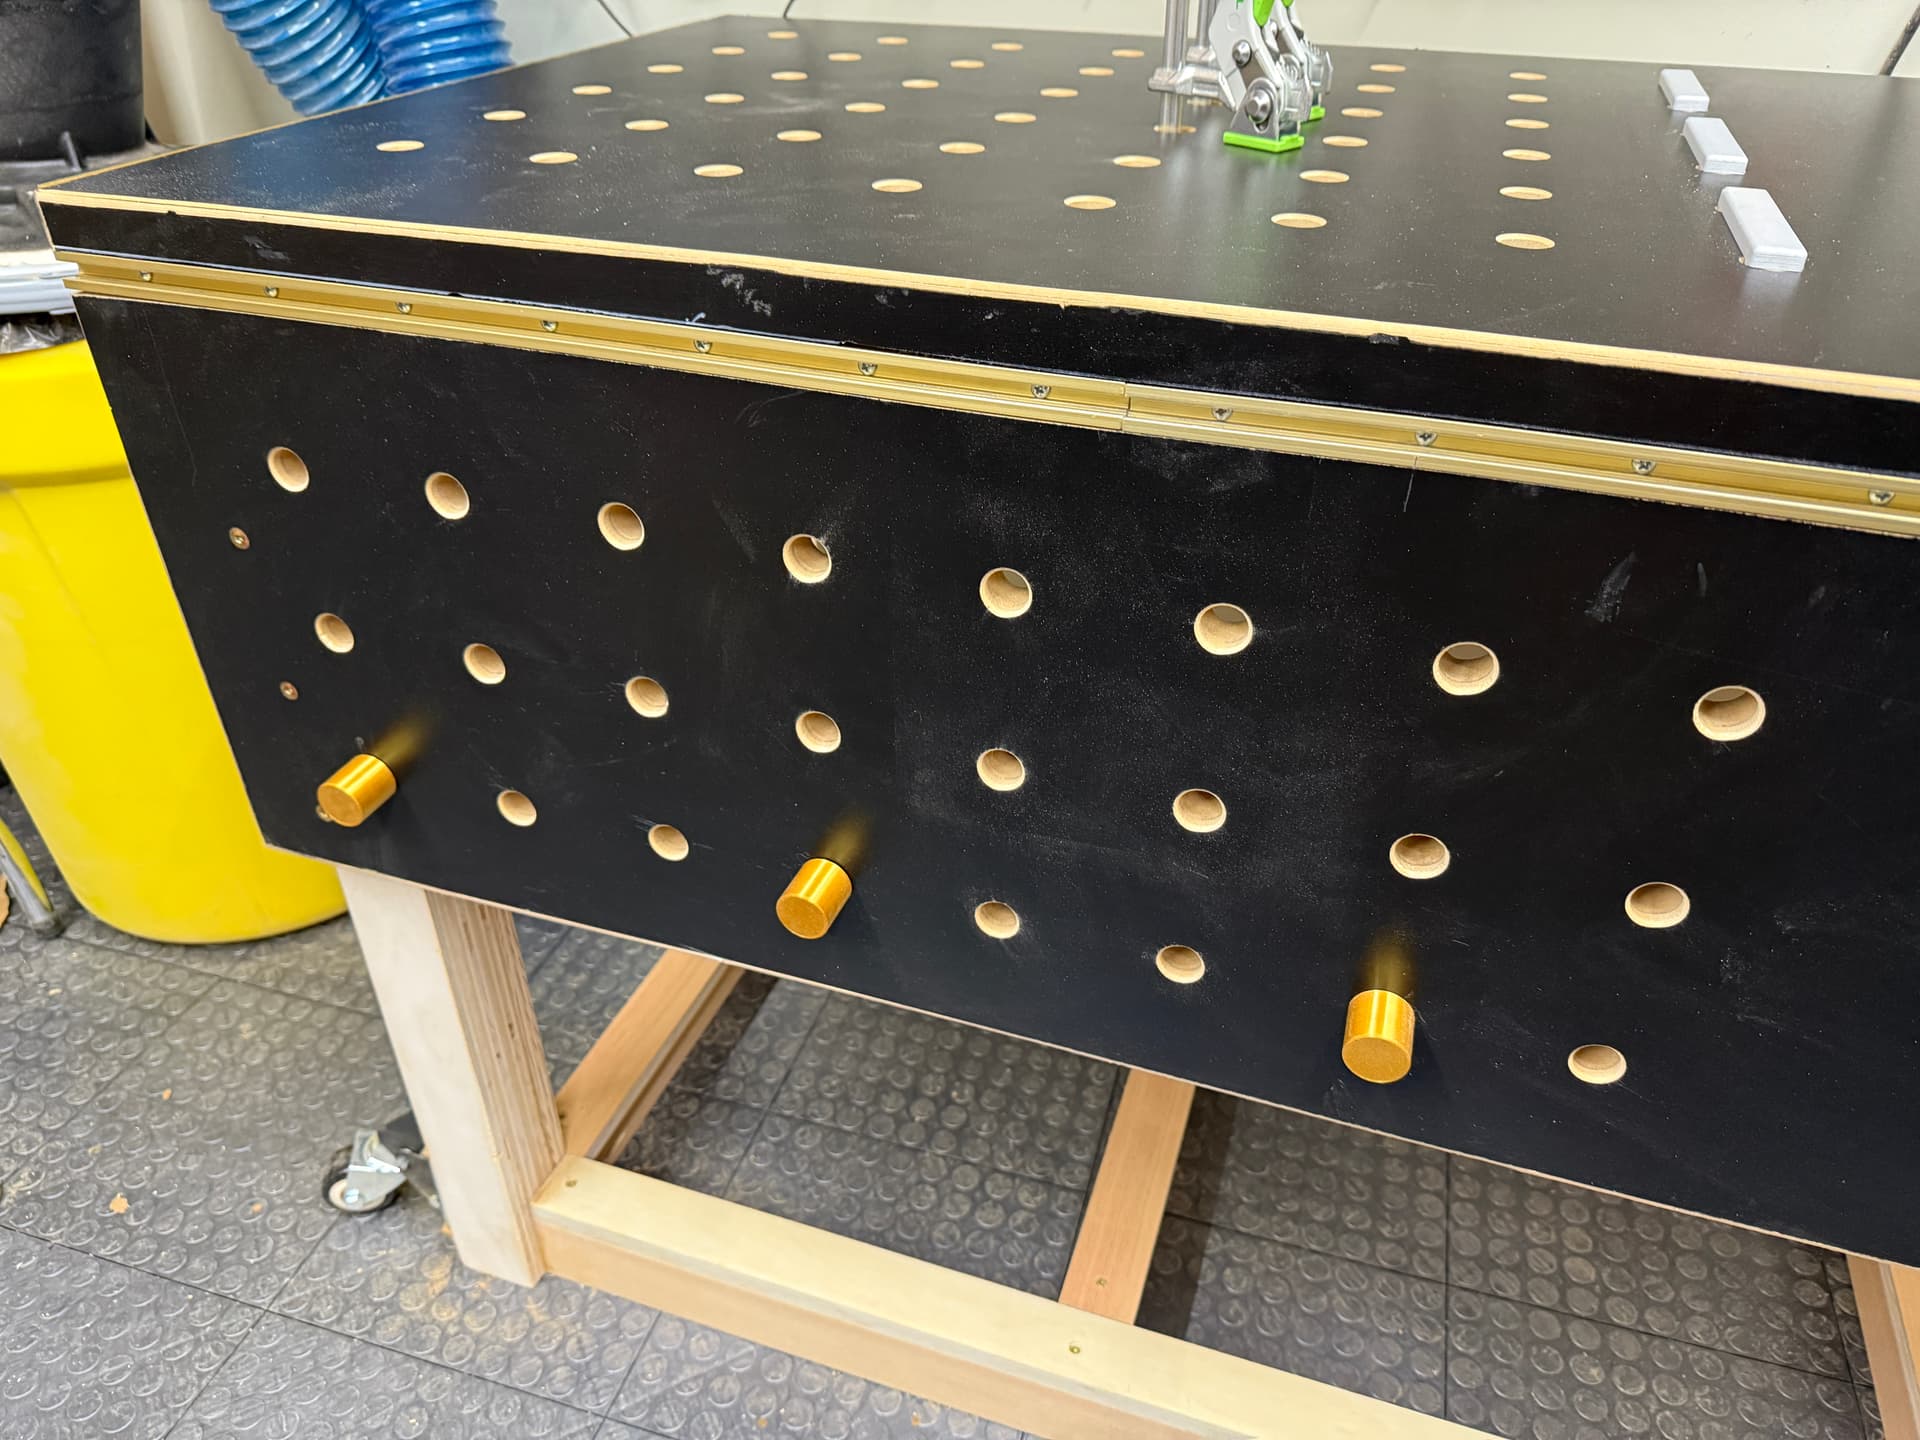
Thanks! I went with the 20mm (actually 20.5mm) dog holes with the centers spaced 96mm apart in order to maintain compatibility with the Festool MFT system. I am also attempting to use metric for my woodworking projects going forward as it is so much easier to use a base-10 system
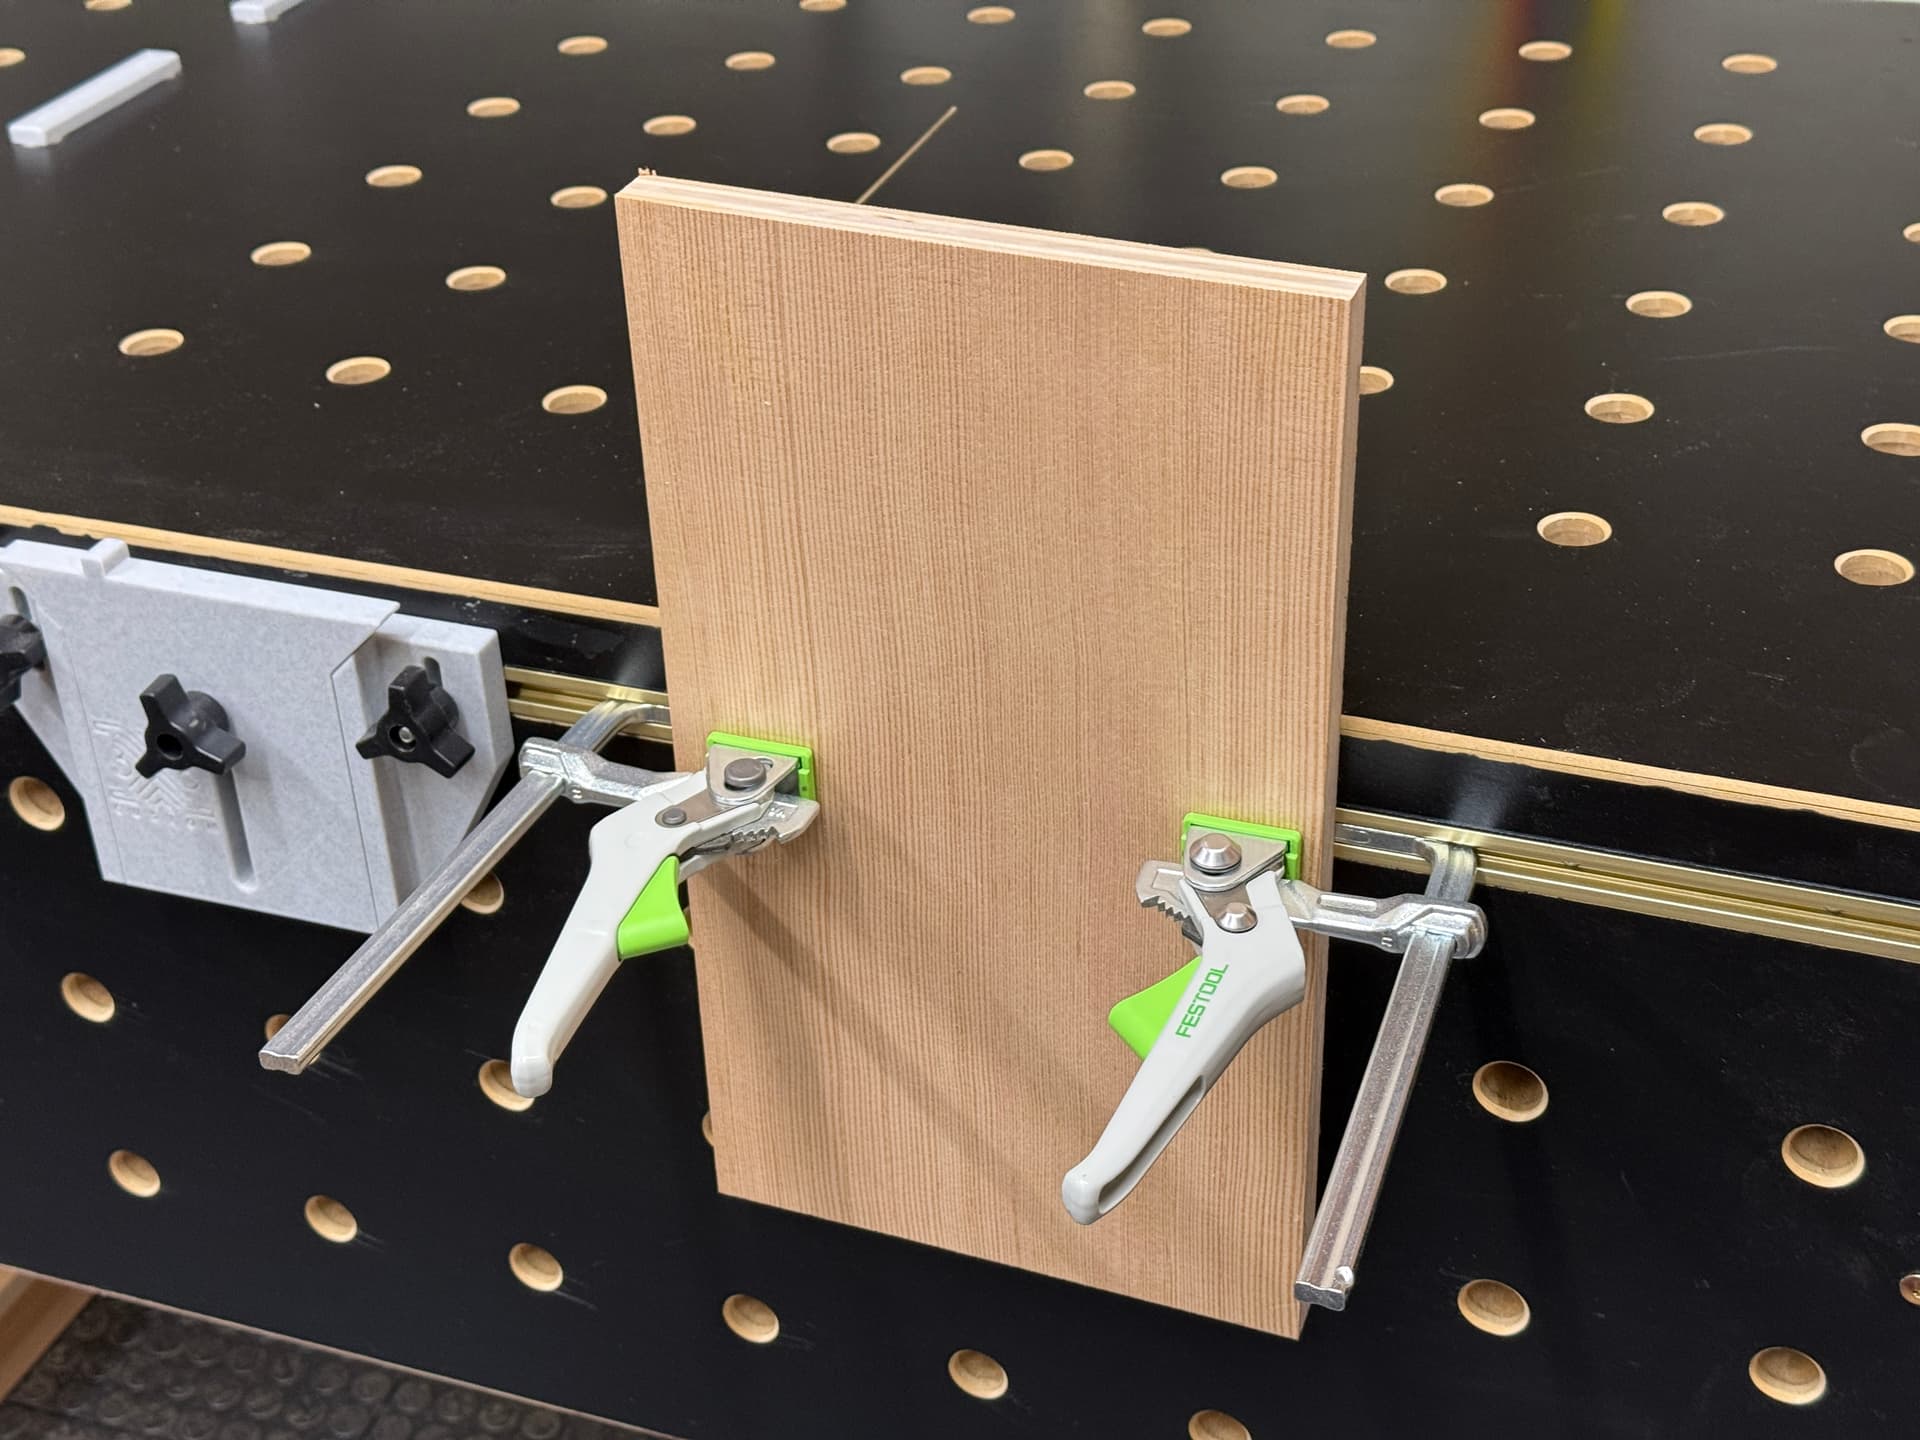
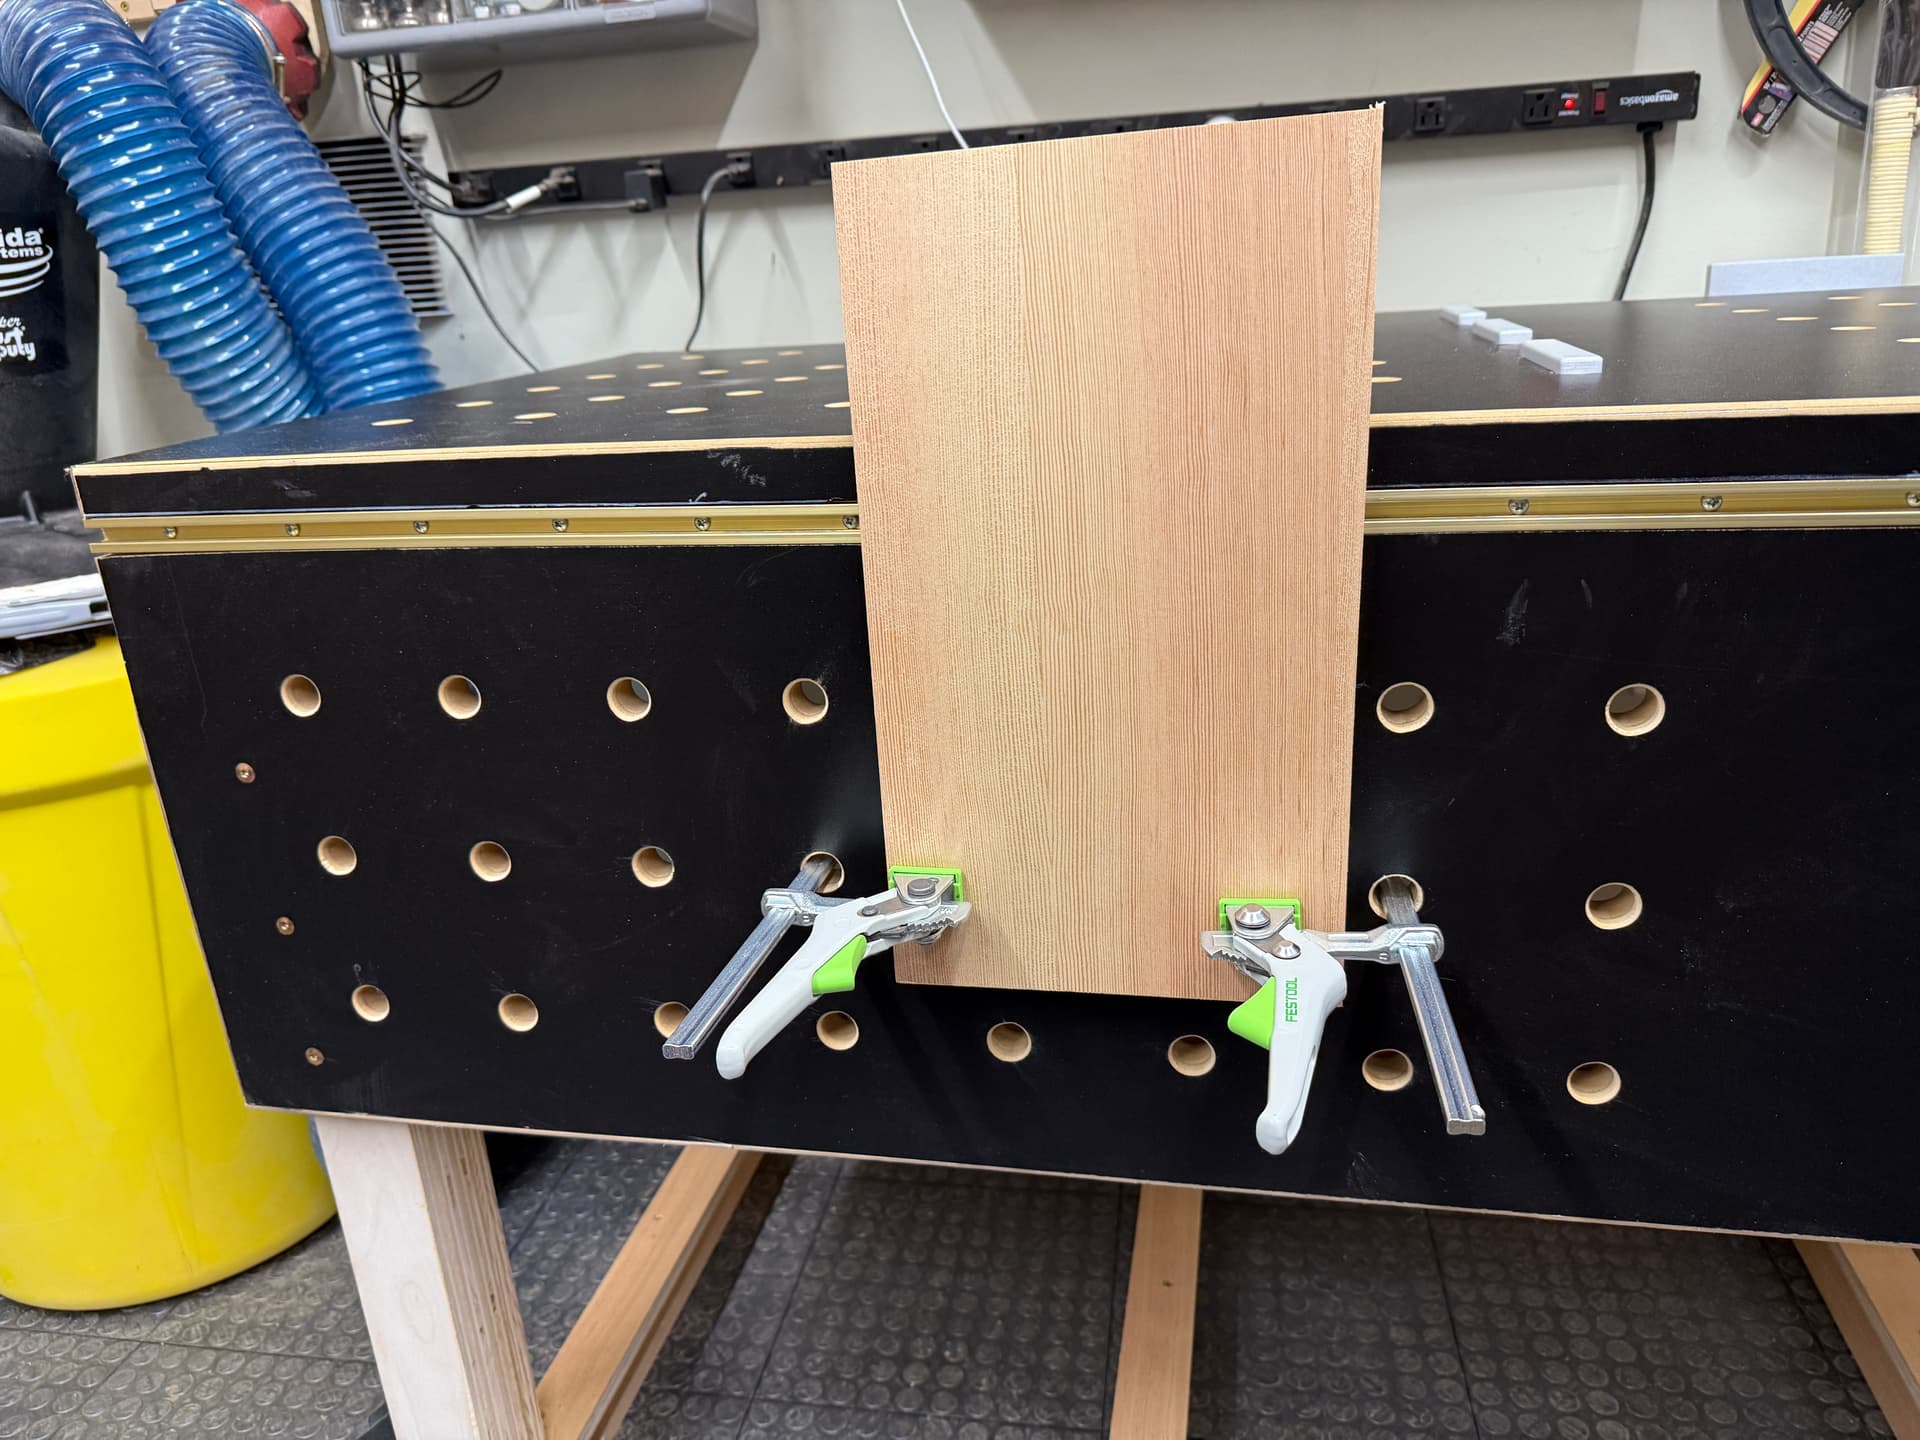
I purchased the Festool grip clamps to use with this bench and am enjoying them. It will take a few days to build up the muscle memory that will allow me to quickly insert and apply a clamp, but I’ll get there with some practice.
I had considered the microjig dovetail track system before ultimately settling on the design in my photos. My research indicated that the microjig tracks tend to collect fasteners and other woodworking detritus that is not always easy to remove from the grooves. Something to consider when you are planning your bench.
This project has also inspired me to make my Shapeoko table mobile so that I can use Carbide Create Pro’s built-in tiling capabilities for larger projects and avoid the need to flip and mill materials.
Thanks James. The ash is very light colored and not really too bad to carve. I applyed the stain with a sponge brush then wiped it with a rag before it could soak in too deep. Wiping right away left a lighter brown with the grain picking up the darker espresso color.
The design was taken from a grey scale pic on a google search. There’s tons of tree spirit interpretations out there. I first saw them when I lived in Germany. They are usually hand carved into tree trunks or large branches and from what I was told they are said to ward of evil spirits.
This is one I have hanging on my deck
Is that a standard V carve? It looks like it. A standard V carve will take a V bit in an area that is wider then the bit, and carve one big deep carve to try and standardize the cut. You could make this into an inlay and not have issues with the top branches, if the carve might have been done in Advanced V carve with a controlled depth at the maximum depth. Yes, the Advanced V carve will take longer, but the end results are usually worth it. Just a suggestion.
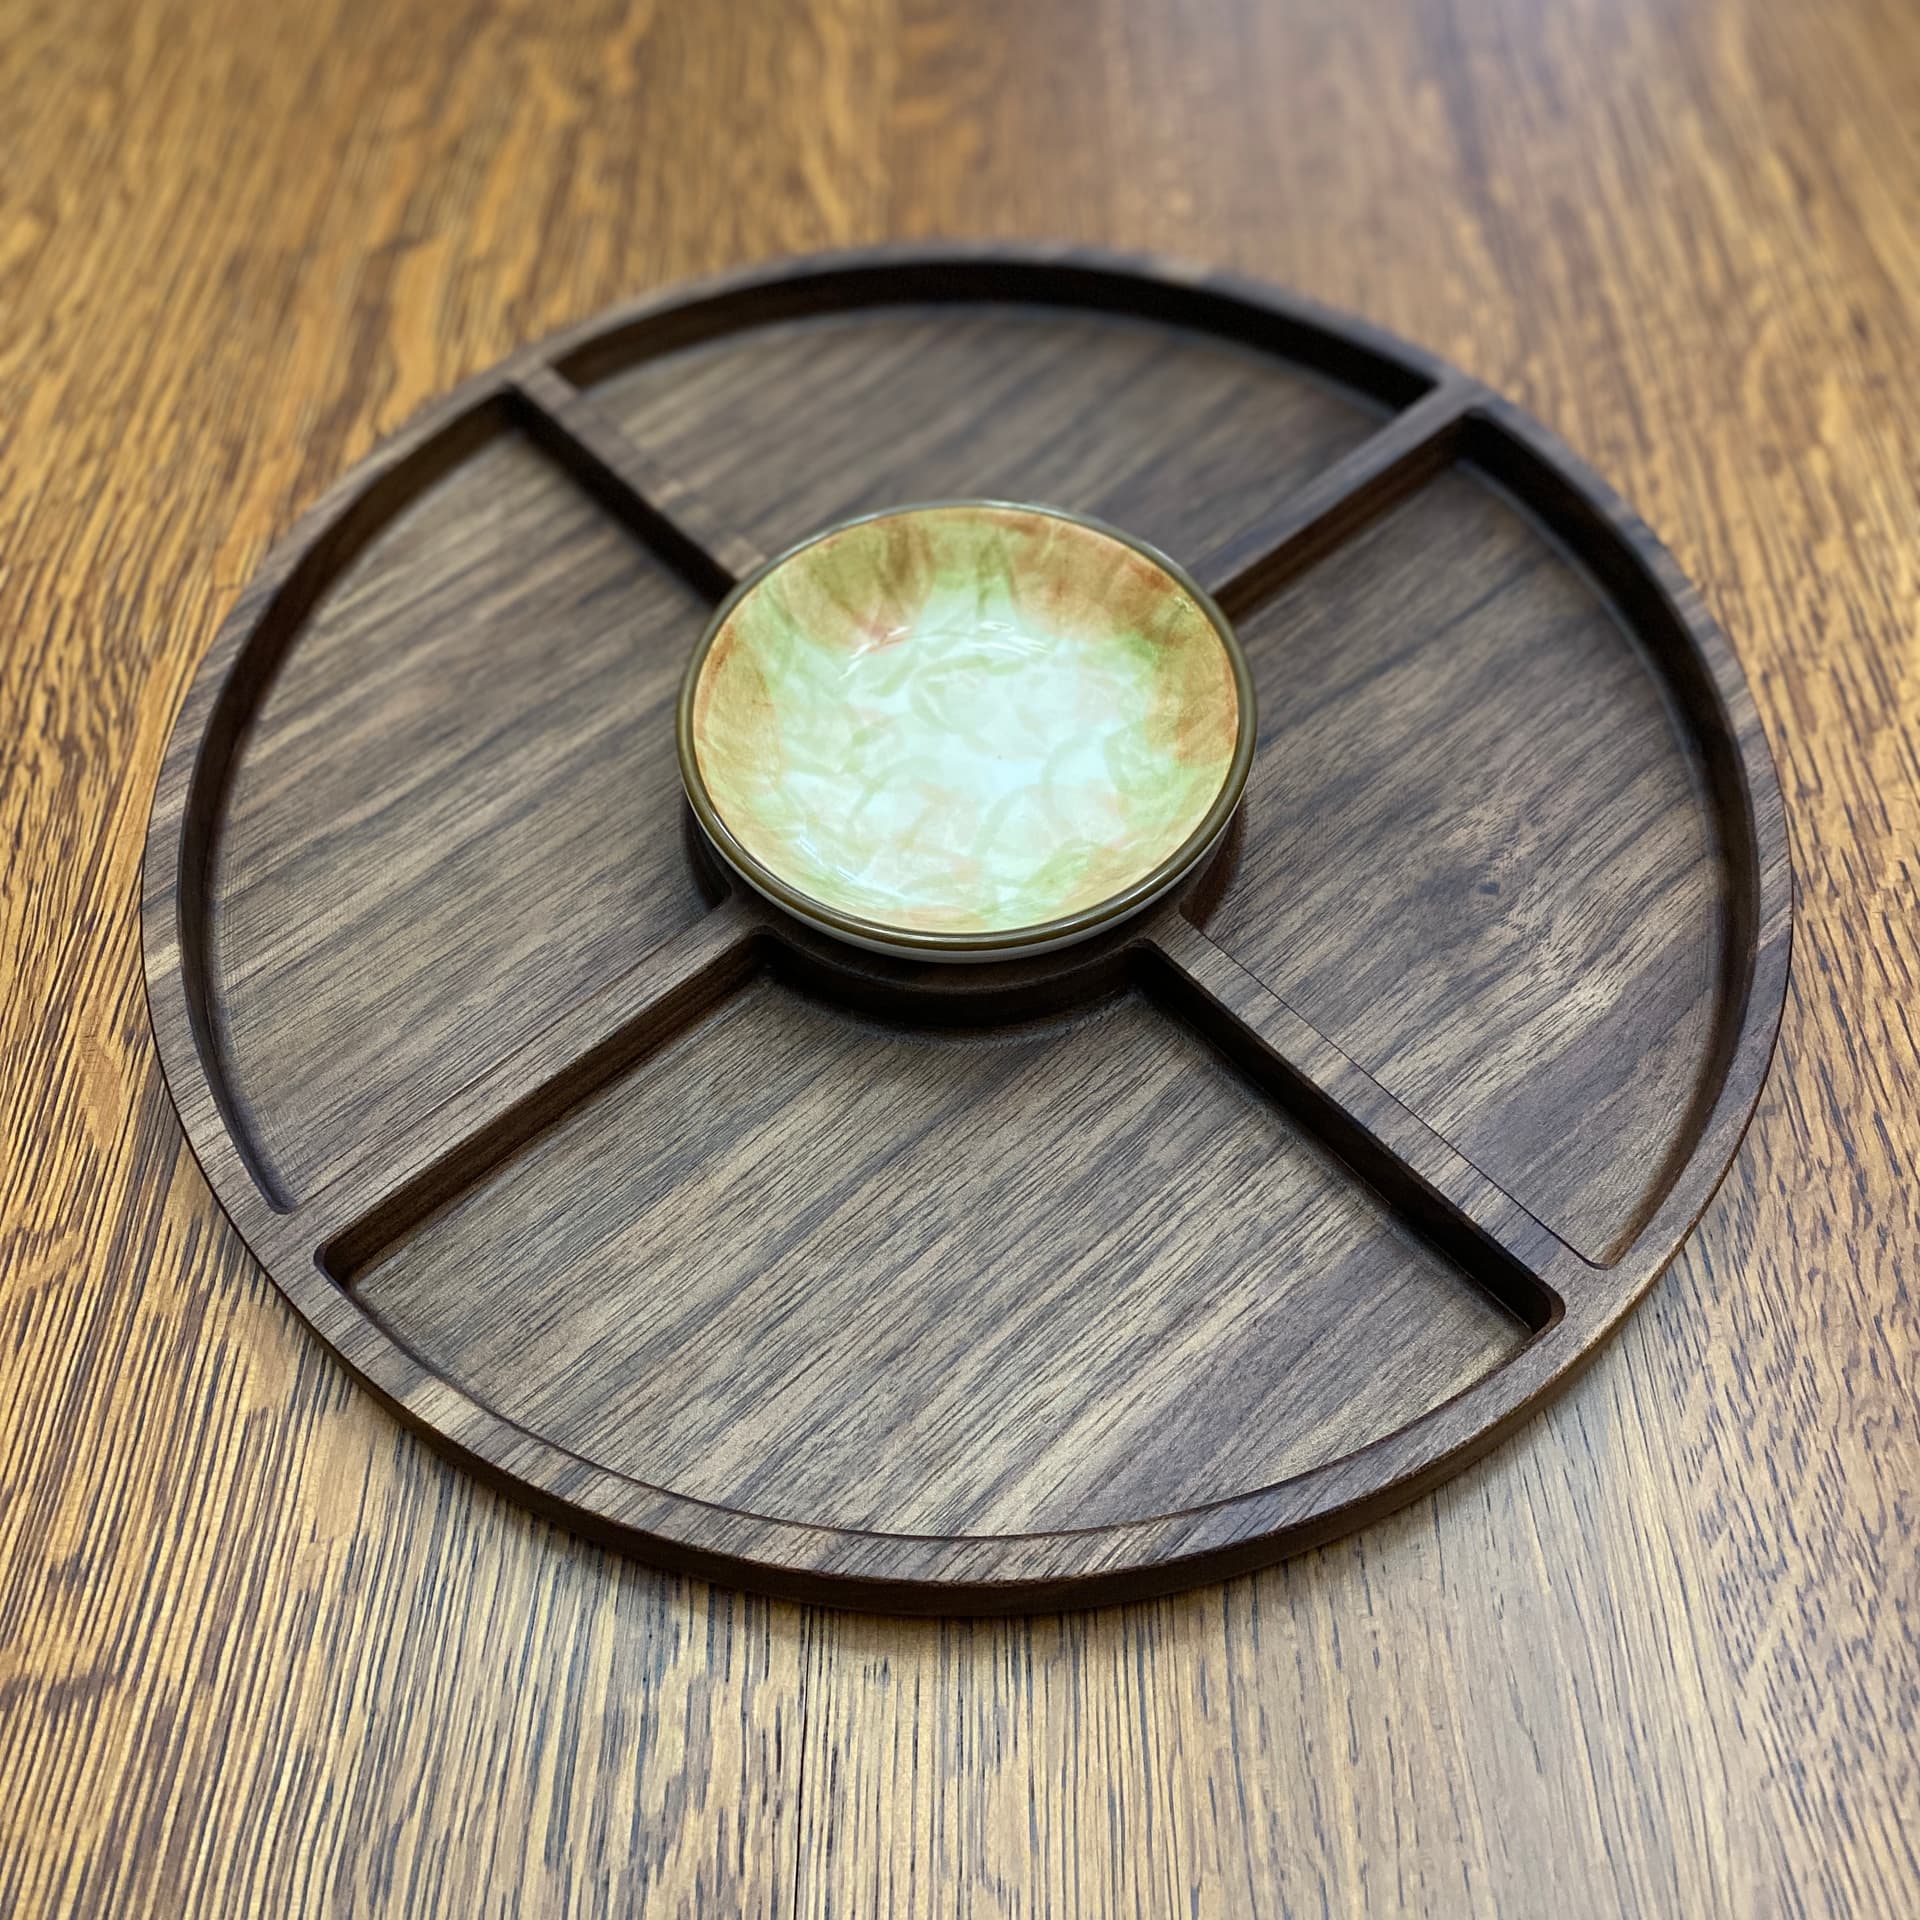
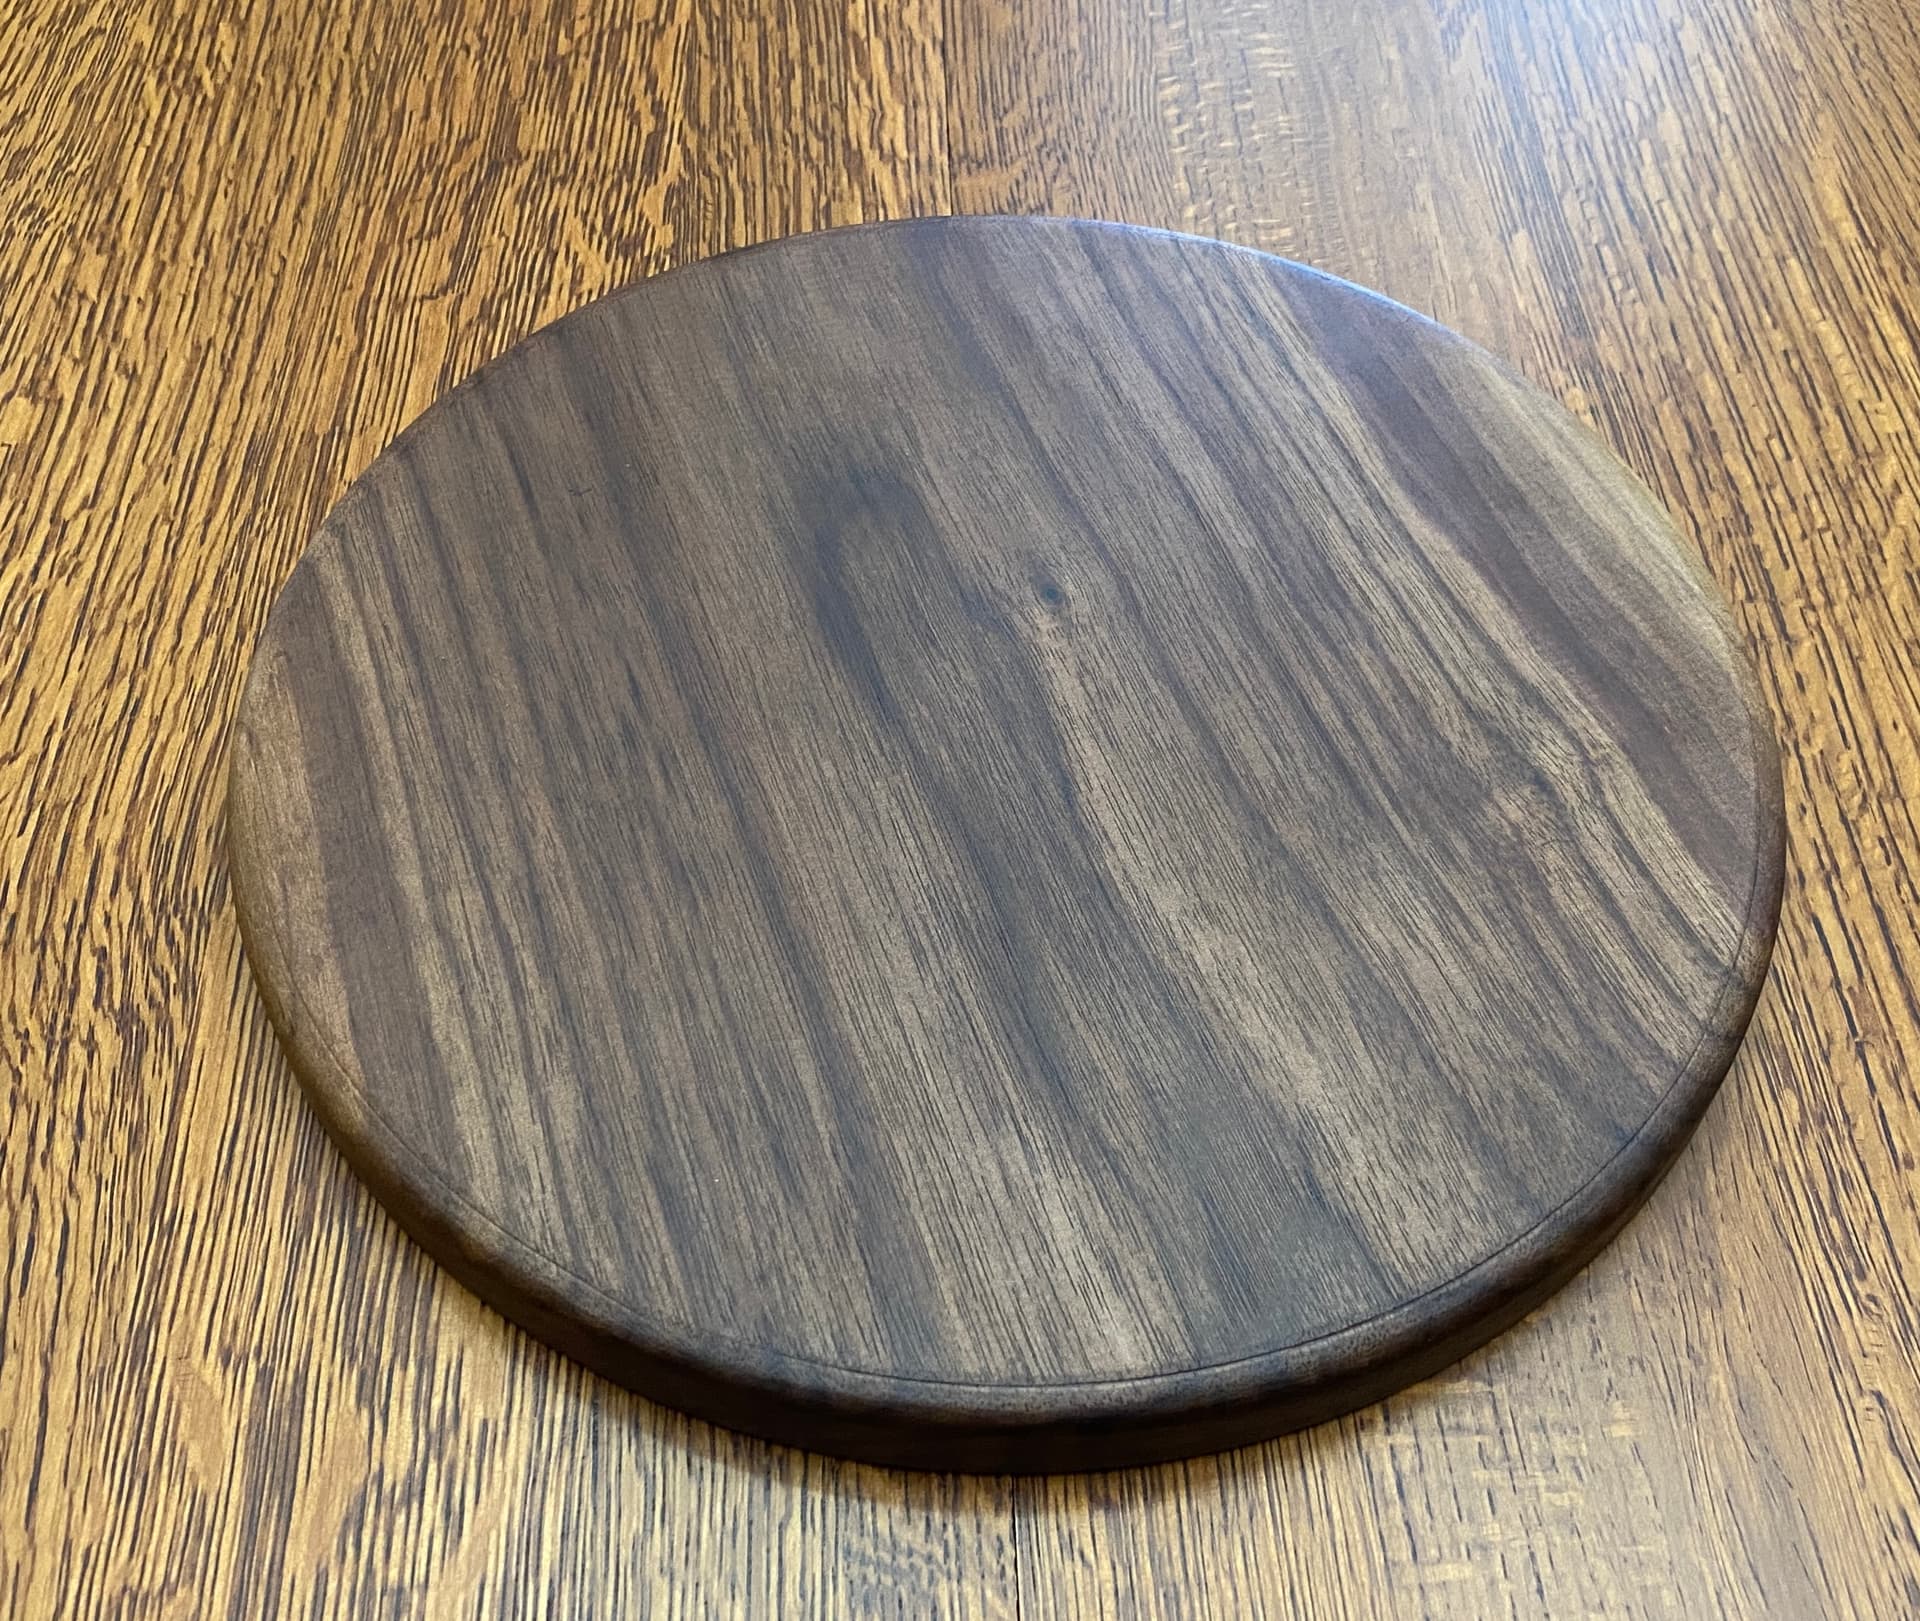
A friend gave me a walnut board the was milled from a felled tree on campus. I decided to make my first serving tray out of it. The great thing is that he said I can have as many boards as I like.
Actually it was an advanced vcarve 1/8 endmill to start then a 60 ° bit with a 5.5mm DOC. It took out a lot of material around the face leaving recessed pockets. My concern with doing an inlay is the very shallow cuts around the head some of which are only maybe 1mm deep. It was a test to see how ash looked prestained then cut, see if there is inlay potential and to see how the carve would look since I resized the face to fit my material. See below for todays carve… things are very different