Nice work,
And extra points for the Diamond Head / Kill 'em All reference.
Nice work,
And extra points for the Diamond Head / Kill 'em All reference.
What about depth maps of a local lake?
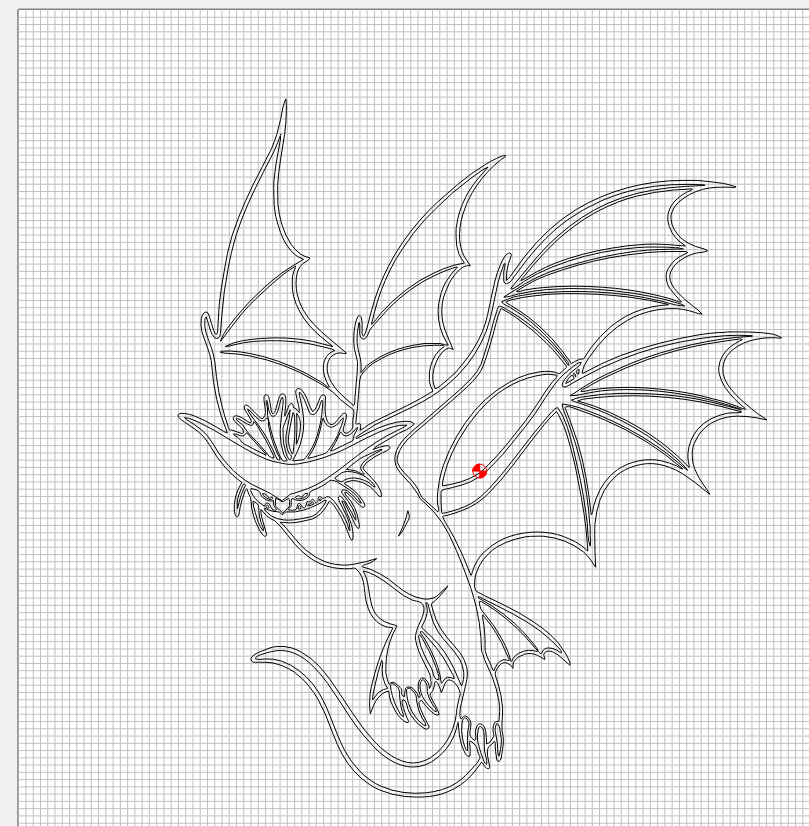
My niece “ordered” a StormCutter (from How to Train Your Dragon) from me.
I found a black and white image (well, the unique black and white image of a StormCutter I could find…or it may be a CloudJumper, apparently. I’m taking my chances)
(yes, there is probably a copyright, but for a one-off gift to my 6 year old niece, I figured I would not go to jail)
Then CC’s image tracing did wonders,
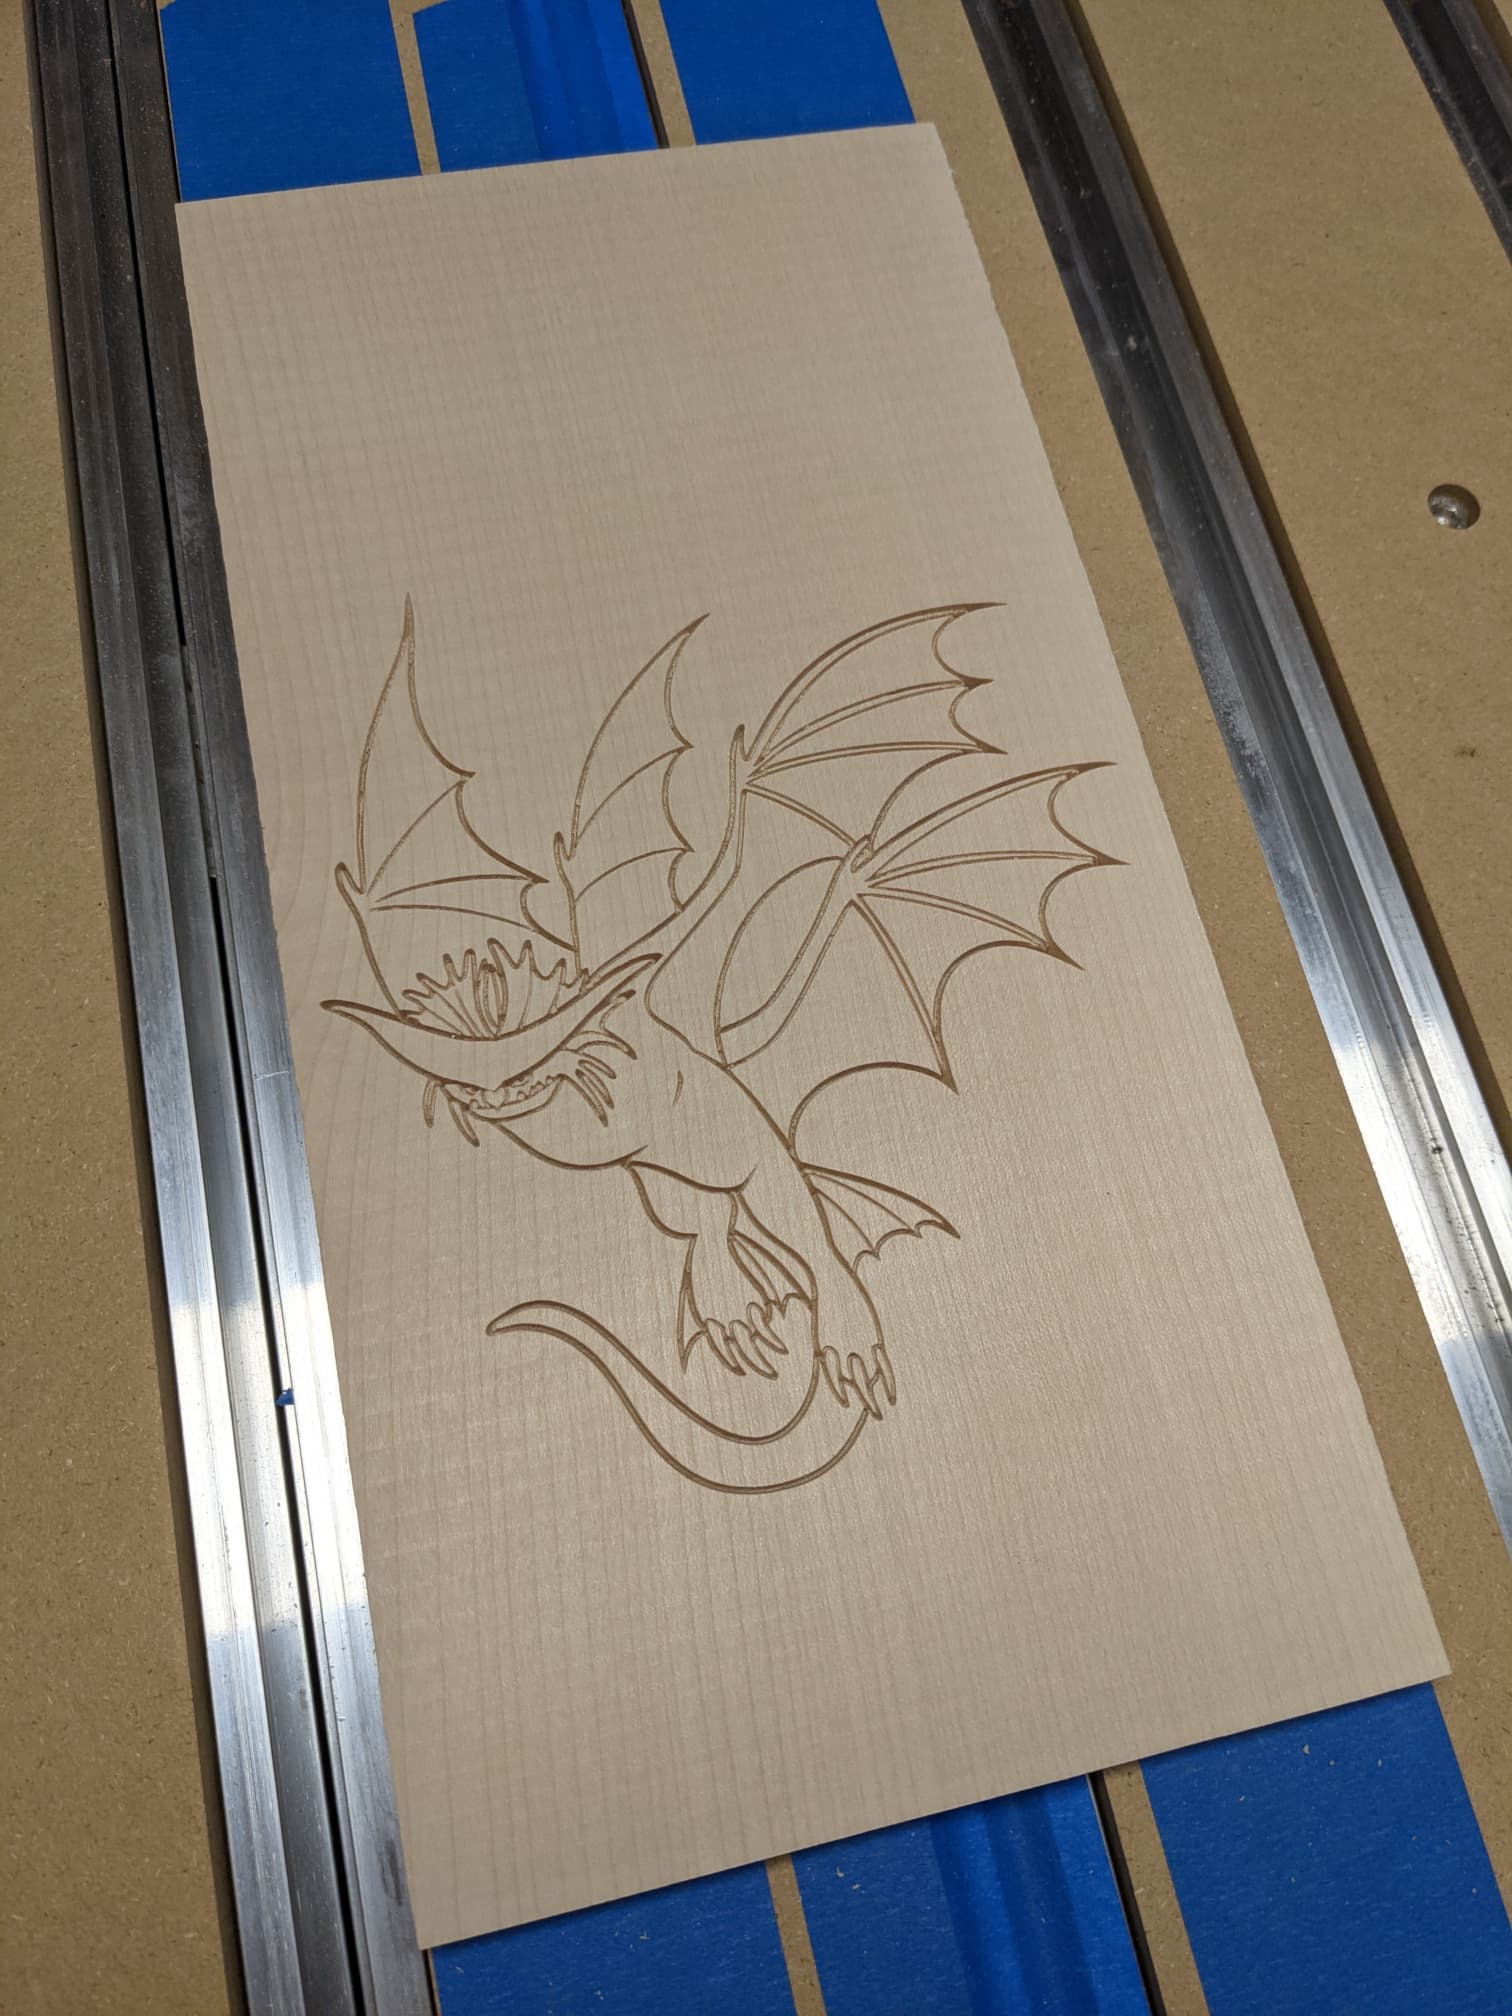
My trusty 25° single flute vbit was the only option for a small carve like that, I love the level of detail I was able to get (this is sycamore wood I had on hand…never v-carved it before, seems to lend itself well to it)
I’ll pour black epoxy next, and hope I don’t mess up anything
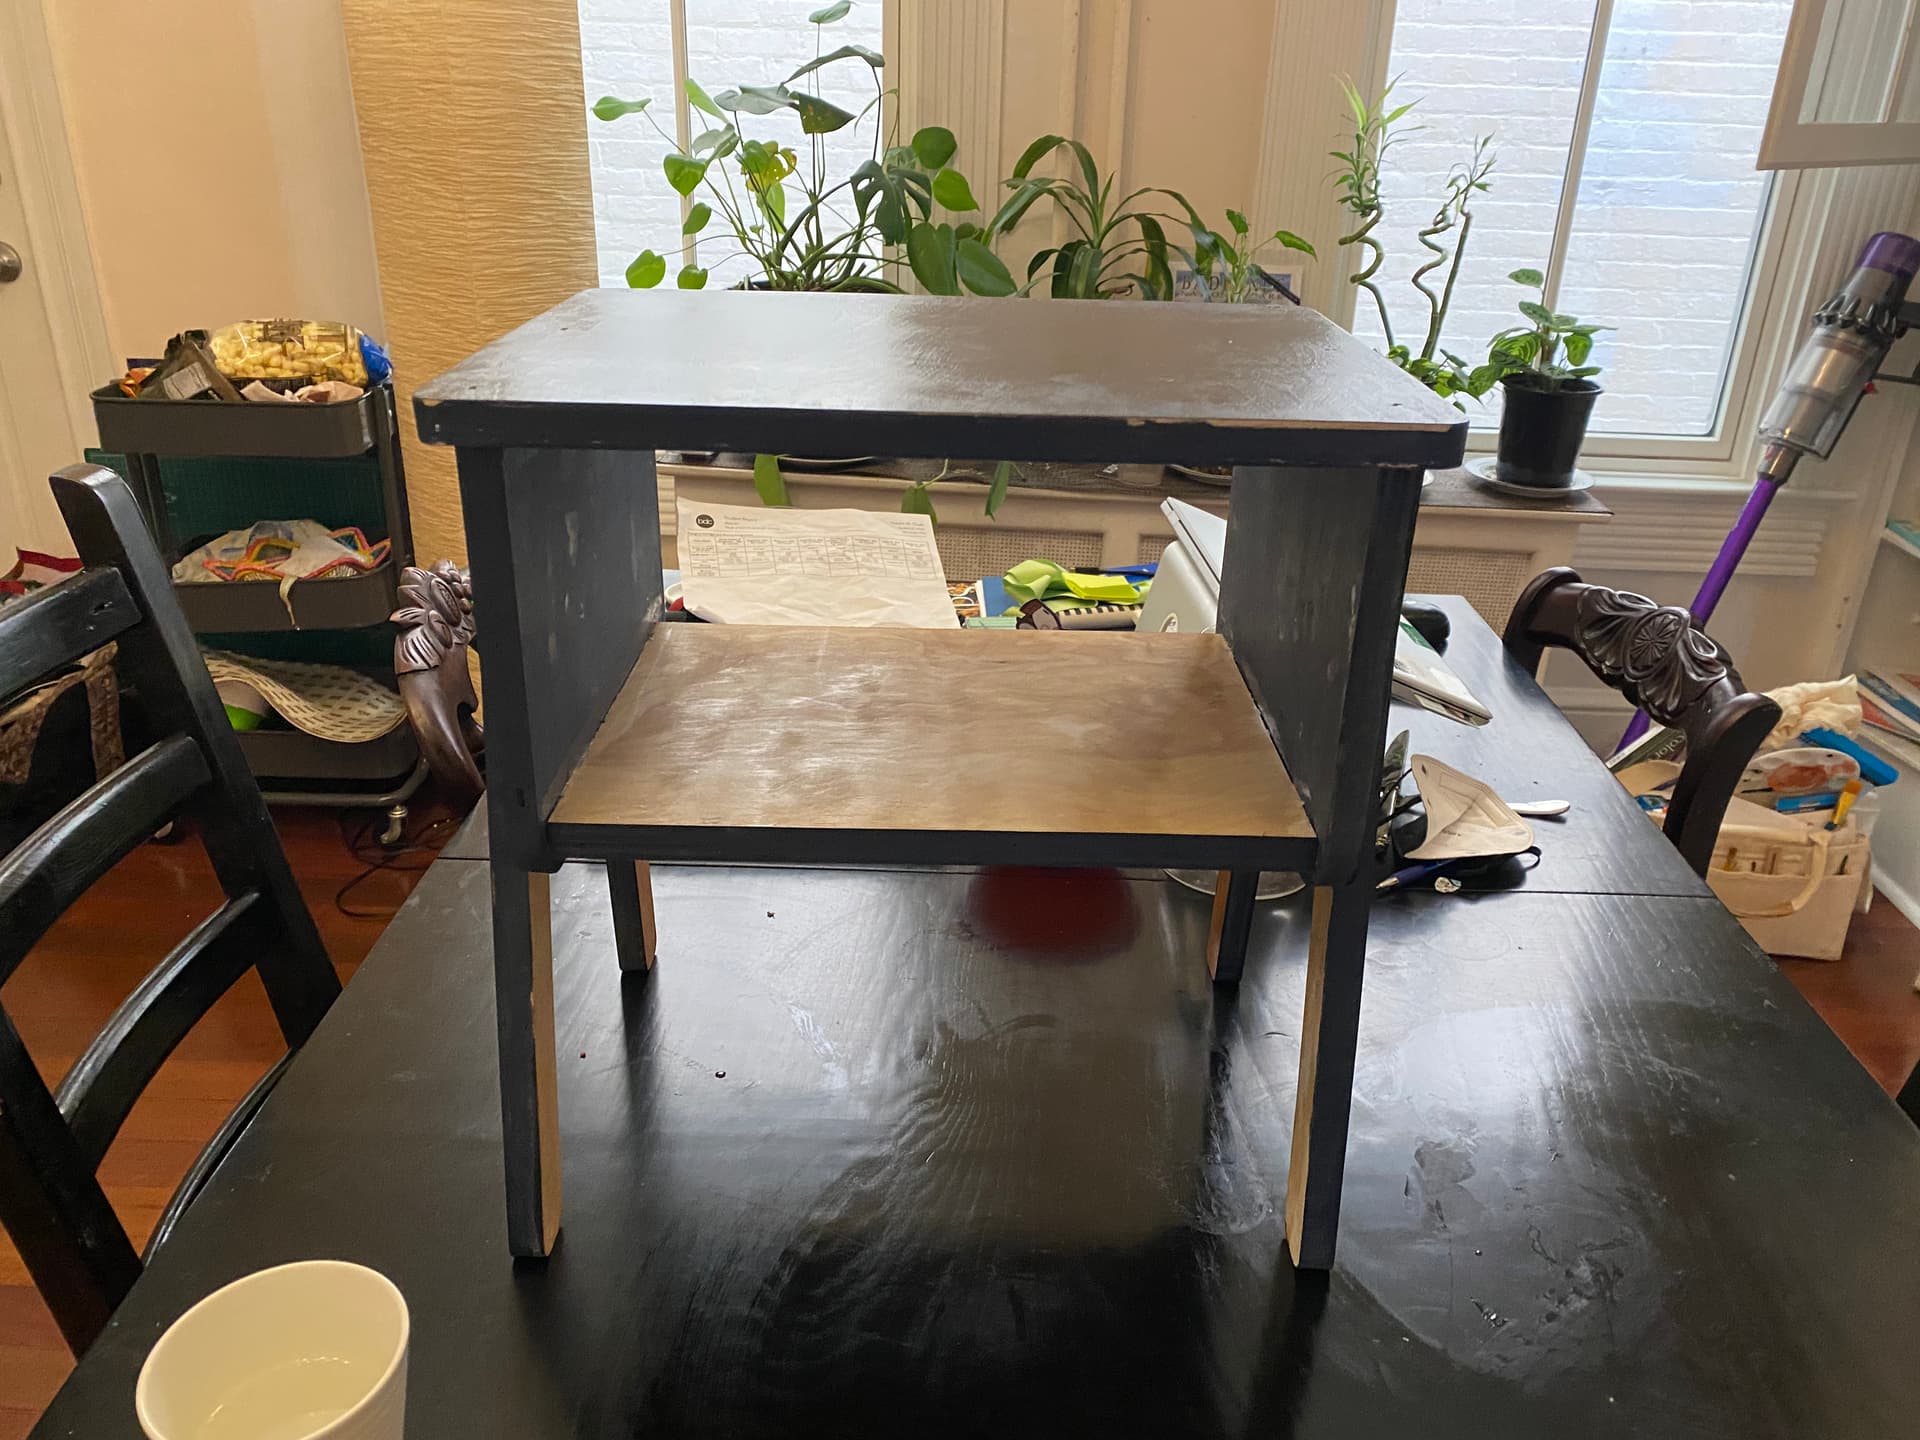
Very Cool Julien. Love the 4 pieces style layout. Were those pre-made?
I started from a single 8" long countertop from the hardware store, roughly cut four pieces manually, then for each piece I ran the surfacing/vcarve/profile cuts on the Shapeoko. The Art Deco vectors are from etsy.
I love this because lots of times the intimidating factor is the feeling that one has to create everything in a project. Starting with a premed panel and modifying it is a cost effective and time effective way to knock out a project.
That is absolutely stunning!!! Someday, I hope to get there.
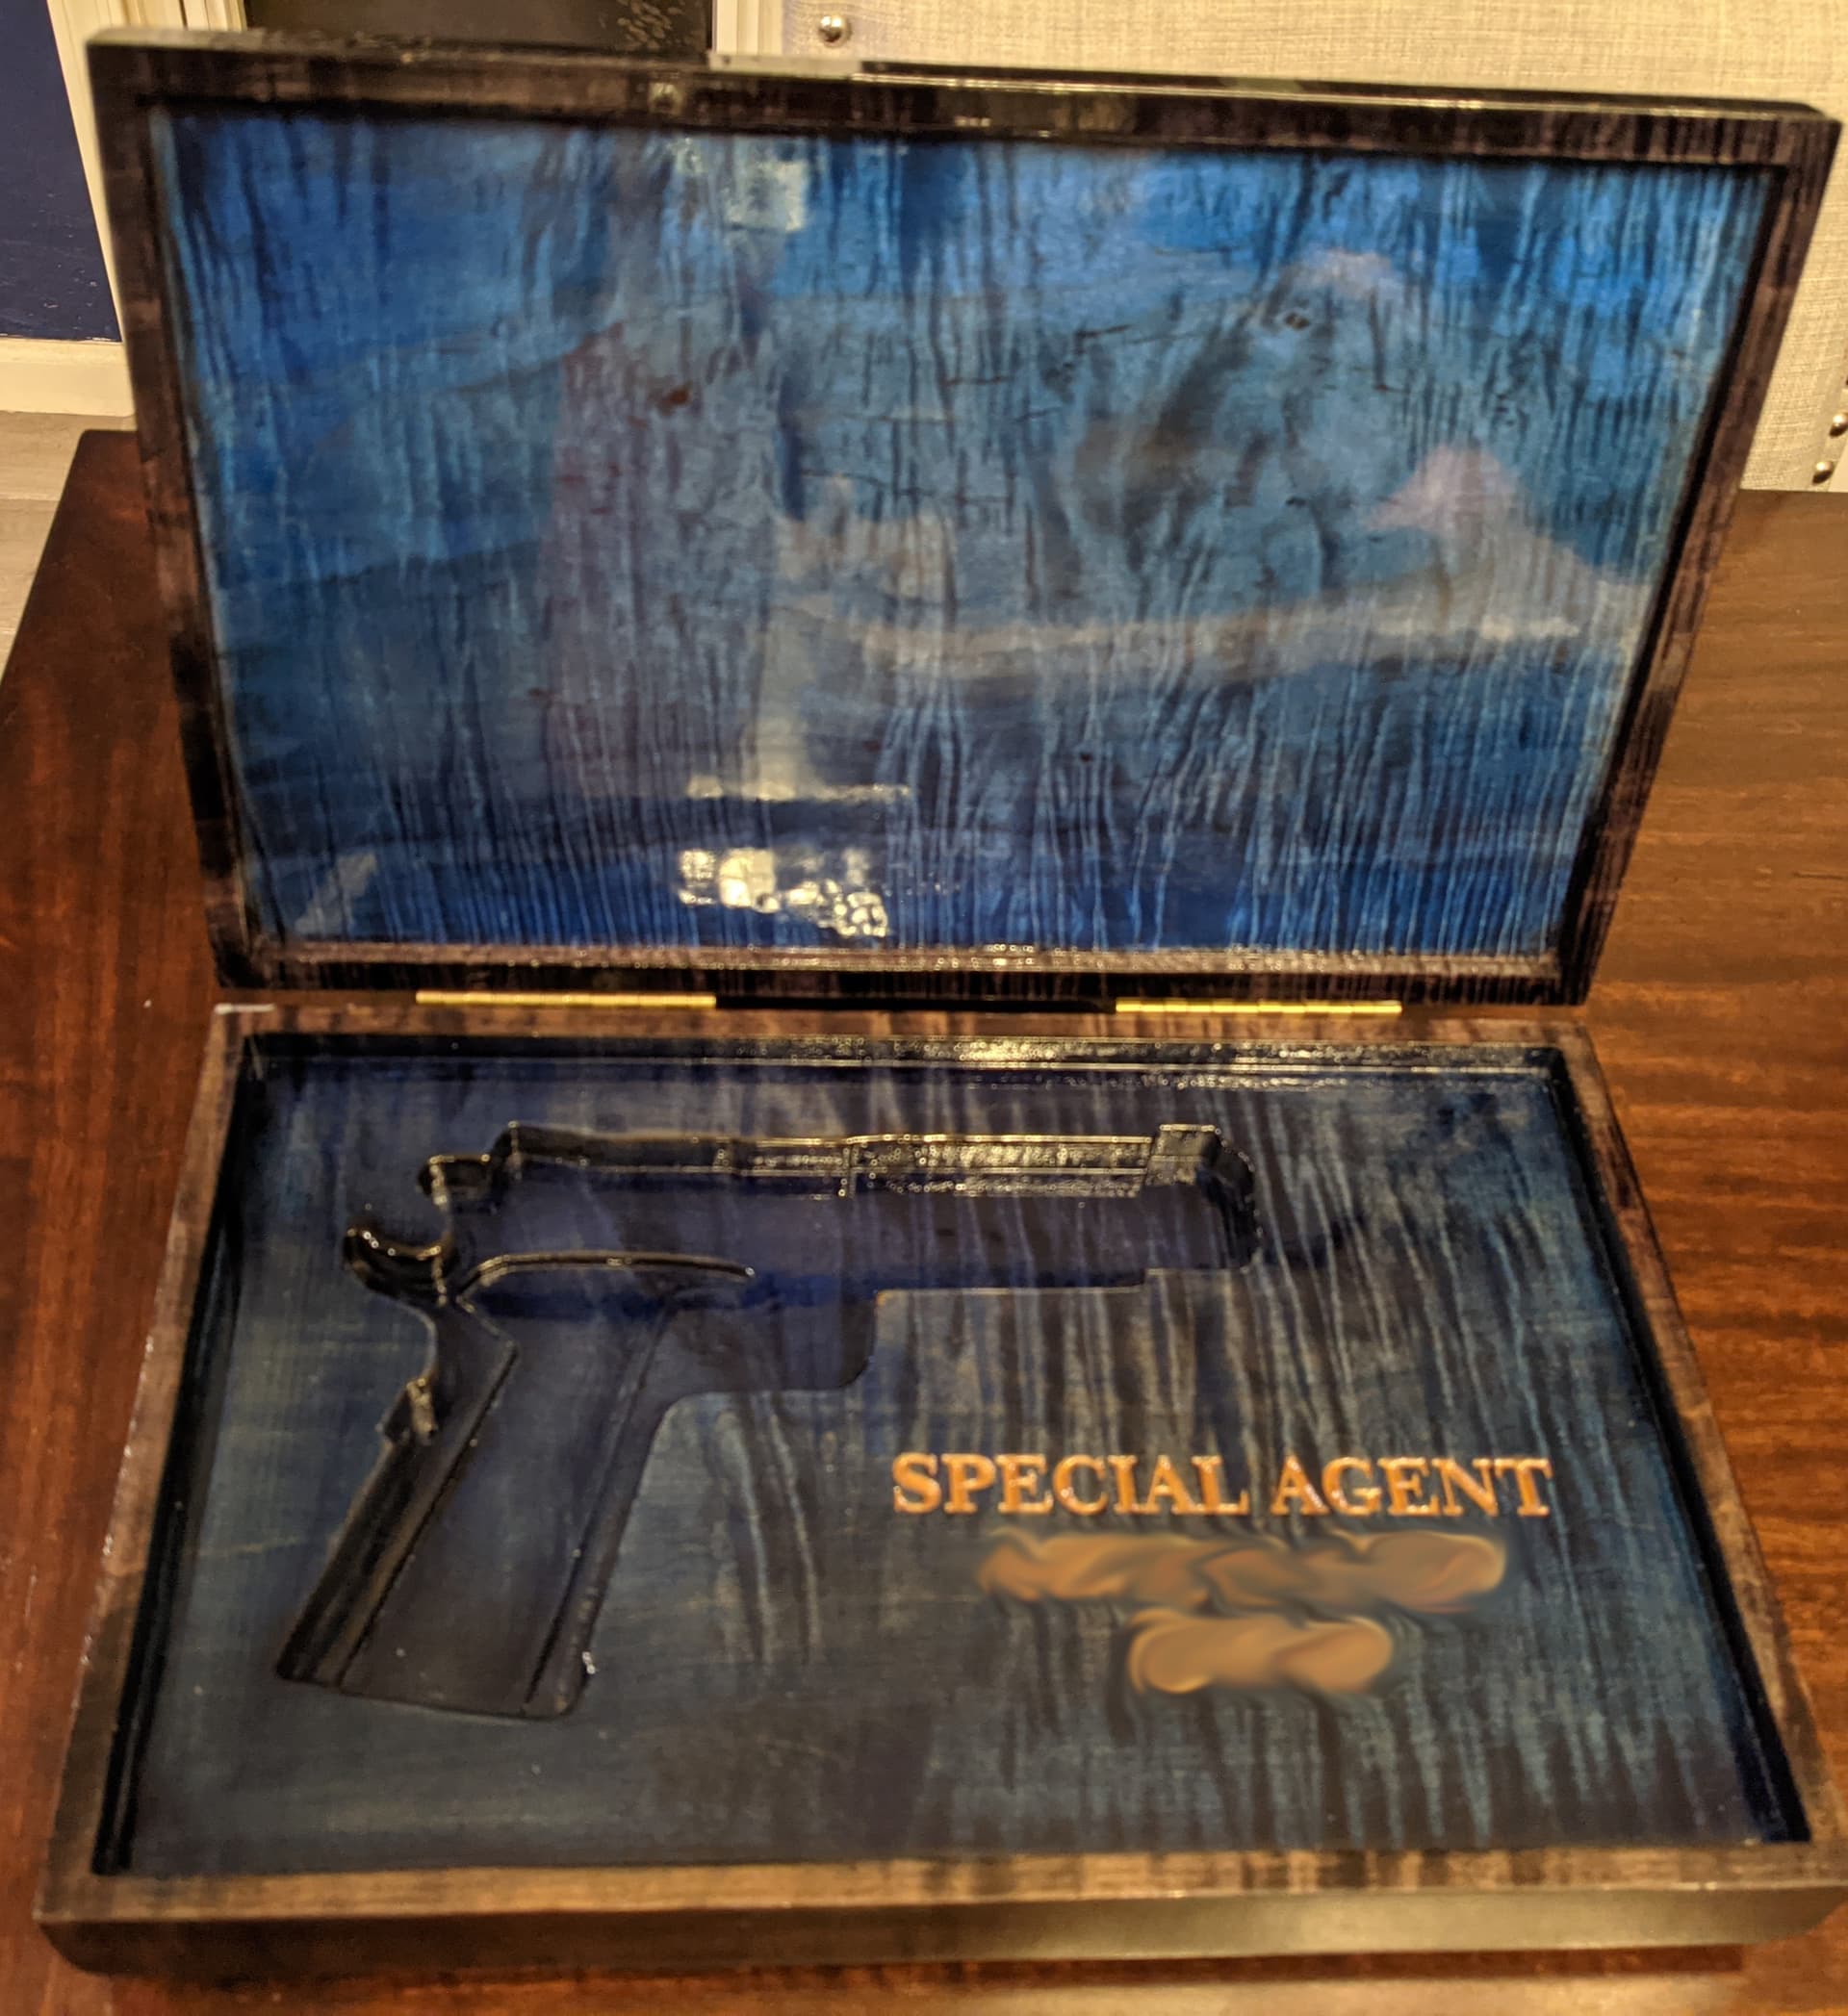
Made a gift for a retiring FBI Agent. It is for his service 1911 handgun. A year ago, I could barely cut stars for a flag. Still learning everyday though.
Did you guys discuss whether he’d prefer muzzle pointing left or muzzle pointing right?
We did. It would have been a hell of a lot easier on me with the muzzle pointing left, as I wouldn’t have needed to route for the safety or the slide lock. But he wanted to see the ejection port as it adds a little more character of the gun. The whole thing was carved out of a single plank of 8/4 curly maple. I do love working with that wood.
Thanks for the notes. It looks very glassy (so many layers!). I’m interpreting the yellow / straw color to be cut into the the dark field. Is that yellow / straw color the natural wood plus finish color or was was that tinted as well?
I stain the wood dark then use the CnC to cut into the stained wood. The result is the natural wood making the picture. I use TransTint dyes and was using water for deeper penetration into the loose grain of the maple. Initially I used it with a water base and I had a problem with warping after I stained it. I re-leveled my top and switched to denatured alcohol as the base (same dye). But after every coat, I hit it with a torch to ignite and dry the alcohol immediately. No more warp. It is a super quick and low burn, so no major flash or anything like that. I still am a newbie at this, but I enjoy learning something new every day.
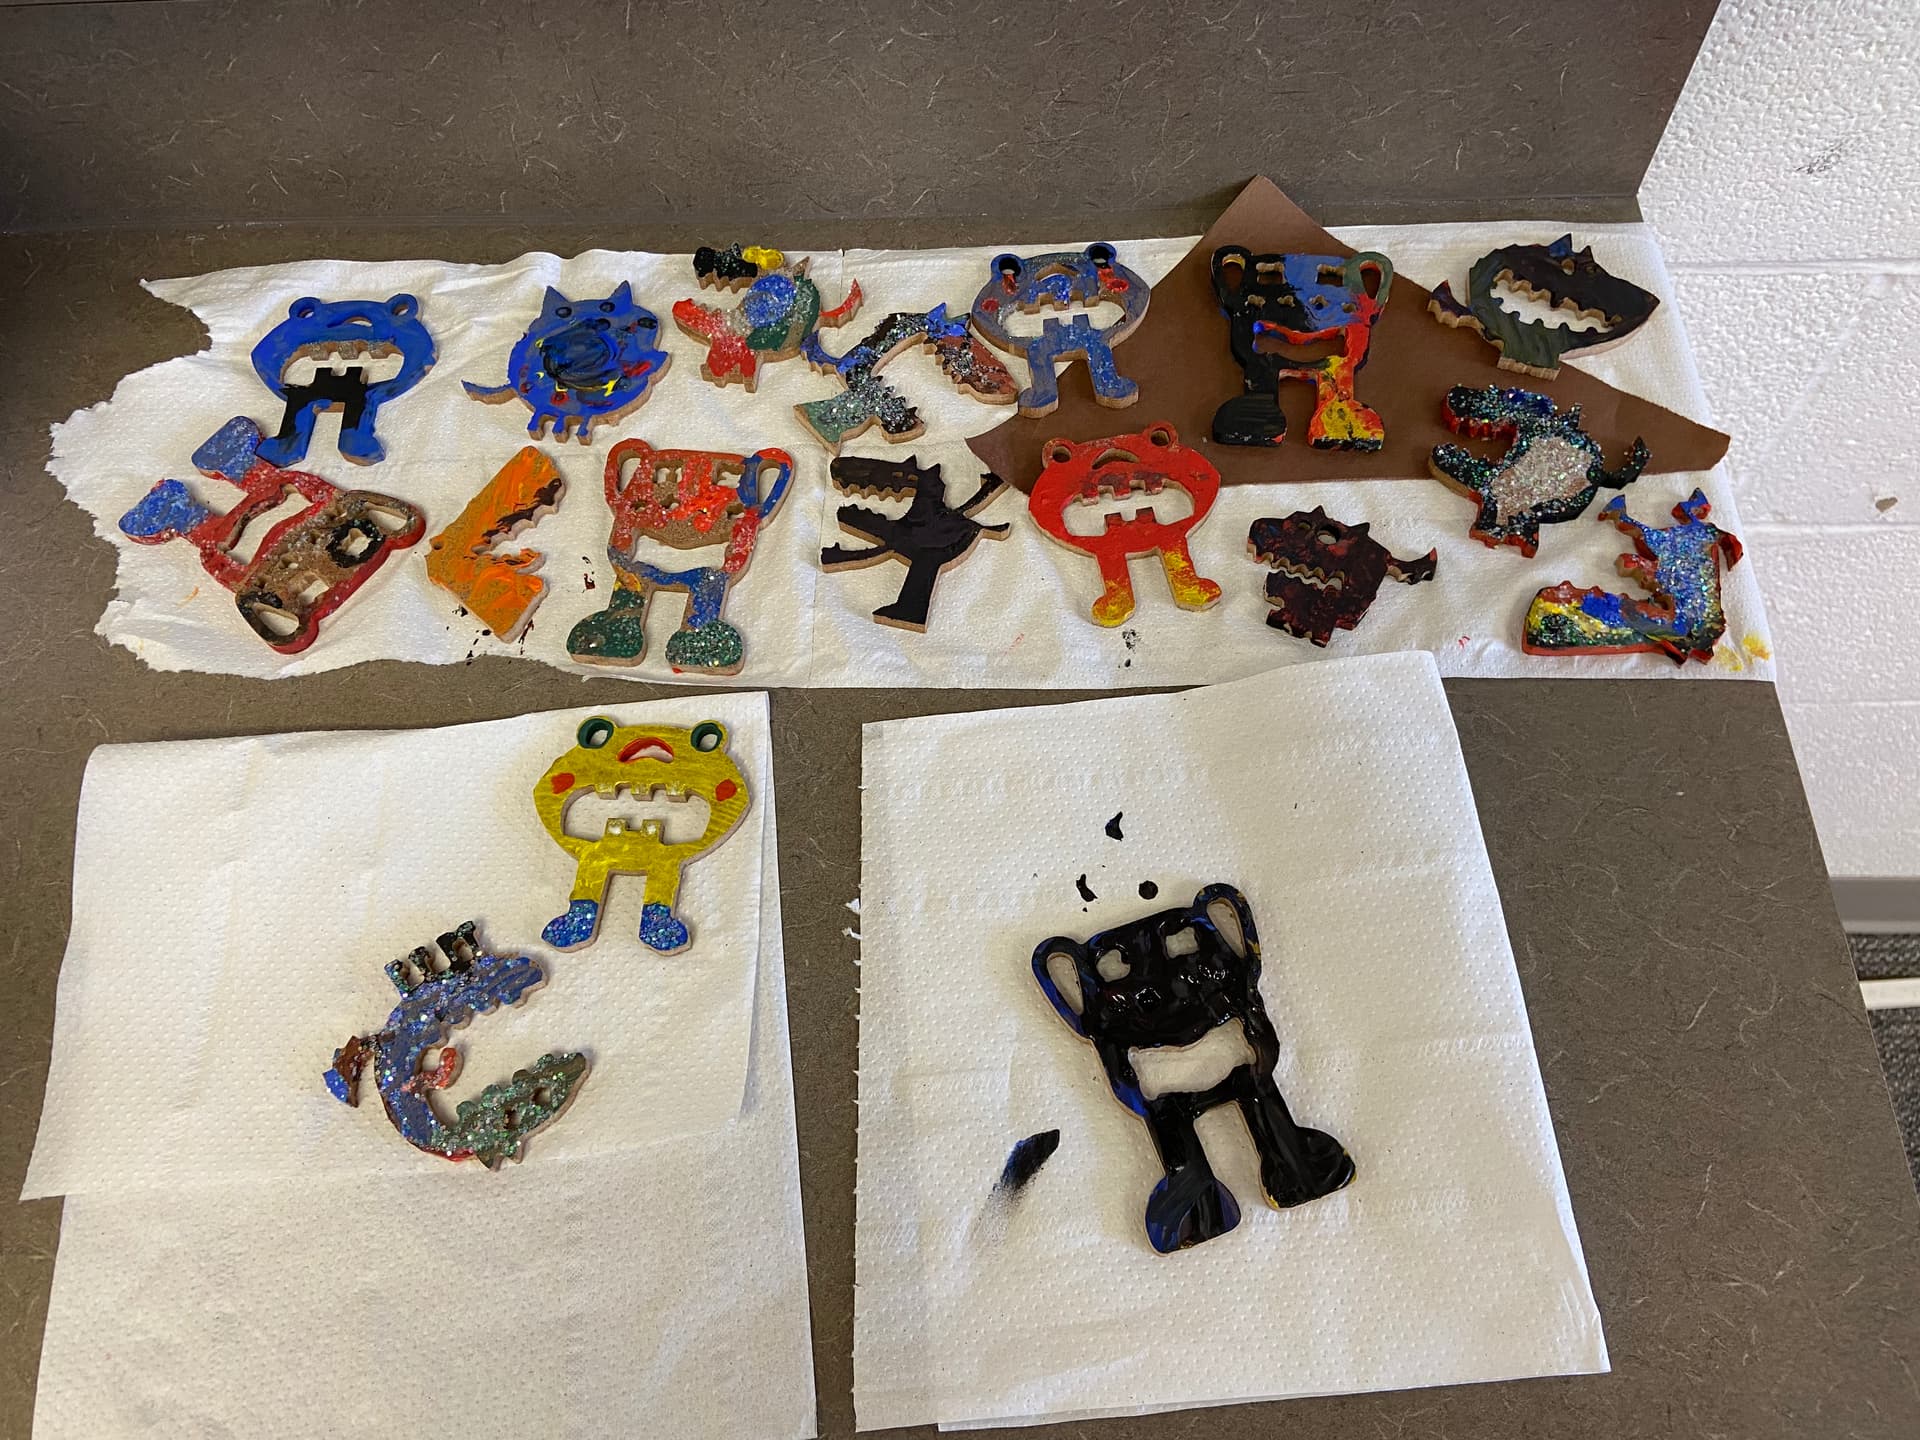
no problem at all they look awesome!! I am glad they had fun with them!
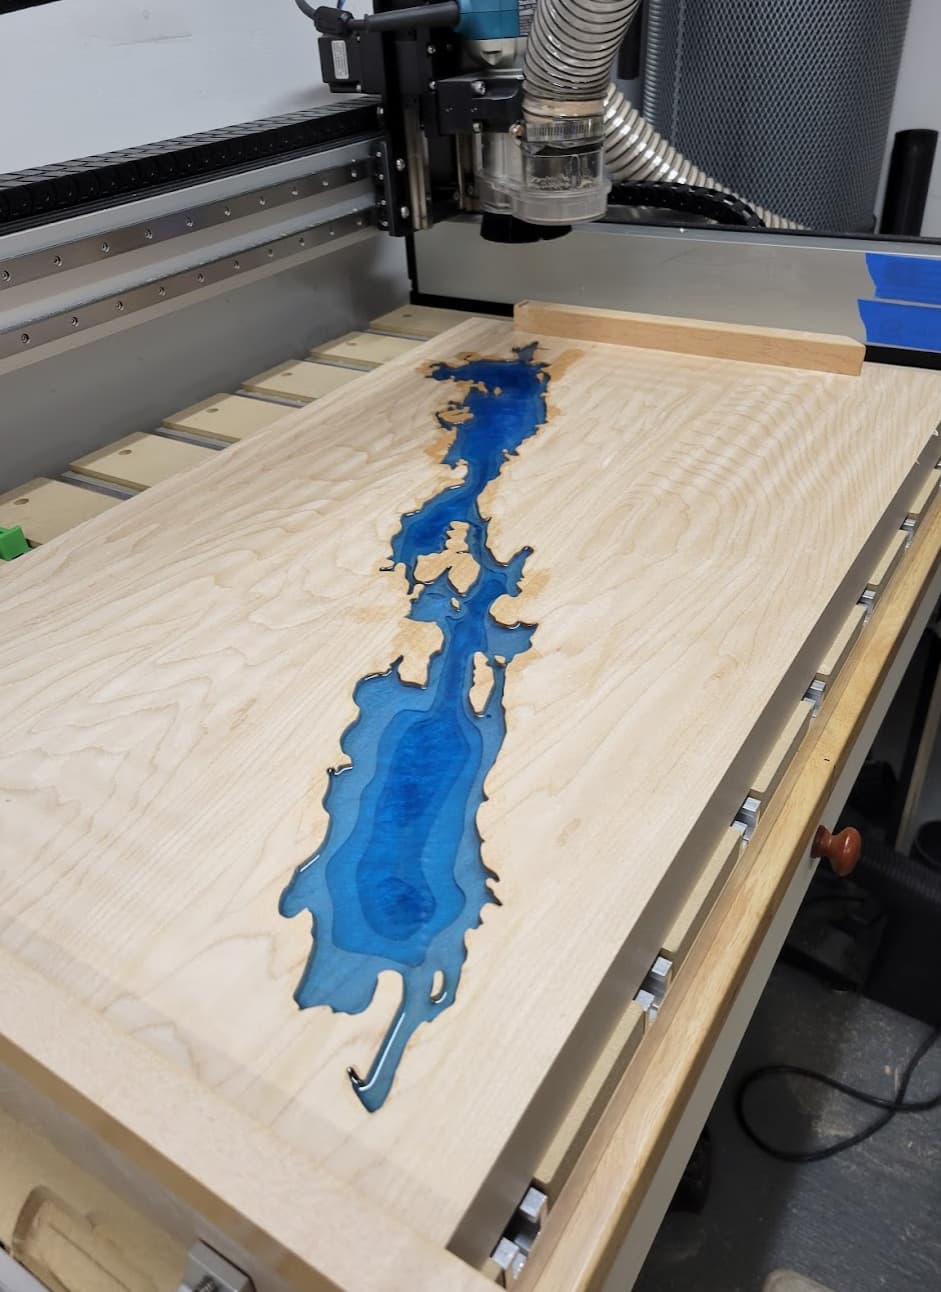
Yet another lake!
Great improvement in speeds - 3-flute upcut, trochoidal paths, just rippin - 3000mm/min. 2mm radial stock to leave. Then 2-flute downcut to clean up the fuzzies. Most of the wear on the cheap 3-flute upcut.
Followed up with 1/8" downcut and 1/16" upcut for the smaller details.
Once cured, engrave, roundover edges, sand, finish.
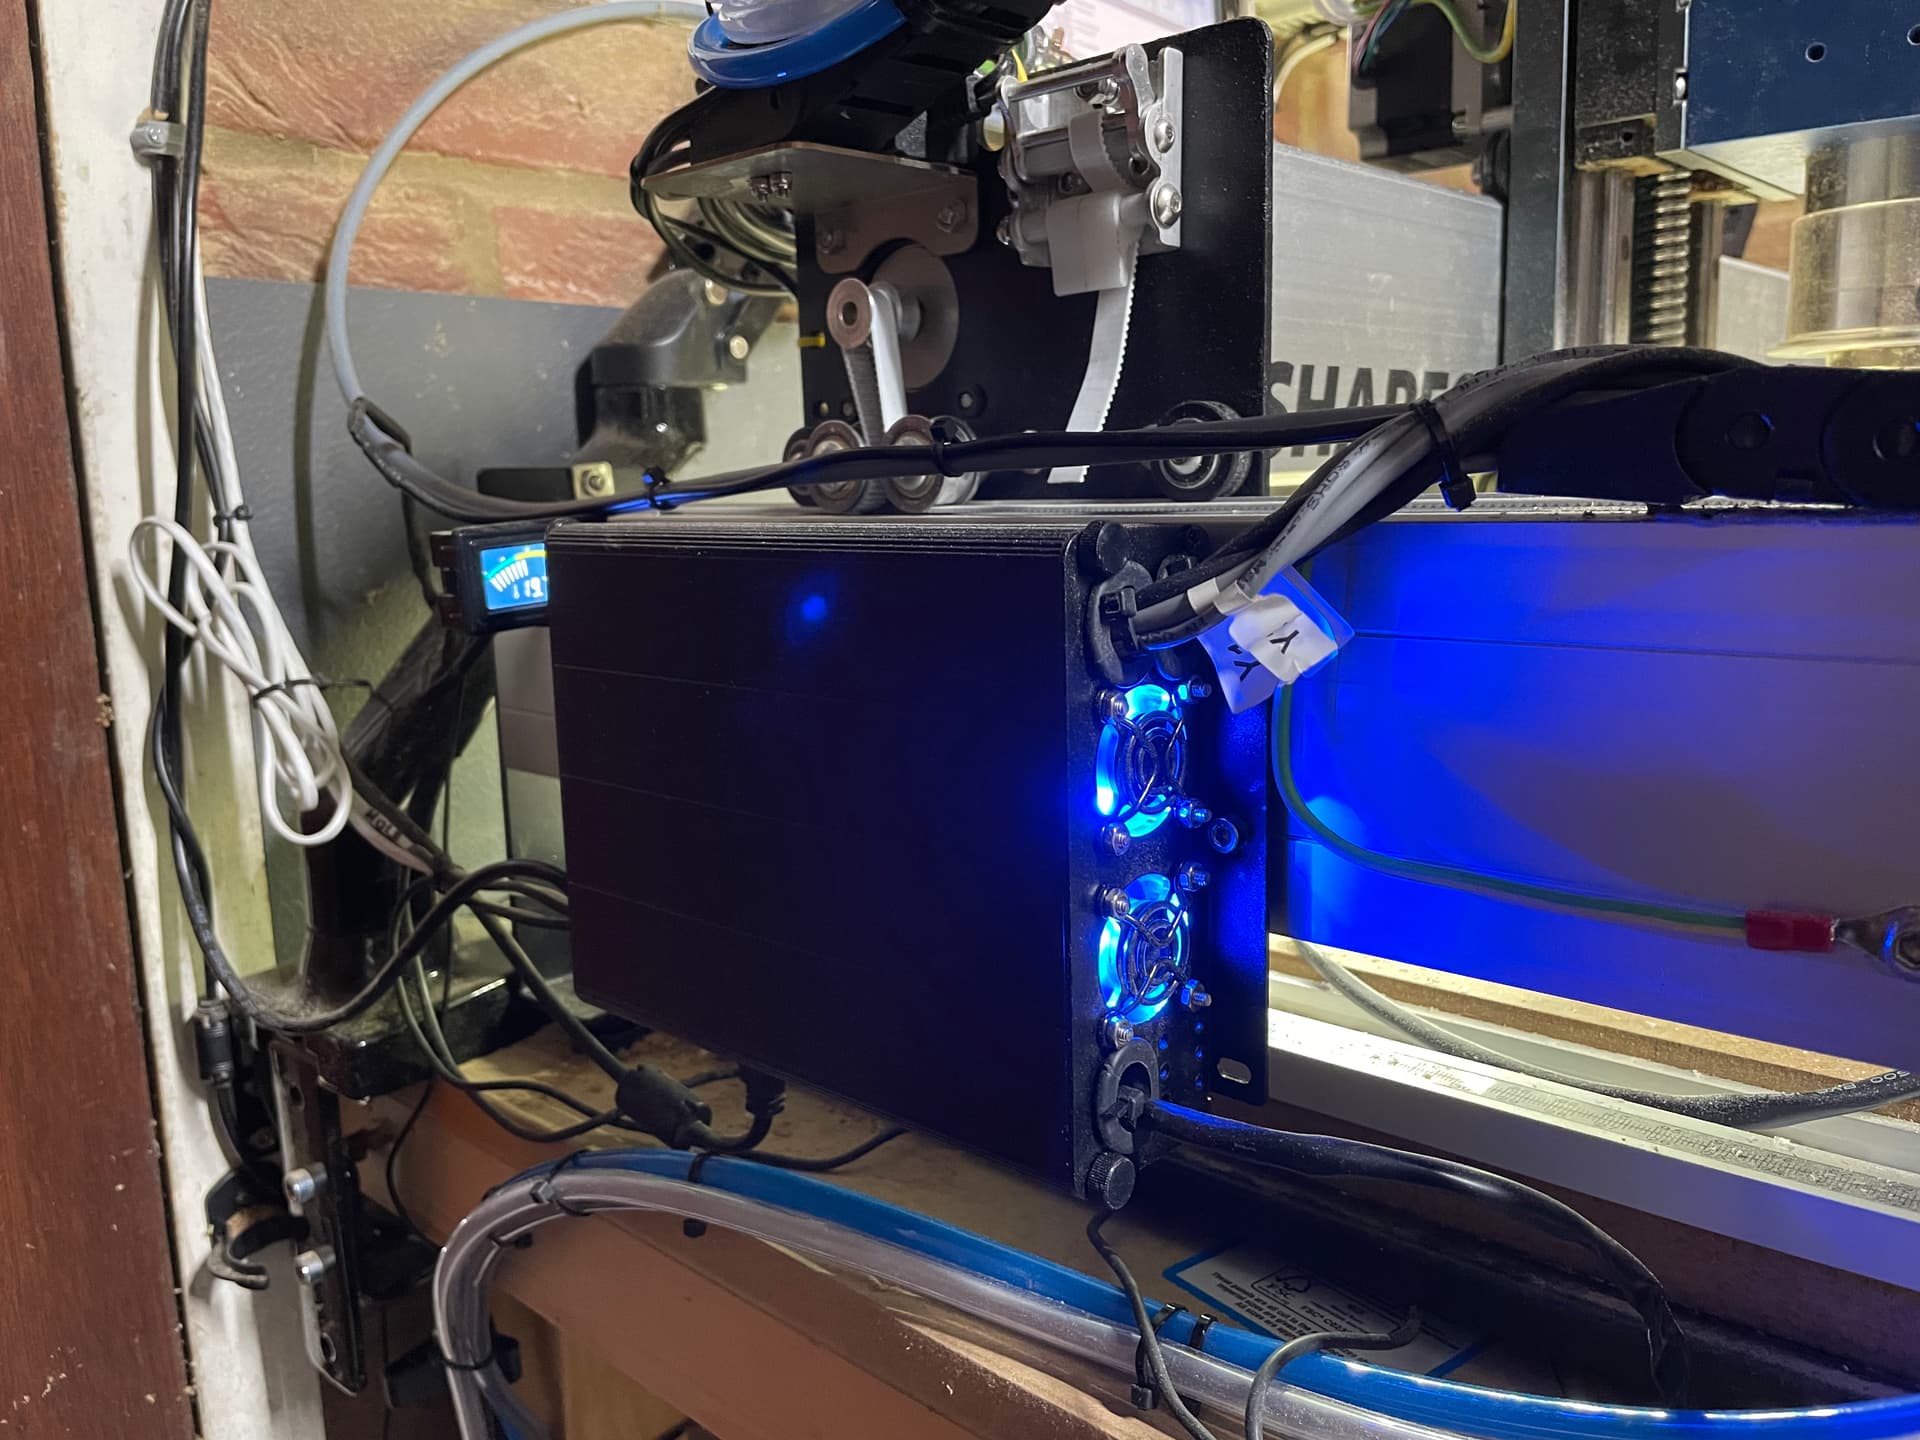
I have been adapting my ShapeOKO 3XL/HDZ to have a 4th, rotary axis. Various experiments and improved decisions on the head- and tail-stock (and stepper torque) have resulted in a very pleasing addition to my machine.
The video shows it cutting a piece of Cherry to make a lamp base. Cut from a felled tree on my land, air dried (ish), rough-turned on my lathe to get a 120mm (circa 5") blank. Created a twisted pentagon design in OnShape which blends from a circular base to a pentagon-ular (?) top as this both looks nice and also presents a number of rigidity challenges that prove or disprove my machine’s new axis.

I intend to write up the mods, but in short form: Replace controller PCB with a 5-axis equivalent, install and configure GRBL 1.1F Mega 5X fork (does 6 axes), mount and true the head-stock and tail-stock, use Vectric VCarve in rotary mode, prove out the Post-Processor (thank you @neilferreri), run some torque and movement accuracy tests and adjust the current (torque) drive into the steppers. Make an enclosure for the PCB and mount it in place of the original. Job done!!
I’m super happy to hear the kids had fun with those critters!
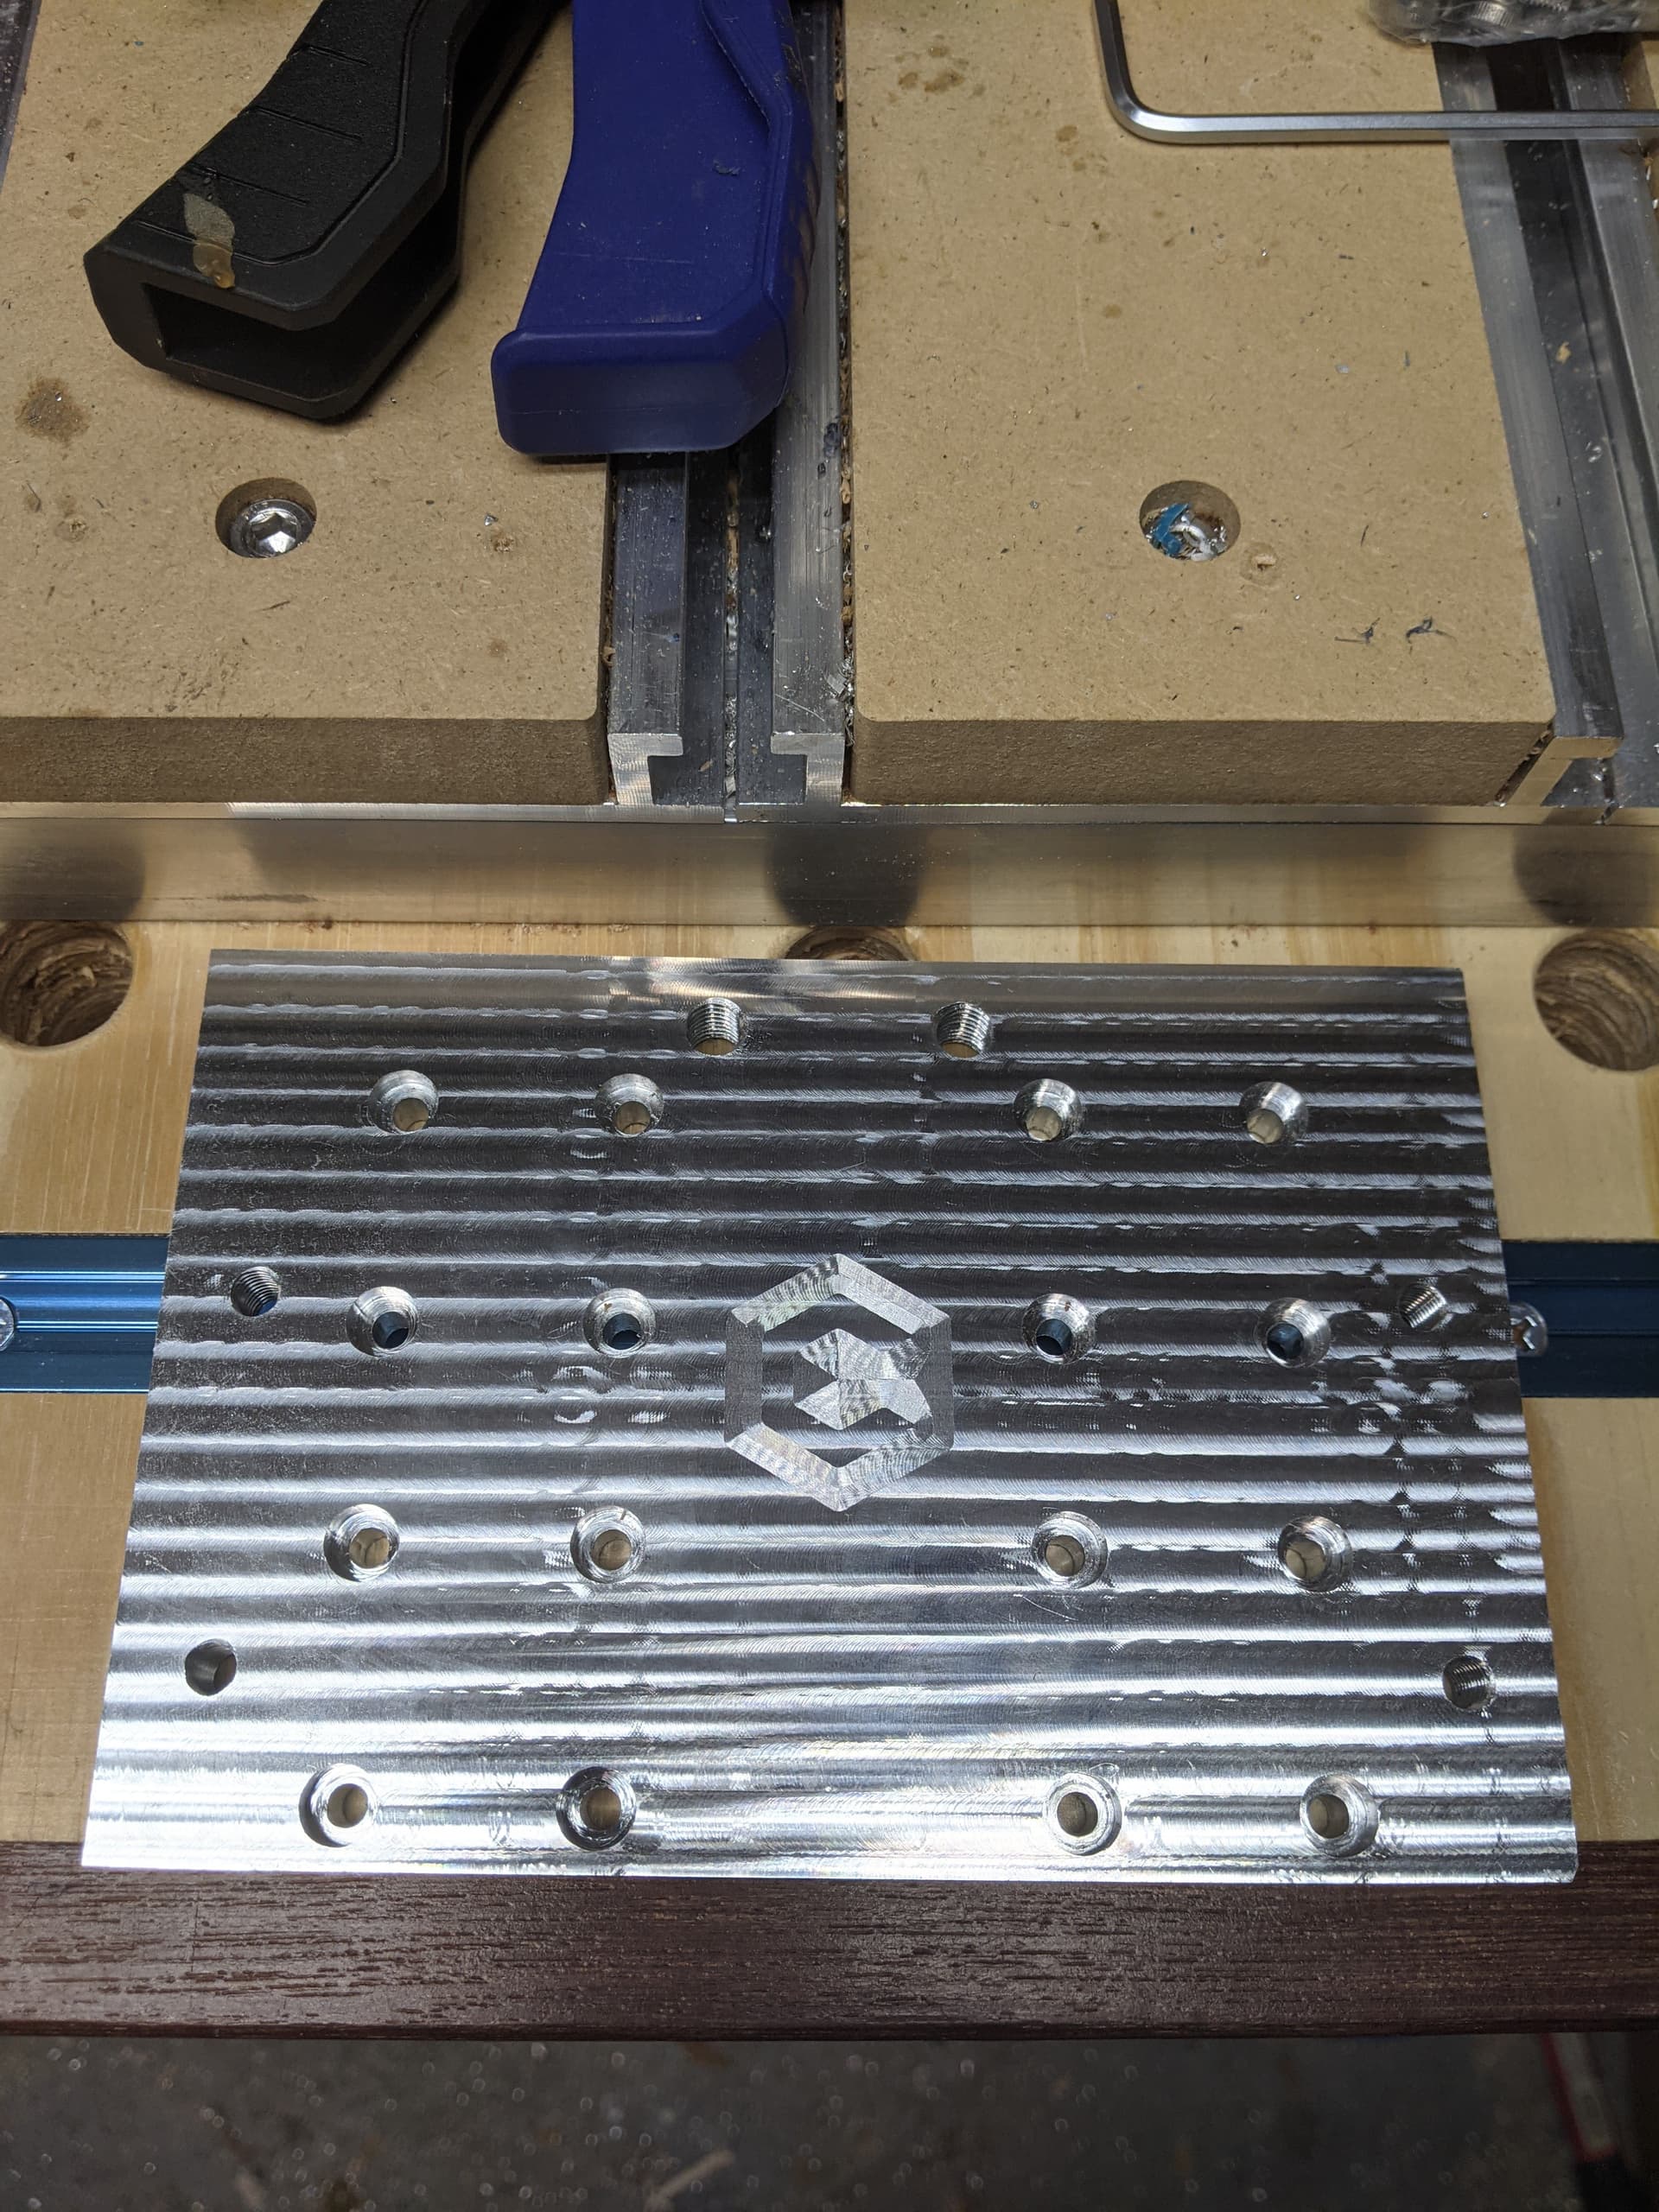
Drilling 4140 Steel on the HDM, no problem.
0.158" 2 flute Carbide drill going 0.500" deep…no pecking. I do recommend the 2.2kw if anyone is going to be doing cuts like this on their HDM though. Mist with Qualichem 251C, 10 Brix.