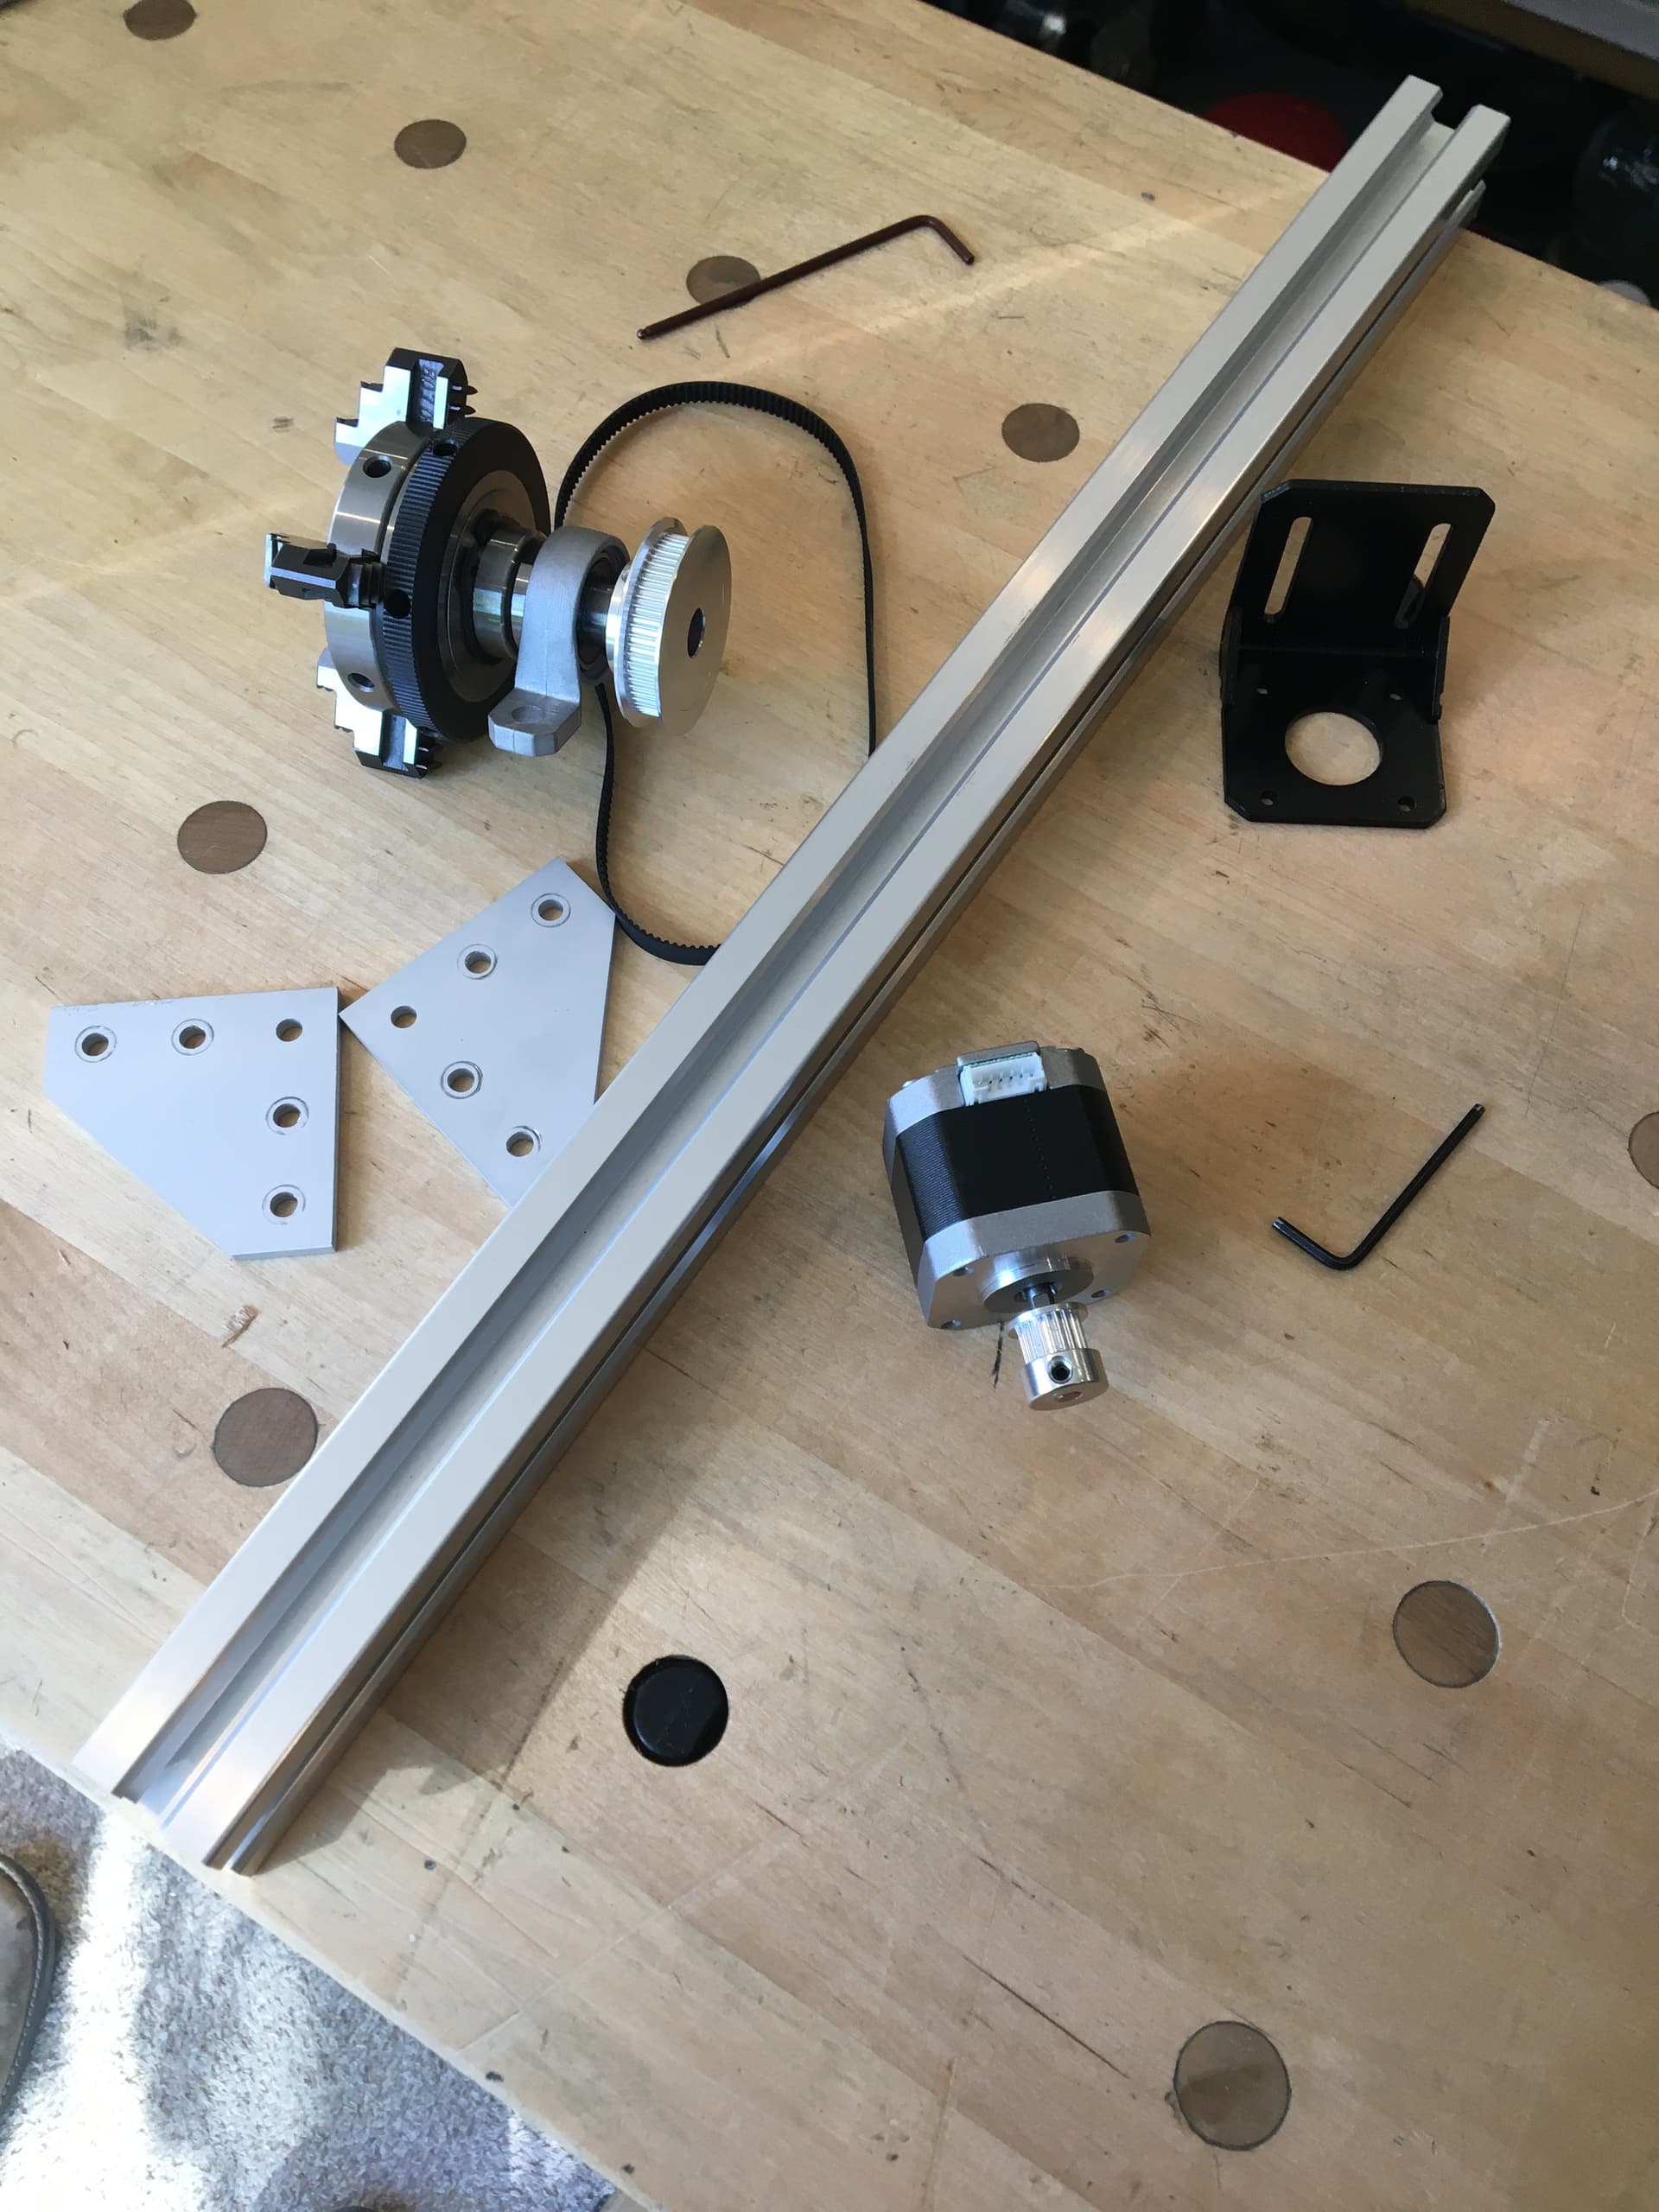
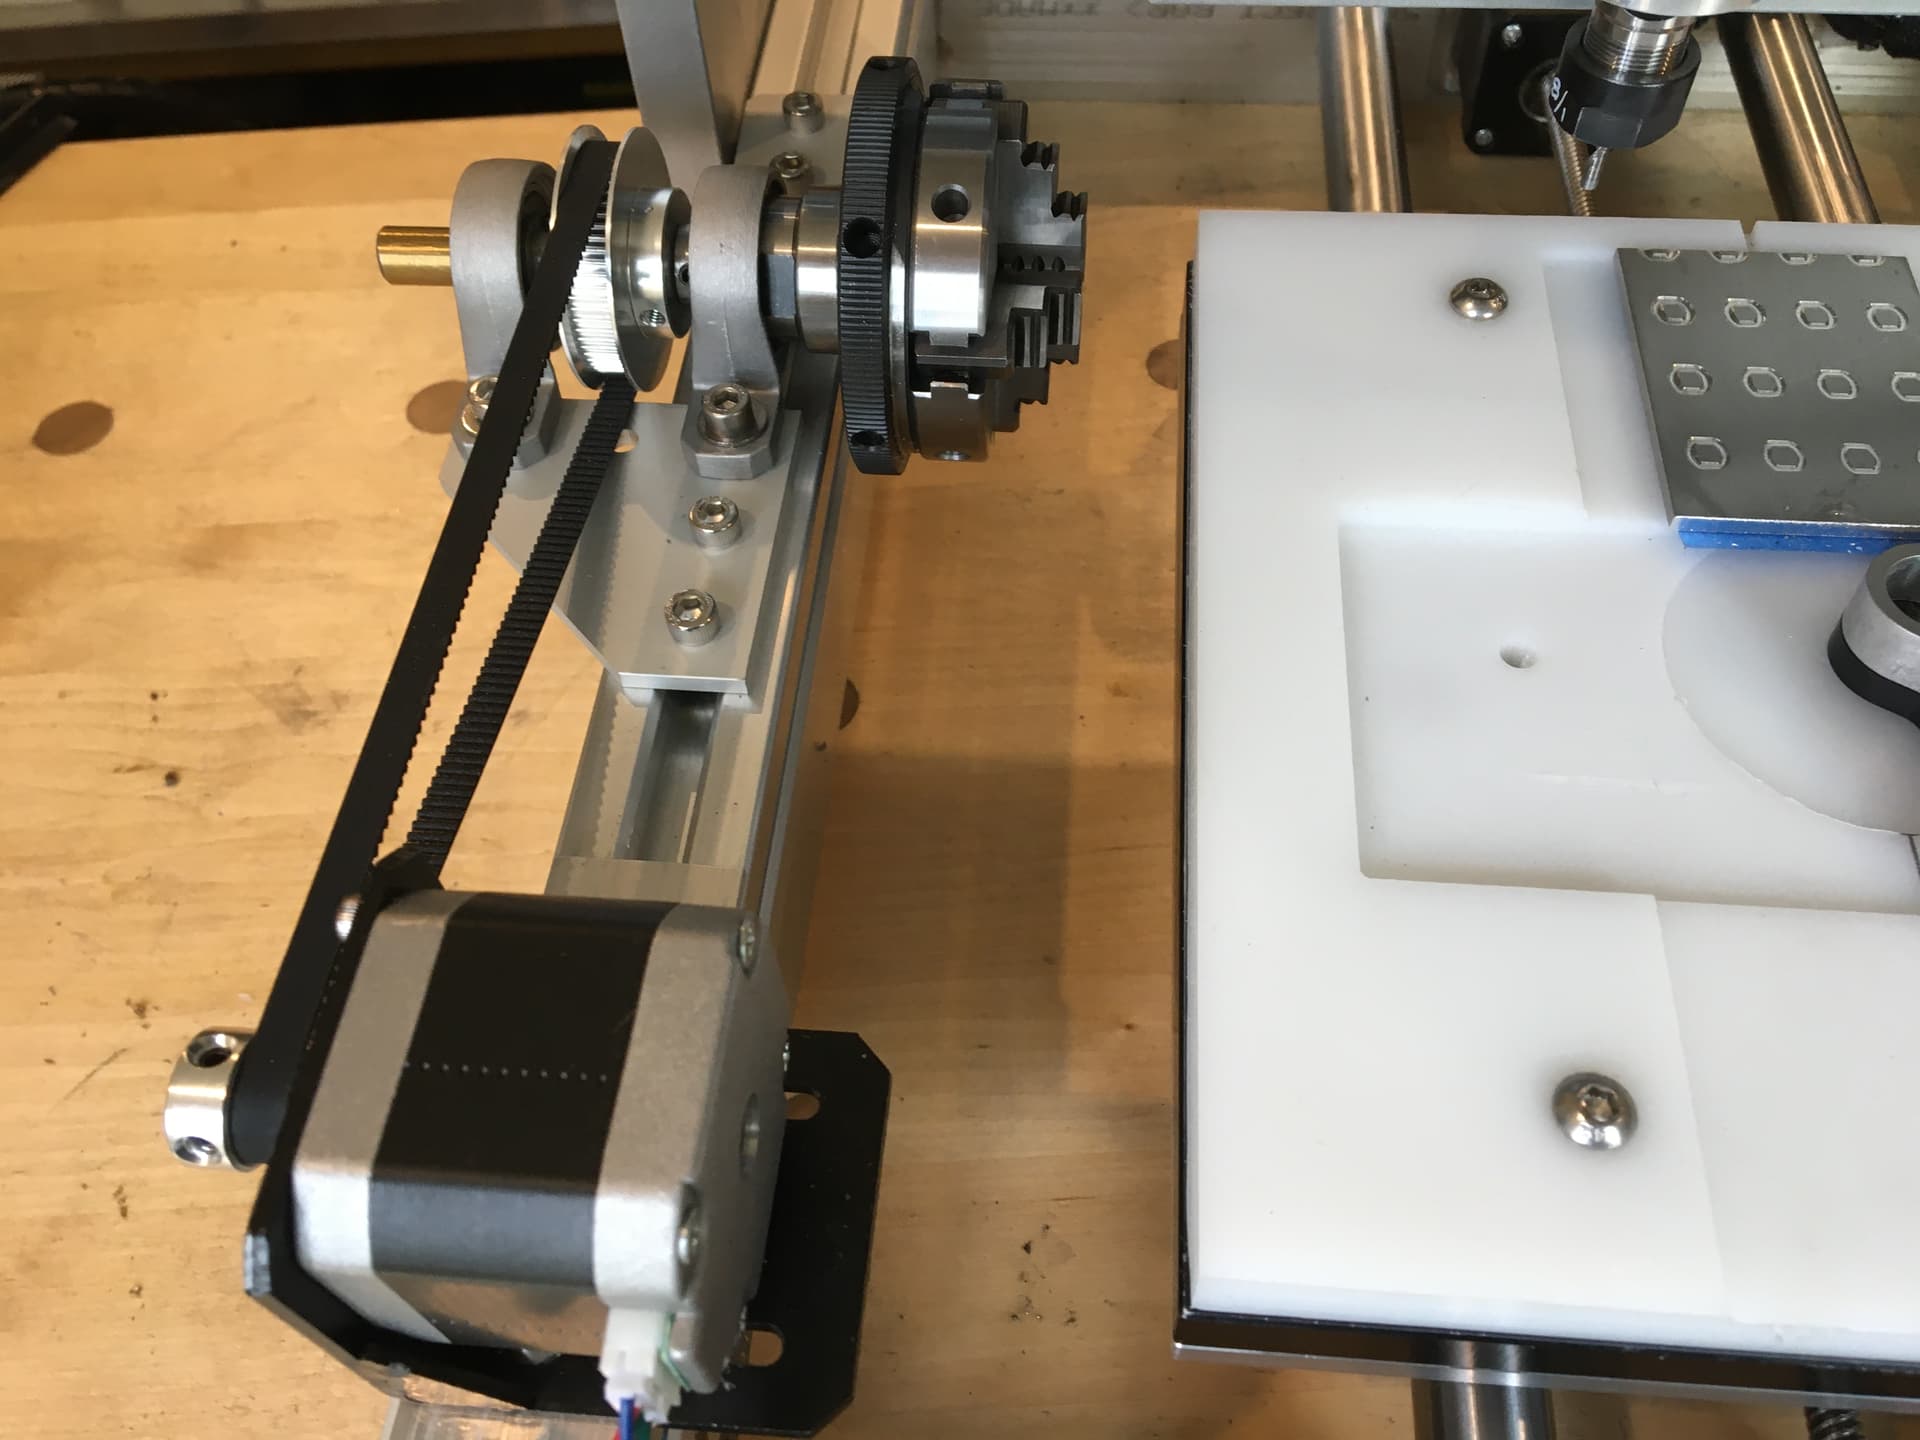
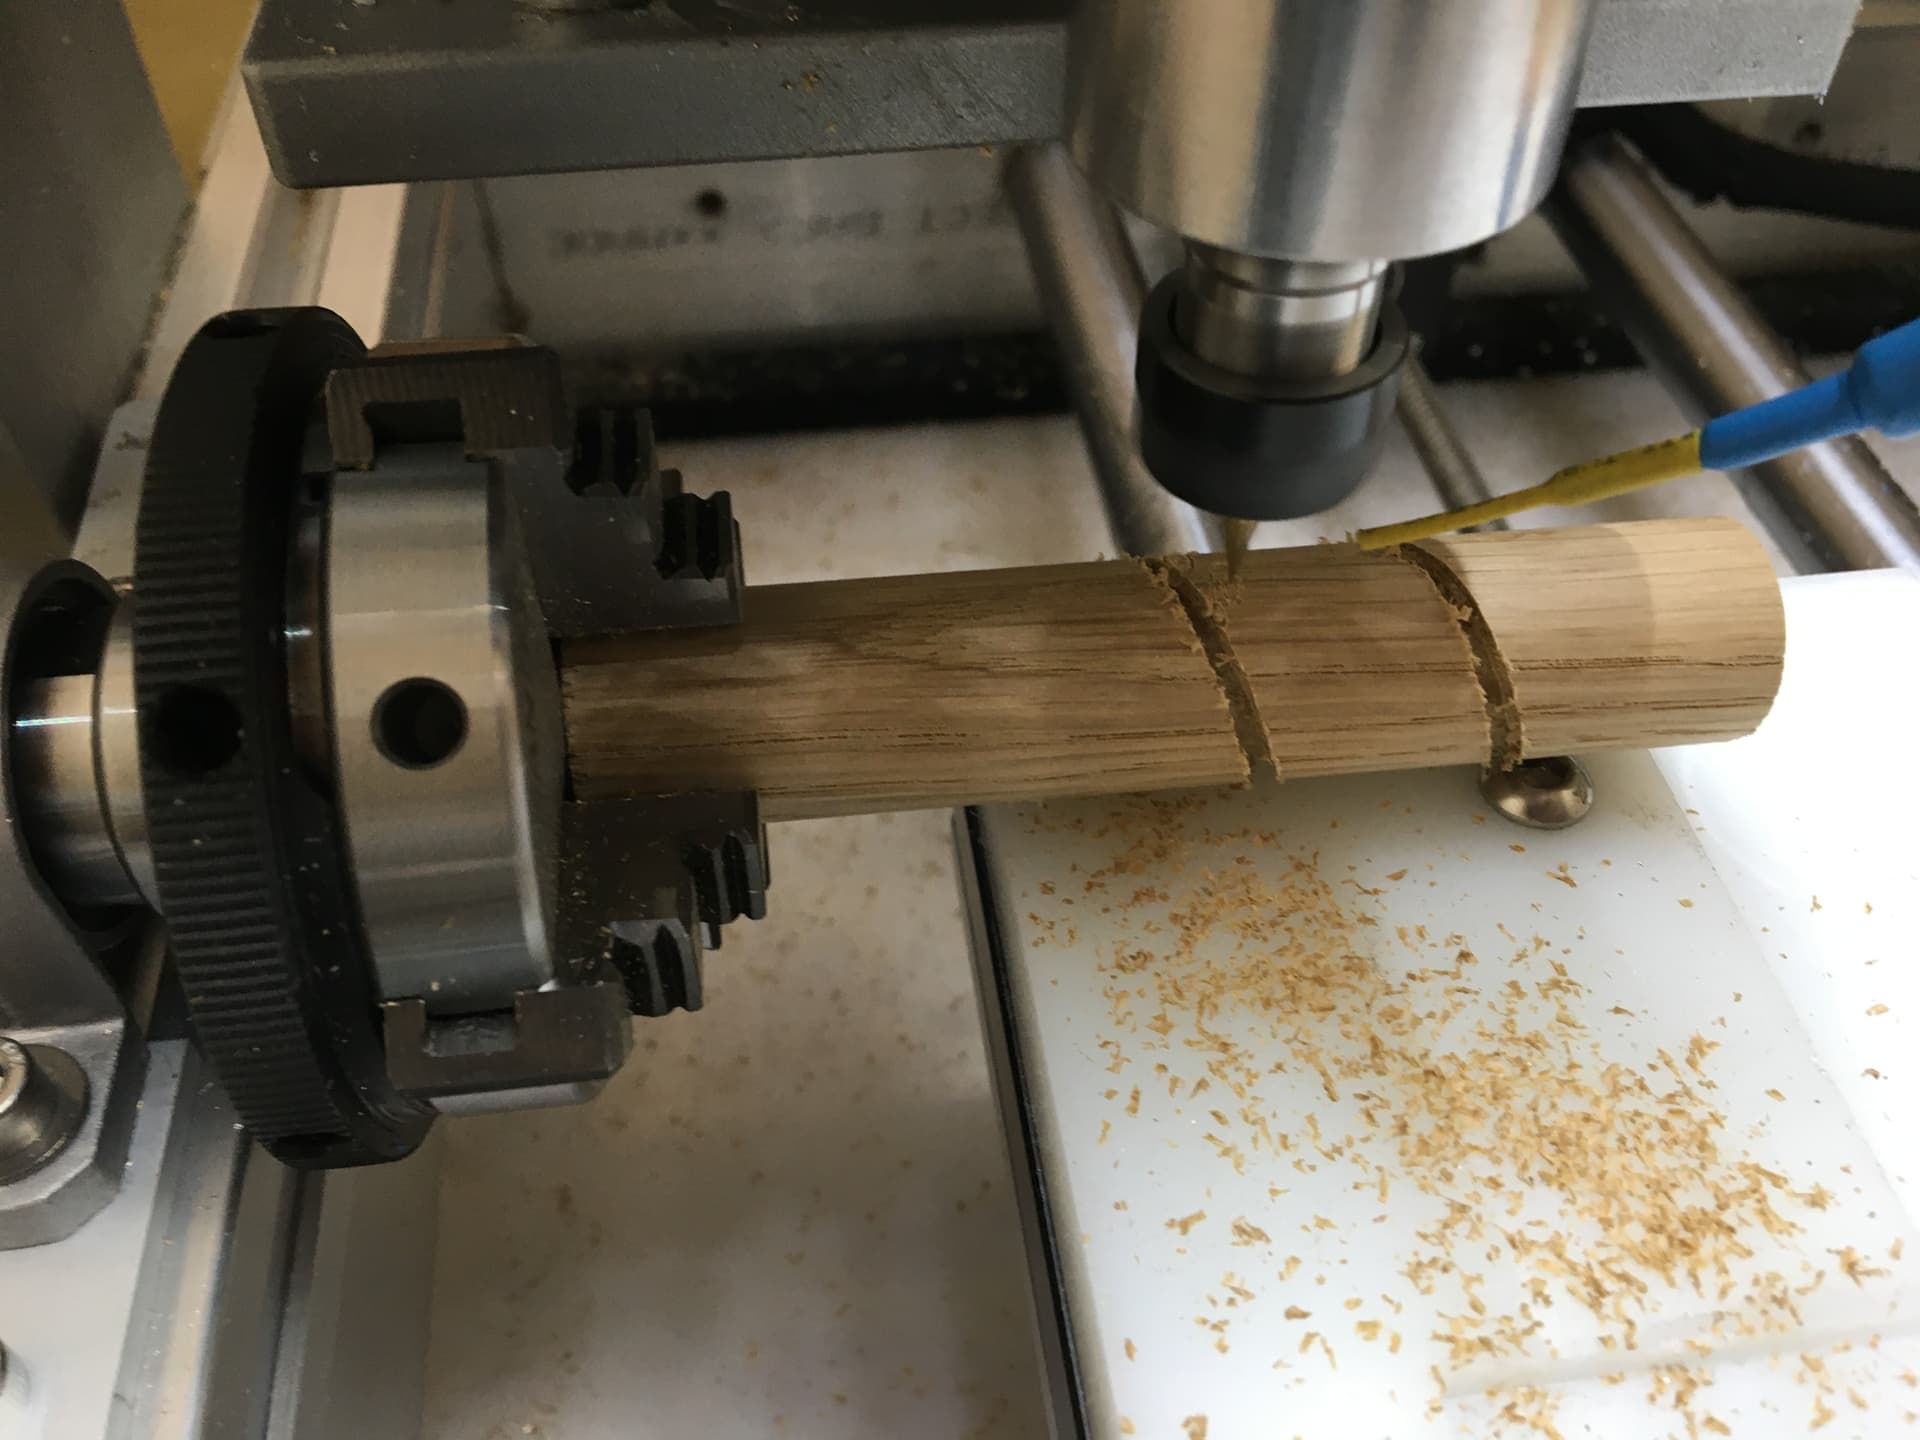
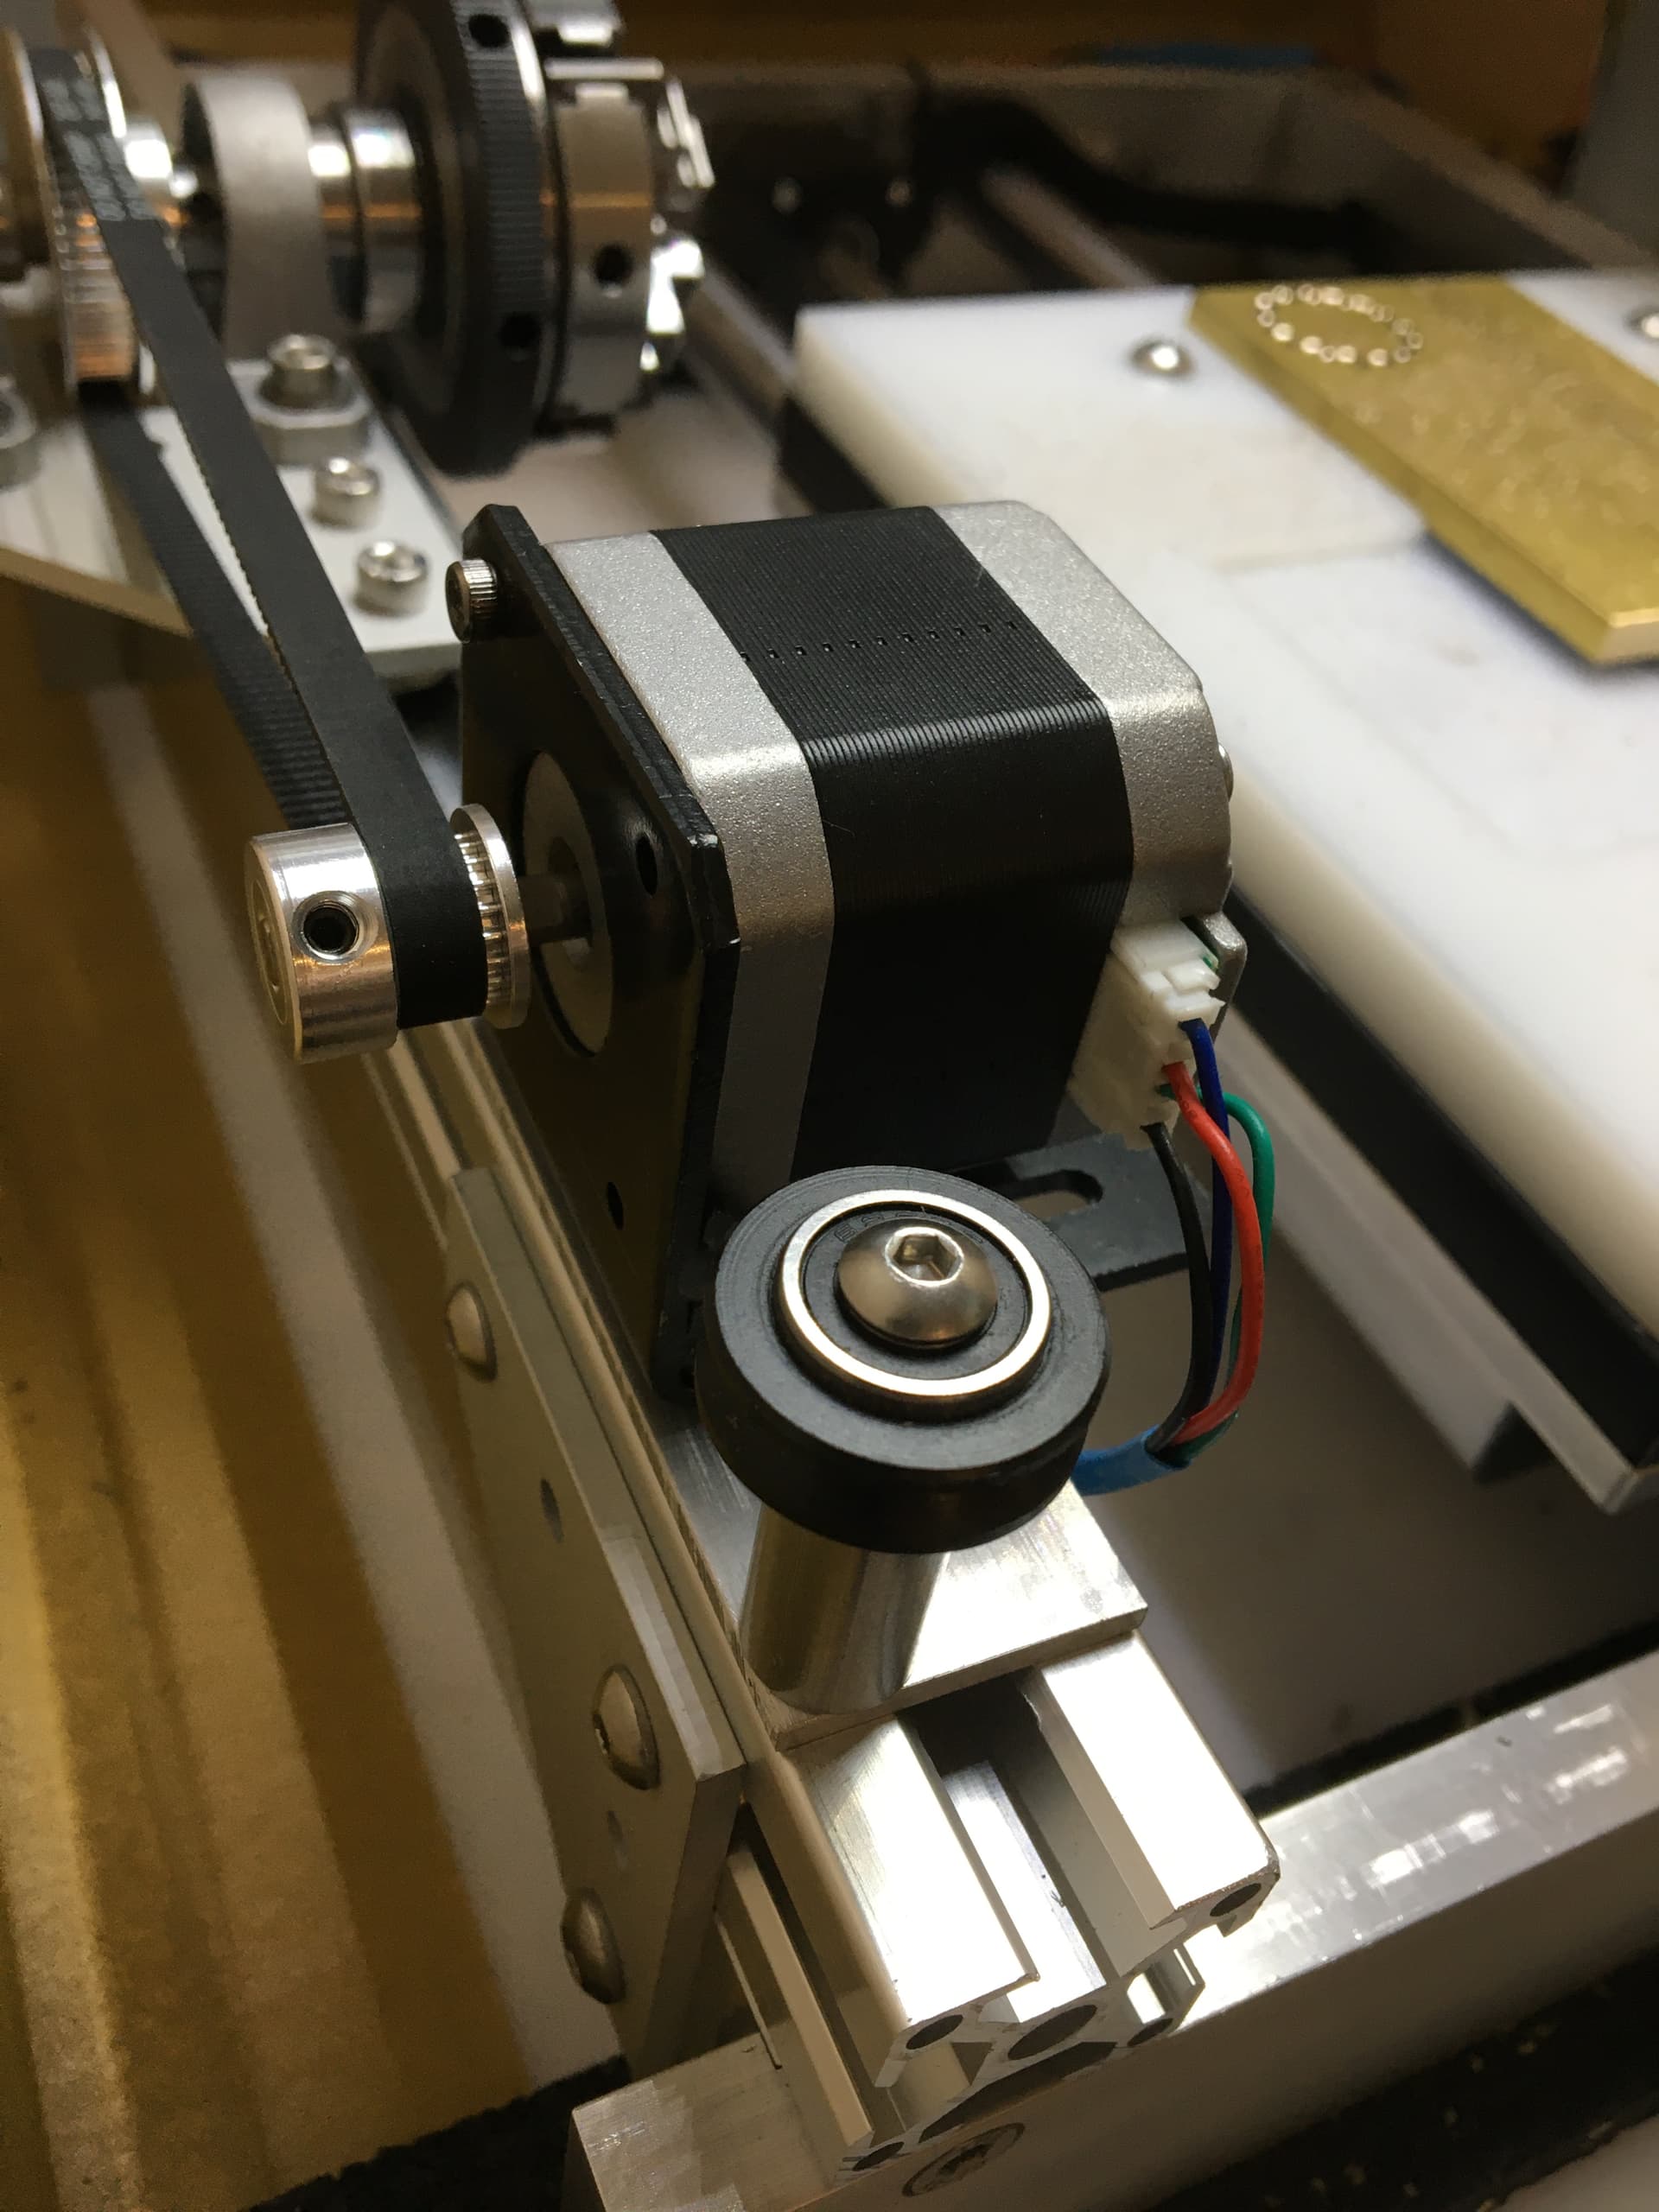
I also have been experimenting with a 4th axis on my naked Nomad.
As yet, I haven’t been terribly sophisticated and just used the spare Y-Axis driver on the C3D controller to drive another stepper attached to a bit of 3030 extrusion.
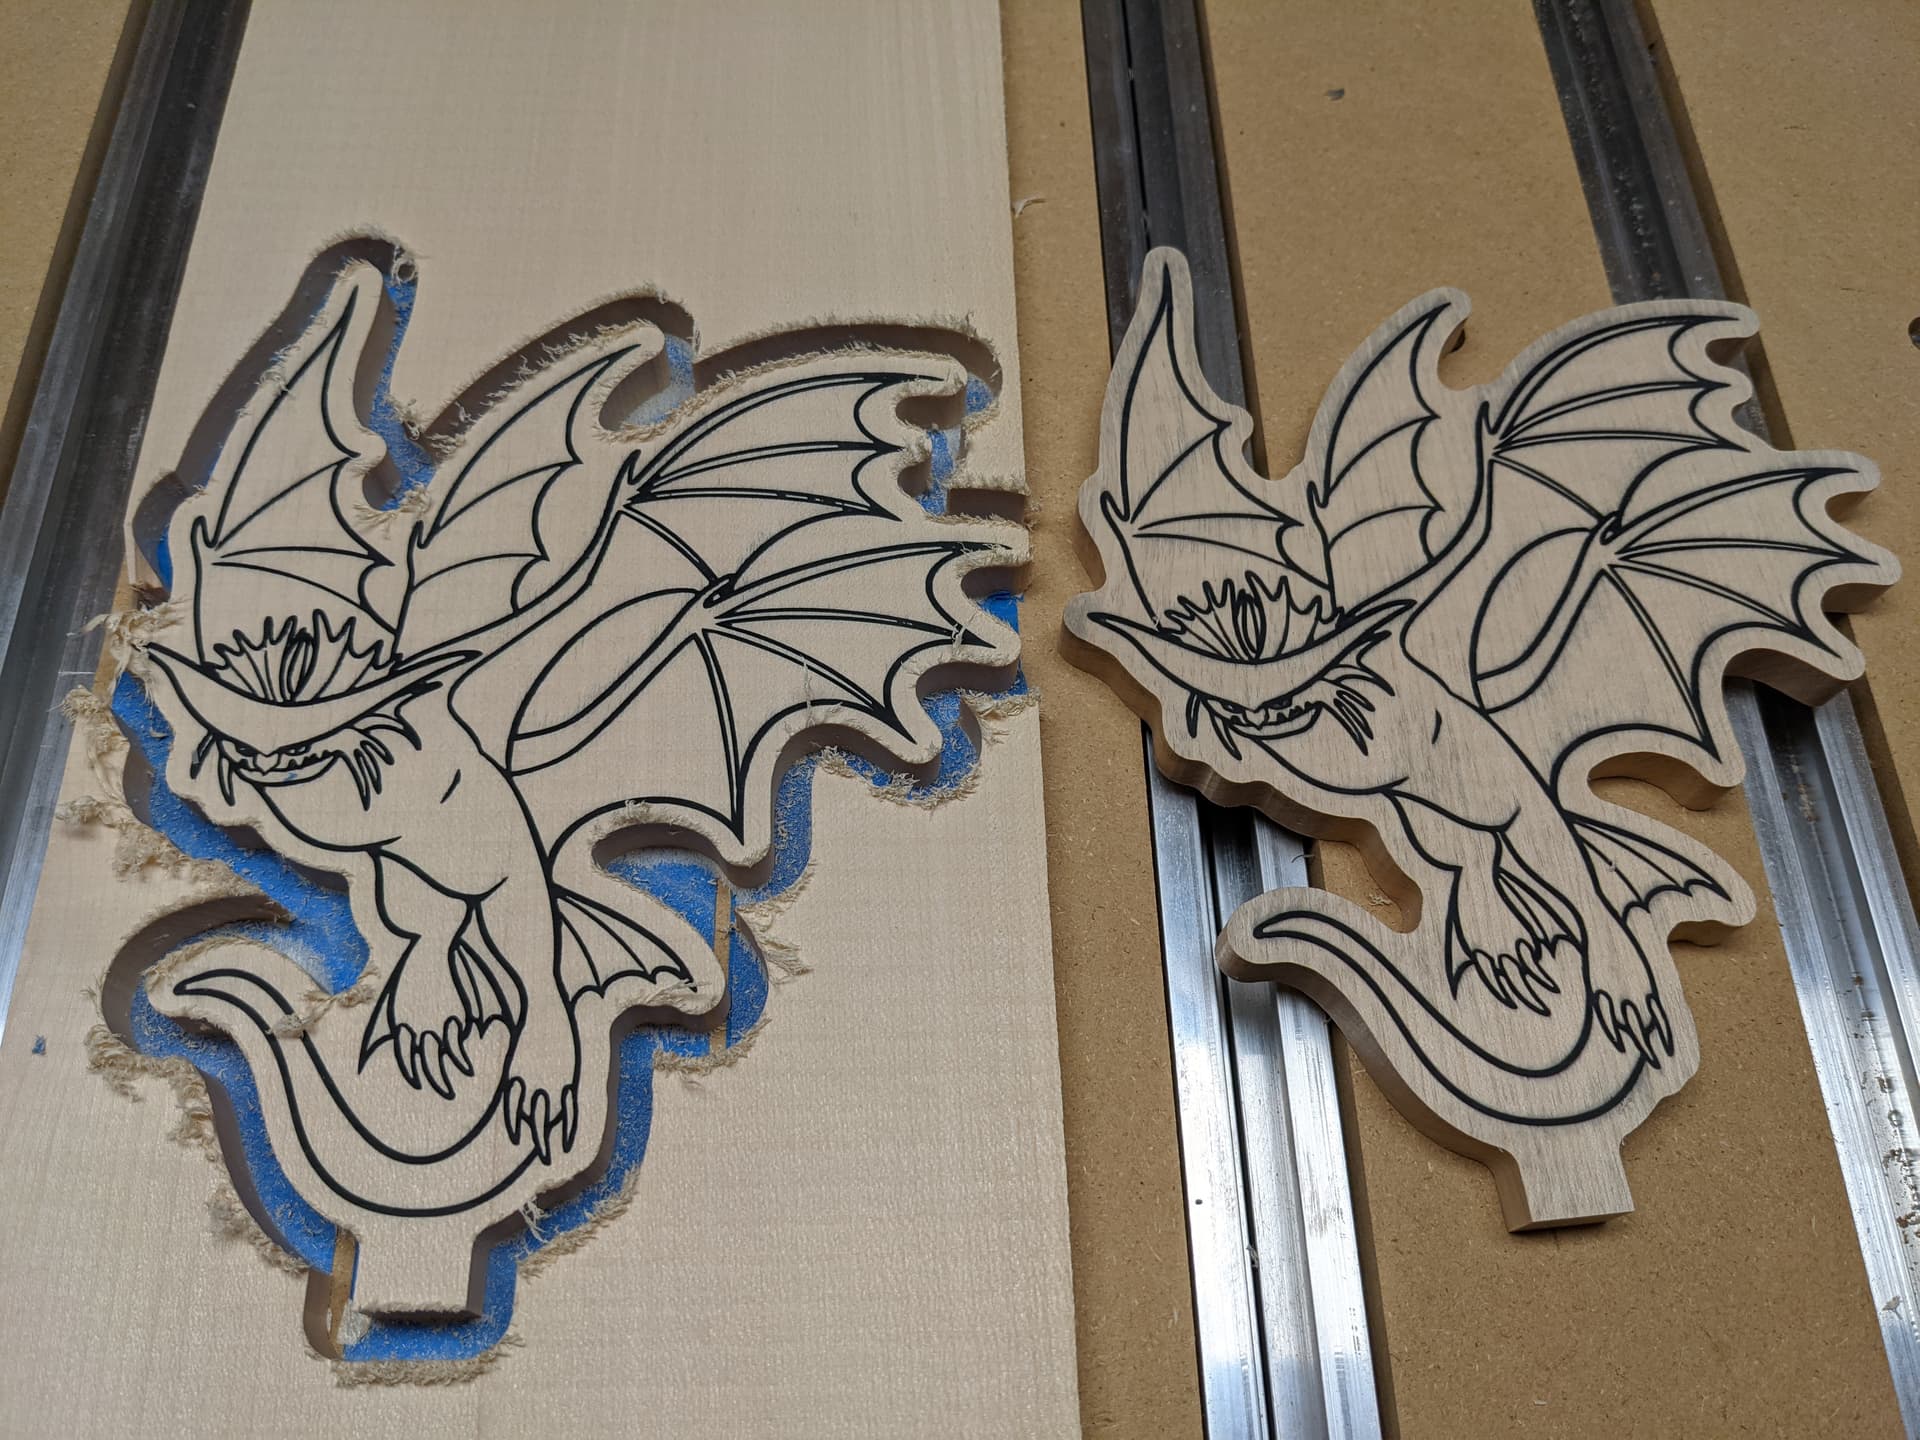
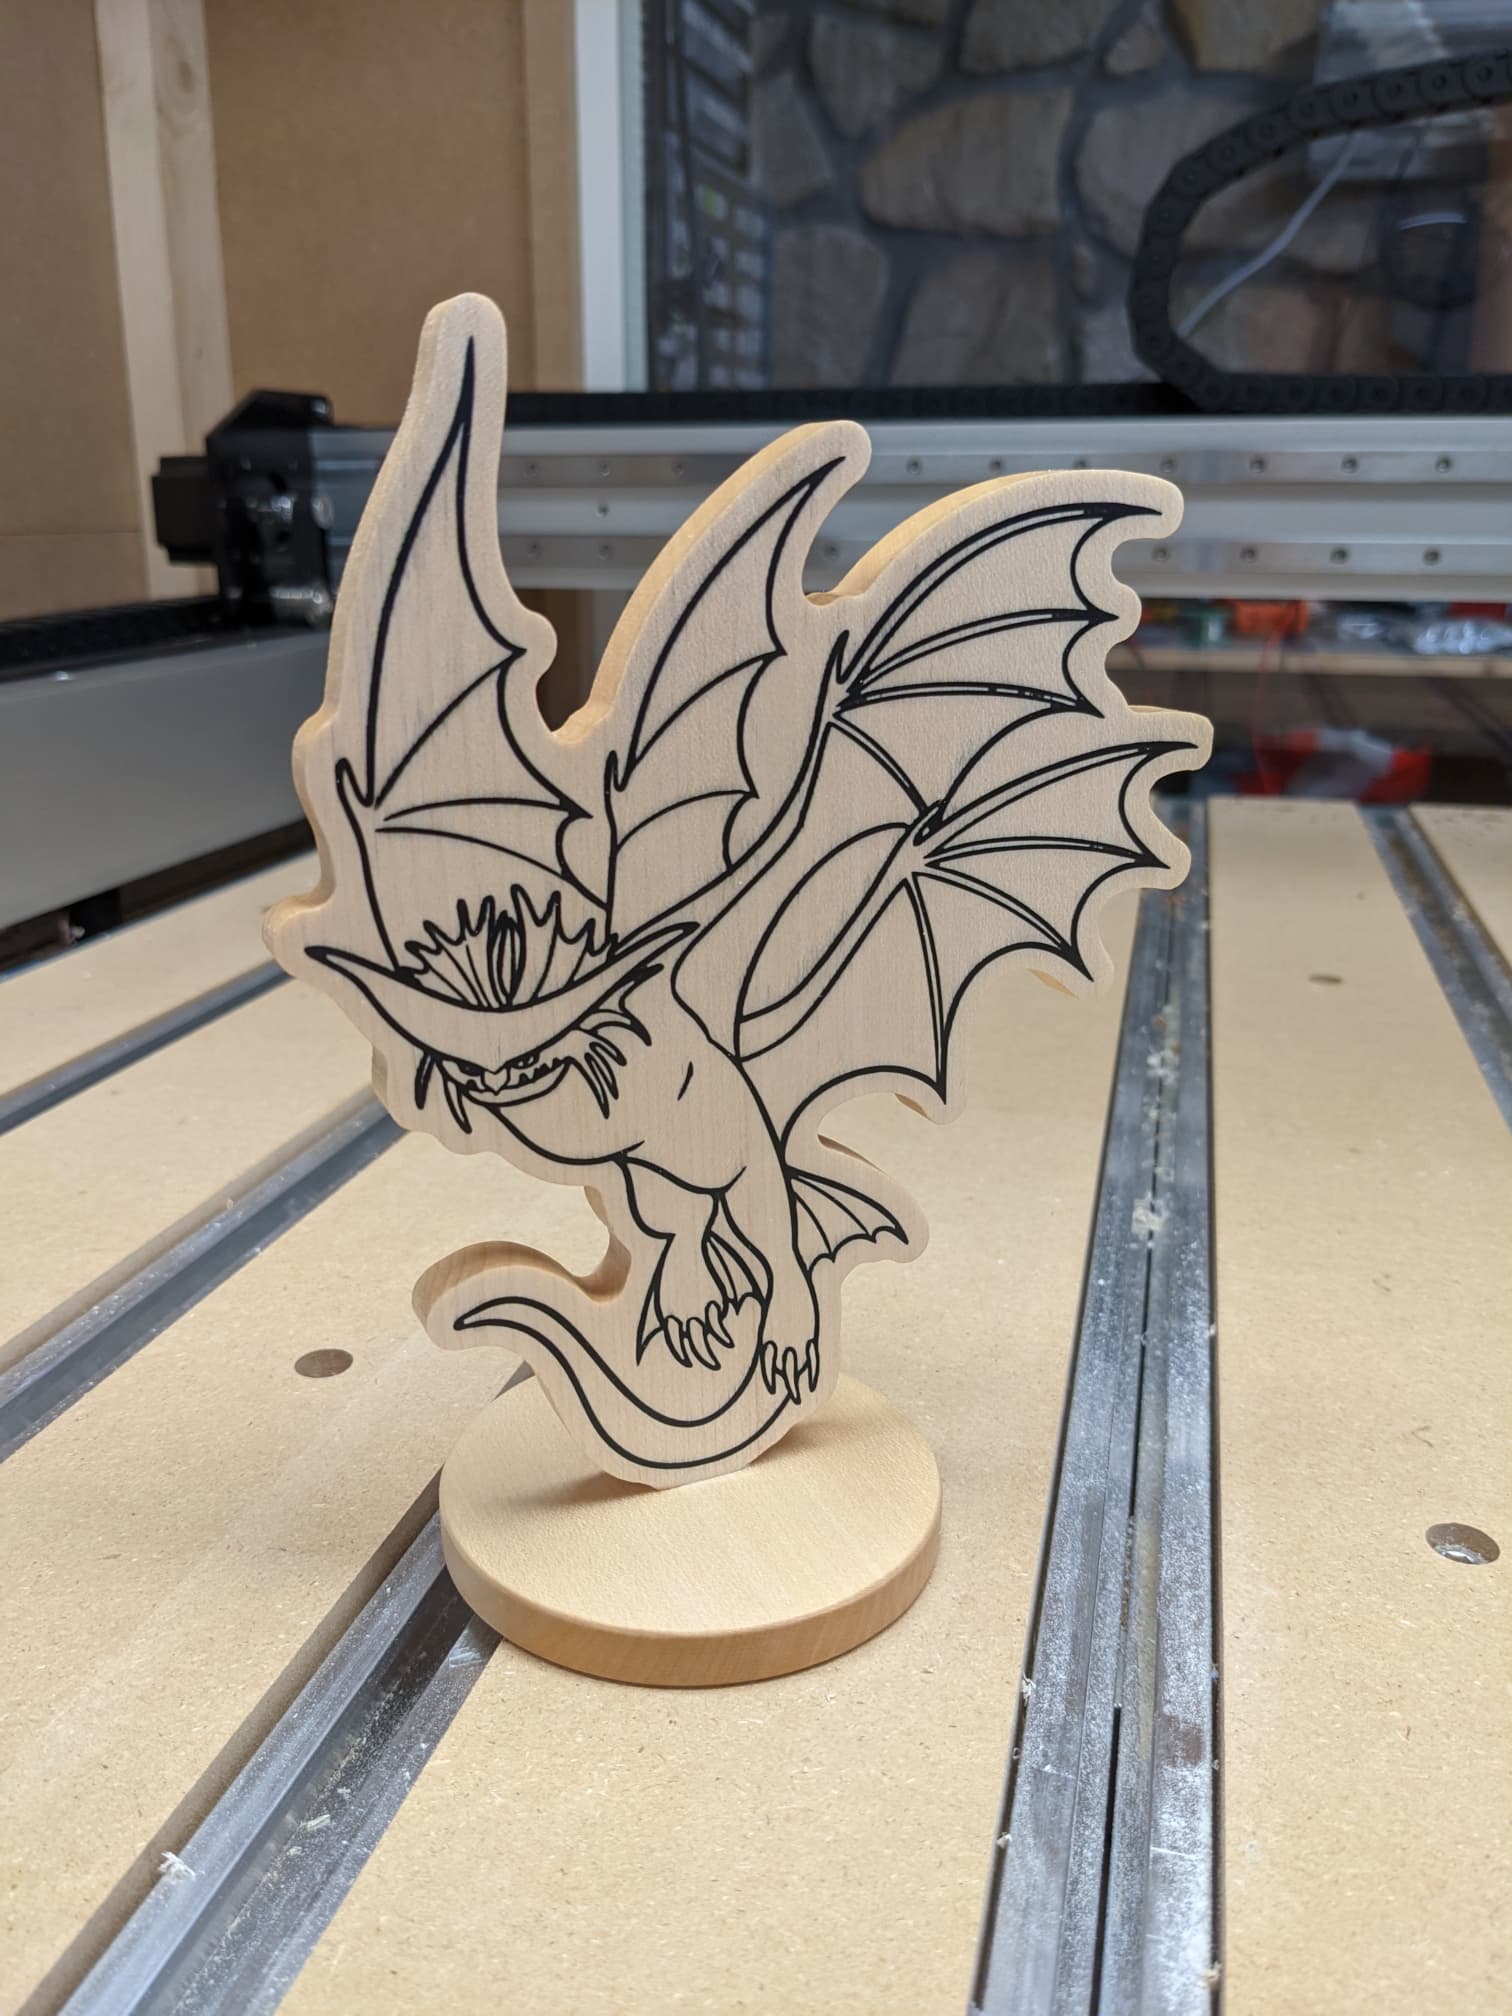
my brain works in mysterious ways sometimes. I know by experience that one must seal a vcarve cut before pouring epoxy, or bleeding is likely to happen. I know this. I’ve been bitten before. And yet I was stupid enough to convince myself that “this time I can get away with not doing it, the wood looks like it has very tight grain, that will fly”. Nope. Initial failed attempt on the right: bleeding disaster. Second attempt on the left, spraying a coat of poly on the vcarve and letting it cure, before the epoxy pour. Not 100.0% perfect, I could have used a second coat, but still night and day with the rushed version
I don’t know why it initially took me so long to use “zero at stock bottom” whenever I do profile cuts. After all this time, it still feels very satisfying to cut all the way through the stock, and not cut into the tape layer. Just put two layers of tape on the wasteboard somewhere near the stock, jog down and zero on that, and even if Z is not quite perfectly calibrated or the stock thickness is not quite right, it will not cut below that.
It’s bitten me as well. I did a huge lake and I thought I could get away without sealing. I knew the risks. It bled like crazy. No regrets though, now I know every time I spend 45 minutes brushing on epoxy that it’s needed.
I’ve considered spraying poly but I really want a good bond for the main pour, so I do a chemical bond by waiting about 4 hours after brushing the seal coat and then I do the pour.
3 Likes
Griff
(Well crap, my hypometric precursor device is blown…)
540
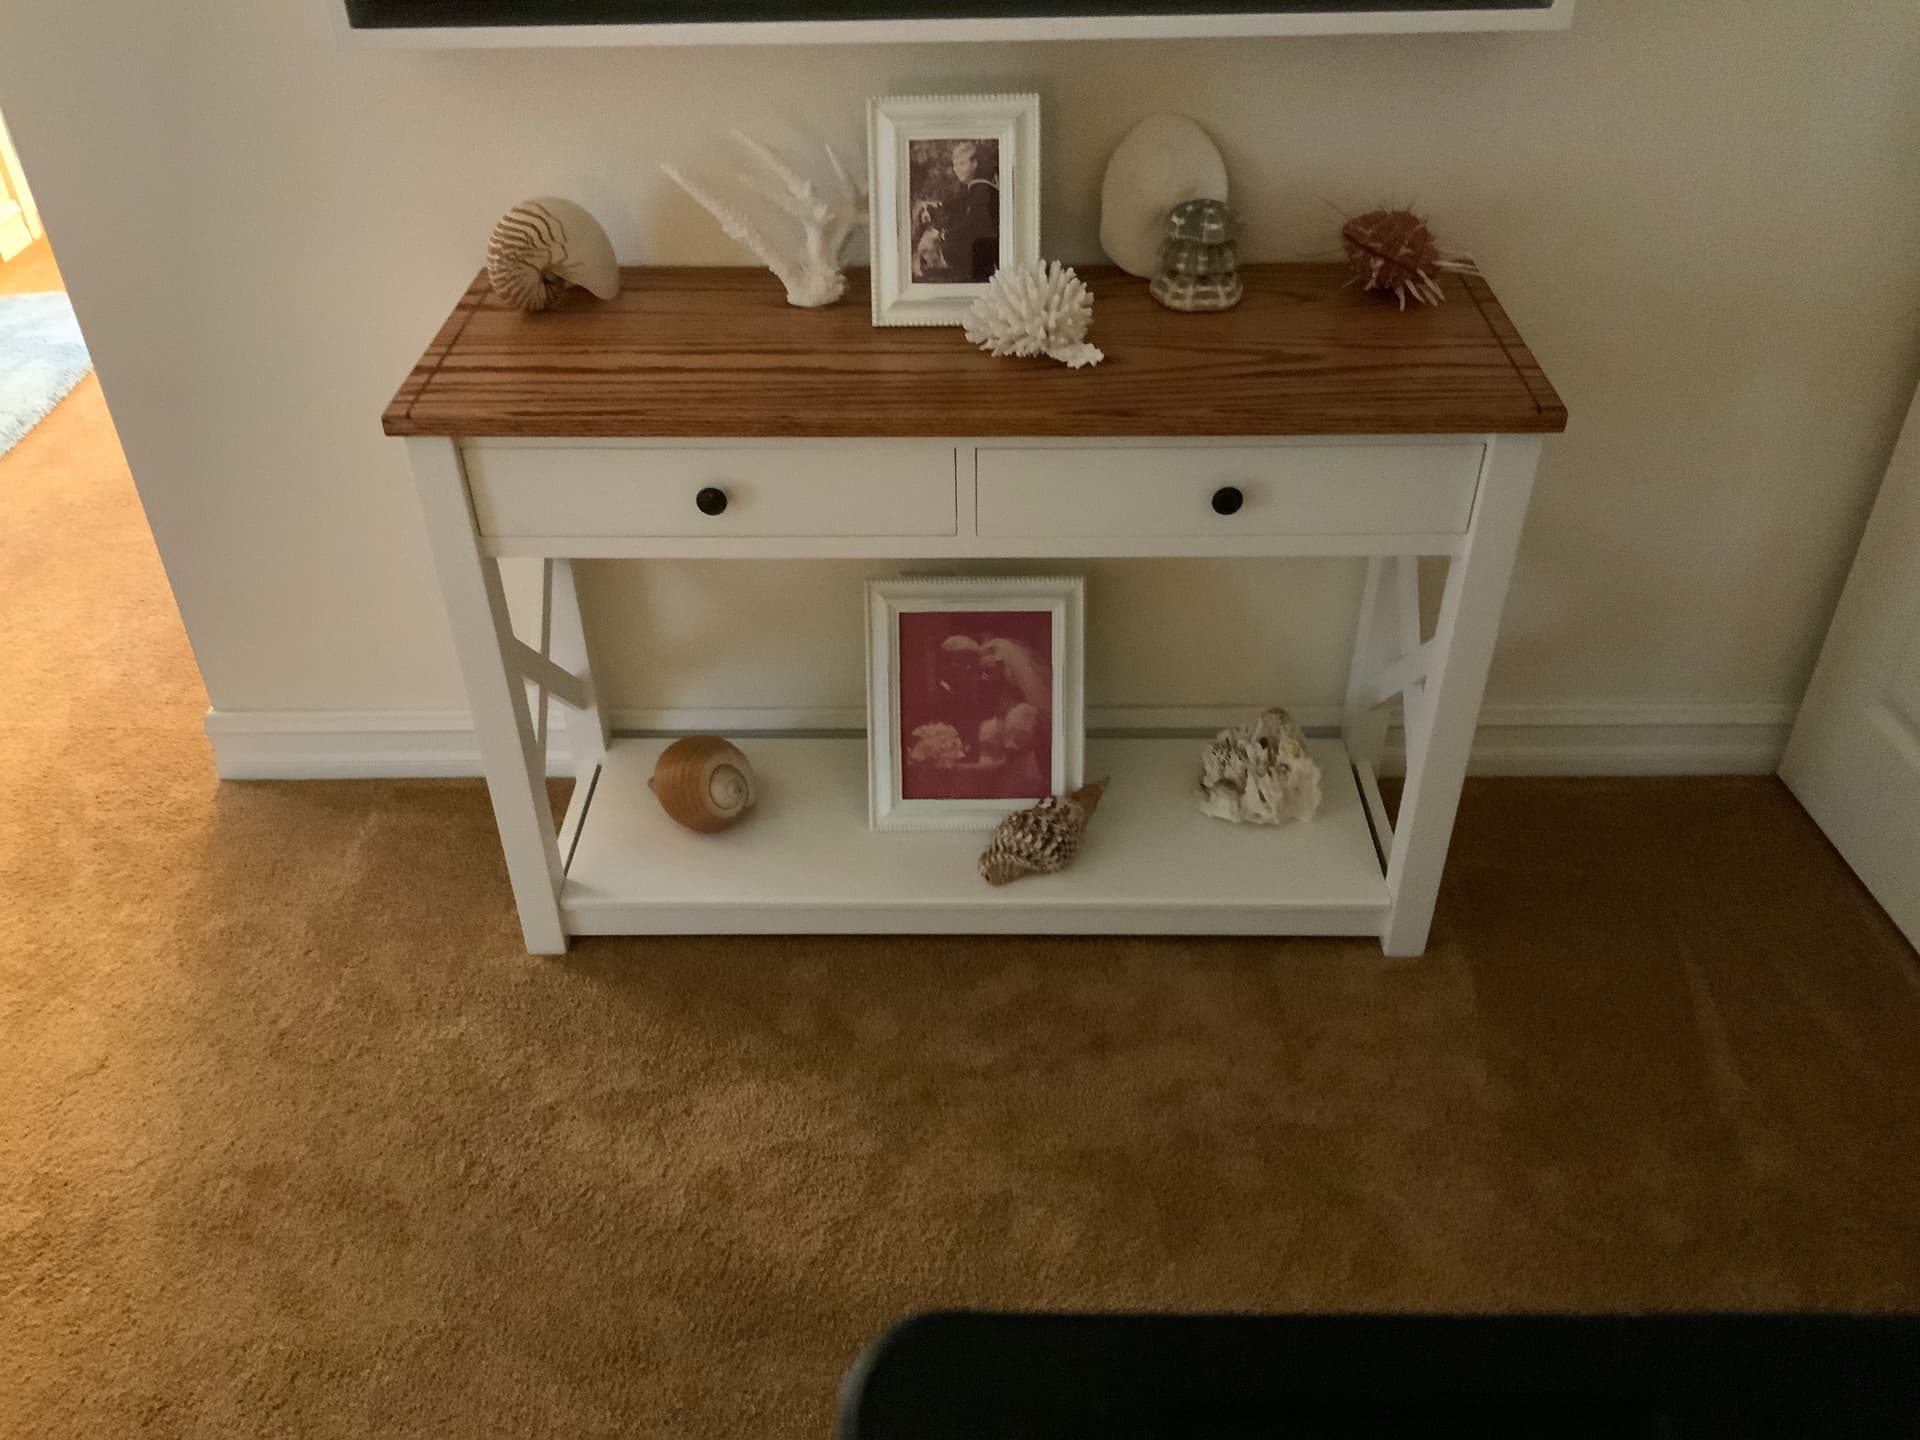
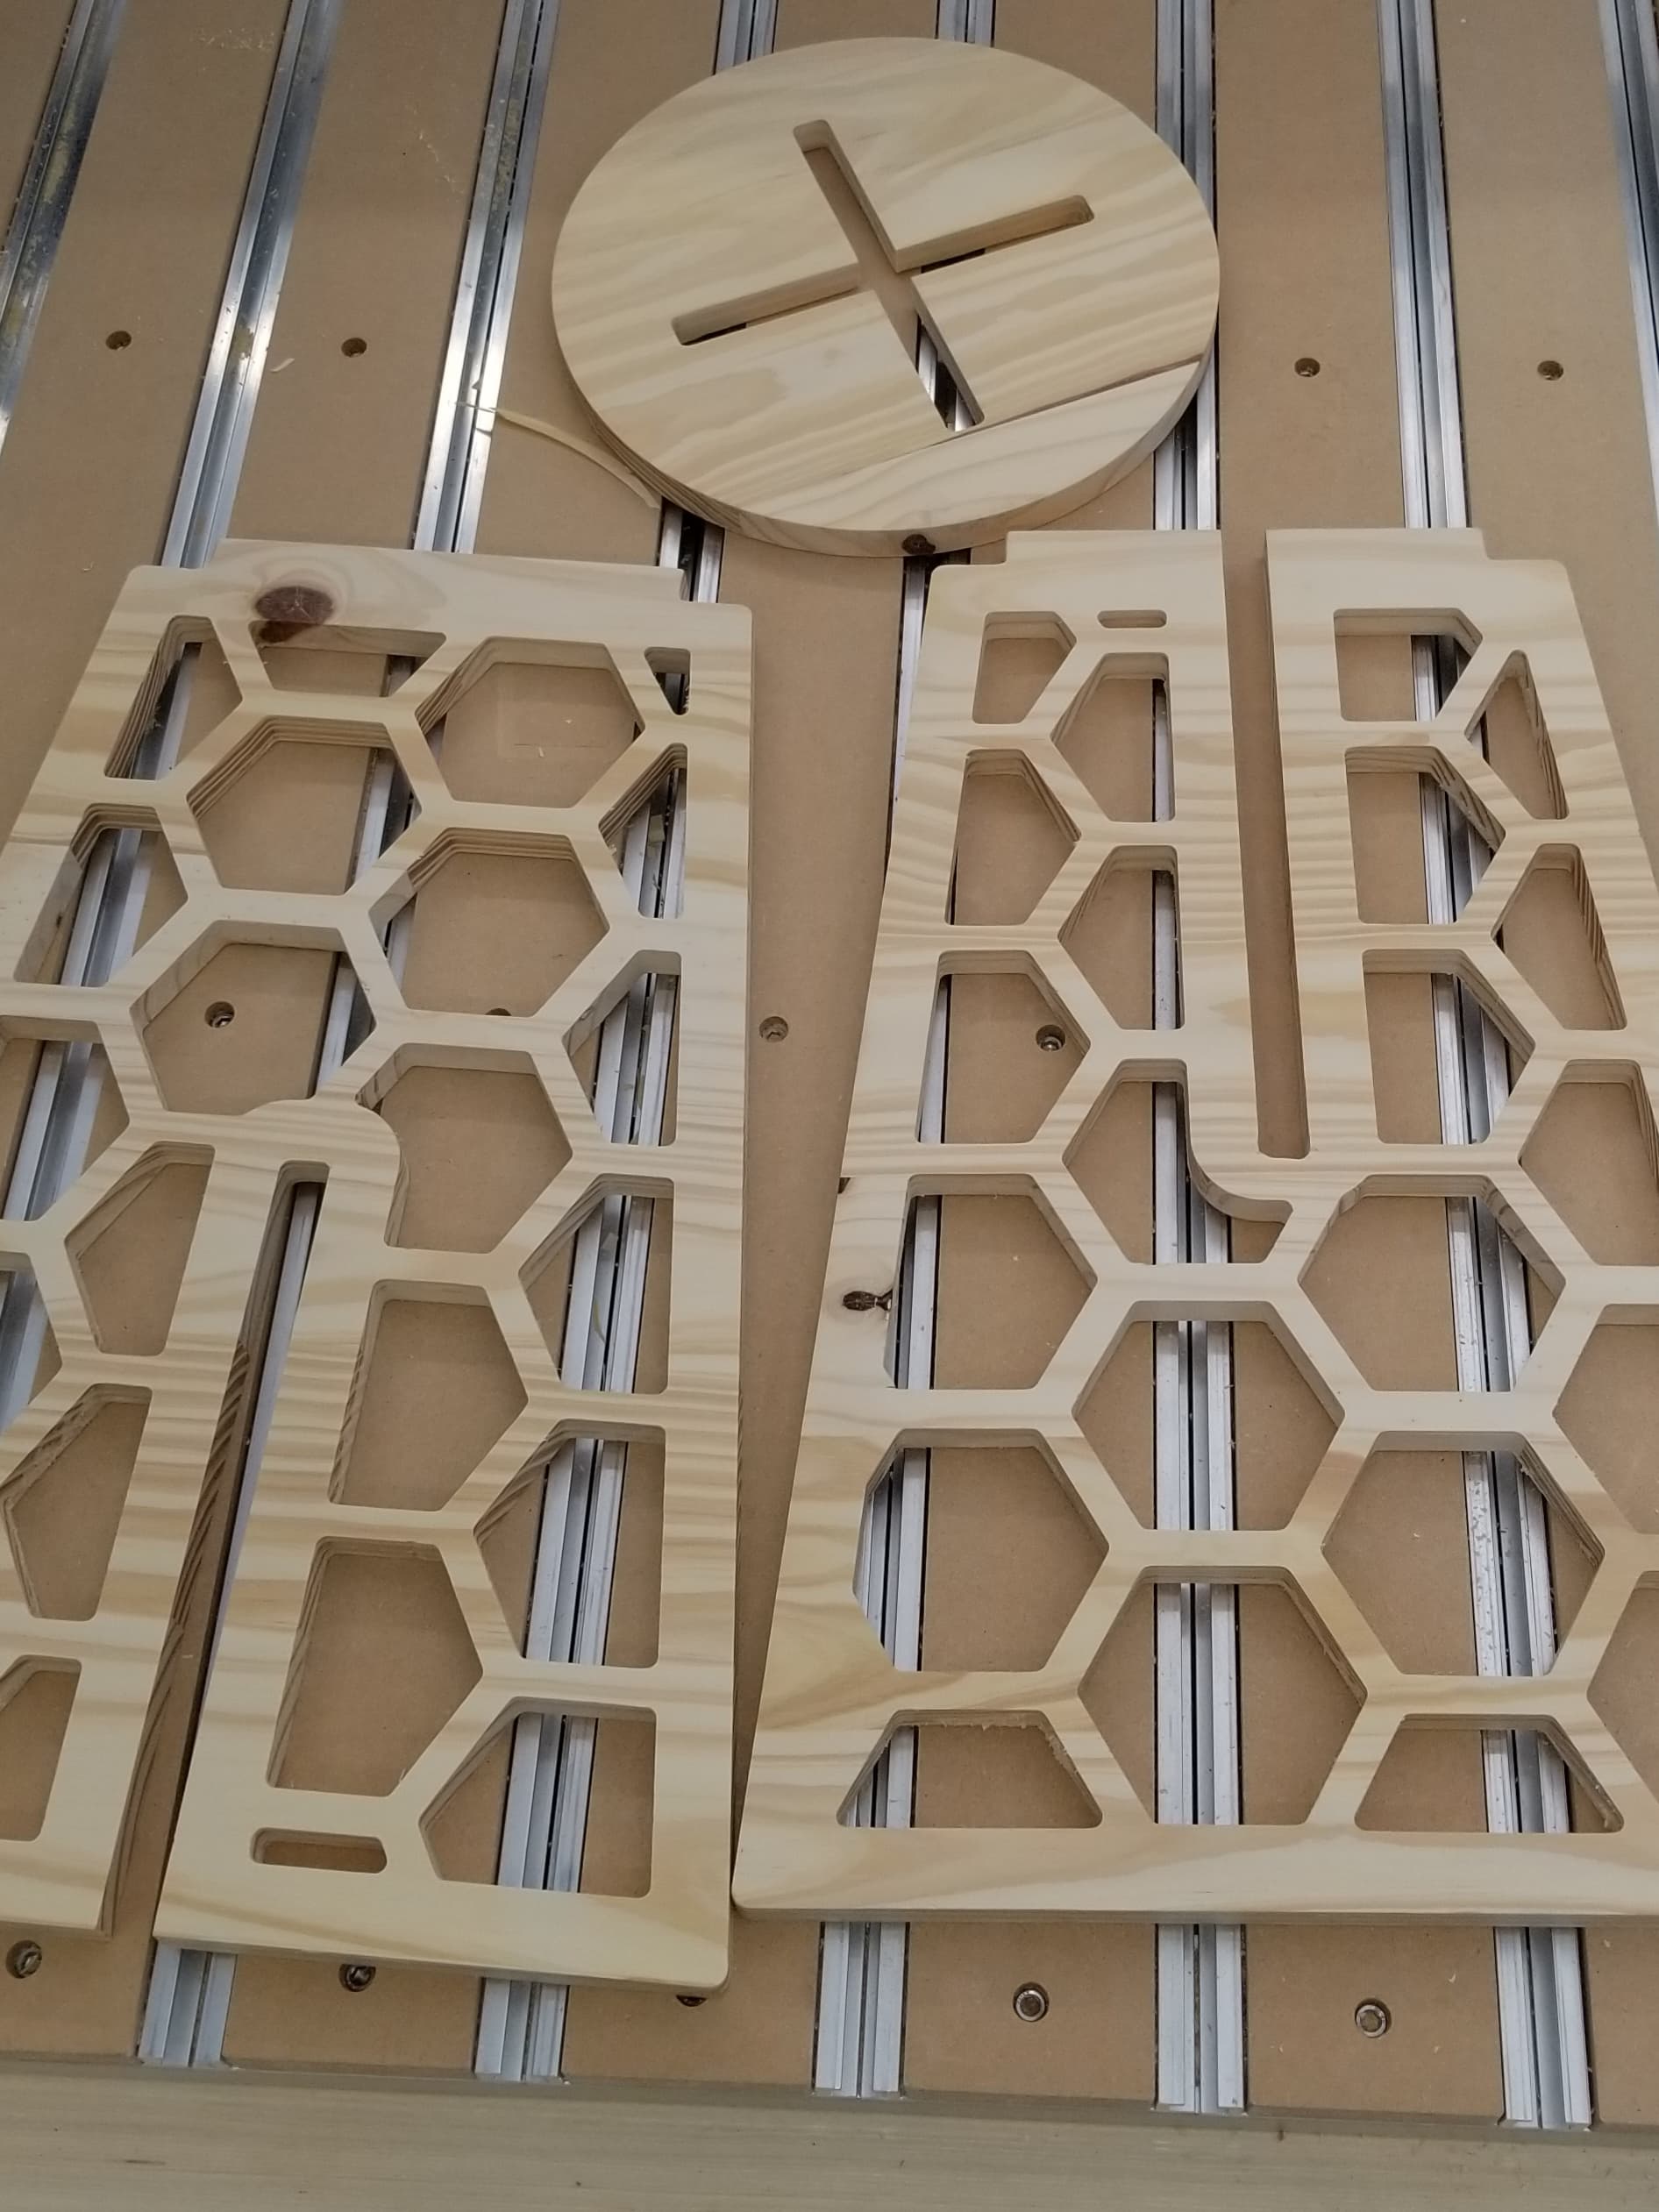
Haha, tell me about it. I did all the joinery for this console table on my Shapeoko despite the fact that it would have been easier/quicker to do by traditional methods.
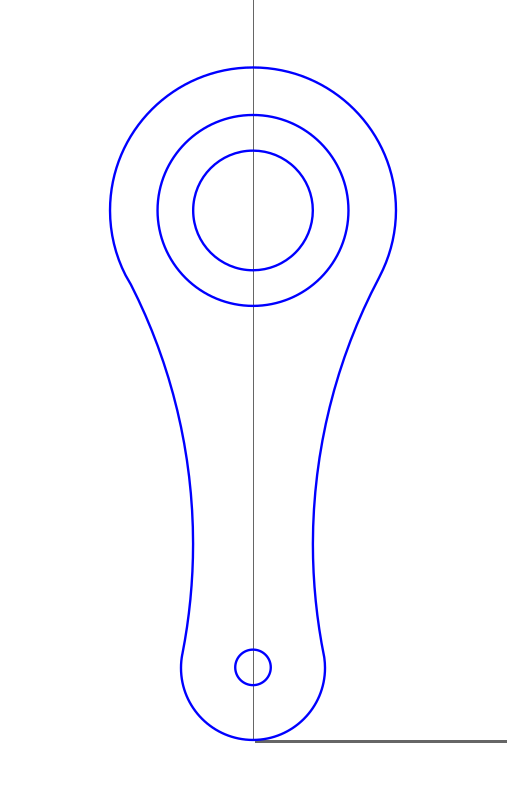
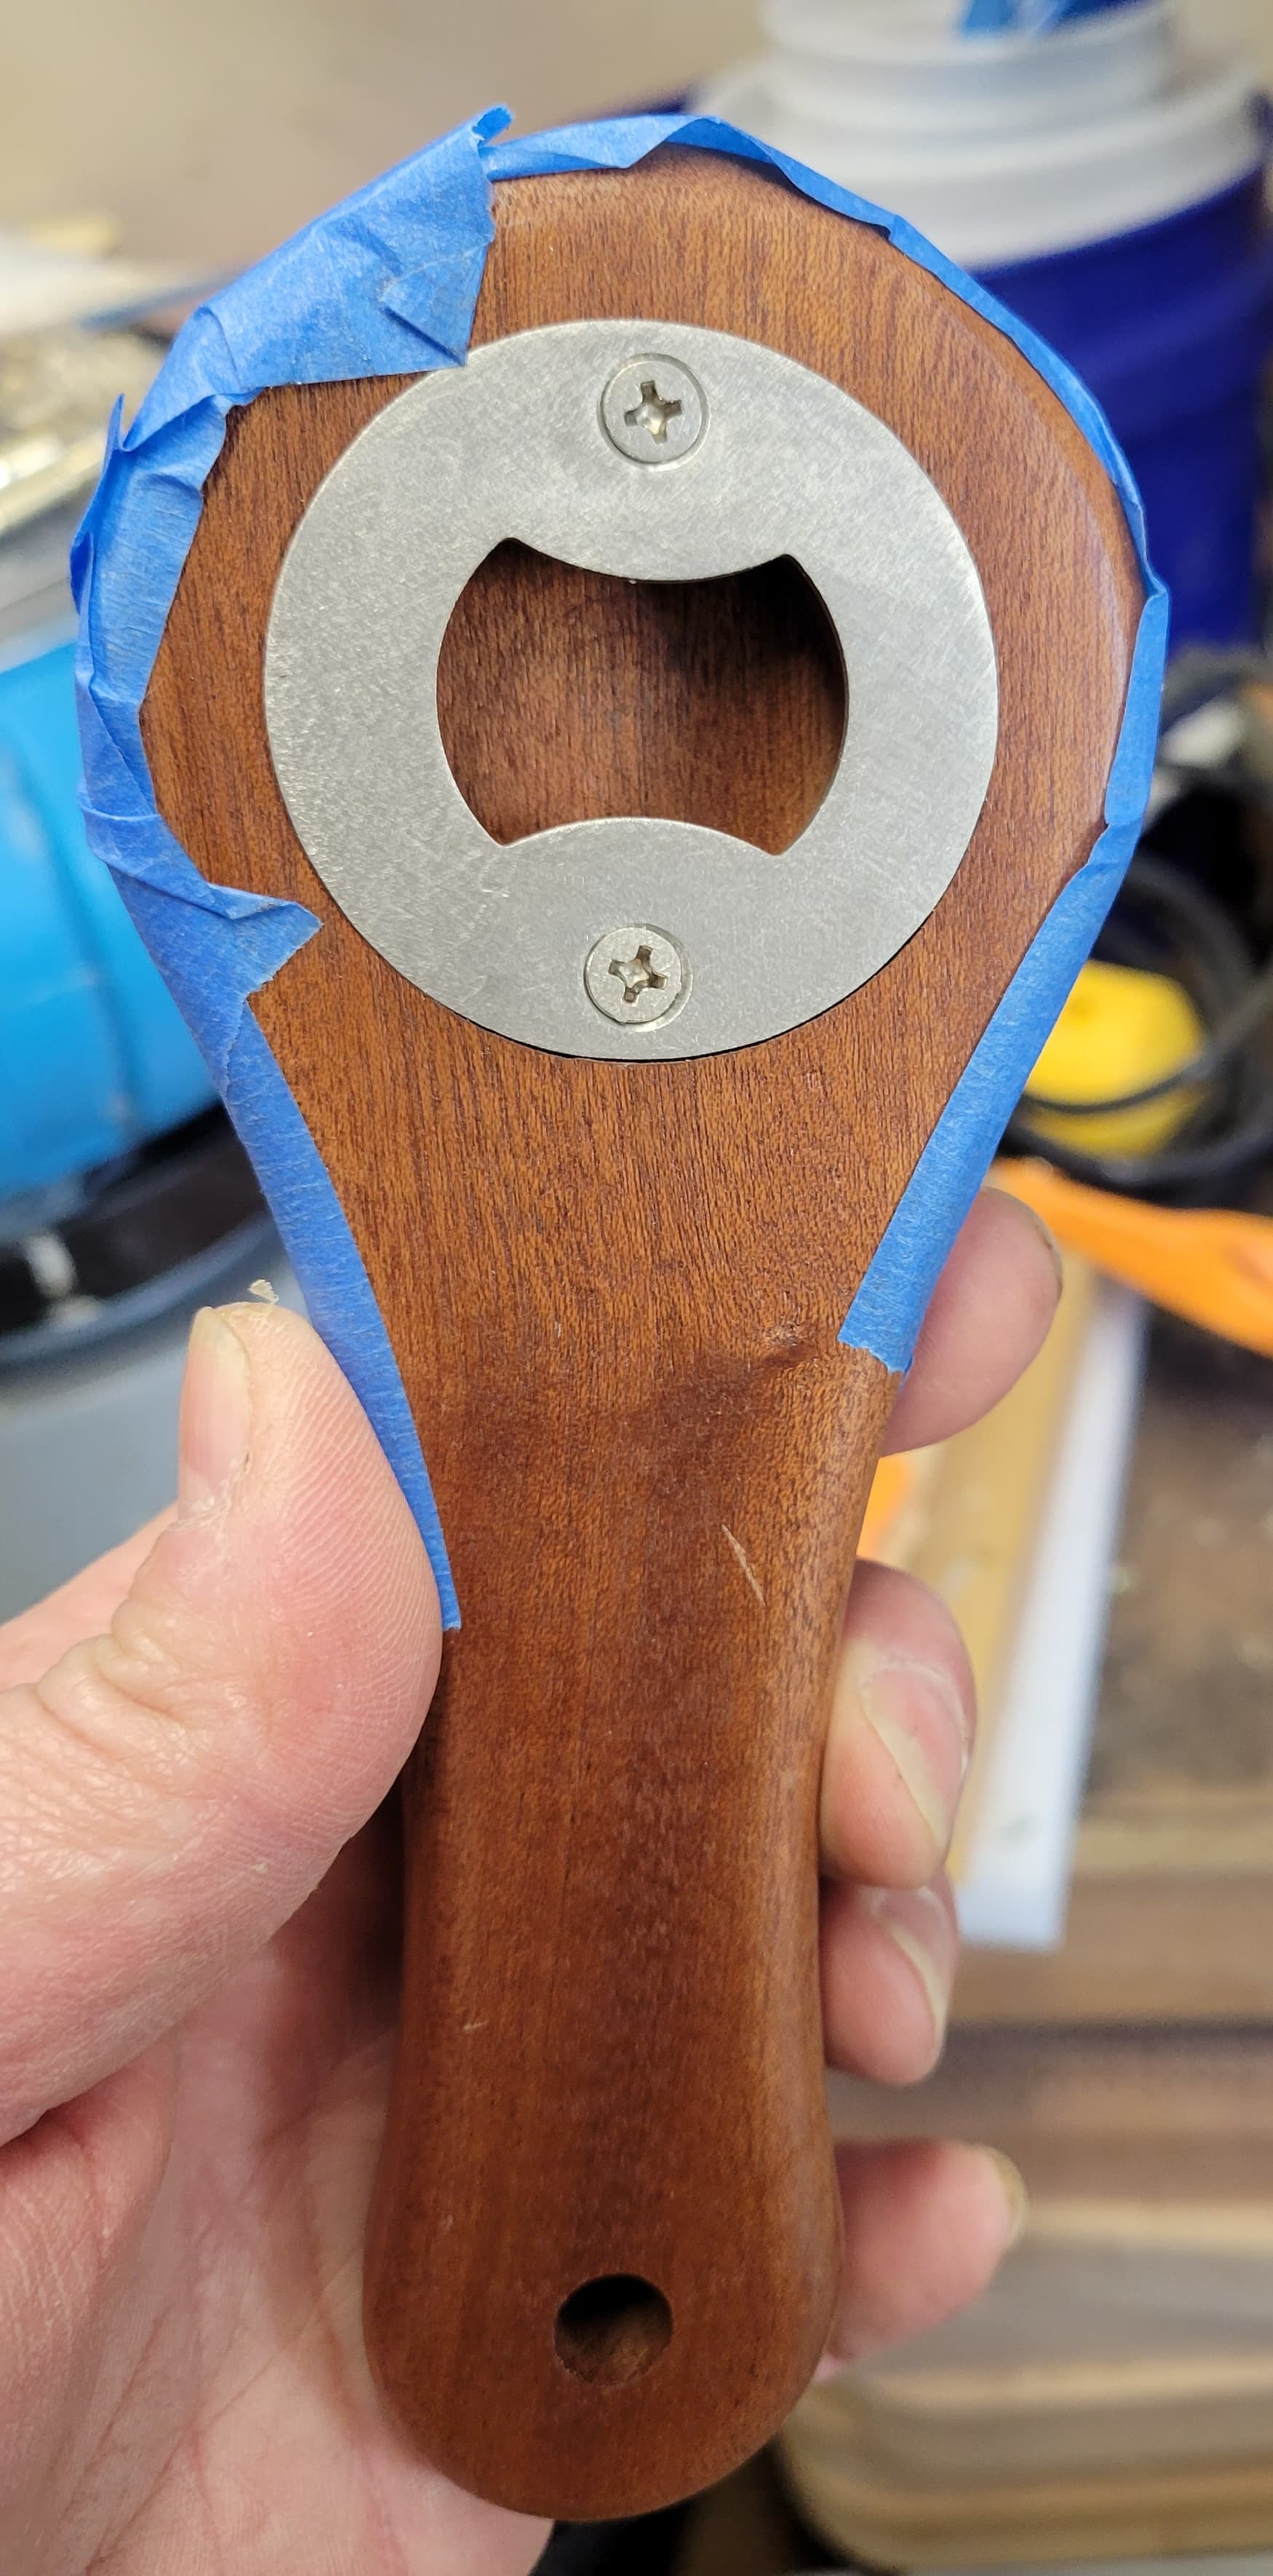
Well, it wasn’t today exactly, but I decided to knock out some simple Christmas gifts for some co-workers. I used some Sapele I had laying around my shed to make a couple of simple bottle openers with these bottle opener plates from Rockler.
I designed a simple paddle-looking shape in Inkscape by just using circles and intersecting them, then smoothing out the sharp corners at the intersections.
I added the diameters called out on the package for the recessed pocket for the plate and cavity behind it, then used MakerCAM to create the G-code. The raw stock was 3/4" thick, and I used a router table and a 1/4" rouind over bit to radius all of the outside edges. After it was done, it looked like a mahogany bottle opener from the 1970’s. I was not impressed with it, (it’s not bad, but just not the look I was looking for) so I decided to pull out the table saw and rip some other material and laminate some different colored woods and try for something that looks less like. . . these.
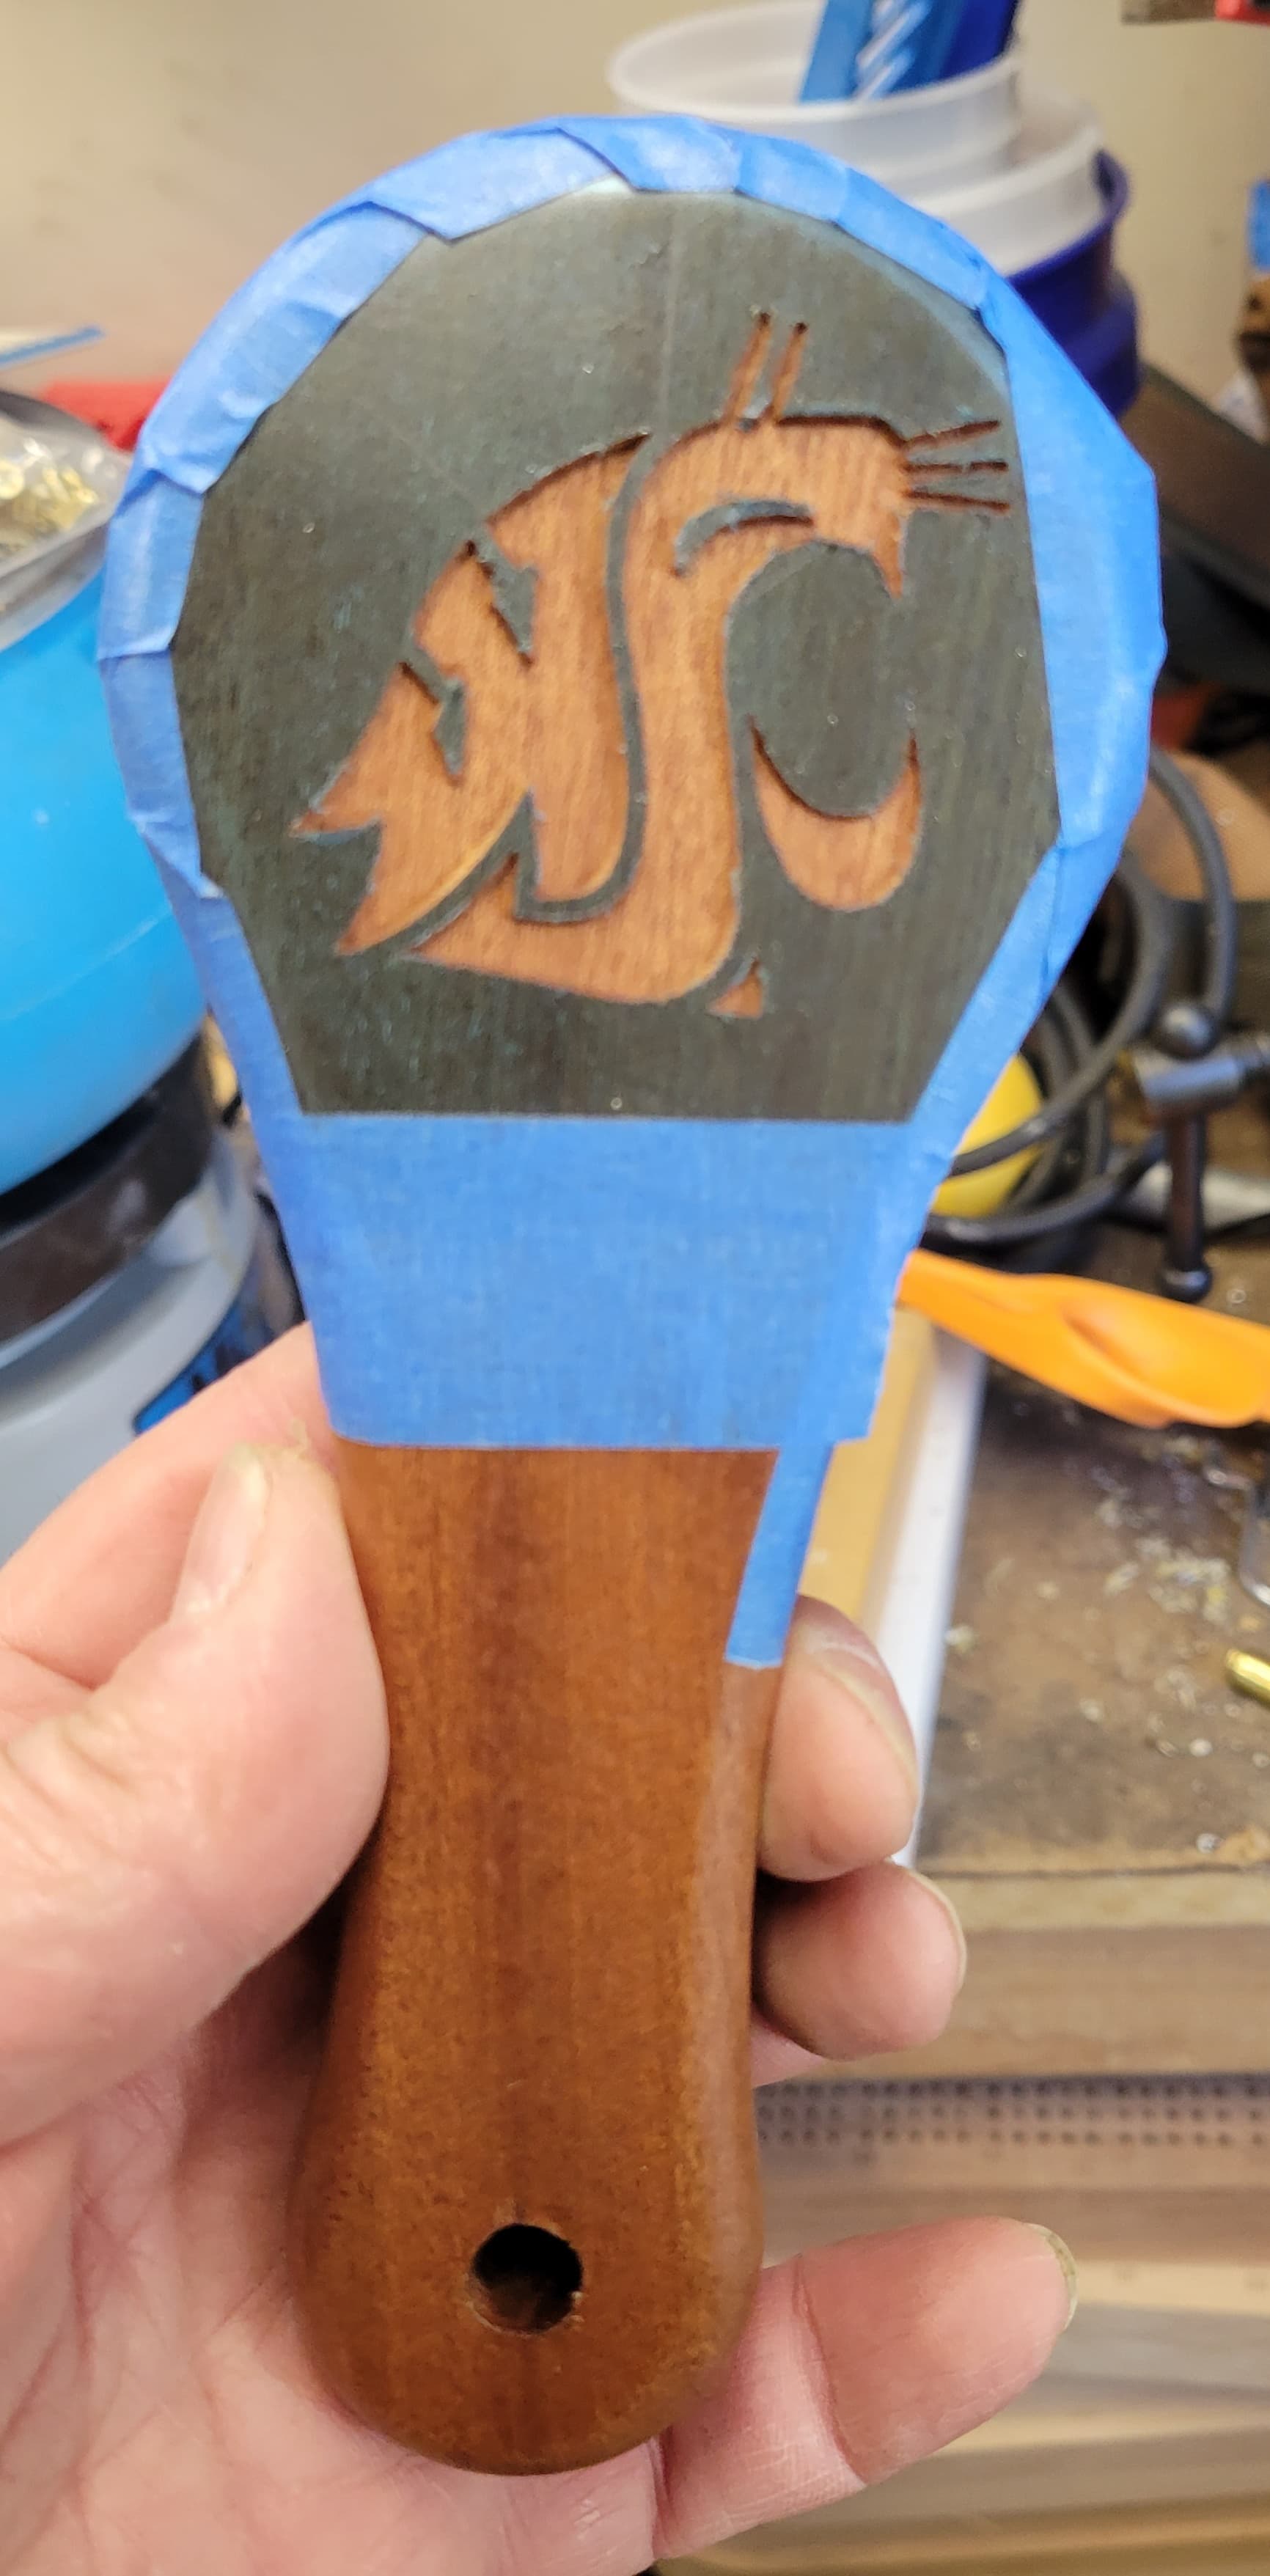
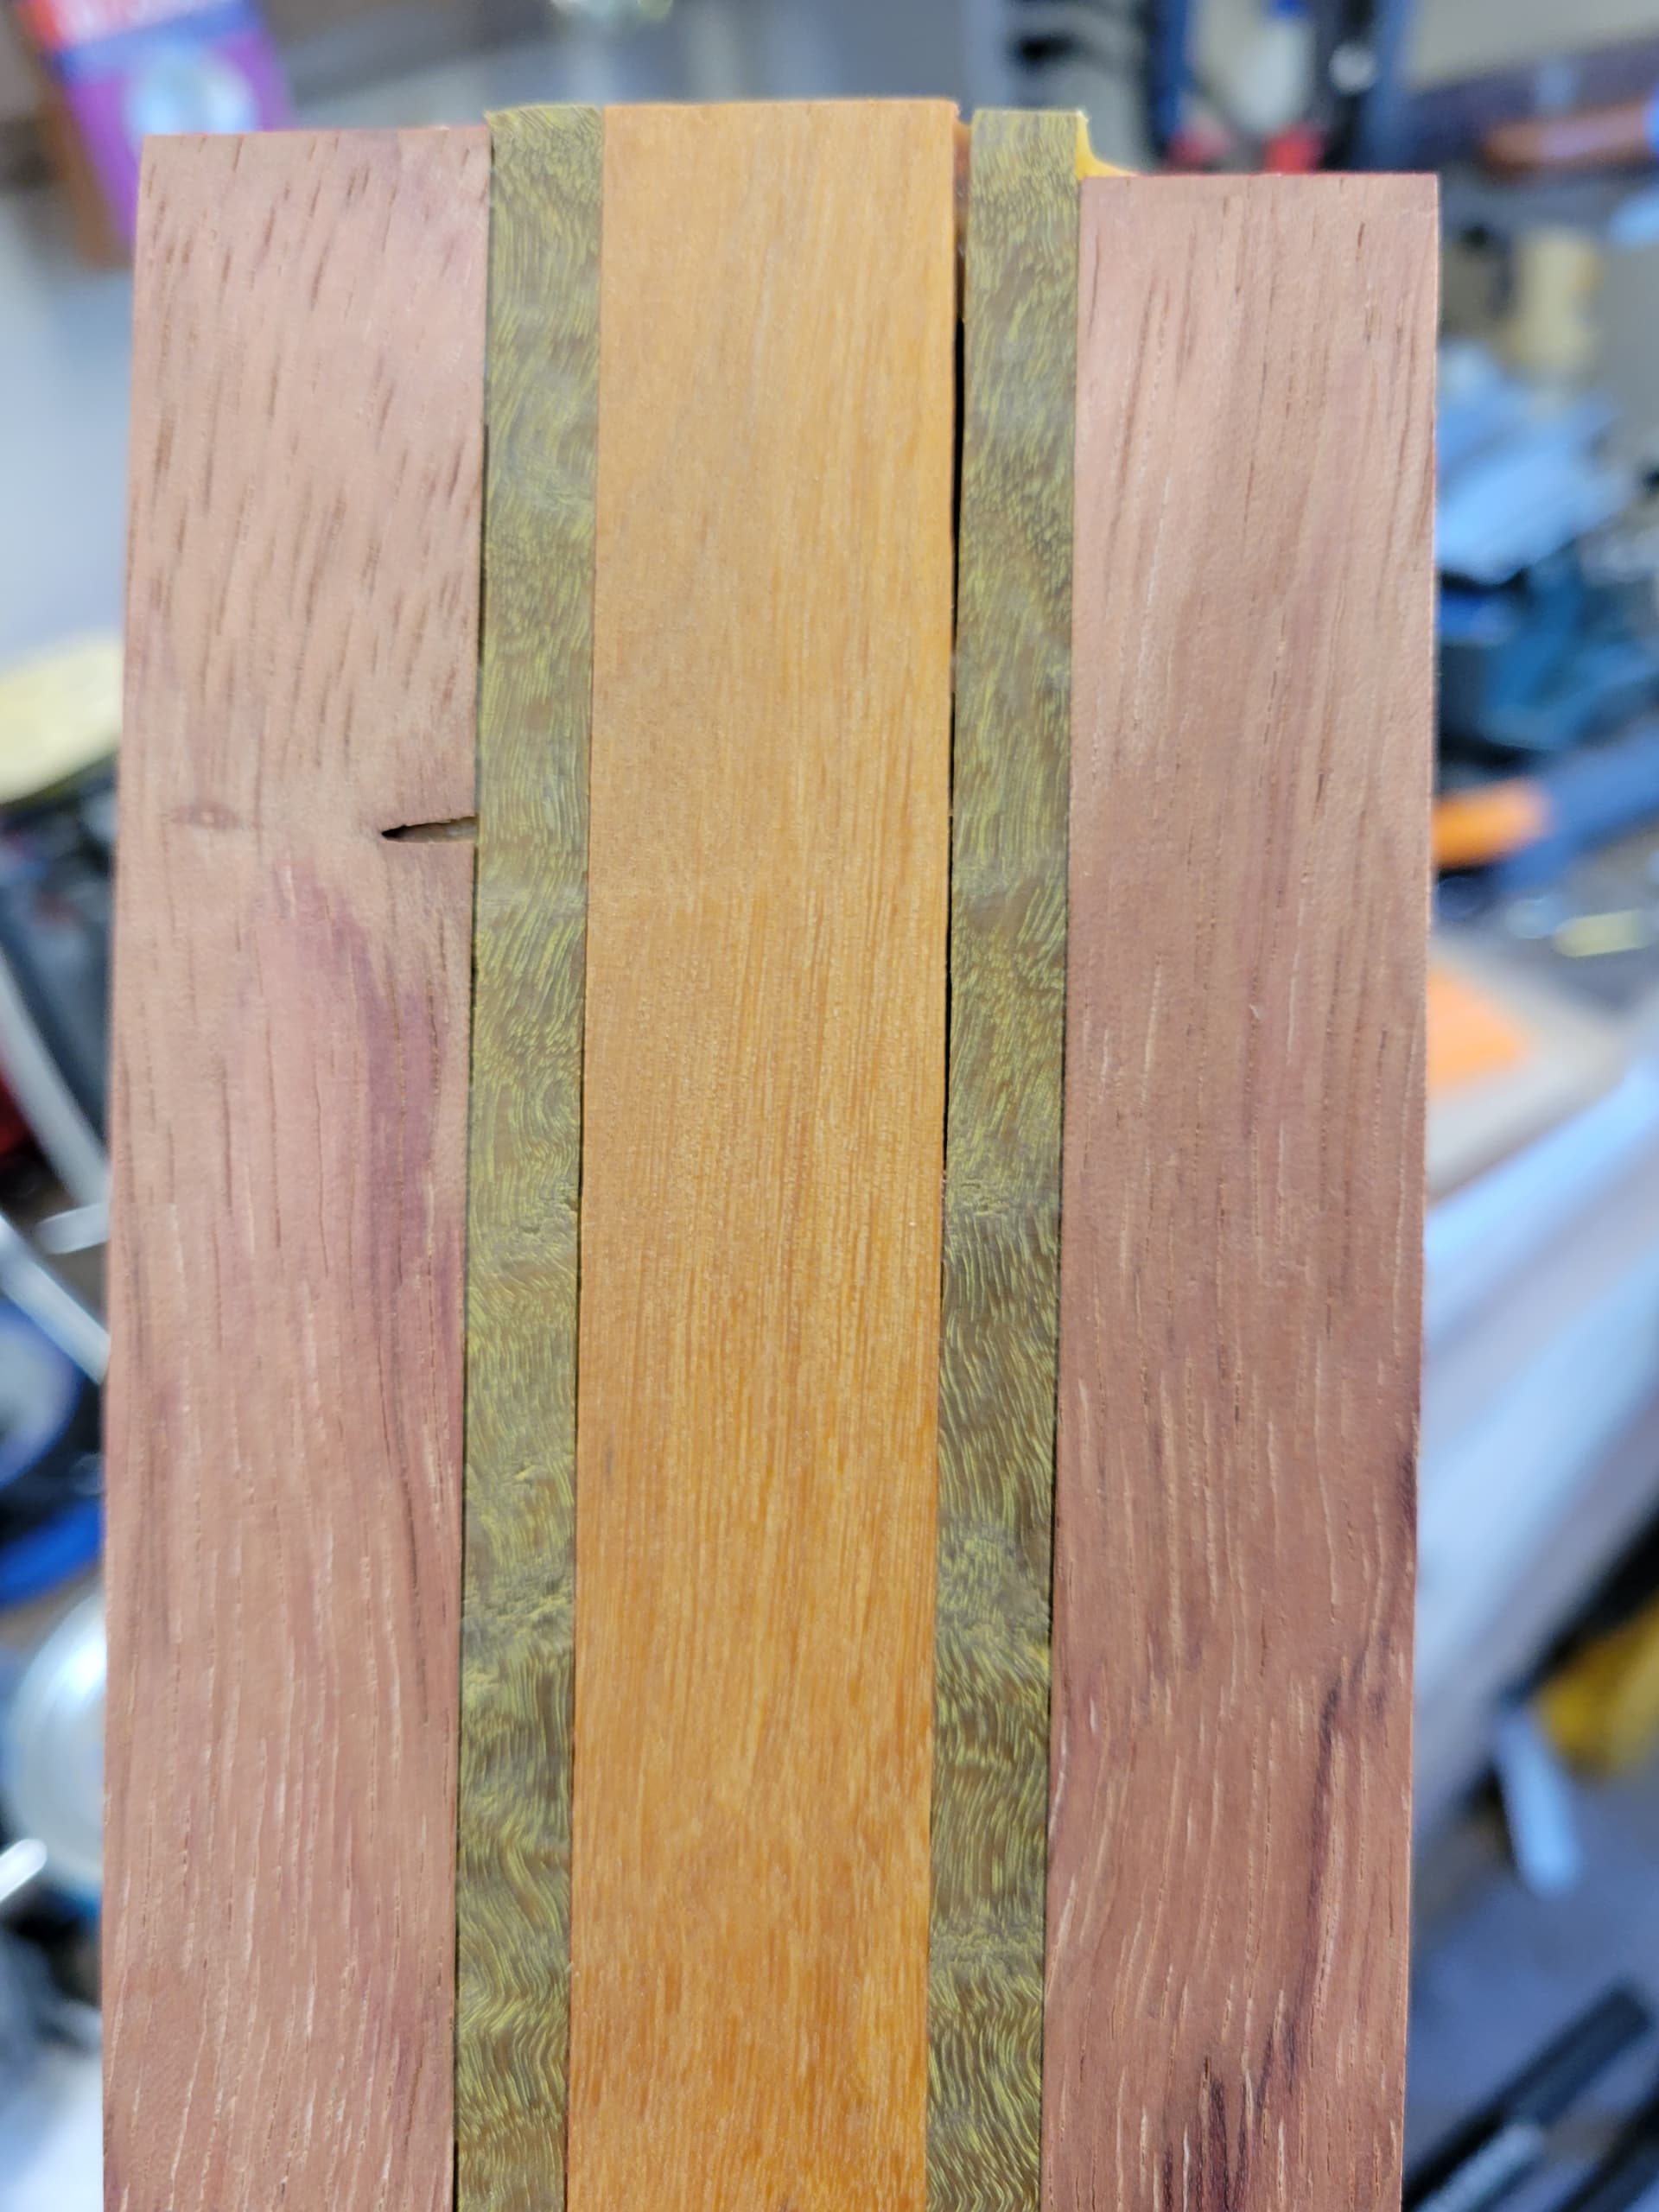
I have a bunch of the Quick-Grip clamps, so I ripped some chakte viga, curly maple, padauk and figured ipe and glued them together with some Tite Bond II glue. Turns out, those clamps are not good at clamping up wood. I tightened them as best I could (the bars were flexing a bit) and I still ended up with gap city. This was the first layup, and it was [padauk] [figured ipe] [chakte viga] [figured ipe] [padauk]
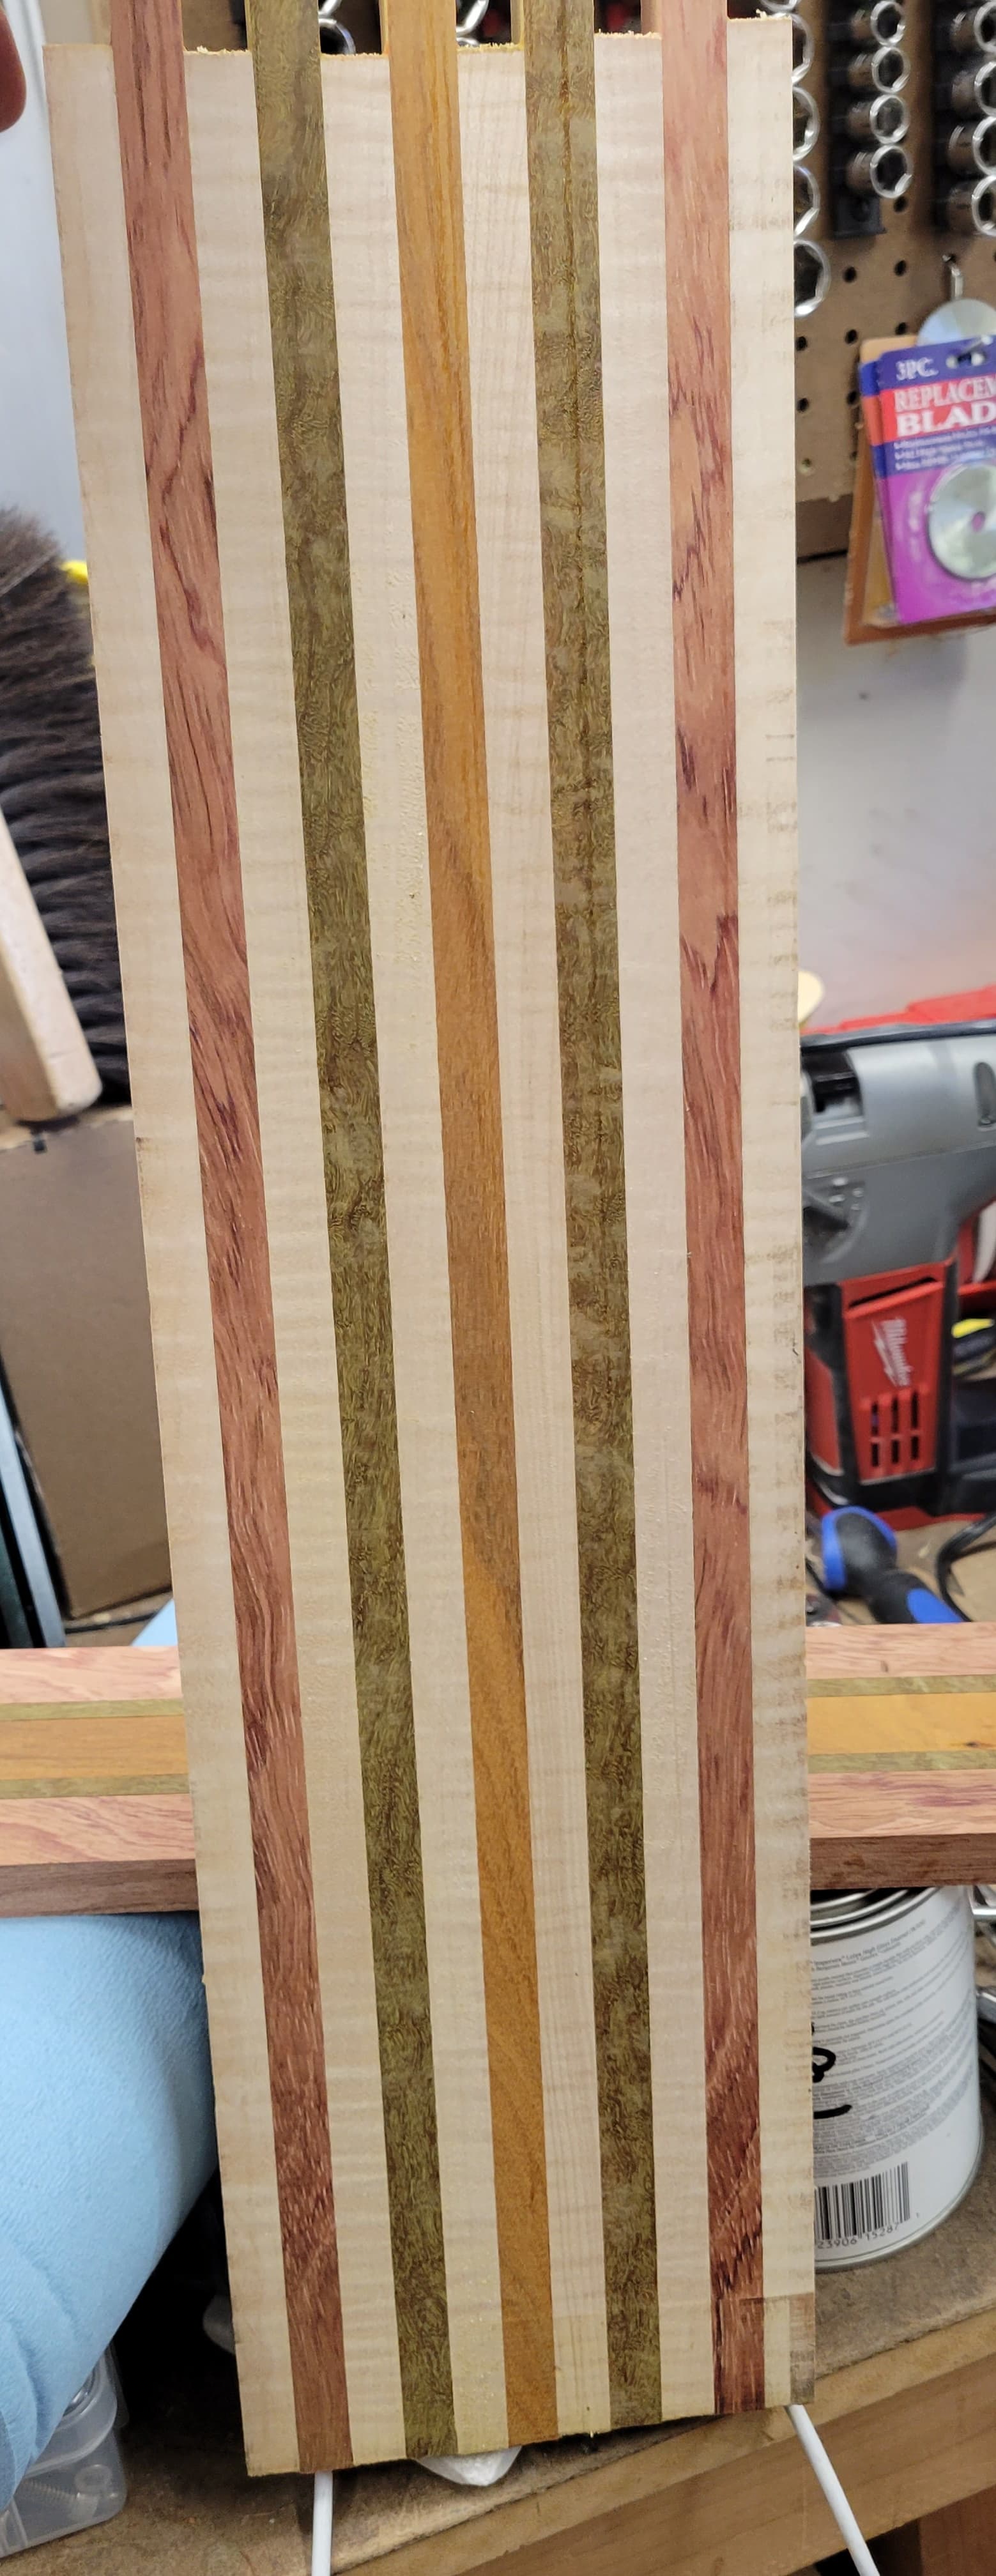
So, I used this learning experience to finally go buy some nice pipe clamps. I picked up 8 of the Bessey H-style 3/4" pipe clamps and tried again and got much better results.
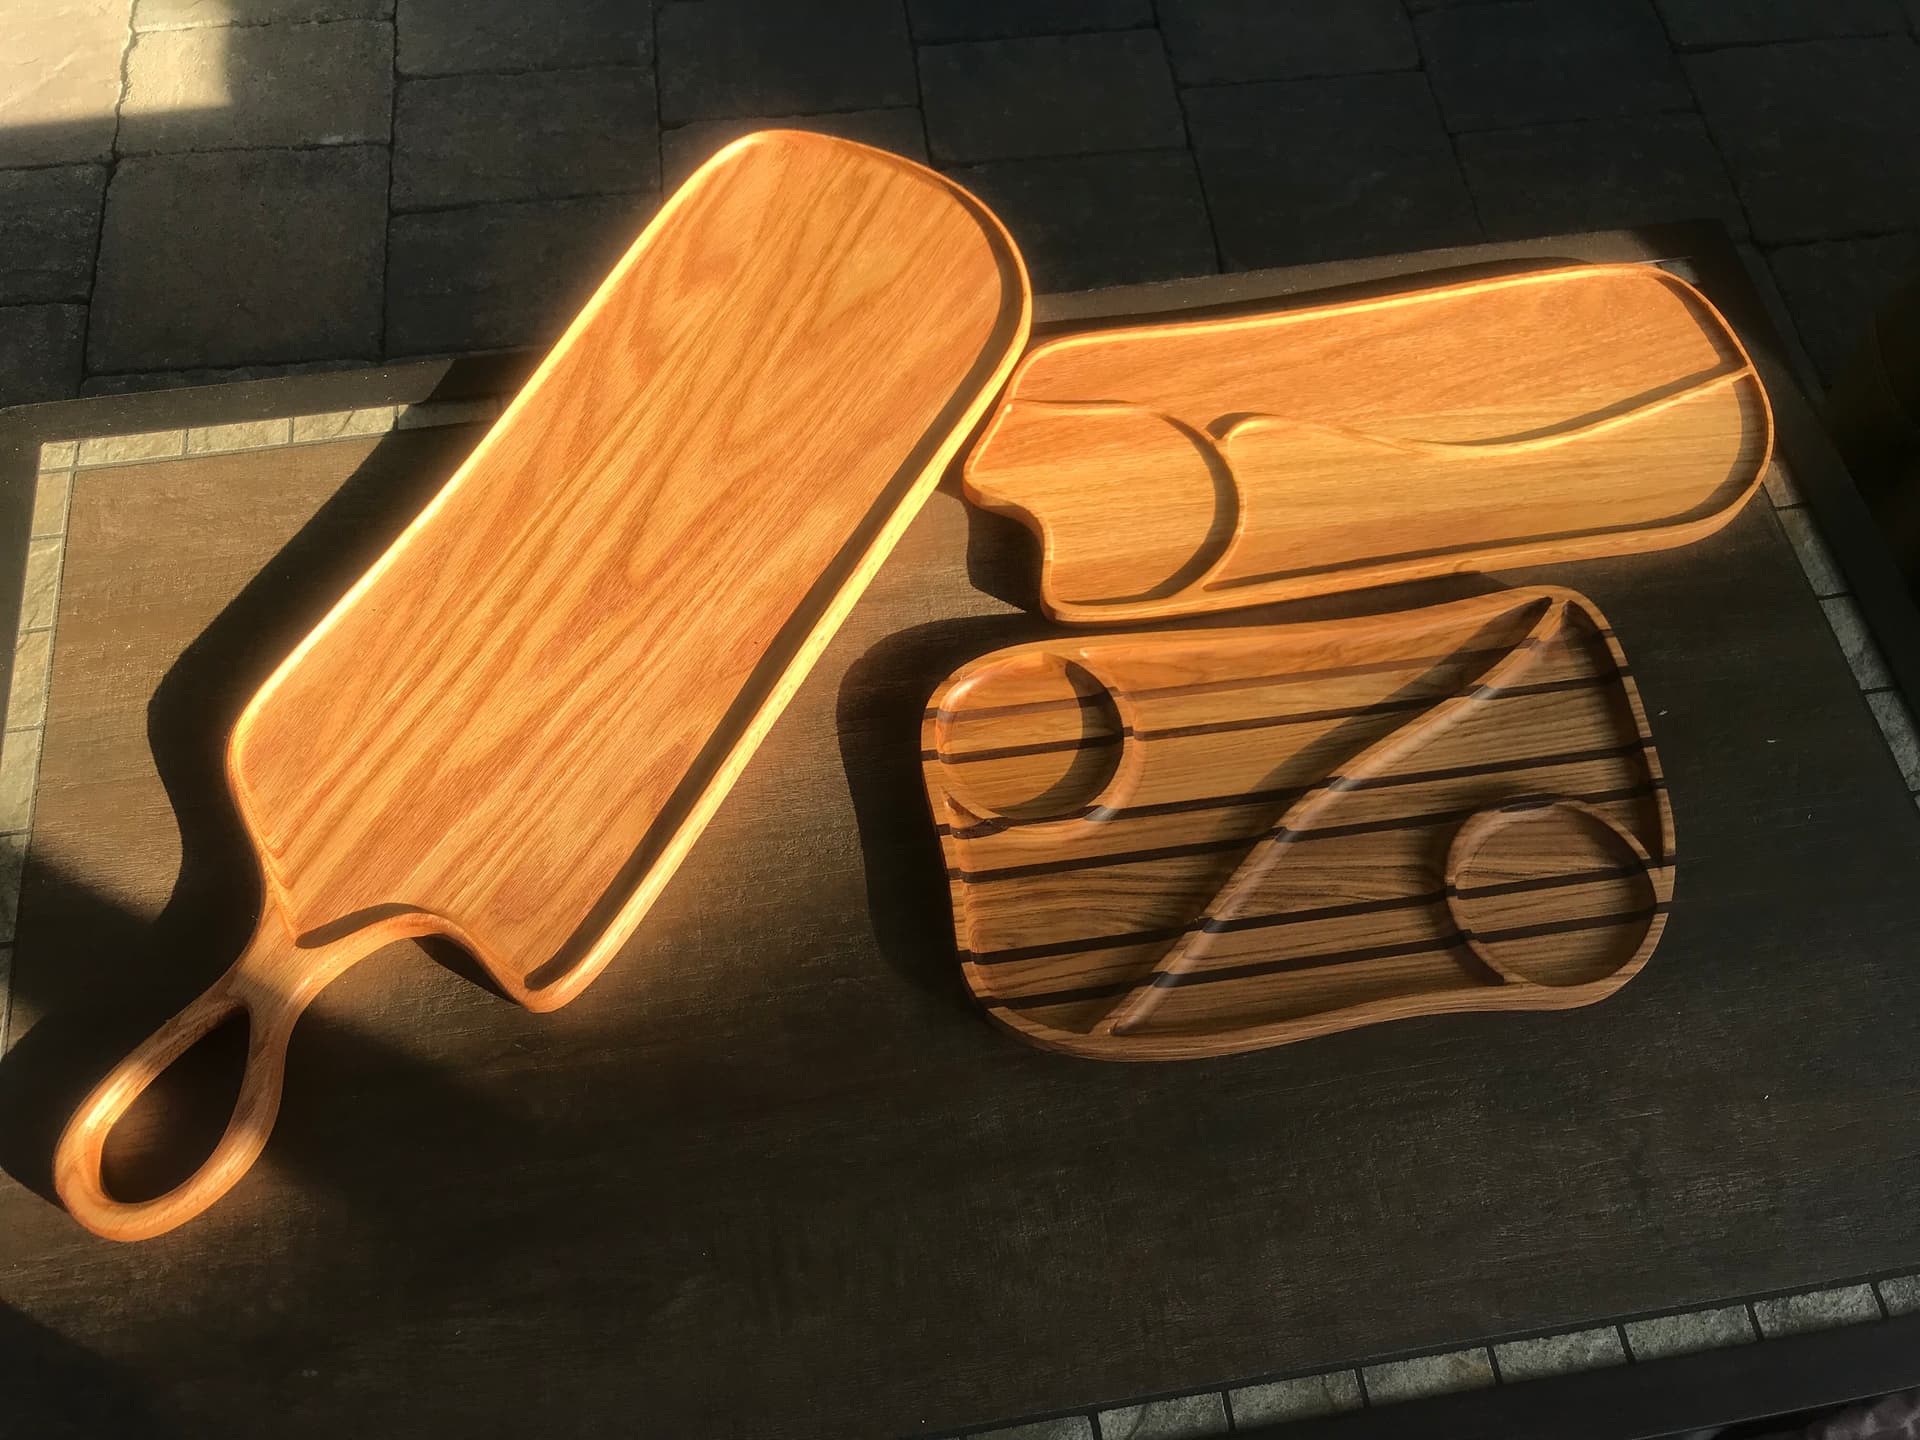
This layup is probably not going to be those bottle openers, but I am not sure what it will be yet. Maybe a nice little cheese board or something that won’t get wet too much. I know that most of these woods are poor choices for glue-ups due to their high oil content, but it is what I have laying around.
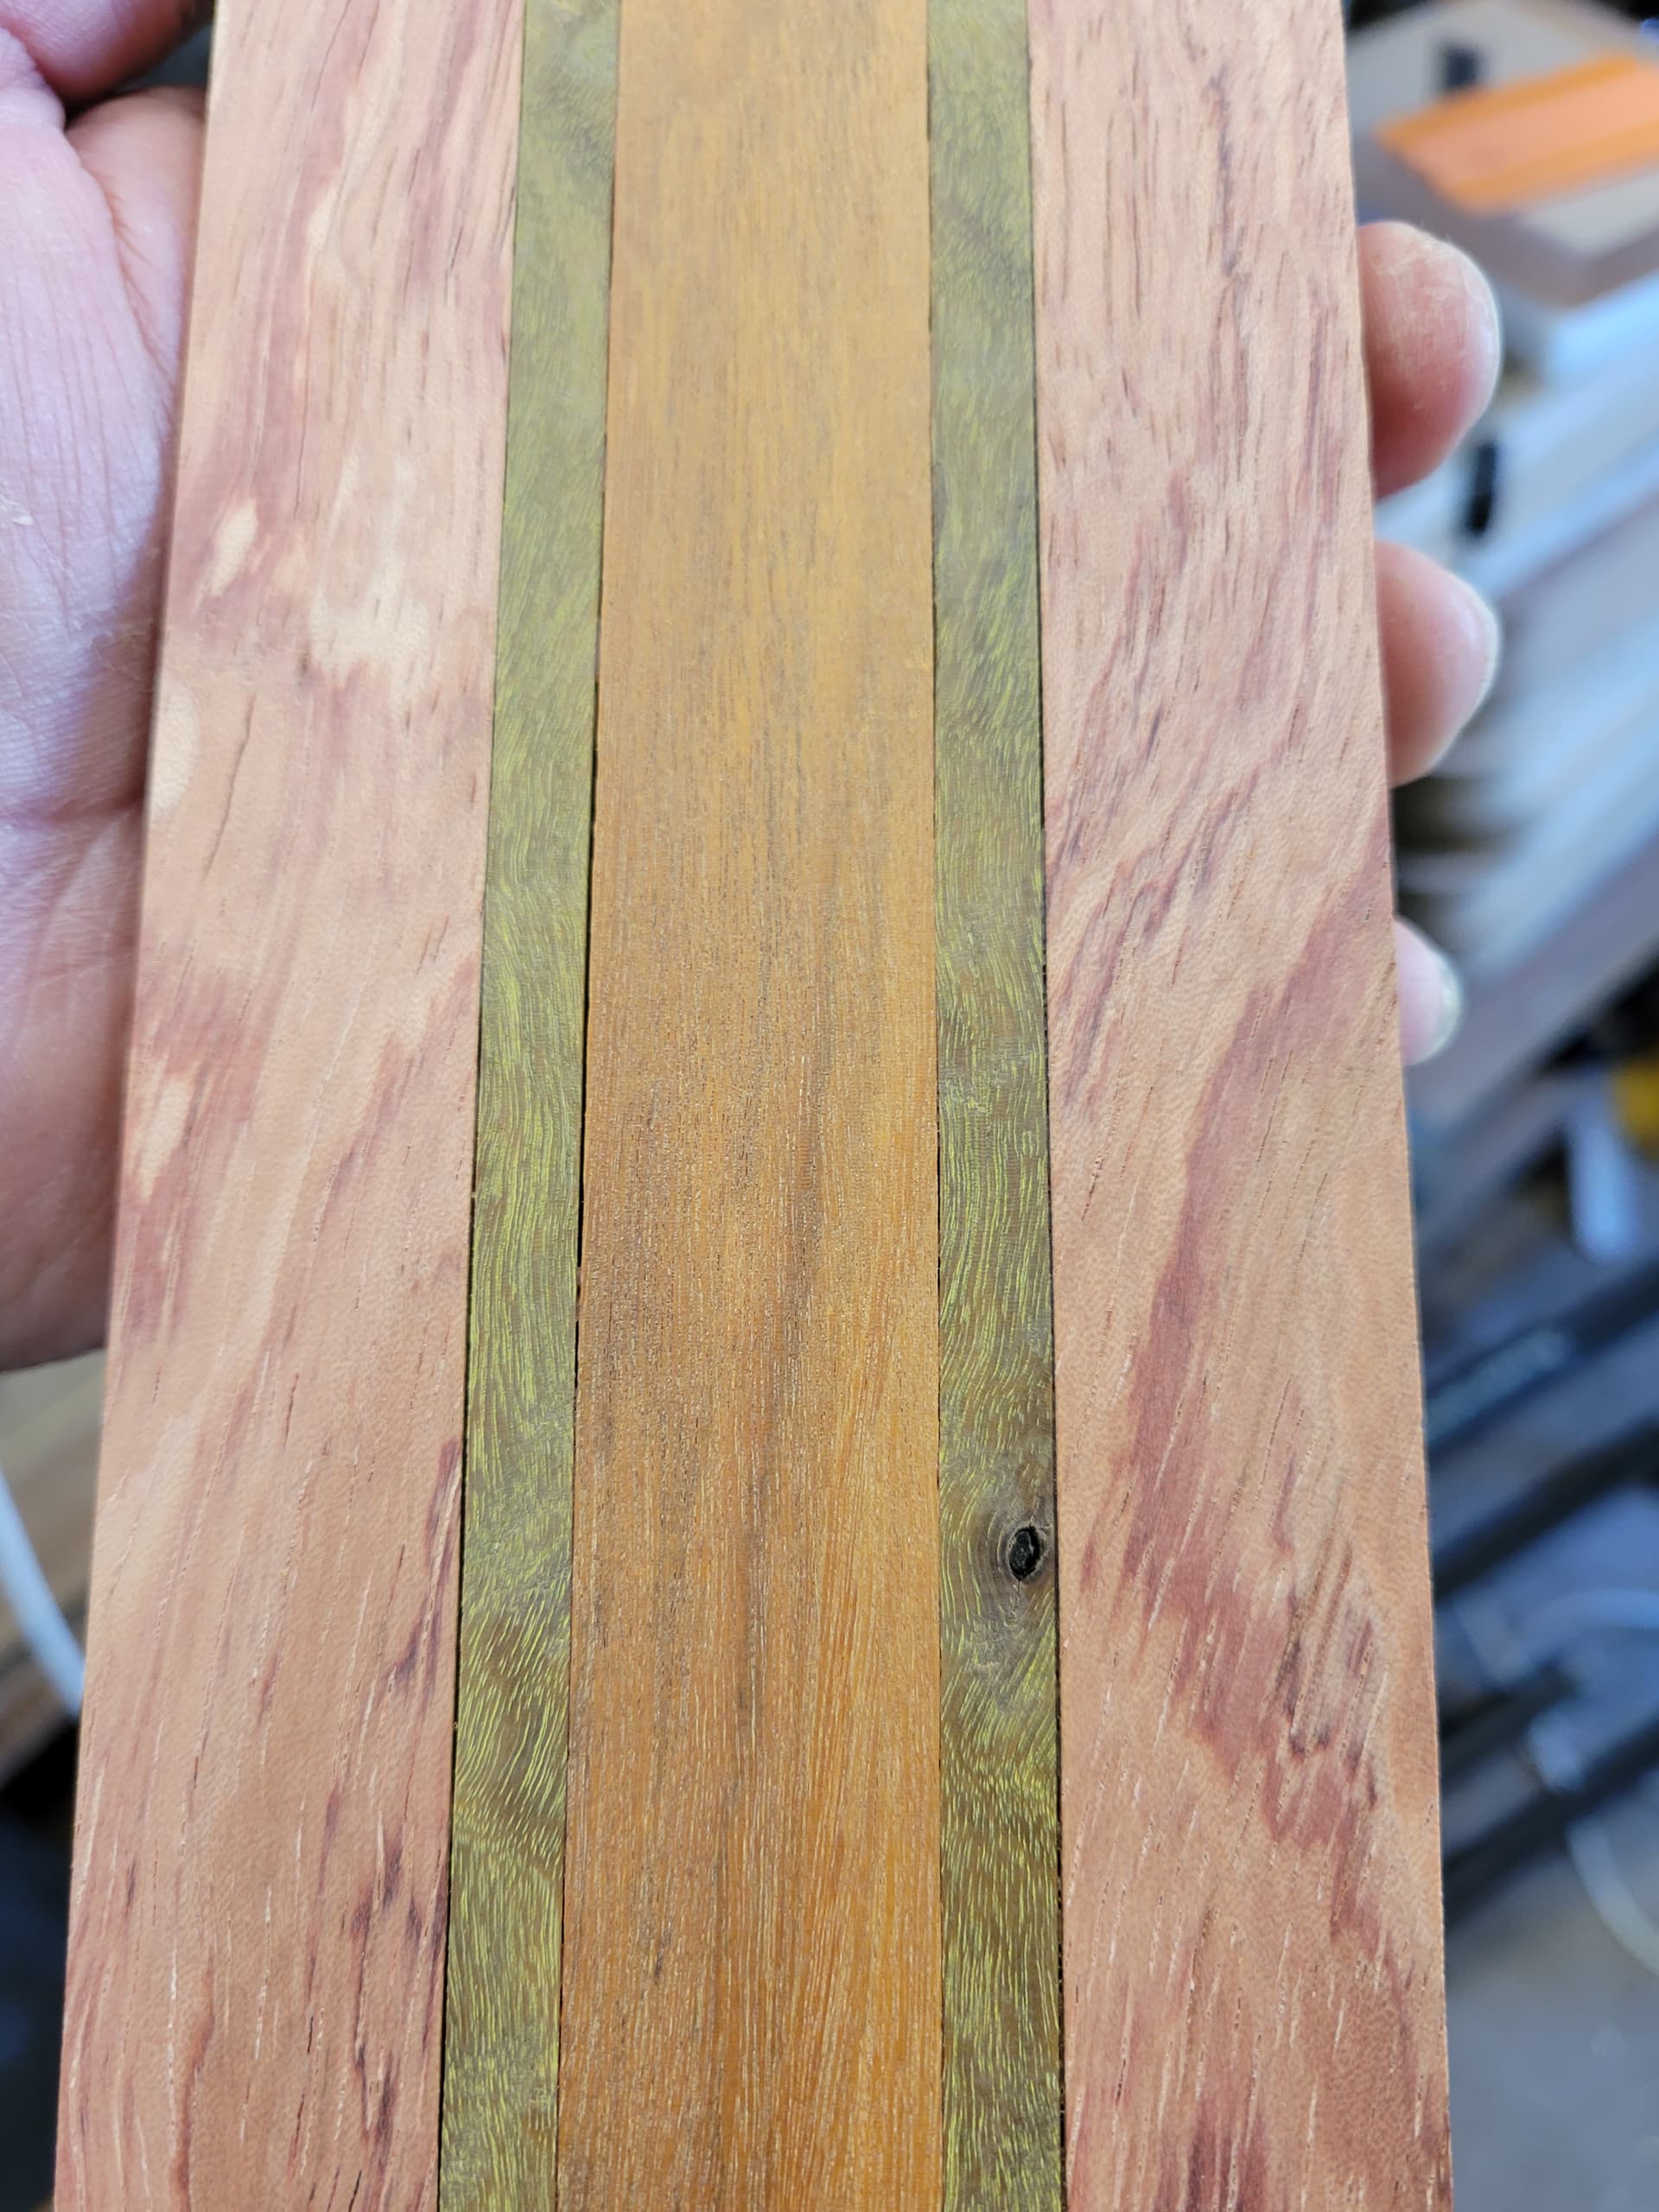
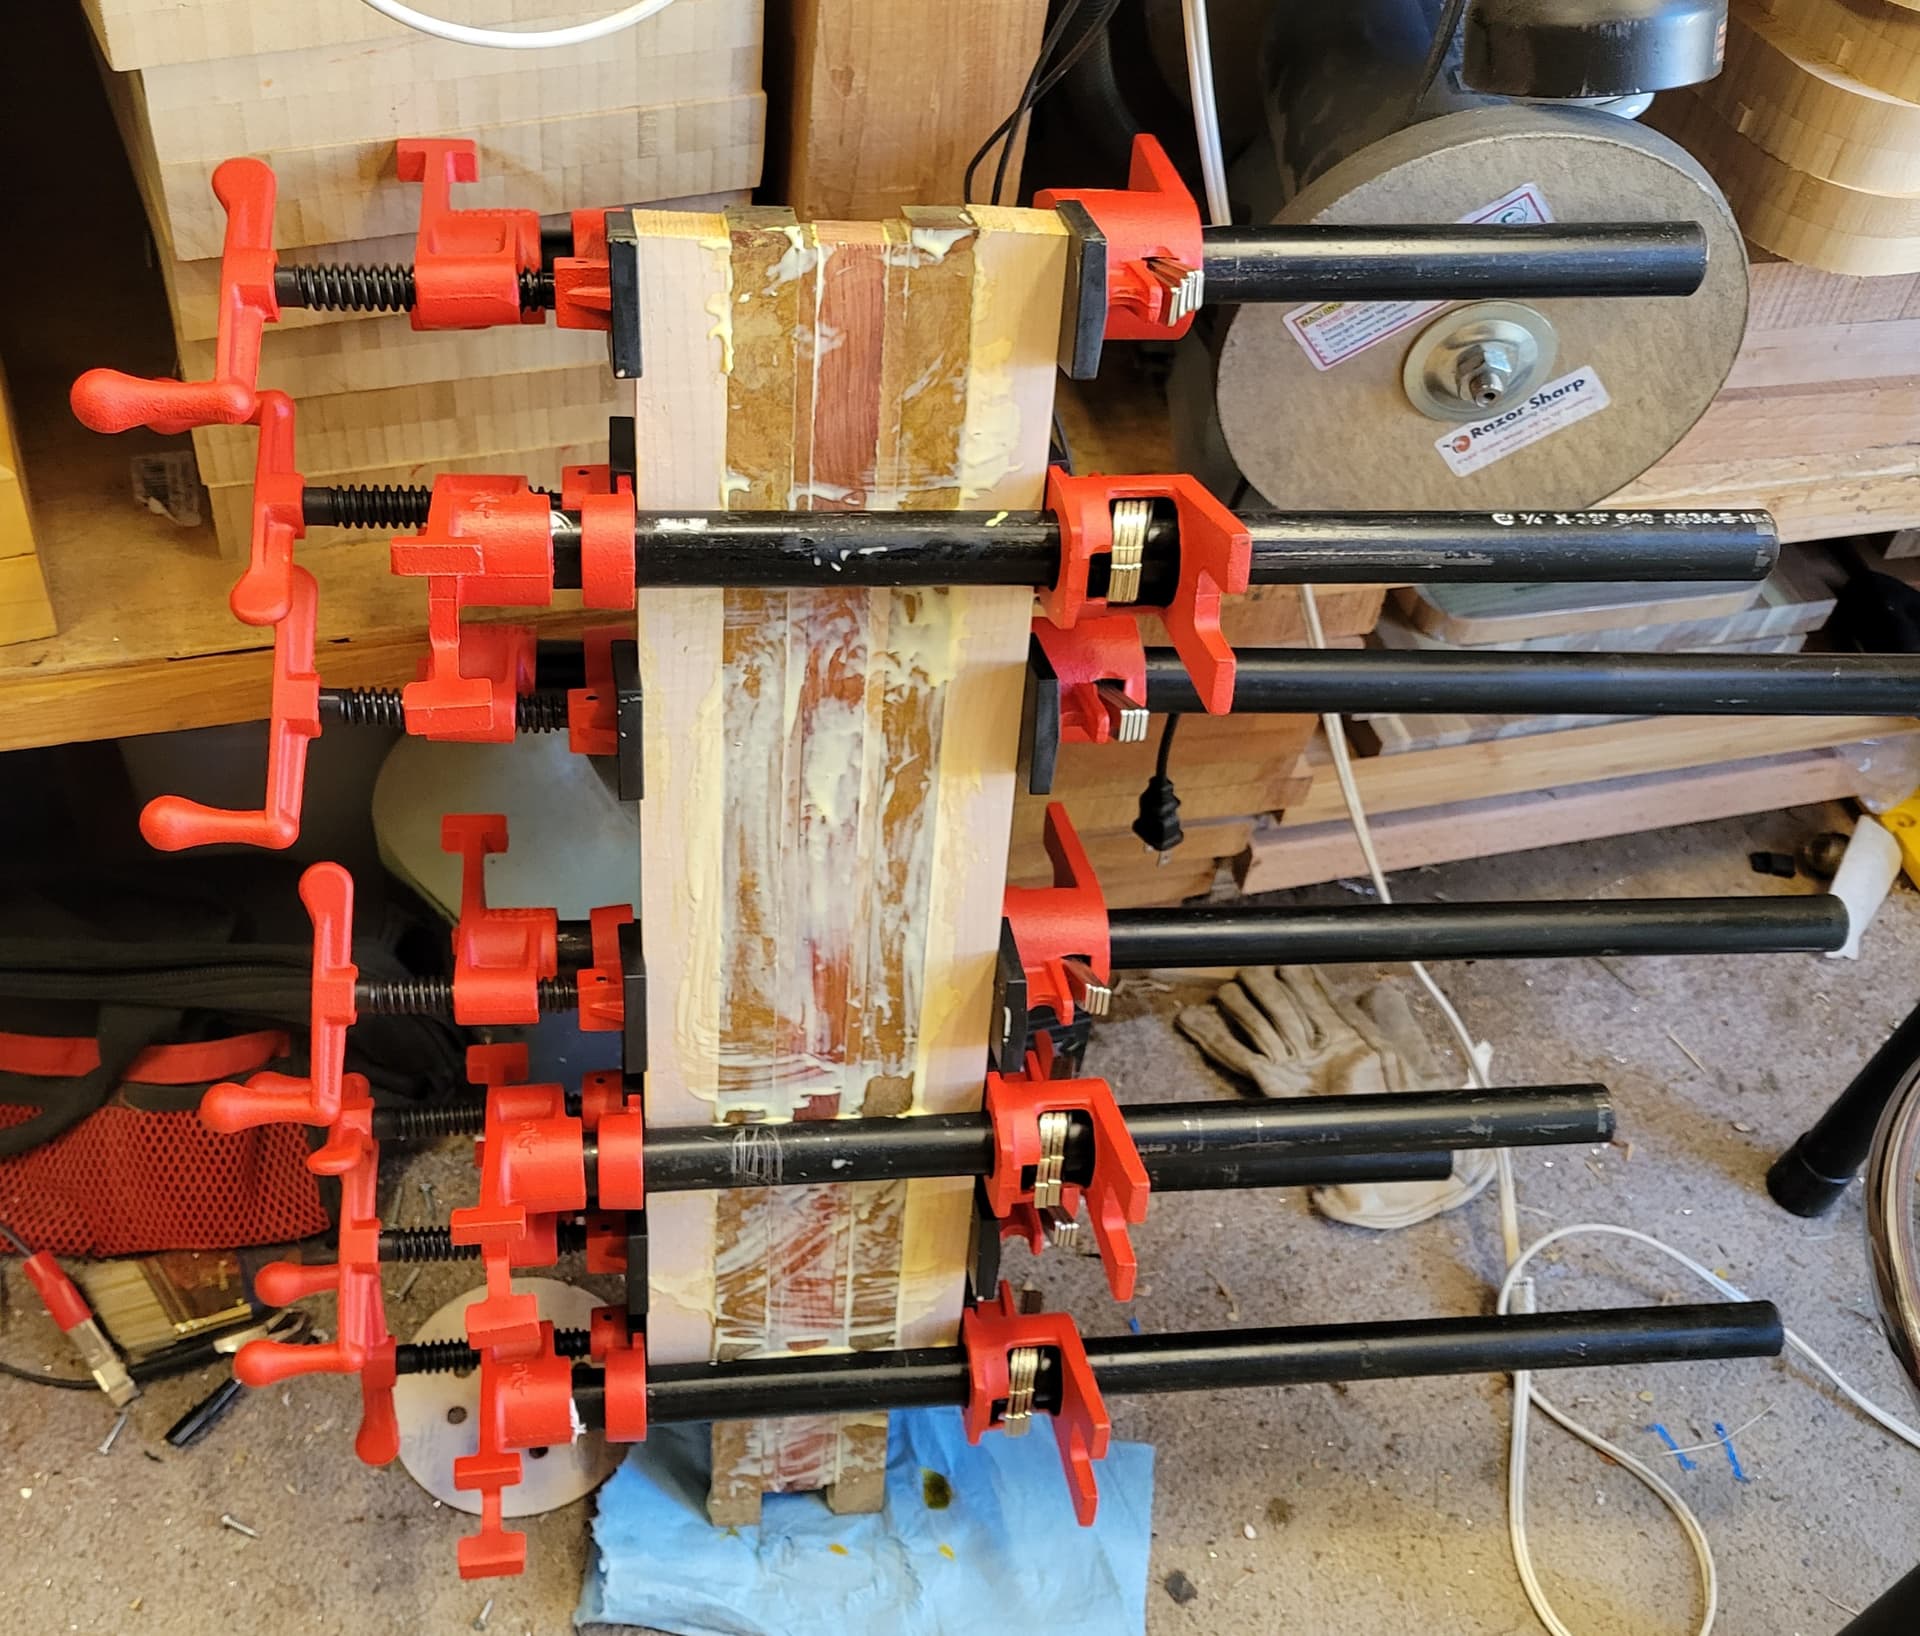
Here is my latest glue-up. I learned that you CAN use too much glue.
A simple carve in ash for a newly qualified lawyer.
I deliberately did not seal the wood before applying the black as I like the antique type finish of black on the ash.
I read (a long time ago) that it was difficult to glue, but not that I should acetone wipe it right before gluing it. That is something to try next time, as well as maybe use epoxy instead of glue.
I didn’t really look into it at all recently, I just had some time and the right tools (10" jointer, 12" planer and decent table saw) to finally do a laminated something. I had the wood laying around in my shed, and had never done any laminating and wanted to give it a go for the first time. My impulsiveness will definitely show when these things pop apart soon, but I will still have the experience of the gluing, jointing and planing process, so it will not be in vain.
Griff
(Well crap, my hypometric precursor device is blown…)
546
Pretty exciting to acquire the right tools for the job, so much easier to try new things. Keep pushing. I worked with a ‘50’s vintage Craftsman 8” tablesaw and a Portercable belt sander as my primary tools for many years.
I only got around to attempting anything with ipe glue ups earlier this year. Did an acetone wipe, waited for it to evaporate, glued some ipe to ipe and oak to ipe strips, been sitting in the backyard since. No separation yet.
The rotary axis itself was an Amazon purchase, circa $200 with Nema 23 stepper and 6:1 drive ratio. The software is Vectric Carve in ‘Rotary Mode’ and nicely handles generating the A-Axis code - there is a small limitation with A co-ordinates not being able to drop below the ‘Centre-Line’ of A, but so far it hasn’t stopped me designing what I want. The fork of GRBL that understands 5- and 6-axis offers two choices, Mega 5X (what I chose) and the ‘HAL’ version which I think is likely in time to become the official version (looking at who is contributing, etc). Both of these GRBL packages require a control PCB with 5 or more axis support (X, Y1, Y2, Z and A) and I chose one that uses either the Pololu-style plug-in H-drivers or can link to a higher power external drive module - I went with the TCM2209 based H-drivers which can run to 2.5A current. So far I have seen no issues from this choice and the torque/holding torque is at least as good as the original machine. Working with the rotary axis introduces new things to learn and control, and specifically that there is no ‘homing’ as such. In order to get visibility of the A-Axis I switched to UGS sender which supports up to 6-axis (but early days and the software is still being developed in this area).
Link to John’s YouTube video on the SO4. He talks about the machine and the stool project. He also provides a link to his cut files. Obviously, it inspired me!
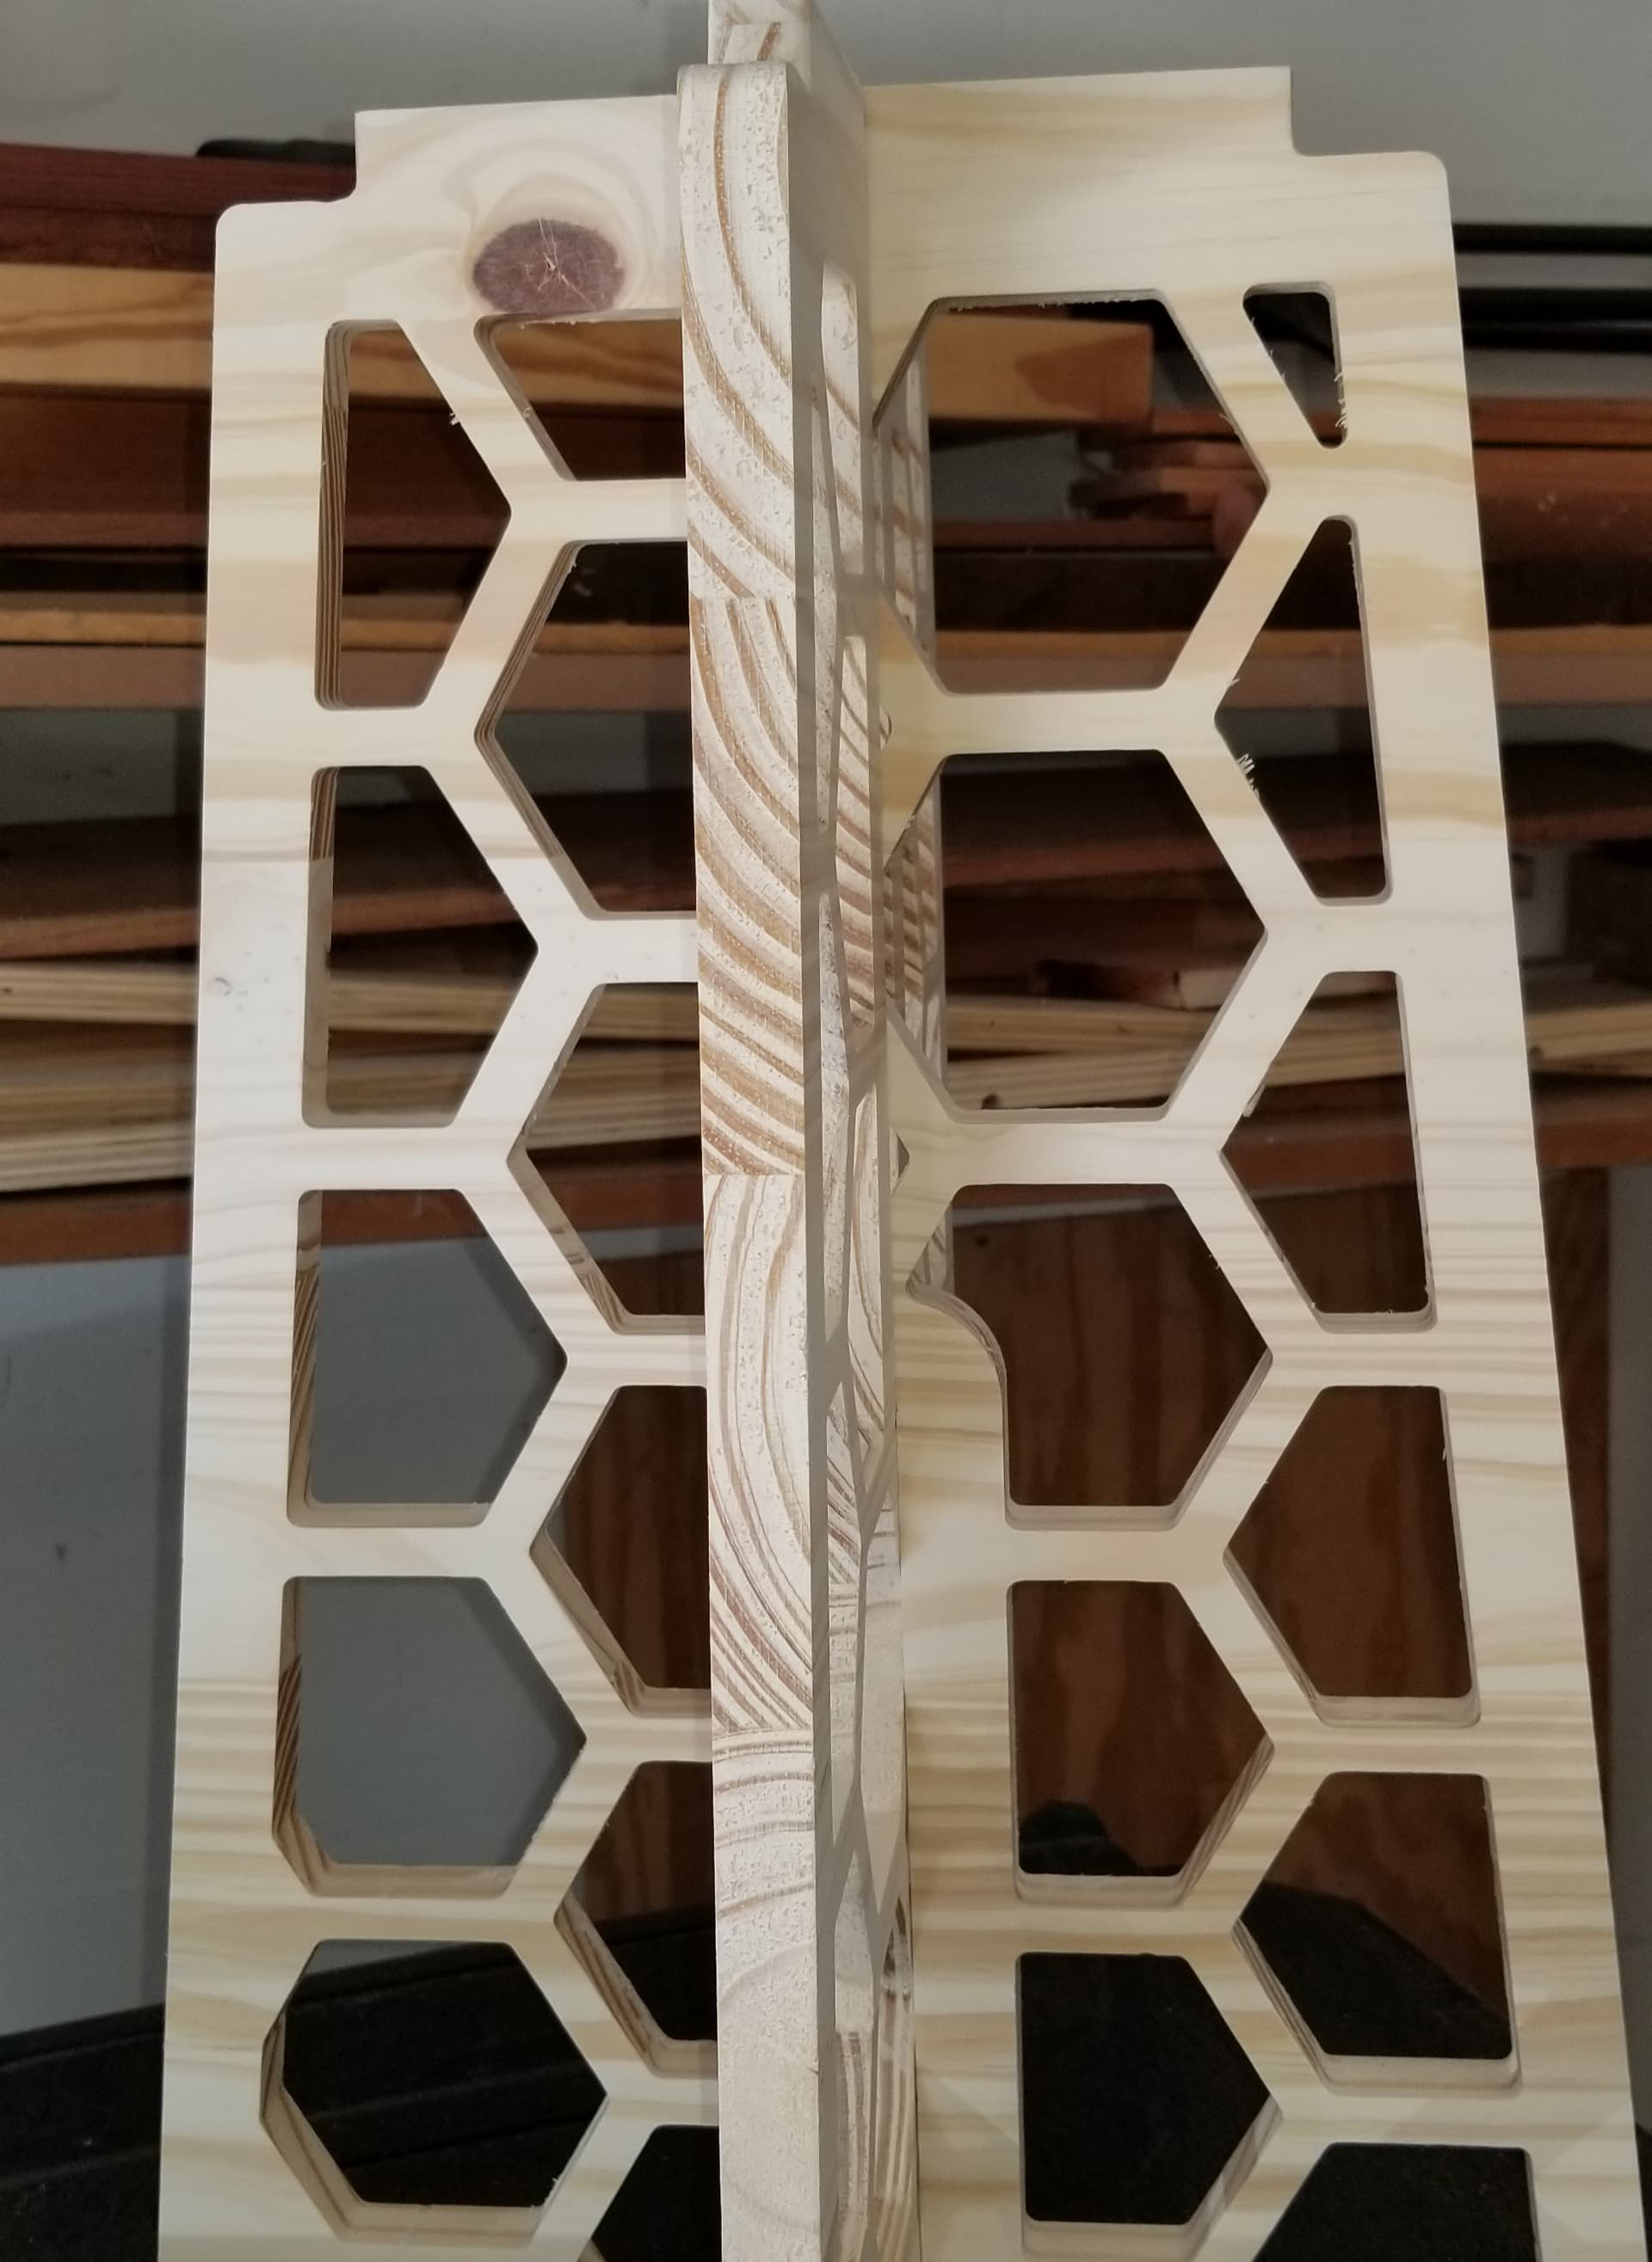
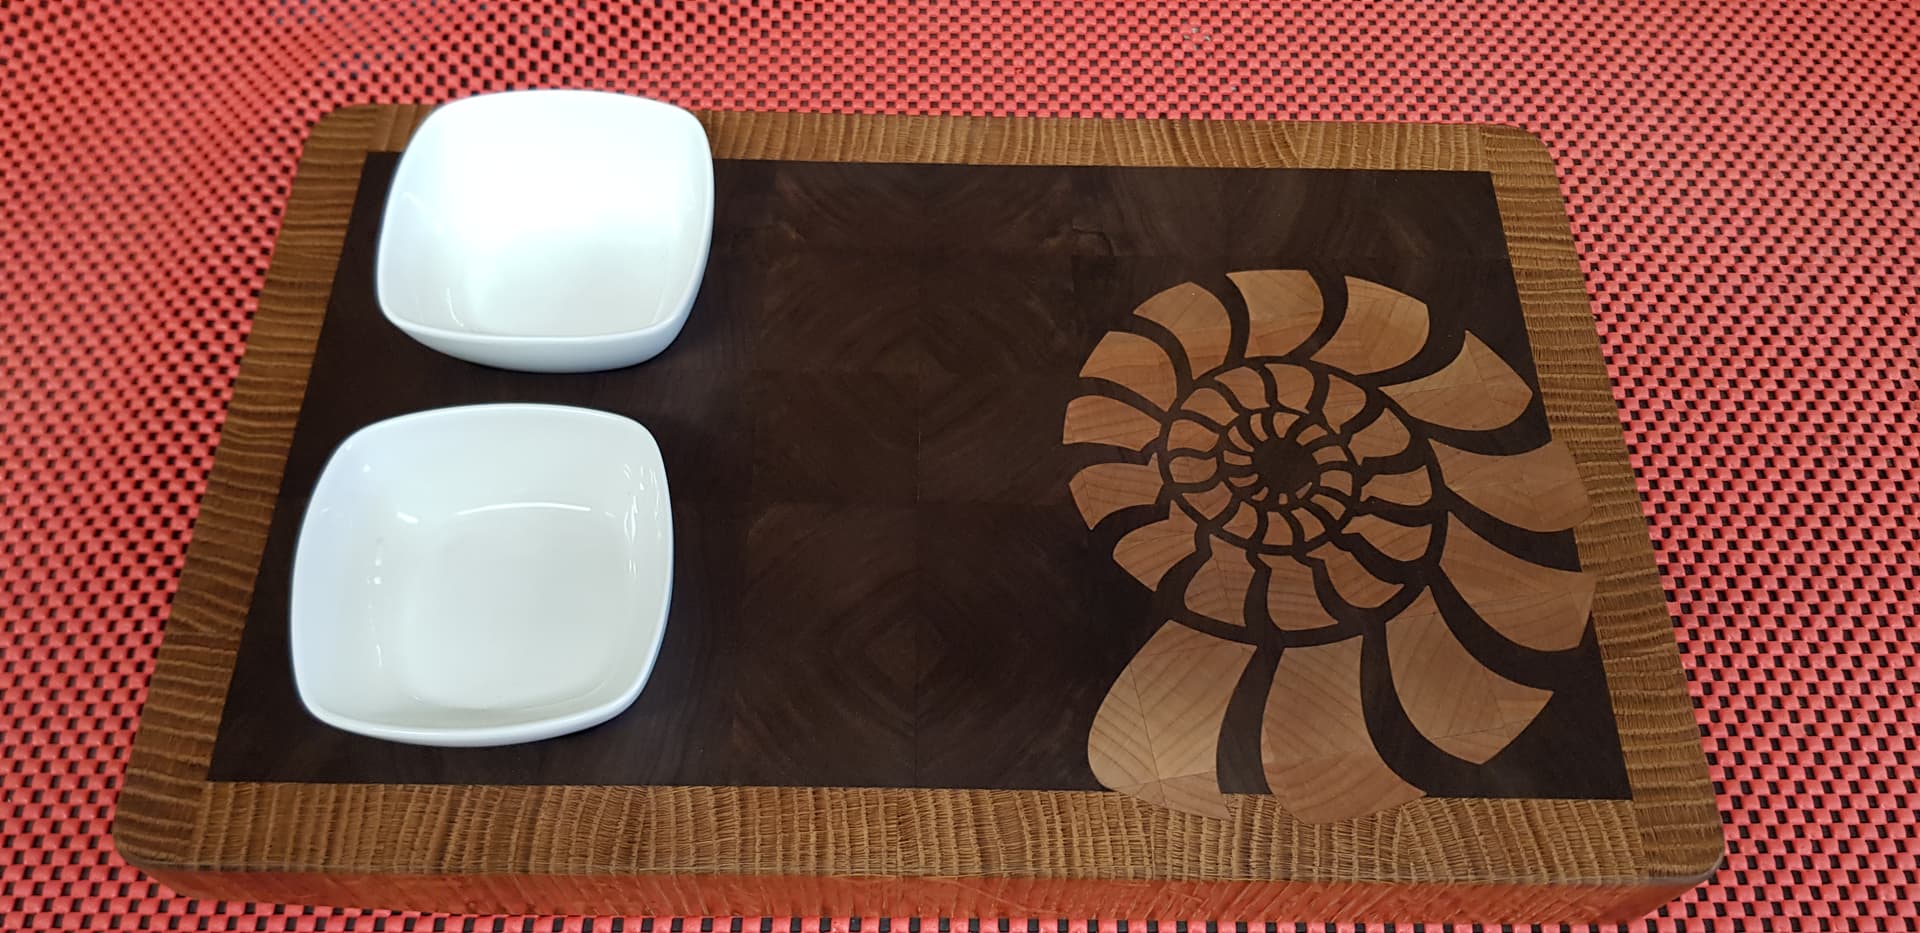
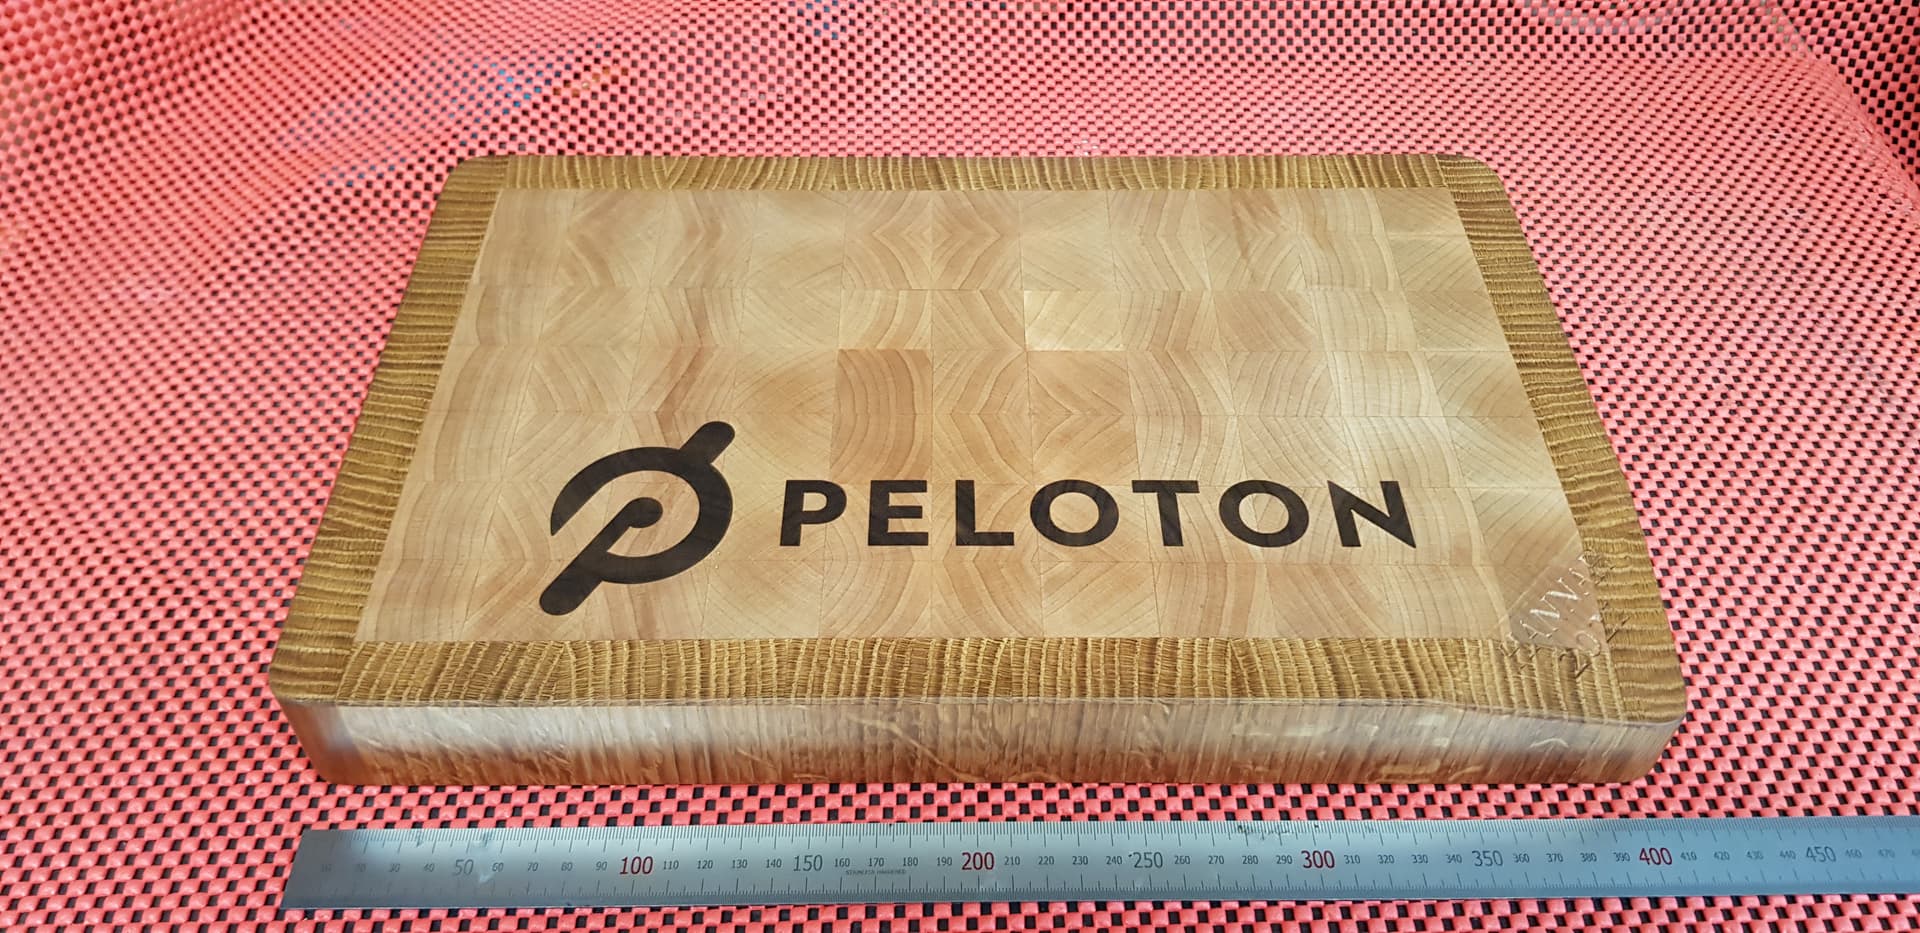
Yet another inlaid chopping board!
I was asked by my lad to make this board that they had designed for a friend who is mad about Peloton and dead keen on fossils.
I thought that I would also try to incorporate the fact that her father is American and her mother is Canadian. They all live near England’s “Jurassic Coast”.
Hence the use of American Black Walnut inlaid with Canadian Maple on one side and the reverse on the other. The English Oak binds them together.
As ever these things take an age to make with all the glue-ups but when it all comes together it is very satisfying.
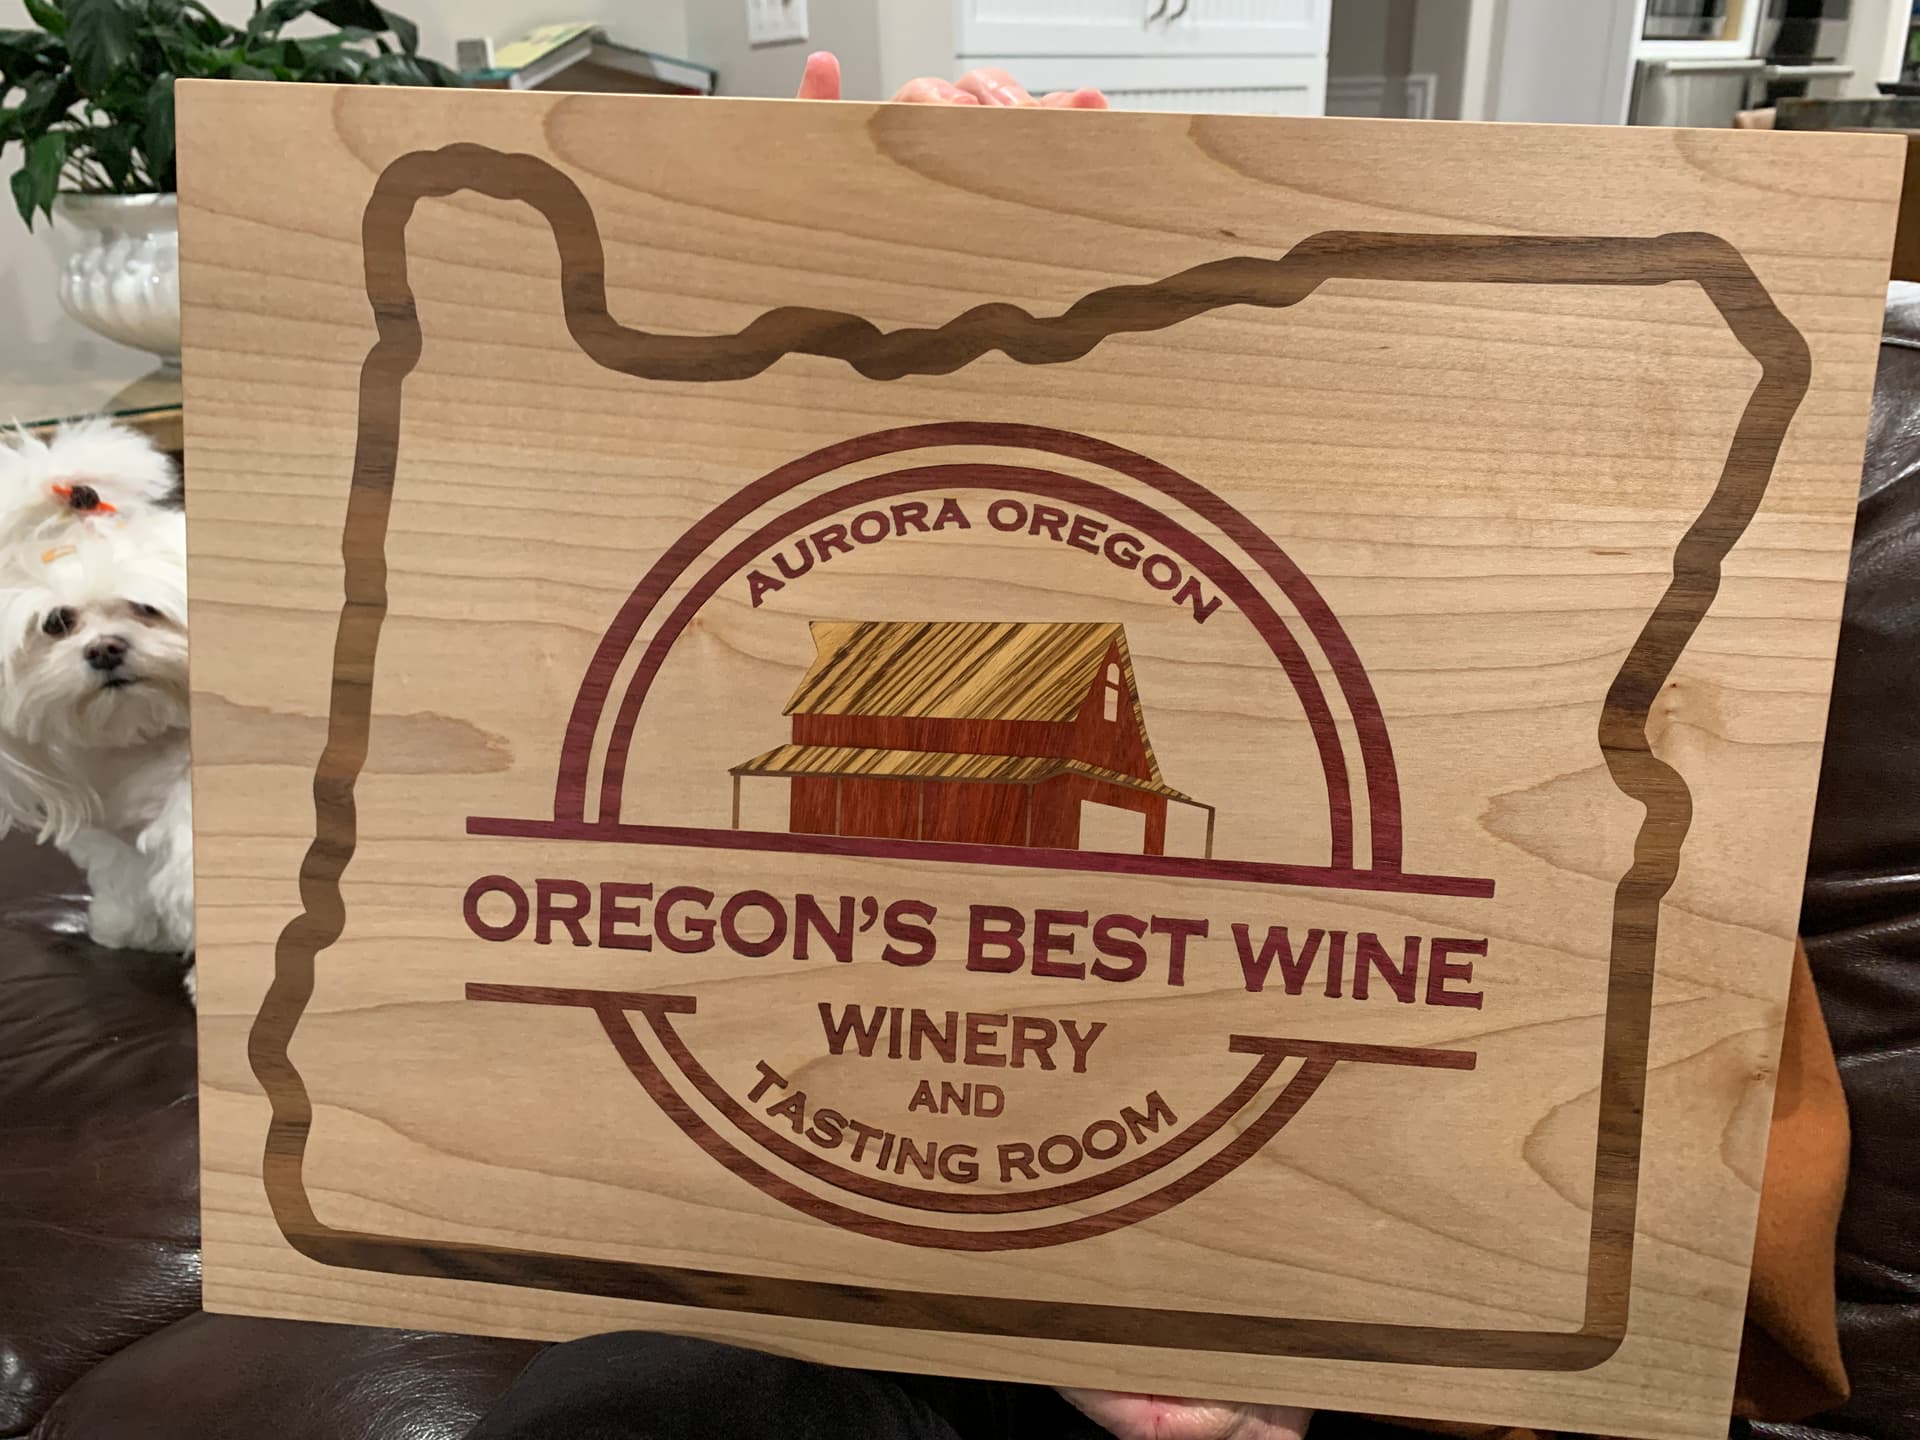
So today I finished my first inlay project. Maple base, walnut state outline, Purple Heart letters and circles, zebra wood roof, walnut building trim and blood wood for the barn walls.
I used Carbide Create with the base cut .3” deep using 10 degree tapered endmill and a 1/8” flat endmill for the vcarve flats. For the plugs I used a start depth of .1” and a max of .3”