You nailed it, John. Winning “Best Supporting Tool” on a project is sometimes the Shapeoko’s role.
2 Likes
Nice! Don’t think the “45 RPM” adapters go un-noticed by some of us that actually used them! ![]()
3 Likes
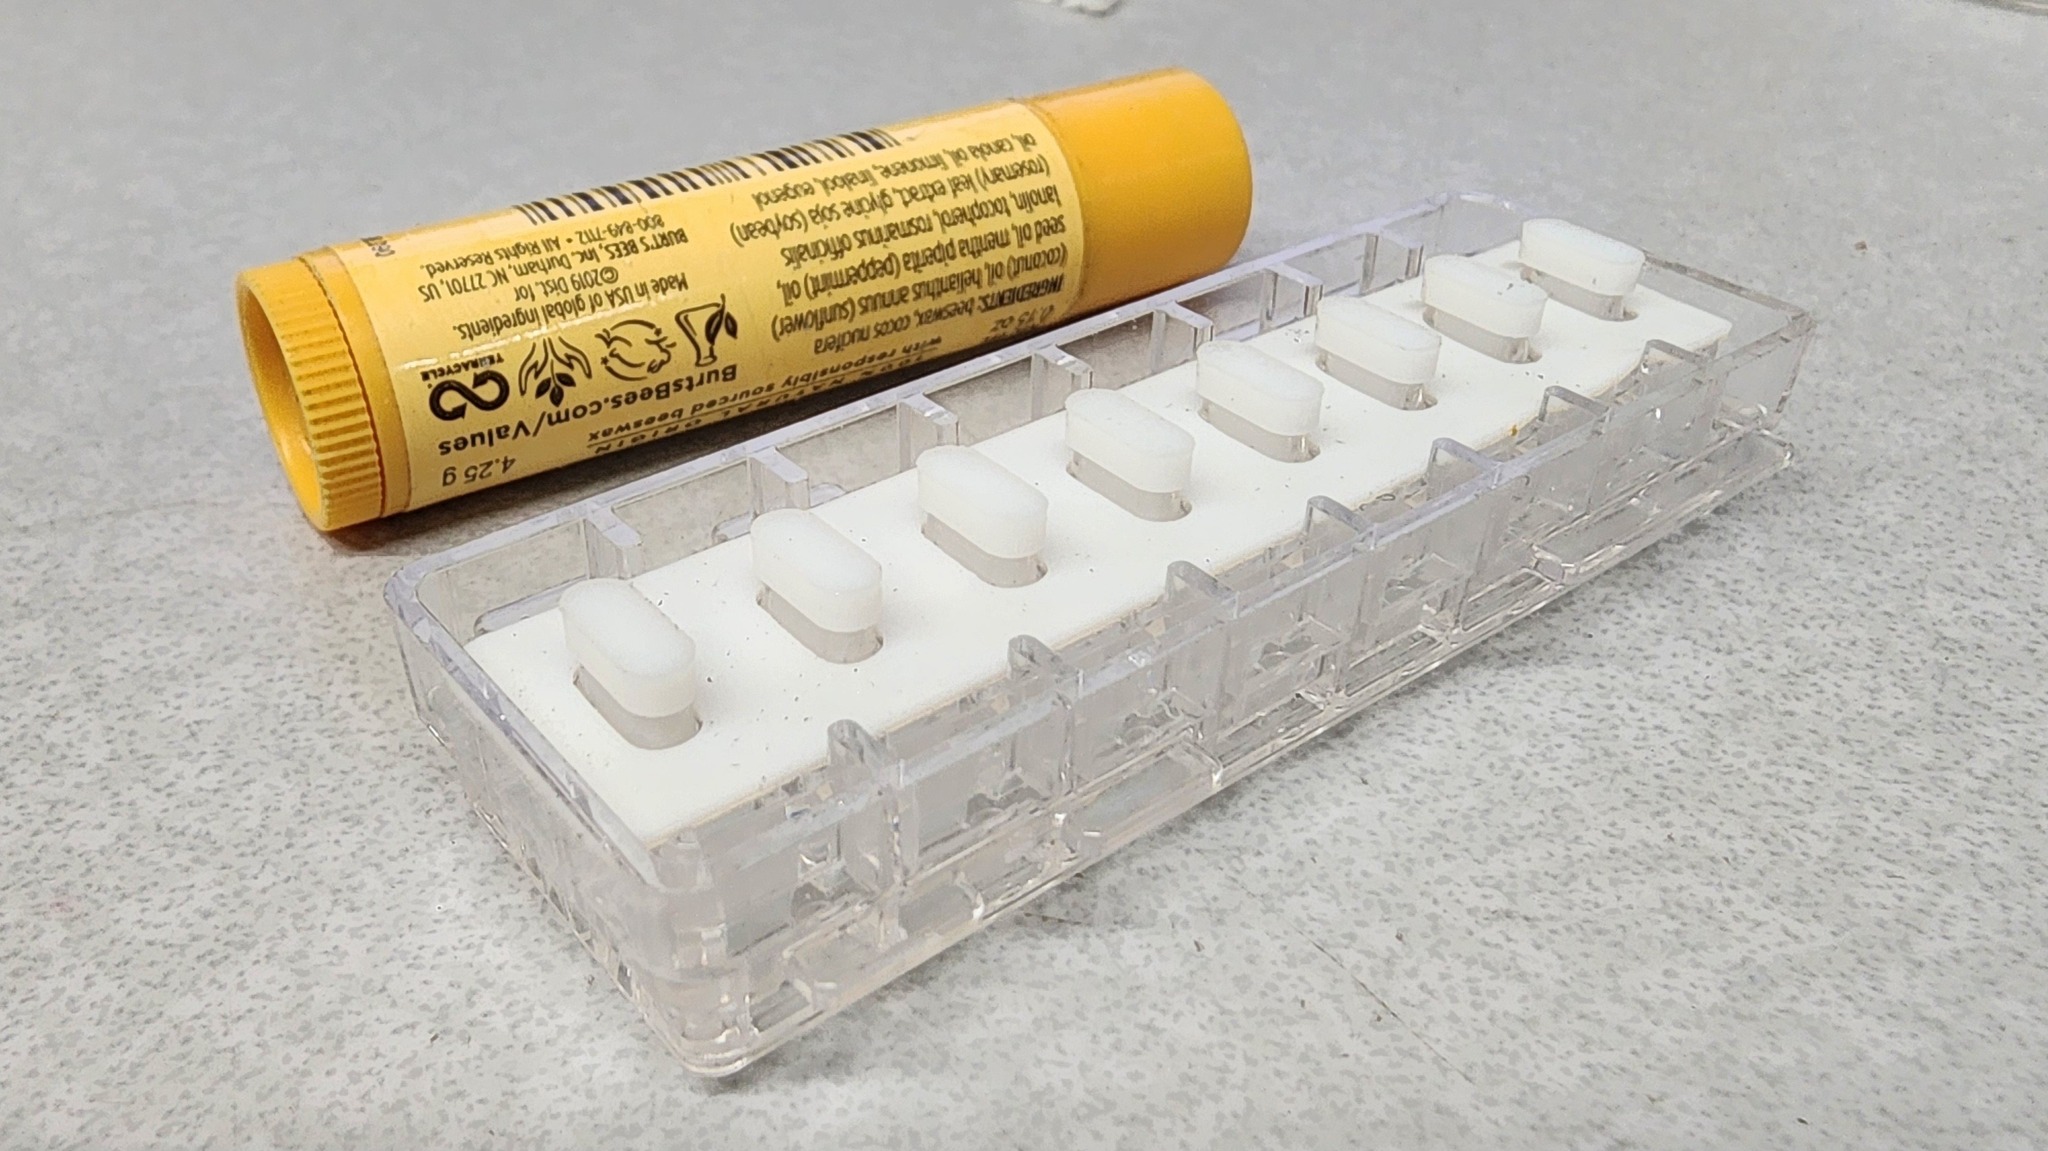
I watched the Carbide 3D YouTube video that @wmoy did about how small a S5Pro can machine. At work we got a job for 125 of these varying Teflon pieces, so I decided to continue the small trend on our HDM. We had made a batch before on one of our mills, but they took a lot of time and needed a lot of deburr work with fuzzies. They fit into the clear injection molded piece pictured and help some medical researchers with a project. The smallest features are 0.15 mm and the overall larger part is ~5 mm. I ran some test pieces to nail a very critical dimension with a negative stock offset. After that I programed the 5 different variations and got to cutting. They were dimensionally accurate to 0.001" and all 125 were repeatedly within that as well. I made extra in each variety in case the double sticky tape let go, or there was a variance. But every part stayed still and was within a very narrow variance and usable, so they get extra. ![]() I switched to a new 0.125", single flute downcut and the parts didn’t require any deburr. They were consistent enough that I found the expensive medical part they fit into had an inconsistency.
I switched to a new 0.125", single flute downcut and the parts didn’t require any deburr. They were consistent enough that I found the expensive medical part they fit into had an inconsistency. ![]()
Burts Bees for scale
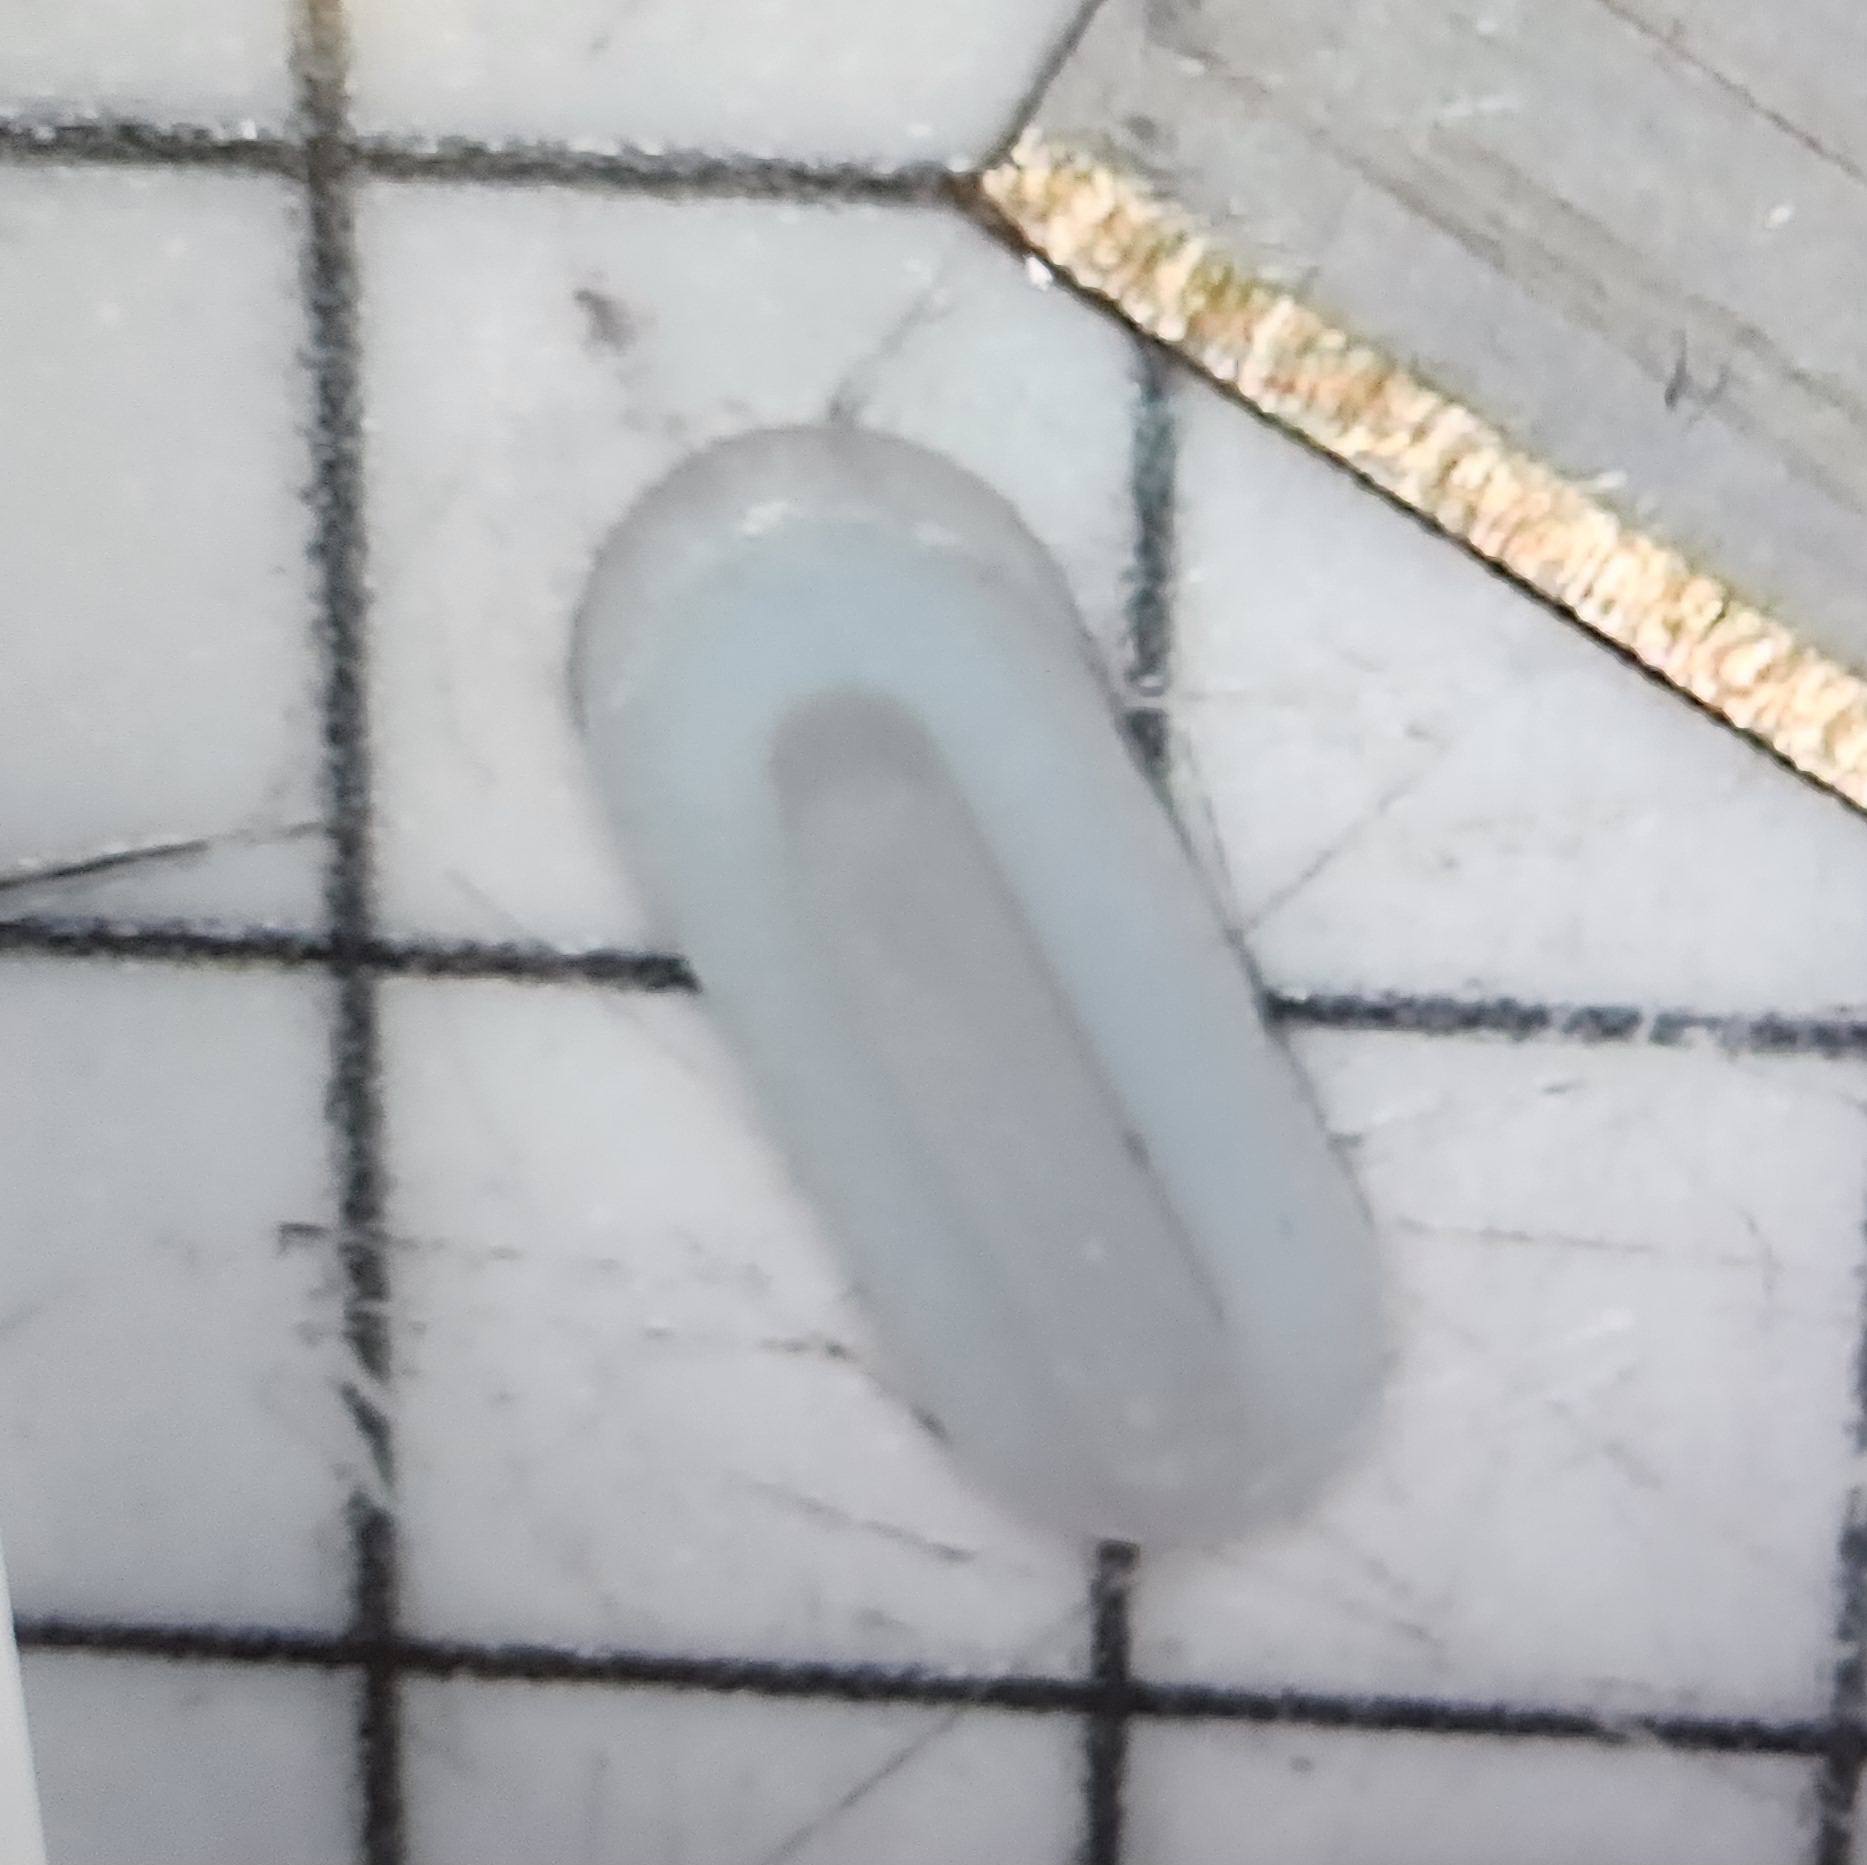
The squares on the mat are 5mm. Razor blade for scale.
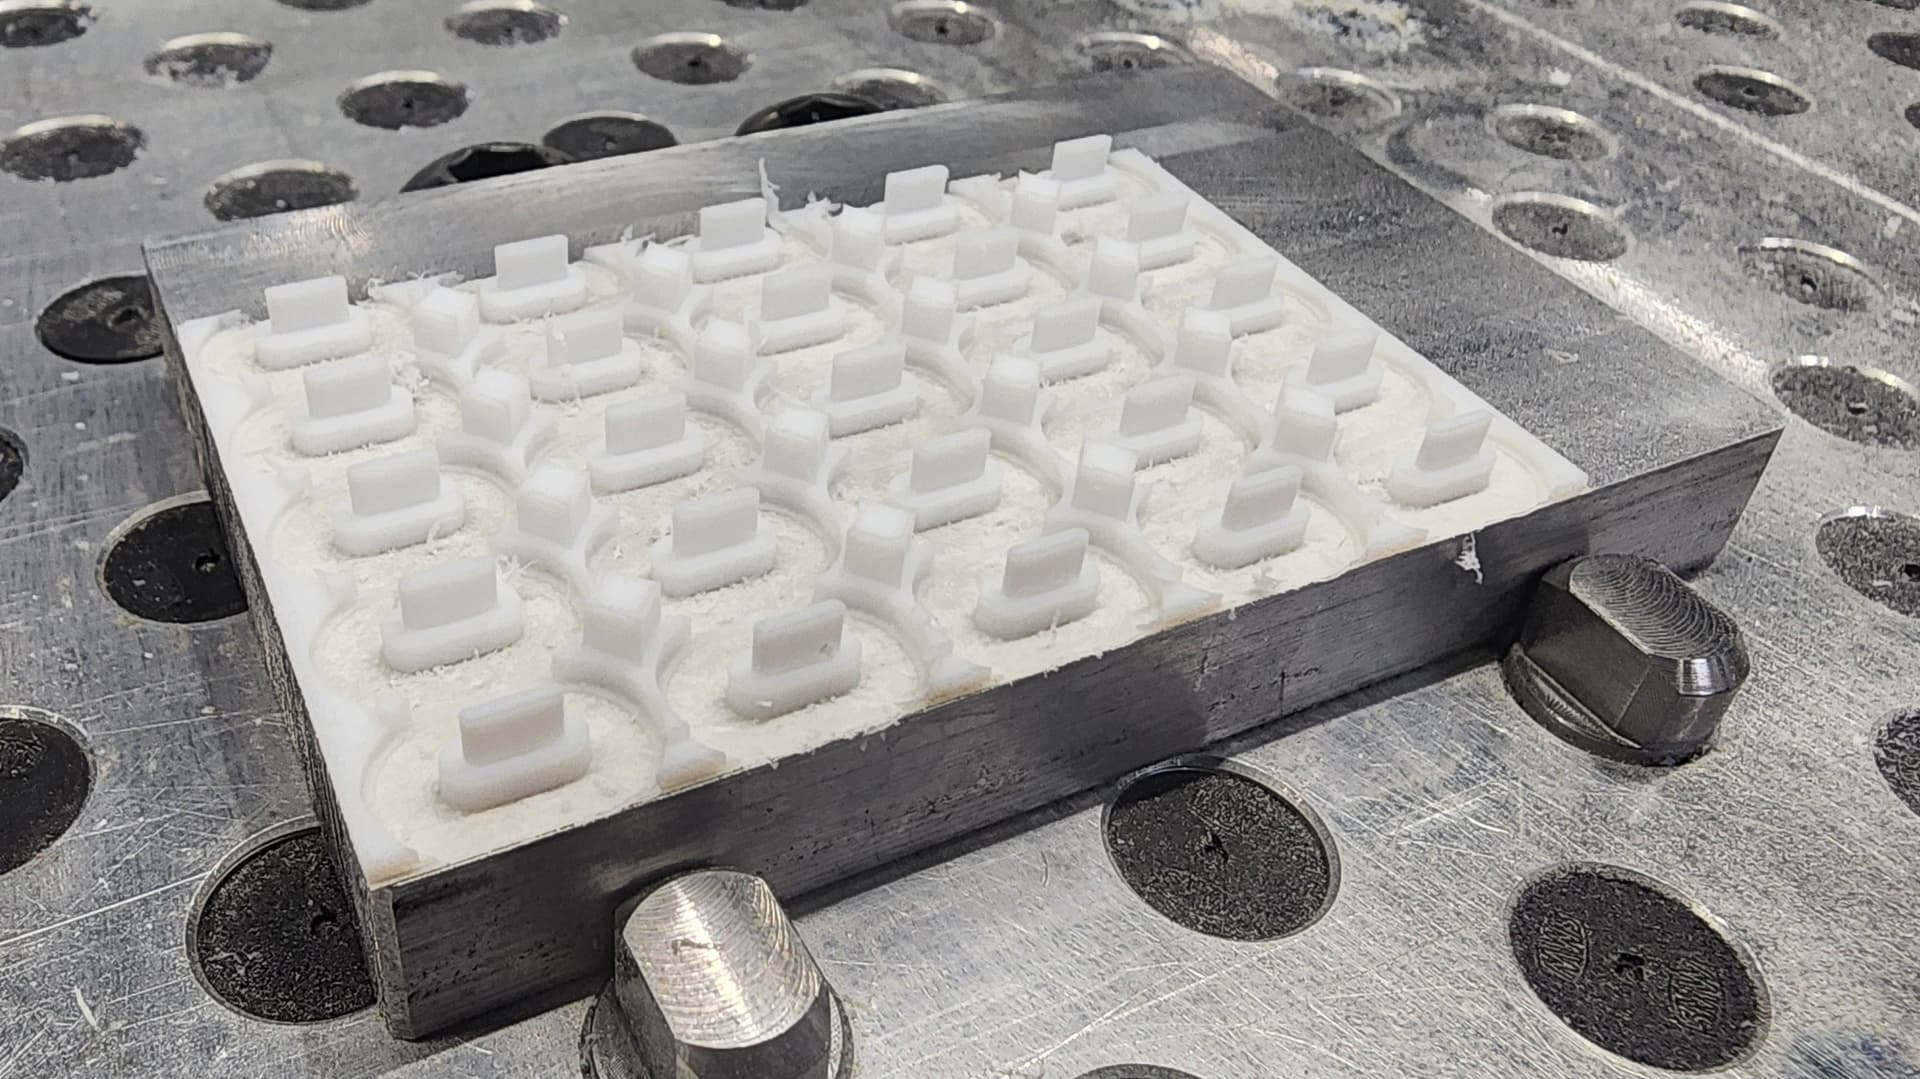
I did an array of 25. The aluminum block was machine leveled and parts held down with Nitto double stick tape. Legging a 0.010" onion skin on the bottom until the very last operation kept them in place.
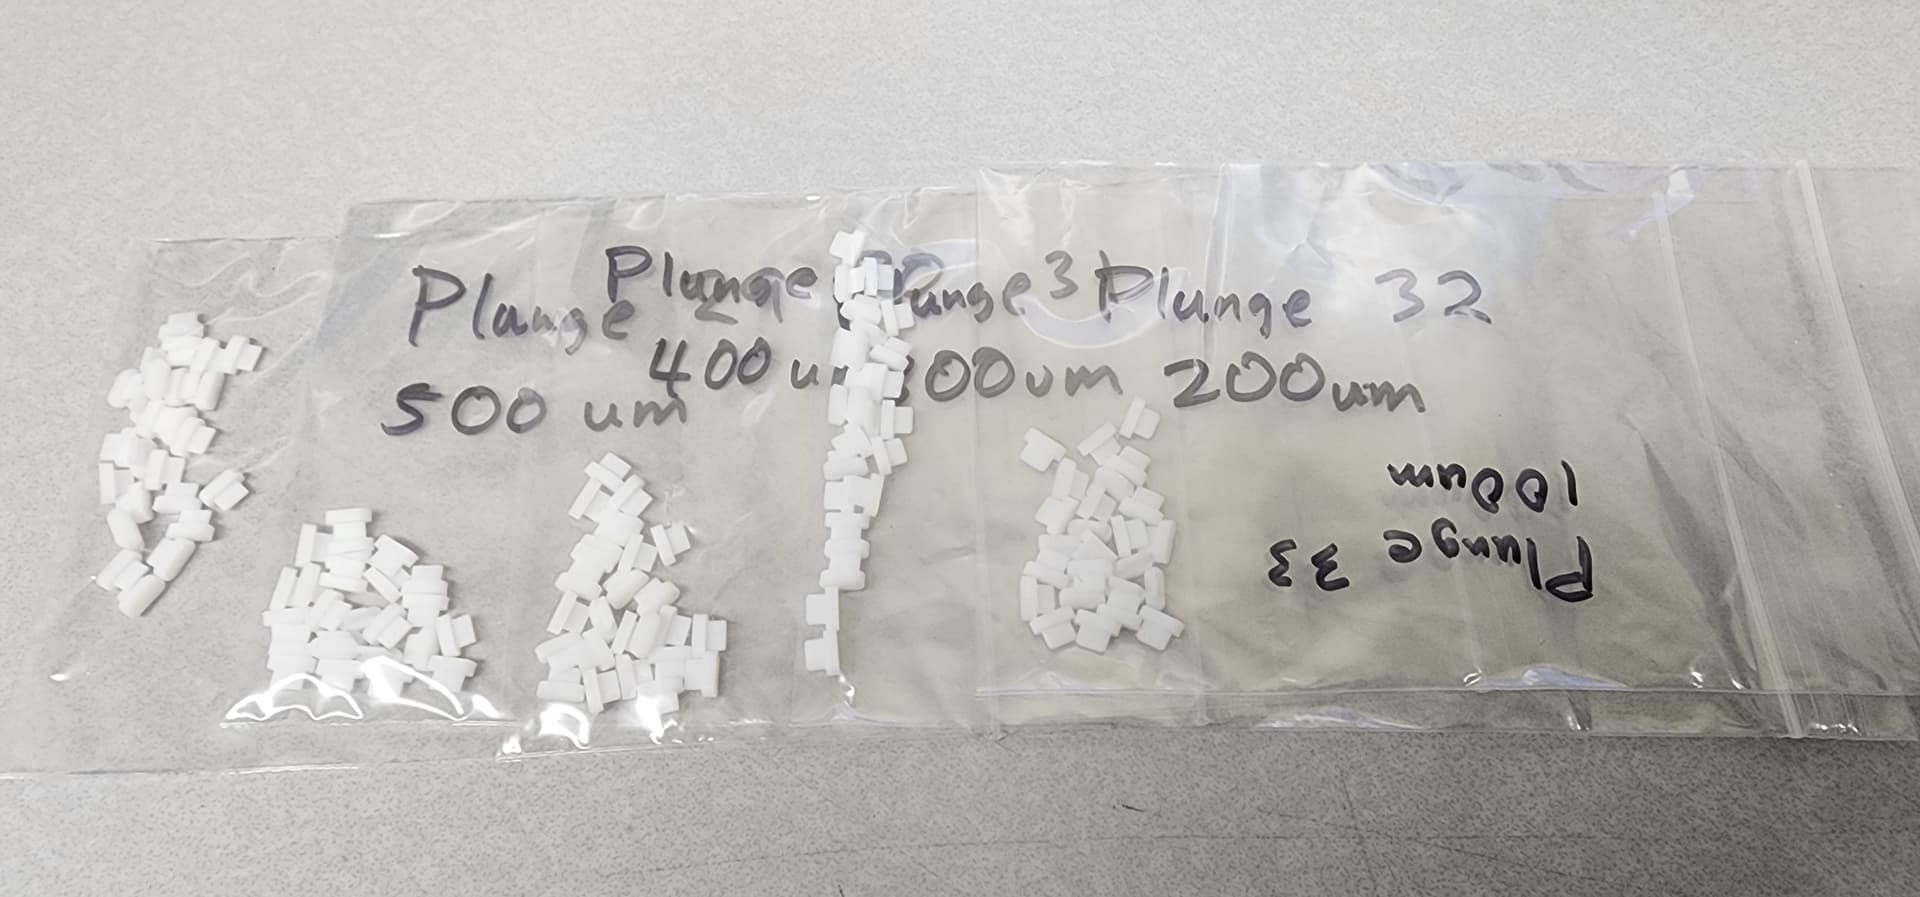
125 super accurate Teflon parts bagged and ready to go.
24 Likes
That sure brings back memories as a consultant / contractor! I couldn’t figure out how some folks kept their jobs. ![]()
1 Like
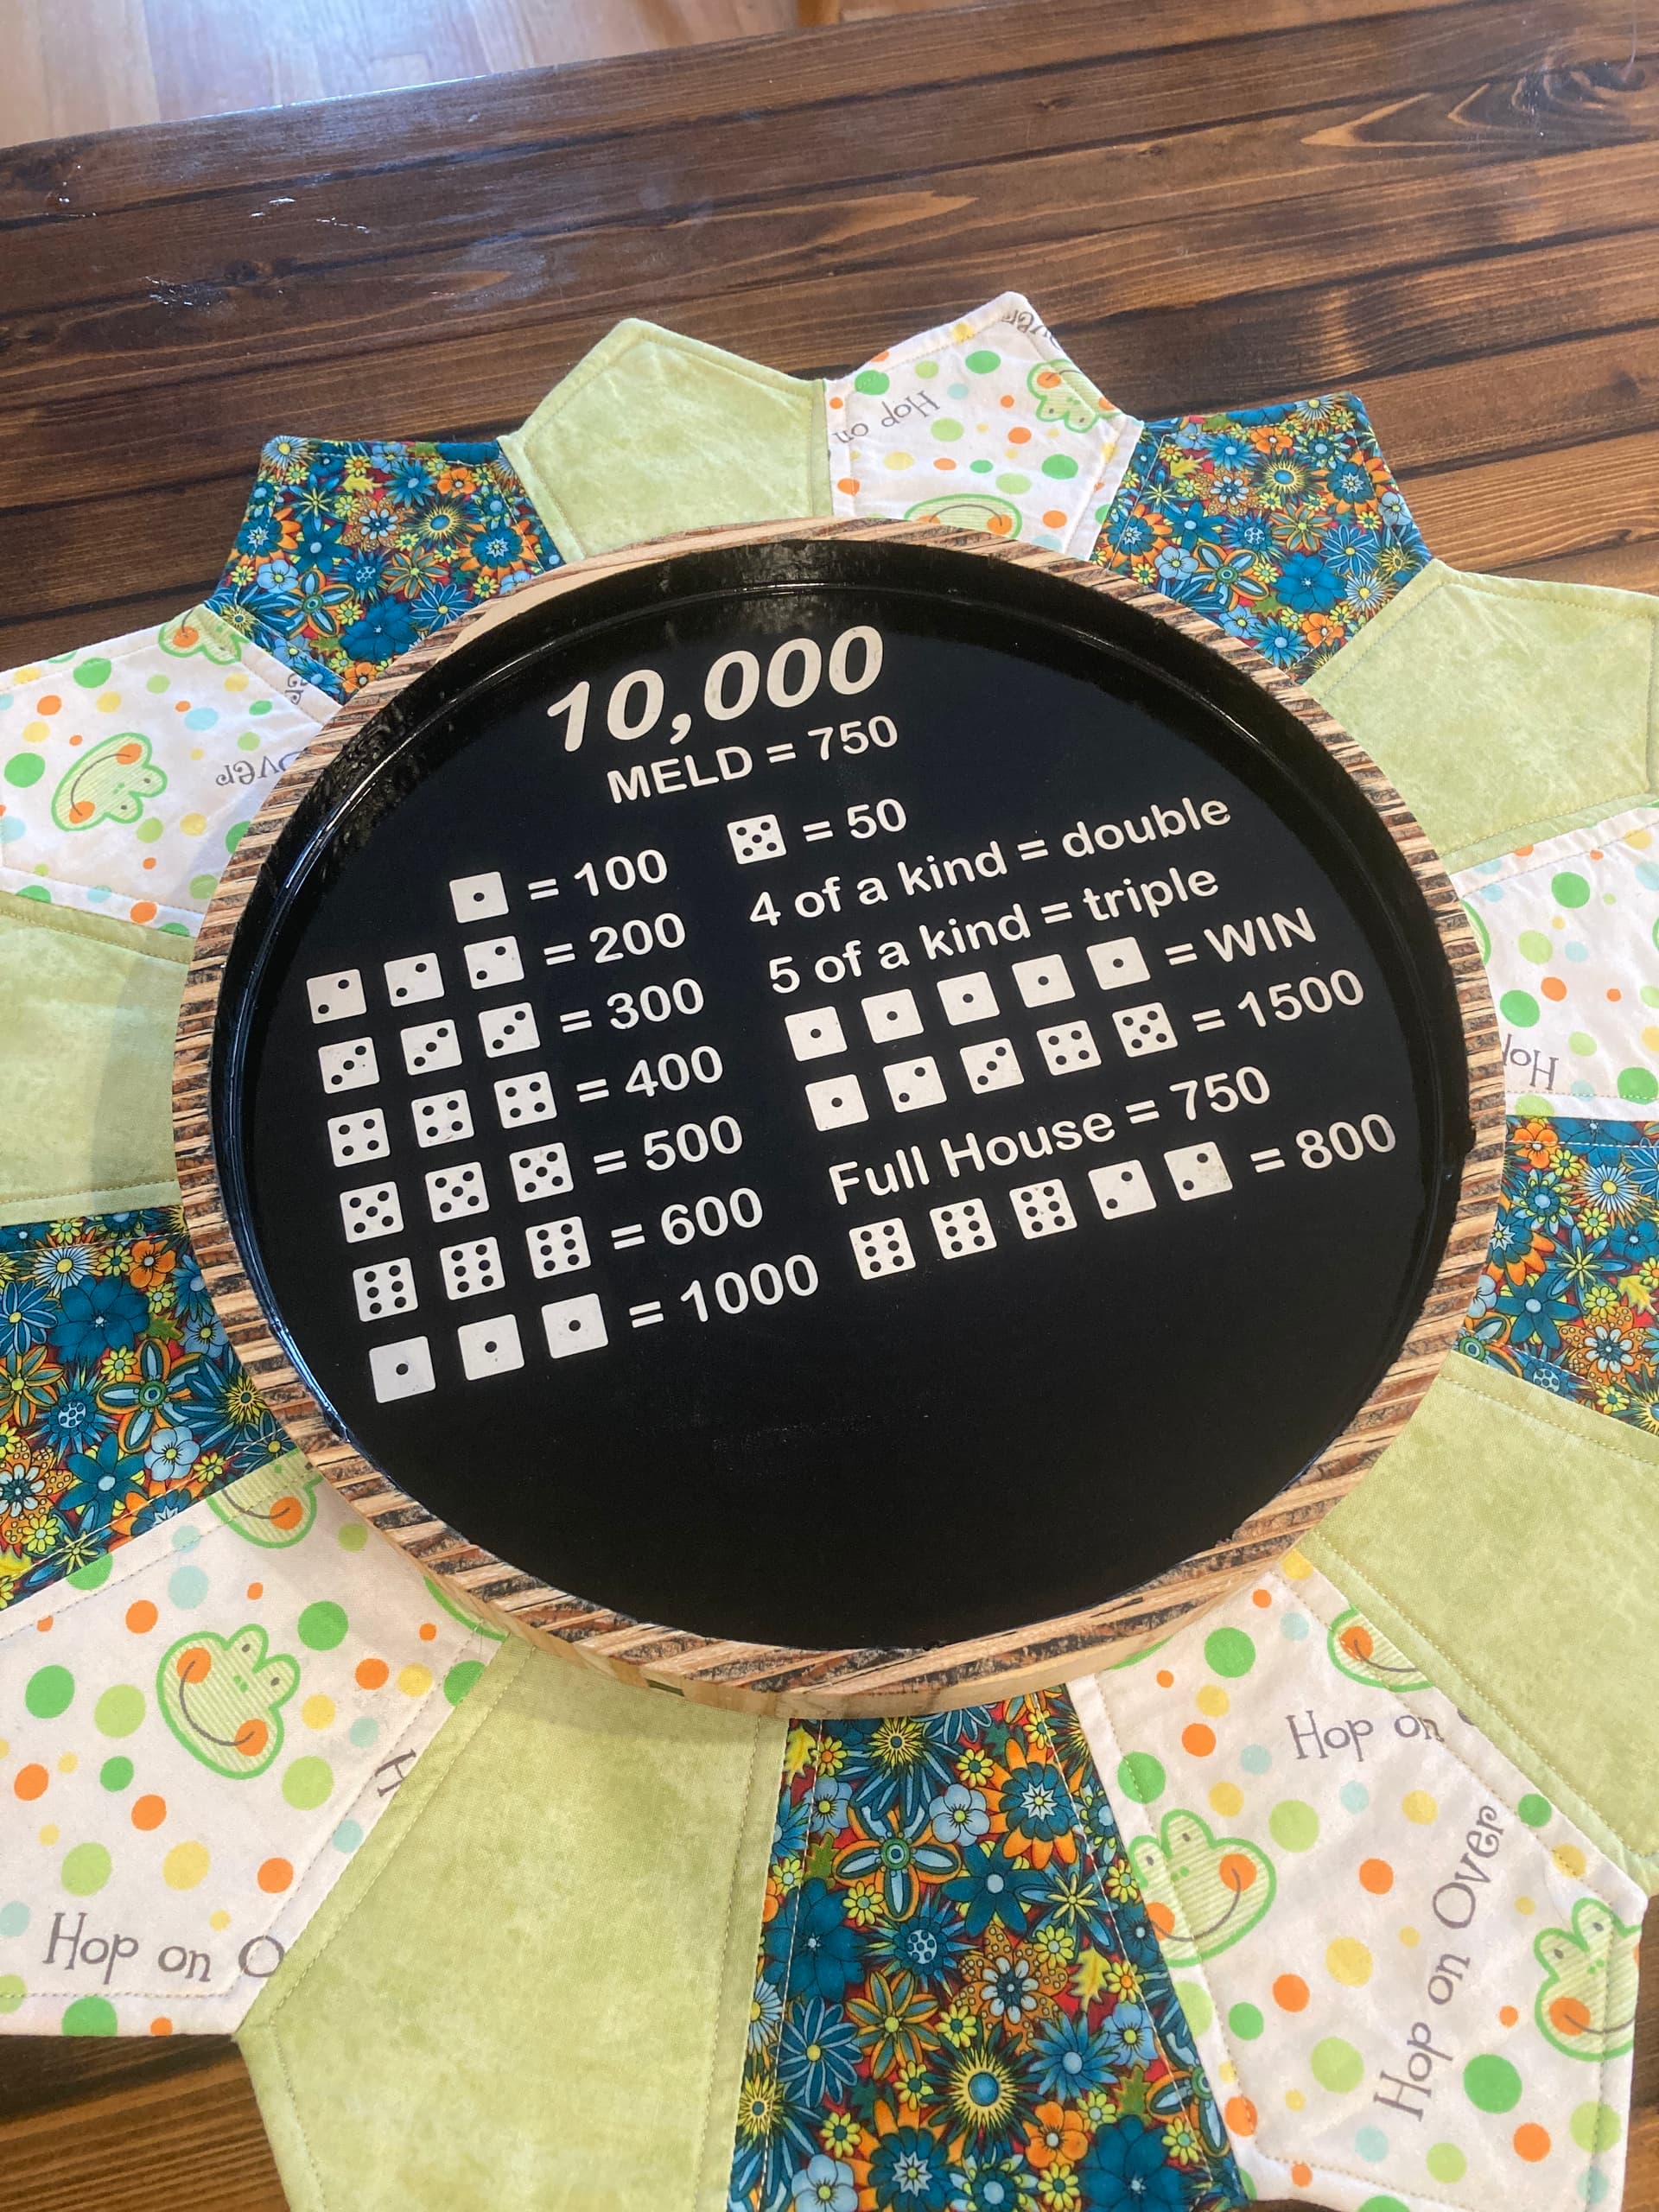
A friend saw a Farkle dice tray & wanted one for 10,000
My son stole my favorite cribbage board, so I made him a new one & got mine back

26 Likes
Wow !! Beautiful work.
2 Likes
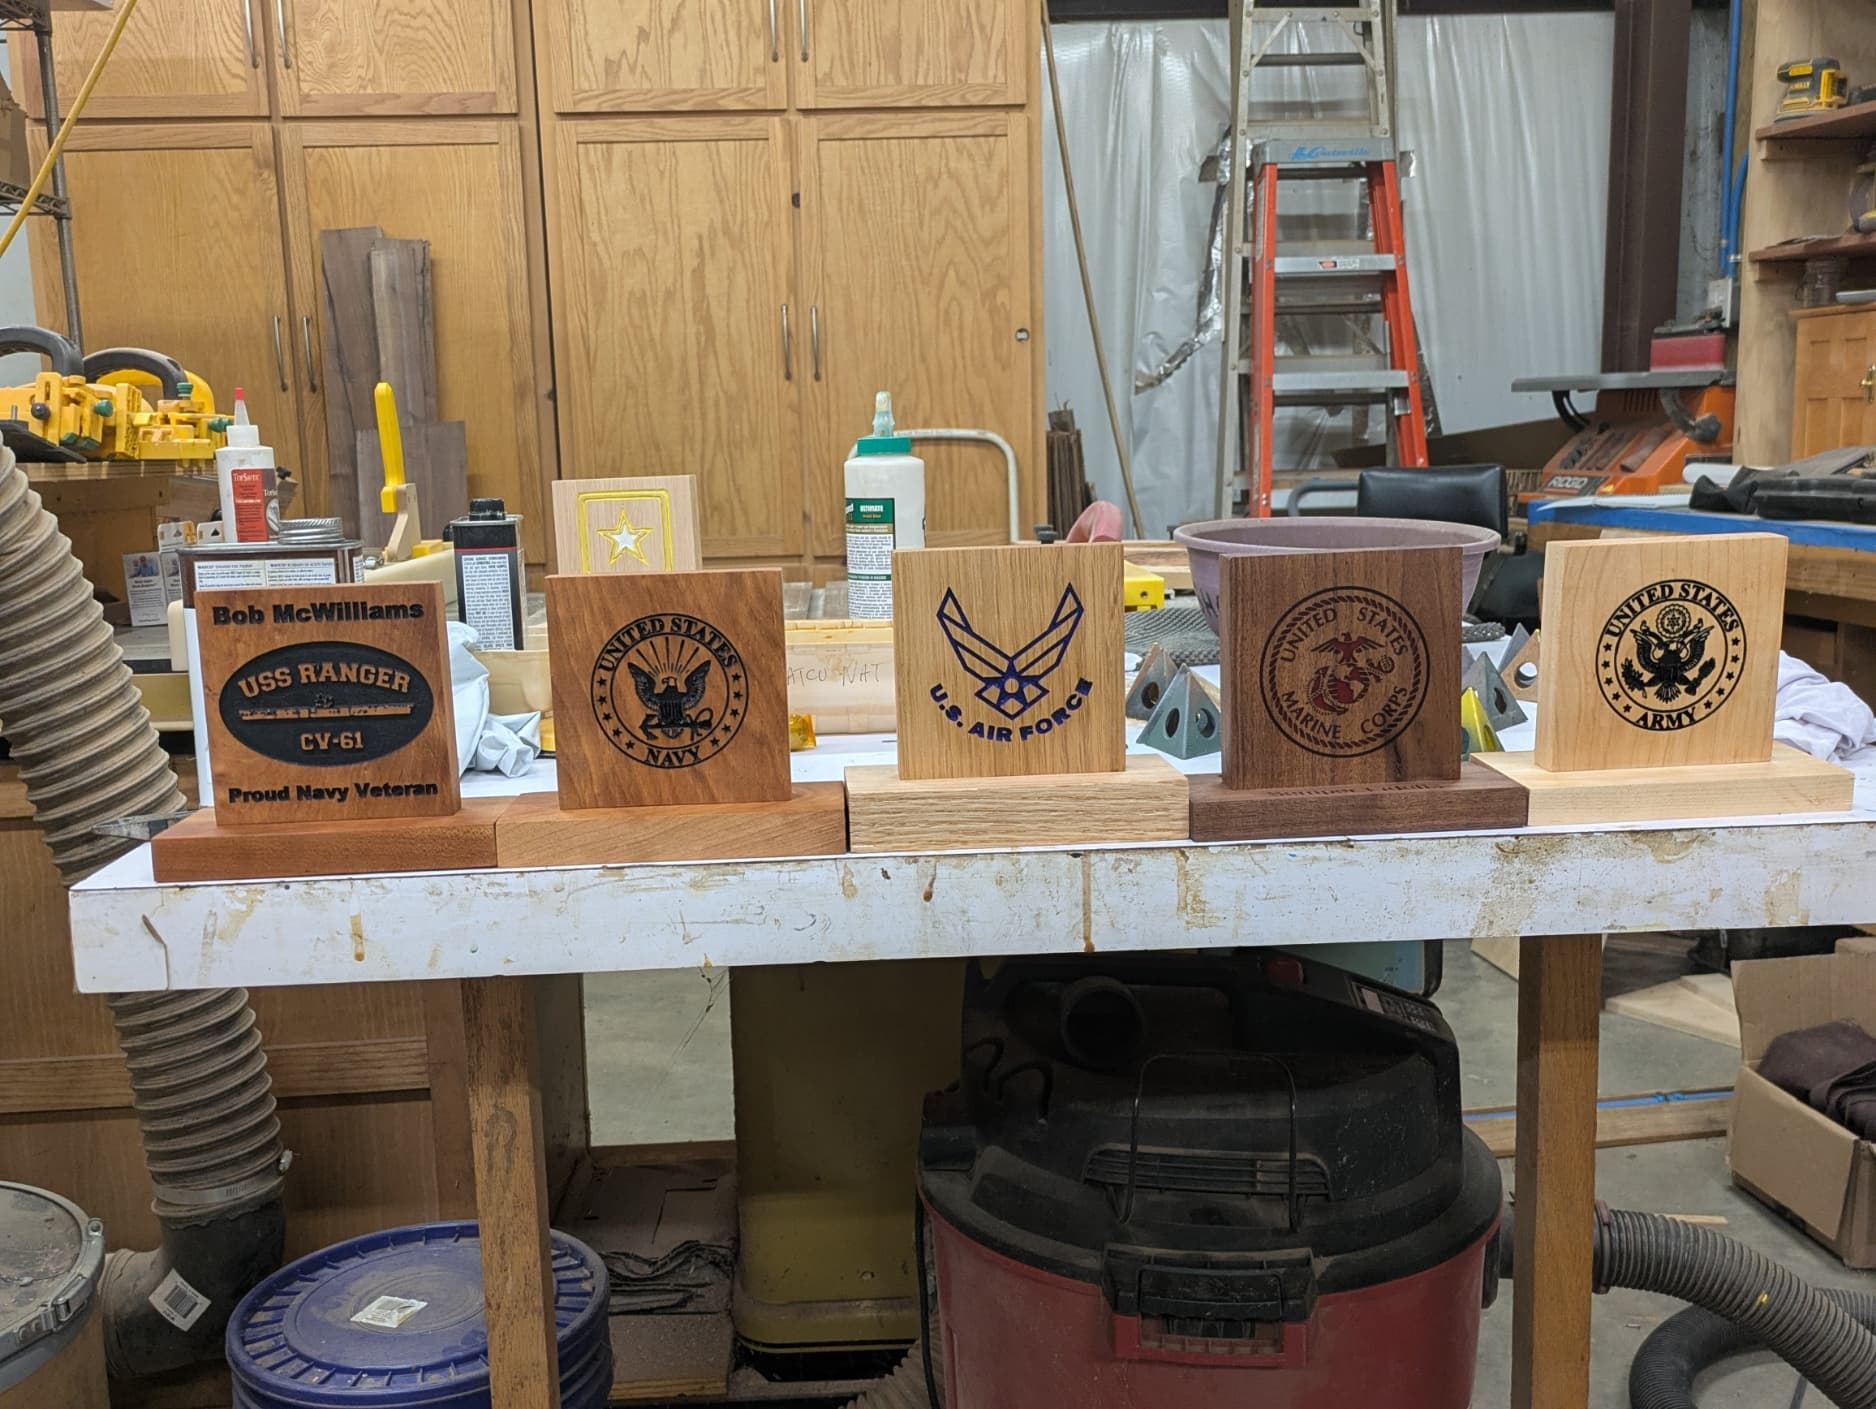
I made some plaques for my woodworking club door prizes for last Saturday. Had Army, Navy, Air Force and Marines. I would have though we had some Marines but either none showed up or we dont have any. I did not make a Coast Guard and had one CG veteran so I need to make him a plaque. Your cribbage board is very nice.
How long did your cribbage board take to carve?
12 Likes
About 30 minutes with setup & tool changes. < 20 min tool paths.
Semper Paratus! to your coasty friend. ![]()
Nice work!! How did you finish your dice board?
The black & white are epoxy, so just one coat of polyurethane to bring out the luster.
1 Like
On the Farkle tray, a couple of questions.
What is the “container” made of ? Looks like ply’s of something on edge.
I have never done epoxy.
What order of operations did you do the epoxy ?
This made my brain spin.
Yes, plywood strips glued on edge. It’s what I had ![]()
I cut the pocket, then poured black epoxy. Then I V-carved the lettering and rather than wait another day for epoxy, I used white bondo to fill. Then surfaced off the excess and cut the outside profile. A little hand sanding and a couple good coats of poly for durability.
2 Likes
Thanks for the info !
It’s interesting to hear someone else that can’t wait for something to dry.
White bondo, I would never have gone there.
1 Like
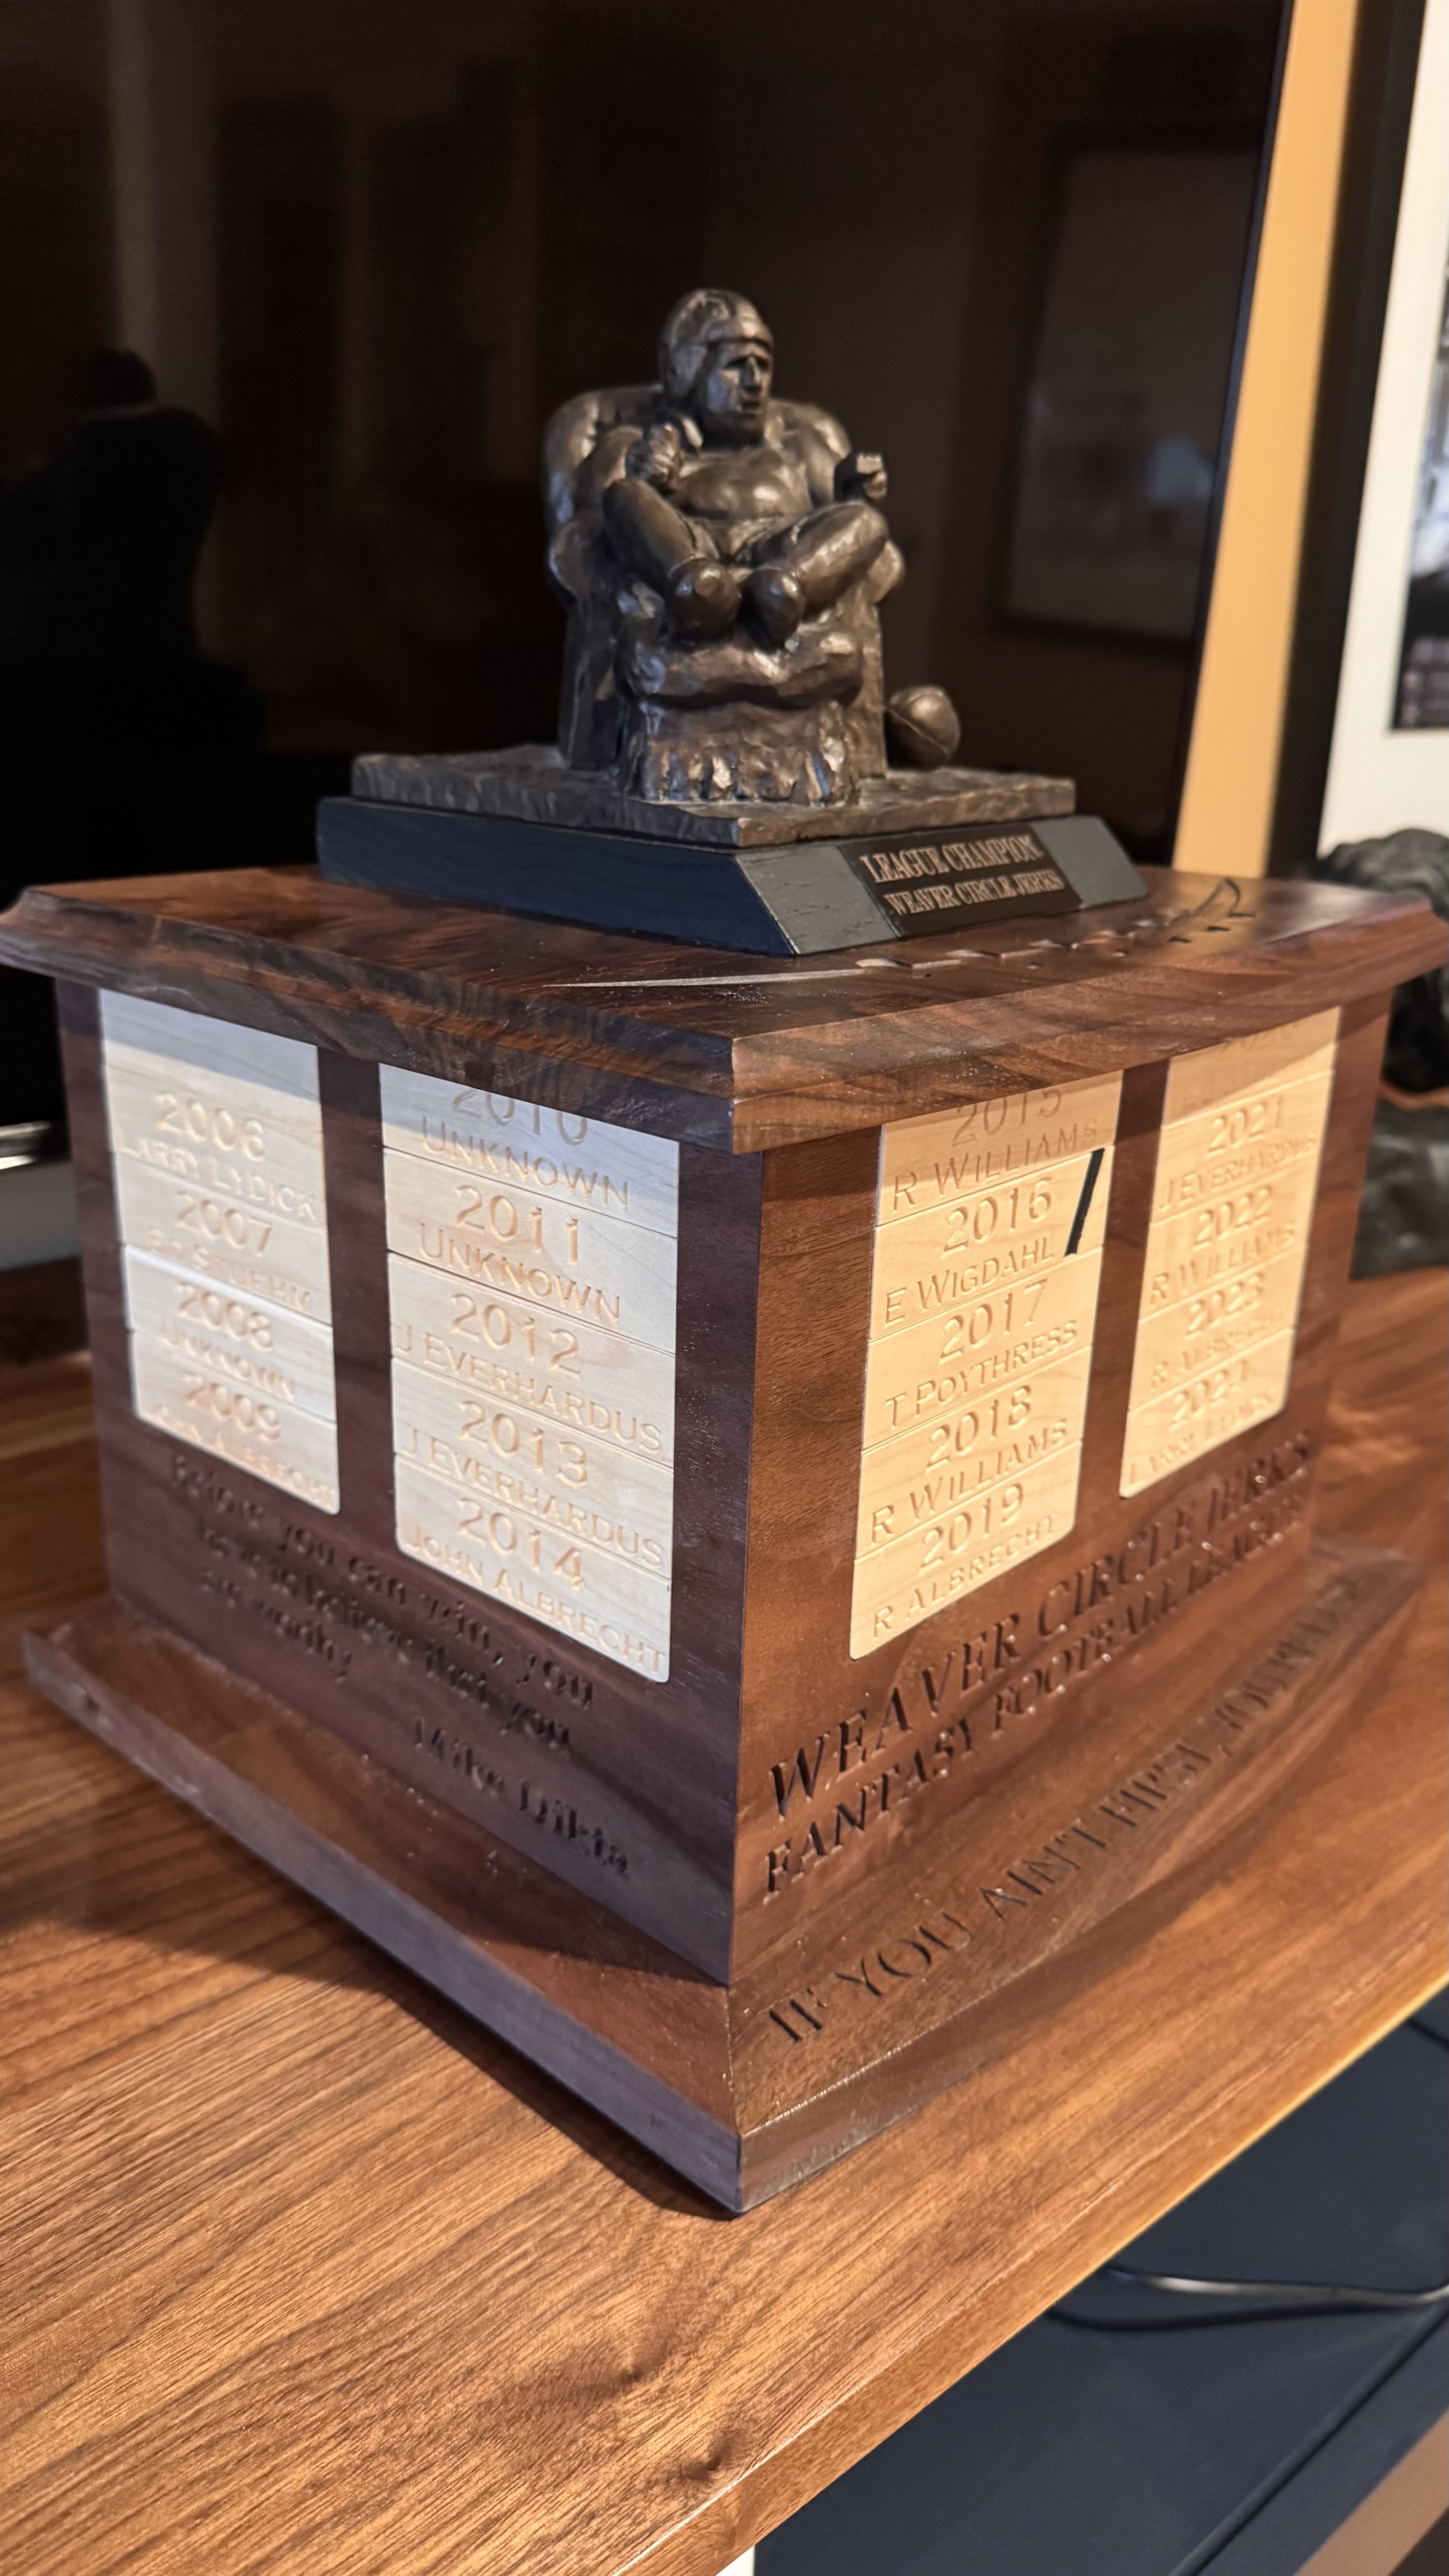
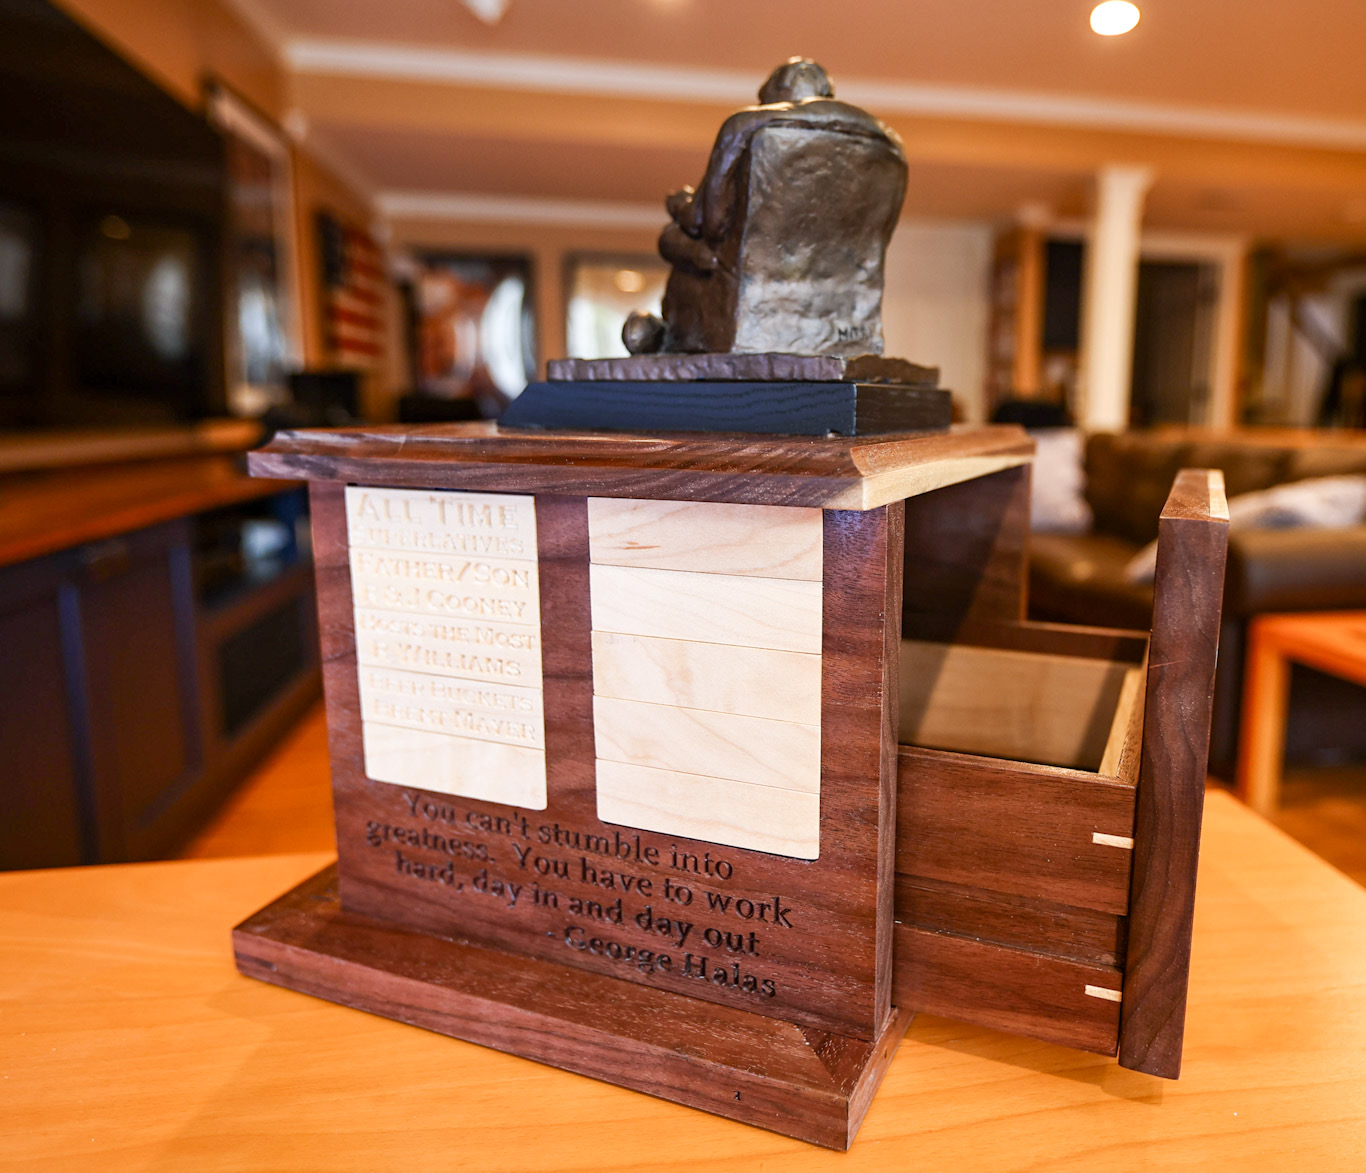
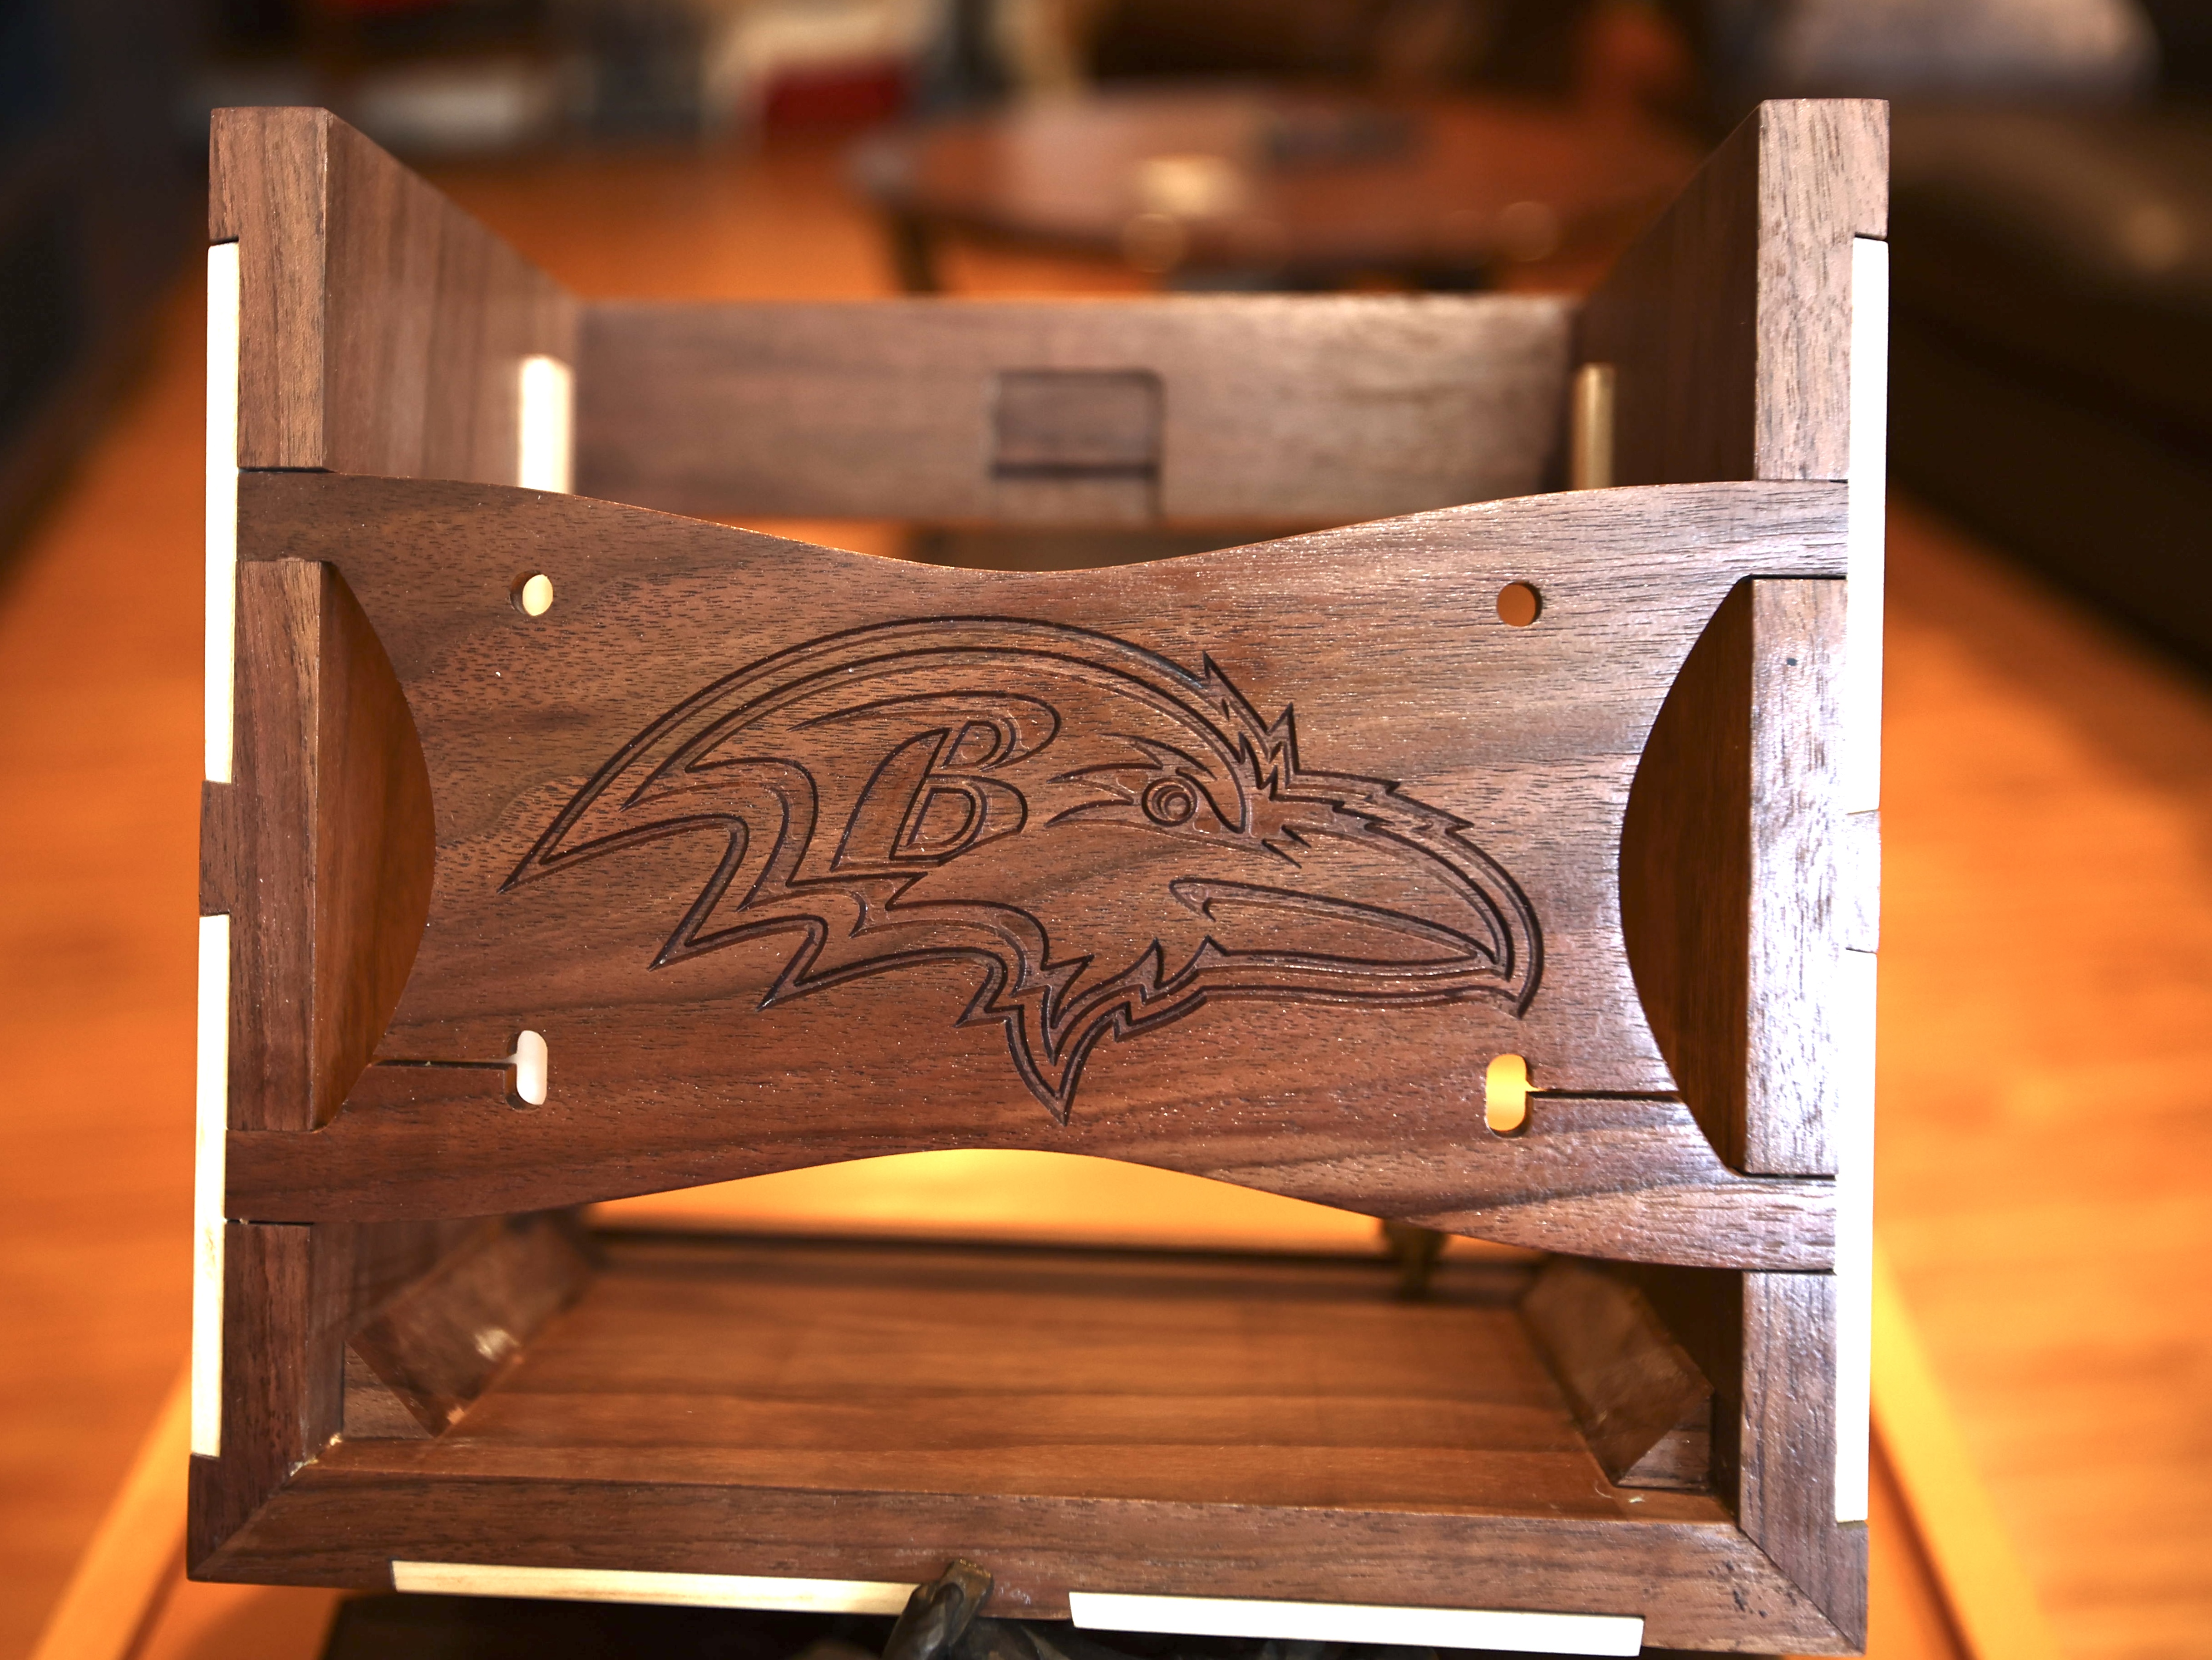
Fantasy football trophy. Walnut and maple. Drawer lined with repurposed cigar box. Removable top locks in name plates. Plates sit in a sliding dovetail.

24 Likes
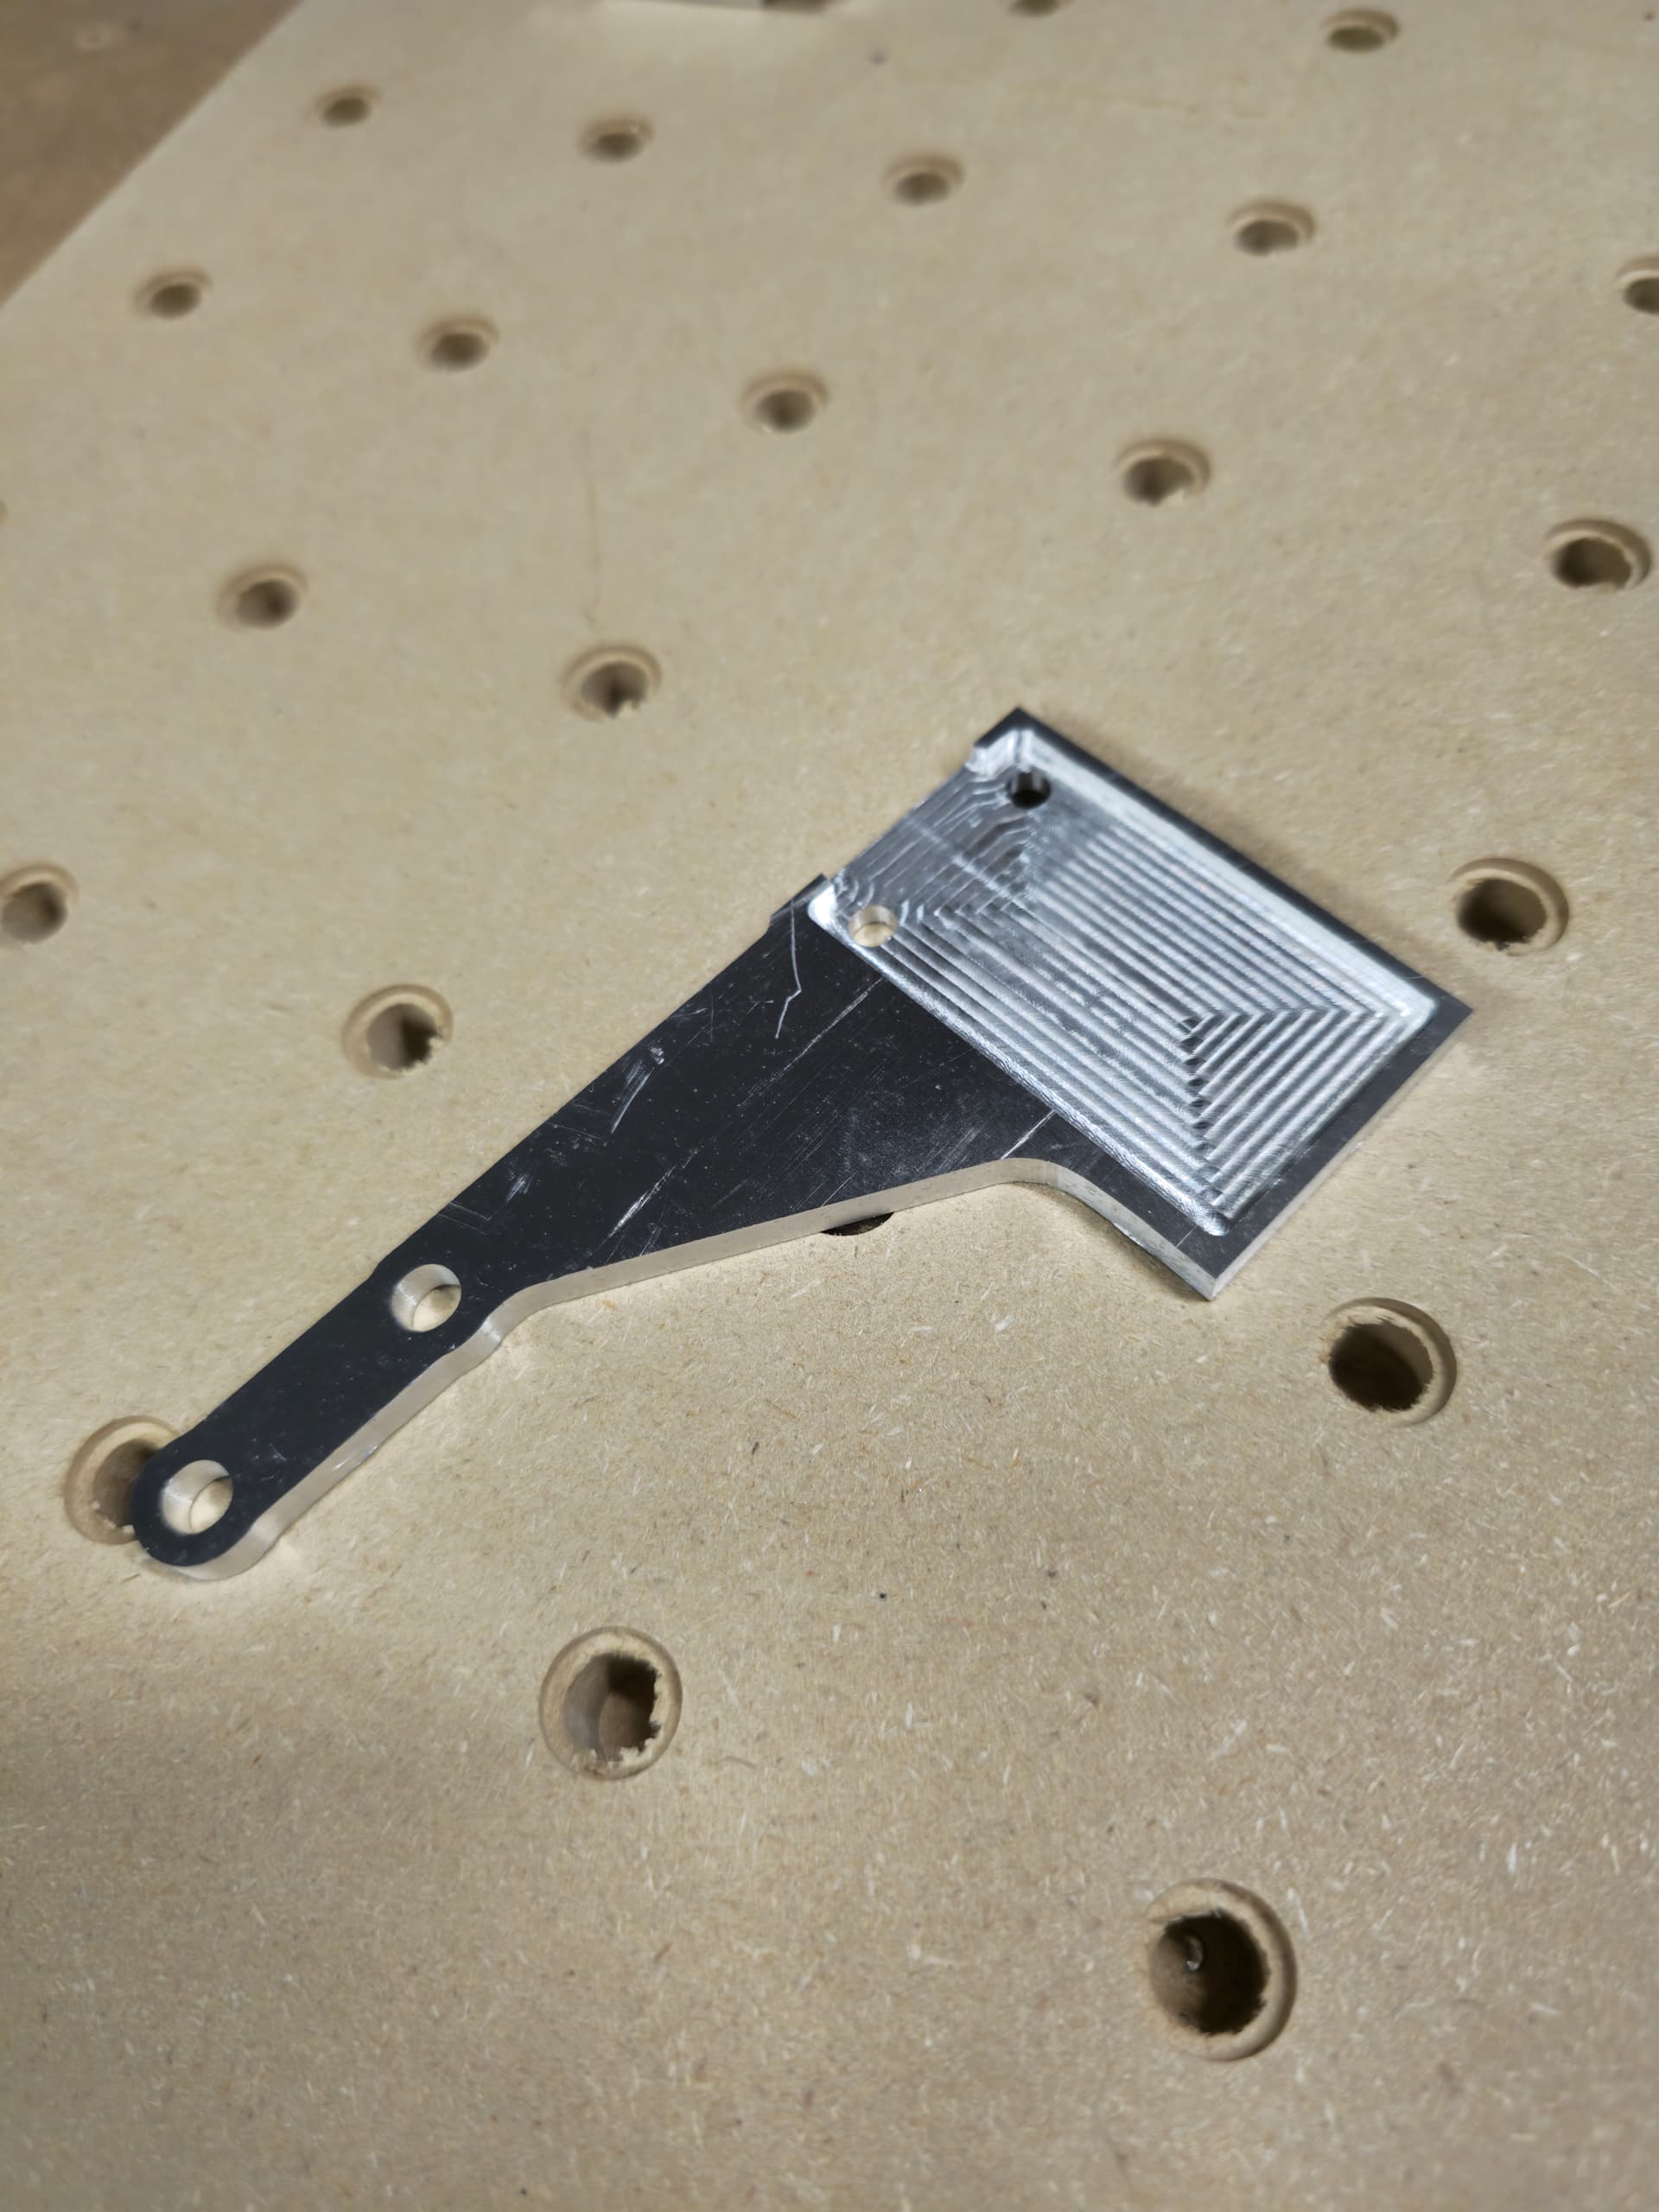
My first aluminum part. I took all the fancy features out of it, and had to adjust the mounting hole spacing for my Z+. Im pretty stoked about this machine.
11 Likes
Mounting plate for a air misting unit?
2 Likes
Correct. I have gathered all the parts now, I’m just waiting for some free time between jobs to set it up.

6 Likes
I have a small compressor just like that. I use for airbrushing my CNC projects.
3 Likes
I am hoping it will be sufficient for the mister ![]()
It wont, you need something rated for continuous duty. That compressor will have a 95/5 duty cycle (5% of the time it wont be charging) You’ll have success at first but after a while I was having major problems even with a CAT 1060S, id say minimum 2gallon tank with a 70/30 cycle rating, unless mine is just abhorrently high airflow lol. Running that longer than an hour or two at a time might prove to be difficult or smokey.
2 Likes