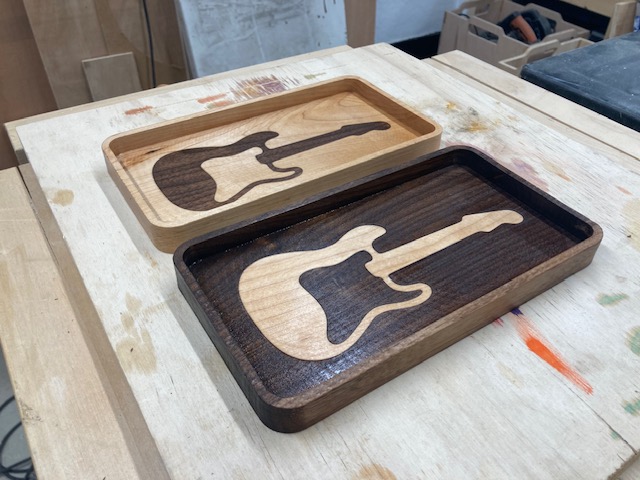
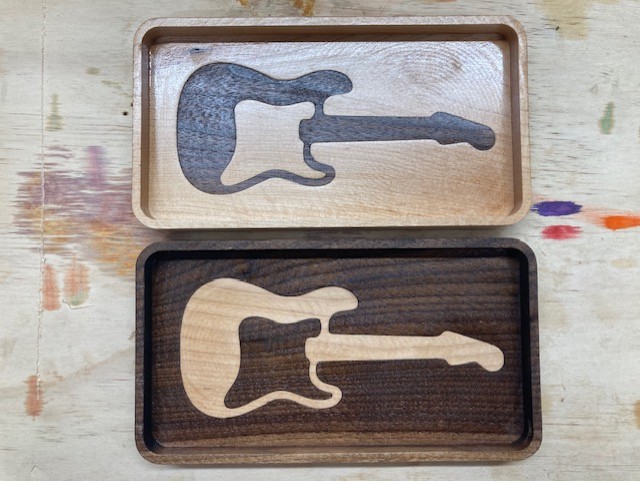
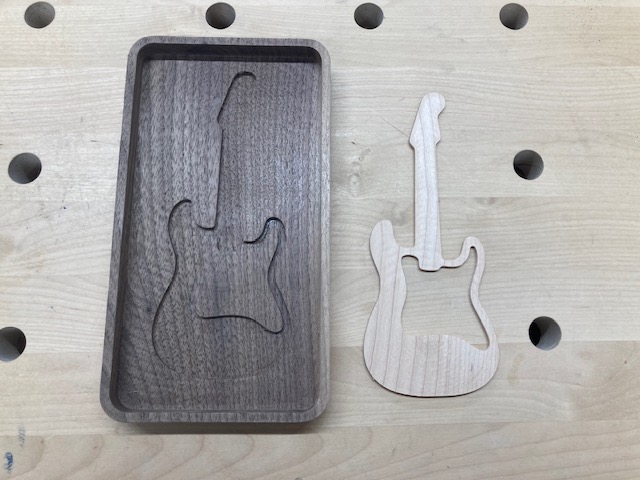
My uncle is a keen guitarist and his birthday is coming up so I decided to make him a unique set of inlay trays ![]()
37 Likes
Andy,
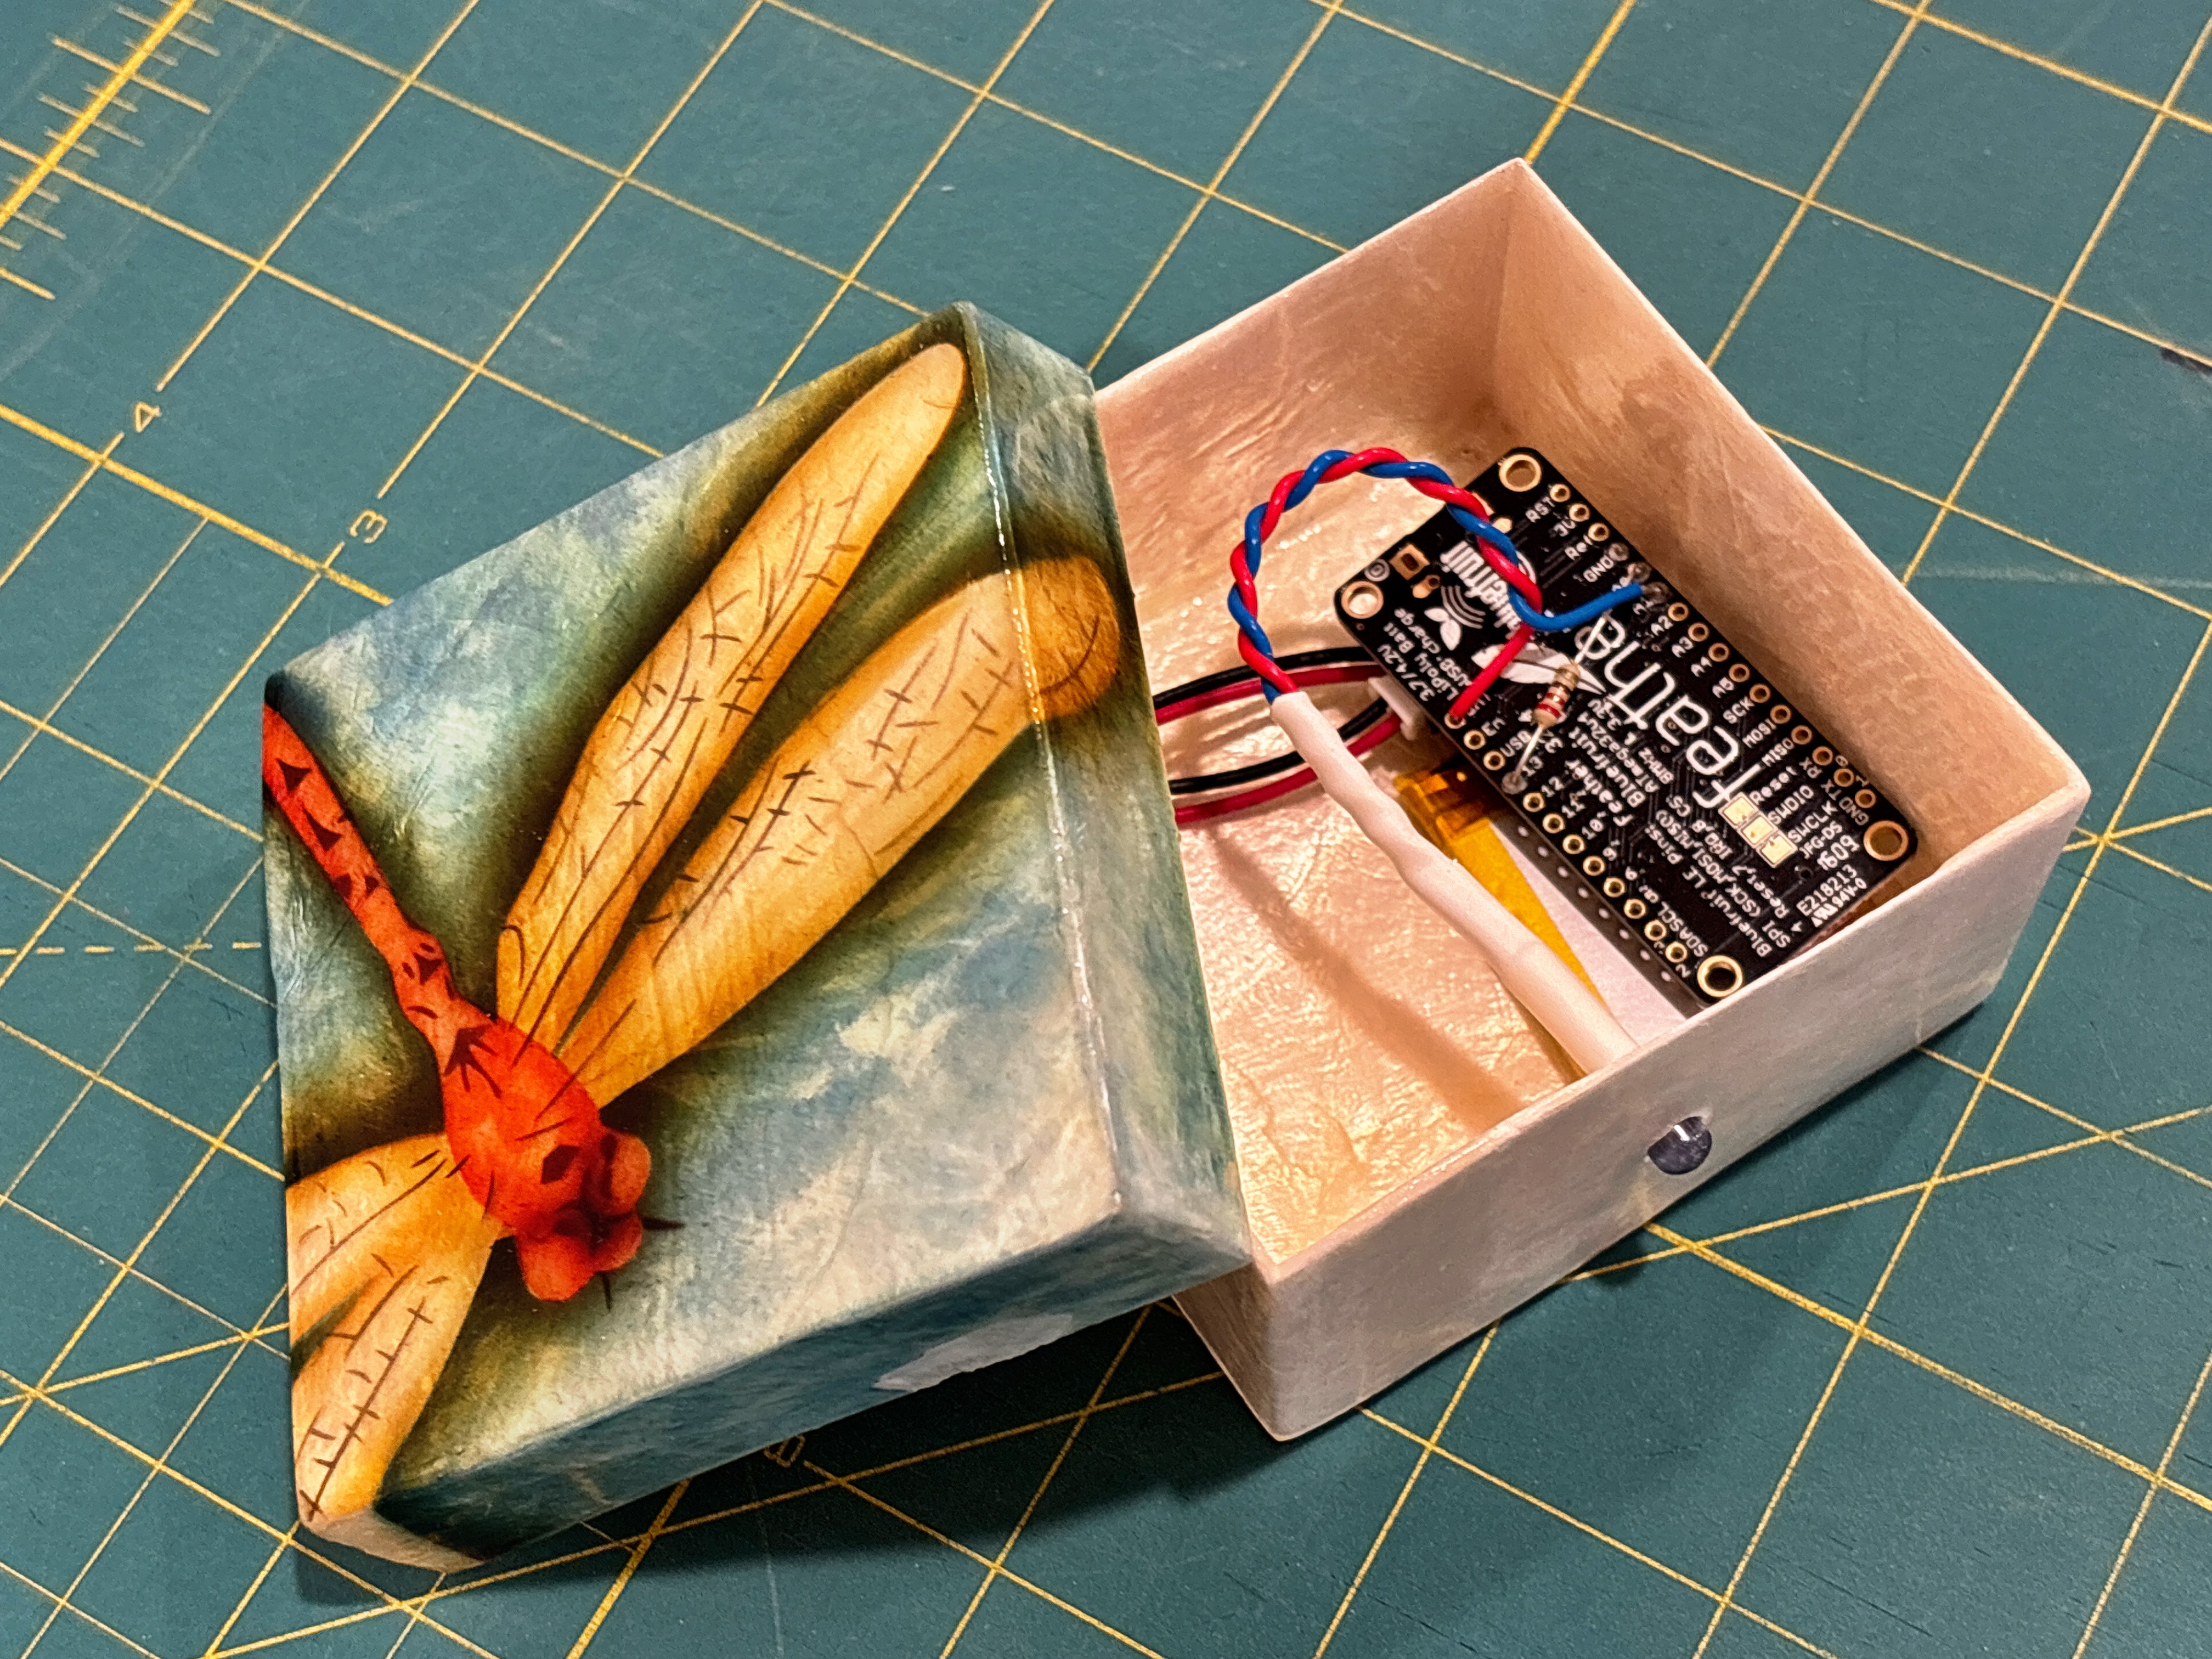
Several years ago I made this box with bluetooth input/IR output; it was controlled by a touch screen interface on an iPad created using TechBasic. PM me if you’d like details.
5 Likes
What did the IR control?
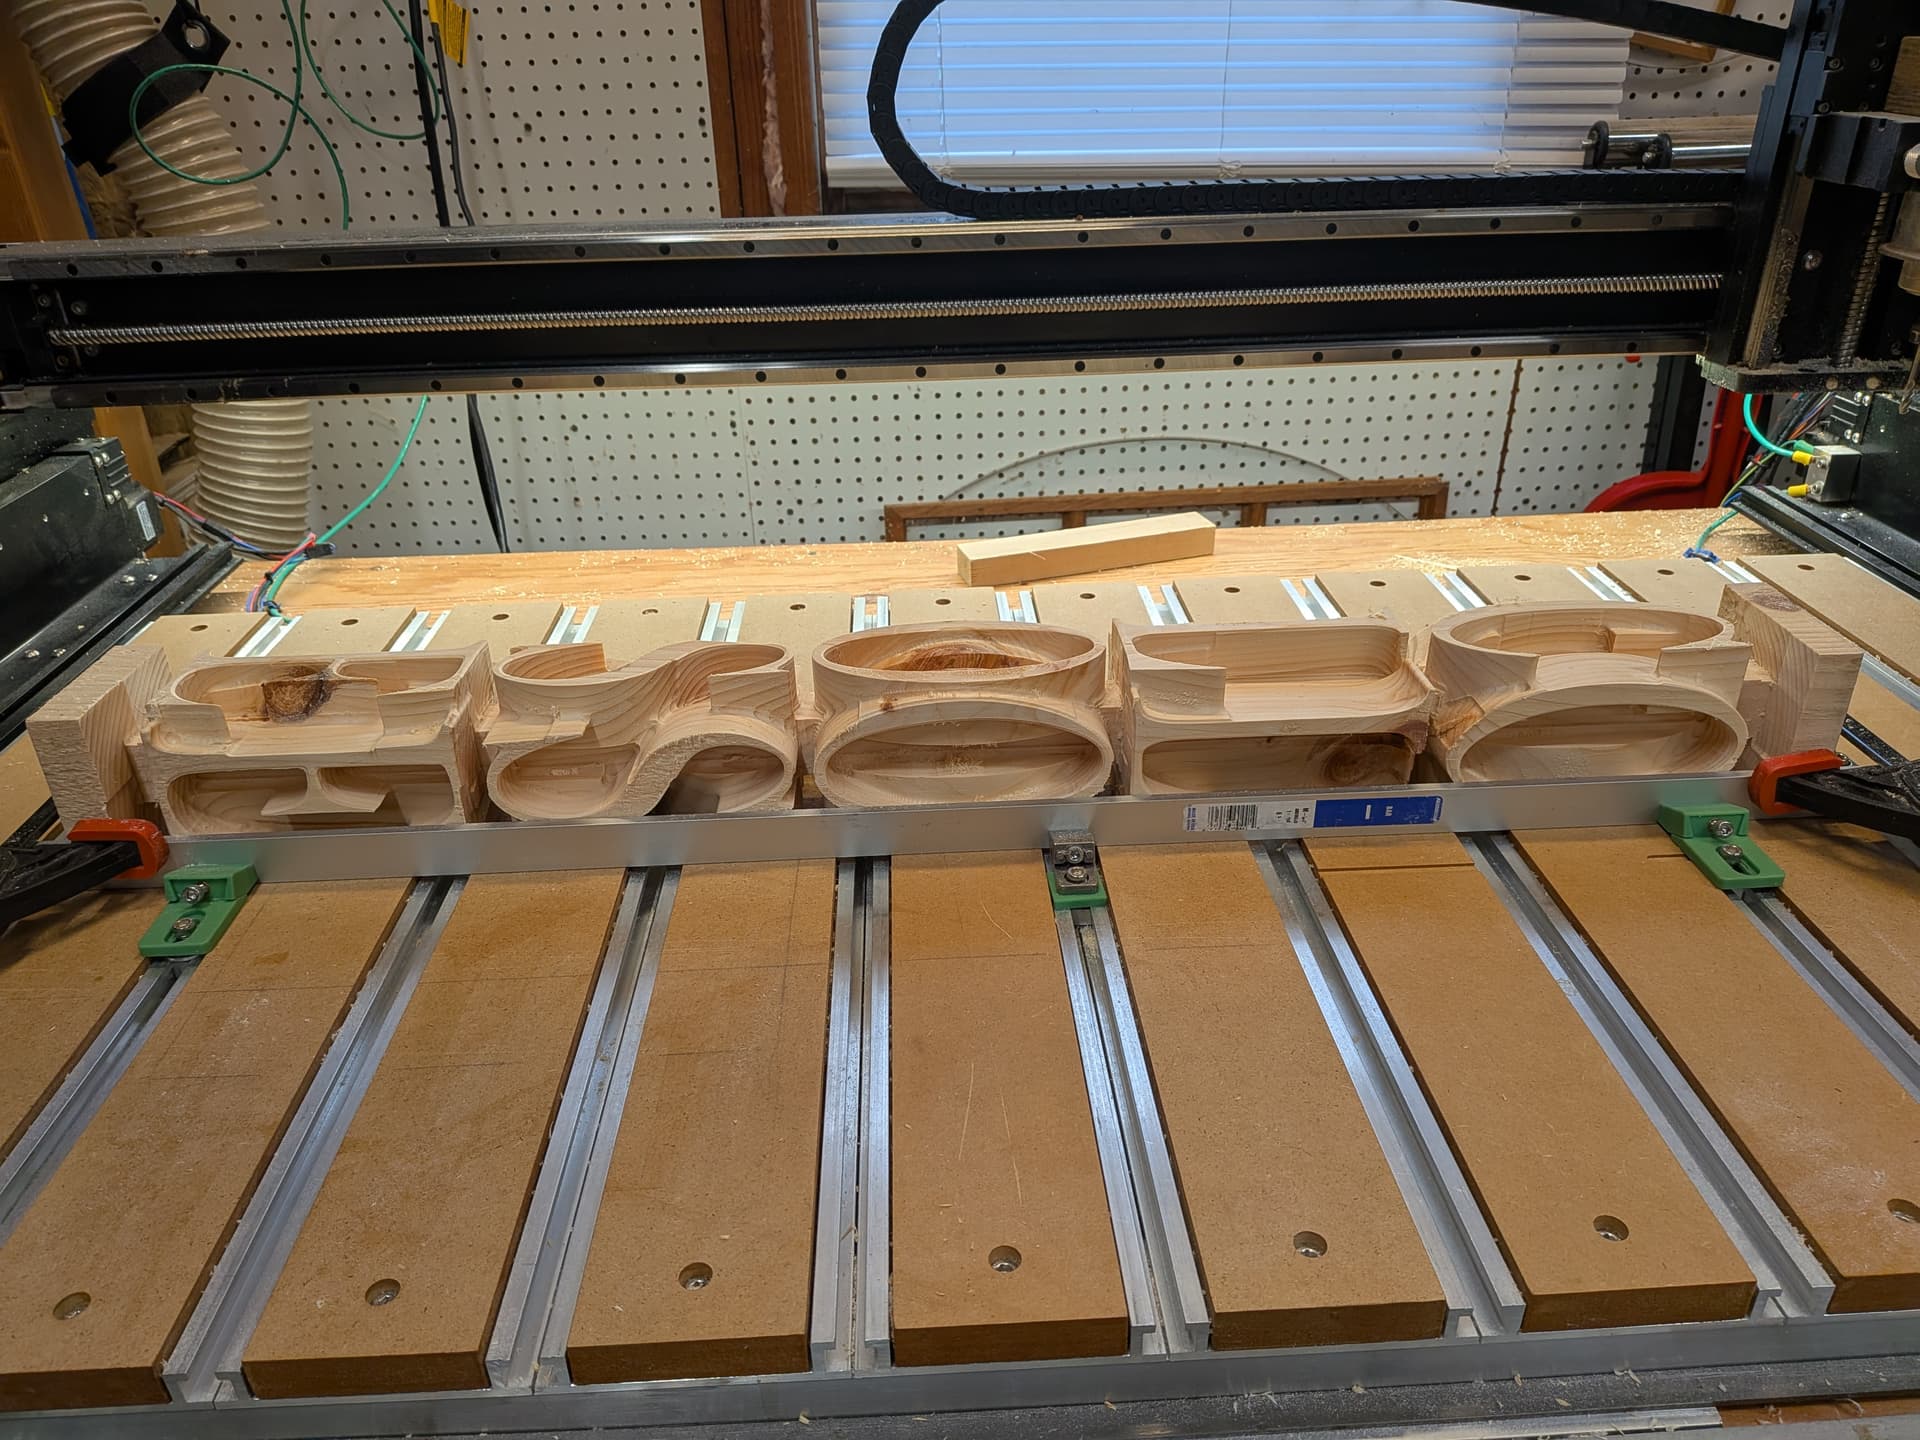
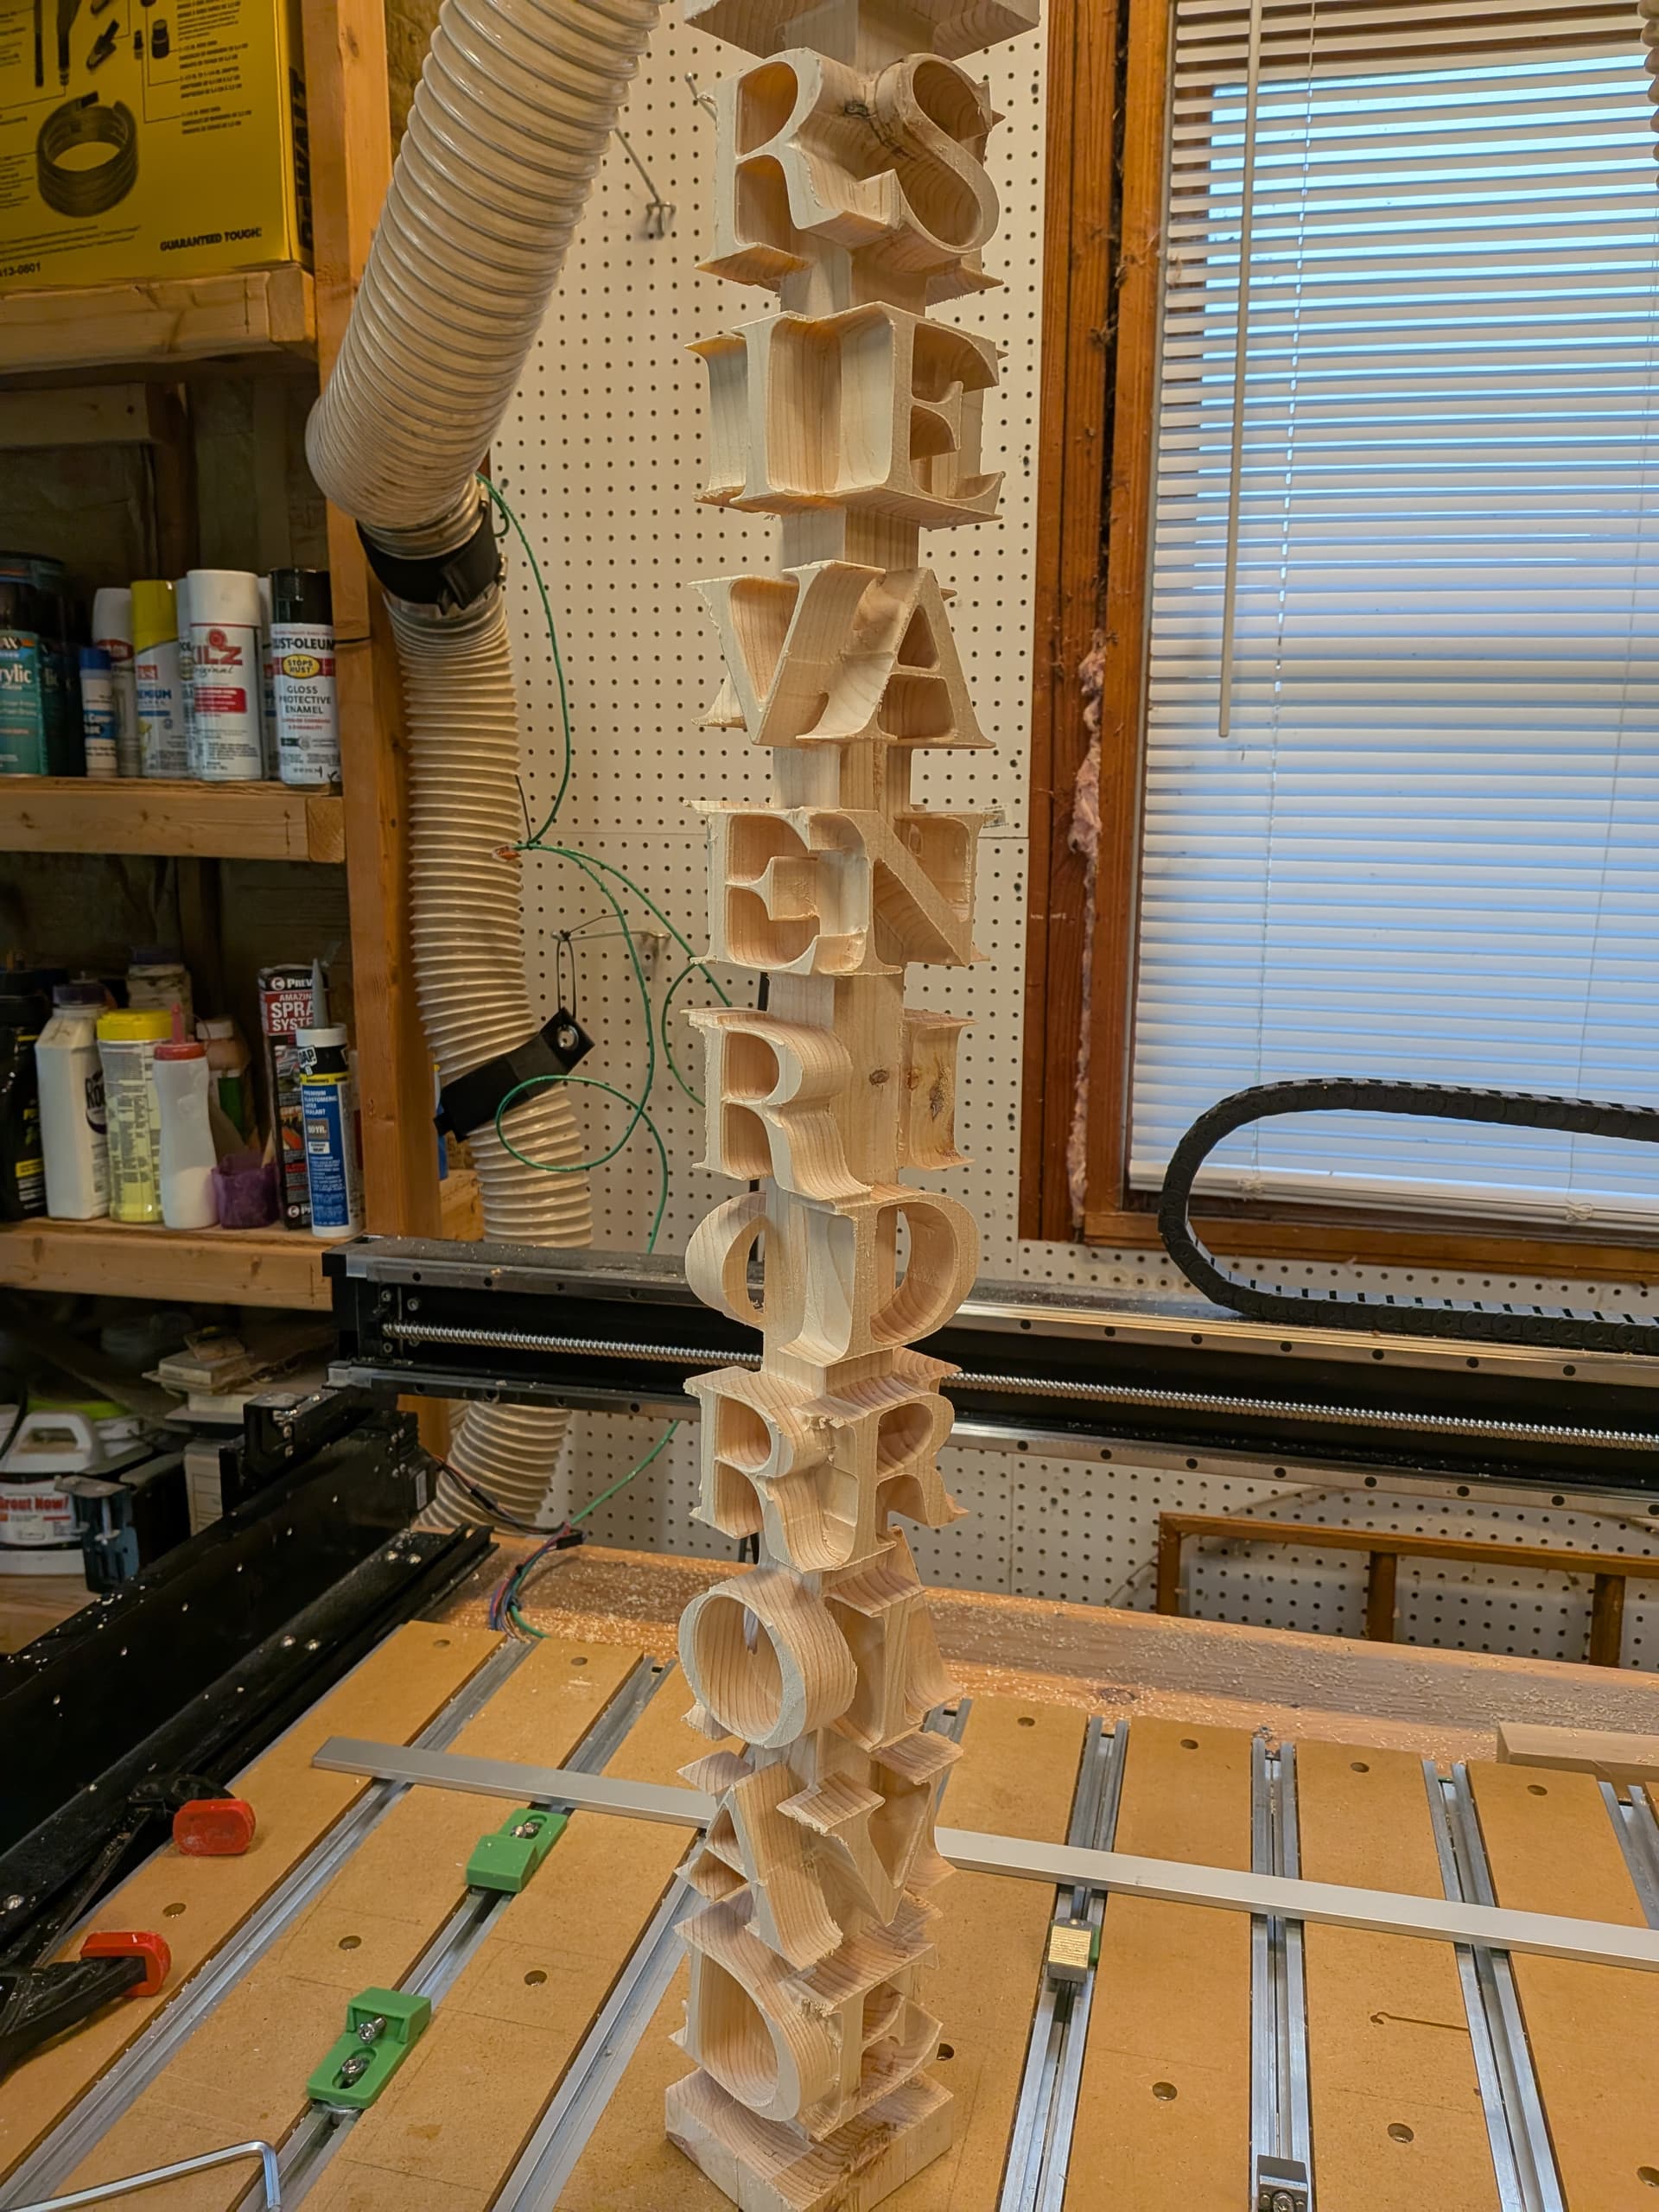
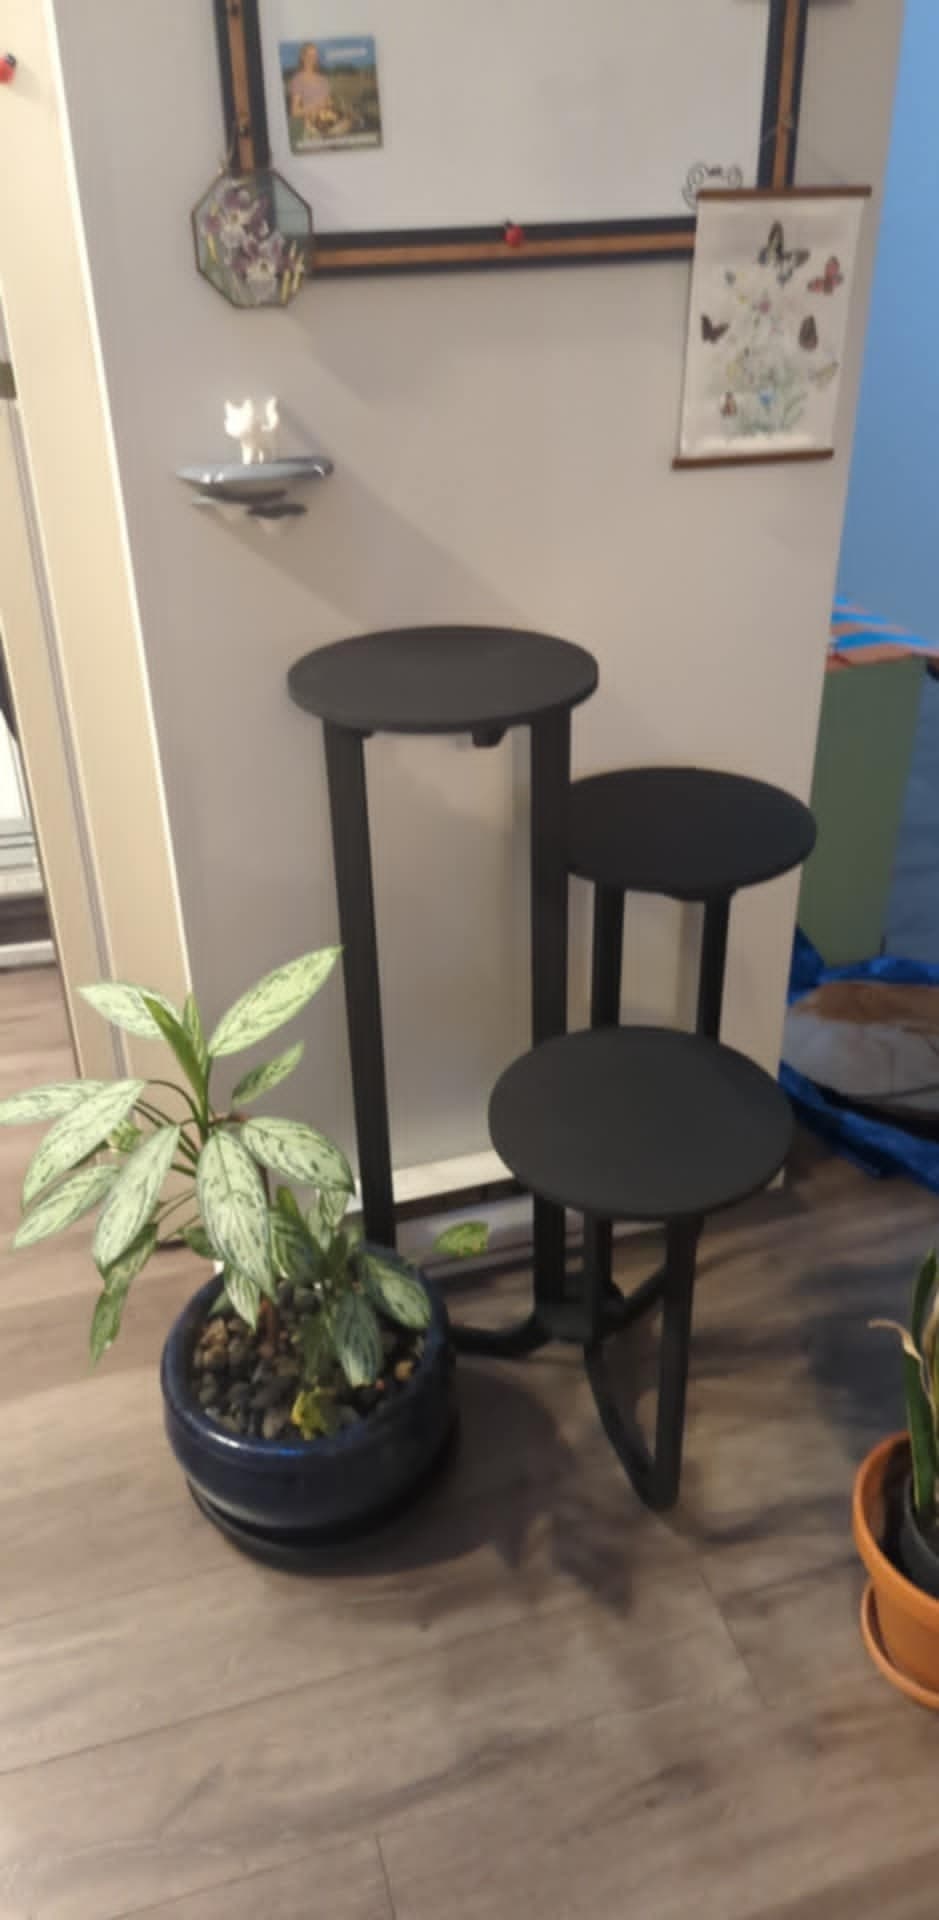
Finished cutting the Name pole or whatever they maybe called.
Stock is 3.5 x 3.5 x 34 inch Pine.
Used Cadence 1/4 Downtown Jenny and Carbide 1/4 ball end mill #202
8 turns. I cut the rough paths then the finish paths.
There is “overcuts” due to not perfect alignment. That’s the next thing to work out.
But not bad for a test concept. I have no idea how I will finish this.

28 Likes
Looks great Jim. I might need to put one of these on my list of ‘to do’.
1 Like
My go to method for most projects: just don’t finish it…move on to the next project instead ![]()
If it will live outside, it might look really good with some effort put into aging it. Beat it up a bit, rub some dirt on it, maybe plant some moss or grass around the base to act as overgrowth.
There’s something kind of romantic about a name pole looking like it’s been there for eternity ![]()
1 Like
Funny you should say that. I ordered a spray gun that @neilferreri had suggested.
A brush is not feasible. Critter spray gun.
I am clueless as to the next step, cosmetic wise.
A pause is warranted.
2 Likes

21 Likes
That hurts my brain looking at it.
1 Like
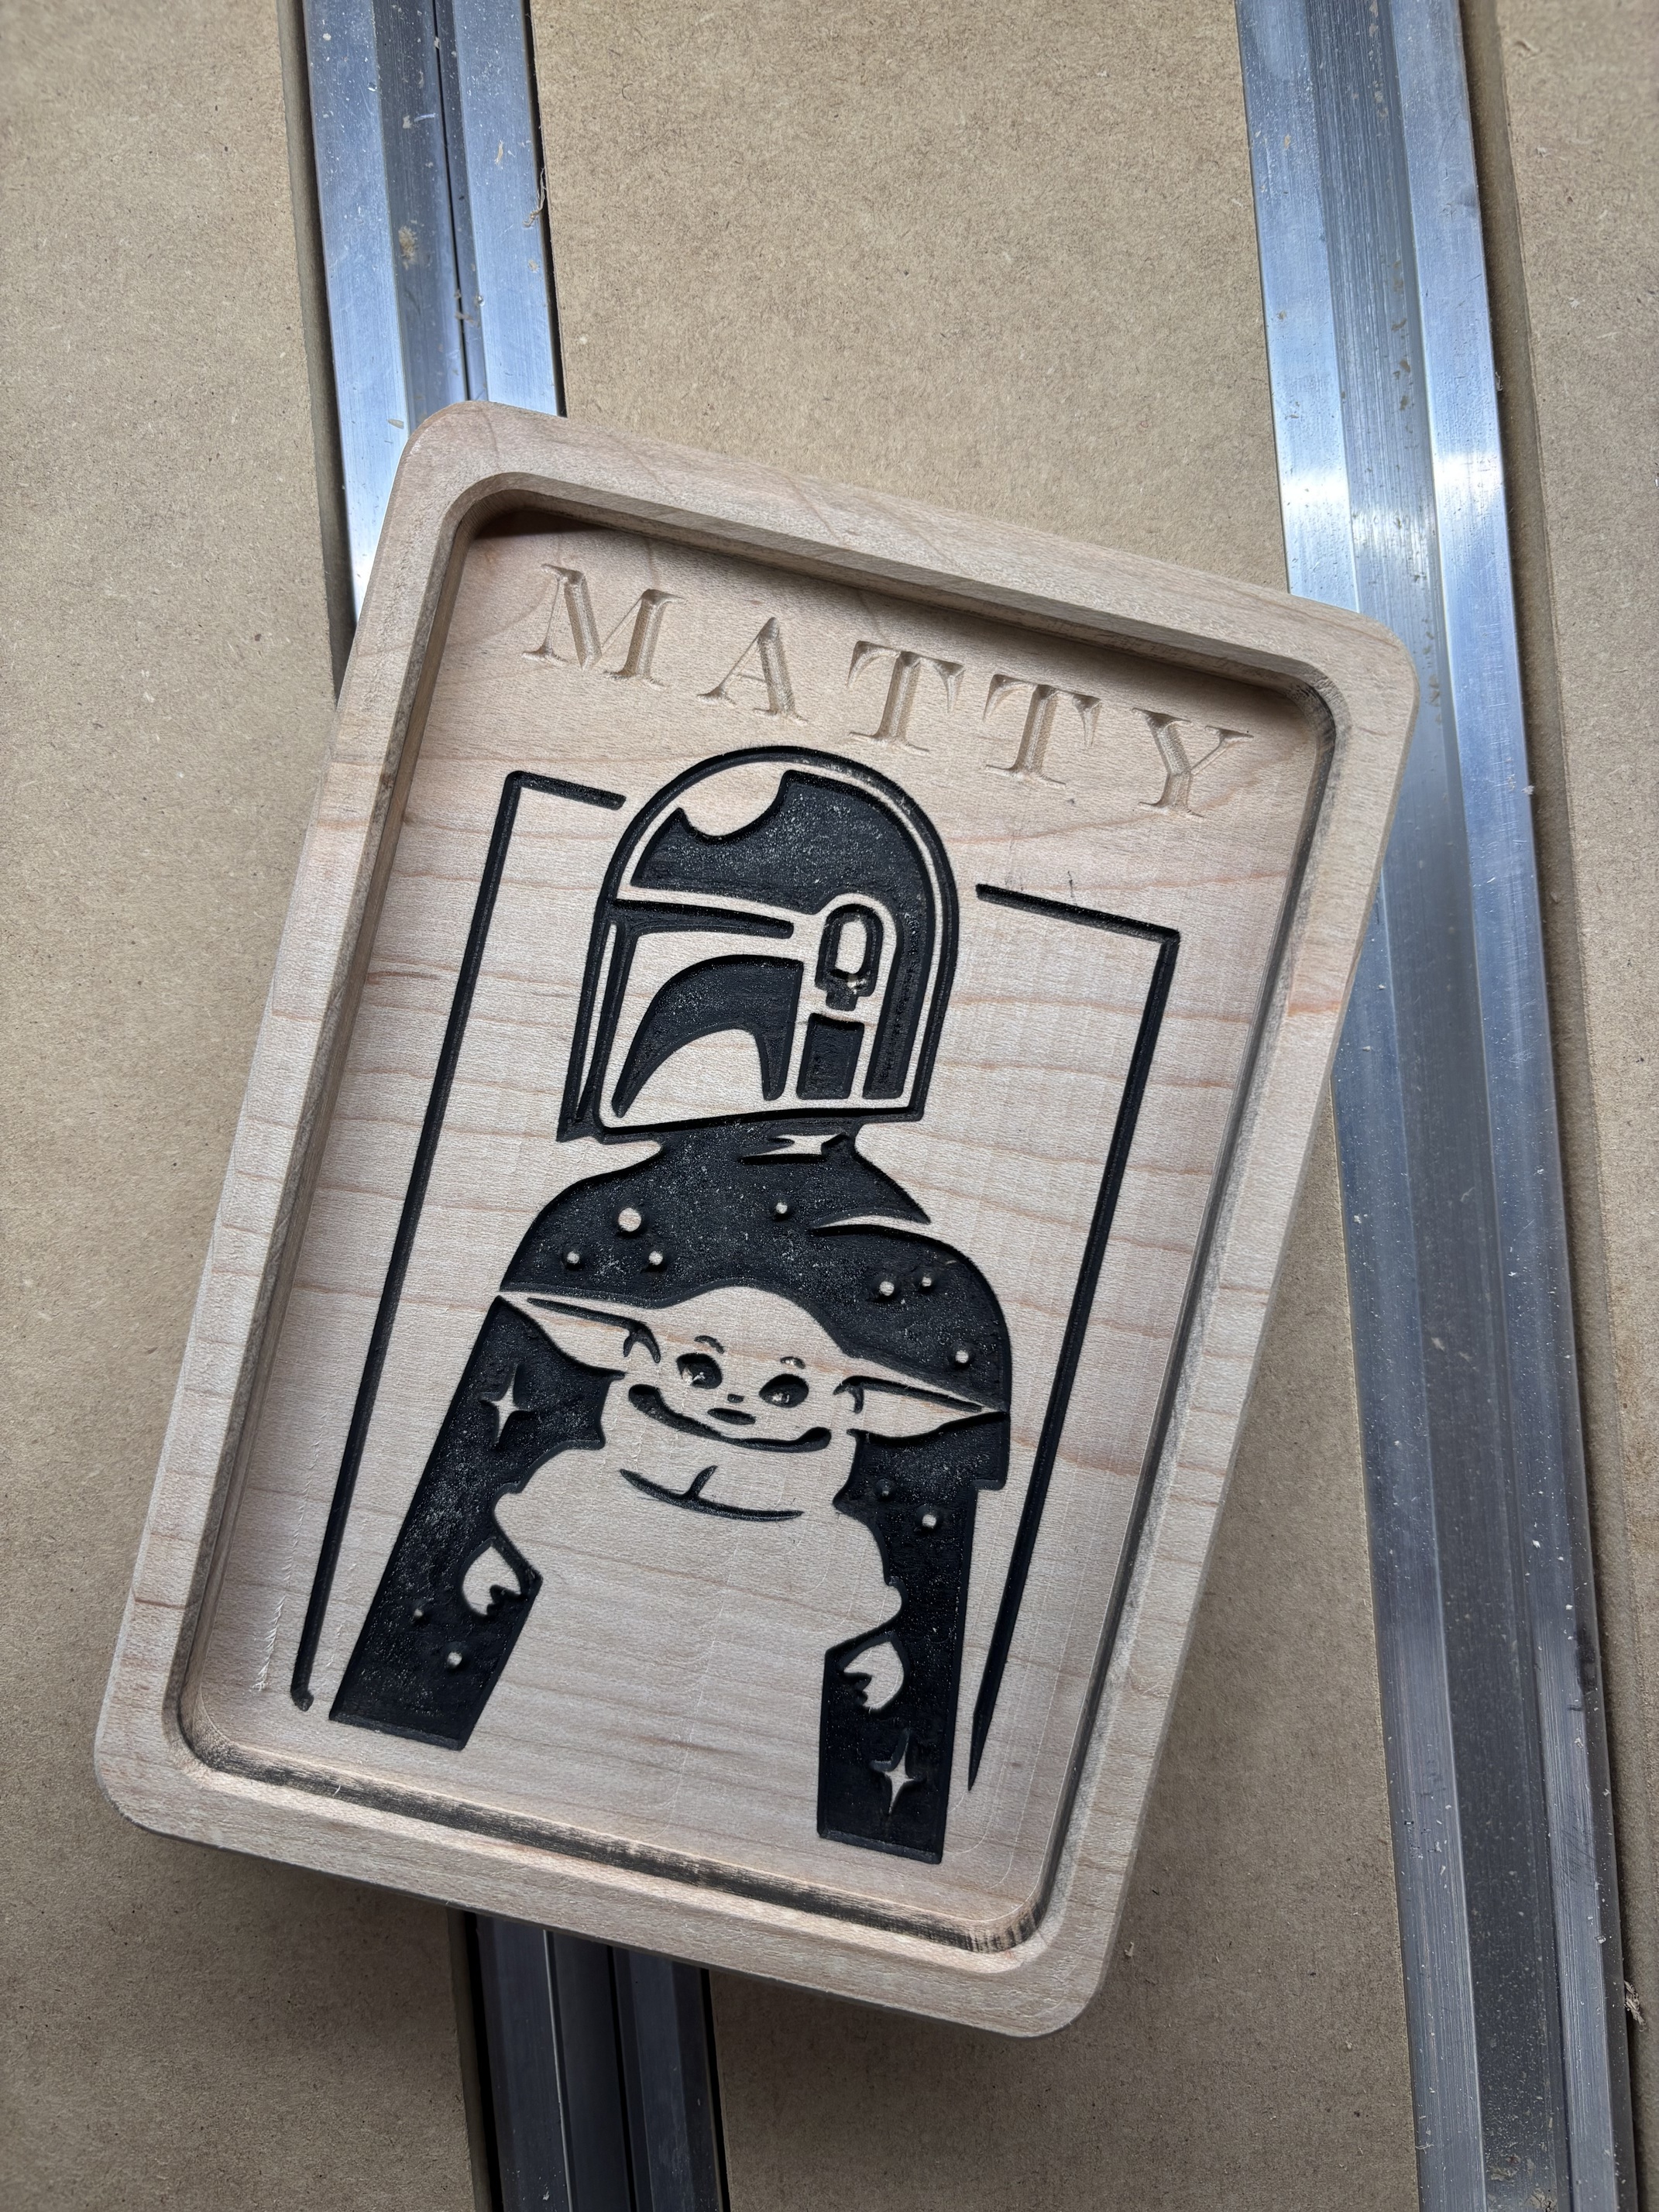
My second CNC project. Cut on the 5 Pro. 4" x 5 1/2". Pushing myself to learn as fast as I can and trying different strategies to accomplish the effects I want. Pleased but still many things I would adjust…like I meant the word to be black as well. But very satisfied for my second project!
18 Likes
Why are stl files I open show up blank?
Looks great and a really good start from where you asked for help in the beginning. You are well on your way!
2 Likes
Thanks!! Lots of help from this community, lots of perseverance, ridiculous hours on YouTube, lots of time in the shop, a looming deadline for my first professional sign project from the CNC (and two others on sidelines!), and an encouraging wife surely all contribute!
3 Likes
Beautiful work! Good job.
1 Like
Much appreciated! Looking forward to digging in.
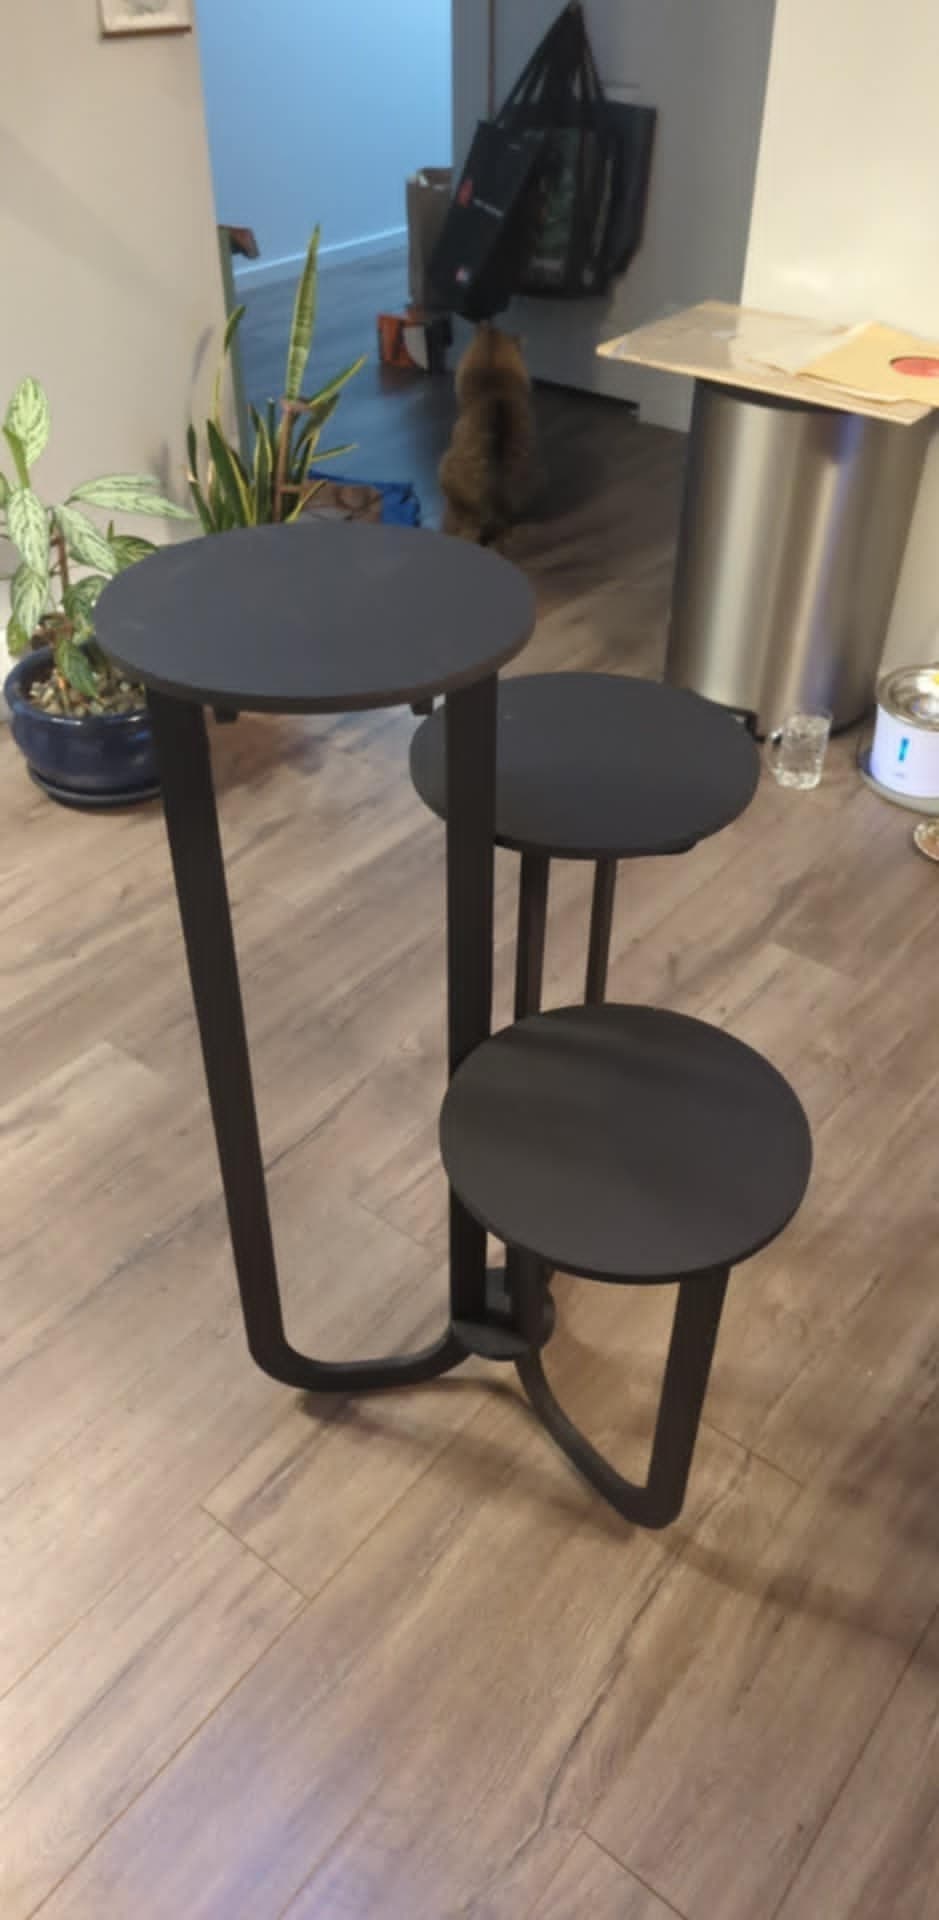
Designed it this morning cut it by noon and spent the rest of the day painting. Dunno how it will hold up but we will see. Designed it to be flatpacked.
17 Likes
I finally had time to finish the glue up of these doors. The miter joints cut on my tablesaw with a Jessem miter gauge were not perfect but since the customer is painting them a little filler works.
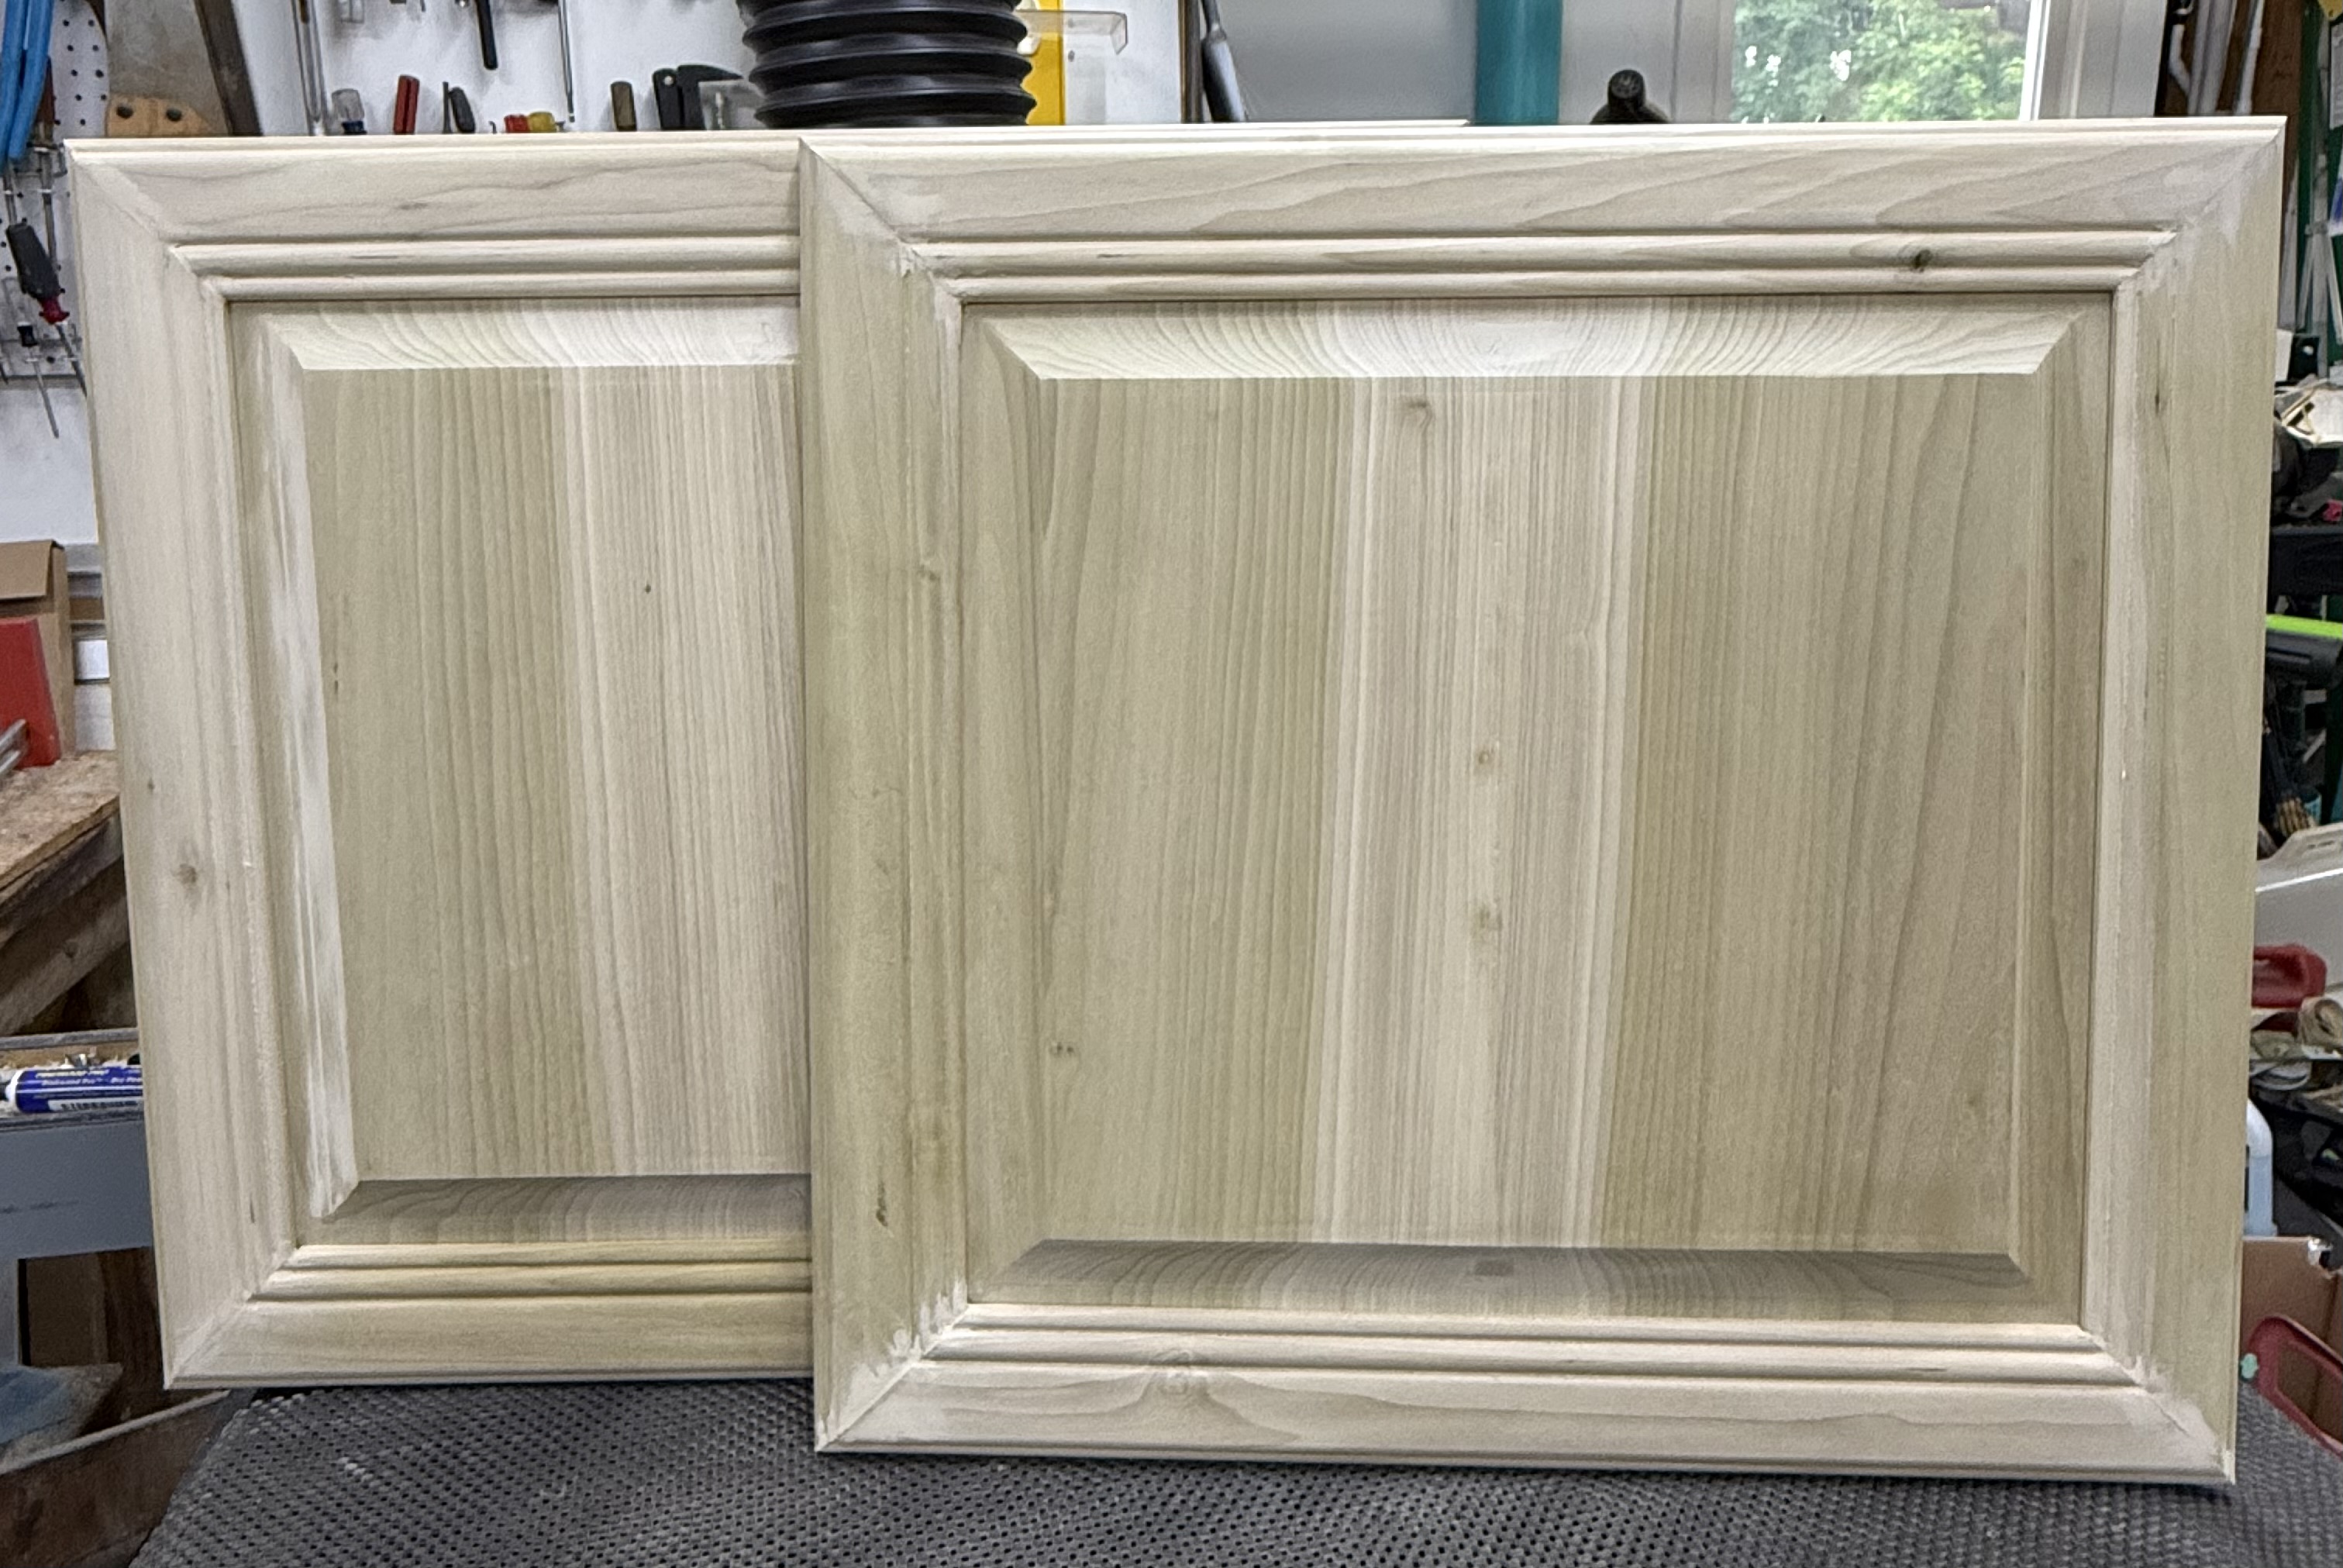
I have a project coming up with 58” square frames that need to be spot on so I need to work on my process. Those pieces will be so long they will be unwieldy on the tablesaw. Getting a truly tight fight on the chop saw may be challenging especially if I have to flip the angle back and forth. Flipping to board over won’t be great either. I may make some sort of sled.
11 Likes
You did all the shaping on the CNC? These are beautiful.
Yes, this was the earlier post with more details on that.
1 Like
Nice! Nice! So many questions but I’ll just ask one…what bit were you using for the center panel? That’s usually created with a shaper. Were you using a shaper bit or something smaller with multiple passes (I feel like this is a noob question, but there it is).