I use a small hand held trim router for most roundovers. That quicker than the router table for me. For more complex edges like on nursery signs I use the roundover bits from IDC woodcraft and follow the settings he uses in his video.
It was very challenging but came out like I wanted. Two years ago, I wanted to design and make a custom Gentlemens Cigar Server Ashtray. Most of the development time was in the initials monogram. It takes 11 steps to make that. The ashtray is made of Corian, as I was unable to find a glass ashtray that fit my design. Overall, I am looking to appeal to the high-end smoker and possibly to cigar clubs. I made the first one for an old boss who is an avid cigar smoker. It takes about 10 hours of labor over a period of 2 weeks to make (includes drying time for the epoxy applications and for the two coats of Urethane). When giving it to him, I asked him to be candid with his assessment of the piece. He was concerned the Corian ashtray would burn when putting out a cigar (likely it would with time). There were a couple other small things that needed tweaking as well. But the biggest thing was, I was hoping to get about $375 for a monogramed ashtray (including cigar clipper and glass). His reply was no one would be paying that much for one. His number for a tray without the monogram was $75, with a monogram about $175. I am looking to provide for a niche market, and I can’t make them for $175. Ultimately, I think I will make all of his suggested changes and still pursue a $250 mark. This would include the monogramed ashtray, whisky glass, lighter, and cigar cutter. I should be able to pull cost out with process improvements. Stay tuned for rev 2.
Steve, you’re ex-boss was too nice! While your project is technically advanced for us CNC people, cigar people are purty finicky (I’m sort of one of them.) They’ll spend a lot on a particular burning stick of tobacco, but accessories are just that. (Some of “them” will stand around with a little metal coaster for an ash tray!)
For instance, one thing that I learned was that the resting spot for a burning cigar can only be a certain length (and depends on the smoker.) They don’t want any chance that ashes will get on the area that they put in their mouth. I would say that your resting areas are too long.
Tex - Thanks for your reply. I was getting the same vibe that you state, that it’s all about the smoke and everything else is utilitarian. Maybe in my hunt for a unique customized product I am chasing the wrong market? I feel like I want to take a second shot at this with a revised design - that takes cost out of the manufacturing process but still is customized. I’m not looking to sell hundreds of these and feel that there must be that person that thinks more about himself than perhaps he should and would pay more for something customized. My old boss also said I need to add a drawer to store the lighter and clipper in as he is always misplacing his tools. Your tip about the cigar channels being too long is noted, I will make a change there as well.
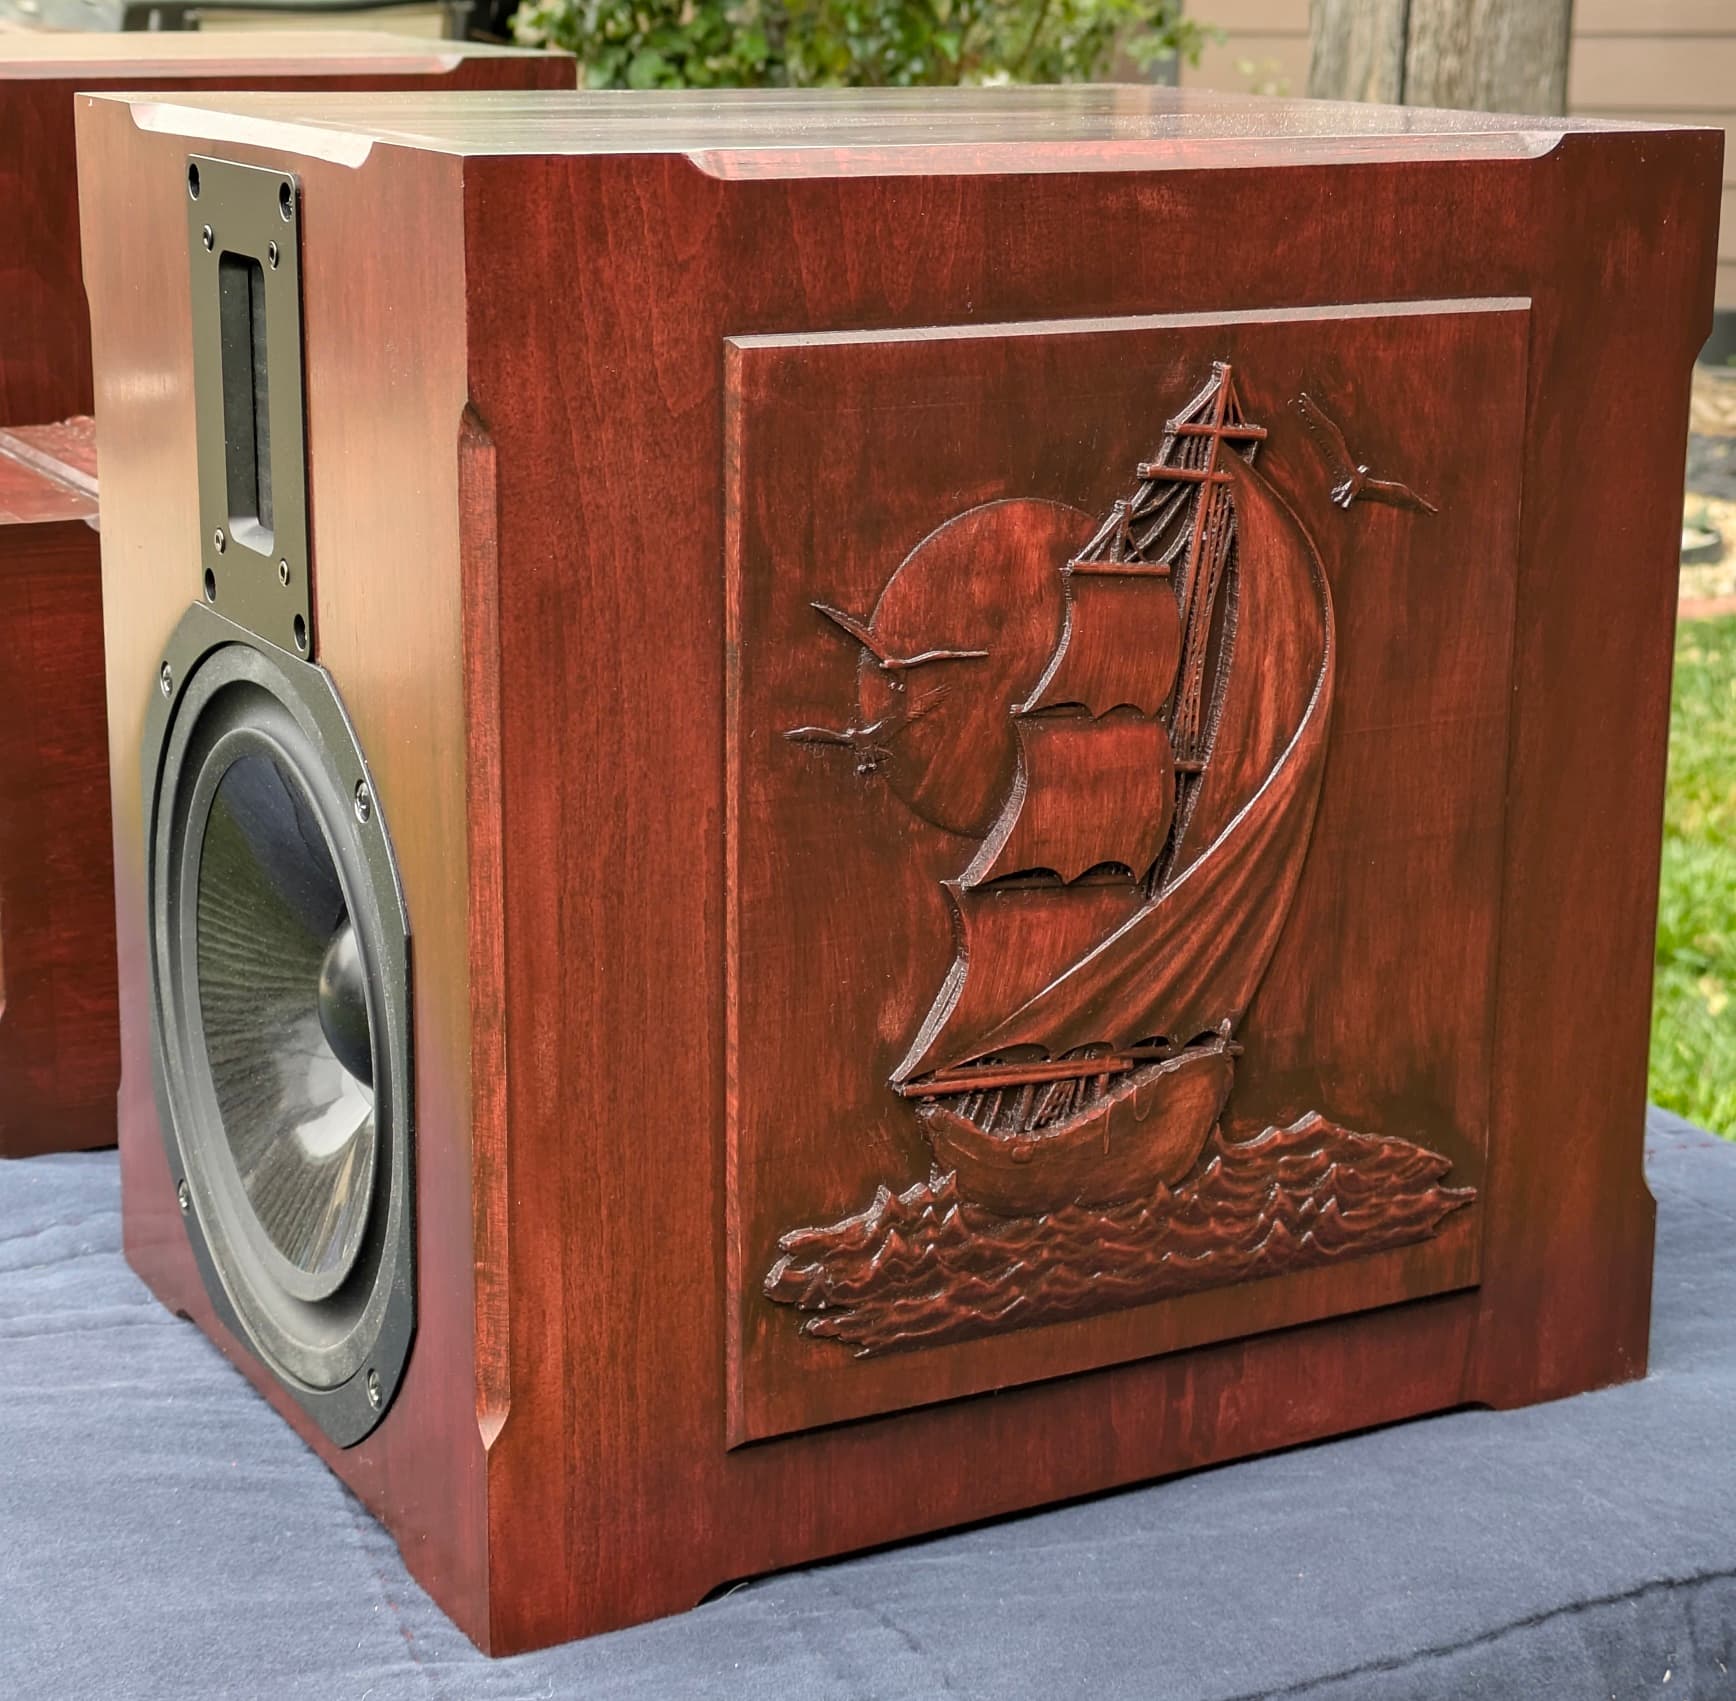
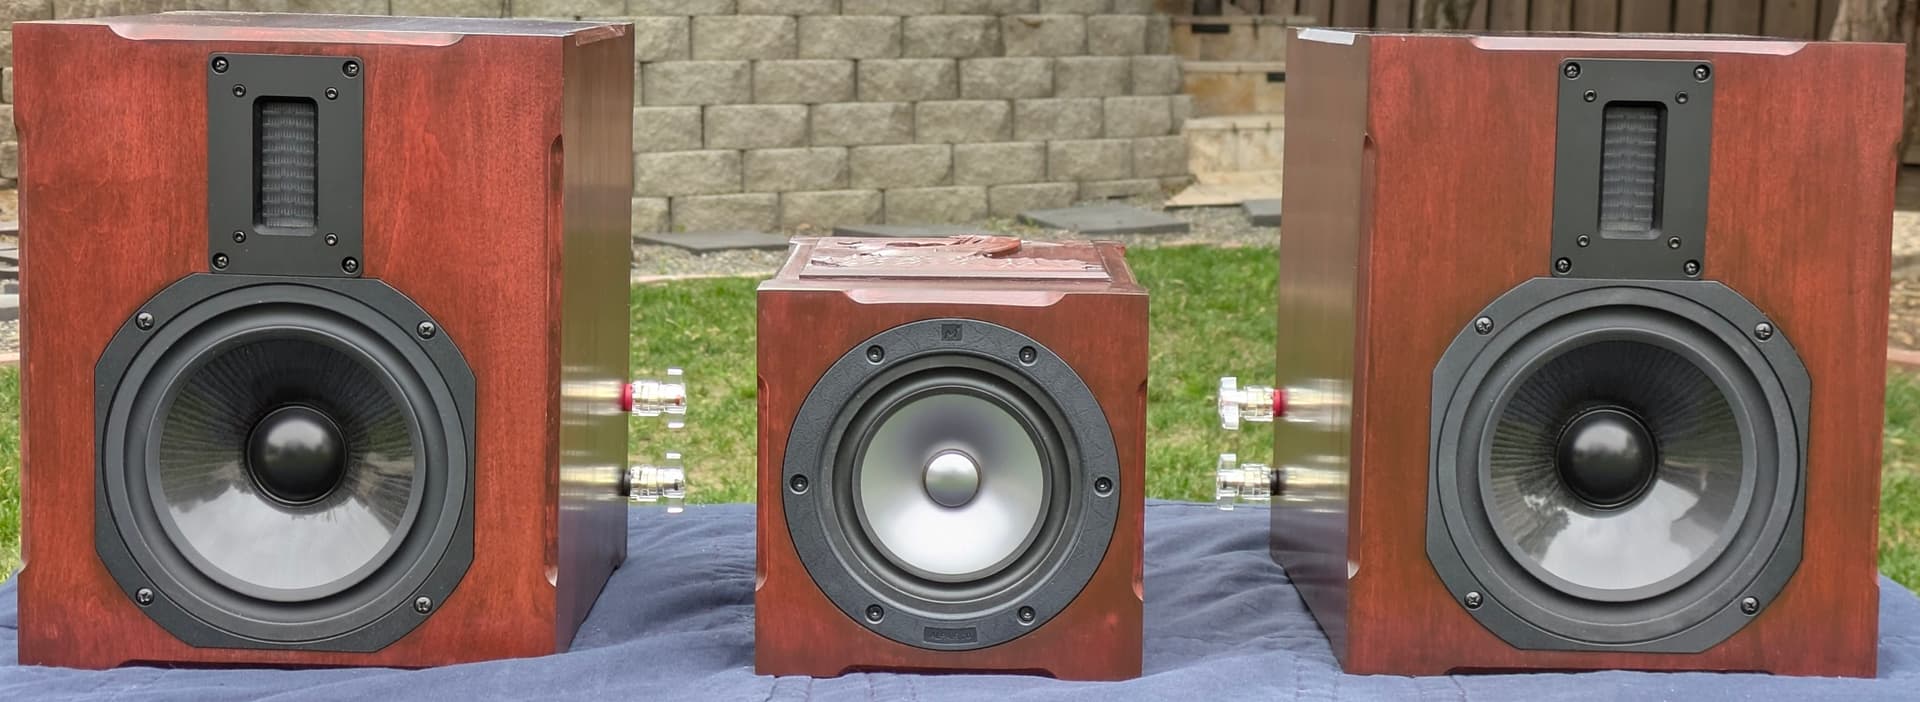
I made a set of speakers. Used the Shapeoko to cut out the recess pockets for the drivers which is great since some are rectangular or squircle. Also made some 3D STL sailboats for each enclosure. Had lots of fun on this project.
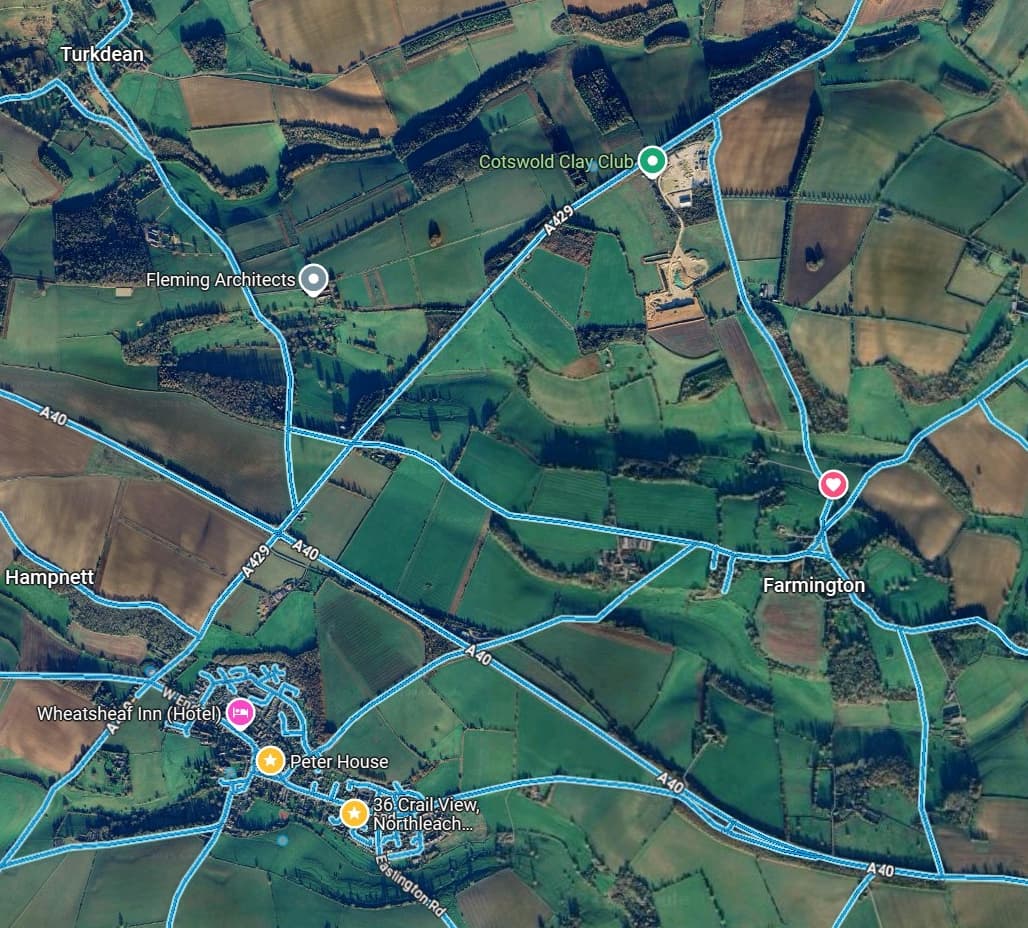
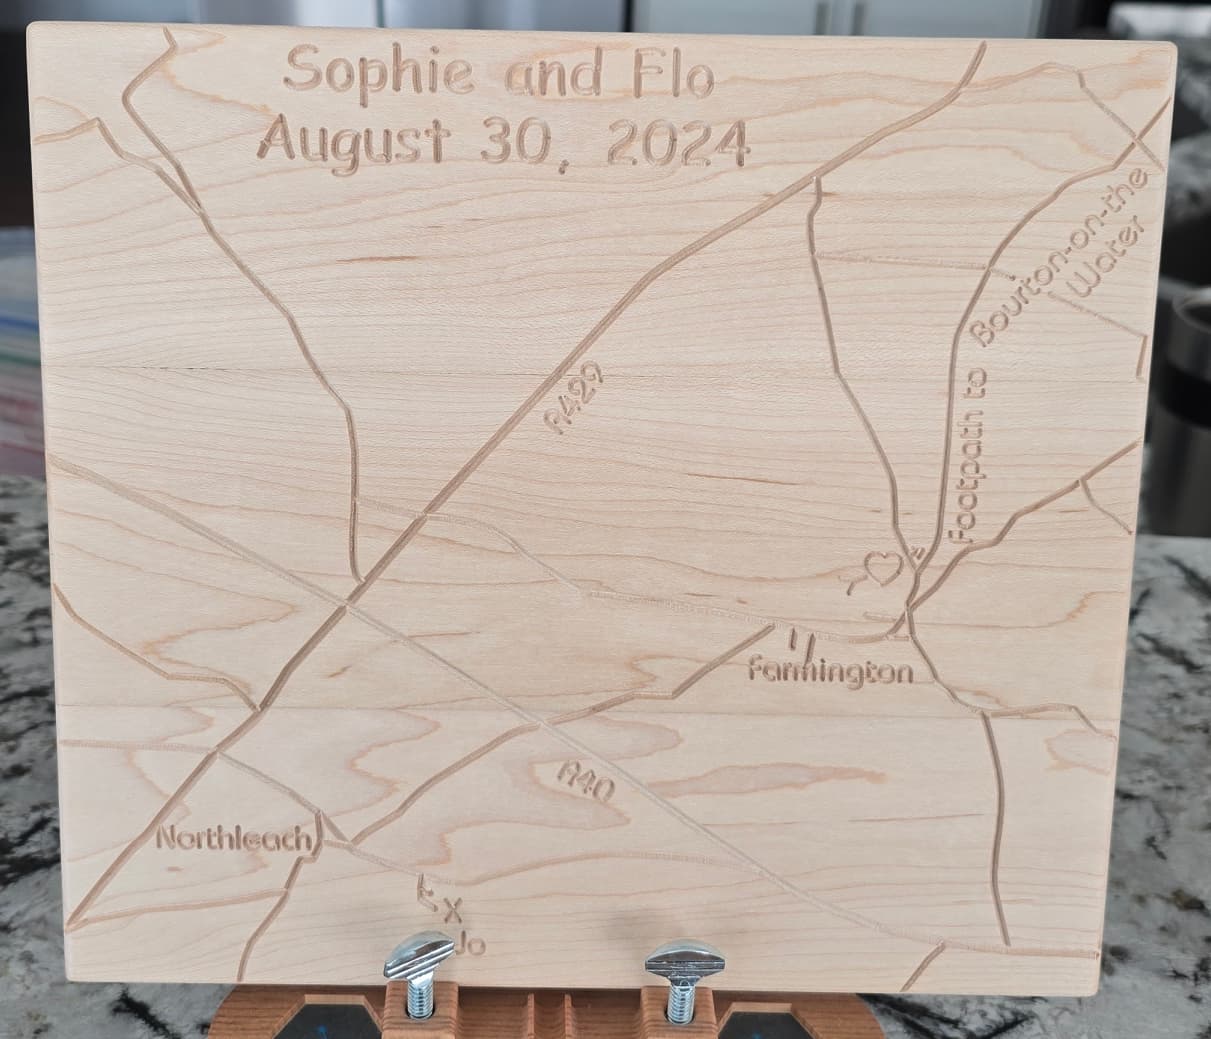
My daughter recently got married and I made a wedding present of a map of where they got engaged. I traced over a google map screenshot and just used a 60deg V bit. We were visiting my wife’s mother on her 90th birthday in the UK. They decided to walk back to our hotel from lunch via a UK right of way footpath. They just started talking about it and BAM, they were engaged and 9 months later they married in Frankfurt.
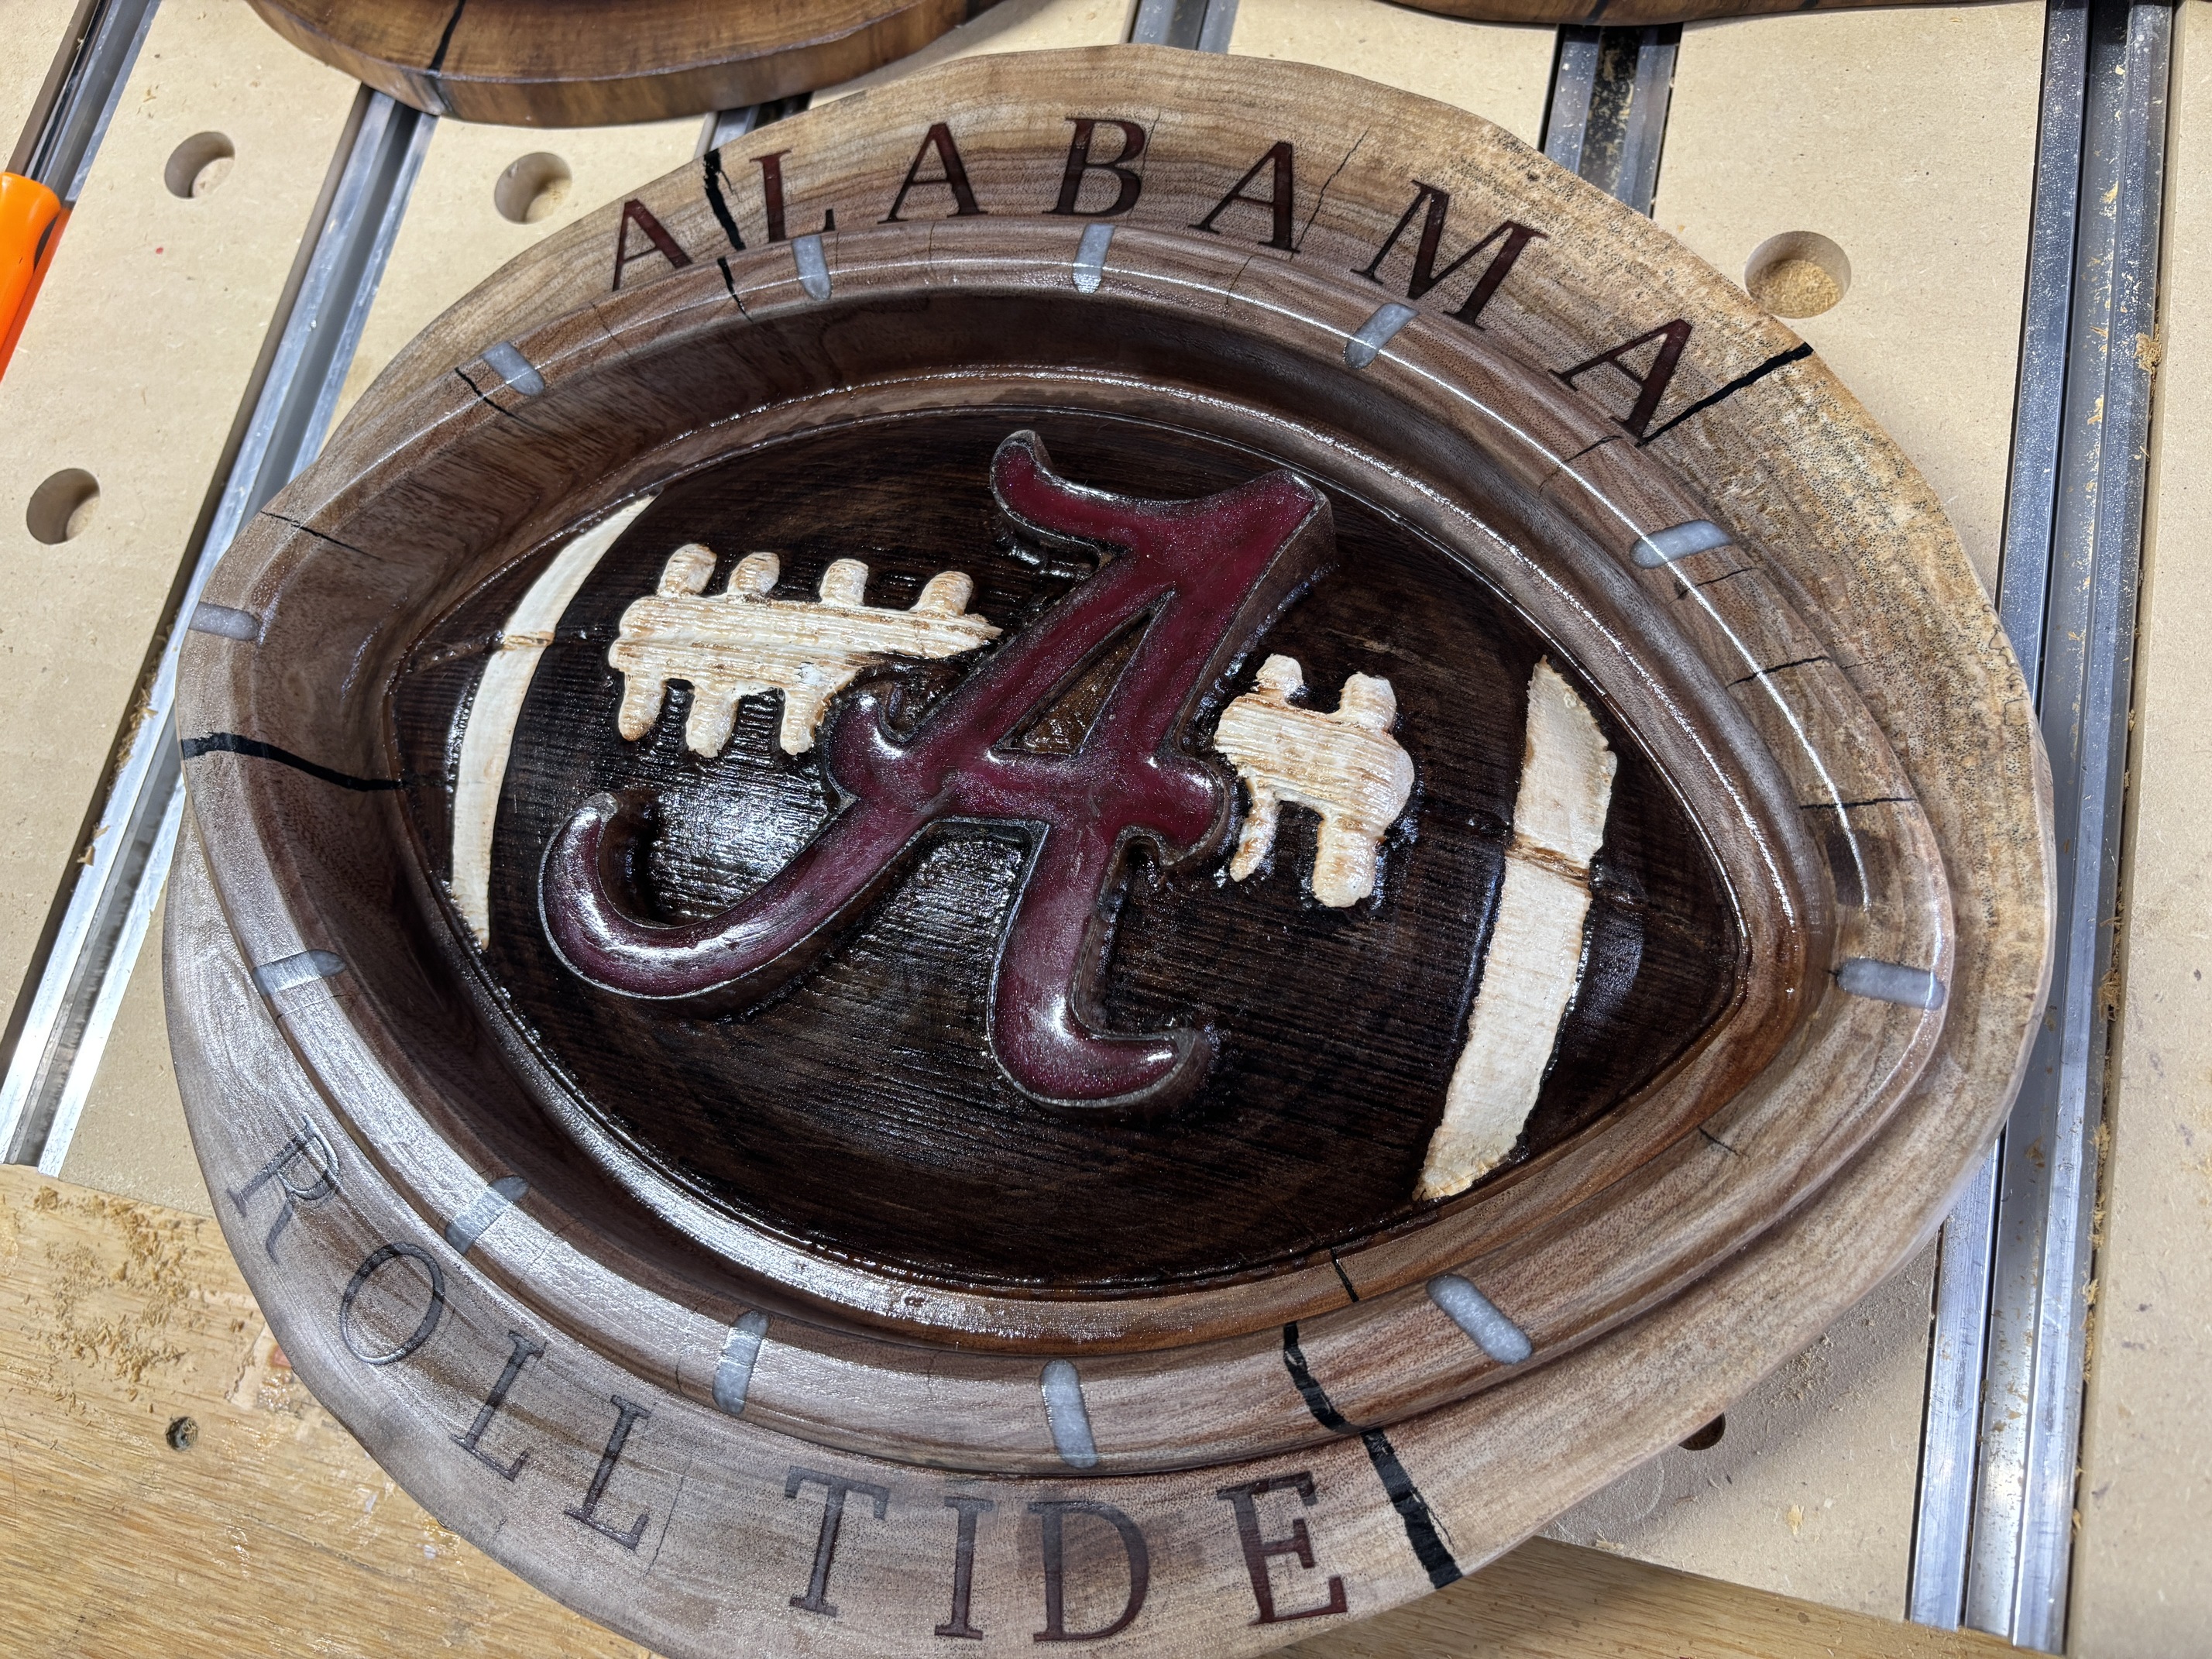
I didn’t know which wood would have the best contrast so I tried 3 different hardwood and one baltic birch plywood for test parameters. Guess which one had the best contrast? BB Plywood! But I went with the maple version since the grain pattern almost looked like elevation lines! From Left to right the samples are Black Walnut, Cherry, Hard Maple and Baltic Birch Plywood.
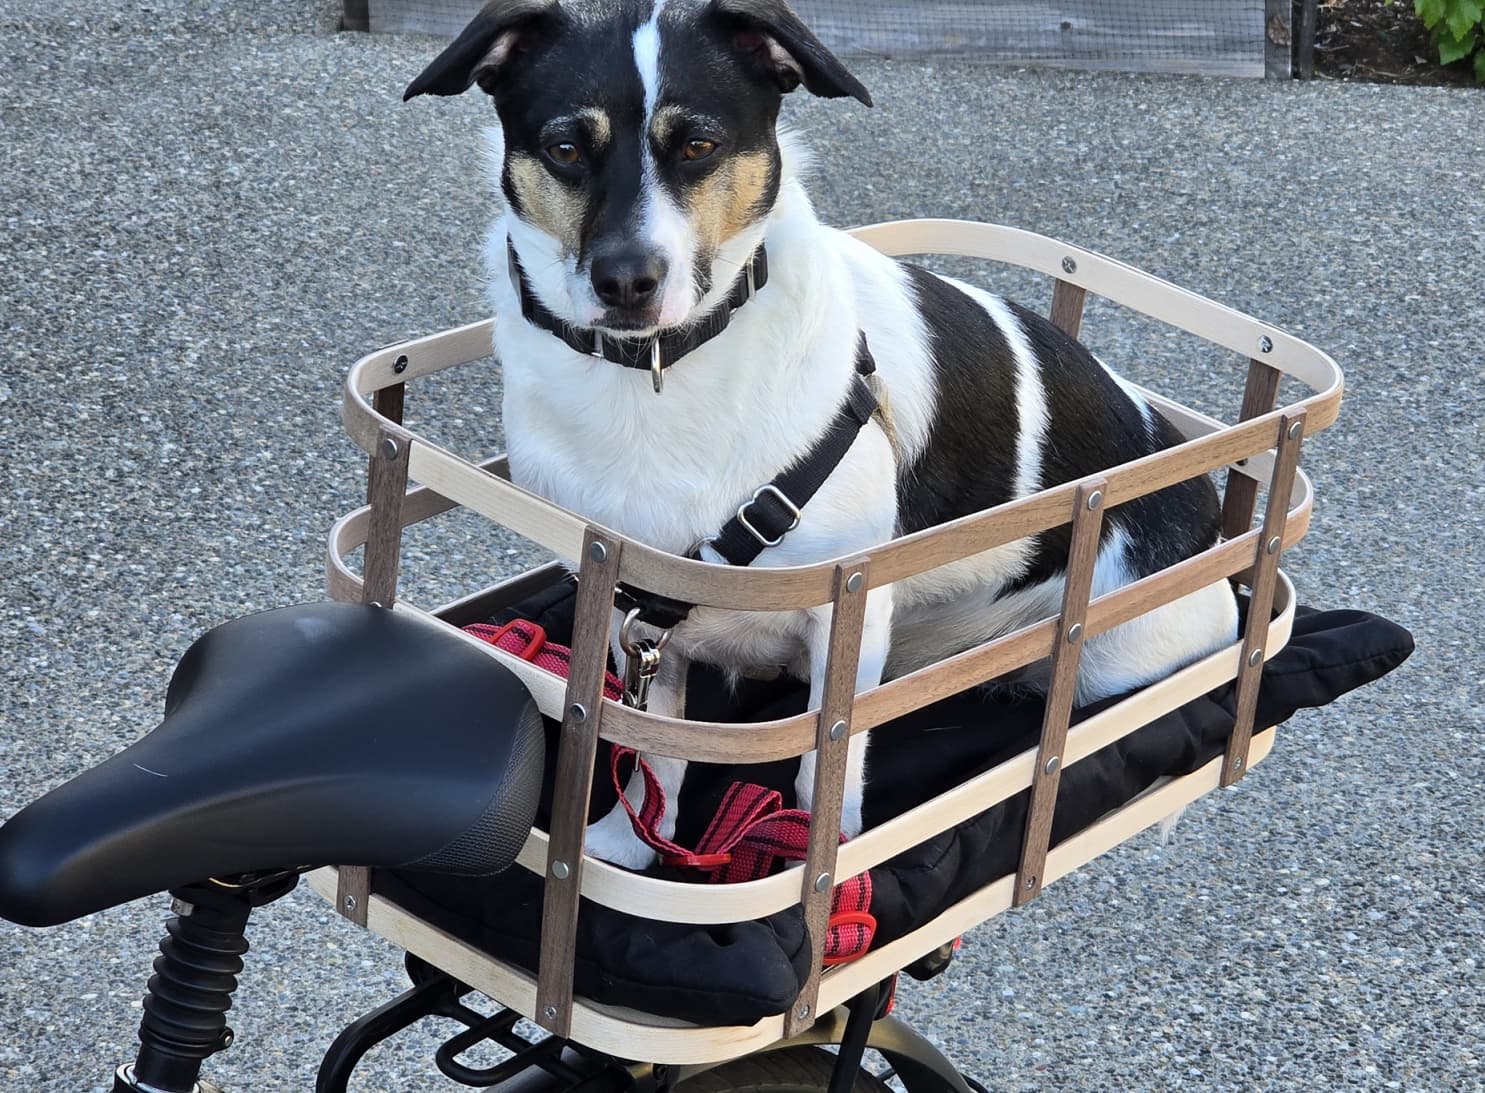
My supposedly 15lb rescue Jack Russell puppy who is now 25lbs grew out of his bicycle dog basket so I made him a bigger one. I teach a class on making steamed bent wood fishing nets so I had all the tools to make a steamed laminated wood basket. I cut out the bottom outline and then pocketed it a little bit to save on weight and then used that to bend the steamed walnut and maple strips around.
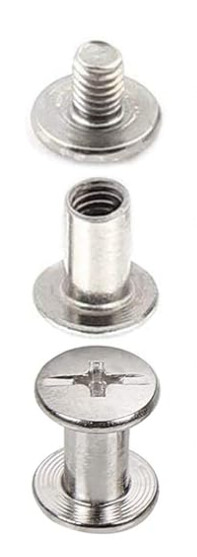
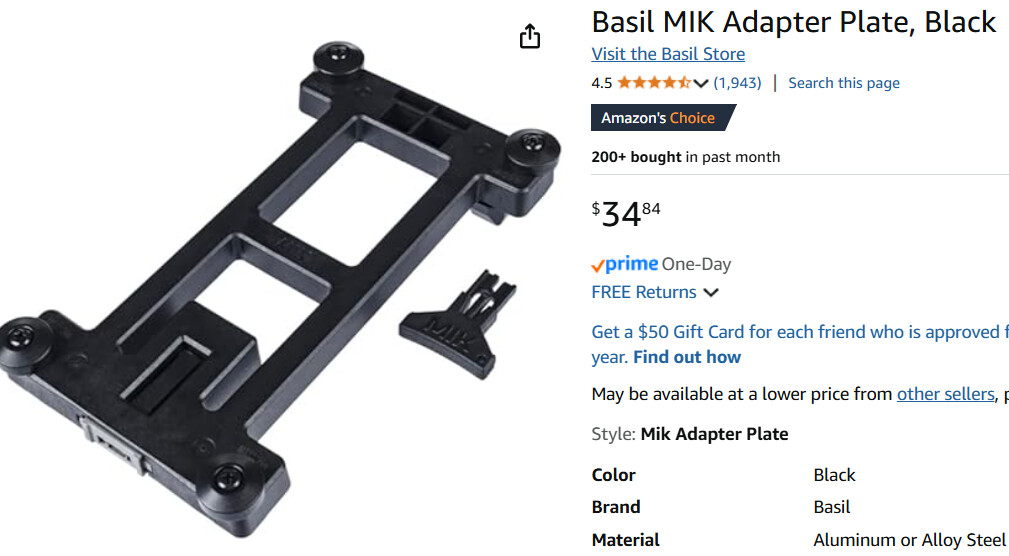
Attached some hold down straps to the bottom of the basket and applied a couple coats of spray outdoor spar varnish and we are back in business! It is surprisingly light and yet very strong. It clicks into a Basil MLK socket that is attached the rear bike rack.
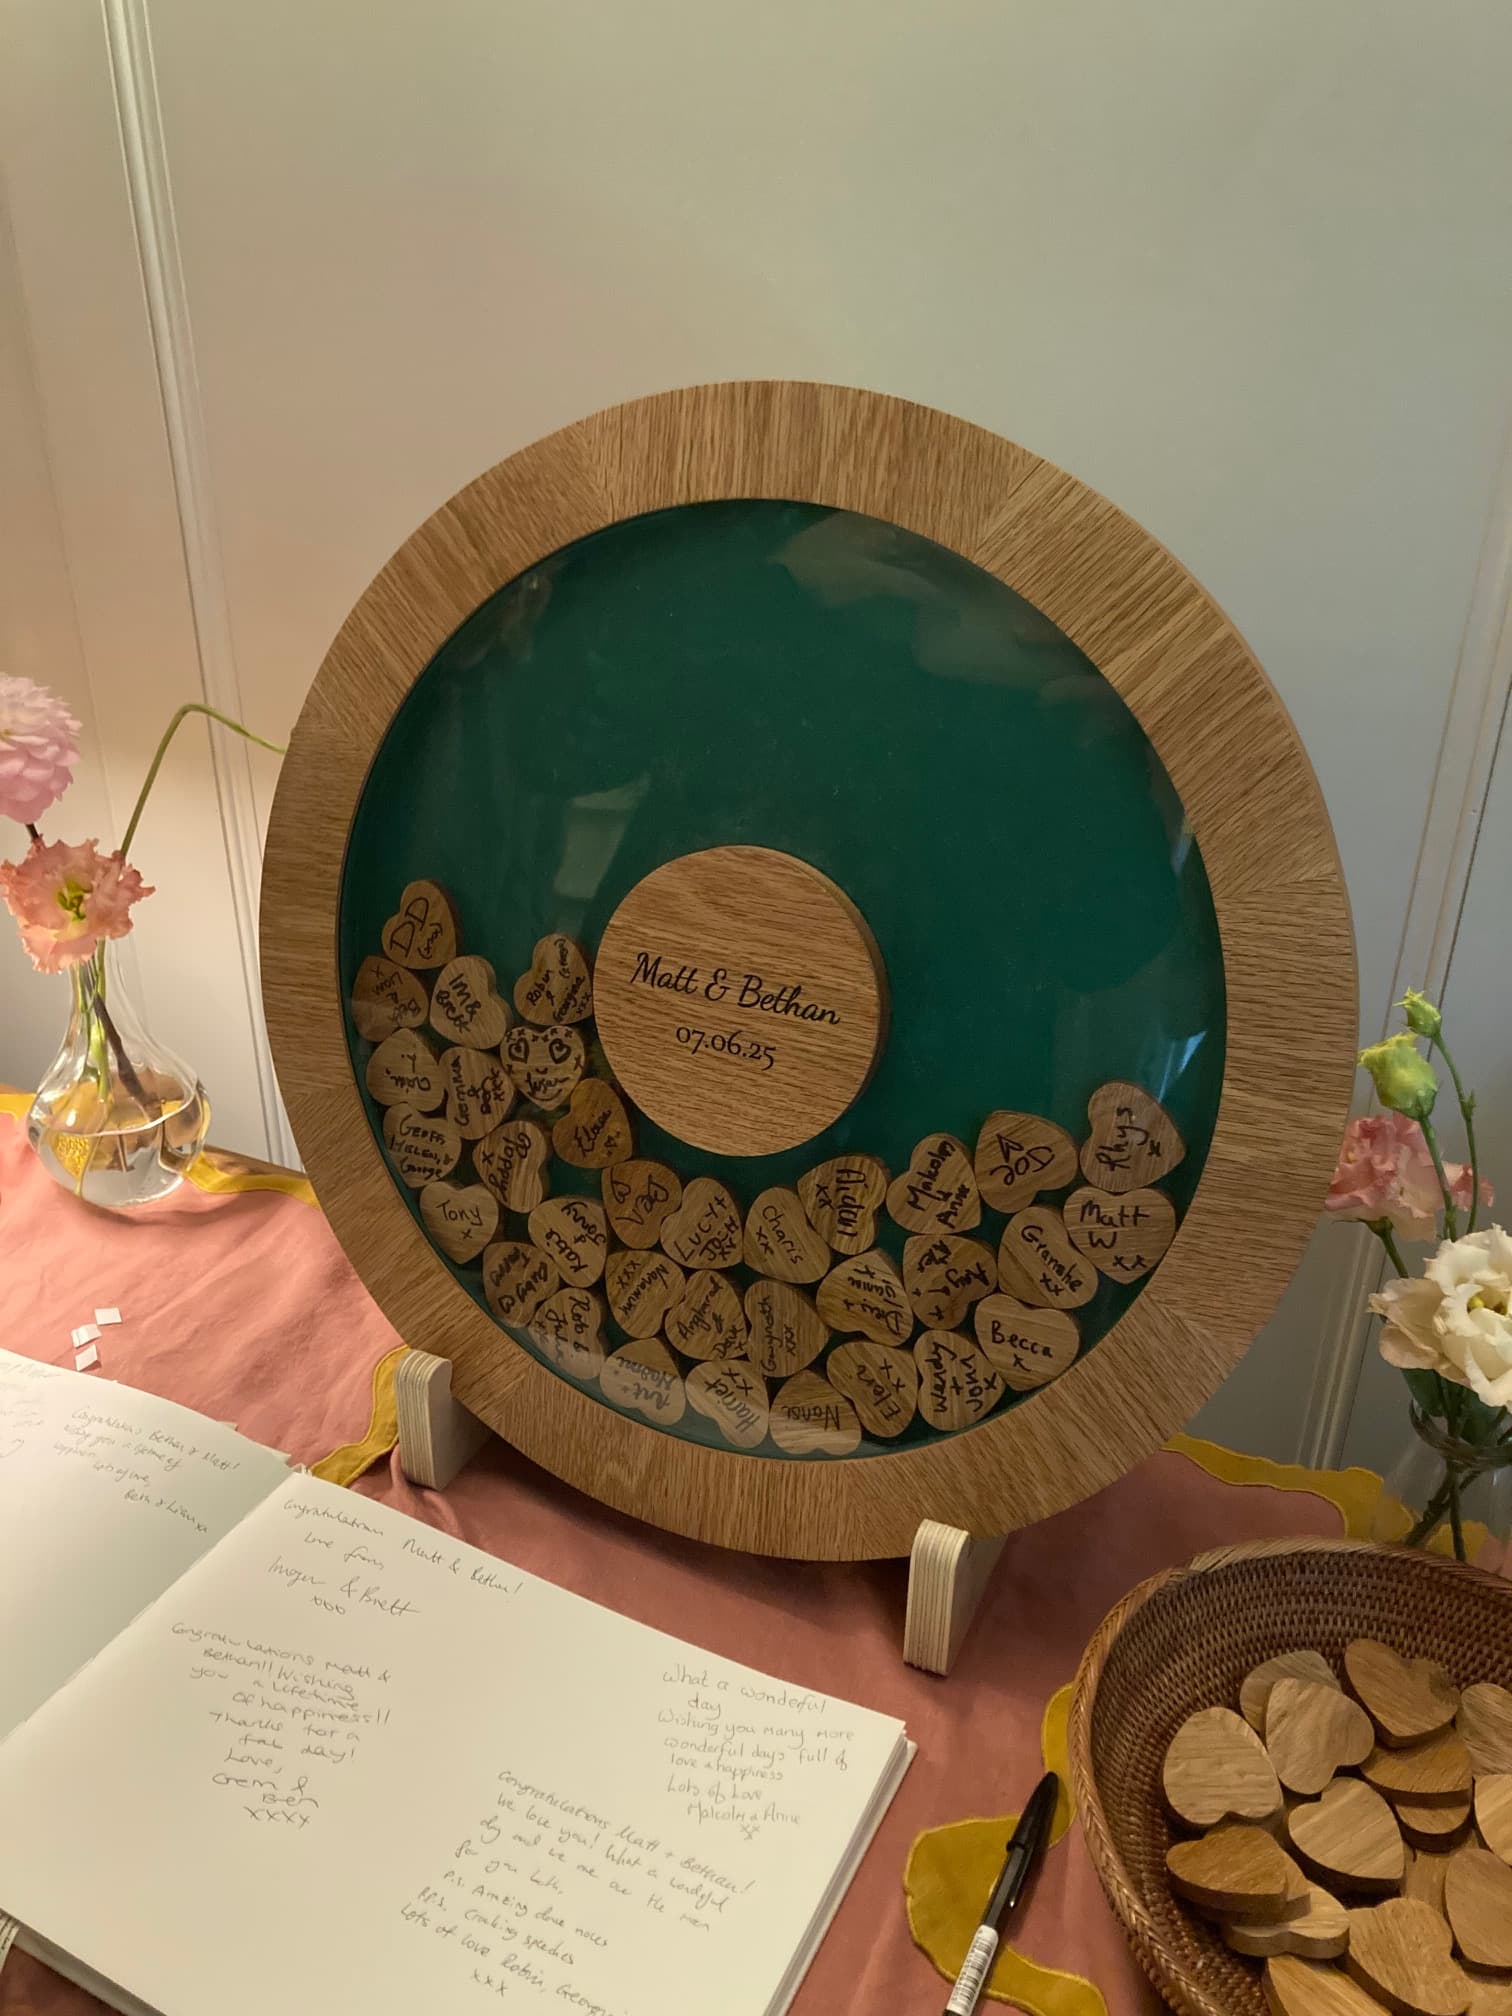
My friend recently got married and as a wedding present, I created one of those drop frames where each guest writes their name on a token and pops it in the top. It seemed to go down well both with the couple and with the guests
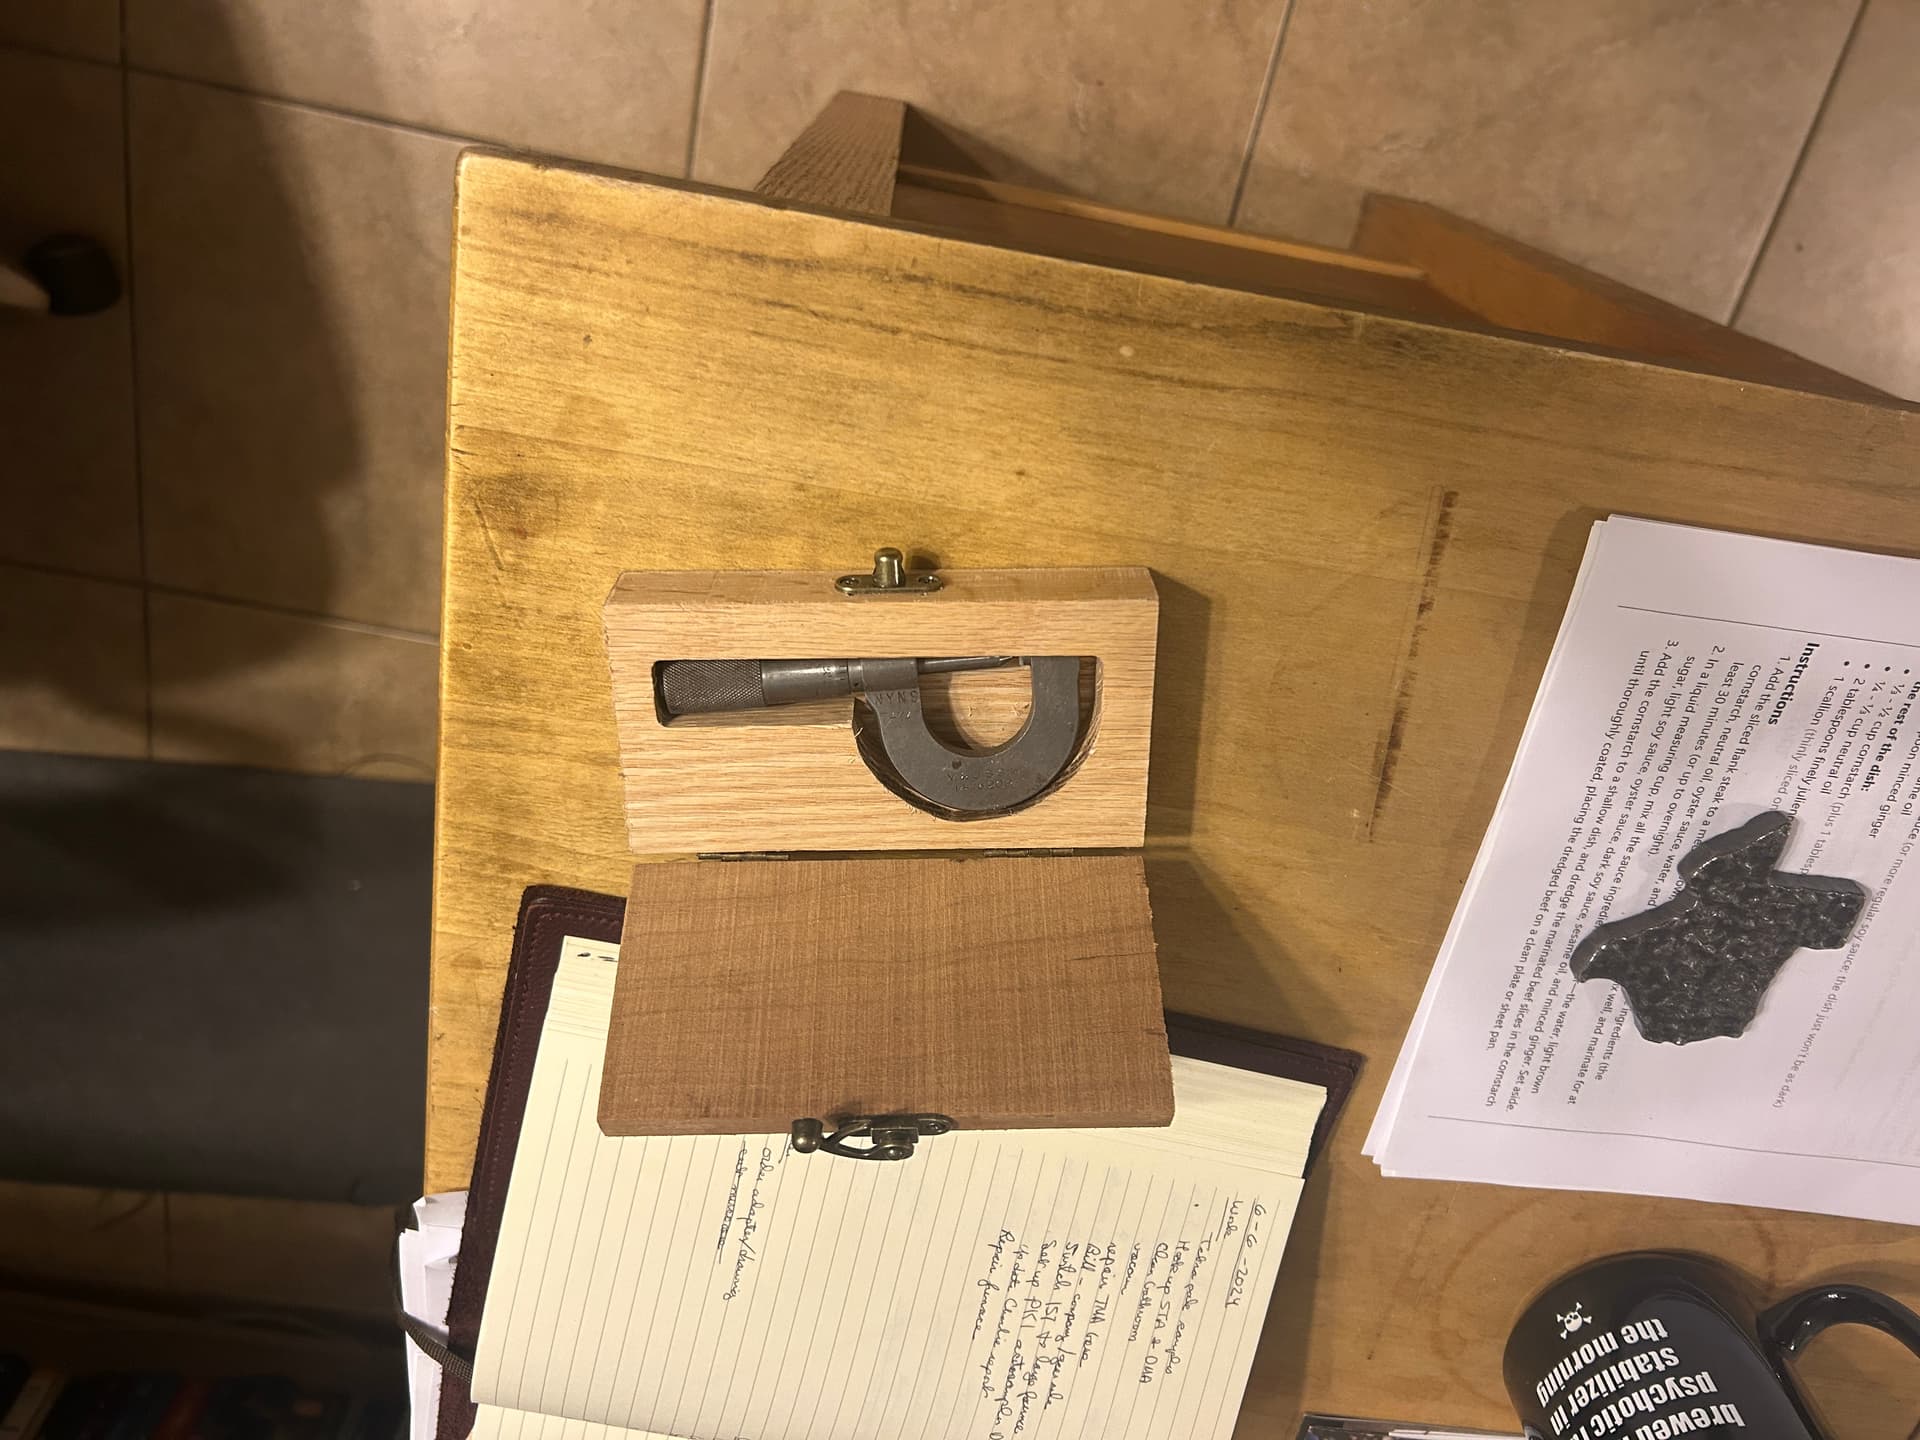
Finally finished a box for the thread mircometer I got at a garage sale. That took a week to get cleaned up and working right. The box, once I figured out some of the weirdness with the help of folks on the forum, took about 45 minutes. The hardware is left over from some jewelry boxes I made.
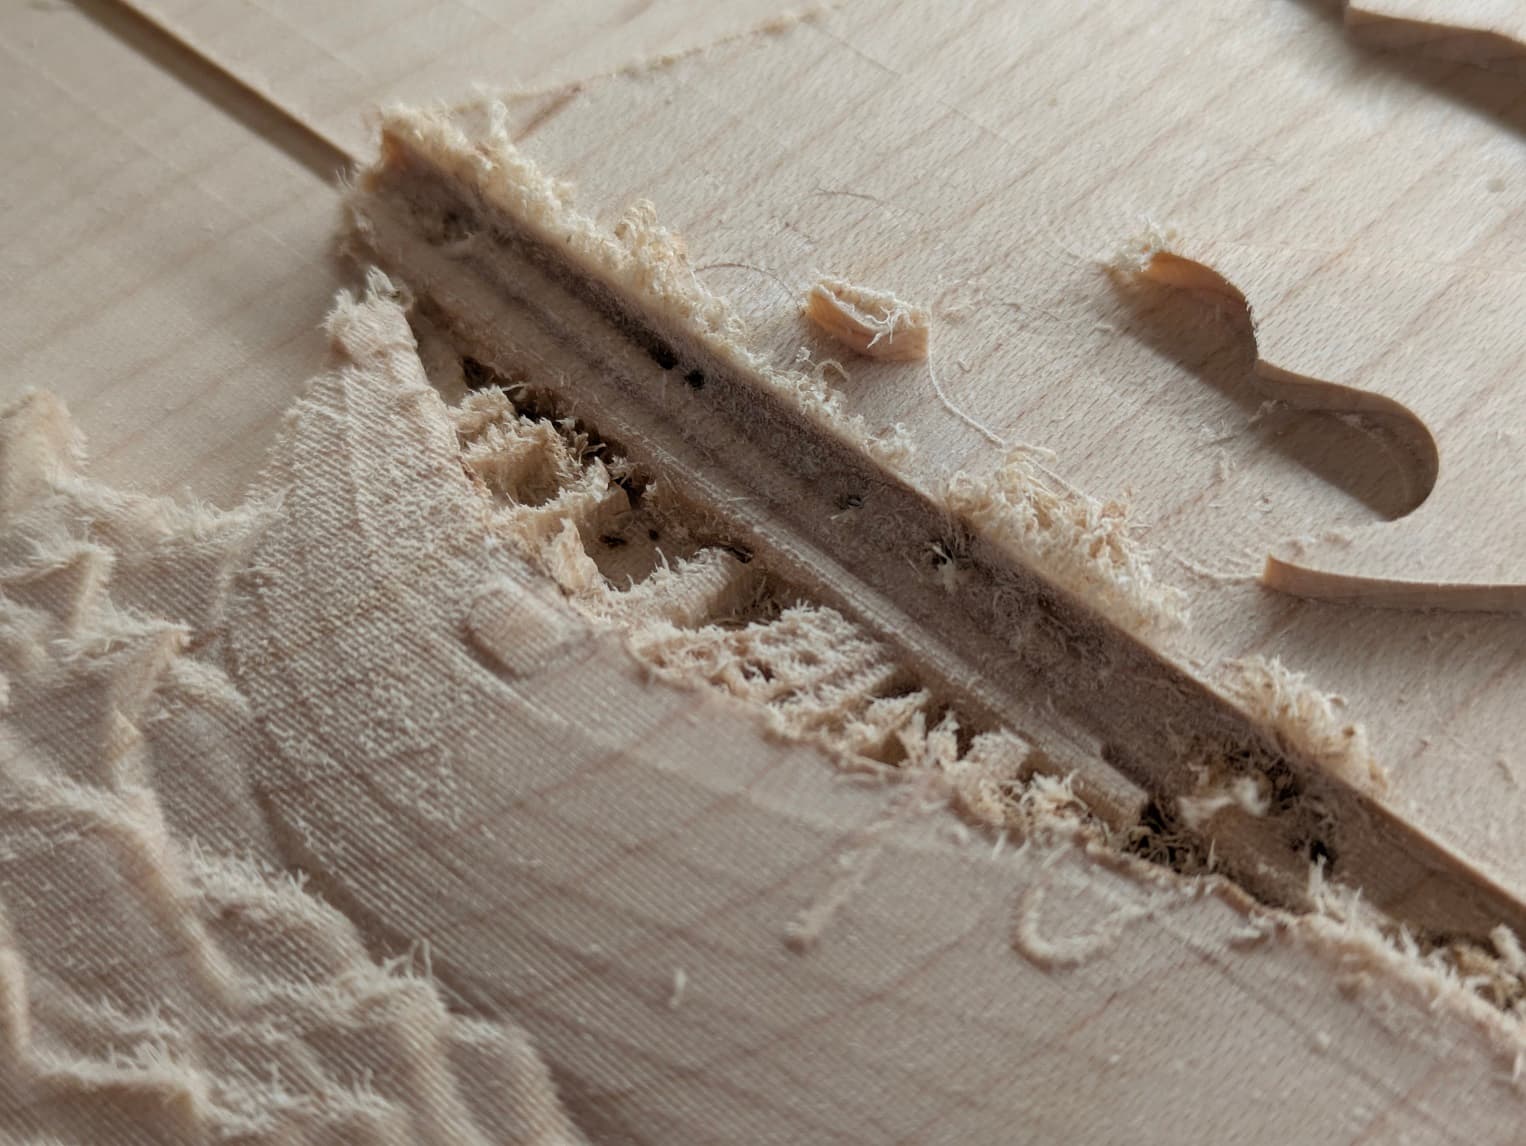
I enjoyed this project and while this seems pretty straight forward it was my first project I did on my machine. Some fire wood was made but lessons were learned.