Whoooo are we to judge? 
I think it looks great, but then I haven’t done much with epoxy, so I’m probably biased.
Whoooo are we to judge?
I think it looks great, but then I haven’t done much with epoxy, so I’m probably biased.
I’d probably not epoxy the owl but I’m a sucker for a good carving. The question I’d be asking myself is would I keep the aggressive sharpens or take a rotary flap disk to it and soften all the features.
The sharp angles look awesome, that owl stares right into you.
Though flapping it might give it more of an aged/worn look that might evoke passage of time or wisdom which also works well with the owl theme. I feel like the worm version wouldn’t look at you so much as though you.
You got some tough decisions ahead friend. Regardless, congrats on another home run 
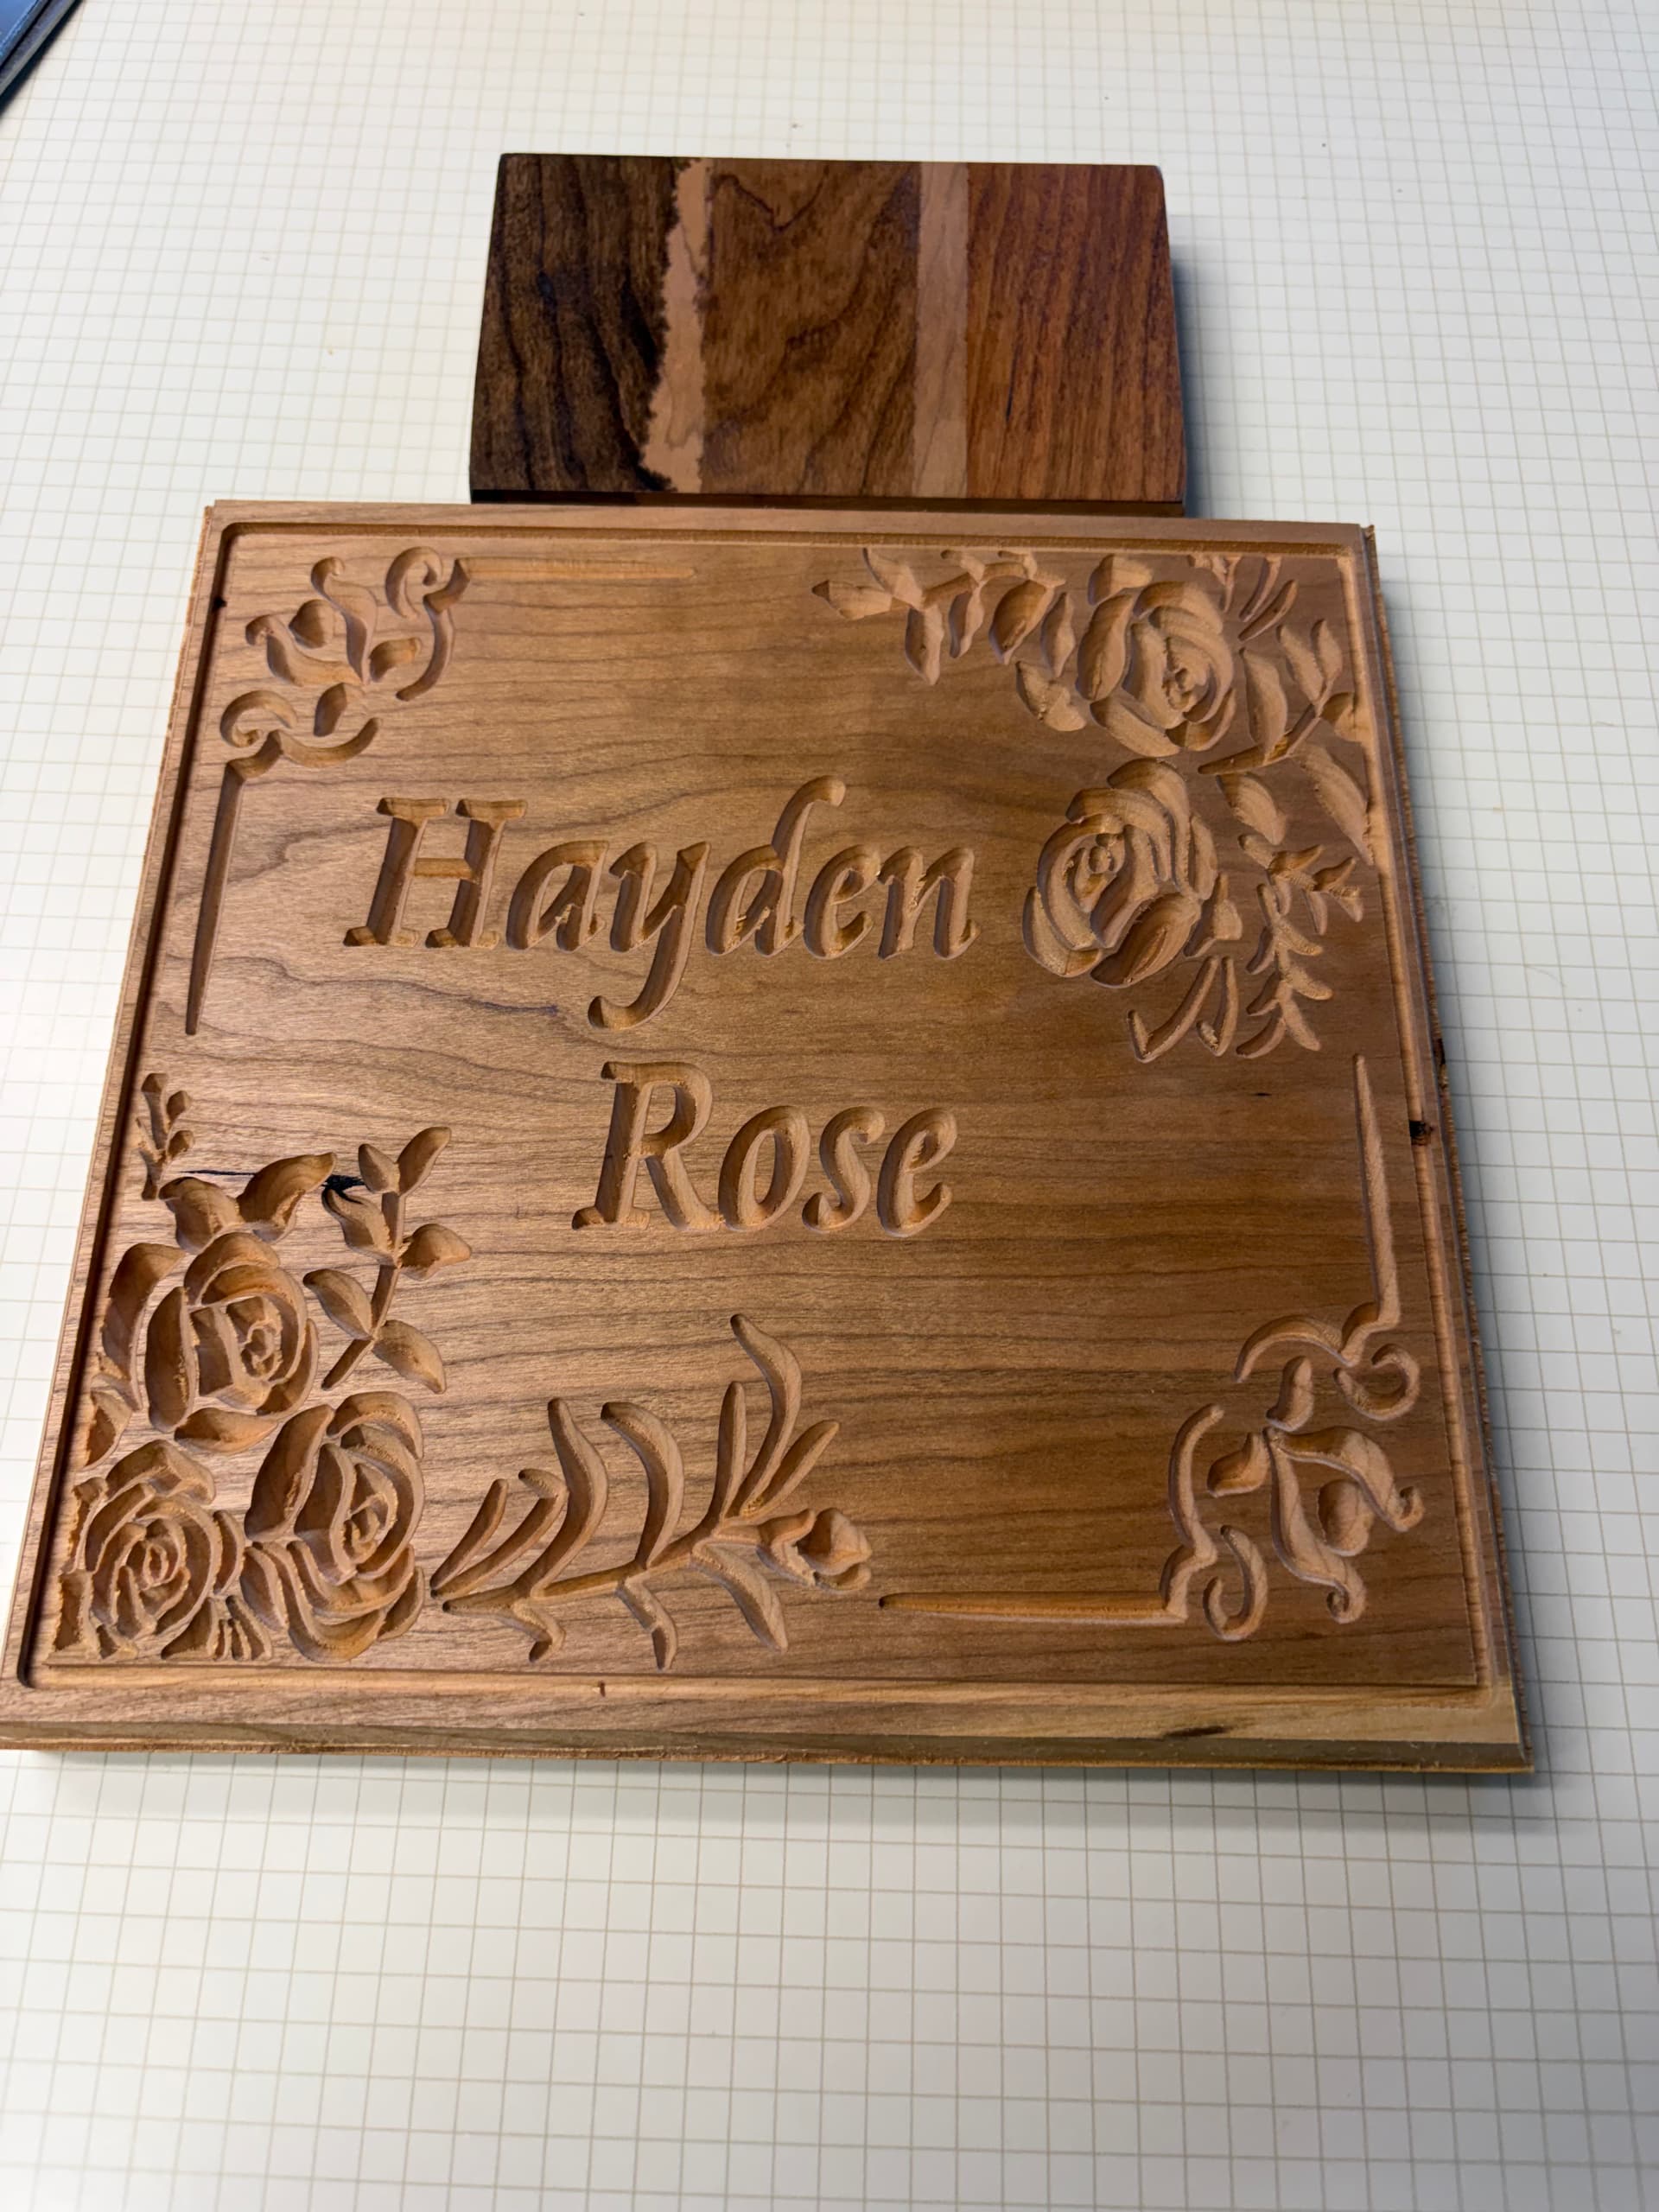
Getting ready for my first Epoxy pour, based on everyone’s feedback this is gonna take a lot of steps, but the carve is done, Cherry.
Thanks for that… I always struggle with what’s the best way to finish a project and now you throw in flapping??? 
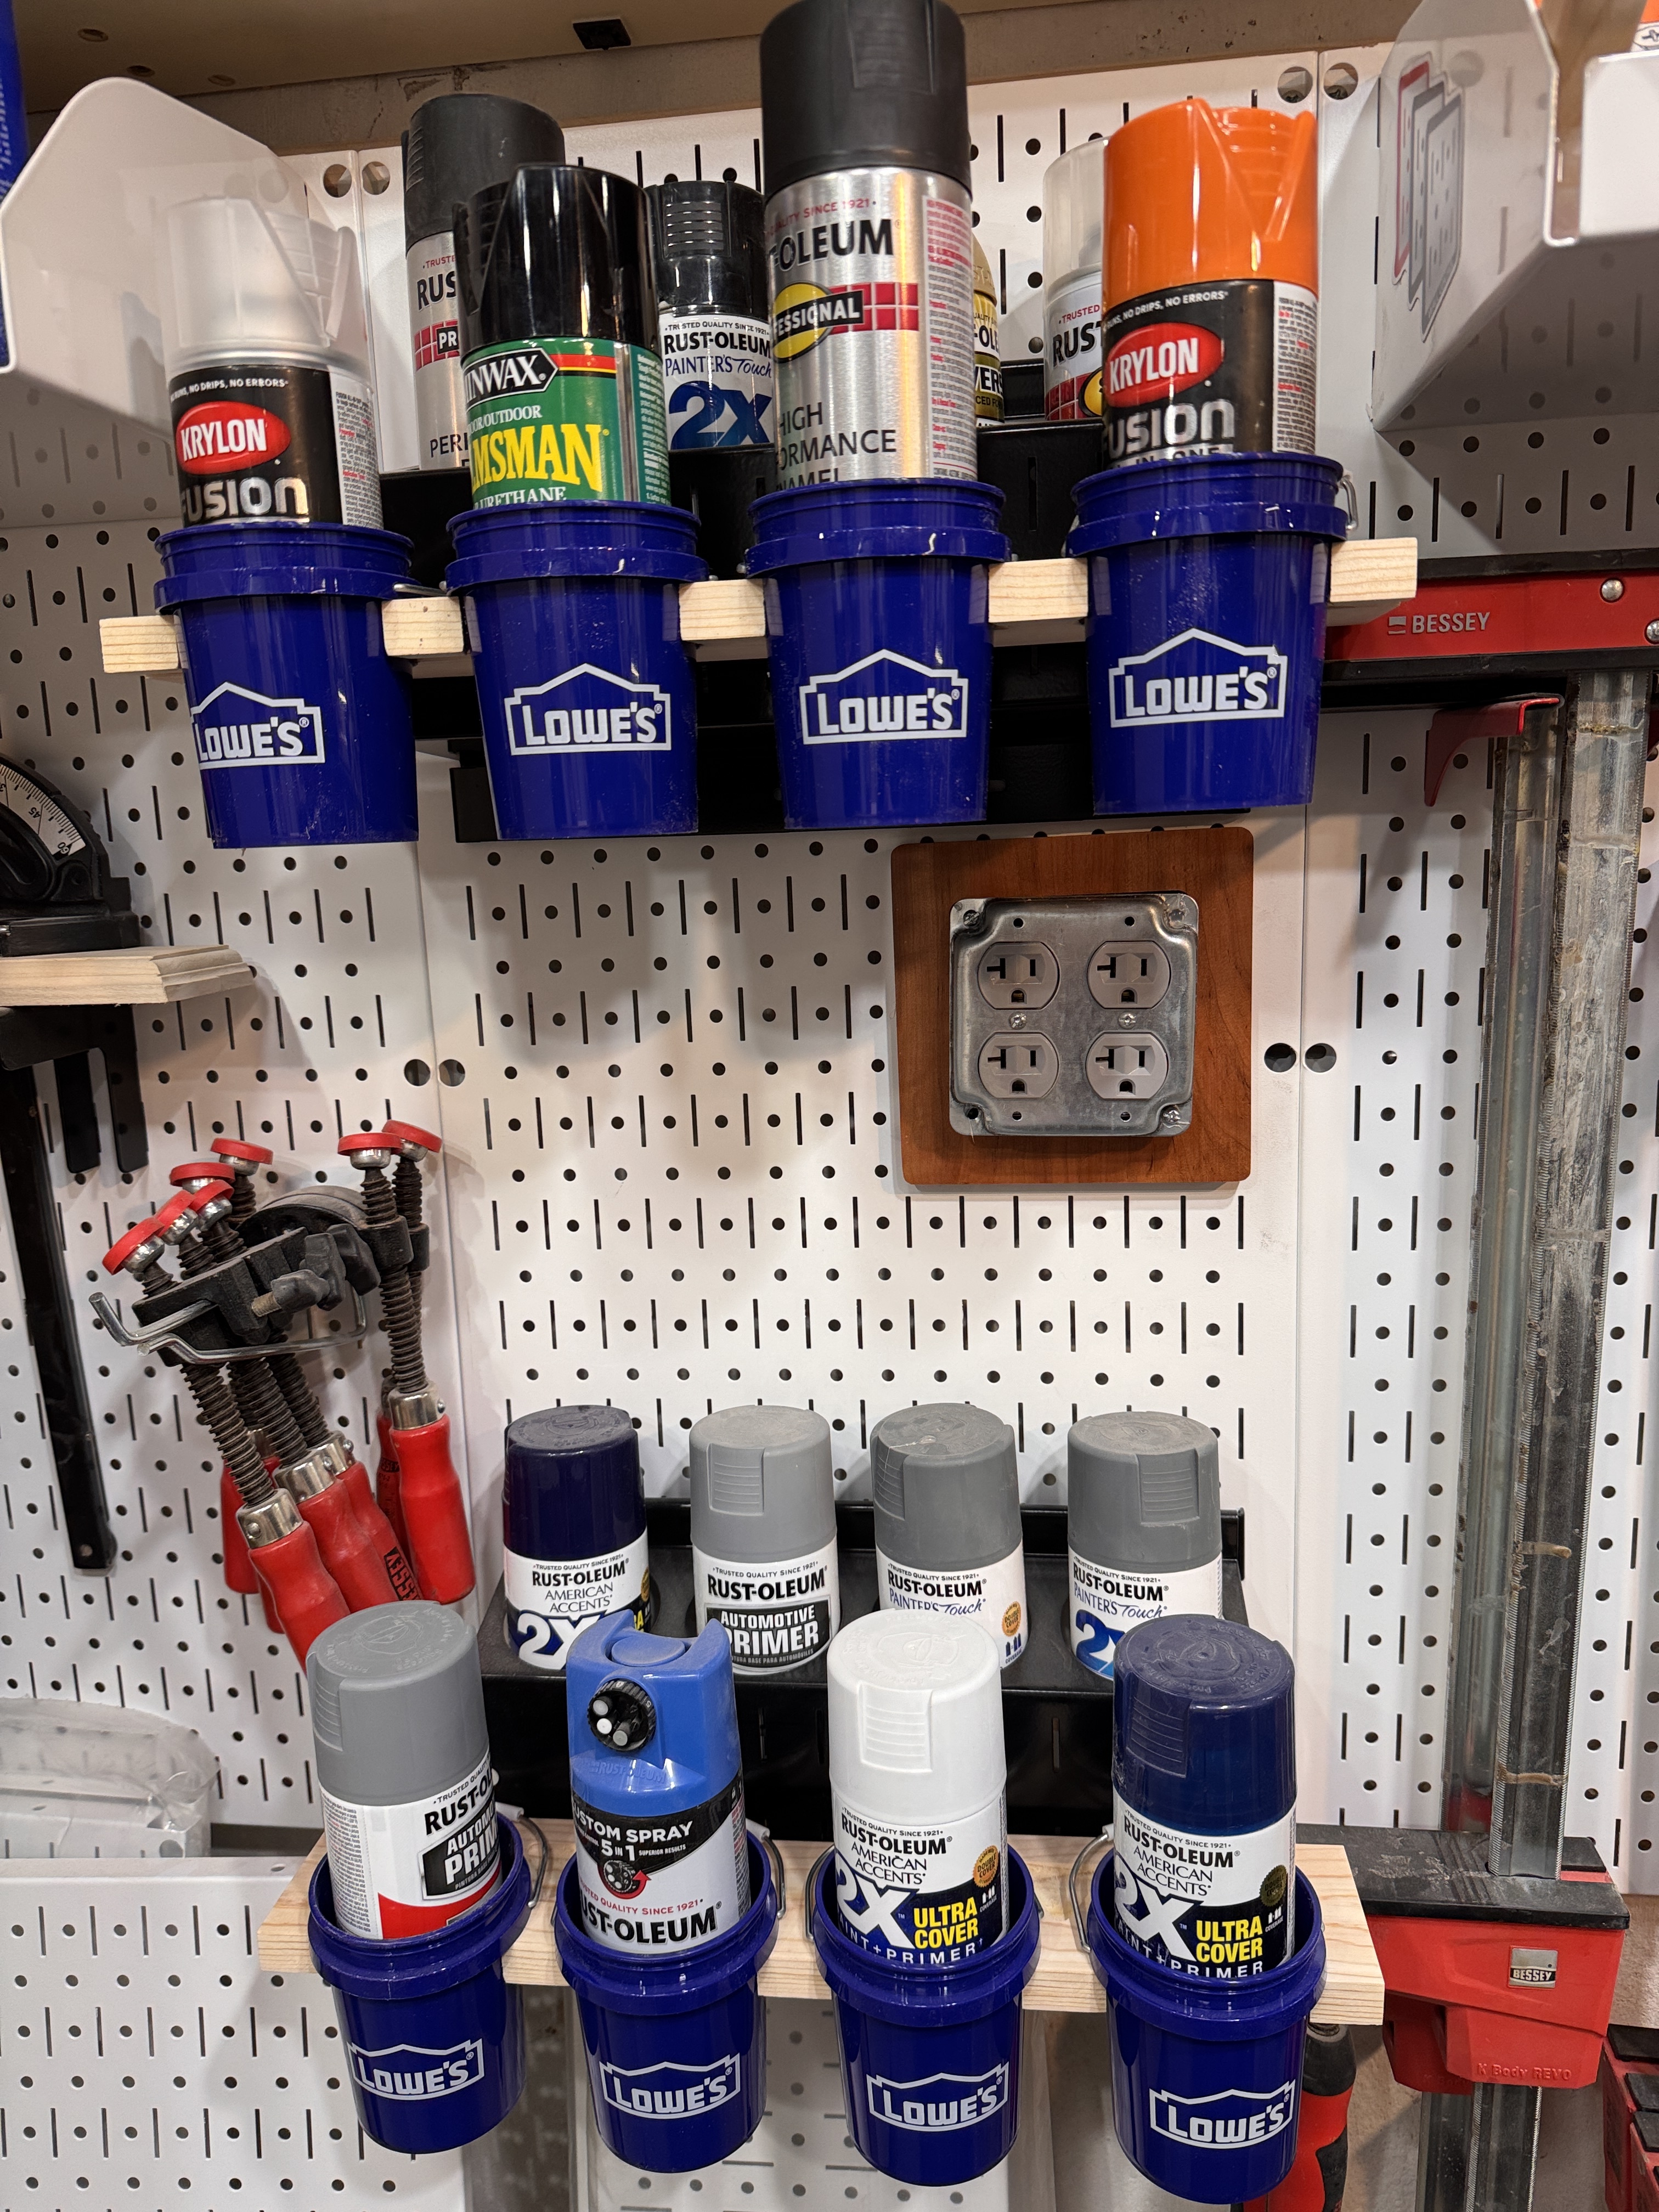
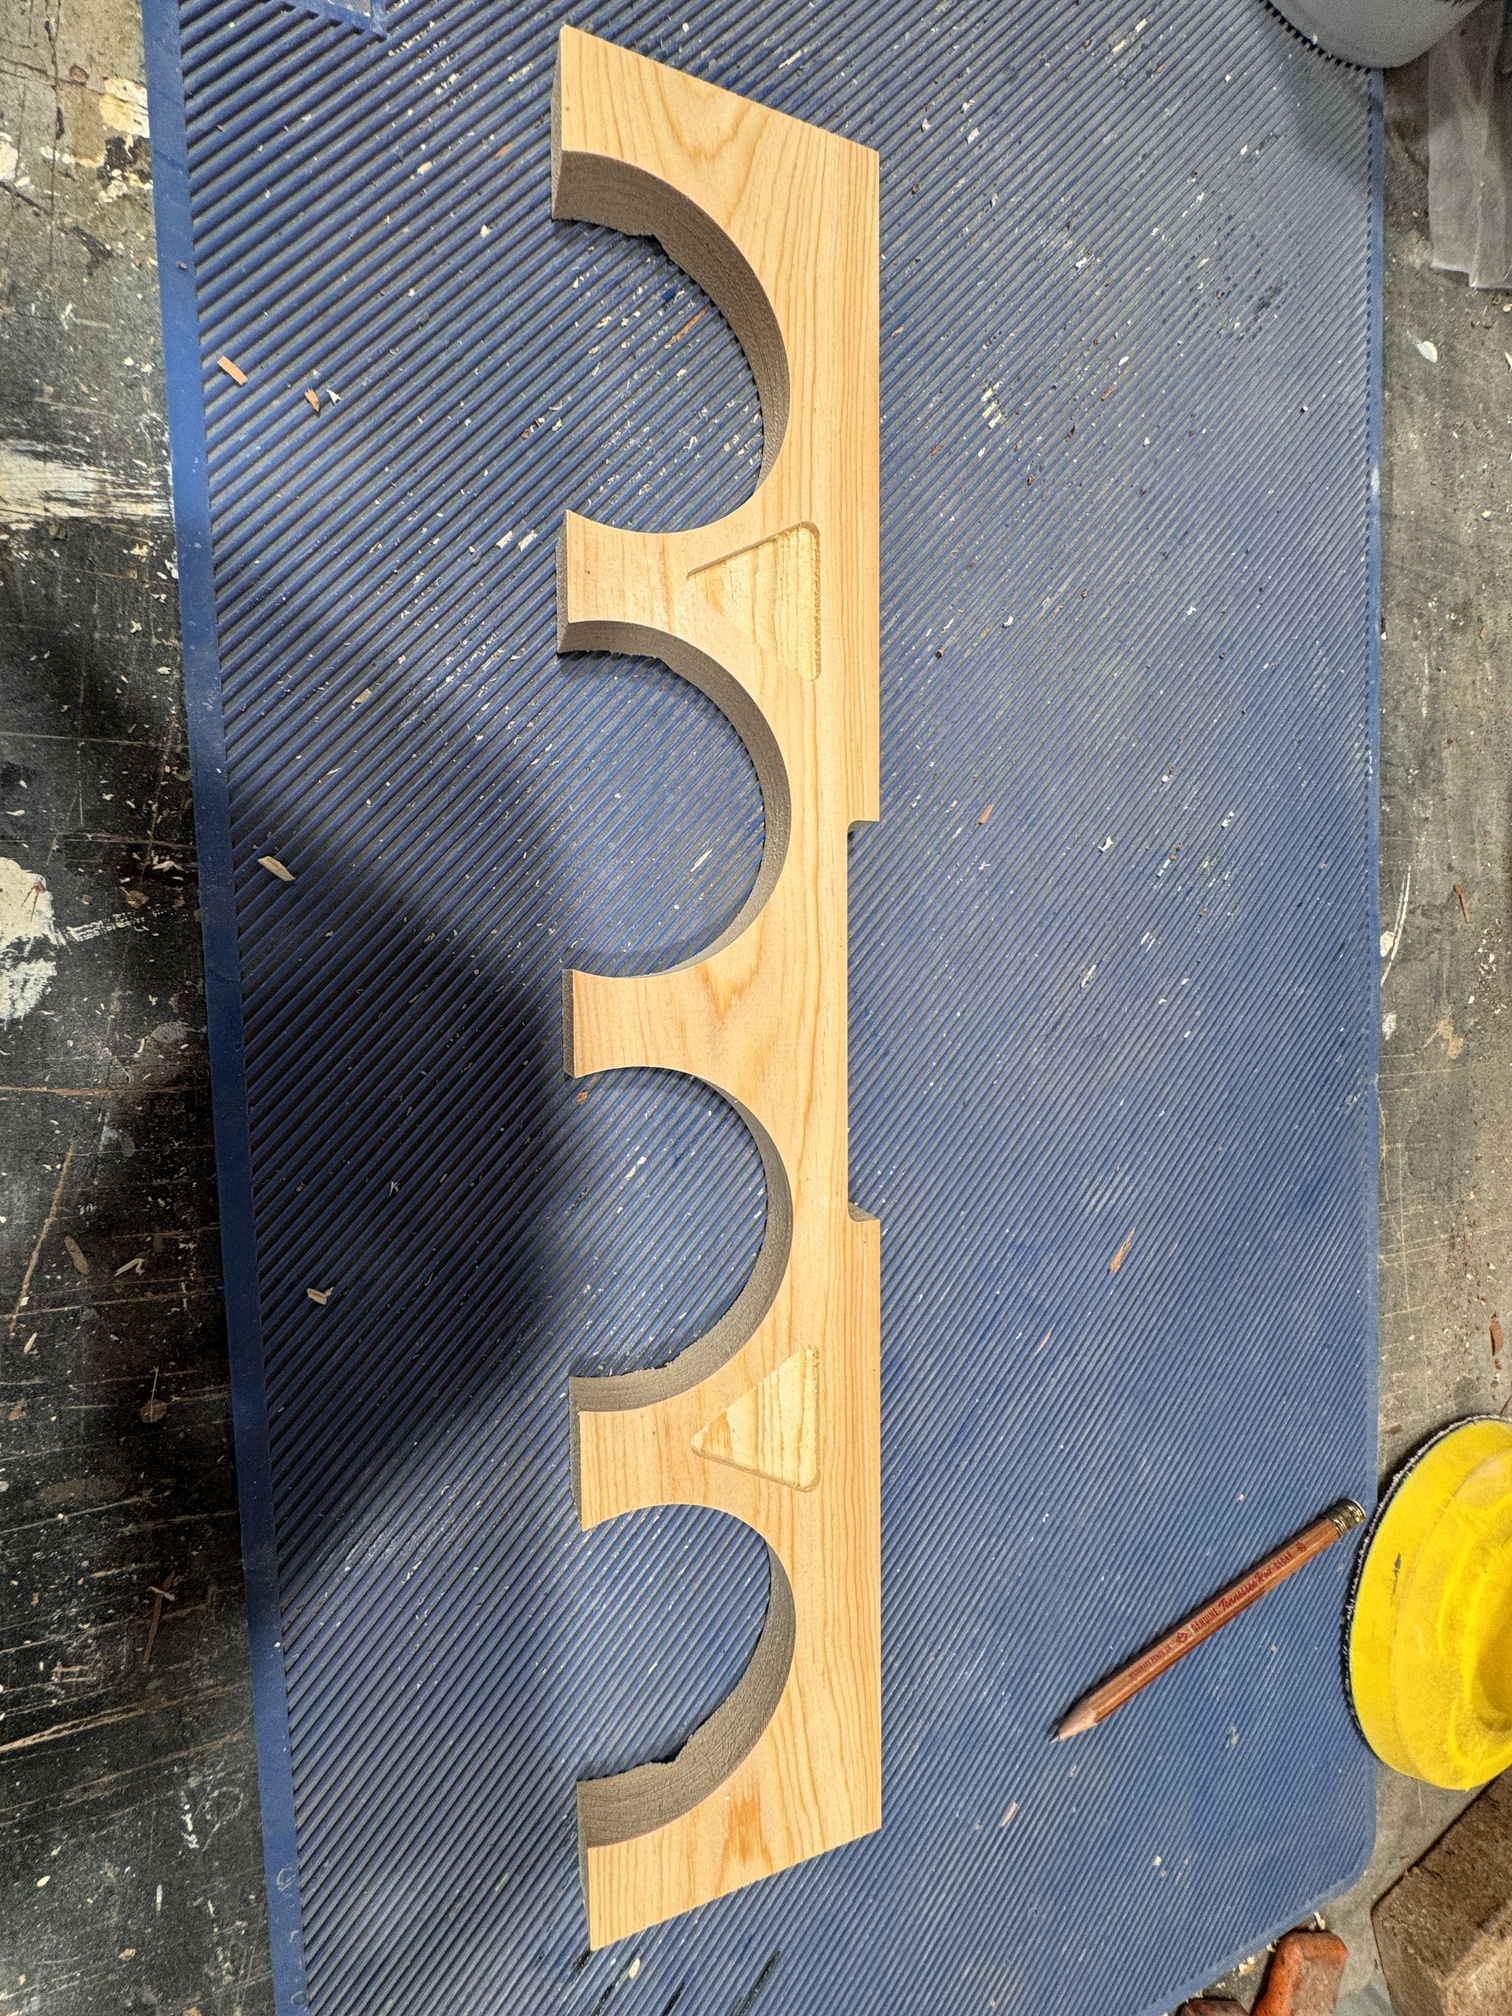
I found these little buckets at Lowe’s and bought a bunch. Didn’t really know what I was going to use them for. Now I’ve discovered they are the same size as rattle cans. I designed this bracket to hold the buckets on my pegboard. Since I was just making these out of pine, I cranked my machine all the up to 750ipm. Wow, never seen it move that fast.
Thanks for looking!
Edit, the trim ring on the outlet is also off my CNC. It hides lots of sins from cutting the metal with a grinder.
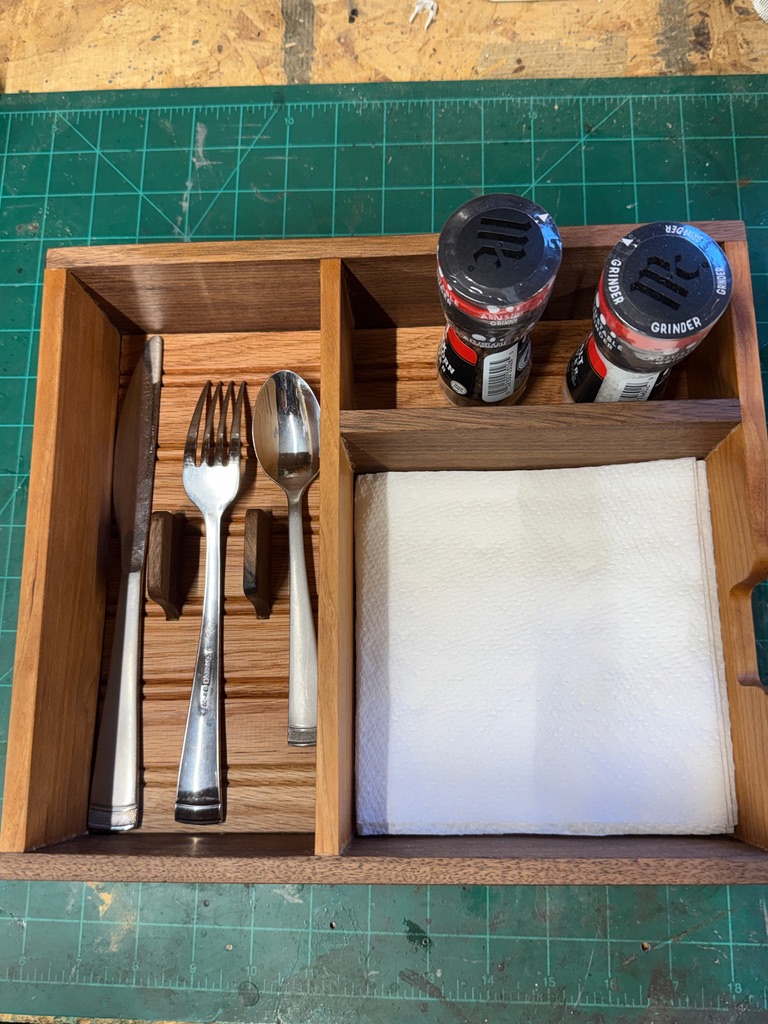
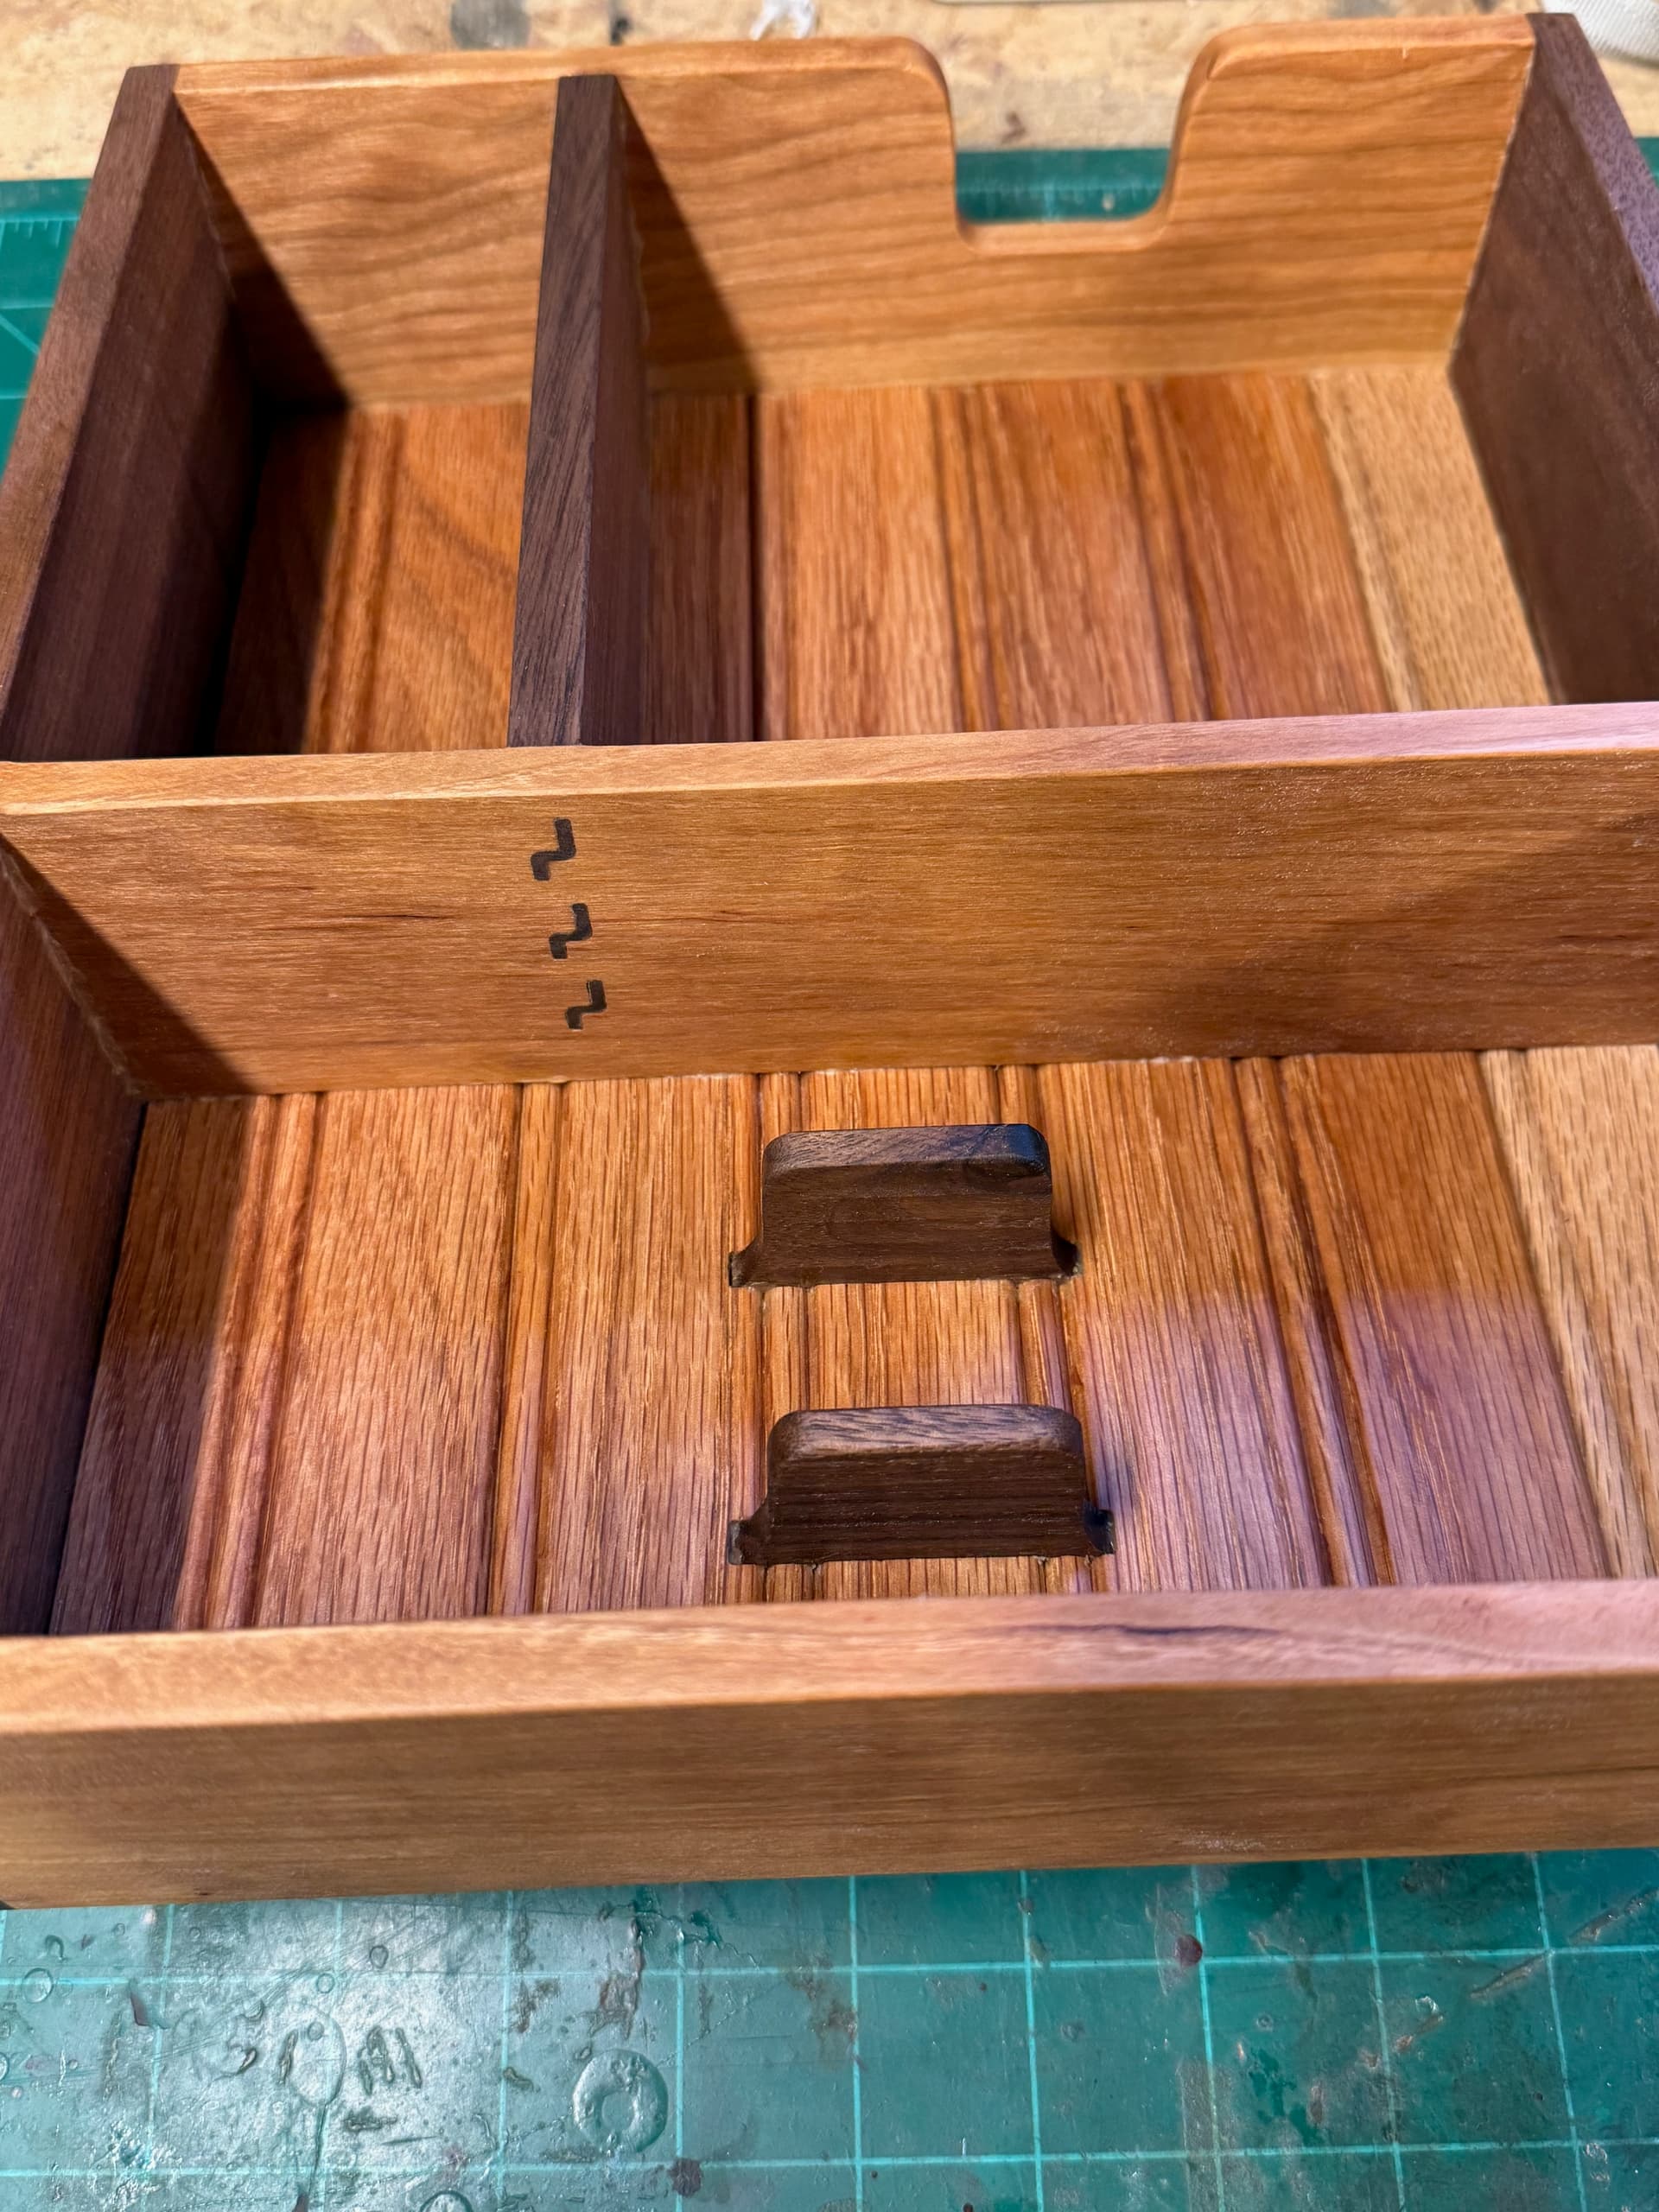
I finally finished off a project that I managed to push aside for a while now. A napkin and cutlery holder for my daughter and son-in-law. The box is made from Black Walnut and Cherry, the bottom is tongue and groove Wainscot. It’s finished with Howard Feed-N-Wax.
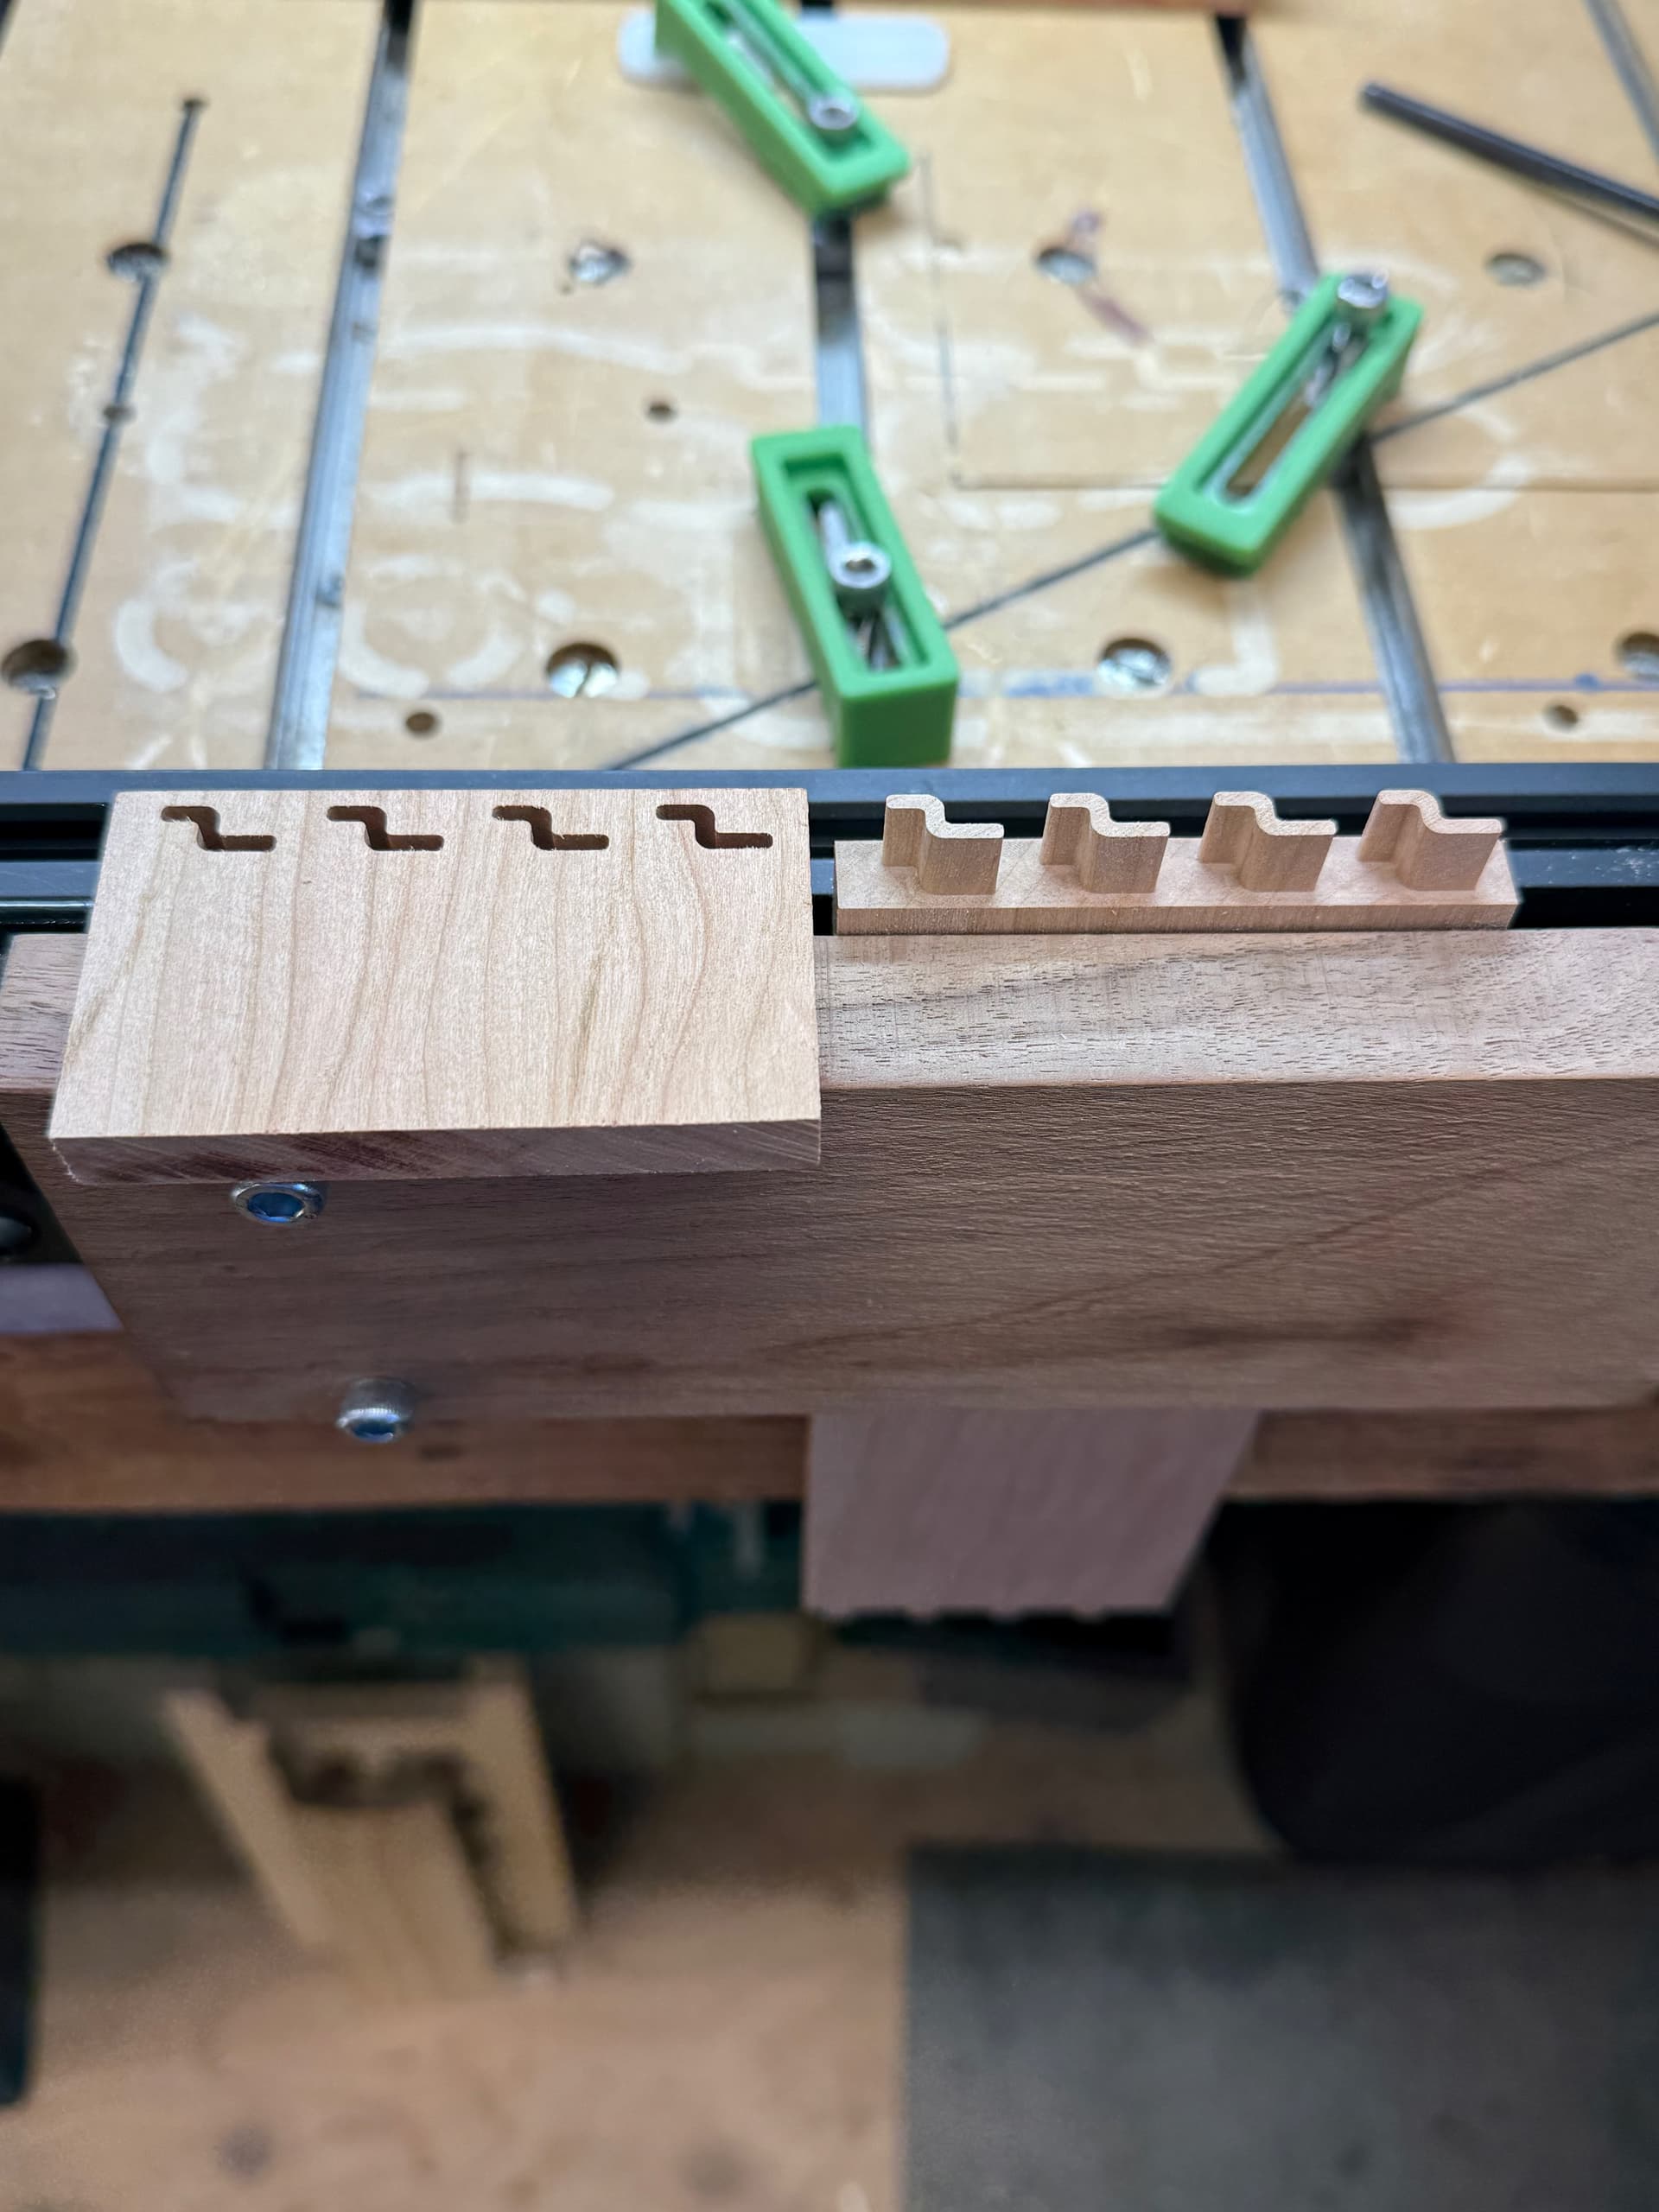
This project started off as an experiment with decorative box joints, then down the rabbit hole I went. 
Looks good. Looks like you found the rabbit at the bottom of the rabbit hole. 
How much of that was on the Shapeoko. Were you clamping stock vertically for all the tenons?
Super cool joinery Ed! You have me rethinking the gantry shift location. I intend to upgrade the base rails sometime this year on the 5 Pro and with this upgrade to stiffer base rails I think I’m leaning more to modding the bed between the first two rails to allow this type of milling on a slightly larger scale. More to follow on that idea!
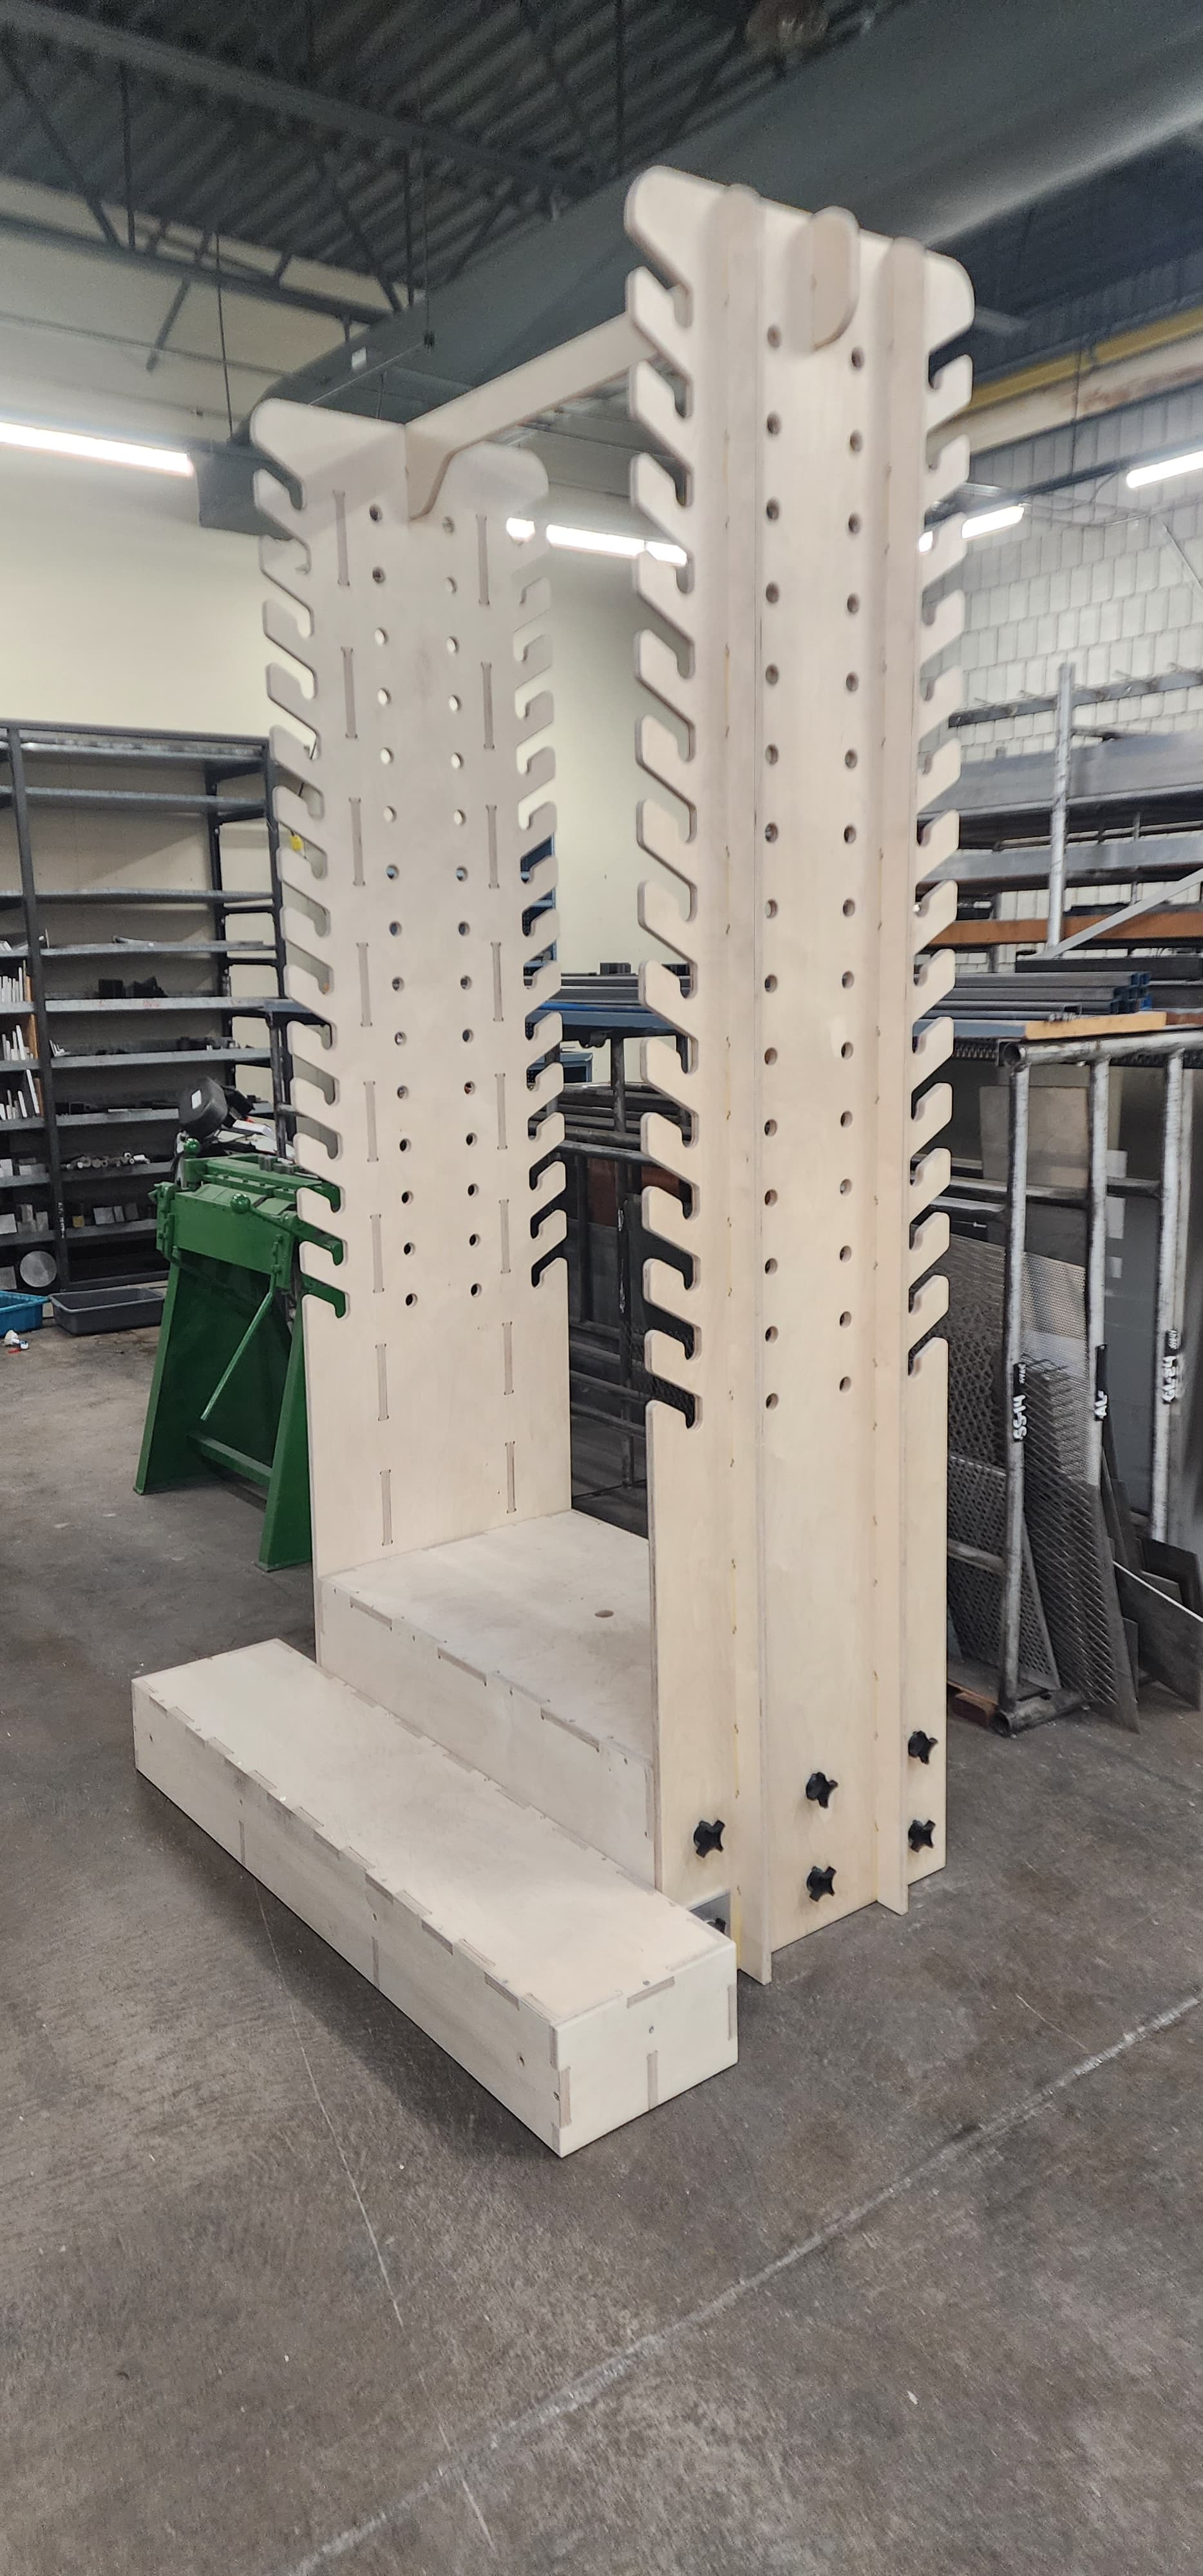
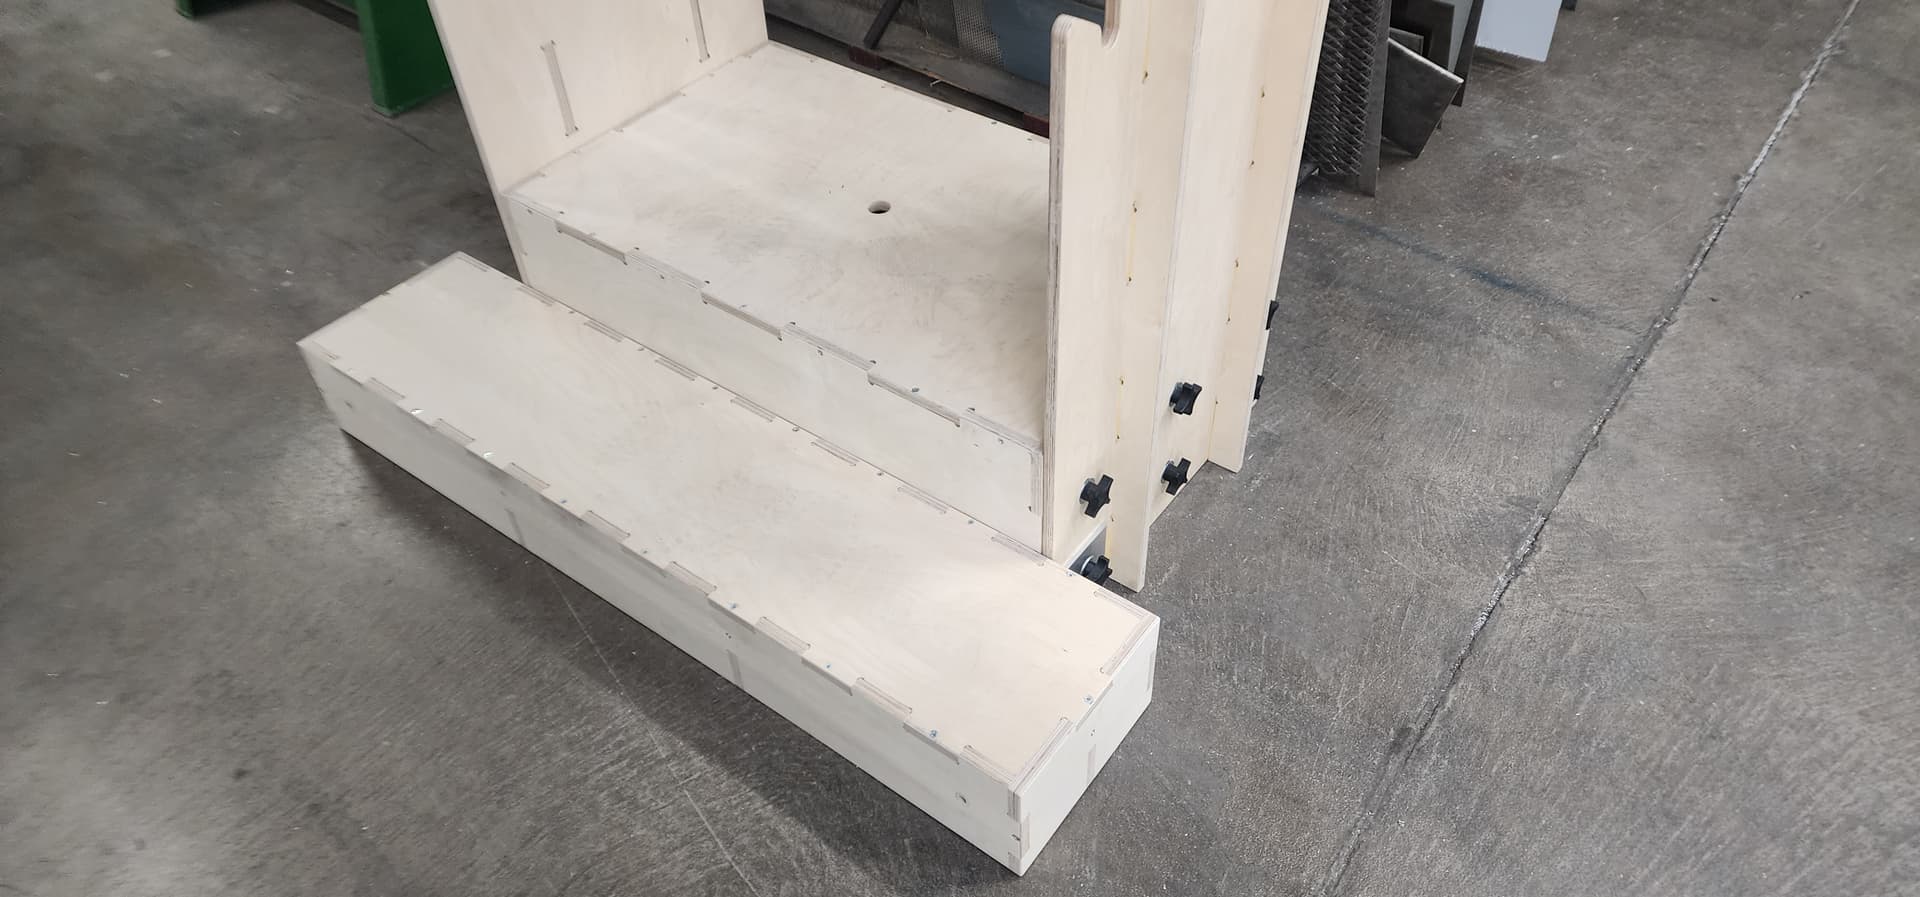
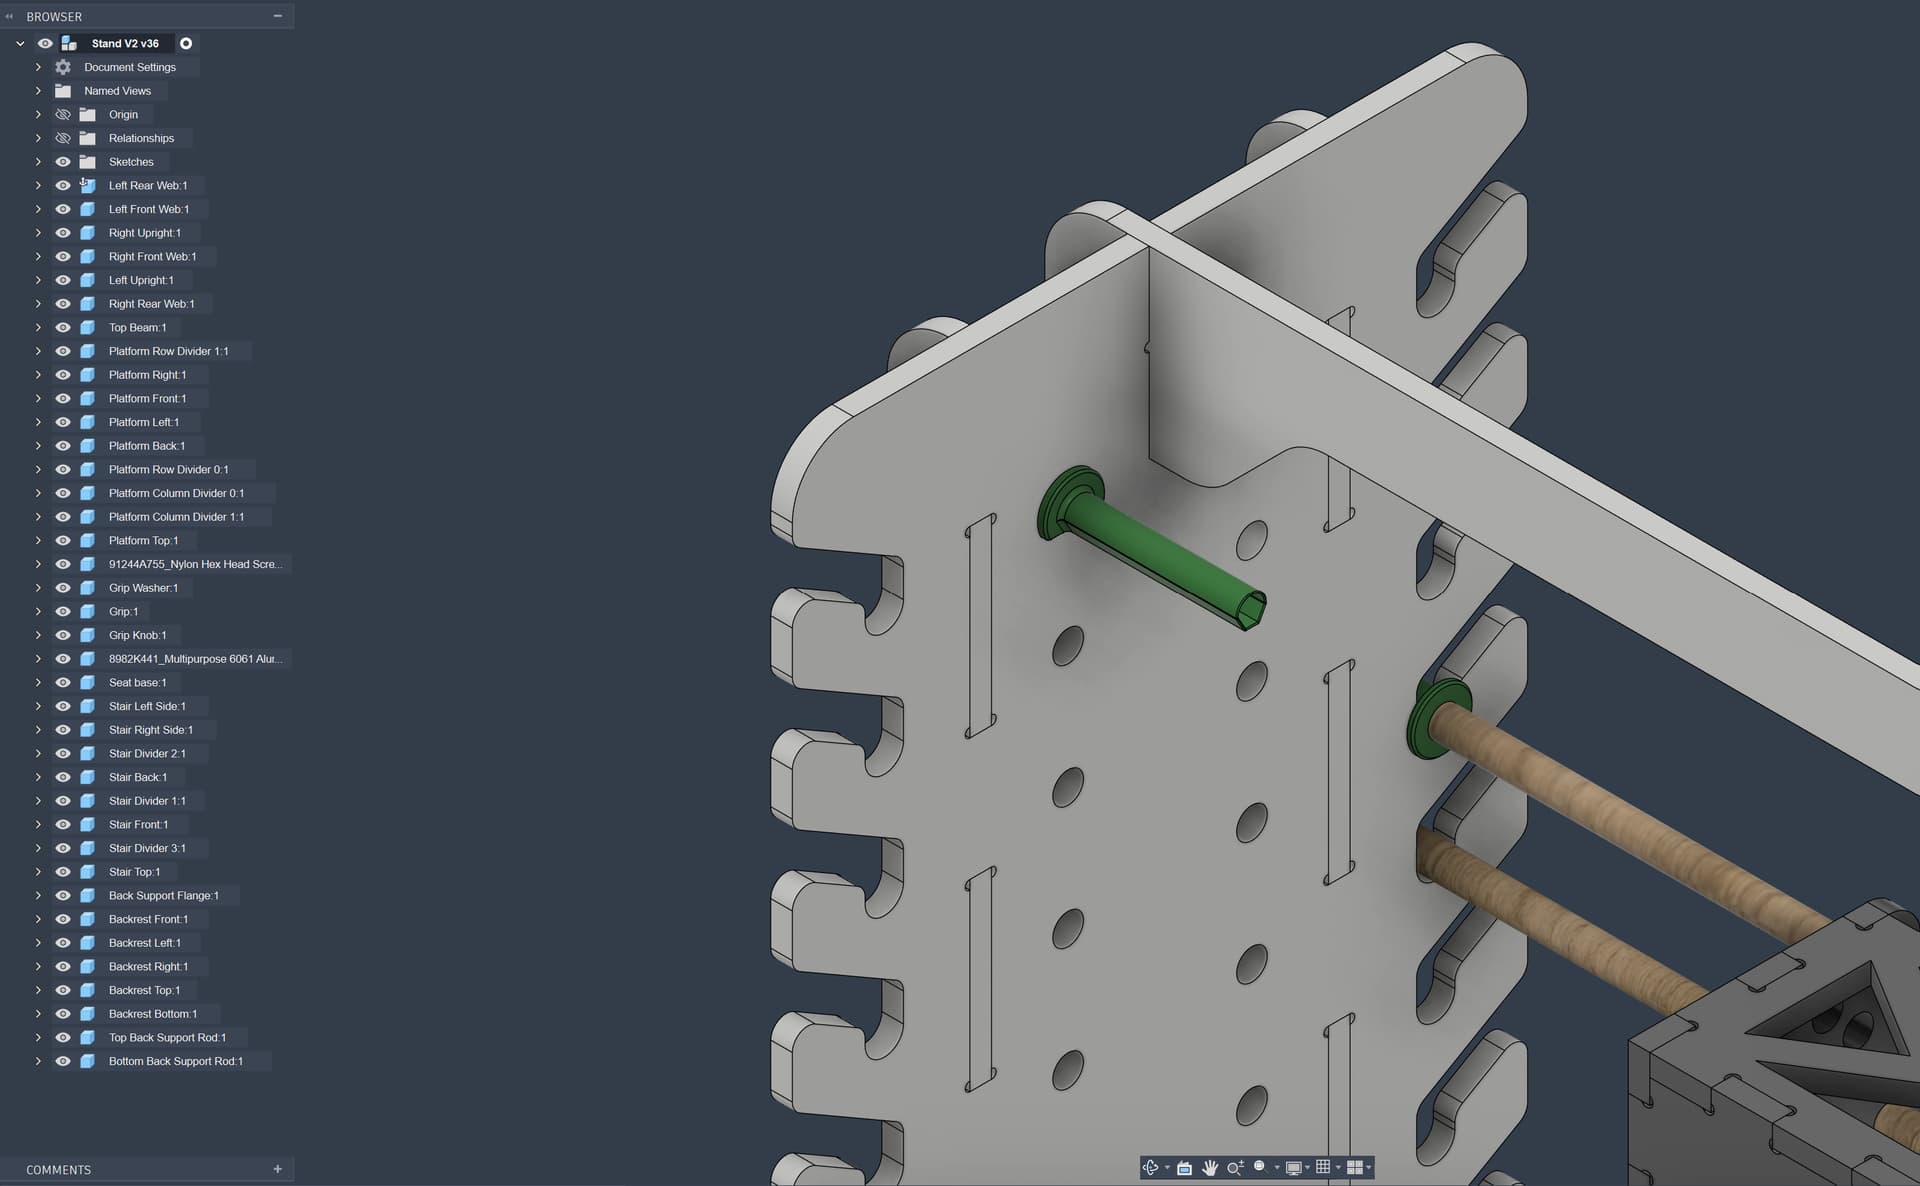
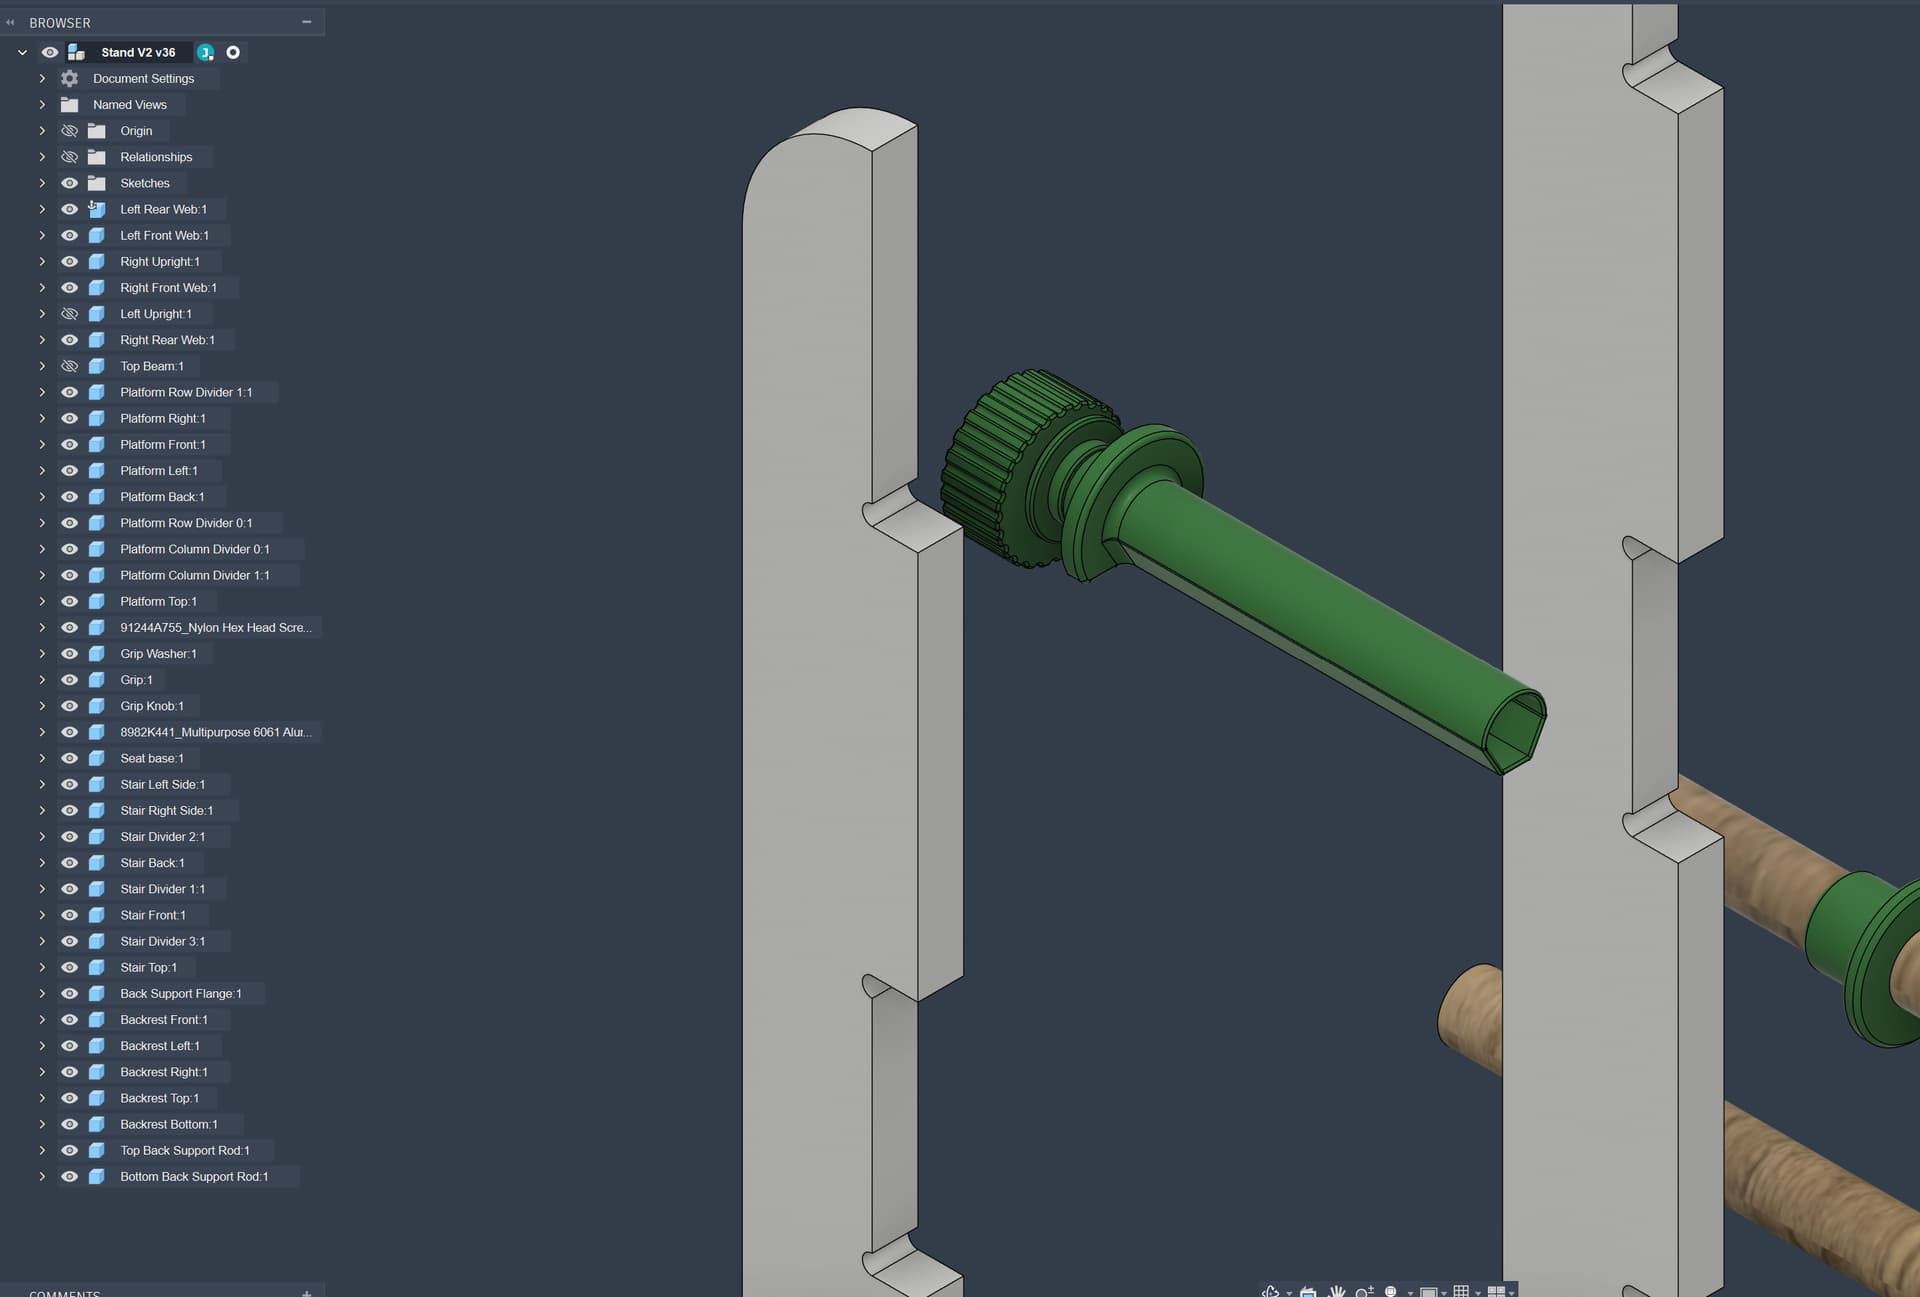
Here’s a test fit of the almost done cancer zapping stand. I glued up one side of the small backrest the wrong way, so I get to recut that. So it’s not shown. The professor should be in soon to take it for a test ride. Fully cut on my initial release S5Pro. The tall pieces are 3-tile-cuts. Only 1 of the side wall support ribs needed to be adjusted slightly for my tiling slide error.
Wow ! I did not realize the scale of the effort
And if you hit a point where you just have to have a fastener for whatever reason, Nylon, acetal (Delrin), polycarbonate, ABS, Teflon, Peek, PP and PVDF fasteners exist, and depending on which one you get, are pretty strong.
The tongue and groove Wainscot came from a big box store. It’s left overs from a remodel. Three slats glued and clamped together then cut to size. All the other pieces were cut on a Shapeoko 3.
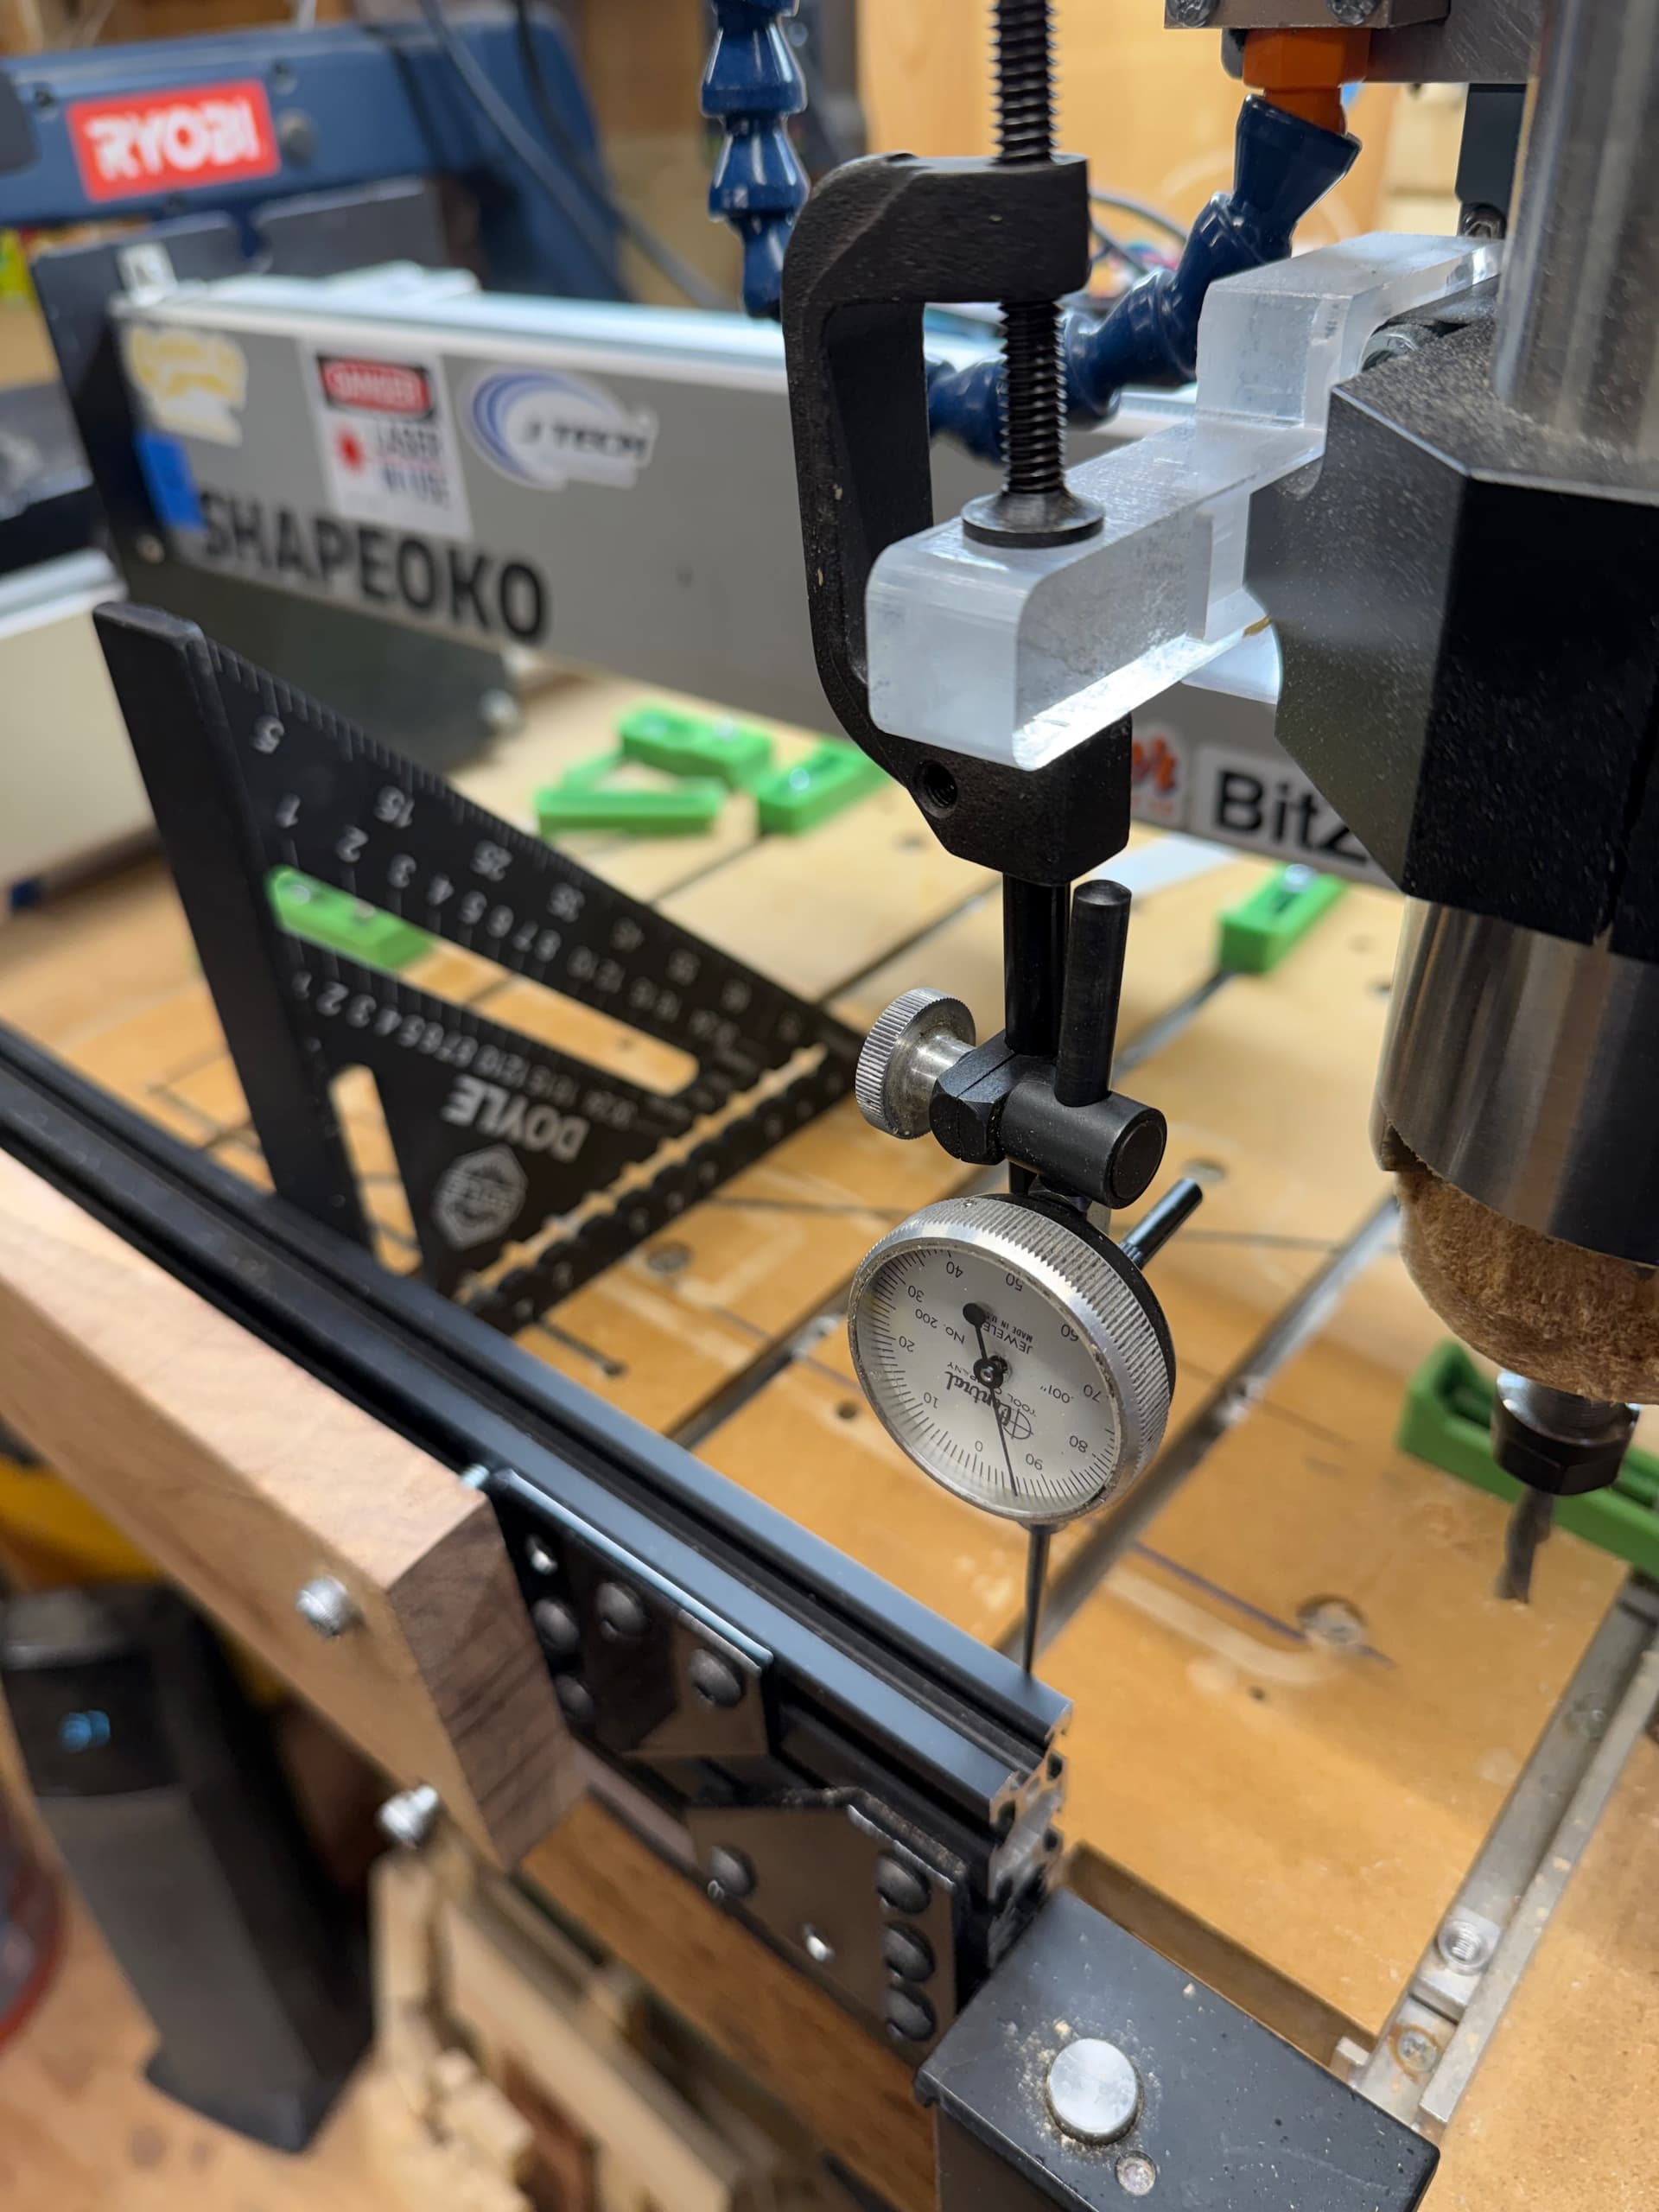
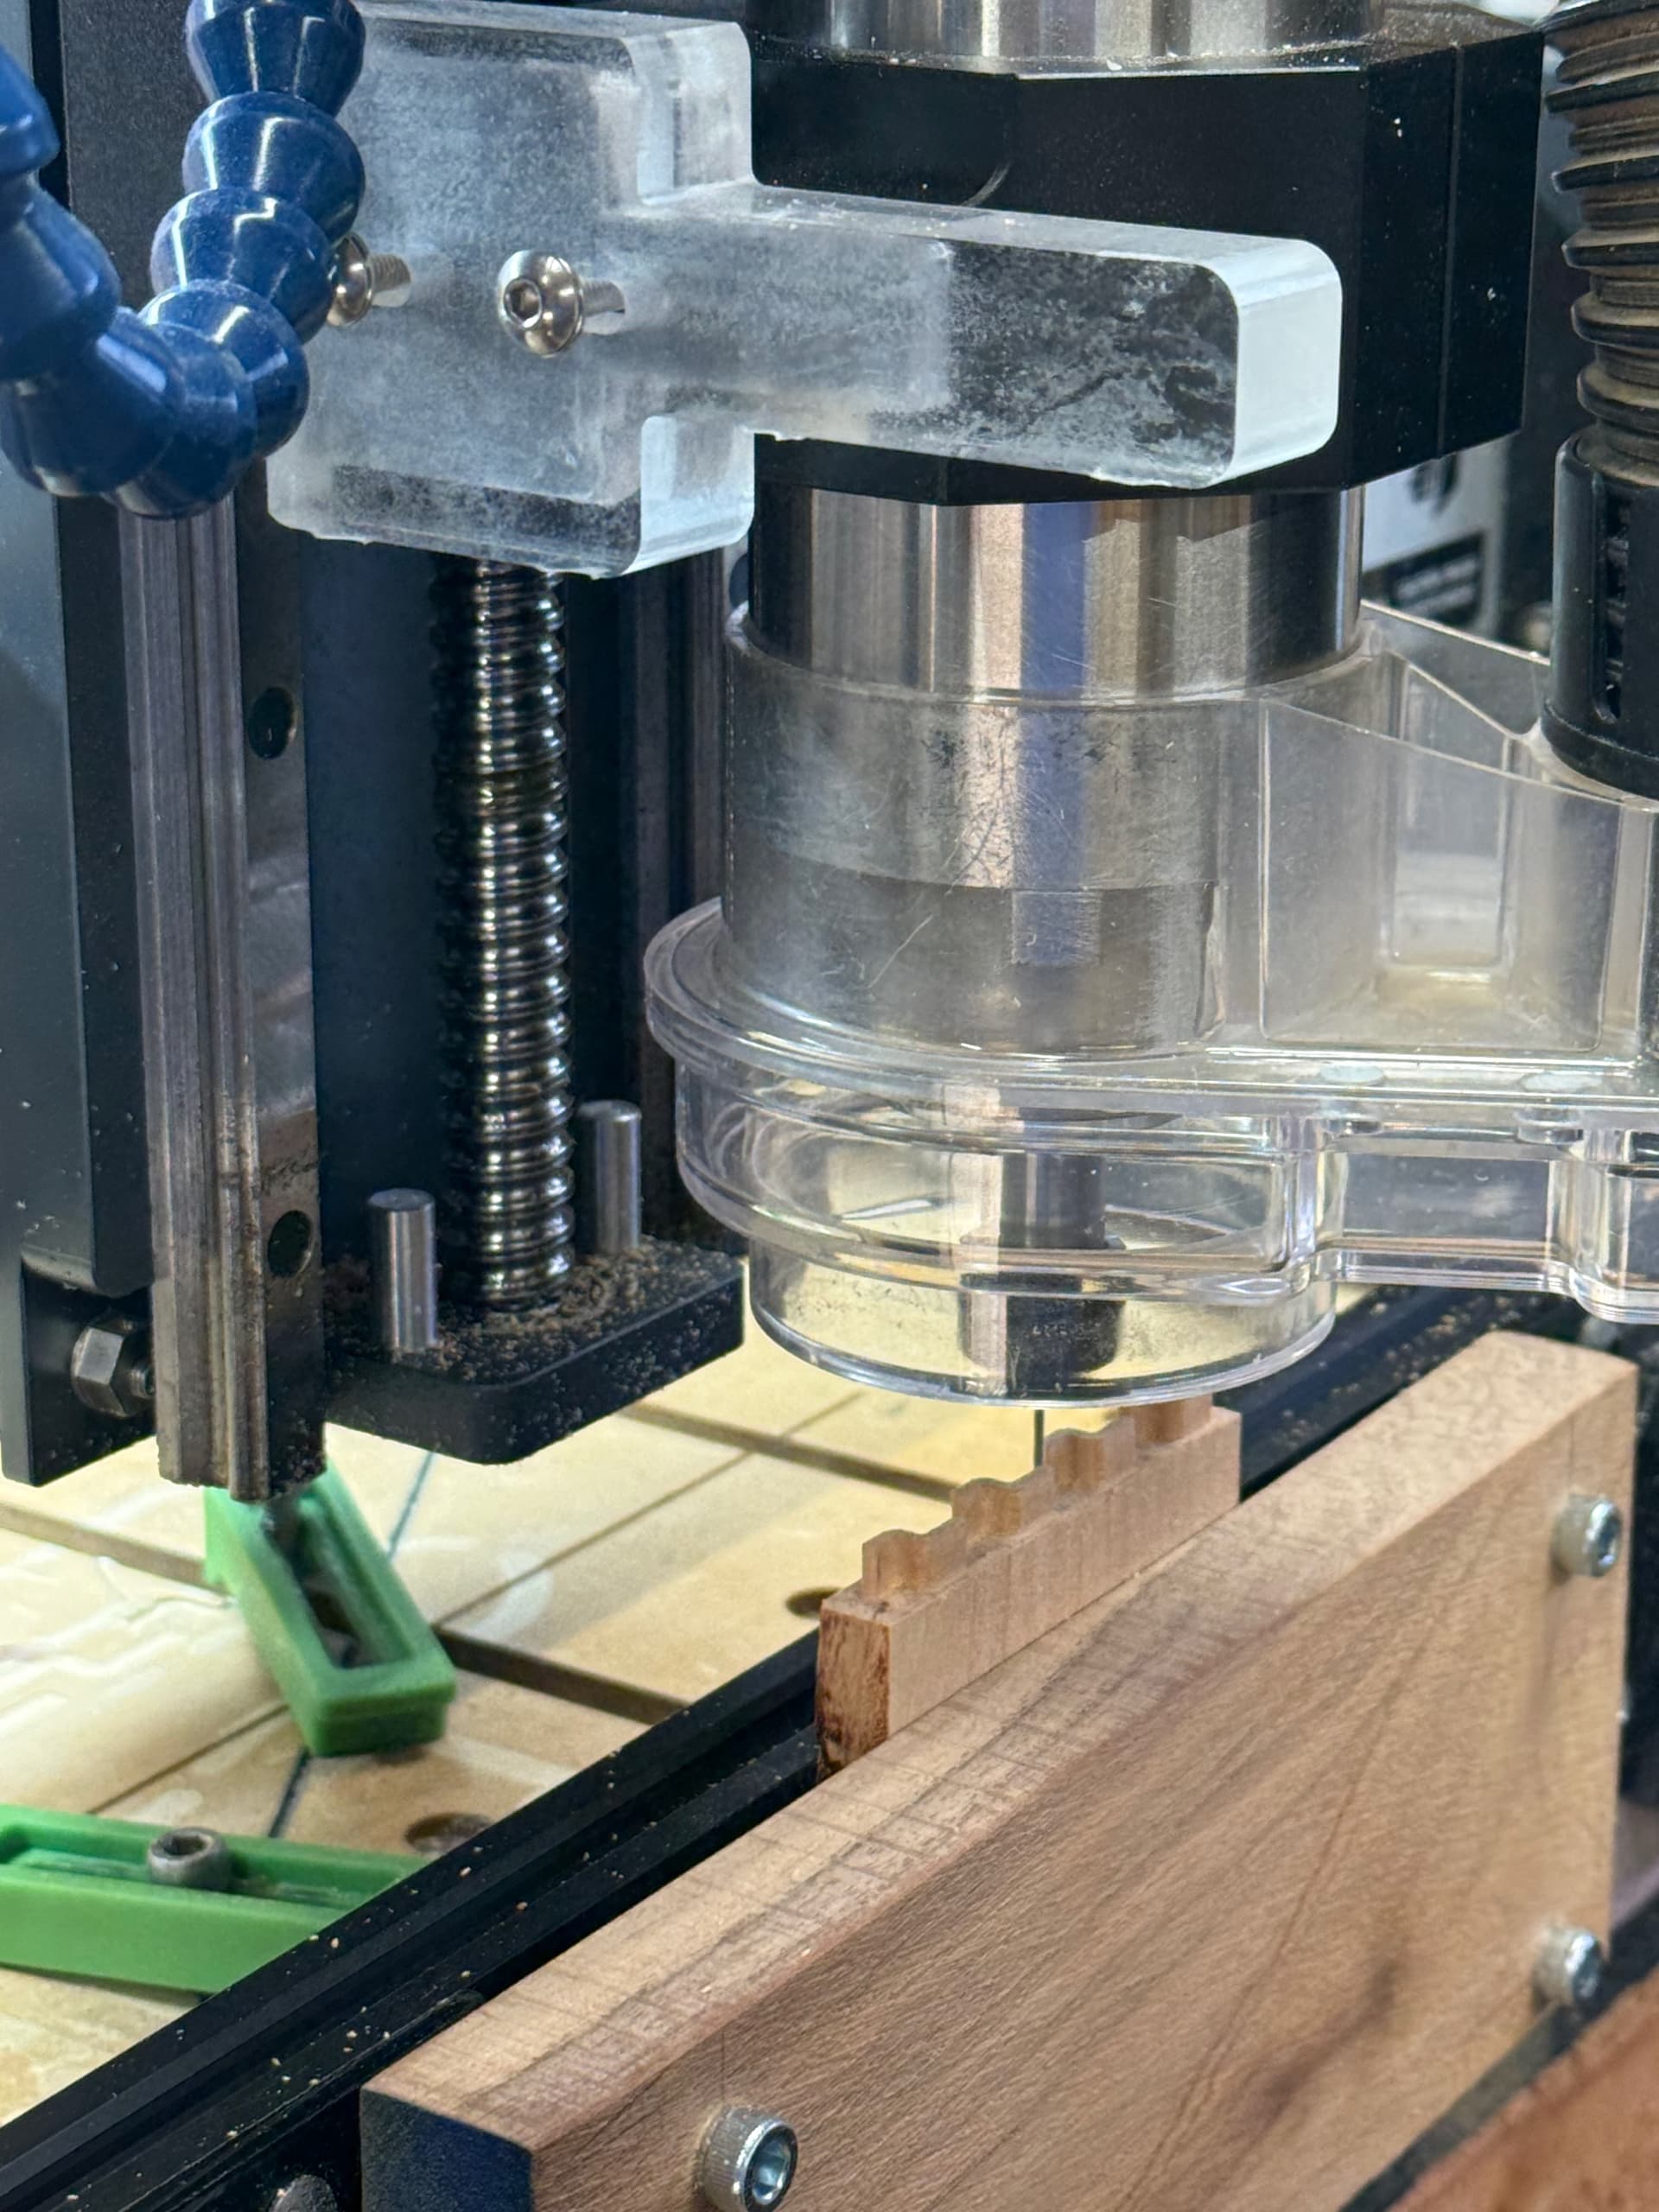
The clamping for the vertical milling is done with a fixture I put together using a couple pieces of extruded 4020, (oh no, another number…). The fixture is held down and squared to the spoilboard through the t-tracks. It’s squared to the X axis by sweeping a dial indicator clamped to the Z axis along the length of the 4020. The work piece was swept with a dial indicator to adjust for flatness along the top.
I set X and Y zeros on the lower left corner using a .25mm radius tapered ball nose. That’s where the jog pendent with the wheel really came in handy. Z zero was set on top of the stock and the tenons were cut with a 1/16th endmill.
There are 3D printed hand holds as part of the project. Printed in the correct orientation they are really thin, but still strong enough for my 200 lbs of dad bod to do a couple of chin-ups on.
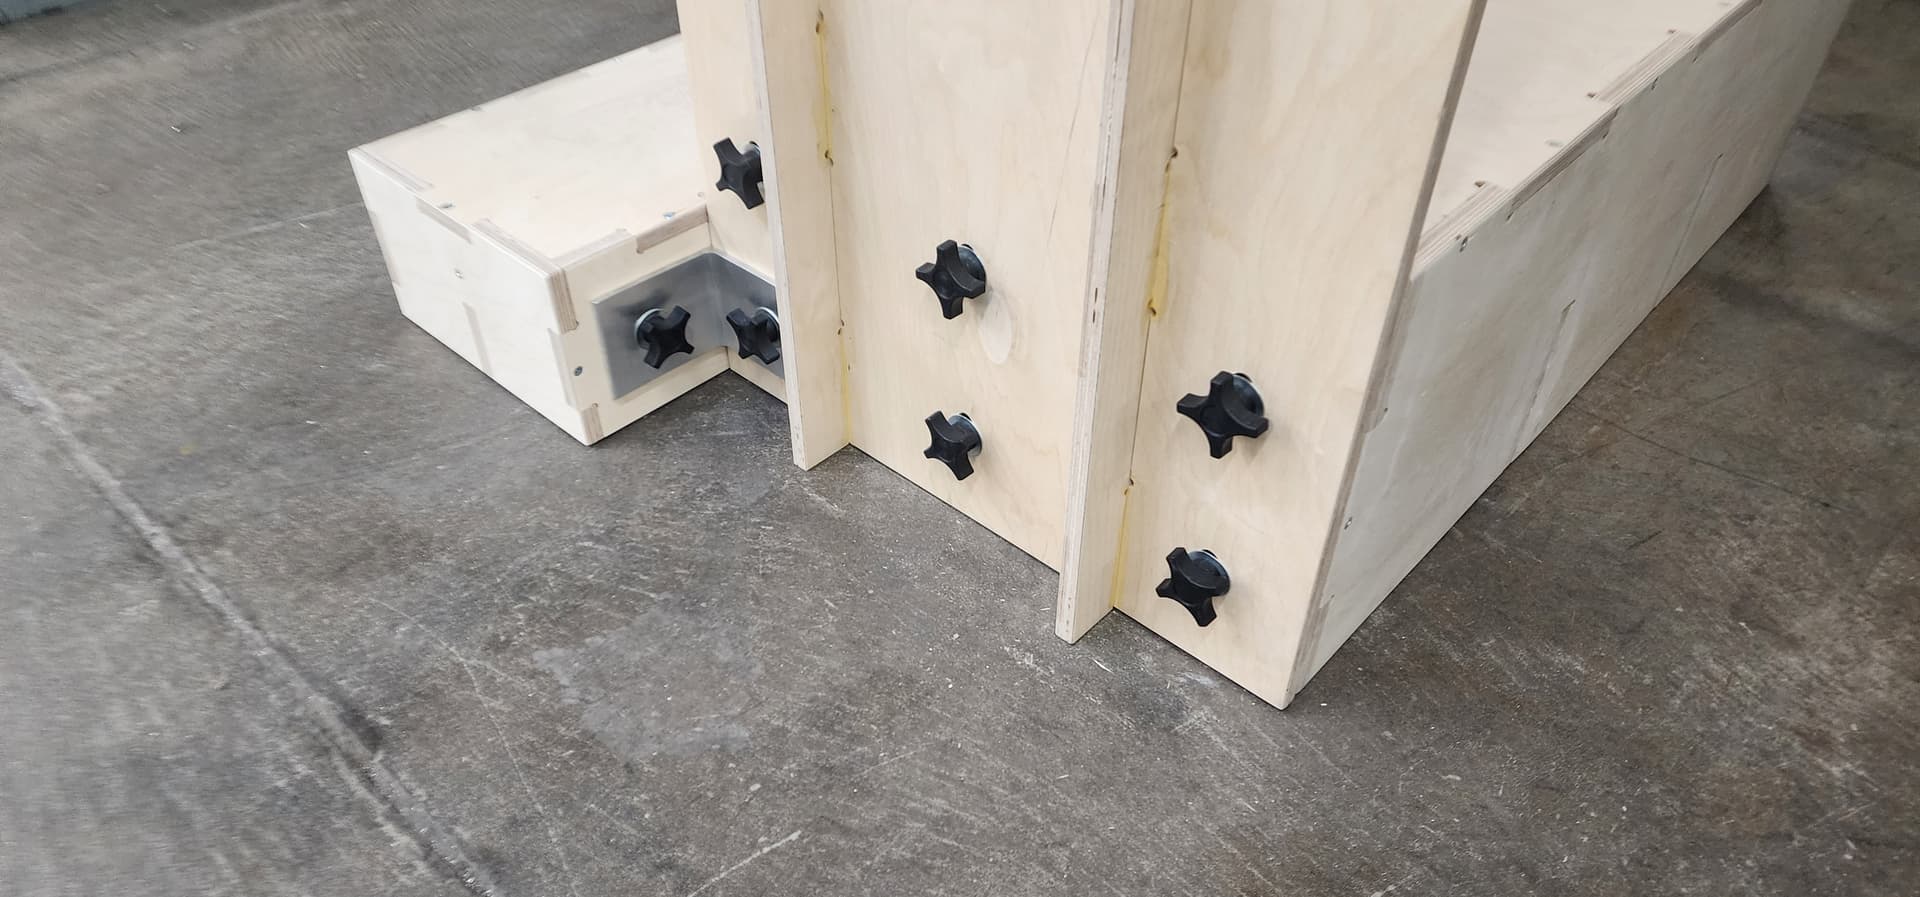
 They are bolted in thru the grid of holes you see using some big nylon hardware from McMaster with some 3D printed knobs to add some leverage tightening.
And you even wrote that you used Nylon fasteners, and I missed it.
Nice design and implementation!
Thanks. We also wanted as many off-the-shelf components for serviceability.
@Randy Yep. They wanted the least amount of density as possible for the least amount of interference for imaging and treatment. So I designed them to print horizontally. In PETG one of them can hold me hanging off of it. 3D prints can be really strong if you print in the proper orientation for the load.
That’s a nice way to do it. I like the removable aspect, although I’ll probably just get a t track mounted to the front someday.
You could cut simple shapes as tenons too, but I imagine it’d just look like an inlay at that point.
Yes indeed, it does look like an inlay, but a functioning inlay. The next tunnel in this rabbit hole leads to trying various shapes like maybe hearts or hexagons. Maybe alternating shapes. 
Hearts on a little wooden ring box is on my short list as well
I’m thinking bloodwood and ebony should make for a very handsome end product.