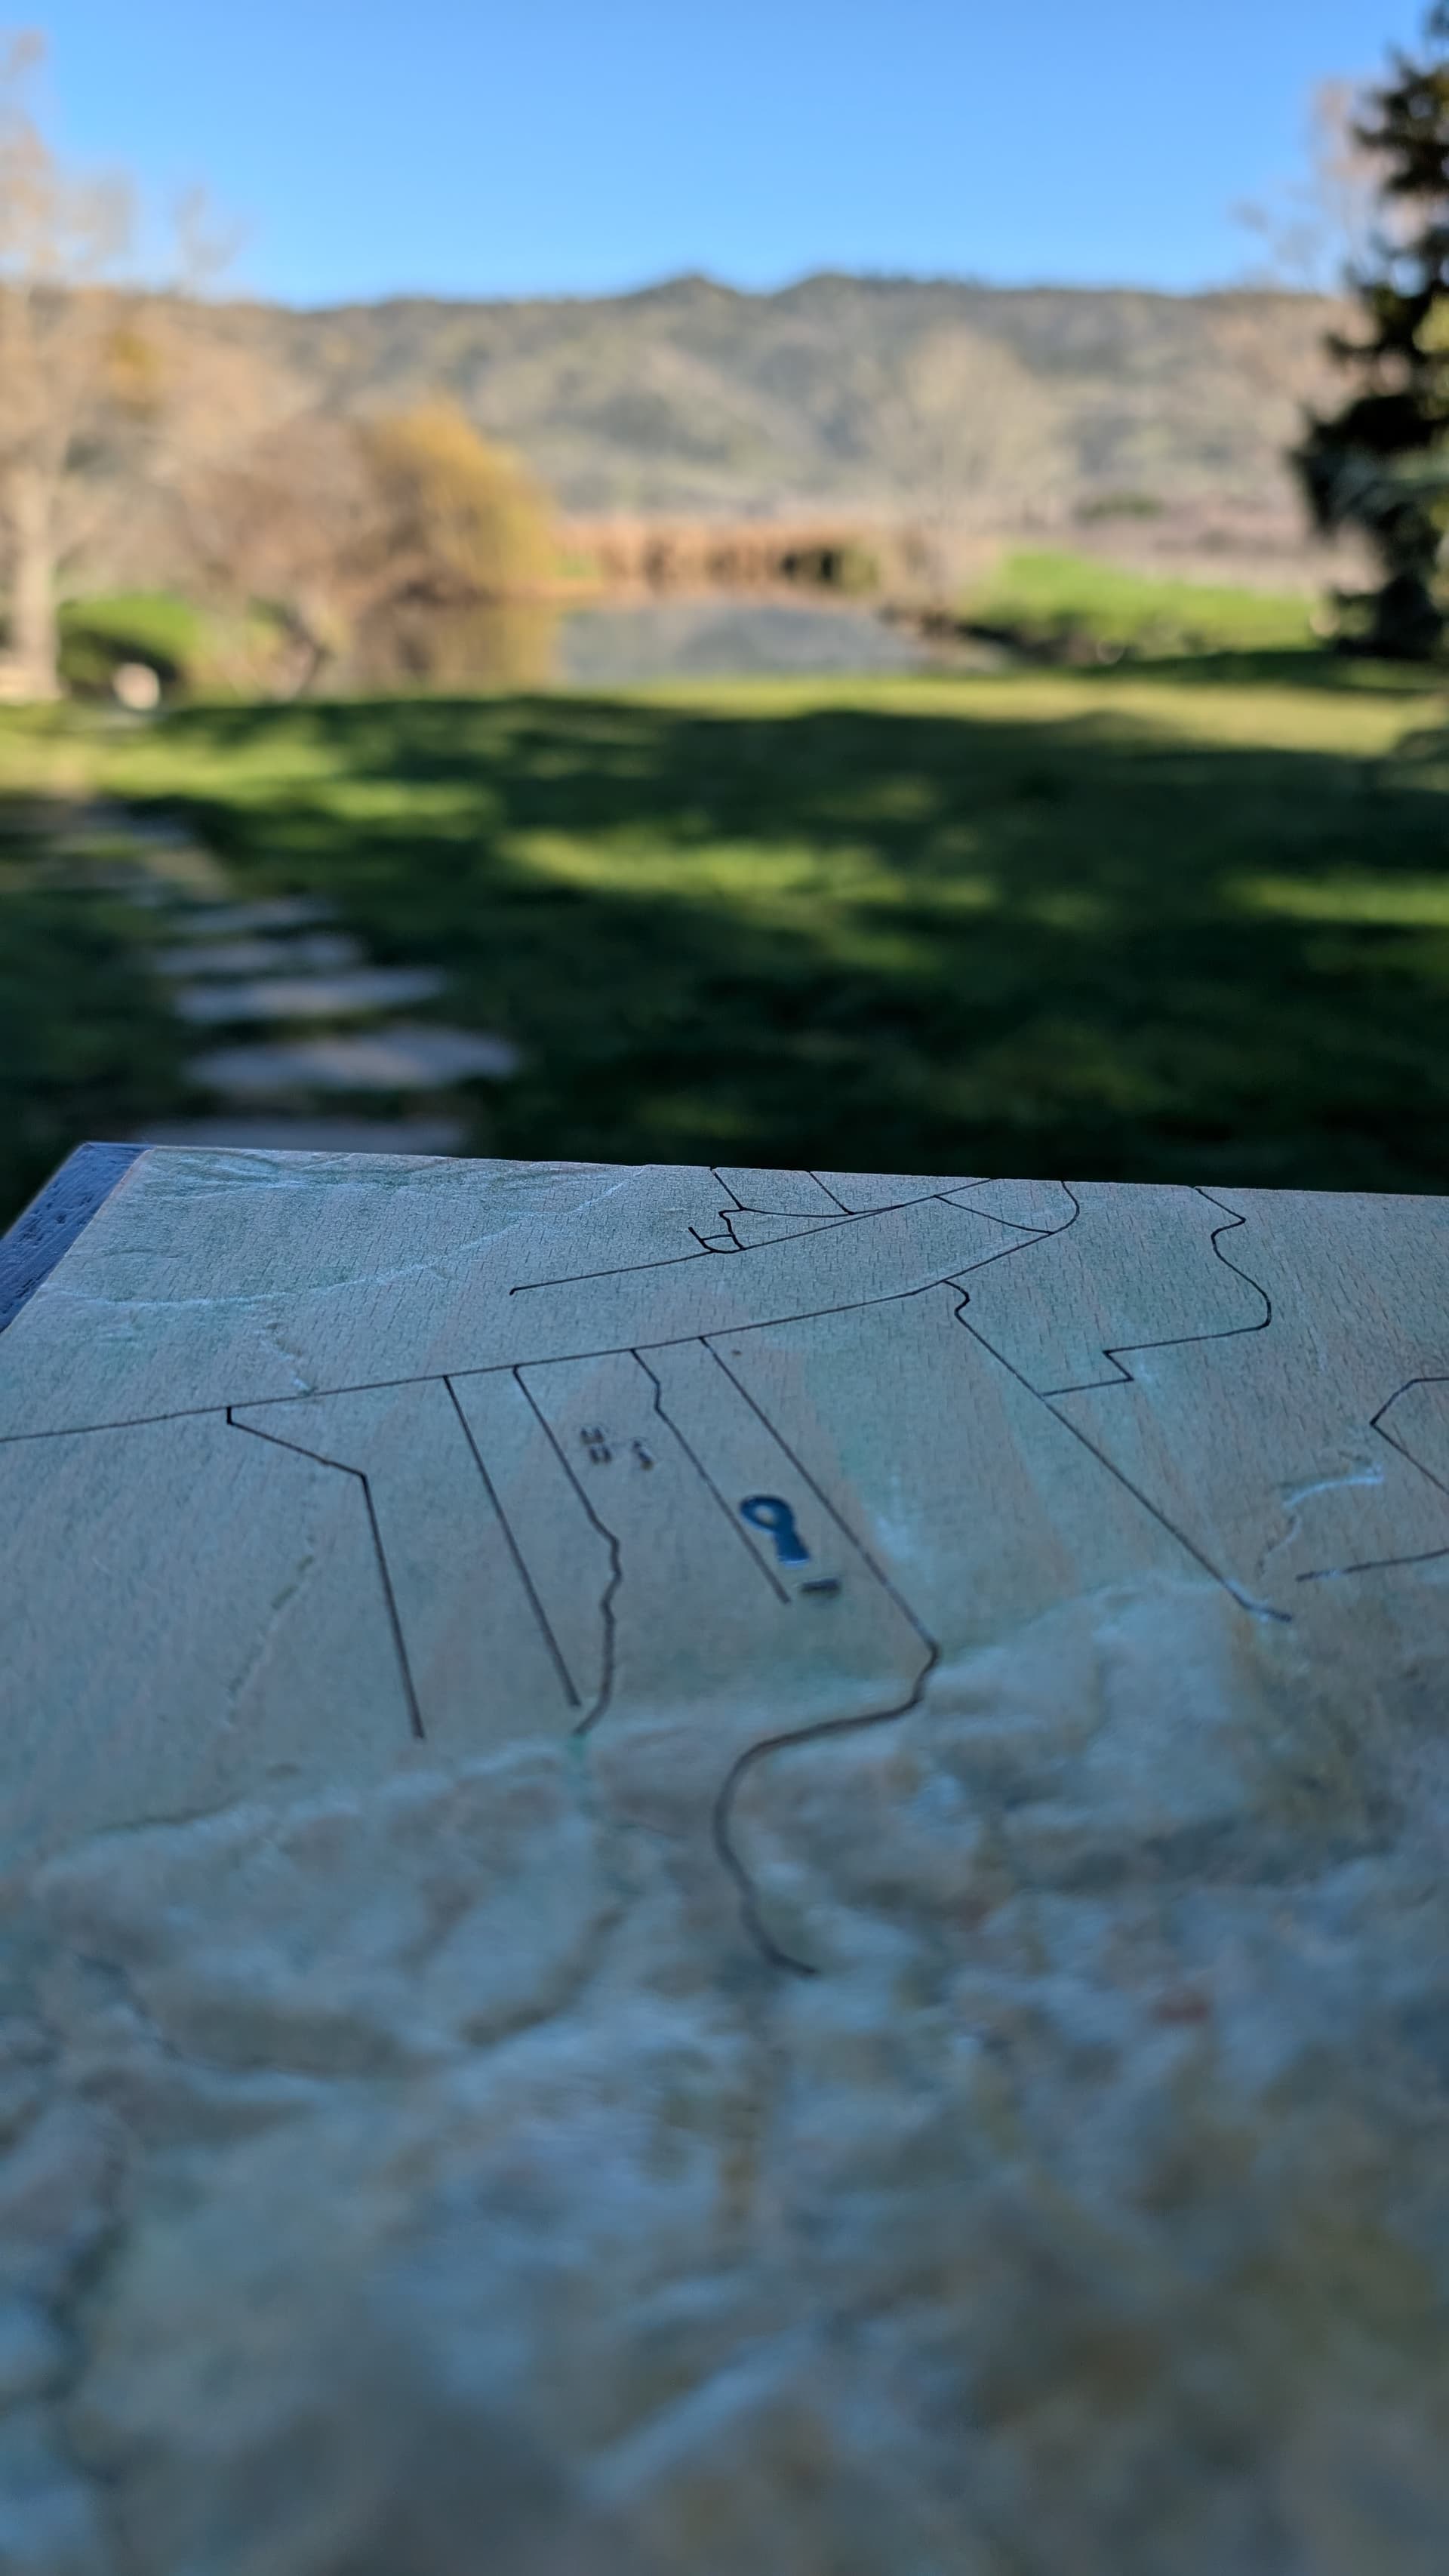
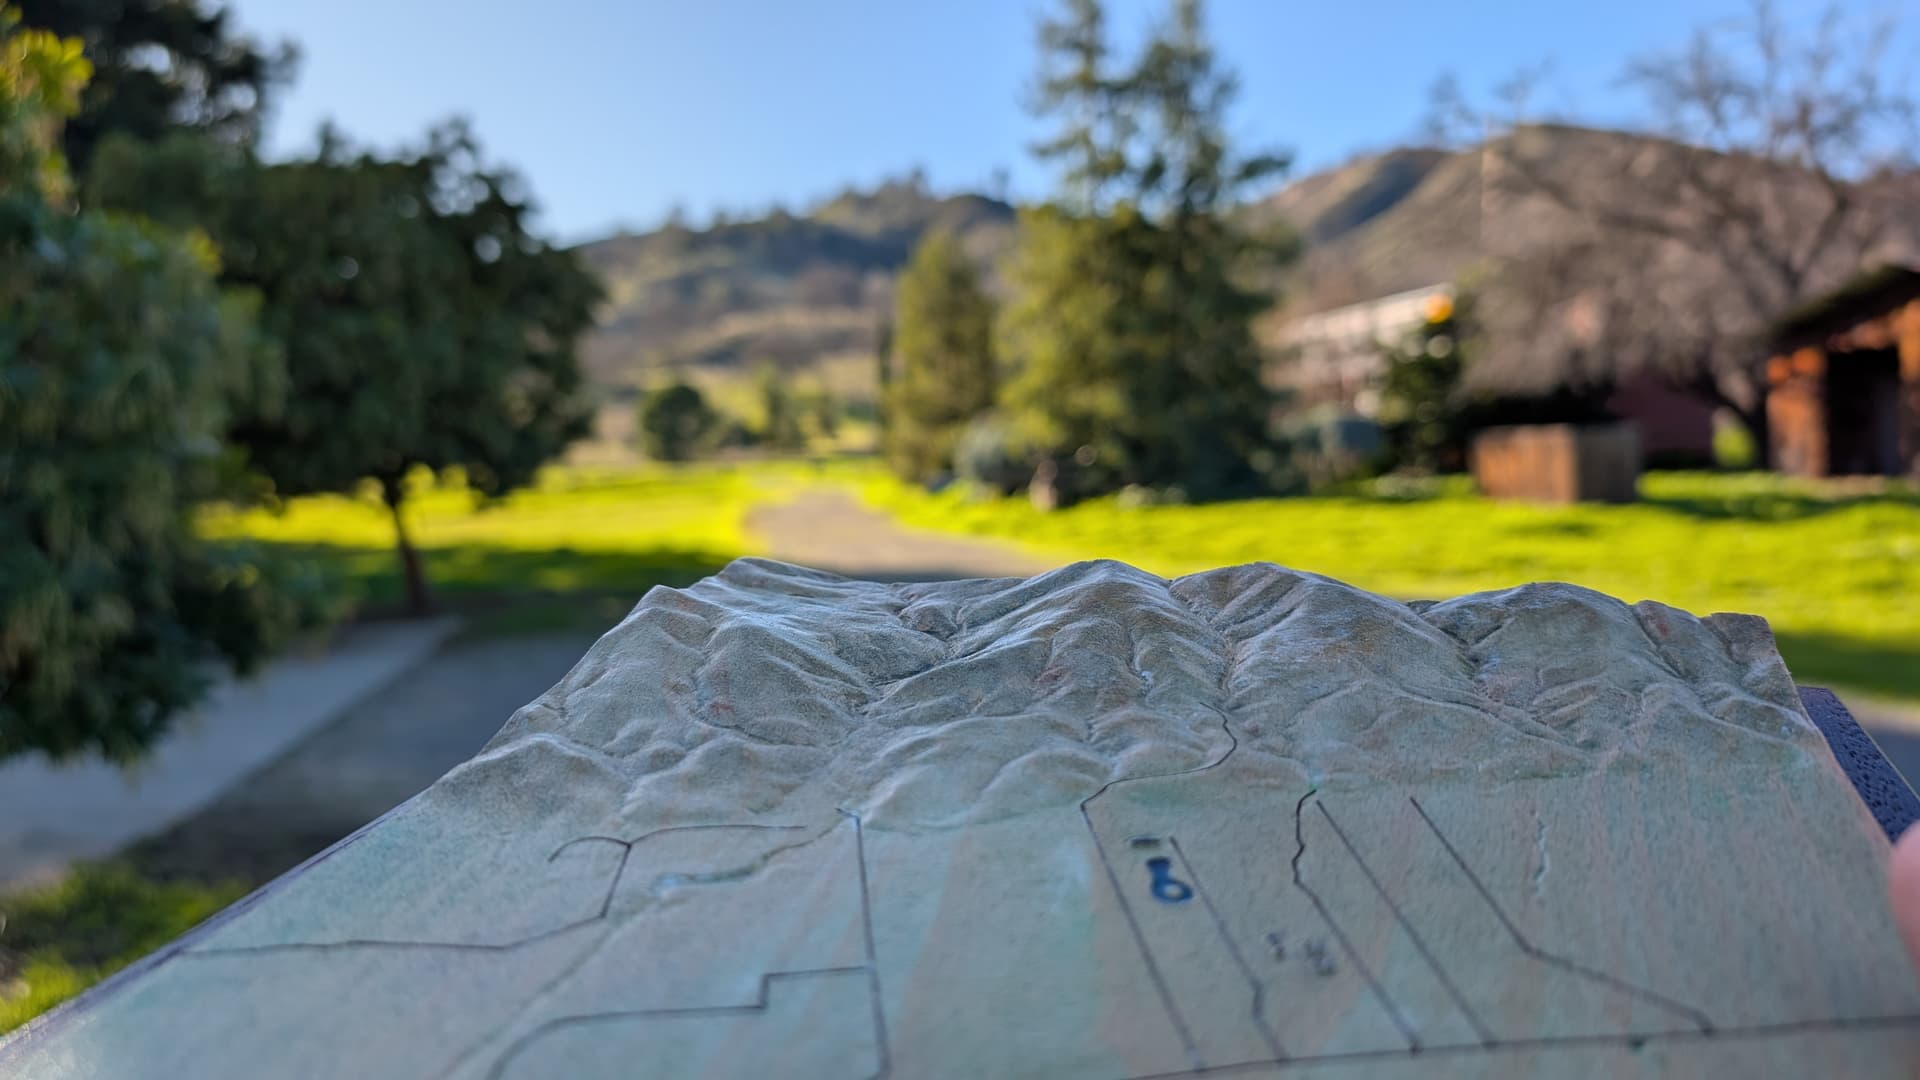
My brother and his family purchased 42 acres.As a housewarming gift I made a relief map of his property and the surrounding area. They have a pond so I added resin for that. I using google maps I was able to create some vector lines so their home would be slightly raised on the relief as well as other buildings. Wood: beech and wenge. Openstreet maps helped with the roads so I could use the laser as well

24 Likes
Pretty cool housewarming gift! Looks great.
2 Likes
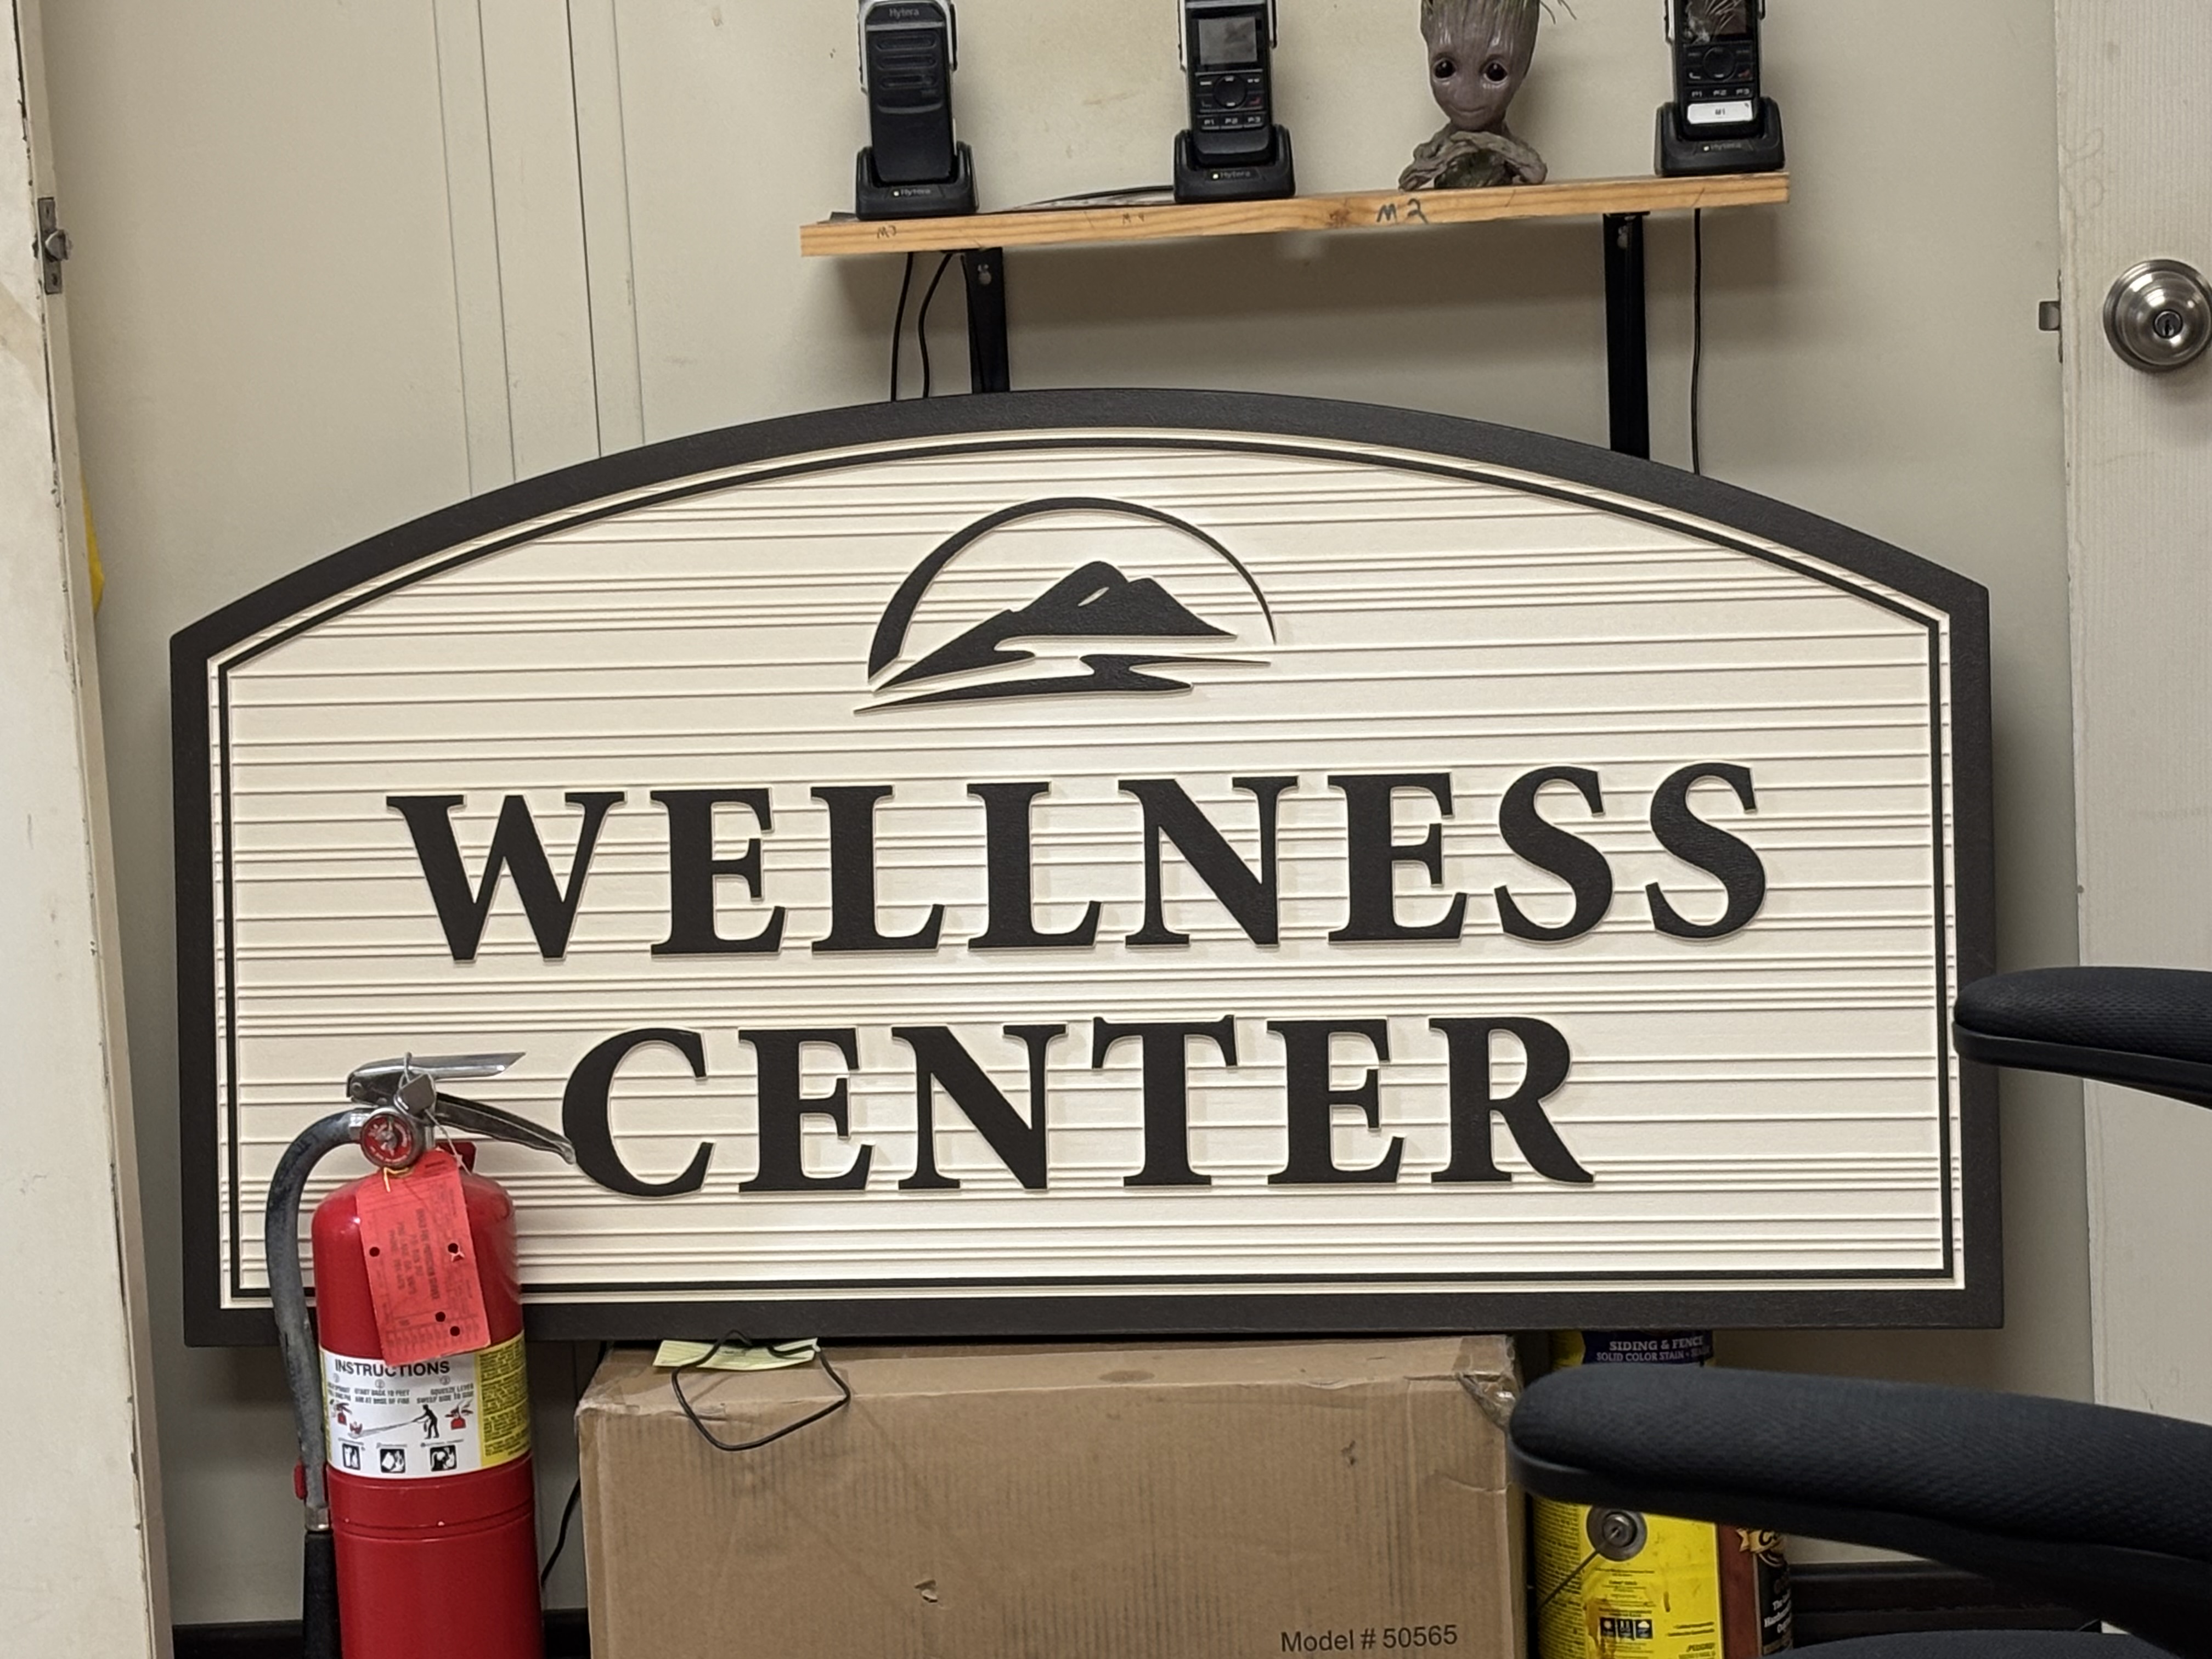
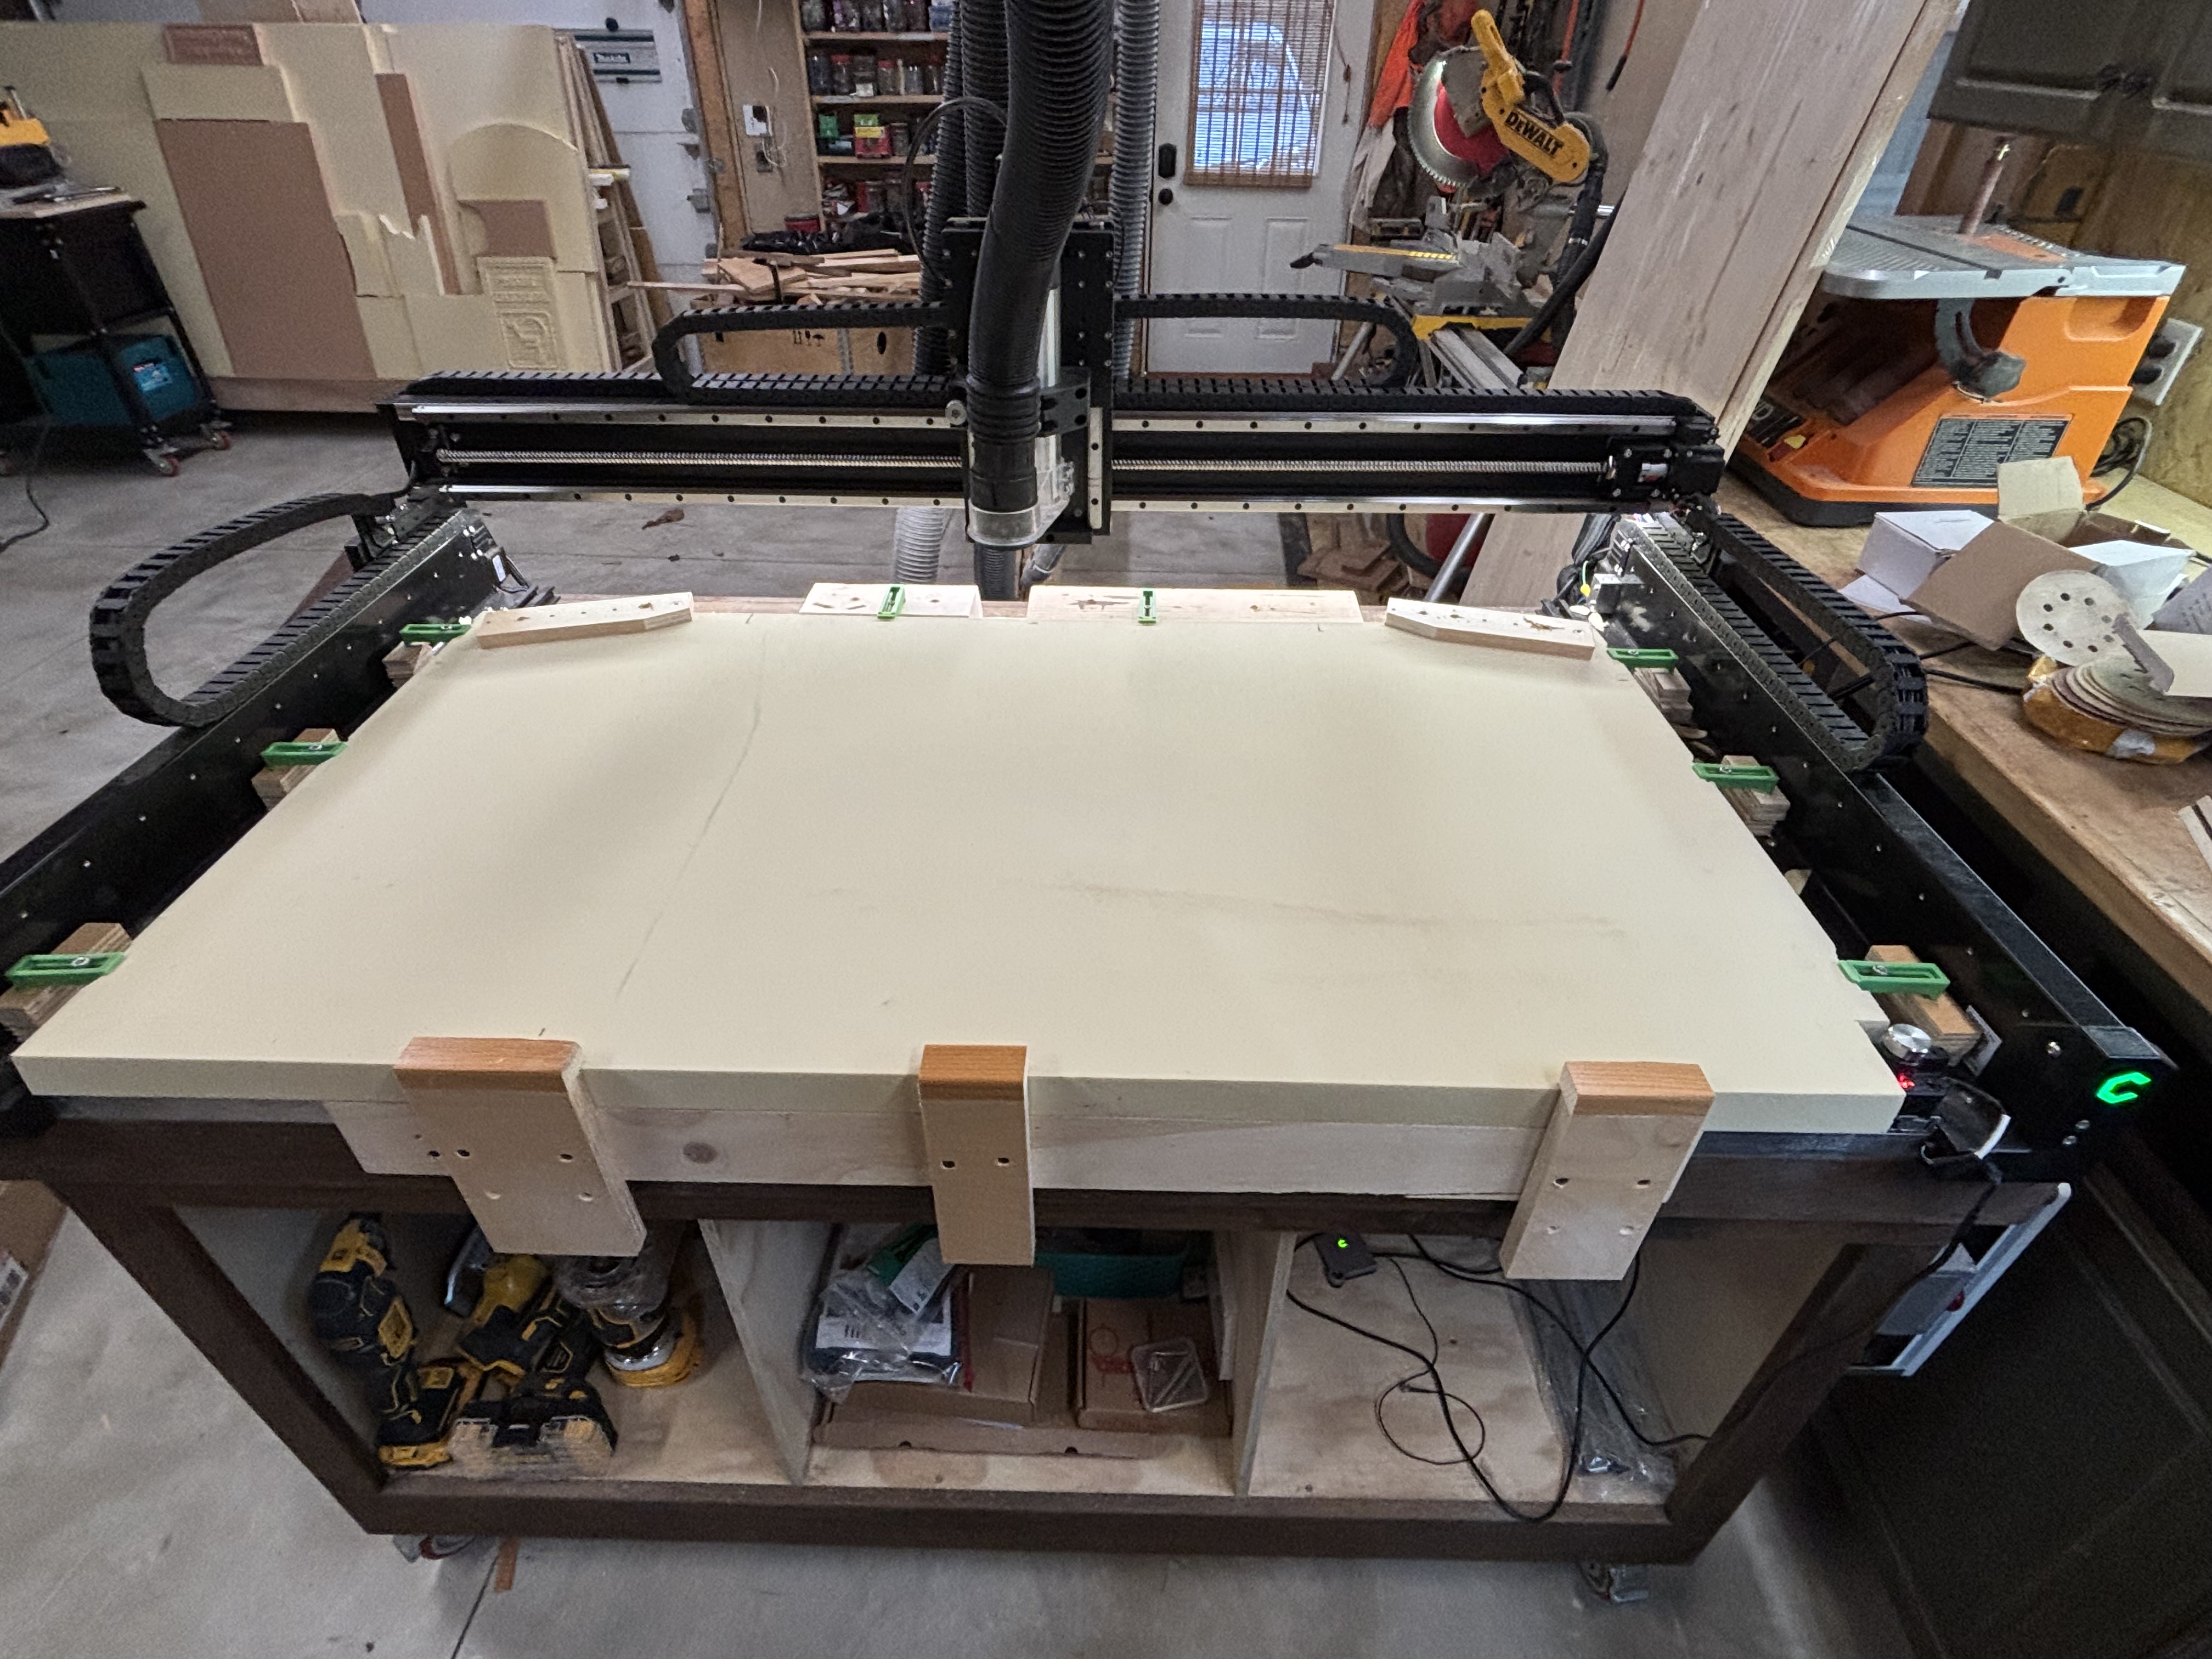
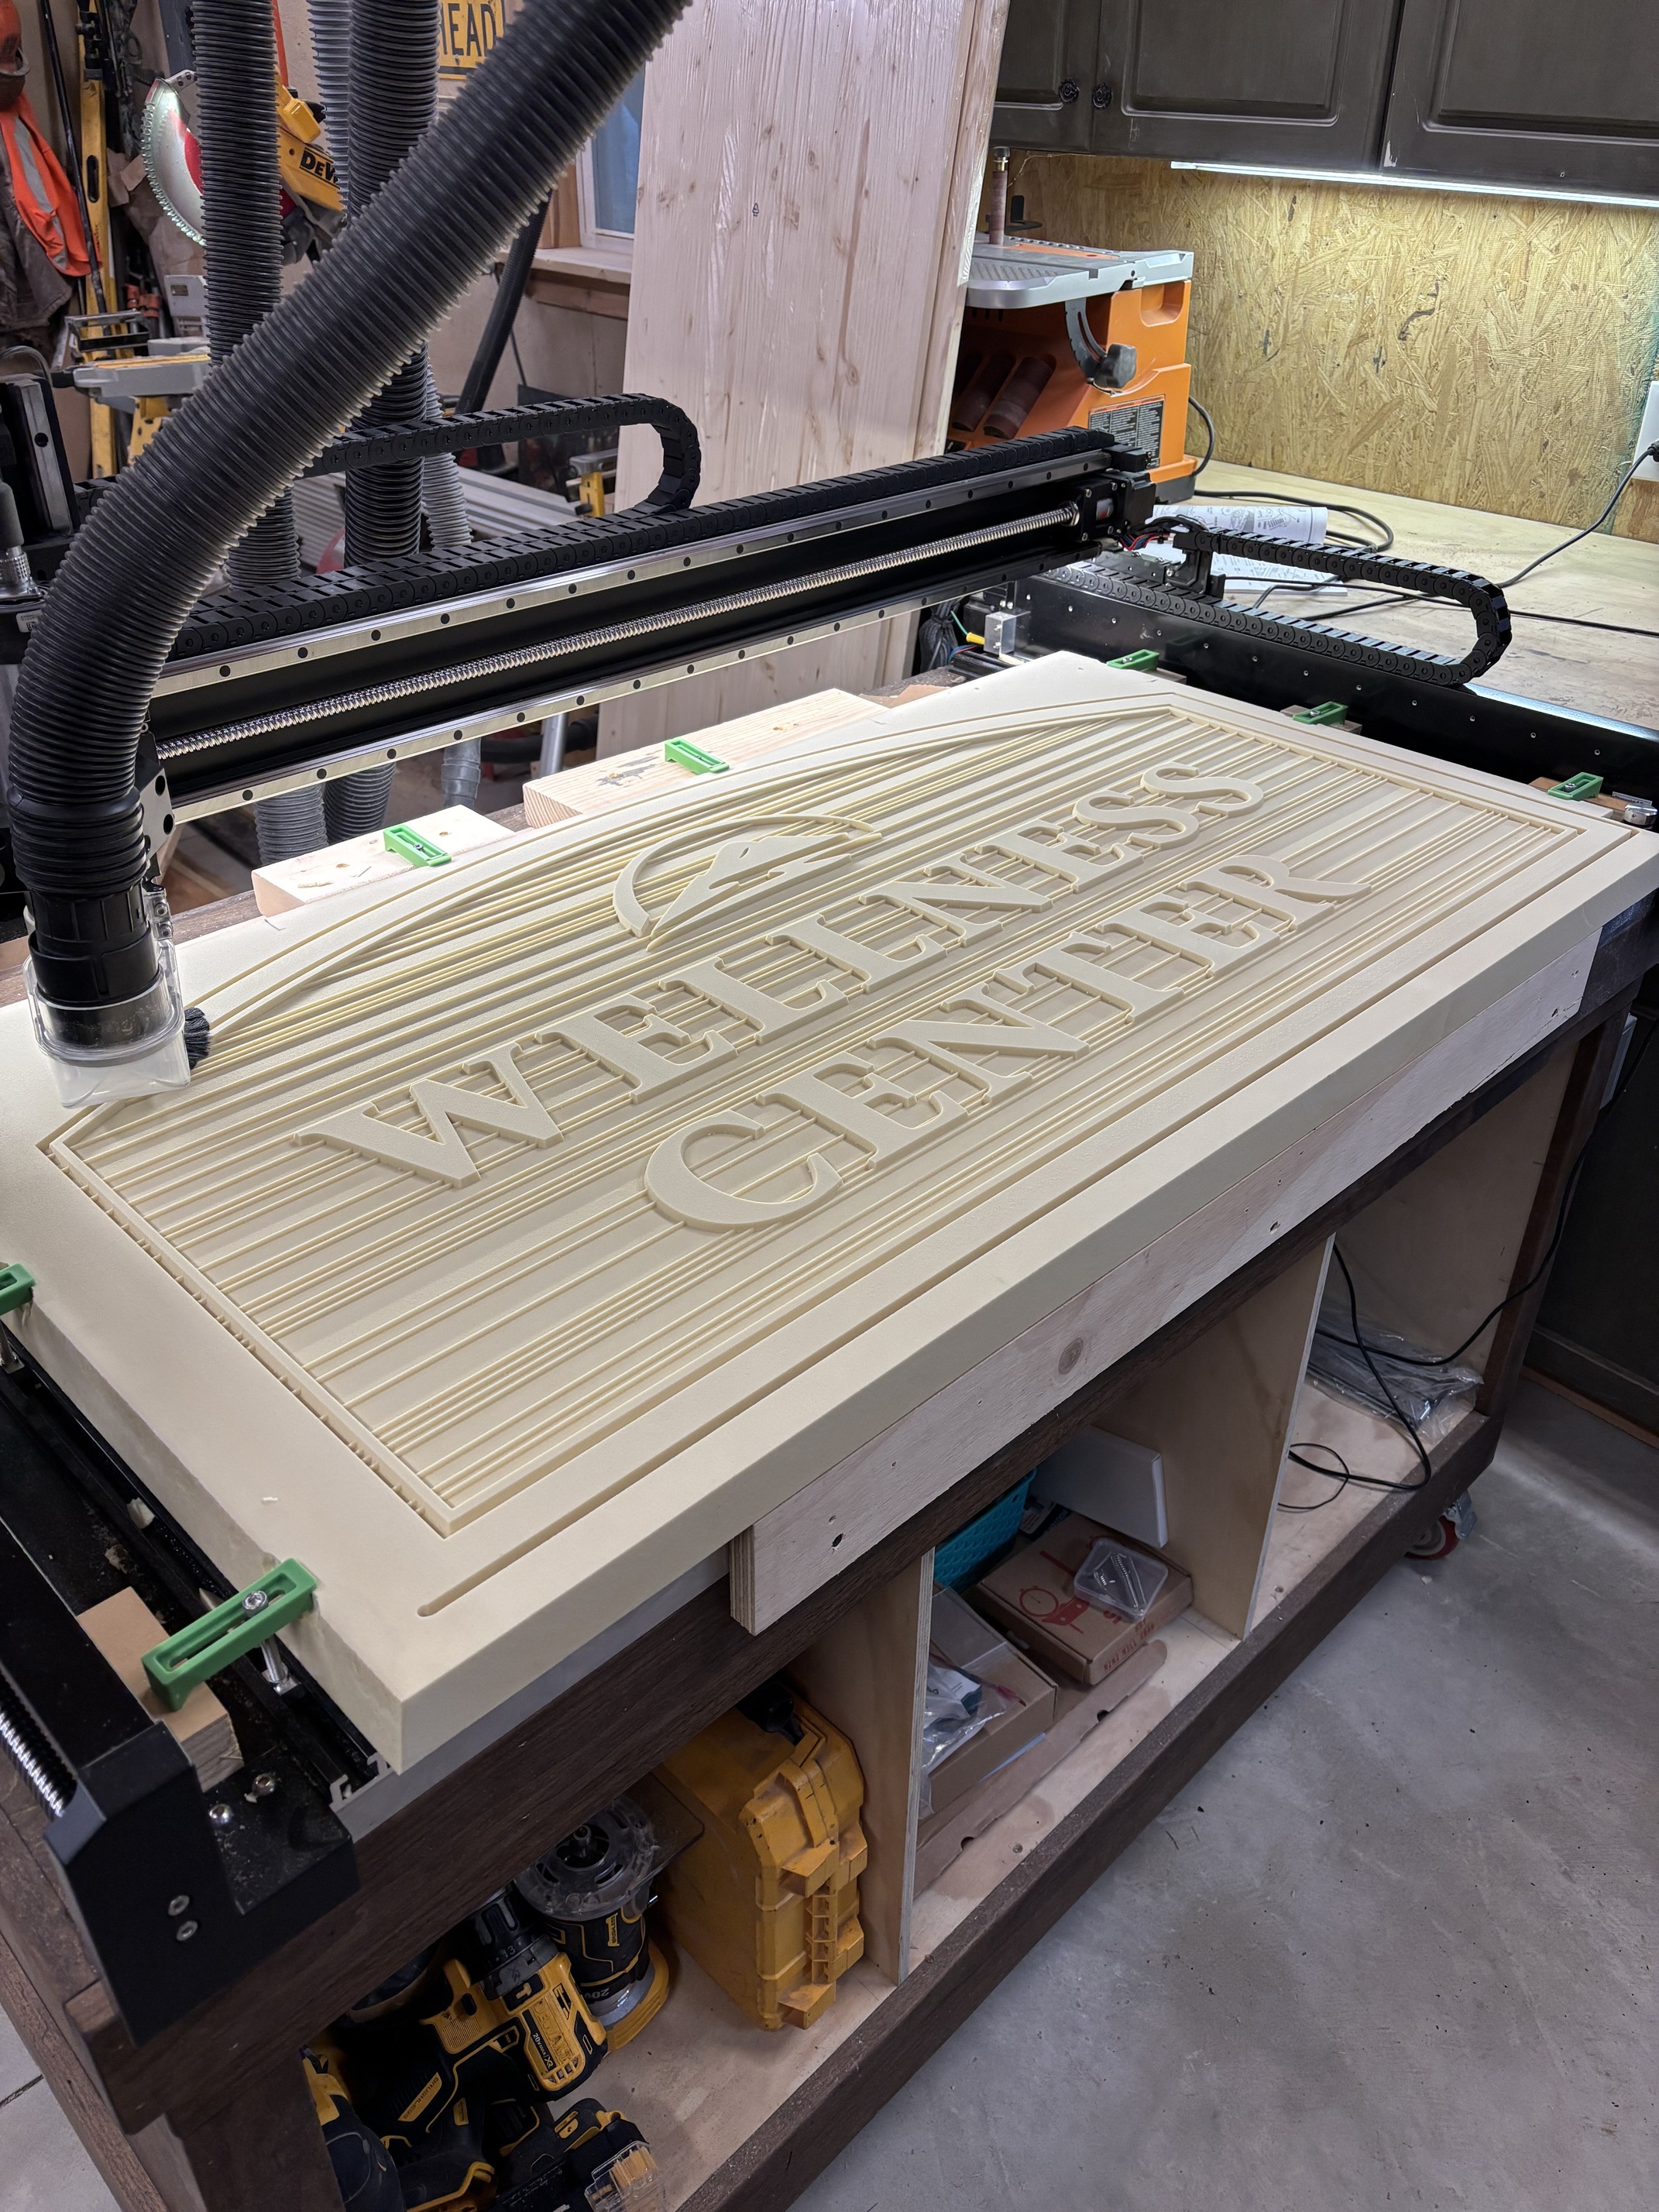
My largest project yet. I used the full 2’x4’ table. Also my biggest fail (had to do two of these since I designed the first one slightly wrong  ). Expensive mistake ($125 mistake to be exact…just in material!!)! But my wife was very understanding and said we can just surface it down to 1" and use it for a different project (I’ve got a great wife!)
23 Likes
Still amazed how well the signs turn out in that material, not to mention the finish paint job your wife pulls off!
2 Likes
And a great business partner!
2 Likes
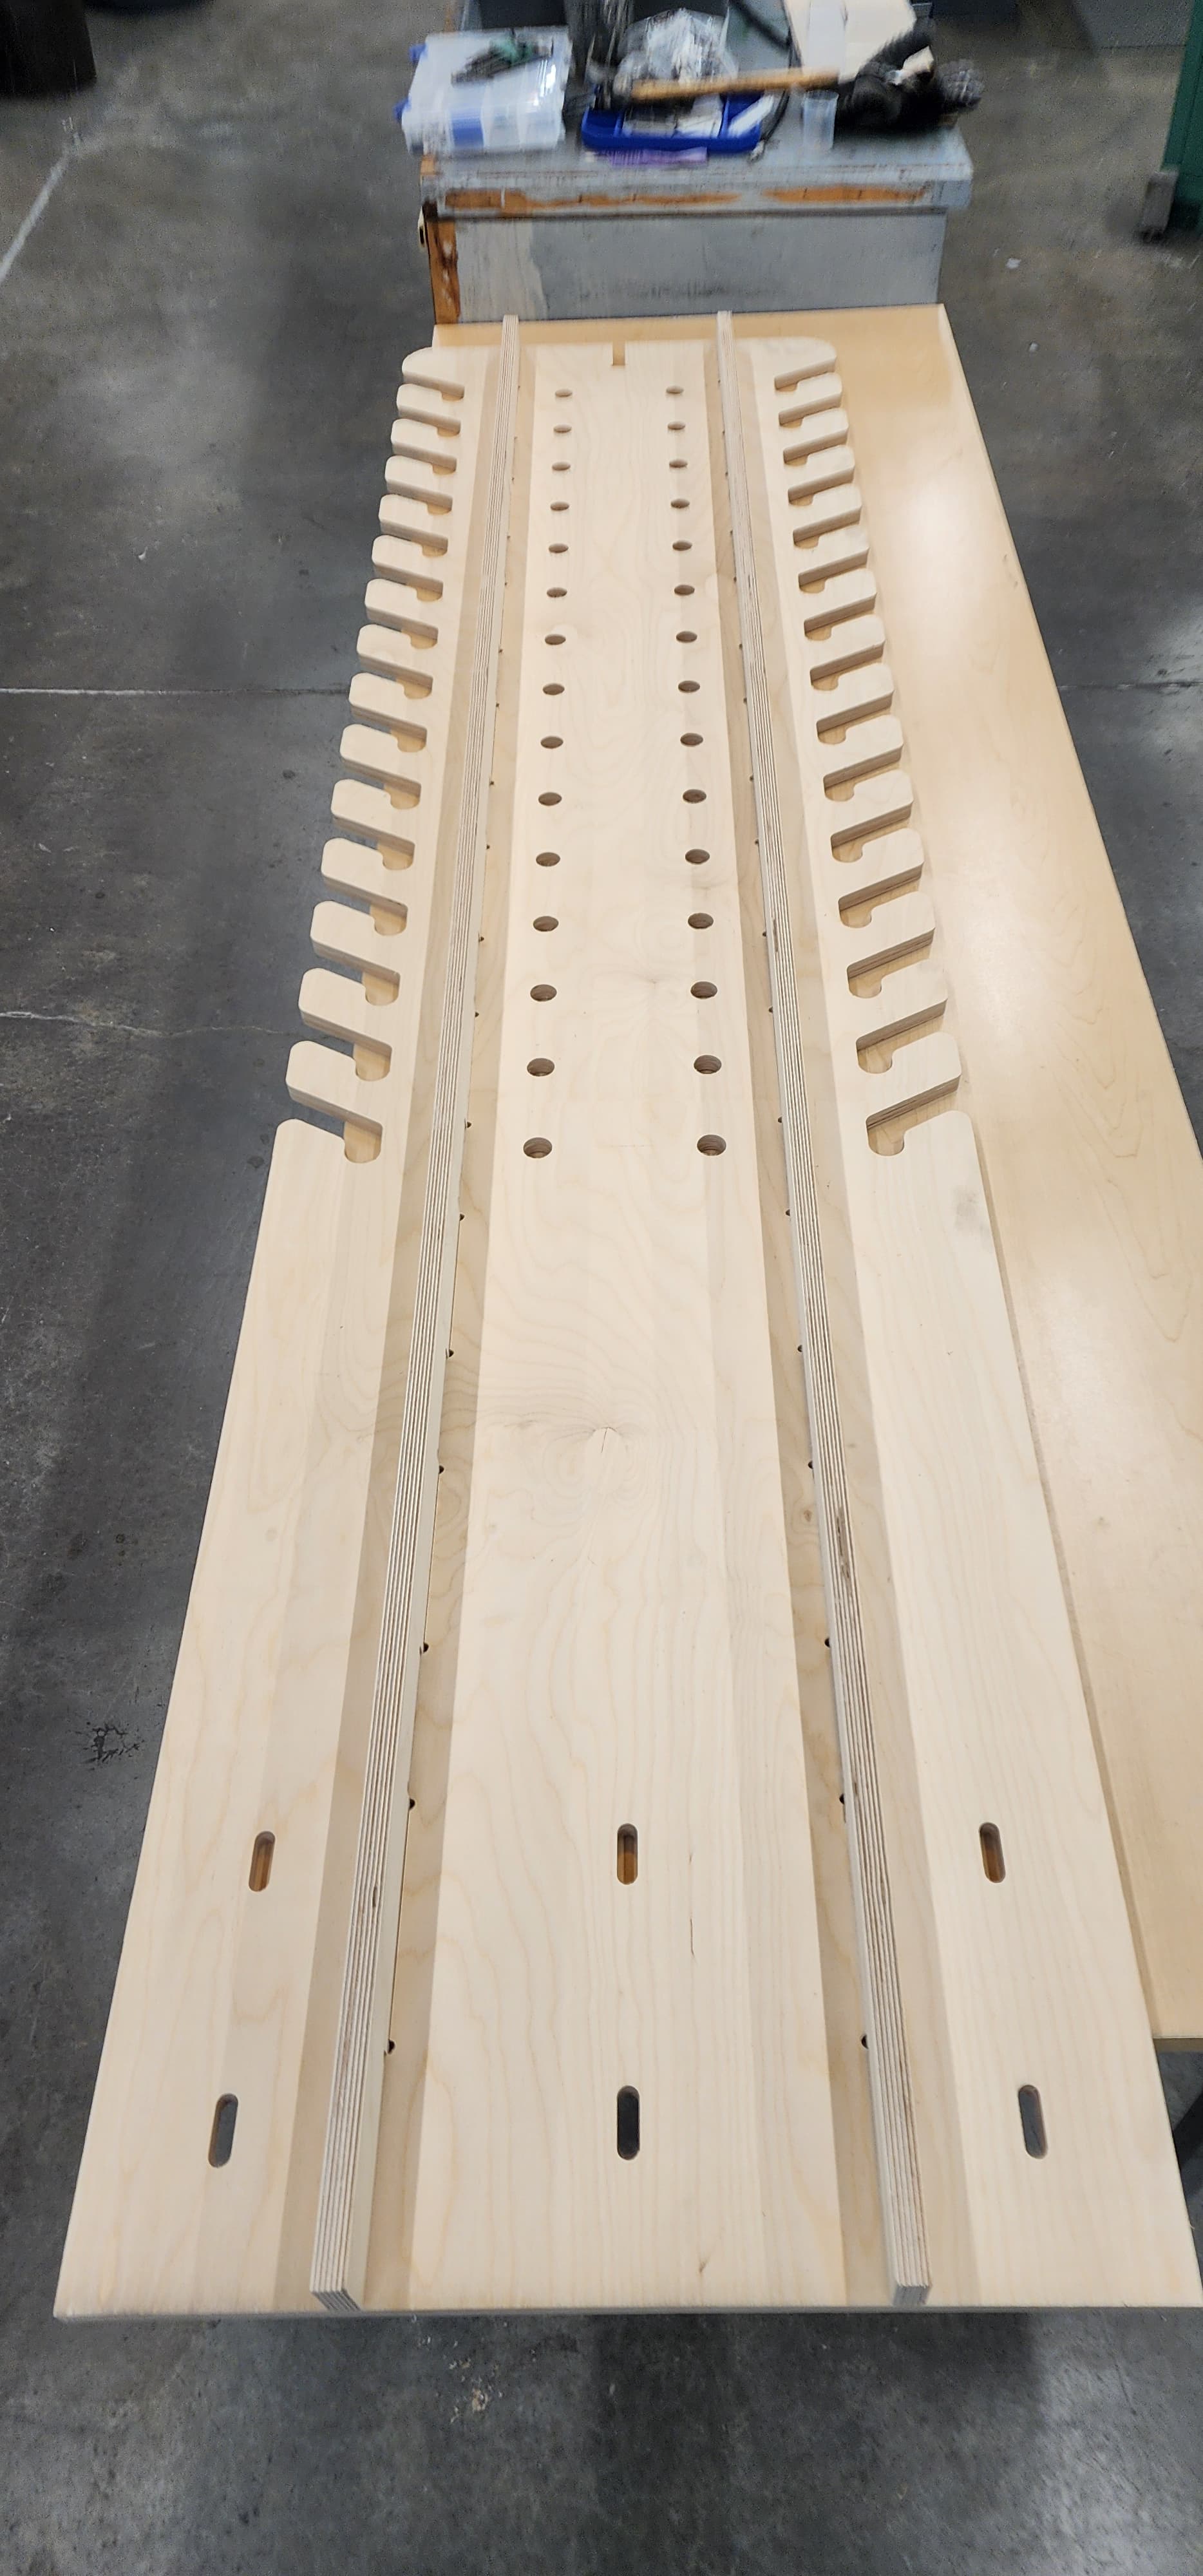
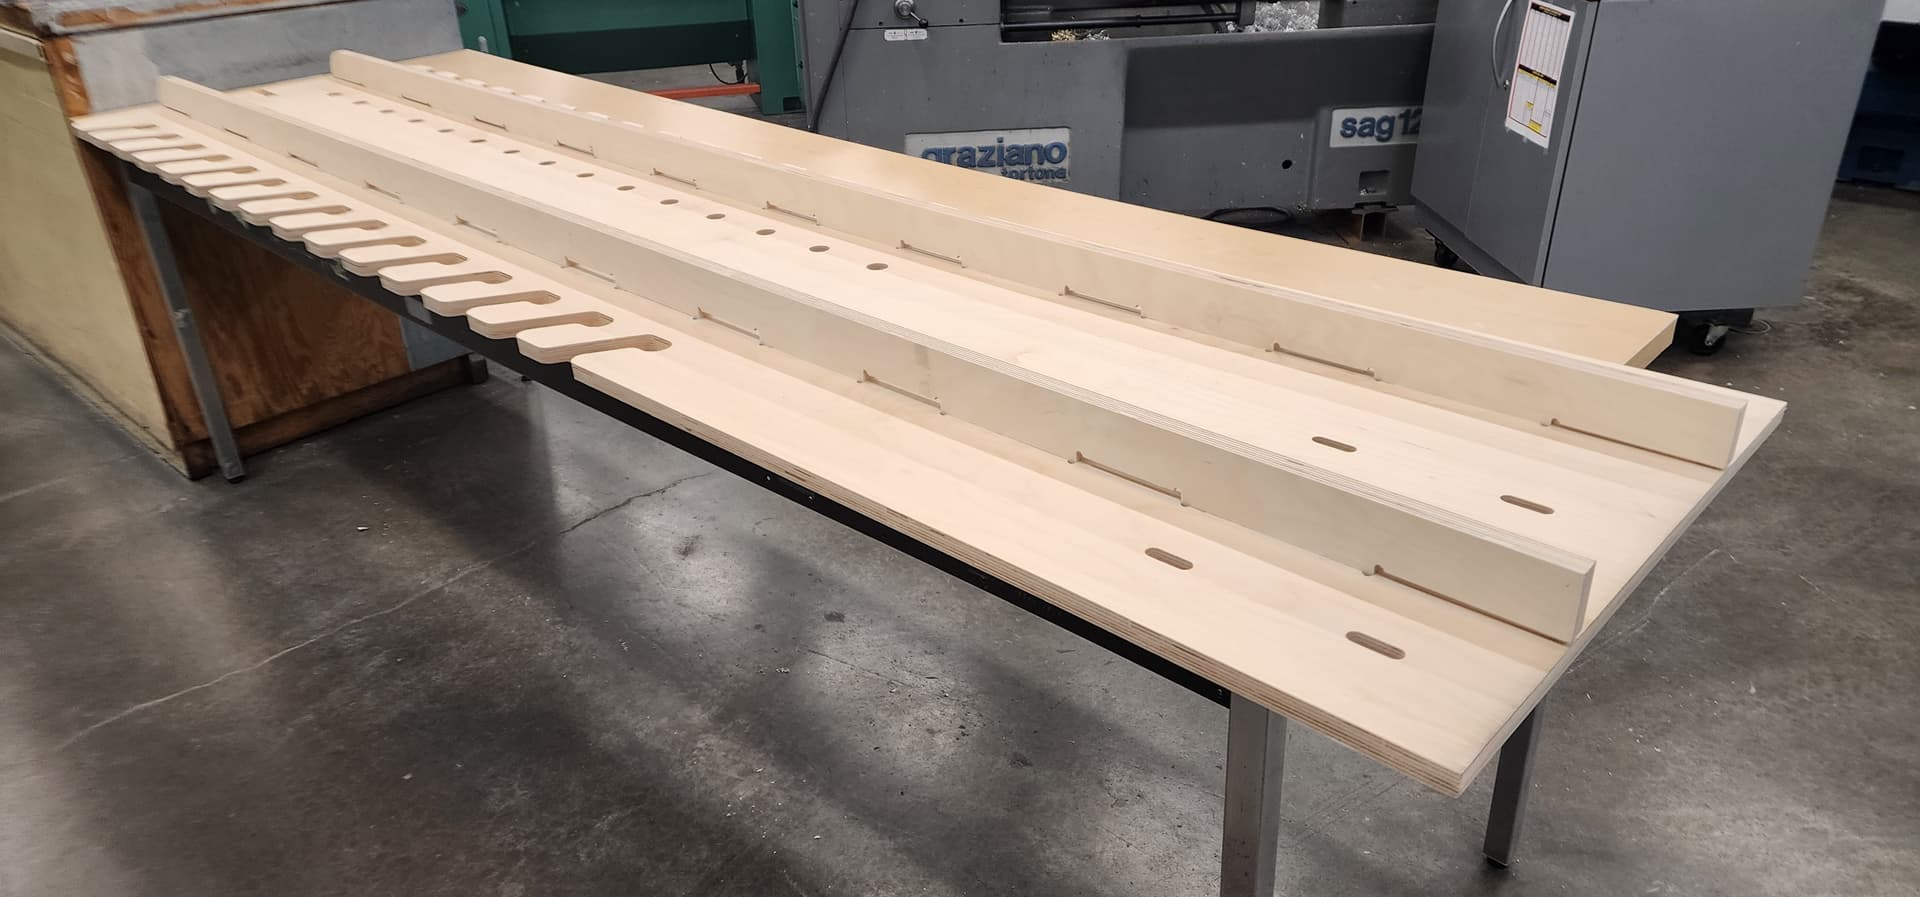
Still working on assembly of the entire part, but 3 tiles per part… fit good and tight. Overall this is 8’ tall and 2’ wide. The stiffining ribs got right in their holes. This is a dry fit. Going to do some sanding before glue-up.
17 Likes
What are you building @SLCJedi ?
1 Like
It’s a stand for cancer patients who are getting treatment in this huge cancer zapper. They have to stand higher than floor level and are often weakened. The various features are for hand holds, a back rest, and a lead blanket. There can be no metal above the platform, so all glued up baltic birch, 3D printed, and some nylon hardware.
25 Likes
I finally got brave enough to cut that sign I showed earlier in HDU. I made a few more tweaks to the design before starting.
I was super nervous given the cost of the material. This 24” square piece 2” thick was about $130. It cut great though. O wish Thani had taken the advice from @SirGariff and really ramped up the DOC and speed. I ended up doing a 180% override on the initial shaping and it could have been much more.
I even used the IDC HOG for all of the flattening, pockets and even 3D roughing and it looked great.
HDU would be a great prototyping material except that it is too expensive and produced better results than you will get in wood.
Other than the price, there is nothing to be scared of.
This was directly off the machine:
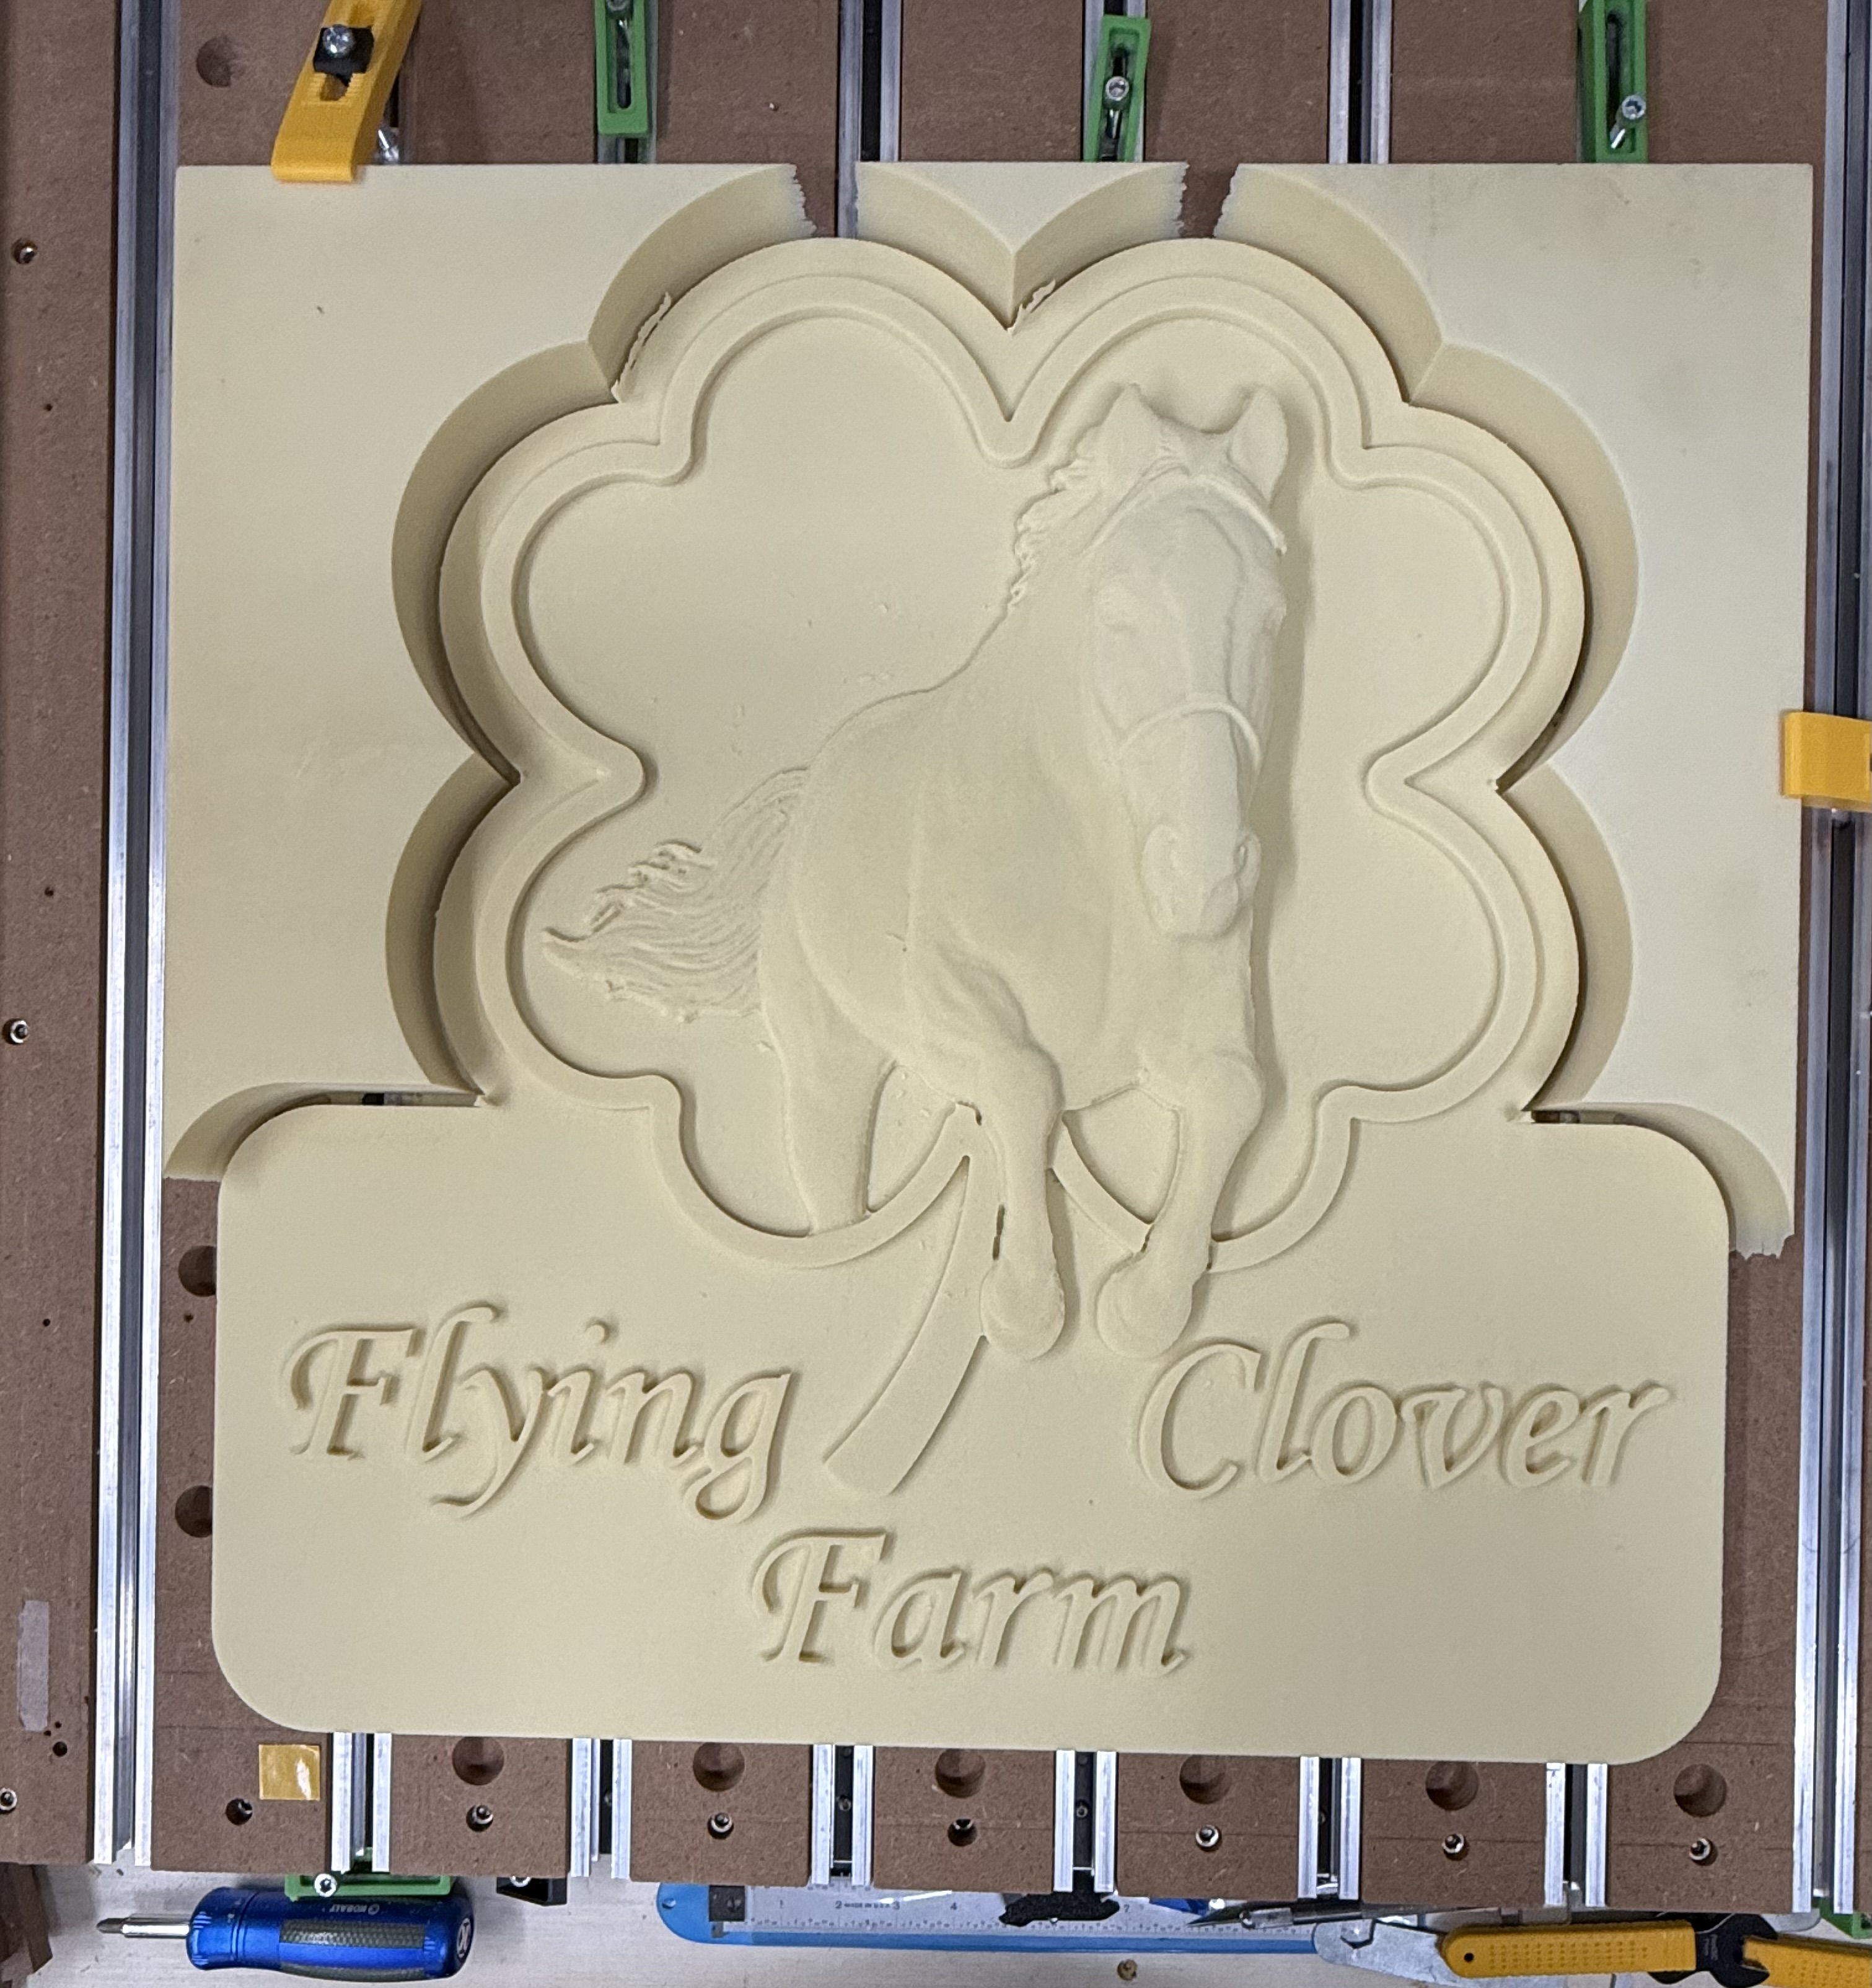
And these were after a few minutes of cleanup, mostly on the edges of the 3D model.
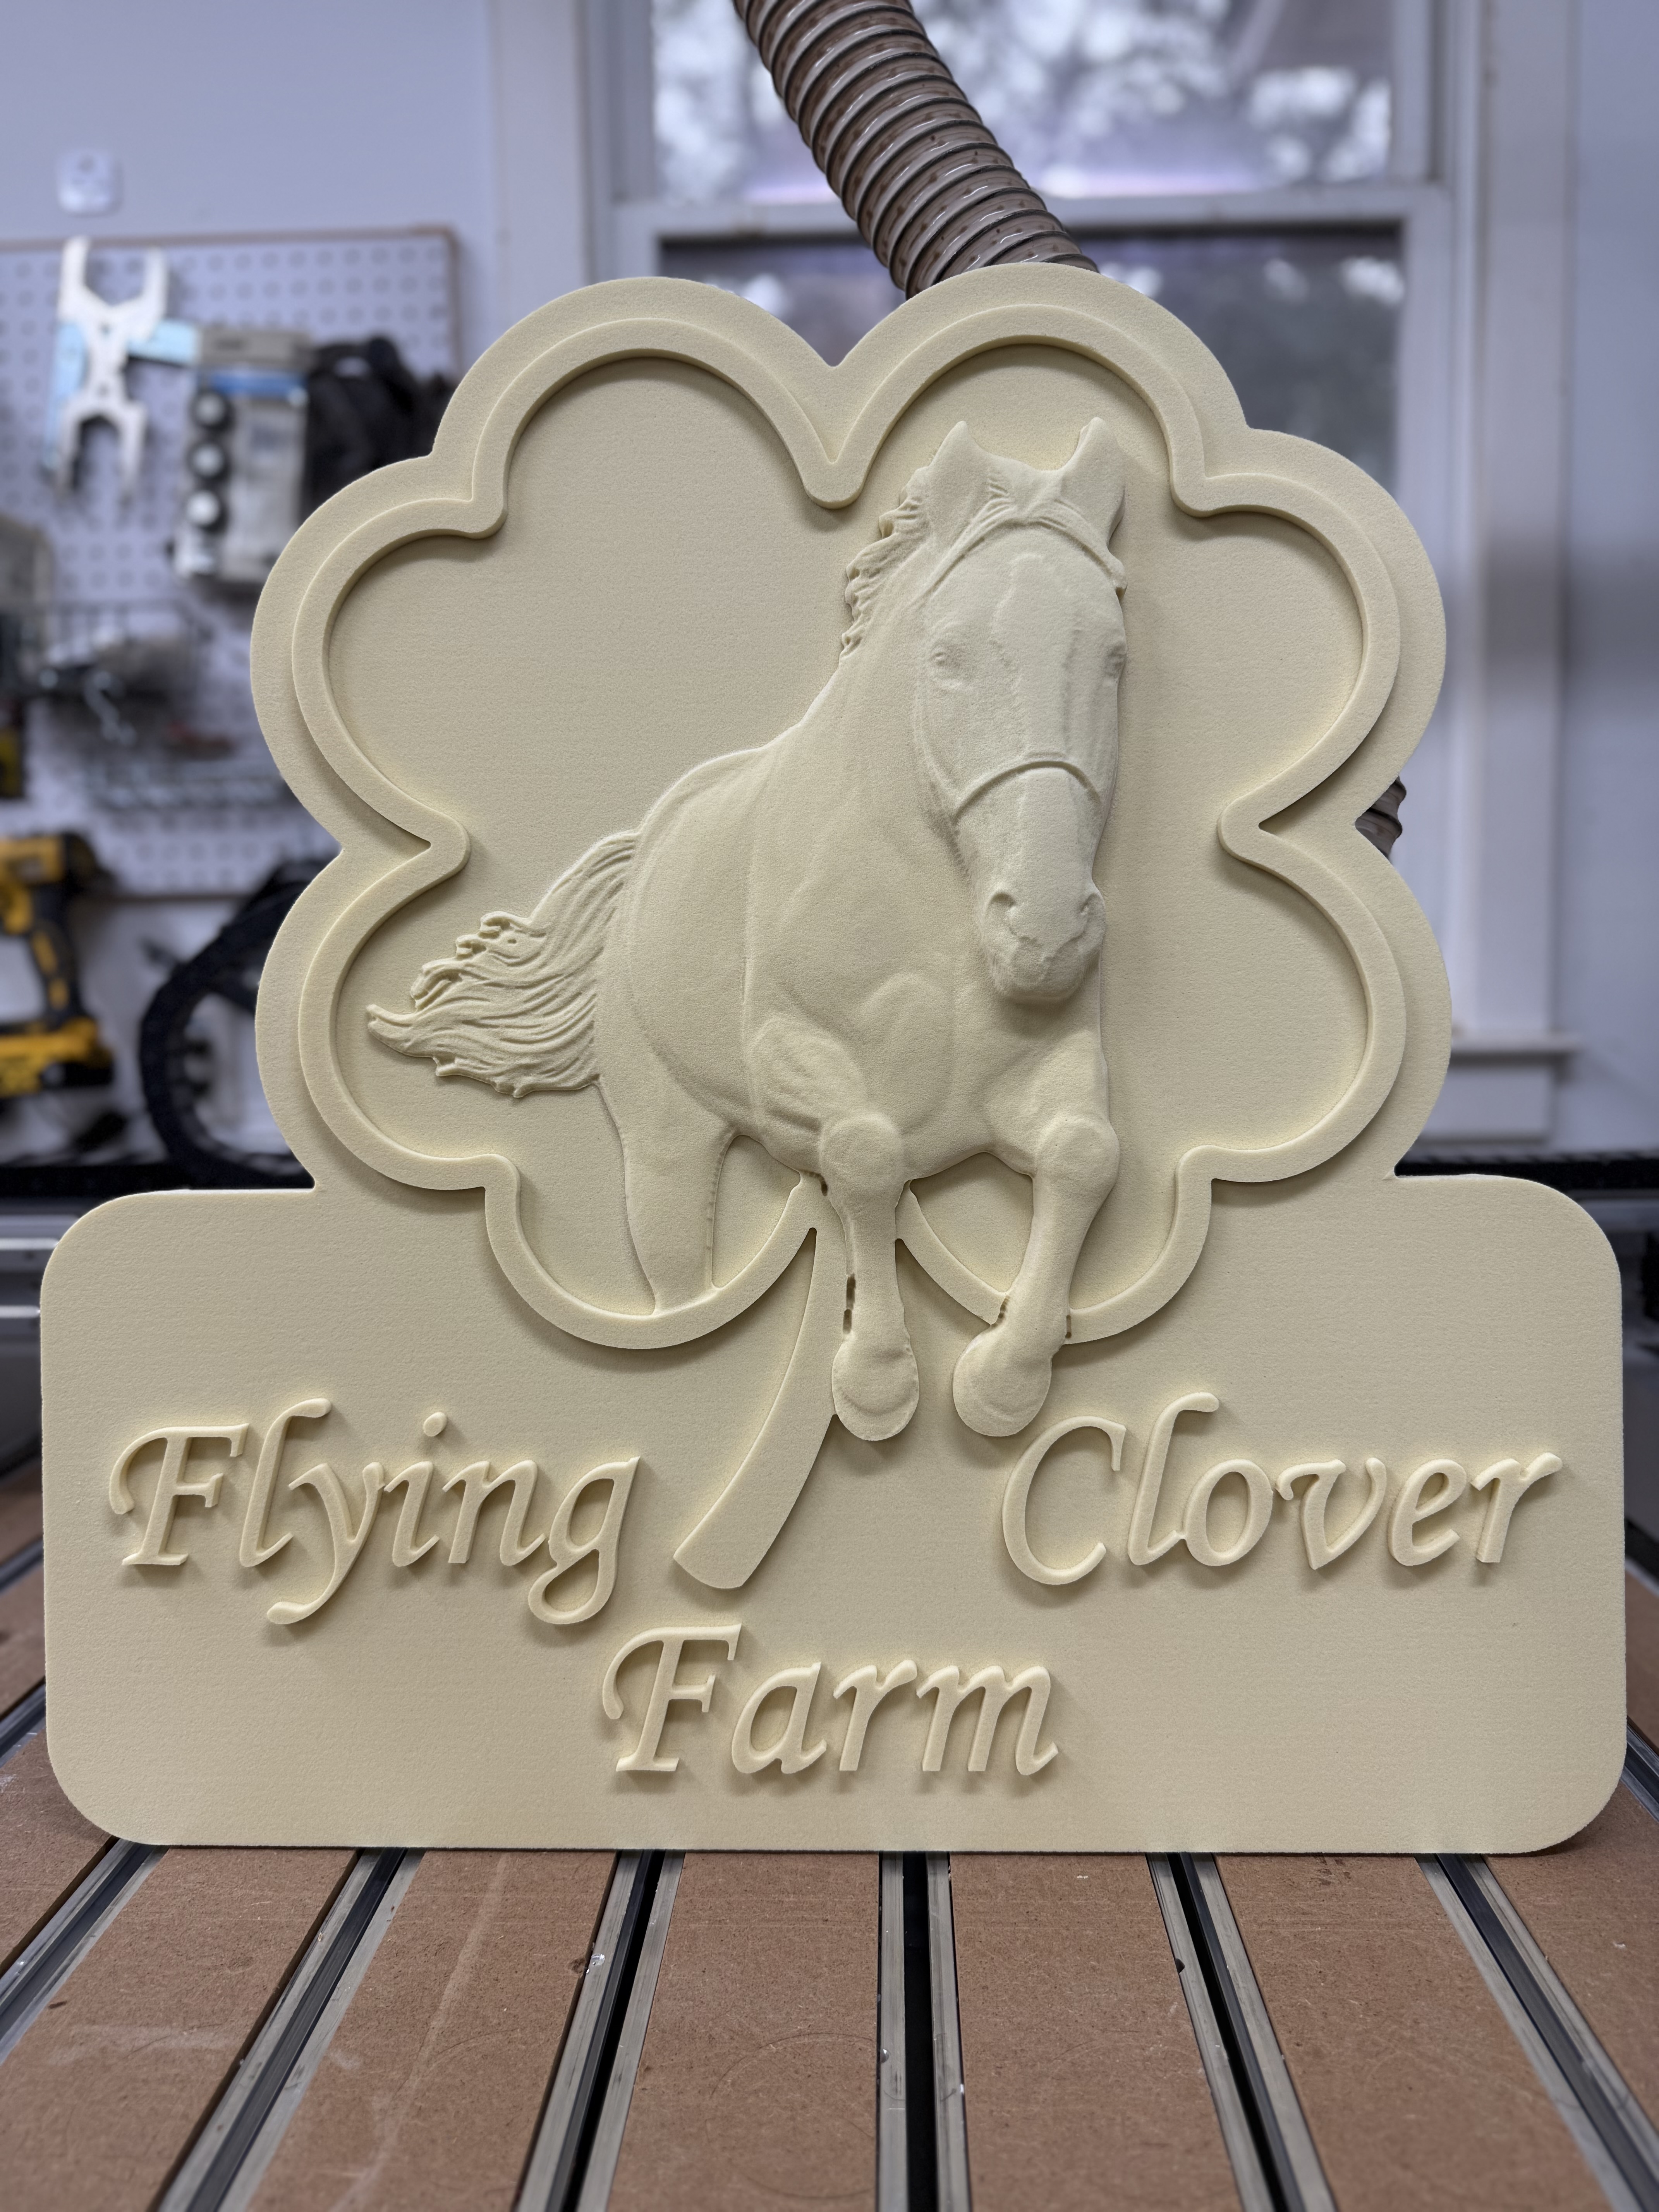
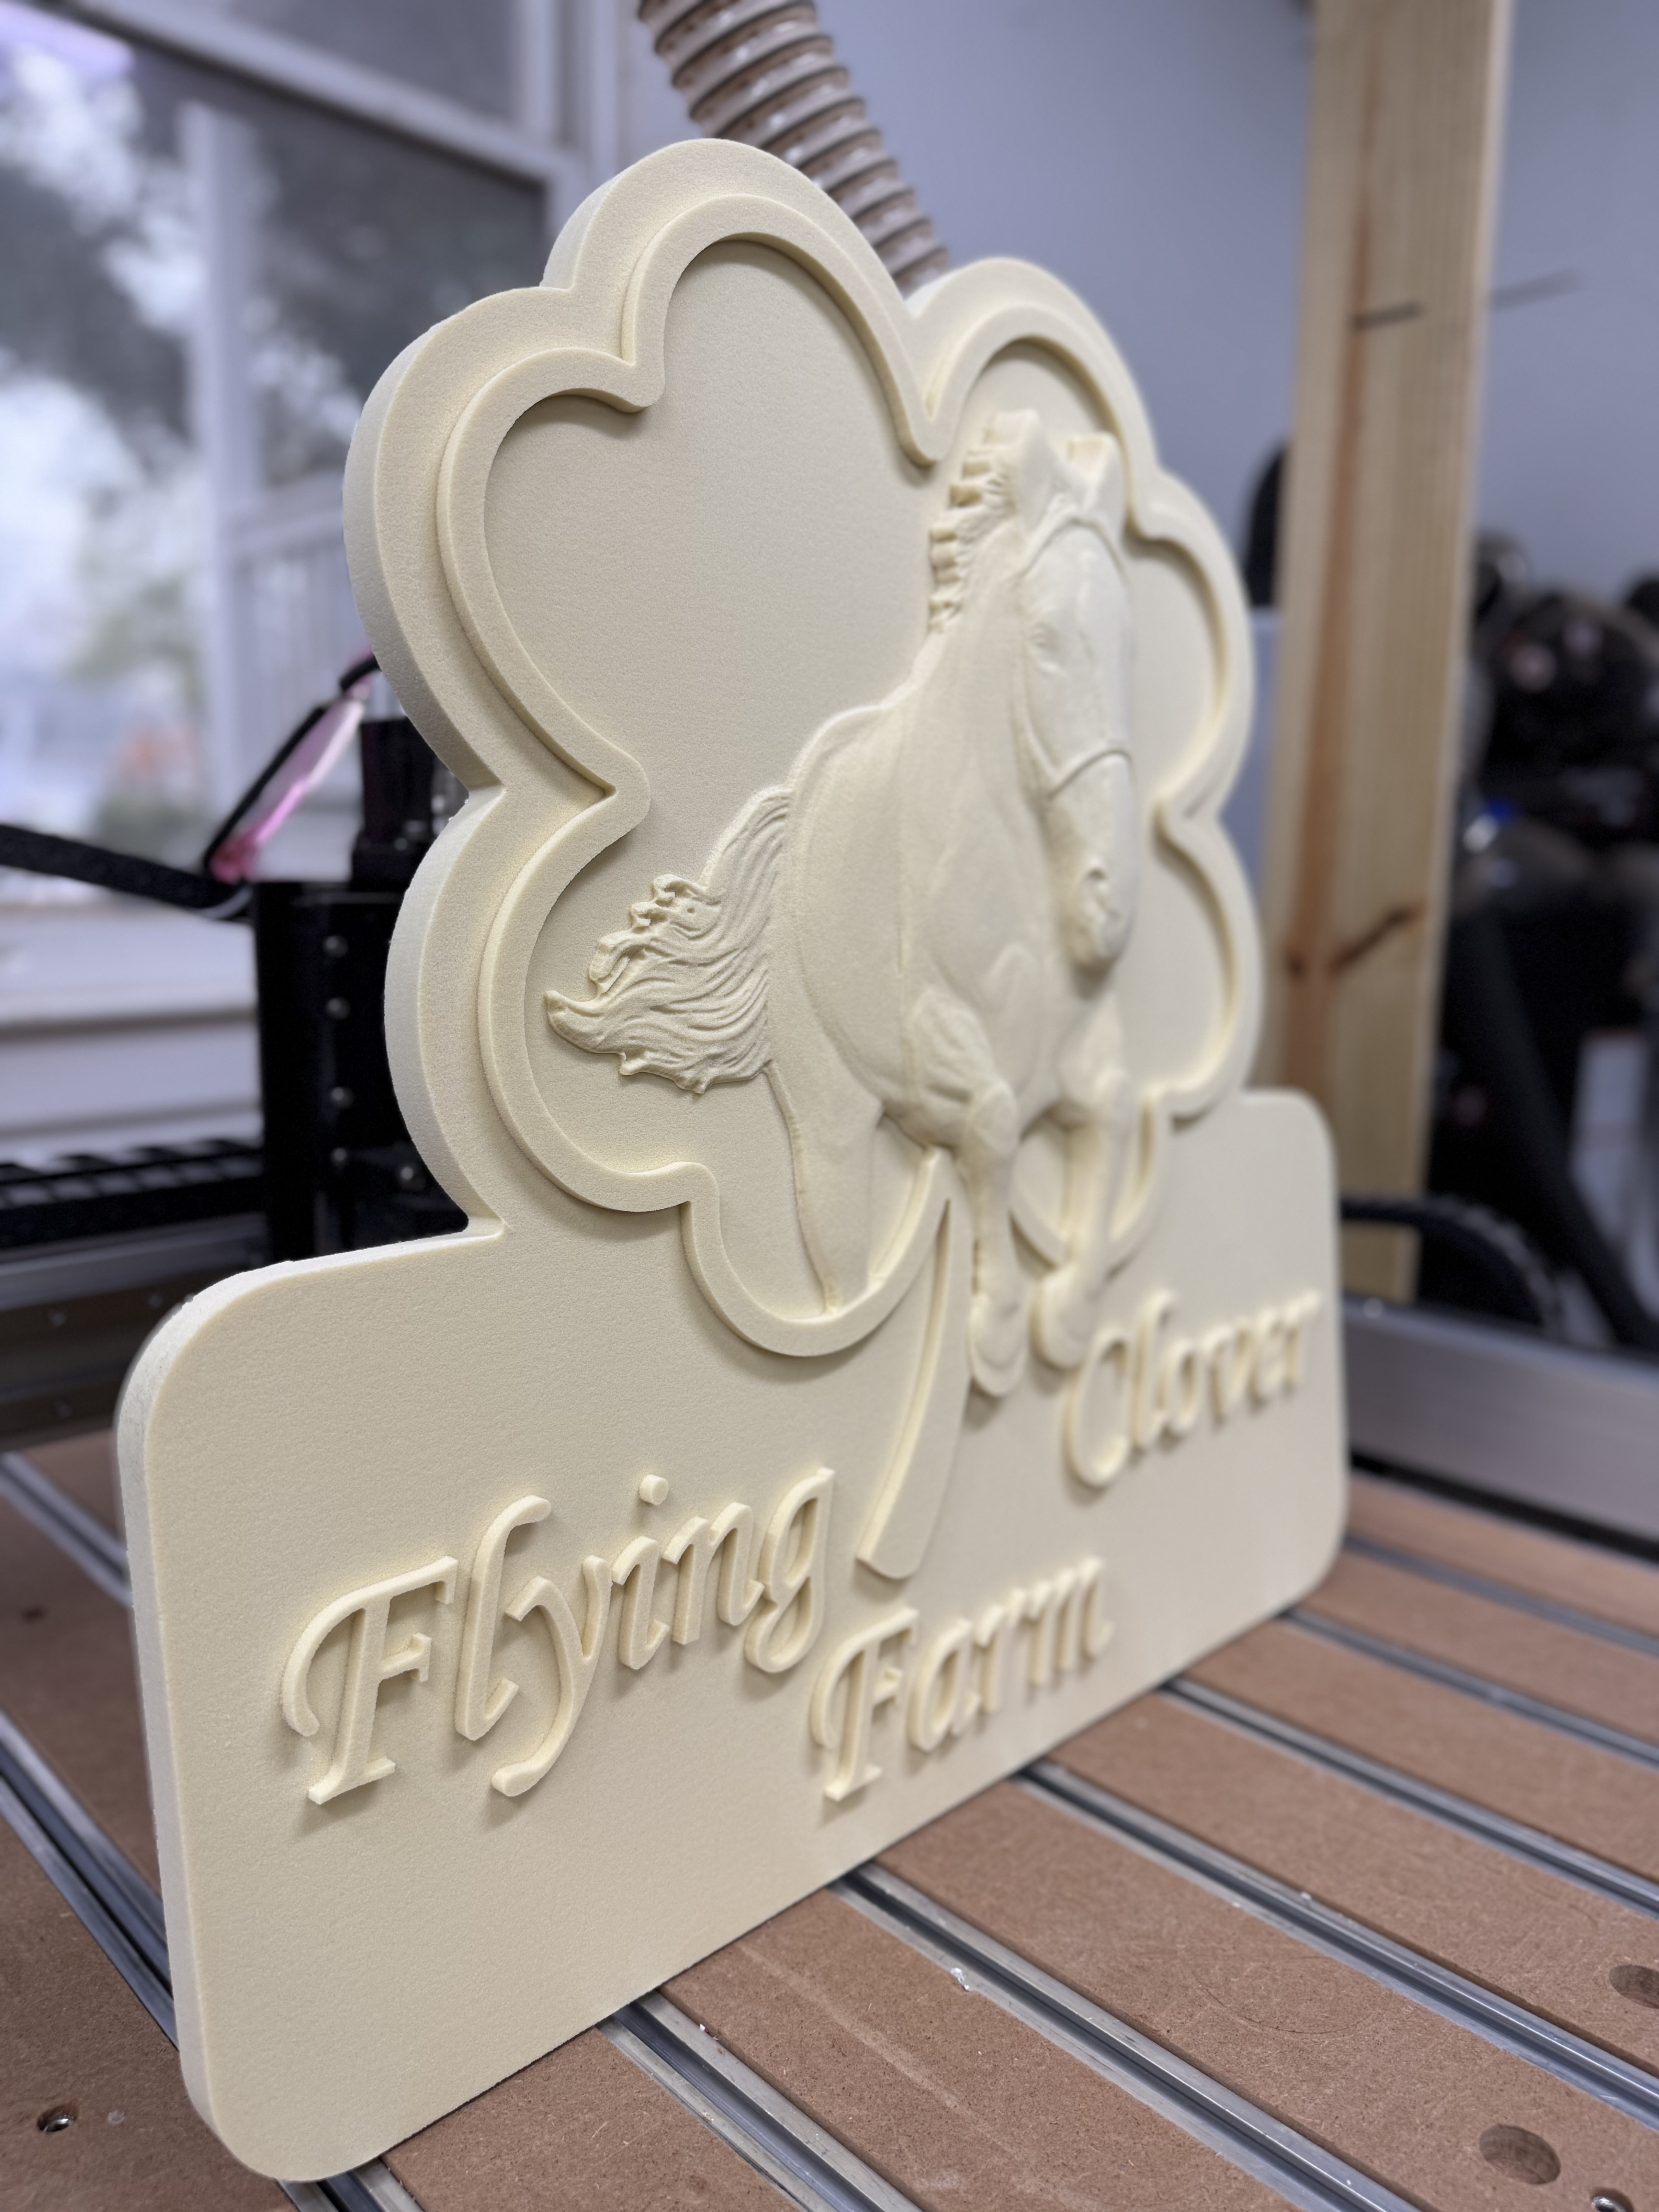
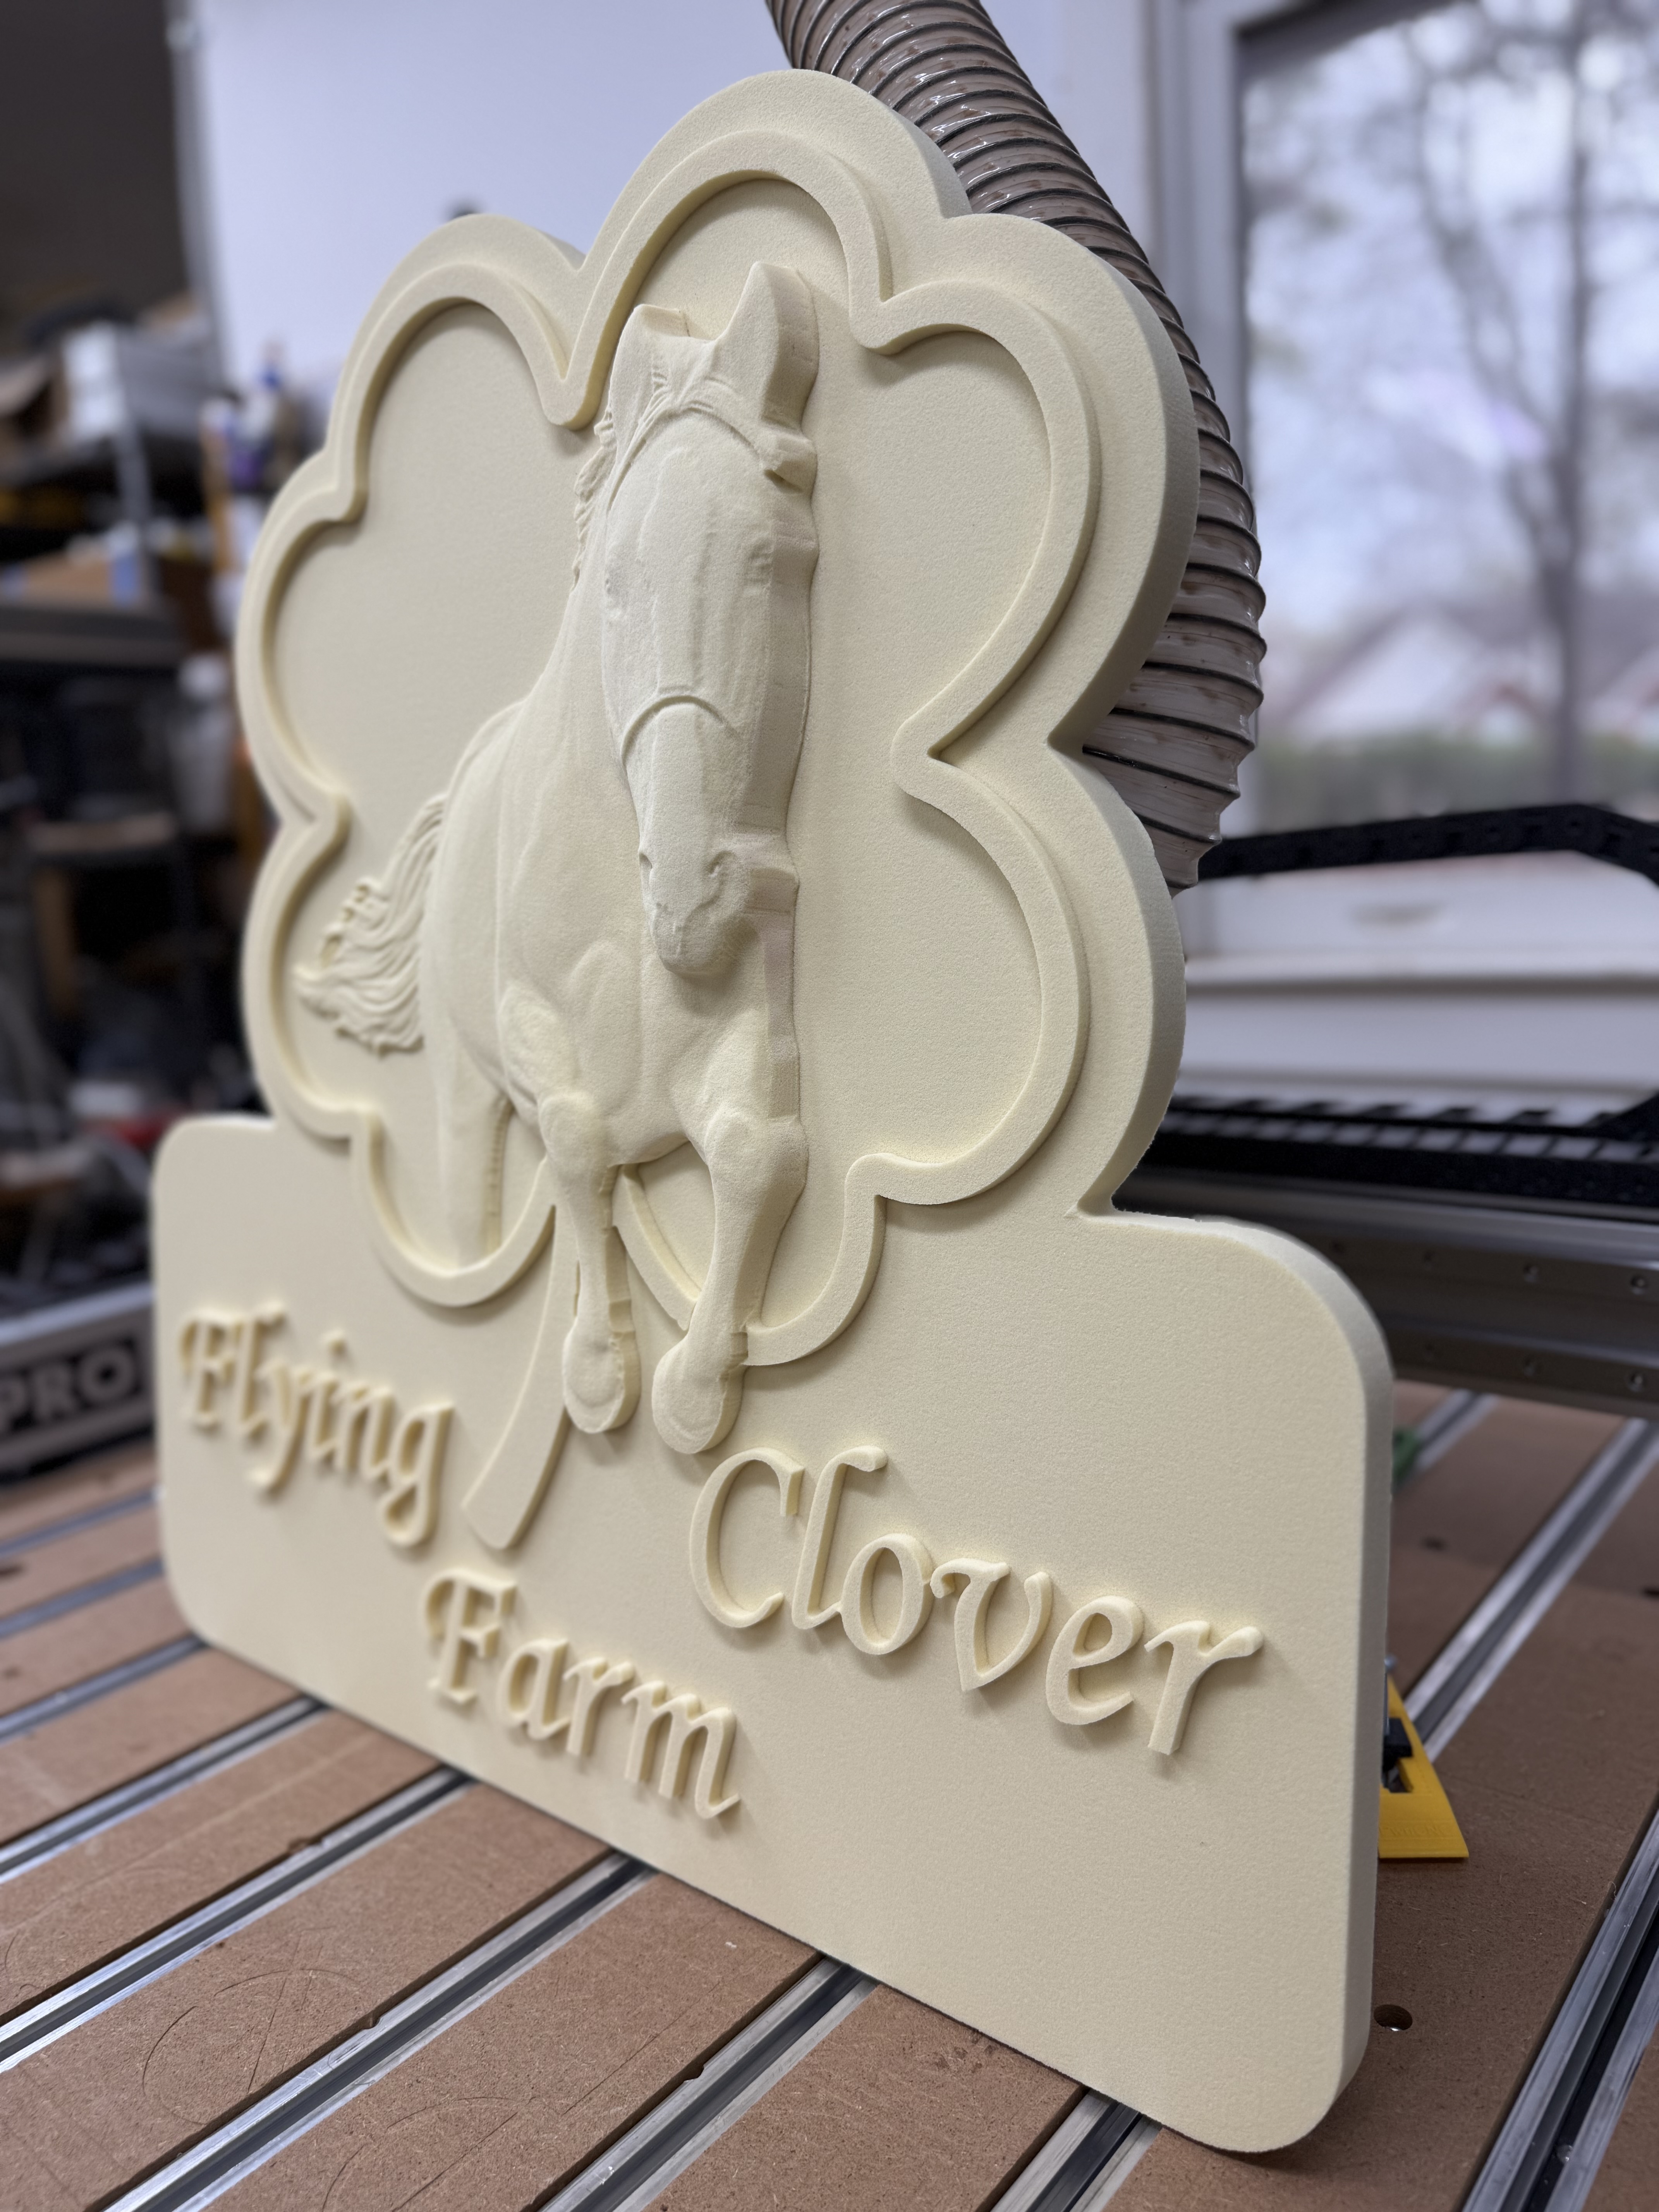
I used a
Combination of clamps and double sided tape to hold it down. Tolerances were very close so I used both. Good thing I did use the tape because the tabs I used were way too small to be useful in this material.
28 Likes
The carve looks great. What was the smallest bit you used ?
I just bought some HDU cutoffs a few days ago. I am staring at the pieces/$'s now.
What is the painting plan ? I am not good at that.
1 Like
My goodness that’s beautiful!!
2 Likes
Cullen, how did you get the profile of the clover to break at the horse’s legs? I’ve done a Vectric “project profile onto 3D object", but it seemed to always add to the 3D at the intersections.
I used the .25" HOG for lowering the overall height, cutting the pockets inside the clover and around the letters and the 3D roughing pass.
I used a .125" bit to clean up the edges around the clover and get in the tight spaces with the letters. I used a .25" ball nose for the first finishing pass and a .0625" tapered ball for the final 3D finish pass. I could have gone smaller, but it would have been for fun, since this is going at the end of her driveway, not on the livingroom wall. I really should have set my retract height lower for the finishing passes. That ate up a lot of time.
Then I used an extended reach .25" bit to cut the shape profile. If I knew how fast this stuff could be machined I would have flattened the whole area outside the clover so that I didn’t need the extended length bit, but it worked out well.
The plan for finishing is to spray primer and then spray whatever color she wants as the base coat. Then the letters and the clover outline will be painted black. The customer is going to try and paint the horse in a realistic fashion.
I started with 2" material but wanted the horse to be very pronounced so the base is now only .75". This material is kinda delicate so I am thinking about making a baseplate to attach to the back out of PVC or having a friend use a plasma cutter to make one out of metal. Then I just need to figure out how to adhere them and mount to a post.
4 Likes
I had different sets of vectors.
This one was Is the clover and horse merged and is what was used for the profile of the clover and pocketing.
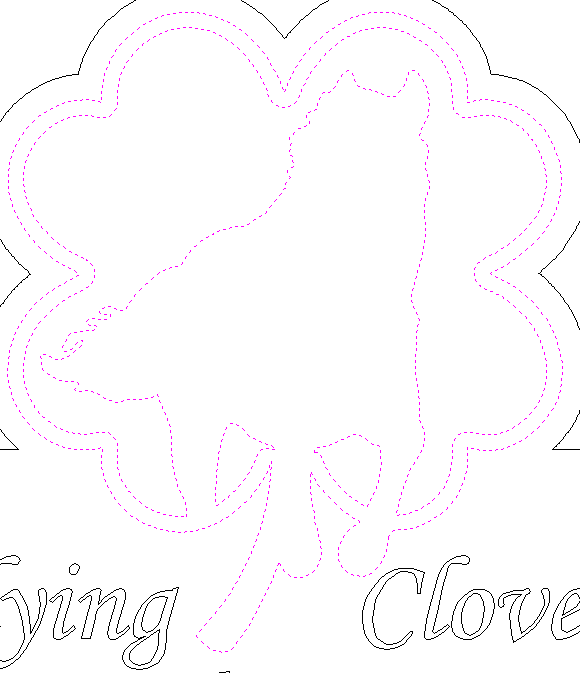
Then I used this one profile of the horse to define the boundary of the 3D cut:
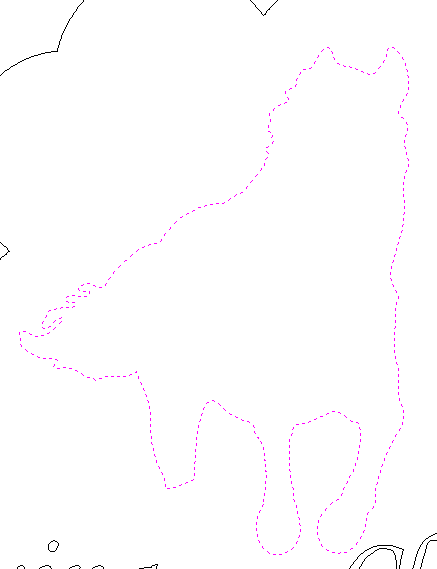
That is also the vector I used for layer clipping. So, the 3D was just the horse and everything else was 2D work. If you haven’t used Layer Clipping in Vectric yet it is great. Allows you to select only portions of a 3D model to use.
Here is what the 3D model looked like without clipping applied.
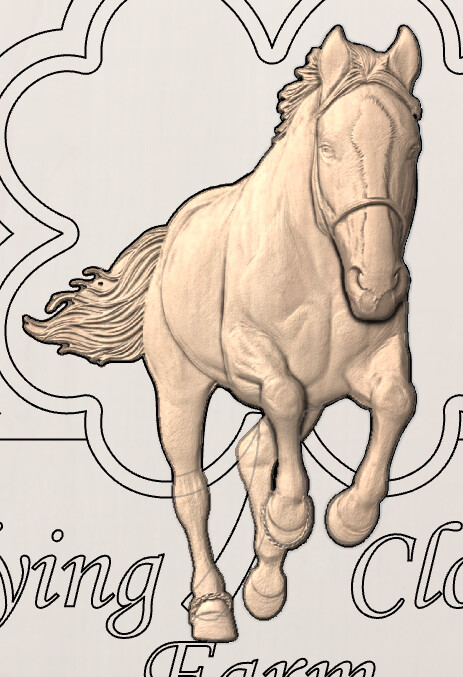
And then when I use that vector above to clip the level You see it gets rid of most of the rear legs.

I have attached the file here if you want to take a look.
cash2.zip (3.7 MB)
9 Likes
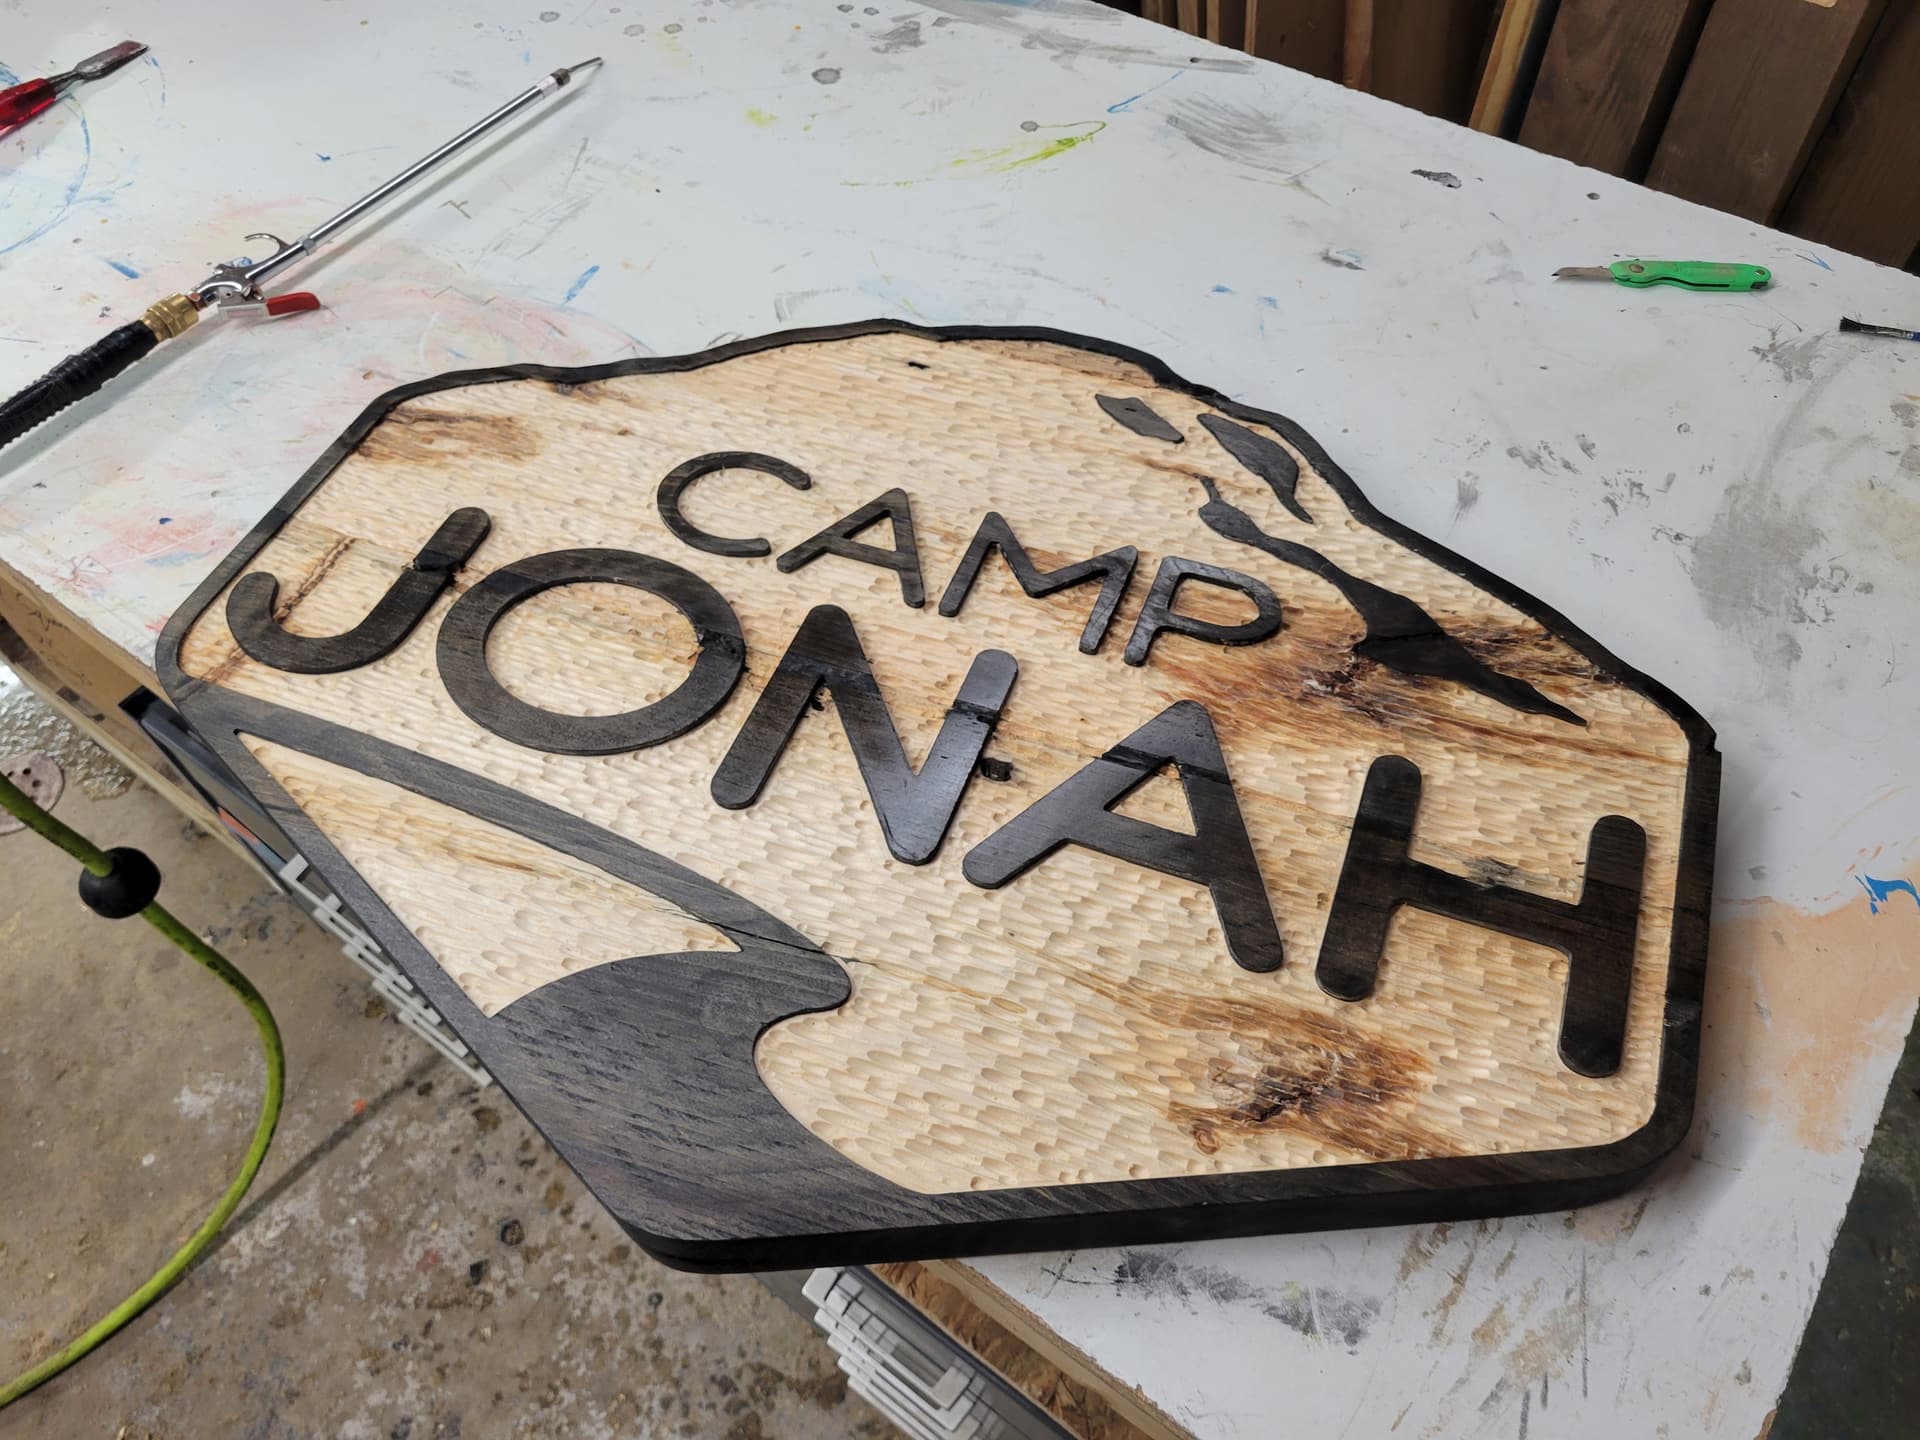
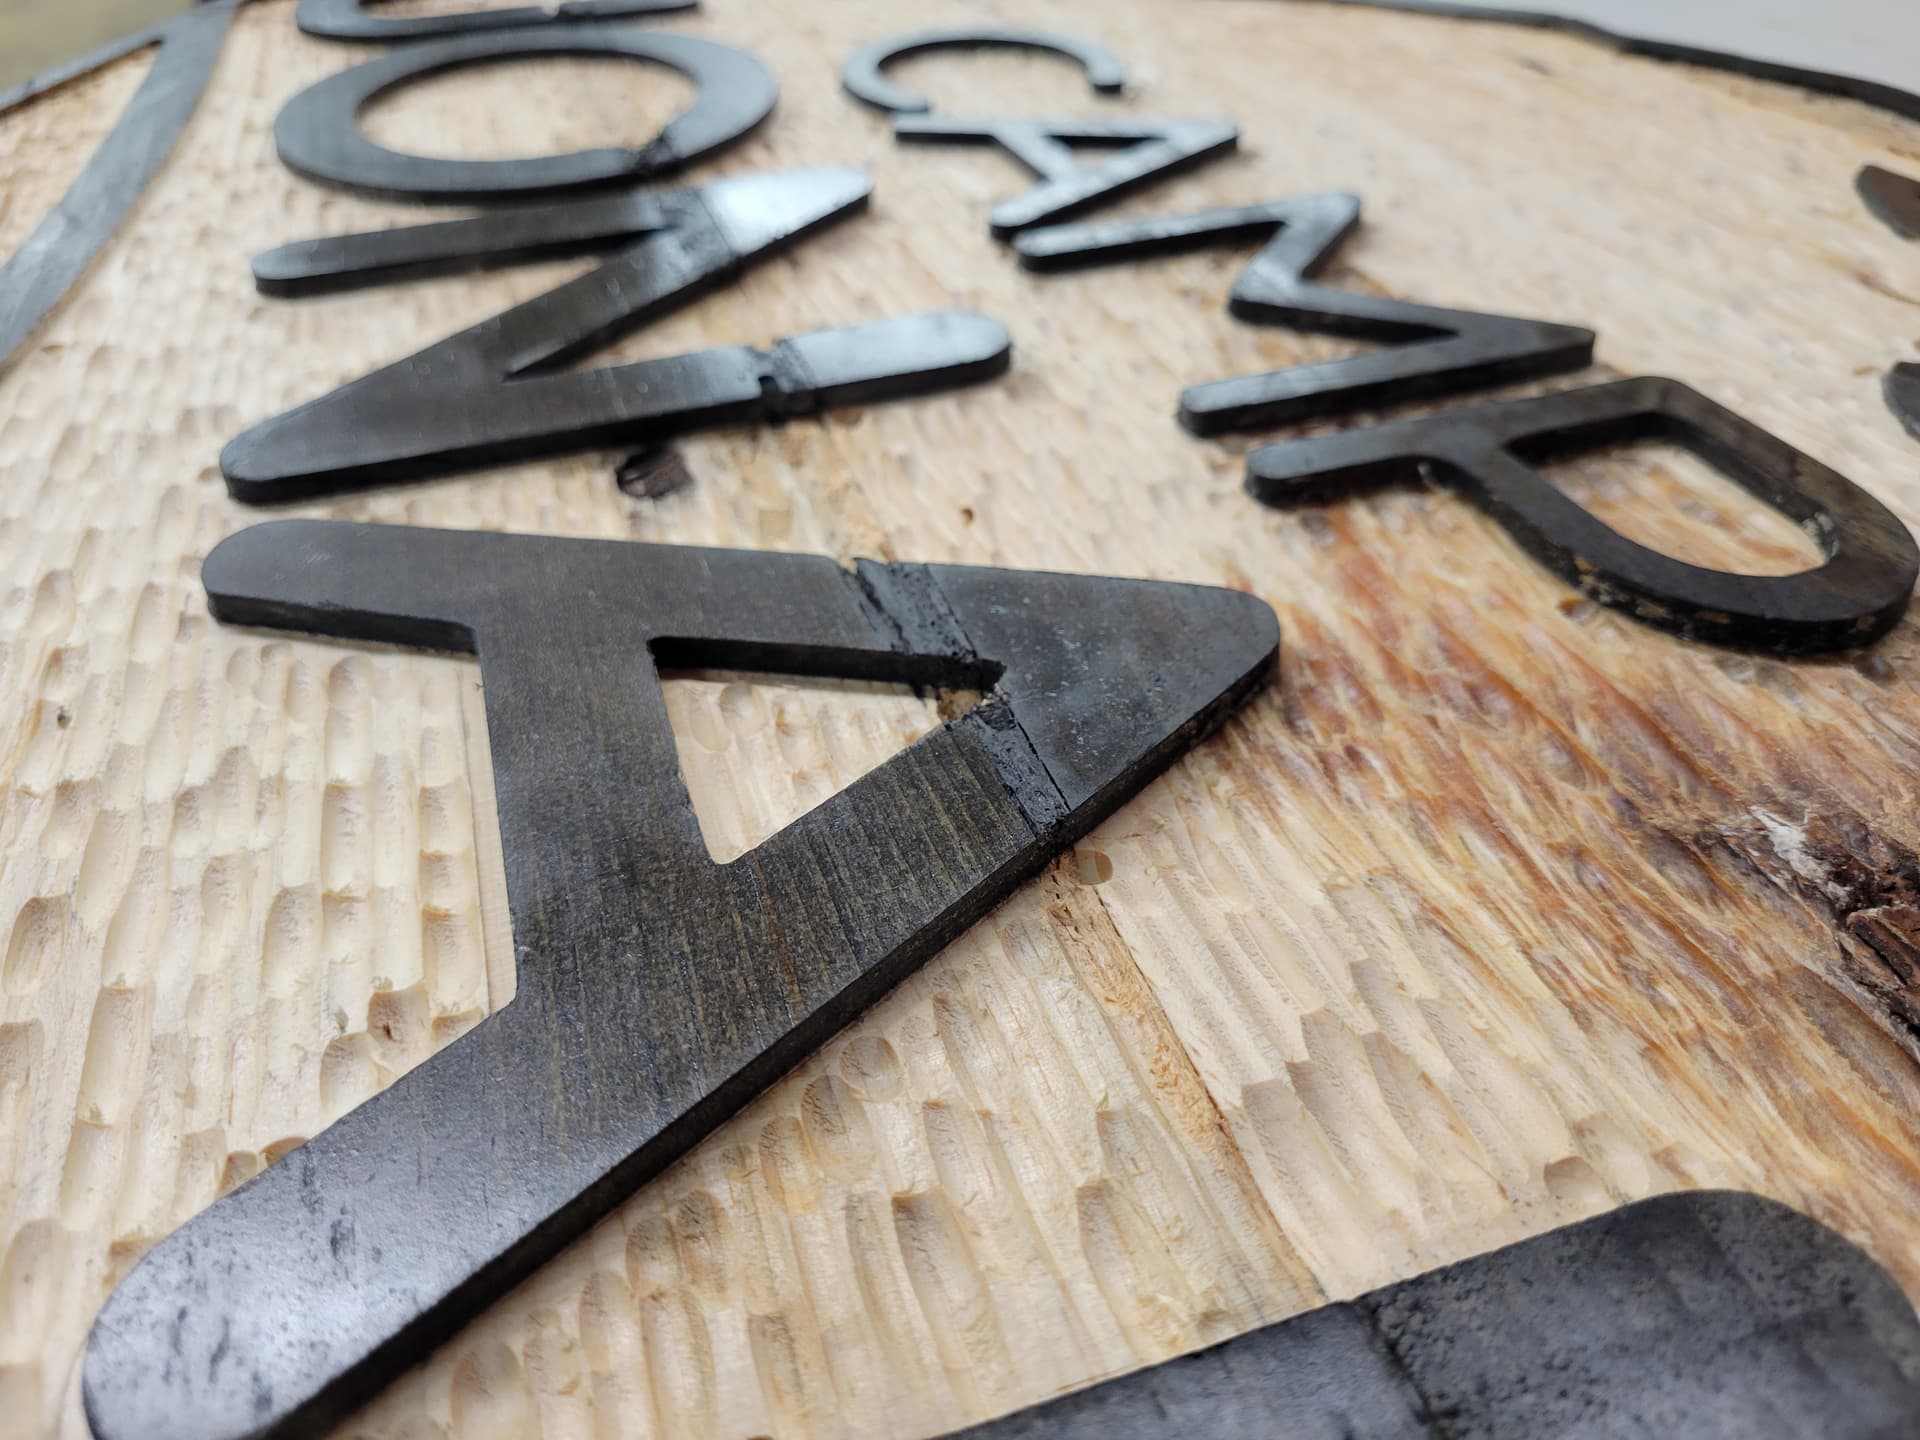
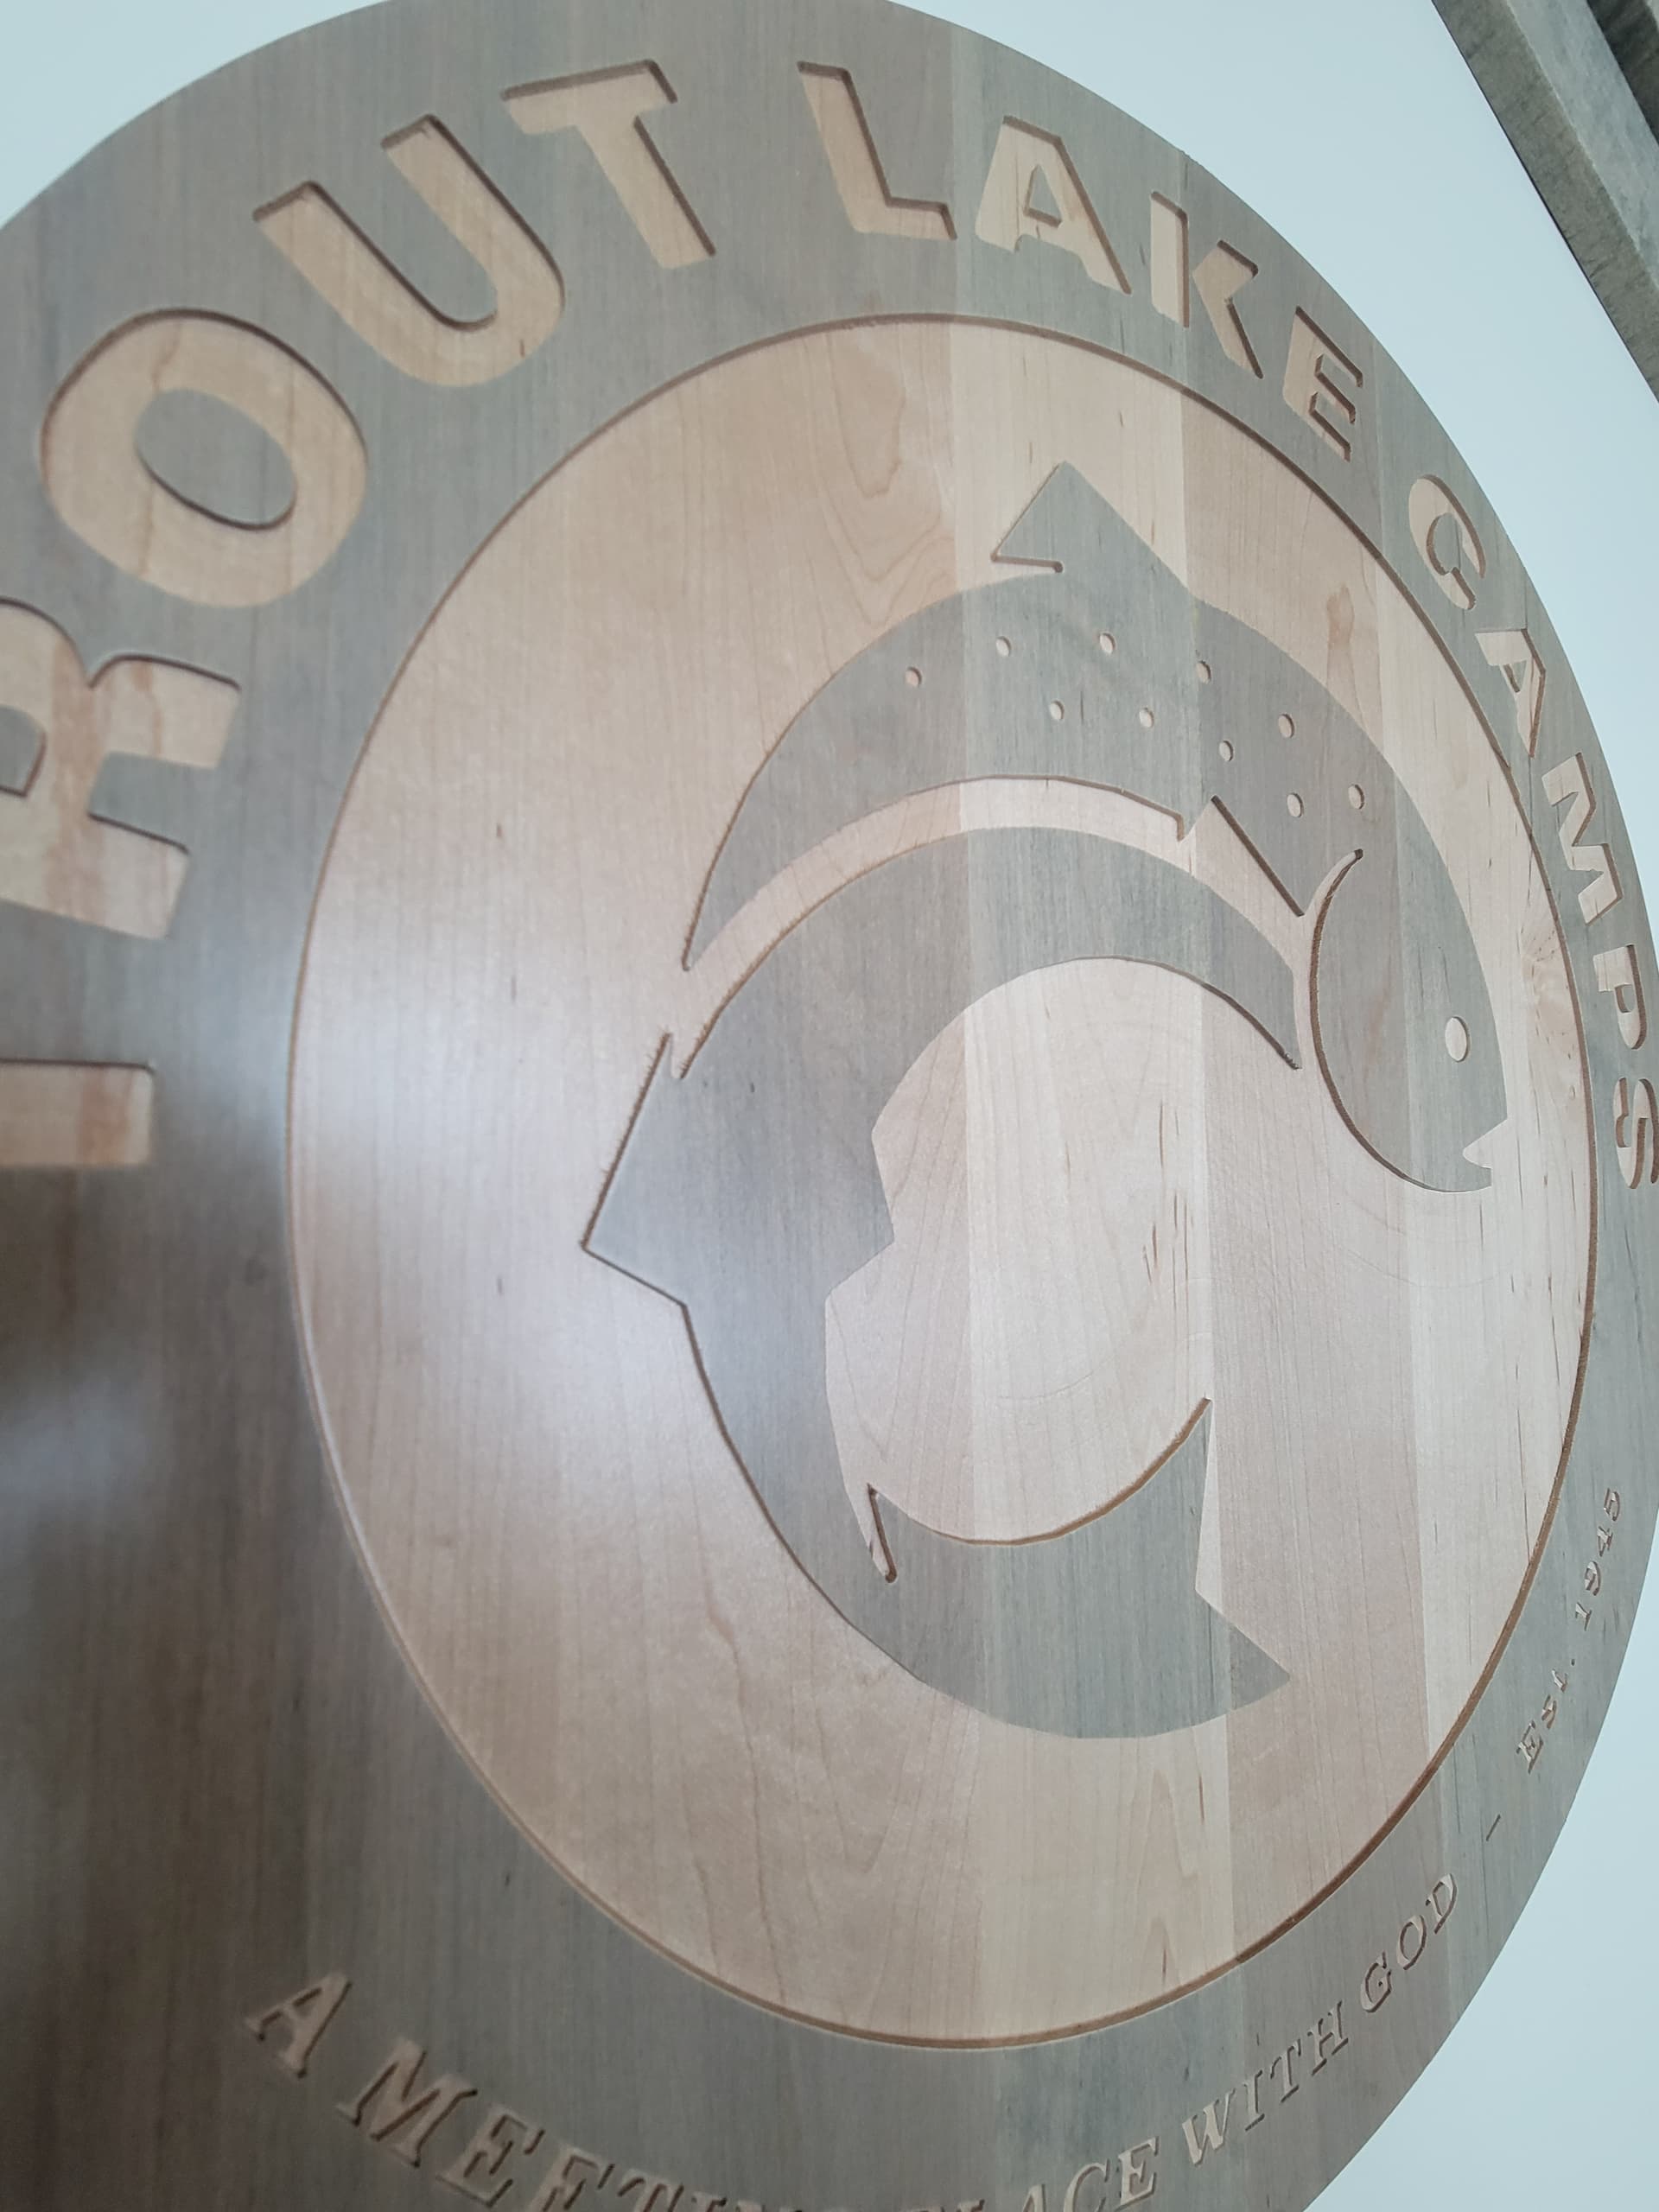

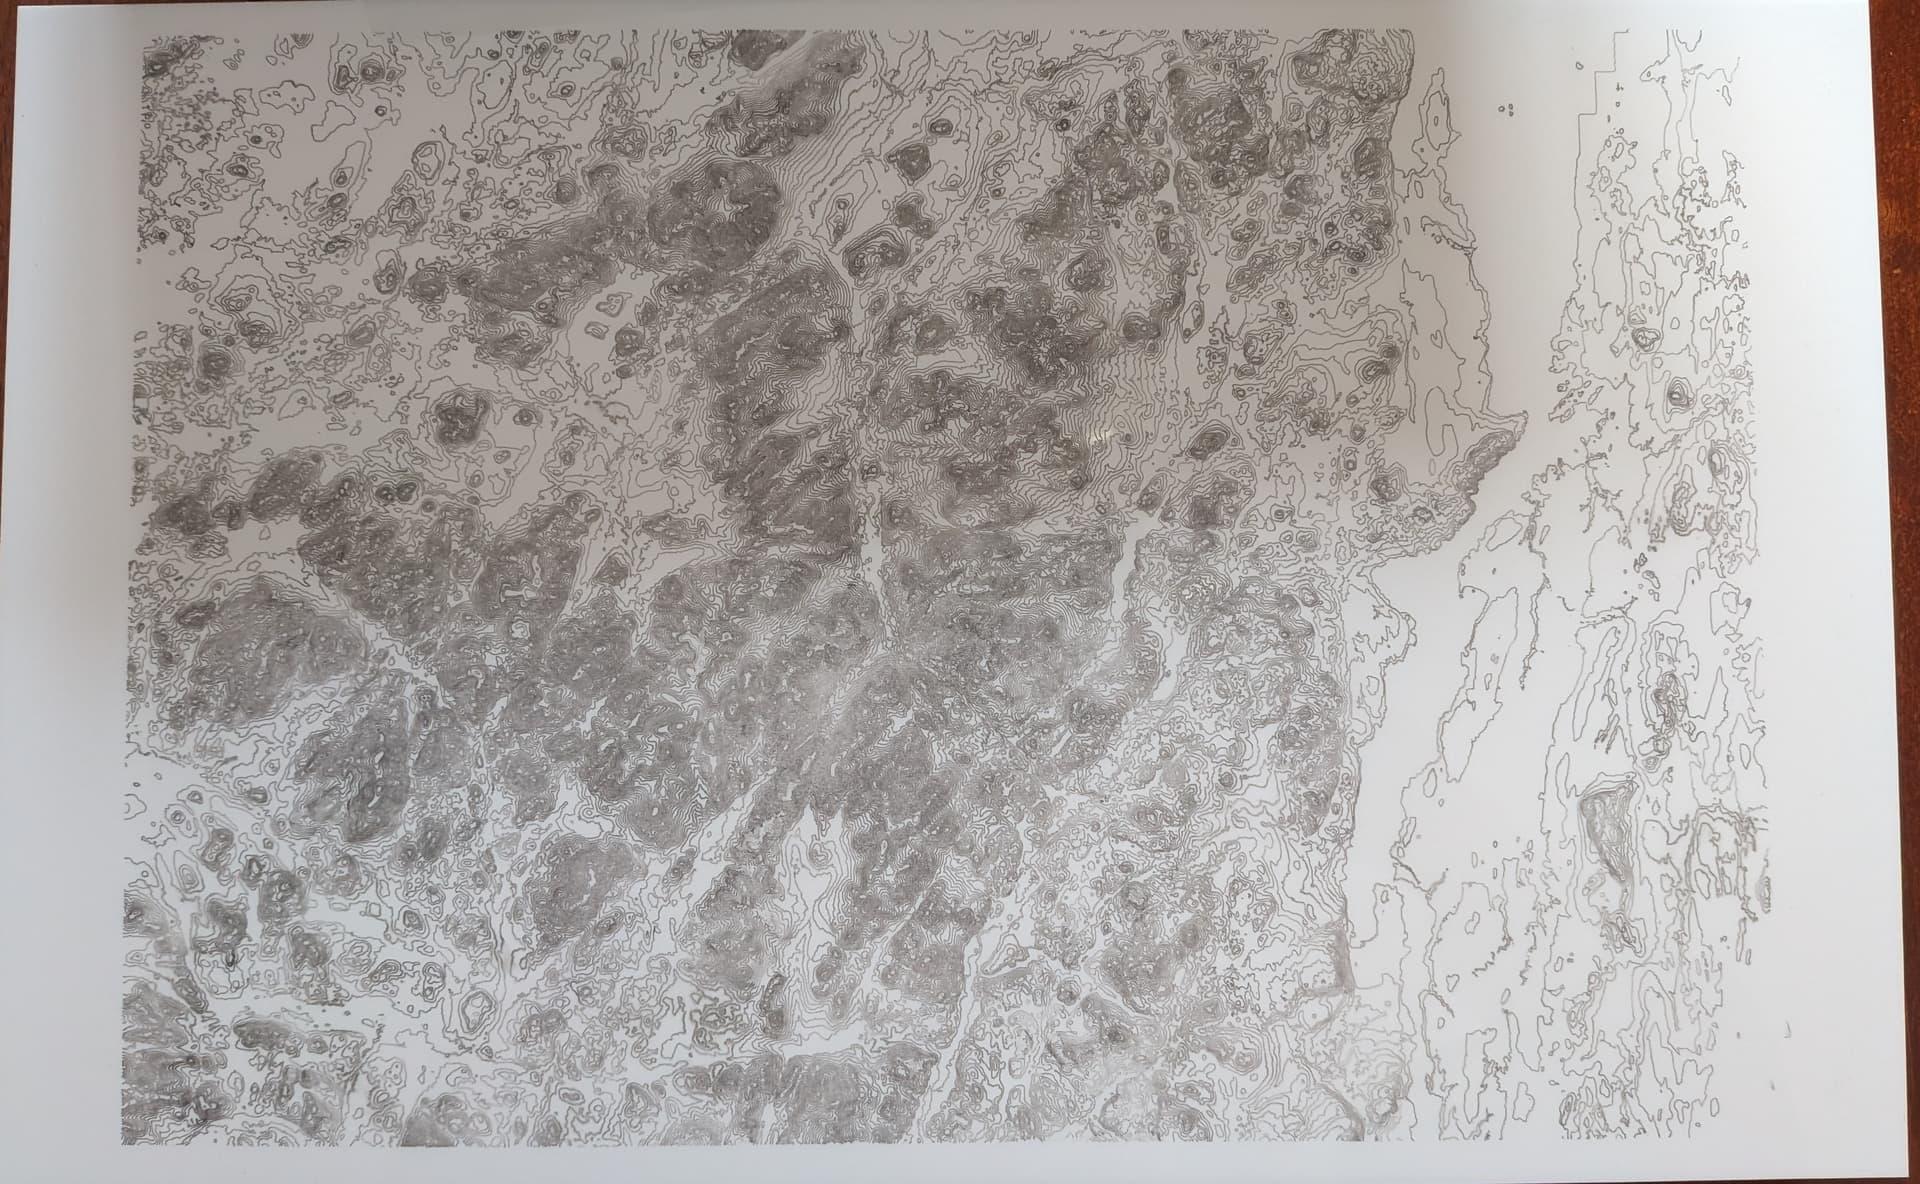
Thats a great example of “everyday” work that’s actually pretty impressive. The Space Force logo sounds like a perfect candidate for V-carve + pocketing, and casting it in aluminum should be very cool definitely gallery-worthy, run of the mill or not!
2 Likes
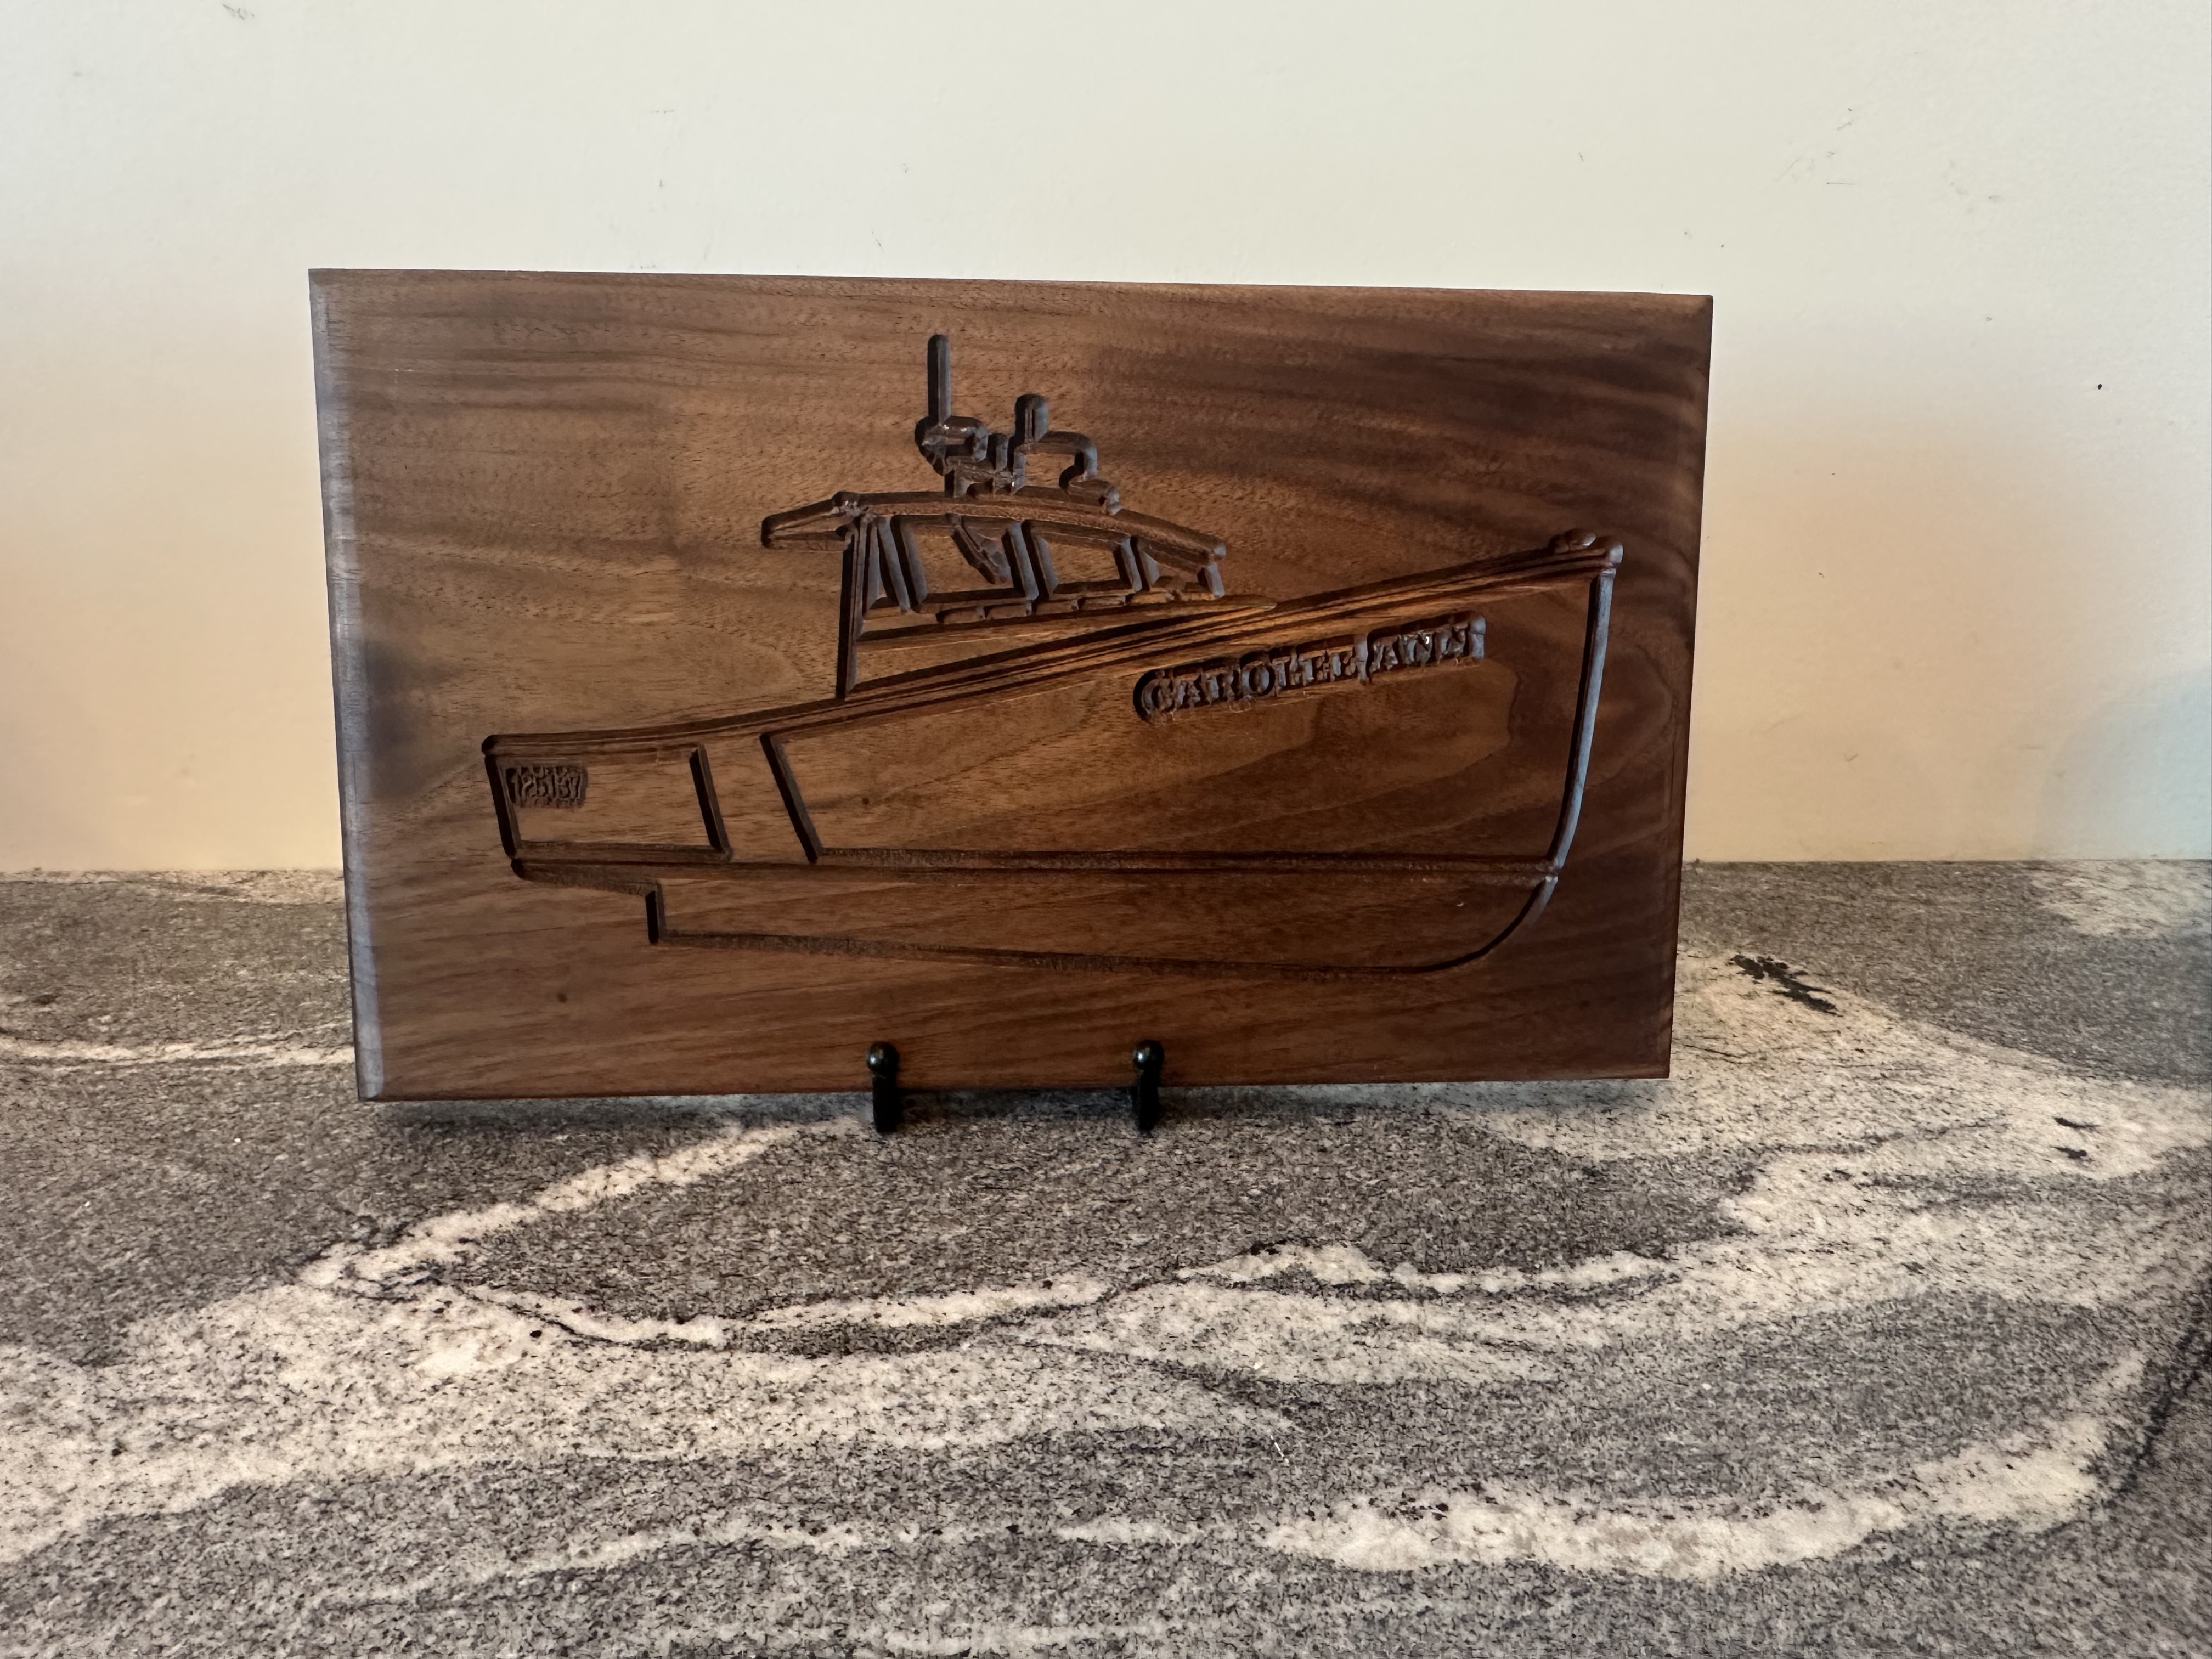
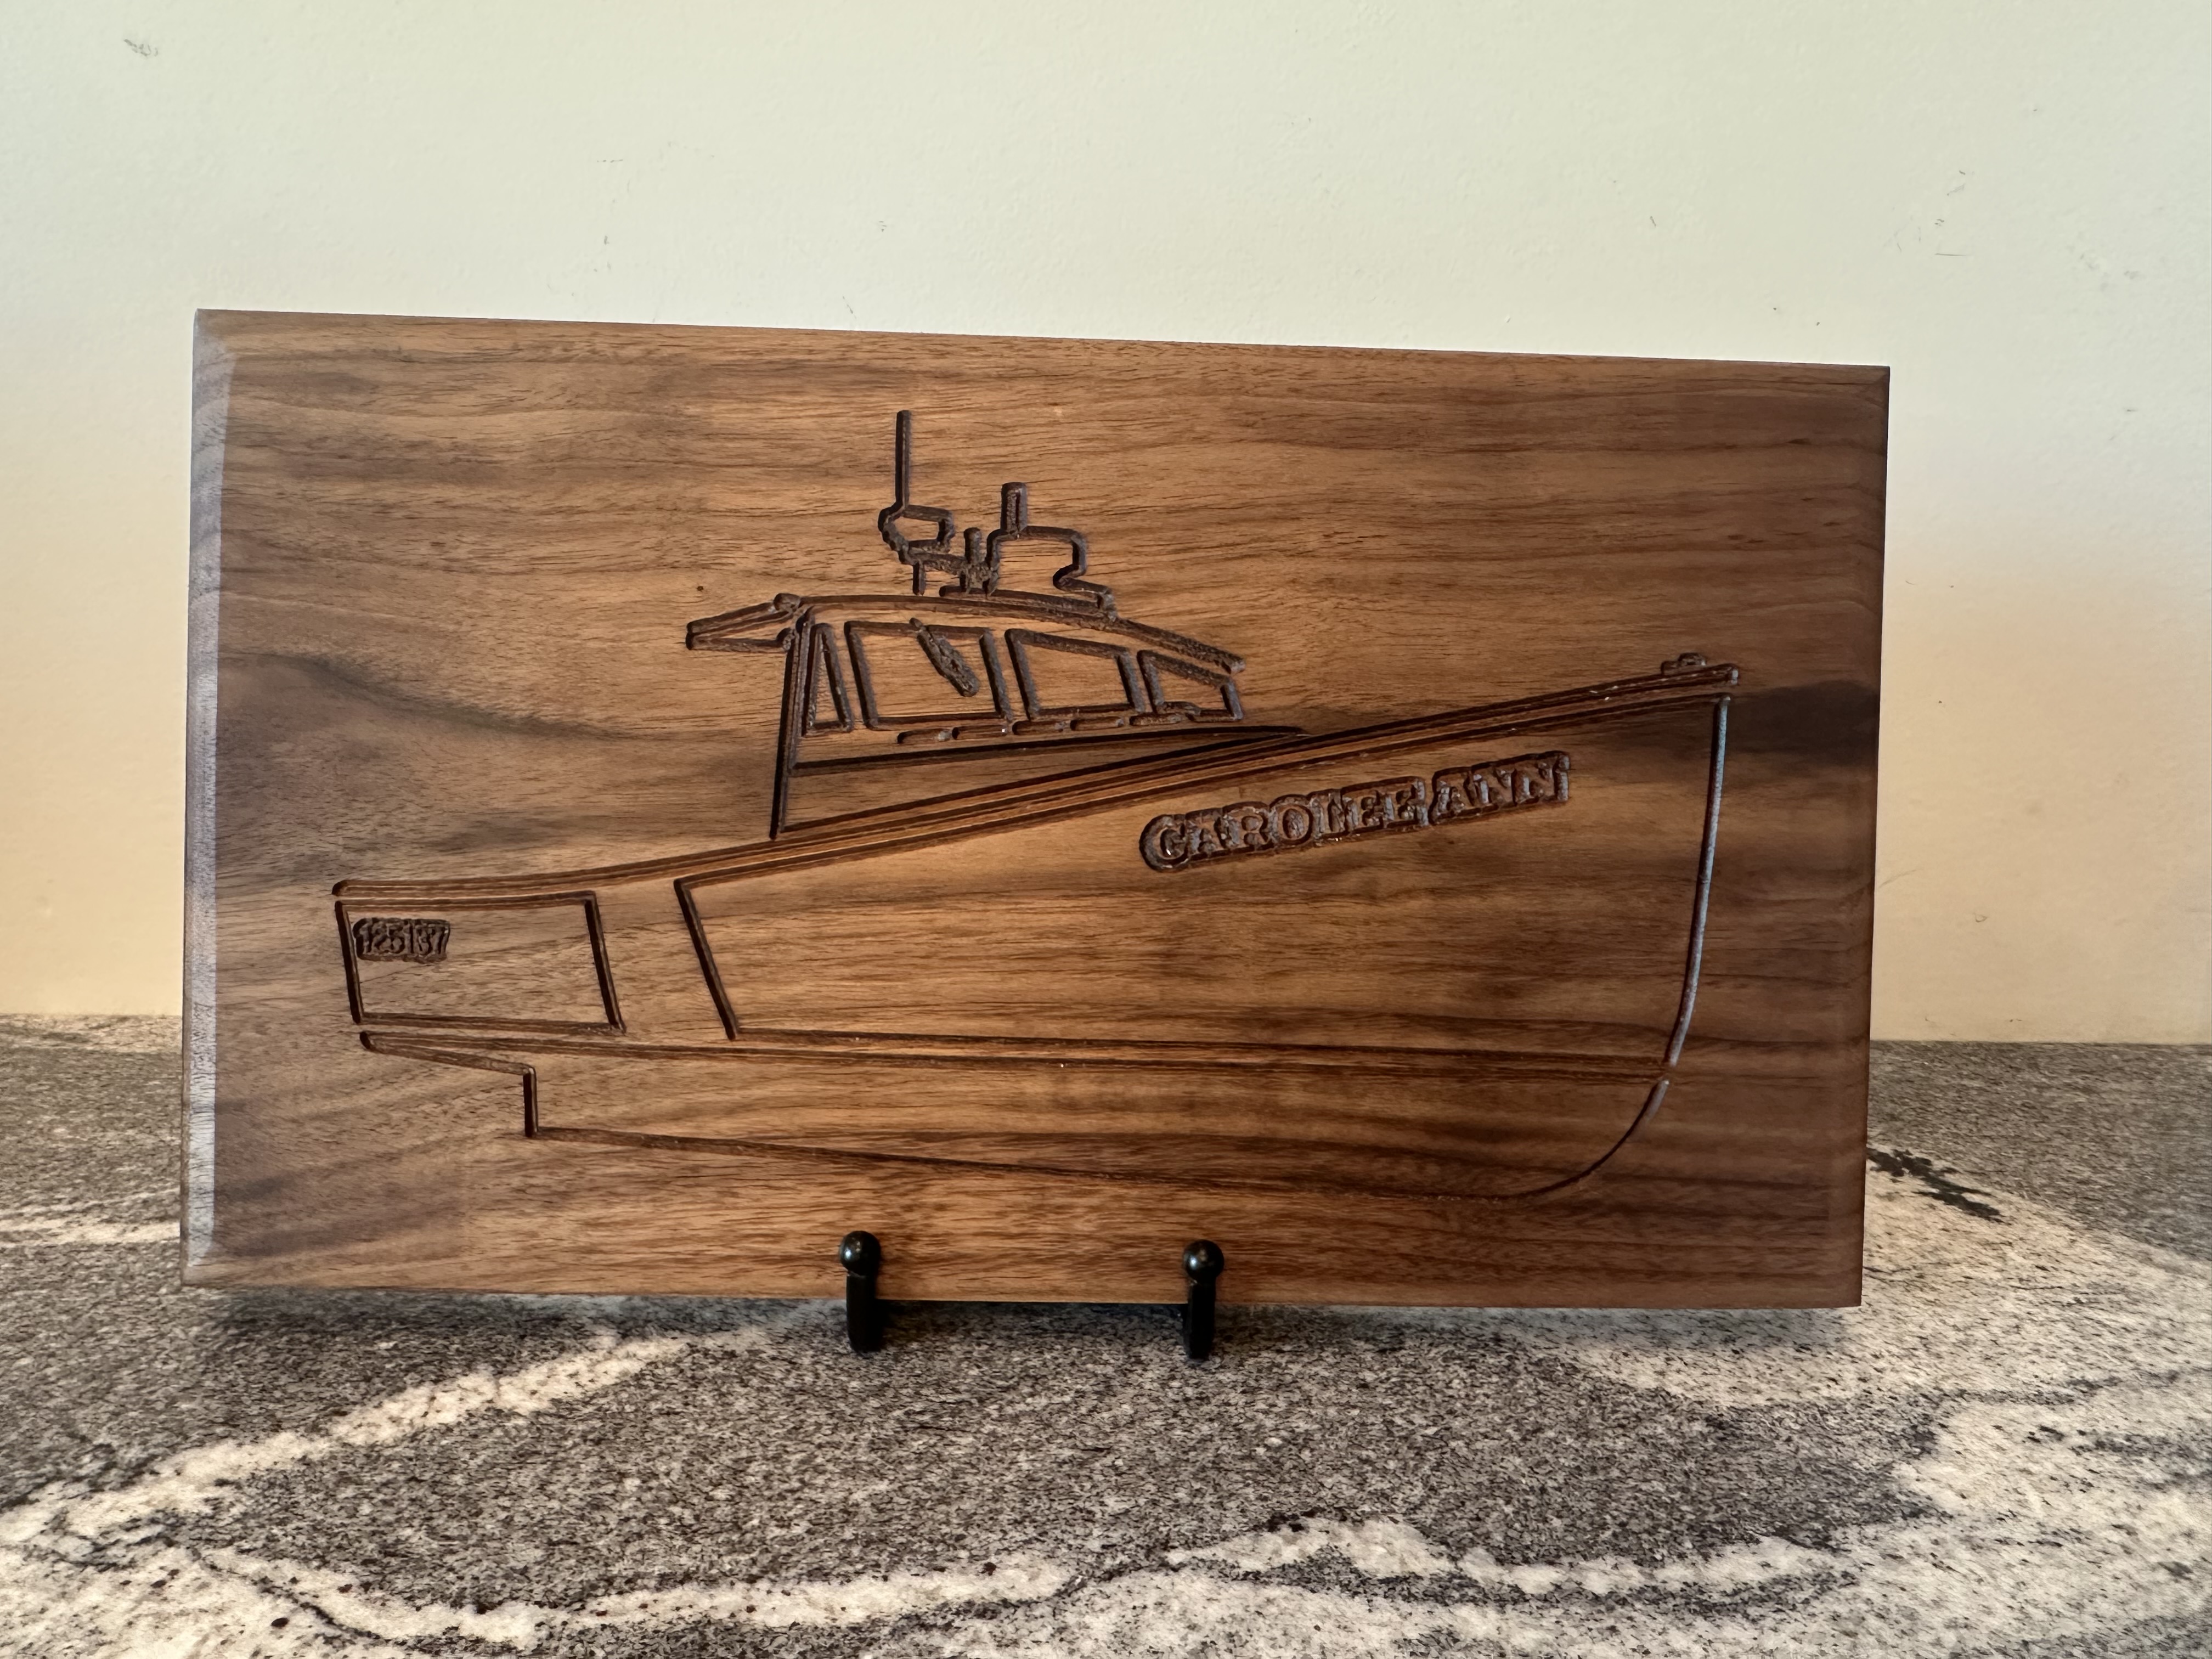
First project…young kid passed away up here…father in law wants to make sure he’s always remembered…took a pic of his lobster boat and carved five of these. Four coats of tung and coat of Odies wax.
25 Likes
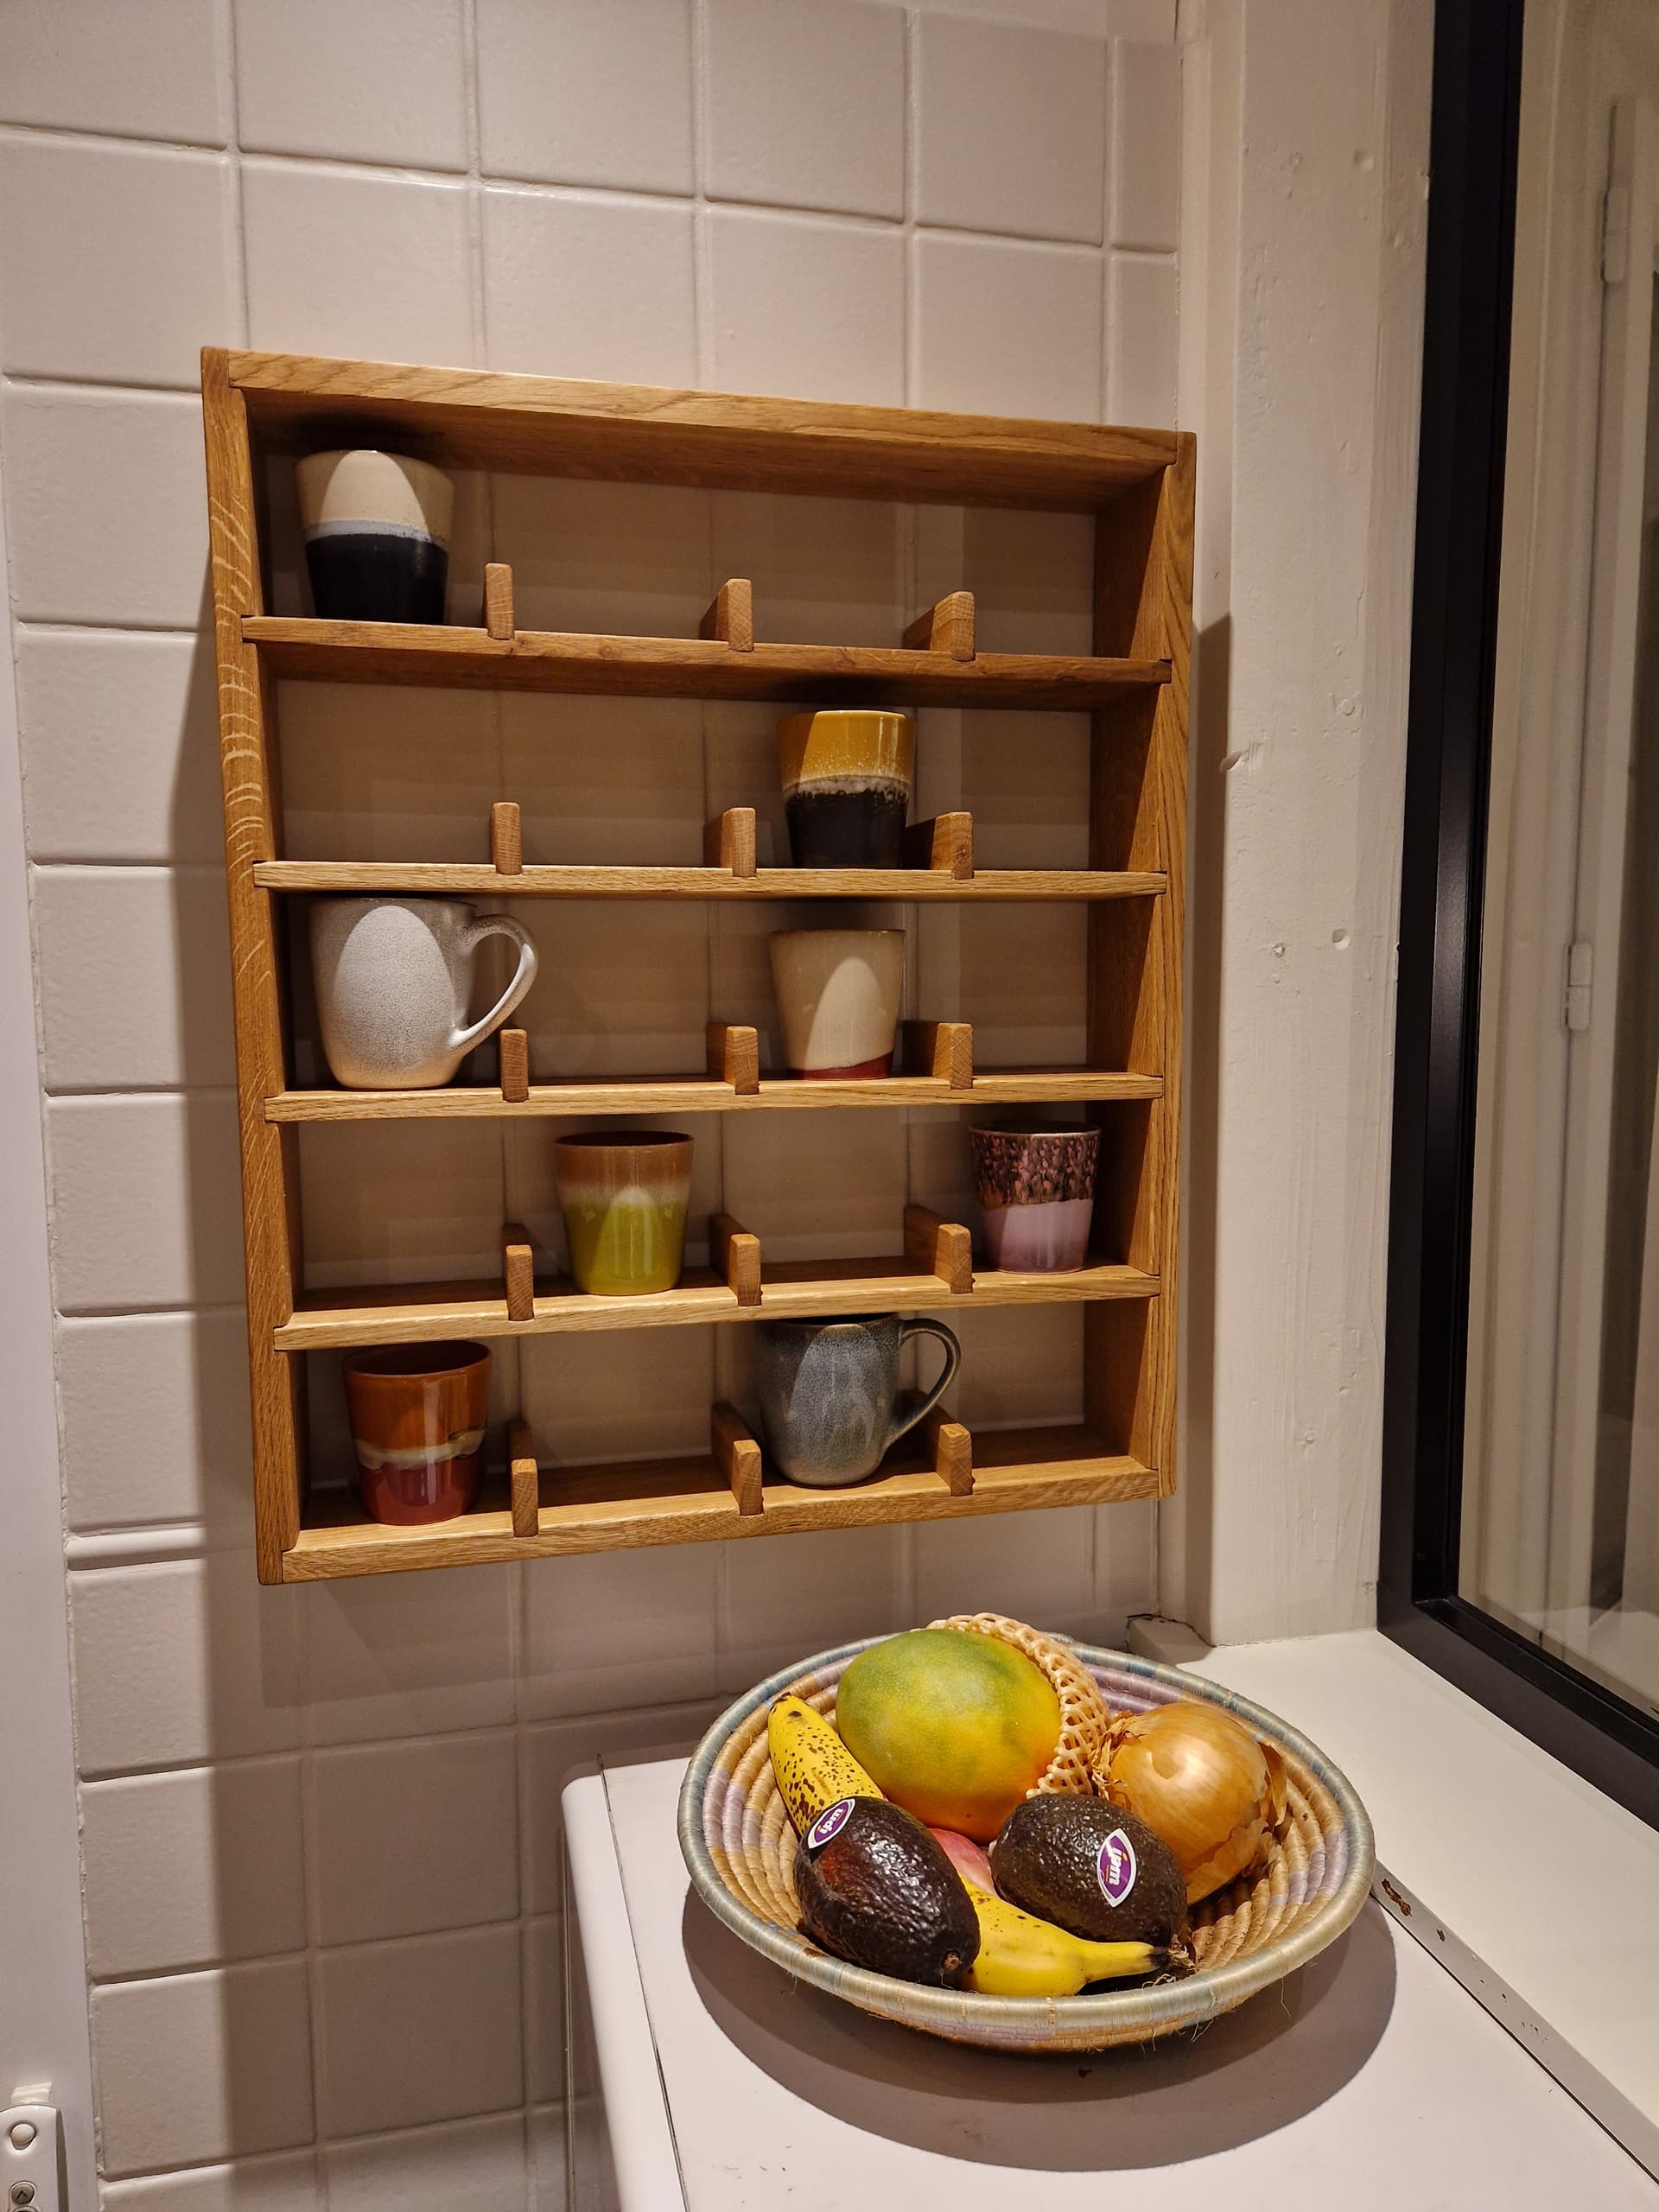
Nothing fancy (but when like me you lack traditional woodworking skills, the Shapeoko is very handy for a week-end project to cross something off the honey-do-list)
32 Likes
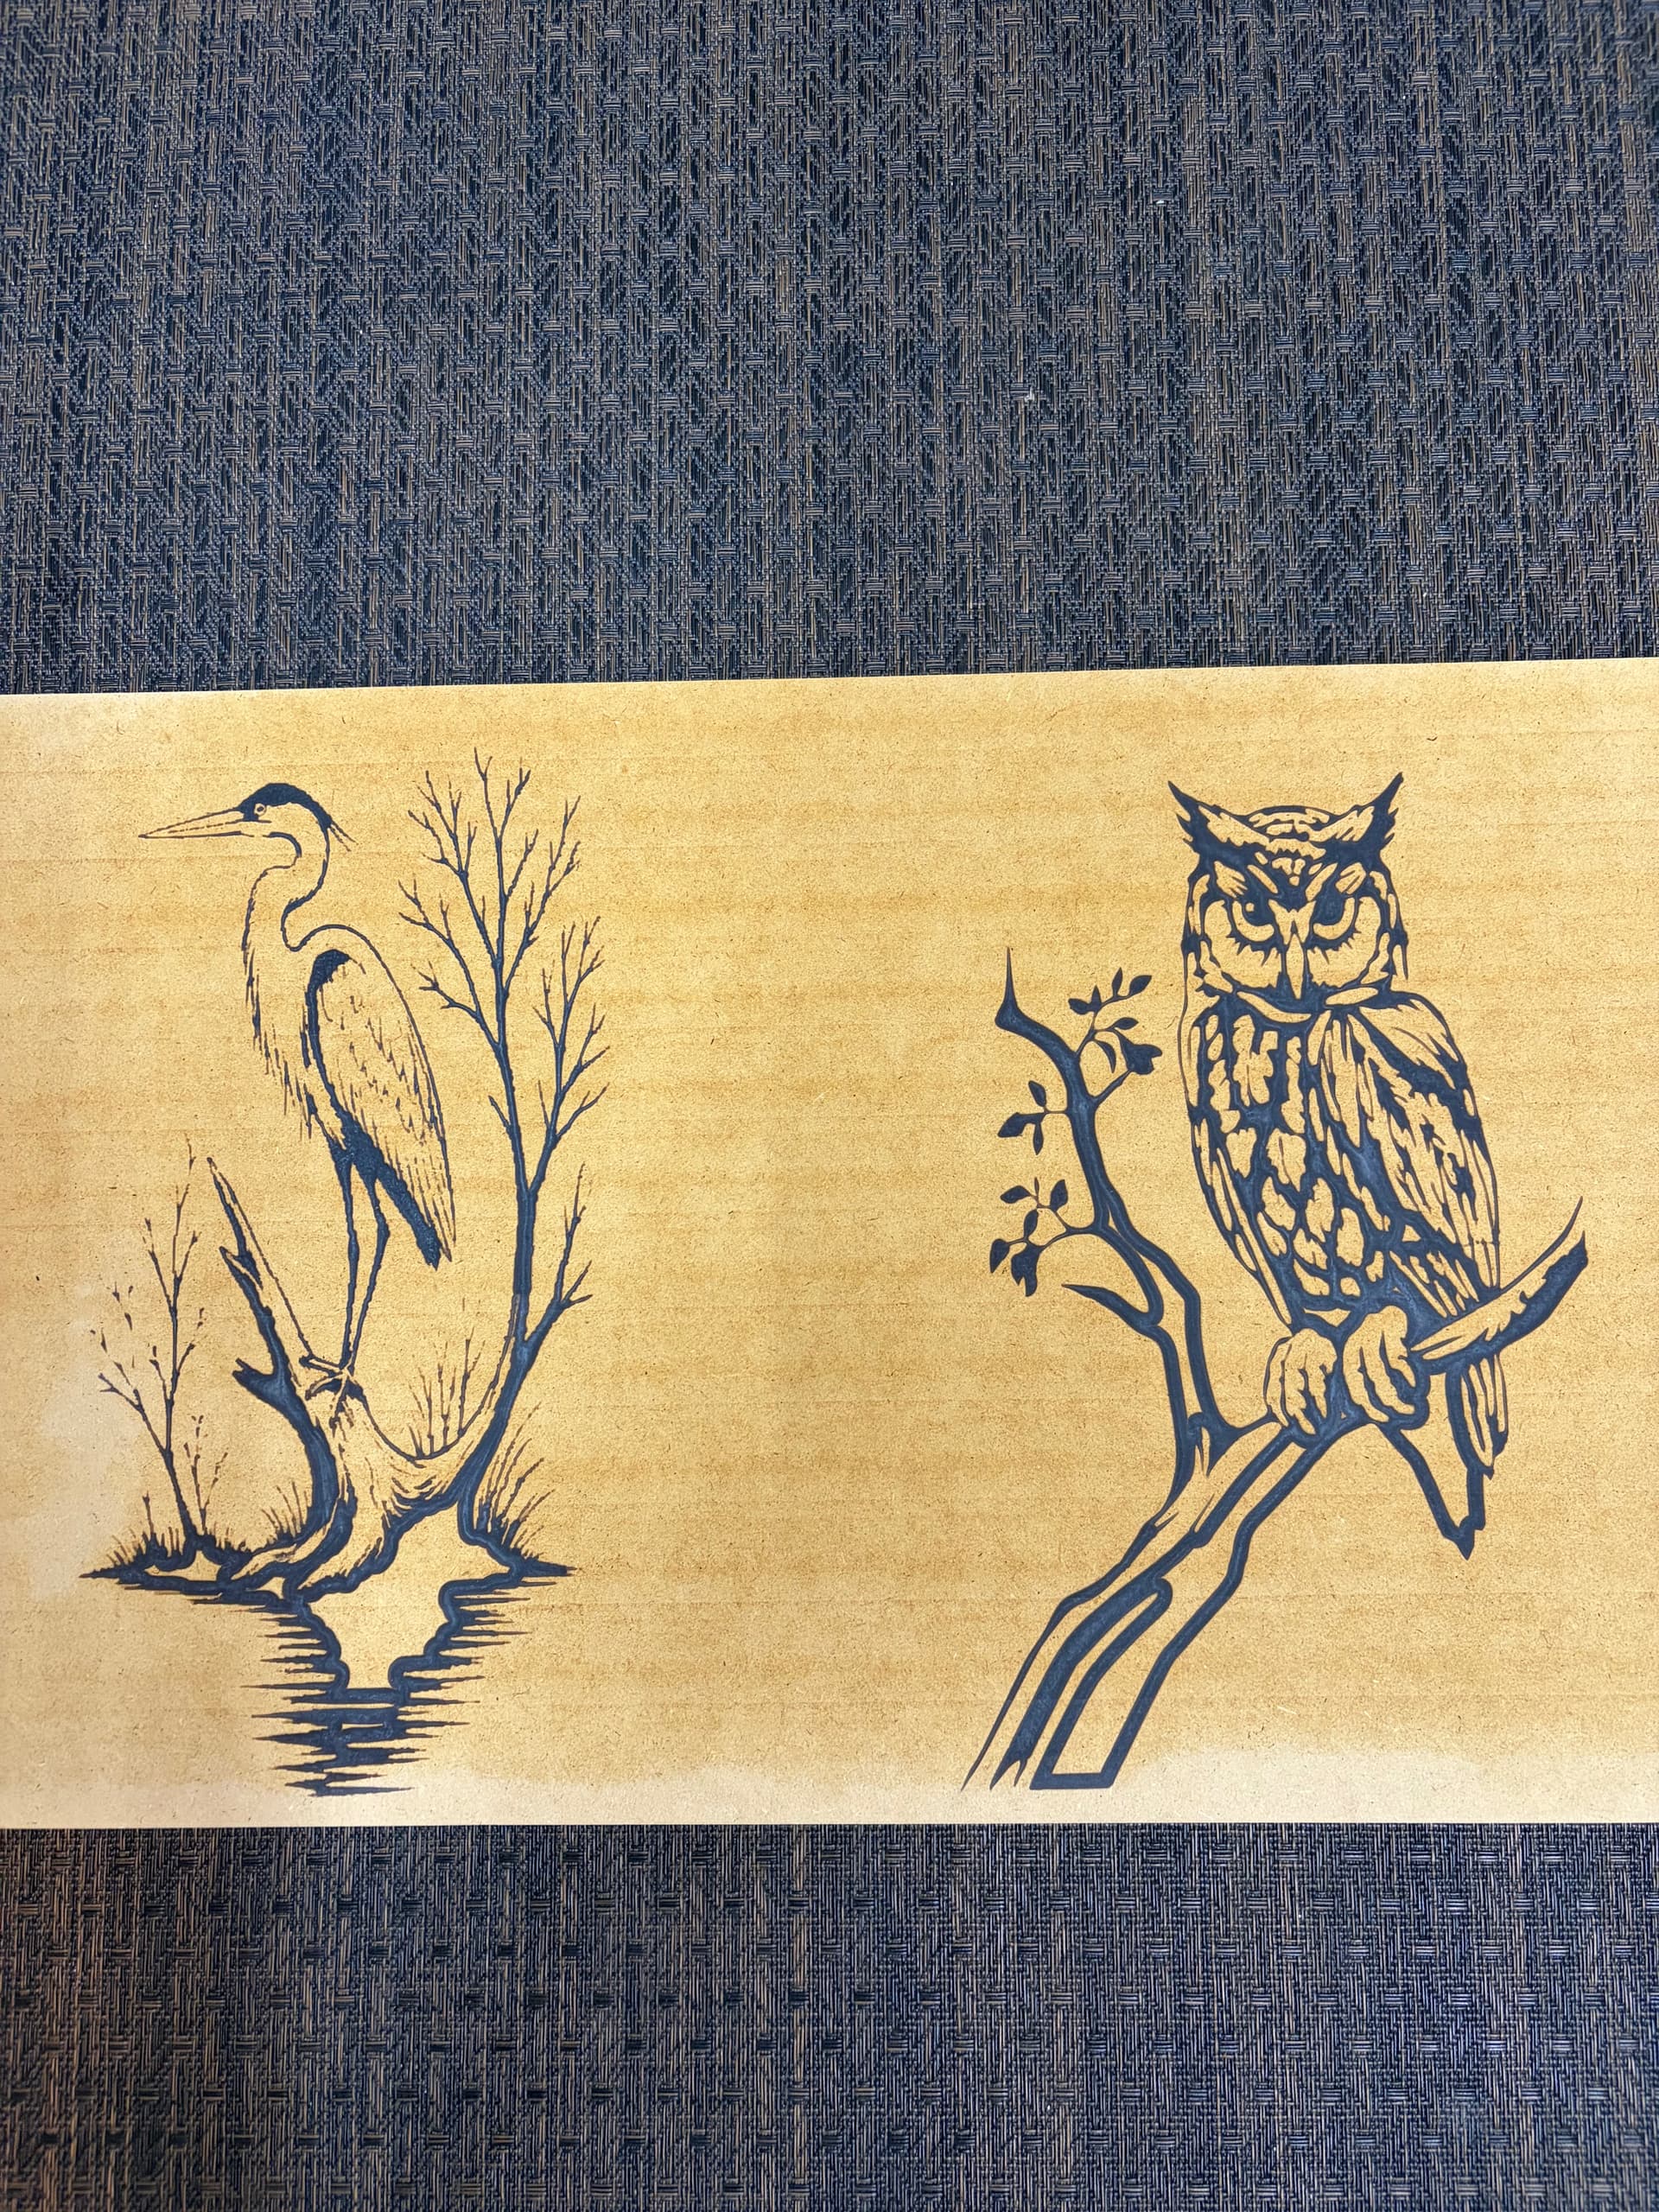
So I ran an epoxy trial in MDF on a couple of new designs. I finished the epoxy flattening today. The heron is a different version of the one I cut a few weeks ago. I need to adjust the DOC on it a bit to get better definition.
https://community.carbide3d.com/t/what-did-you-cut-on-your-shapeoko-nomad-today/31274/5781?u=jeffish
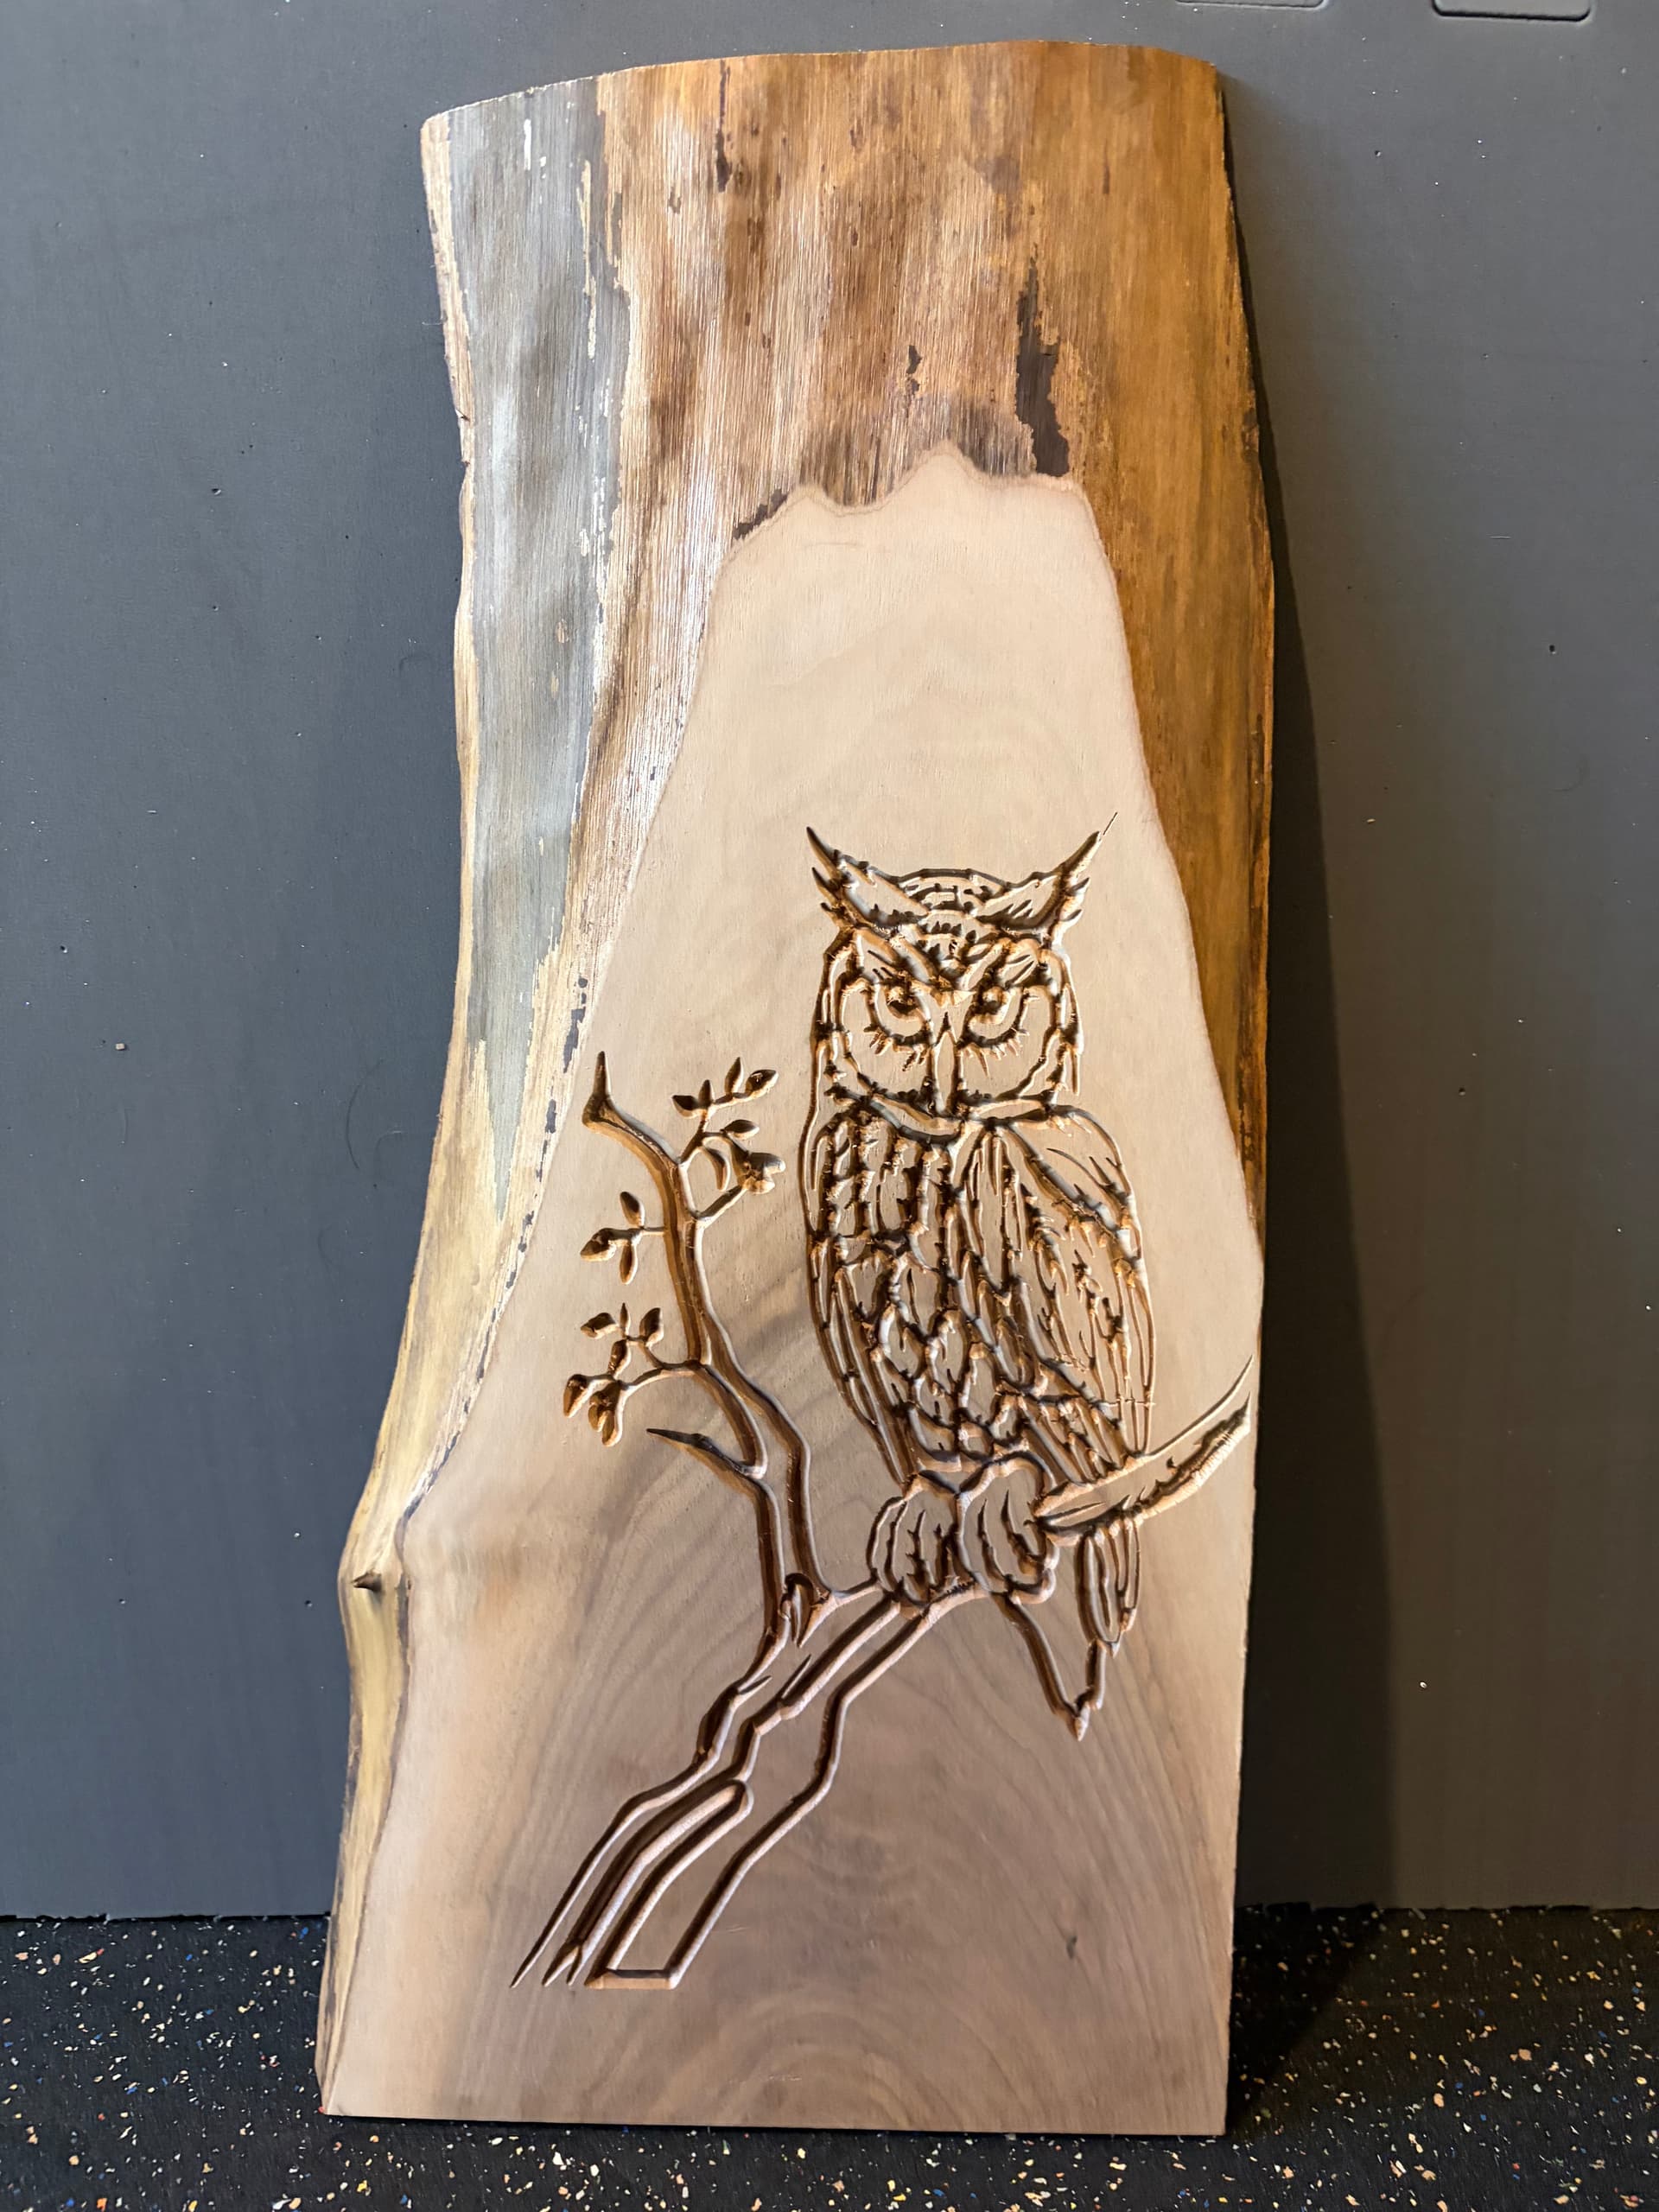
The owl came out pretty good so I cut it into another small live edge peice that I had kicking around. The intent was to epoxy it as well but I think I might leave it the way it is… What do you think?
20 Likes