I thought so. 20 char
I love cutting that material, just ruins the lose money slowly tactic
1 Like
12 posts were split to a new topic: Setting and sticking to a price
Great job, Jim! I want to try doing some reliefs, too. You’ve really become a pro!
That is super cool! I haven’t tried HDU yet. I’ve been playing around with ColorCore HDPE, but my results have been so-so. It’s probably the operator and not the material! Ha!
Thanks! HDU and ColorCore are 2 different beasts for sure. Once you use HDU it’s hard to go back to anything else.
That looks like it worked great! Which bit did you use?
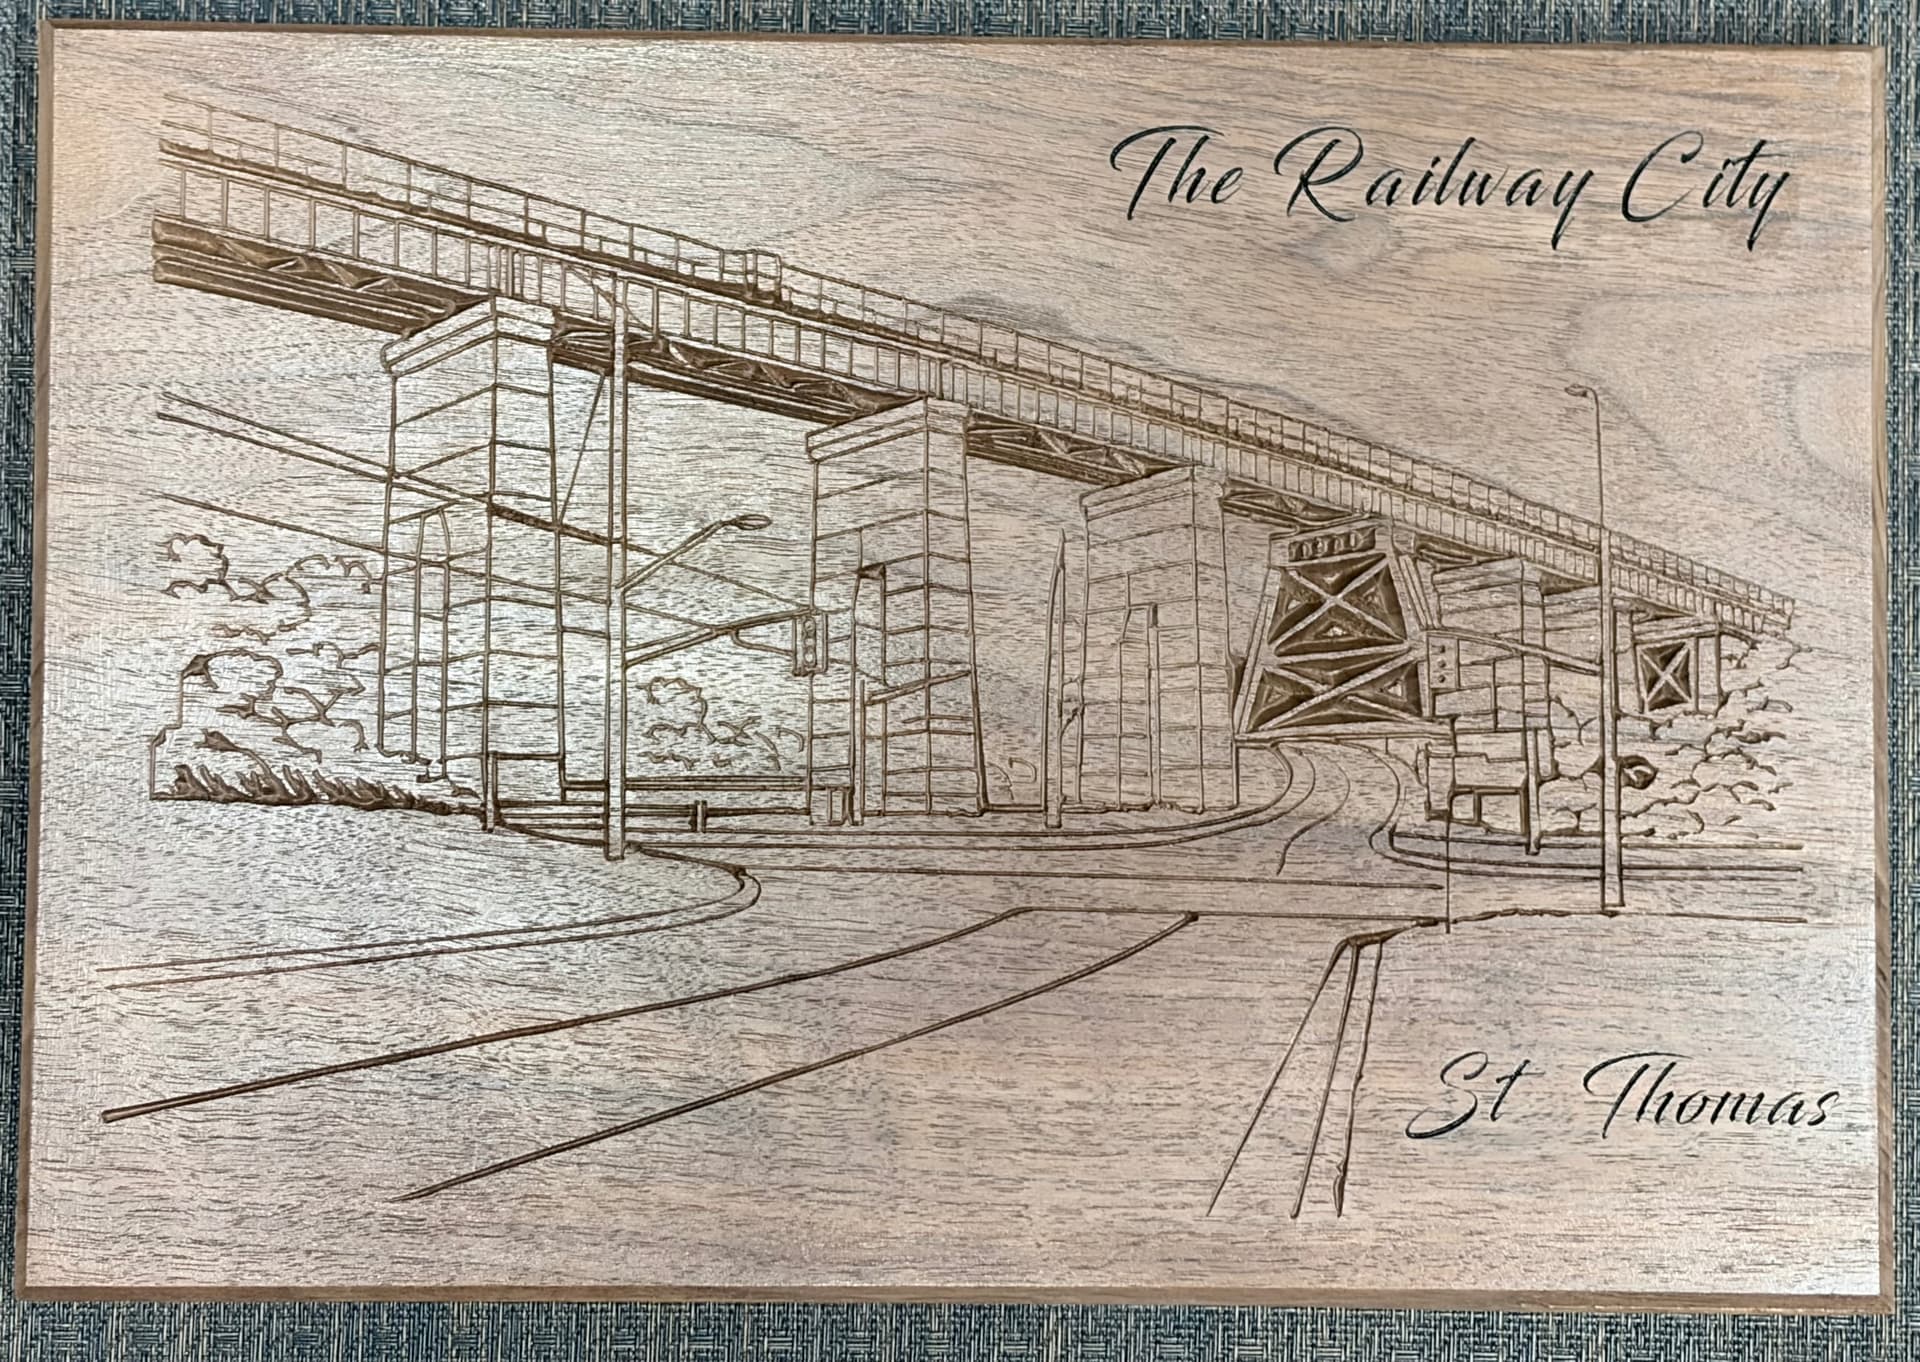
There’s an old abandoned train bridge in town that was going to be torn down but a few years ago a group of people convinced the city to let them turn it into an elevated park. It’s still a work in progress.
Since it’s an historic landmark I figured it would be a good project. 16x11 walnut cut with a 60° Vbit.
27 Likes
If you’ve got a project you could share, I’d love to try someone on HDU. You’ve done some really cool things! Thanks!
1 Like
Jeff that is stunning, the Walnut I have comes out a bit darker than that,Question what sort of finish did you apply?
@Graham Thanks … It’s actually much darker than the pic. It looks light because of the glare of the lighting in the room. I gave it a coat of satin polyurethane then painted the wording black and wiped off the excess from around the letters. A quick sanding in those areas and another coat of polyurethane to finish it off.
Danish oil would really look good on that. And you might not have needed to paint the letters.
2 Likes
Cullen,how would one of the Osmo products work on not darkening the Walnut,I have been using a variety of Liberon products?
I don’t know about Osmo. I use Watco Danish Oil. It comes in dark, light and natural varieties. I typically use the dark as I like that look. I have some natural and can try it on a scrap tonight or tomorrow and show the difference.
24 Likes
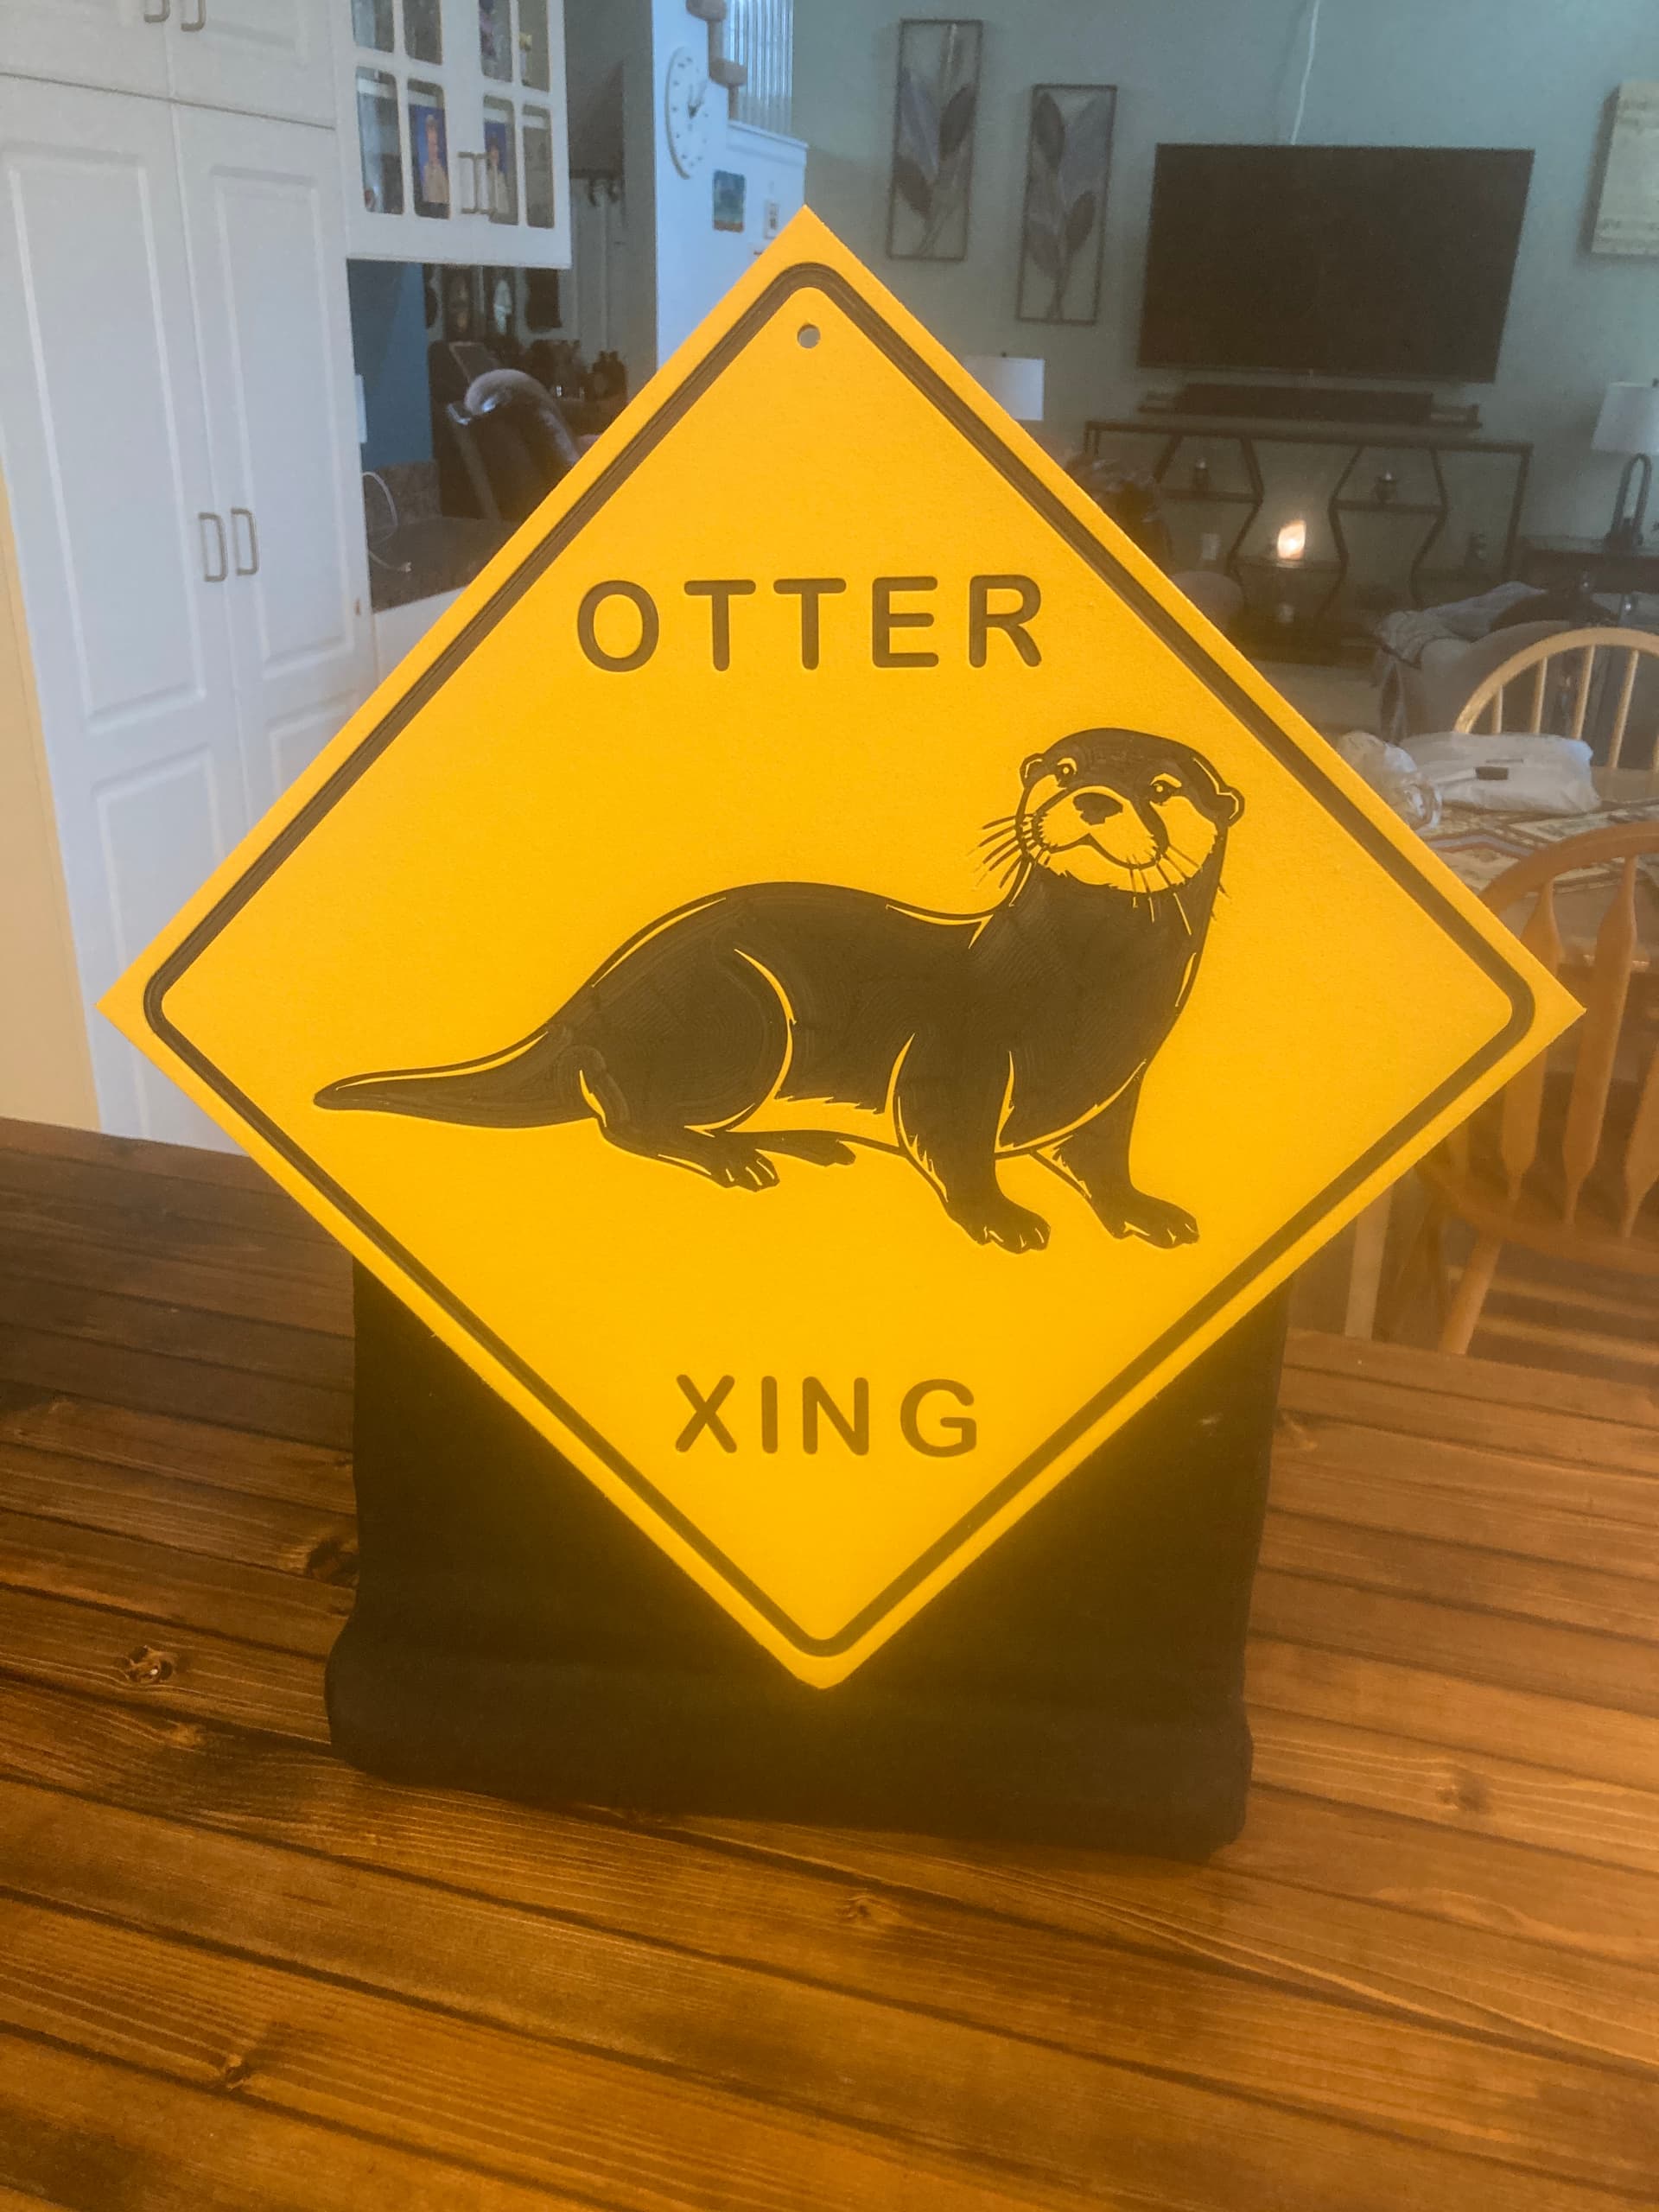
1/32? That’s .03. The outer layers are typically .05 and I usually go to .08.
Or did you mean the diameter of the bit for the detailed parts,
I like the alternating colors on the whiskers to keep them visible.
Does the surface in large pockets look ok? Hard to tell in the photo. It doesn’t have a hazy appearance?
1 Like
I did rest milling down to 1/32" bit. The surface is a little bit hazy, but pretty smooth. Since it’s black it doesn’t show much. I considered hitting it with some heat, but I’m happy with it as is.
1 Like
I haven’t tried heat. I tried scraping but that didn’t help. I have some scraps here I can try the heat gun and or torch on.
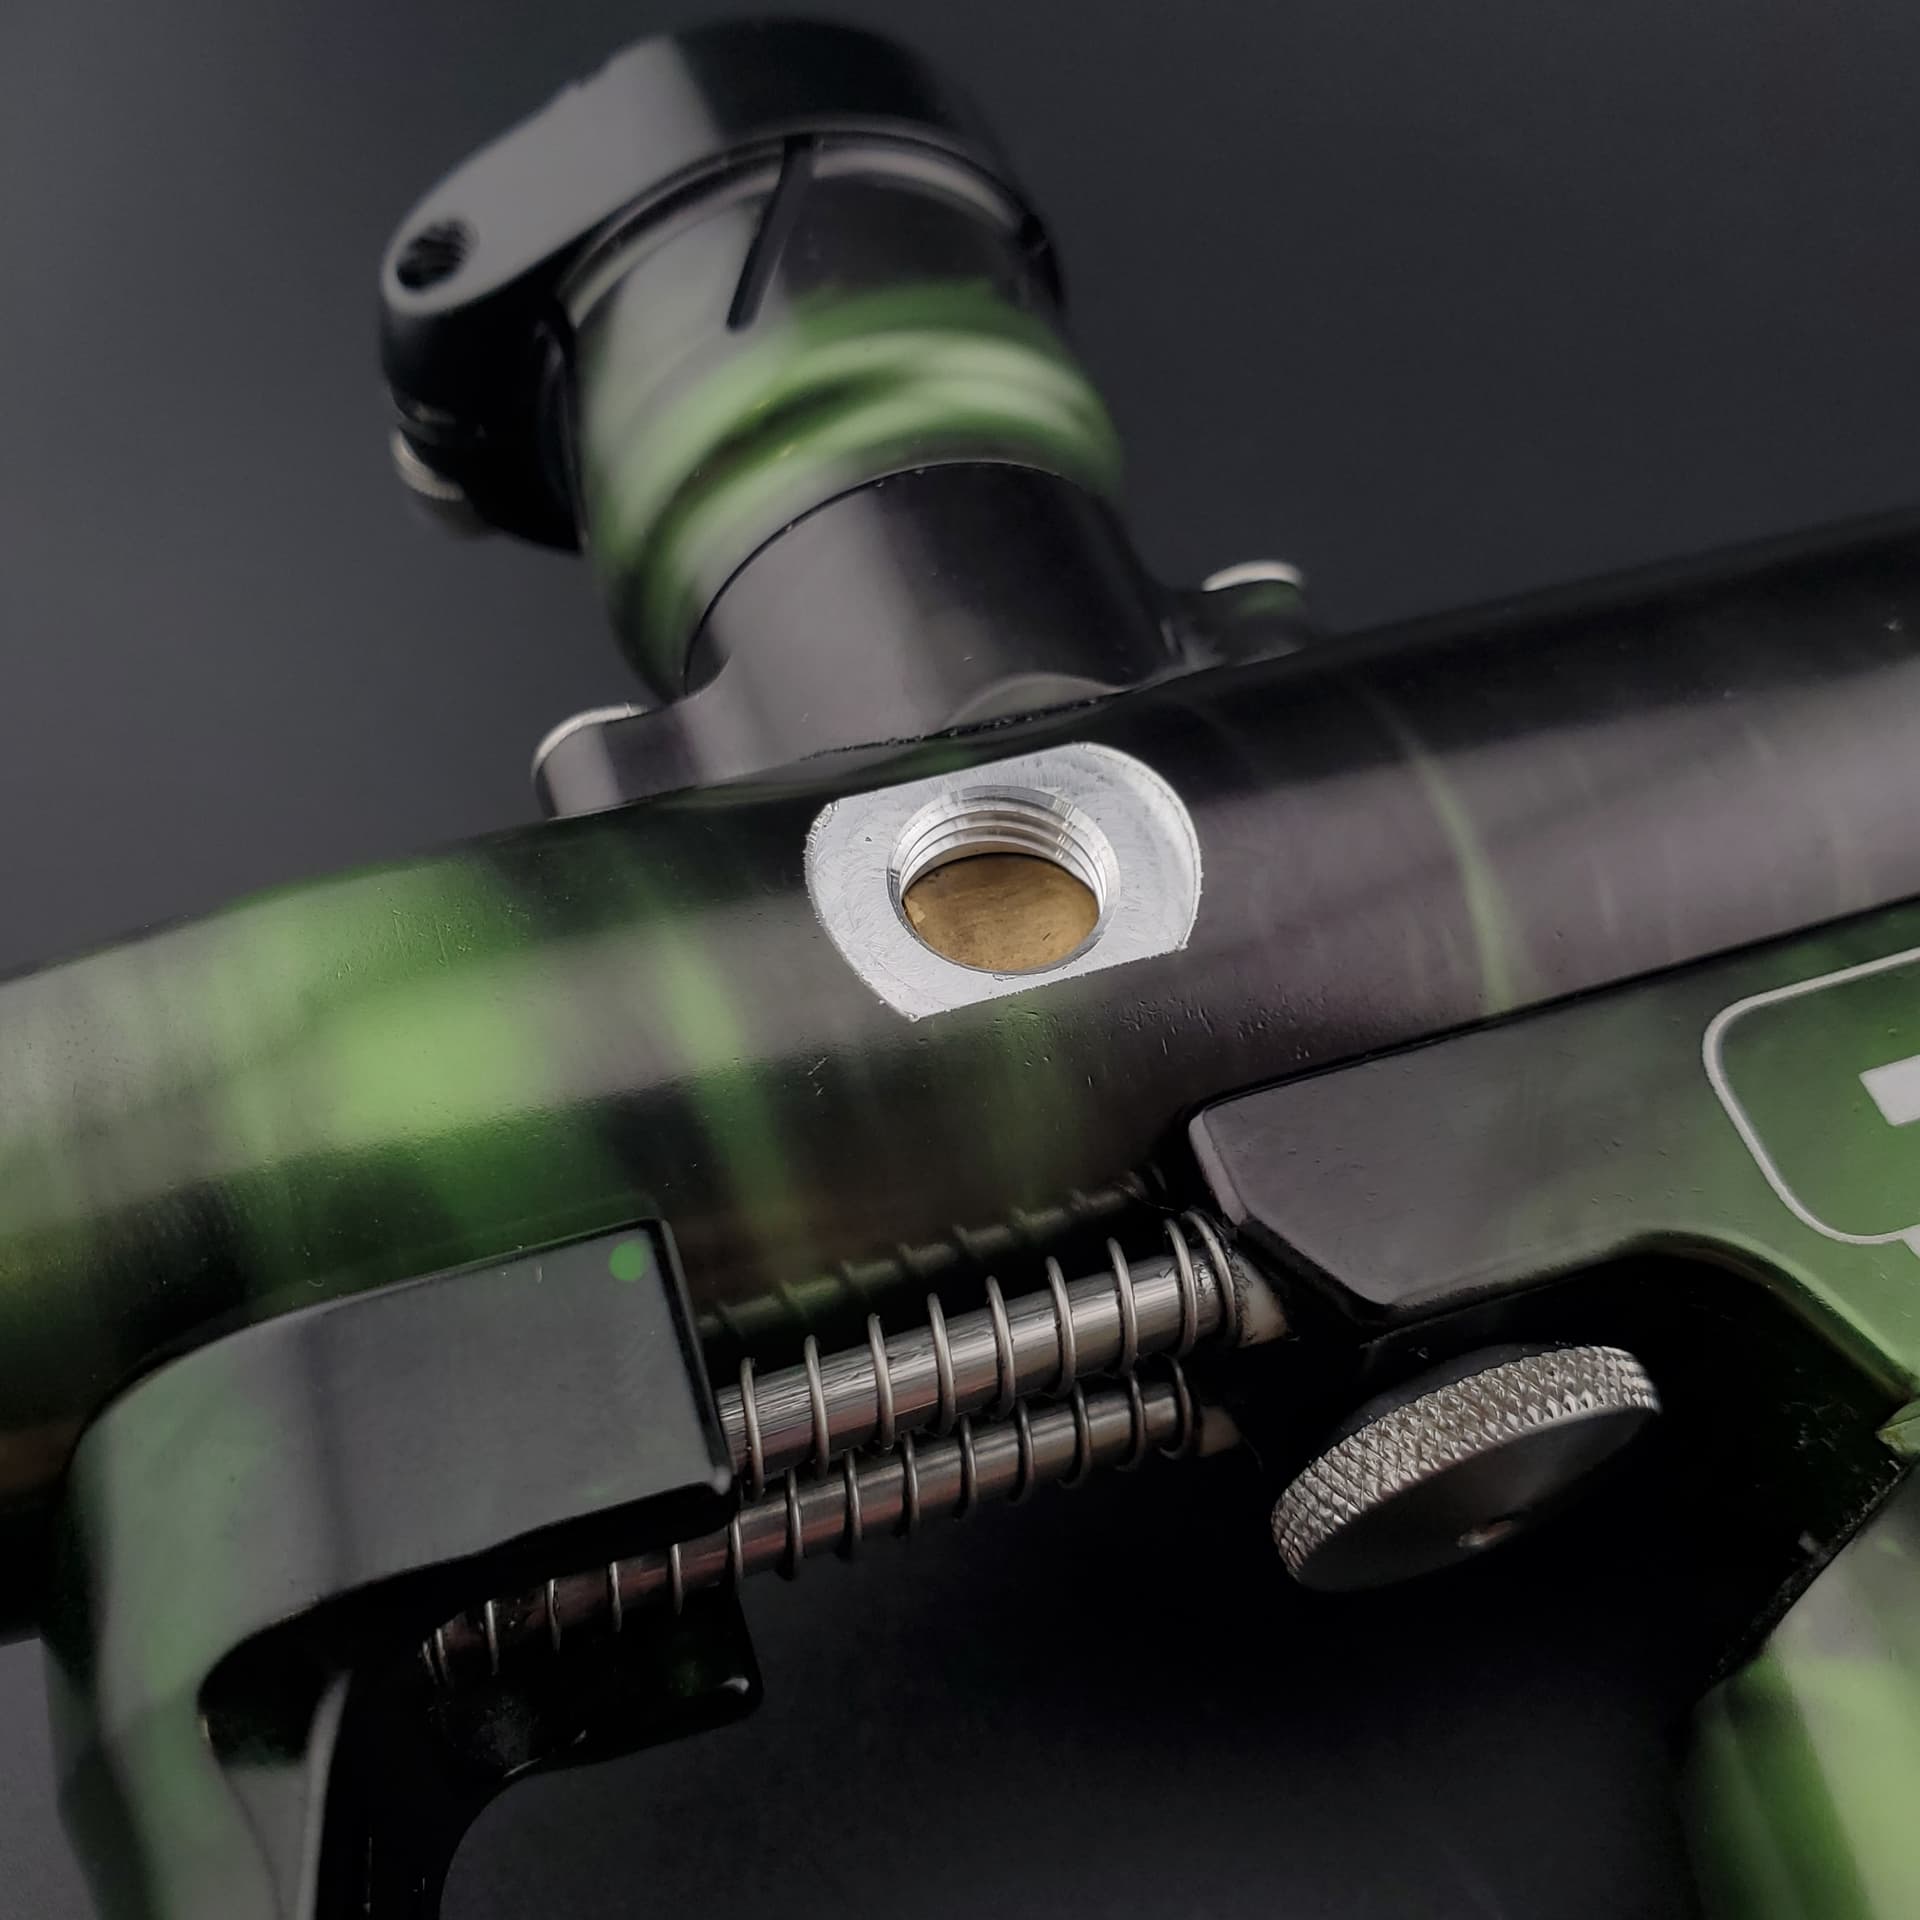
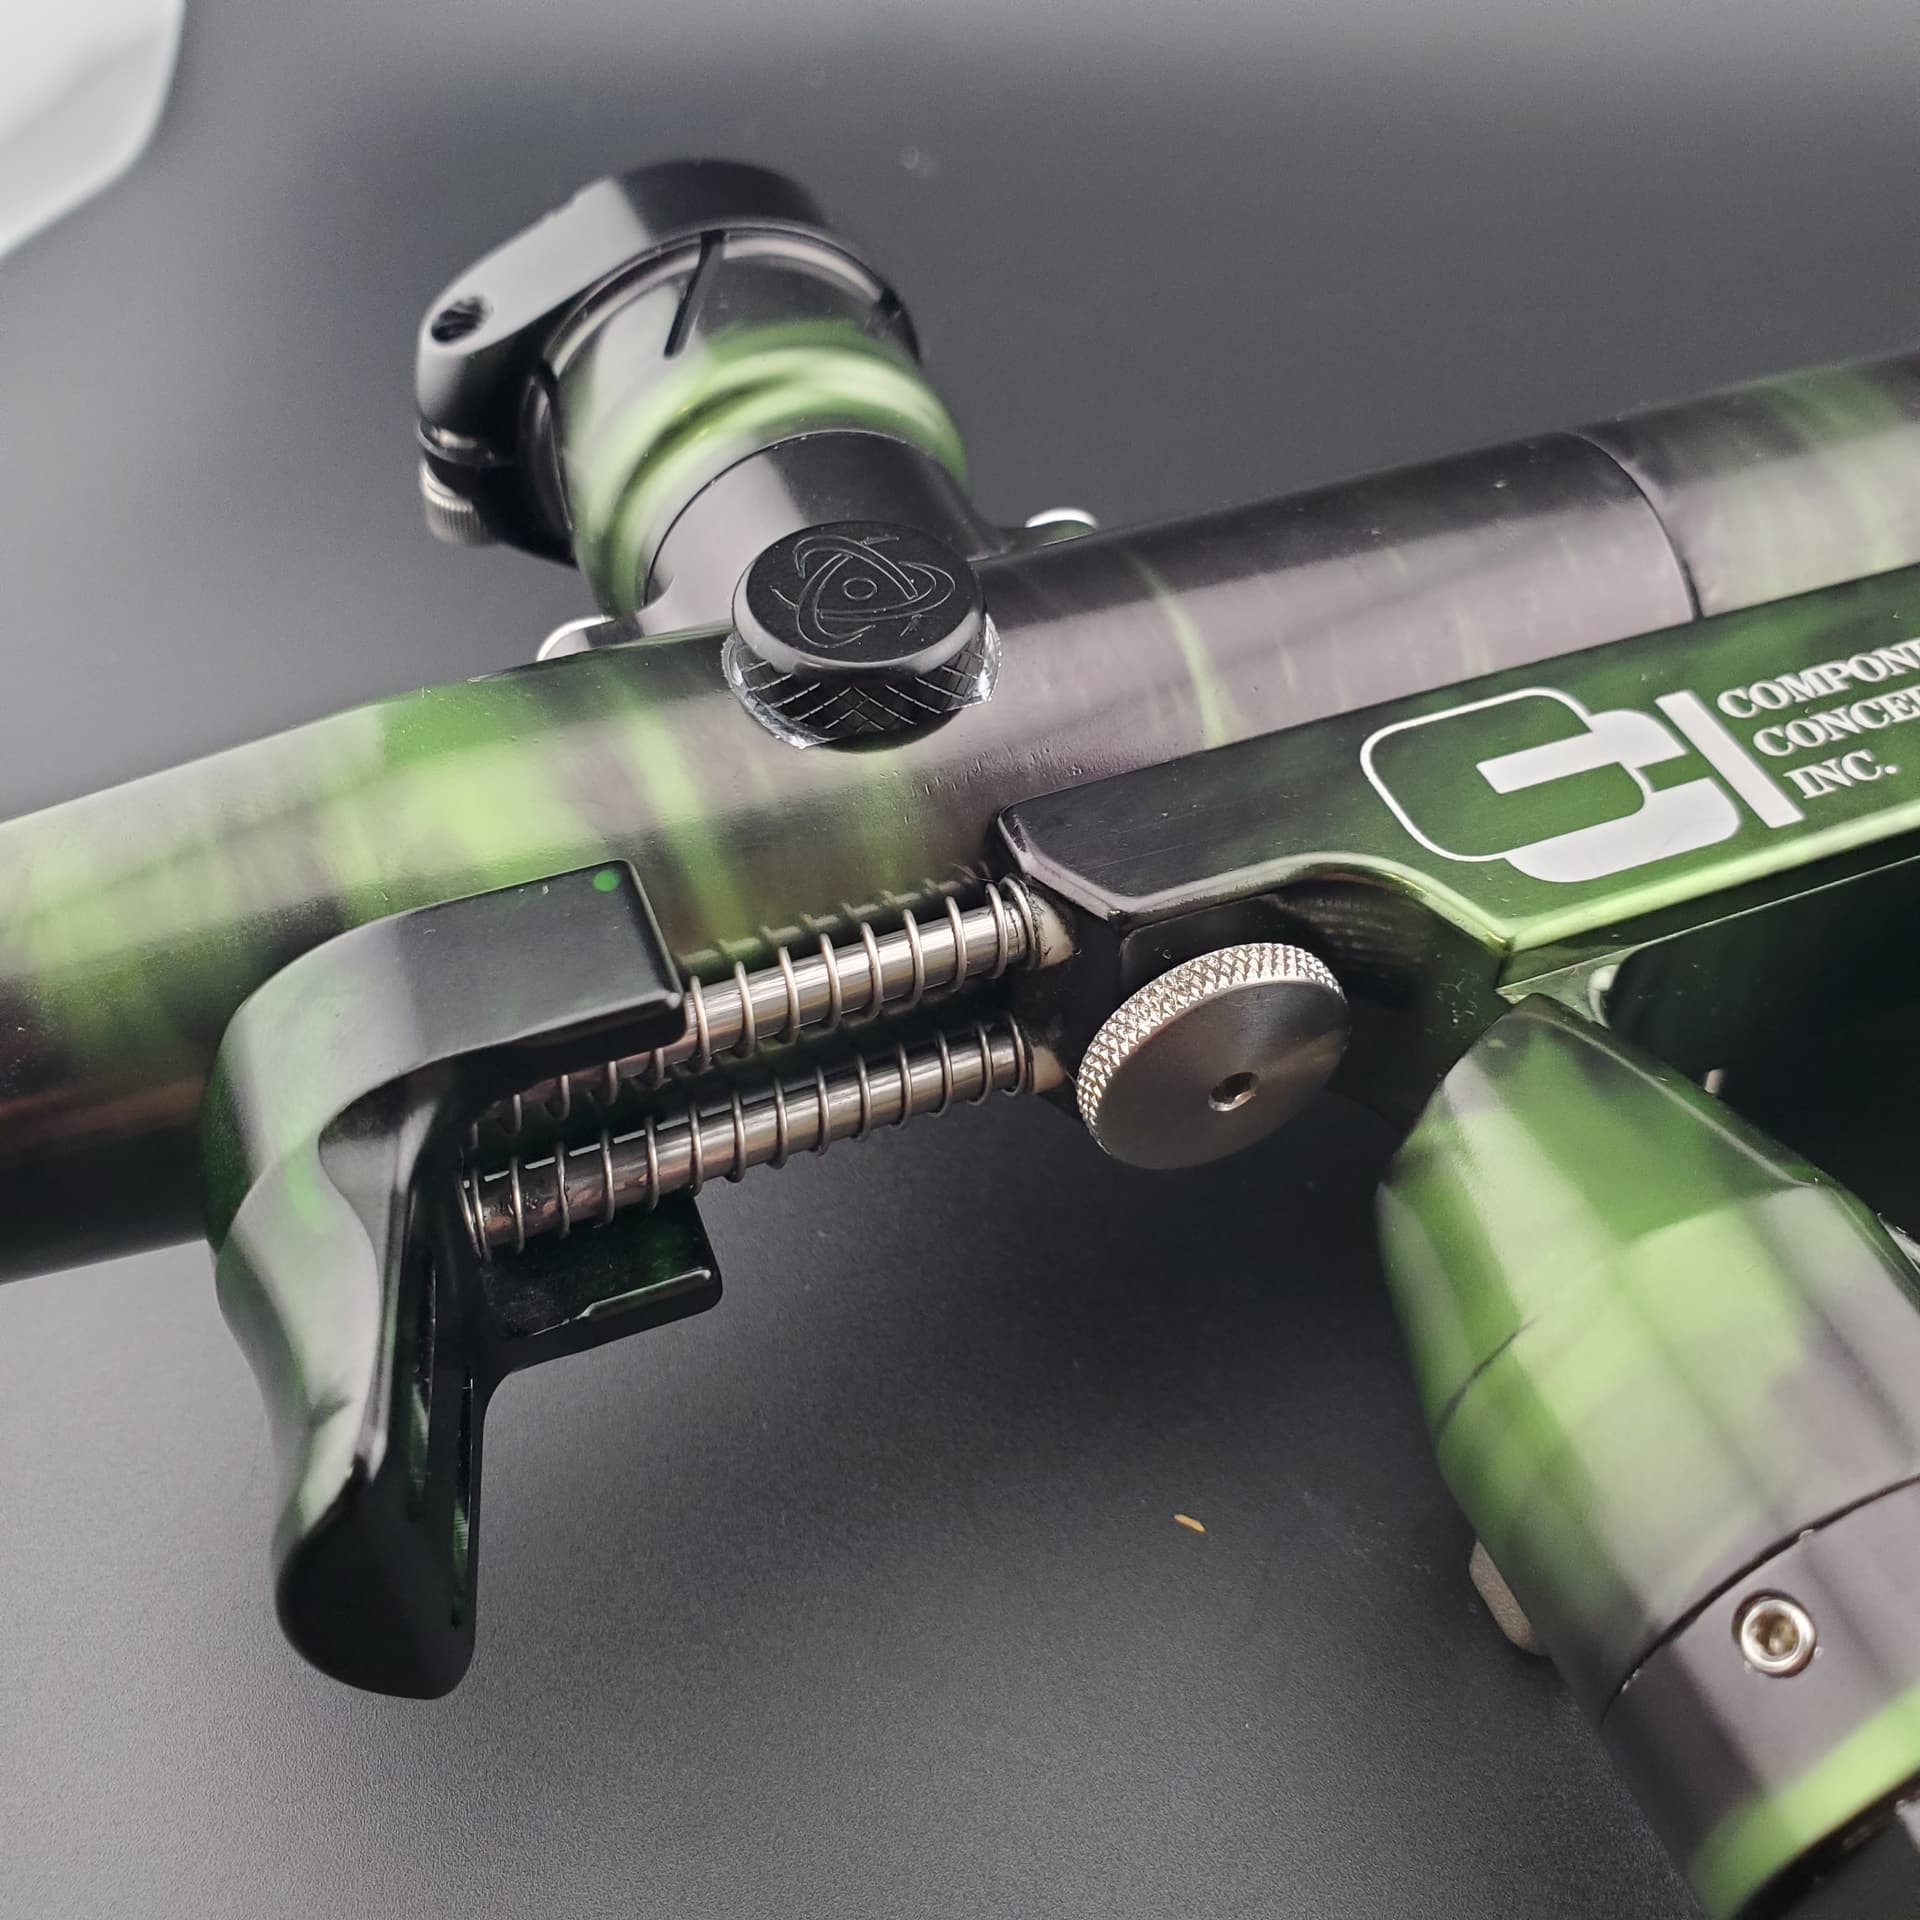
I threaded the breech of a paintball marker for some spring-loaded detents, which help keep the paintball in place until you’re ready to “send it” (or in this case, chamber it - it’s a pump action). Threadmilling to have that thread stop at the exact right depth and clock position.
19 Likes
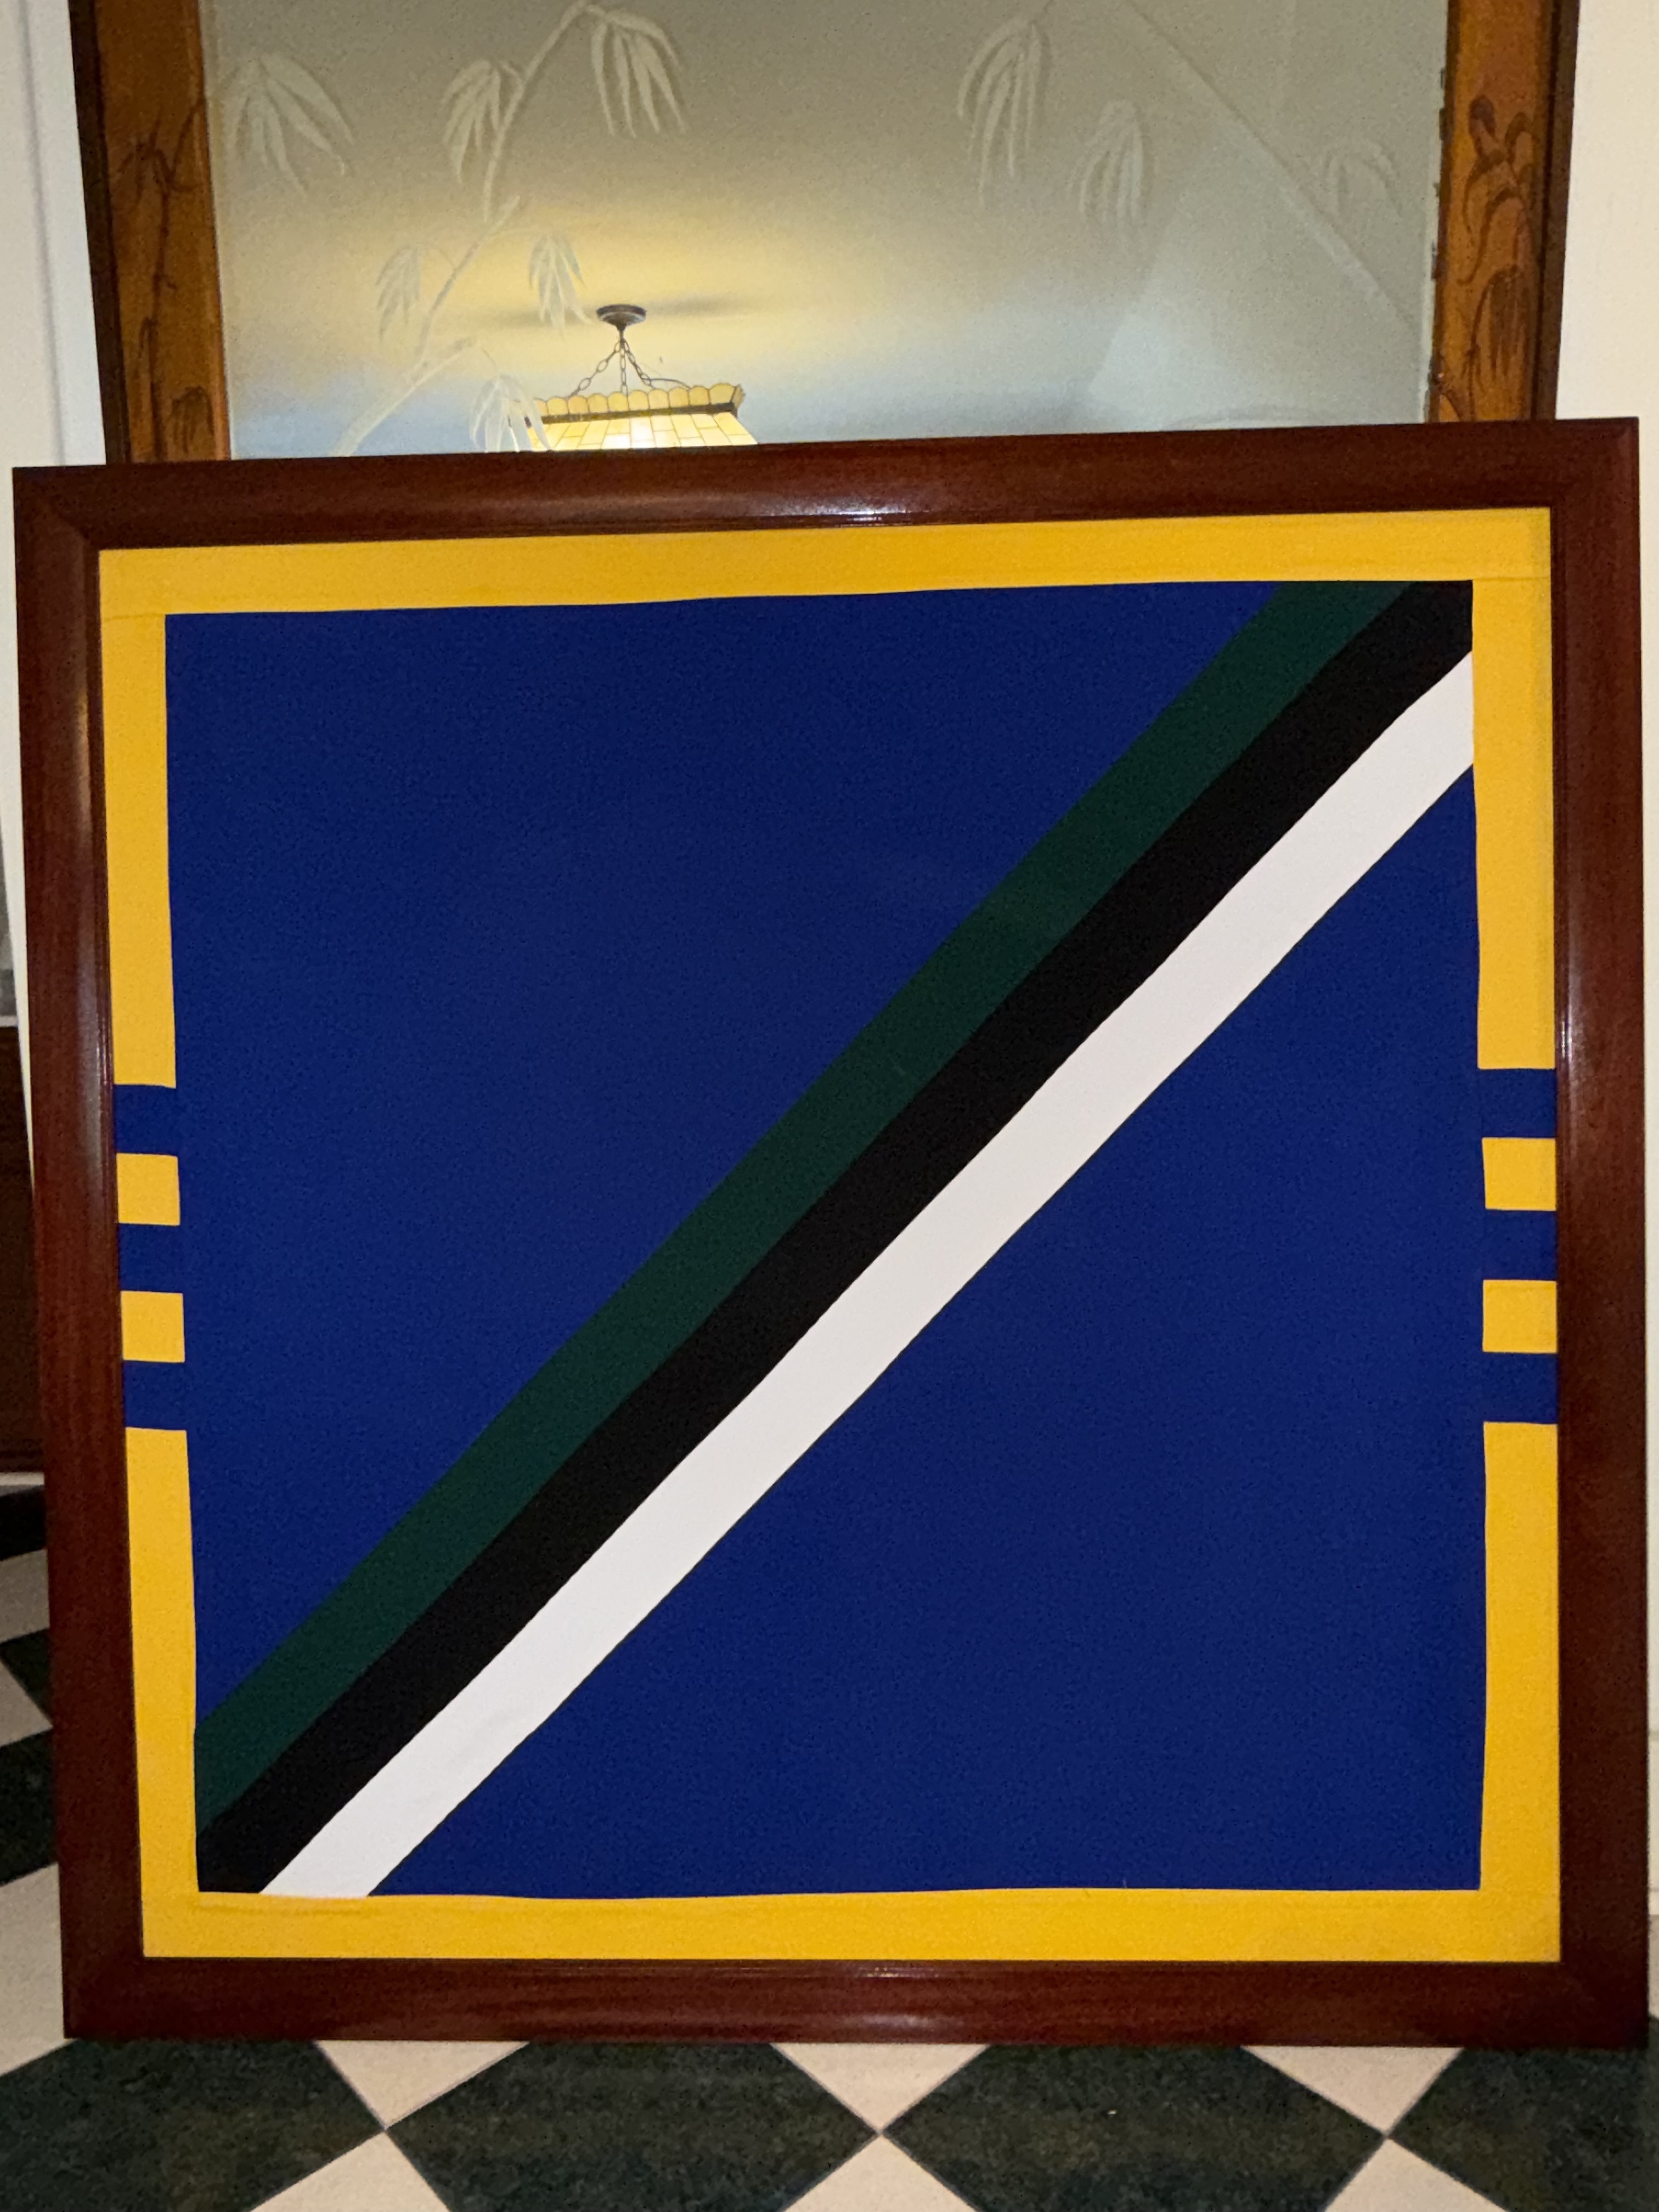
After an embarrassingly long time I finally finished a project for a local Army base. It is 3 frames each 57.75 square with a plywood backer wrapped in fabric with their unit flash symbol.
They needed to match some existing frames so a lot of care was taken to get the profiles and frame color right.
I didn’t “make” it on the Shapeoko but I did use the CNC for various pieces of the project. I modeled the profile for the frame and cut test pieces to get things right before farming out the actual milling to a local millwork shop. I also farmed out the fabric bit to a local seamstress.
I used the CNC to make a custom sanding block.
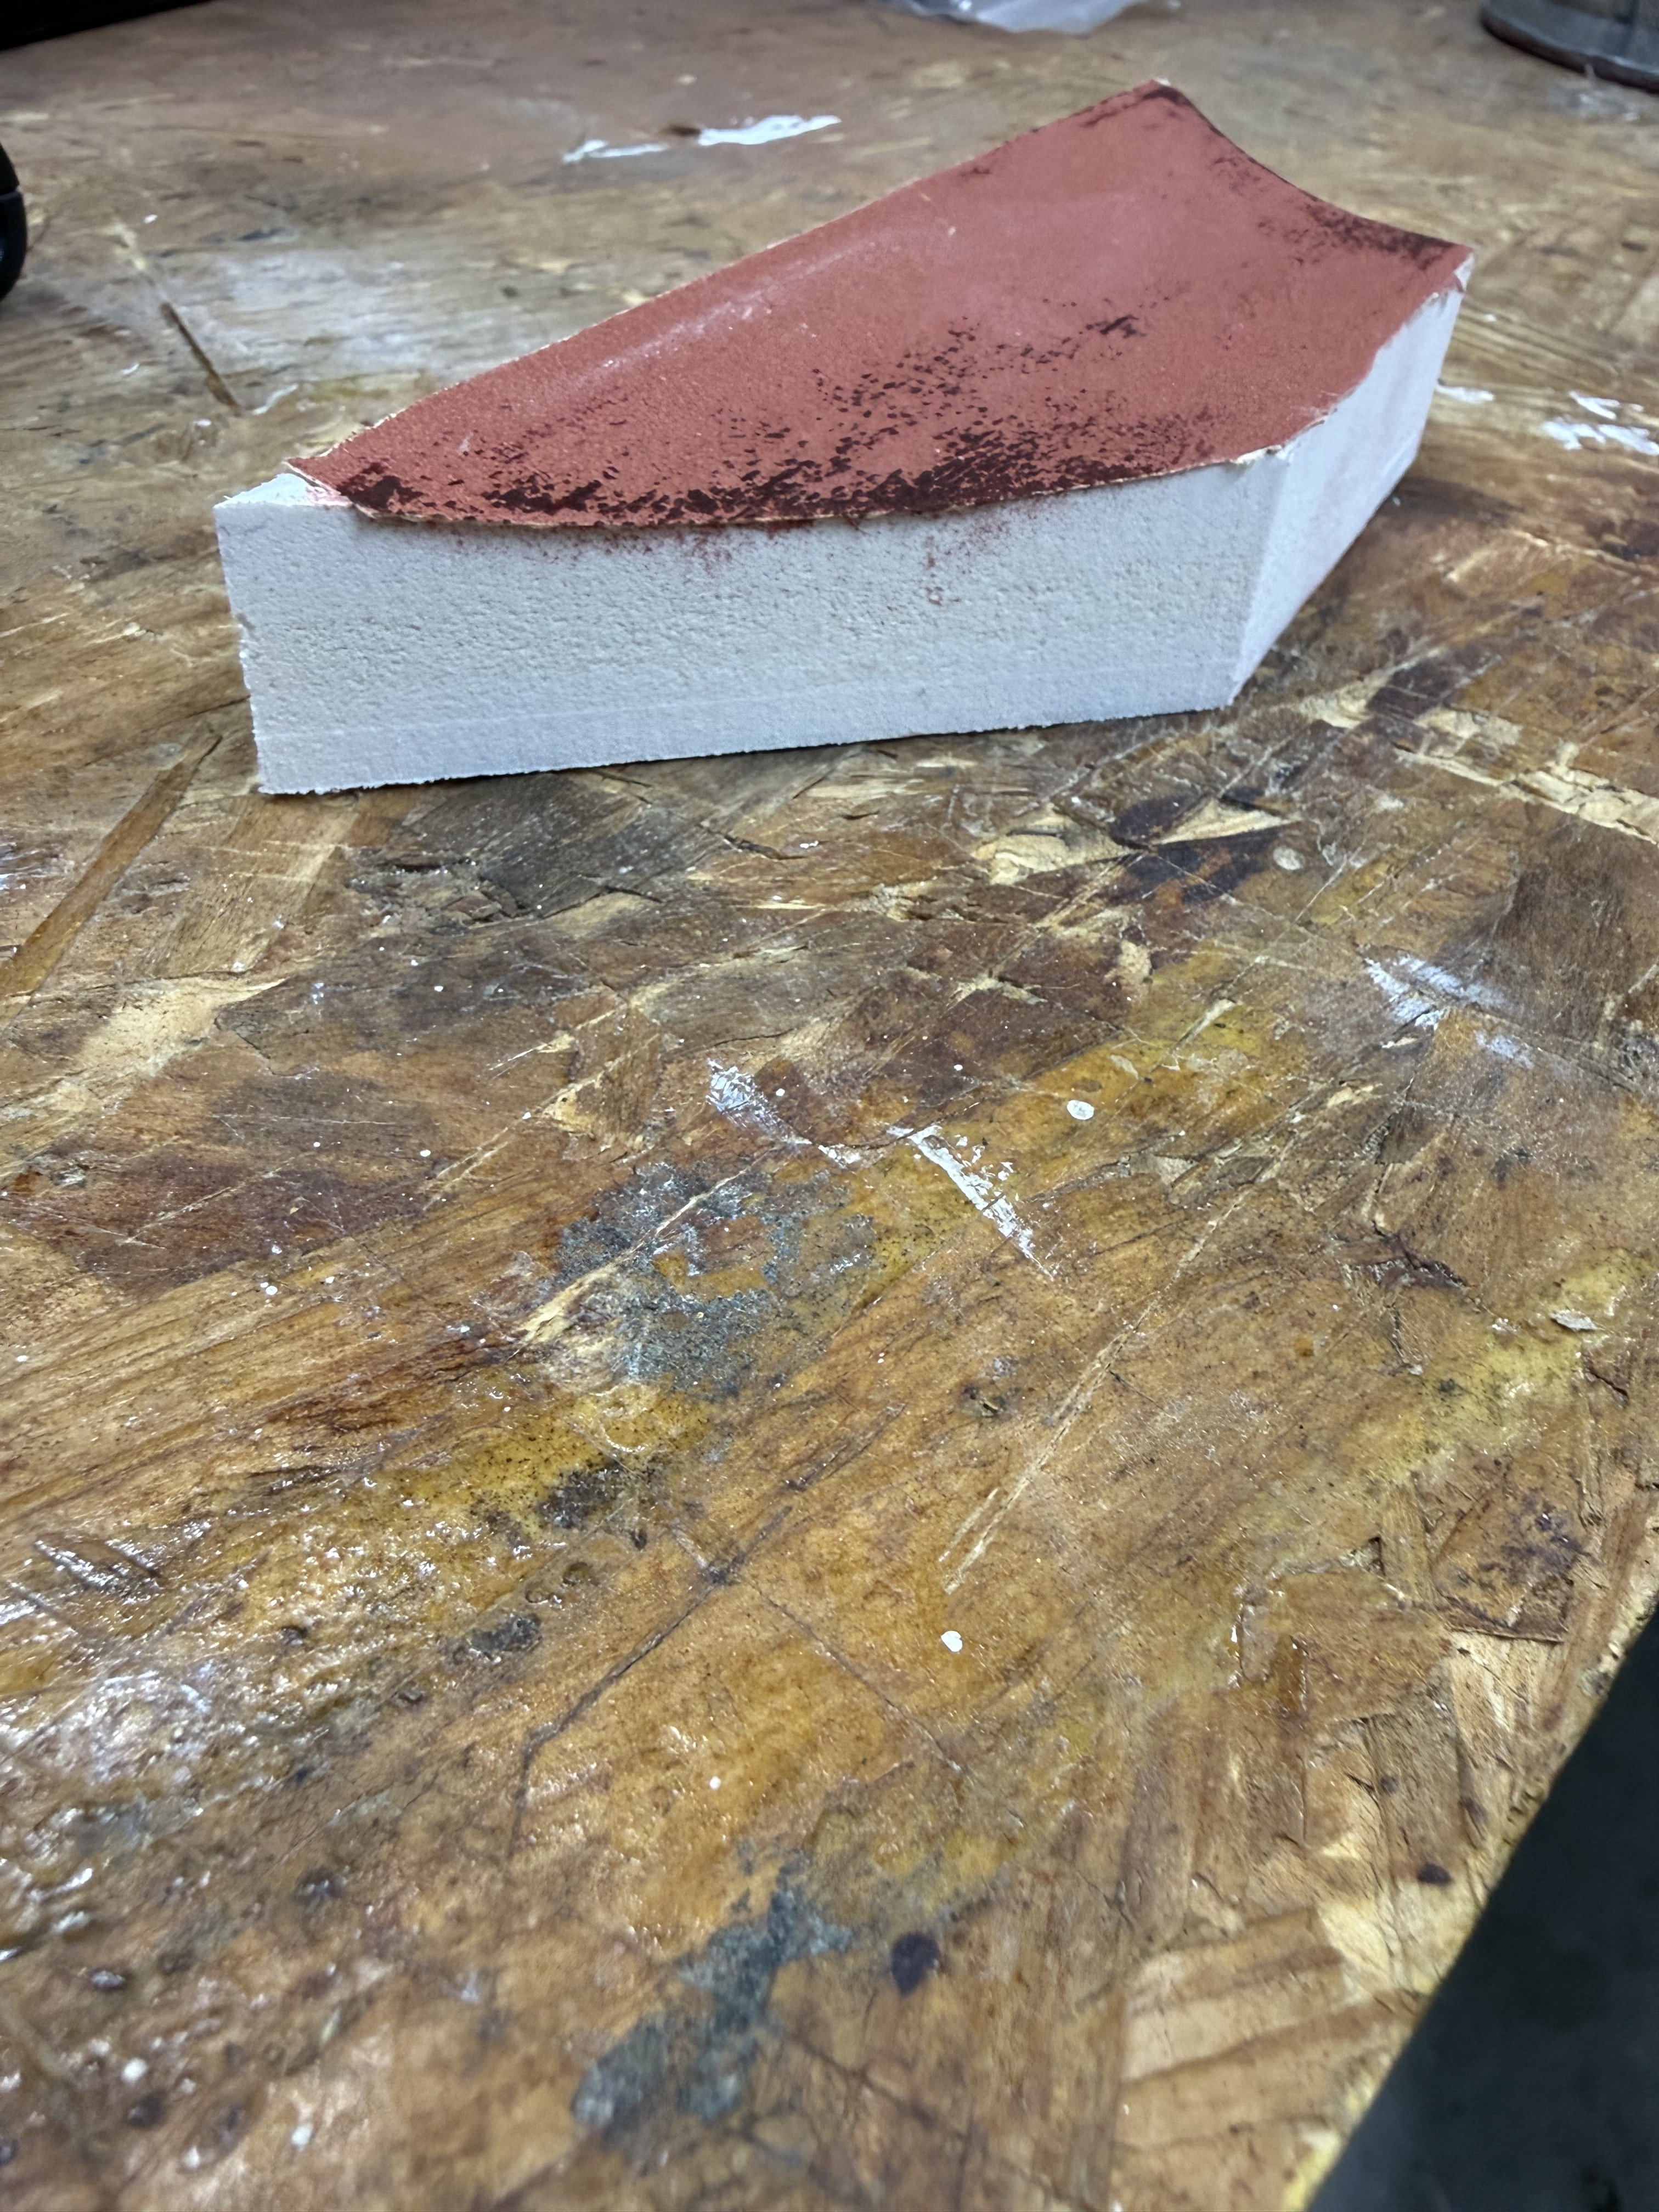
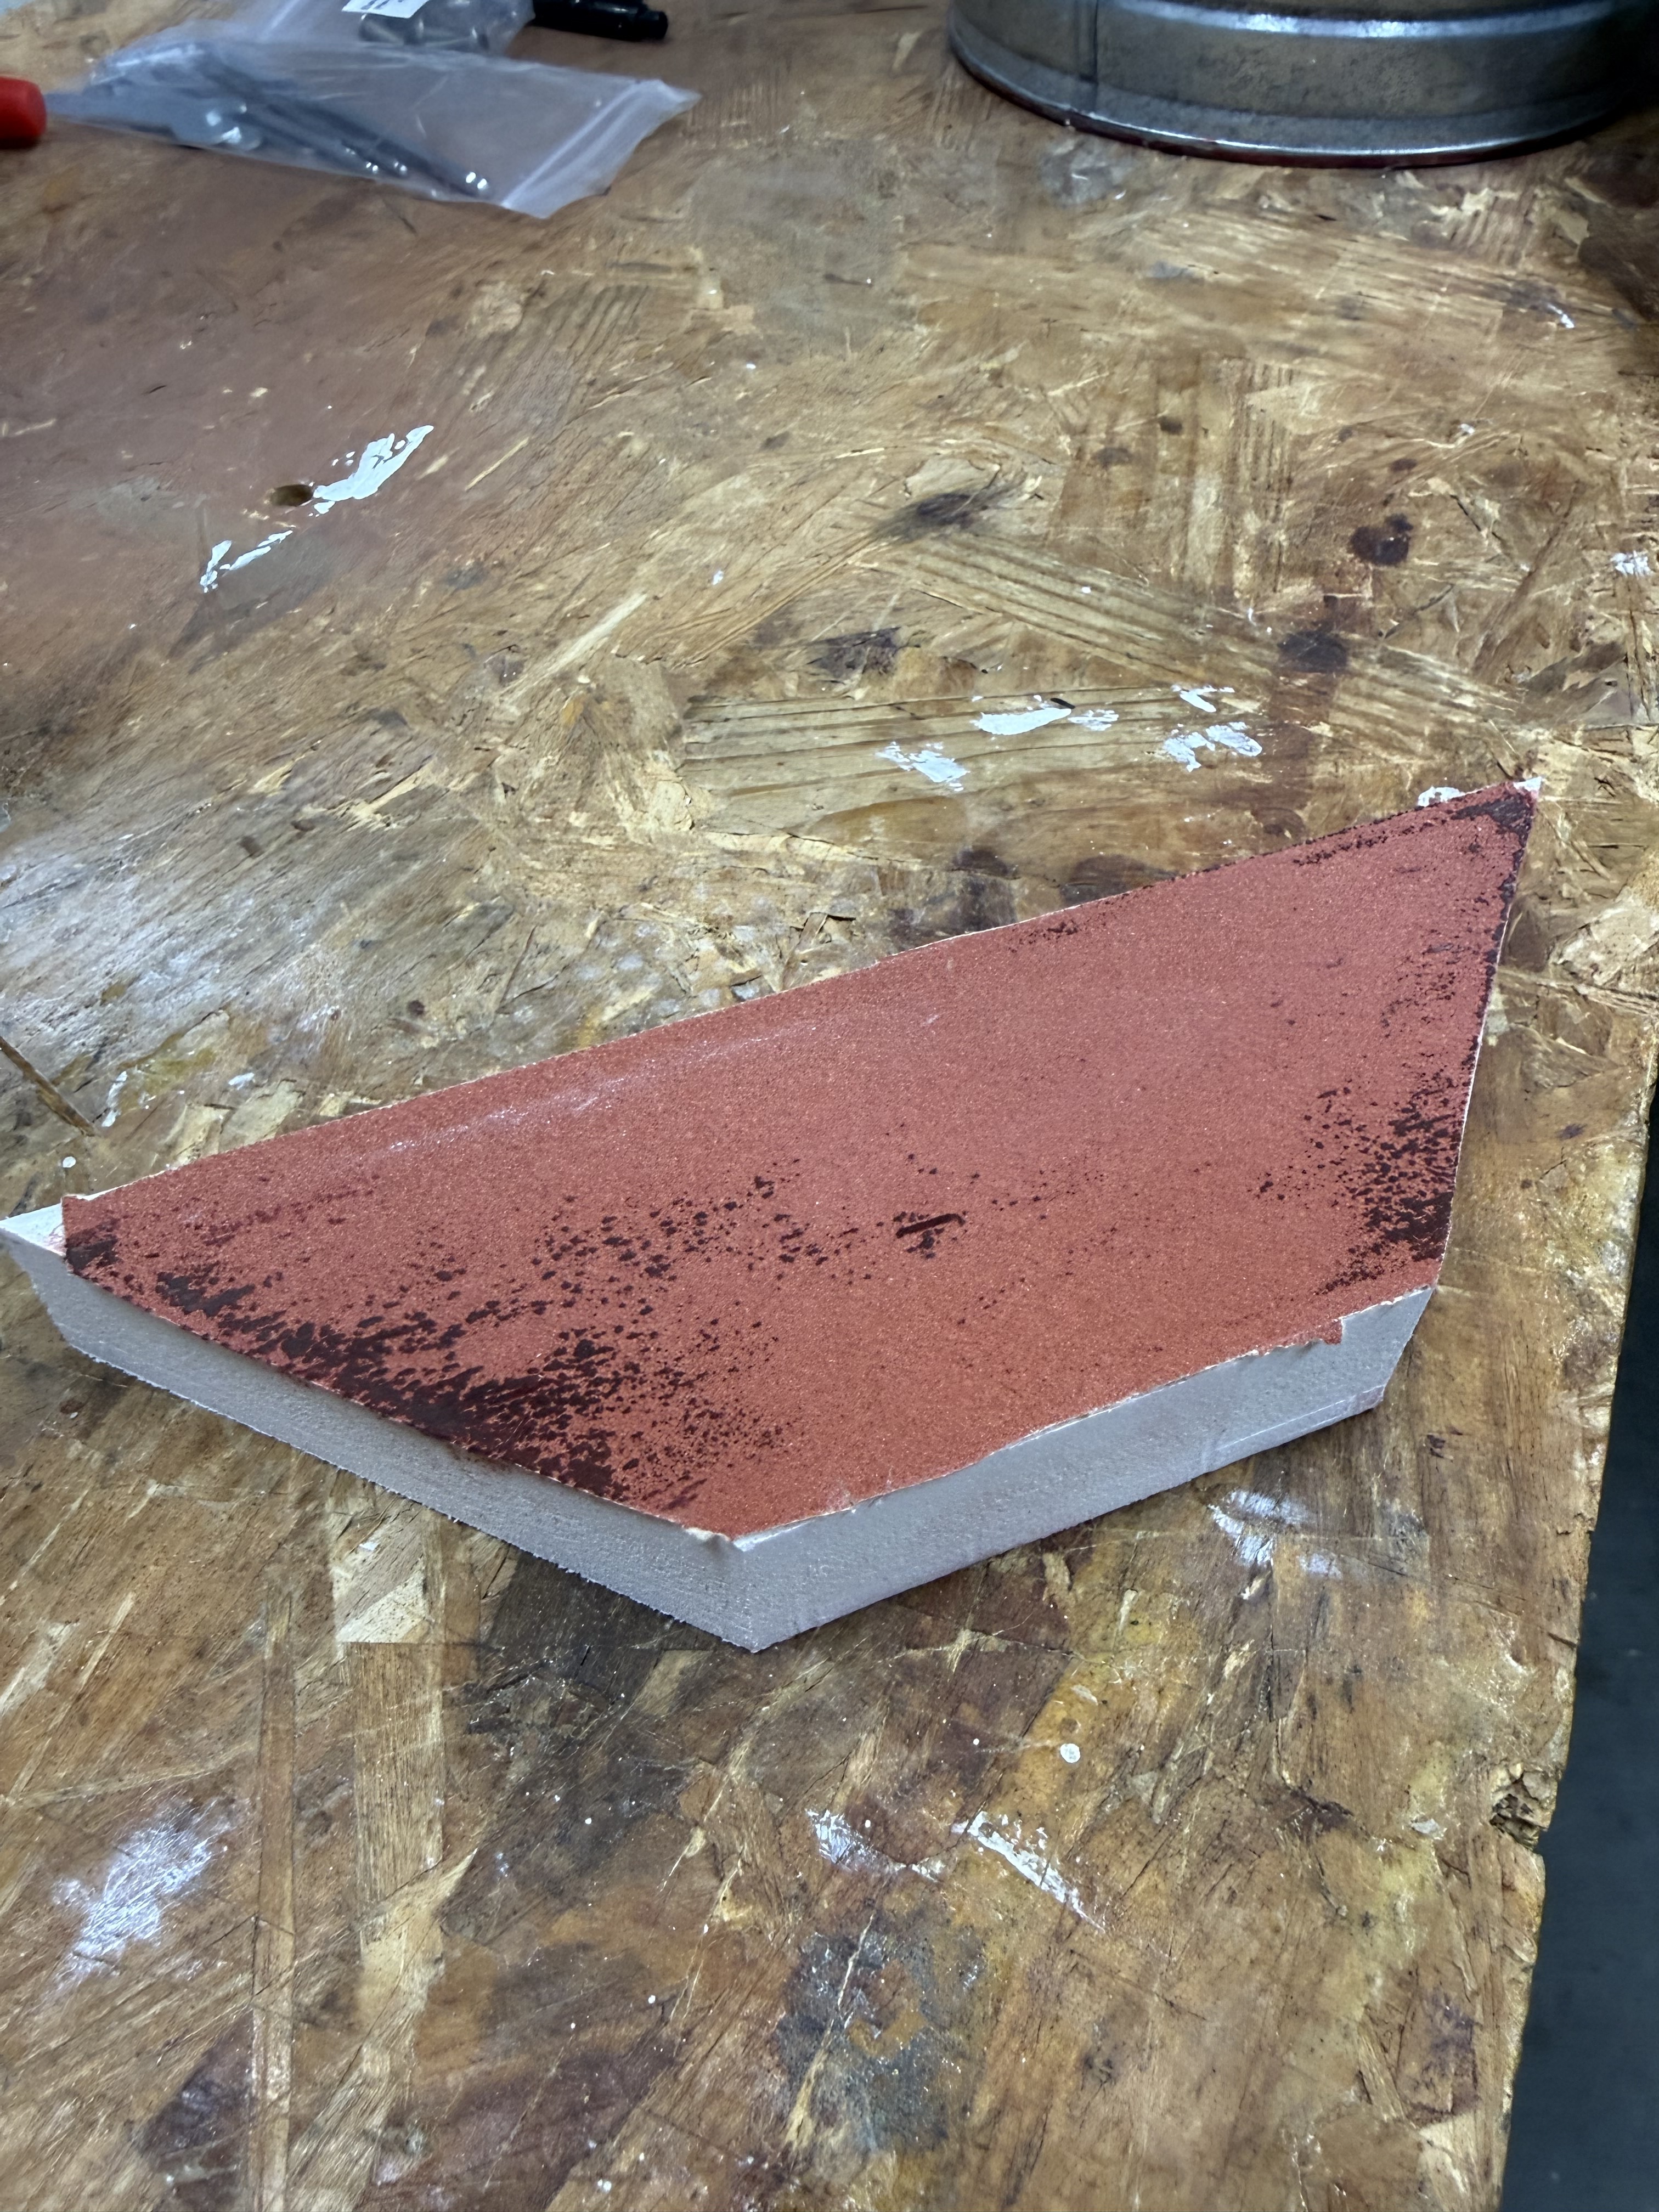
And to make corner pieces that would help me in the frame alignment.
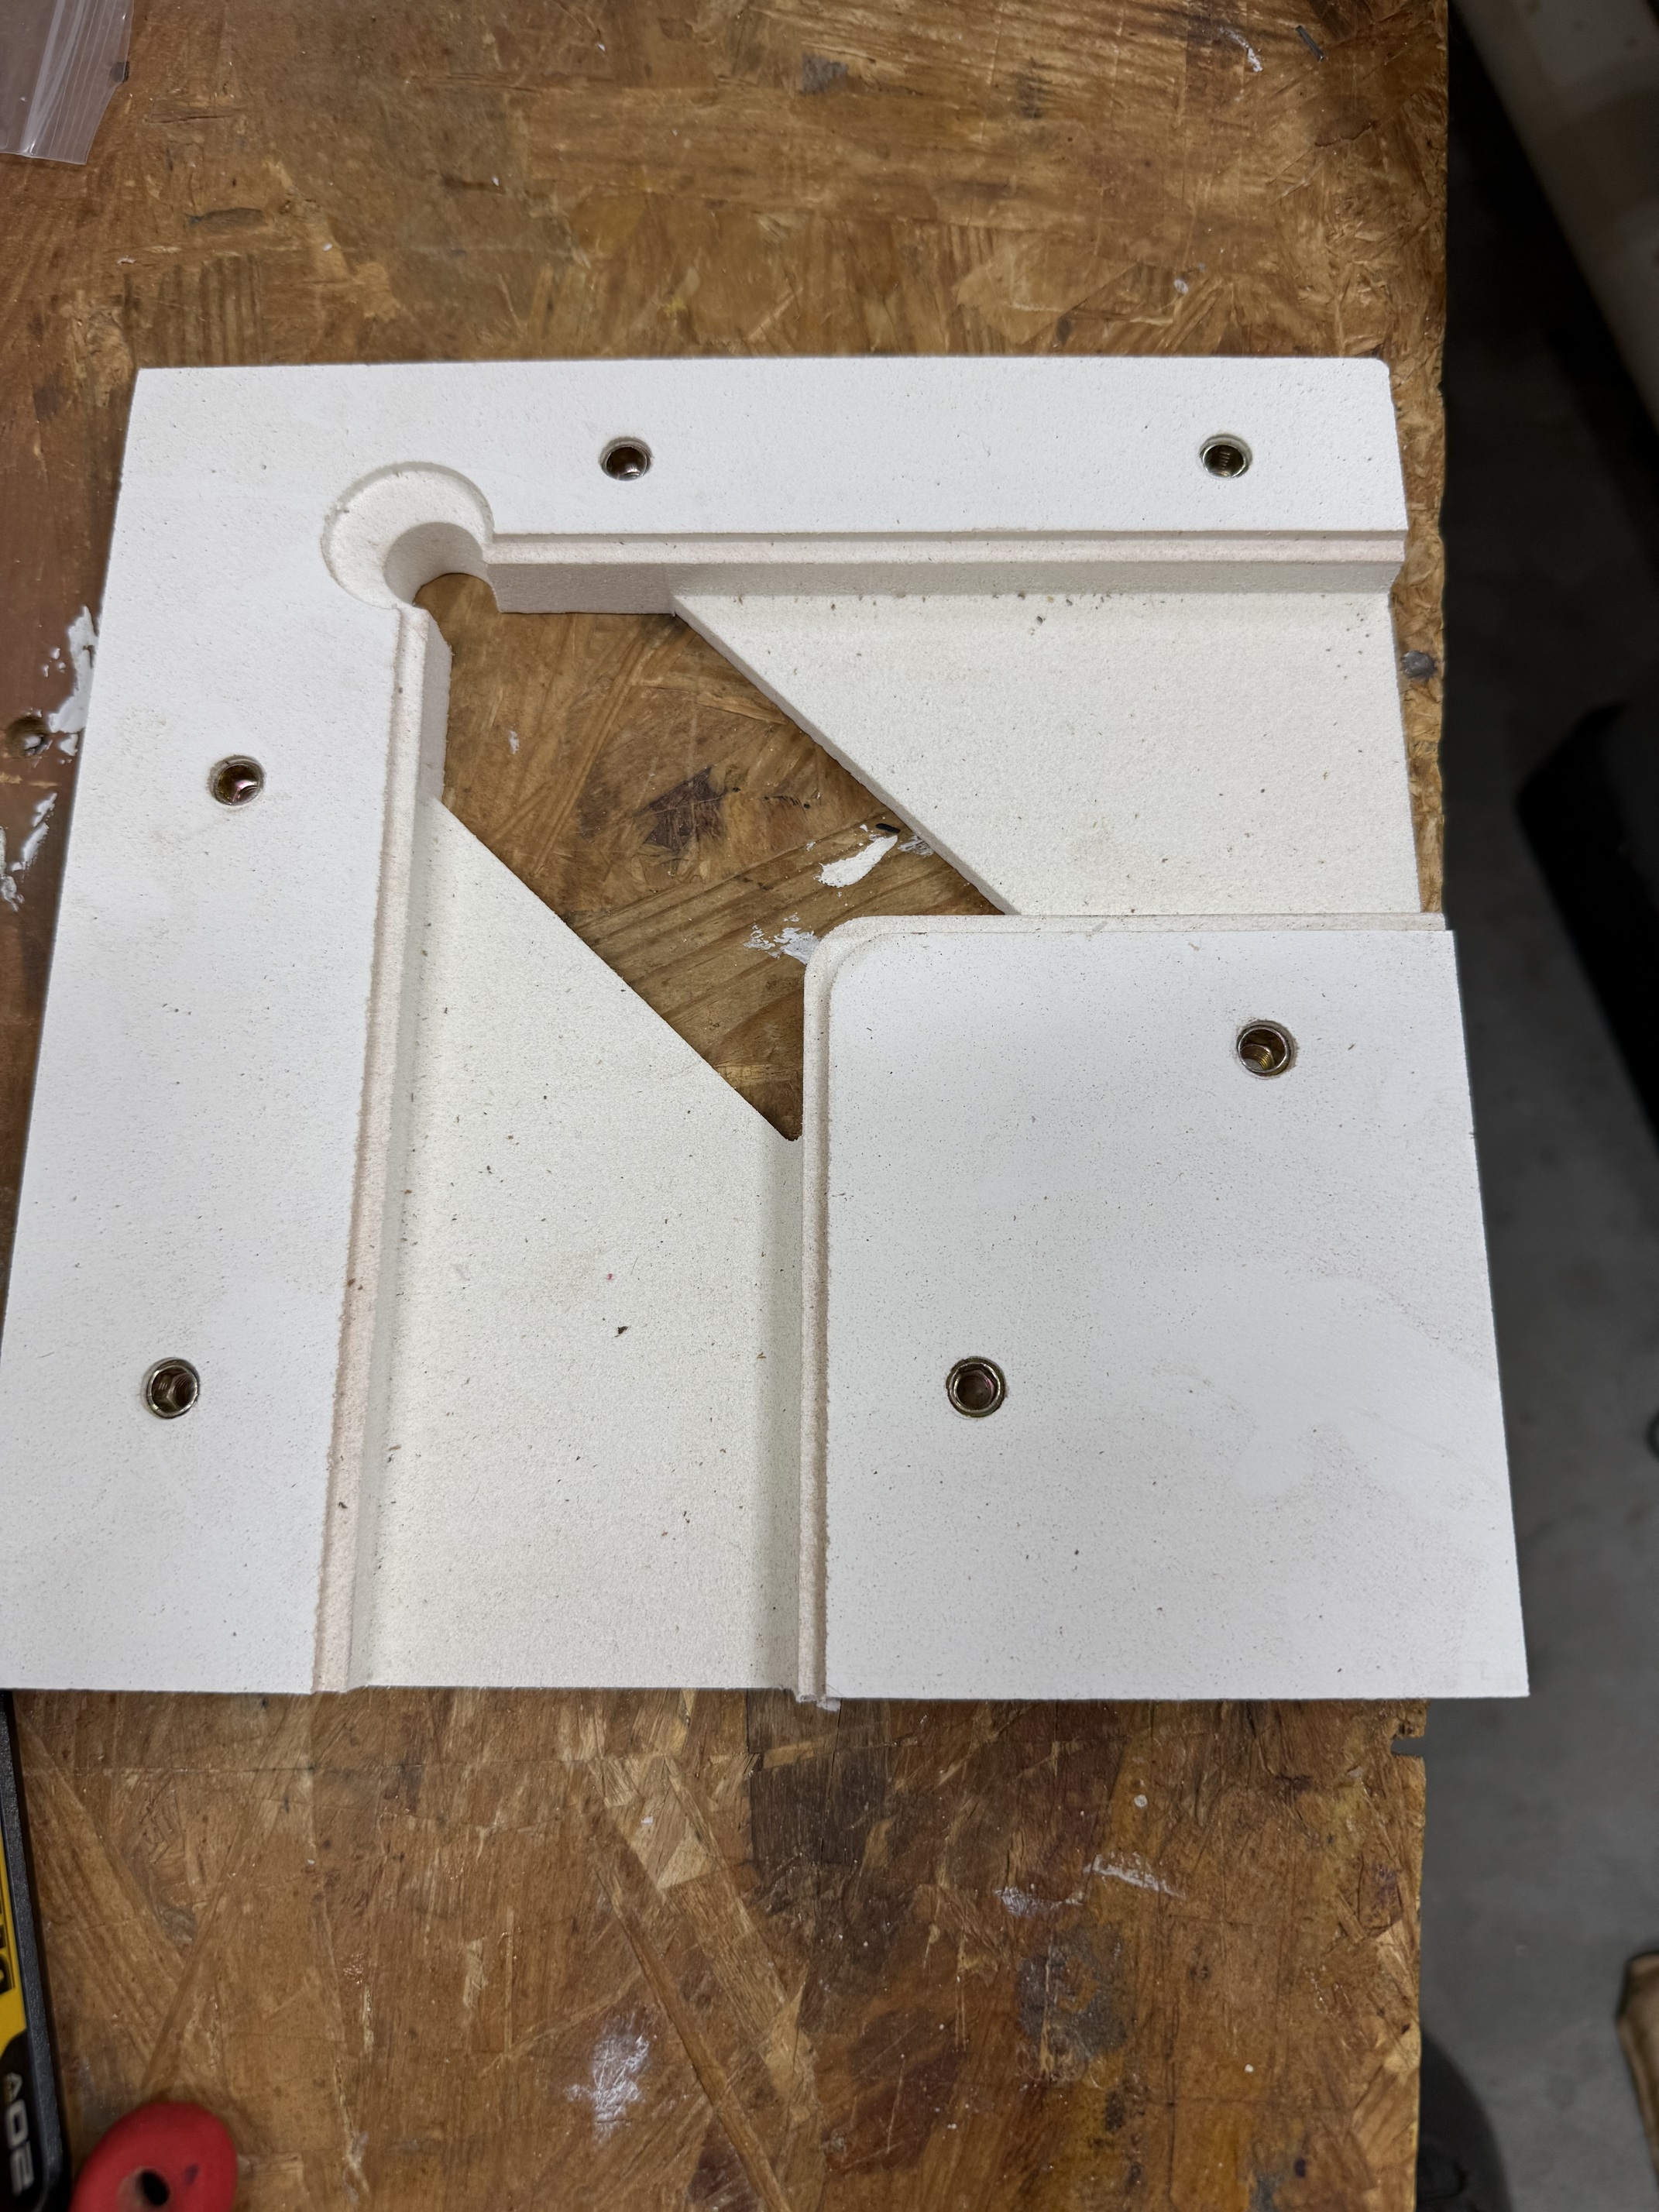
As usual, I overthought everything which led to a lot of my delays. I was very stressed about getting the miters nice and tight and worried about glueup time.
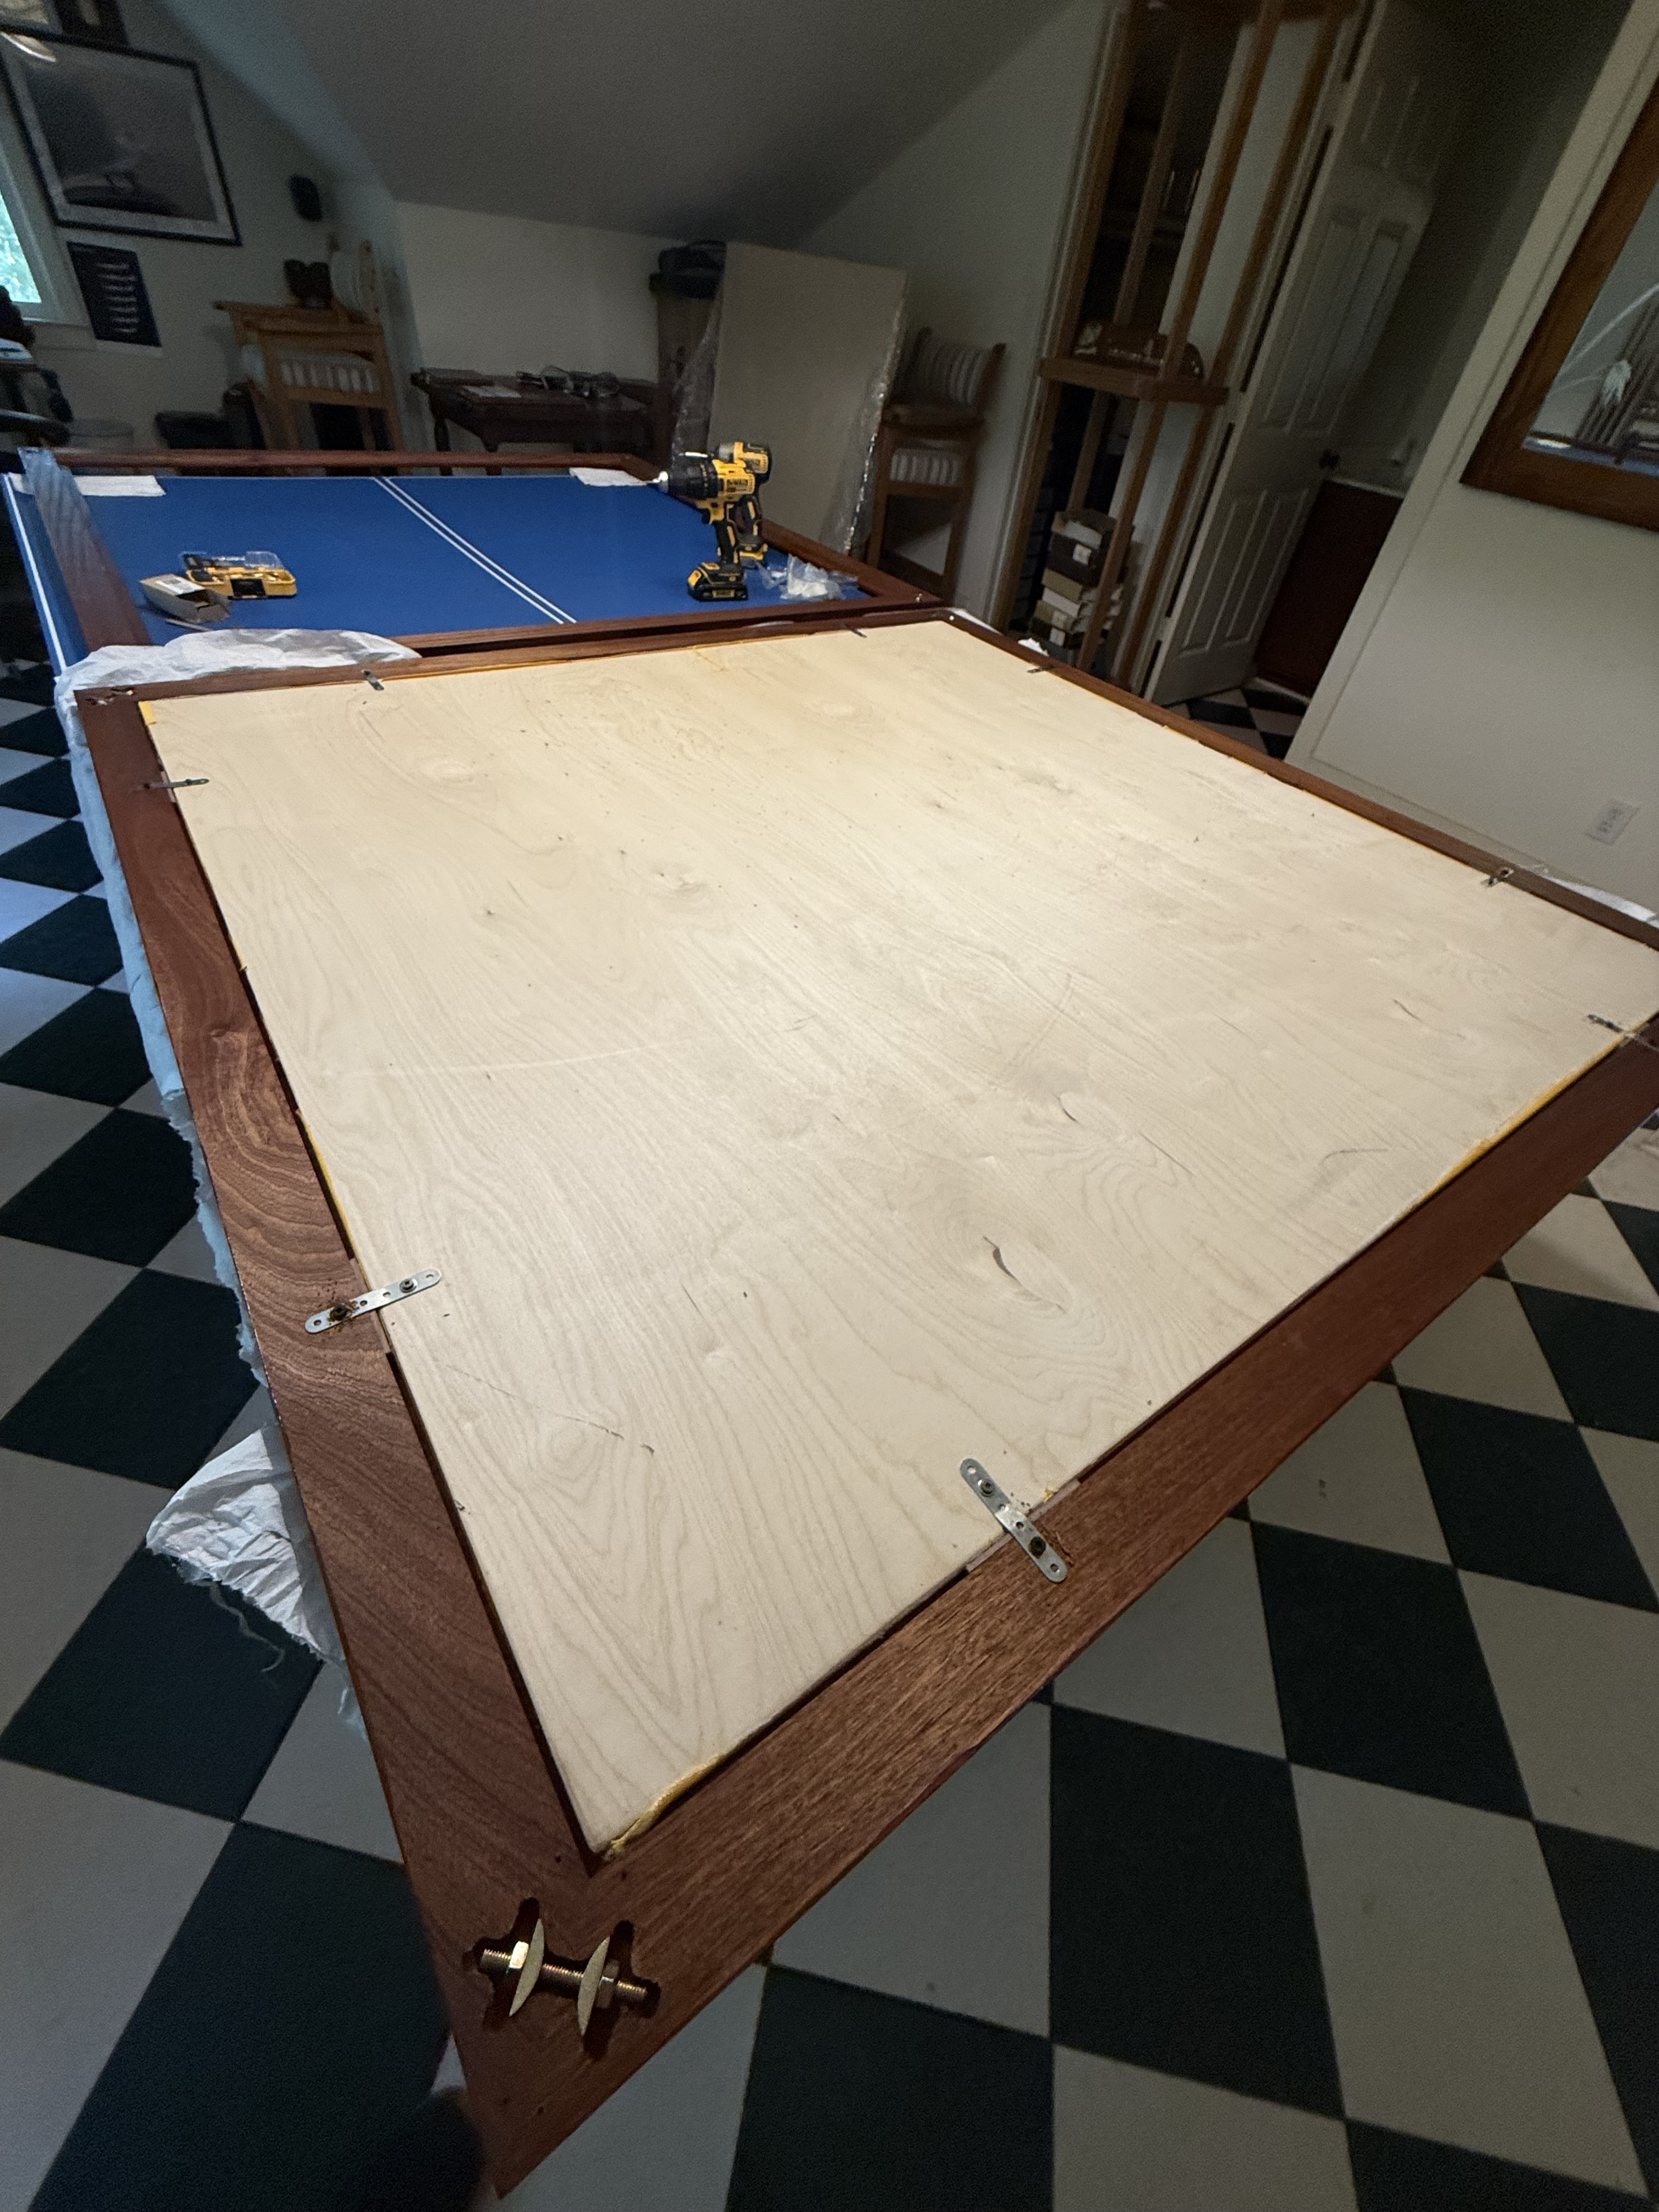
I ended up using table connector bolts for the corners and cutting a template on my laser for a trim router to make the cavity for the bolts.
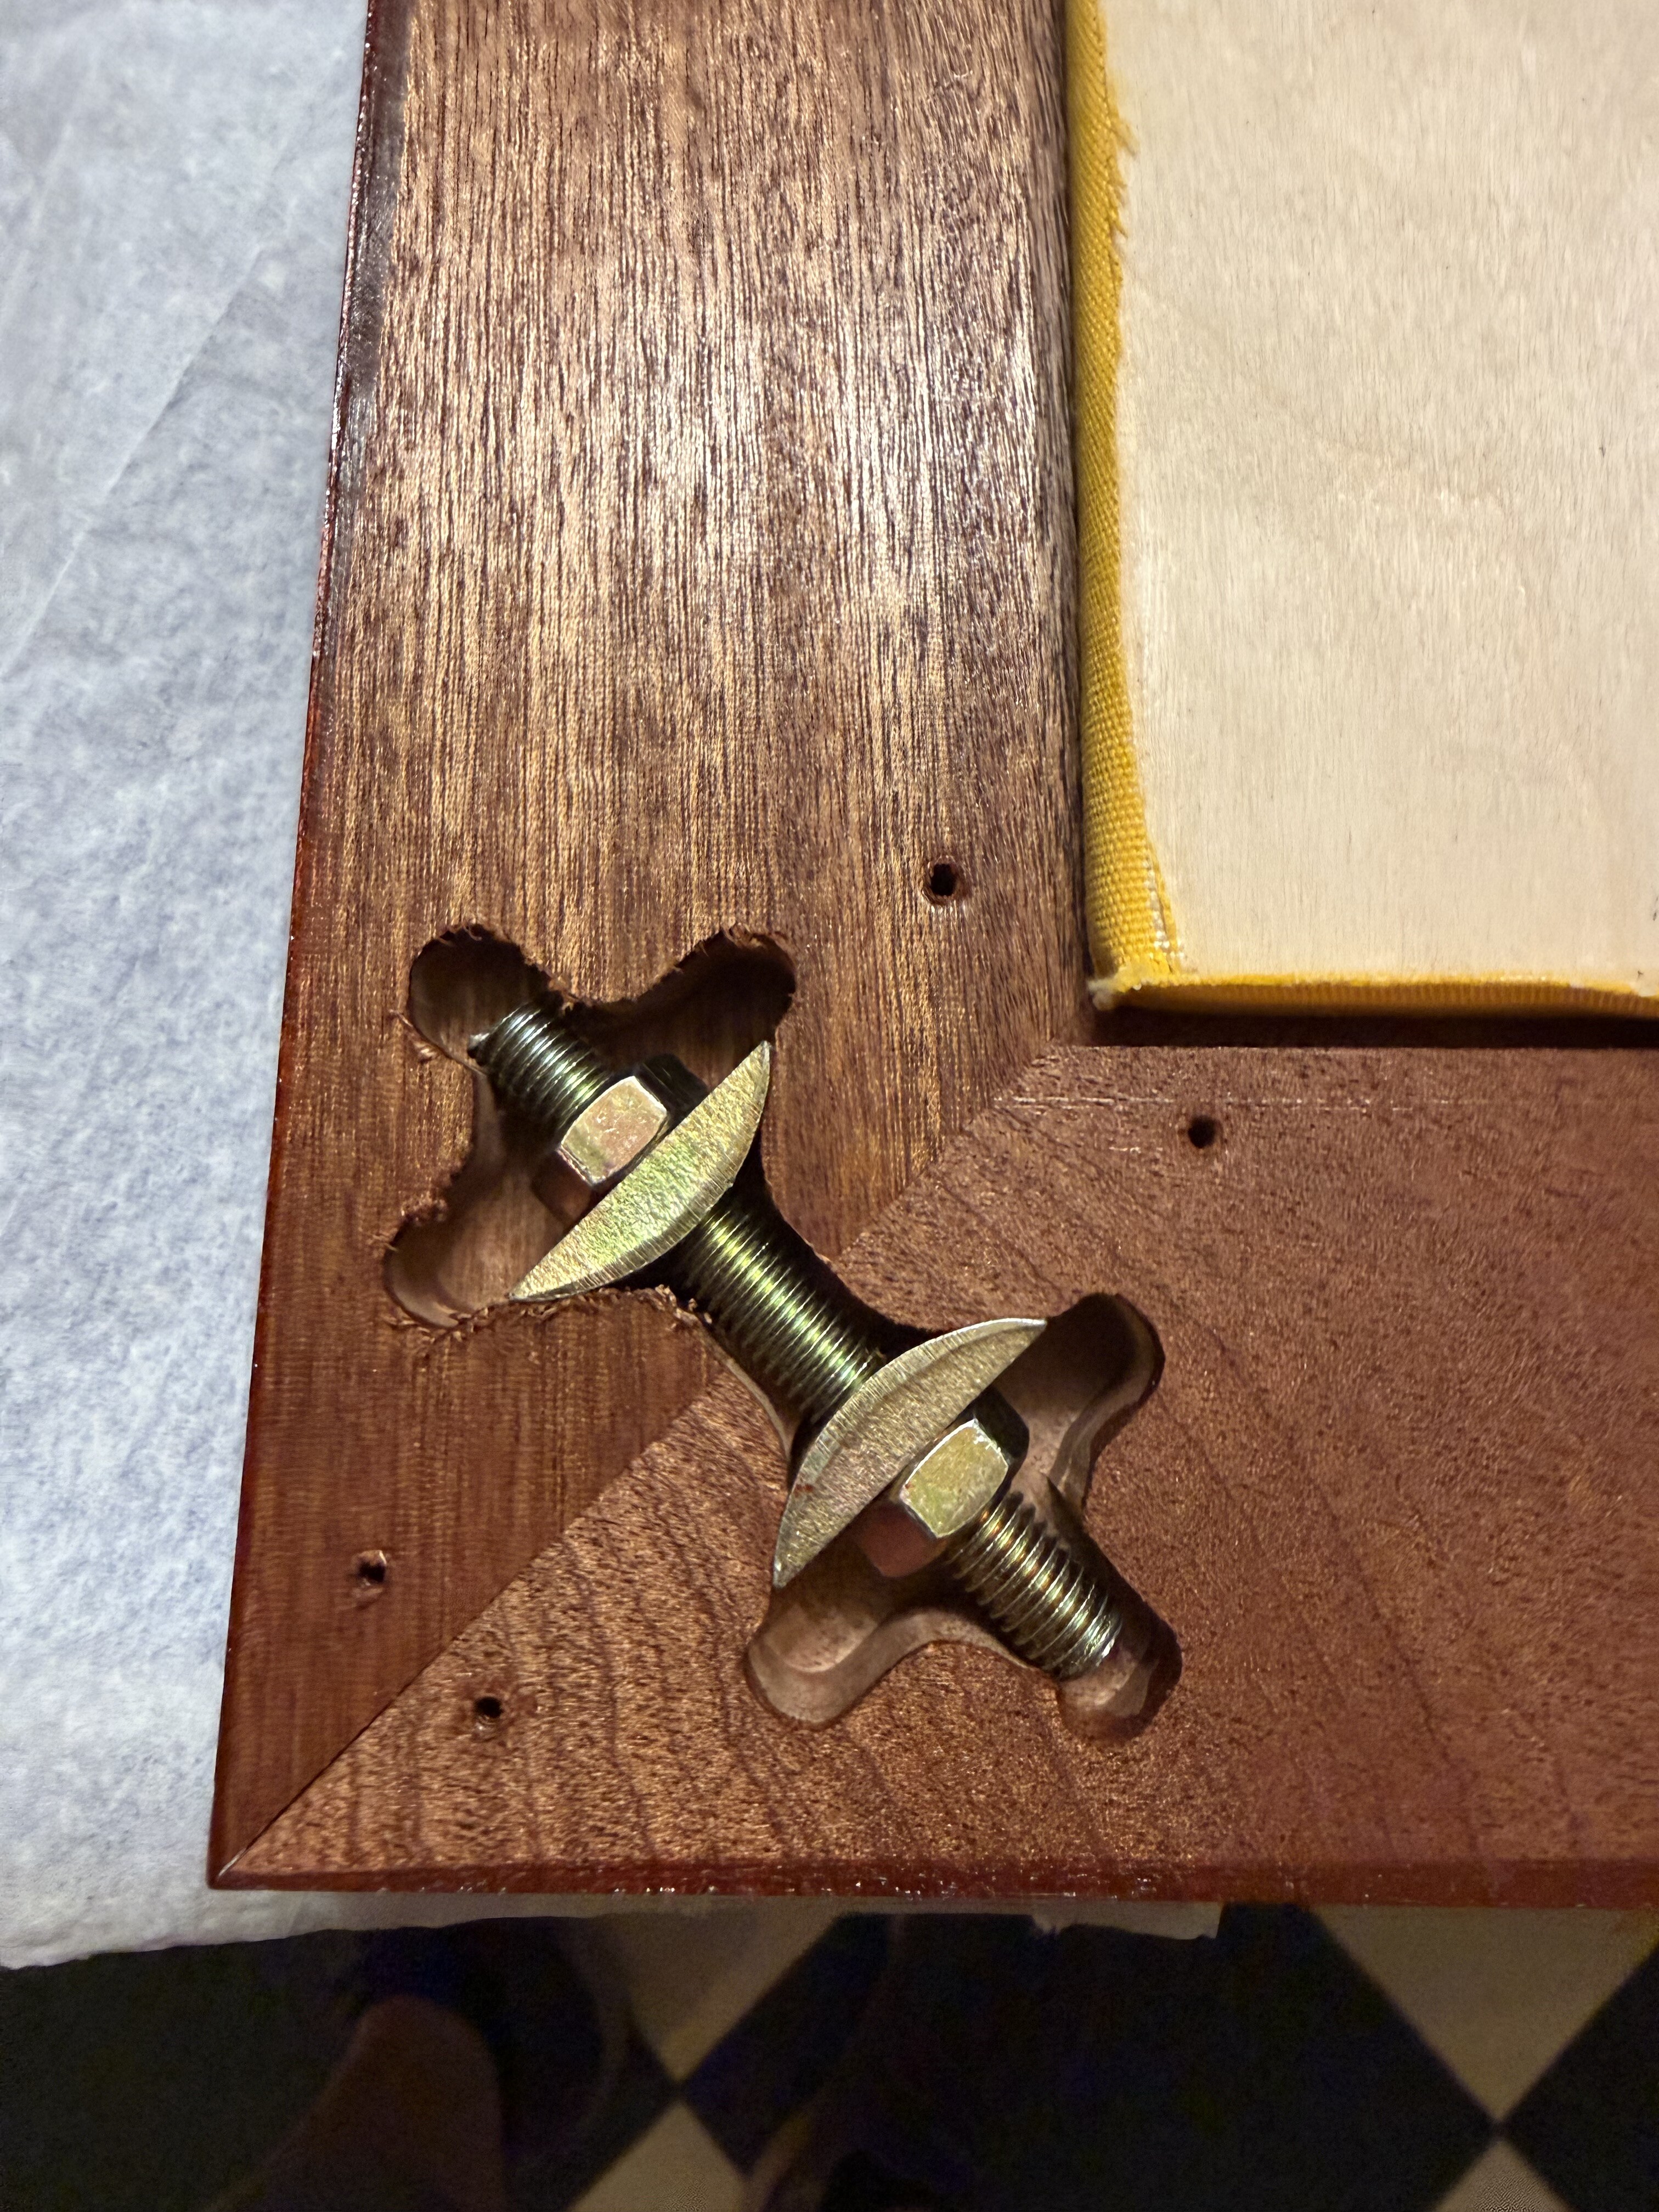
I liked these so much that I ended up not using clue at all.
We went back and forth on the stain color a lot. I ended up with Old Masters Red Mahogany Gel stain with some additional red dye mixed in. Then 5-6 coats of shellac for the topcoat.
Staining was a bit of a pain after assembly given the size but I didn’t really want to take them apart and re-assemble.
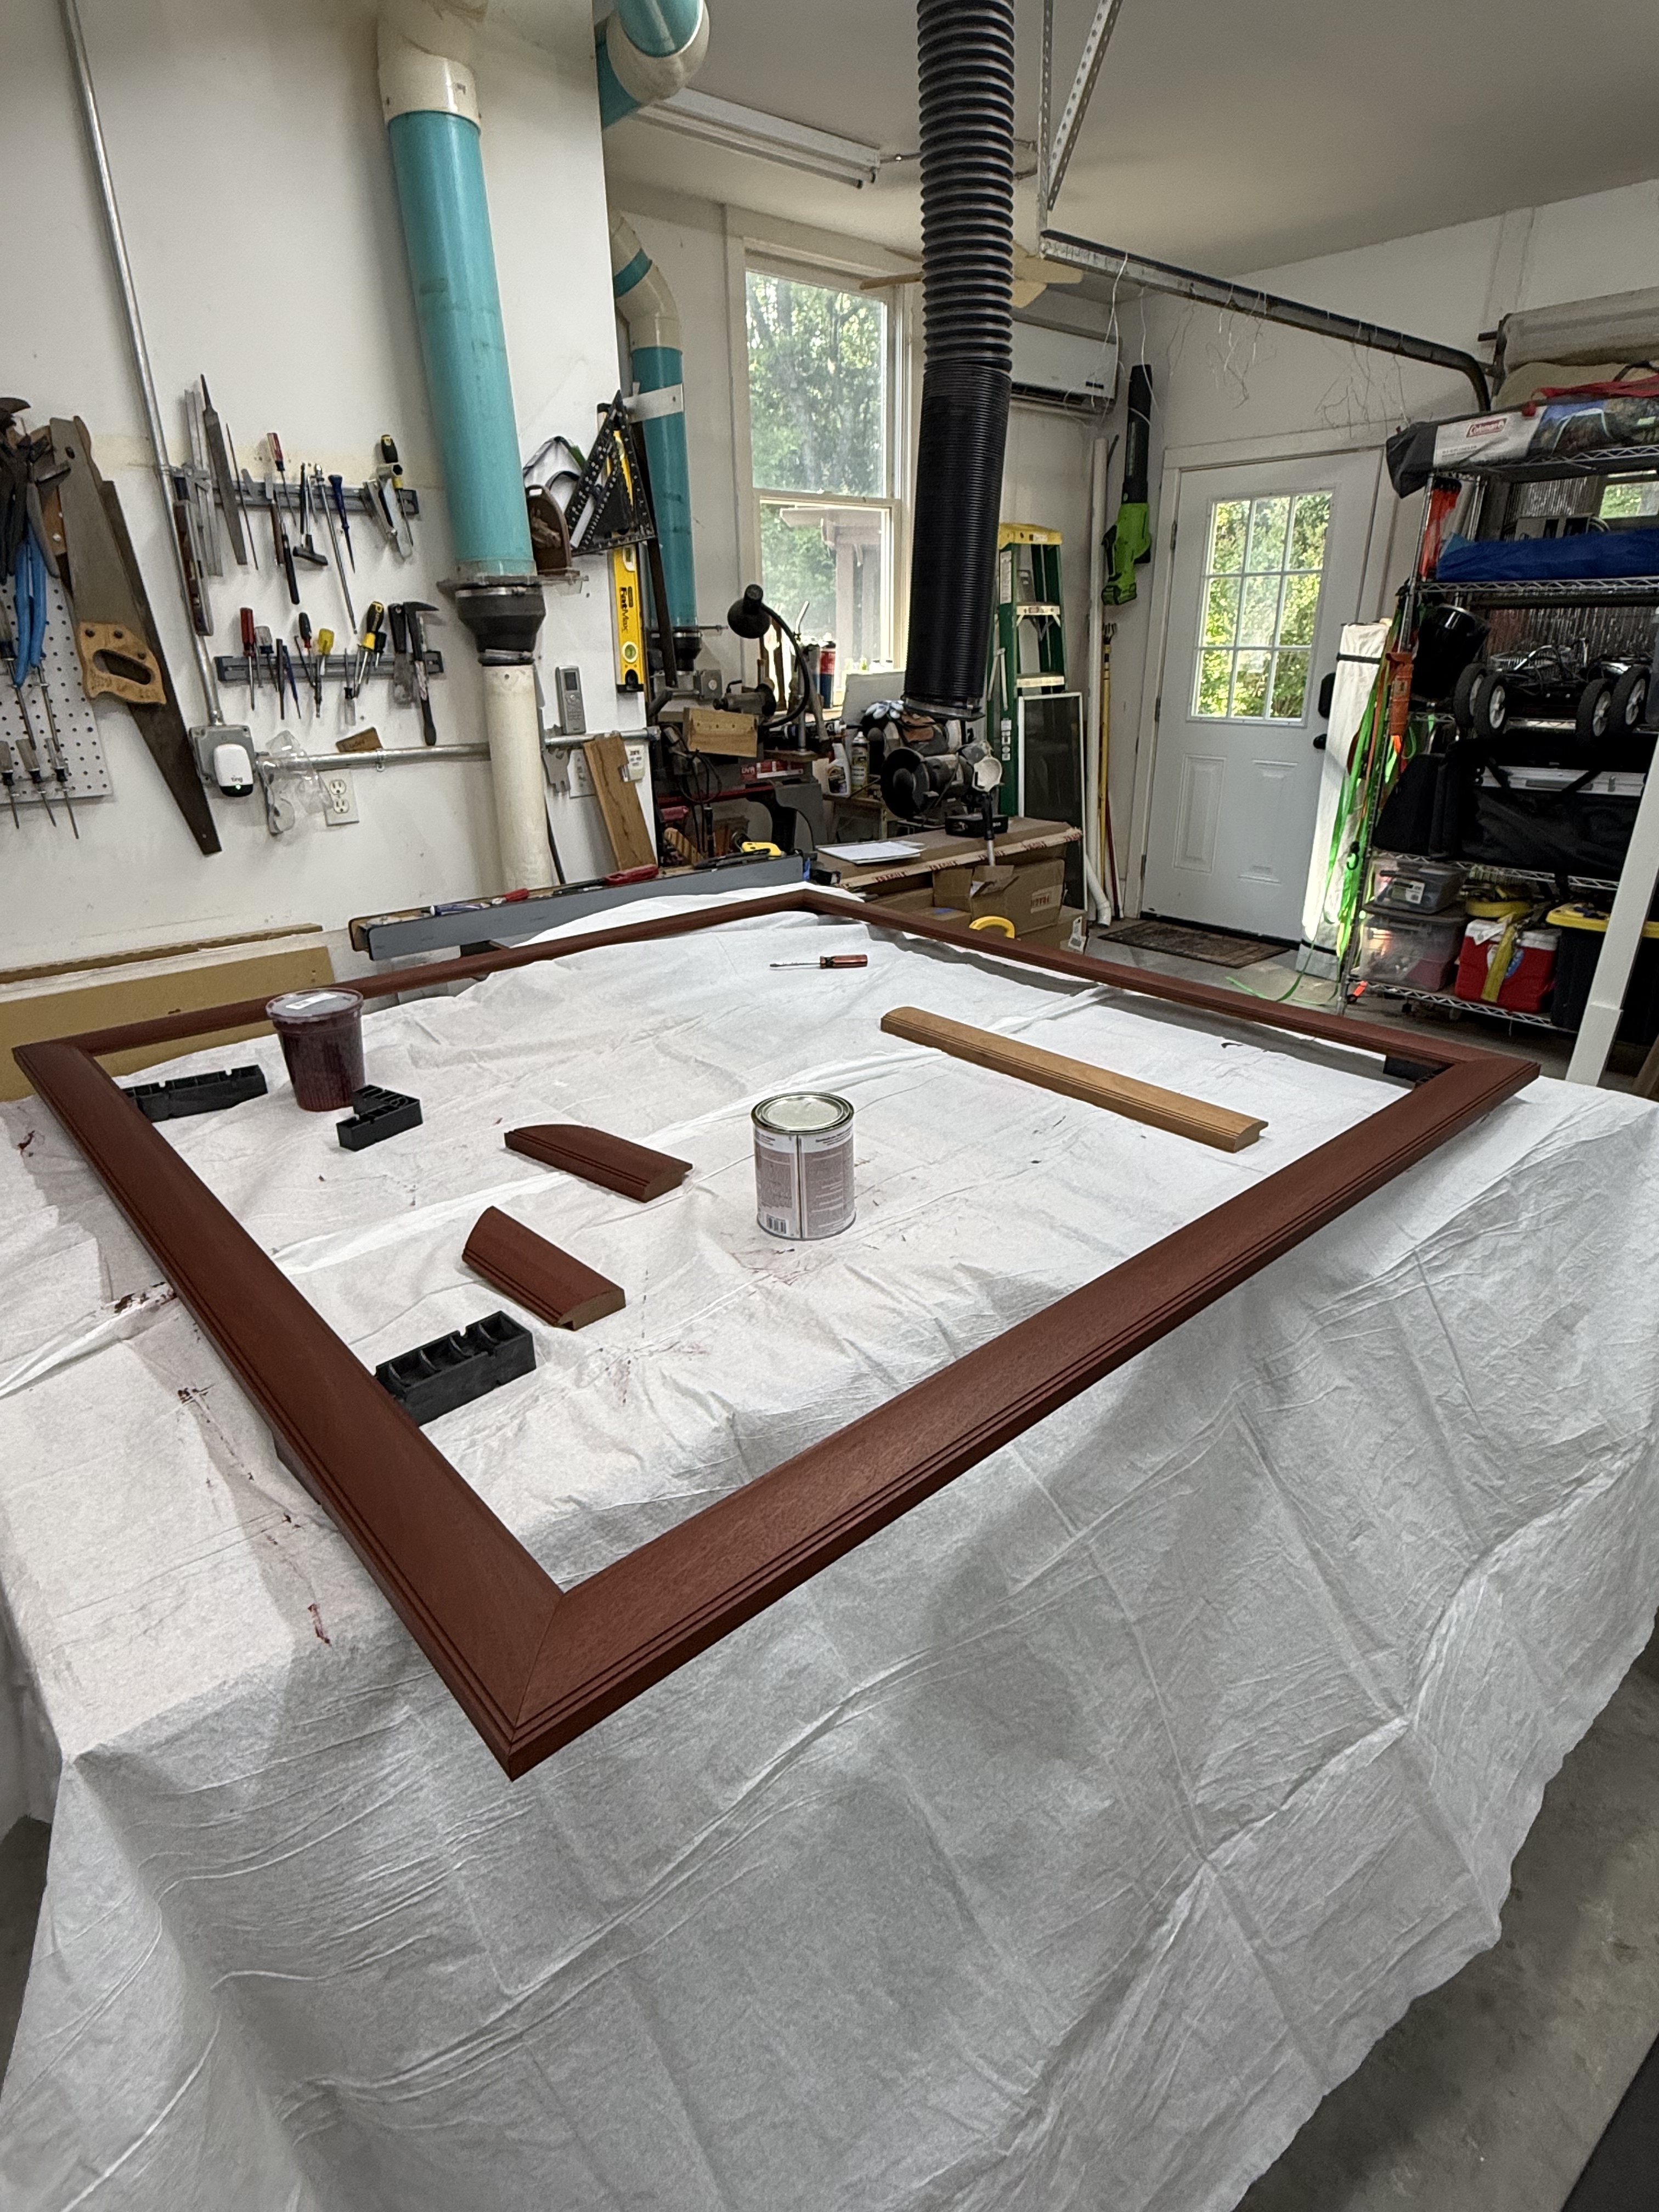
Had to stain one at a time due to space constraints.
Once all the stain and topcoats were on I added the plywood backer
And we end up with the finished product.
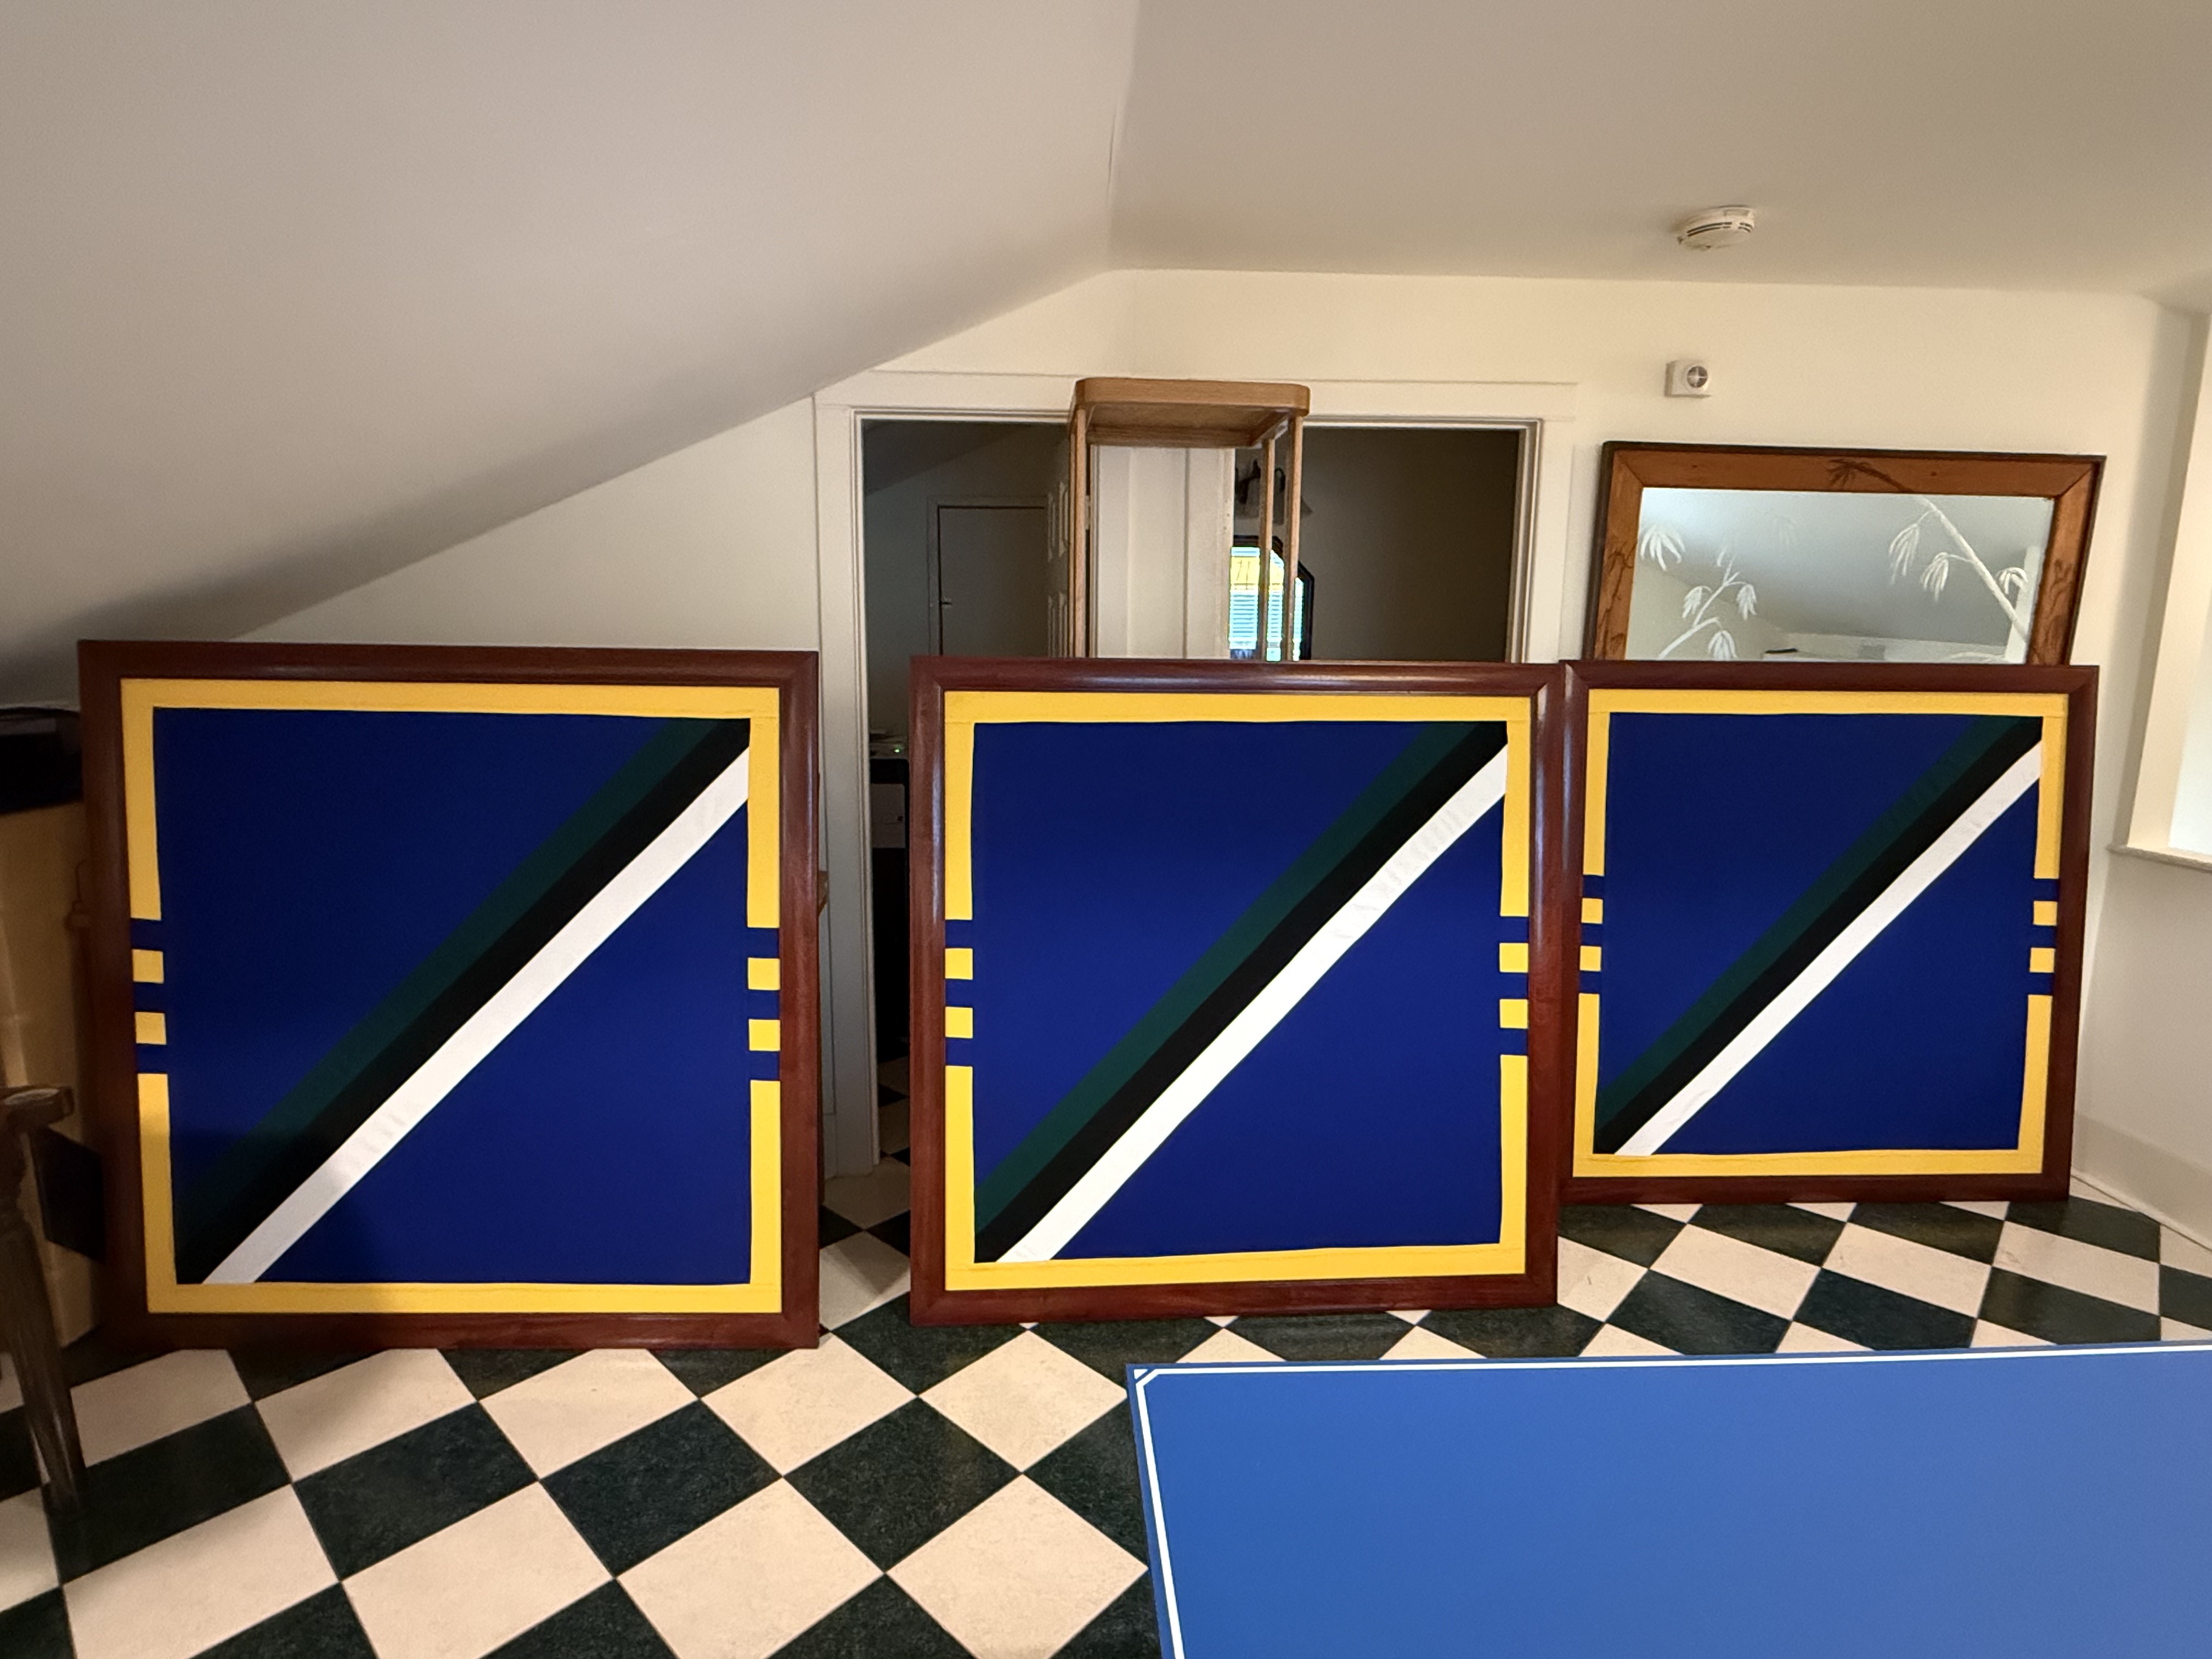
I would have found a way without the CNC, but it definitely made things easier.
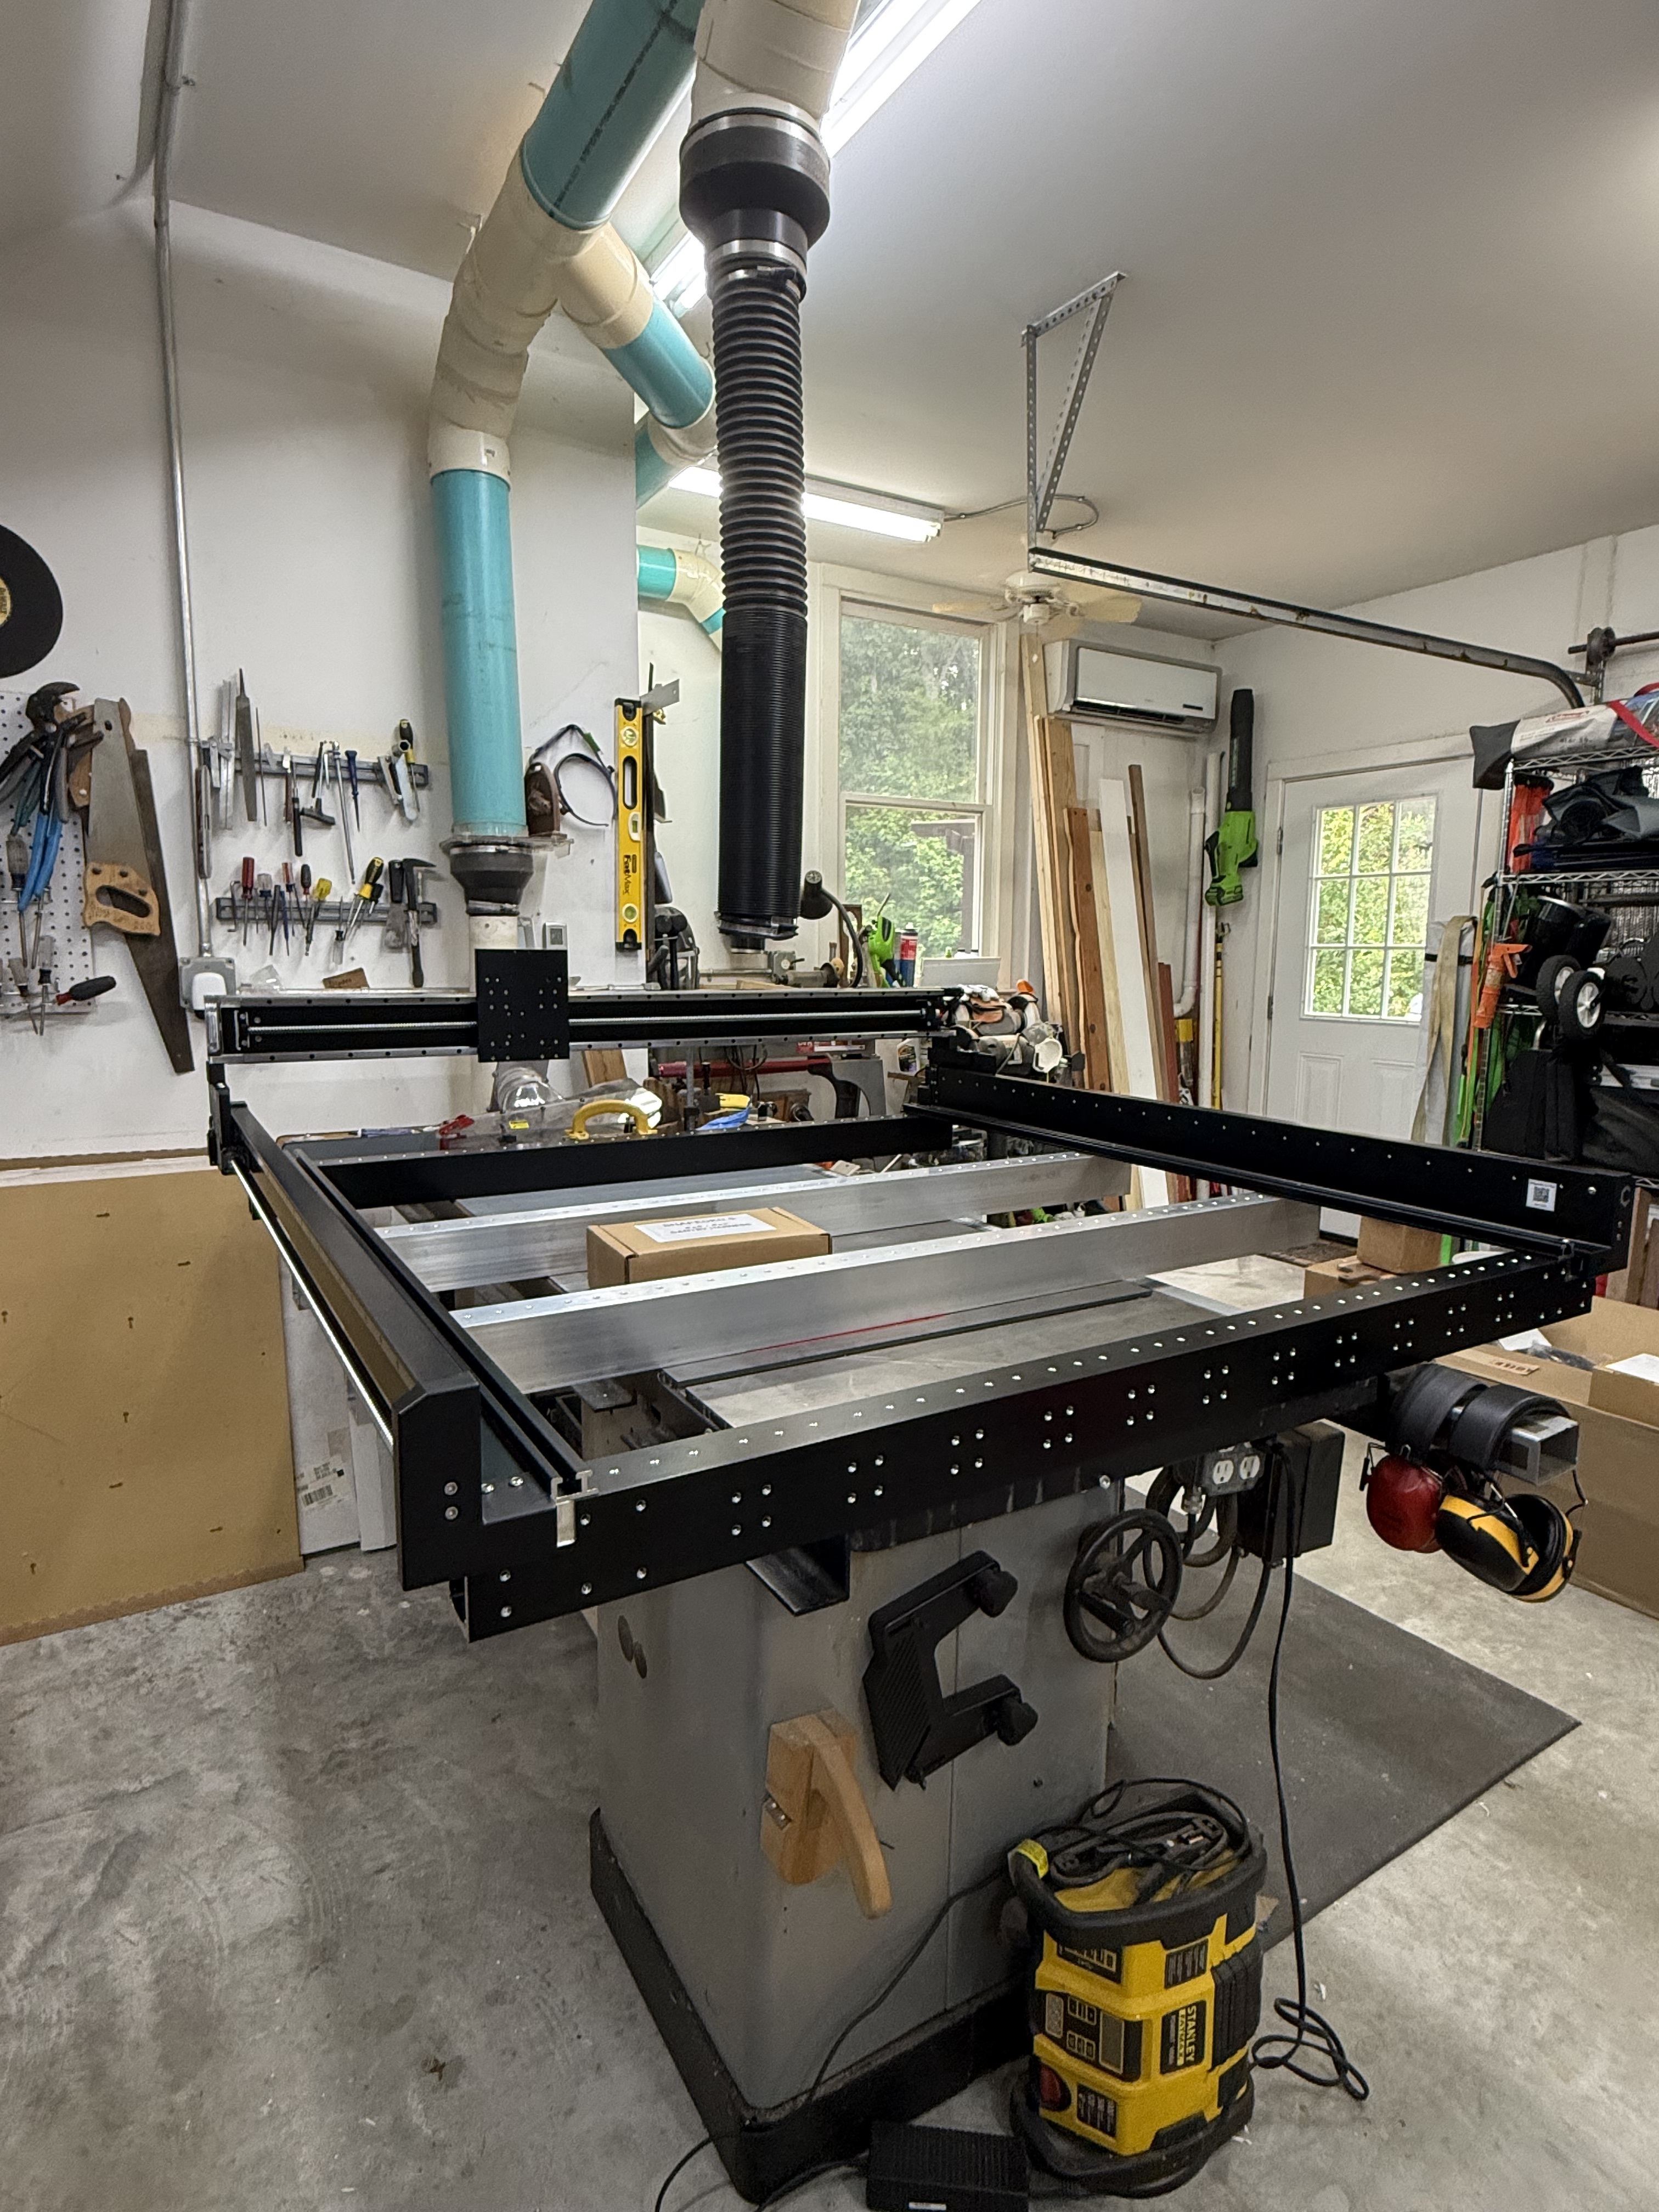
I had to get this project done so I could use the space to build my 5.1 4x4 which has been in boxes for a month. I underestimated the size of the table I would need to build it. My normal work table was not long enough so I am assembling on the tablesaw.
18 Likes