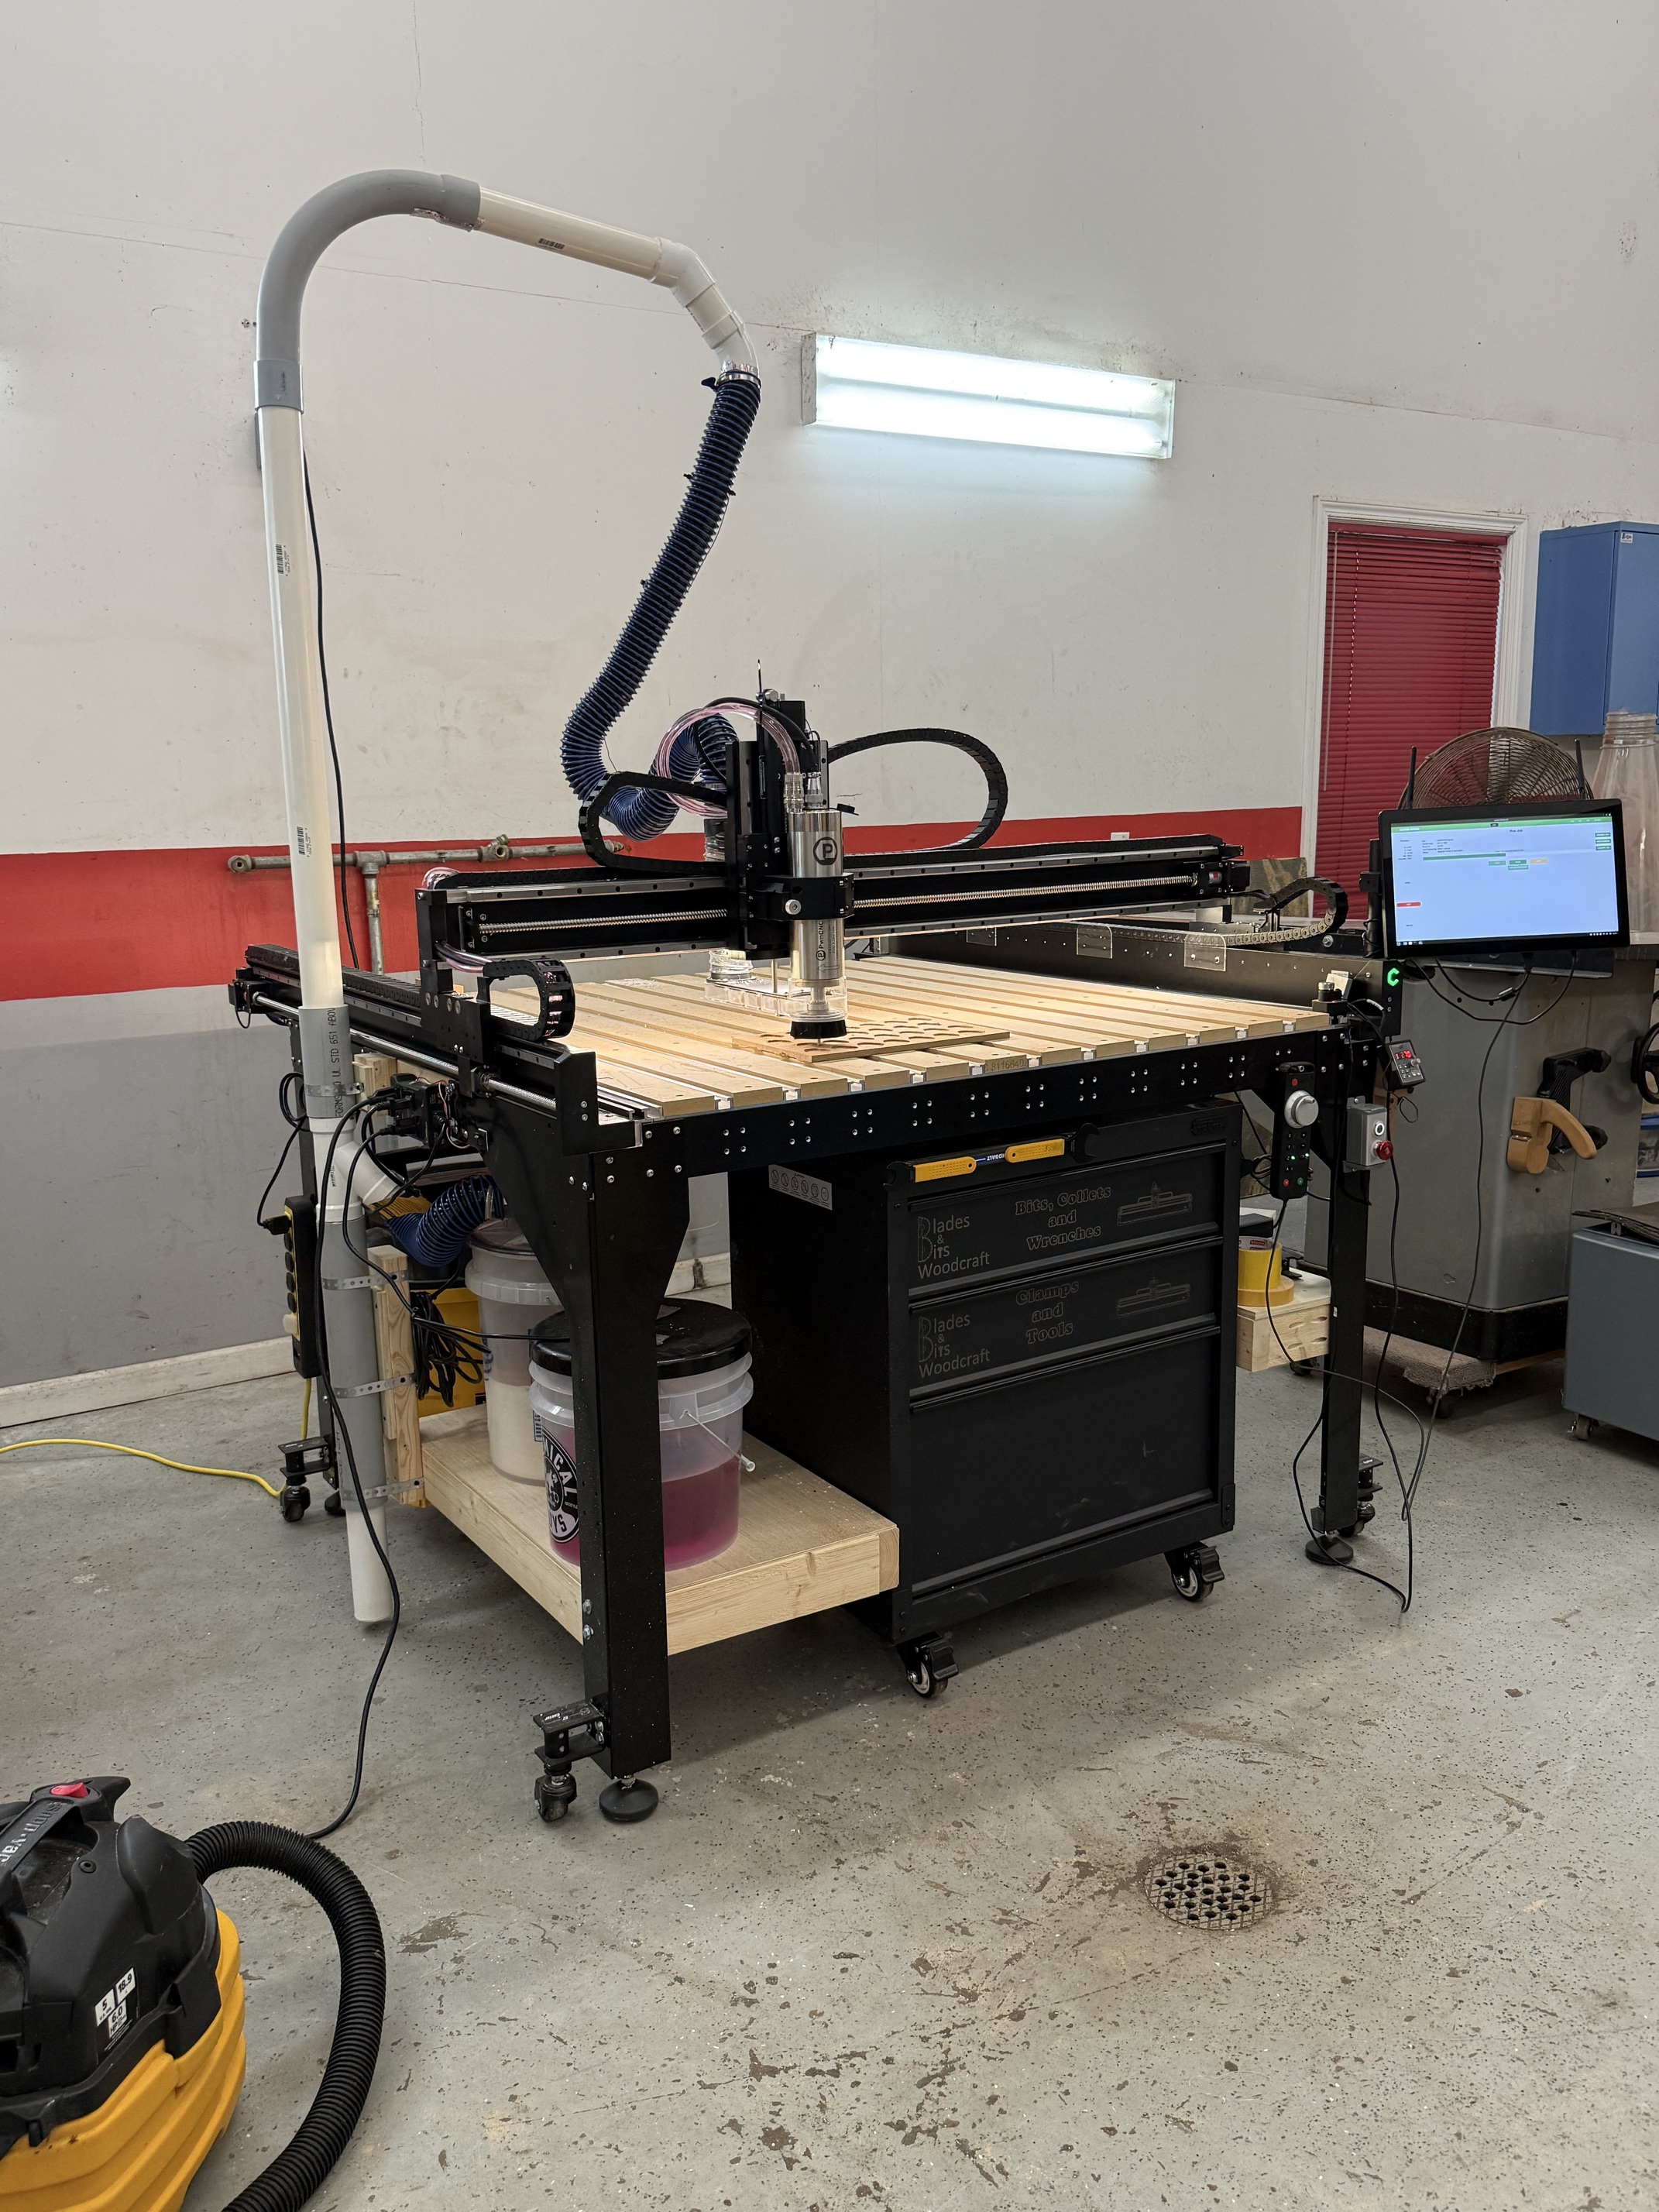
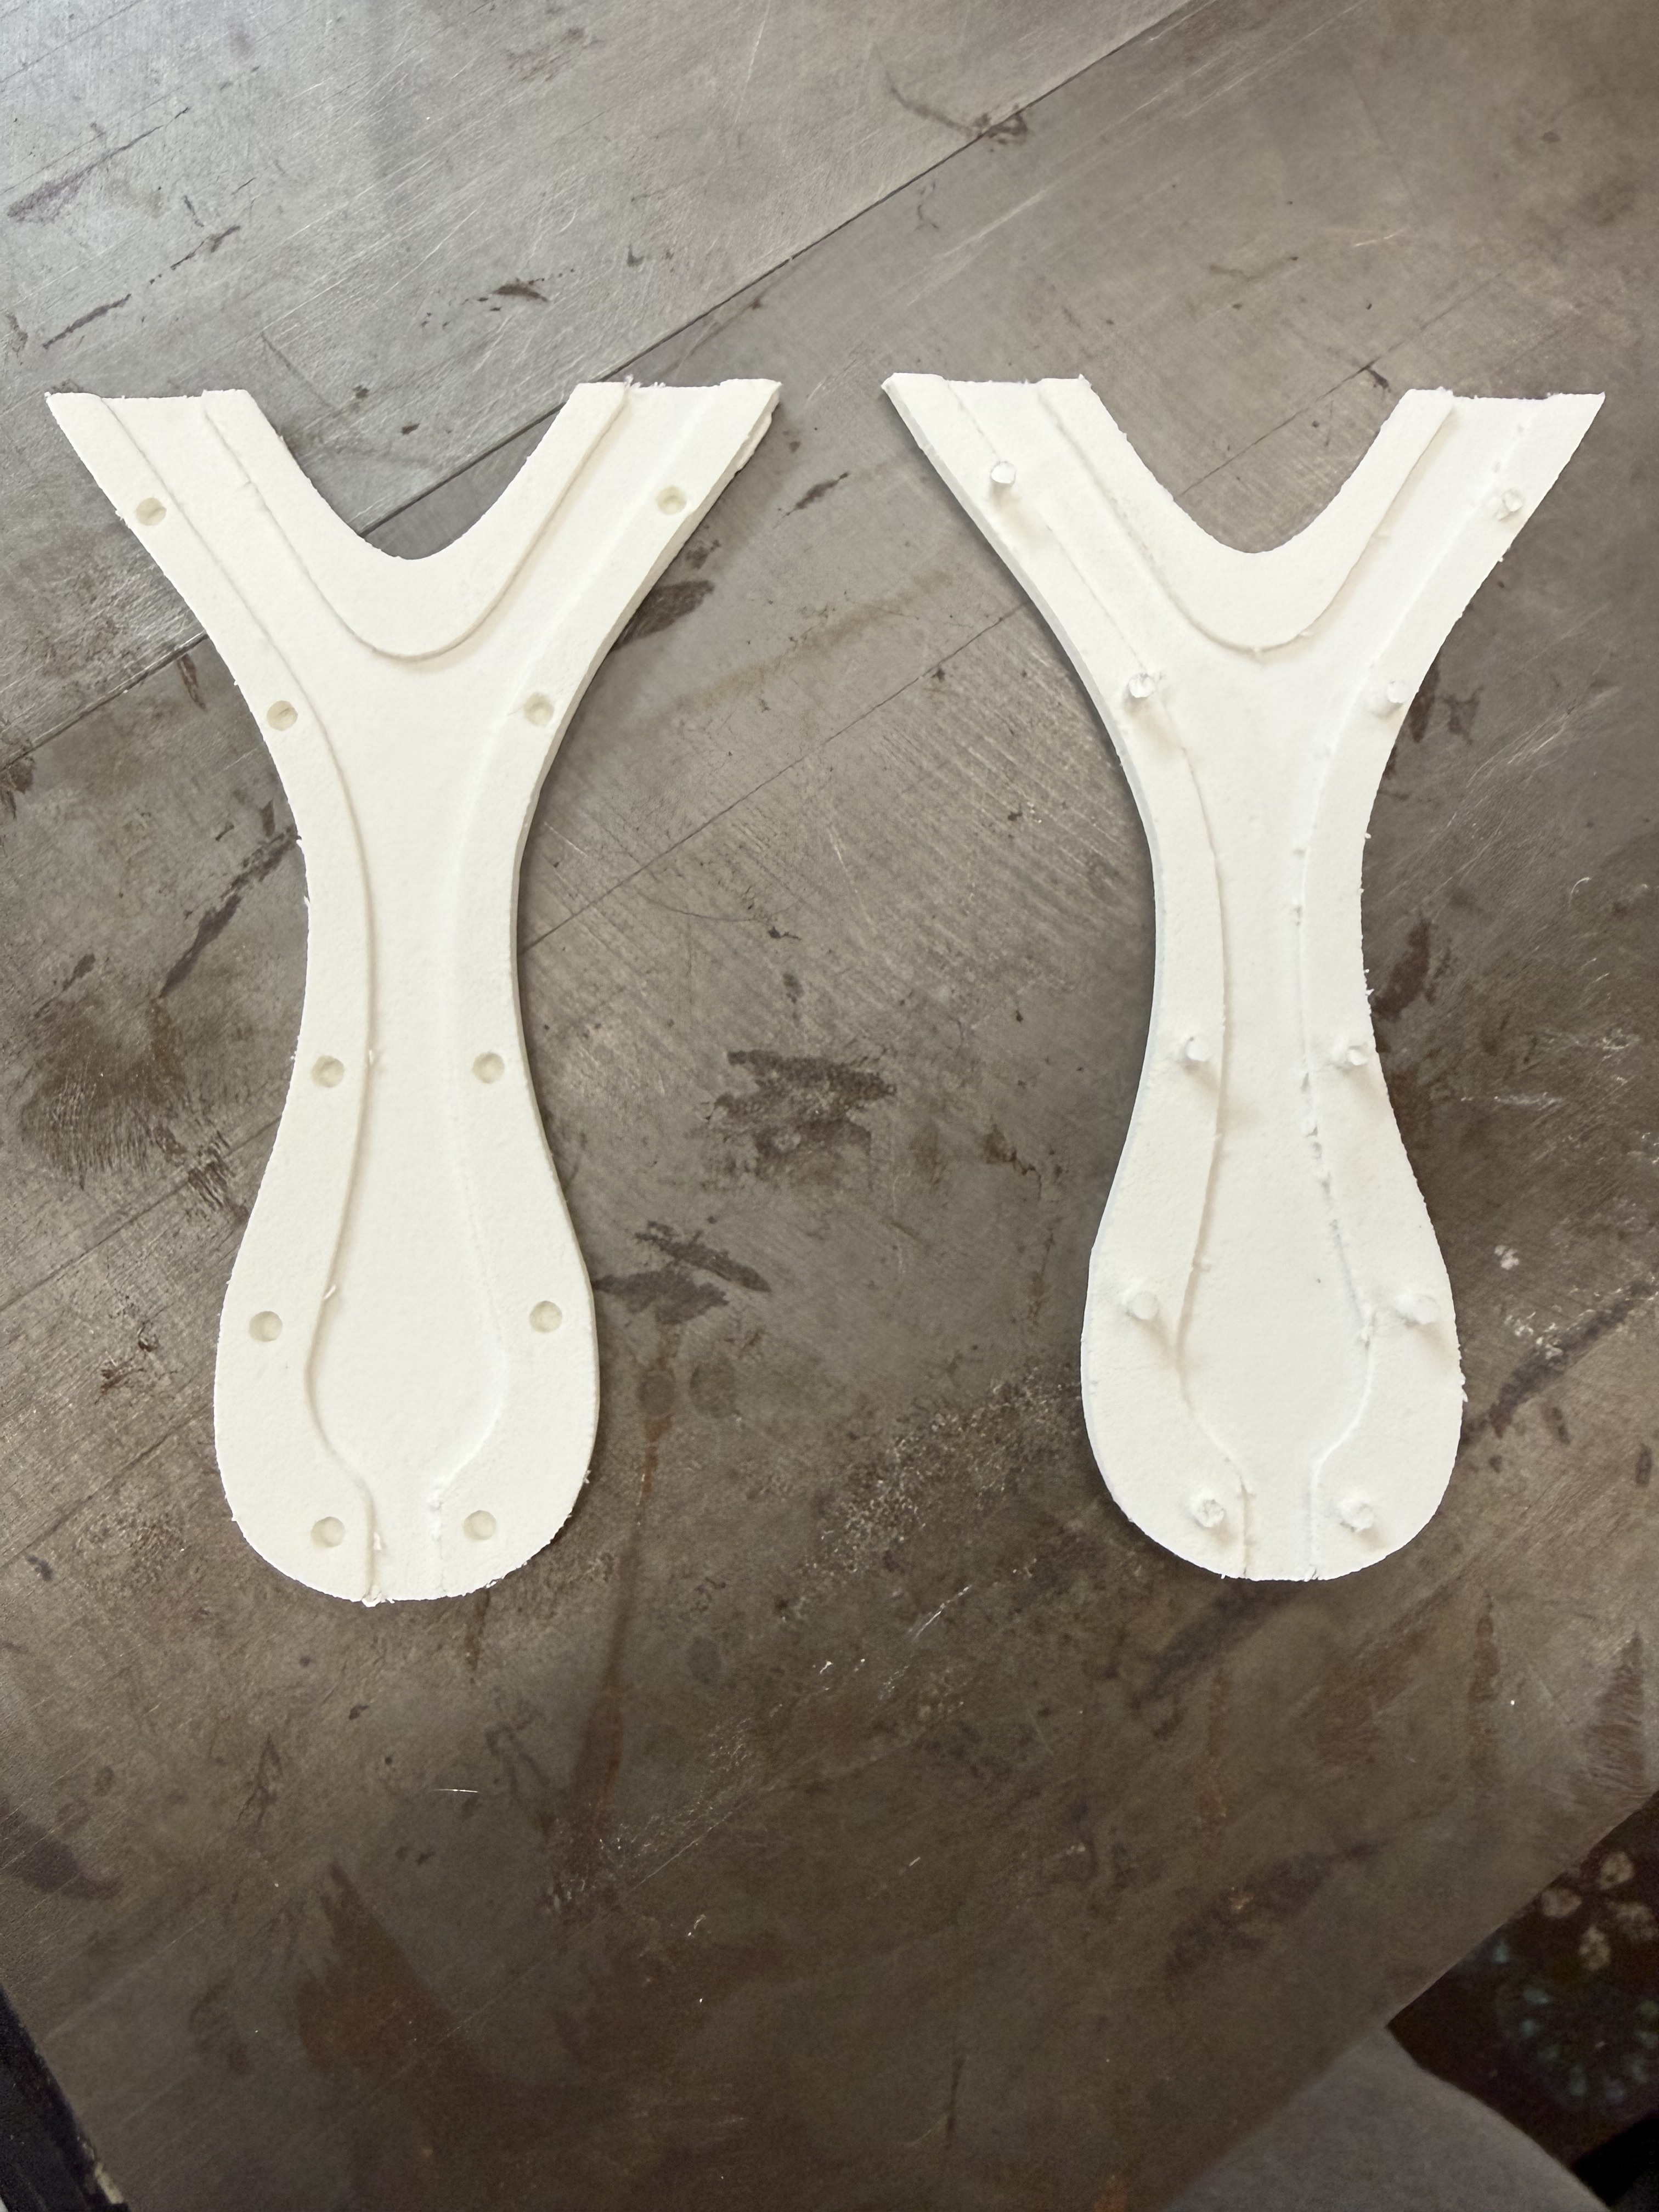
After 6-8 weeks being out of commission due to a move I finally got the CNC fired back up this weekend. My shop is still a mess, waiting on an electrician to run some new lines for all my tools before I am fully operational but I hooked the 5.1 Pro up in a temp spot where the previous owner had a car lift.
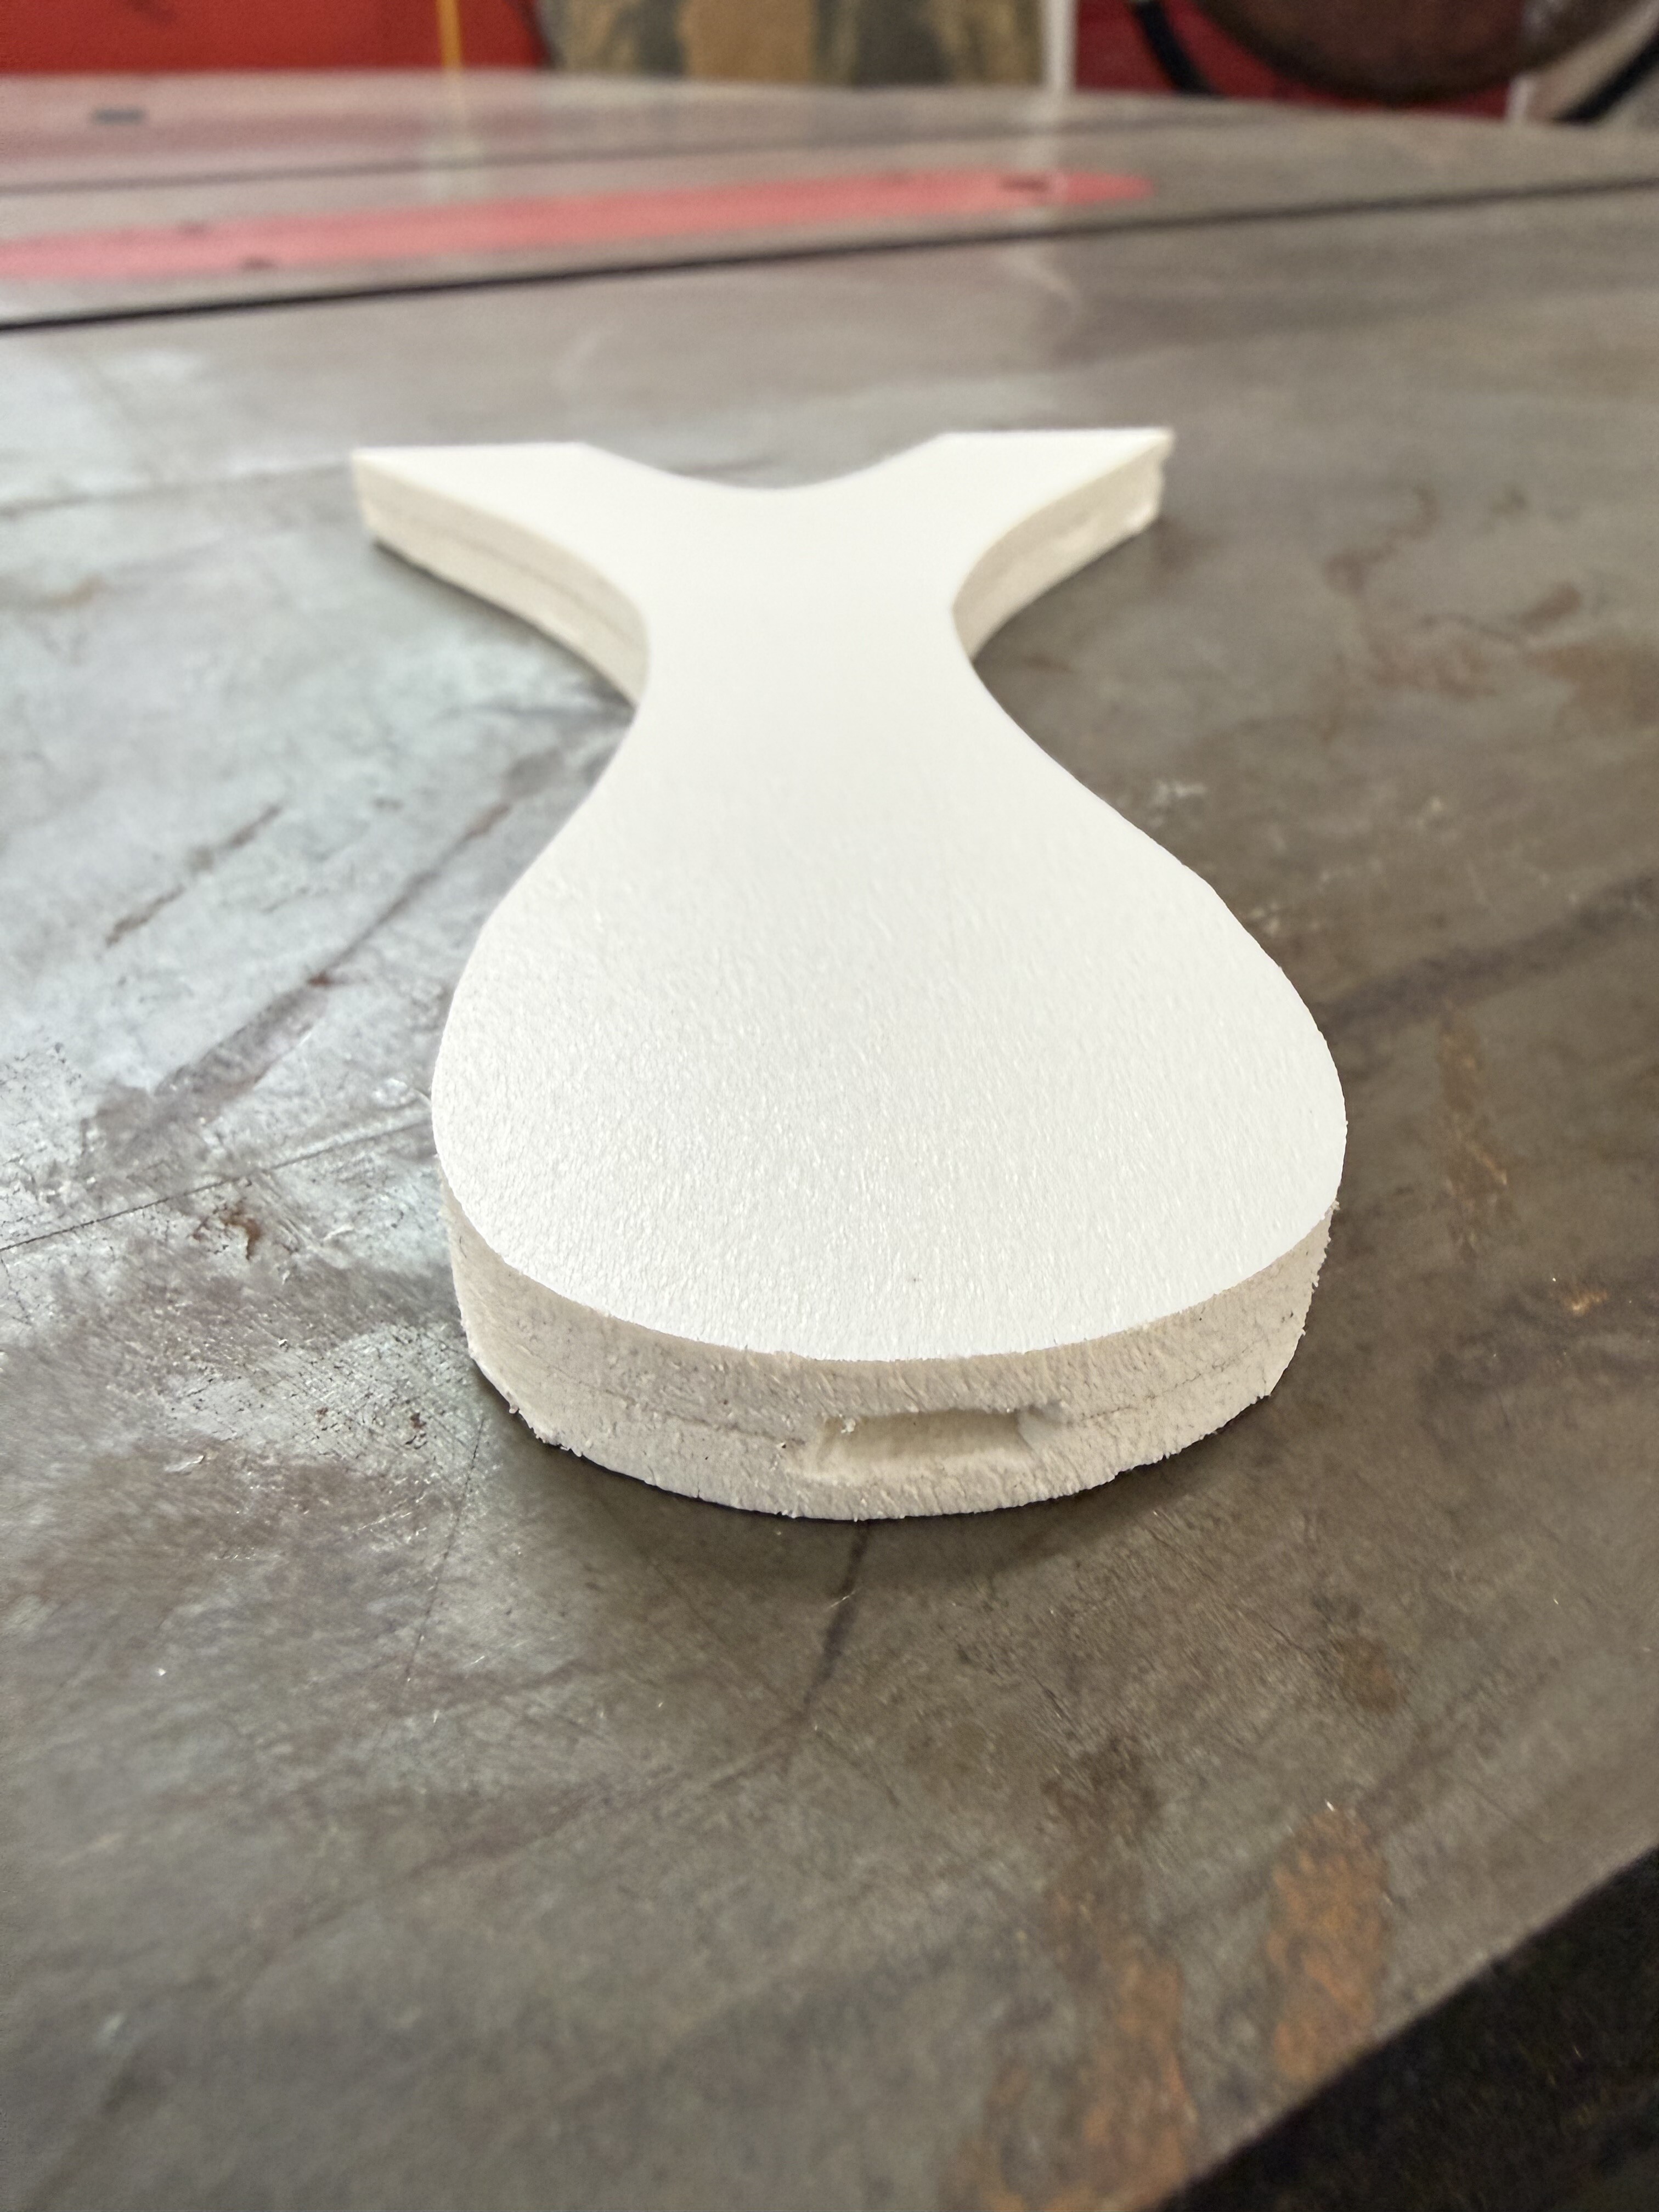
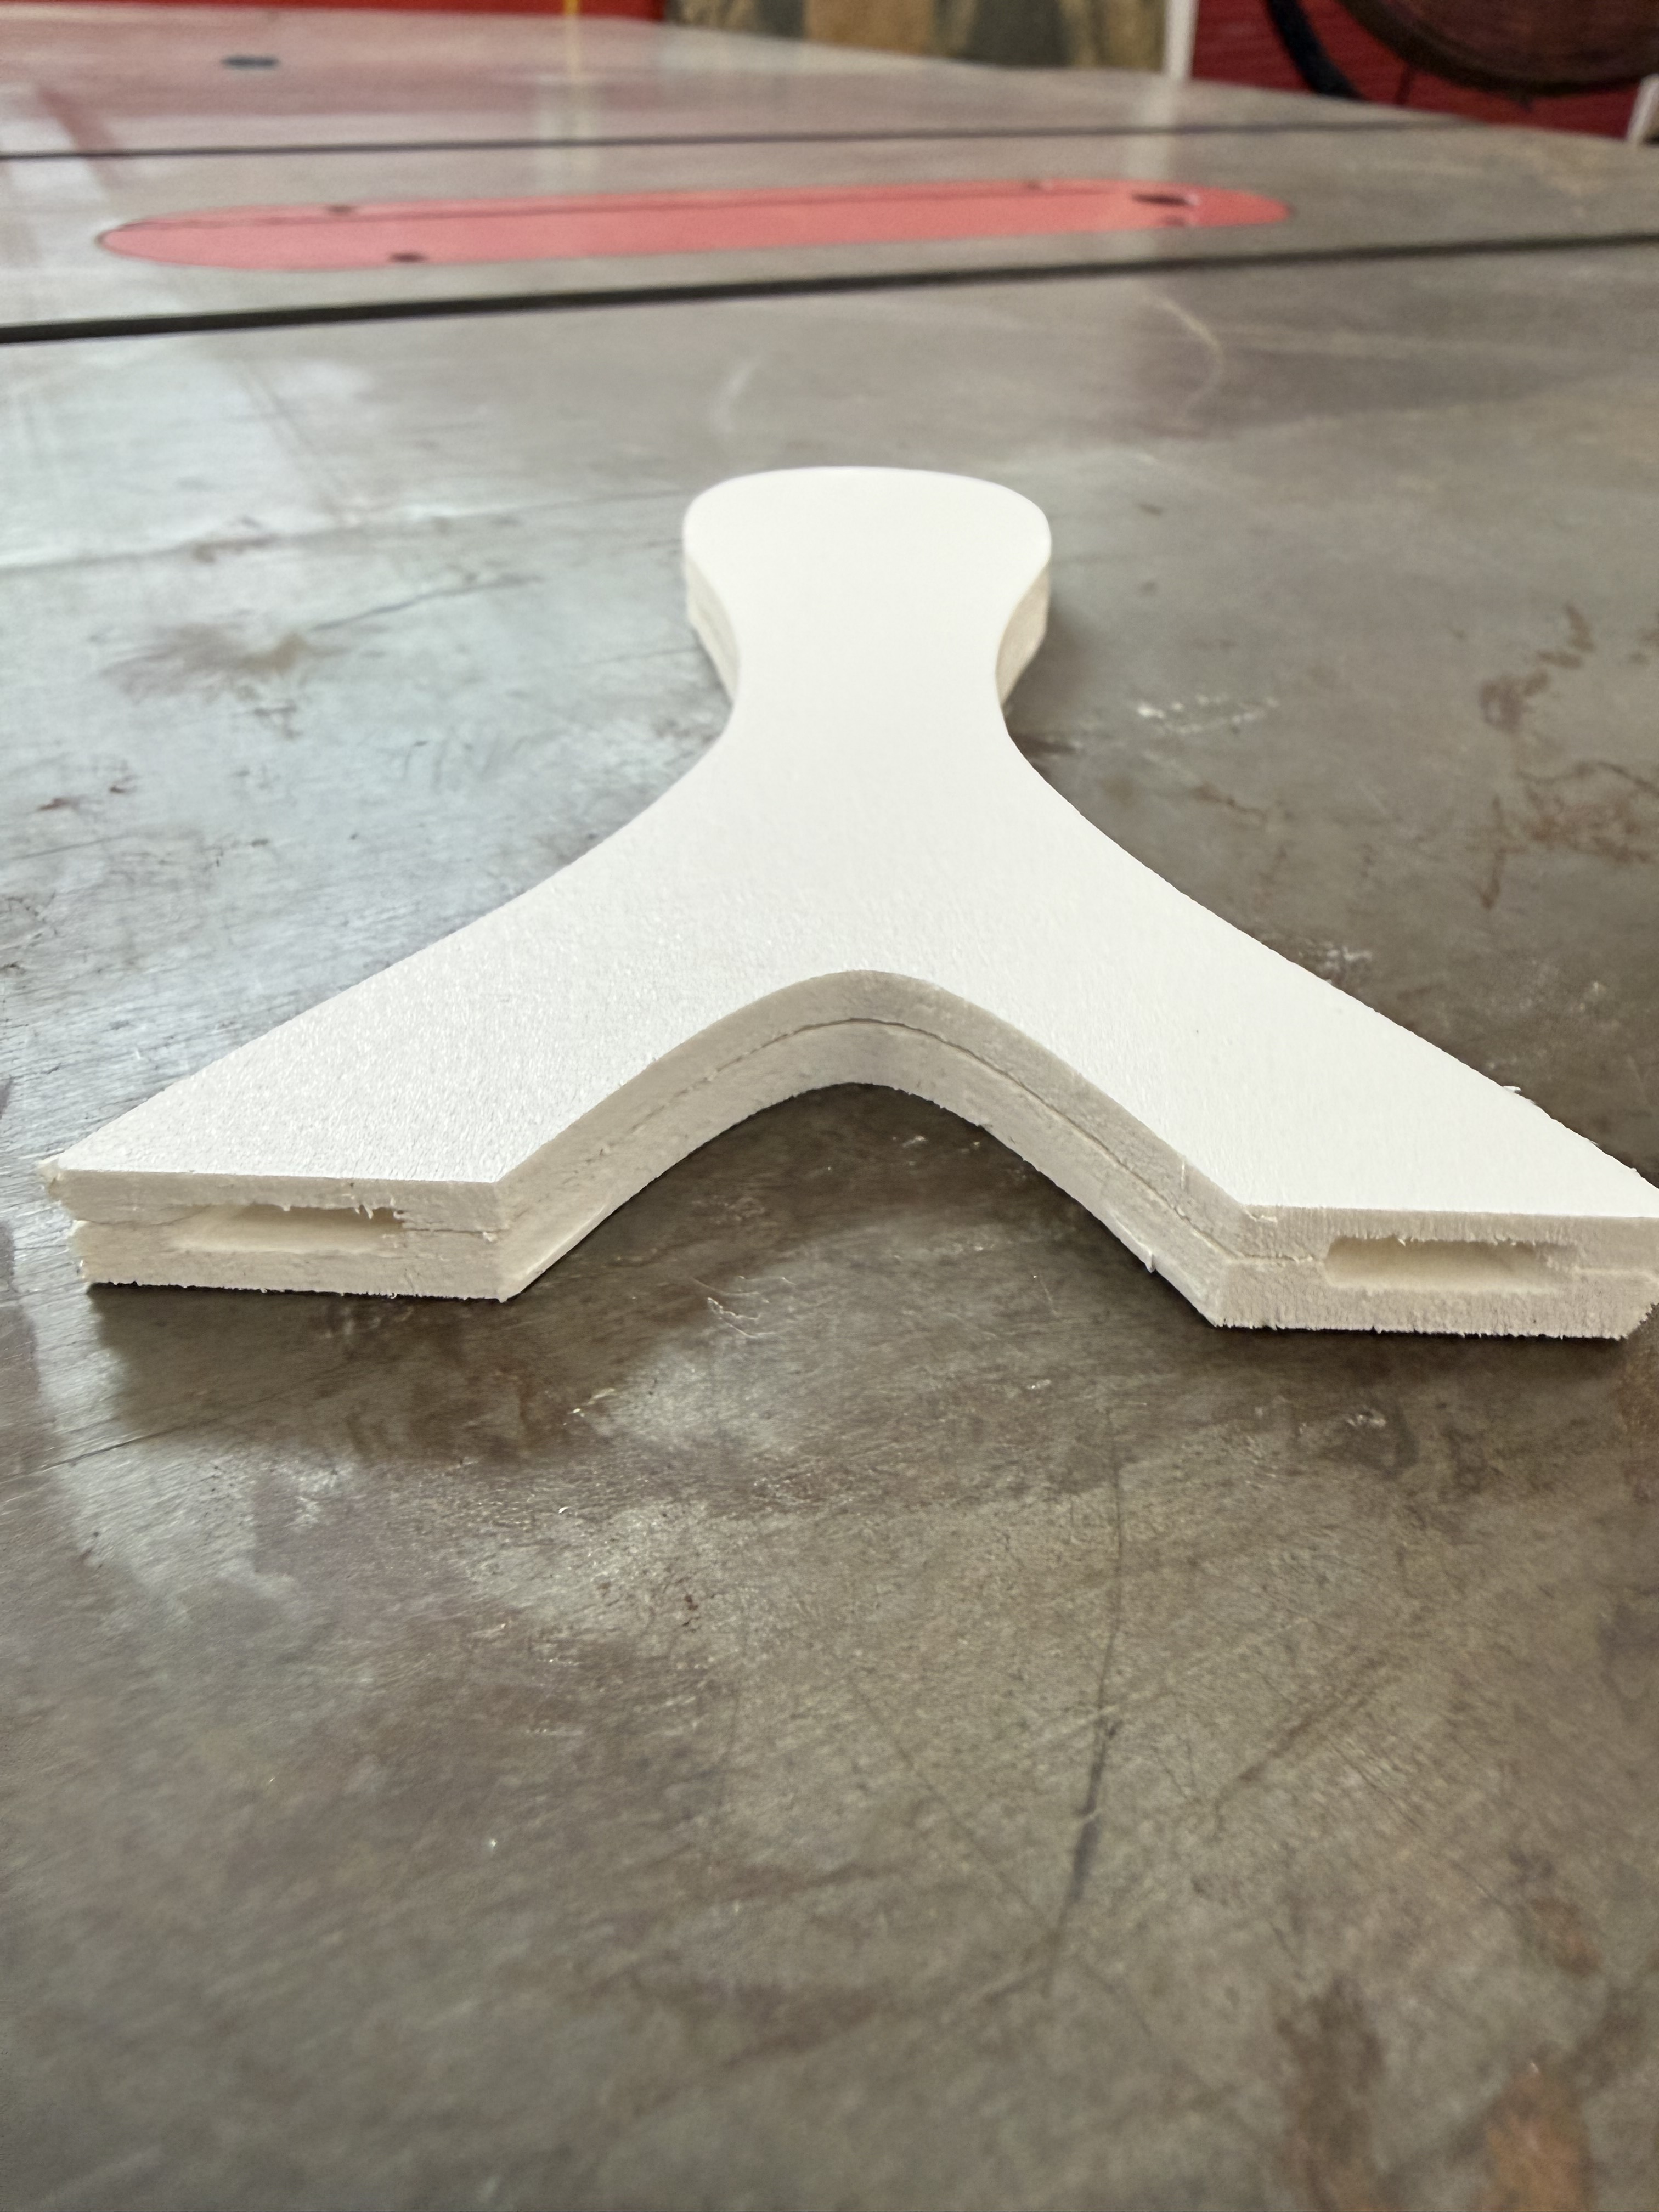
Anyway, I cut a prototype for a local guy who makes slingshots. It’s really just 2 halves of the core which he will add scales to later. I took his napkin sketch (literally) and came up with a design that works.
This is PVC for prototyping but I would like to use HDPE or polycarbonate. I have machined HDPE before but am not sure if polycarbonate would work well with those pockets.
Maybe eventually try aluminum. Total thickness of the two halves together is about .375”
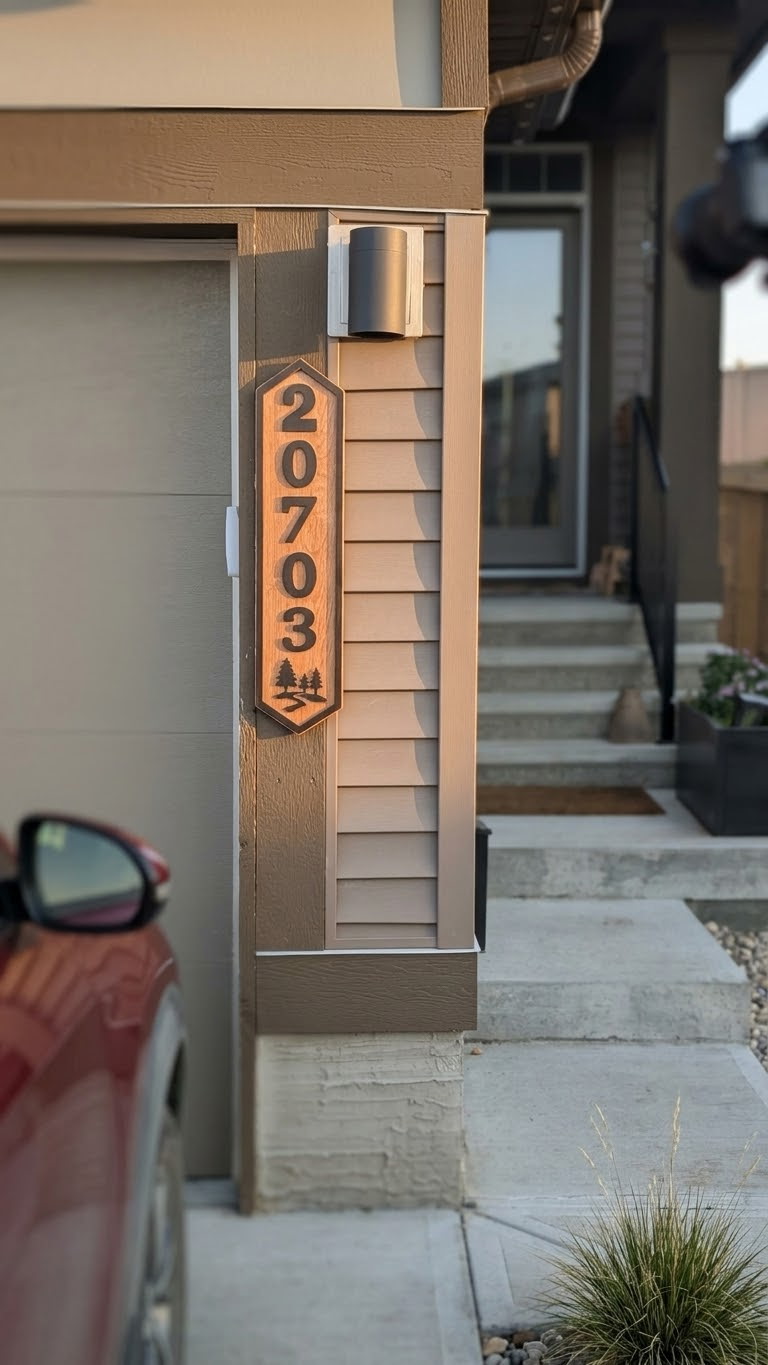
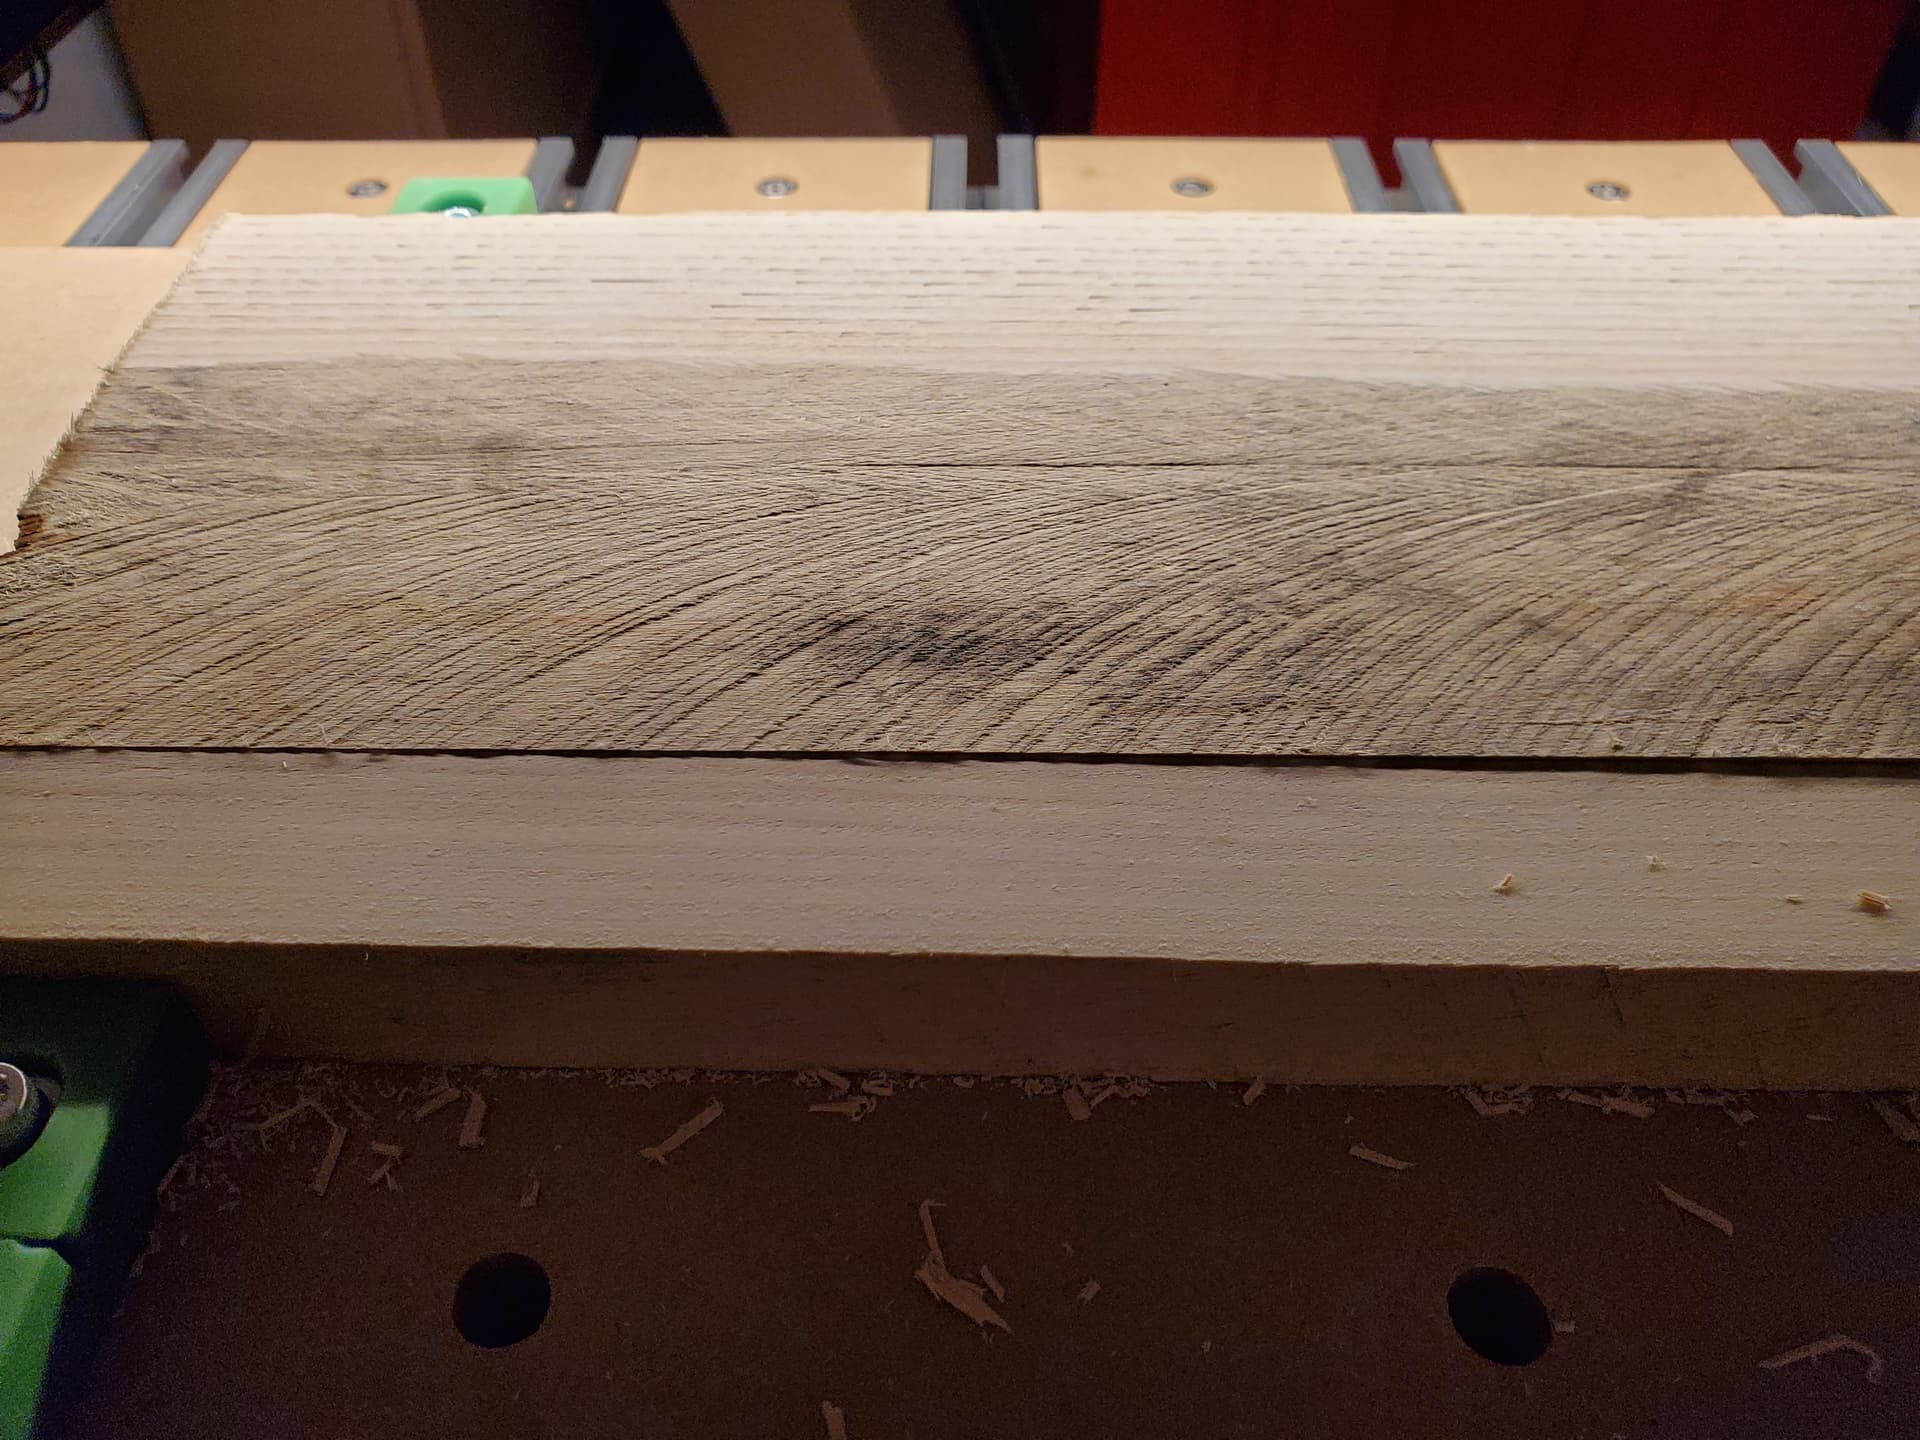
I used the v bit to do contours for the lines sine they were so fine. Vcarve the heart. Did an epoxy inlay for it all. My first time I ran it I didn’t coat enough finish in the grooves before the epoxy and carved way too deep and had some bleed over so I ran it again and made sure to use a tooth push to get into the carves a couple of times then I finally poured the black epoxy and went in smaller surfacing passes to get it this one. It took a couple of rounds but it worked. Thank you. I tried a method of jointing some boards together that came out pretty good, the middle is alder and with some oil based poly it looks similar to the light shades of cherry I have.
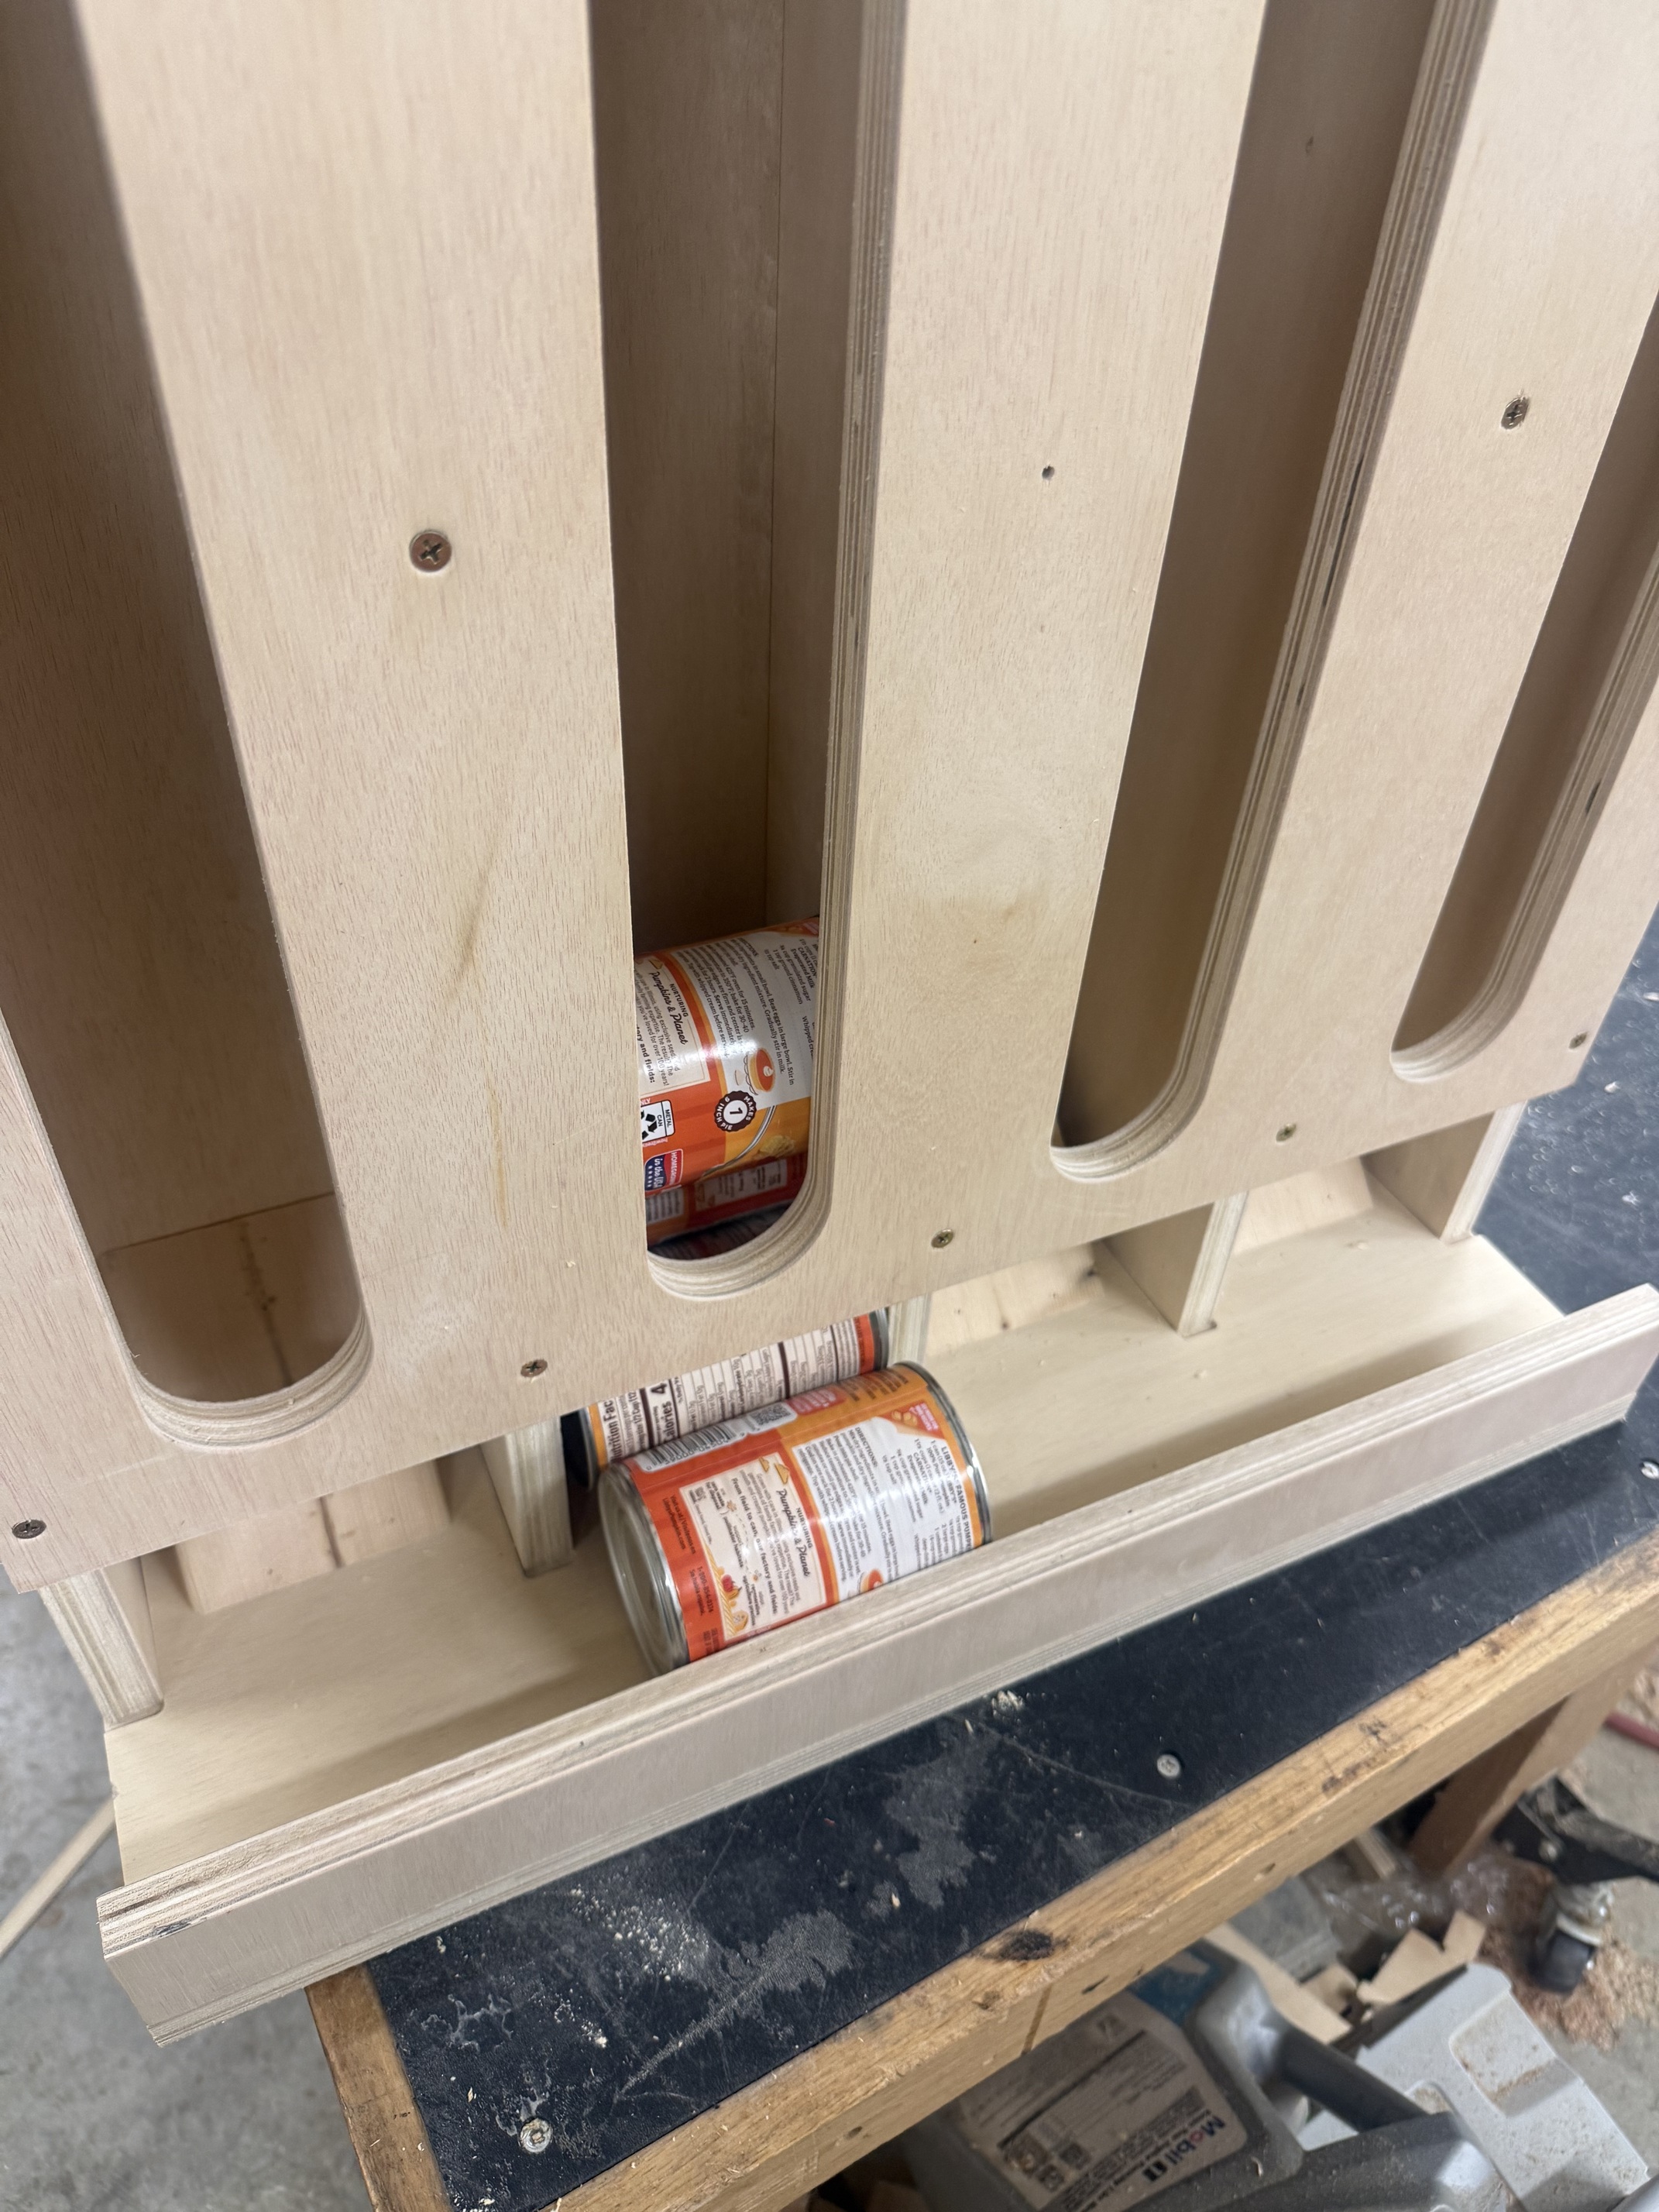
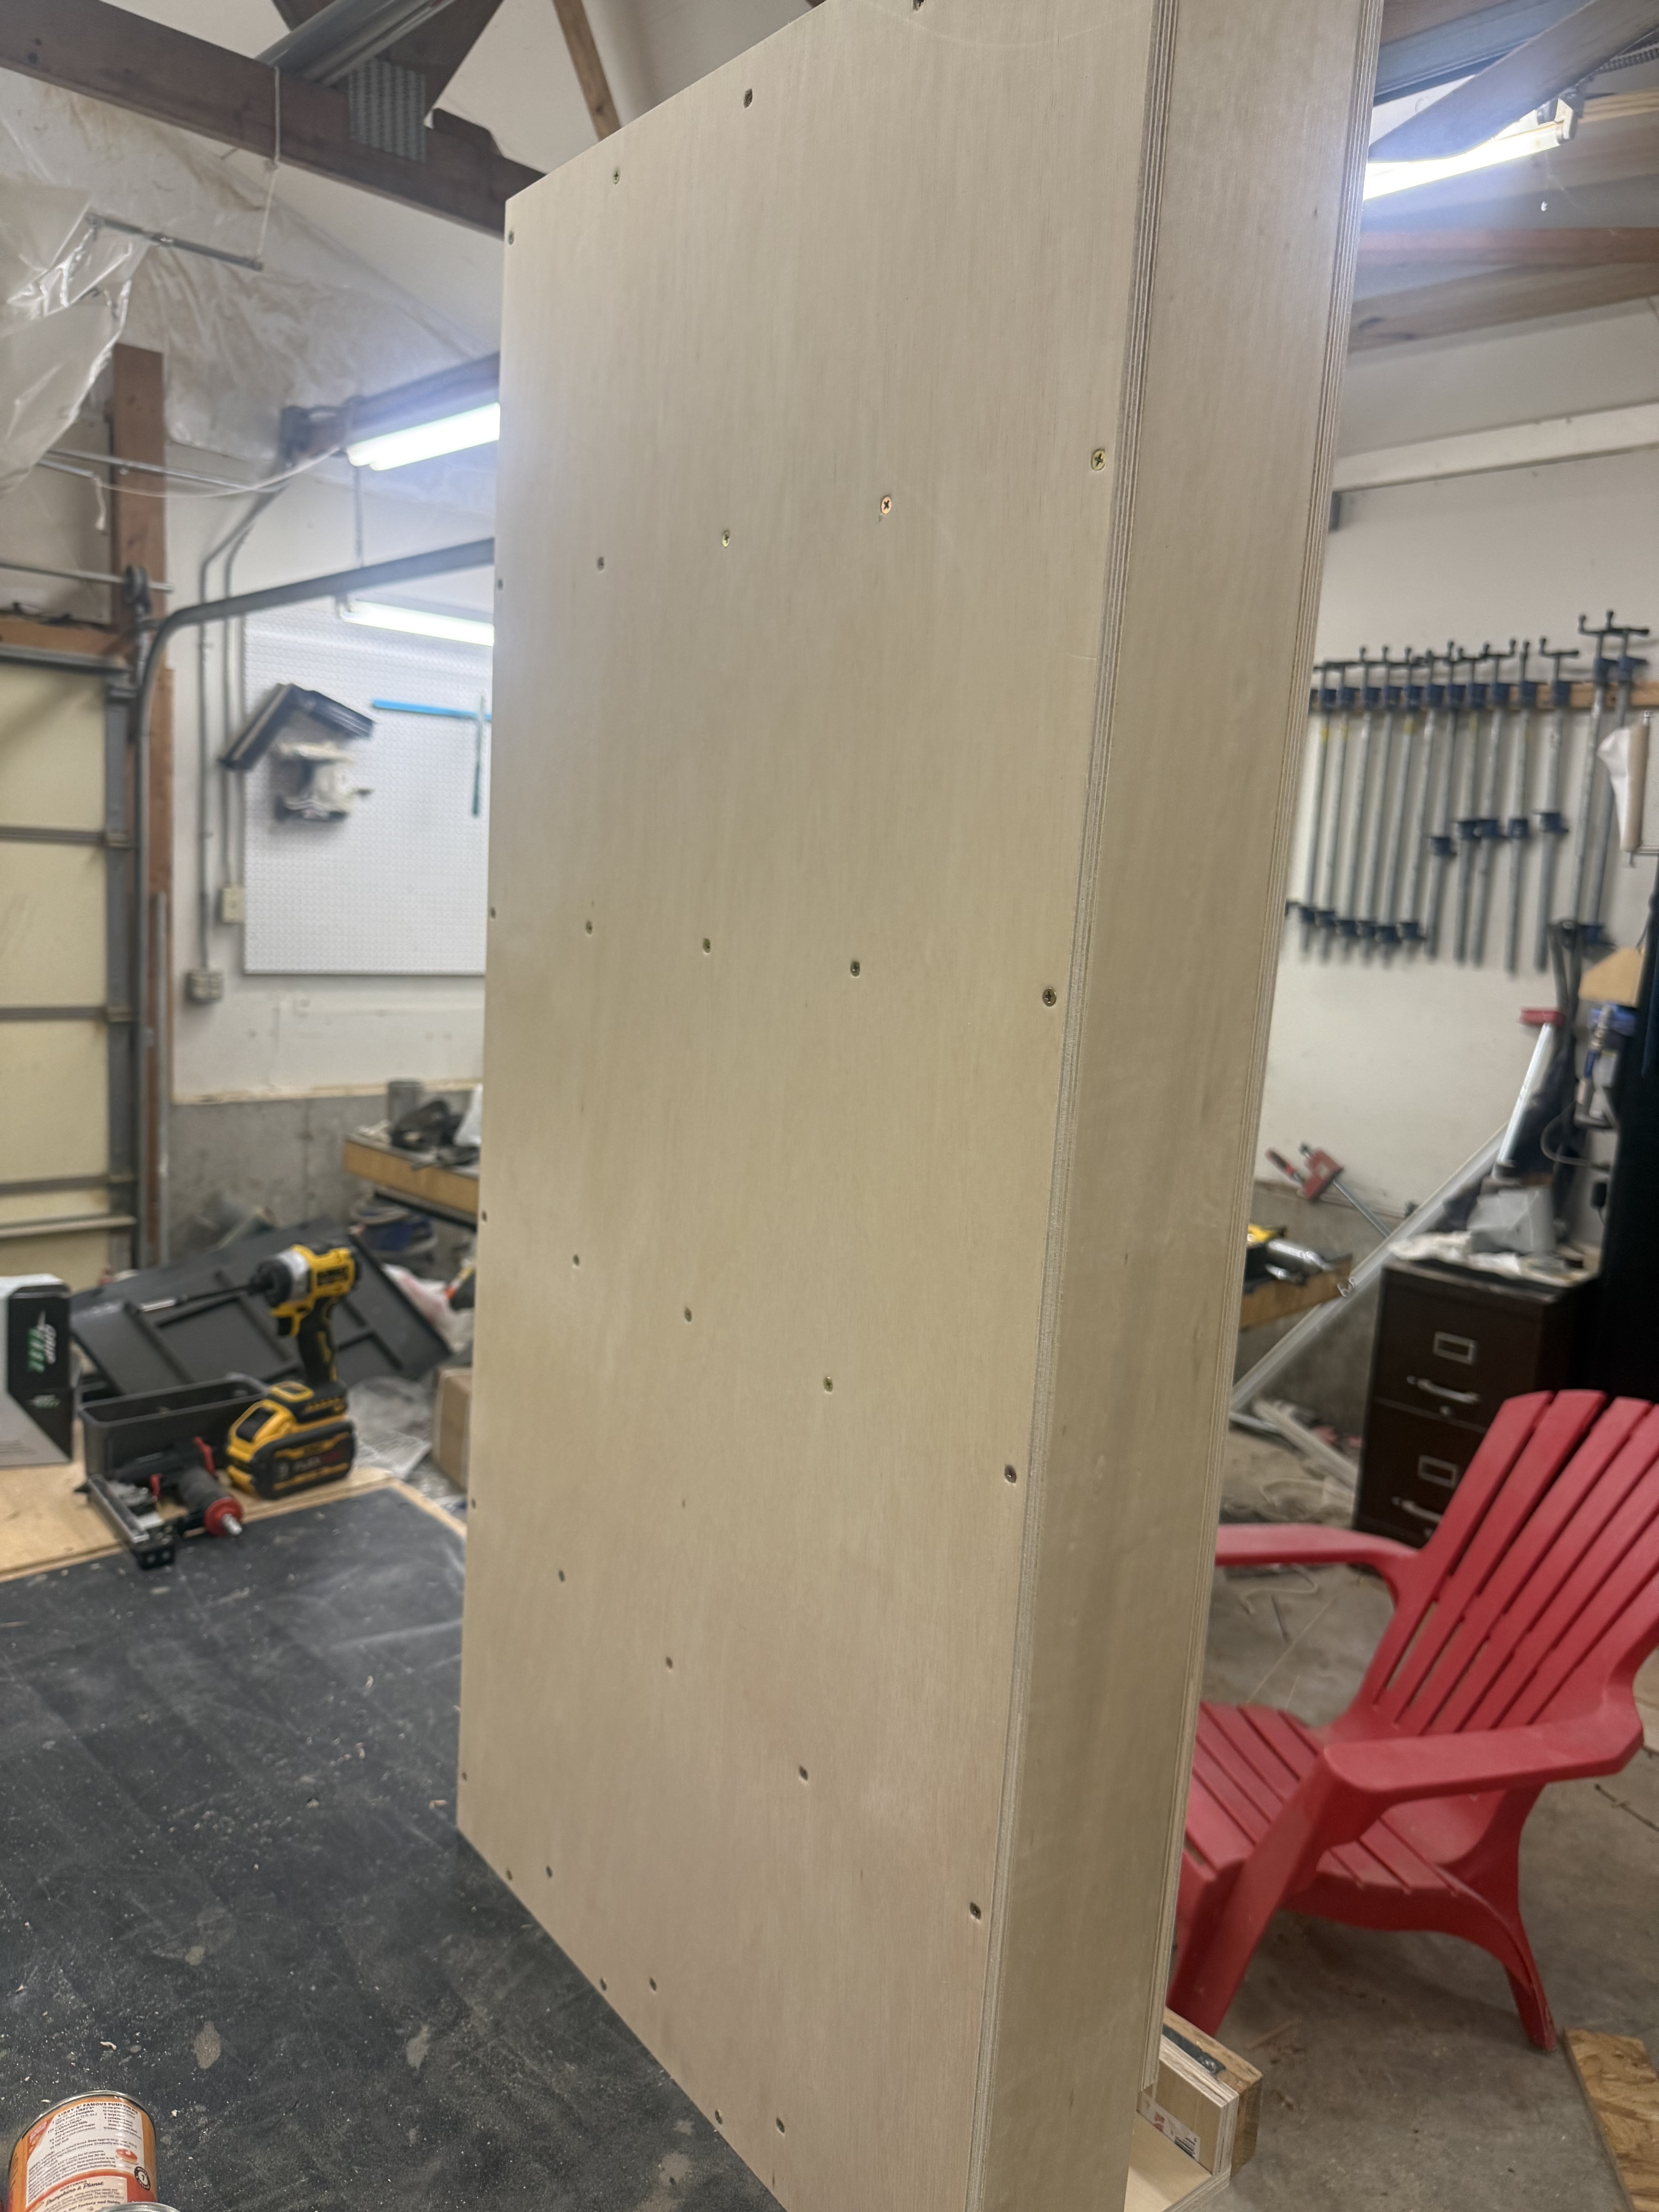
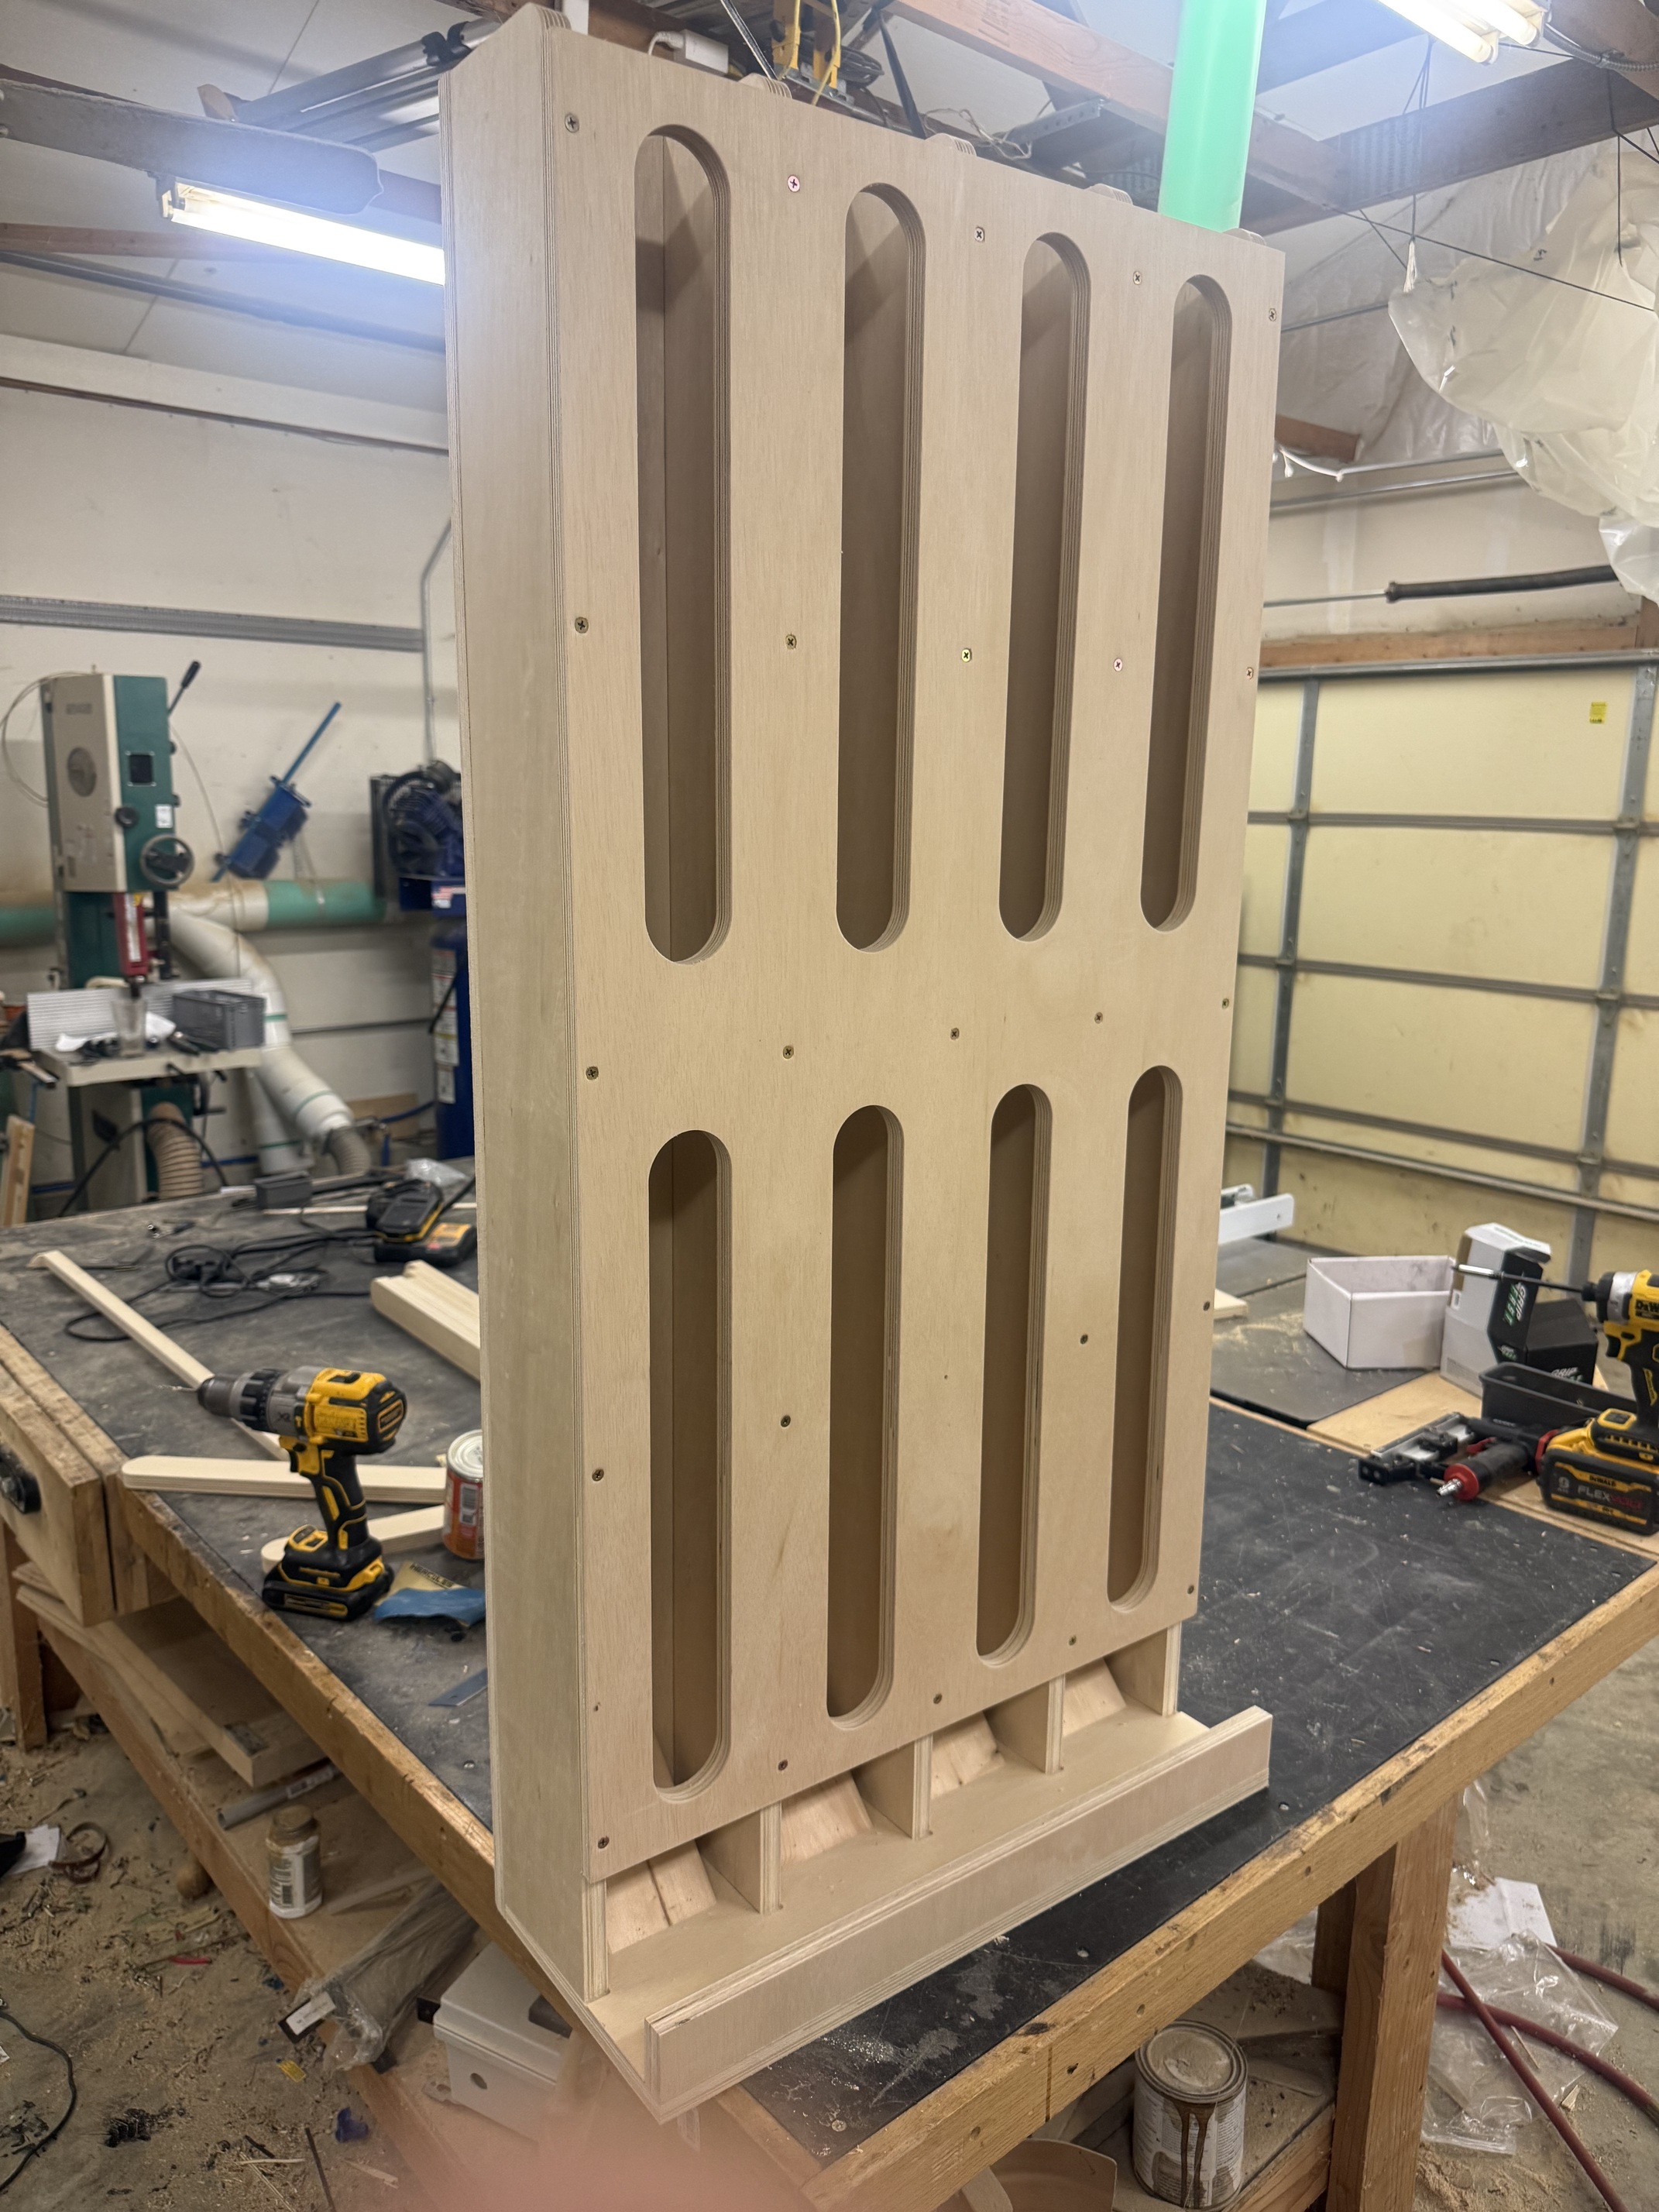
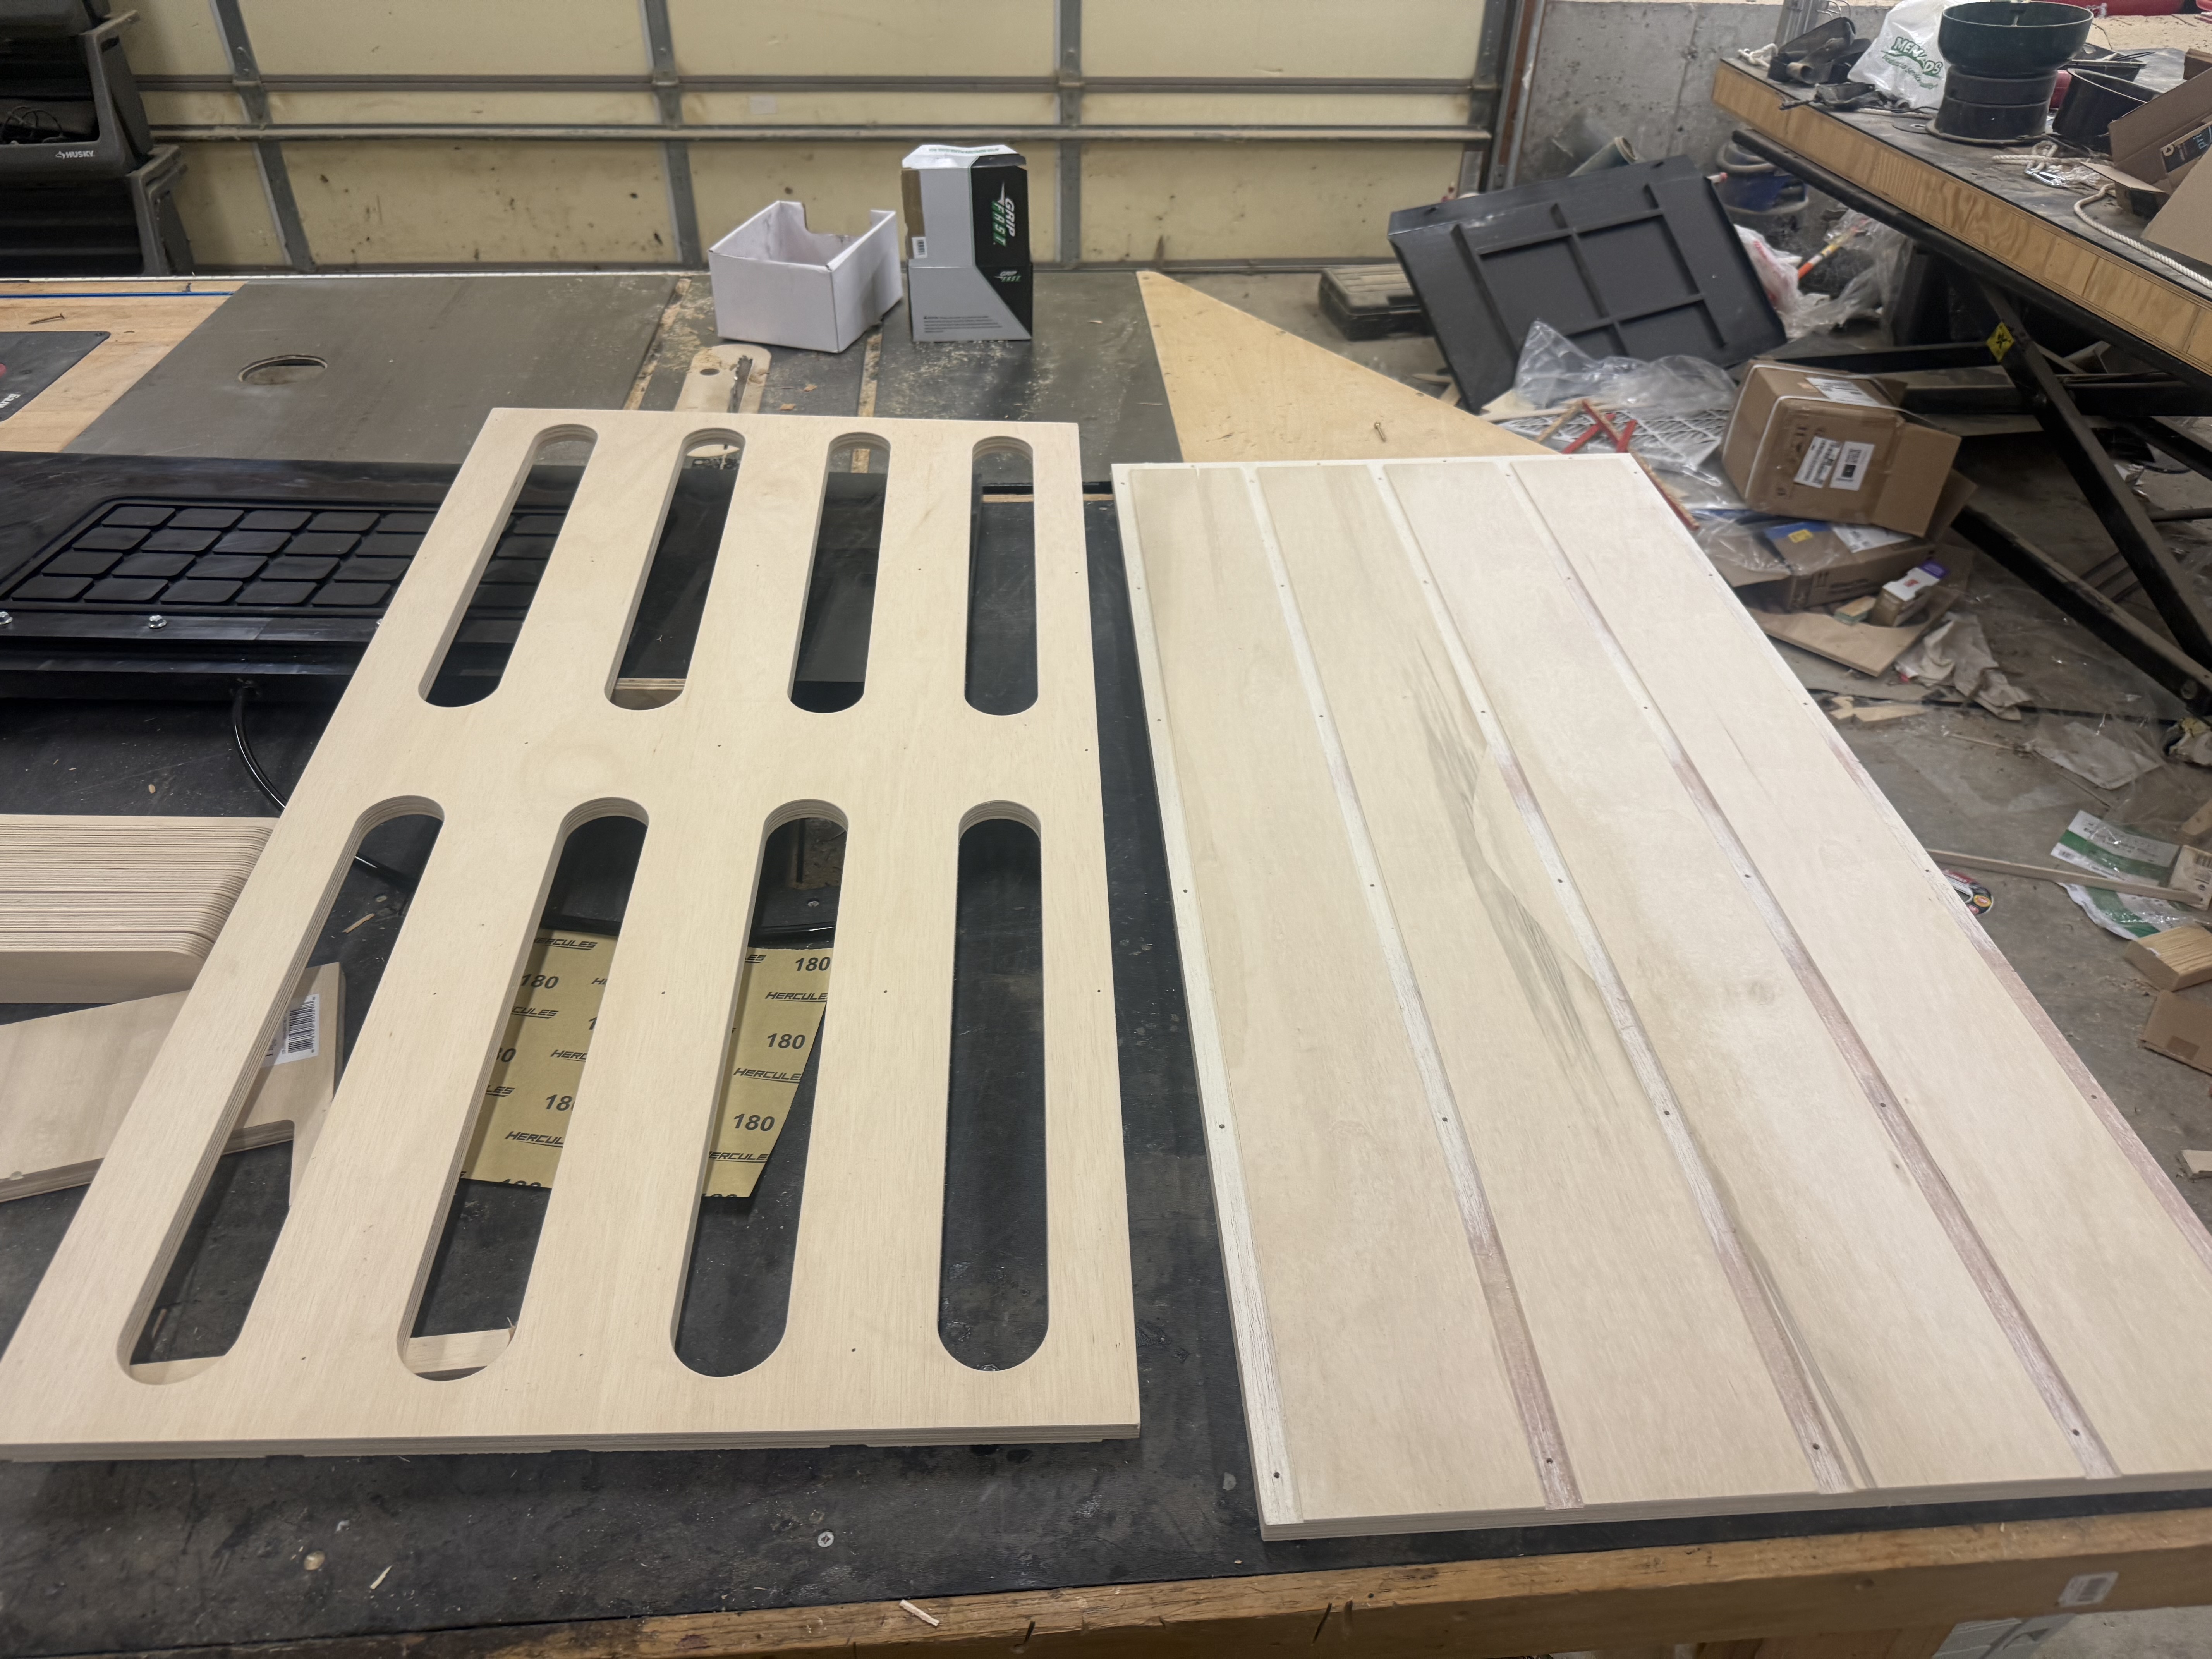
Have spent a couple hours after work last week designing this and finally got time between paying the bills to make the first prototype.
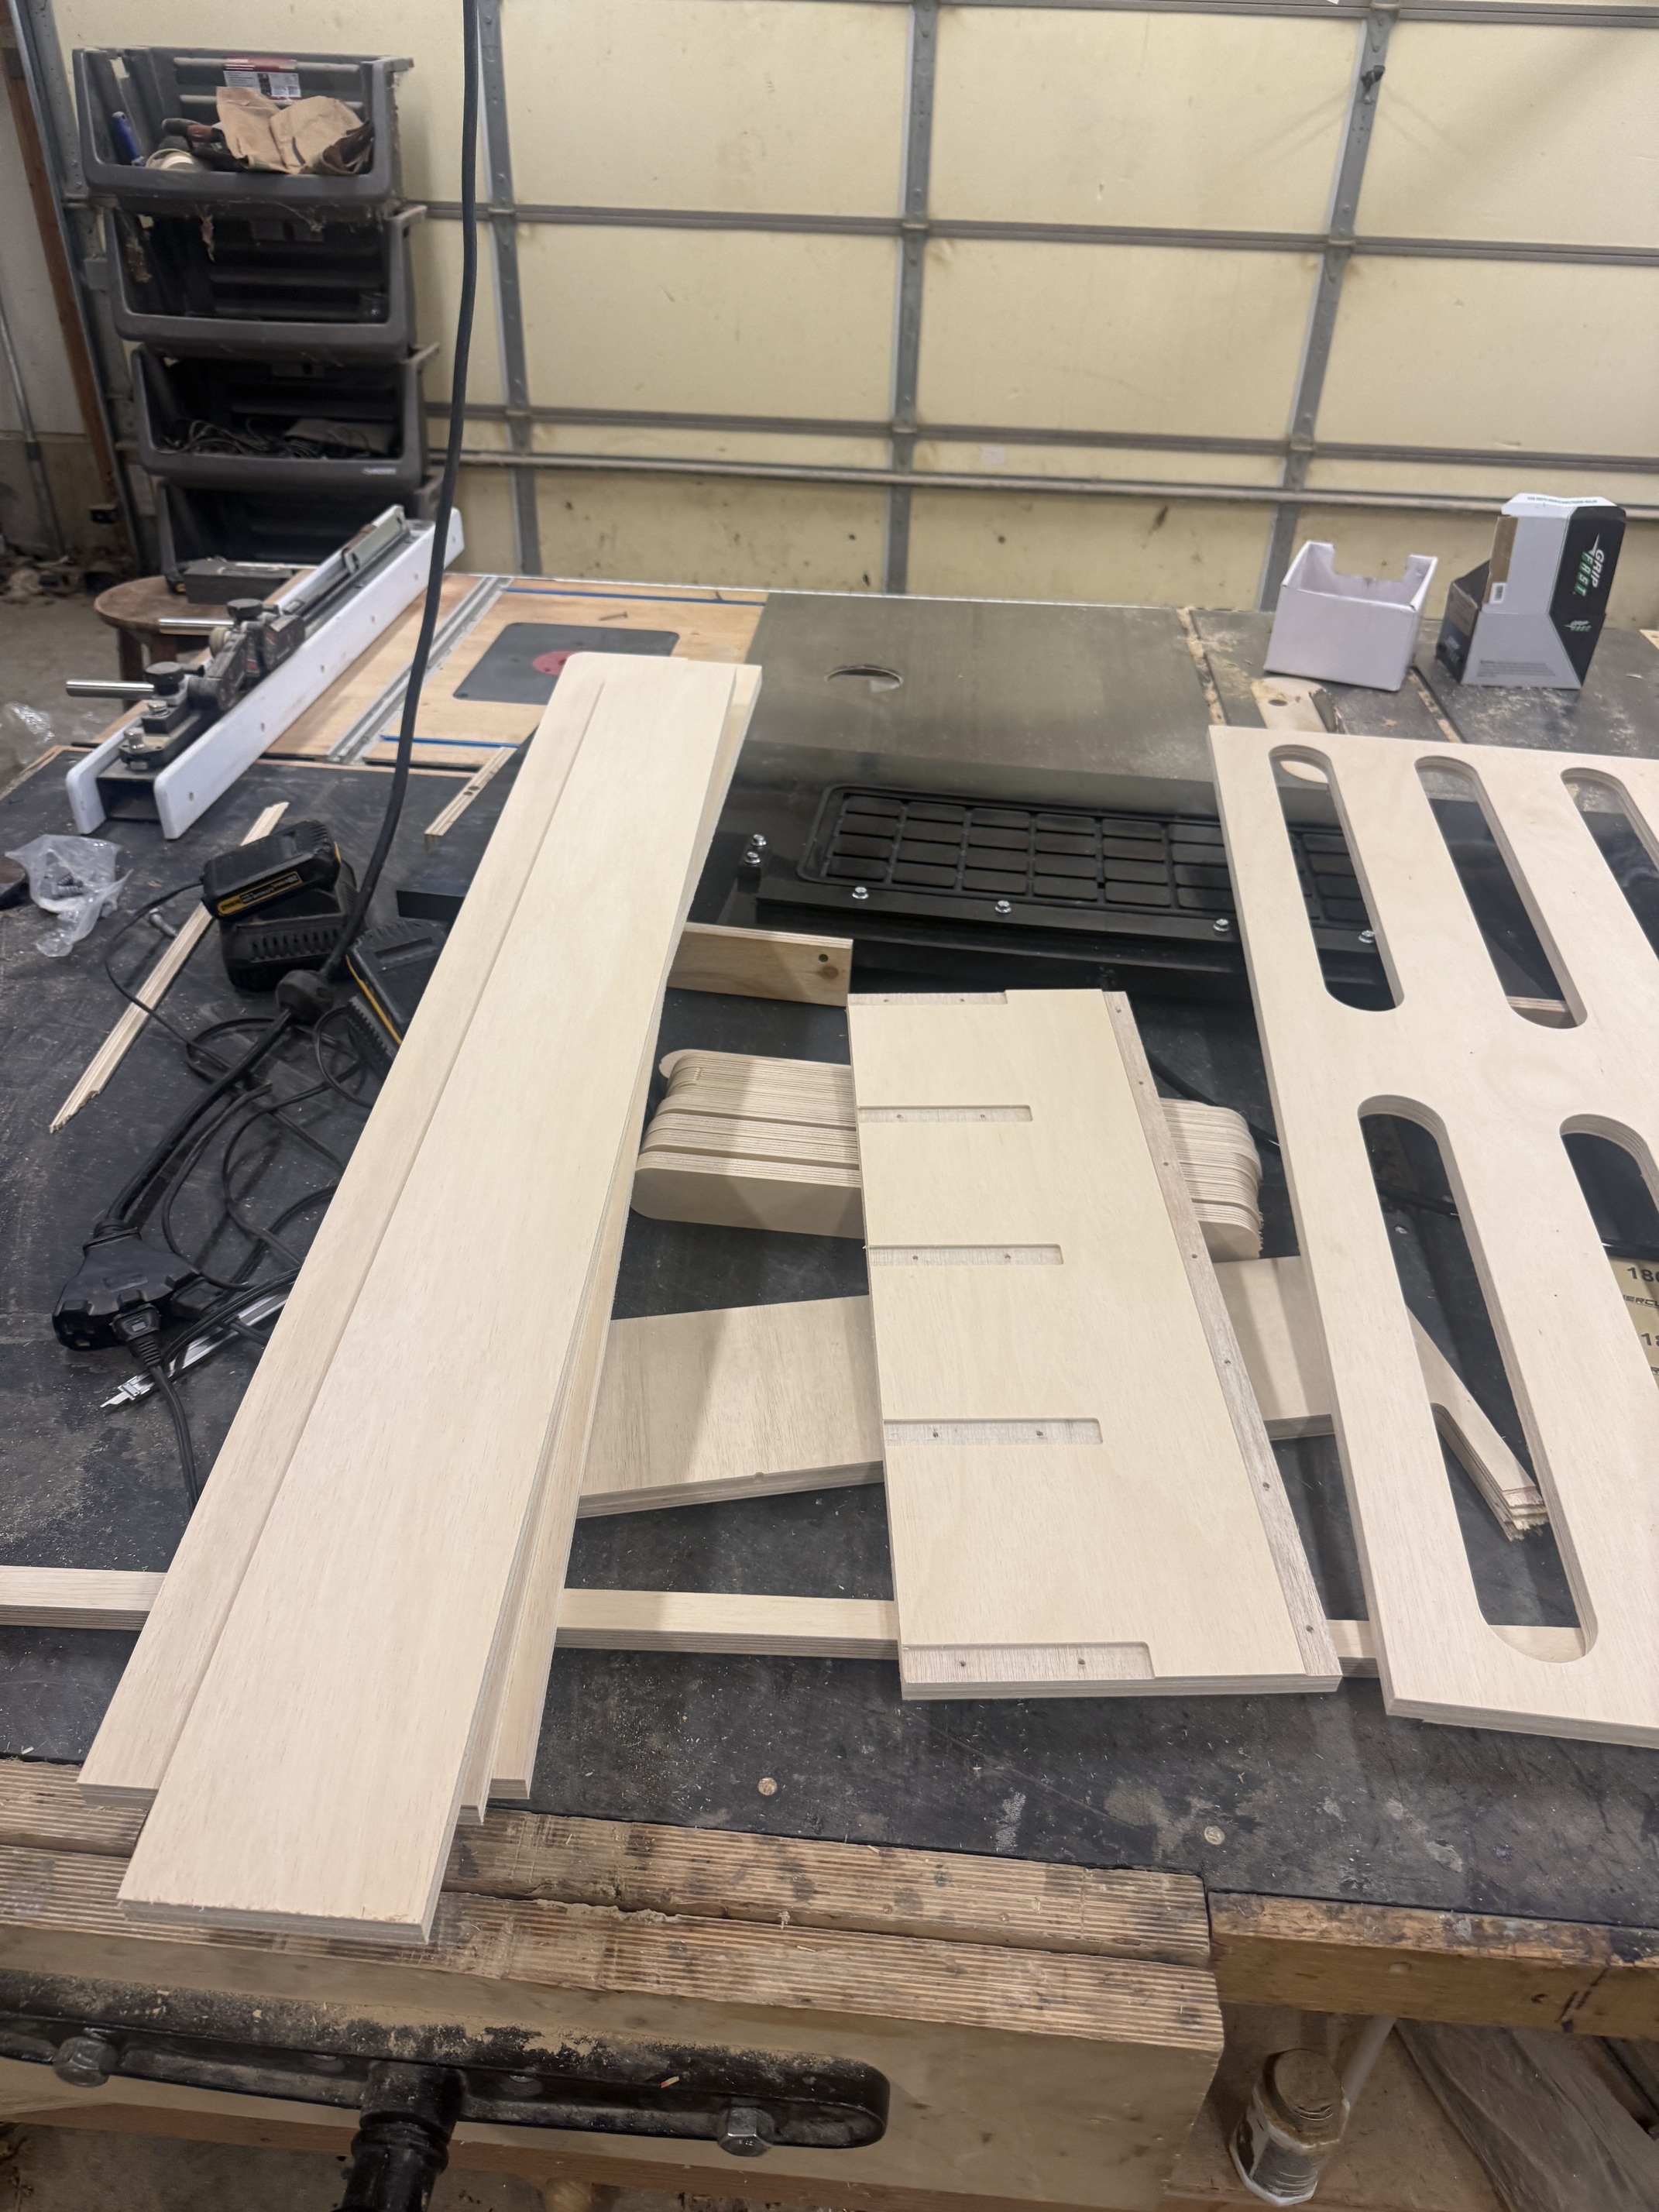
Every cut dado and pre drill all completed on the machine. Just screws to gather with some pilot holes added to the vertical runners.
I normally would countersink on the machine too but the dados dictate the counter sinks against the waste board.
The dados are not necessary. It just make it a breeze to assemble.
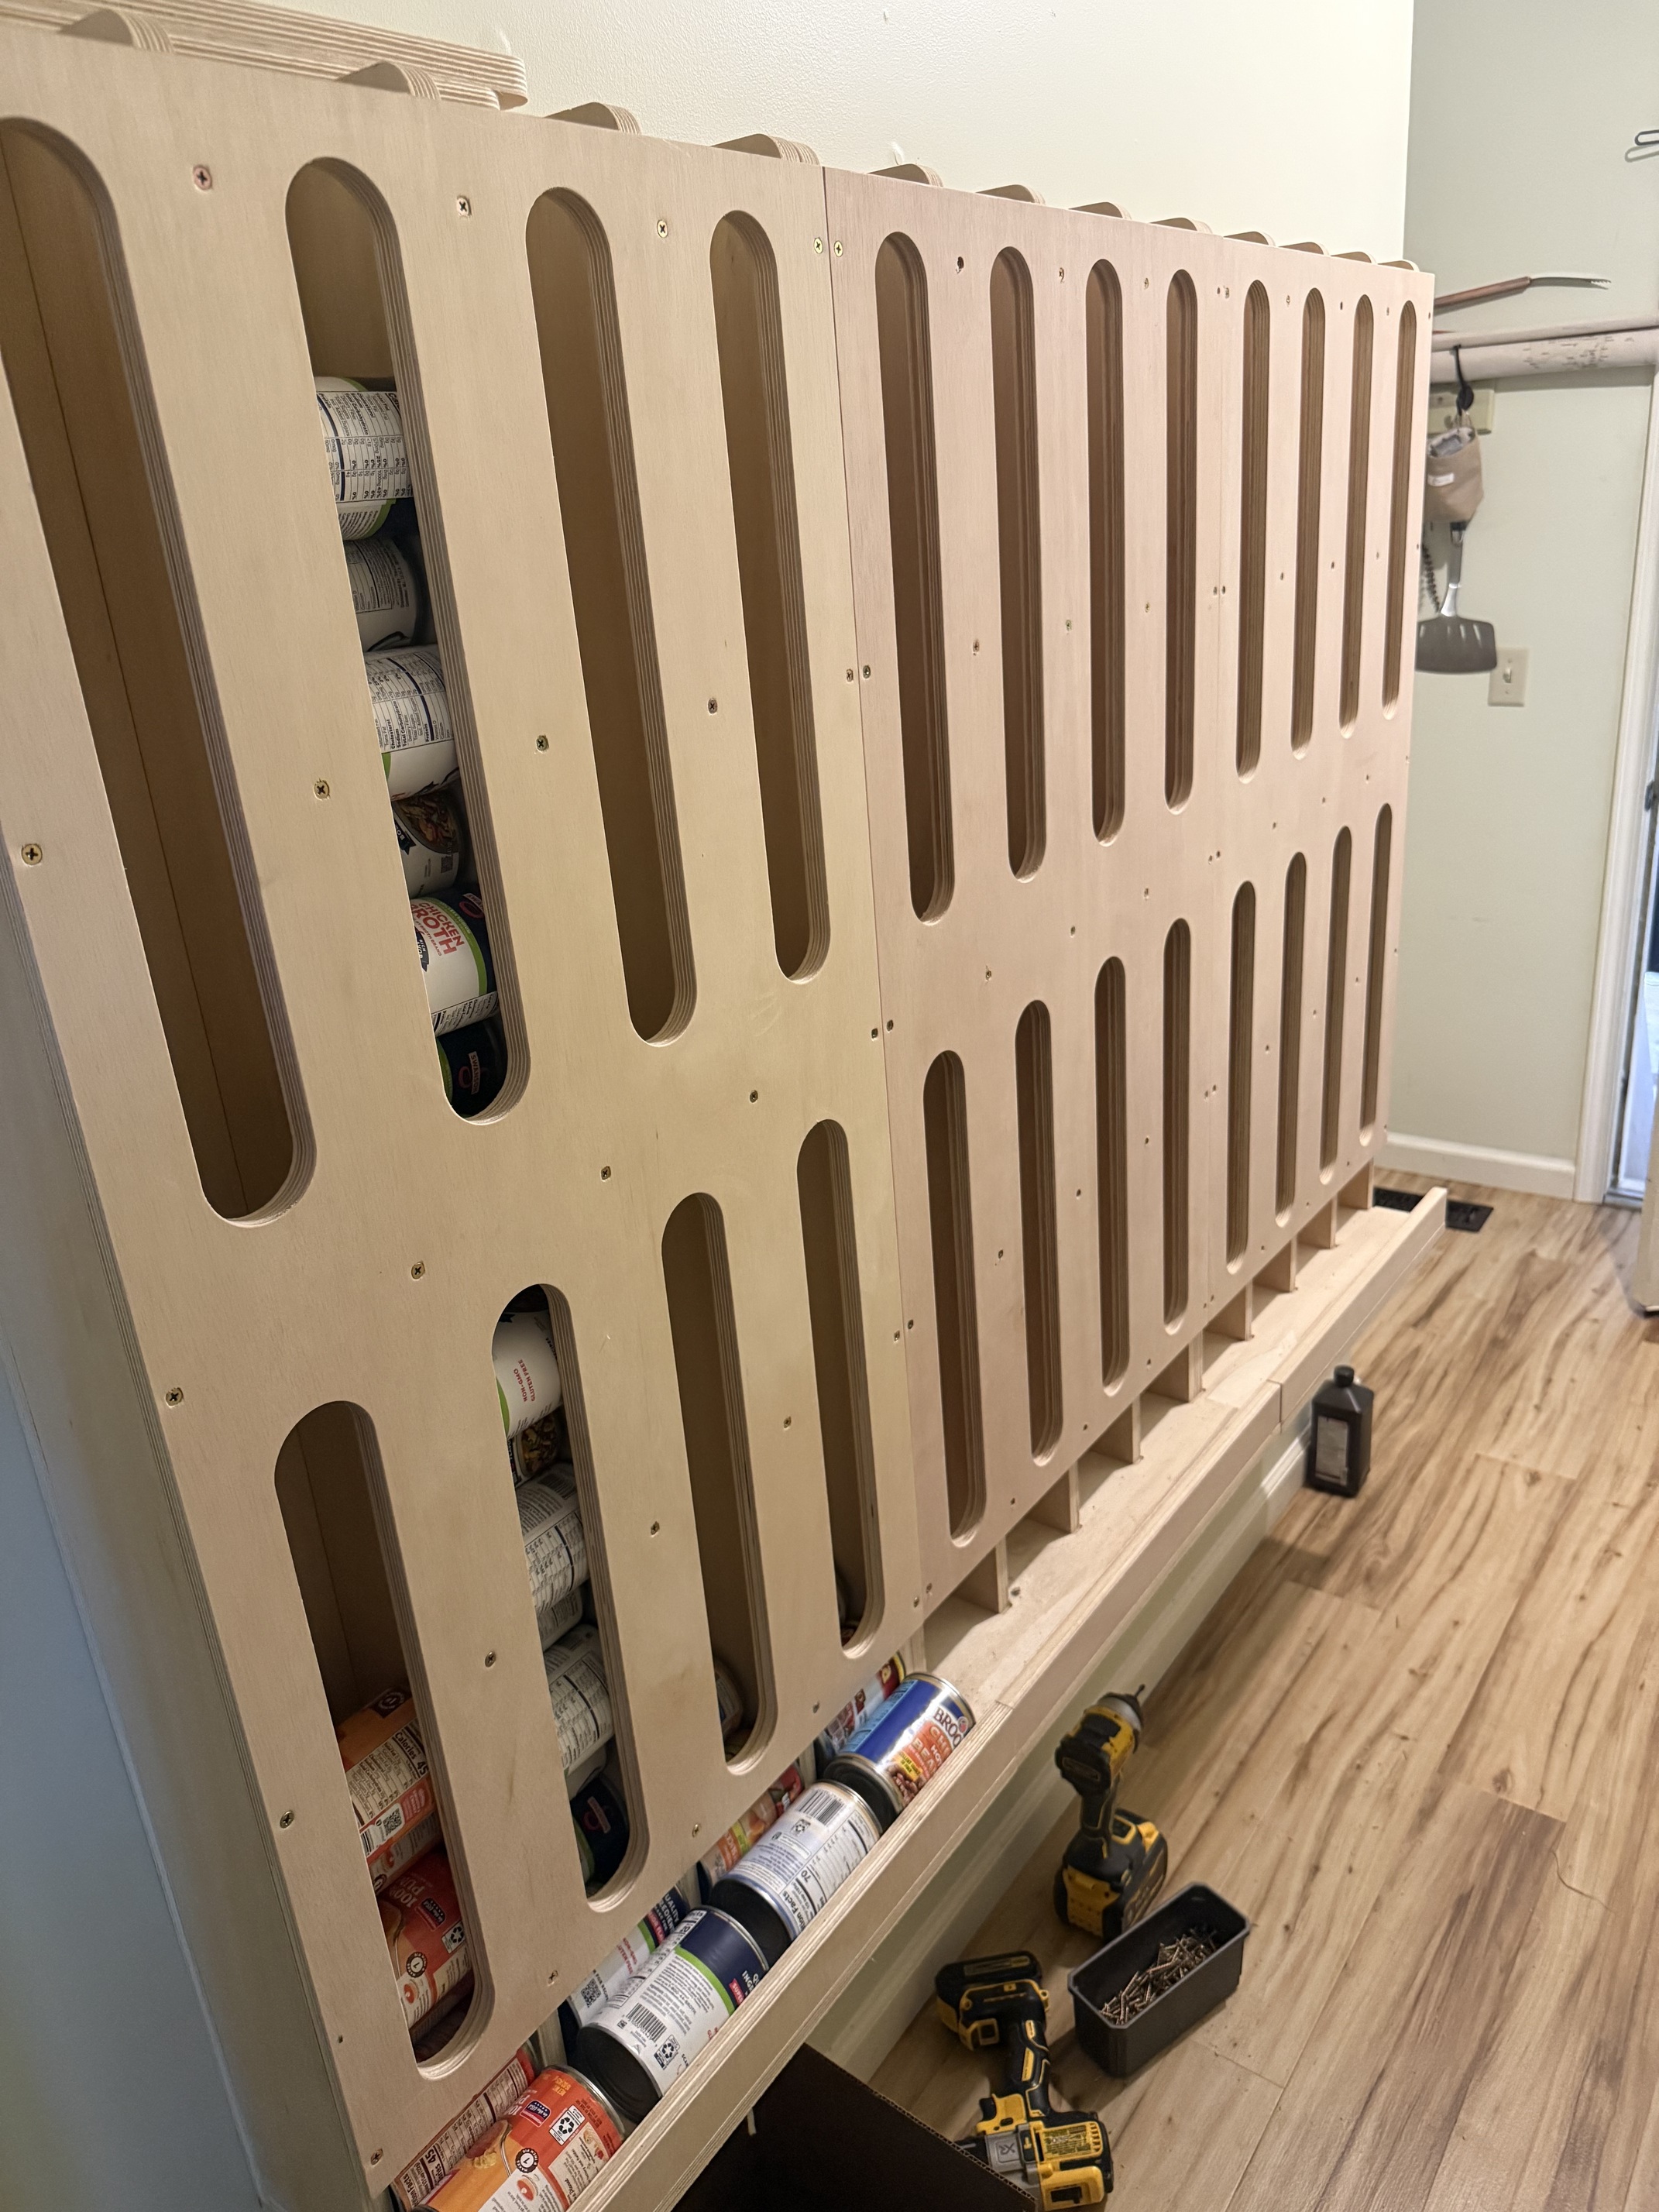
This can run the most common sizes as is. The smaller cans would require plywood spacers in the sides. And the next size up just needs a slightly shorter front cover.
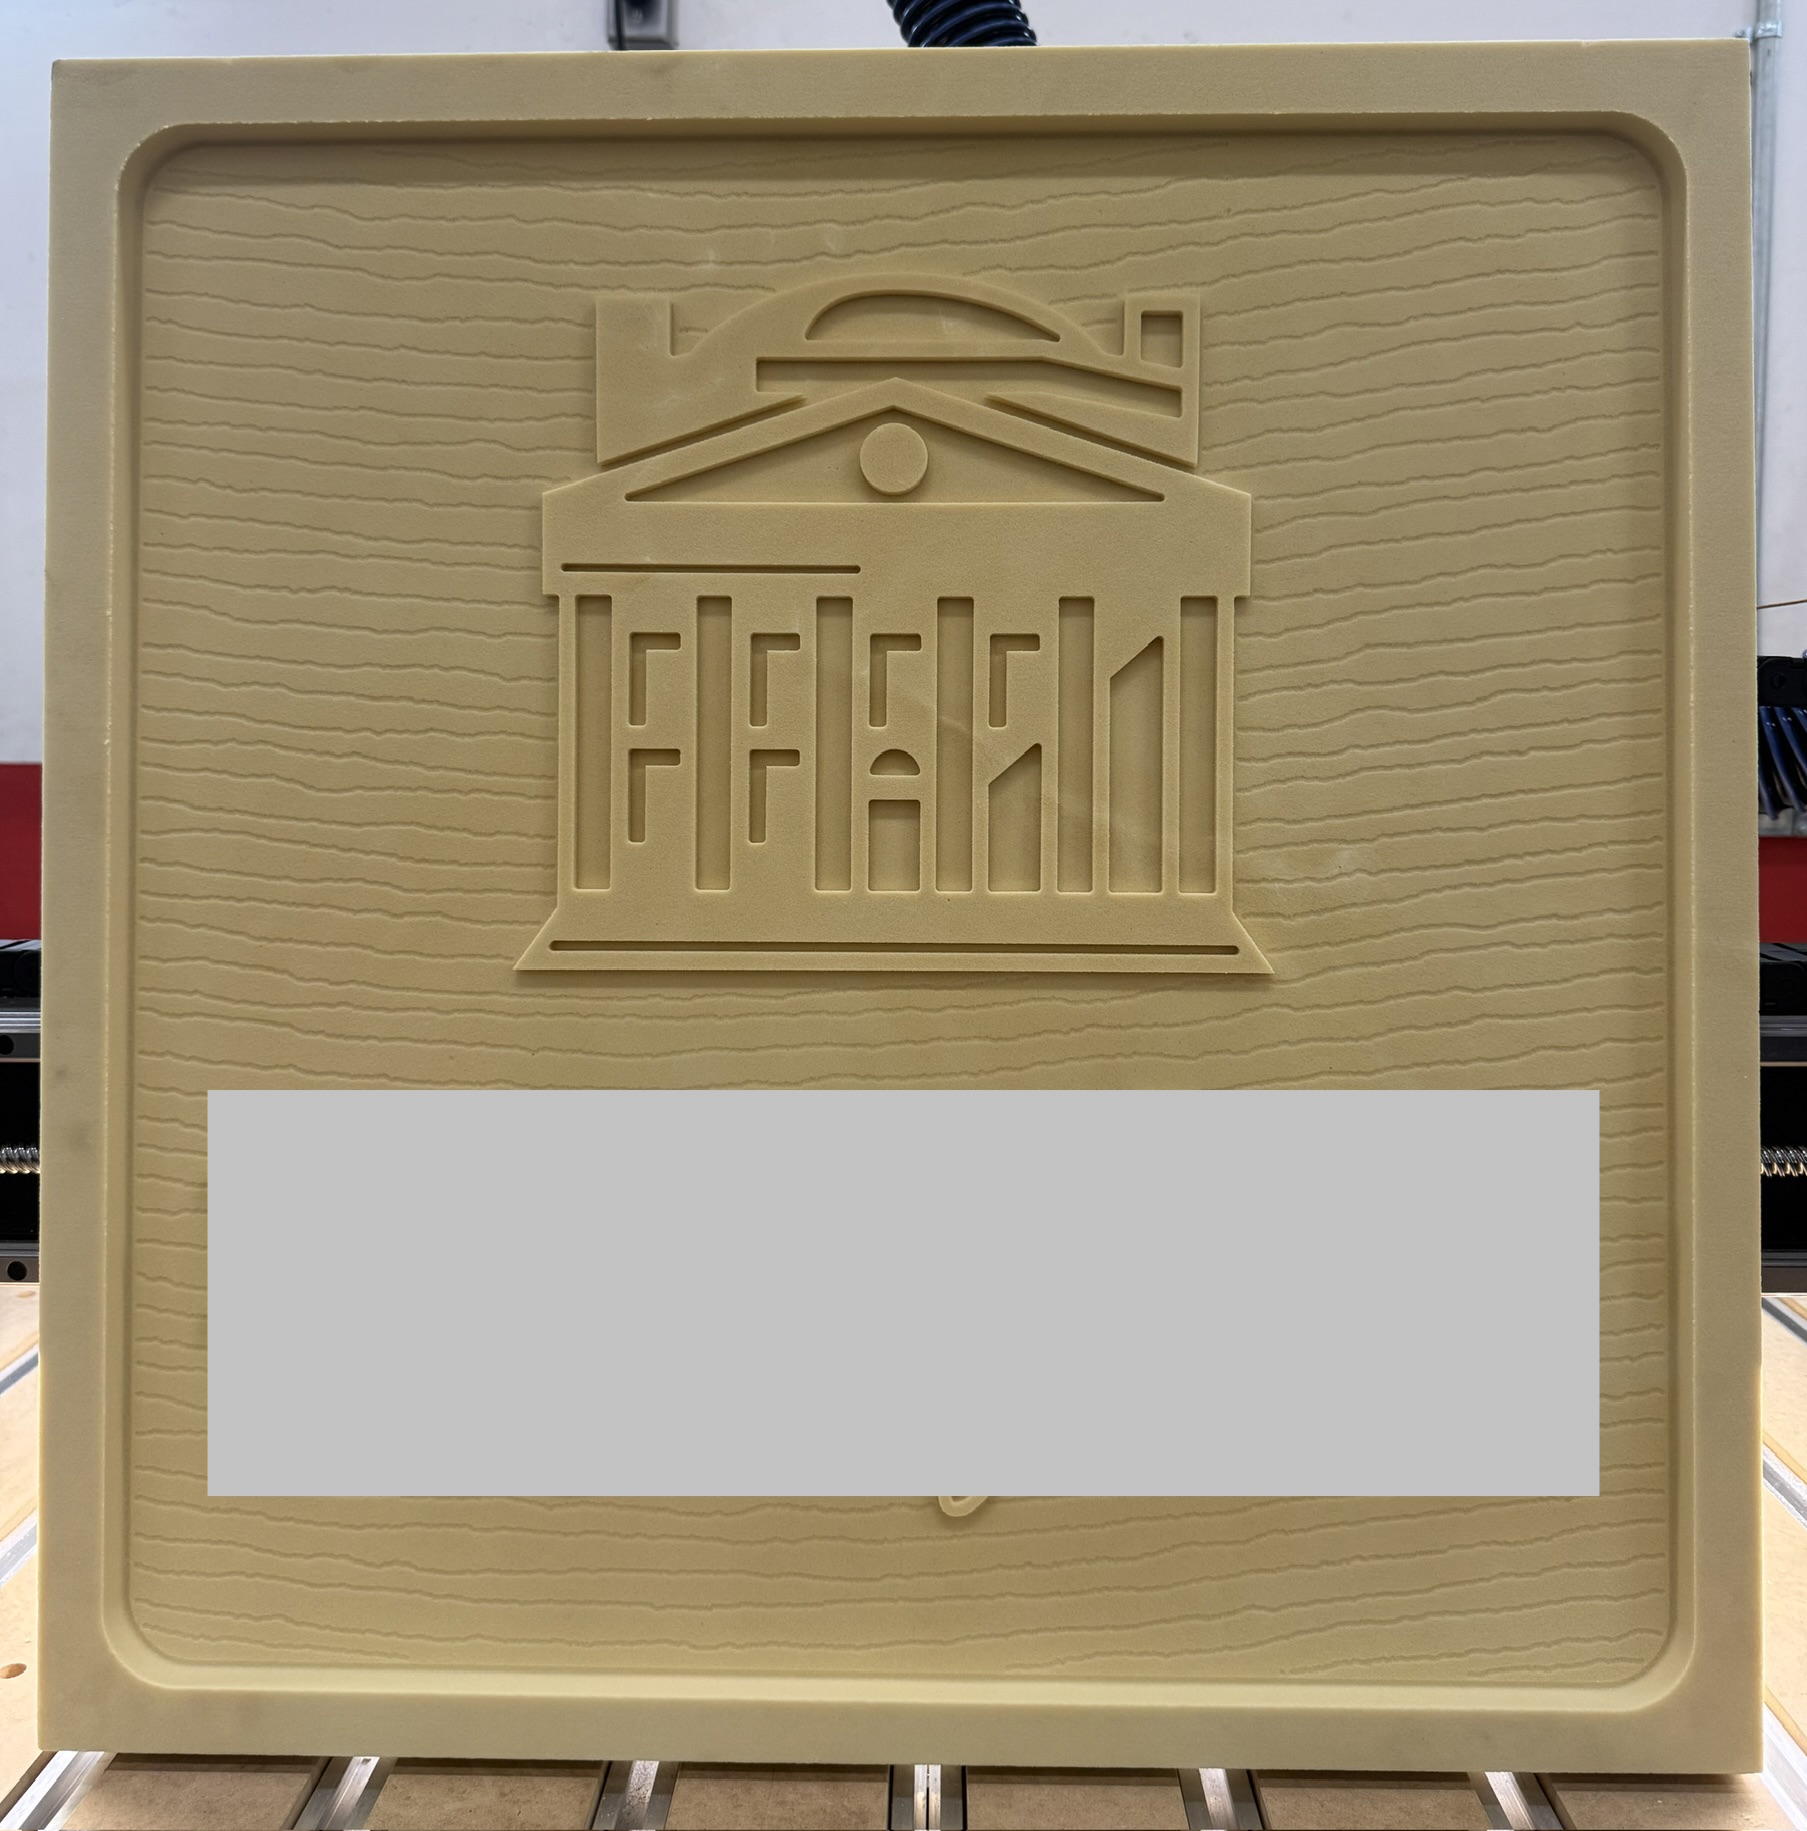
I did a proof of concept sign in HDU for a client today. I obscured the name in the photo.
HDU cuts really nice. I stalled on doing this for a week or so because the piece of material is so expensive but it went off without a hitch.
The texture lines took almost an hour even on full speed. They have some noise intentionally introduced and that created a lot of movement for the spindle.
Now I will stall on painting because that has an even higher risk of ruining the project.
There won’t be any soup in it lol. Atleast not assembled.
We don’t live close to a grocery store so when you need something for dinner it normally means your changing your dinner plans.
Will be things we use the most
Pumpkin
Sliced potato’s
Beef broth
Chick broth
Whole corn
green beans
Several kinds beans
Rotel tomatoes
Ect.
We previously used shelves in the basement for this. But my wife is having more issues with steps, so I’m moving commonly used items upstairs and this takes up basically no room in a hallway off the kitchen that goes to the garage and the basement steps. I’m gone 13 hours a day for work so the easier I make it for her the better.
I do keep have a freeze dryer and we also can, so I have 6-8 months of real food and meals in the basement anyway that comes from our gardens.
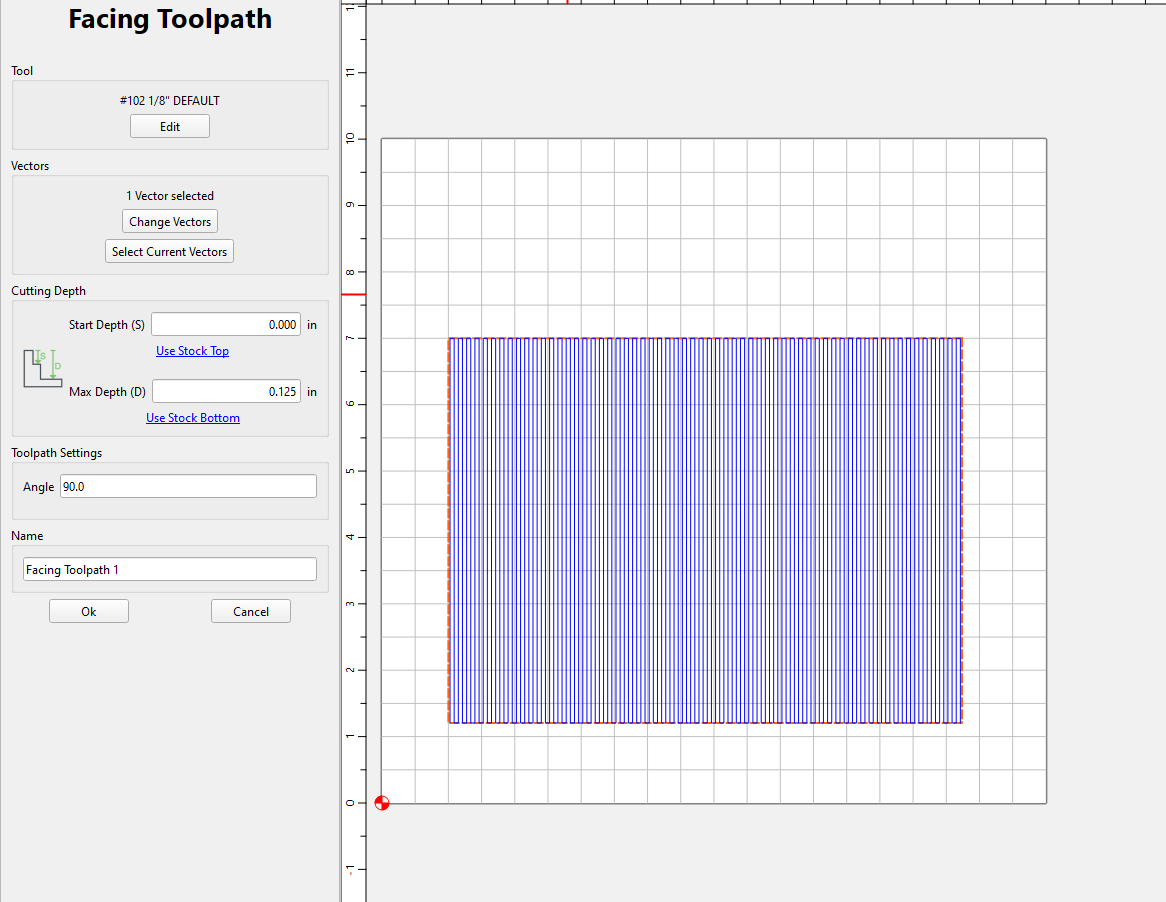
As noted, the Facing and Pocket Toolpath with Raster option allow controlling angle — but at this time, neither allow limiting the cut to one direction only which is what I did in: