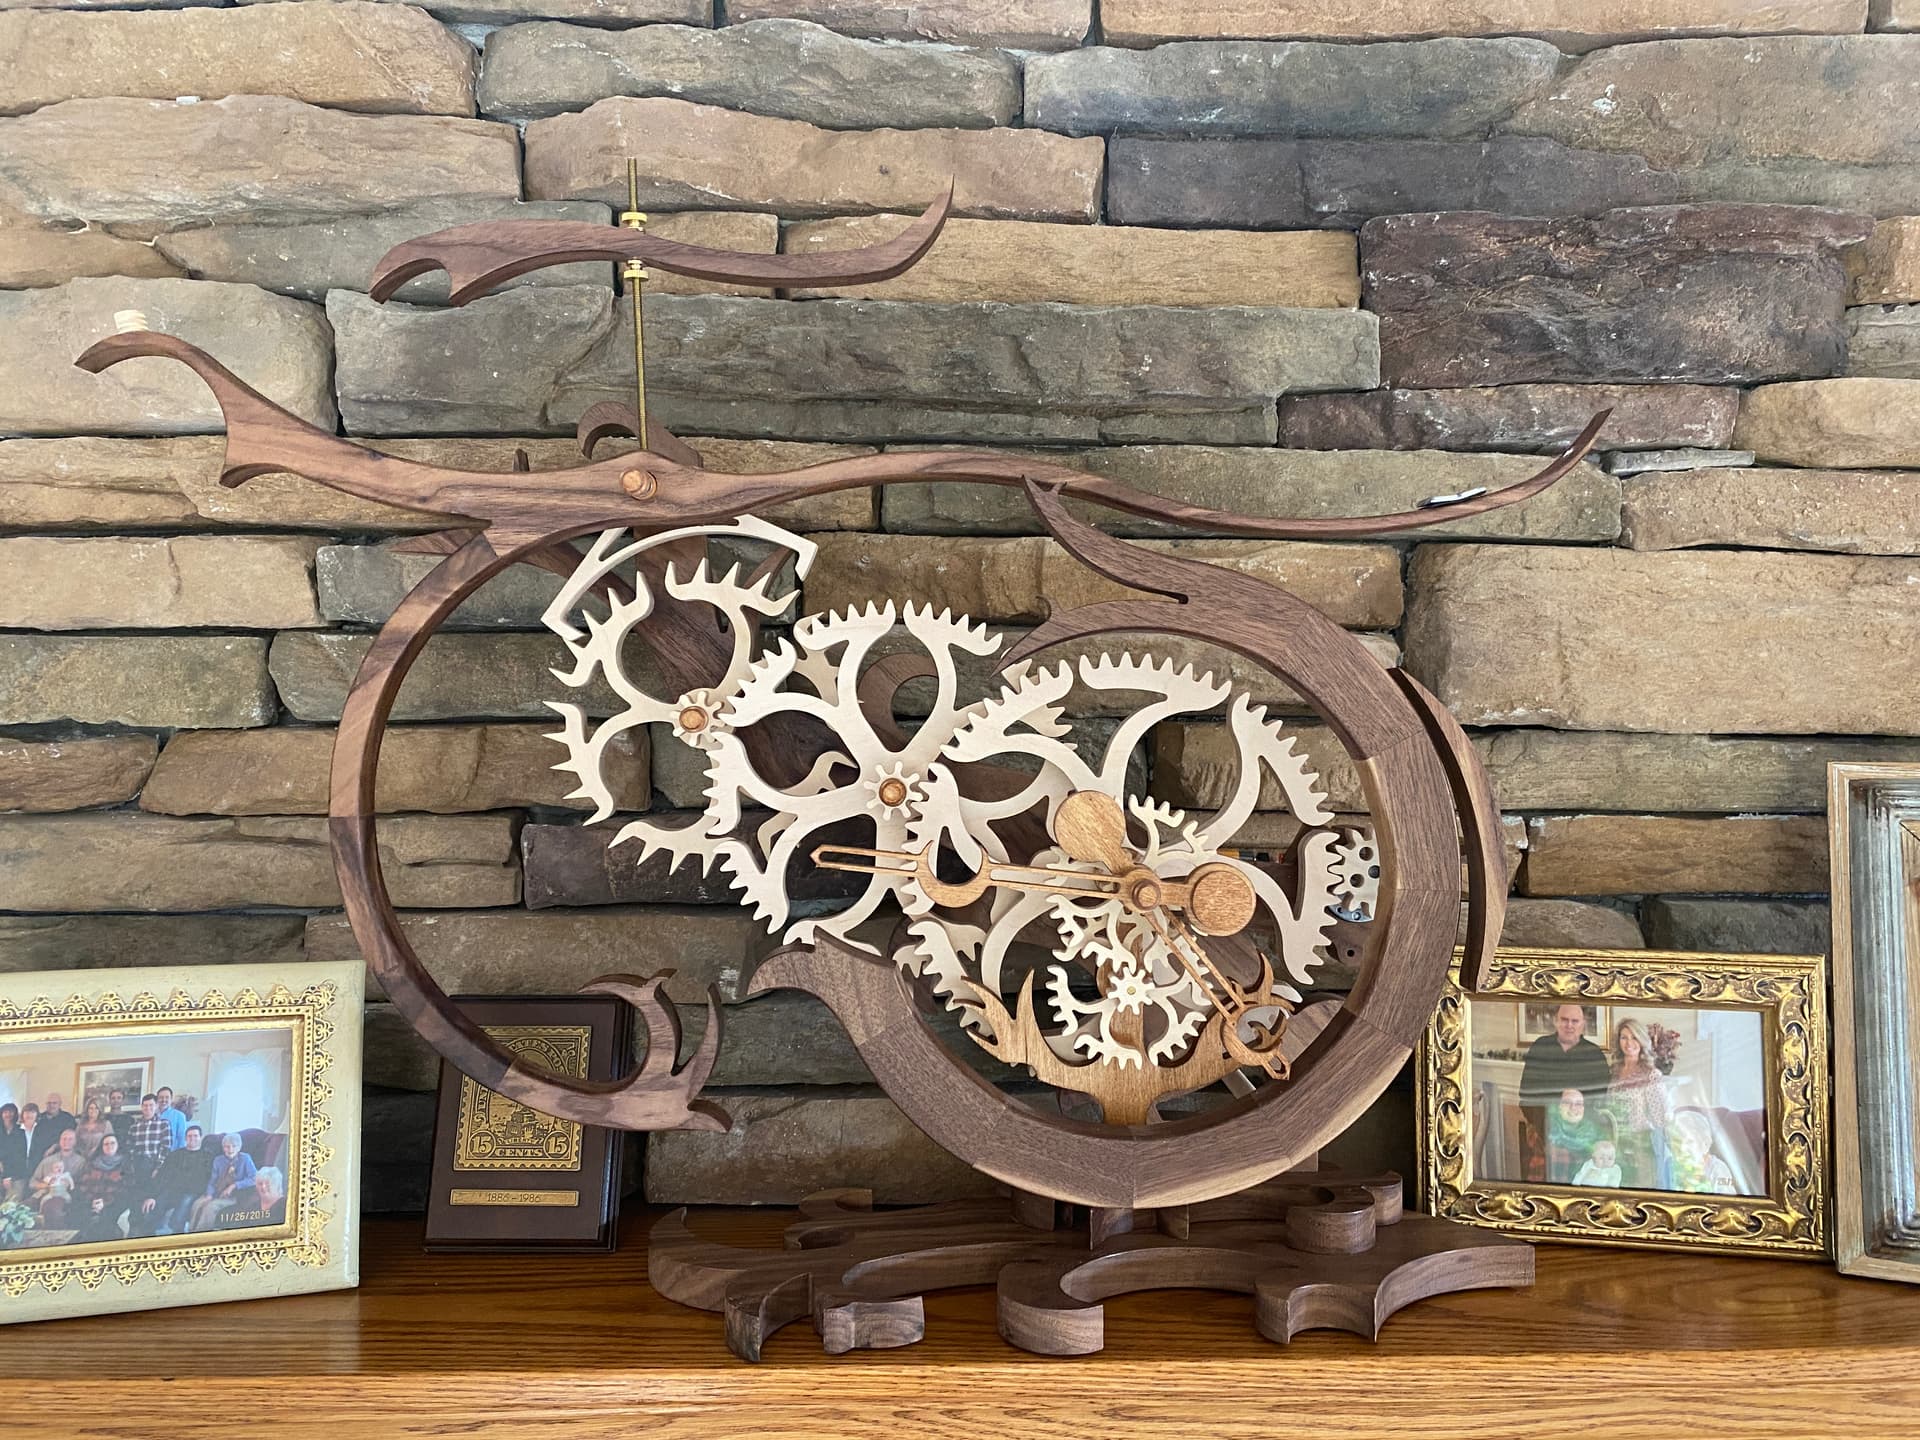
I made a clock. well i made a couple designs now and they actually keep accurate time too but mostly i think these are kinetic art. Here is a couple photos and a video of one…


I made a clock. well i made a couple designs now and they actually keep accurate time too but mostly i think these are kinetic art. Here is a couple photos and a video of one…
They look great. I had a go with 7mm bamboo but i couldnt get the cogs to turn without having to hanging my body weight from it.
@AndyP Im surprised at how little is needed! only about 1/2oz is all i added to keep them running but they also are SELF WINDING(remontoir) with a 9vdc battery, 12vdc motor and mercury switch so there is that for weight too.
Who’s designs were you using?
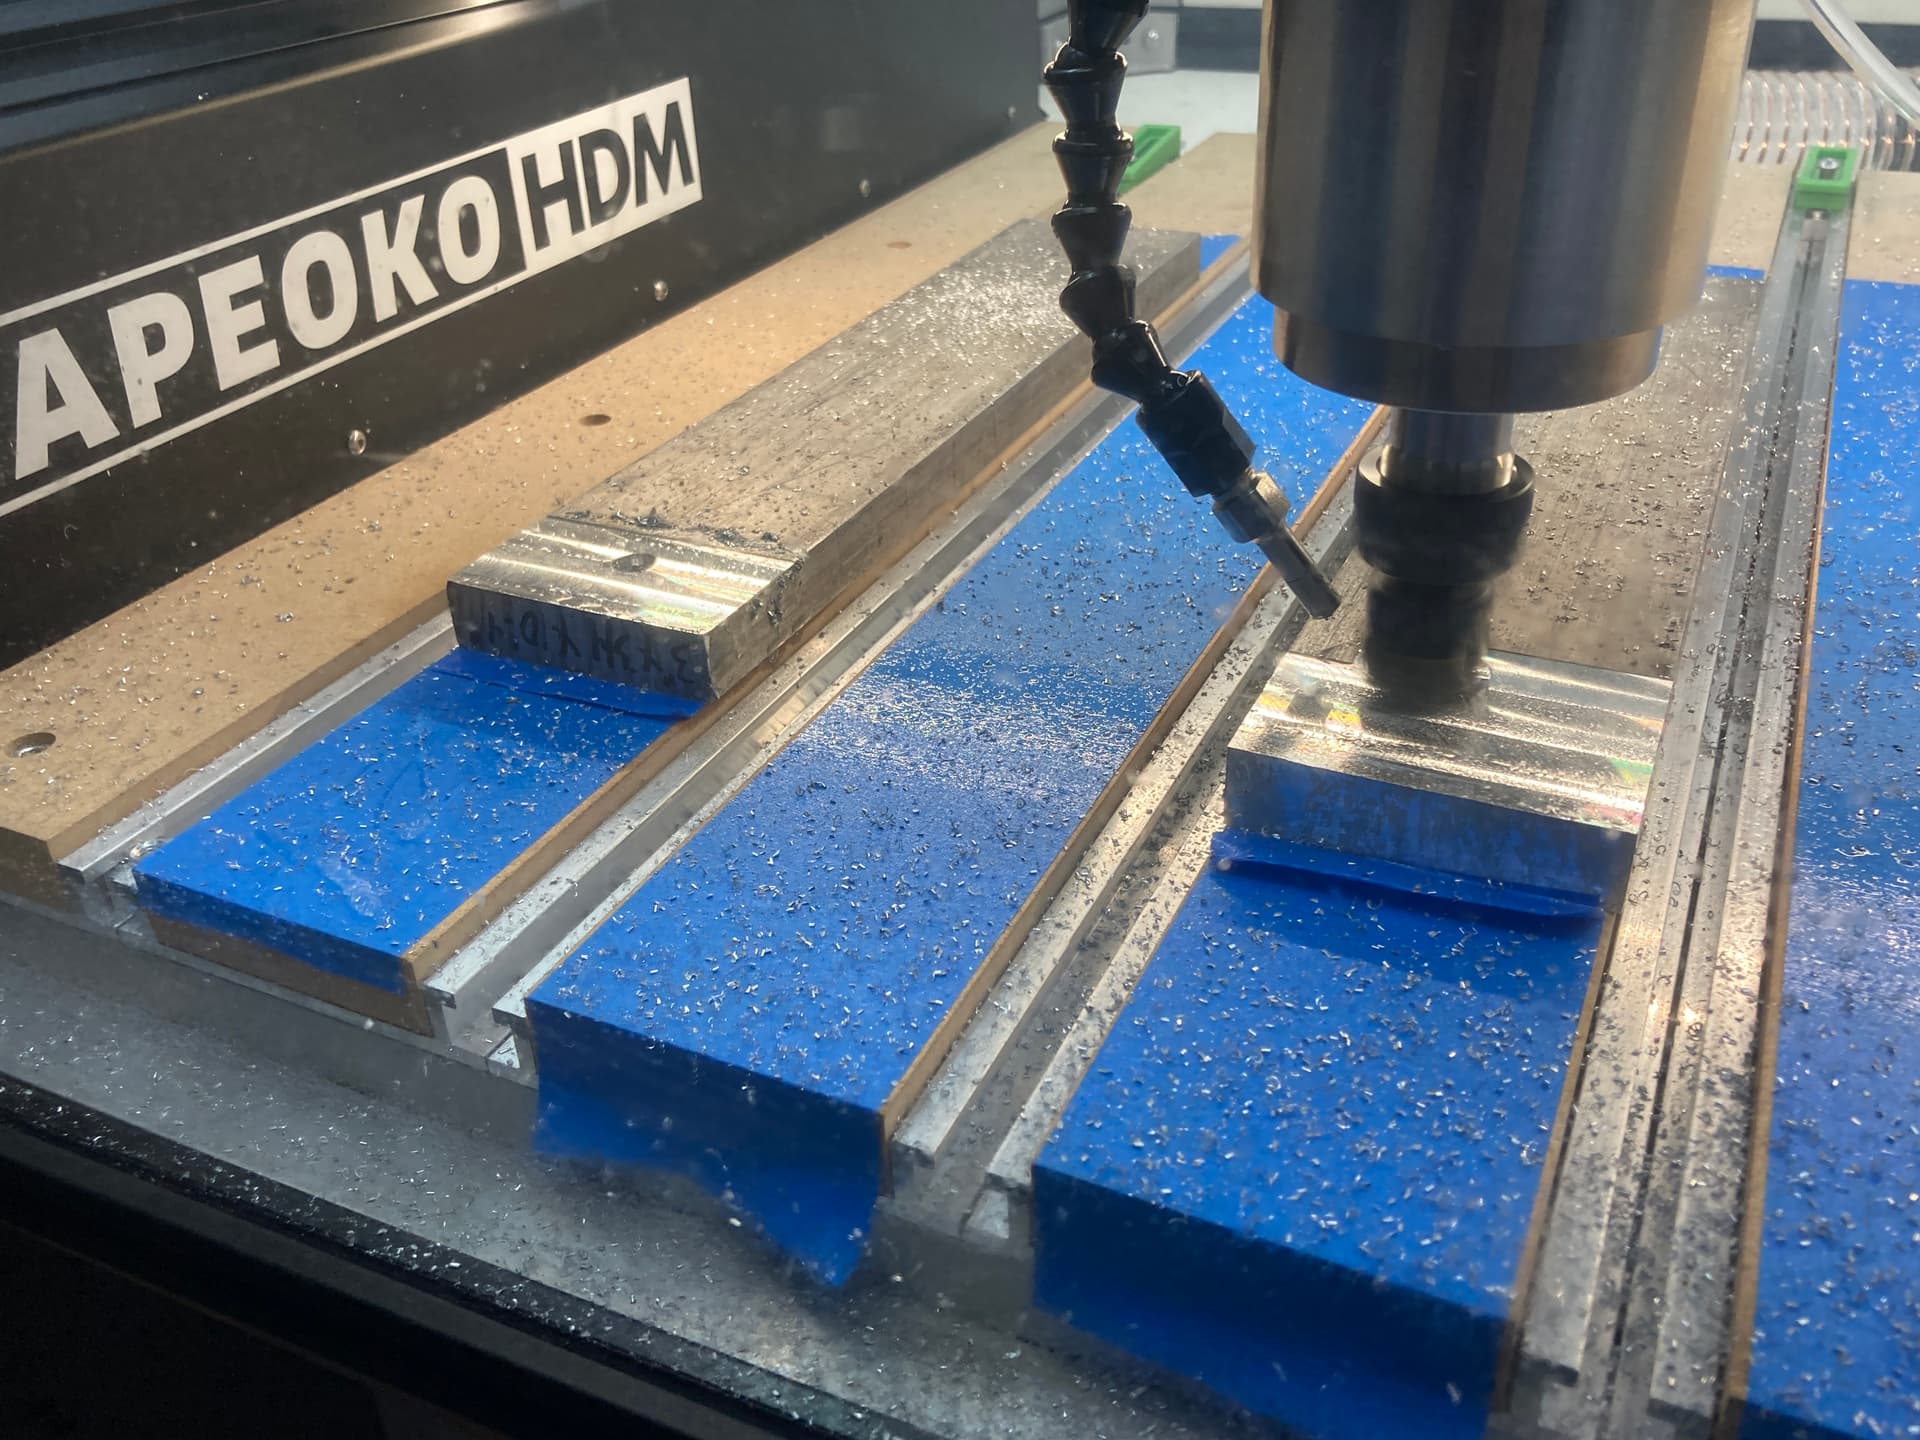
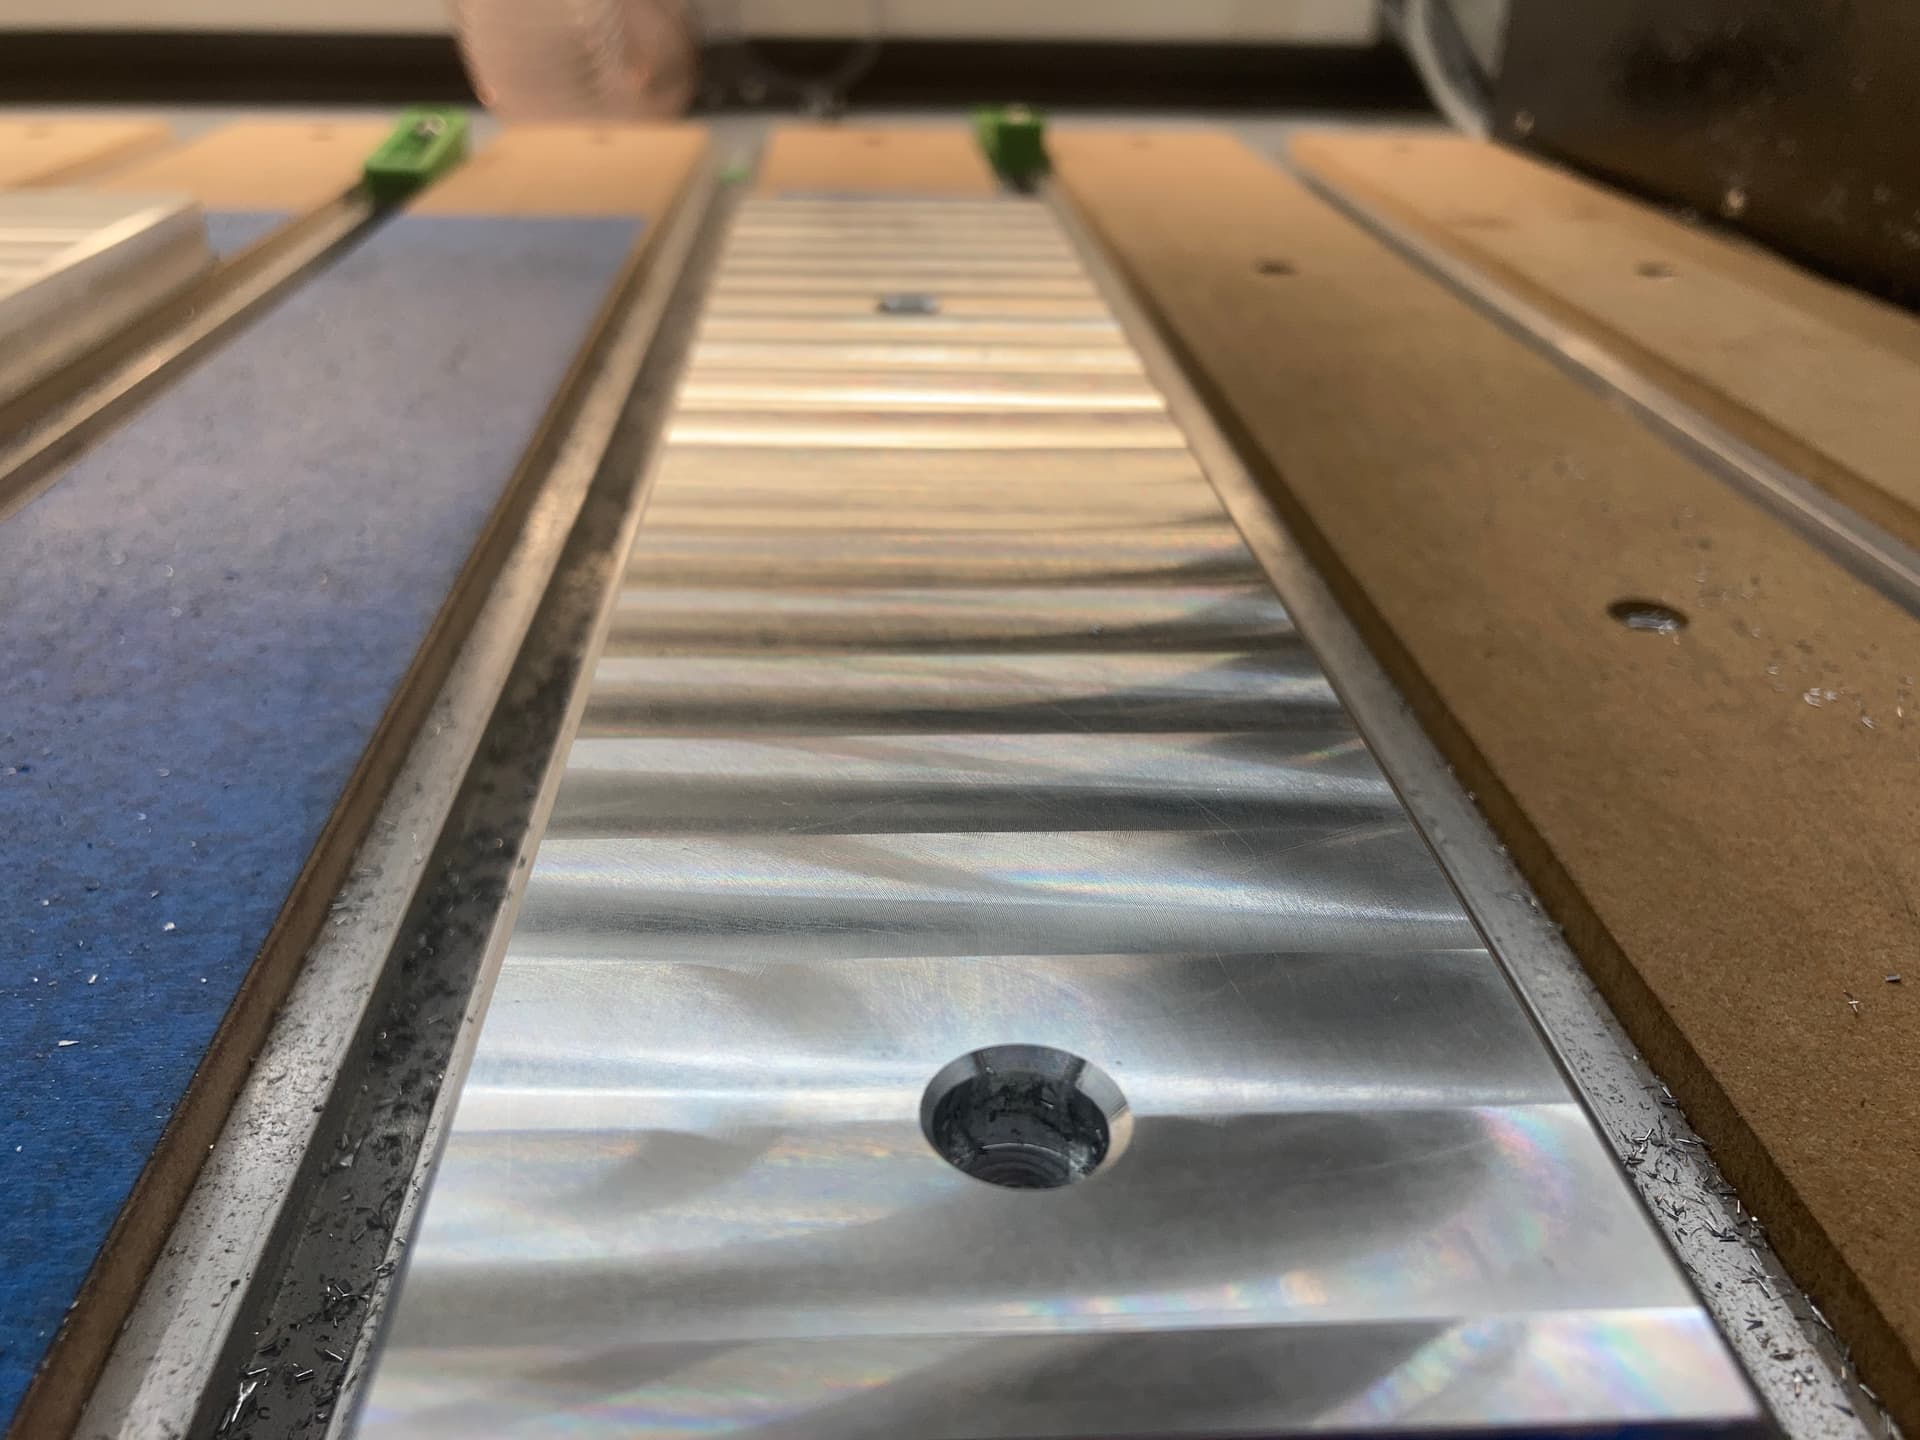
Made some aluminum slats for my HDM so I can mount my 1/4" SMW plates off my So3 and use my MQL without swelling MDF. The 1/2" plates are out of my price range for now. Ignore the MQL overspray that was from the factory settings and has been turned way down and now works perfect with very little excess.
link in my video but will add here too:
He has lots of neat sculptures to choose from and make
This month Woodsmith mag has a free plan to use cnc to cut a more modest but stylish mechanical clock.
Go down to toc and they have links to free plans.
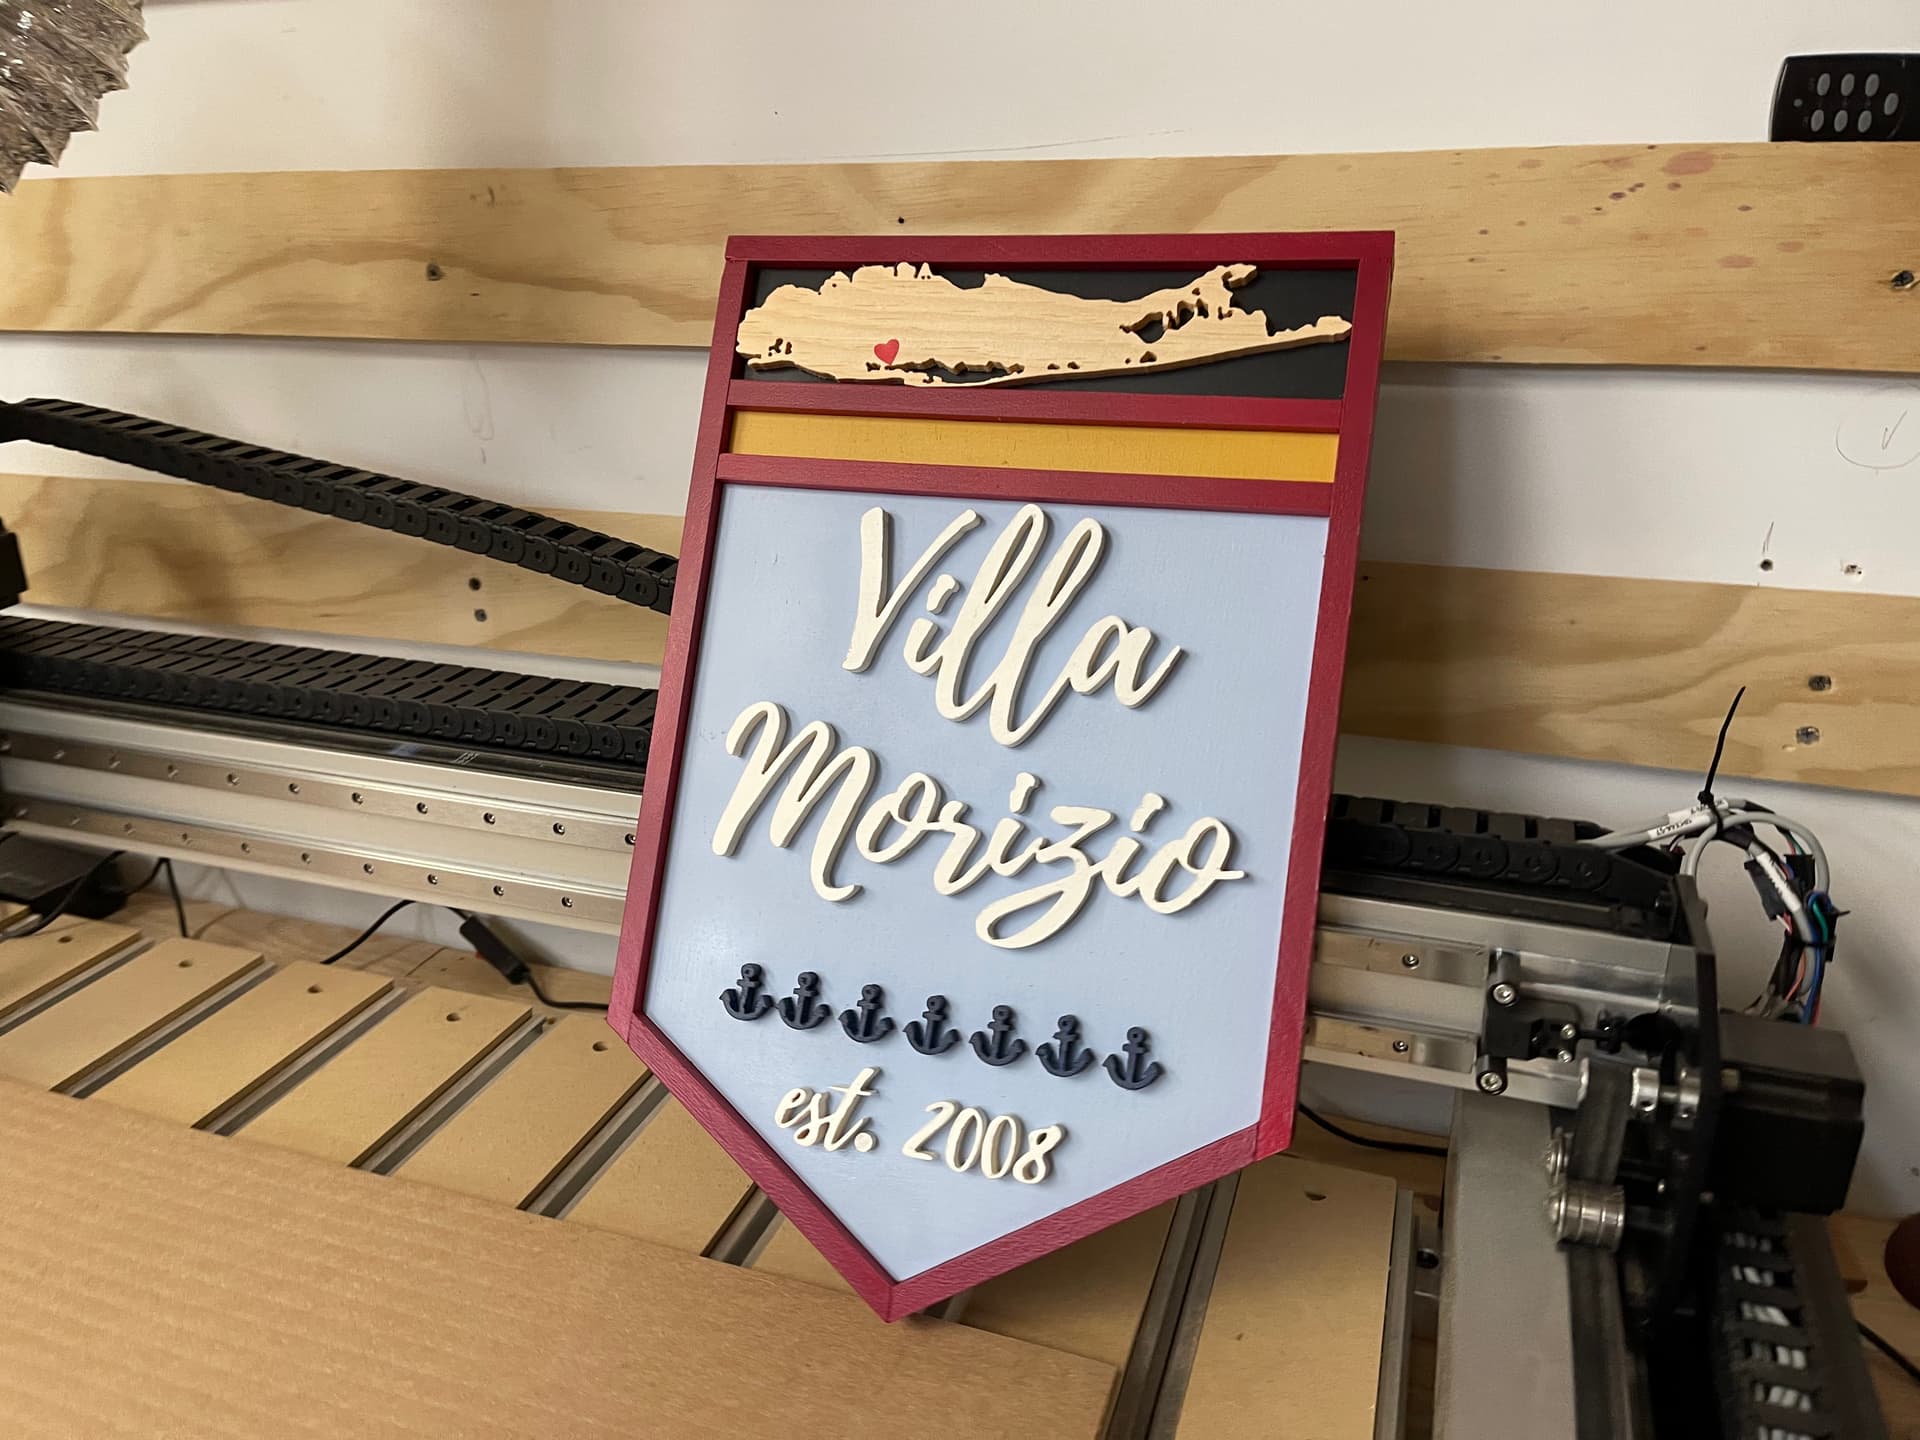
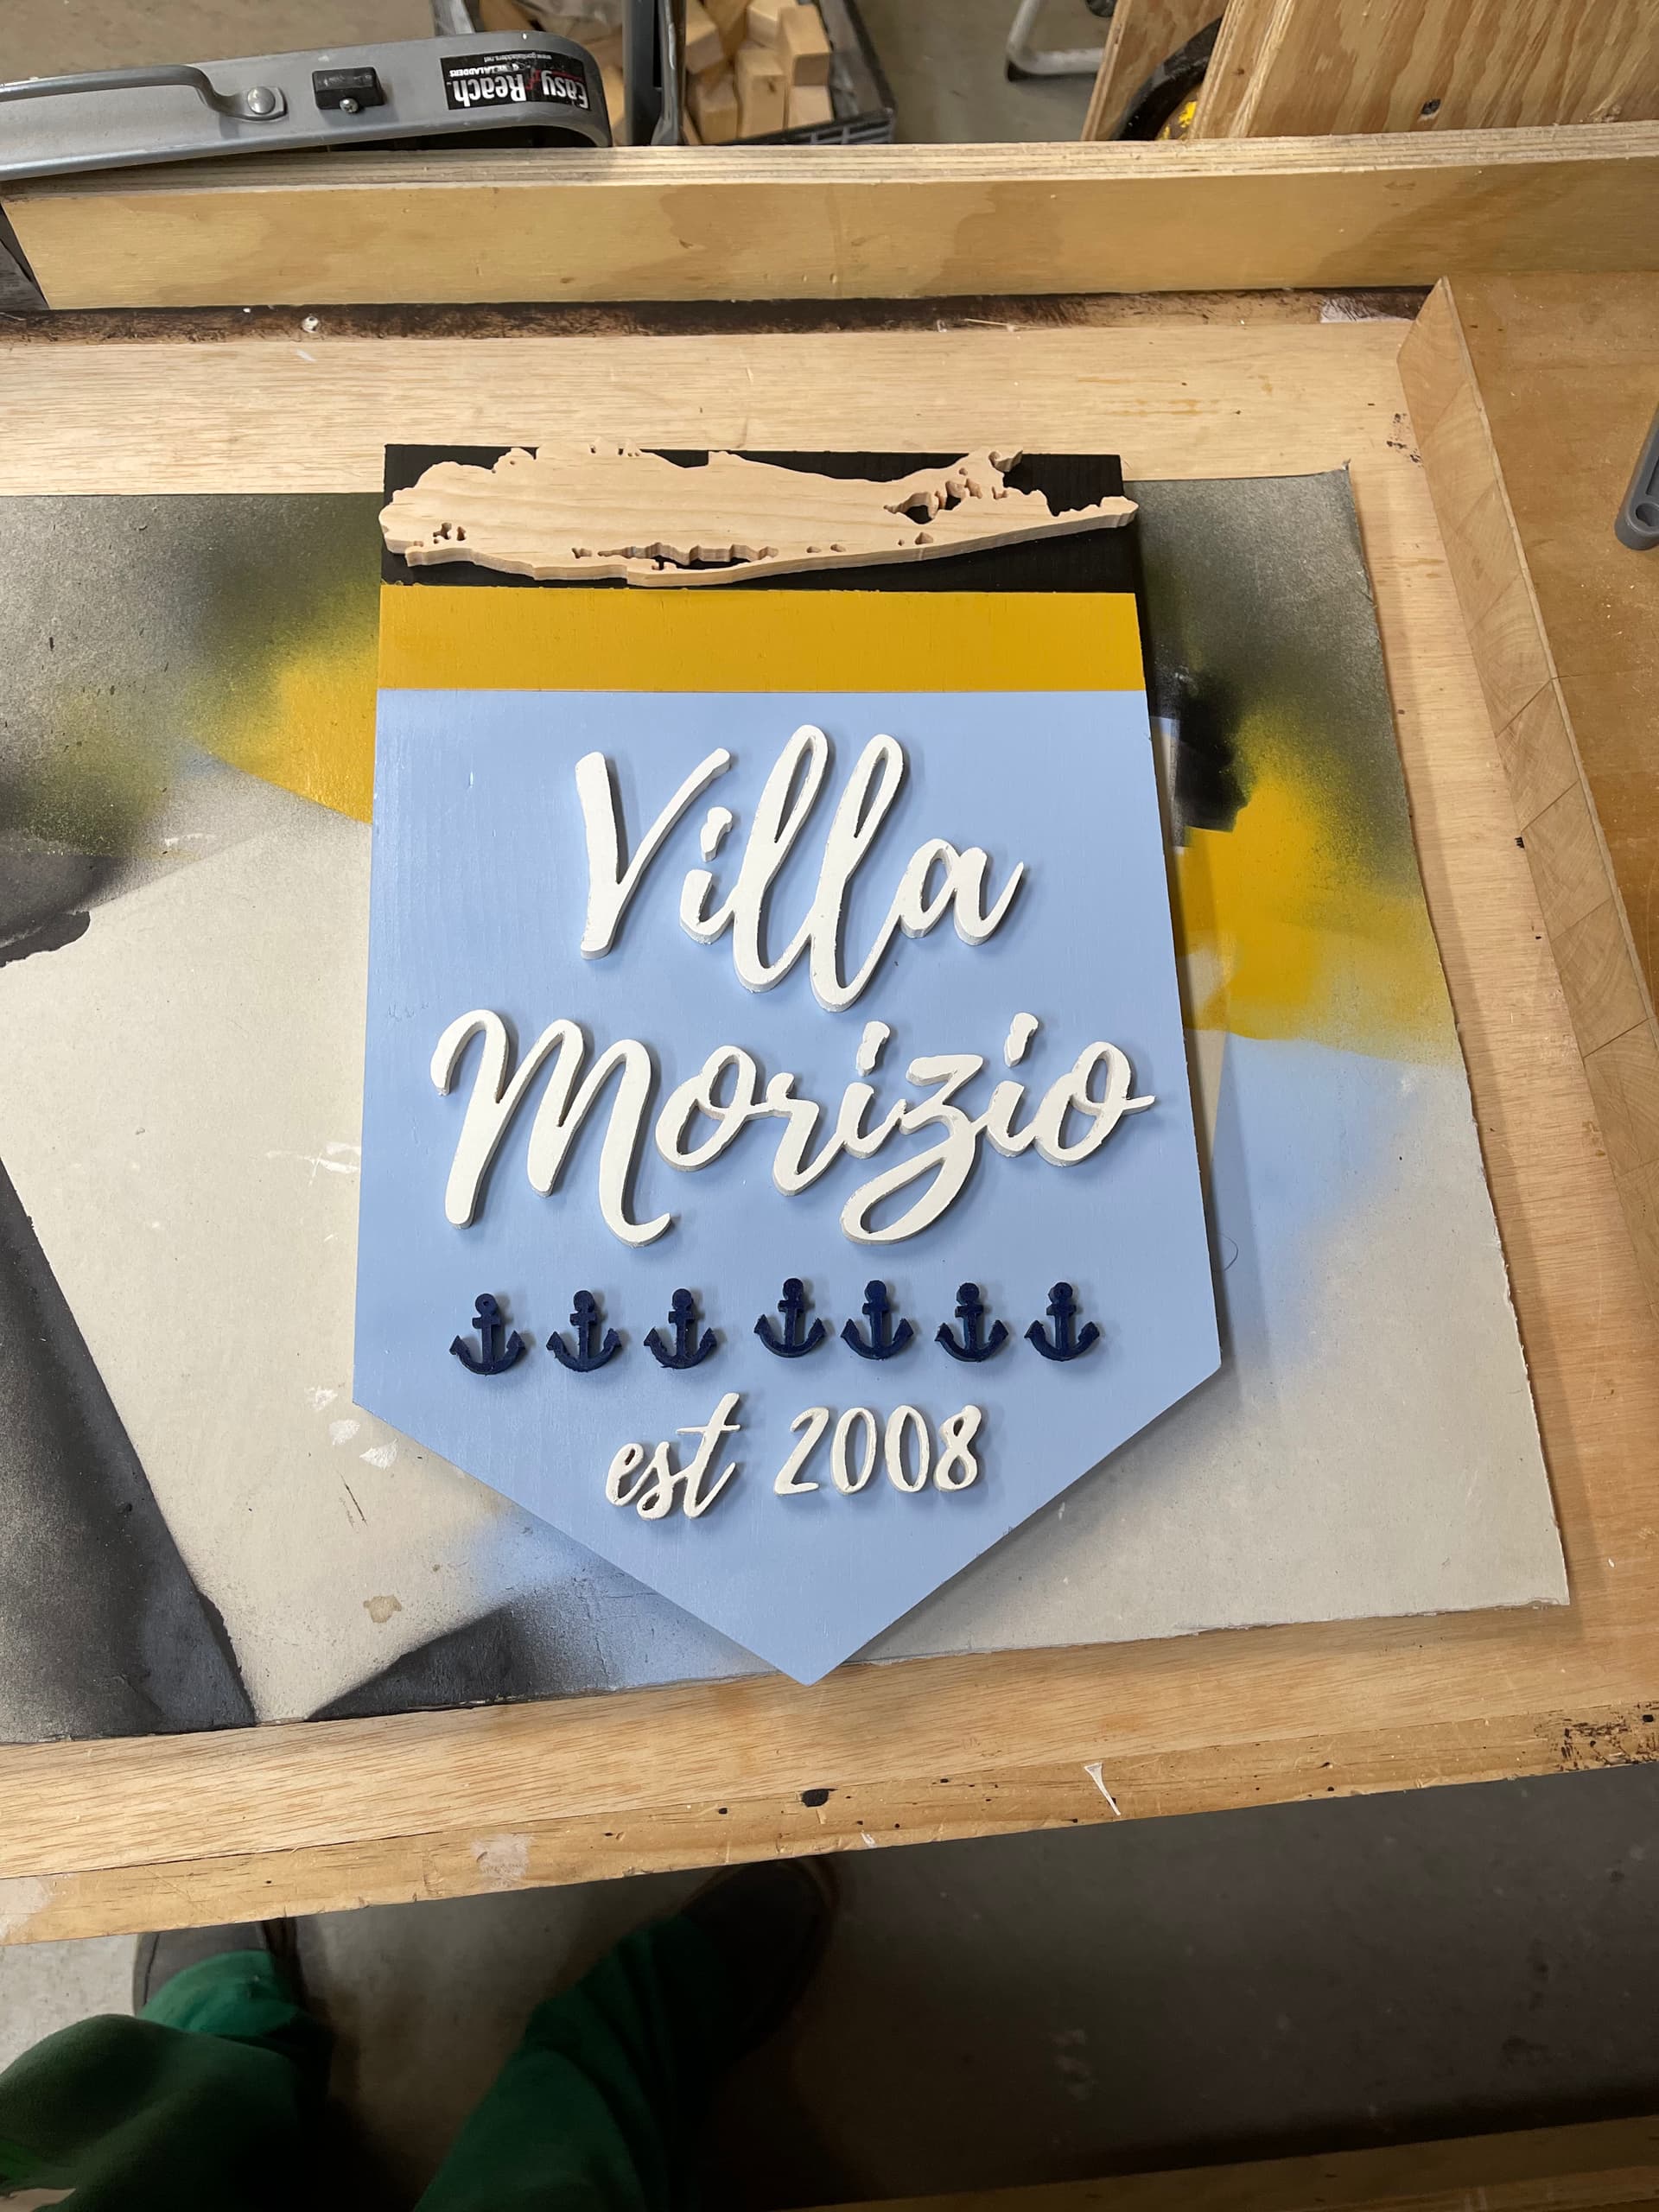
Some of you helped my out with some questions about this project but I finished it up for a friend. We talked about pvc via wood but he wanted the wood. All done in pine
He’s over the moon and loves it.
I recommended hitting it with a rattle can of sealer a couple times a year.
My second official sale.
Can’t seem to navigate link to find plans
Here:
I was able to straight to it. There is a splash trying to get you to subscribe. Just hit the X in upper right corner and scroll down page. There are 2 pdf. On Will’s link only one downloaded.
How did you choose to line everything up?
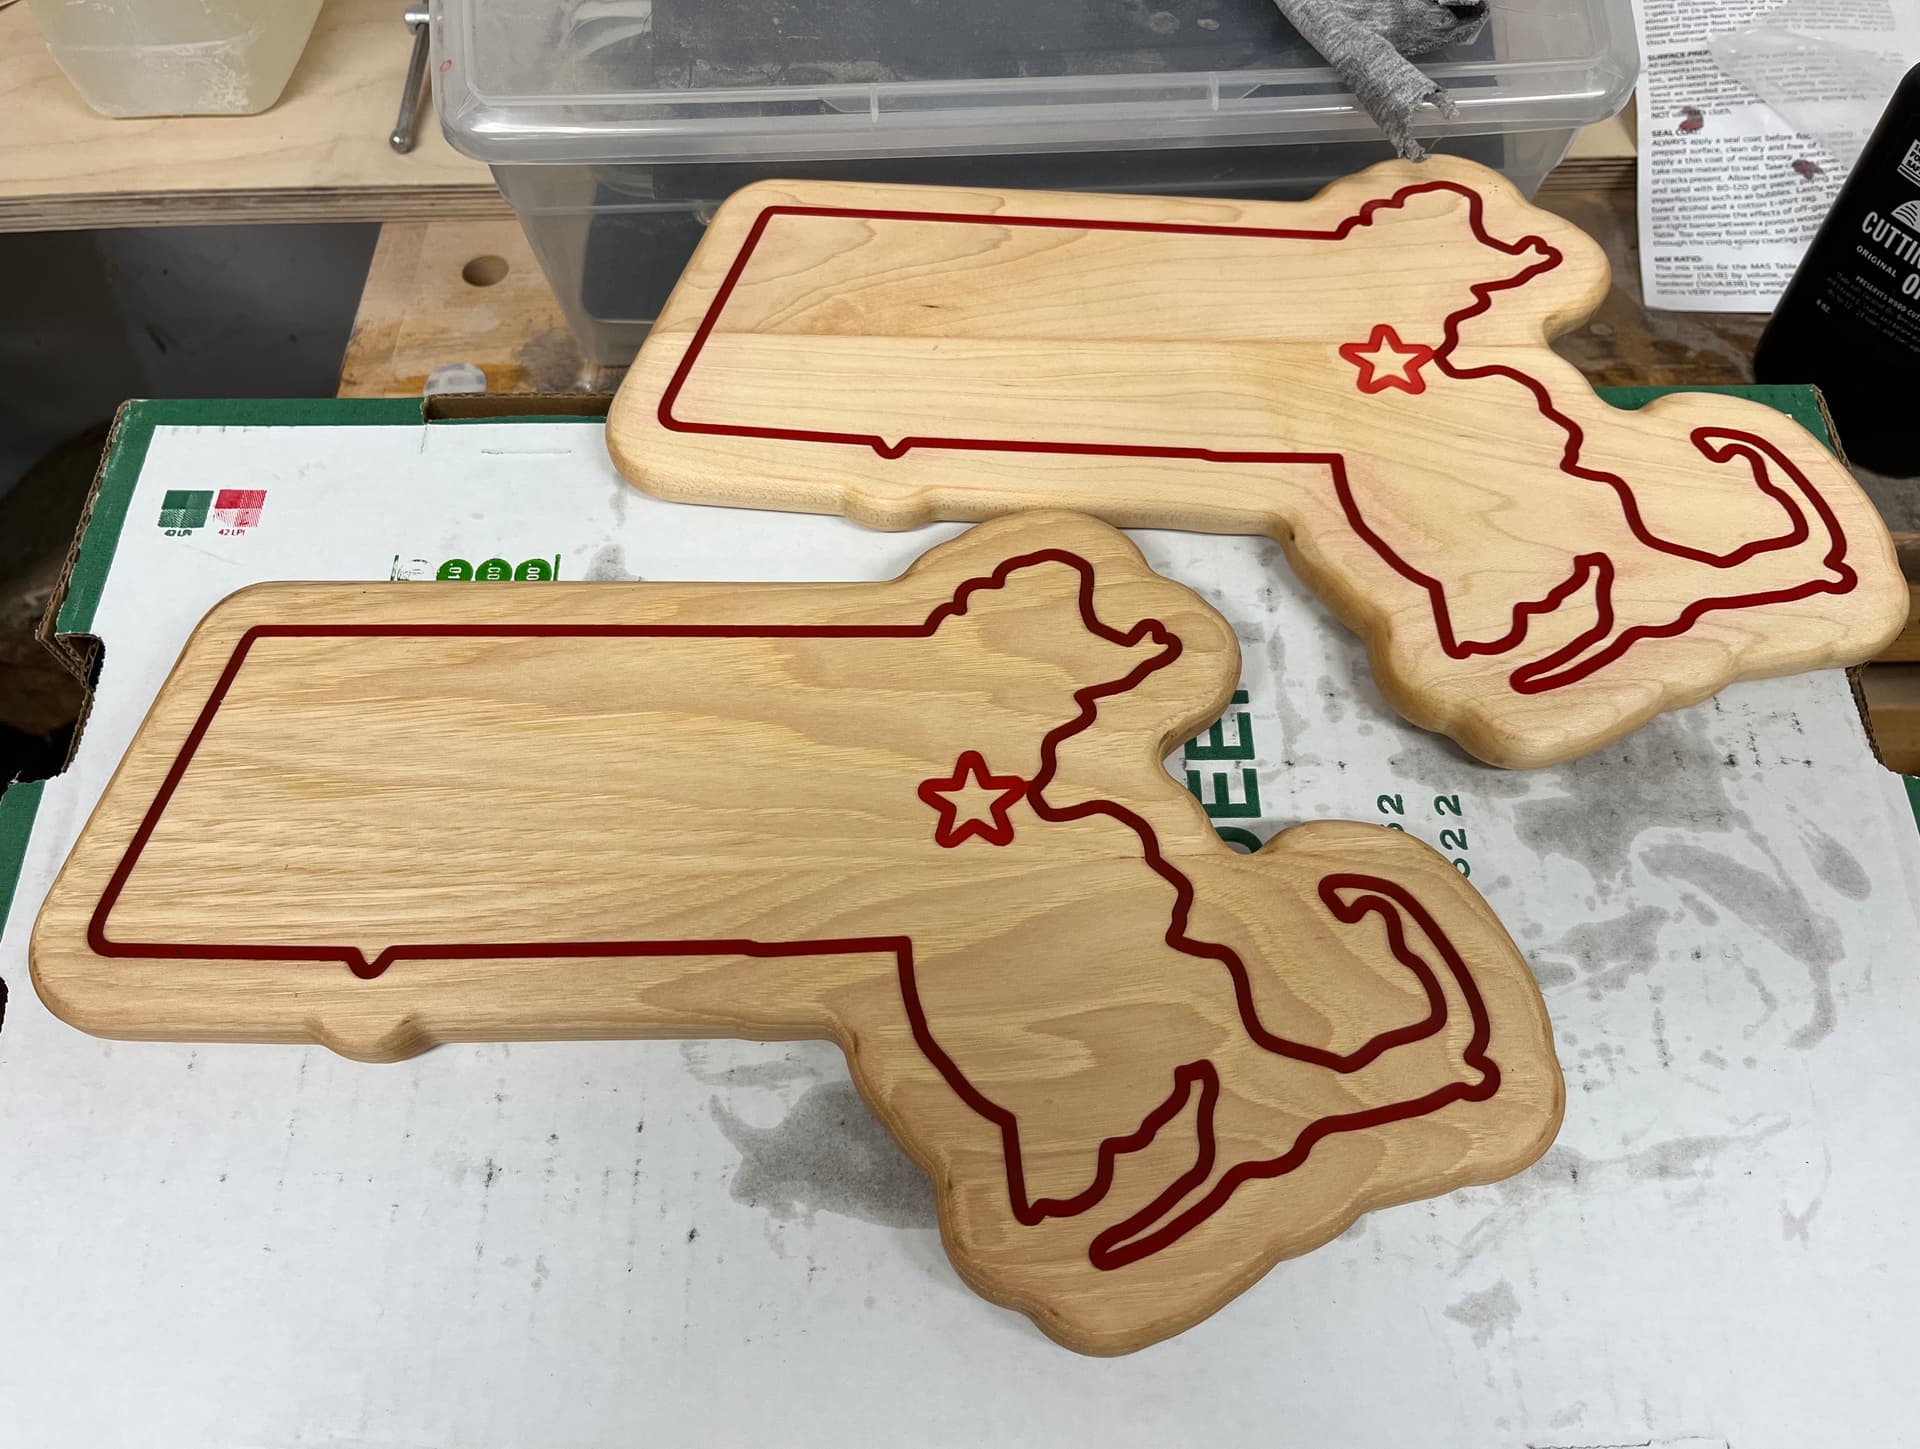
Charcuterie boards for my daughter in Boston. New to CNC so fairly happy with the first two tries. Learning to hate epoxy and ready for CNC inlay techniques !
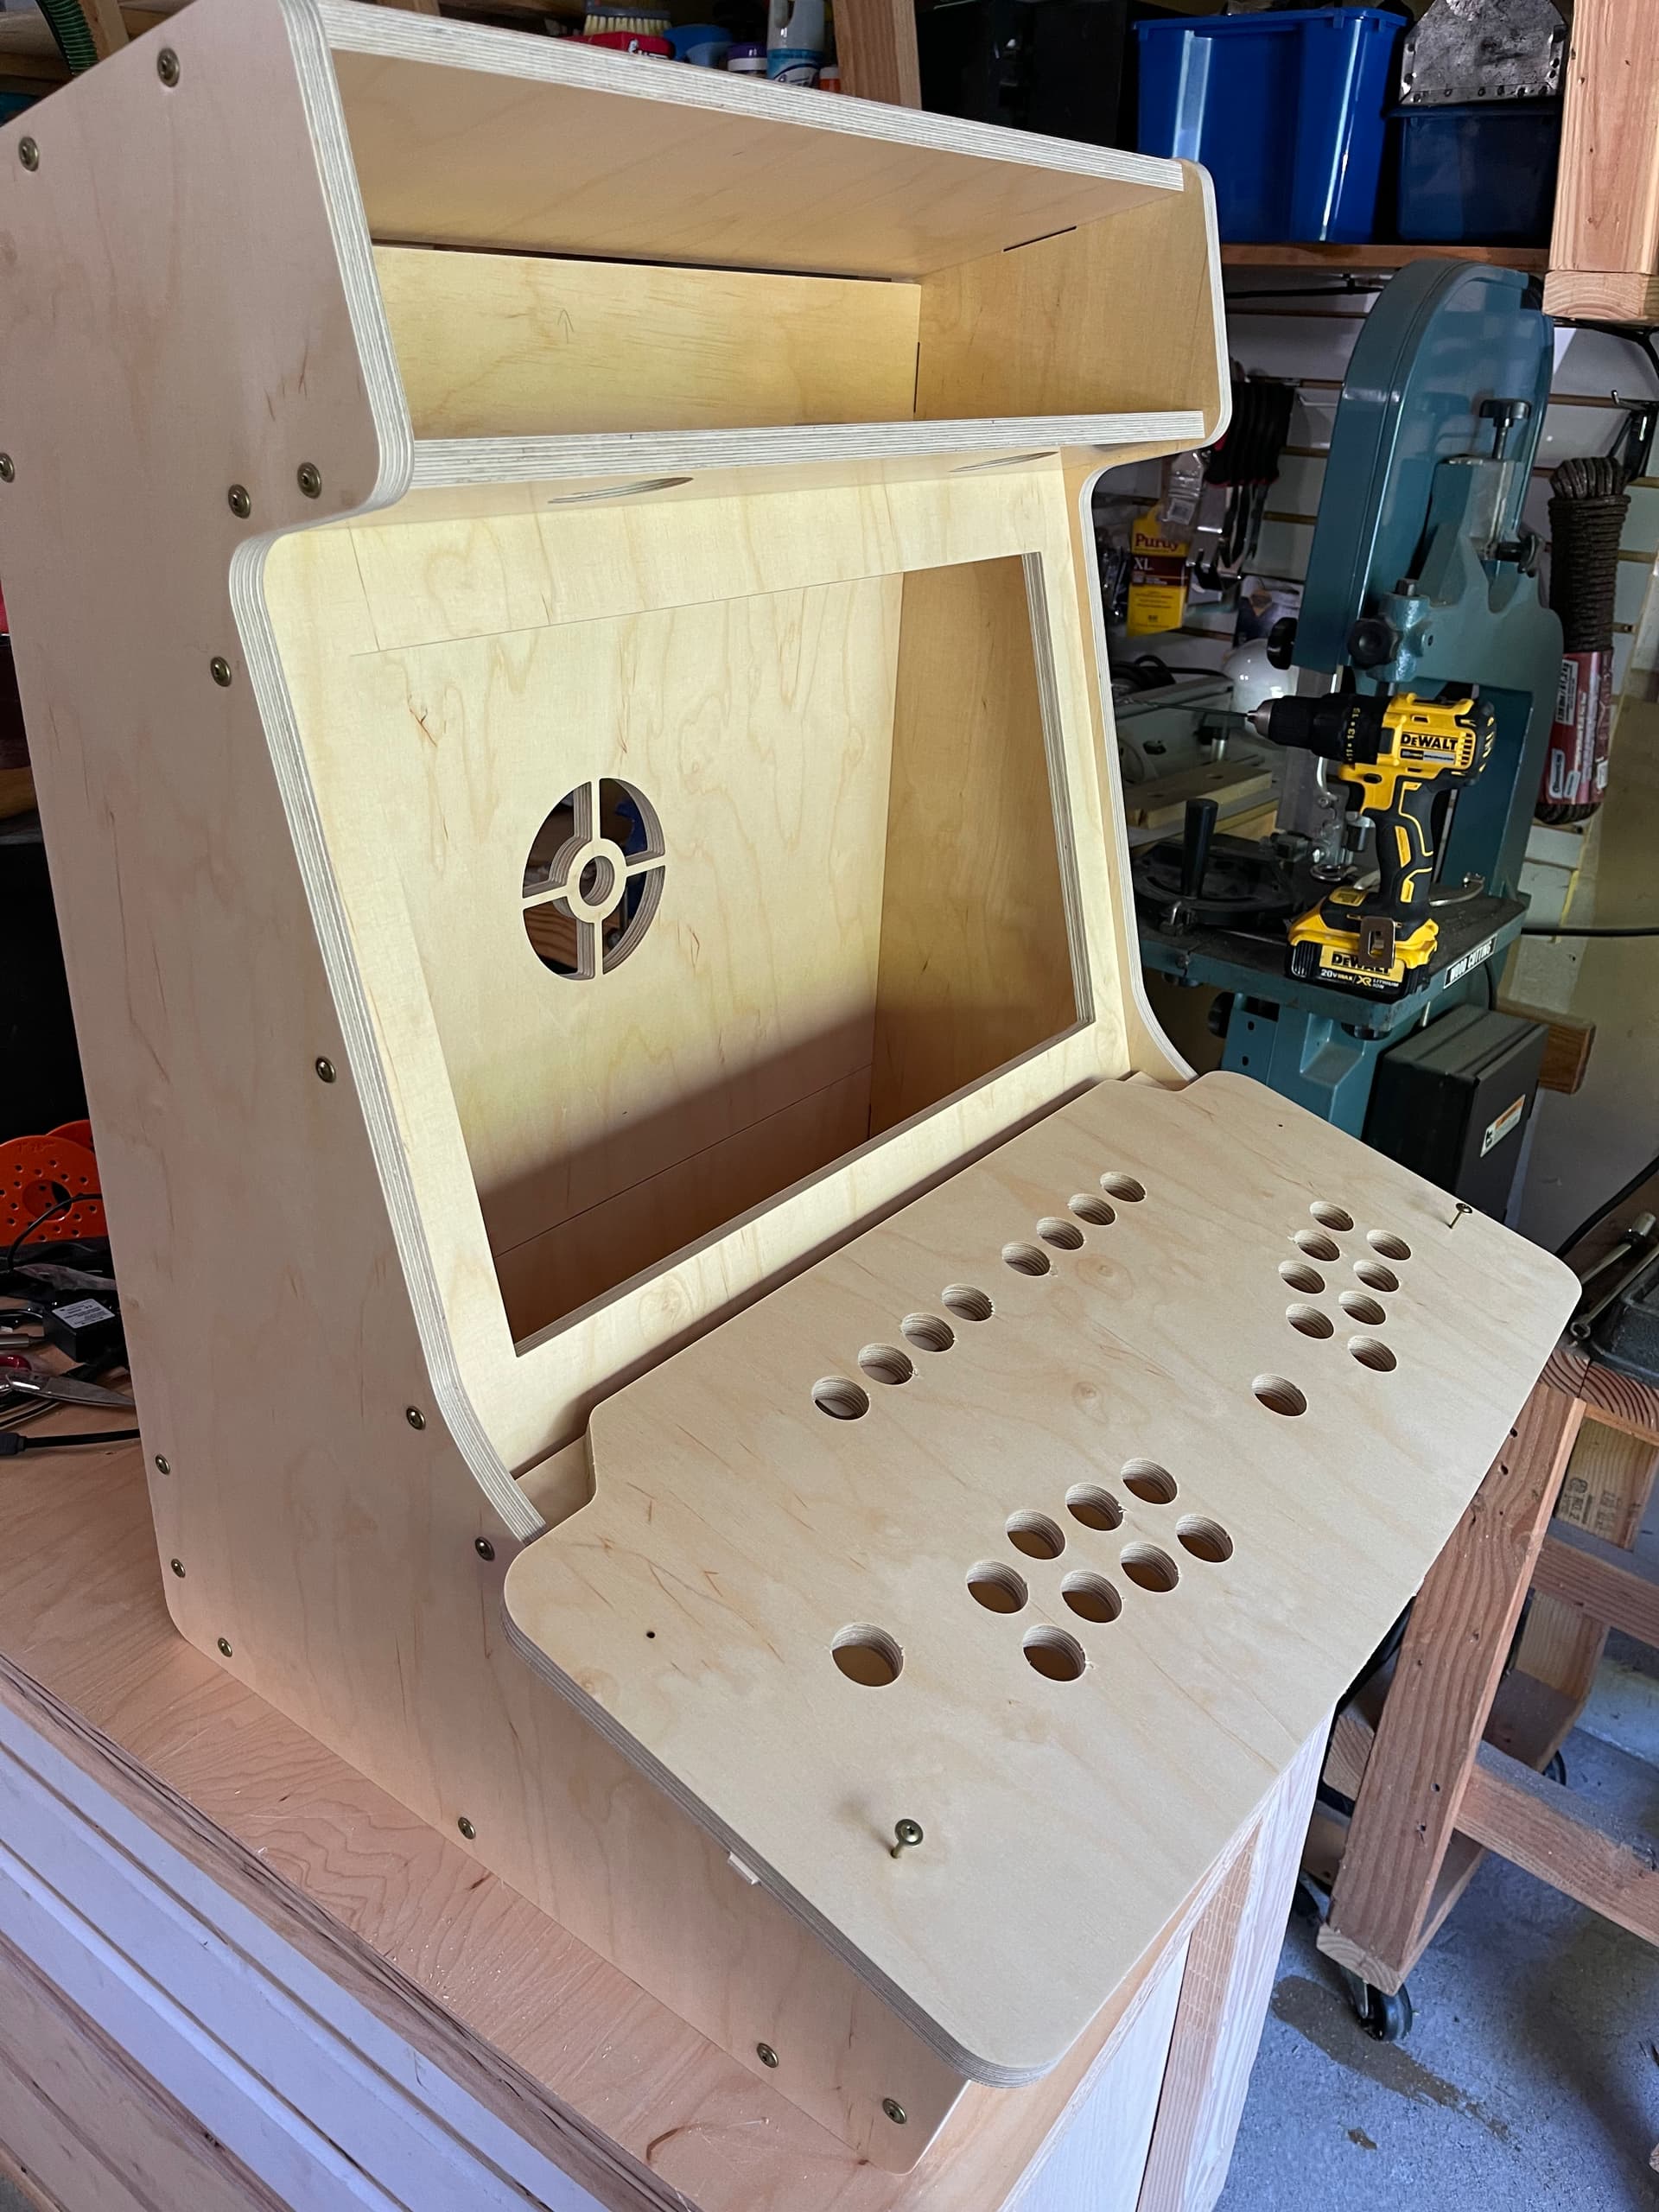
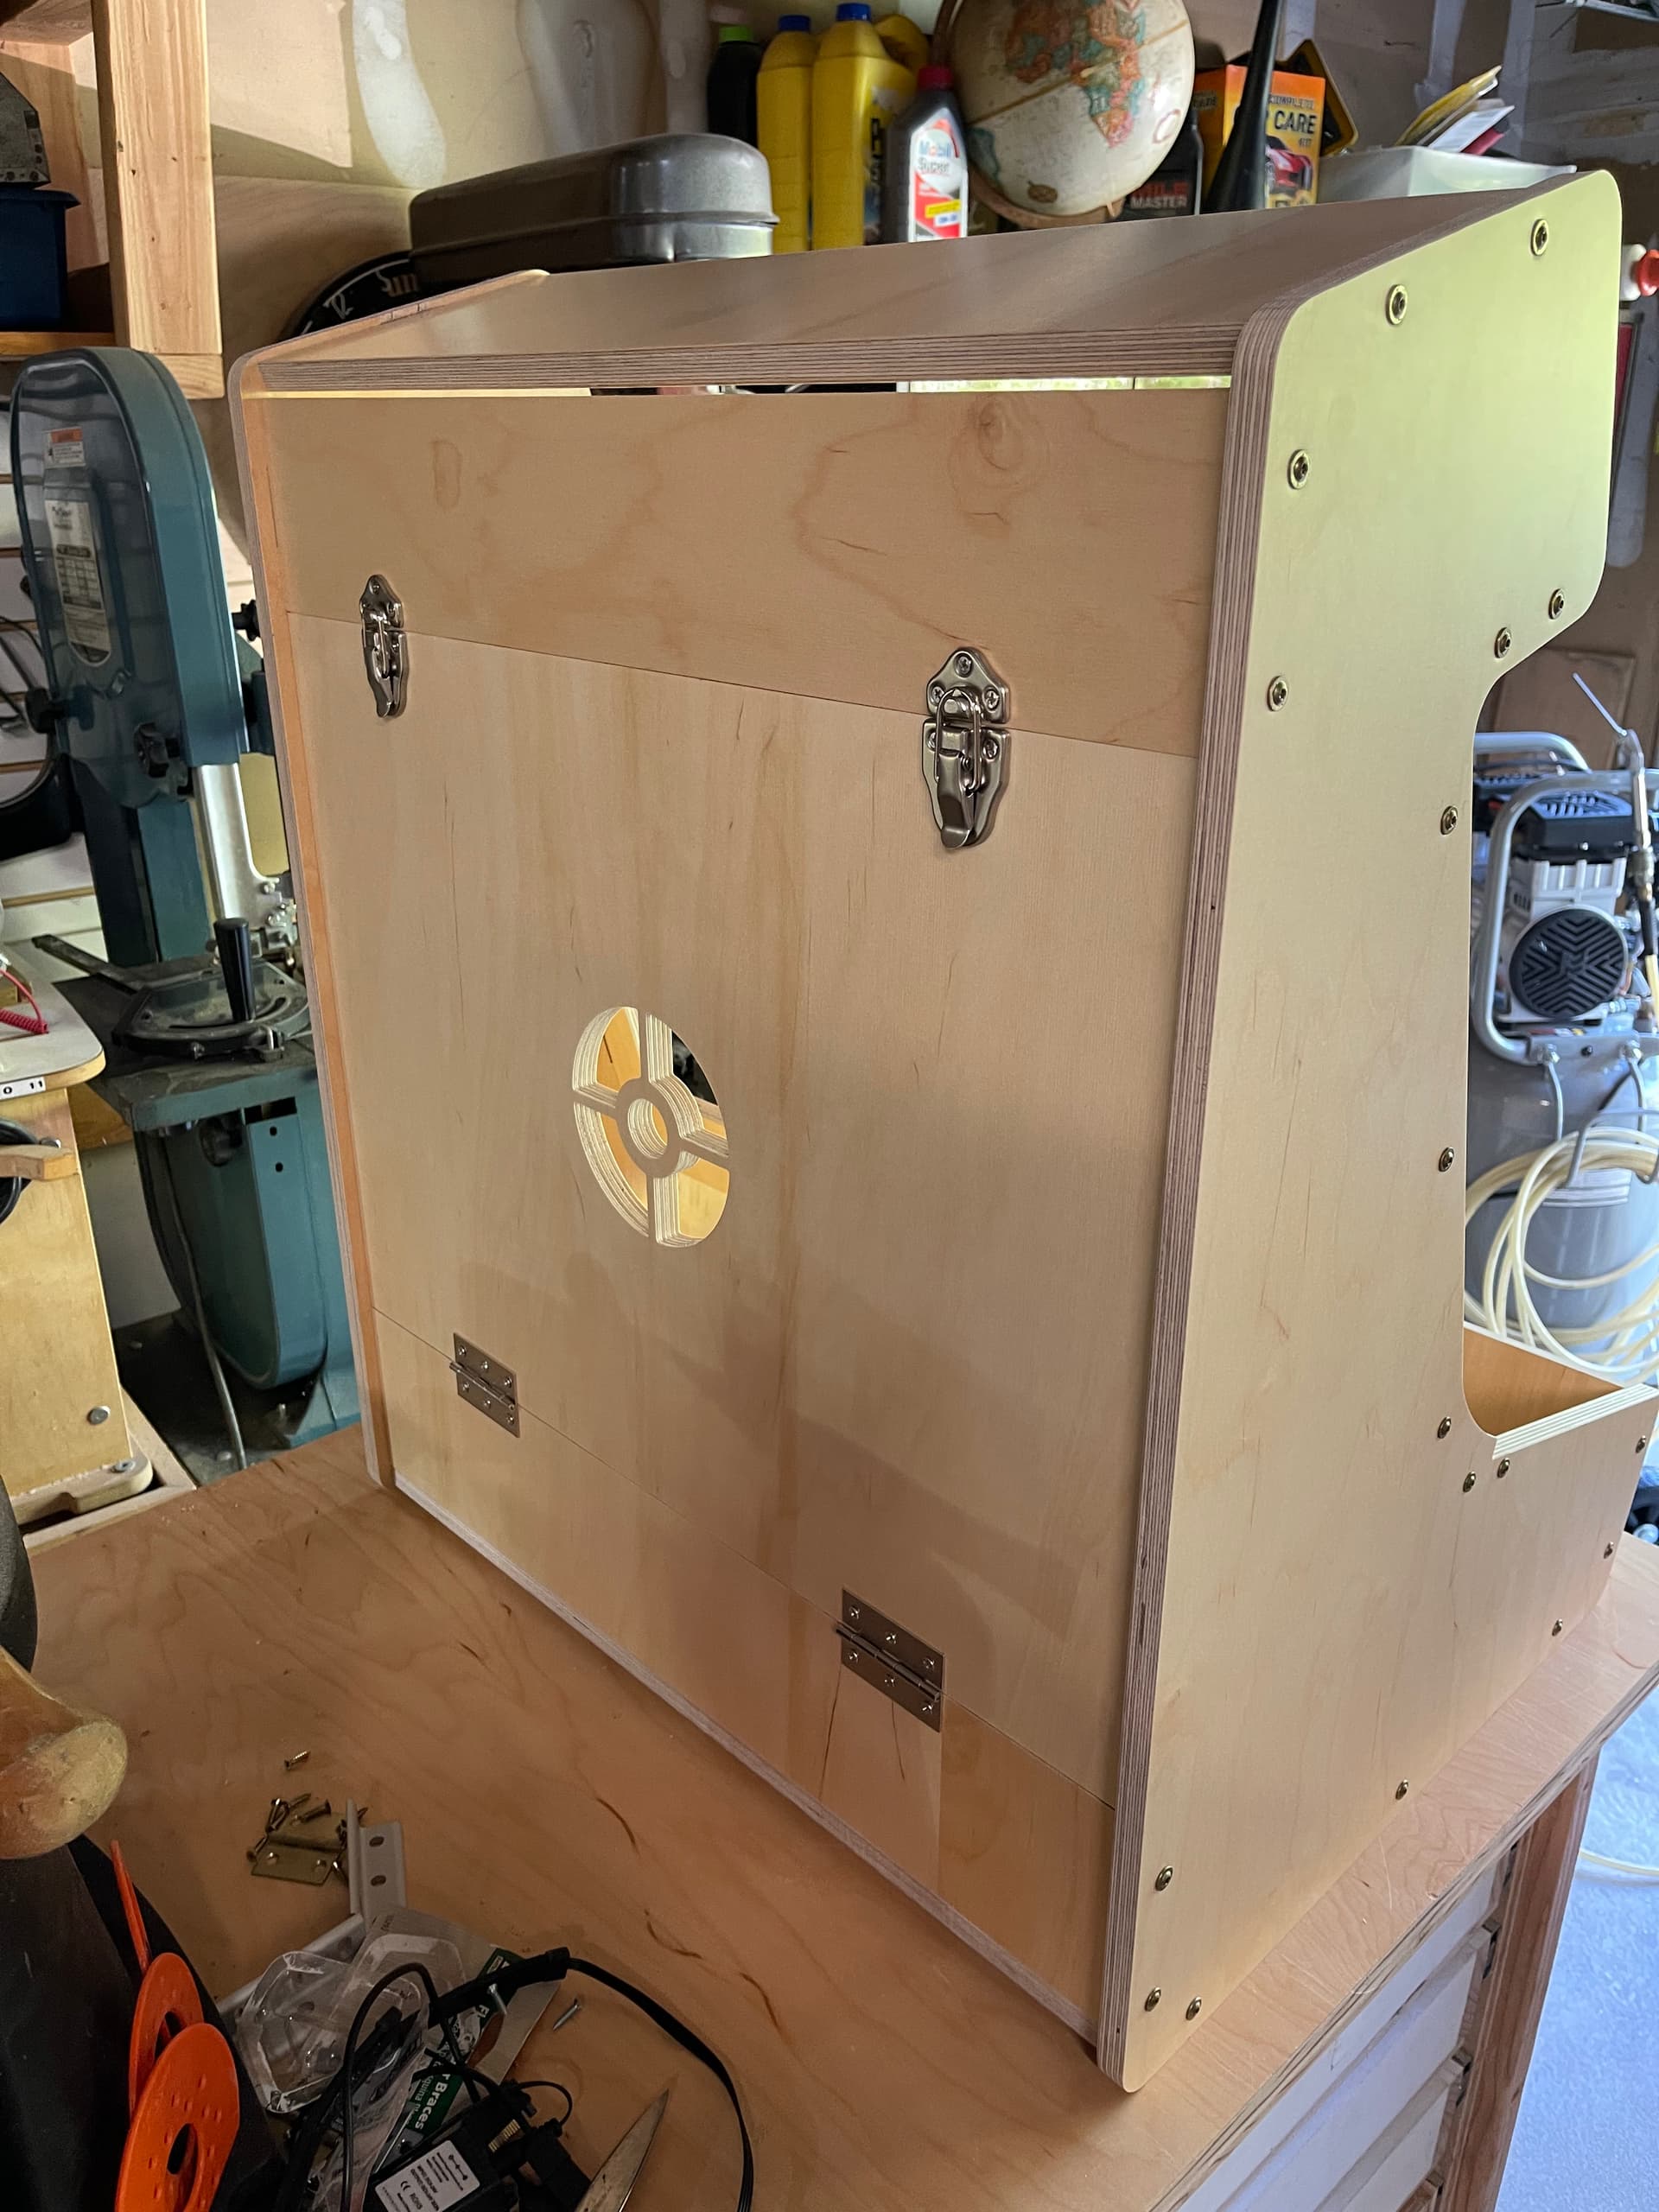
Built this cabinet this past weekend. Bought the design as a starting point, but made some modifications, and will be using it for customization and mods on future versions Still need to cut the marquee on the top and add some logos.
Material Is is 15mm Koski - a Finnish multiply with a transparent melamine finish. Looks like raw ply in the photos but has a silky smooth finish on all surfaces. Really pleasant to the touch.
Nothing fancy today but I’m experimenting with something (simple).
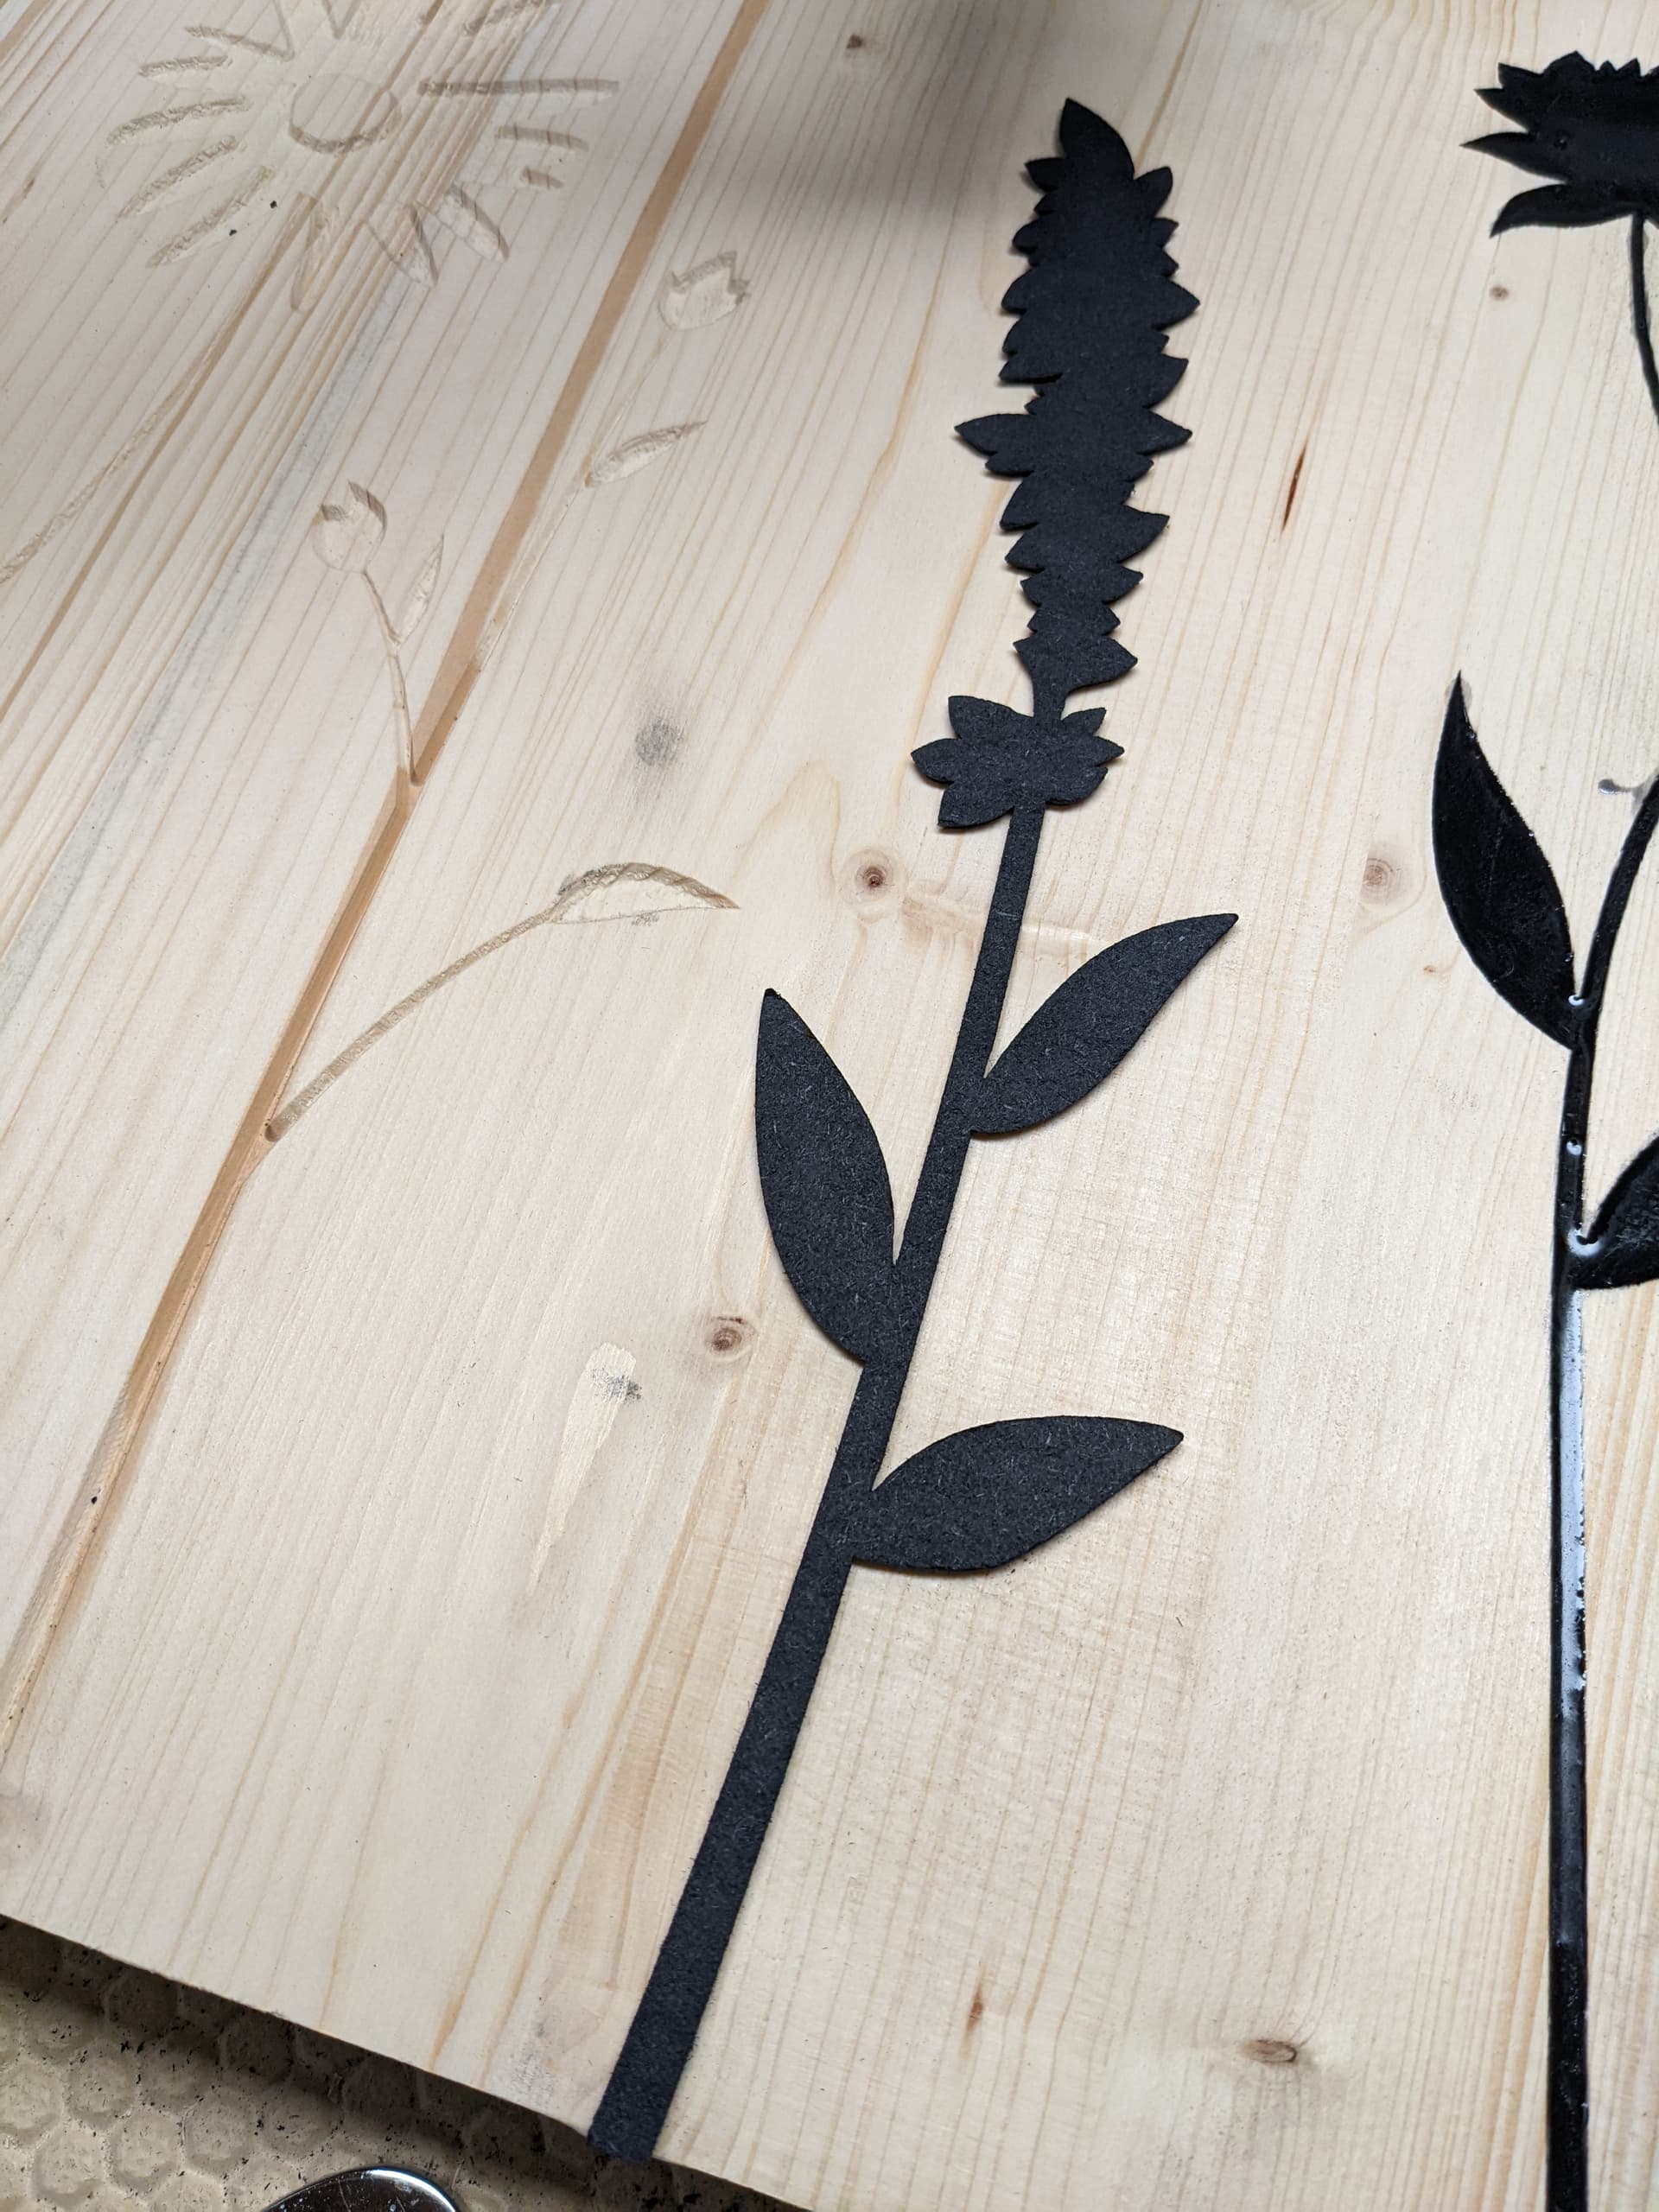
I have a set of (poor quality) pine doors I want to upgrade with some flowers/vines inlays. The vectors have semi-fine details and acute angles so…v-carving it is. Except that (bad) pine and depth-limited v-carving tend to produce awful stringy finish. Also, I want the door pre-painted a certain color, and the inlay a different color (of course), so I can’t do my usual routine of glueing the inlay then surfacing the backing with the machine, and finally sanding the inlay flush to the surface.
So I thought, I’ll
I’m being clear as mud but anyway, the first test produced decent results, and I kinda like the effect.
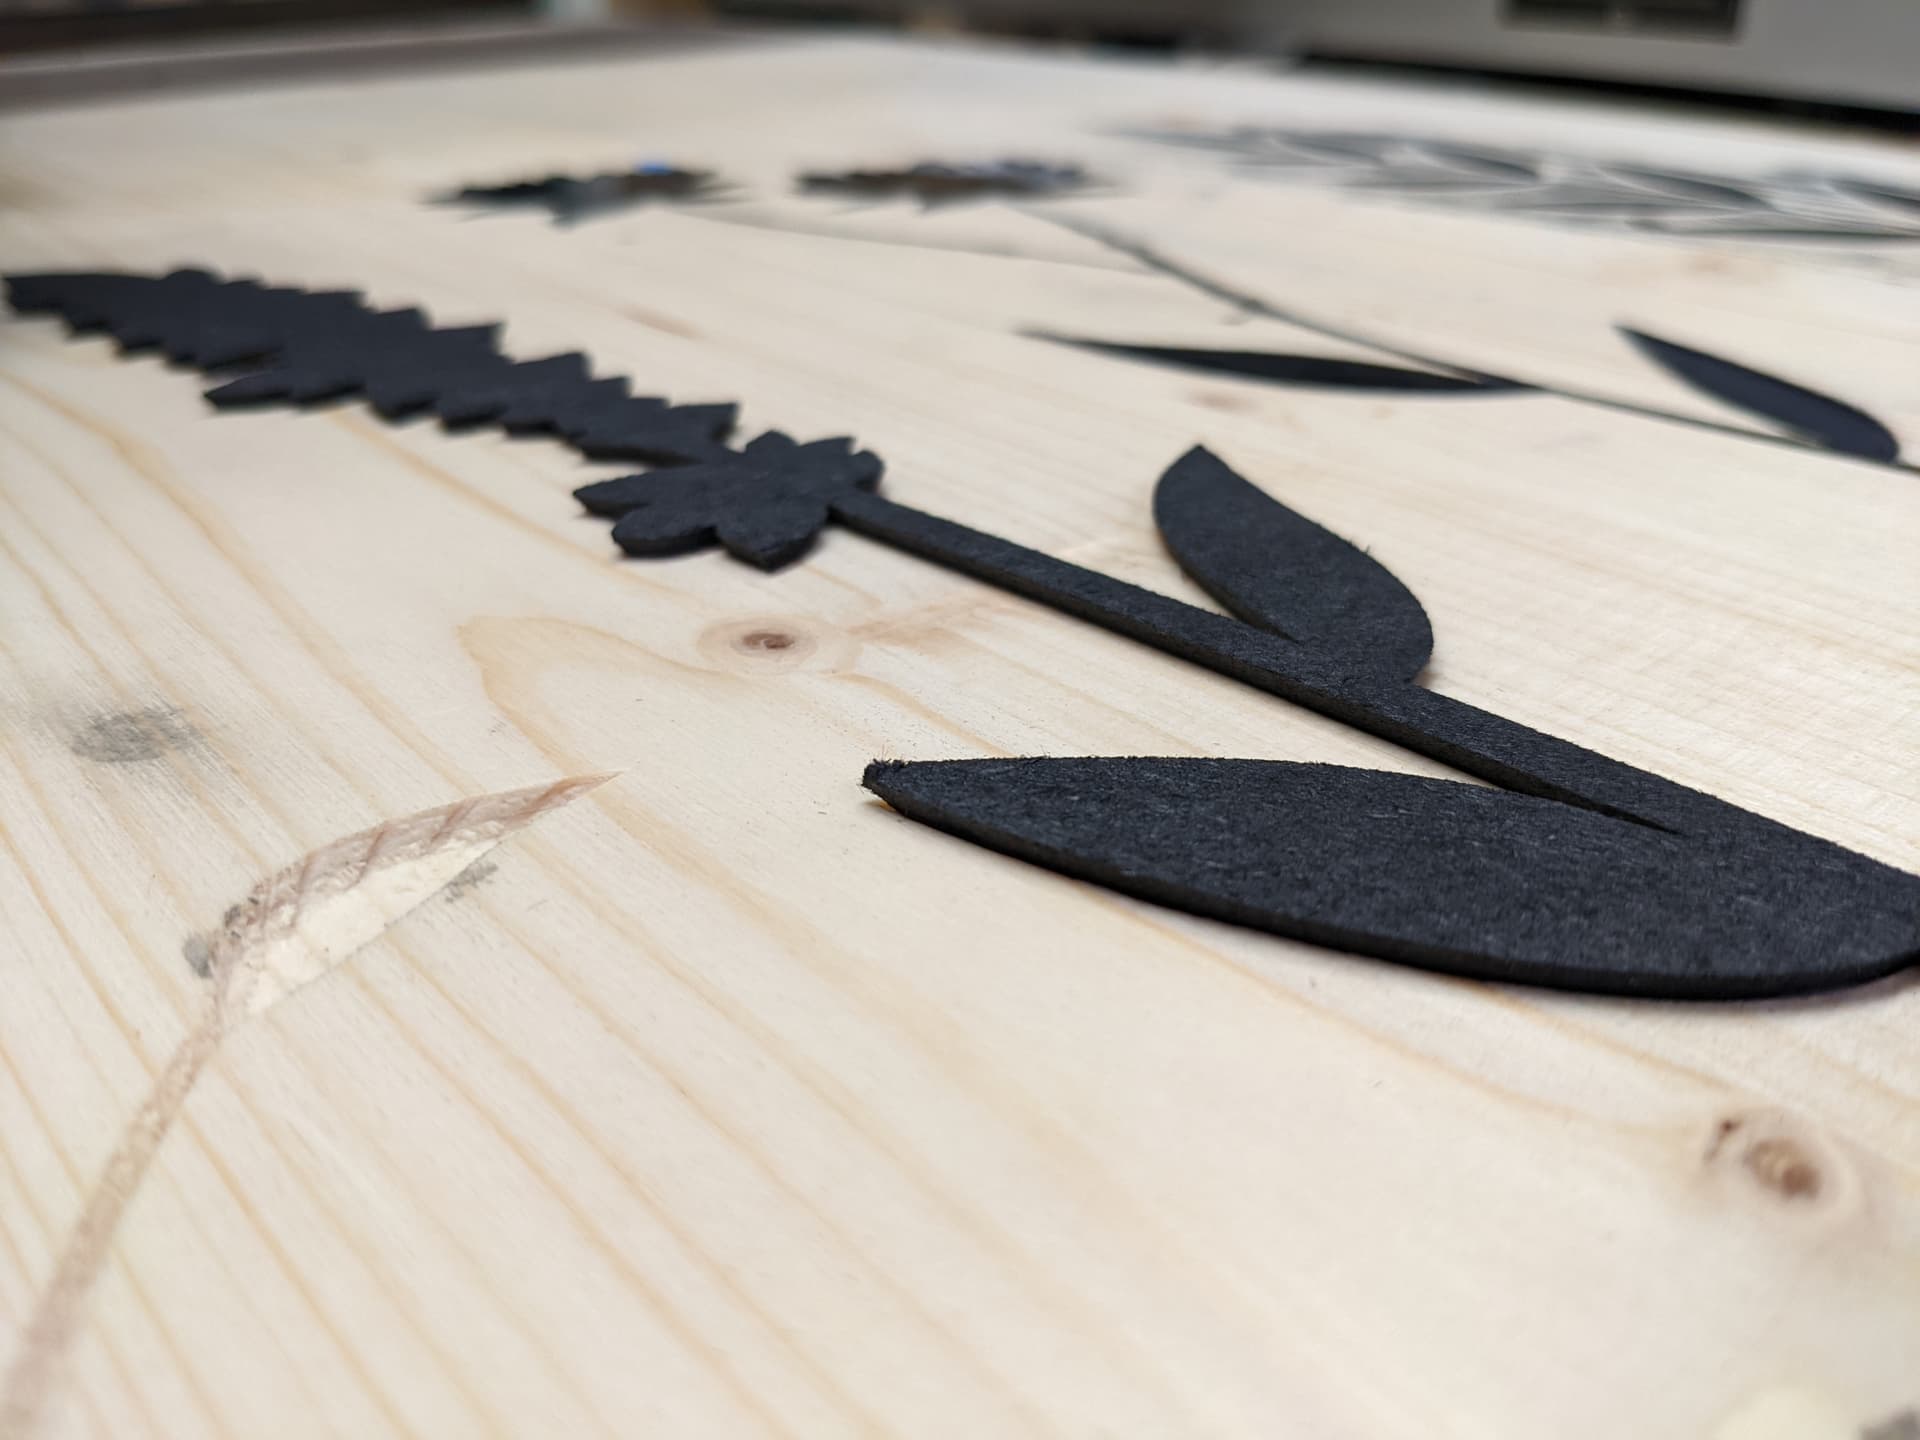
I used black valcromat for the plug, and when surfaced it ends up looking like felt tissue, that would have been cut and glued there.
And since it’s v-carved it will be able to hold very small details (like a regular vcarve inlay does, duh)
(ignore the epoxy inlay test on the right)
this is super cool. My brain for sure doesn’t work like this
Very impressive. It turns a boring door into a work of art. Nice thinking.