That is incredible. Where did you get the Yosemite topo to use or would you share the .STL or whatever file? Thanks.
Sure, let me find the file and I’ll post it, but I basically followed this process laid out by Winston: Machining a Topographic Model in Carbide Create Pro - YouTube
Edit: Filesize max is 4MB and even compressed it’s 9 MB.
I’ll upload it to cutrocket.
1 Like
Here’s the cutrocket link:
You’ll need Pro, and I recommend playing around with the contour. But it was a cool project, bowl blanks can be gotten pretty easily, and my friends were super overjoyed and immediately pivoted to ‘you should sell these!’
We aren’t near (I’m in Maryland), so I’ll probably find something Maryland themed for the next thing, but still overall happy with how it finished.
4 Likes
And I’m smacking my forehead after all that searching for 2" pieces under 2’ long…
(Thank you for the pointer.)
1 Like
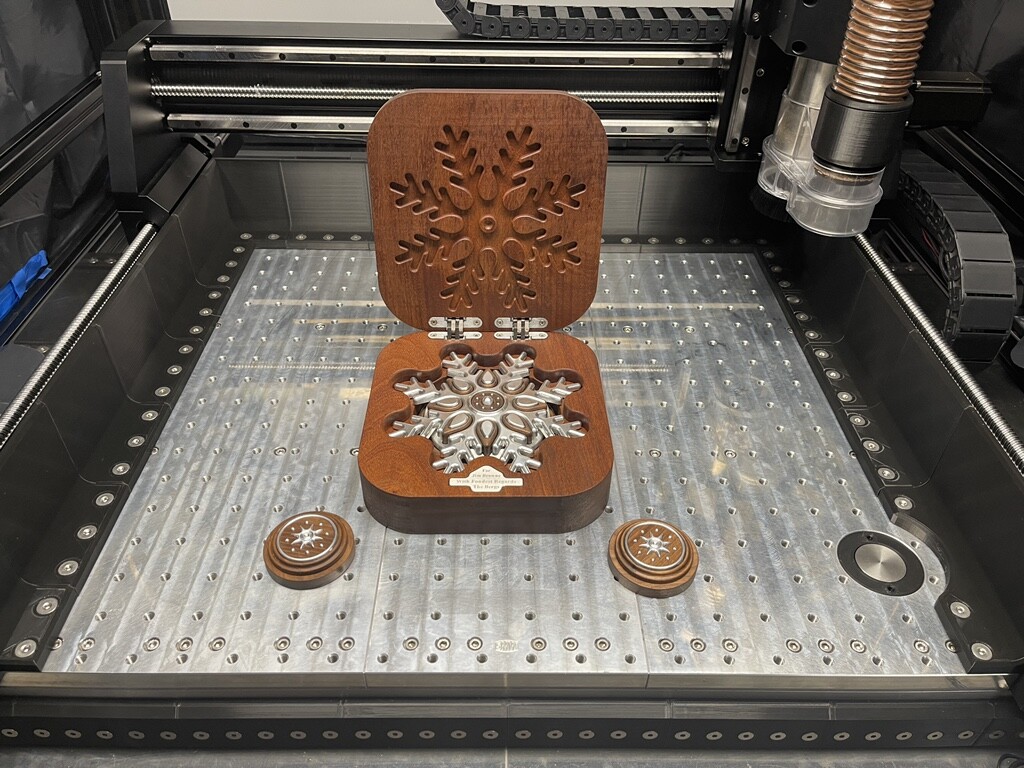
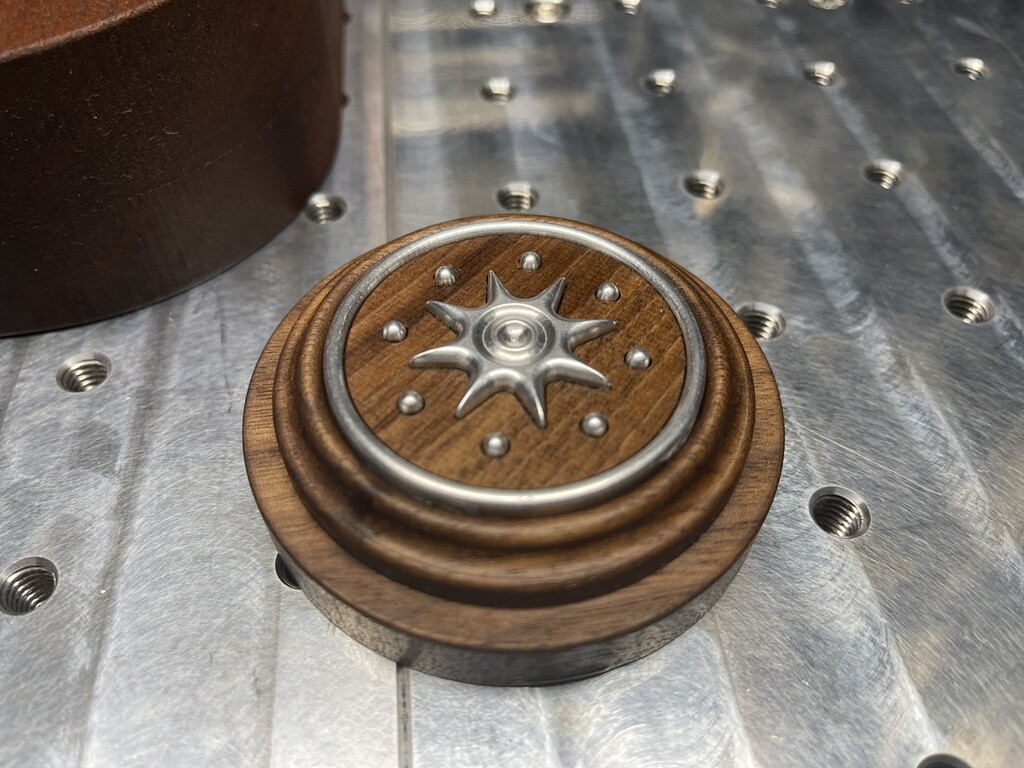
Finally finished my HDM enclosure! Was cutting parts with a .0075 gap for fitment with 100% success so that’s pretty awesome! HDM does not care if you do not believe in modeling ten thousandth’s. Check out the gaps on the medallion. ![]()
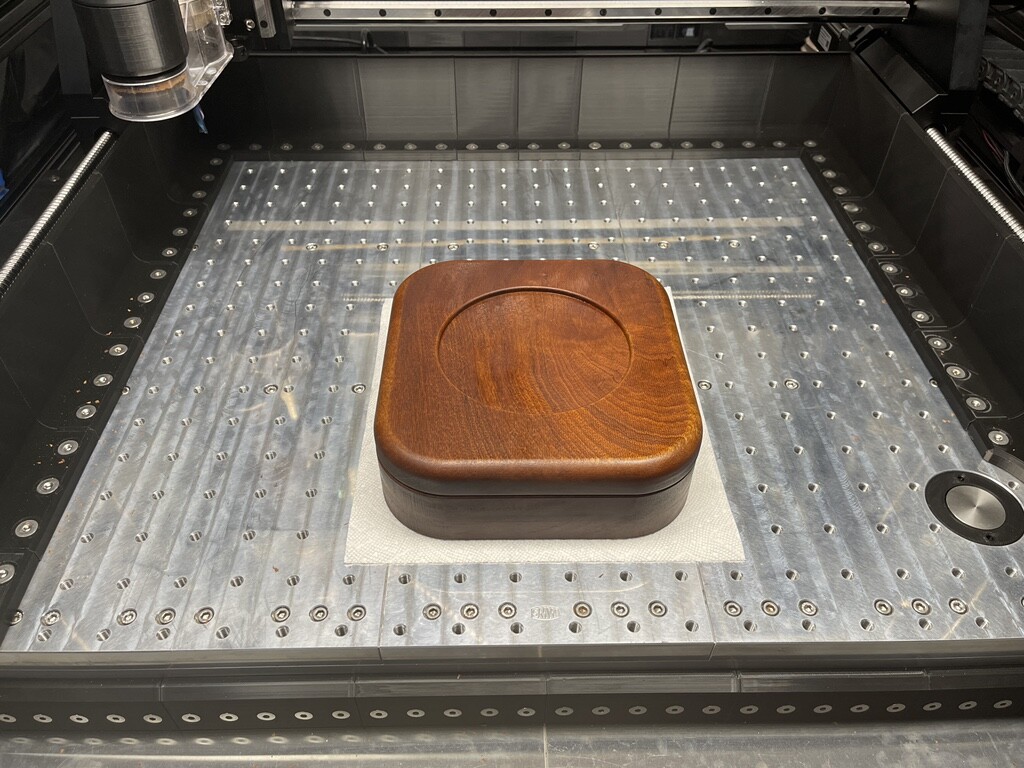
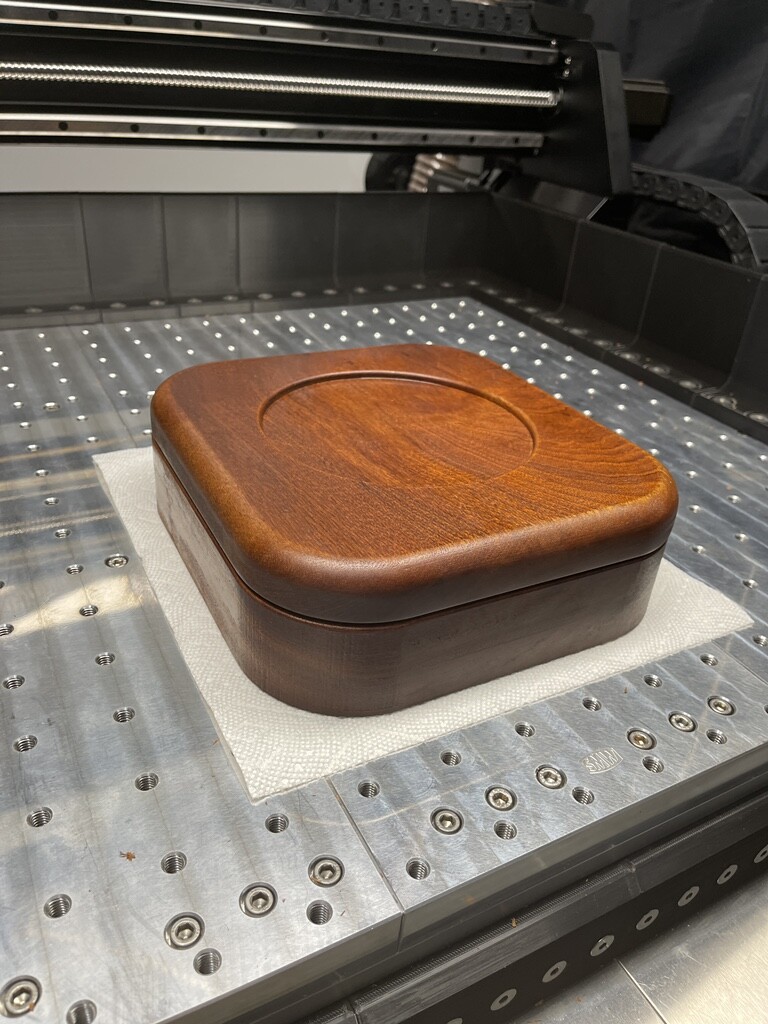
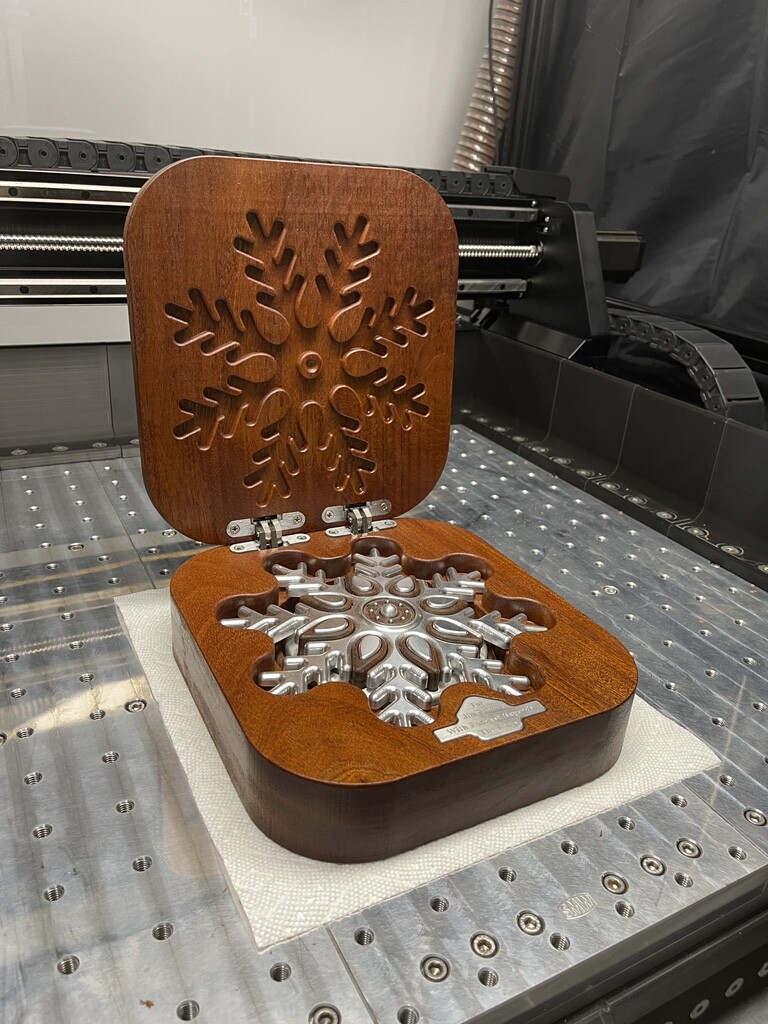
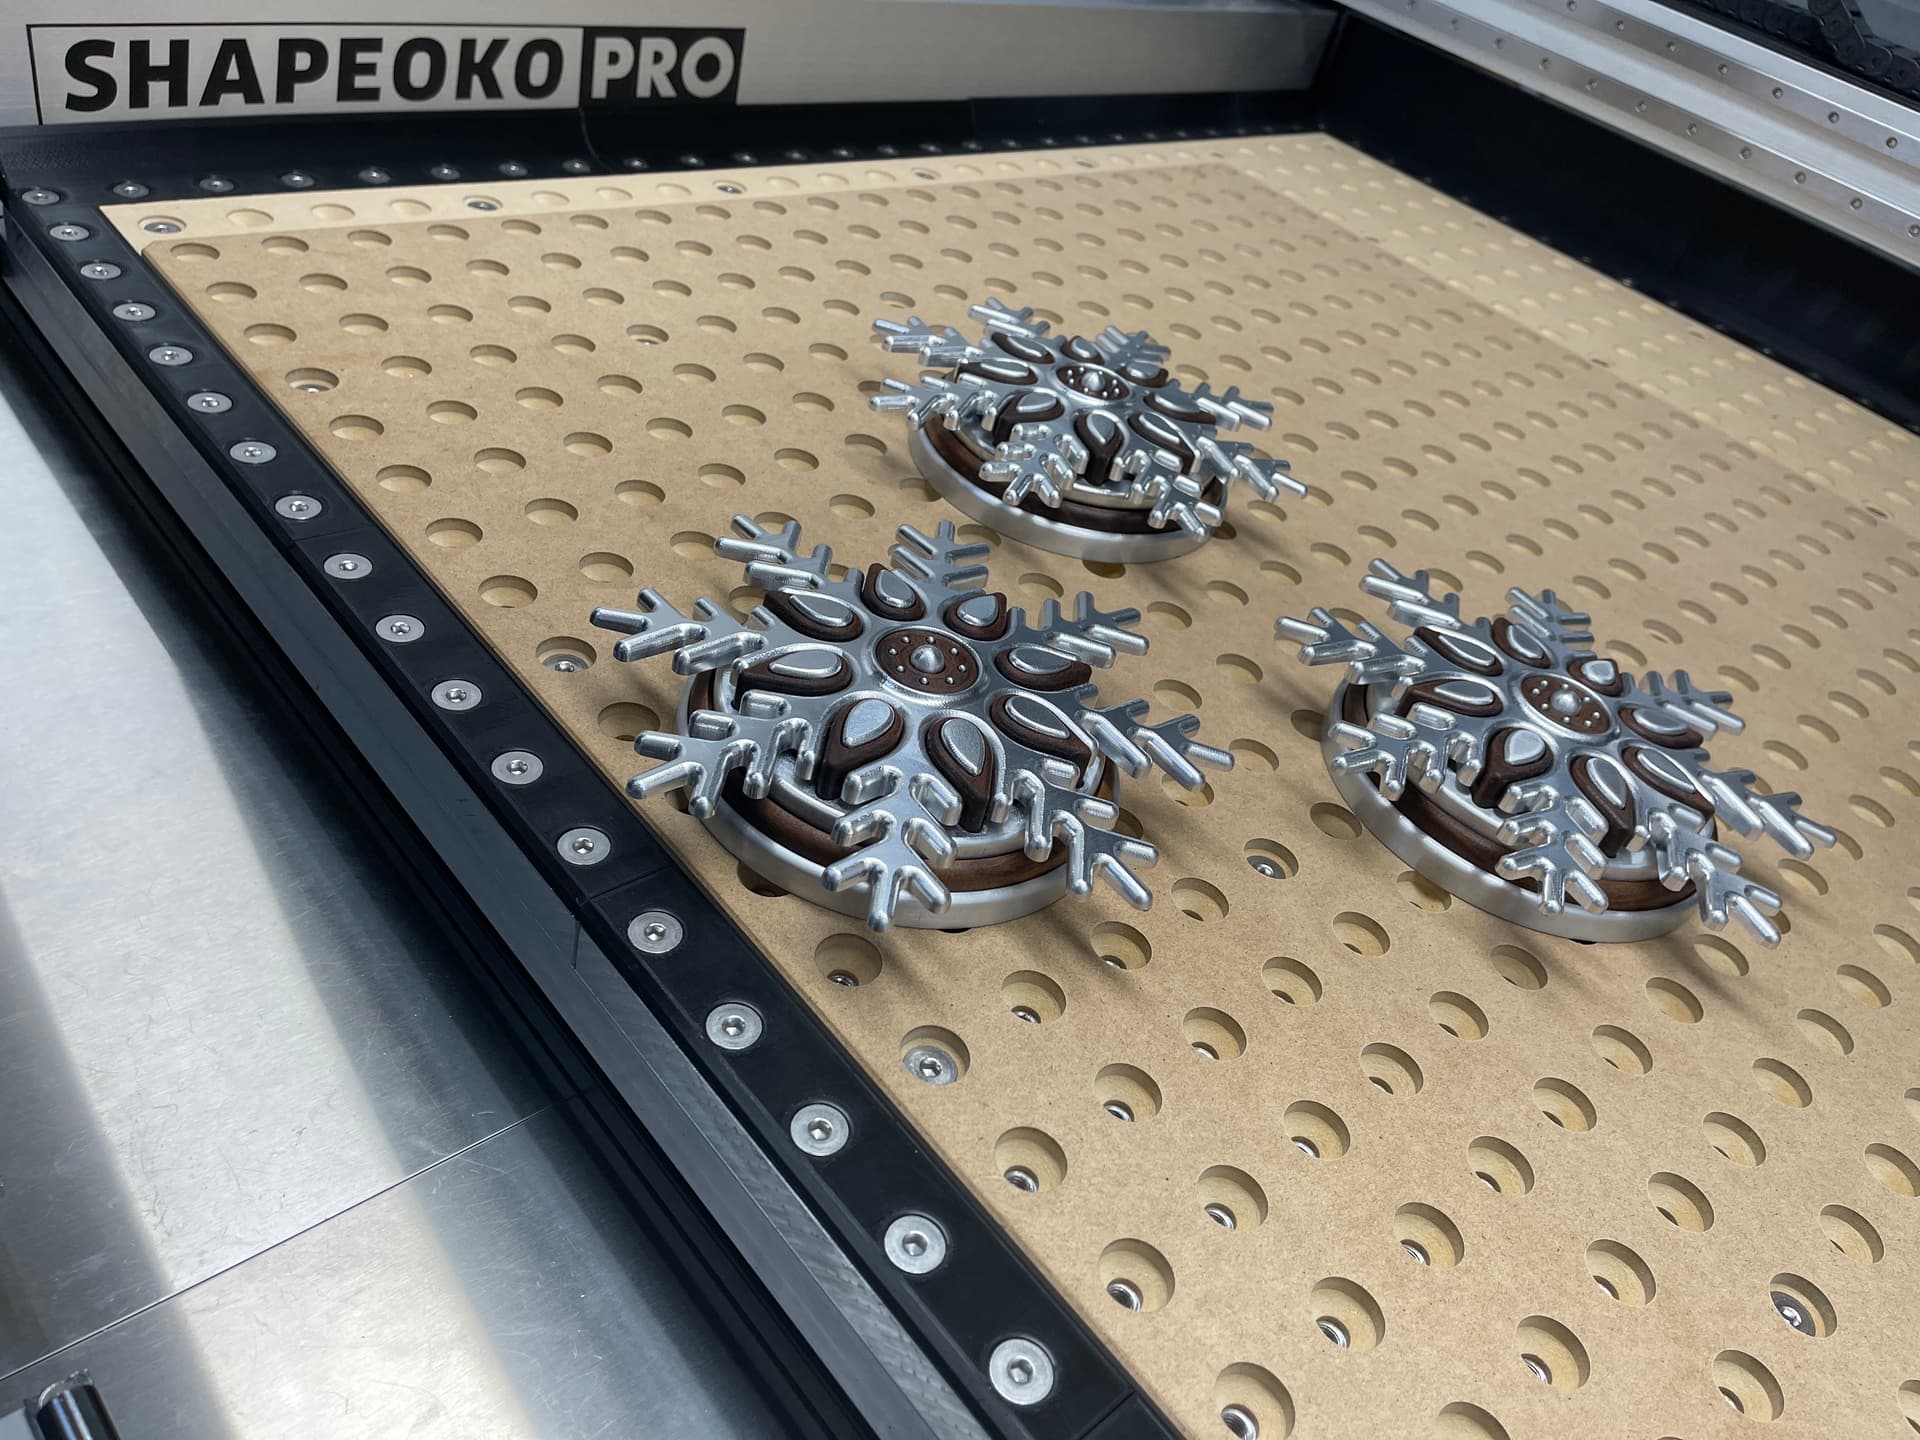
Designed a box to hold my anatomically incorrect snowflakes for a family friend.
28 Likes
Wow, what machine did you cut that on? Small v cutter?
1 Like
I only own an original model Shapeoko 3 (UPDATE BELOW)
Edit (ADD)
Thanks, Tyler…I learned something new today! I made the thread mill using an old boring bar (lathe tool). Hand ground, but carefully done. Here is some info on more thread milling I did back in 2017 (with another home made tool):
1 Like
Max, as always, really nice work.
Your fixture plate and perimeter setup are pretty cool too. CNC Inspiration indeed.
1 Like
(In his message, you can click on the little arrow next to your profile picture to jump to the post he was replying to. It’s an ooooold post about threading ![]() )
)
2 Likes
Thank you Griff,
The fence does a great job of keeping chips off the screws. I just finished installing side doors on this enclosure to have better access for cleanup and lubrication, was worth the added expense.
Saunders Machine Works did a great job on my fixture plate design, and the recessed bit setter setup has worked very well for me.
1 Like
A bit more on HDM jewelry.
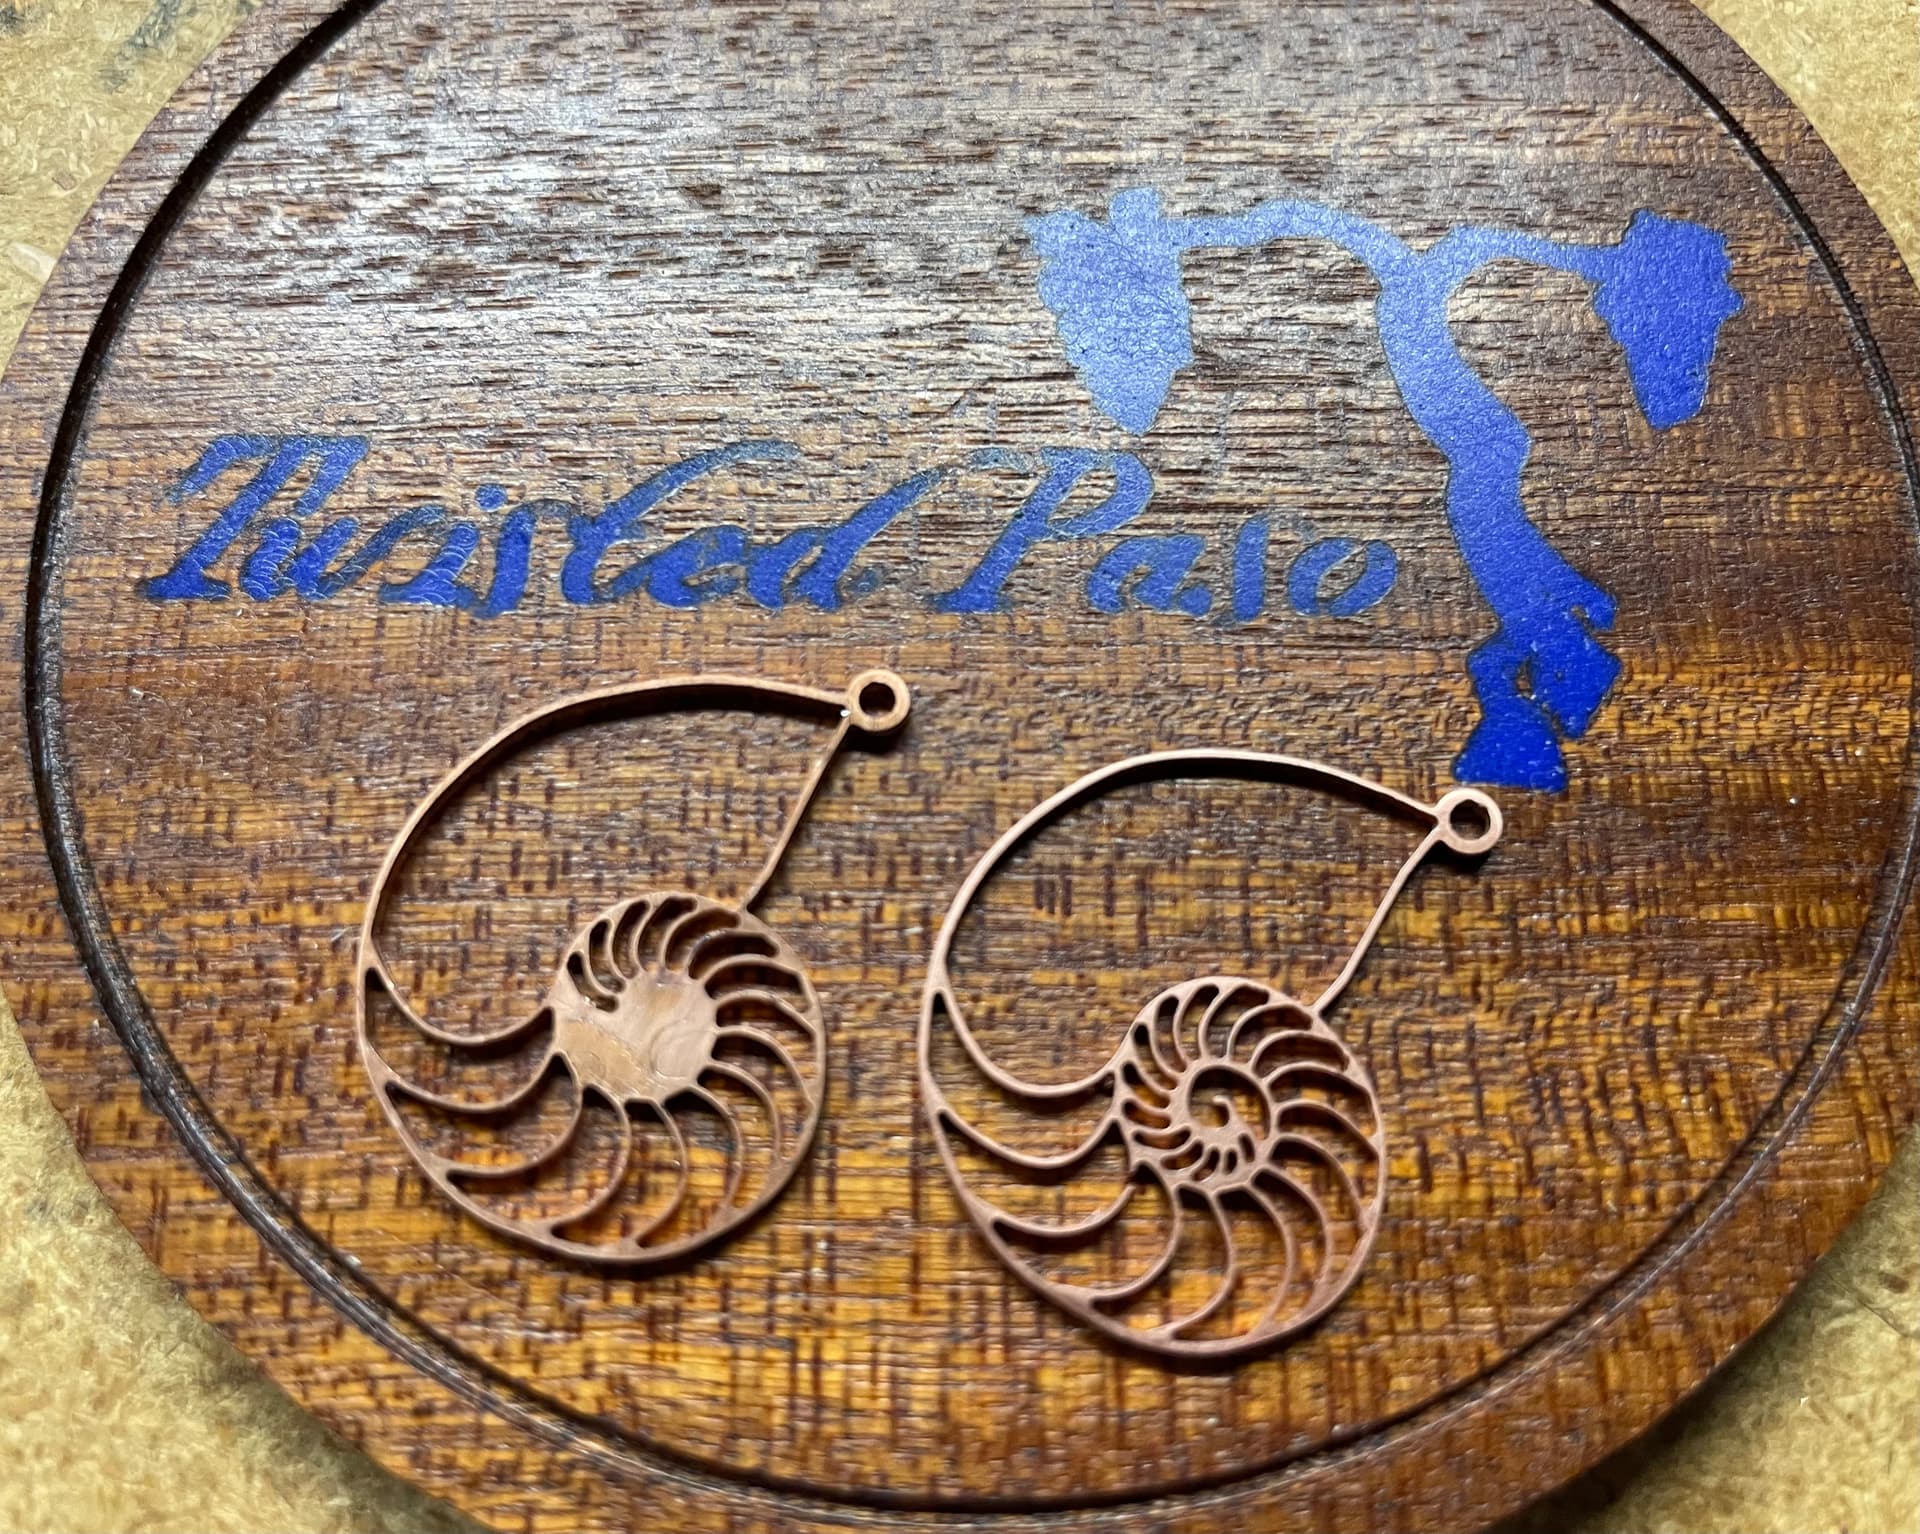
Managed to cut the smallest cells in the center, 0.0157” 2 flute.
But, still breaking end mills. .003” DOC, 10k, 2 ipm.
Thought I solved the problem by increasing Z gap clearance after noticing a break at a rapid move, it appeared the tip impacted the edge of the cut before rising completely.
Have ordered some shorter DOC mills, failing my way ever forward.
9 Likes
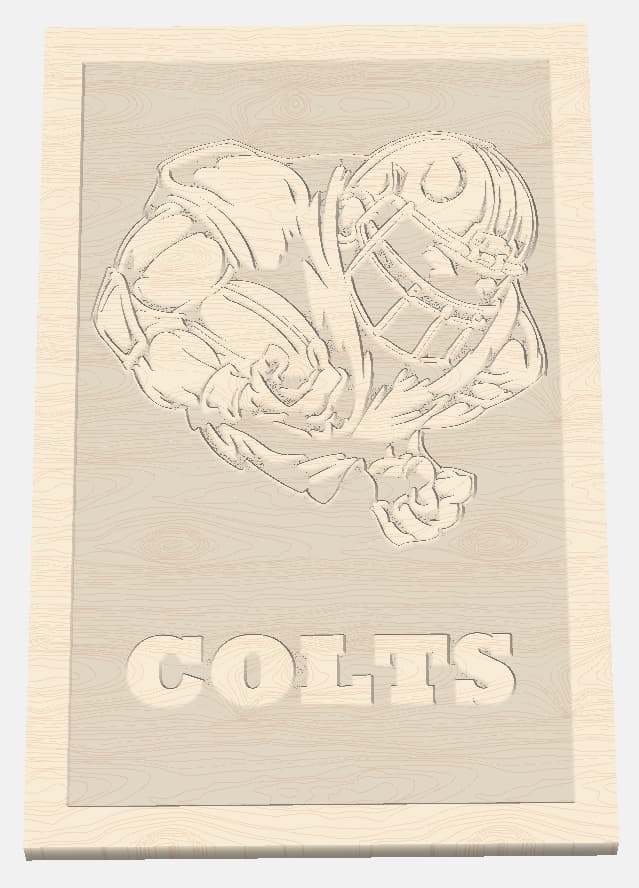
Showing a picture of the Cubs Plaque I had done, and they may be interested in one for the COLTS.
What do you think?
7 Likes
Just to say it, those little tools can (and prefer) to run much faster in most materials… relatively pure copper is finicky though so i appreciate the work you’re putting in!
For other materials however, crank that rpm! If you got it you might as well use it ![]()
Another copper trick I’ve read about but not tried (yet) is to chill the copper while cutting. Like really chill it. The most common method I’ve seen is keeping some dry ice in contact with the workpiece. Though regular ice is probably worth a shot as well. The theory is that the chilled copper facilitates fracturing which leads to better chip formation and a reduction of work hardening. Does it work… maybe ![]()
1 Like
Yeah, my experience as well with respect to rpm. I’ve run the range from 24k down for this exercise.
This particular copper is Tellurium copper. Have some 110 now to try. Both are supposed to be easily machineable
Will also try in F360, much more toolpath flexibility then VCarve.
Another option for cooling is using the “Dust Off” or similar cans for blowing off computer parts. Just invert the can when spraying. The liquid is spit out and gets down to the - 80F range.
We use them for verifying thermocouple locations in my lab.
2 Likes
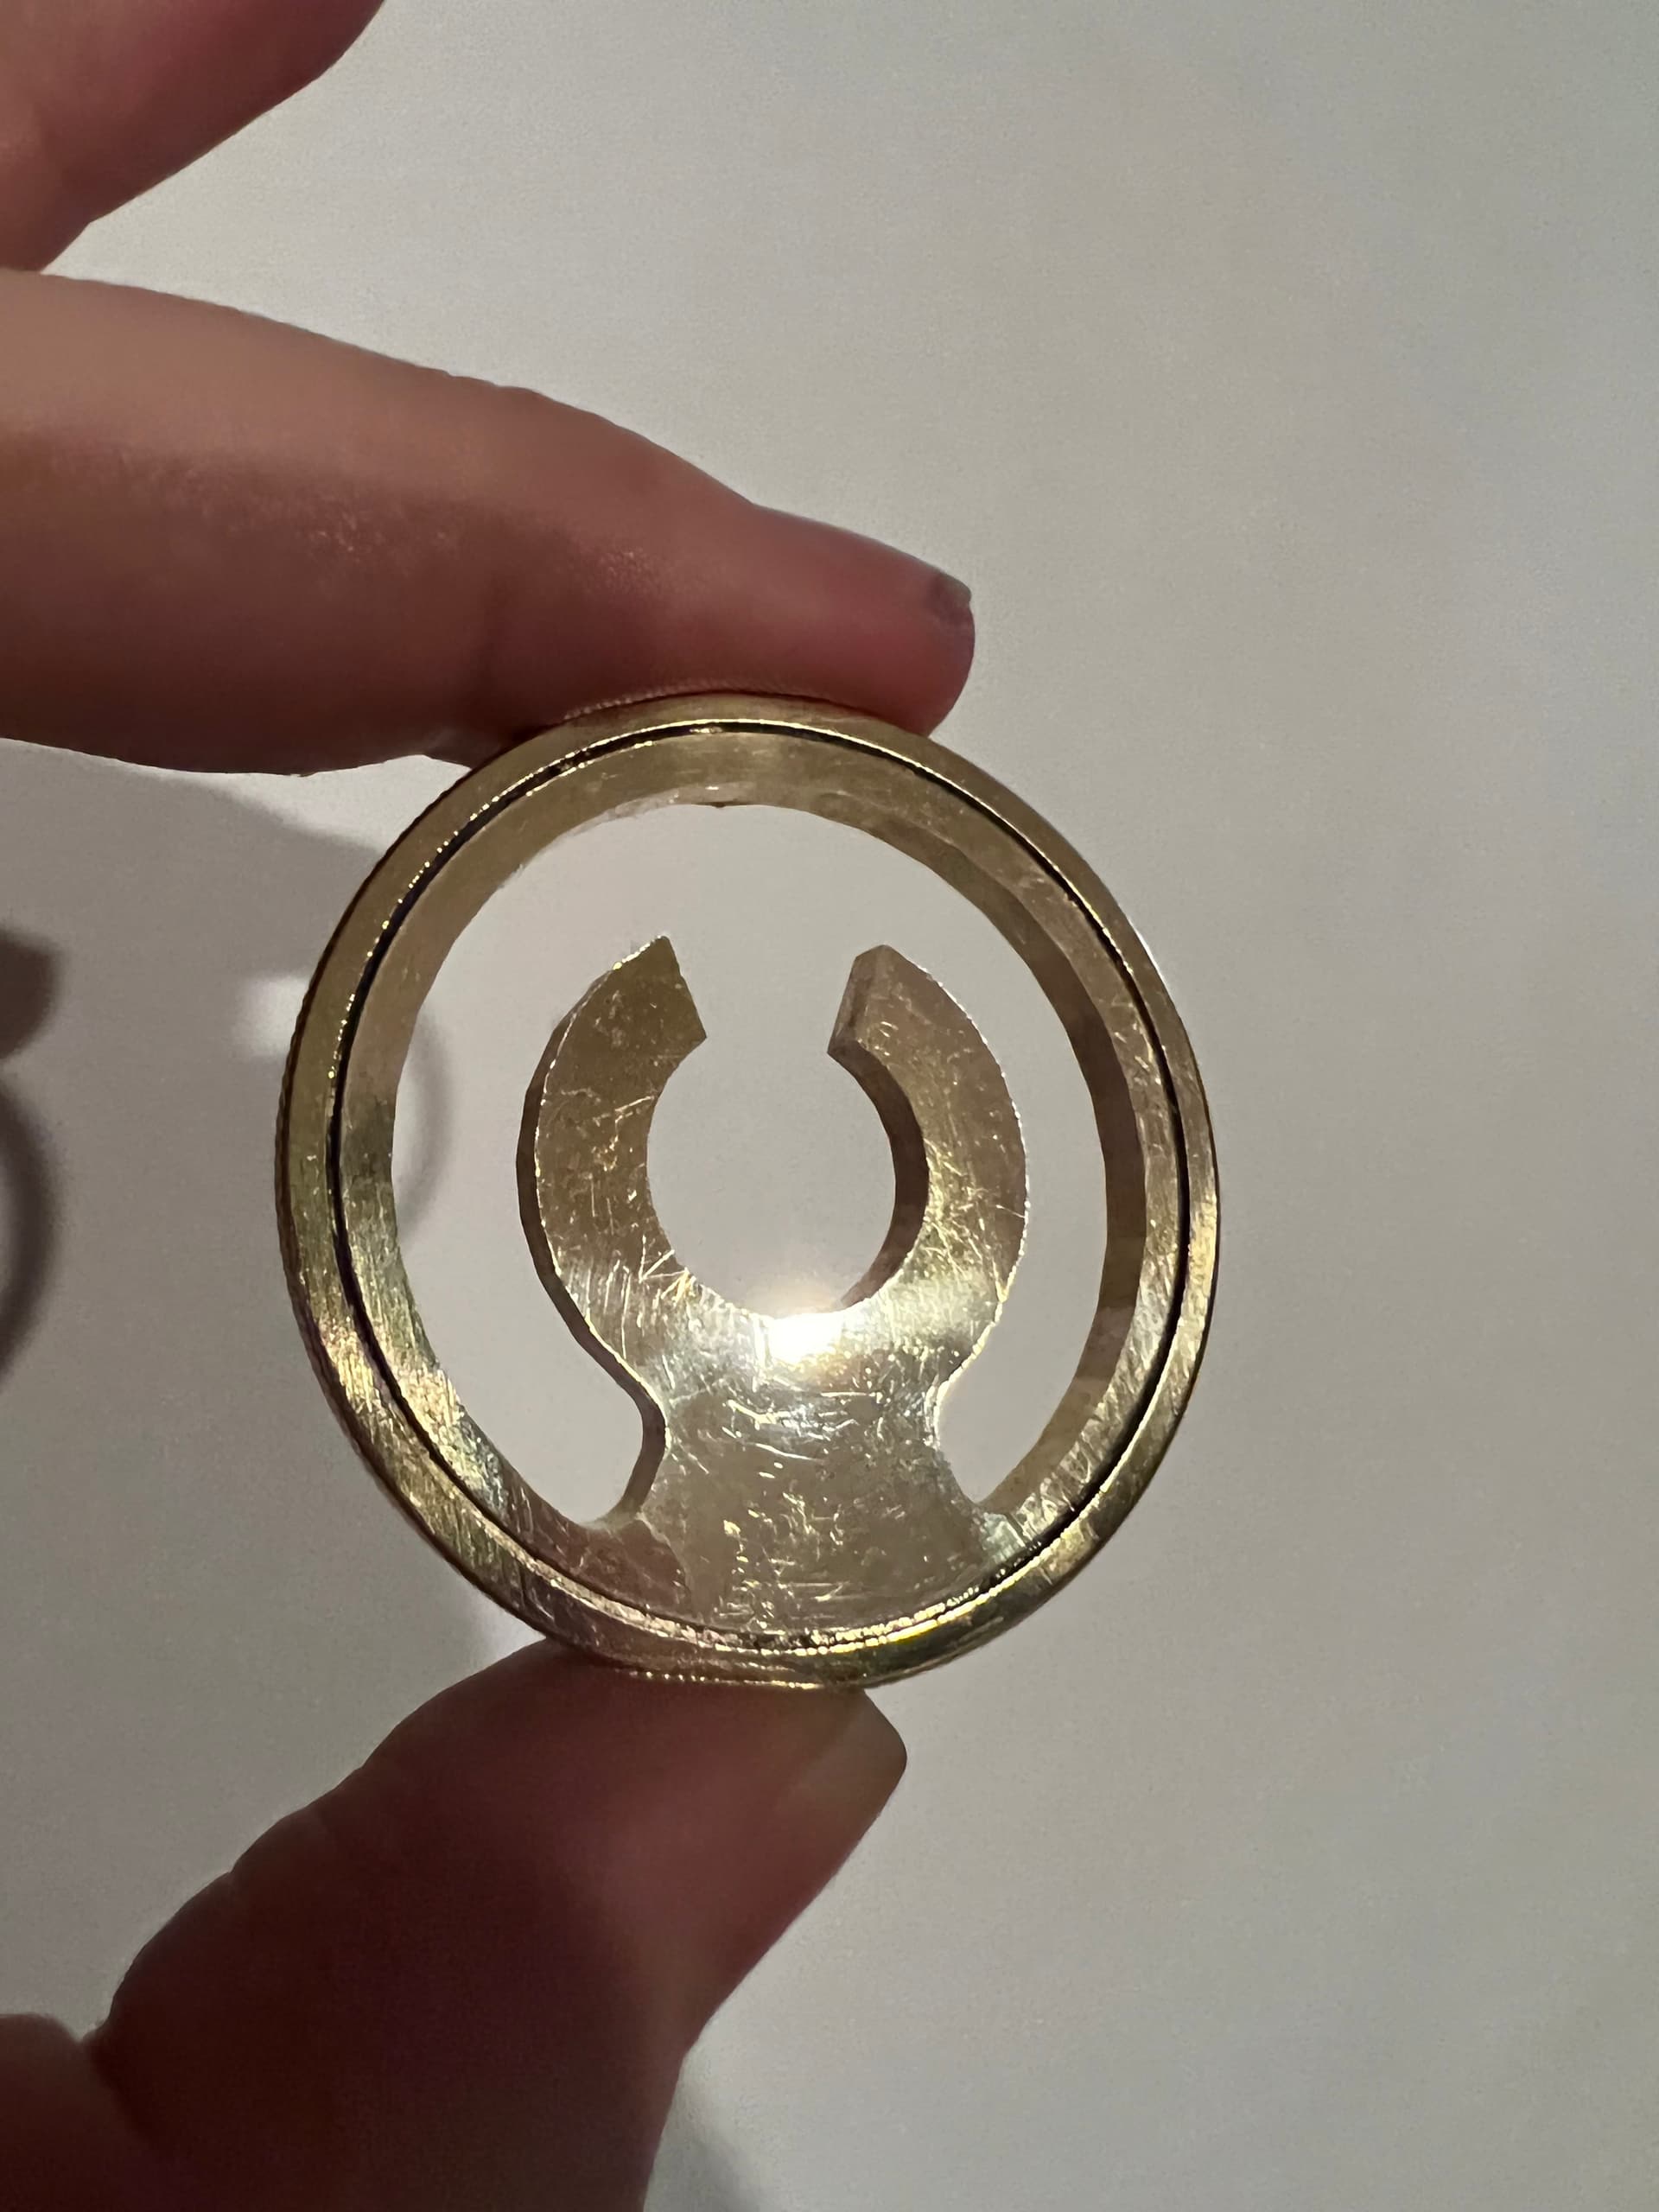
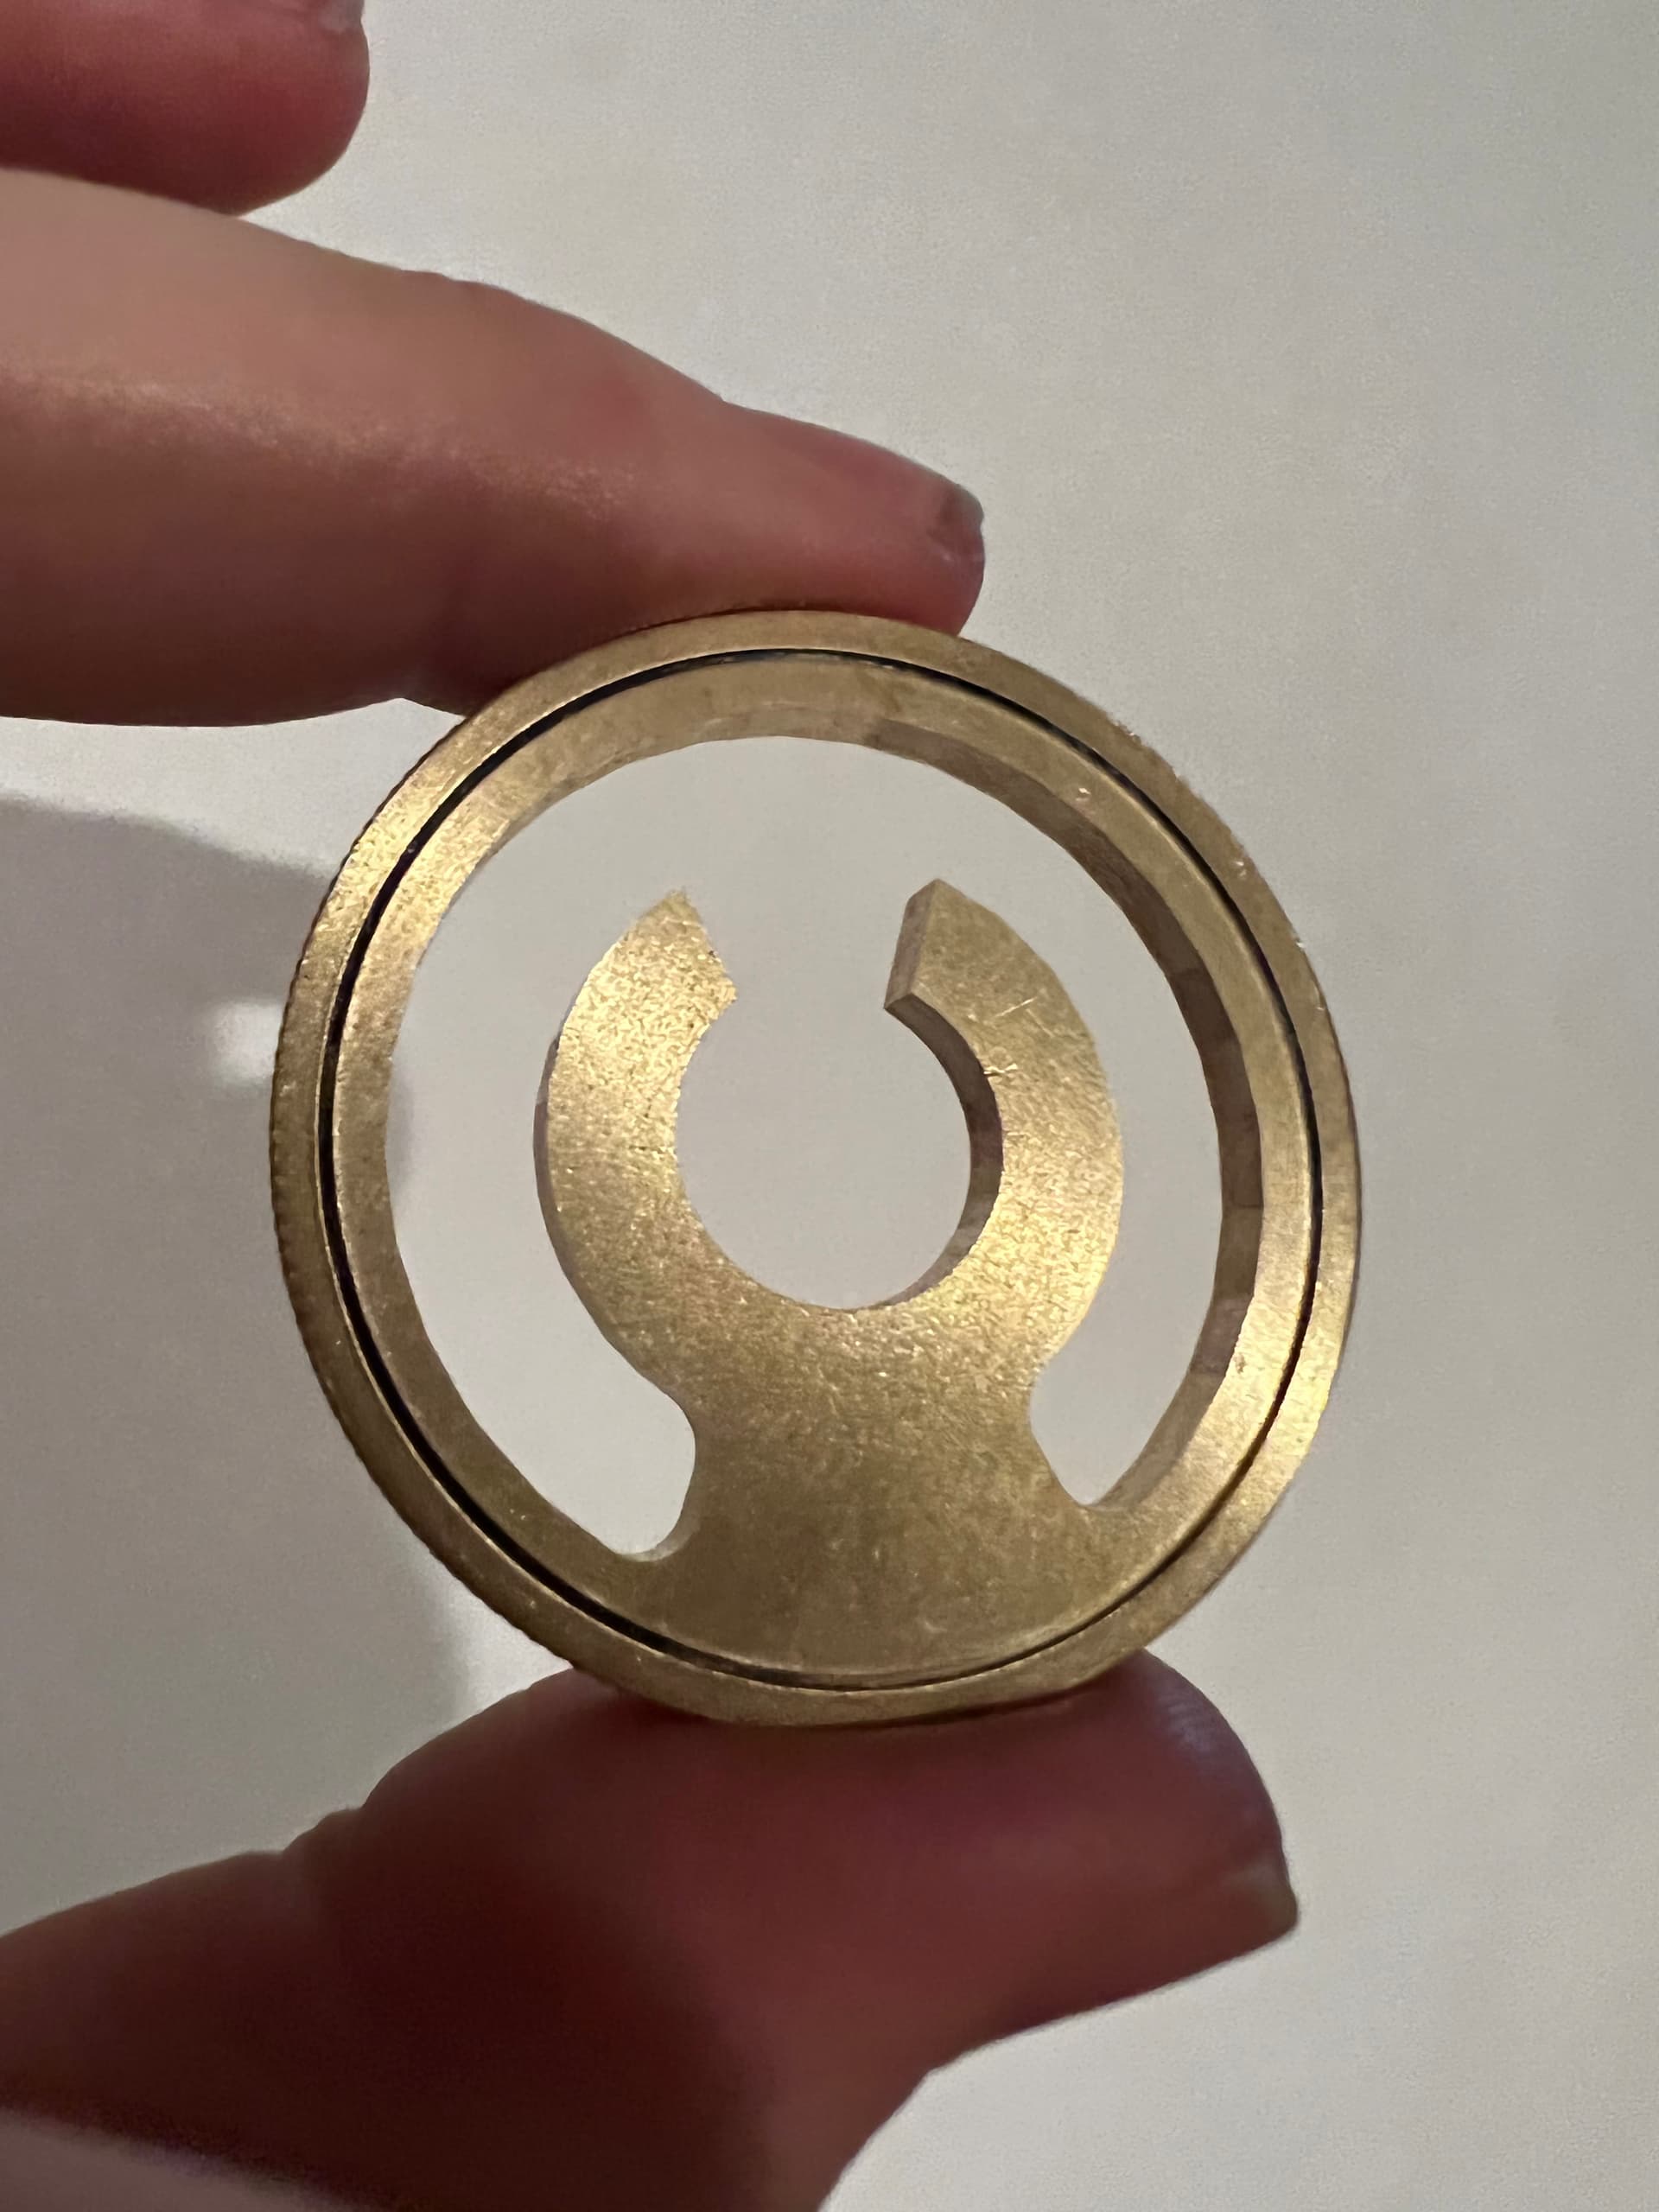
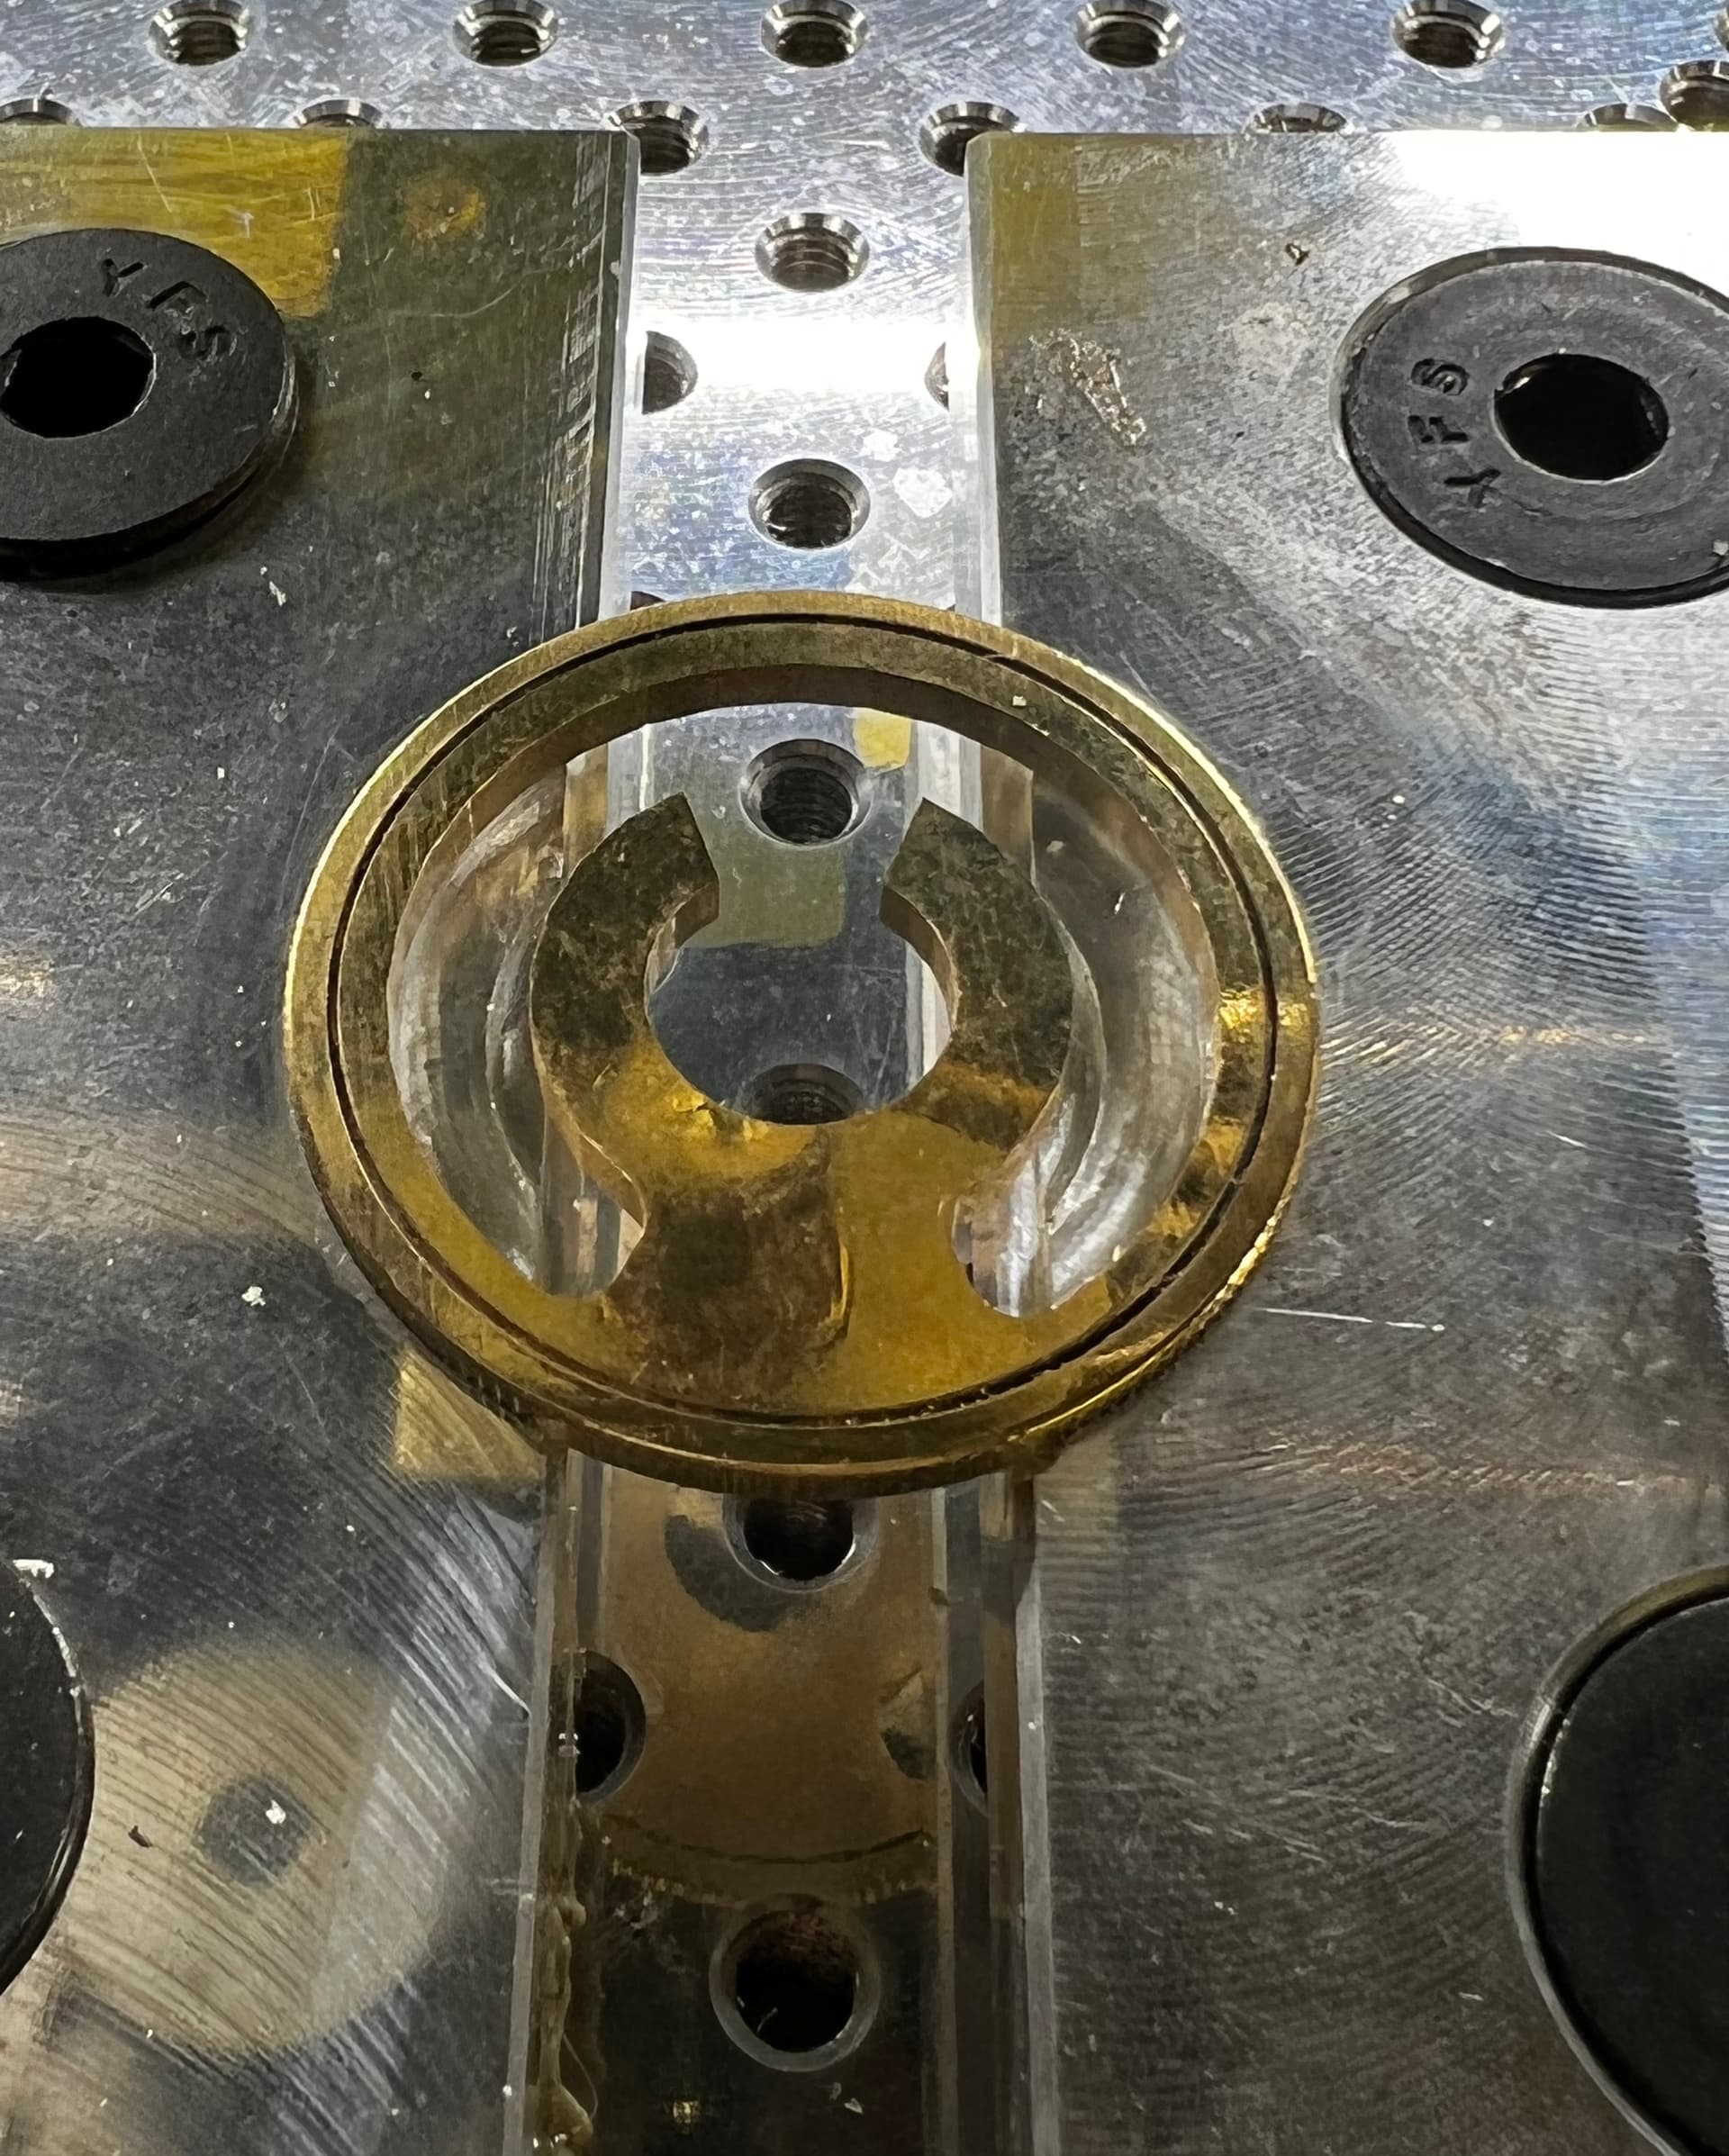
Wanted to test punching all the way through some coins in my soft jaws:
Just a quick test cut in a 40mm brass coin blank. Built in carbide motion feed/speed for aluminum with a 1/8" single flute coated endmill and a slightly bumped doc.
6 minutes start to finish. No cleanup done, one side was quickly polished before cutting to test the difference. All in all, not bad ![]()
13 Likes
Are you willing to share your file ?
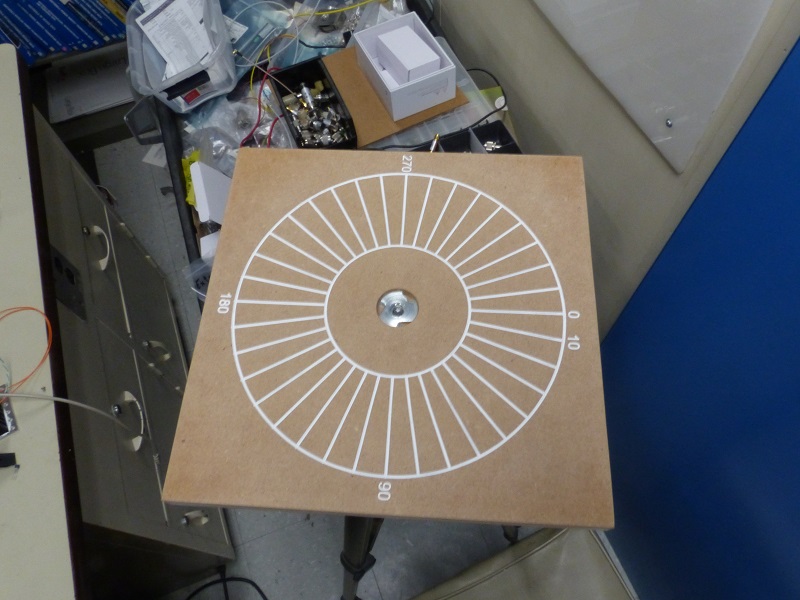
Needed a little platform to attach to a tripod to indicate degrees around a circle. For aiming a solar sensor during calibration.
Knocked out out of 1/2" MDF. Several heavy coats of shellac to seal before painting with white acrylic paint. Then sand it all back for nice crisp lines & text.
13 Likes
Really excellent Shuriken there Max, erm, snowflakes… ![]()
Seriously though, really excellent work, toolpath and workholding on those must be fun.
1 Like
Curly Western Maple. I had to take down a 70 year old tree in my back yard and then hired a guy with a portable mill to come out and slice it up into boards for me. The mill job only cost about $300 and I ended up with about 1500 board feet of lumber. I will never have to buy wood again for a project, as long as I use maple.
3 Likes