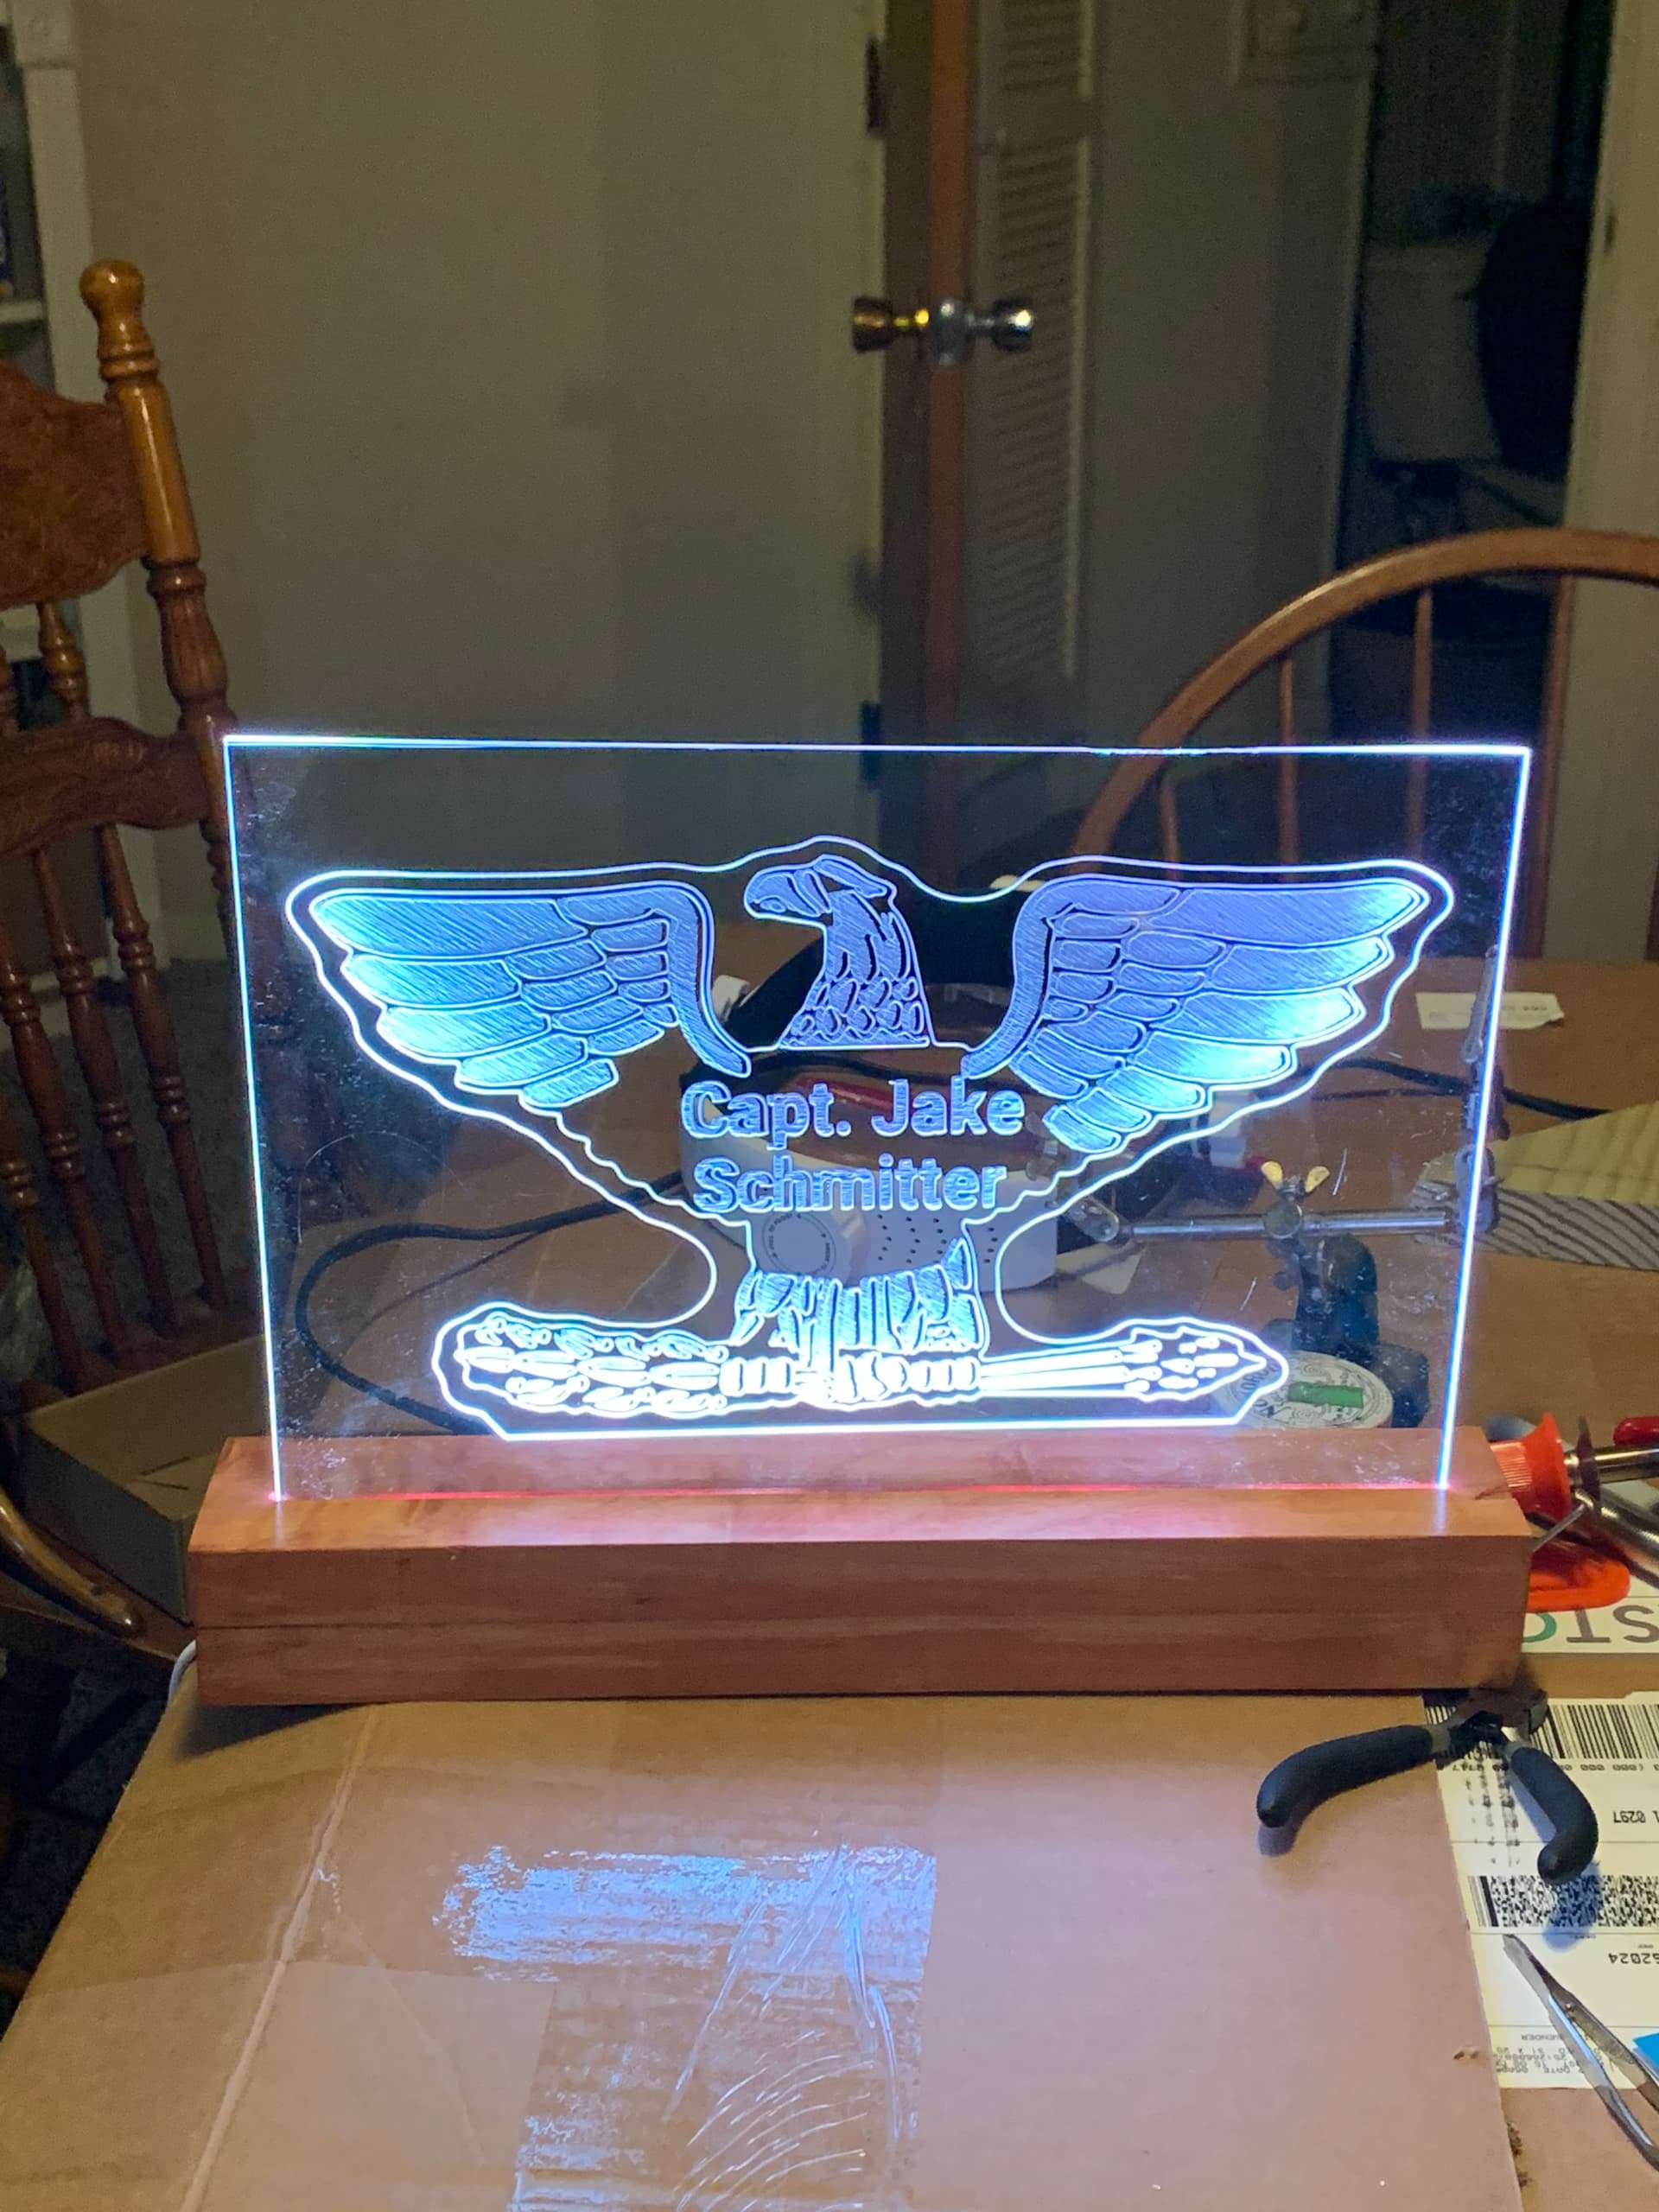
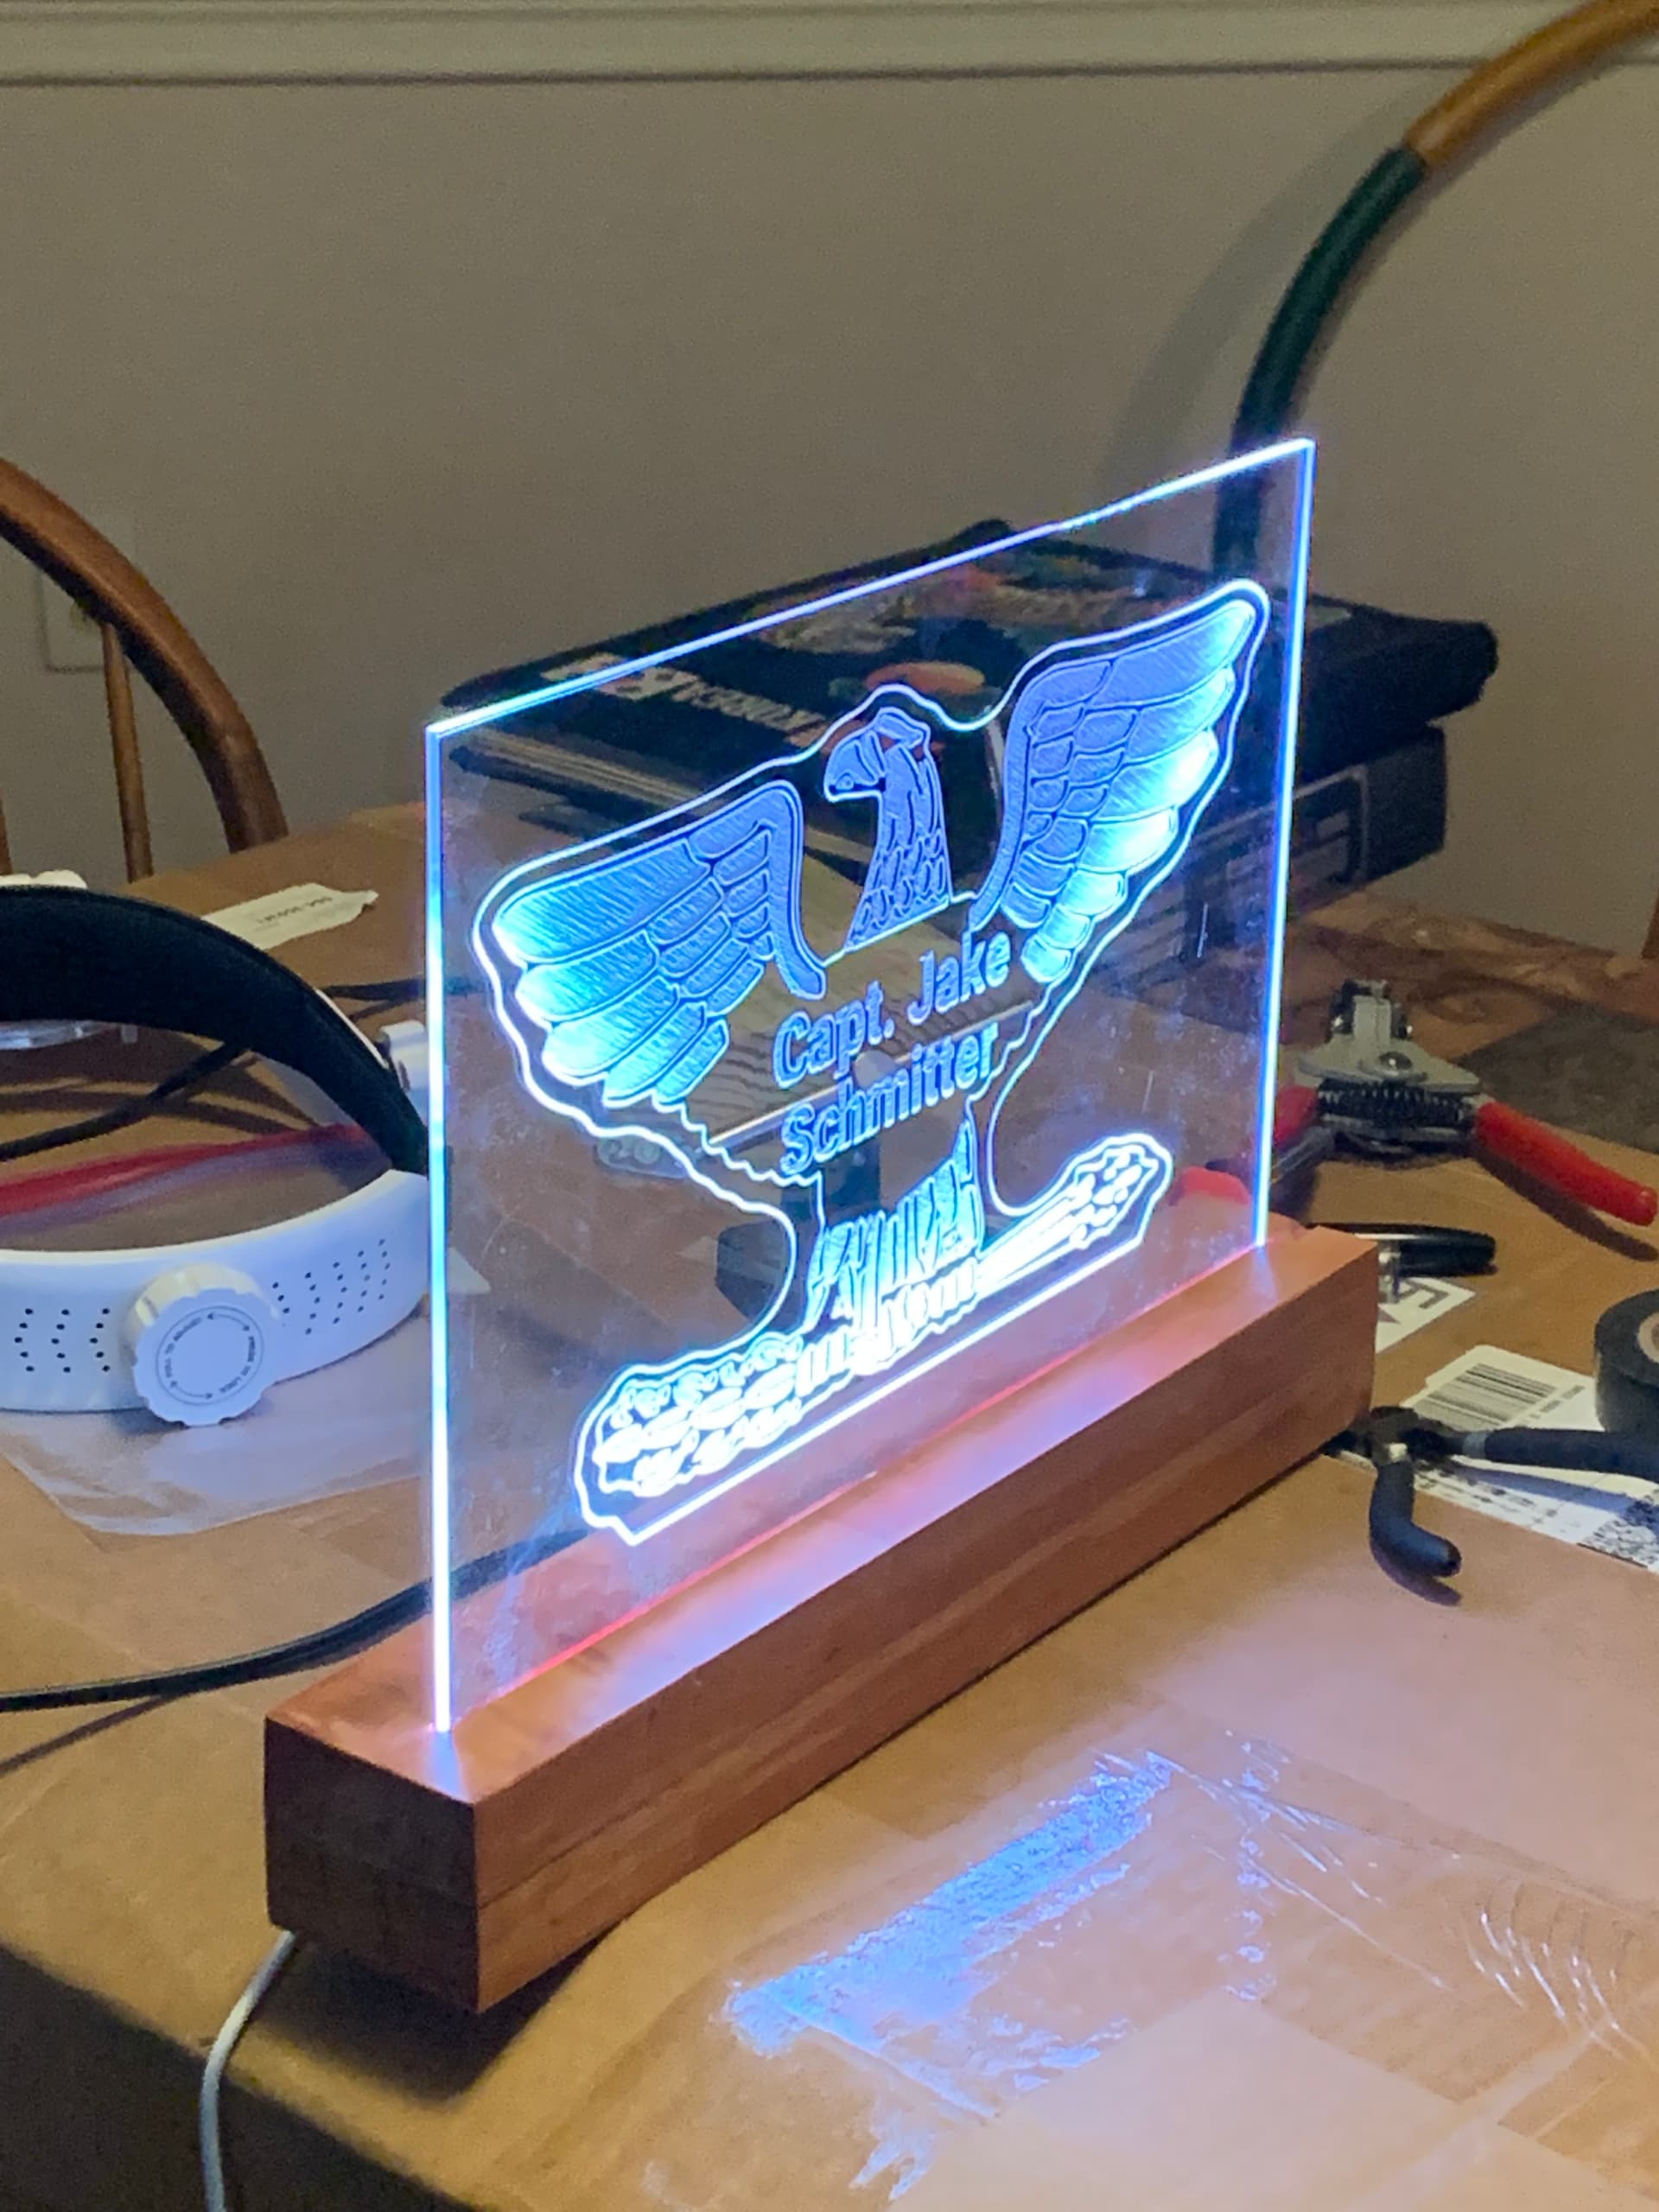
Made an edge lit led sign from 1/4 acrylic and base using 1 inch maple as a promotion present for my brother in law. The base is 3x14x2 and the sign is 12x8. Used my shapeoko 3 to engrave the sign and carve the 2 piece base that allows a 1/2” by 20” string of flat led strip lights to stay securely in the base without letting any light bleed out from within.

14 Likes
NICE
Did not see if you had one, I put a toggle switch on the back side for on/off. Insets nicely.
What lights are you using?
1 Like
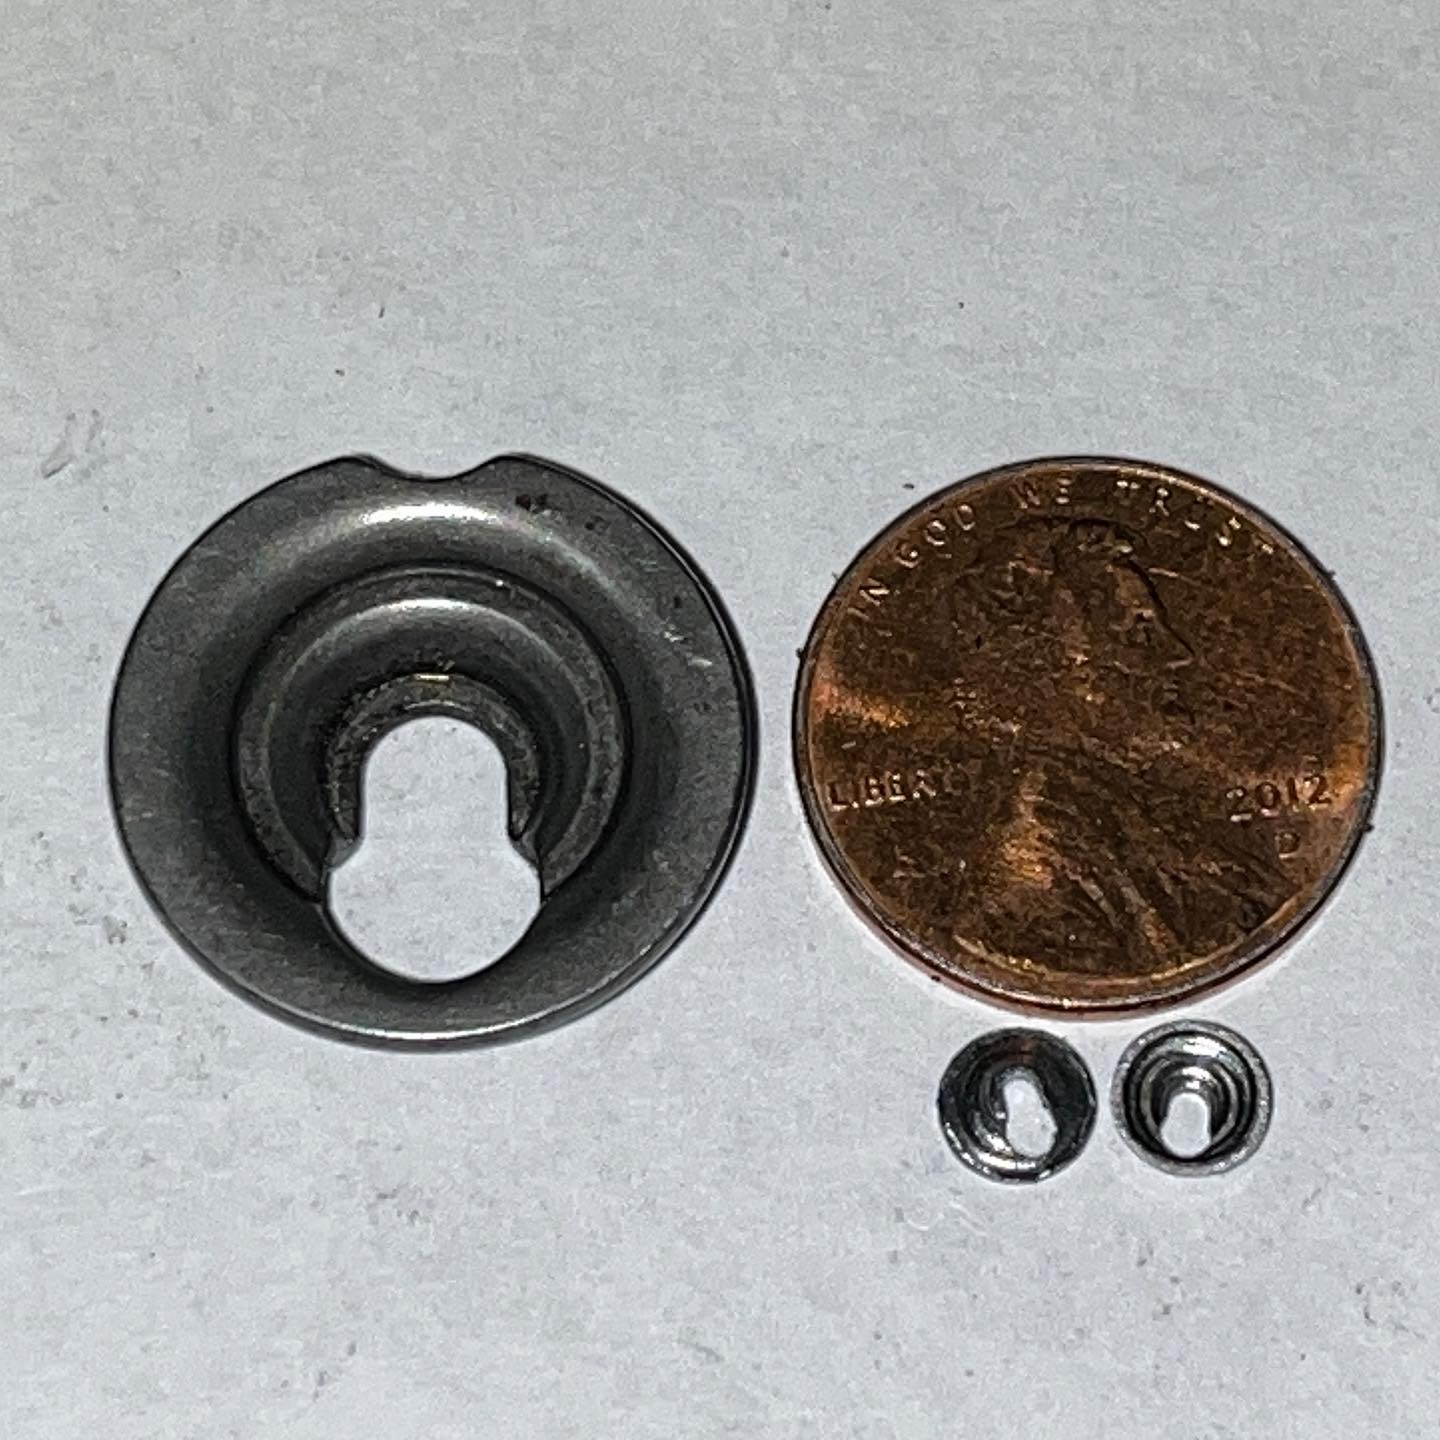
The challenge this past two weeks has been to finish the design and manufacturing of the Valve Spring Retainers out of A2 Tool Steel. So much harder than O1…odd.
Anyway, this is a TINY part so the fun part was to figure out what worked and what looked right. Just shrinking or scaling parts produces something that just looks wrong to the eye…once I got the design to look and work correctly, I needed to make a dozen of these tiny things.
They will be heat treated to 50Rc
REF: Briggs and Stratton, mini 1/5th scale 3.5 hp 1975 Horizontal engine.
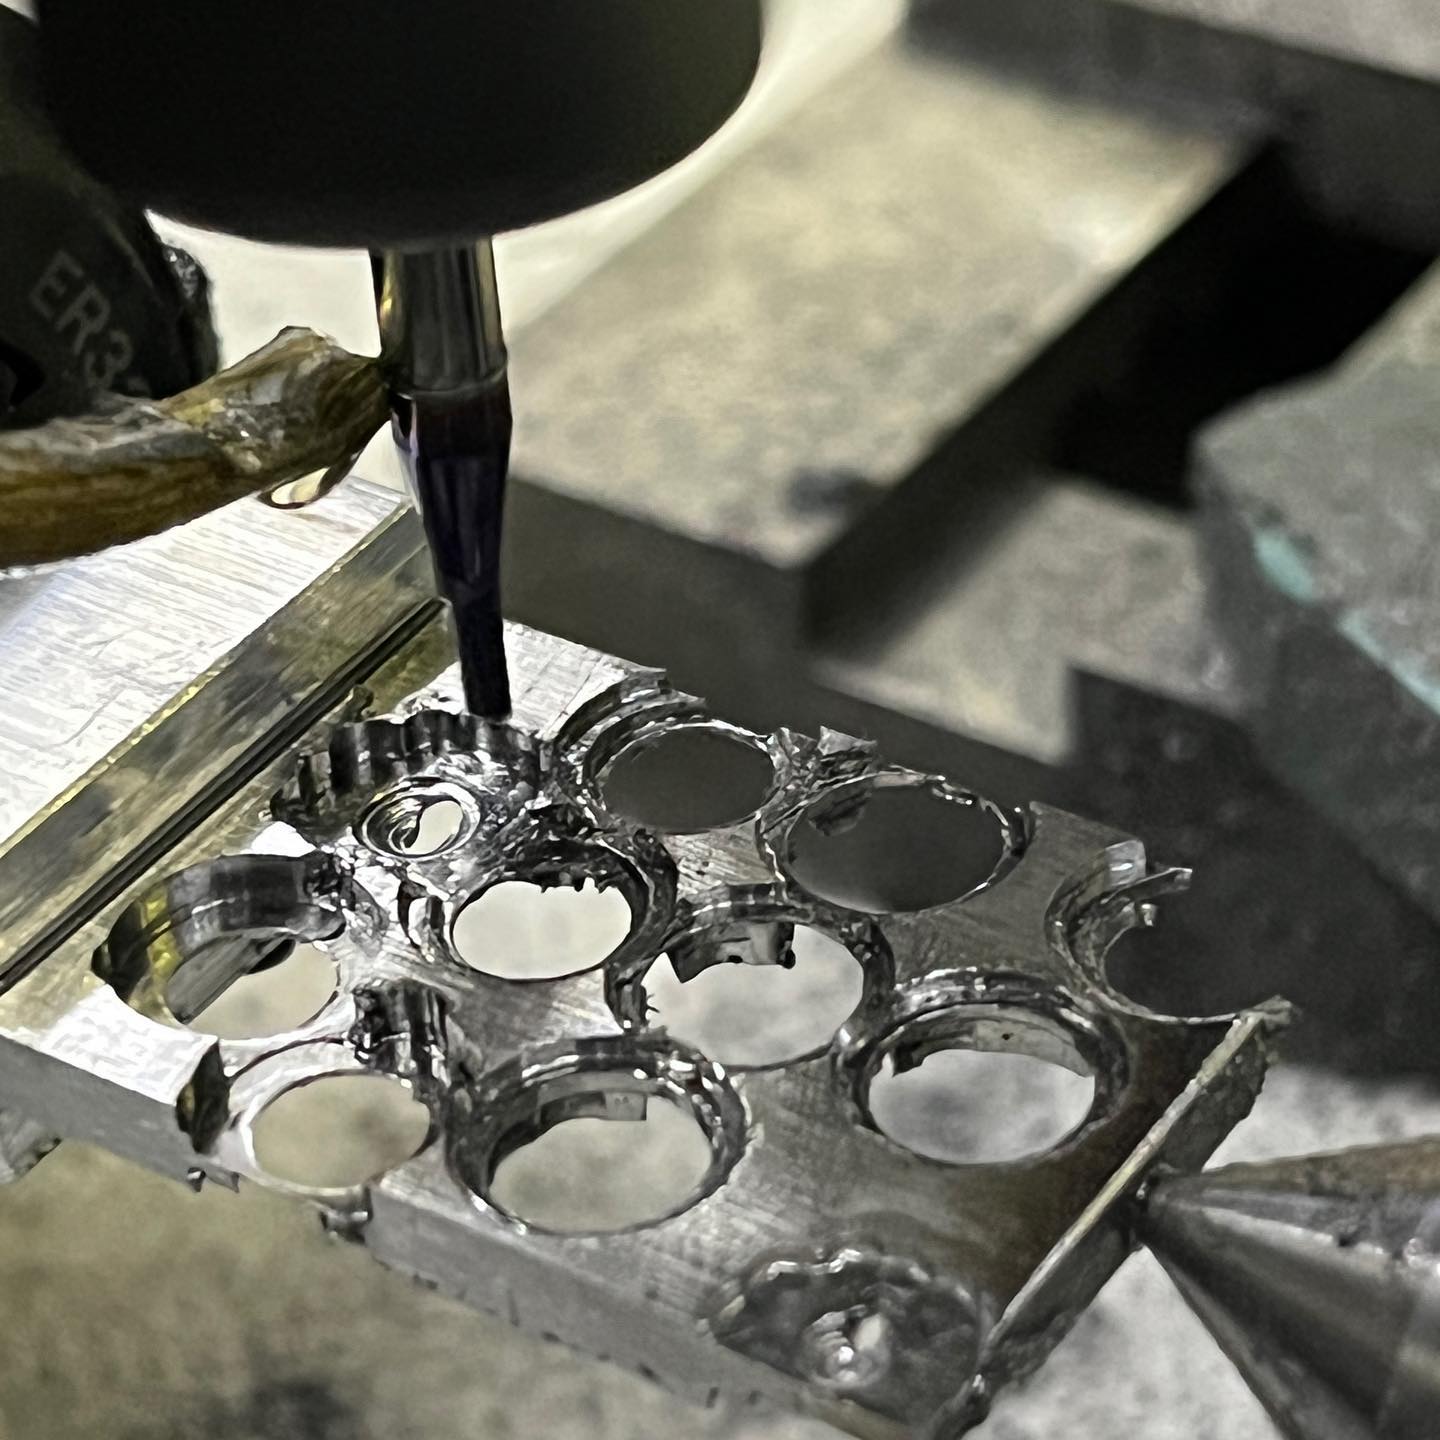
Four (4) Tools:
1 mm endmill,
2 mm endmill,
1 mm drill,
0.5 mm Rad Taper endmill,
Eight (8) Operations, Double sided machining
Seven parts completed and ZERO BROKEN TOOLS
Carbide Motion to run the Shapeoko, and UGS to operate the 4-th Axis (Index)
16 Likes
Fantastic
Like I say, if you can imagine it…
1 Like
Cool what you do Rich. How’d you manage the second side?
Those remind me of a ‘32 flathead I worked on when I was 14 I think.
Good question. Every machinist will tell you that there is more than one way to skin a cat…here is what I do:
The parts on the material’s centerline are easy, just flip and material (4th axis) (Just don’t move the machine X or Y!, But I do reset (check) the Z0 on the top and bottom just to be sure (in case the material isn’t perfectly level.
The parts on the outside were almost as easy. After the first 3, which look like they were randomly machined out of the steel plate, I decided to draw them up in Carbide Create so that I could nest as many parts out of the flat bar. This just gave me the Y offset and X offset to start another row of parts.
So the Y0 is set to the rotary’s centerline. To machine the first side I would move Y+ 0.338 recheck the Z0, then machine the first 4 operations (Face, Drill, Slot, Taper (Ball cut the radius. Now I move the machine to a safe area, rotate the part (4-th axis A=180º), then move the machine back to the center (Y0) , and then - 0.338 so that it is exactly over the part. Meaning I am moving the Y forward and backwards the same amount which means there is ZERO mismatch from the top to the bottom machining.
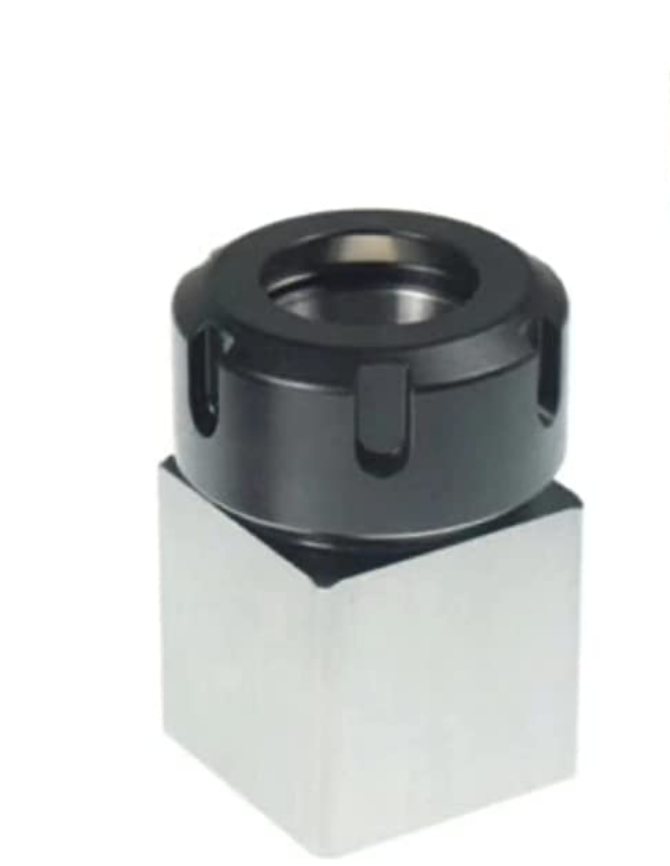
While the 4th axis is nice, it really isn’t necessary, a square collet block could do the same thing as my rotary, and just as accurately.
Ref:
FYI: This is how I check the Z after each flip:

6 Likes
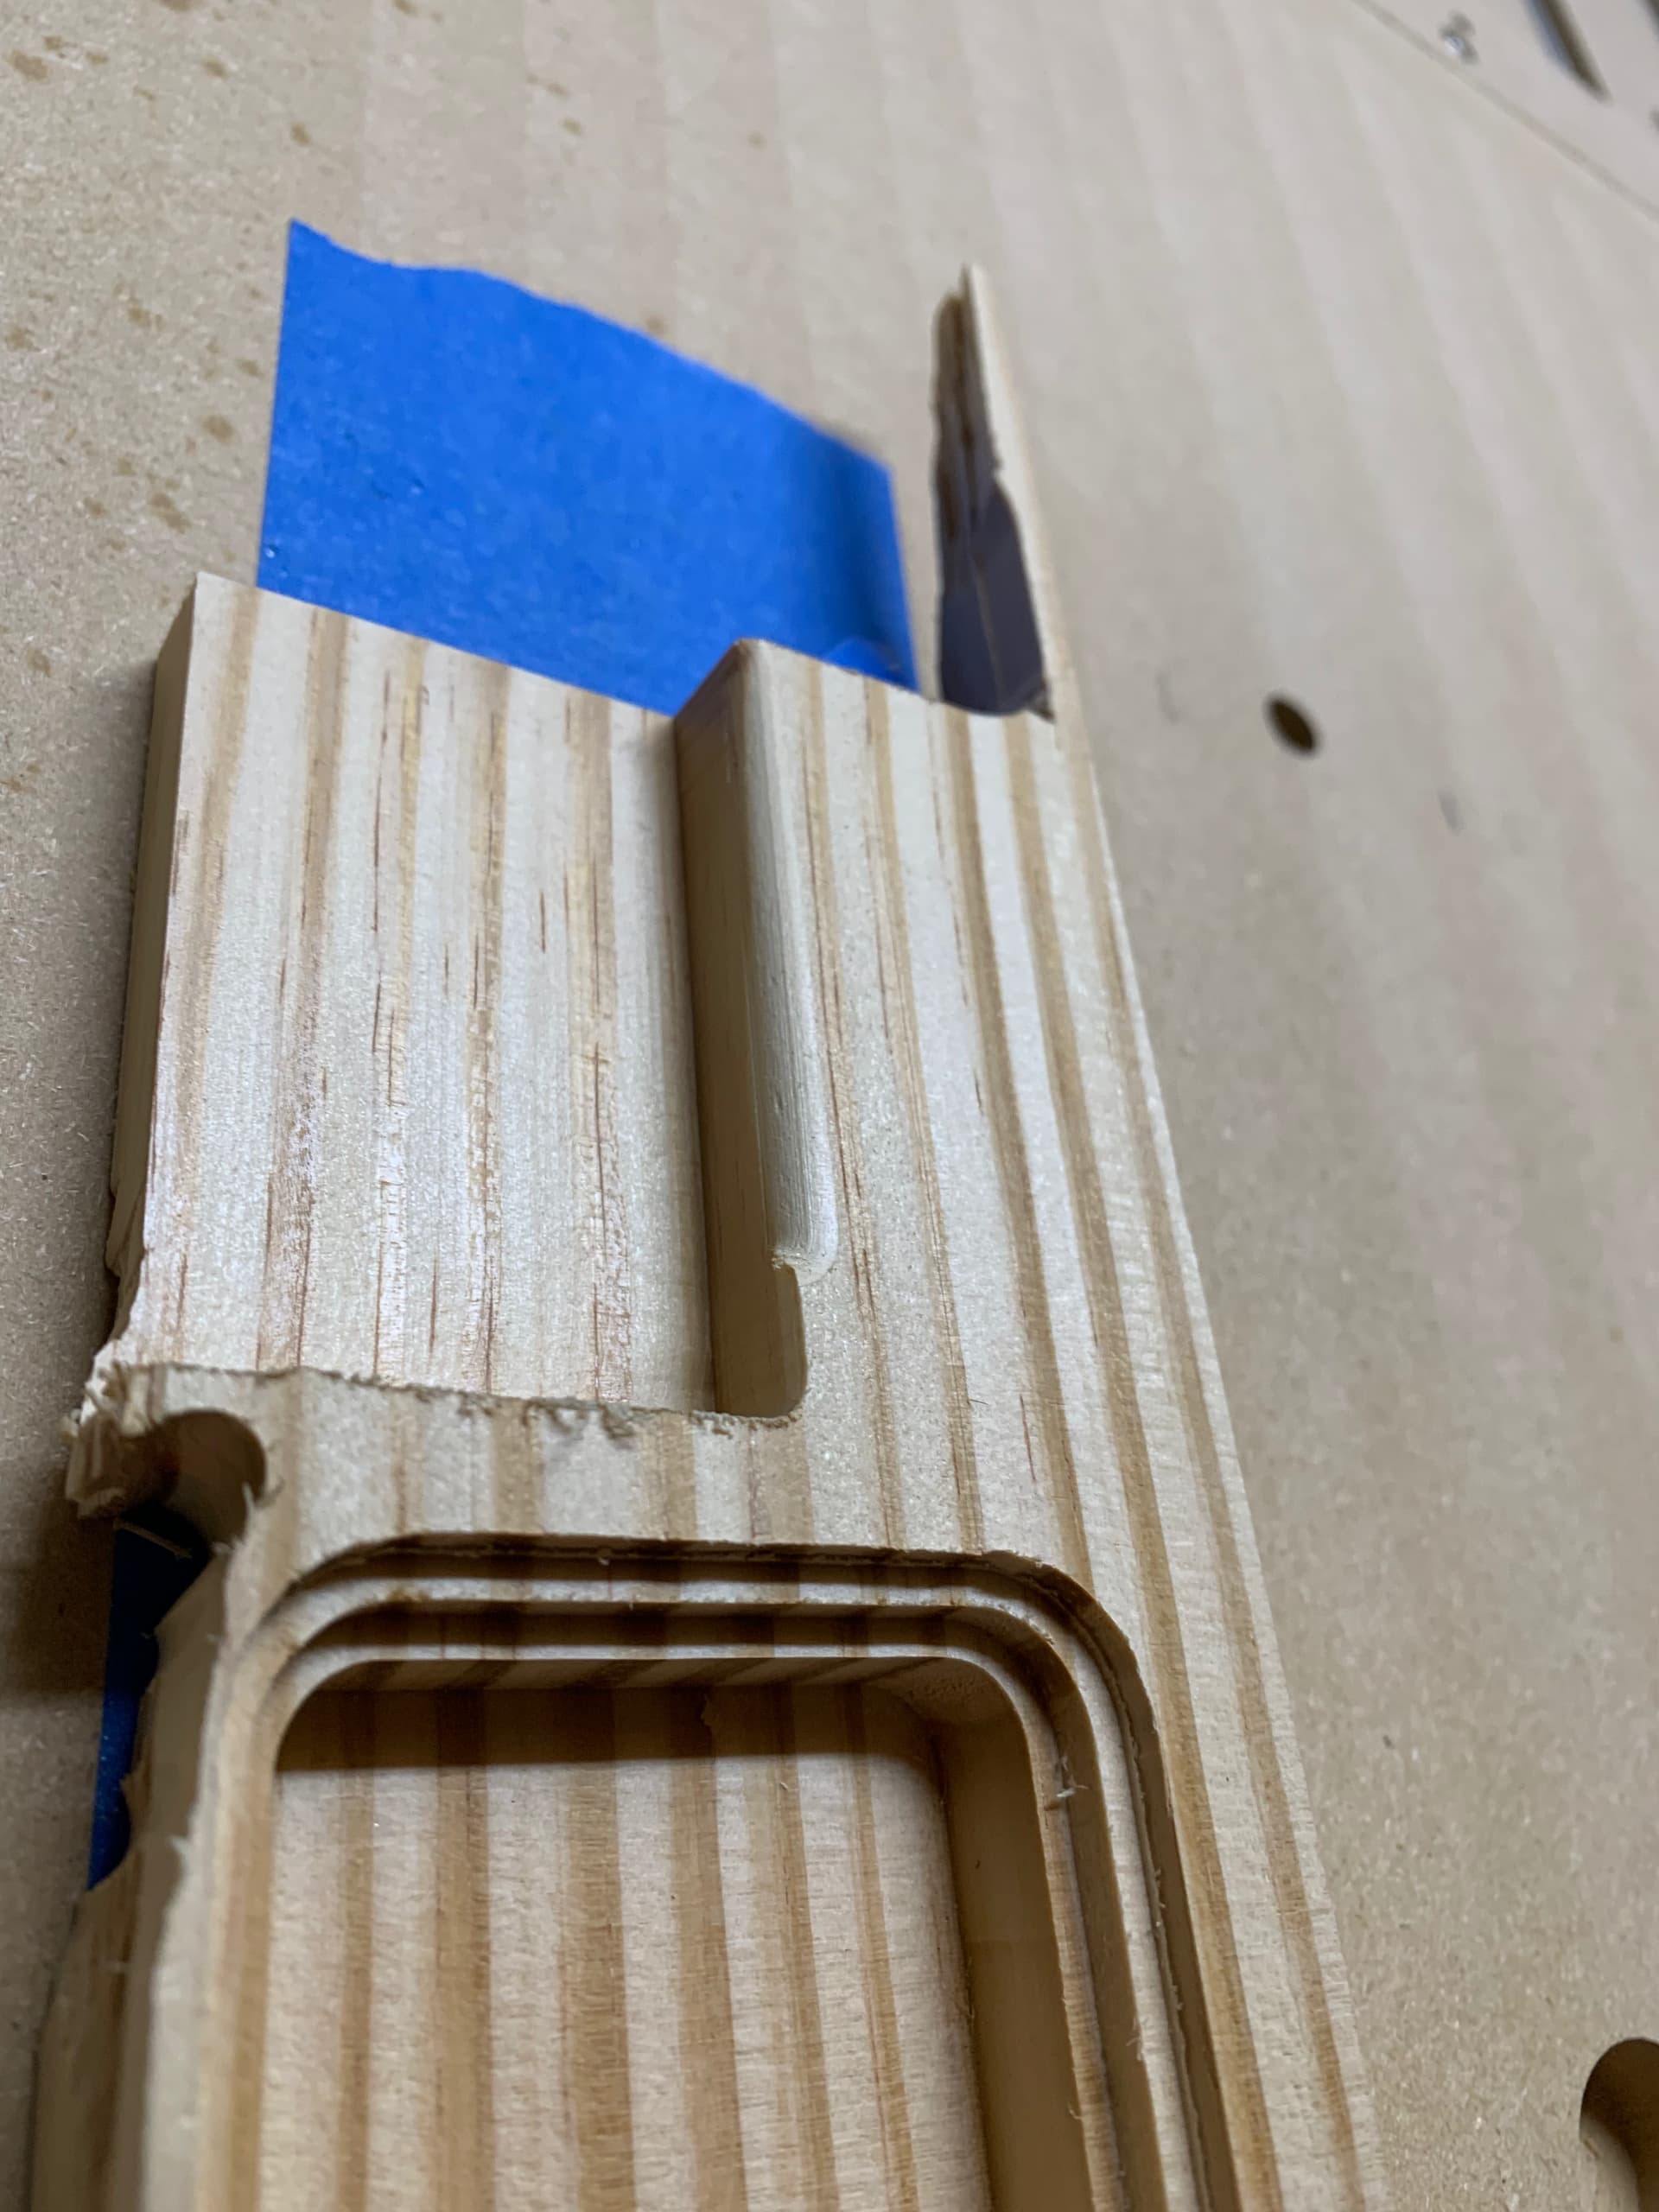
Spent a bunch of time tramming my machine so I would have better results in two sided matching. I cut four mini stacking plant coaster. Imagine my confusion when 3 out of 4 still had a weird line. And the line was consistent thickness around the entire diameter! Turns out I forgot to select those 3 diameters in Fusion for my finish pass on one of the sides ![]()
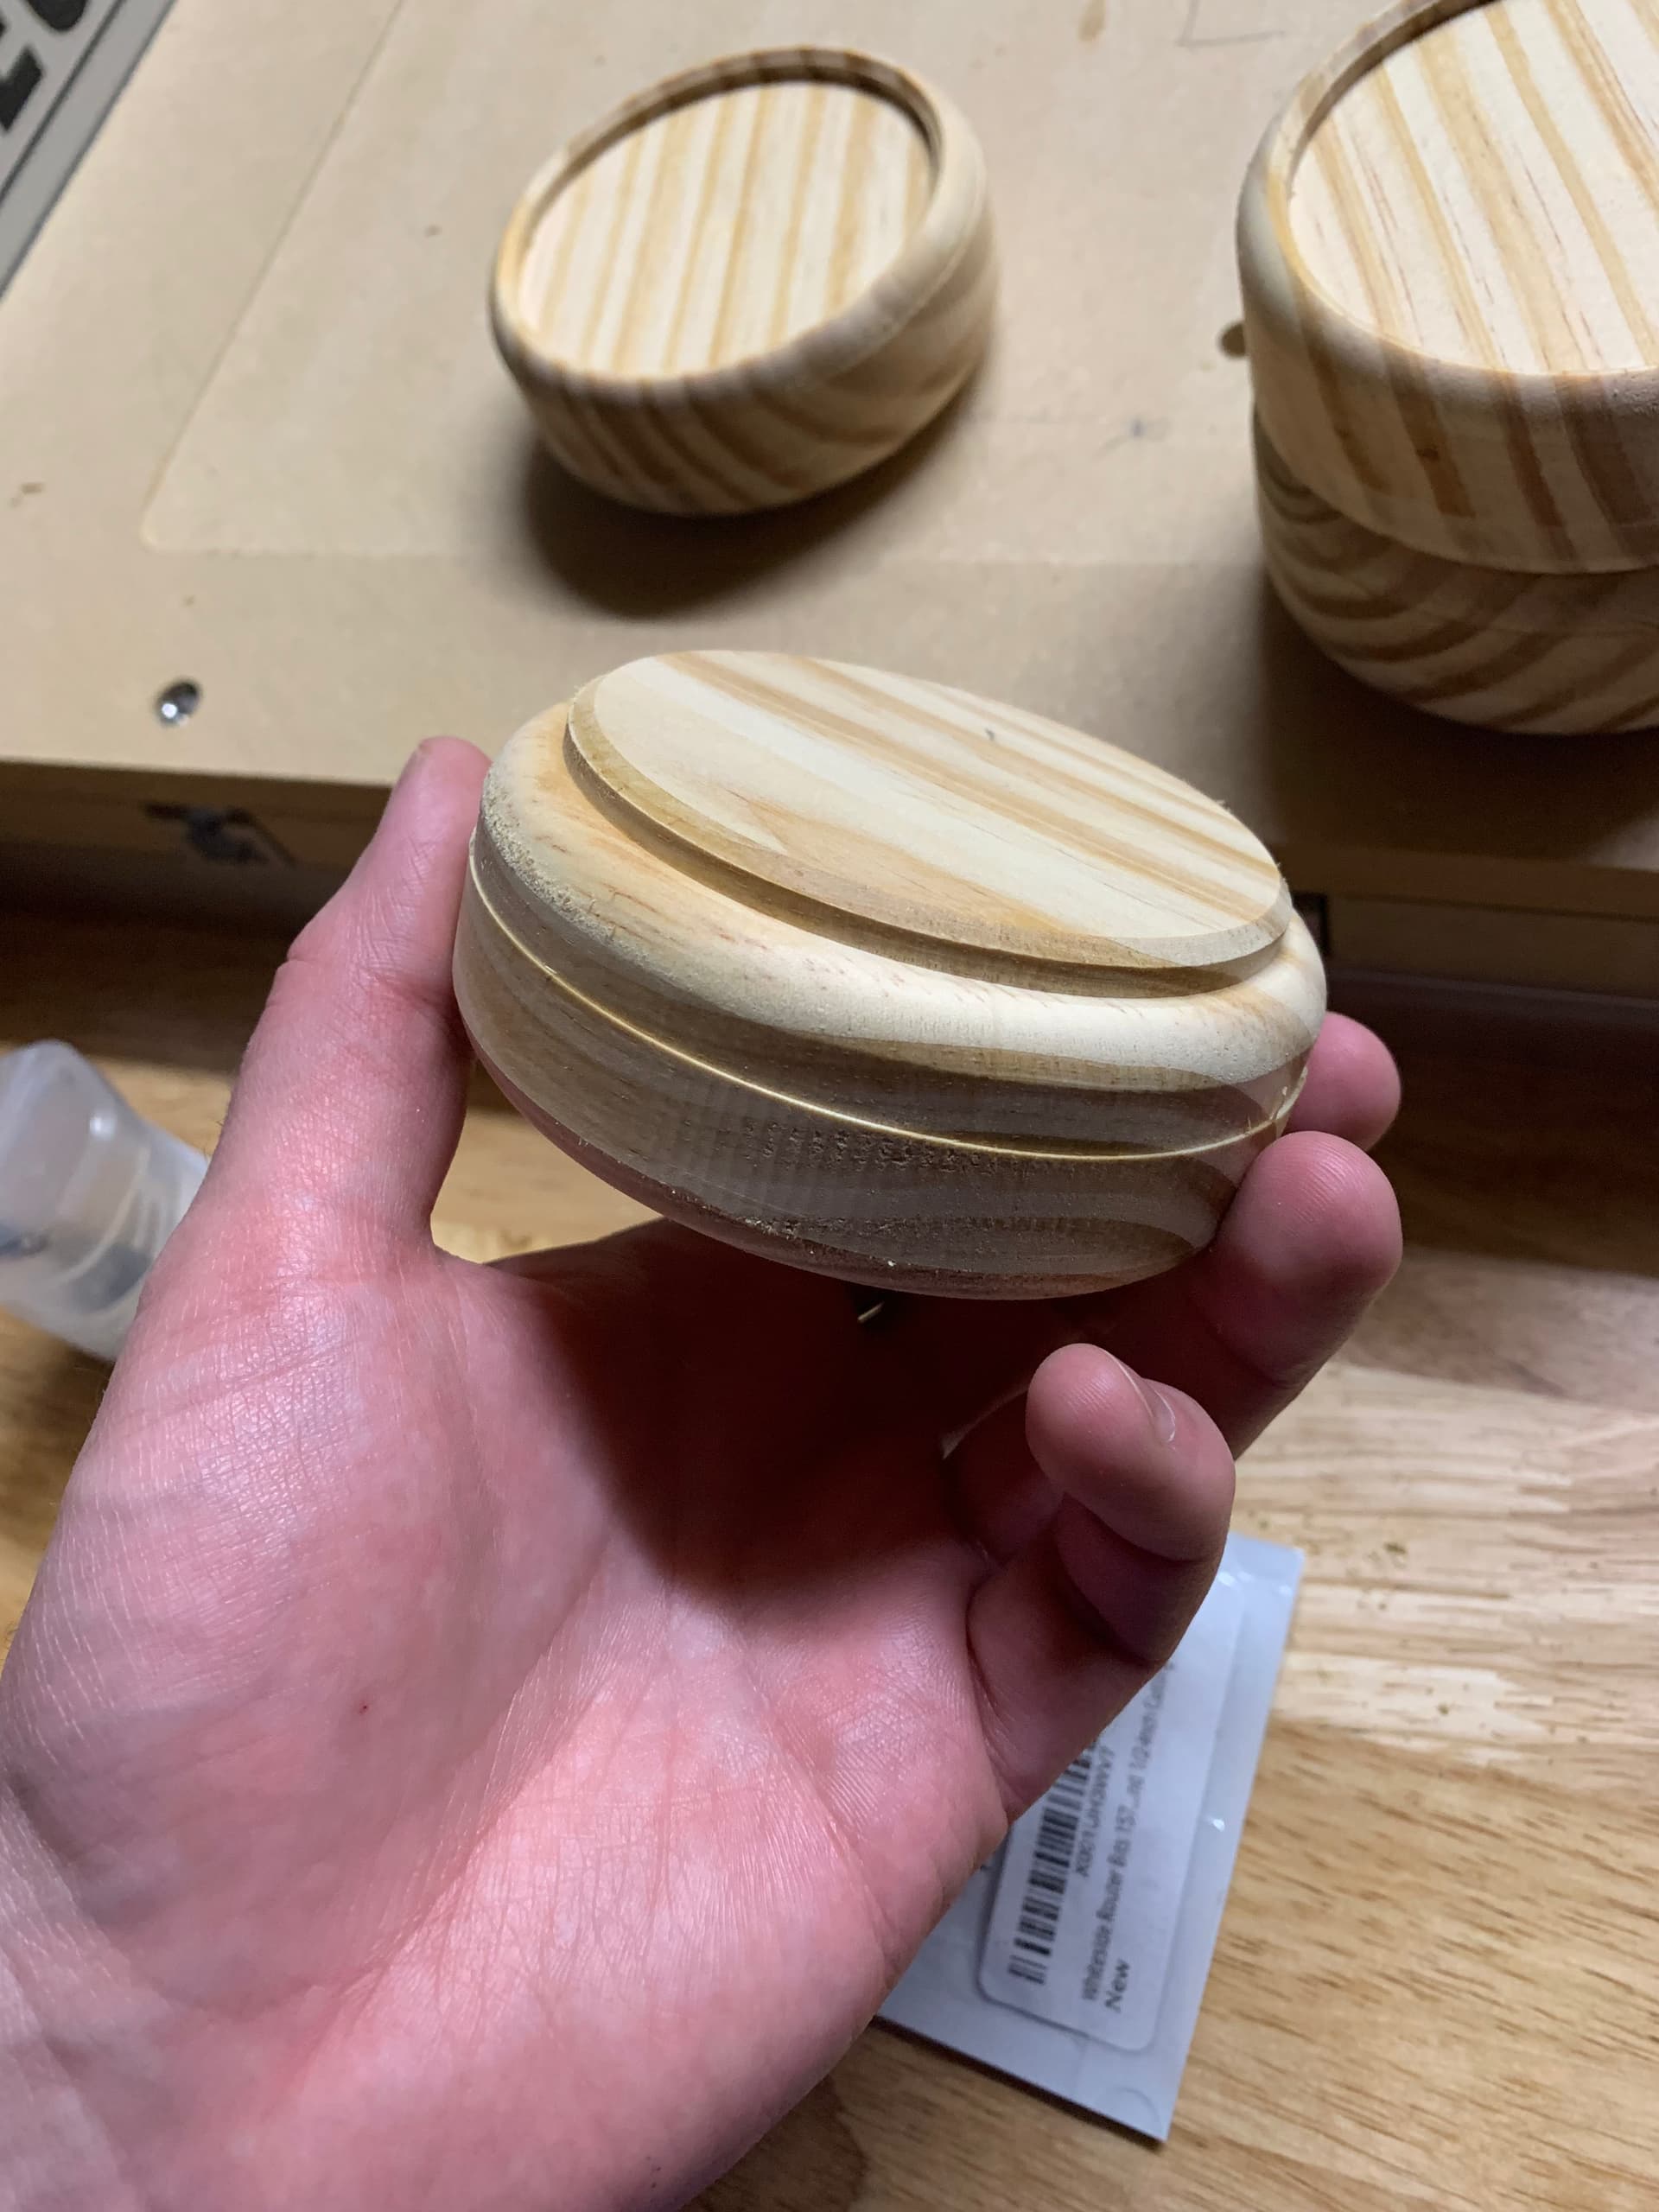
I also learned that just because a cheap roundover bit says R1/4” doesn’t mean you can actually cut a 1/4” radius with it. My cheap yonico bits were too short so cutting a radius left lines. I ended up buying a much more expensive Whiteside bit and it did a much better job.
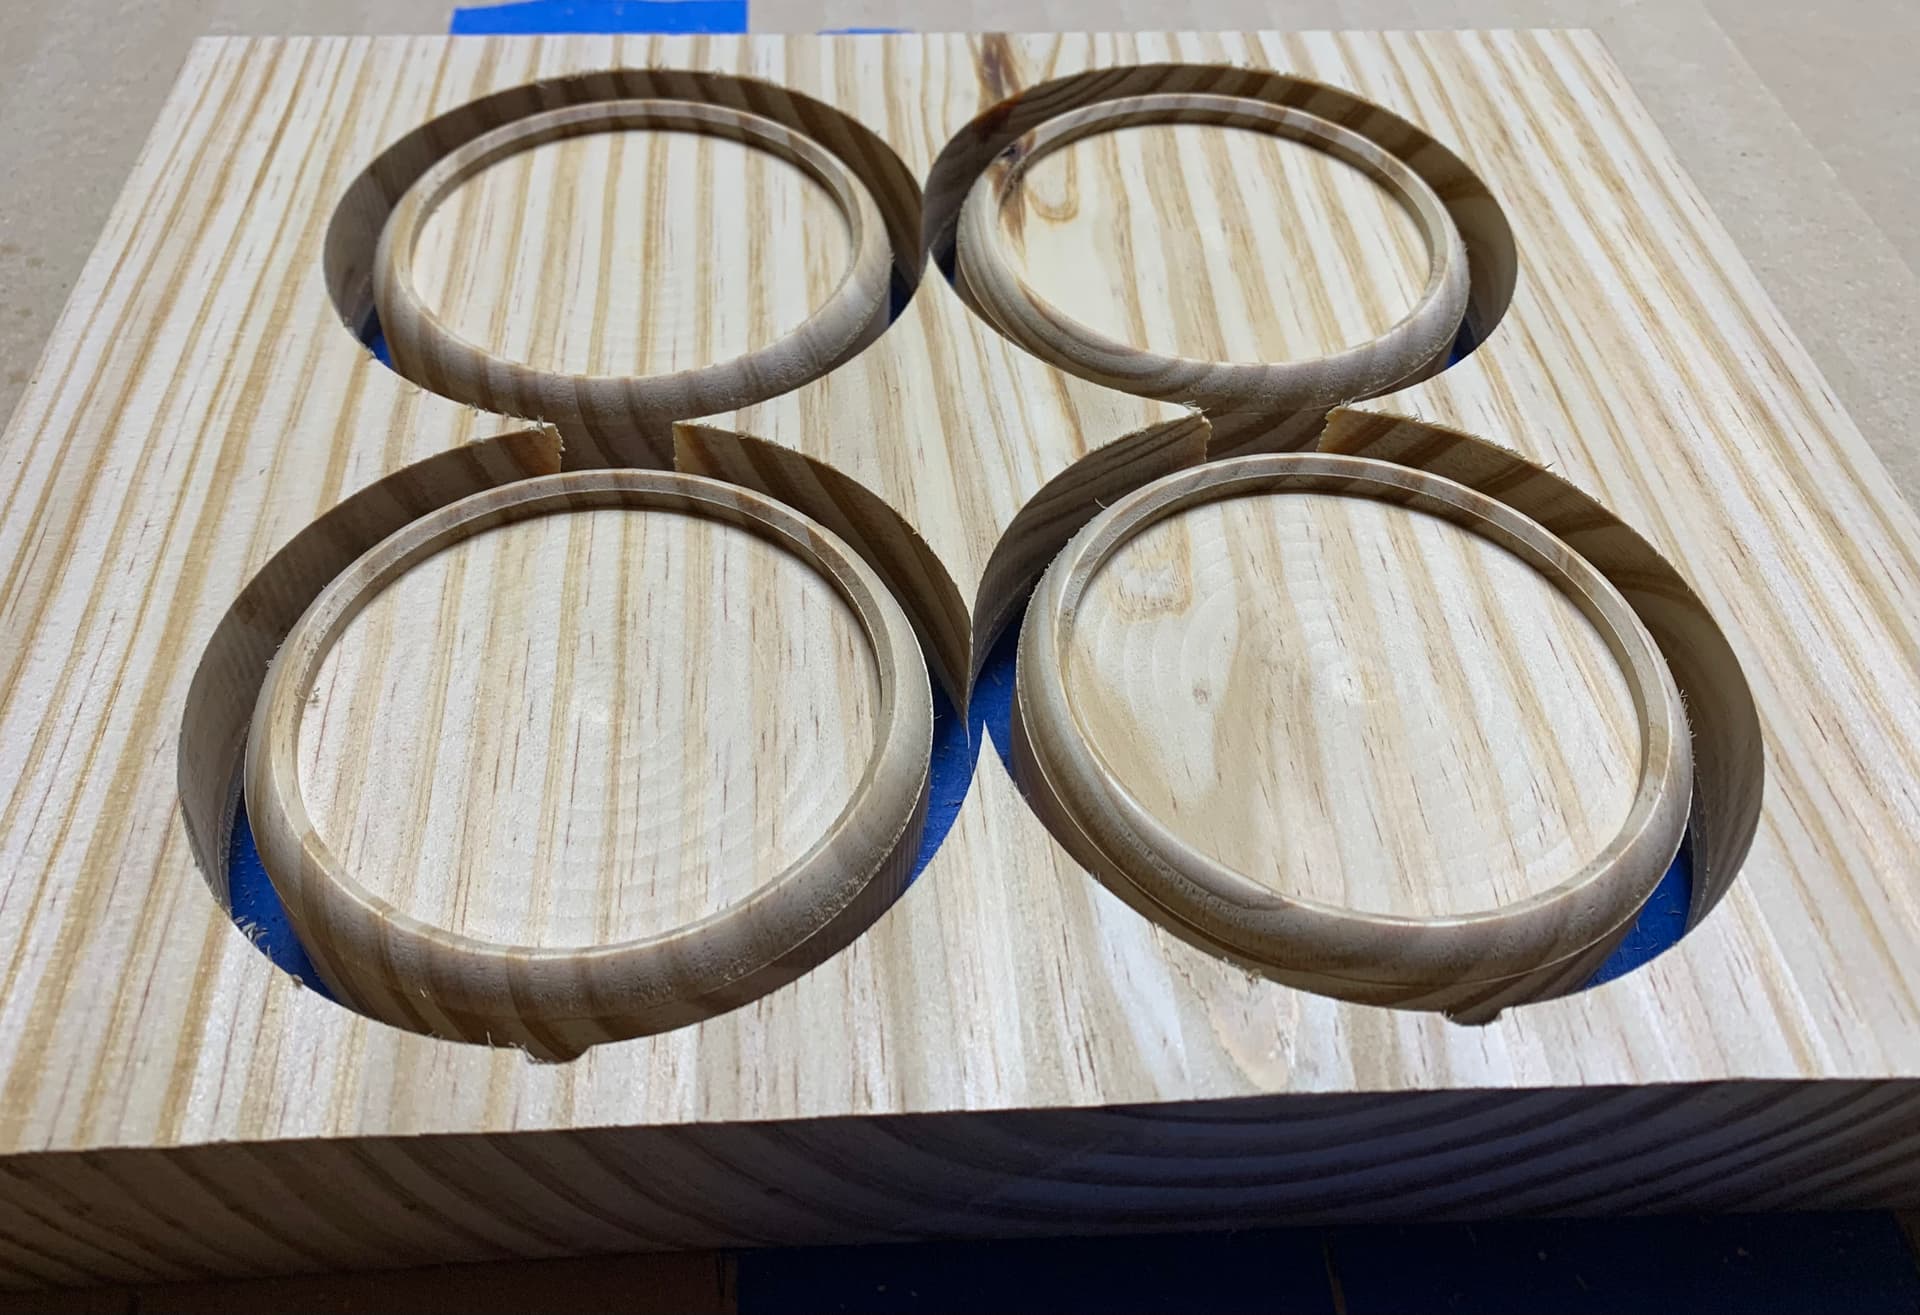
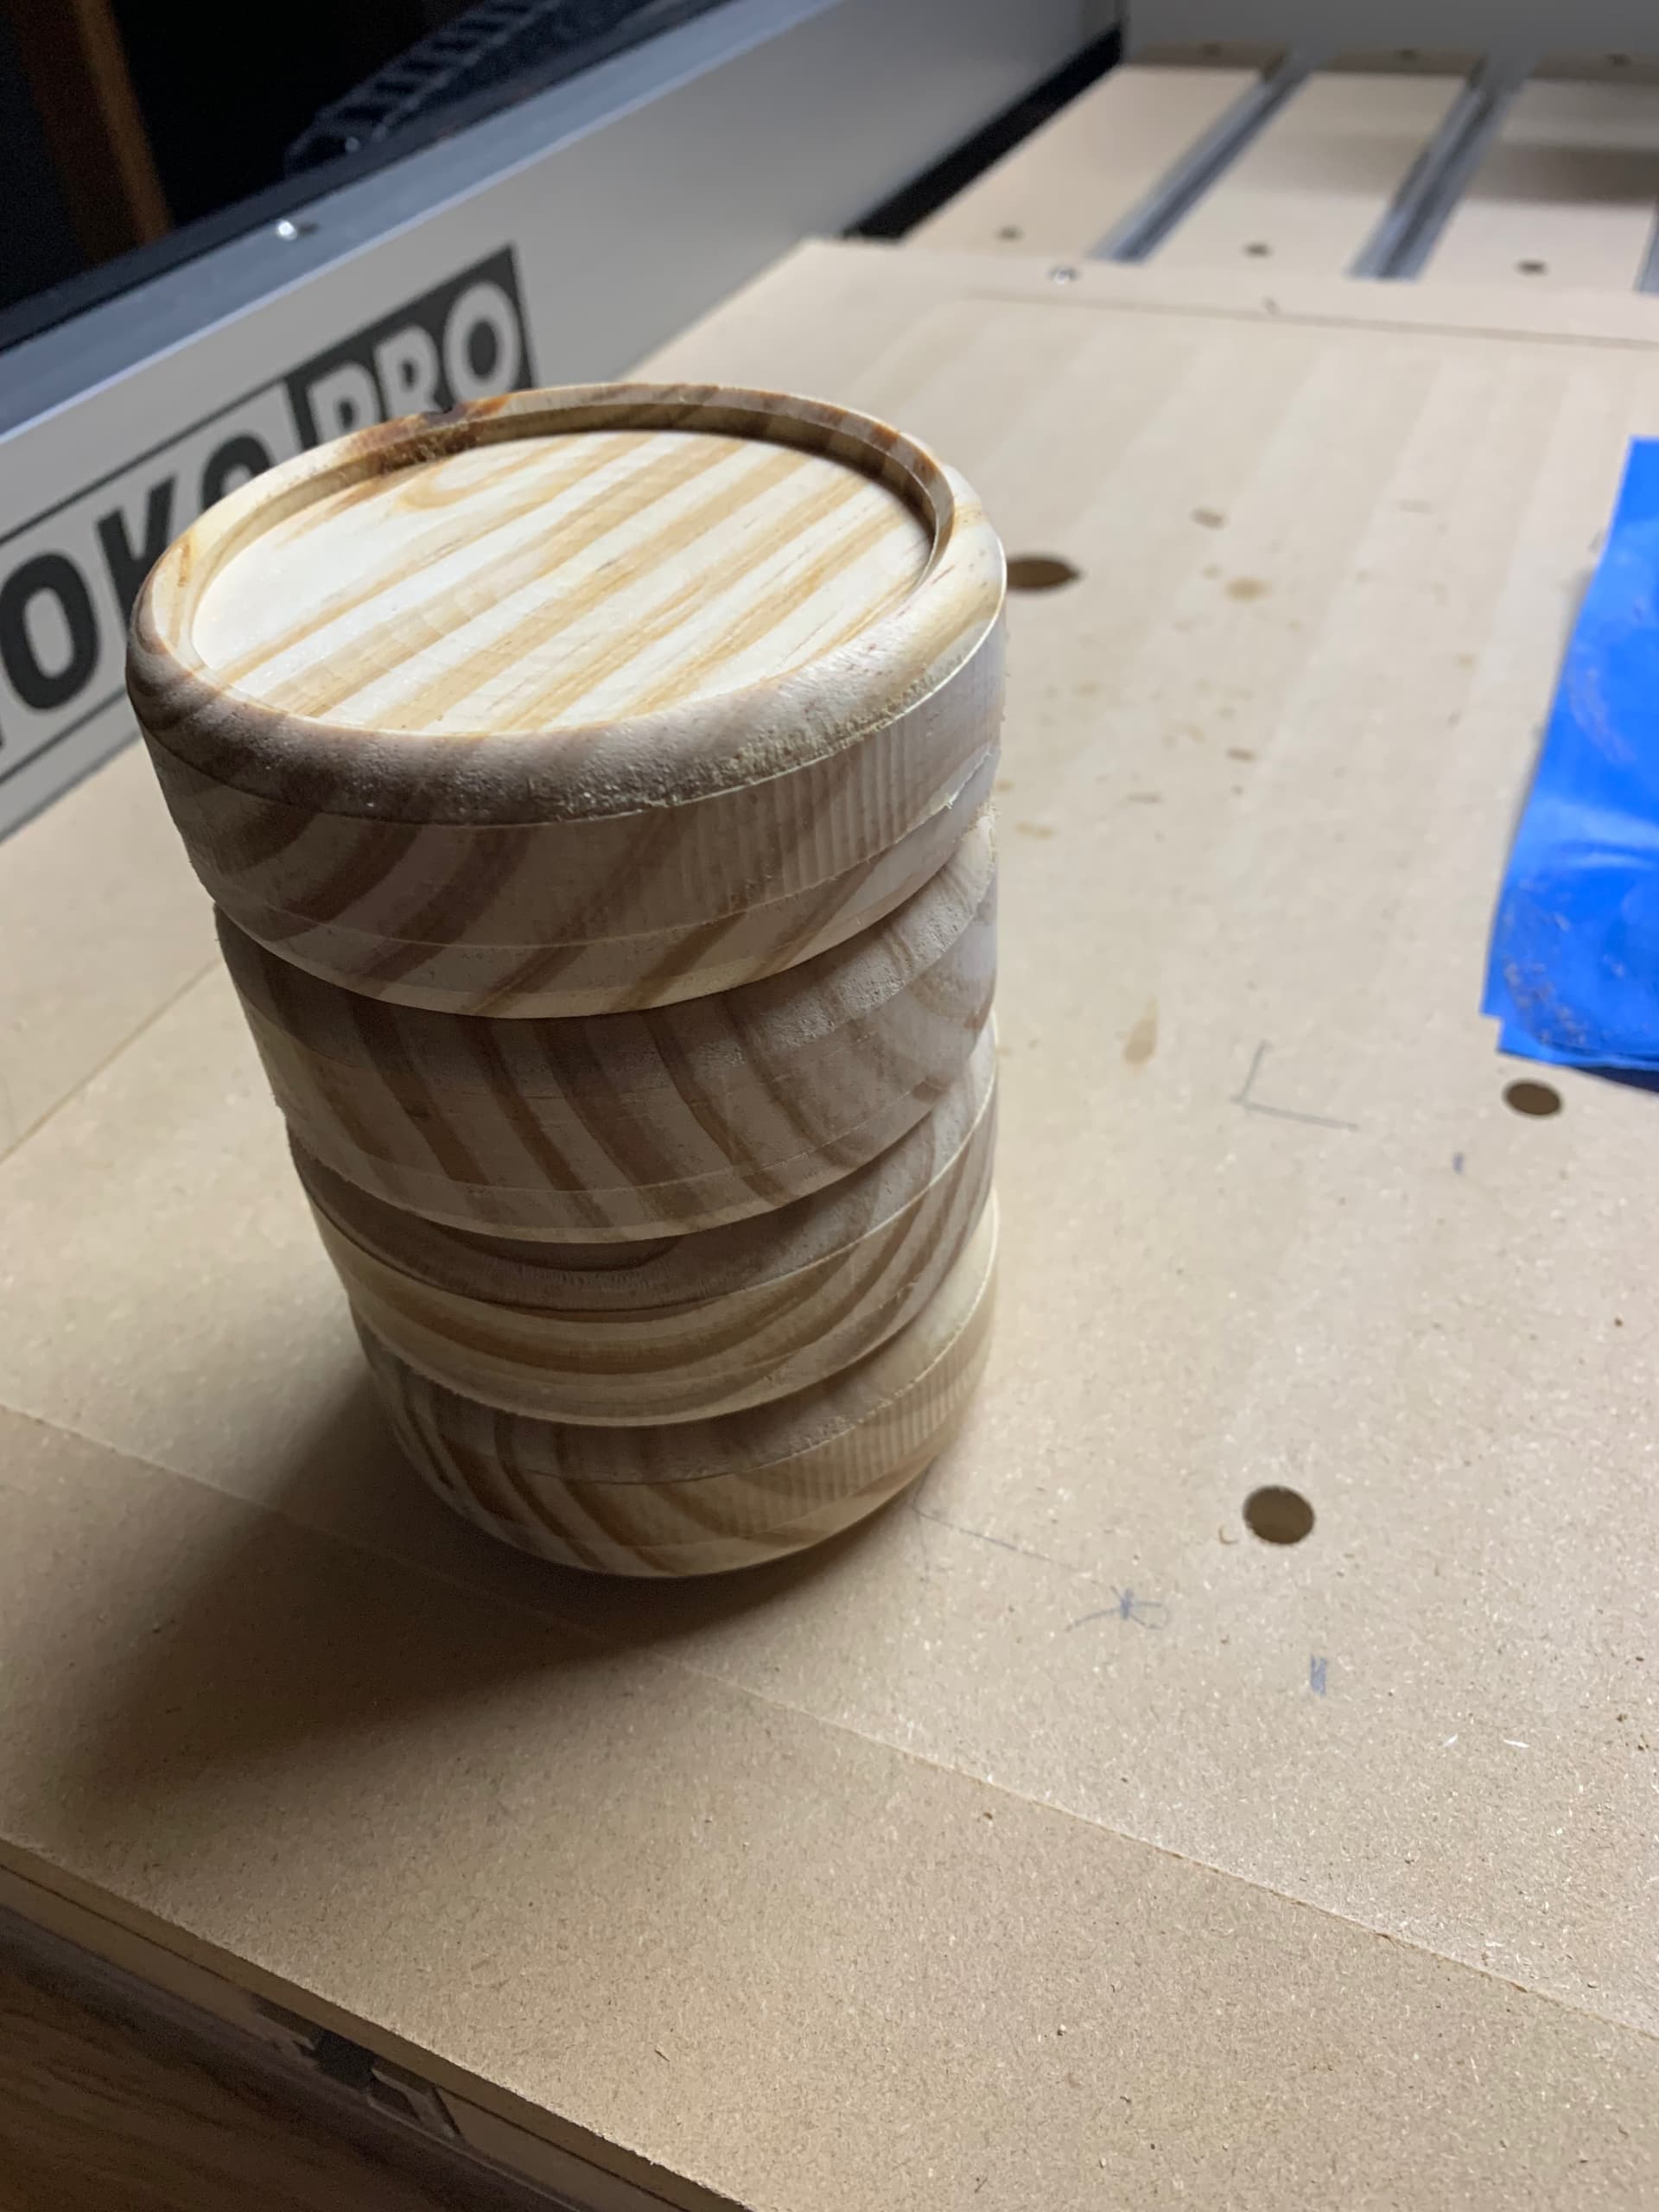

Sad that only one turned out proper… but I’m too lazy to sand the lines down. At least I know if I select my contours right I can do double sided machining now that my machine is in tram within 0.001”.
9 Likes
Don’t blame the bit! Its the nut behind the wheel! ![]()
With a roundover bit, you have to adjust the offset from center line and the depth to keep that center part of the bit from digging into the side. It doesn’t take much change in those parameters to make a big change in the result. You’ll still get that R1/4", but it will have to be offset some from the cutting center line.
A good preview function on your software will show you the result.
Oh, no I do know that you need to set the tip diameter. I’ve used roundover bits before. The bit I used in the pictures was the Whiteside bit which only left a very light line so I probably just need to increase the tip diameter very slightly in fusion.
The Yonico bits in contrast measured more like .2” cutting height for the 1/4” bit. While I can technically cut a 1/4” radius, it won’t be tangent to the horizontal and vertical flats it is cut into. I made a lot of test cuts with the Yonico bit and while it can look ok without being tangent, a higher quality bit that actually has its height equal to or slightly larger than the radius will actually cut a tangent radius. Hope that makes sense.
Also I’m not blaming the bit for the lines in the above picture. Those lines are because I missed selecting the contours for my finishing pass. I’m not against sanding very light lines but I’m not about to sand off .5mm worth (I don’t have an electric sander currently). But the Yonico bit when used leaves a deep line only in the top of the radius, since the height is too short to create a true tangent 1/4” radius. I didn’t show that in these pics but that’s what happened in a previous cut which is why I bought the Whiteside bit.
Example of trying to cut a 1/4 roundover with the Yonico bit:
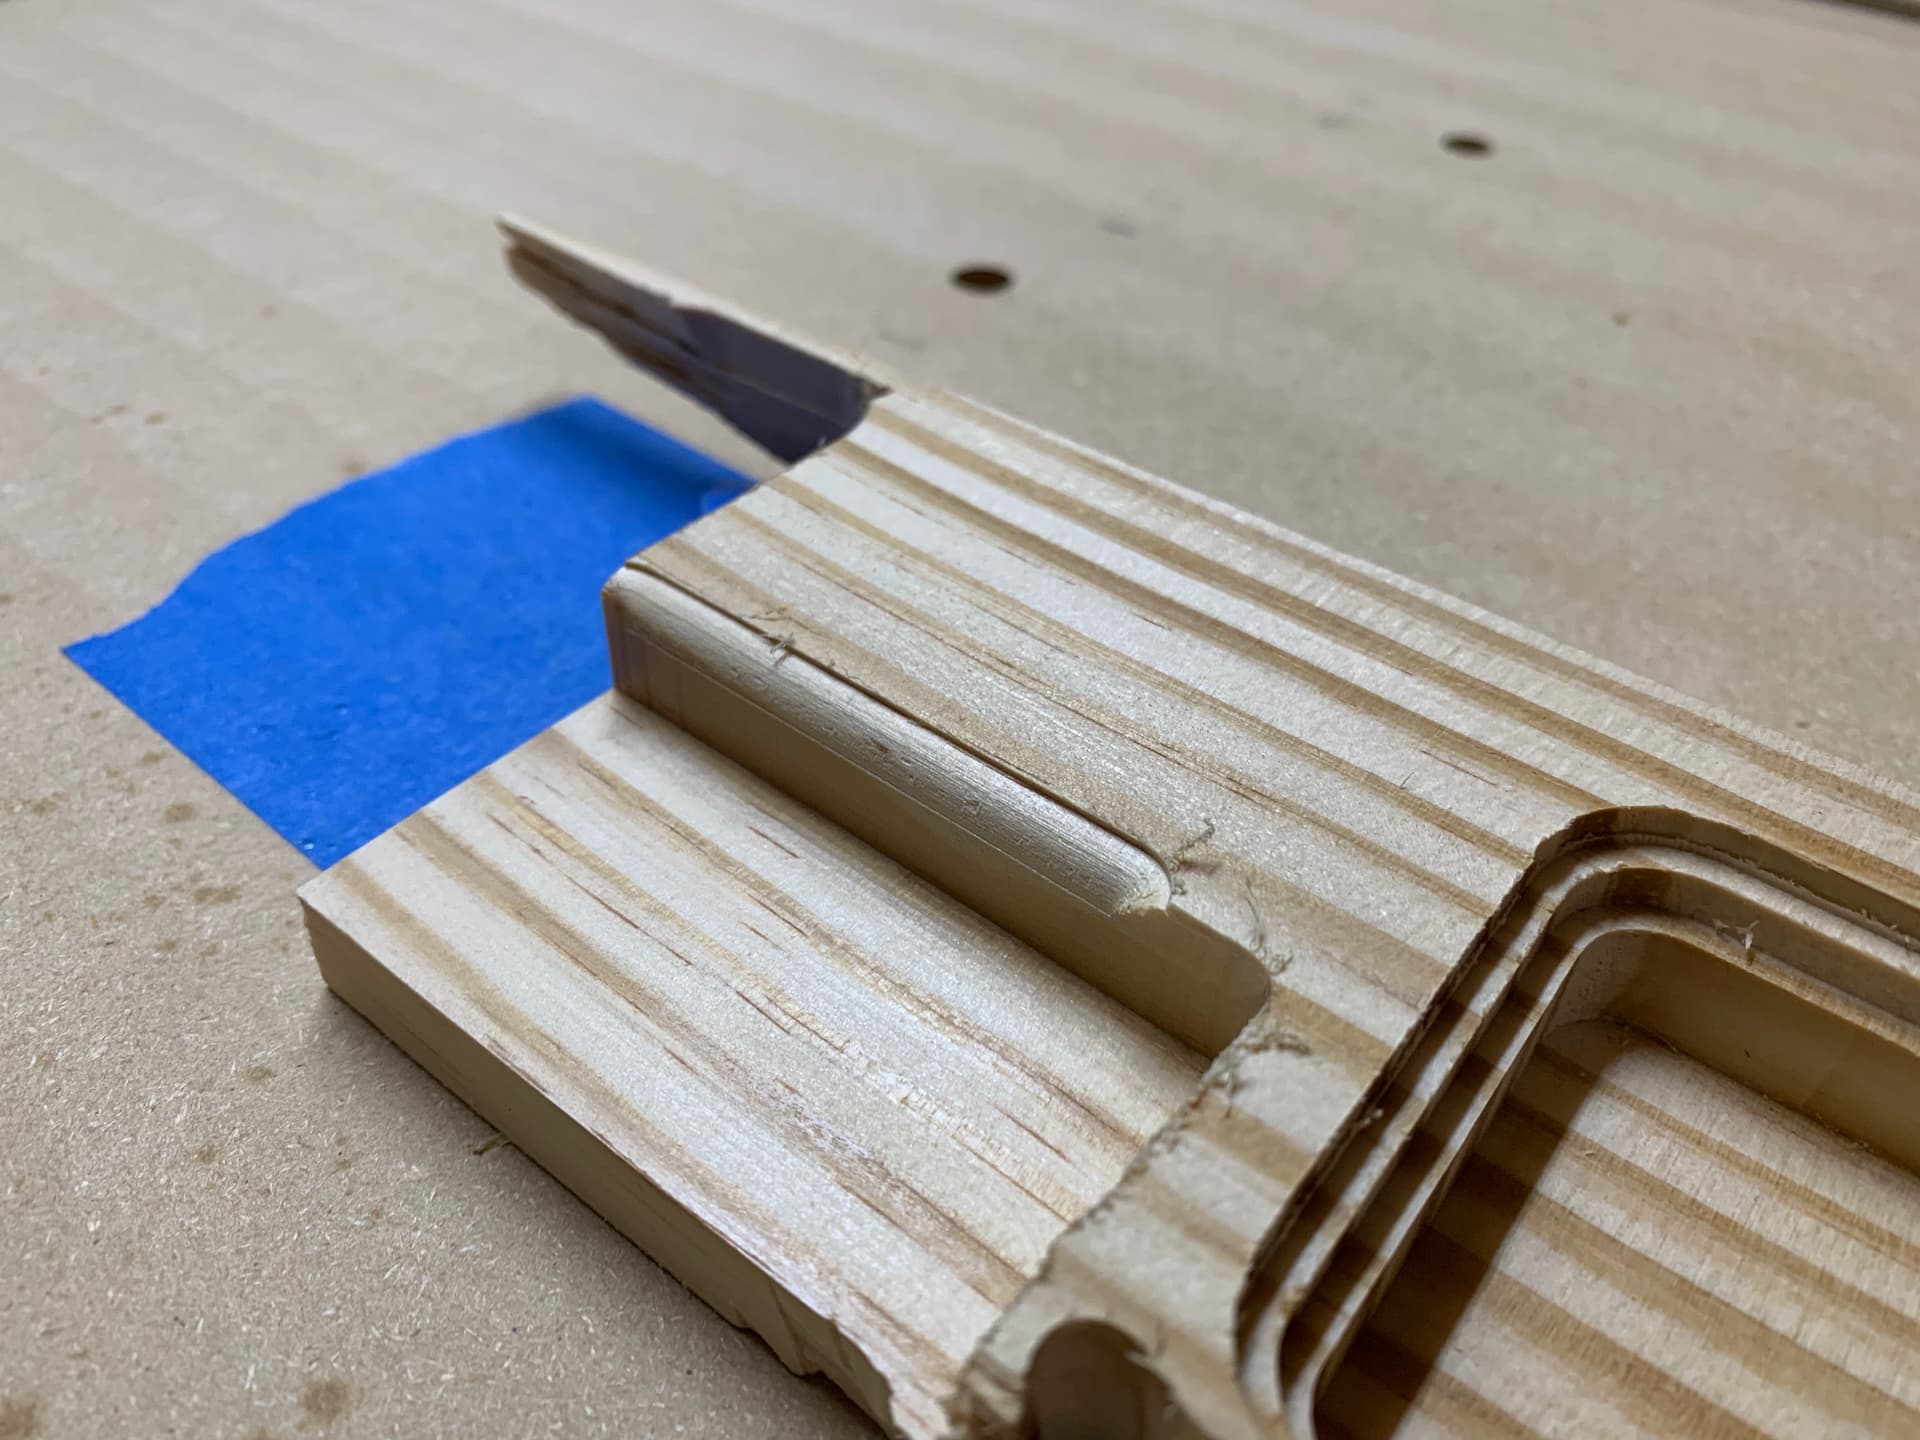
You can see the super deep top line because the bit isn’t tall enough. In software I can cut less deep and it looks ok but it’s no longer tangent if you do that (and doesn’t look quite as nice)
2 Likes
The Chinese made router bits are produced by the 100’s of thousands a day. So if you were making that many router bits and you could shave off a little carbide think about how much money you would save by not giving the consumer the full measurement. Now also many roundover bits have the filet feature so they may be counting the 1/4 inch with a filet. The specifications on various bits are very non standardized so it is hard to compare apples to apples when there is no standard to measure by.
Whiteside is a great company and give the consumer what they pay for. You can call Whiteside in North Carolina and actually talk to some one. Try that with Yonico and even if you get a phone number it will not be on this continent and likely not speak English. I searched and according to google.com about 3 million Americans speak Mandarin. So less than 1% of Americans can even speak to a Chinese citizen in their own language. Again call Whiteside and actually talk to someone. The Yonico brand is kind of like going to Harbor Freight. They have tools that are just good enough to qualify as the named tool but in reality is just a cheap copy of something better. When you get a hammer you want it to drive a nail without shattering or denting the steel on the hammer head. The Yonico hammer explodes and the Whiteside hammer just keeps driving nails for the rest of your life and several generations later.
You get what you pay for.
3 Likes
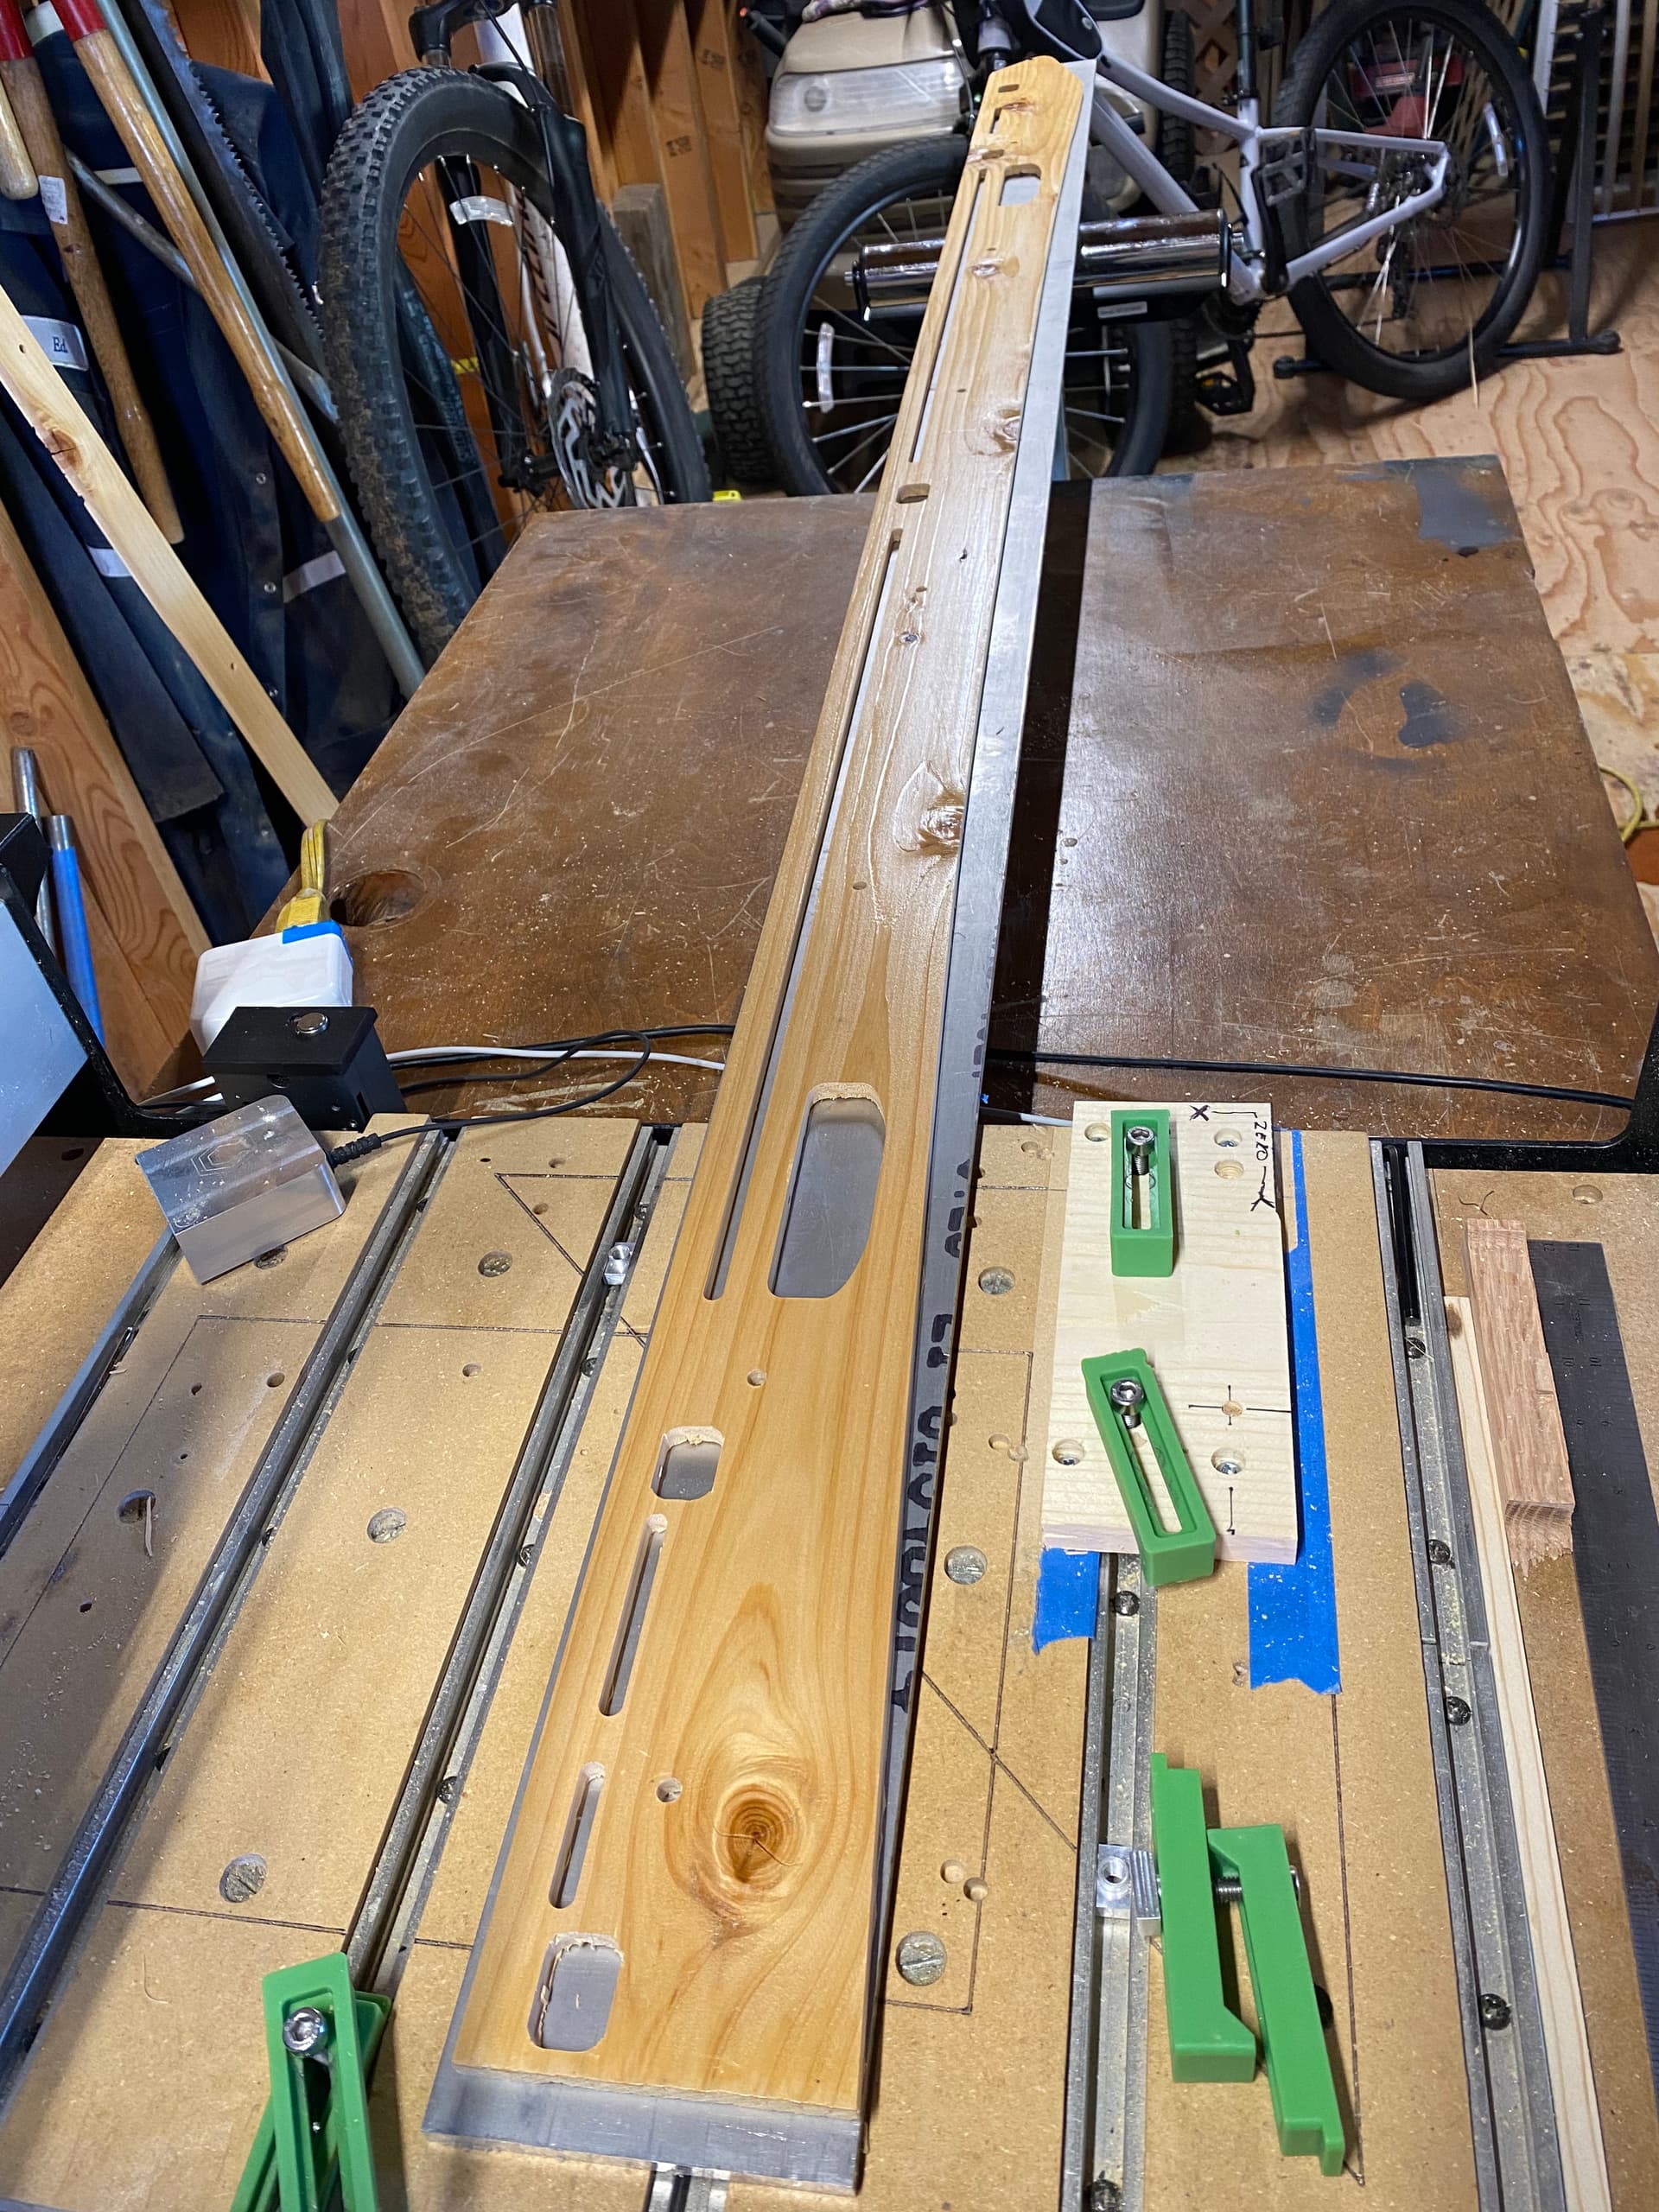
I cut a prototype of what’s going to be one of two side rails for a vehicle roof top cargo carrier. This prototype is 72" long cut in 8 tiles. The prototype is cut in a 6’ cedar fence picket planed down to a thickness of .300". If the design meets the needs of the owner, the rails will be cut out of .250" aluminum. Overall length is set to be just a touch over 96" with the last 24" piece TIG welded in place.
9 Likes
I used a set govee flat led
Light, theres an on off switch as well as blu tooth control so I can change the colors, speed and pattern.
1 Like
I am using COB strips. One color for the projects I have.
Cut some new soft jaws for holding my 40mm coins.
Learned a lesson about setups and centering in the process ![]()
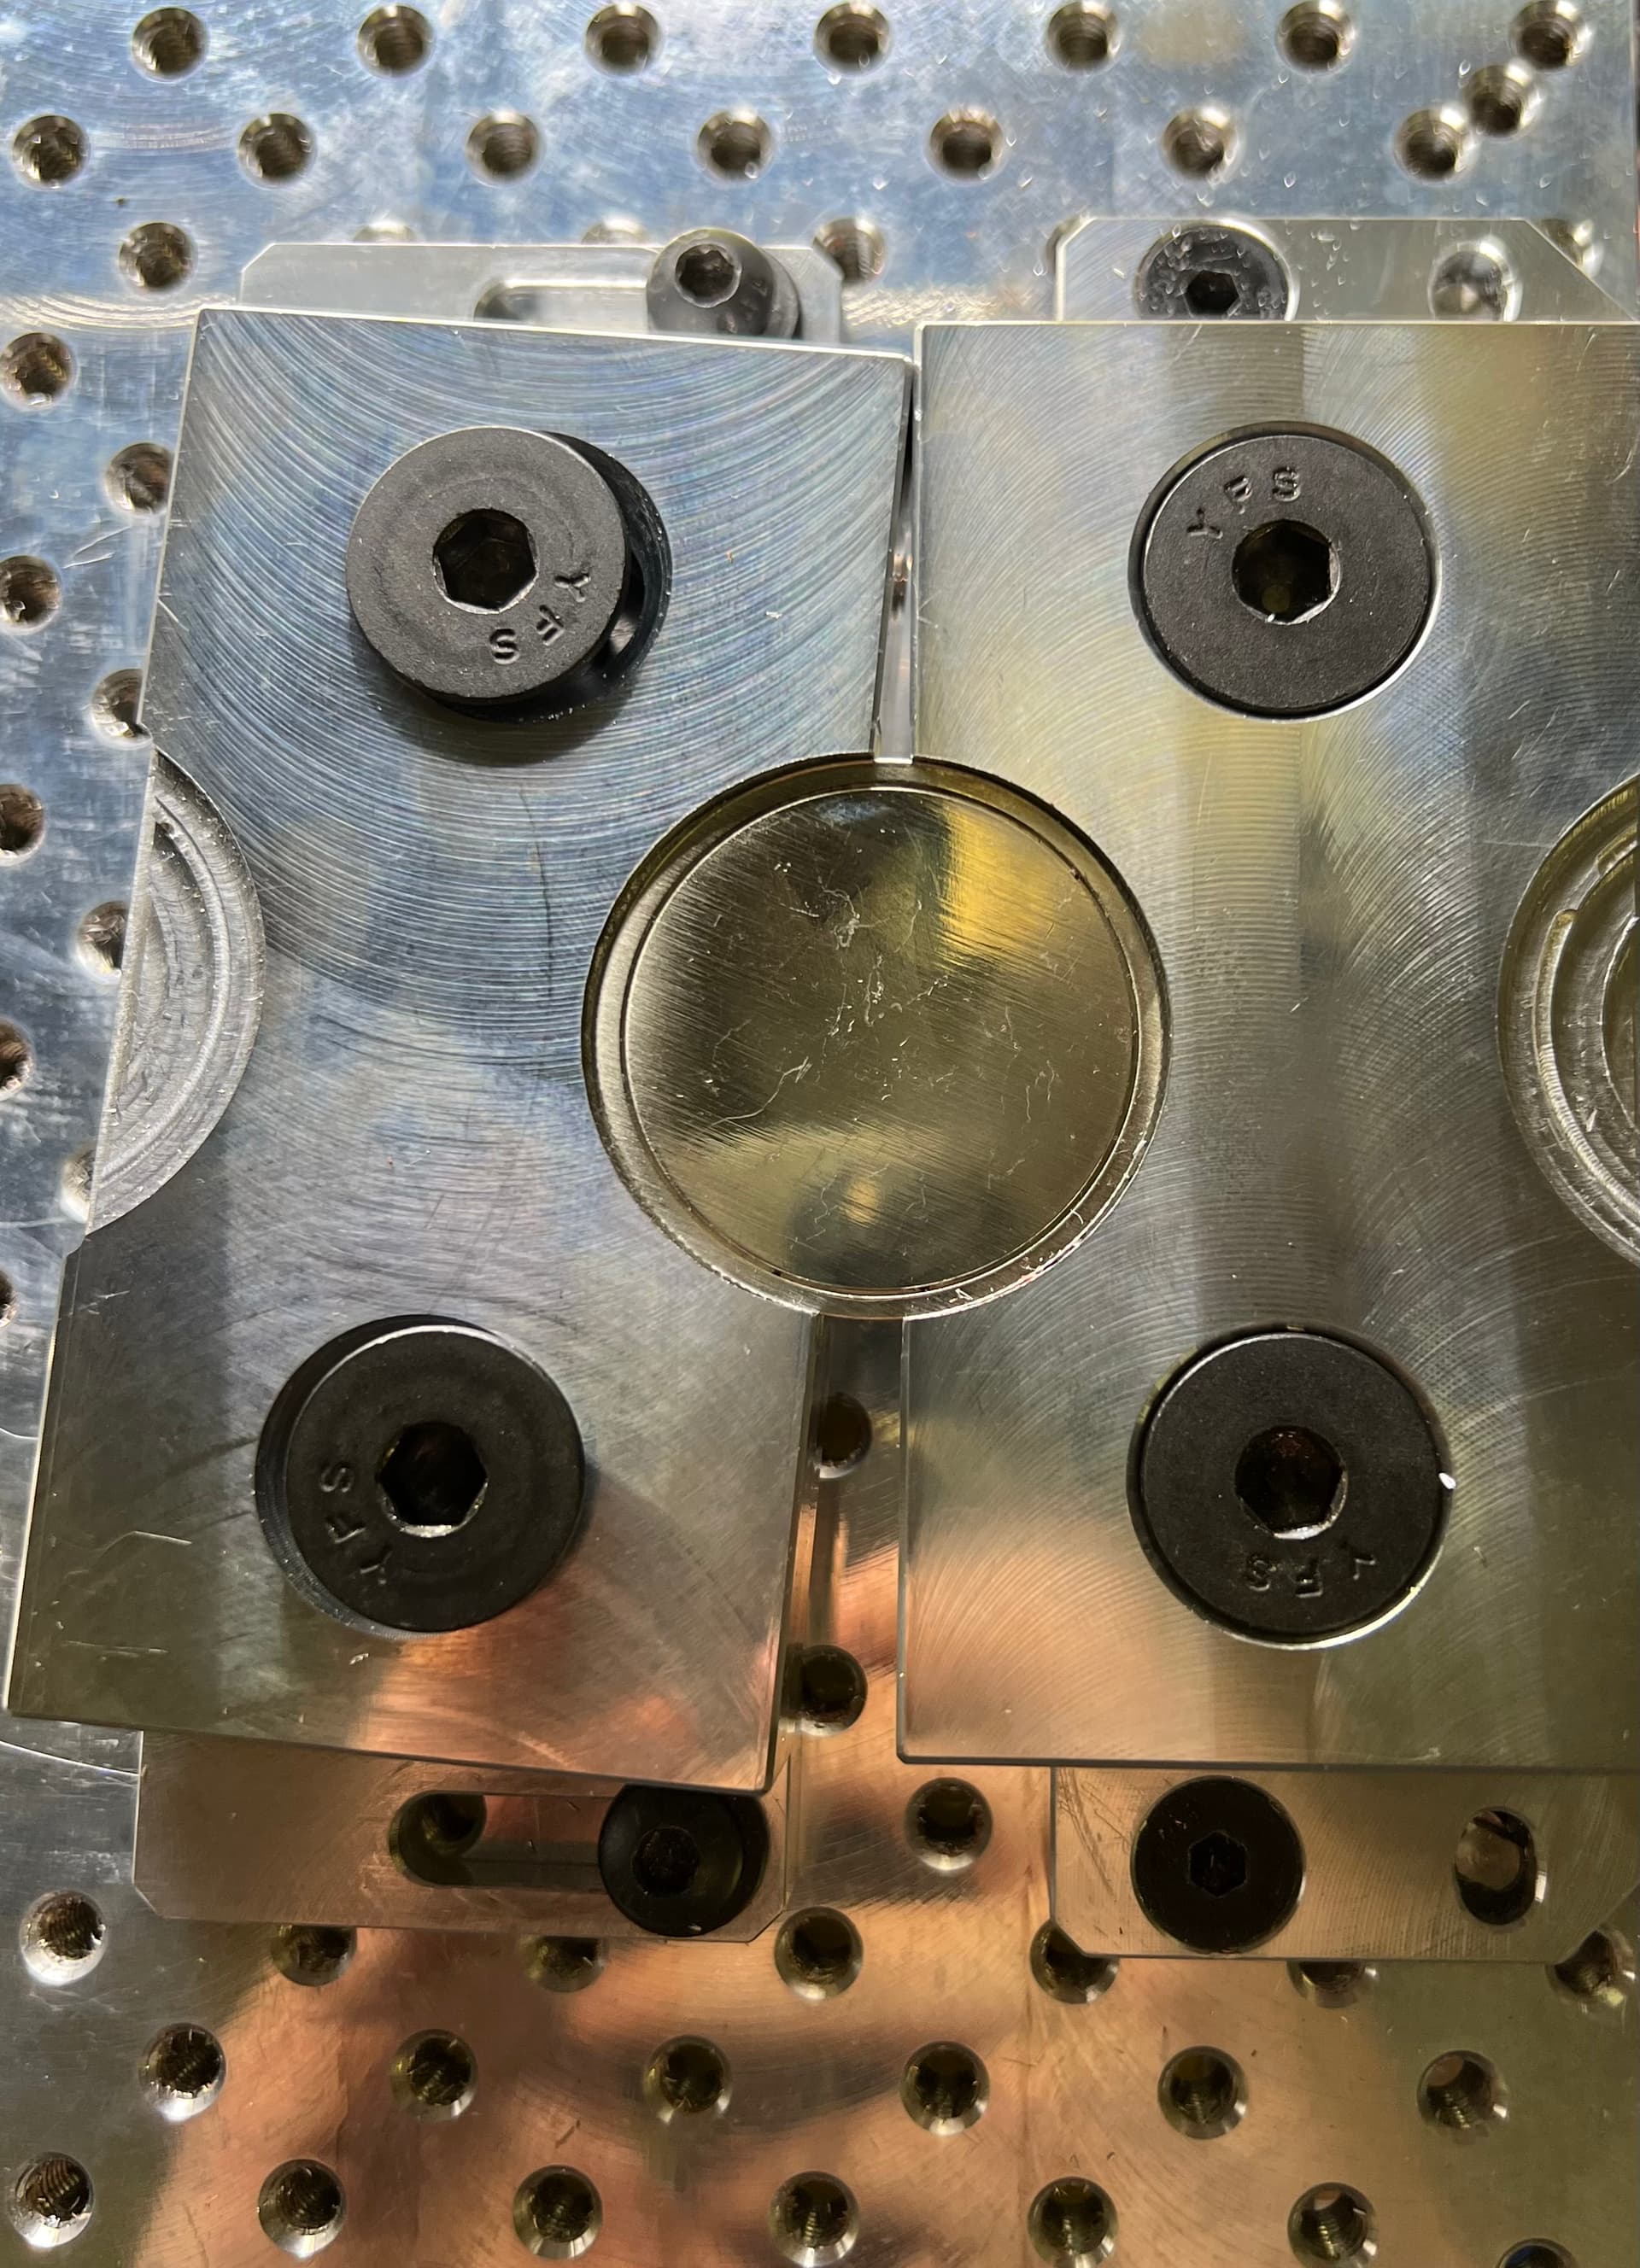
All in all, it was a very cheap lesson so I’m still thrilled with the outcome ![]()
8 Likes
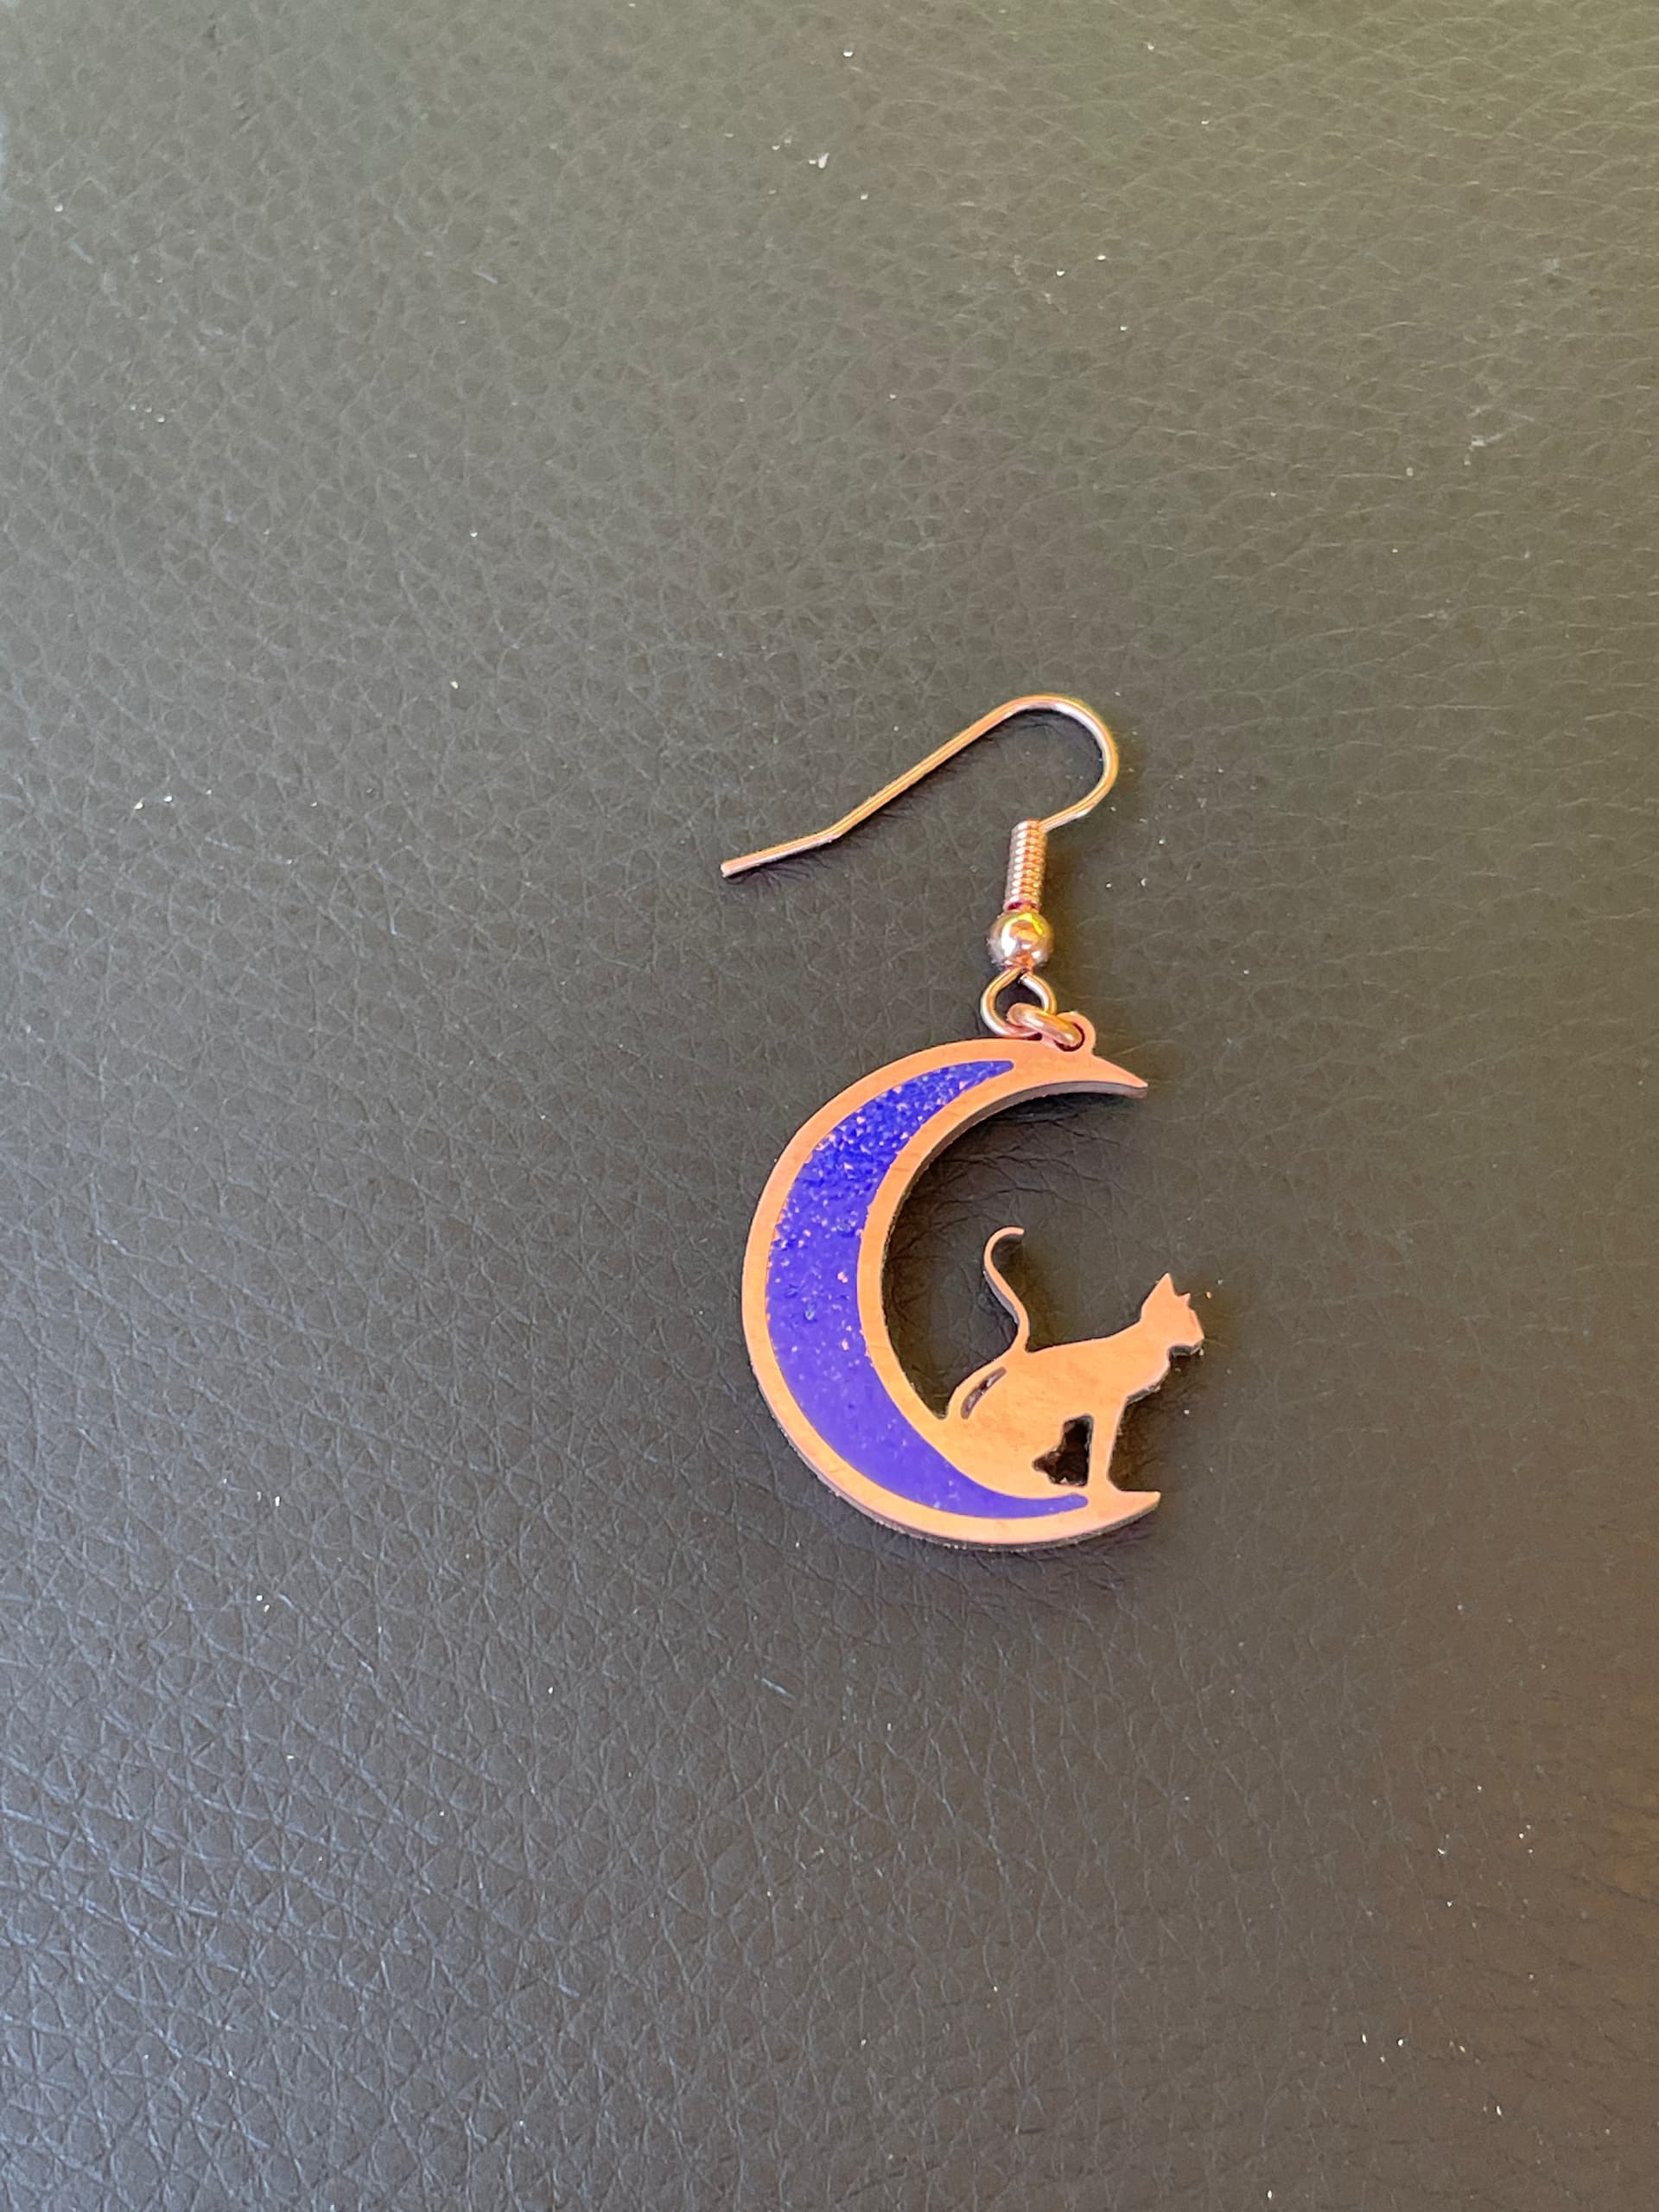
For todays HDM jewelry making adventure decided to try for an earring for my youngest granddaughter.
Used a .0157” mill for the tail pocket, a 0.0236” for the rest. Progress of sorts, no broken mills!
The pocket in the moon is 10 thou deep and filled with crushed stone set with thin ca. It needs to be deeper or I need a mortise/pestle to crush the stone a bit finer.
It’s a good start I think, the only thing I would change is to upgrade my polishing skills and cut the crushed stone pocket a bit deeper.
Maybe I’ll try for some tiny stars in the stone pocket?
27 Likes
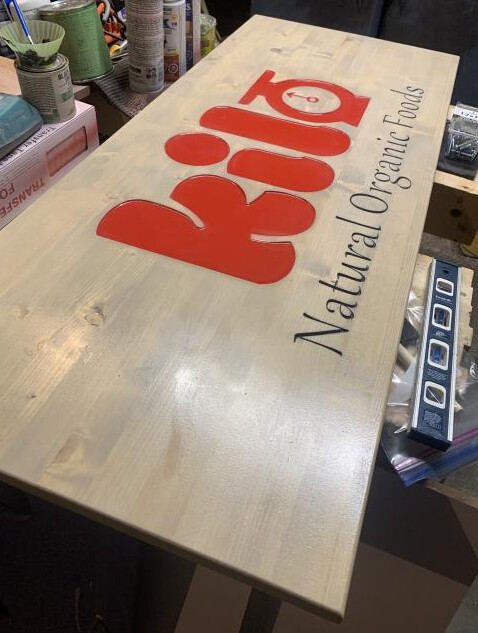
this week made a softwood sign for a market booth they are setting up.
today playing with a surfboard sign for another market booth that has Hawaiian street food.

16 Likes
Yard sign for a friends favorite holiday, make it out of junk wood they said ![]()

Edit: See quite a few posts asking about fonts here so, these are all free fonts from Defont.
Text: Head Injury
Swords and skulls: Fantasy clipart 2
Also, this was done using the Oromask method, something that’s going to be covered in the Carbide 3D newsletter soon. So what are you waiting for? Get signed up for it!
13 Likes
Looking great, thanks for sharing. I set this up using just the laser engraver today. Came out pretty nice. I’ll carve it tomorrow and give it to my daughter, her favorite holiday is coming up!
I can’t tell from the picture, did you also carve the swords and skull?
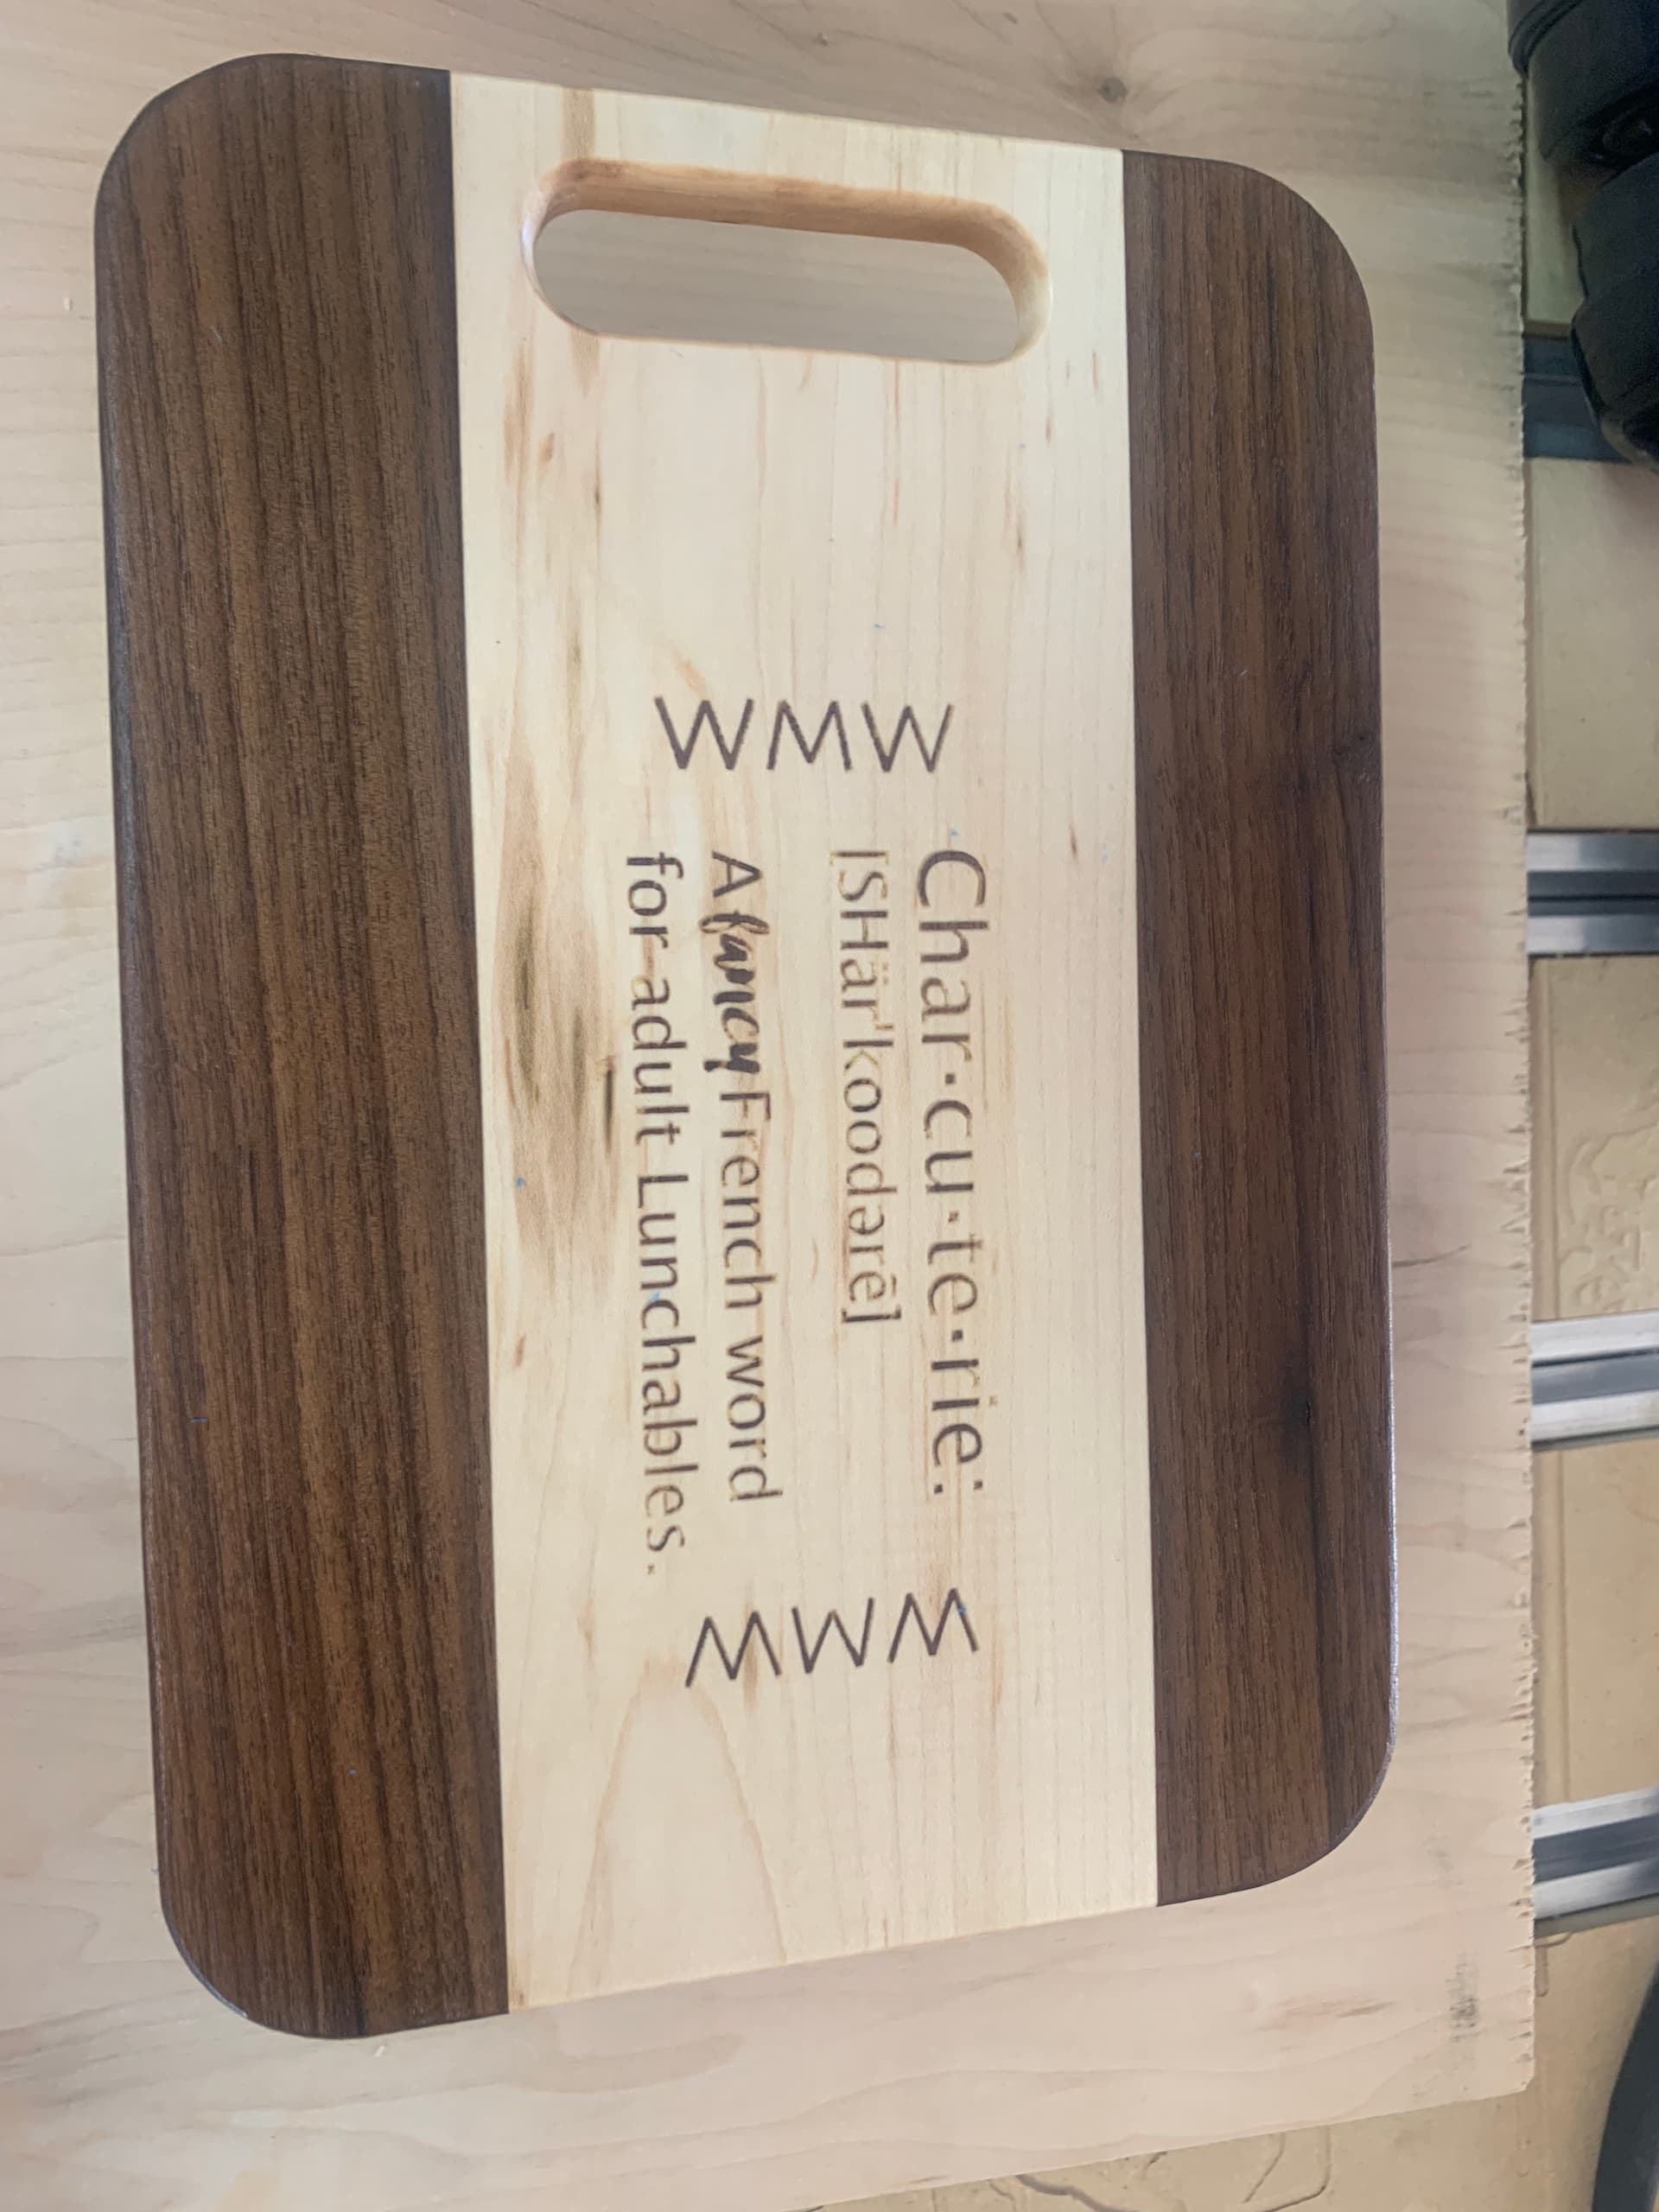
Walnut on maple for the inlay Shaved the walnut off a hair too deep, but it was $6 in wood and a fun experience for the next couple inlays I have in mind.
11 Likes