Where is Santa? ![]() The poinsettia flowers look good.
The poinsettia flowers look good.
He must have fallen out on the way.
1 Like
Blackberry schnapps will do it every time! ![]()
2 Likes
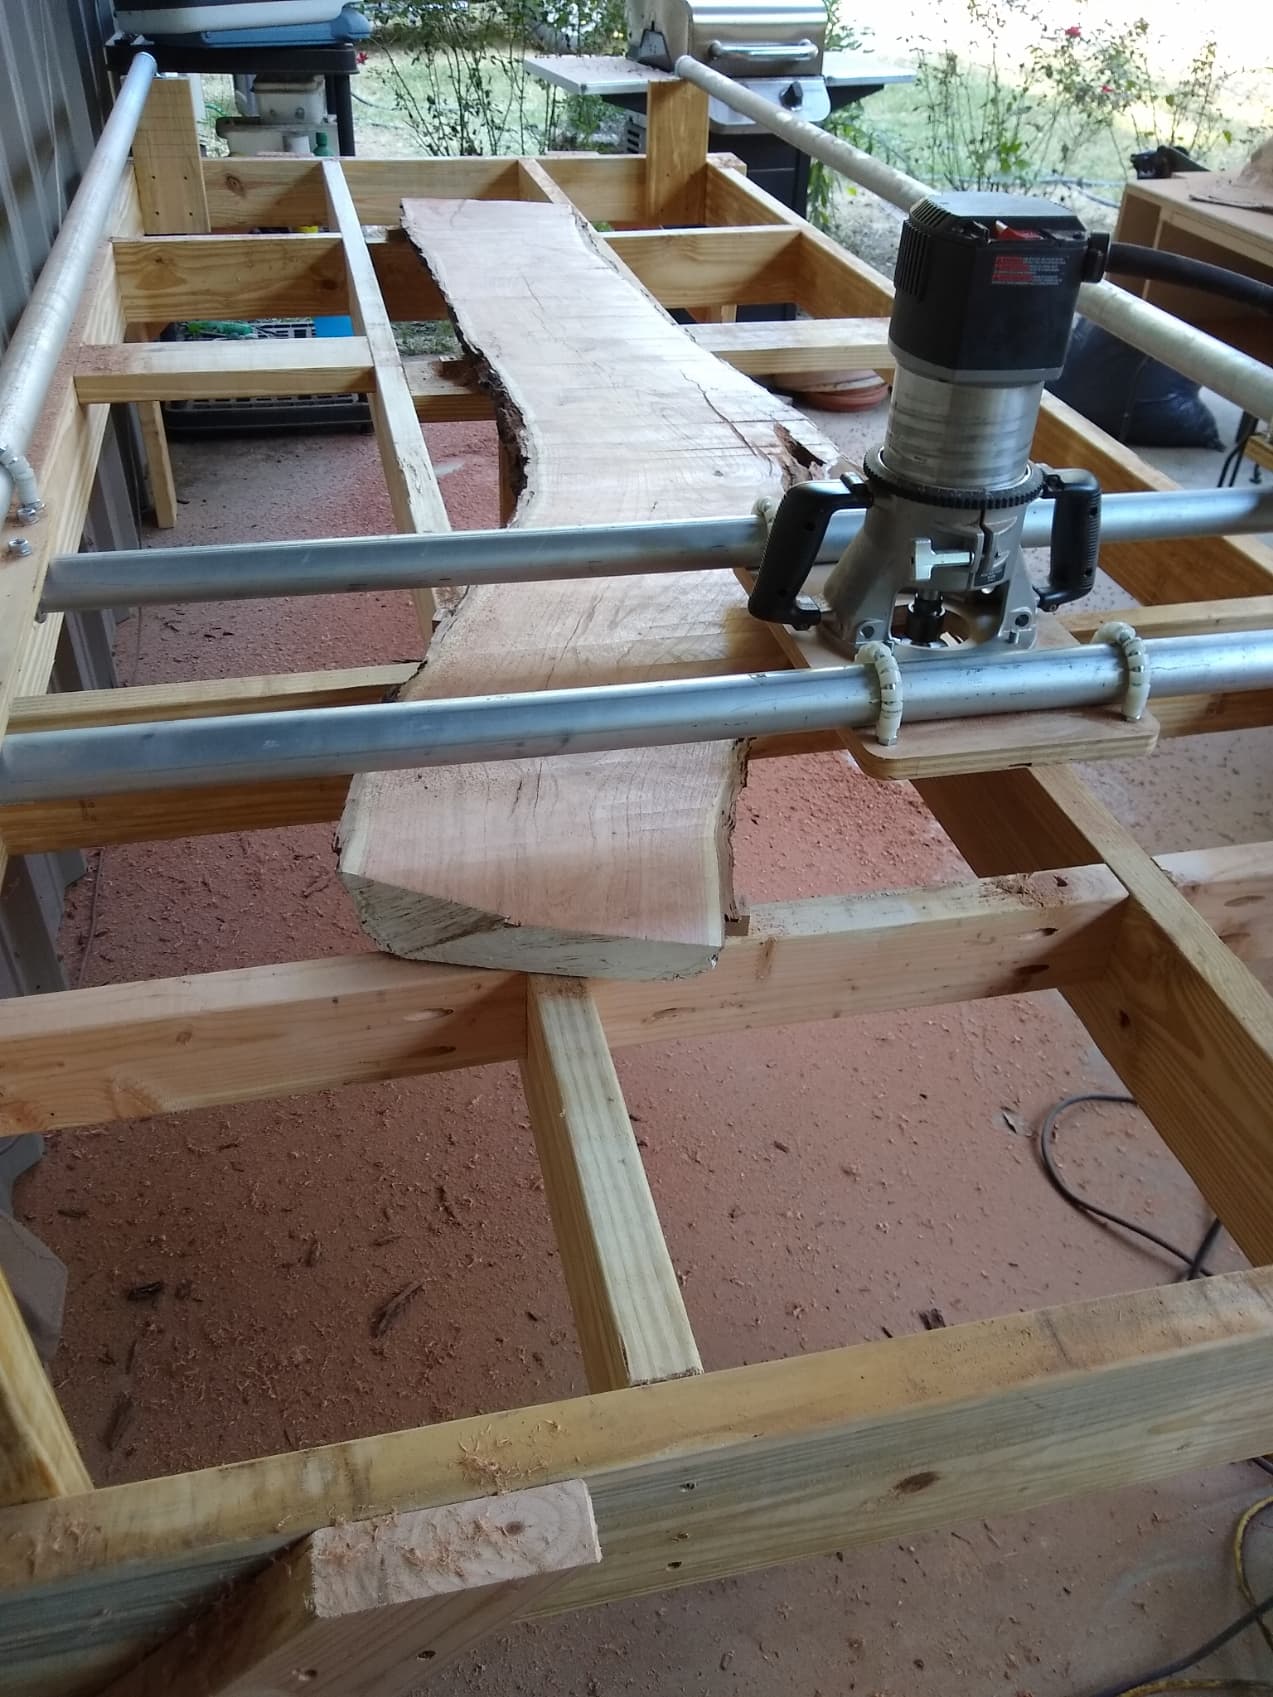
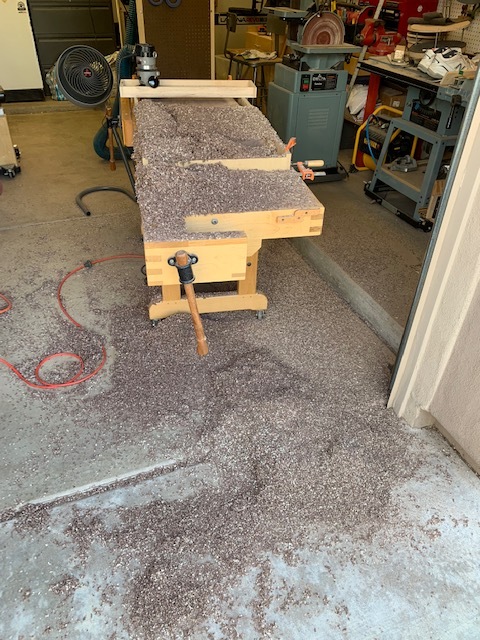
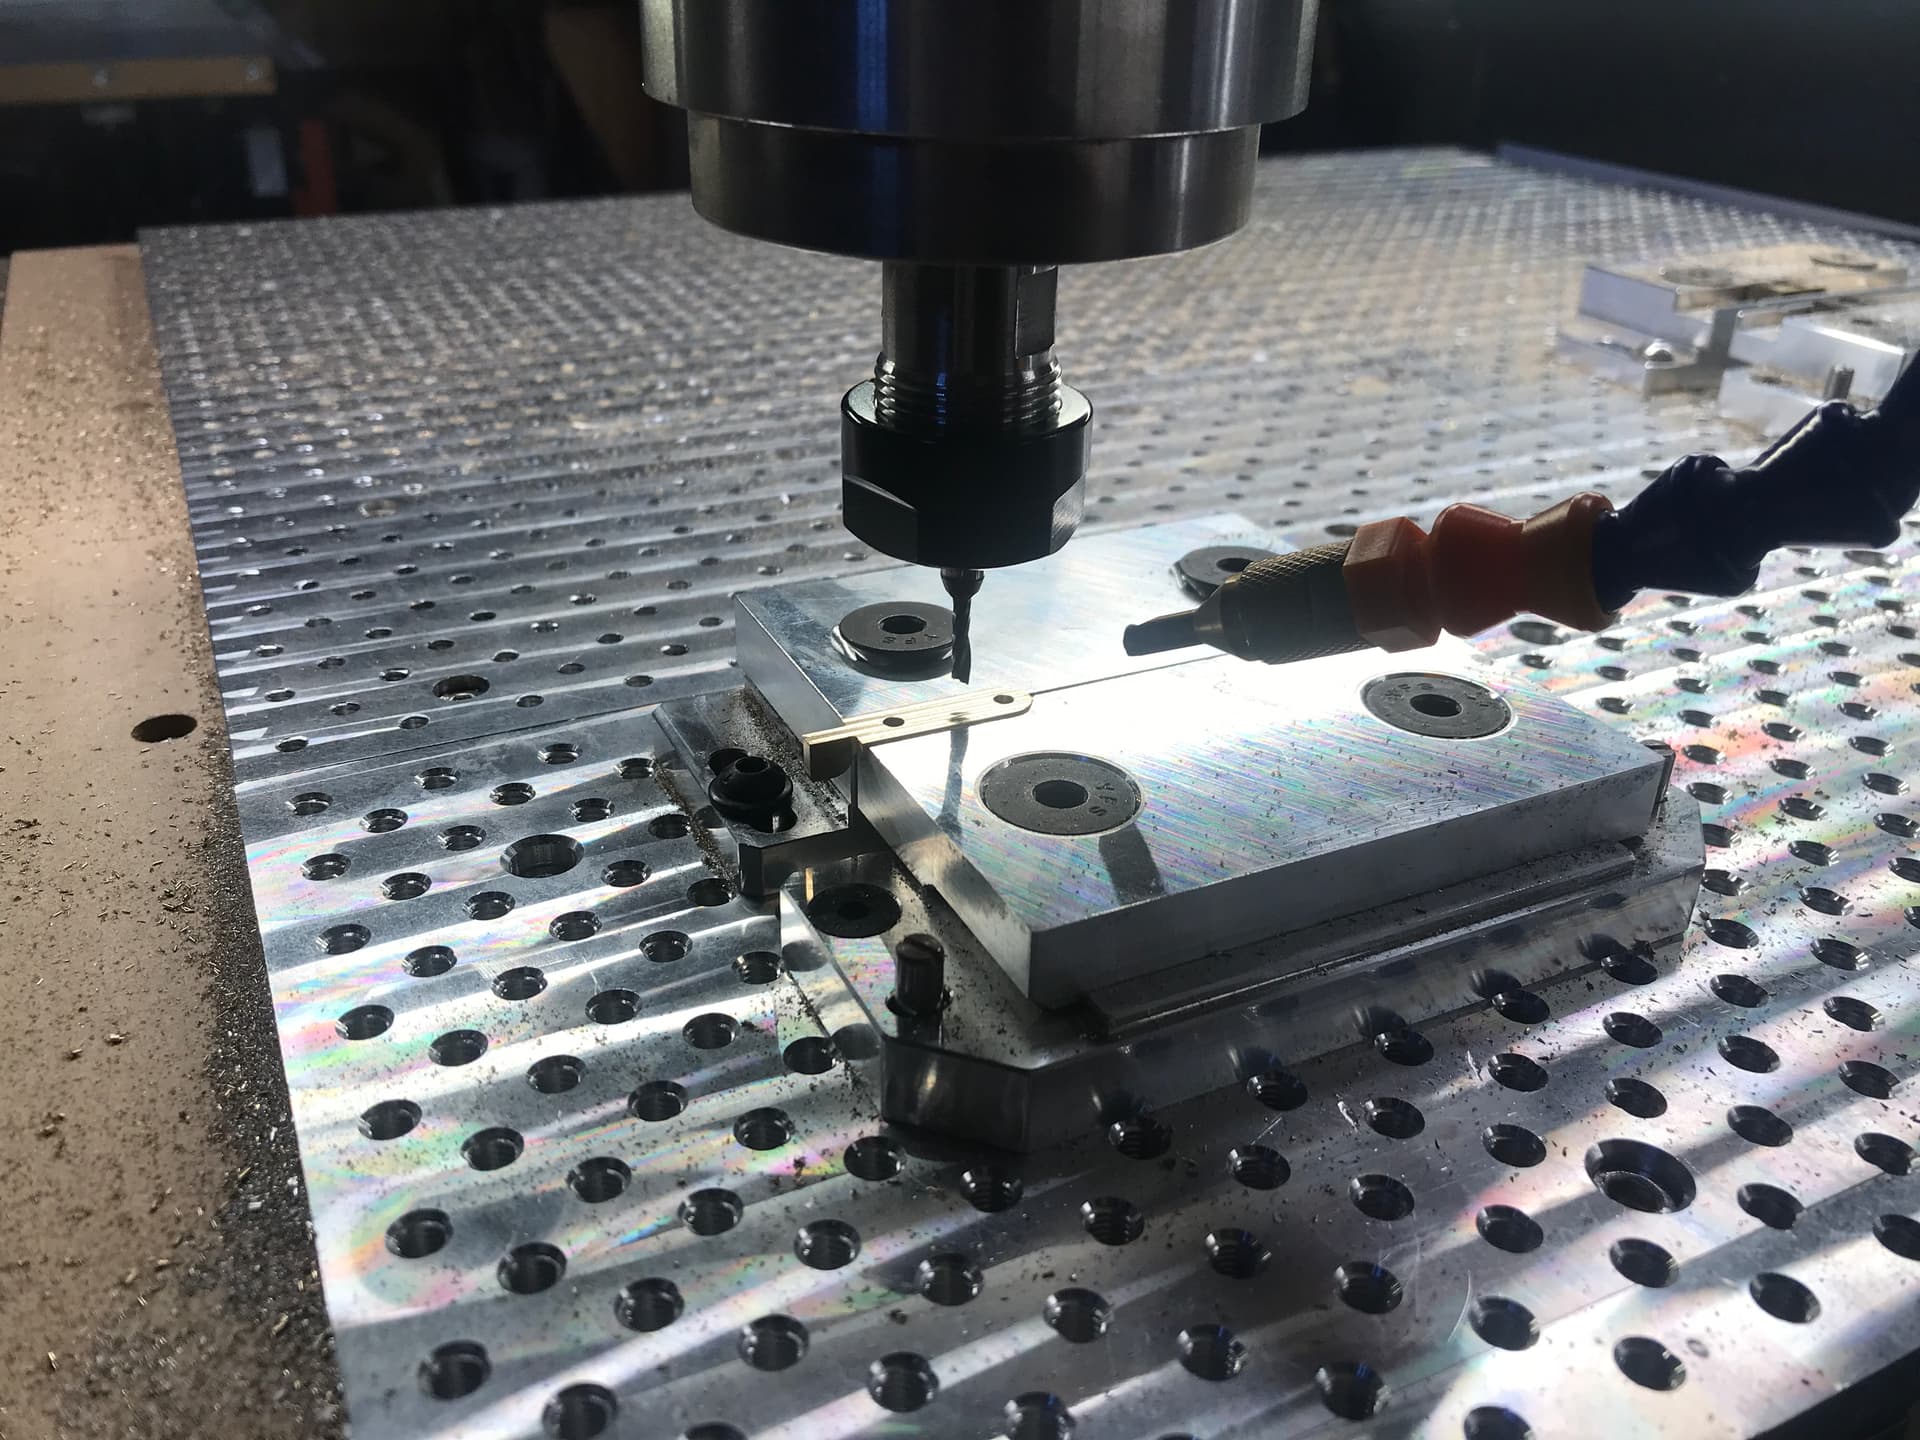
I have a Veritas Slabbing jig I built. I had a router plate that was in the plans. The router is a PC 7519 3.25 HP Router with an Infinity Mega Planner bit. Flattening the mesquite slabs I have been working has a lot of vibration. I like to check the collet for tightness every time I start a session. I realized that the original mounting plates had the bolts for the router base on the bottom. This is hard to get the bolts in and out to check the collet. So I redesigned the router plate and put some brass inserts in so I can put the bolts in from the top. This will make it easier to remove and reinstall. The router has 4 screw holes that are 4.125" apart. I had modified the original file that had recessed holes. I forgot to change the starting depth from .375" to the top. The program starting cutting the 4 holes and I realized my mistake. I stopped the run and edited the file. Unfortunately I had a .75" hole about 1/2" deep. I did not have any .75" dowels so I took a 1.25" dowel and cut it down on the lathe and glued it in. All saved and I disabled the previous toolpaths and started with the 4 holes and the center cutout.
Here is a picture of the whole router plate. The threaded inserts needed a 3/8" hole. Save me from myself.
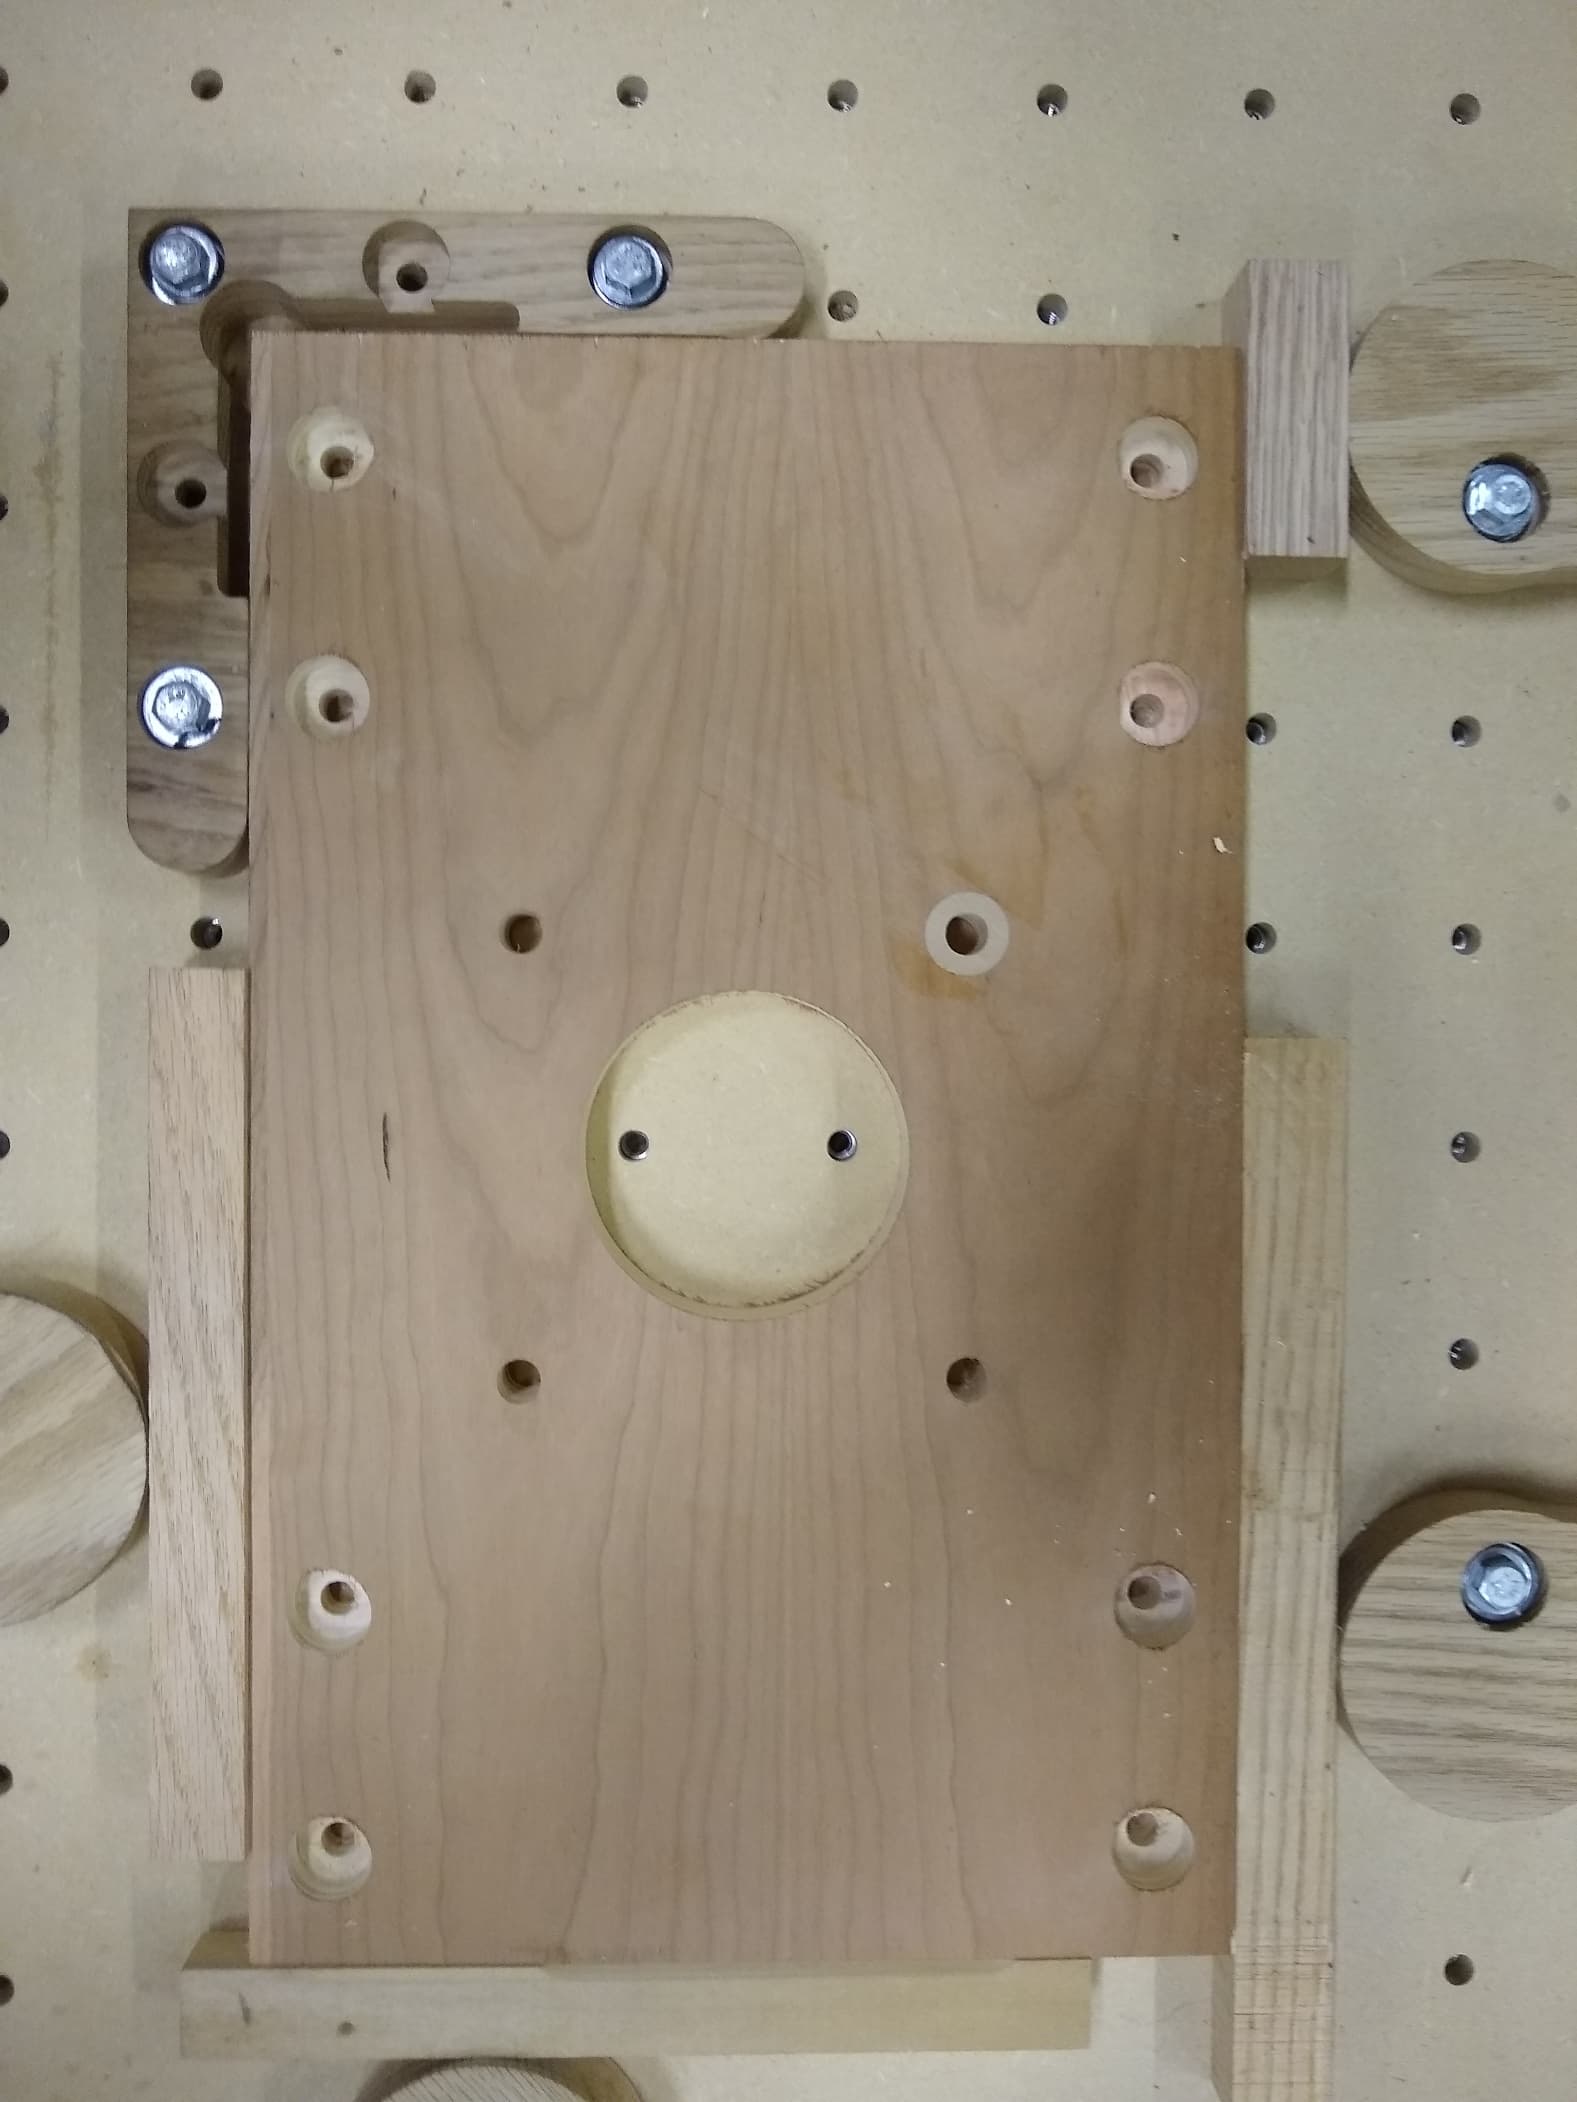
I was using the new feature for the hole diameter and put in .75"/2 instead of .375/2. Silly mistake but I recovered.
Since recently replacing my spoilboard I have started using the bottom of stock instead of the top of stock so help protect the spoilboard from over cutting and defacing the spoilboard. The spoilboard is meant to be spoiled but I want to protect it as long as I can.
The material is just some random cherry plywood I had laying around.
Here is a picture of the slabbing jig.
8 Likes
Like the setup, no doubt this will save much time flattening rough milled lumber. I got some large pine slabs 30" x 60" x 3" in the garage which I’d much prefer processing on a setup like your’s VS. doing that part on the cnc
1 Like
In the end there is no cheap way to flatten slabs. My Veritas rig was about $100.00 for the jig hardware, $400.00 for lumber to build the base, $300.00 for the Porter Cable 7519. Plus another $50.00 for misc screws, nuts and bolts.
The Veritas kit works well and is based on using 1.5" Electrical Conduit. The draw back is the jig is 10" x 5’ and takes up a lot of space. When pushing the router back and forth gets tiring and you cannot push down or the EMT will bow.
So overall it is a great system with some drawbacks. I had made a previous homemade version that was basically an 8’ x 2’ plywood table with a poplar fence around it that the router sled ran back and forth on. One big advantage is the ends are open on the Veritas jig so you flatten all you can on long boards then just push it down and finish the rest.
Bottom line there is no cheap way to flatten slabs. Even a completely homemade rig costs several humdred dollars in lumber. The price of fun just keeps going up.
6 Likes
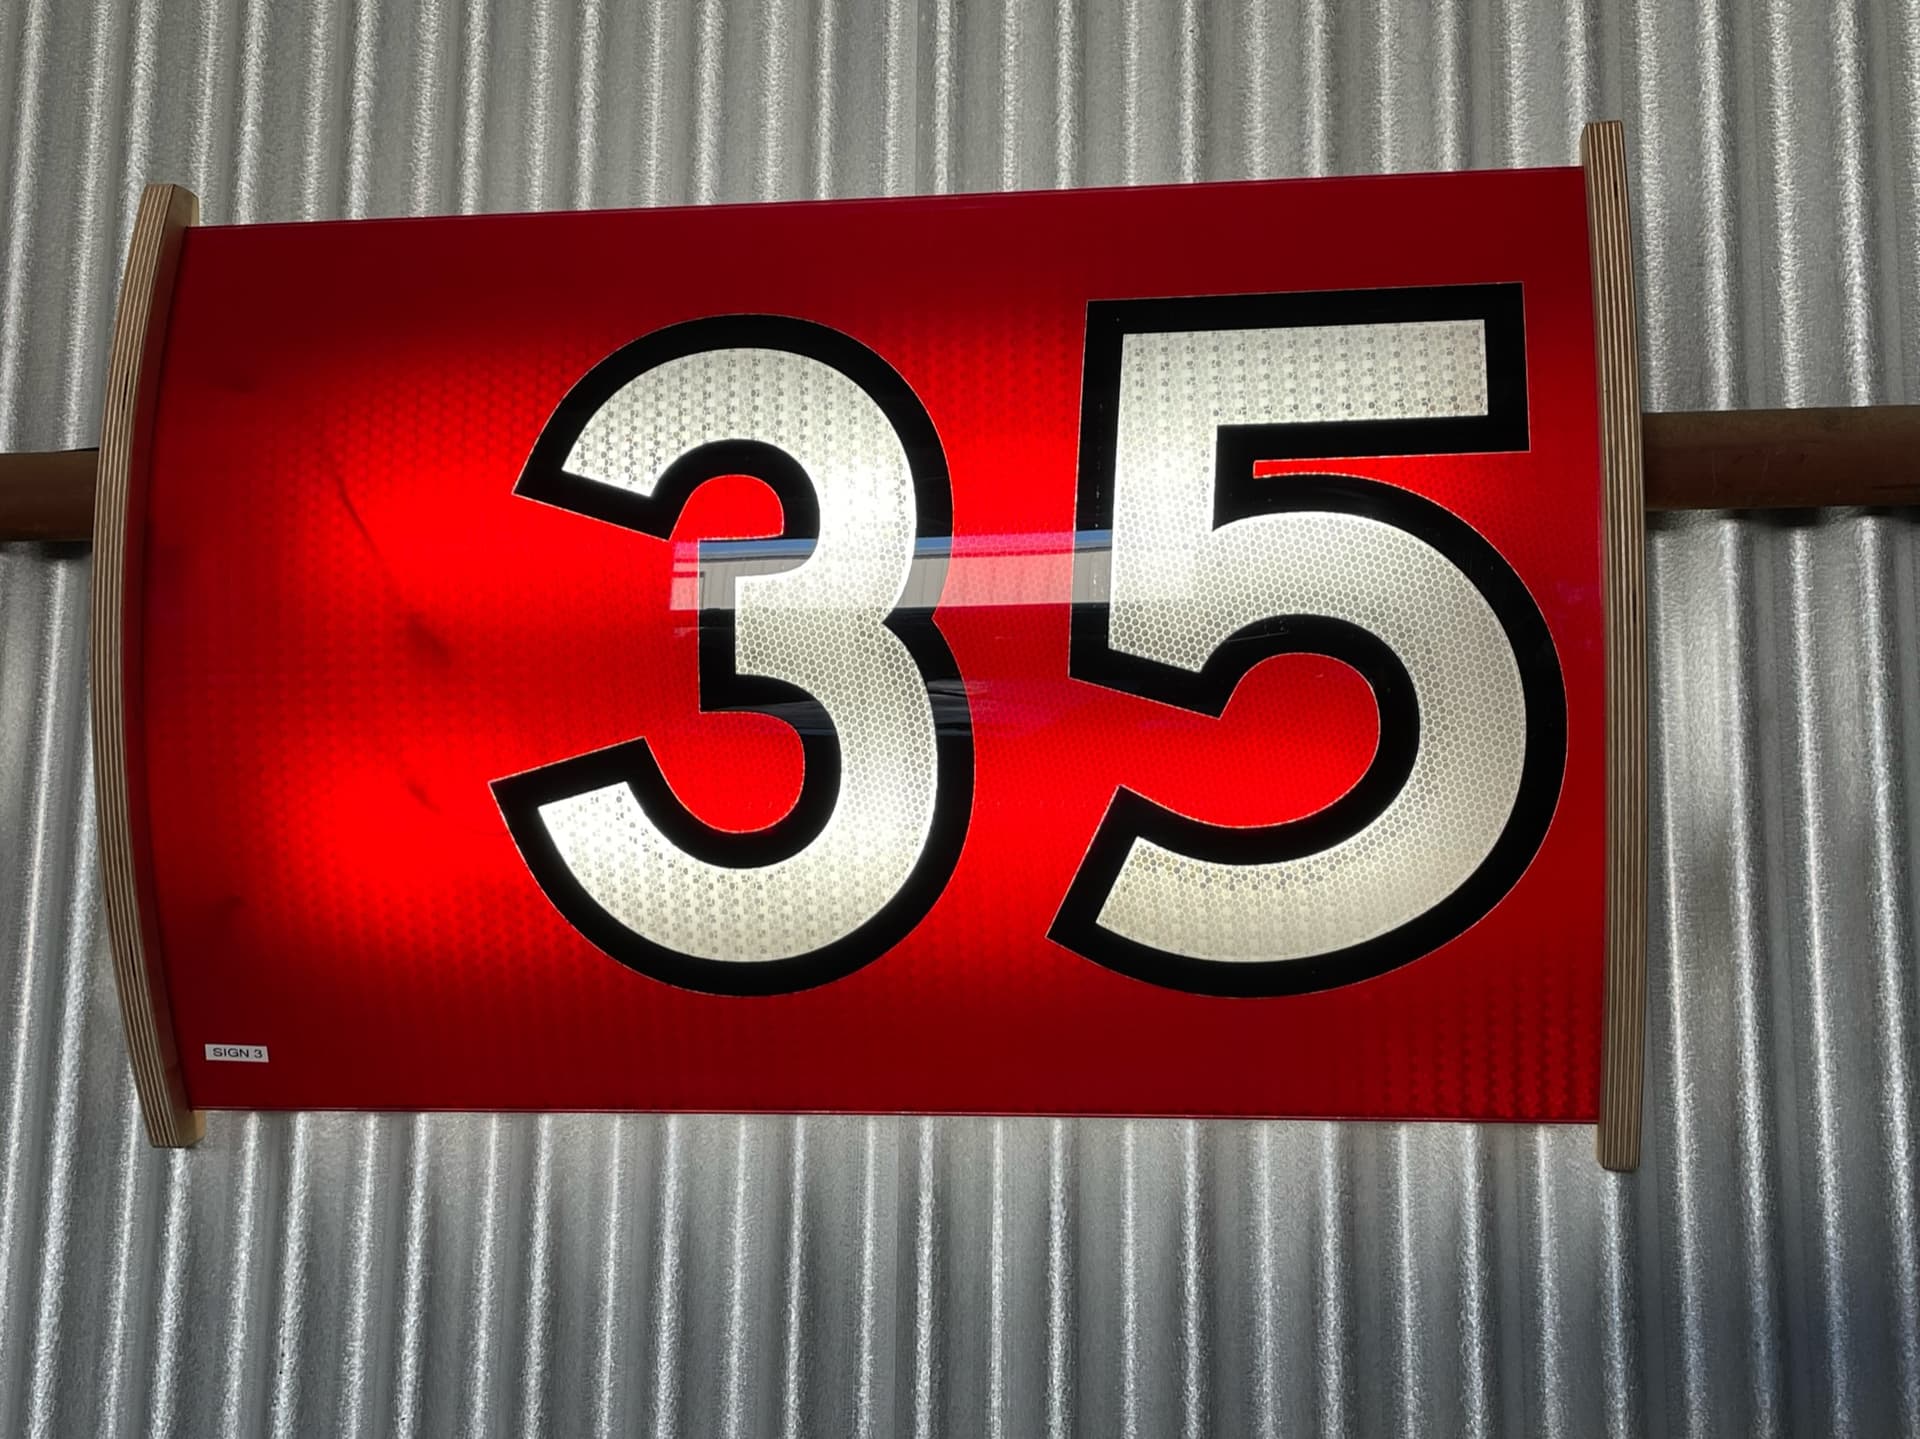
Thanks to the patron saint of magnetic variation my local airport changed it’s runway designation from 17/35 to 18/36. They had an auction for the old runway signs and I managed to snag one of them. I cut a simple frame out of plywood for it and hung it in my hanger. I gotta do something to keep me busy until my humpty dumpty of an airplane gets put back together after the latest engine overhaul.

20 Likes
What is happening here.
@KevBarn14
Wanted to try cutting and drag engraving brass sheet stock.
Figured what better way to judge my results than to compare to a known high quality example ![]()
Turned out ok. I learned a good bit in the process.
All in all a successful endeavor.
1 Like
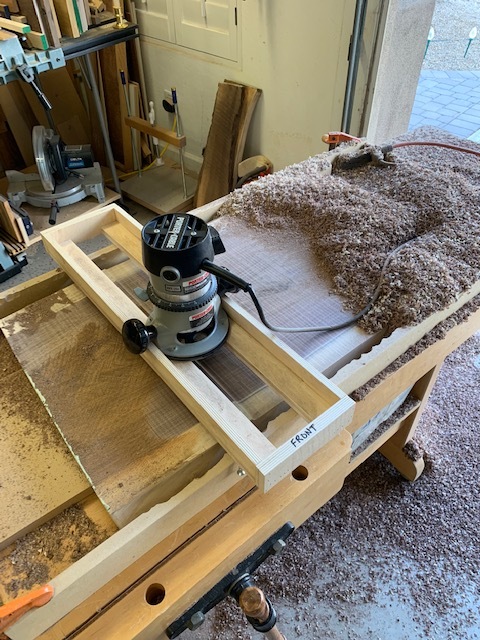
I have to disagree with you. As long as you have a relatively flat workbench, and your slab is narrower than said workbench, it can be done for “almost free”. It’s not pretty, but it works. I used scraps for the router sled, and spent less than $20 for two pieces of MDF molding “rails” about 3/4" x 4" x 8’. Clamp the rails in parallel to the long slides of the workbench. If I had to flatten a slab larger than the workbench, I’d probably make a rectangular box of MDF rails and do the job on the garage floor.
9 Likes
Thats a lot of sawdust… if i surface on the CNC I’ll have to empty the dust deputy a few times
1 Like
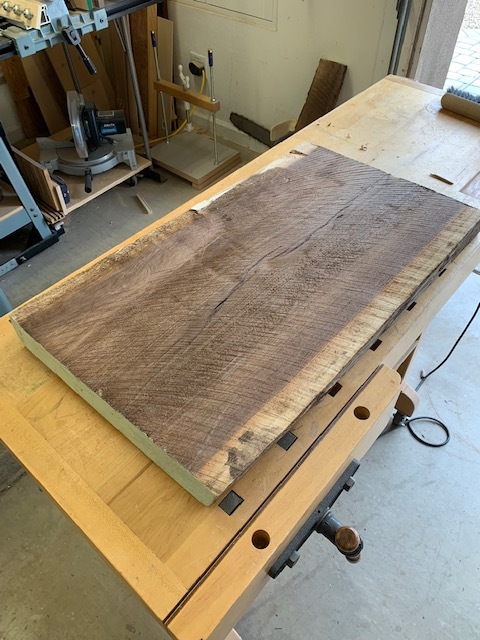
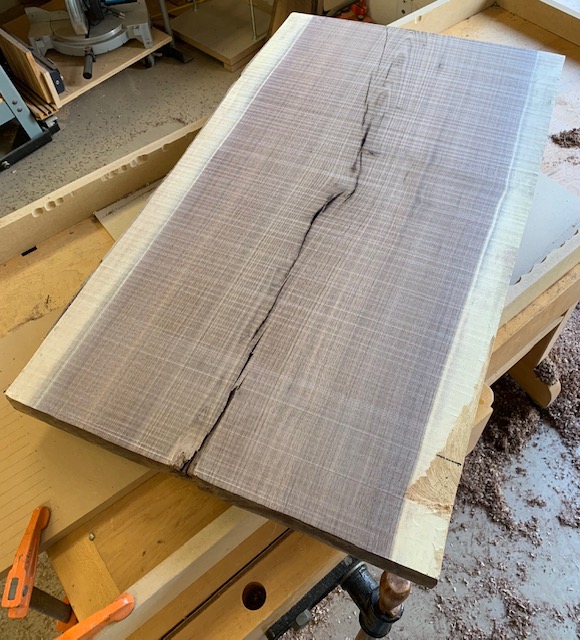
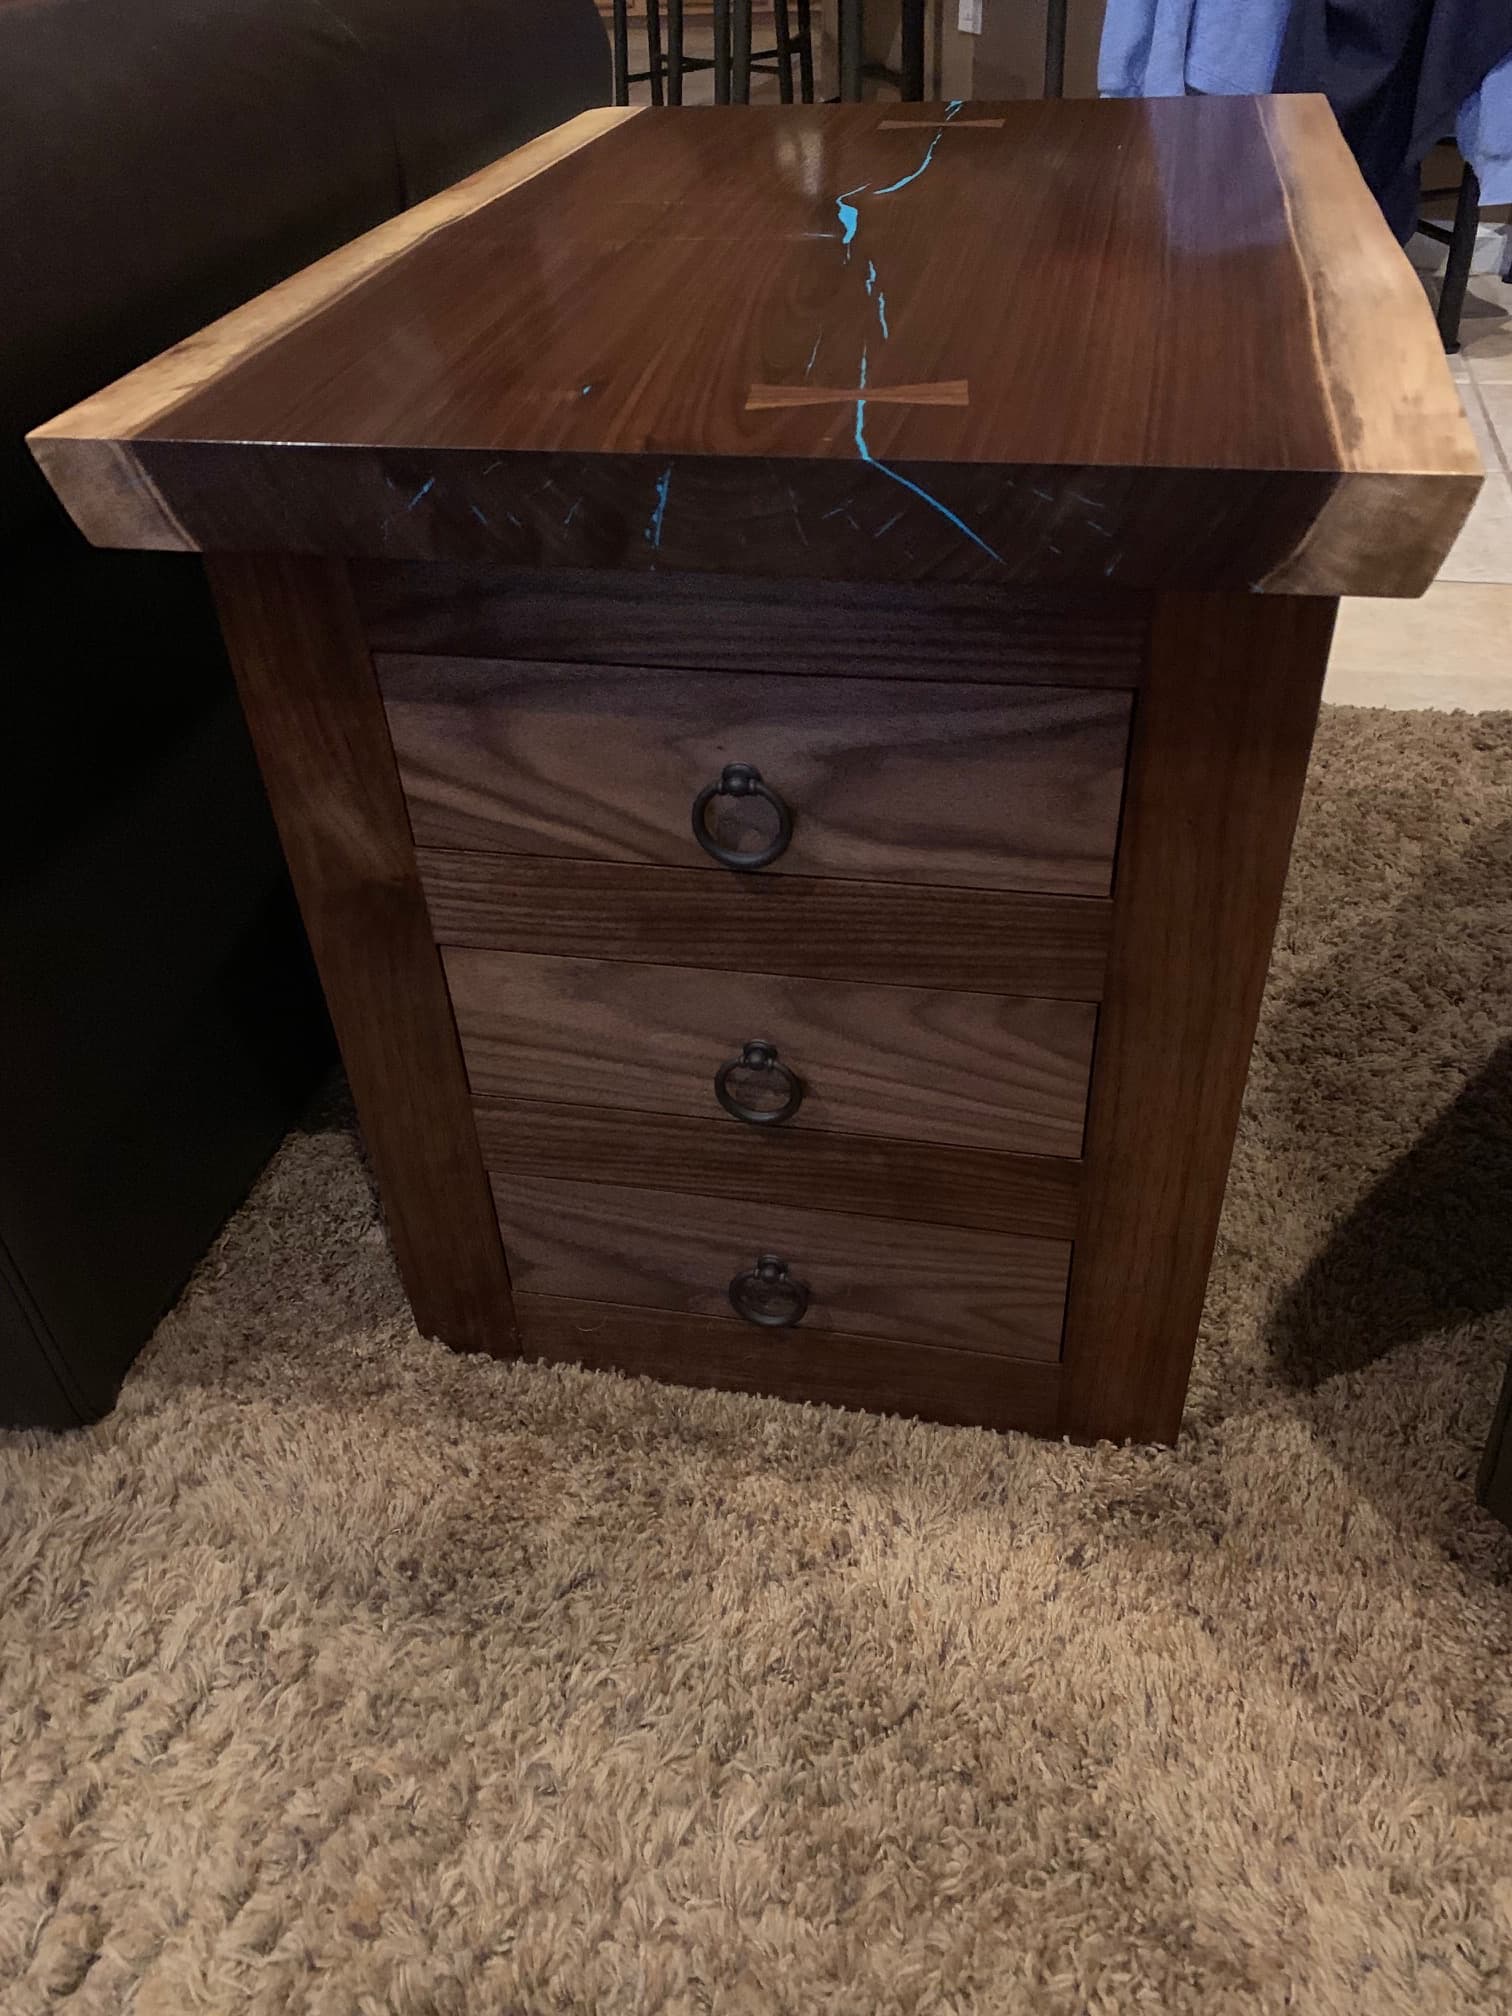
@ScottsdaleSteve - What kind of lumber is that, walnut? Beautiful piece of wood!
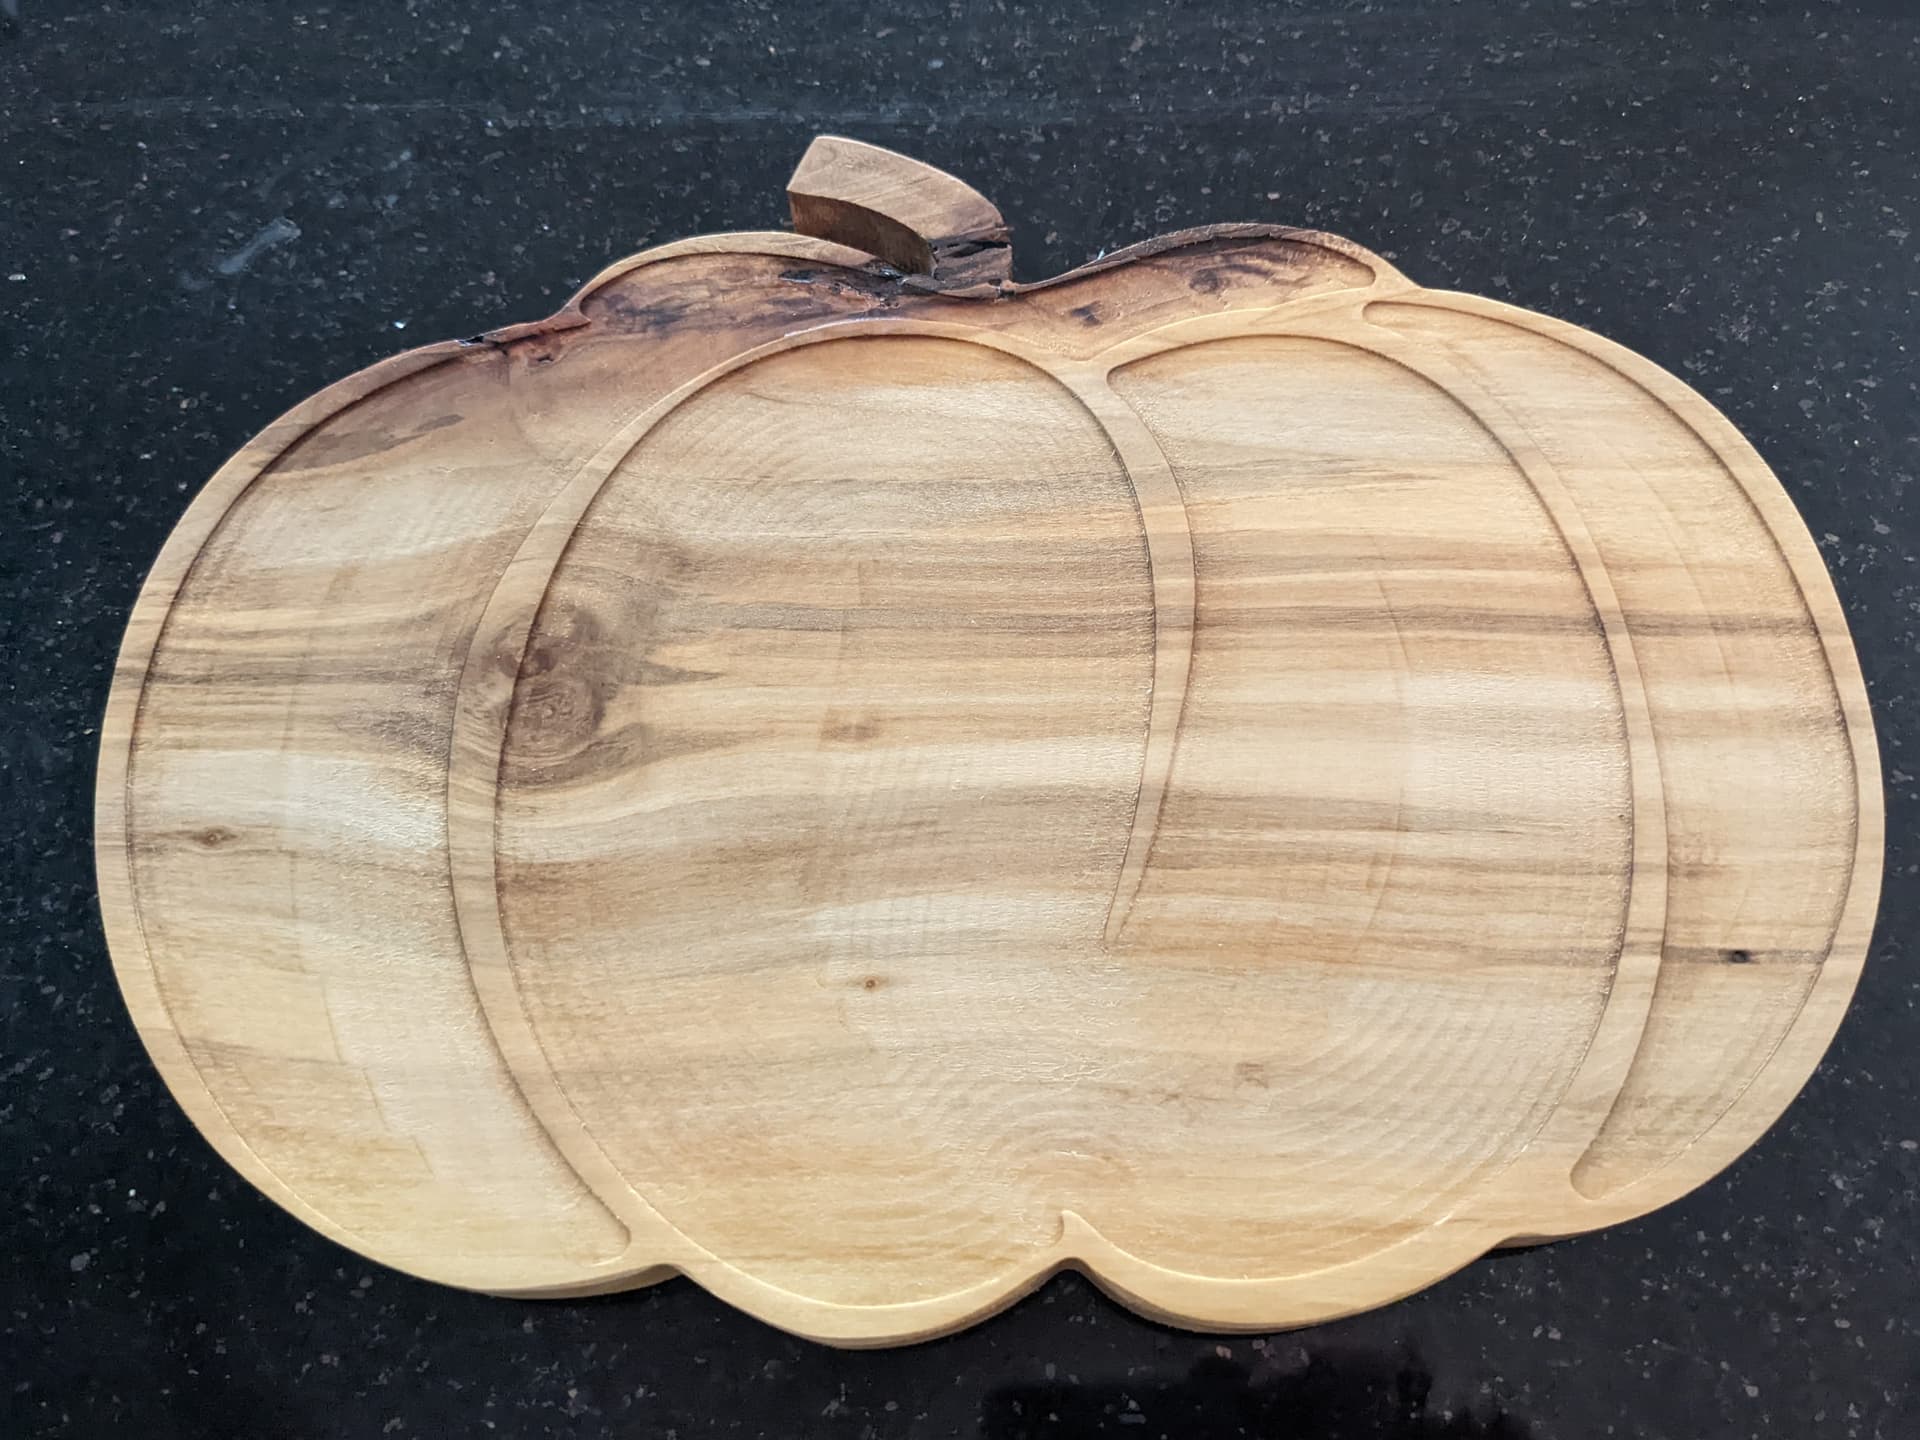
I made my wife a pumpkin serving board for a snack time thing they did at the library. Used one of the vectors in the library. Super quick project and I think a few people were trying to take the board home.
11 Likes
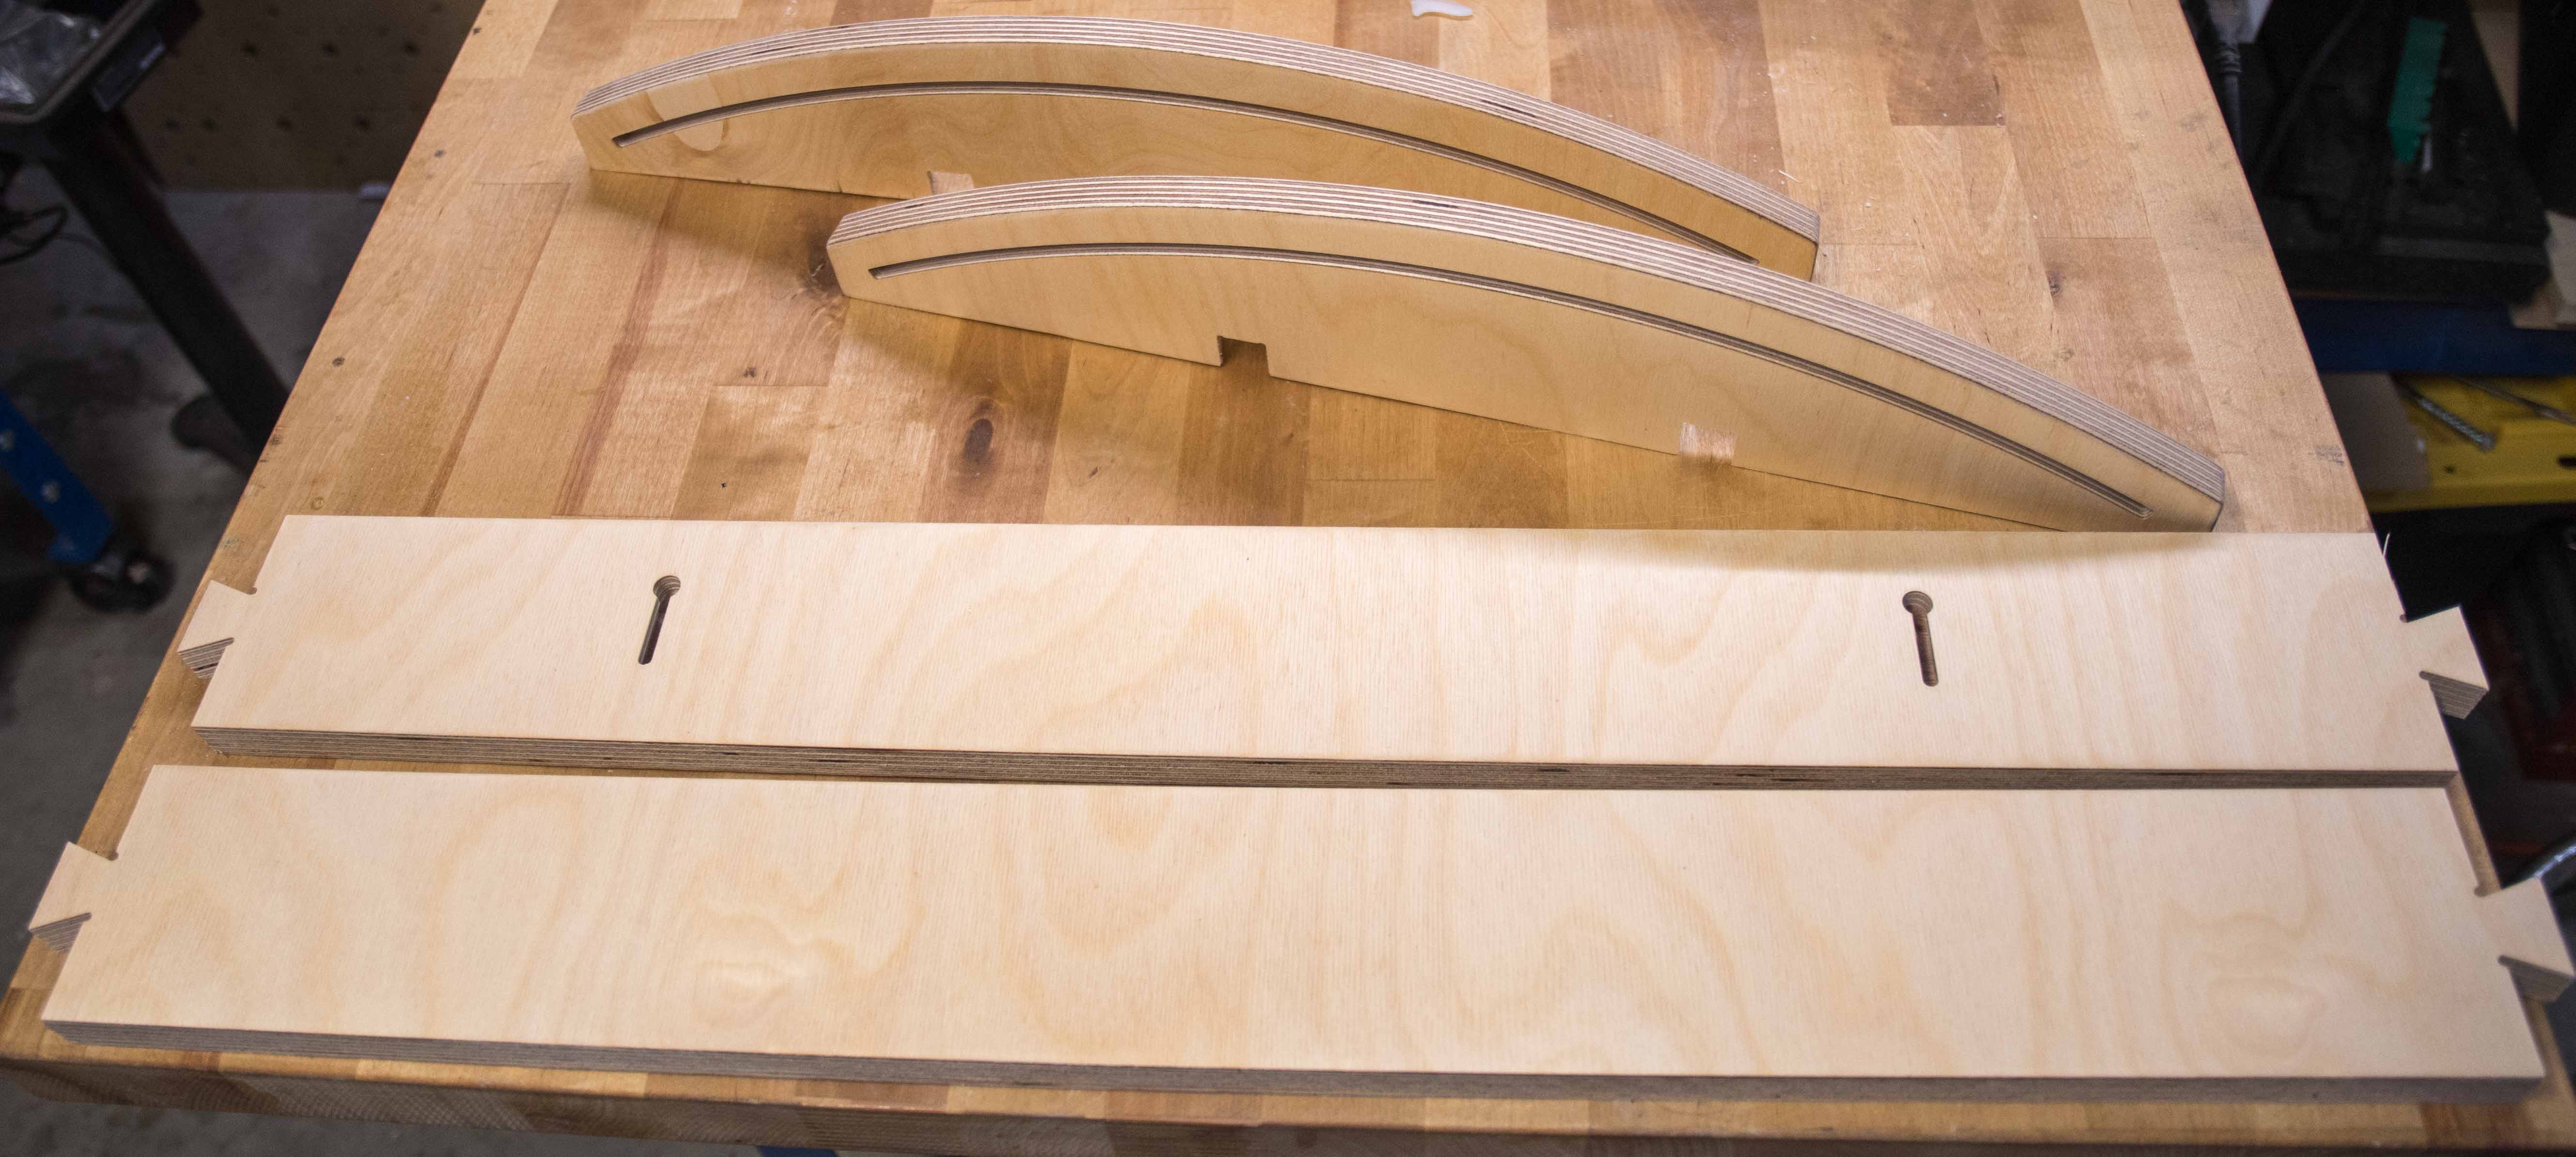
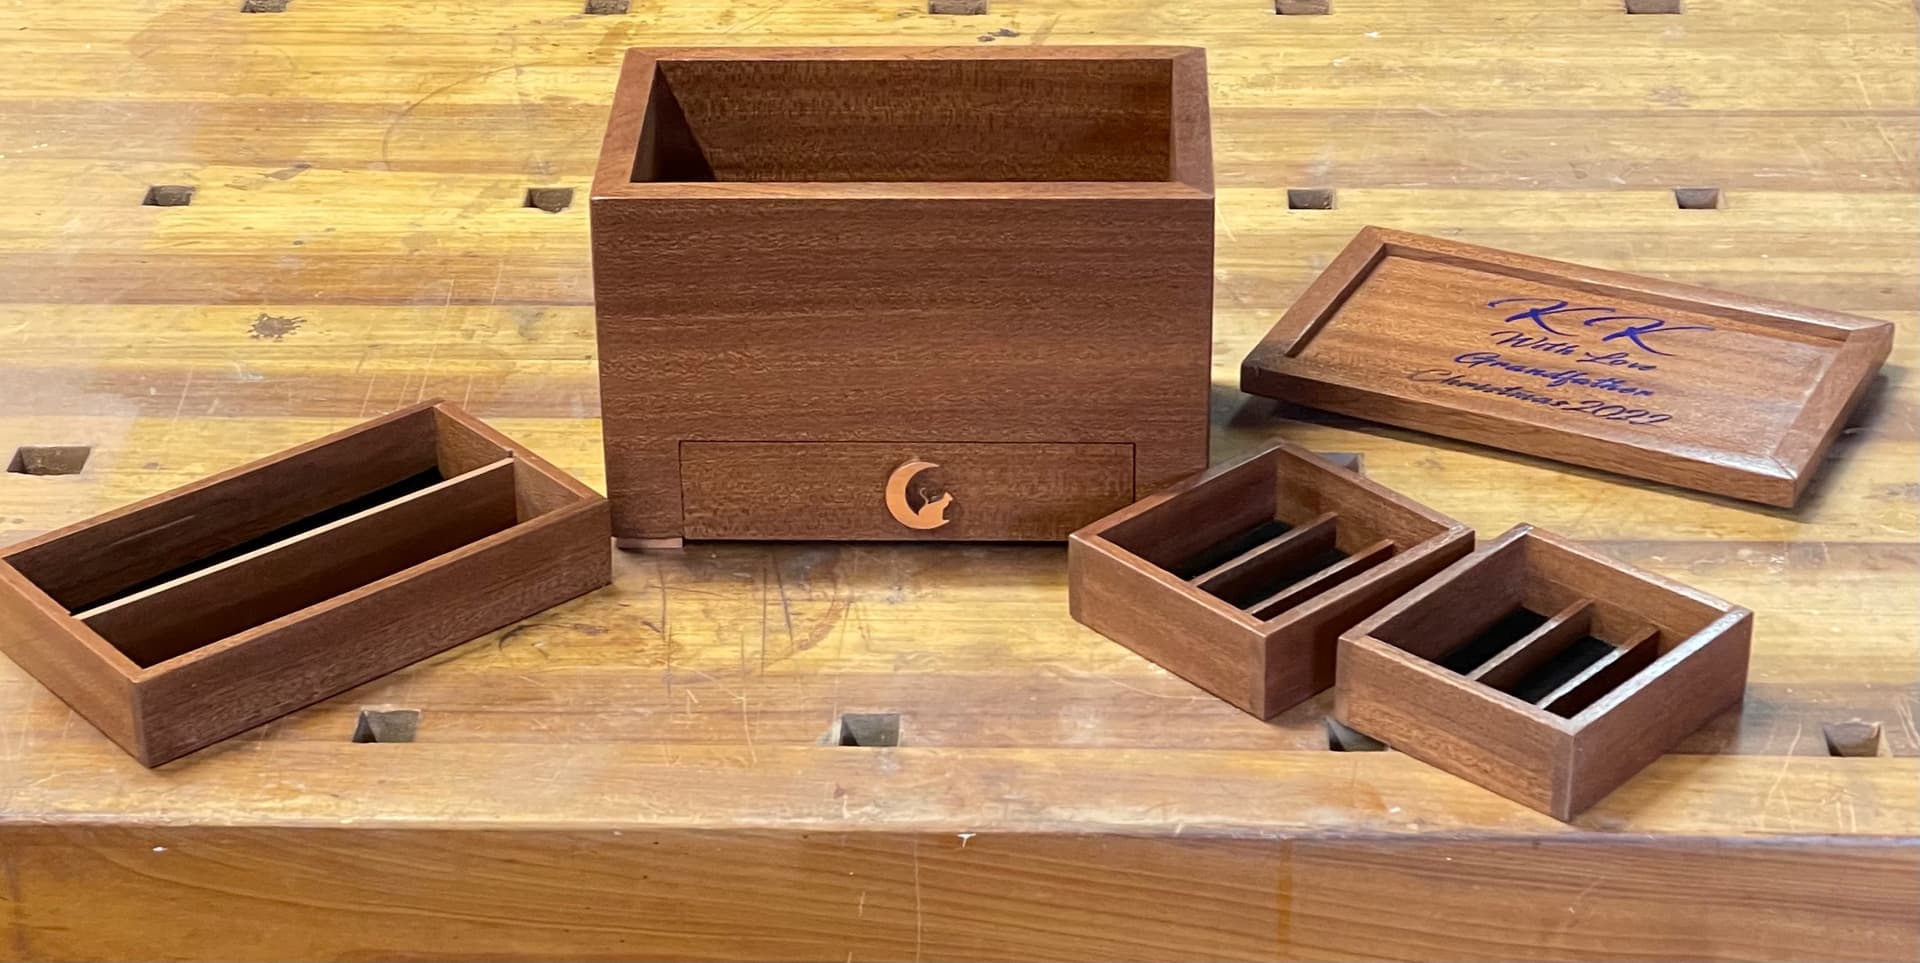
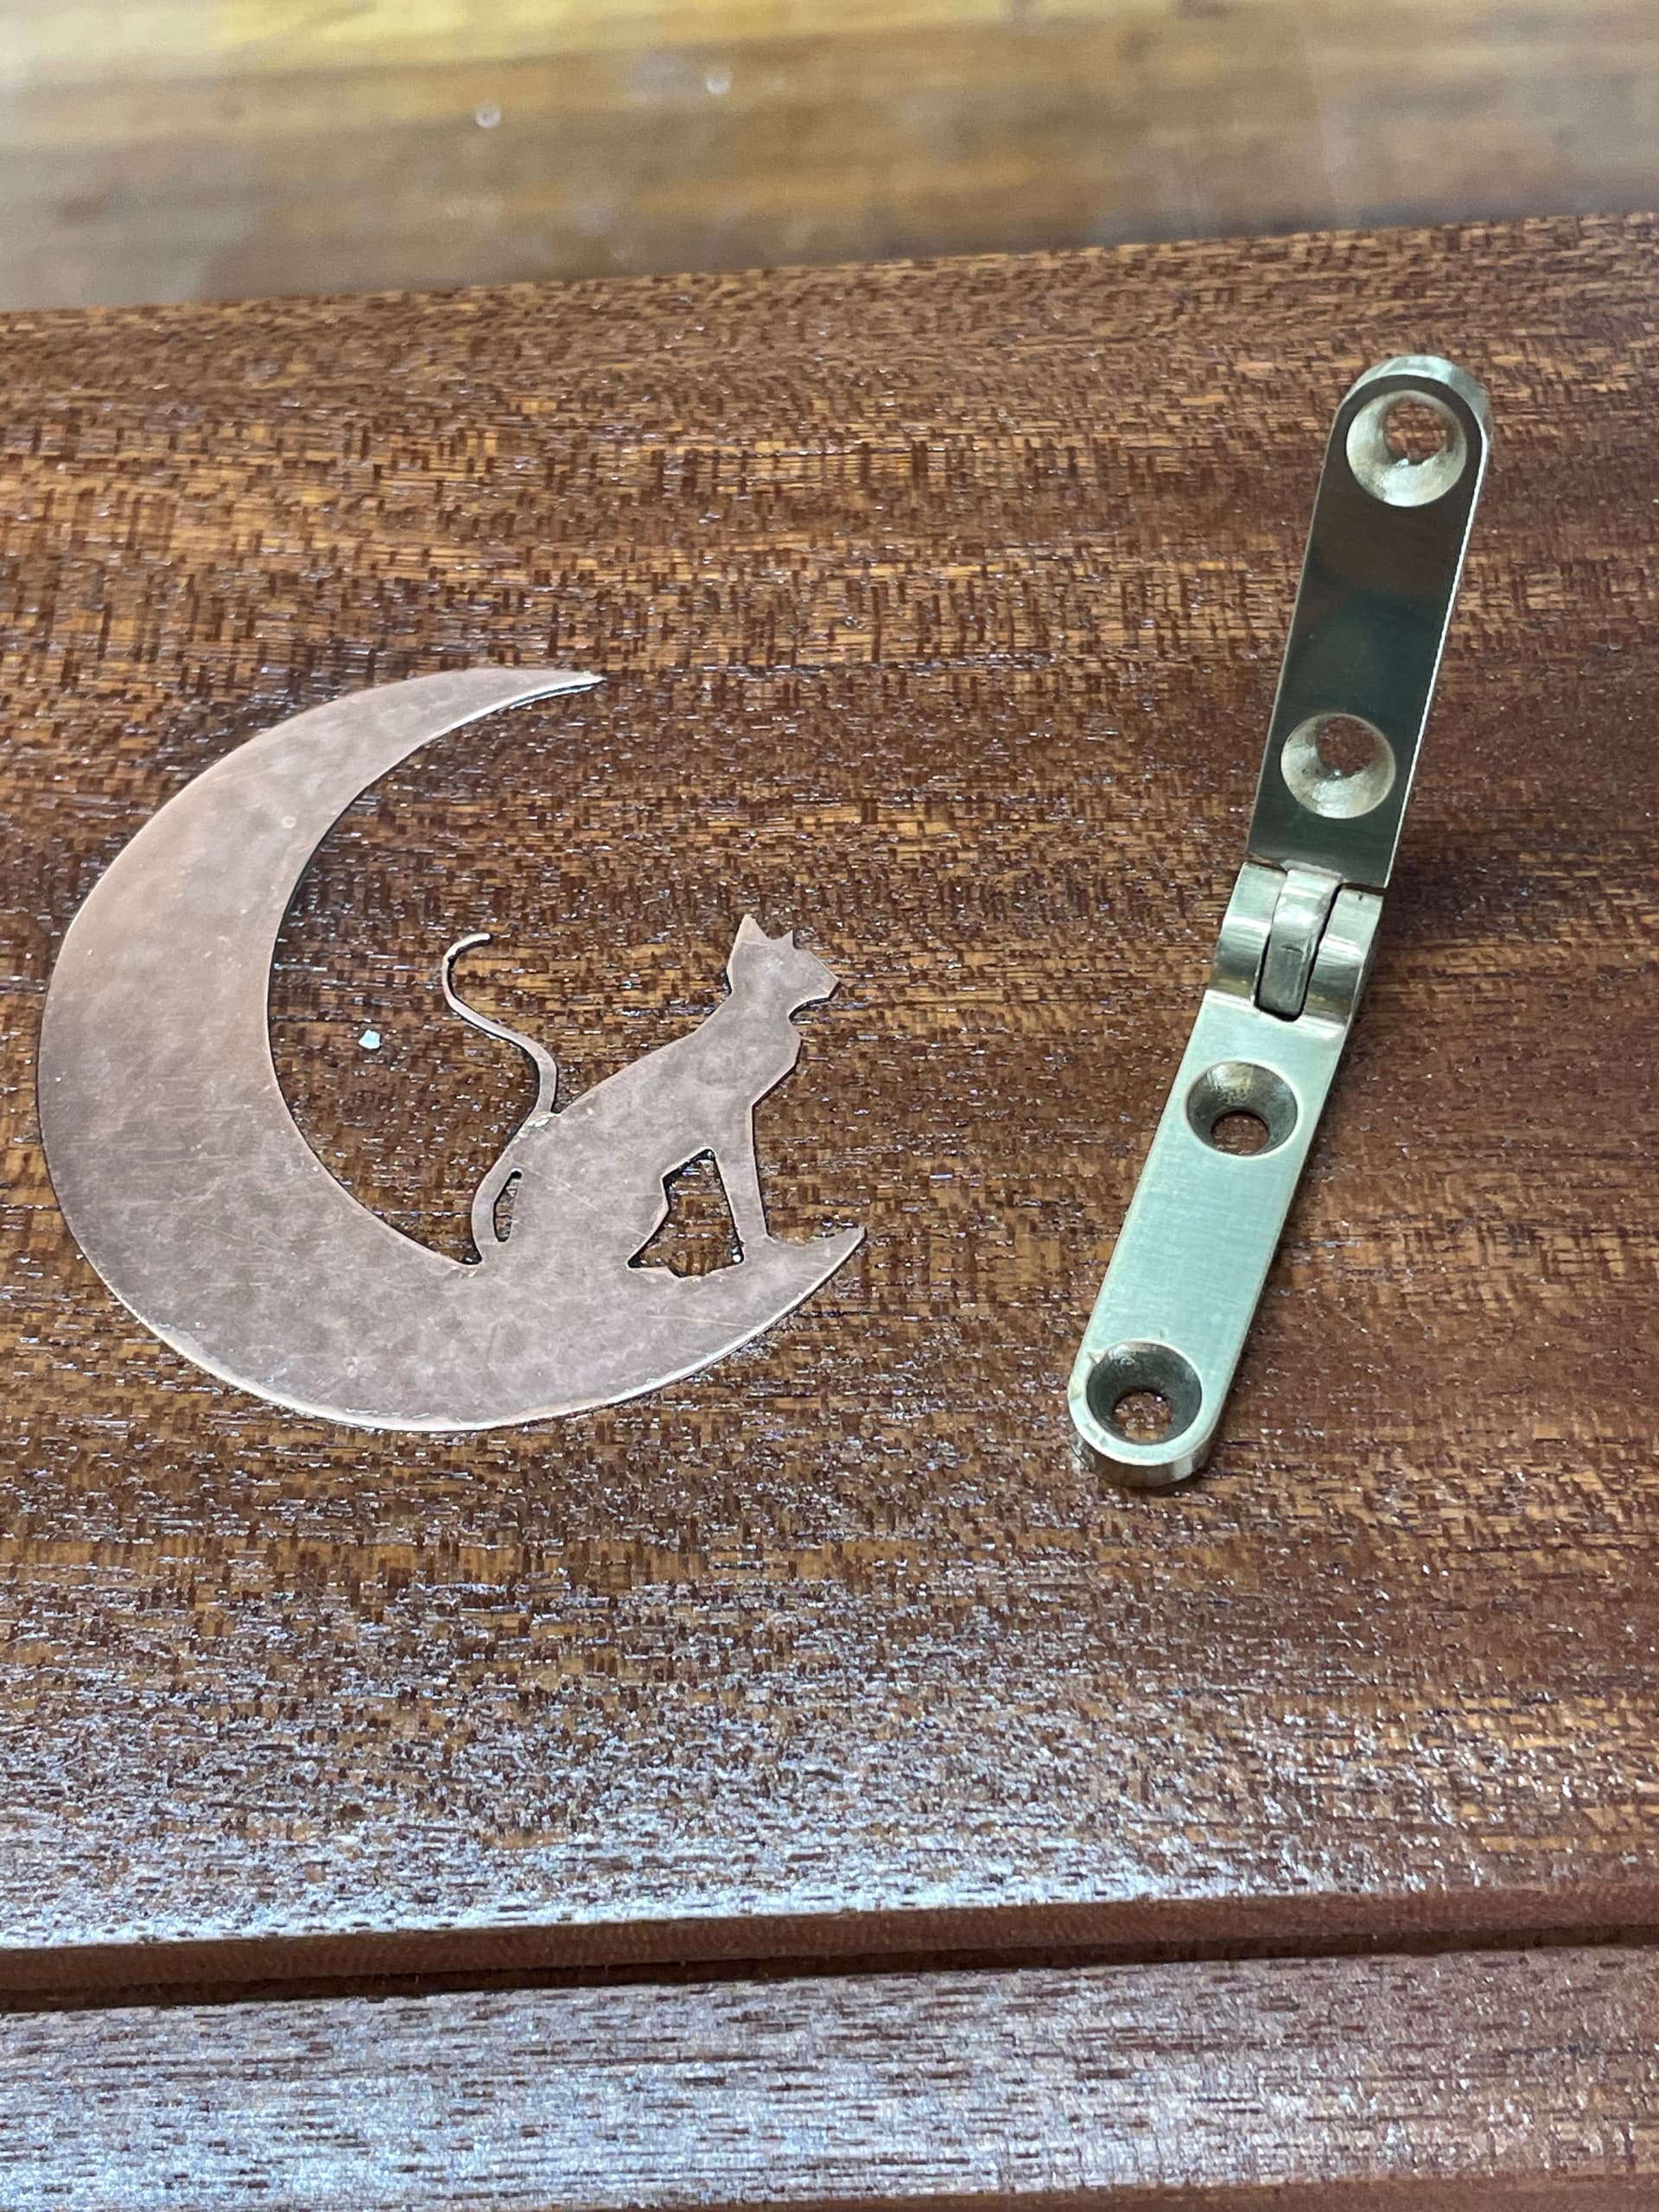
Since I’m attempting to make jewelry, still practicing, I decided to try my hand at jewelry box making too.
As is generally the case for me when I attempt to scratch build something the first effort is mostly about how NOT to accomplish the project.
In any event, this is what I’ve come up with. Design in F360. Joinery, excepting the 45 degree cuts for box and top, accomplished with HDM. Copper “MoonCat’s” and copper feet also HDM. Lastly are brass hinges, WIP, also on the HDM.
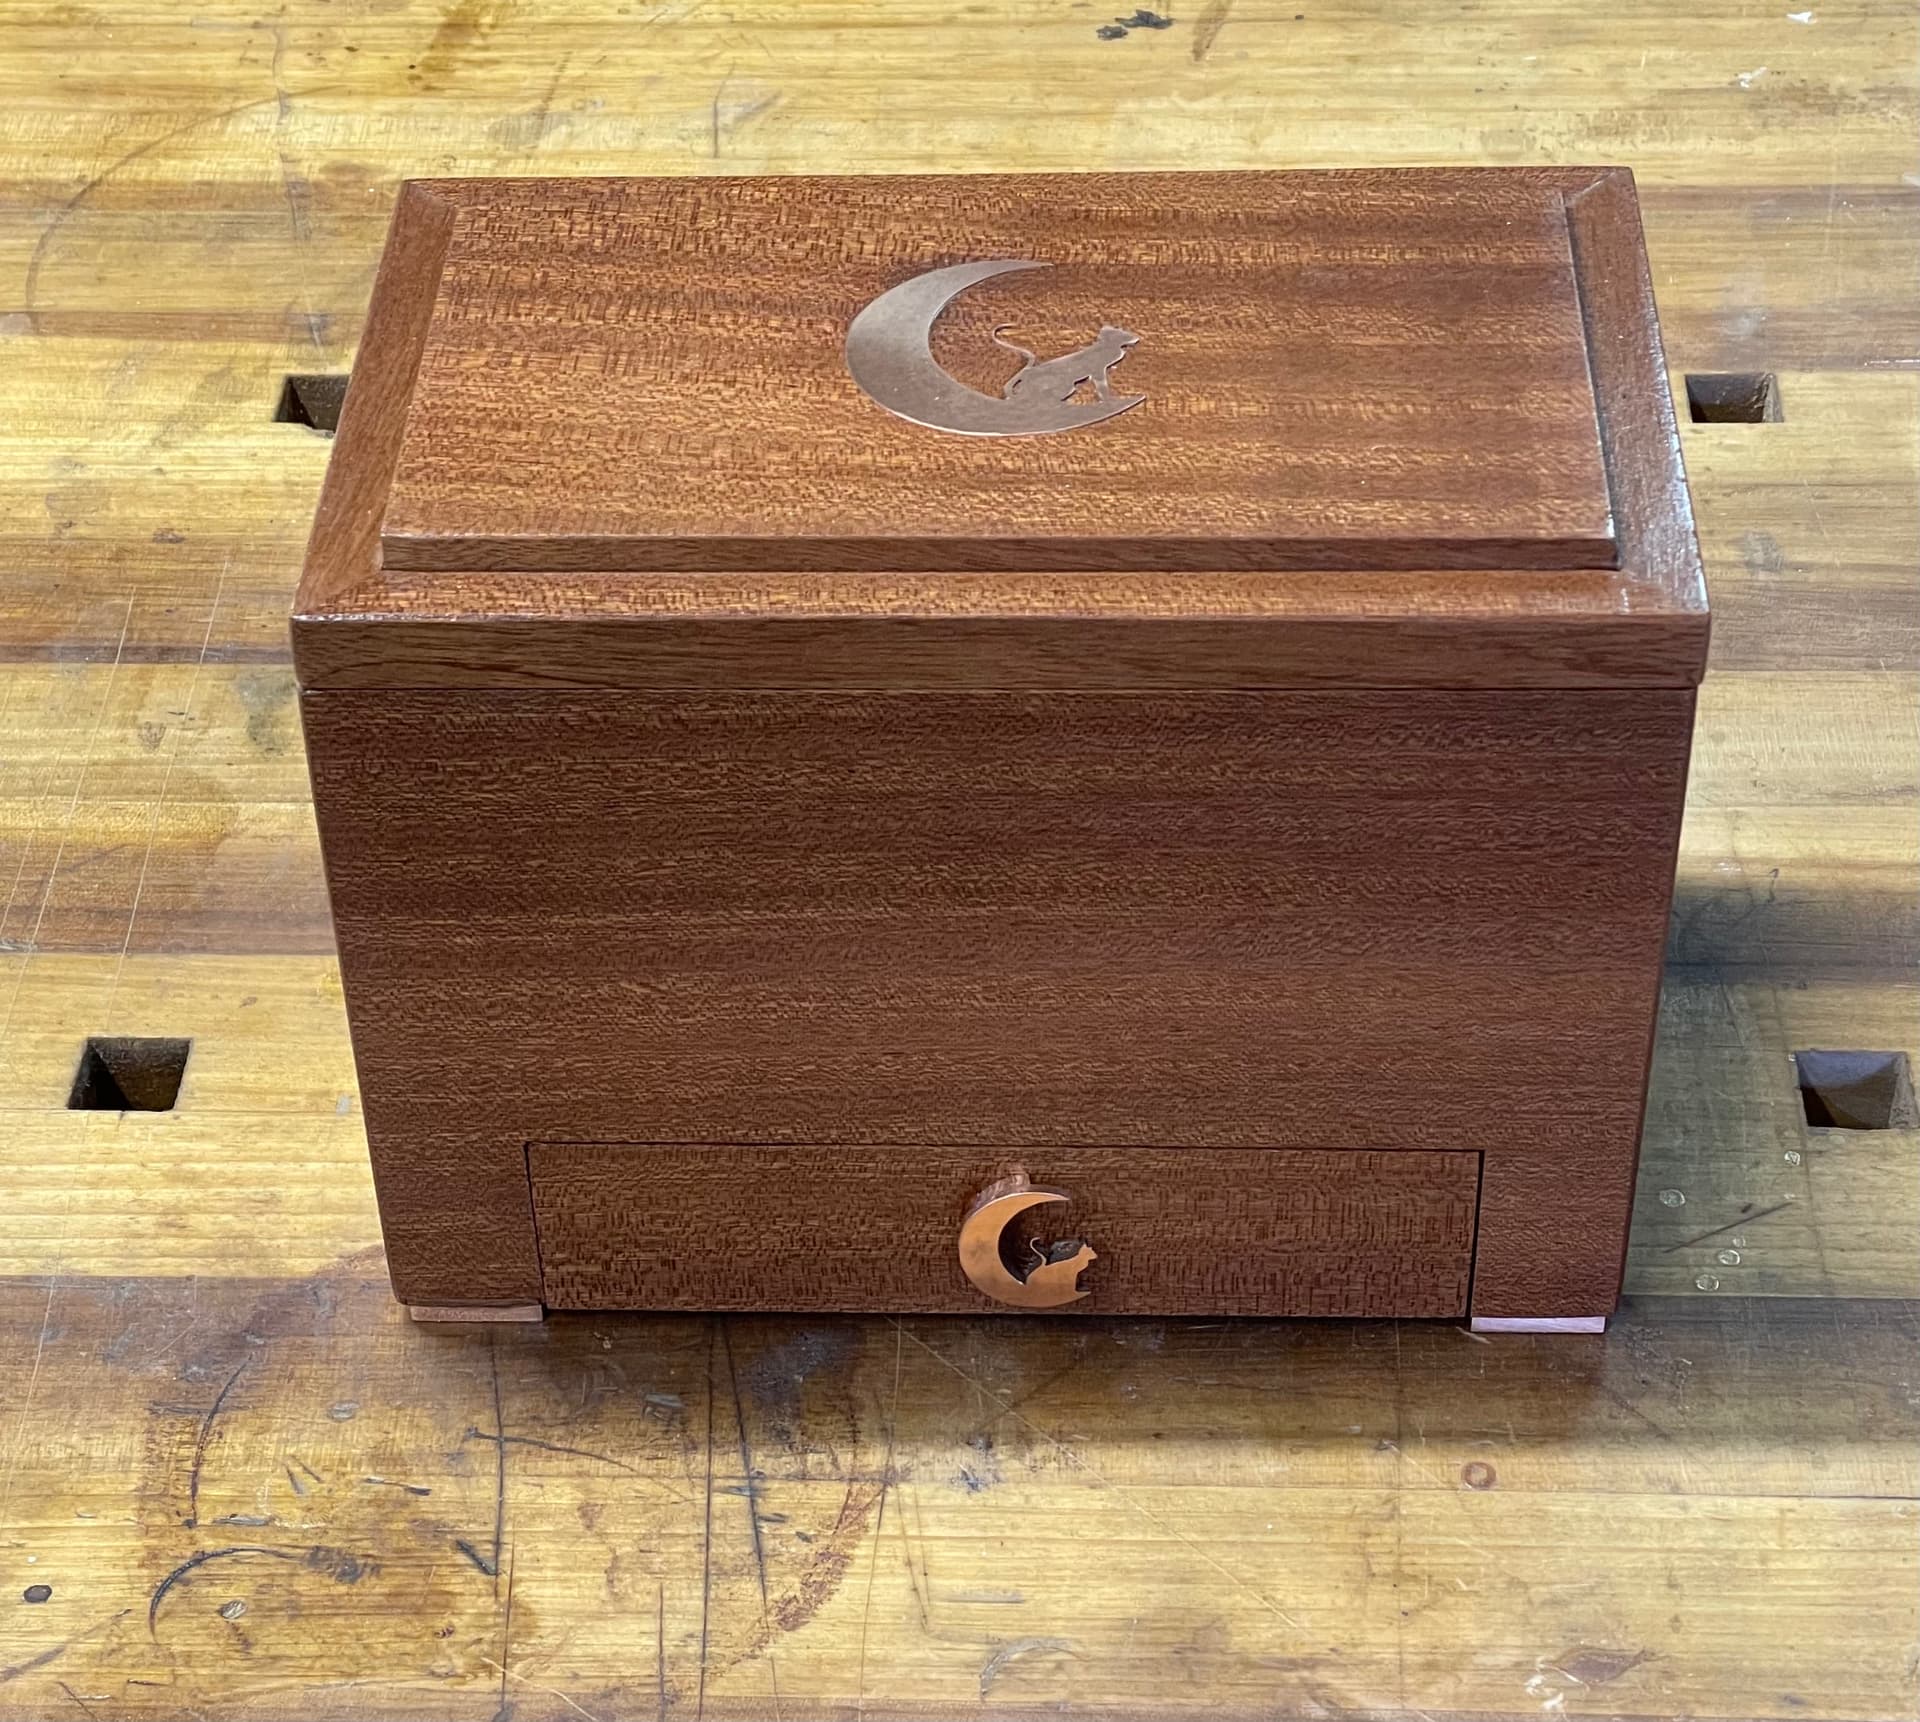

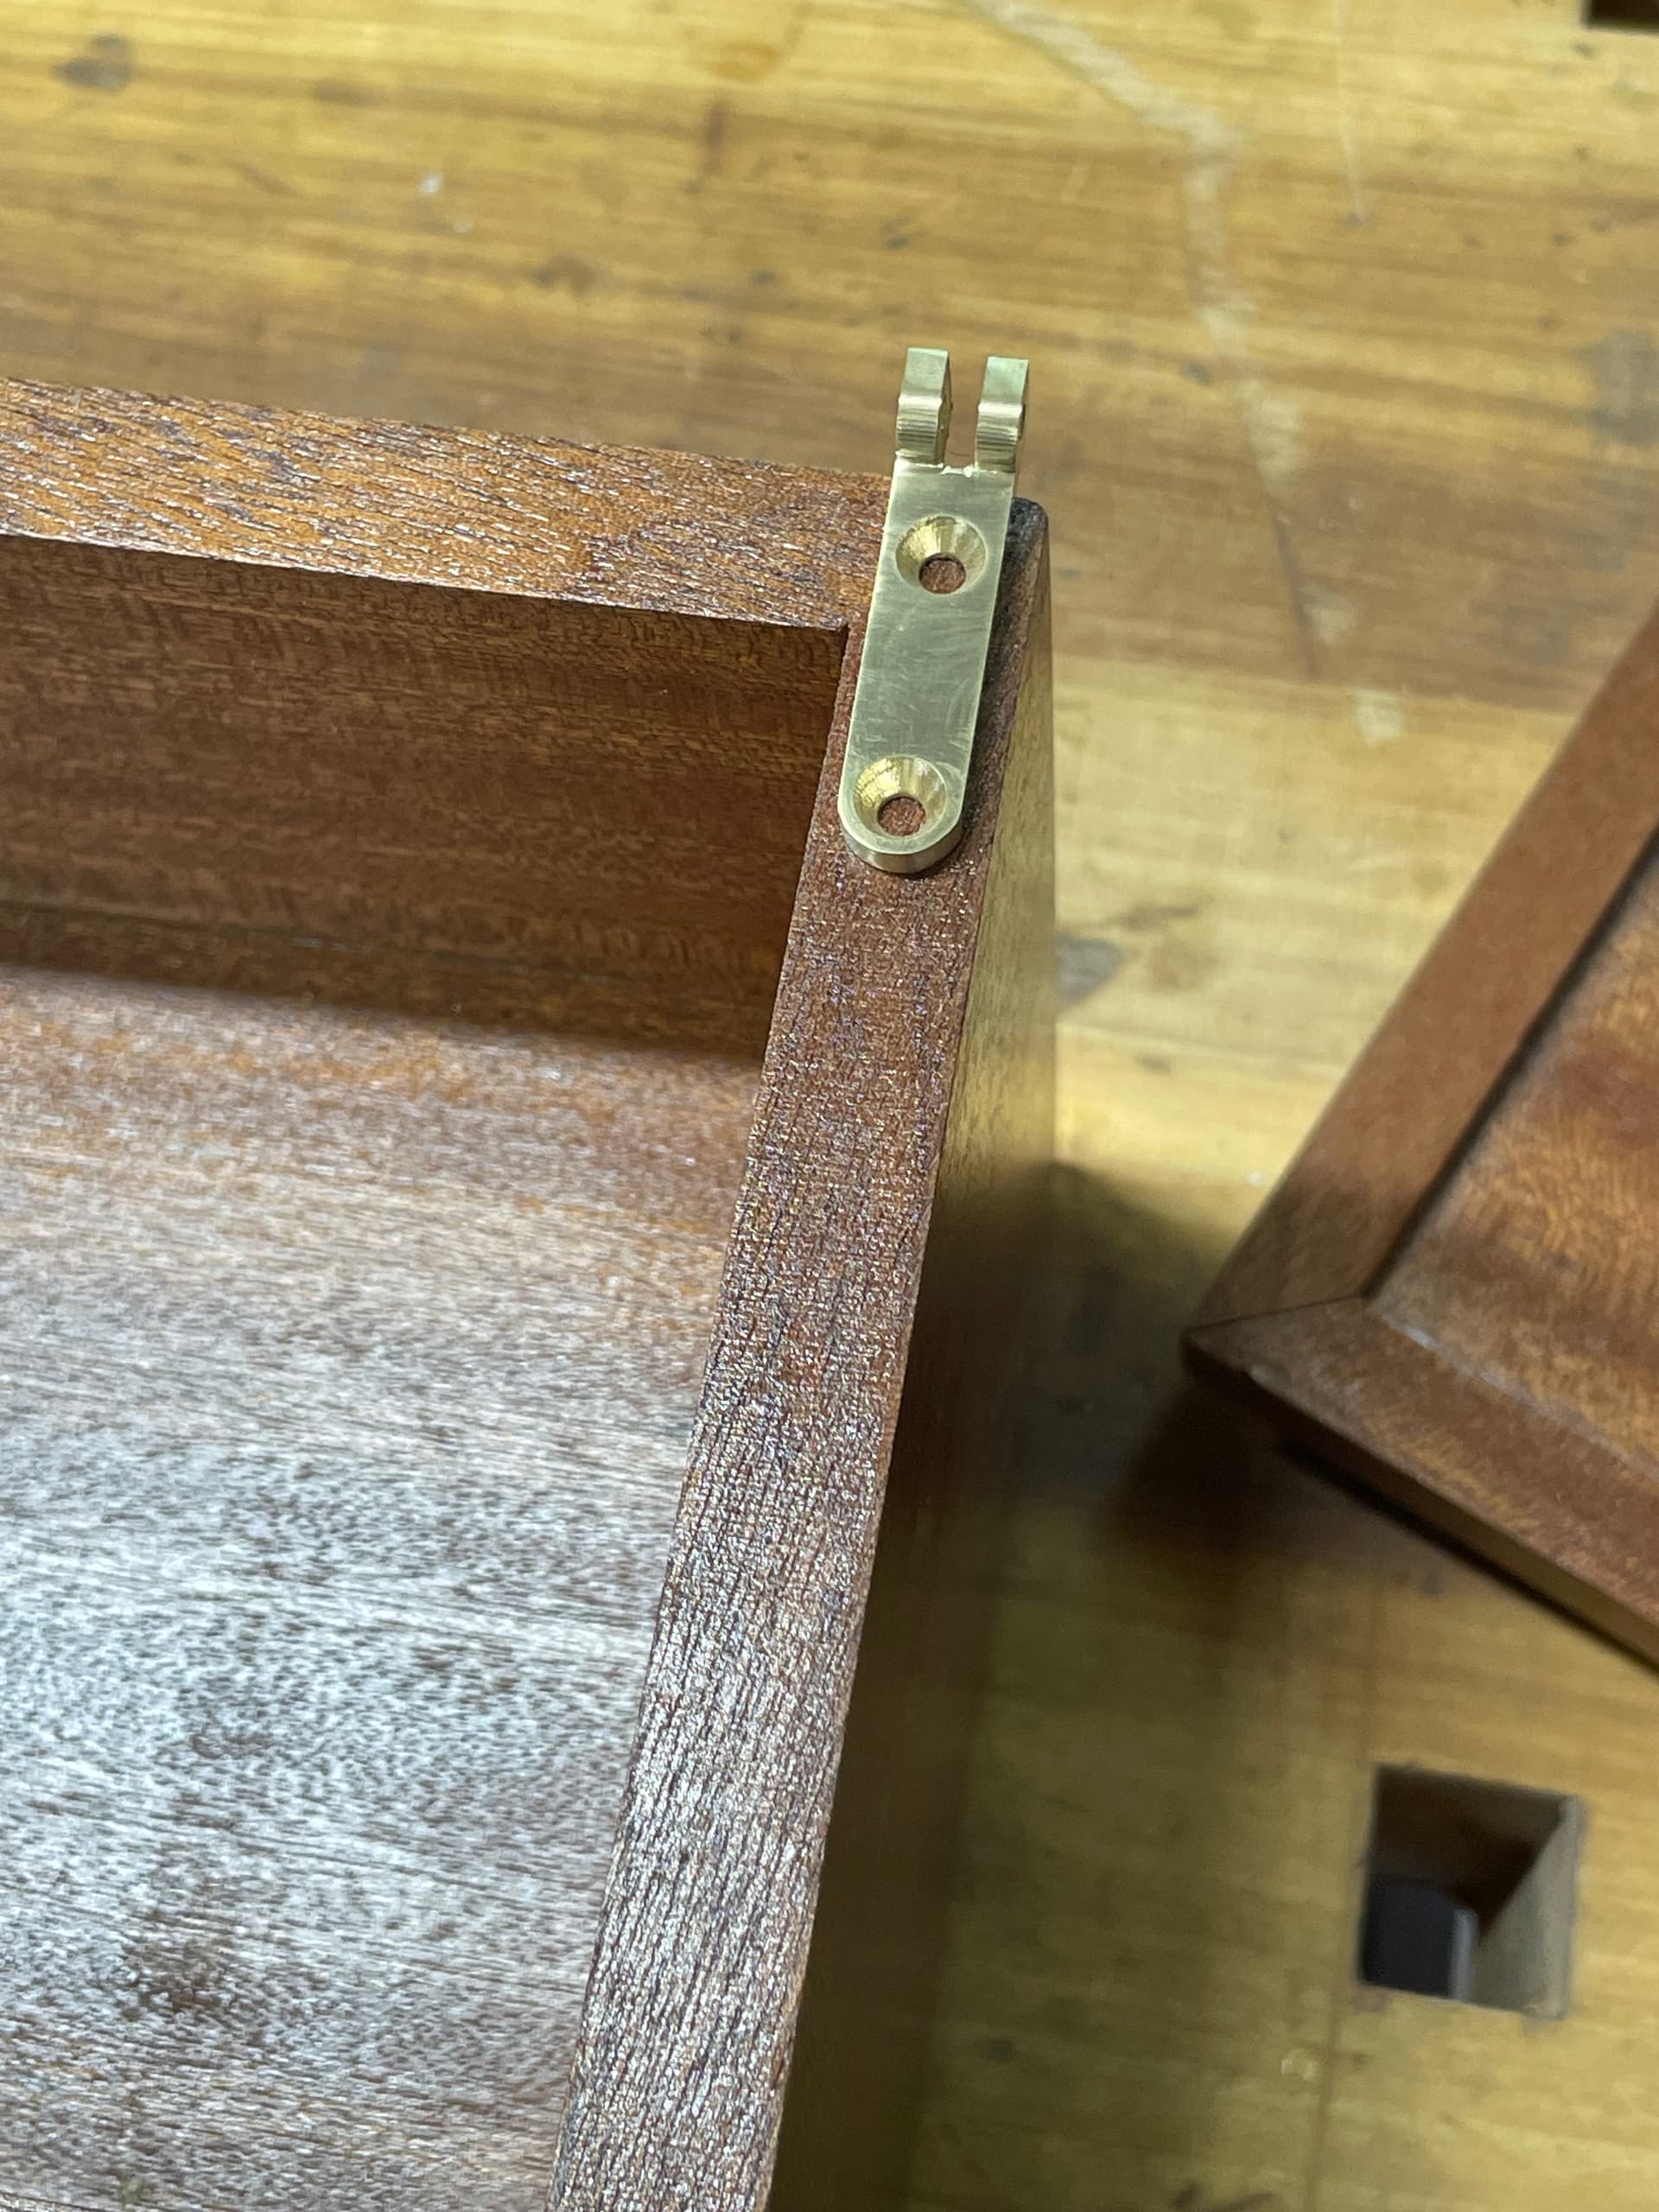
A few firsts for me: First jewelry box, first cutting of stopped dadoes on 1/8” thick stock, first attempt at brass hinges. First use of soft jaws.
Learnings: pay more attention to proportions, I just don’t like the finished box. The drawer in the bottom, the “bulk” overall just don’t appeal. The top should be at least an inch thick rather then 1/2”. Also remember past learnings like verifying the flatness of a surface destined for engraving, reference the crushed stone inlay on the bottom of the lid, a bit thin in the lower left.
That said, can’t wait to build another!
31 Likes
Gorgeous! I also really like the turquoise epoxy filler you used!
Do you care to share the file for this project? I could make some serious brownie points. Thanks
2 Likes
A few posts up you’ll see an example of some of my recent work. Using what I learned with that project I hope to turn out a few jewelry boxes, music boxes etc.
These little endeavors require hardware, my preference is to use nice hardware. Unfortunately, nice hardware is also expensive hardware.
A case in point SR-638 Side Rail Hinge | Brusso Hardware. Ouch, plus tax, plus shipping, triple ouch. Reading the description I see “milled from…”, hmmmm, I have a CNC, I can do that.
Well, after a ridiculous amount of time and try’s, I did it! Inordinately proud of myself. Certainly a pretty simple little job for a real machinist but, you gotta start somewhere.
17 Likes
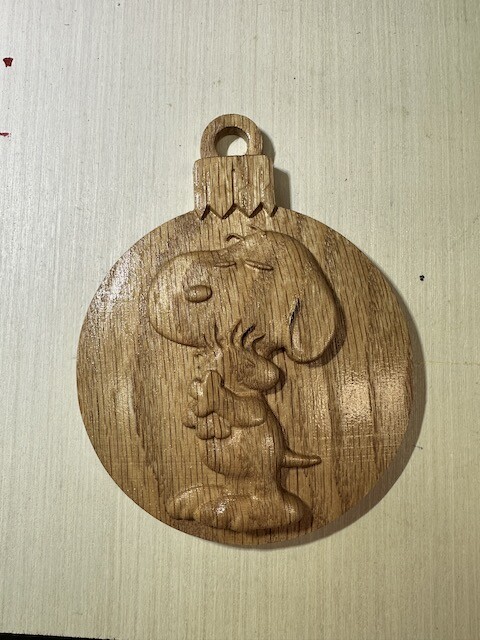
Tried new V7 Build 3D features. Still could use some upgrades but overall came out nice. Still very workflow intensive but import feature love it. Hope to see more 3D upgrades in future.
Doesn’t look like much in beginning LOL
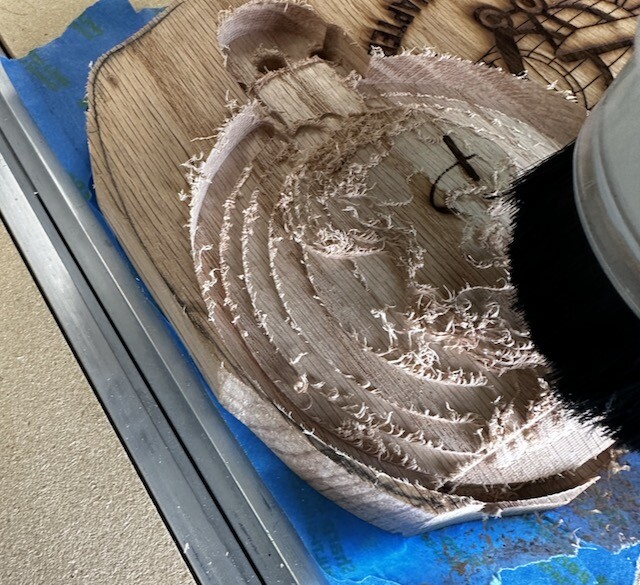
But came out very nice. 3/4" Oak/1mm Taper ball bit.
19 Likes