Used the HDM to cut the recess and make a router table insert for my workbench.

11 Likes
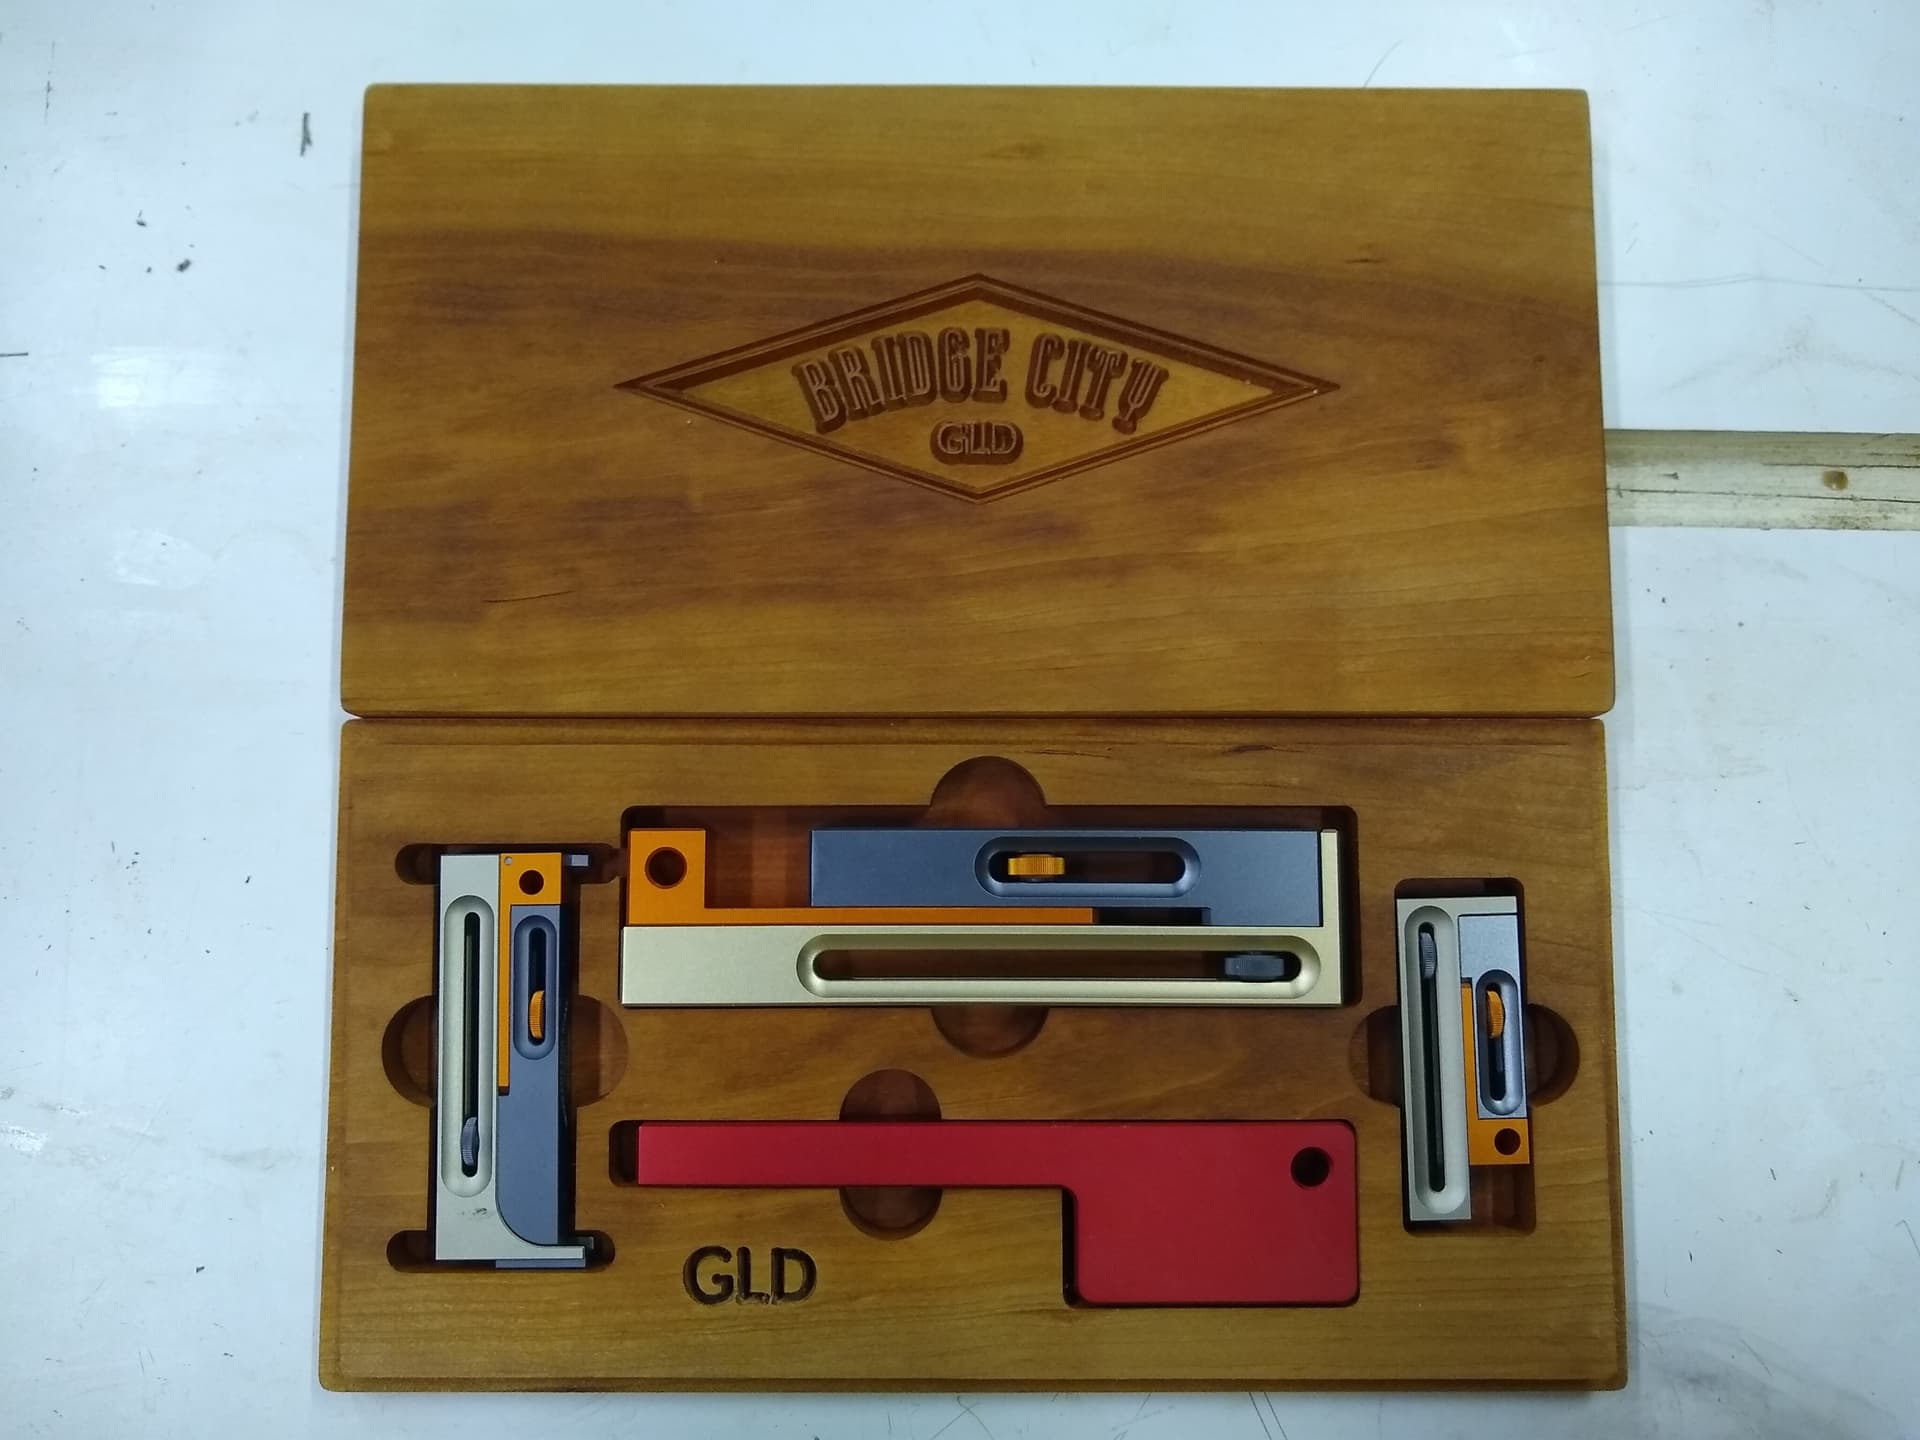
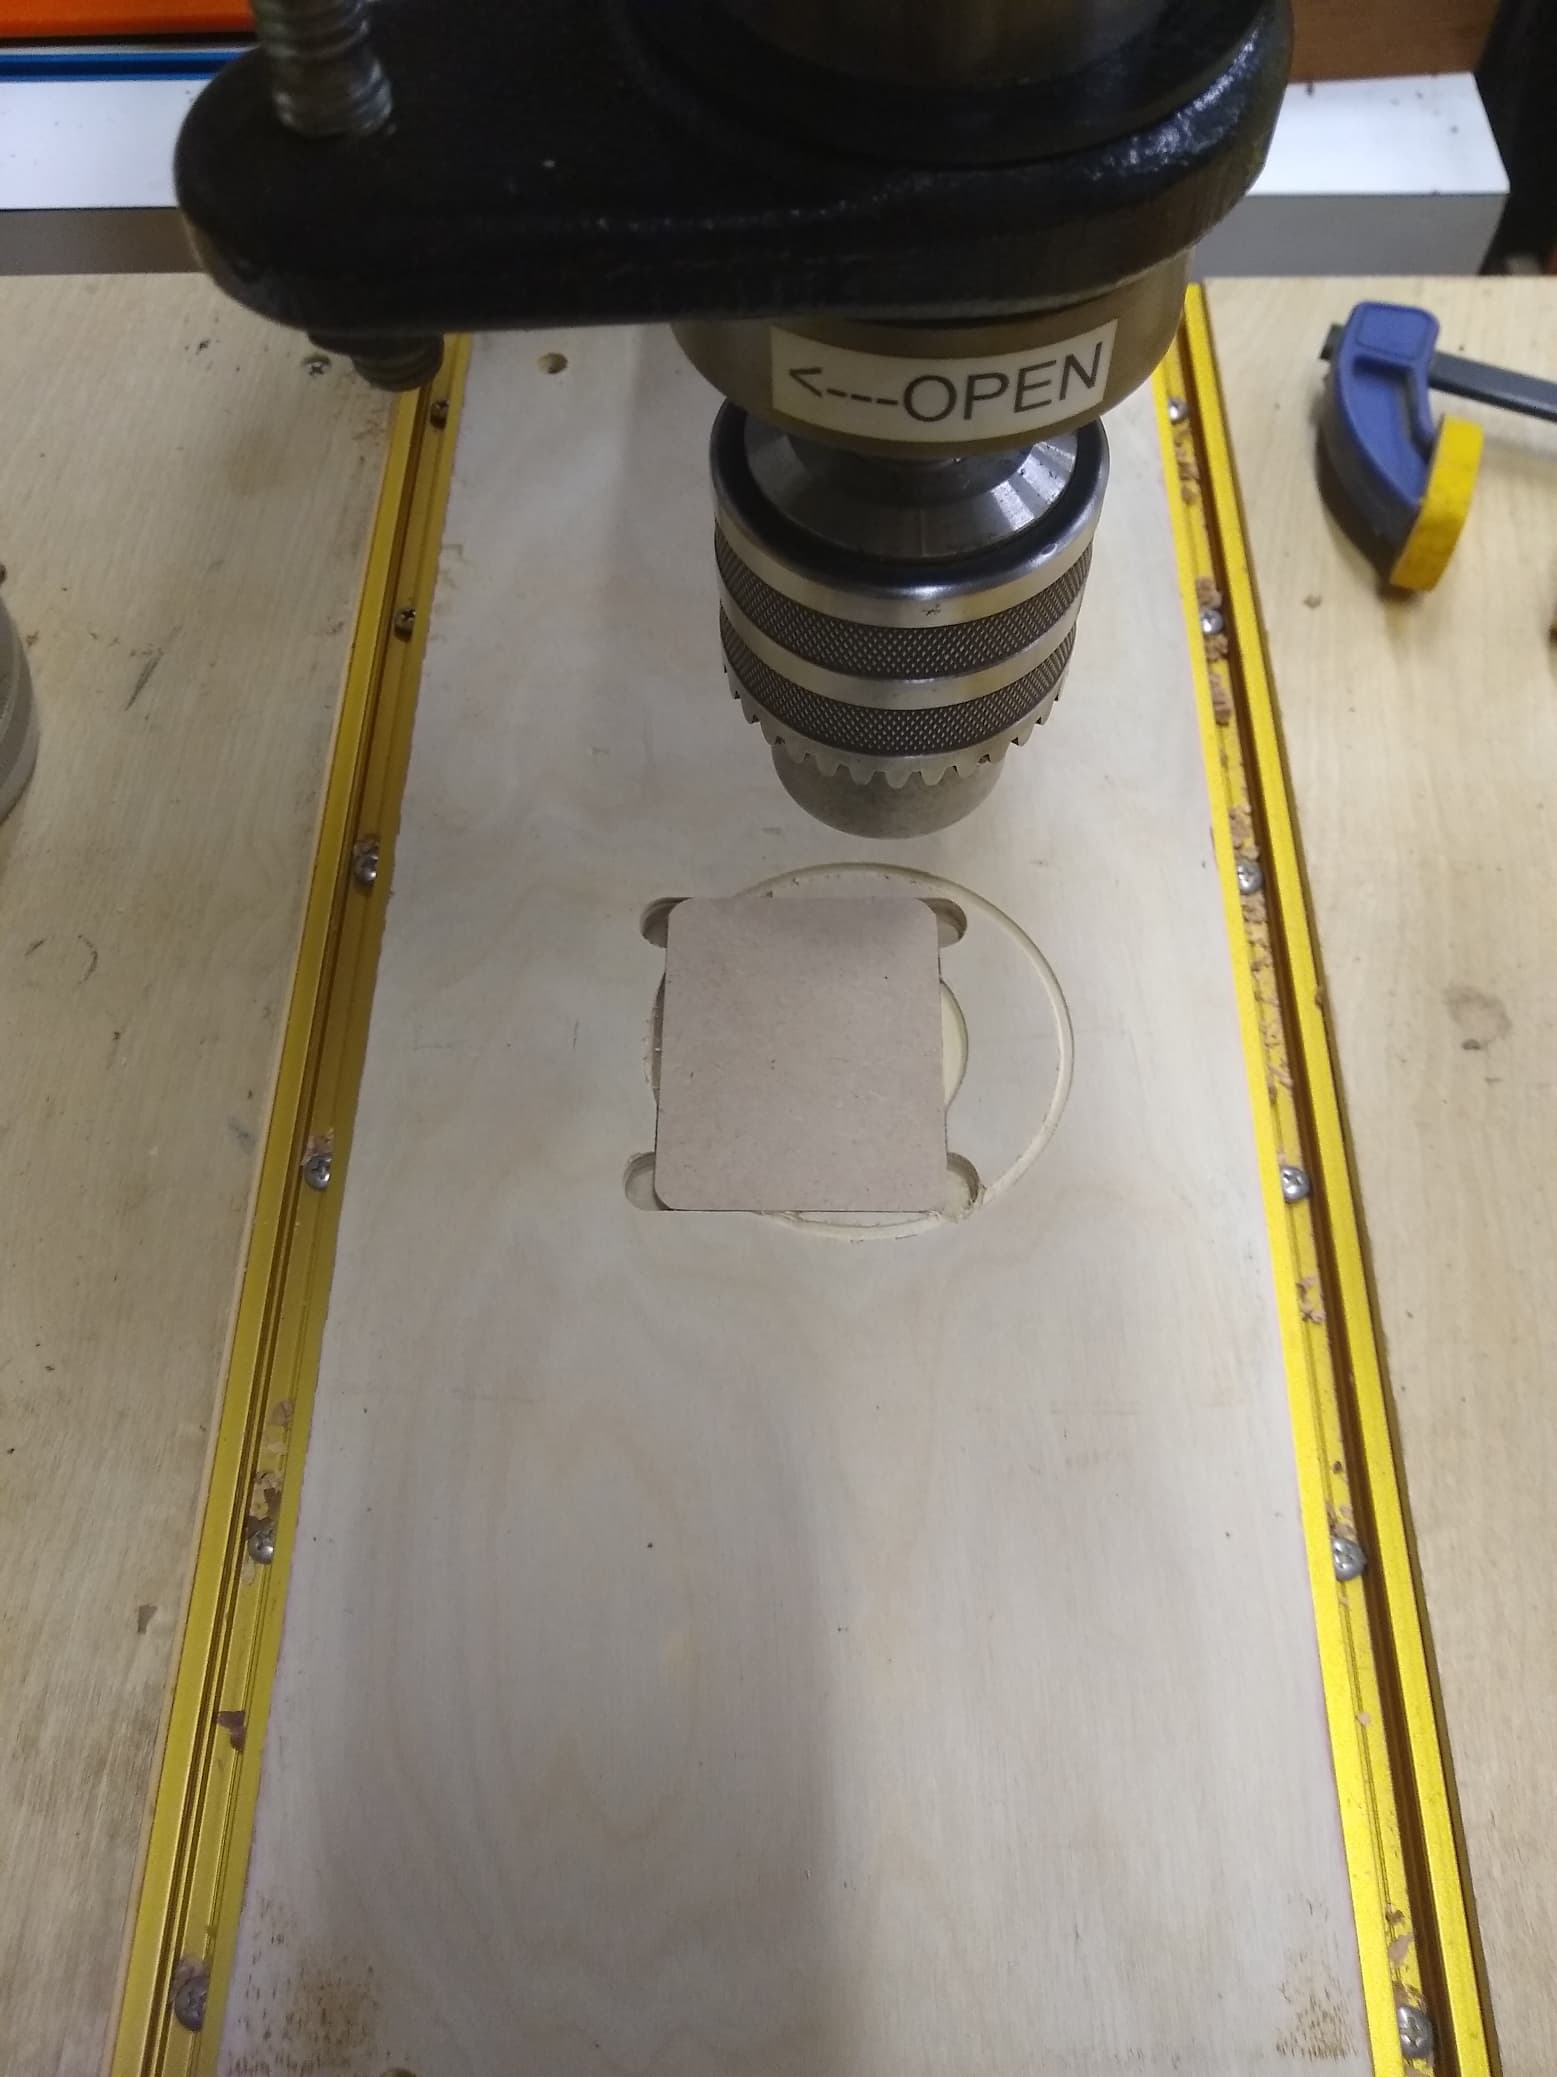
I use my Shapeoko to make a lot of shop projects. Recently I made a case for my Bridge City Tools and made a recess for my Drill Press table with the inserts from Lee Valley.
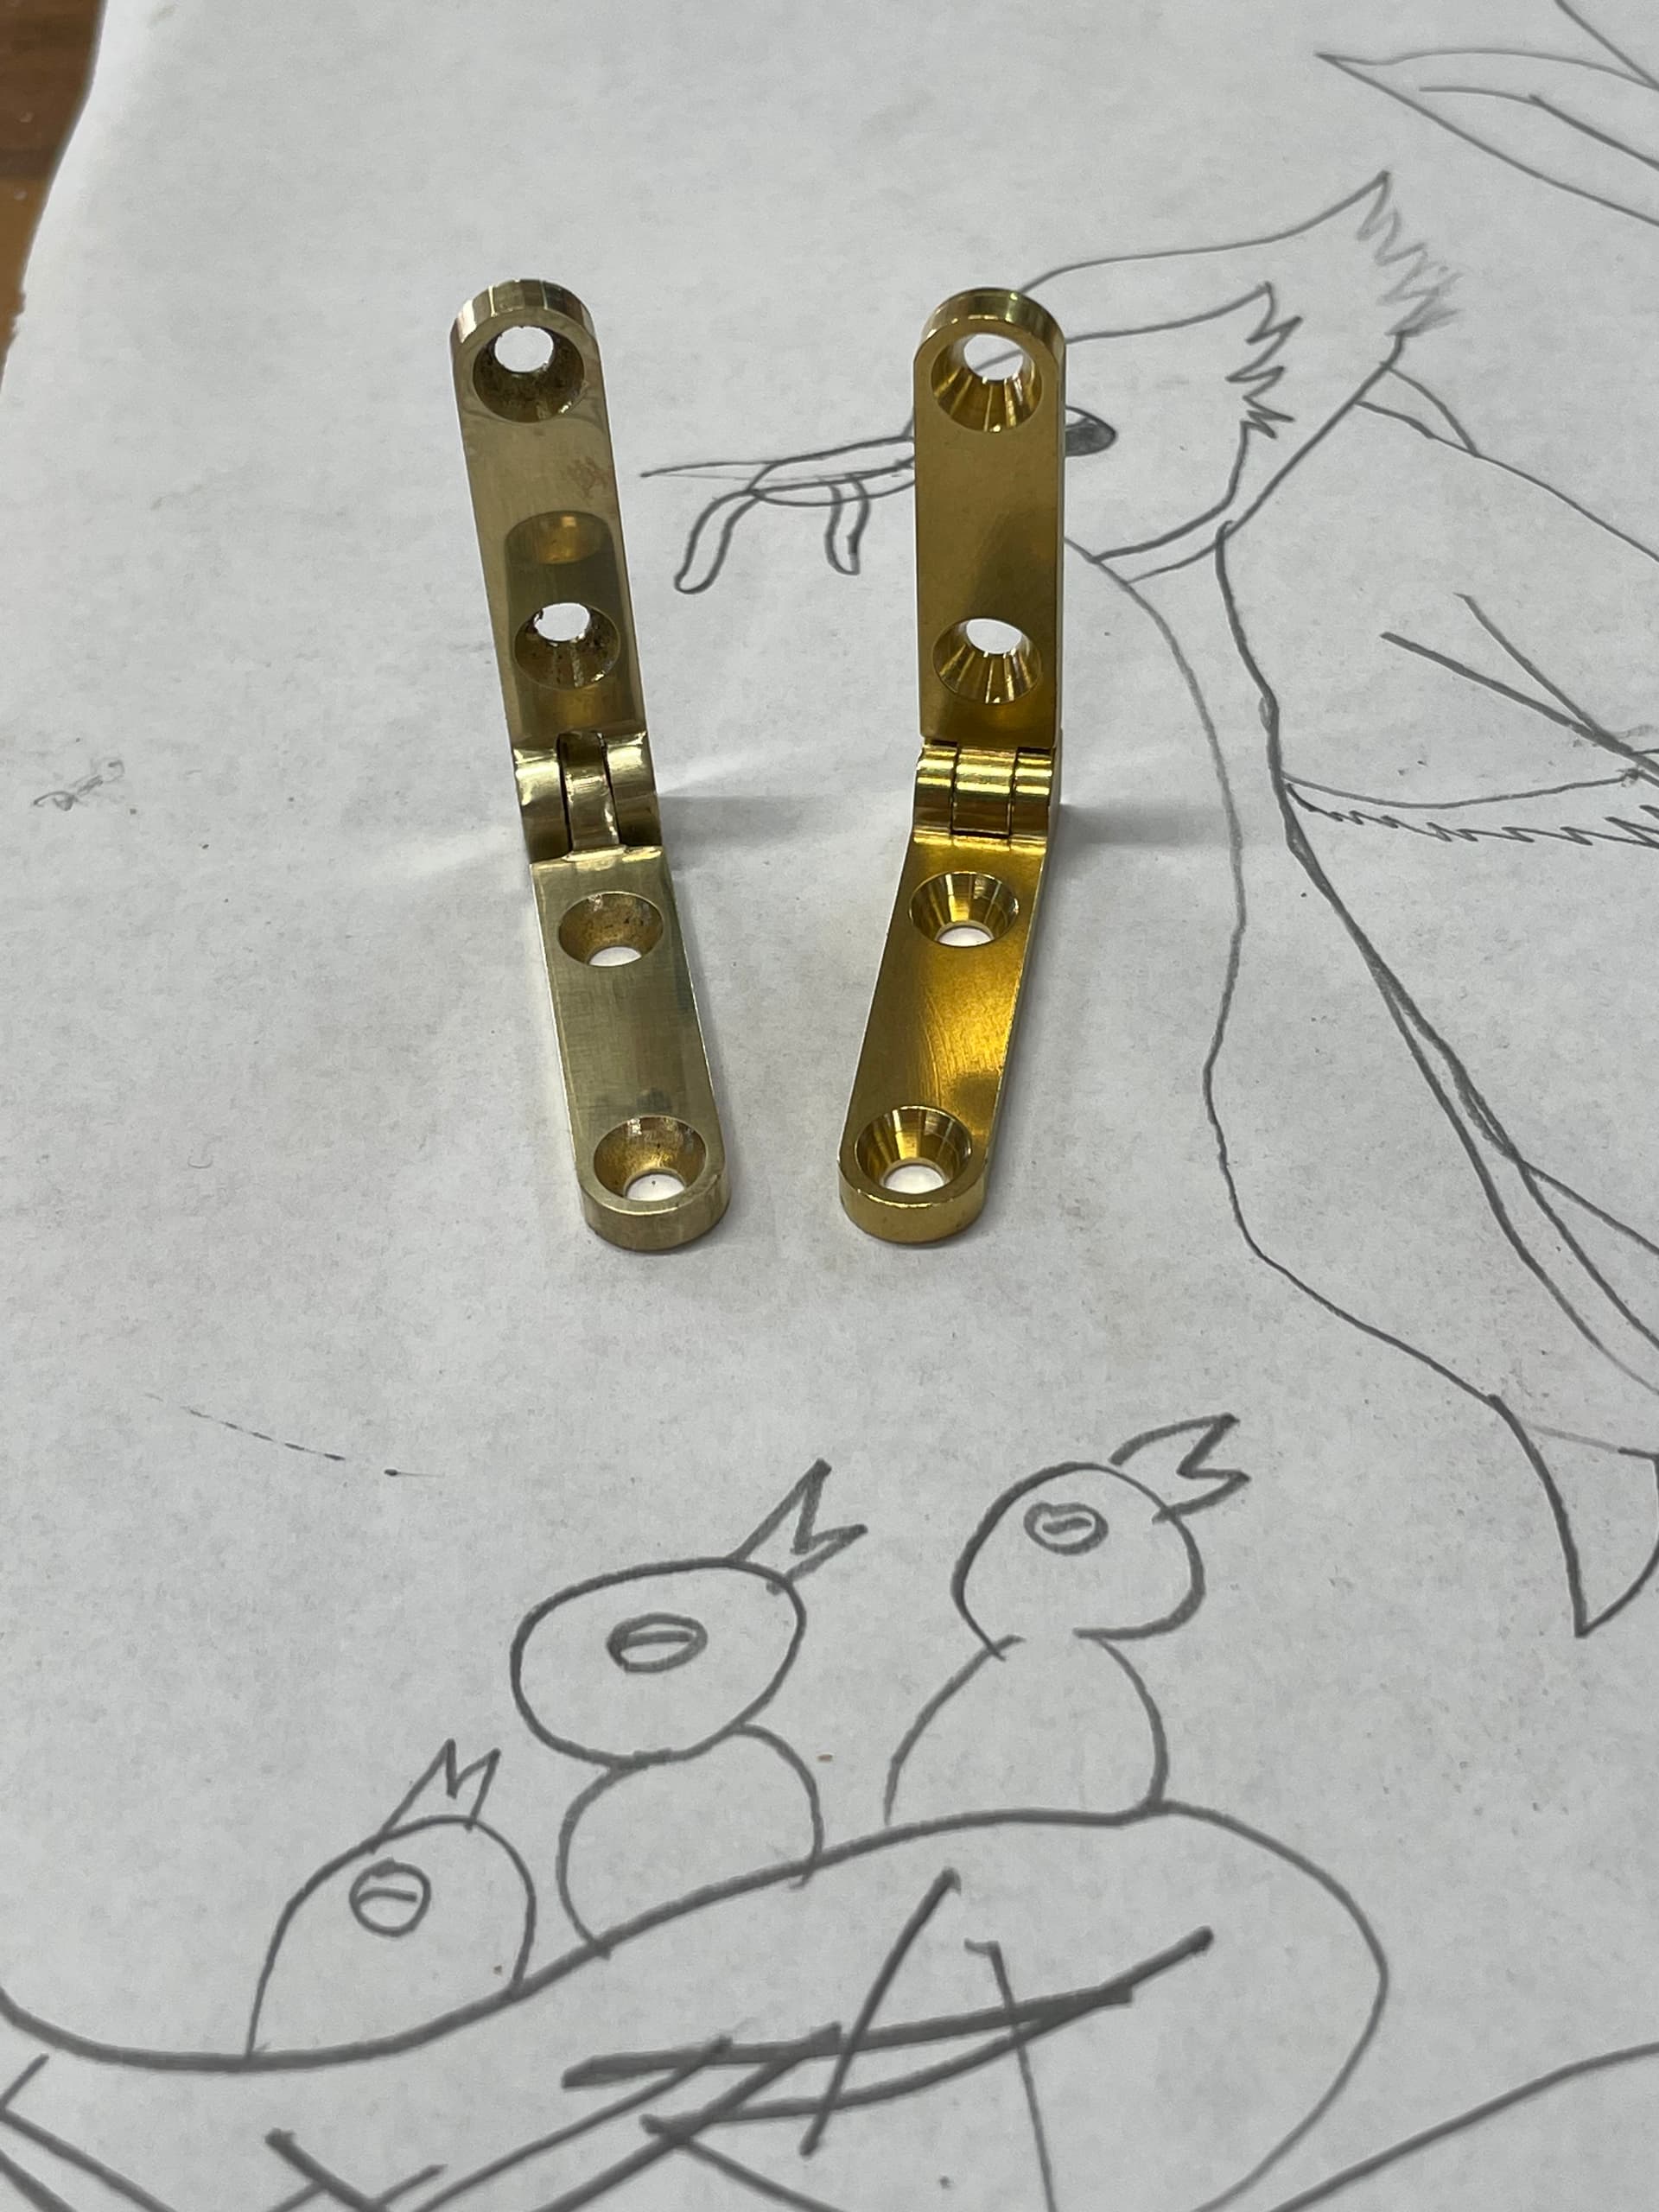
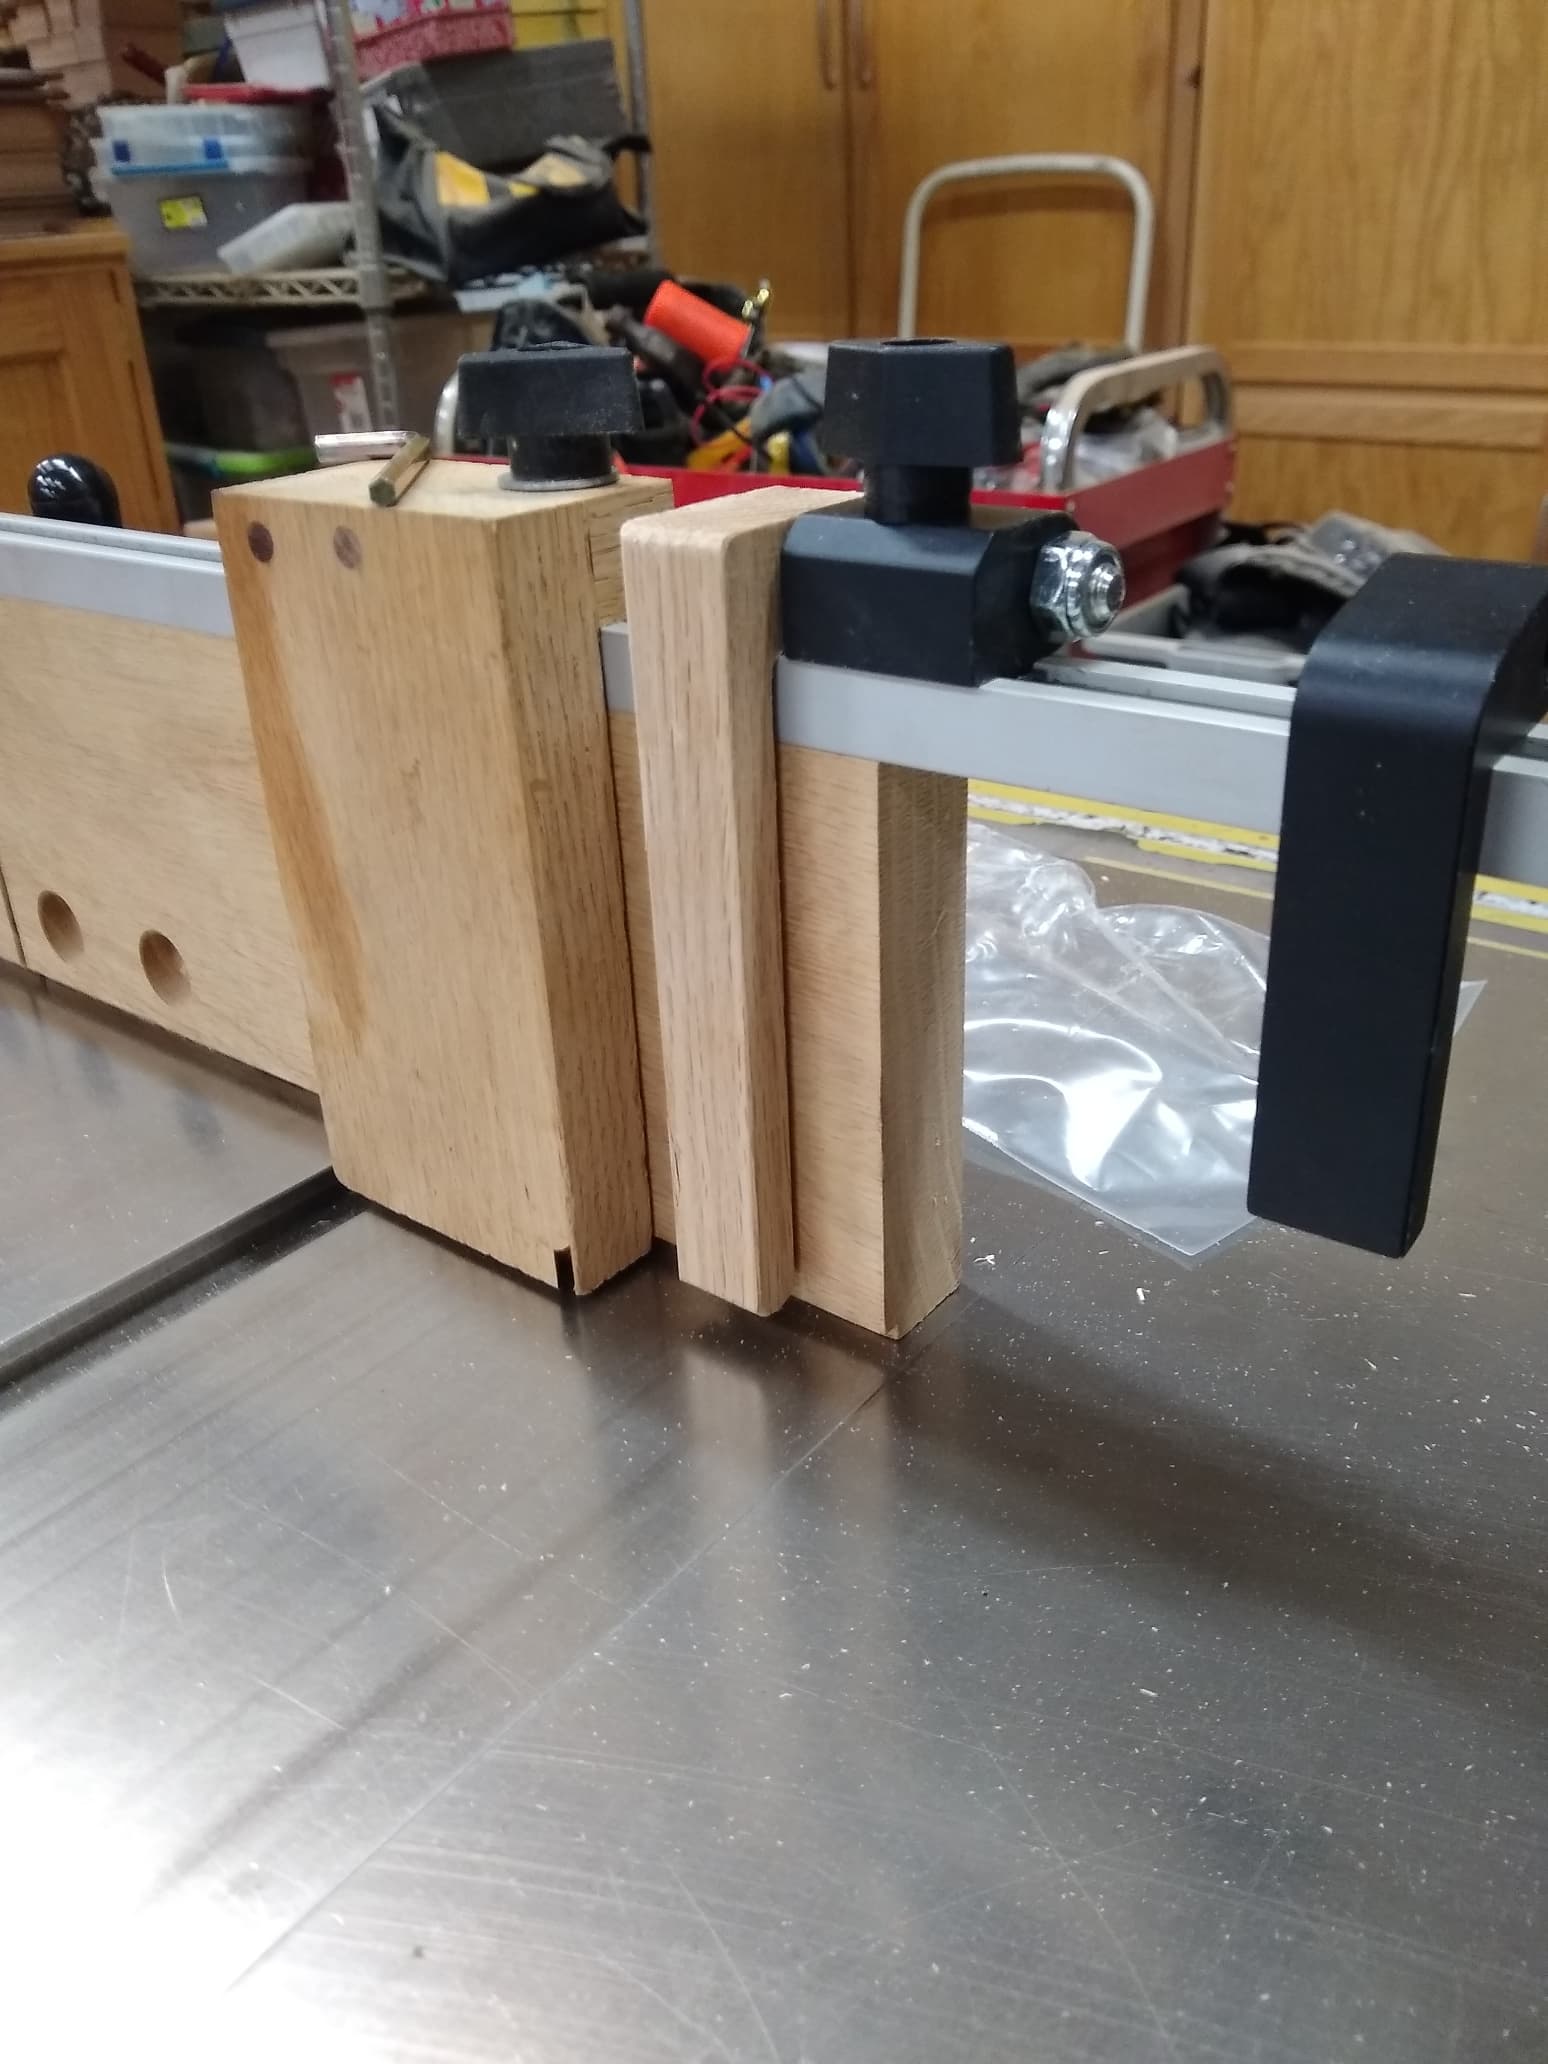
I bought a t-track flip down stop and the arm was too short so I made a new one on the Shapeoko.
The Shapeoko is very versatile. I have made a ton of things both practical and utility.
9 Likes
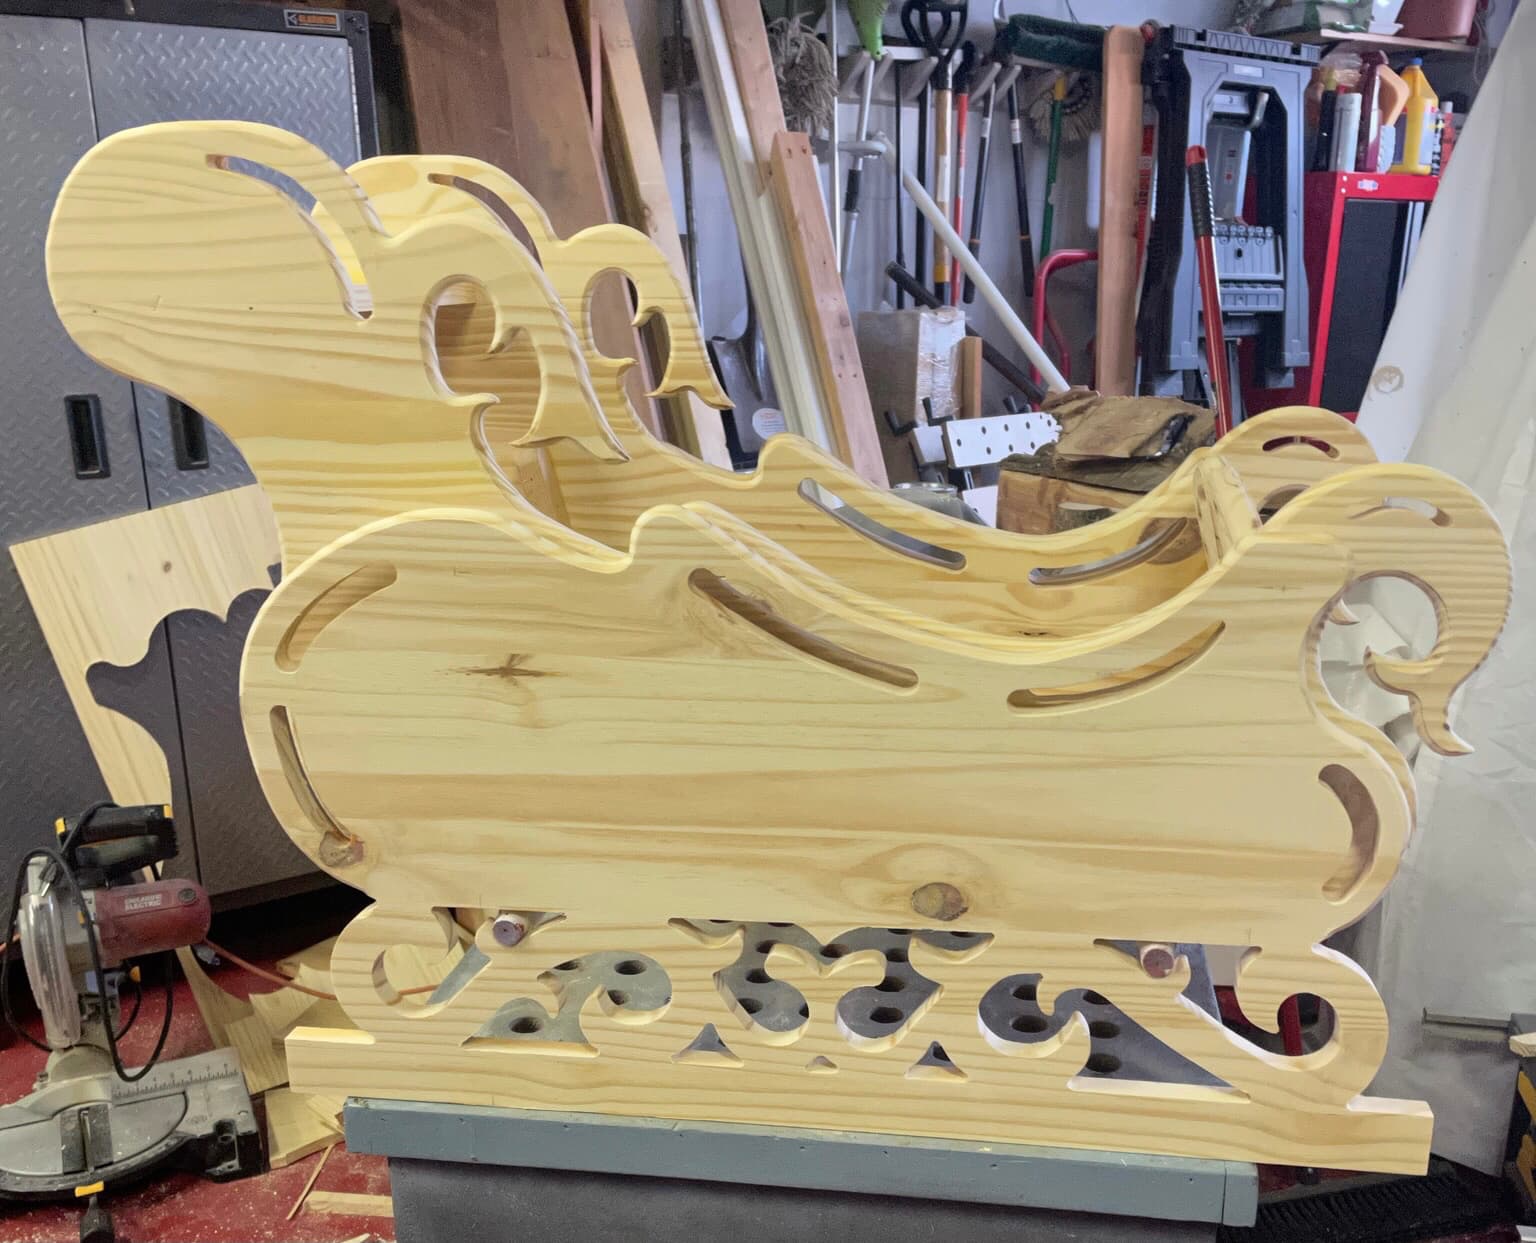
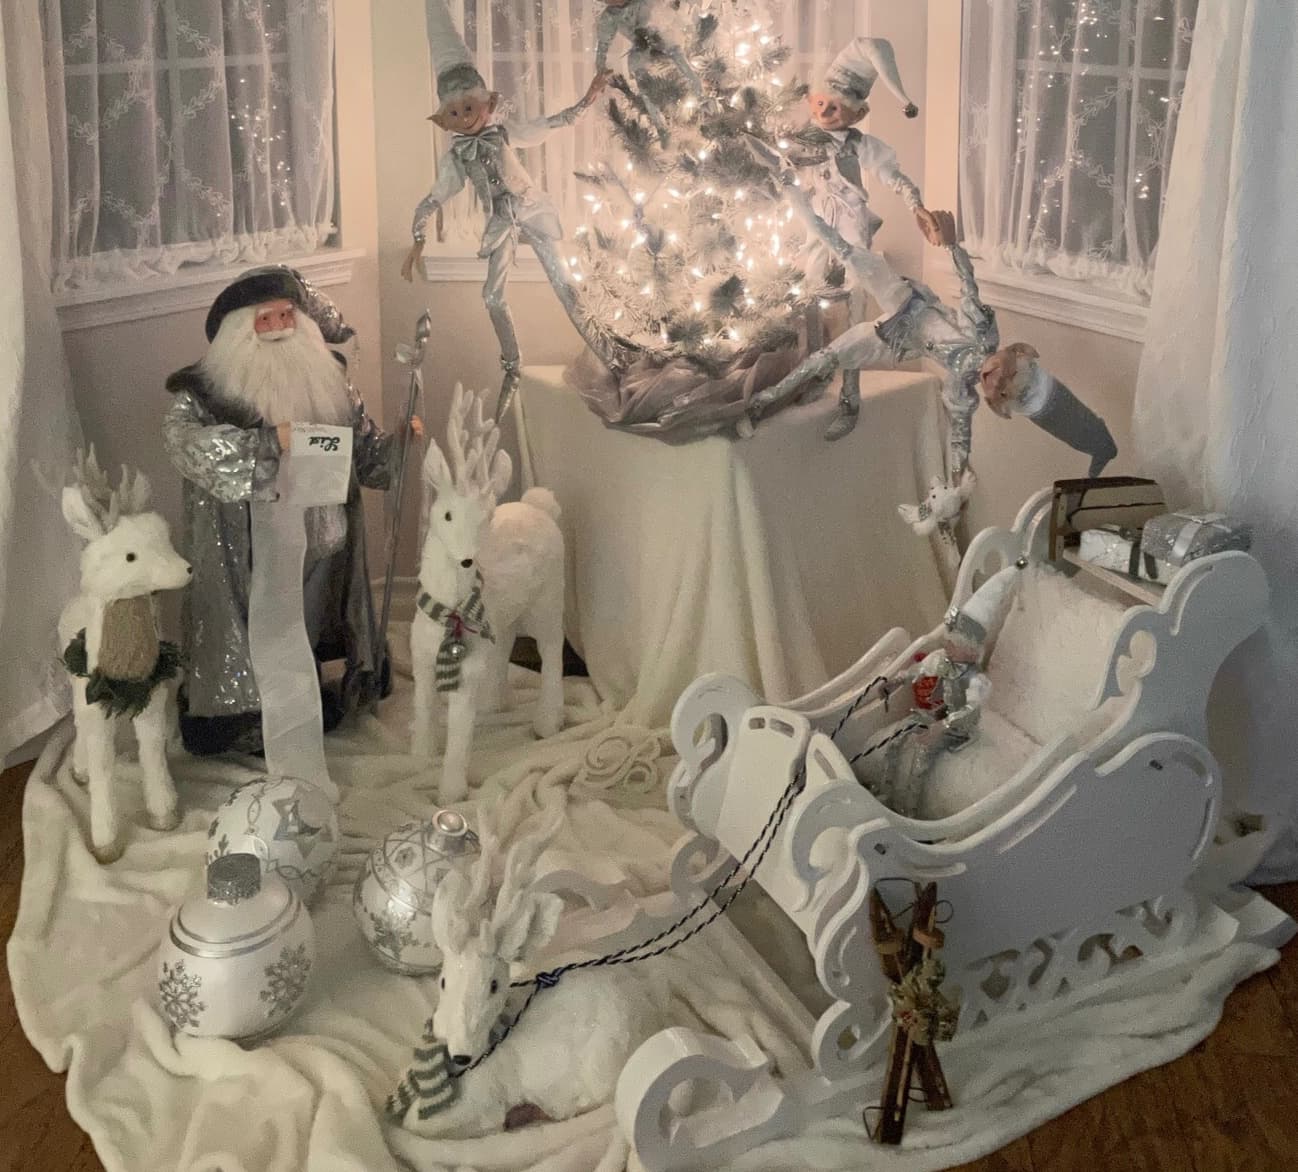
All the parts for this toddler glider sleigh were cut on the SO4. The inside carriage glides forwards and back. The outside is stationary. The skis/runners (bottom pic) were cut in 3 pieces as they were too long for the machine.
27 Likes
Wow! Very good. Love it,
1 Like
Nice @gdon_2003
I can’t recall how I made the inserts and table recess for my drill press. But to be honest, you work inspires me to go back and refresh my entire shop. Might be time to make boxes for my collection of block planes, vintage chisels and carving tools.
Very nice. Although two of your Reindeer are so lazy they let the one pull the elf and just look on. Must be Teamster Reindeer.
1 Like
And the one pulling is sitting down. Must be Teamsters for sure
1 Like
The rectangular inserts were offset from the center so I can flip it end for end and if not too destroyed I can flip them over and get 4 places to drill into. Depending on what machine you have there are a bunch of box joint making tutorials and in Vcarve there is a box joint module.
1 Like
Where did you get those pegs?
What are you using for pegs and discs?
I ordered discs and rubber for the pegs from Canada but they have not arrived yet so can’t vouch for quality. The initial plan is to just use screws through the rubber for the pegs. Once I see the rubber, I will probably buy comparable tubing and cut my own for future boards. Still working on the first board. I know slotting the lines and filling with wood putty is NOT the way to do it.
I like 3/4 inch B2 birch plywood for the board/ditch. The rail is still in the planning stages but probably 3/4 inch white oak hardwood.
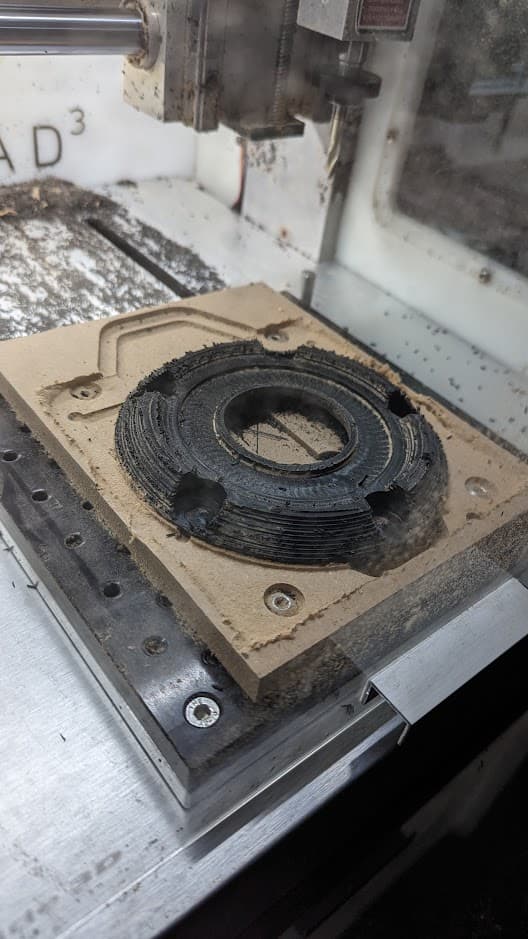
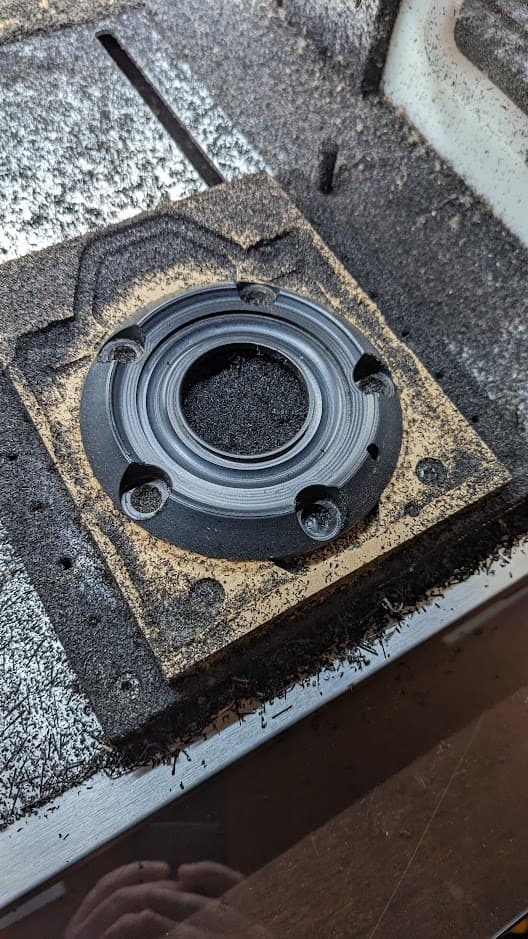
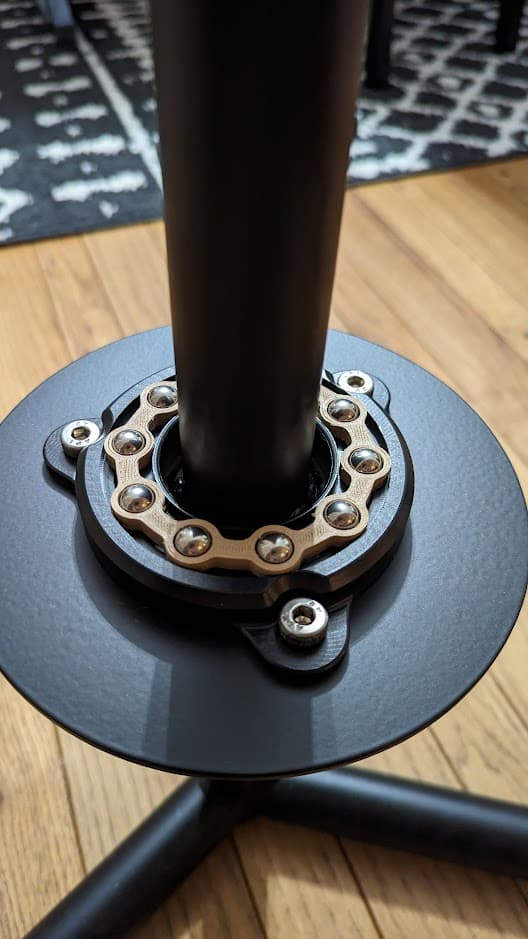
side a? or whatever you want to call it of the top half of the bearing i designed.
(i used scrap HDPE i had laying around which is why there are extra holes)

3 Likes
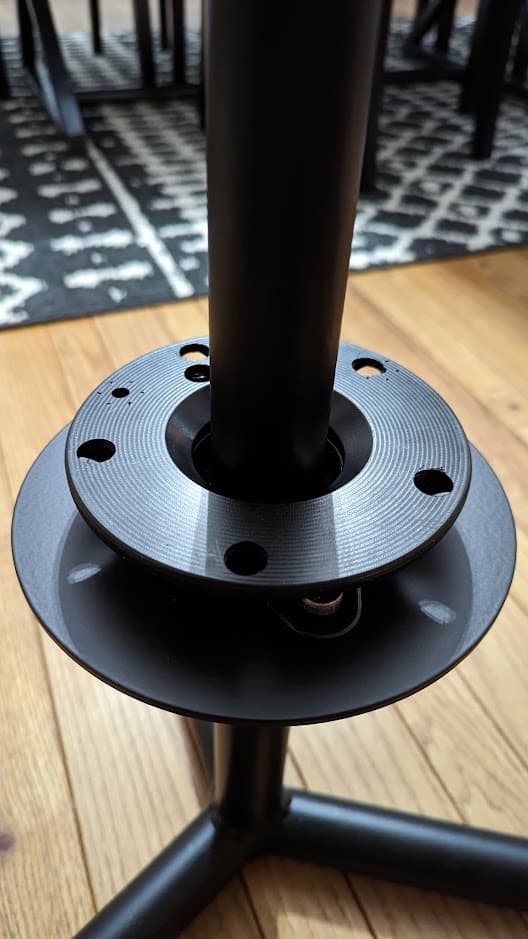
cut out side b, of the top bearing half.
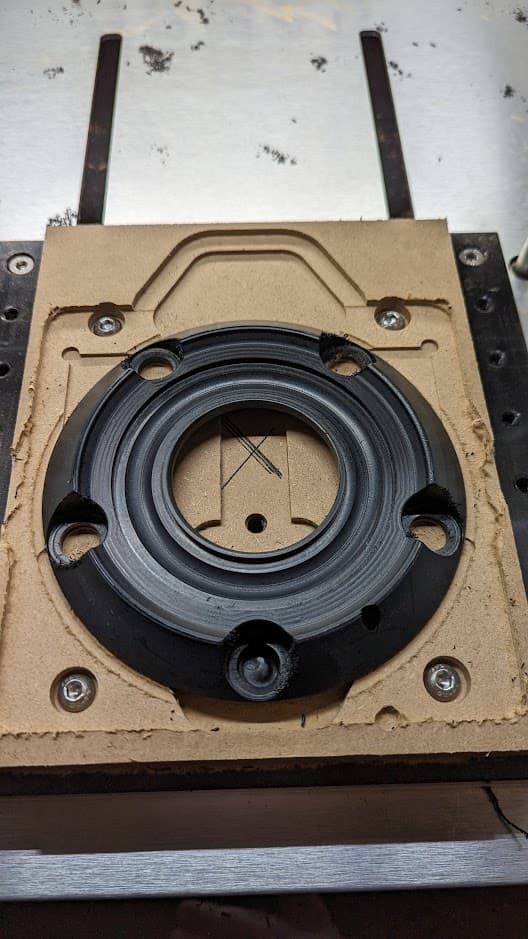
i think i mentioned this already, but i re-used a piece of HDPE that was otherwise scrap, hence the extra holes and blemishes from nutserts.
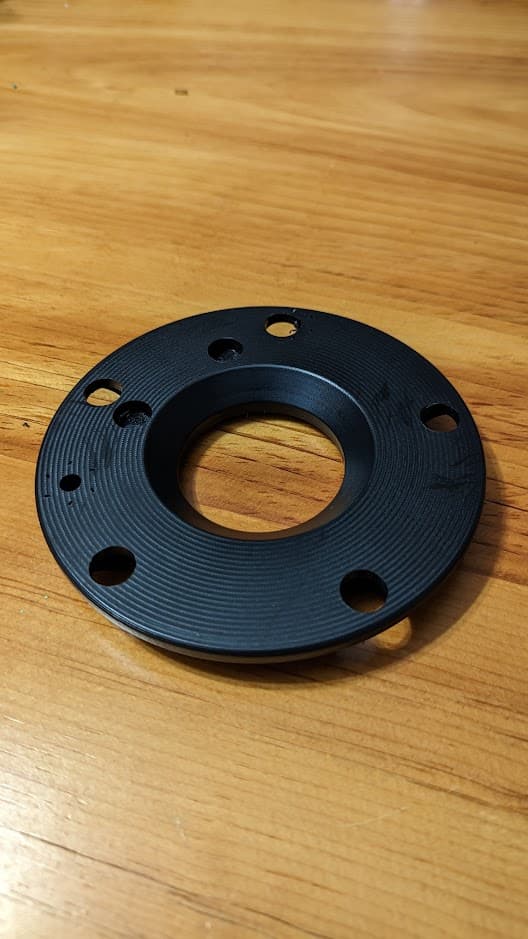
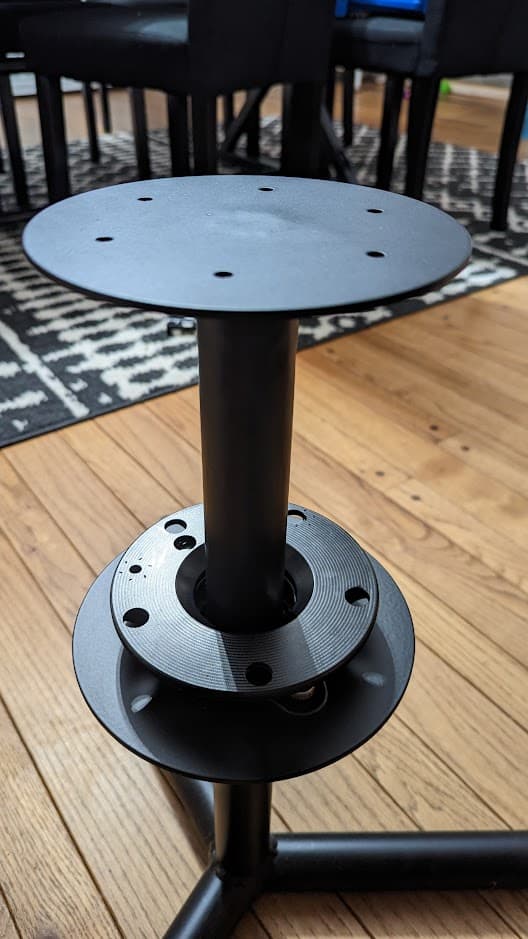
partially assembled on the end-table frame, with the 3d printed bearing carrier. Ill be reprinting that in purple, because #purpgang
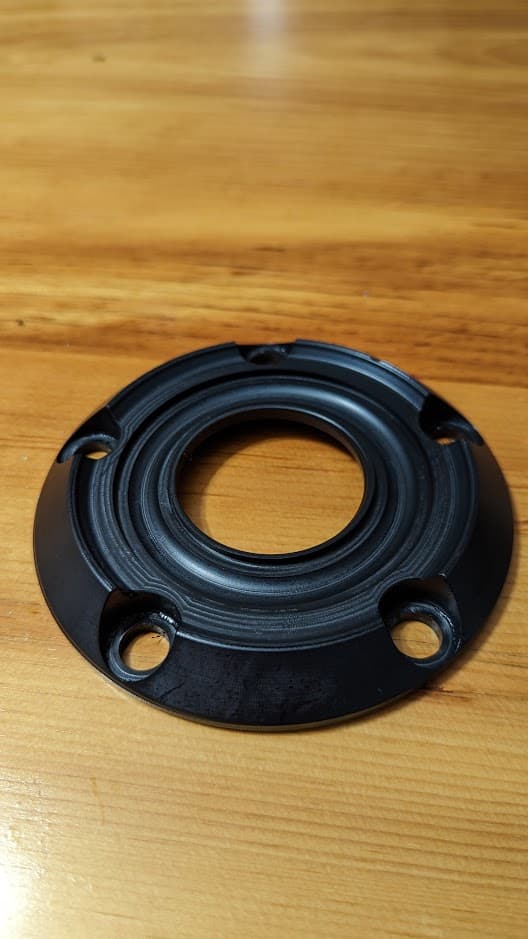
top bearing in place.
all i need now is to powdercoat the wheel, get a massive logo sticker on it and order the glass tabletop.
8 Likes
I get the pegs on Amazon. I looked at ordering larger quantities from China but the shipping worked out to about the same as I pay from Amazon with Prime.
3 Likes
I need to frame a piece from a Sister-In-Law and your frame design looks like a good starting point for me.
GREAT looking needle work and frame both!
1 Like
Business card and pen holder catch tray for my desk. I used acrylic resin to level the bottom. Still unsure how I will finish the rest. Maybe wipe on poly?

5 Likes
Went for a simple project to help clean up the clamp storage. Found some scrap MDF that was used as a spacer in a shipping package so I glued it together to give it a second life. Decided on a linear storage solution so it can be thin enough to be stored in front of or beside the machine. Stained it walnut to hide the fact that it was mdf. . .

16 Likes
Exactly, how it should have been !
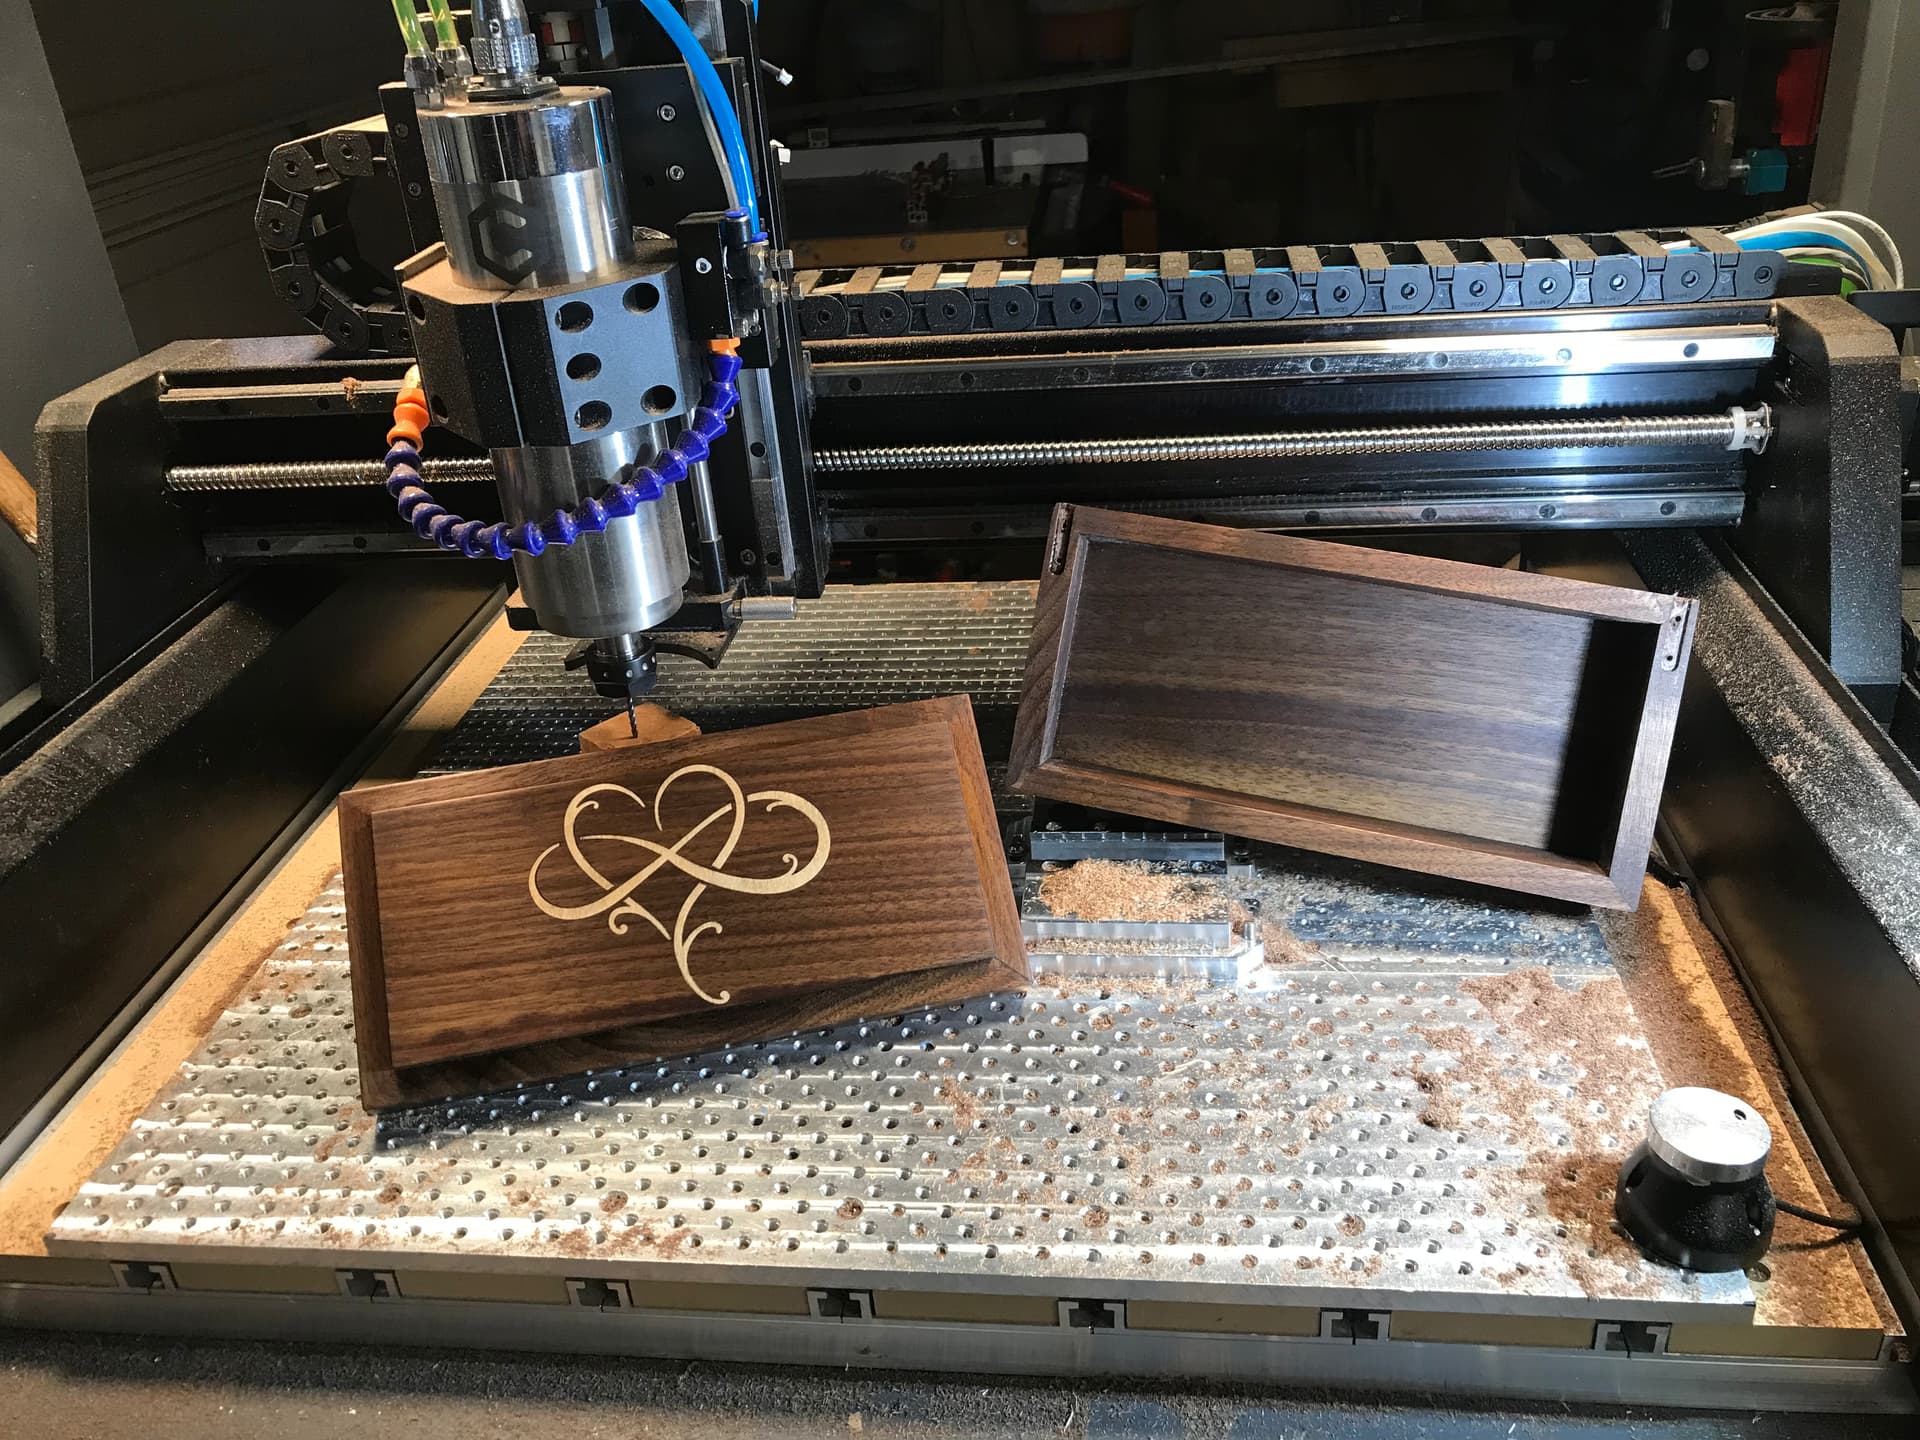
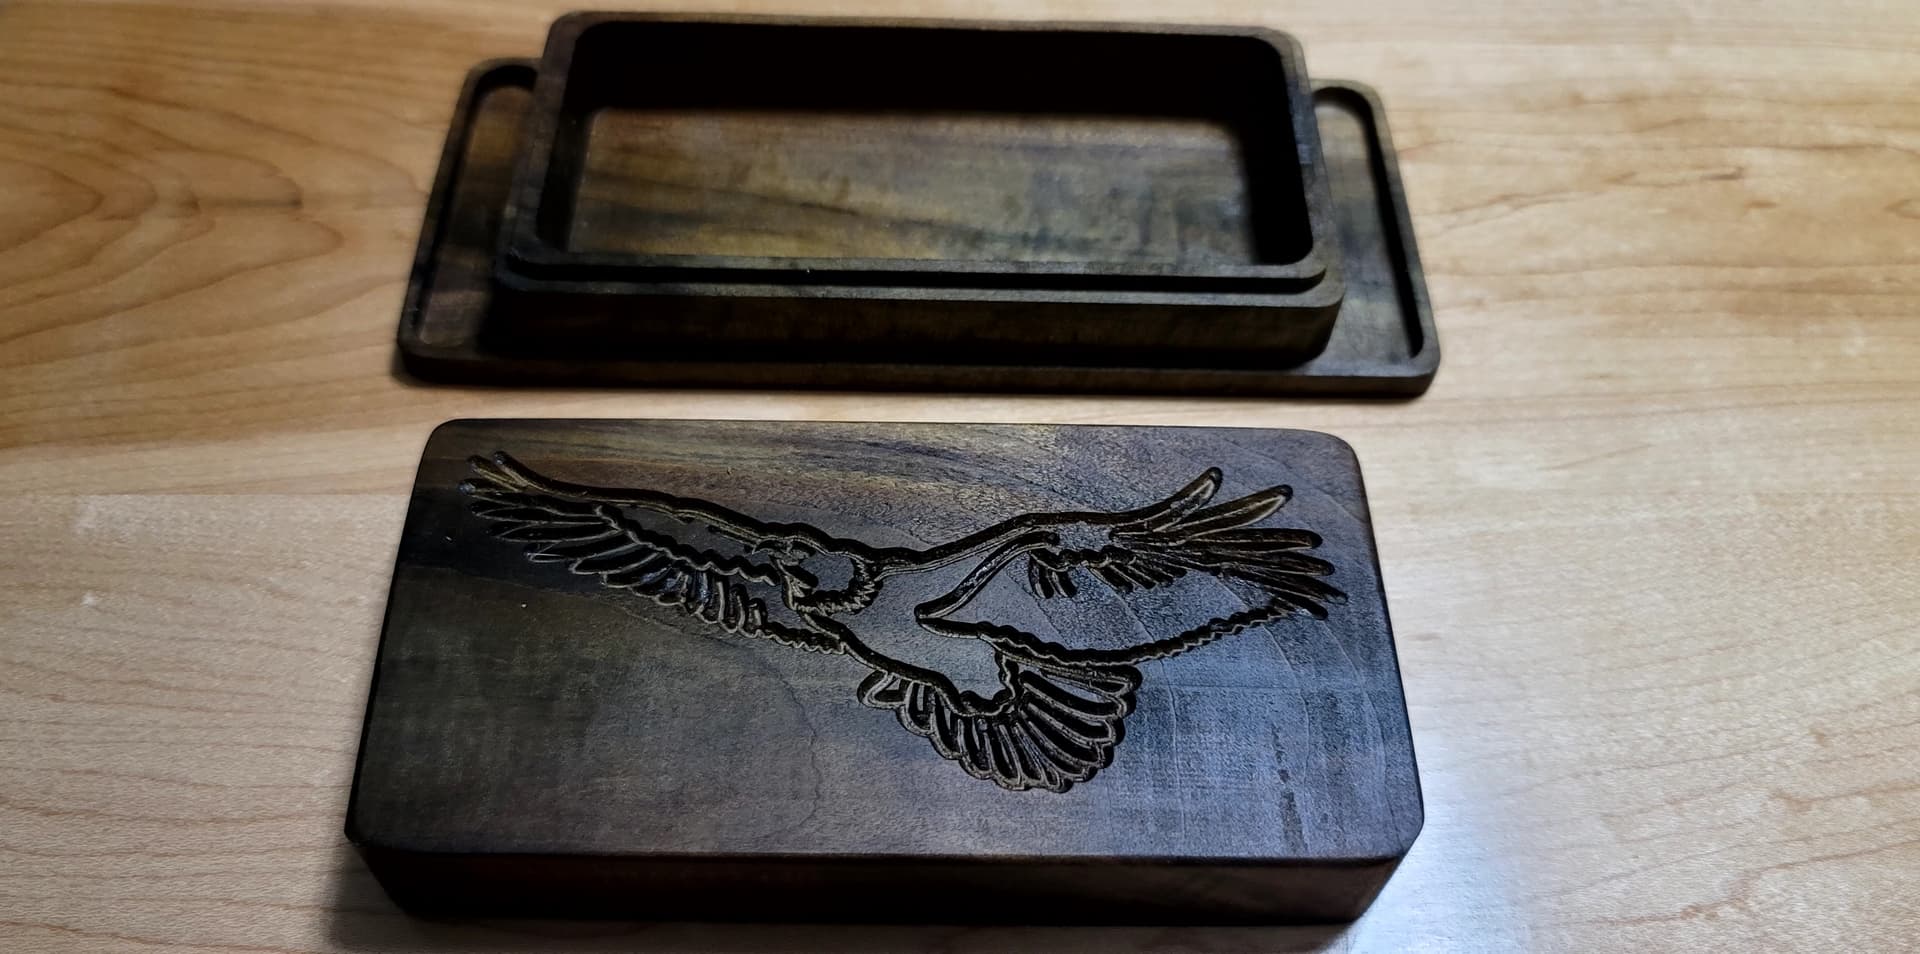
I made a lidded box, actually its intent is to be a butter tray for my our kitchen. Adorned with my wifes favorite bird. It will get many more coats of mineral oil and beeswax. Pictured is after just one coating.

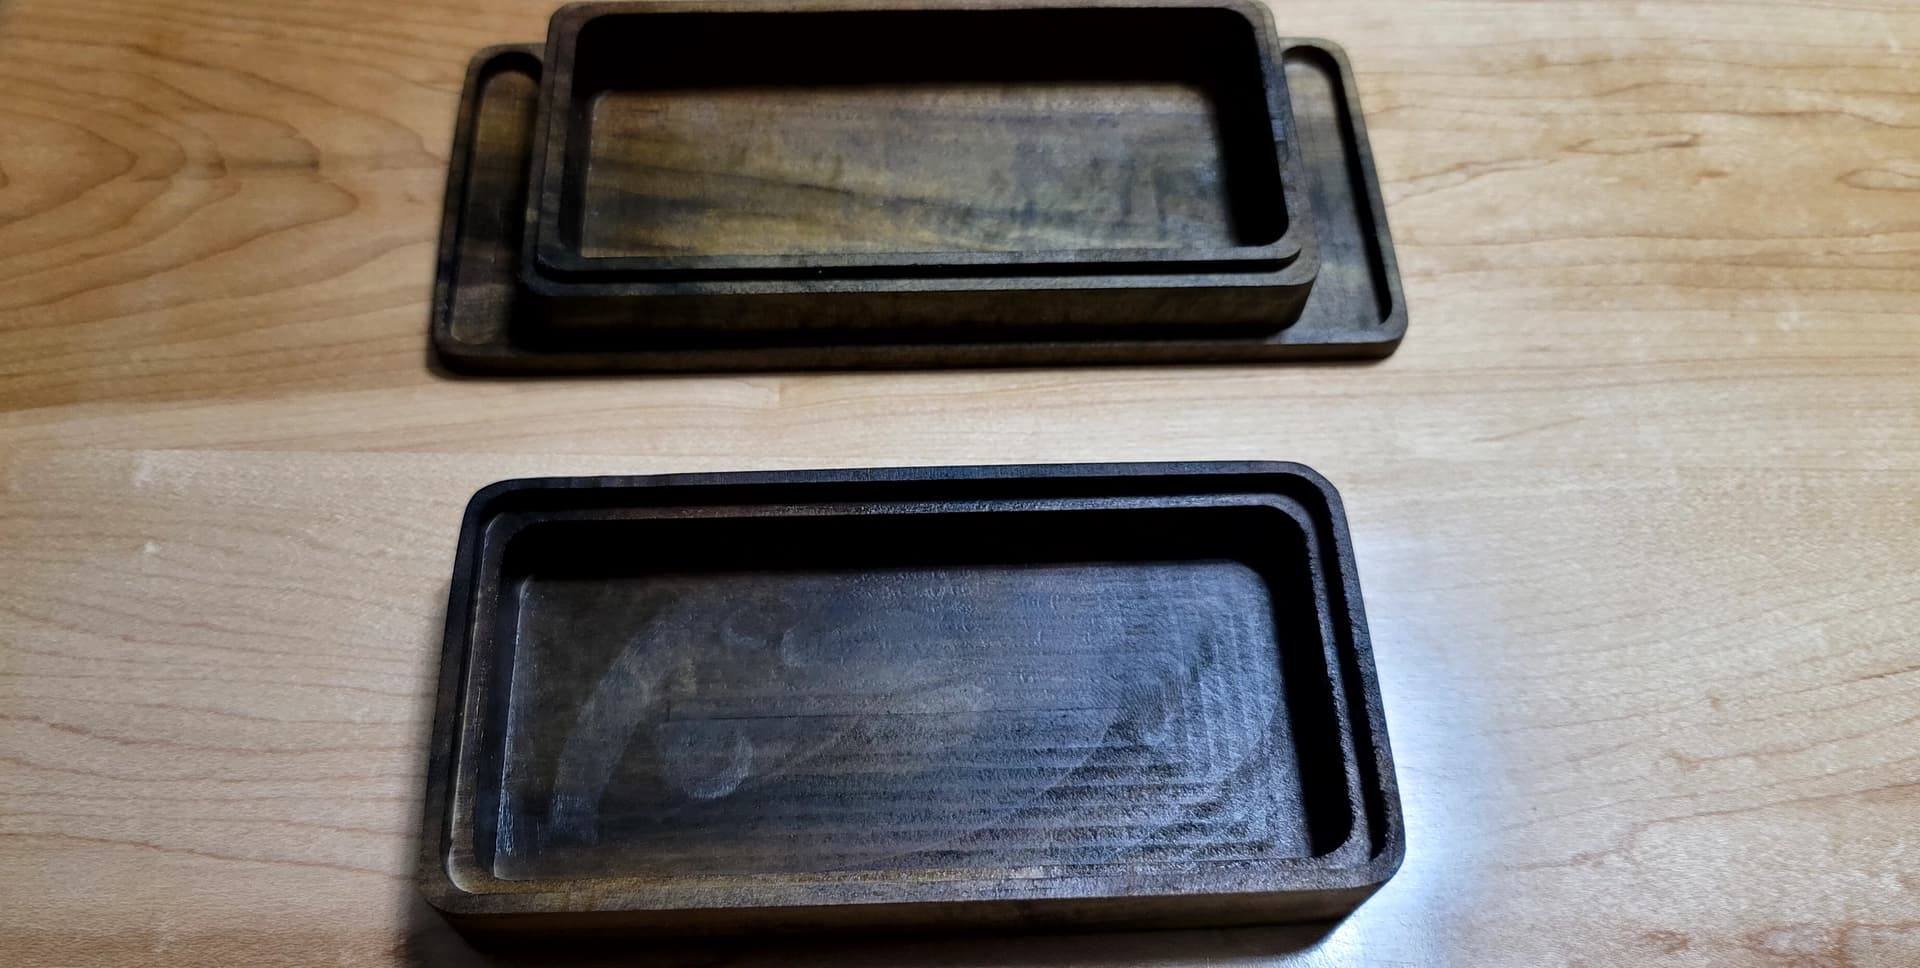

19 Likes