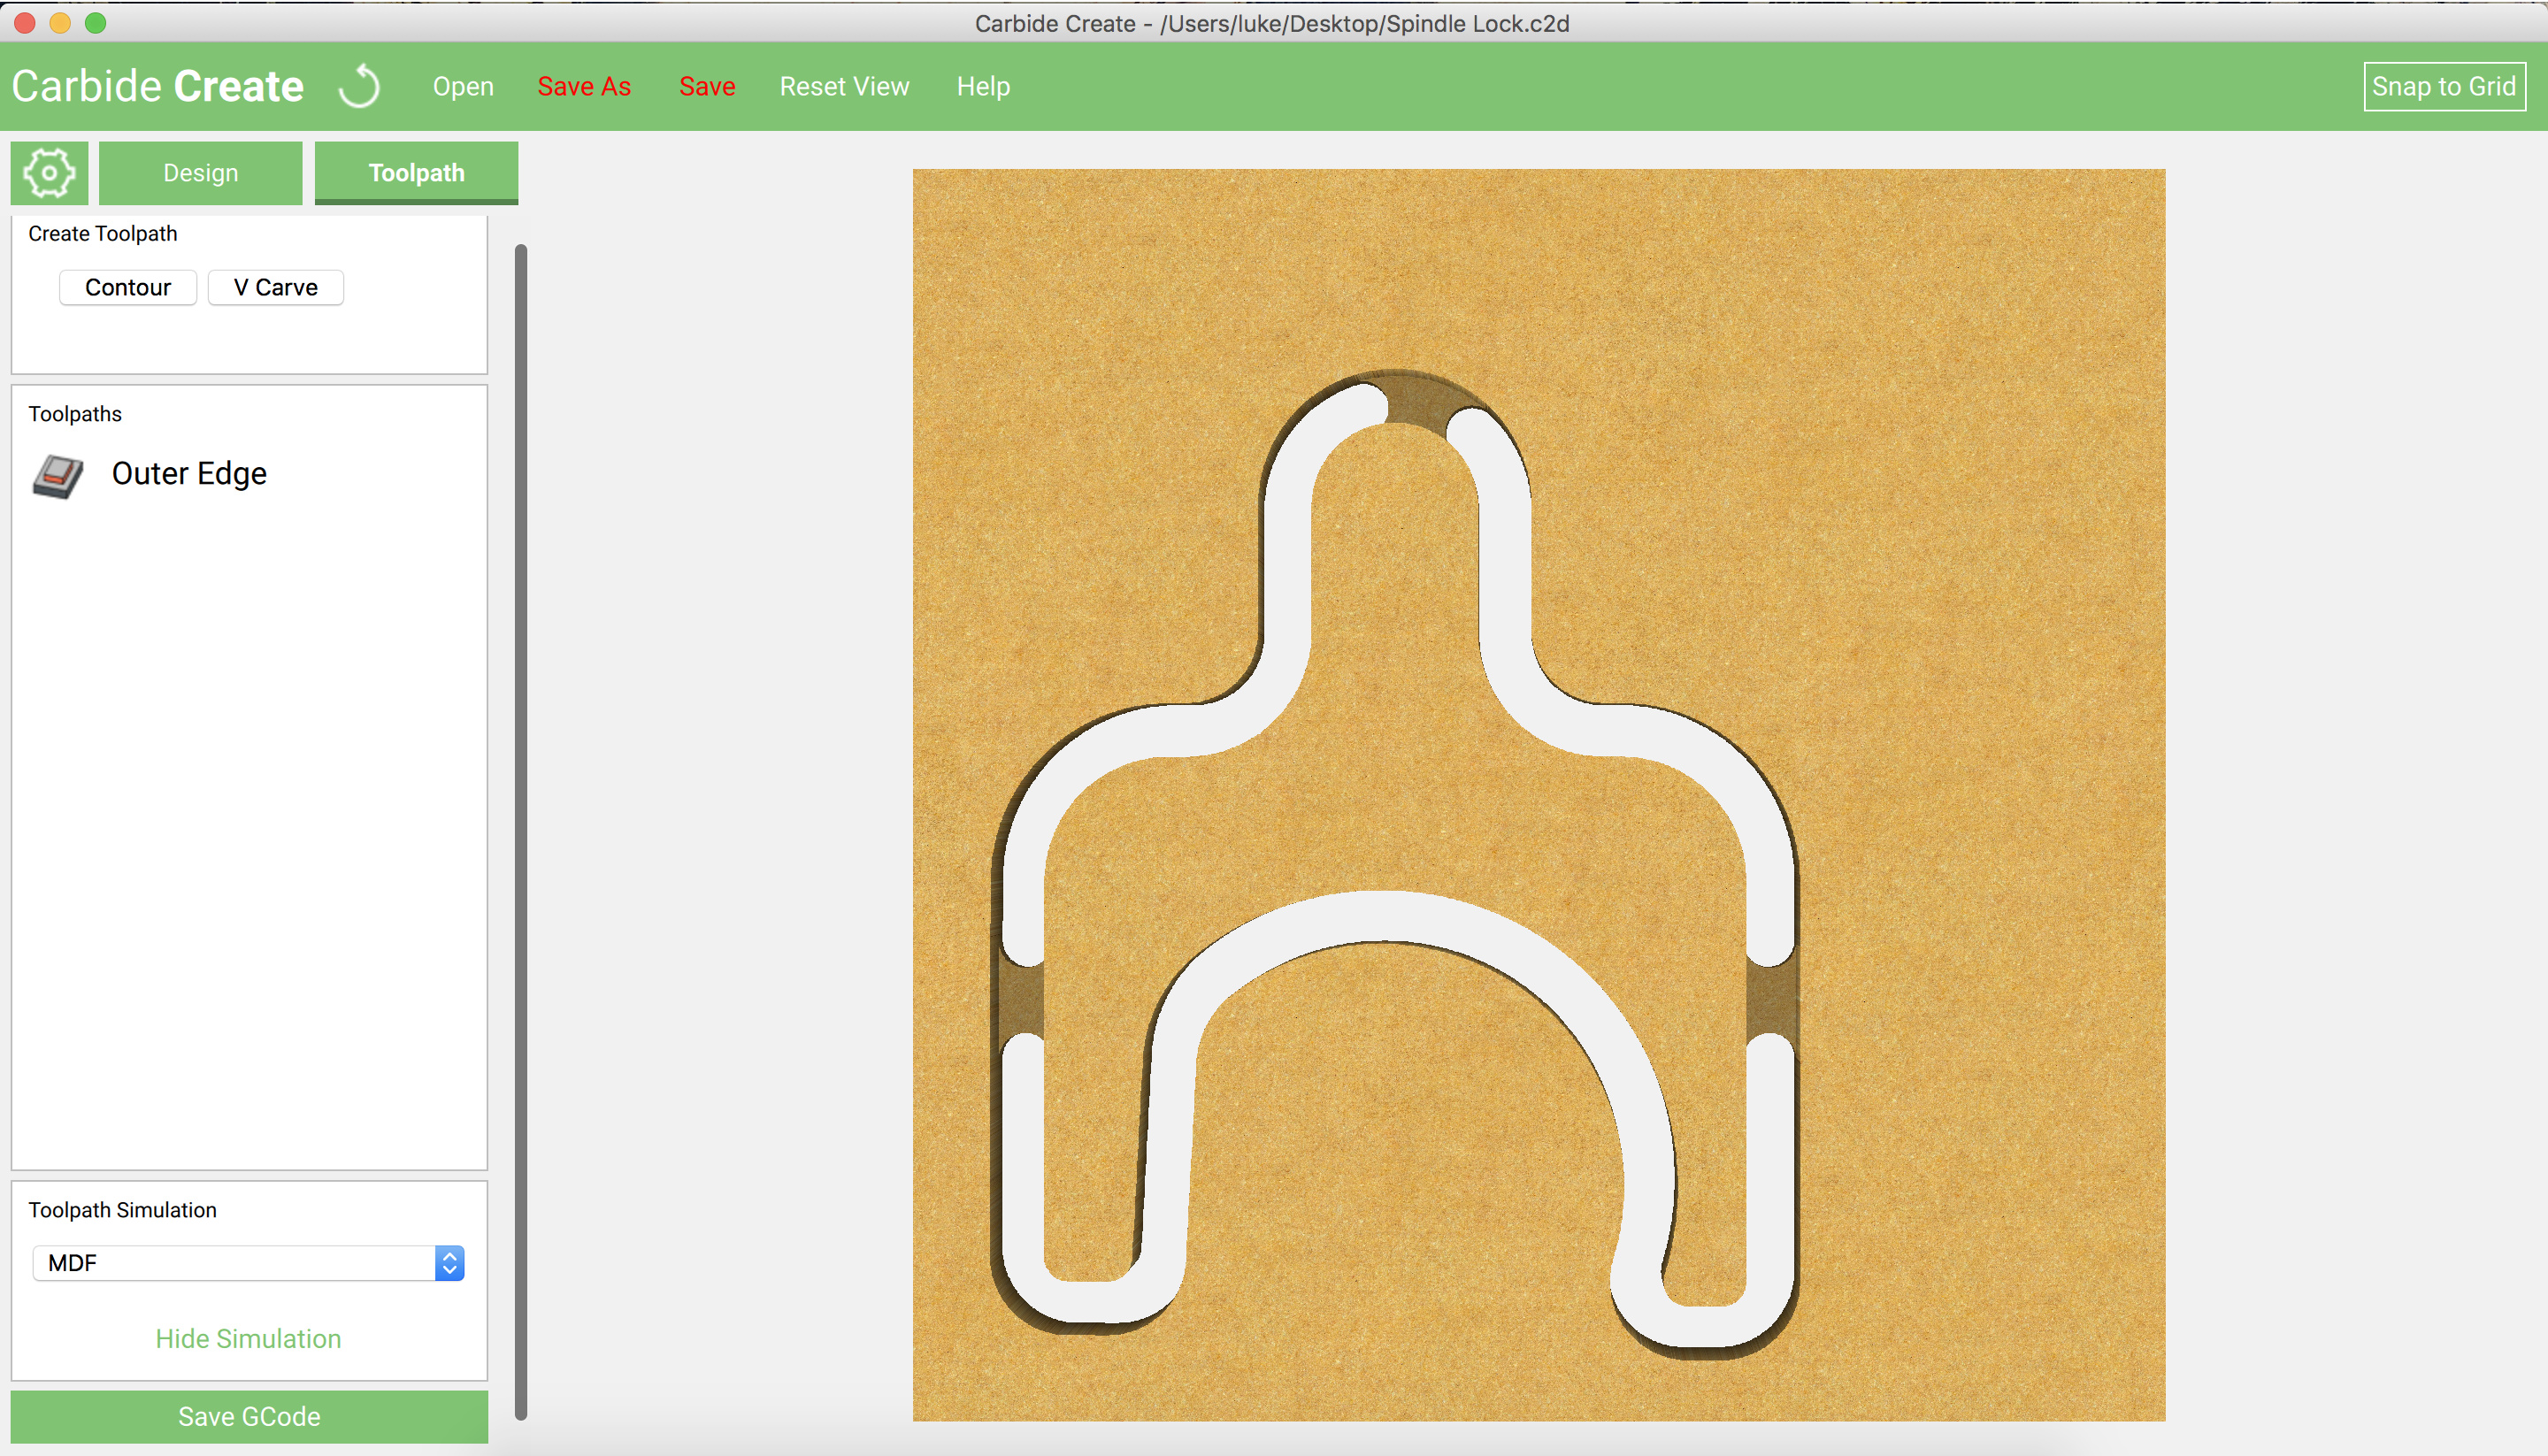
I’m not sure where you will stand on this, but here is my original probe, and more useful than my bit holder, my spindle lock, my electronics box, and my case.
Doesn’t look like much but it was one of my first projects.
@Luke Post them all! This contest is open to as many submissions as you want and you can even post stuff you have posted on the forum before - but you have to make a new post in this thread for it to count!
Both made in Carbide Create, and both have been very useful. These have been posted before, but I wanted to add them here as well. They both absorb black holes and induce time warps!
AWESOME!!! Really!!! I mean it!!! That is not overuse of the word. If they go on sale next week I won’t be able to buy though because I will be in Tonga They better not sell out while I’m away!!! Can we preorder?
Ok, more seriously here is a project that might be more fitting
I have a small workshop, it’s a UK garage - and for you yanks that means it isn’t a separate building with double rolling doors and a enough space to park a couple of Ford F150, your boat. I can just about get 2 motorcycles through the door and don’t have much room to move.
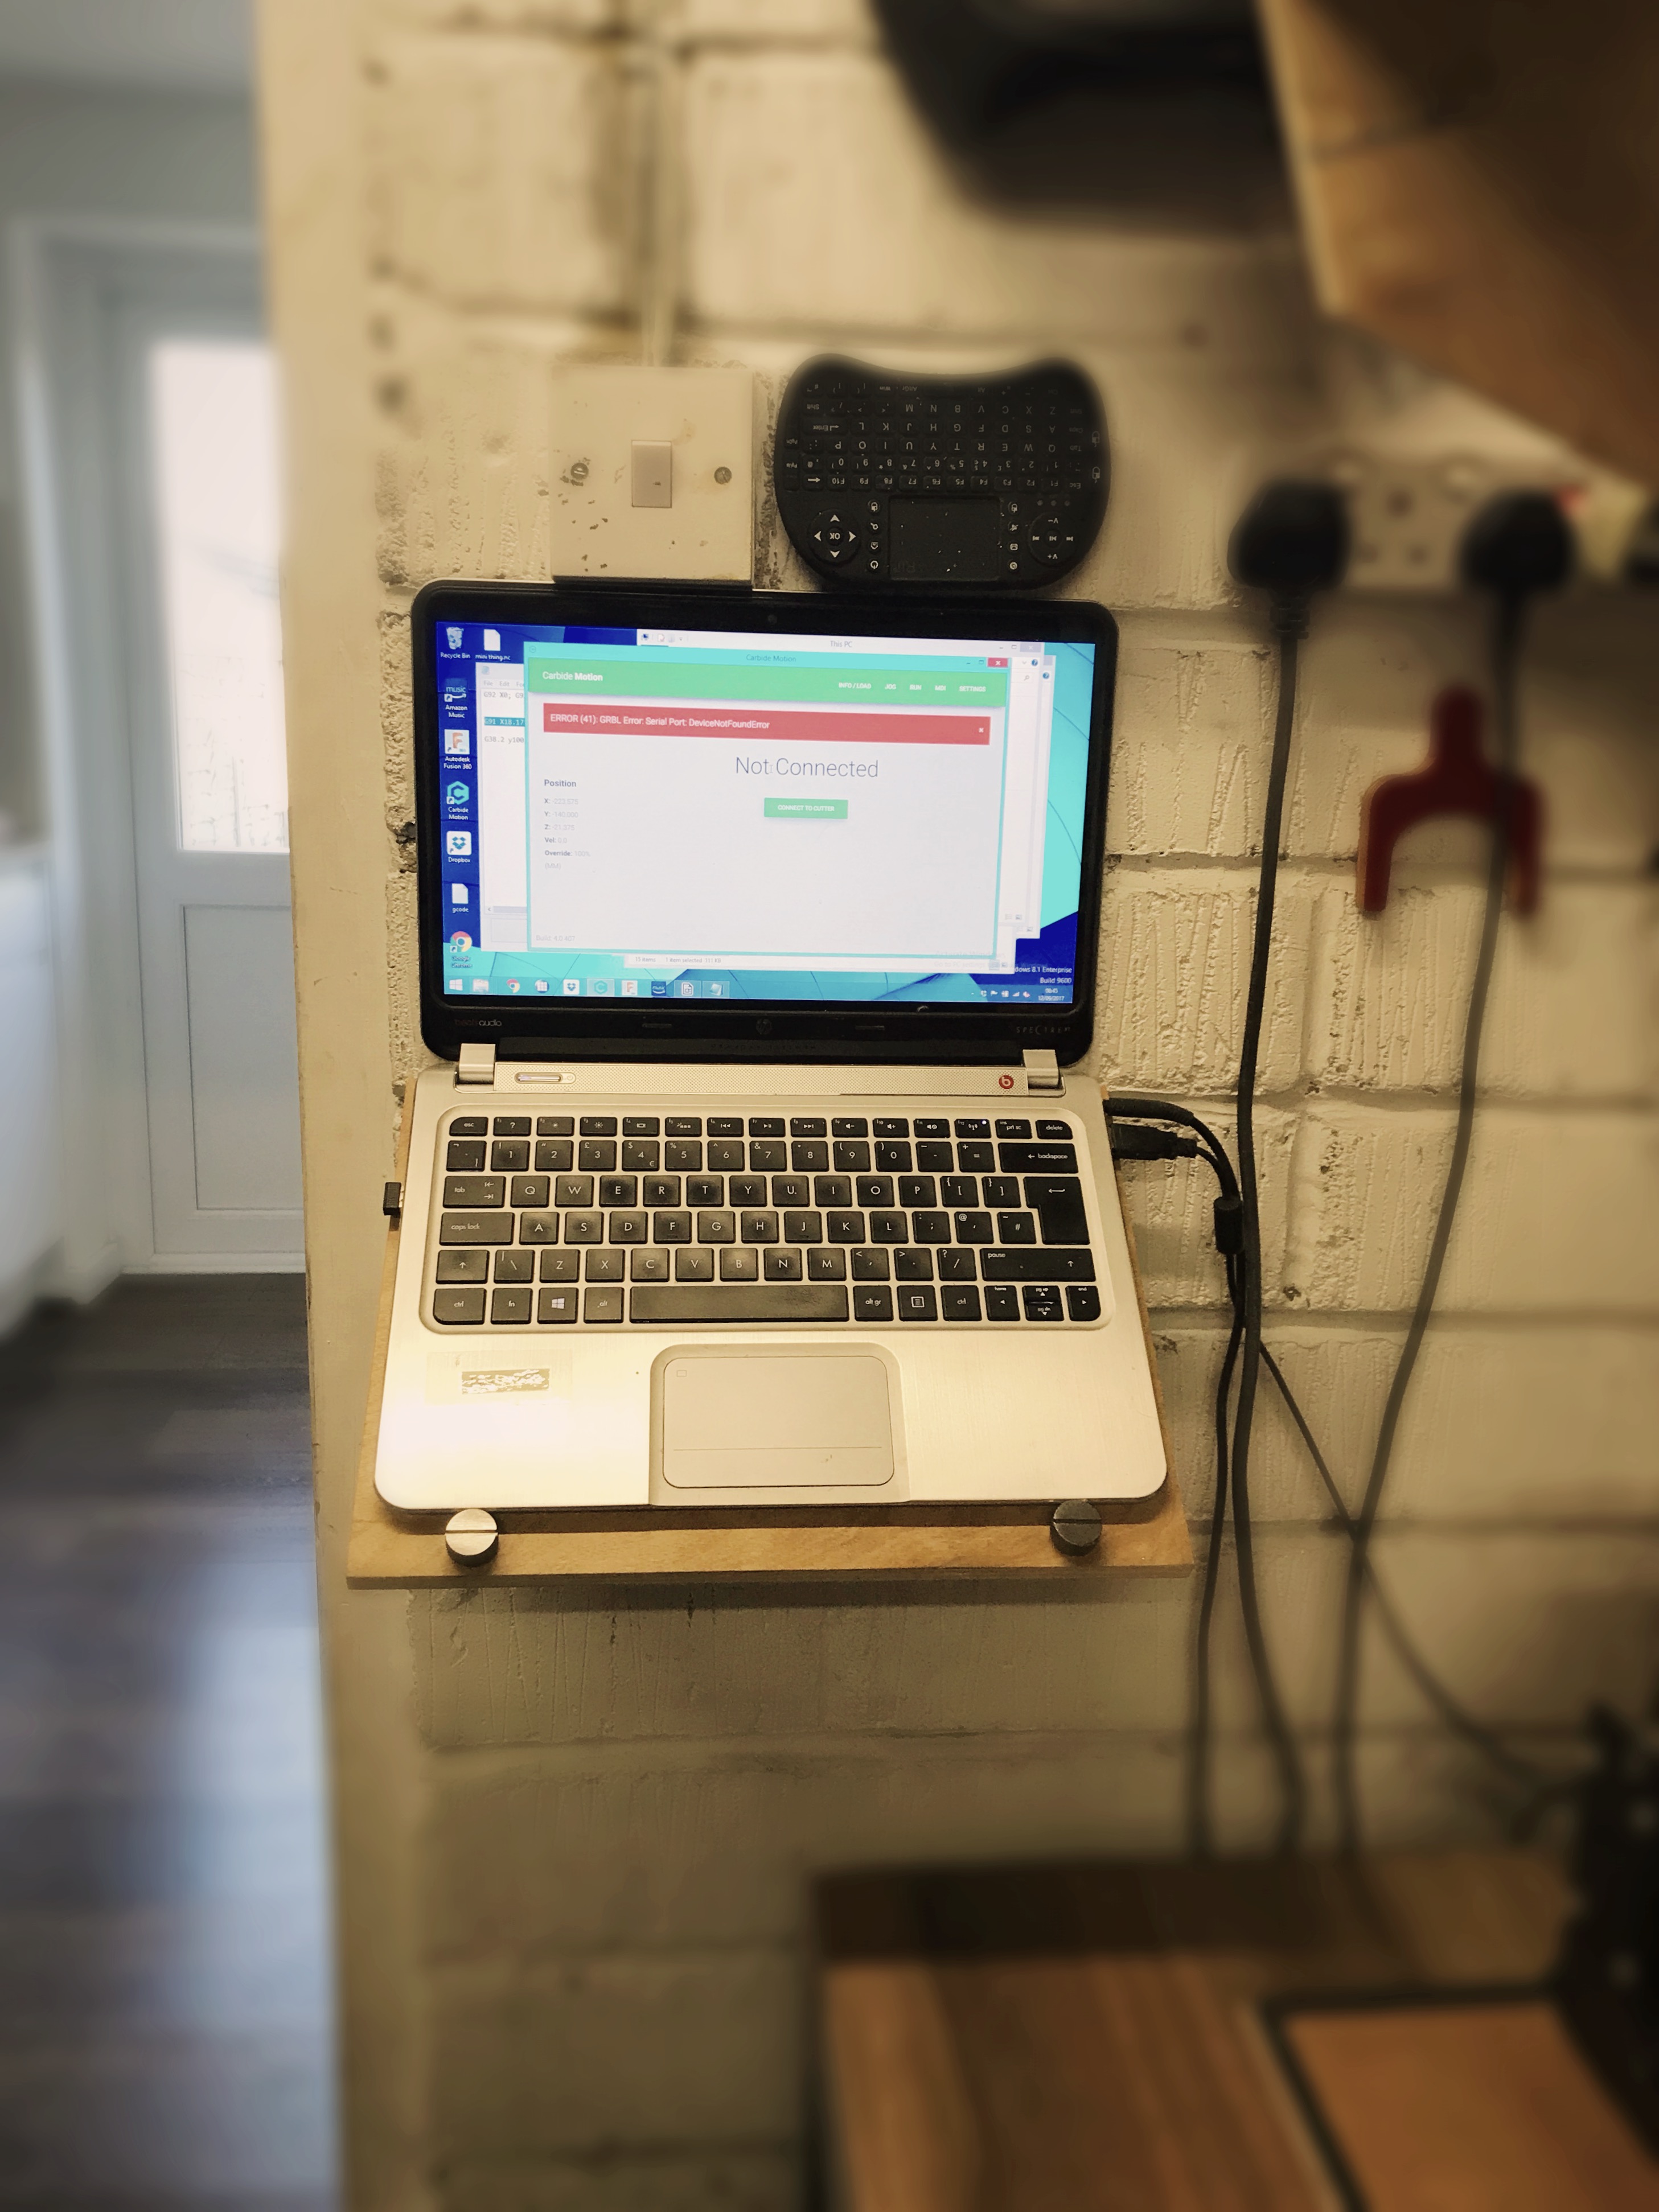
Now as space is at such a premium and my S3 takes up a large amount of that I needed a way to mount my control PC within handy reach of the S3 so I could control and monitor it.
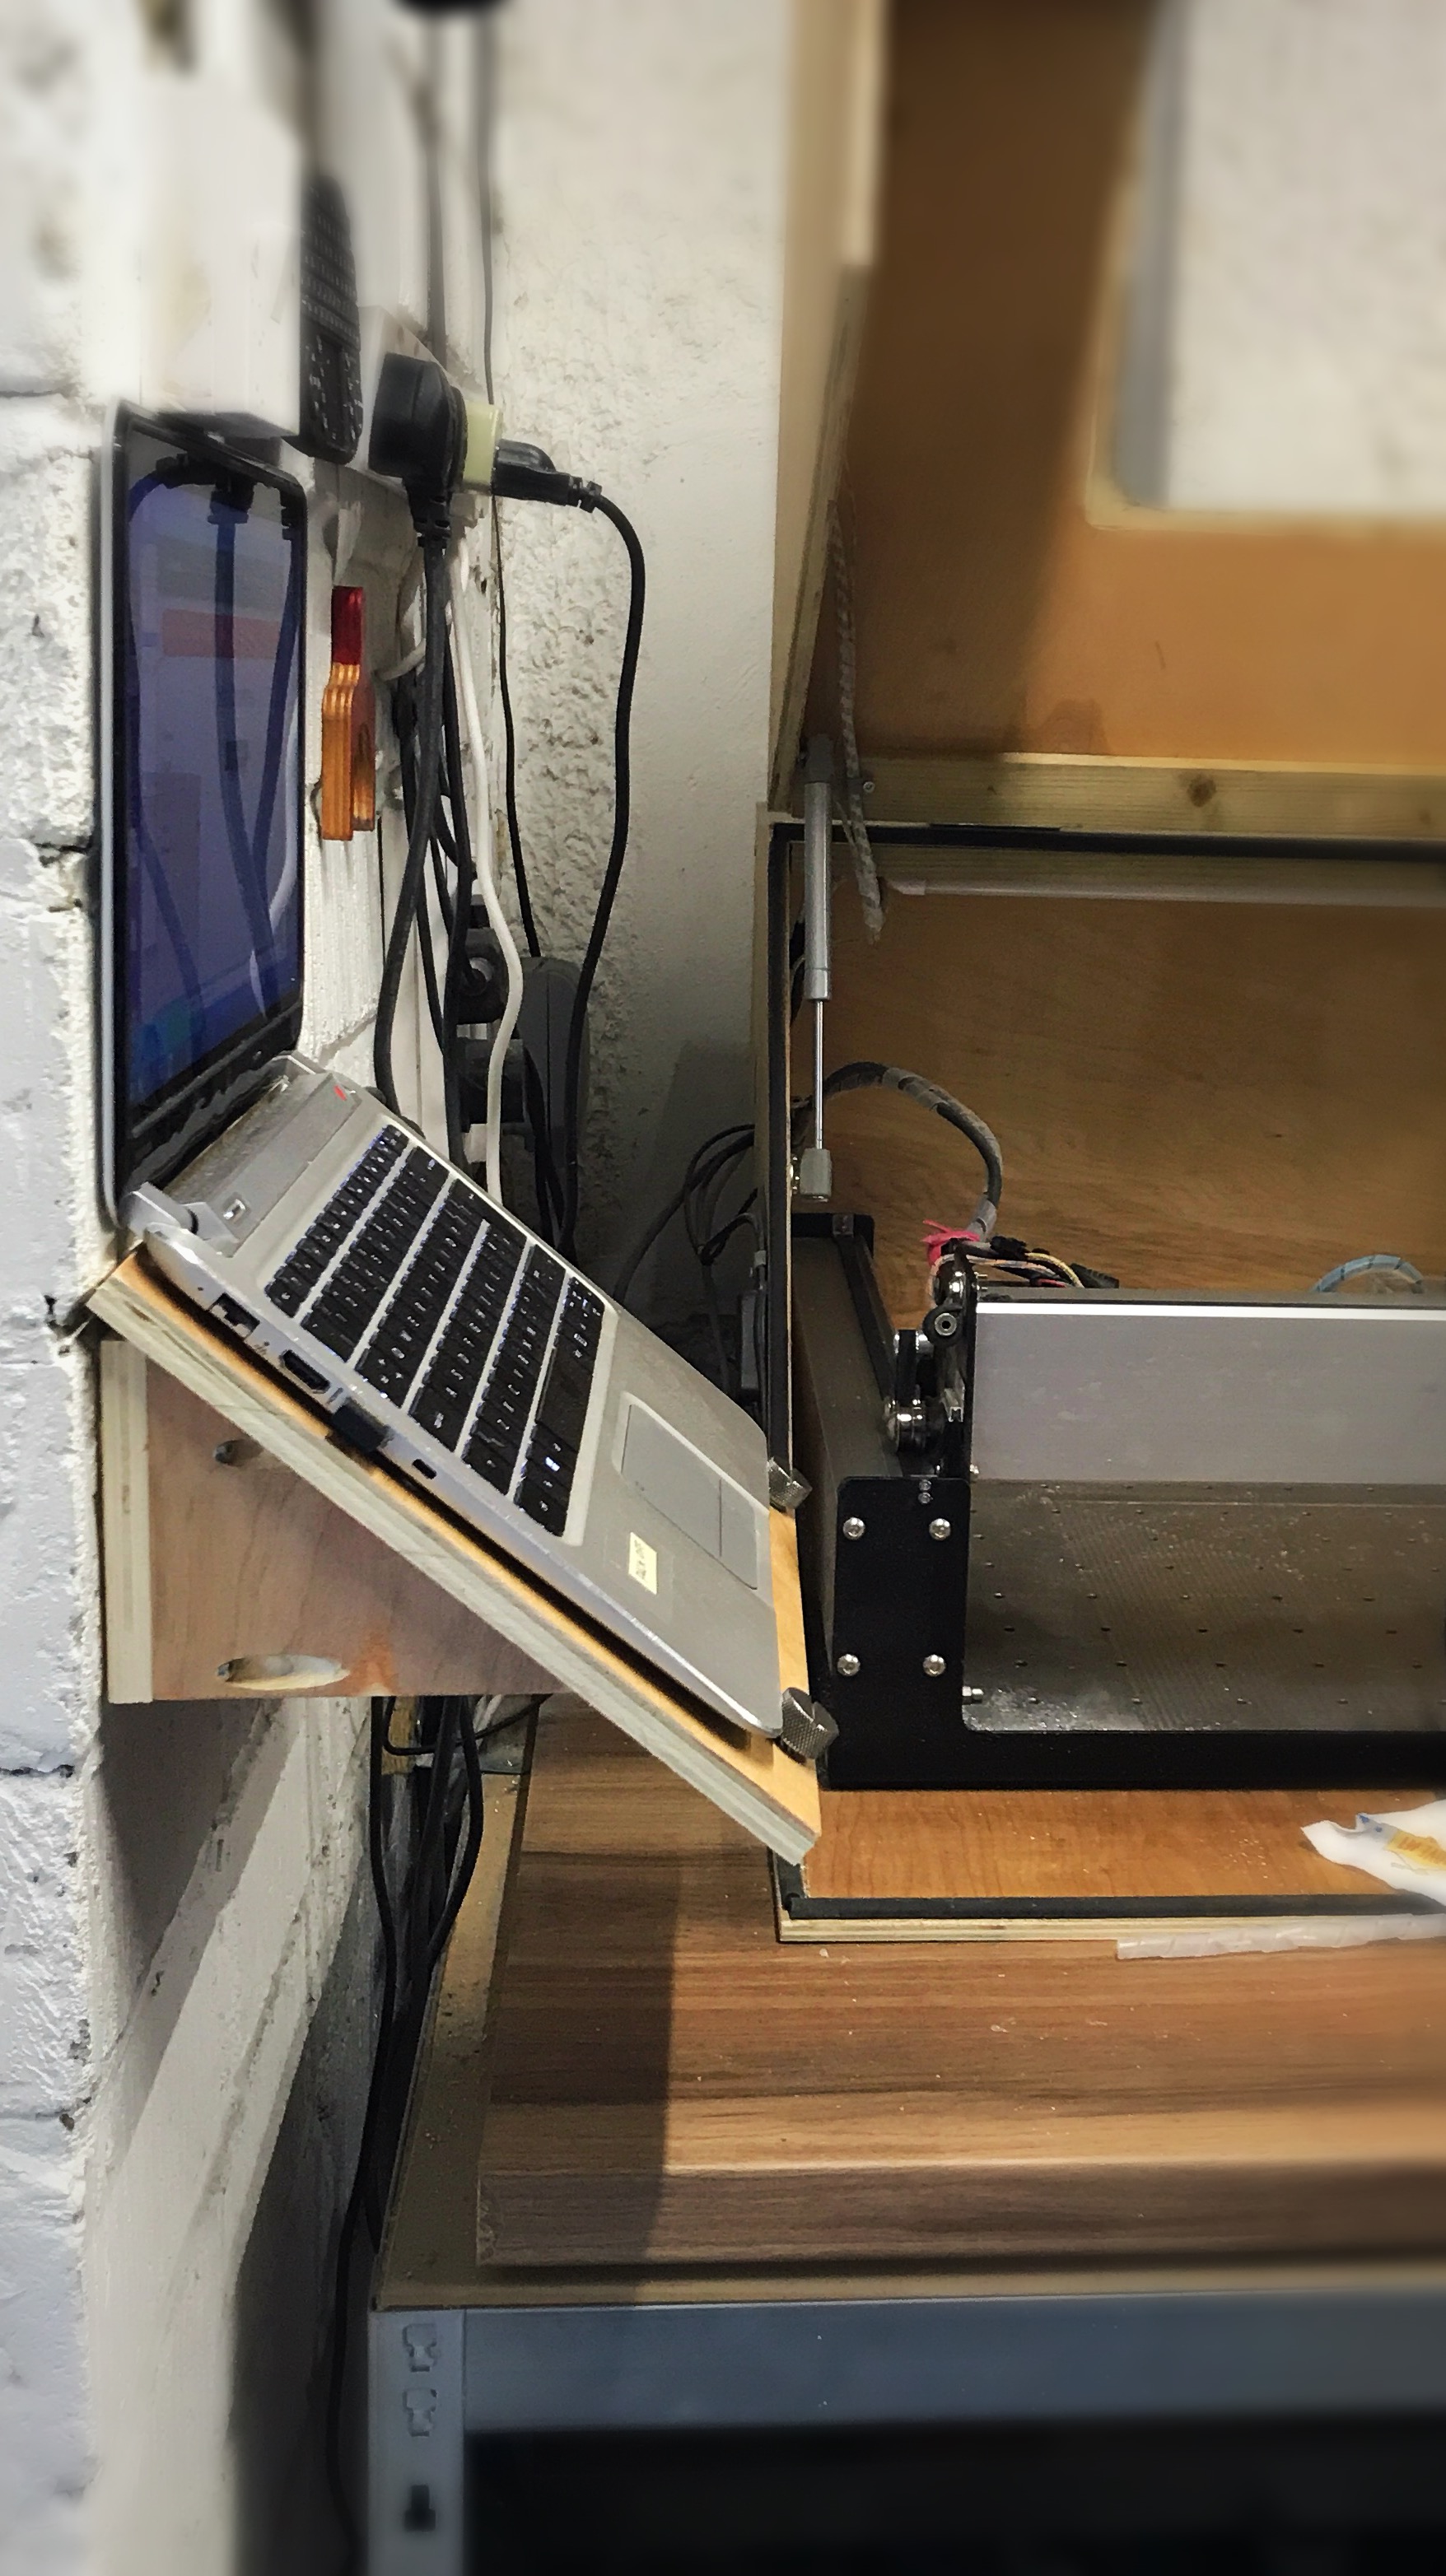
Thus I designed a wall mount to accommodate my laptop - and have the screen flush with the wall - here is a snap.
It’s worth noting that whilst it sits flush with the wall the screen is at maximum fold - so it’s as flat as it would be against a wall without changing the viewing angle.
My enclosure almost scrapes the front - almost.
For good measure I also turned some screws as mounting points.
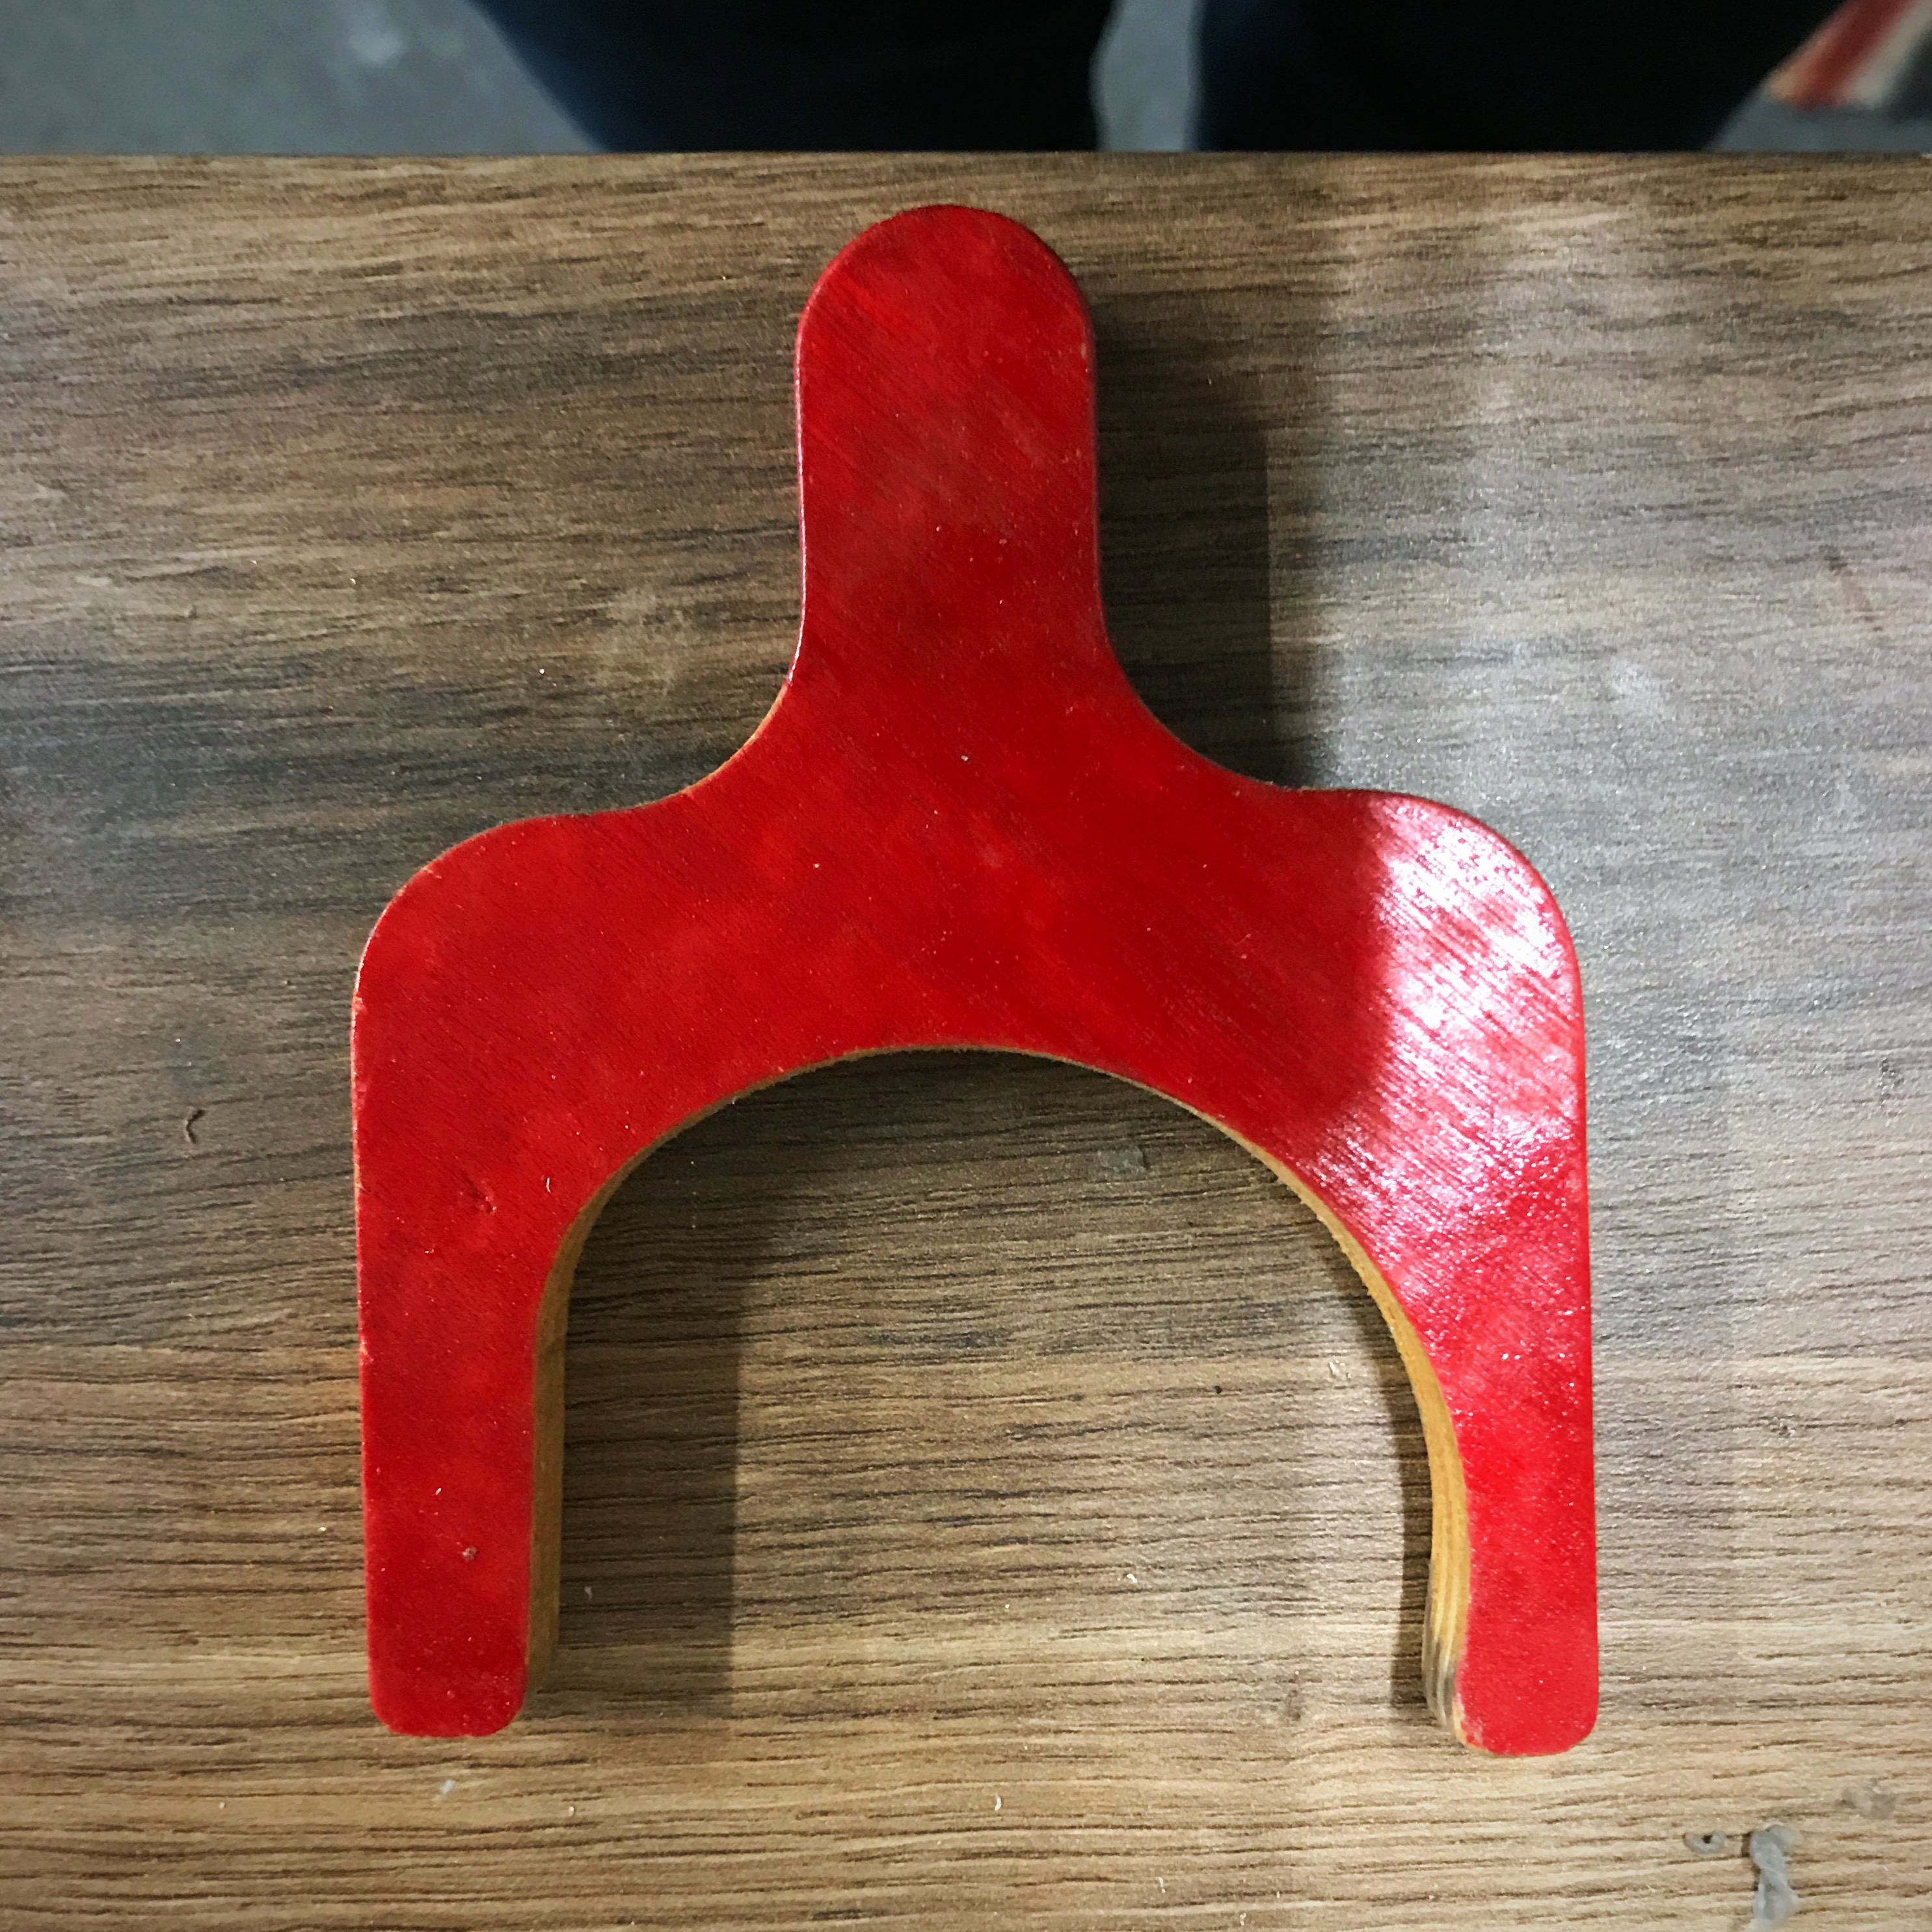
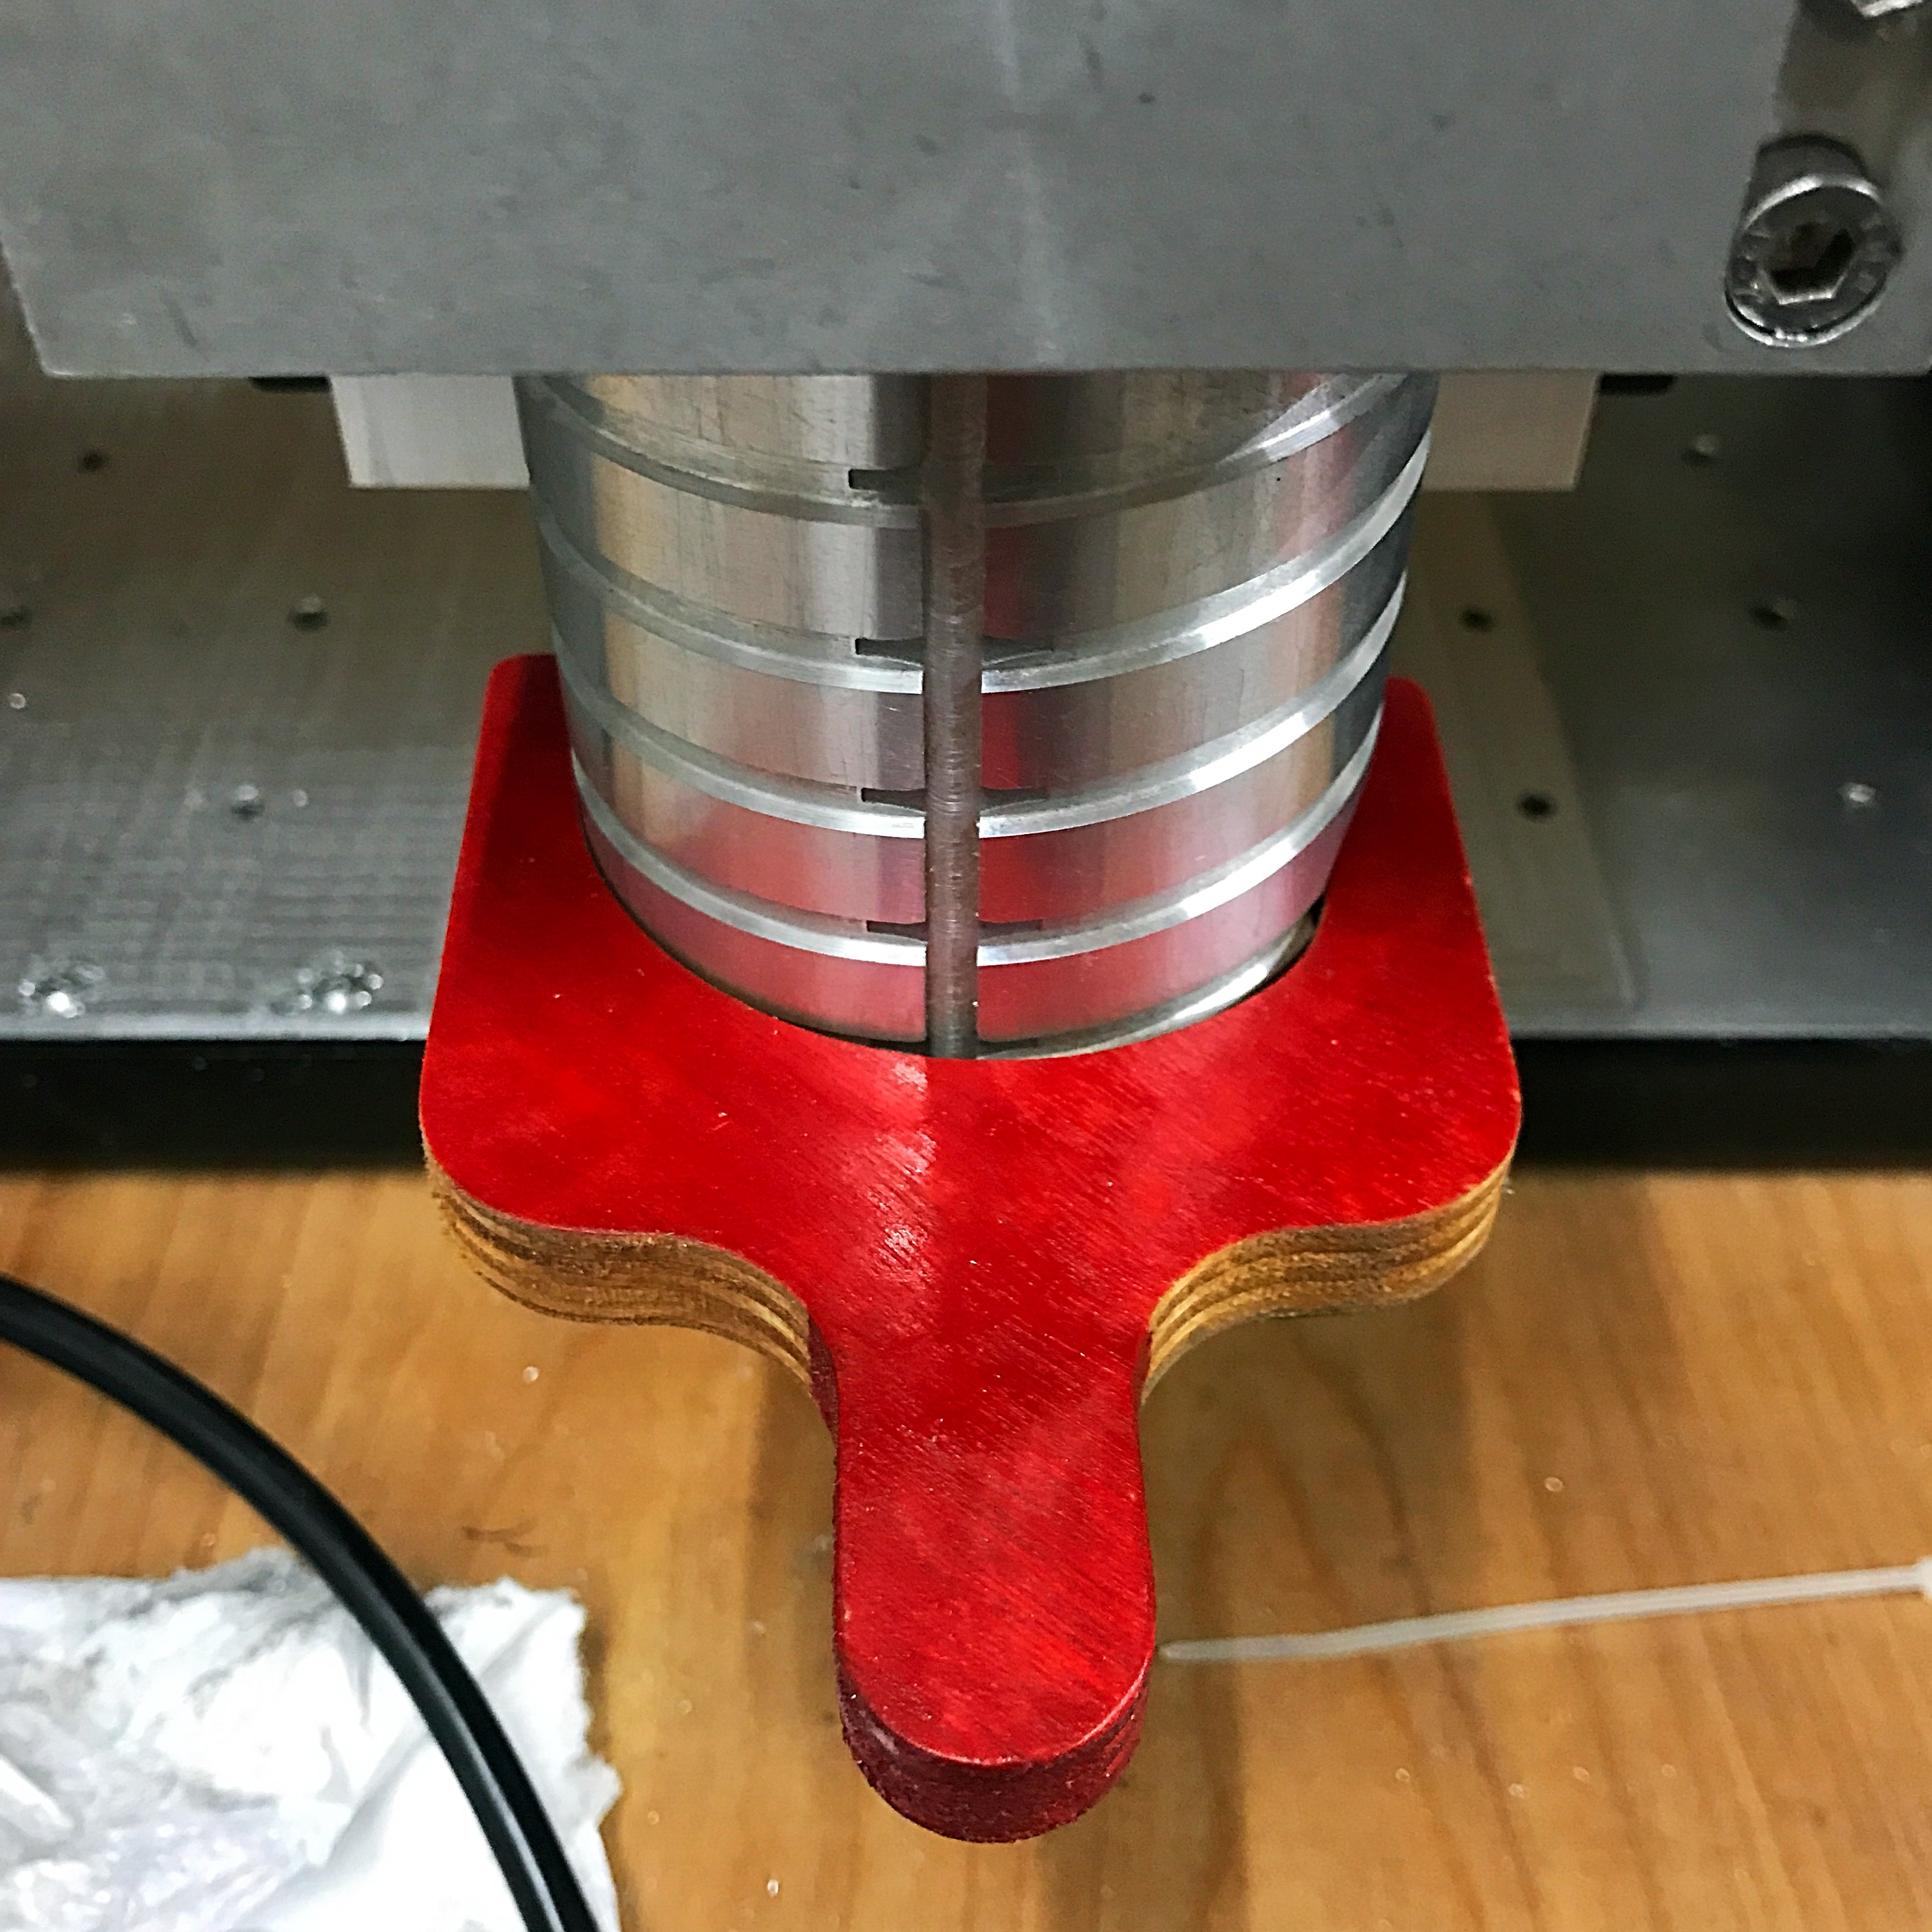
There is also my magnetic router spindle stop you see mounted on the wall behind - it’s red for a reason… best to notice before you turn it on… trust me…
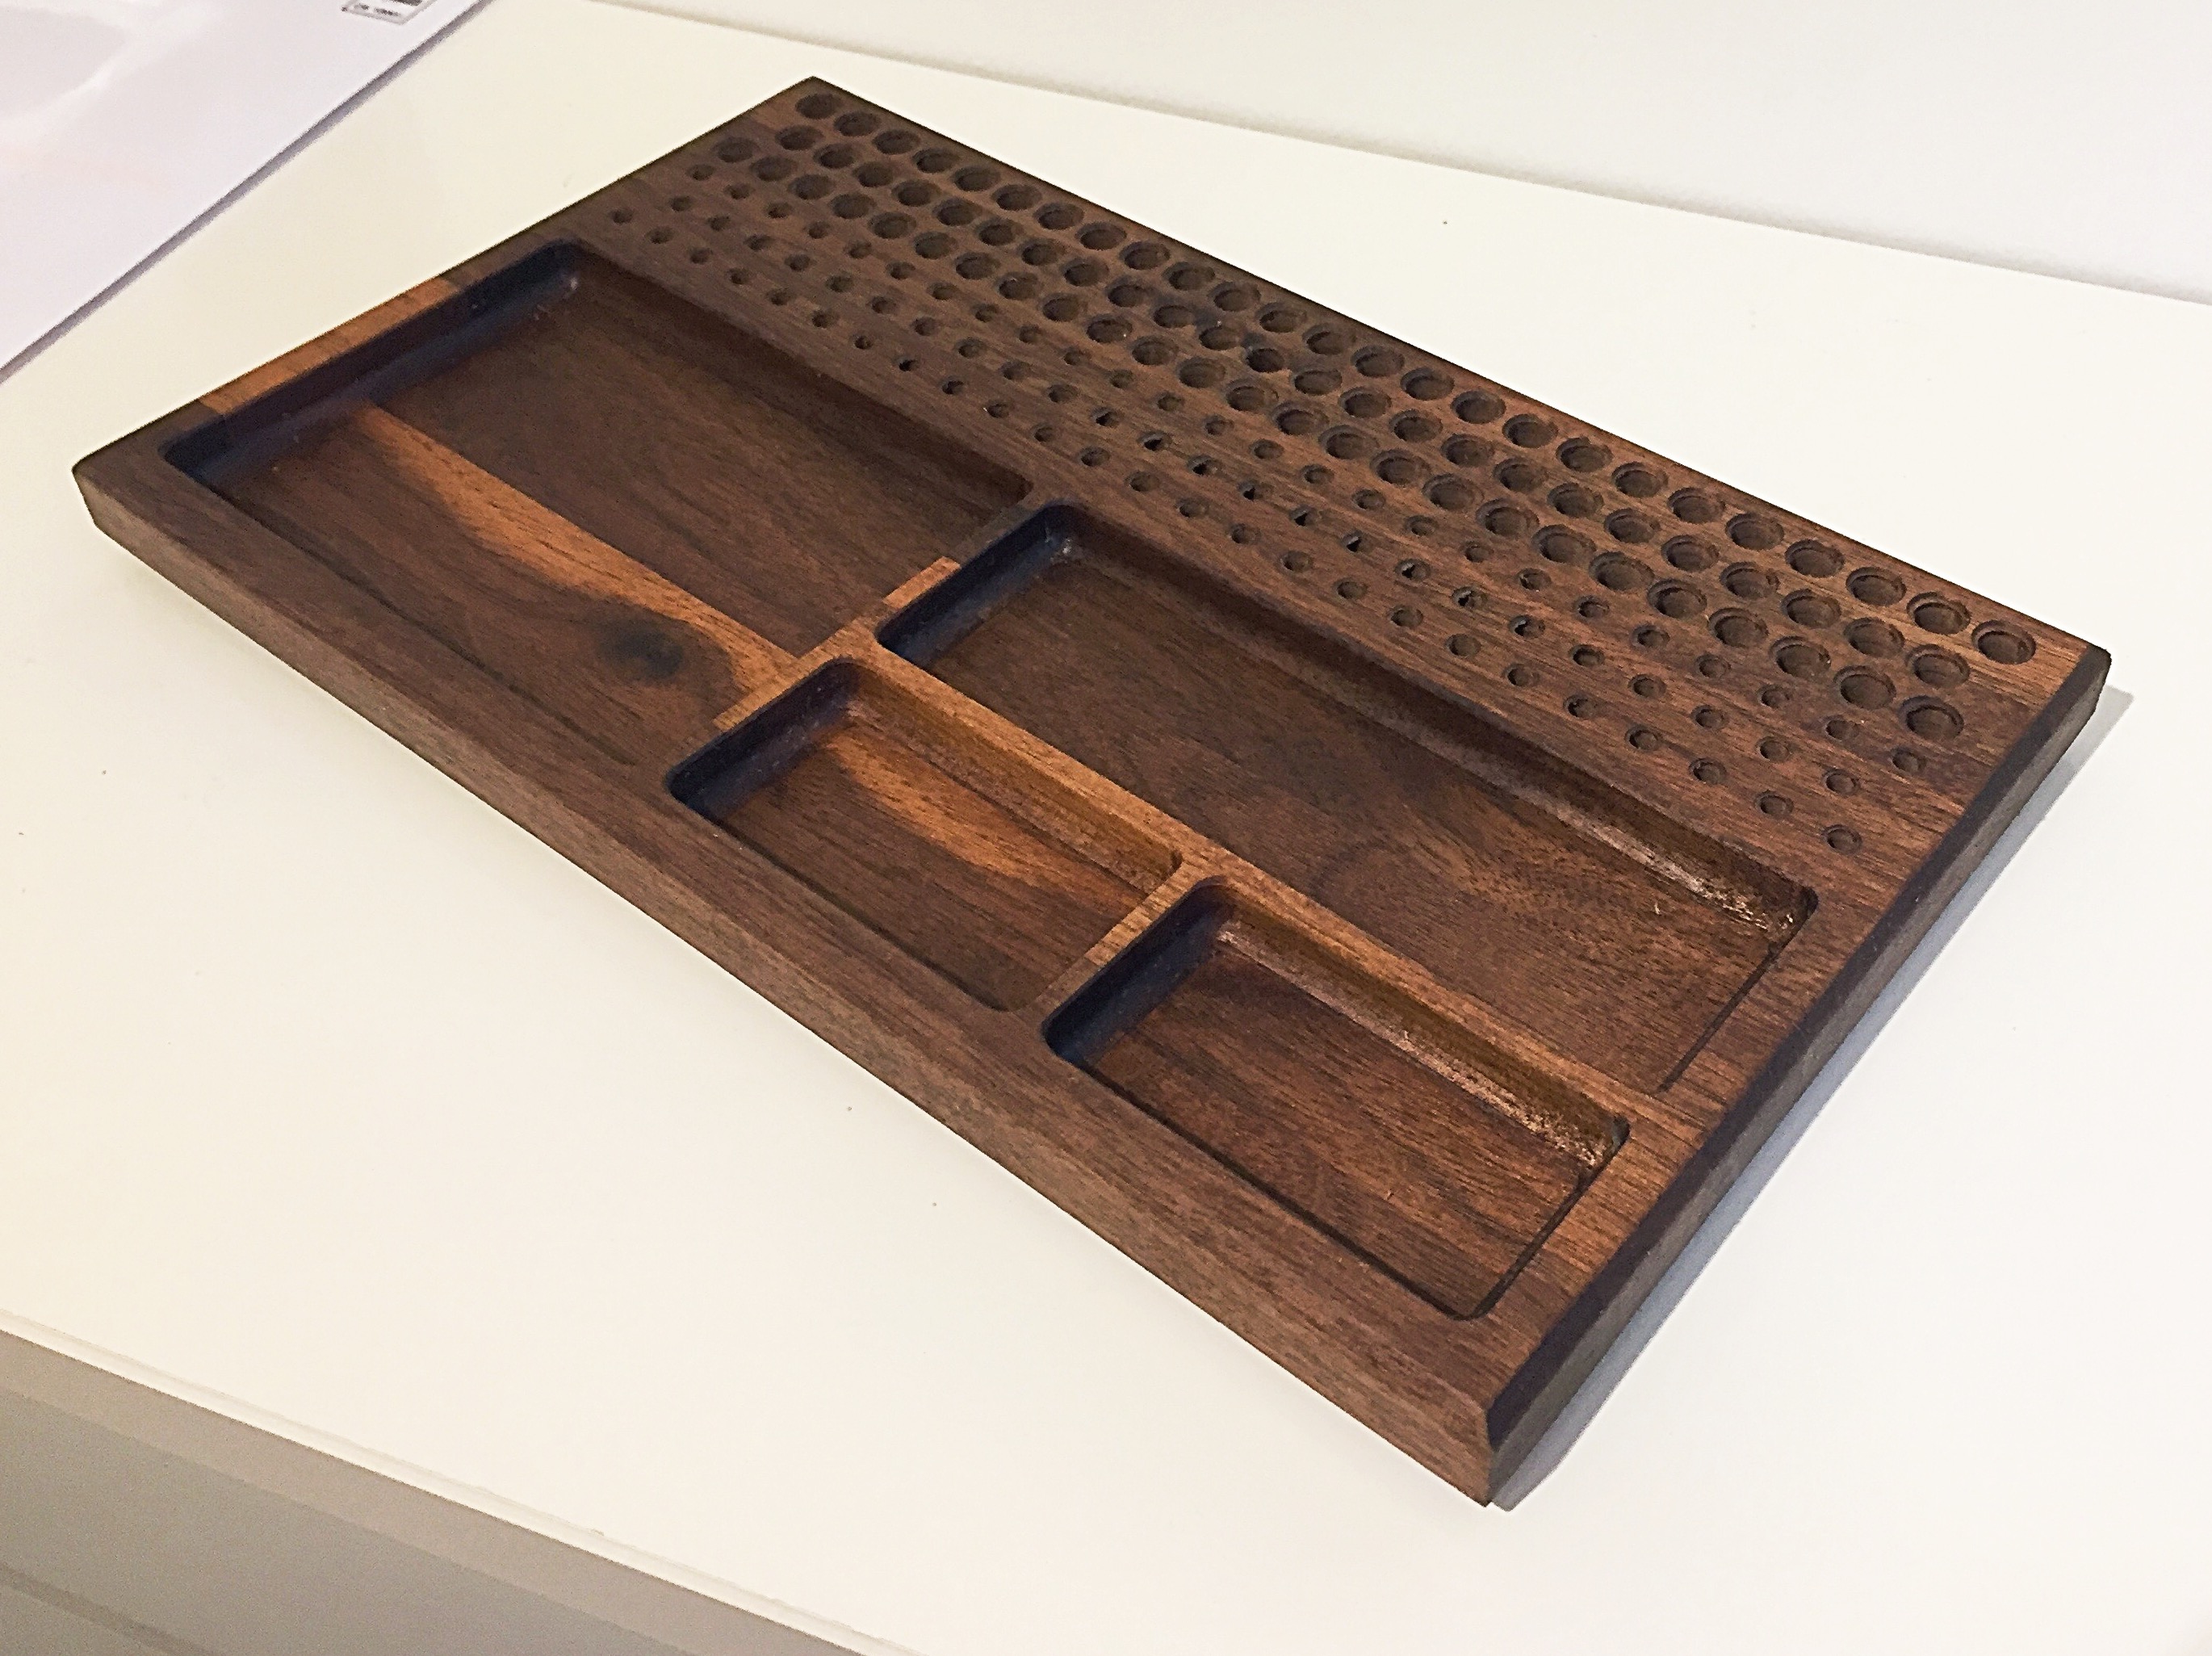
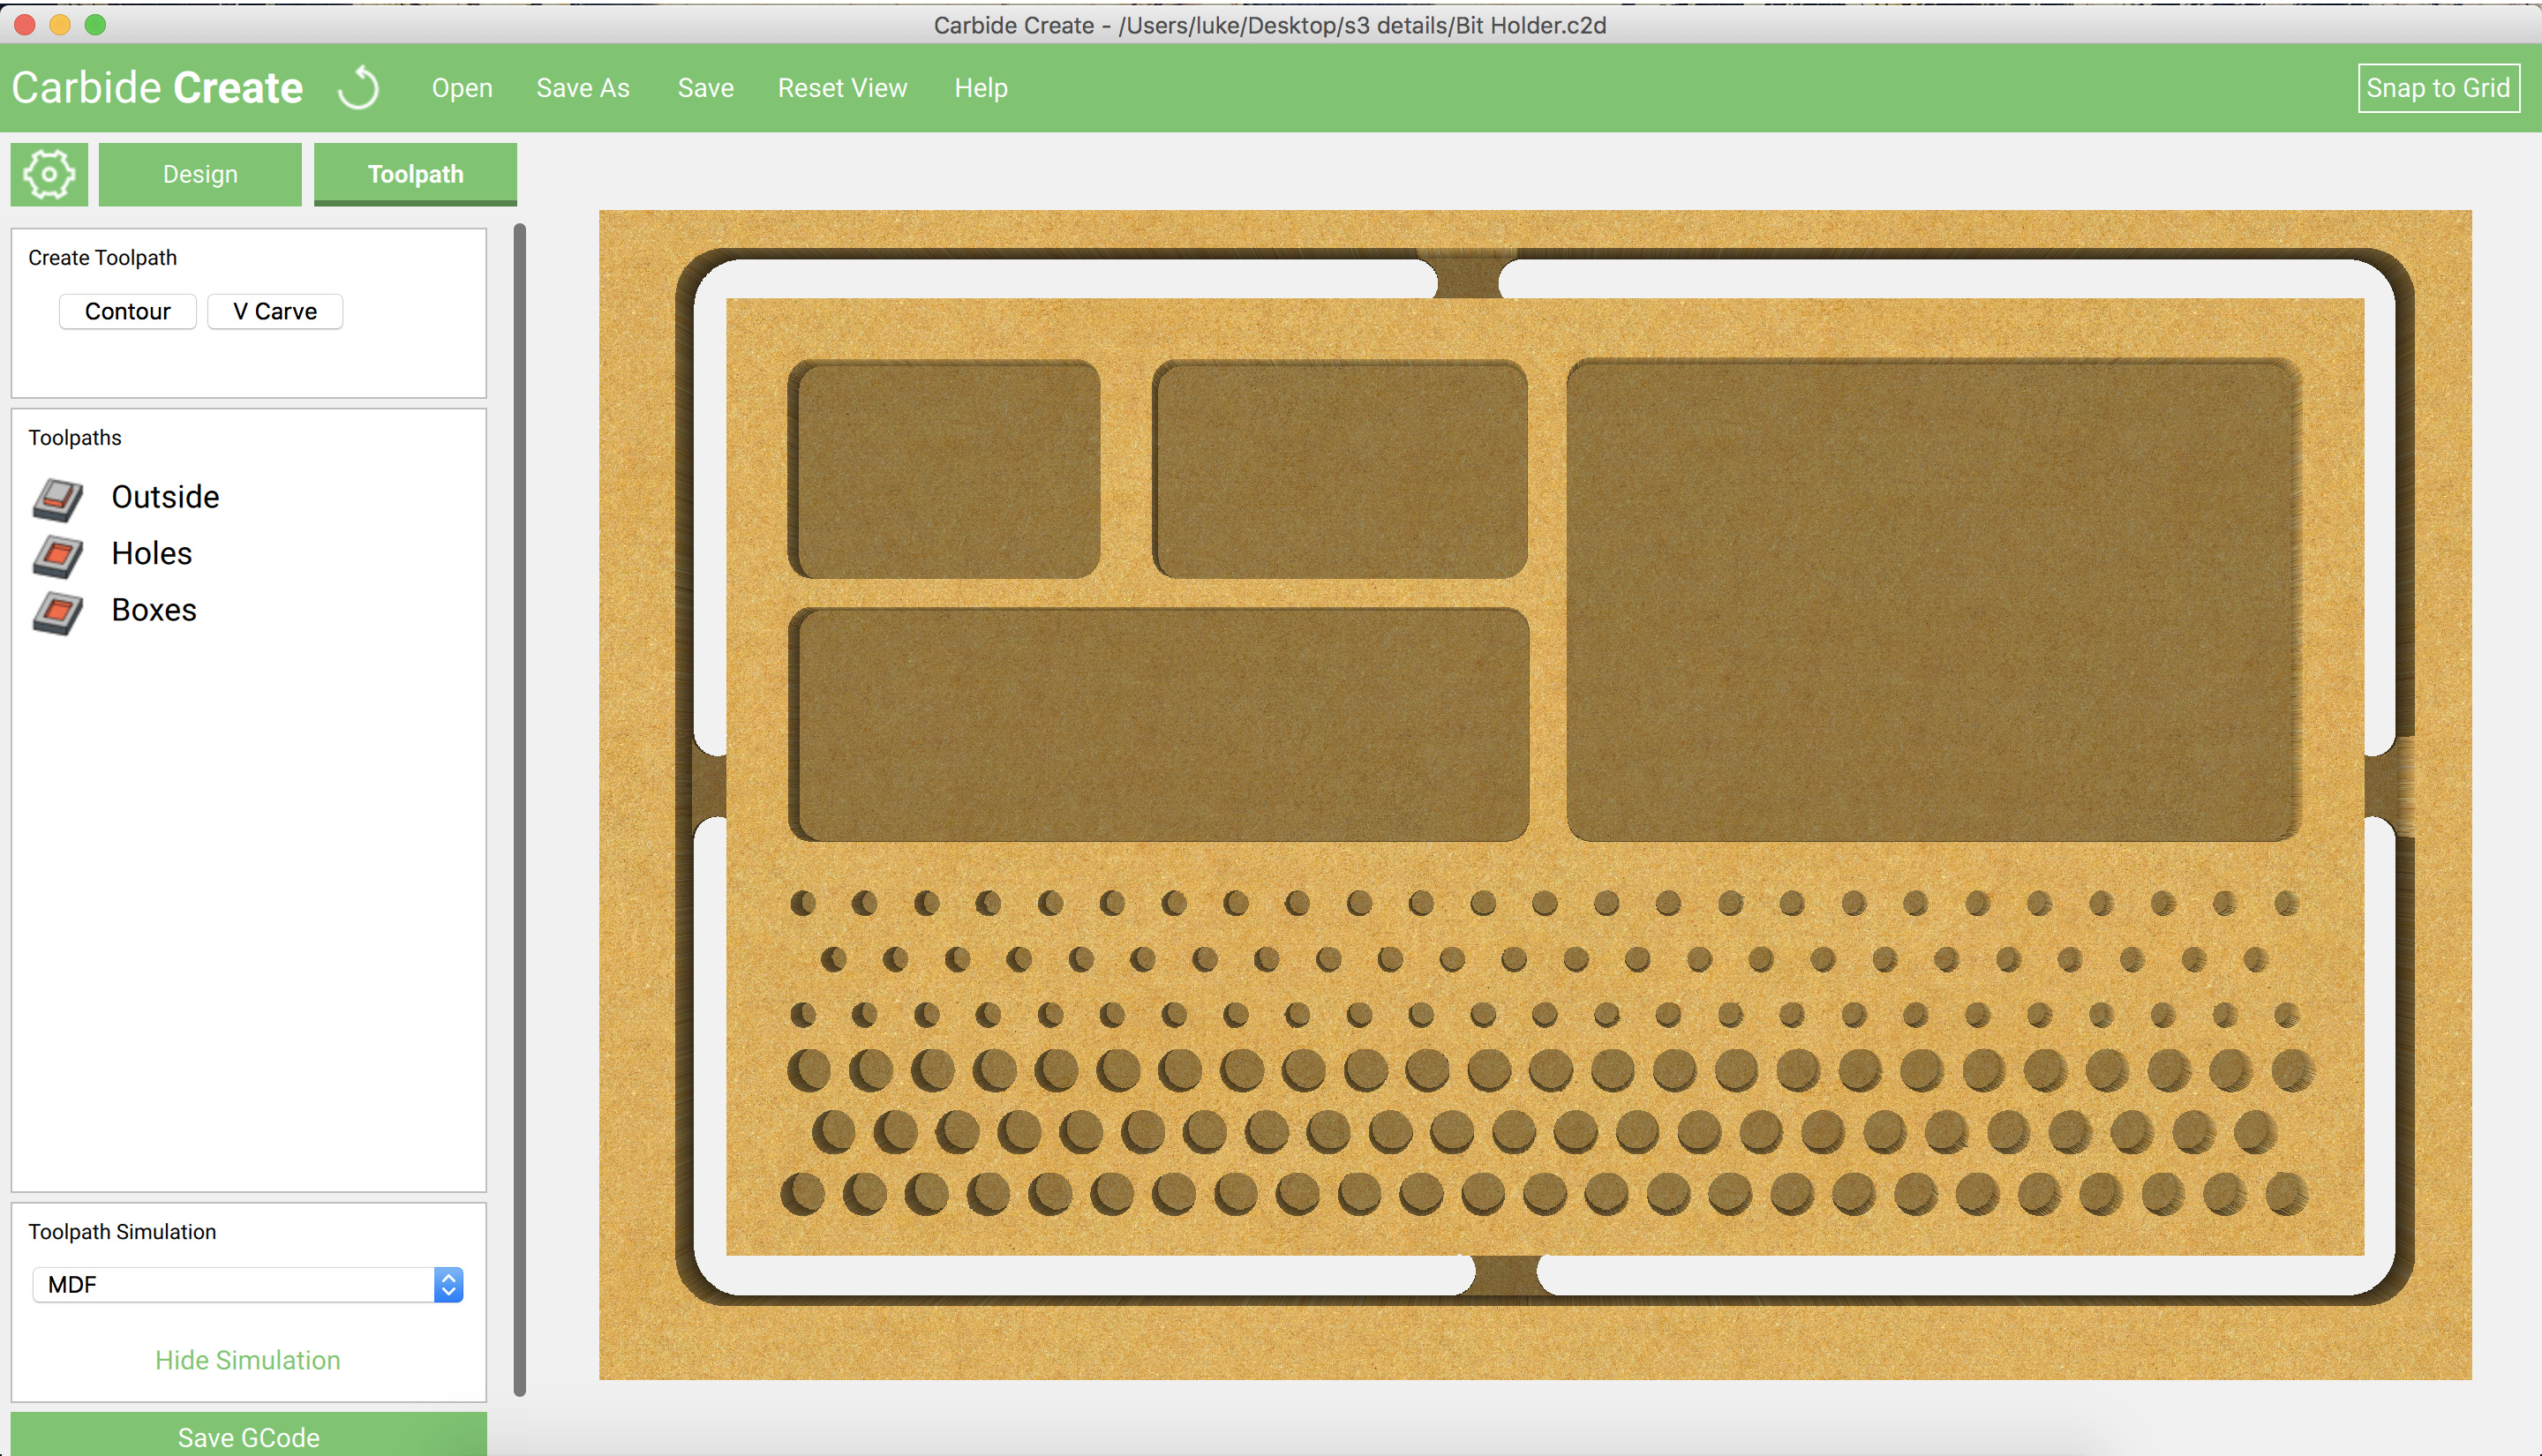
Here is my bit holder. It accommodates both 1/4, 1/8 & 1/16 bits and lots of them. Whilst it’s not the most interesting accessory it is functional and I made mine out of scrap black walnut, that I glued together, then planned flat. It has a wonderful colour and texture that I can’t get to show in the photo.
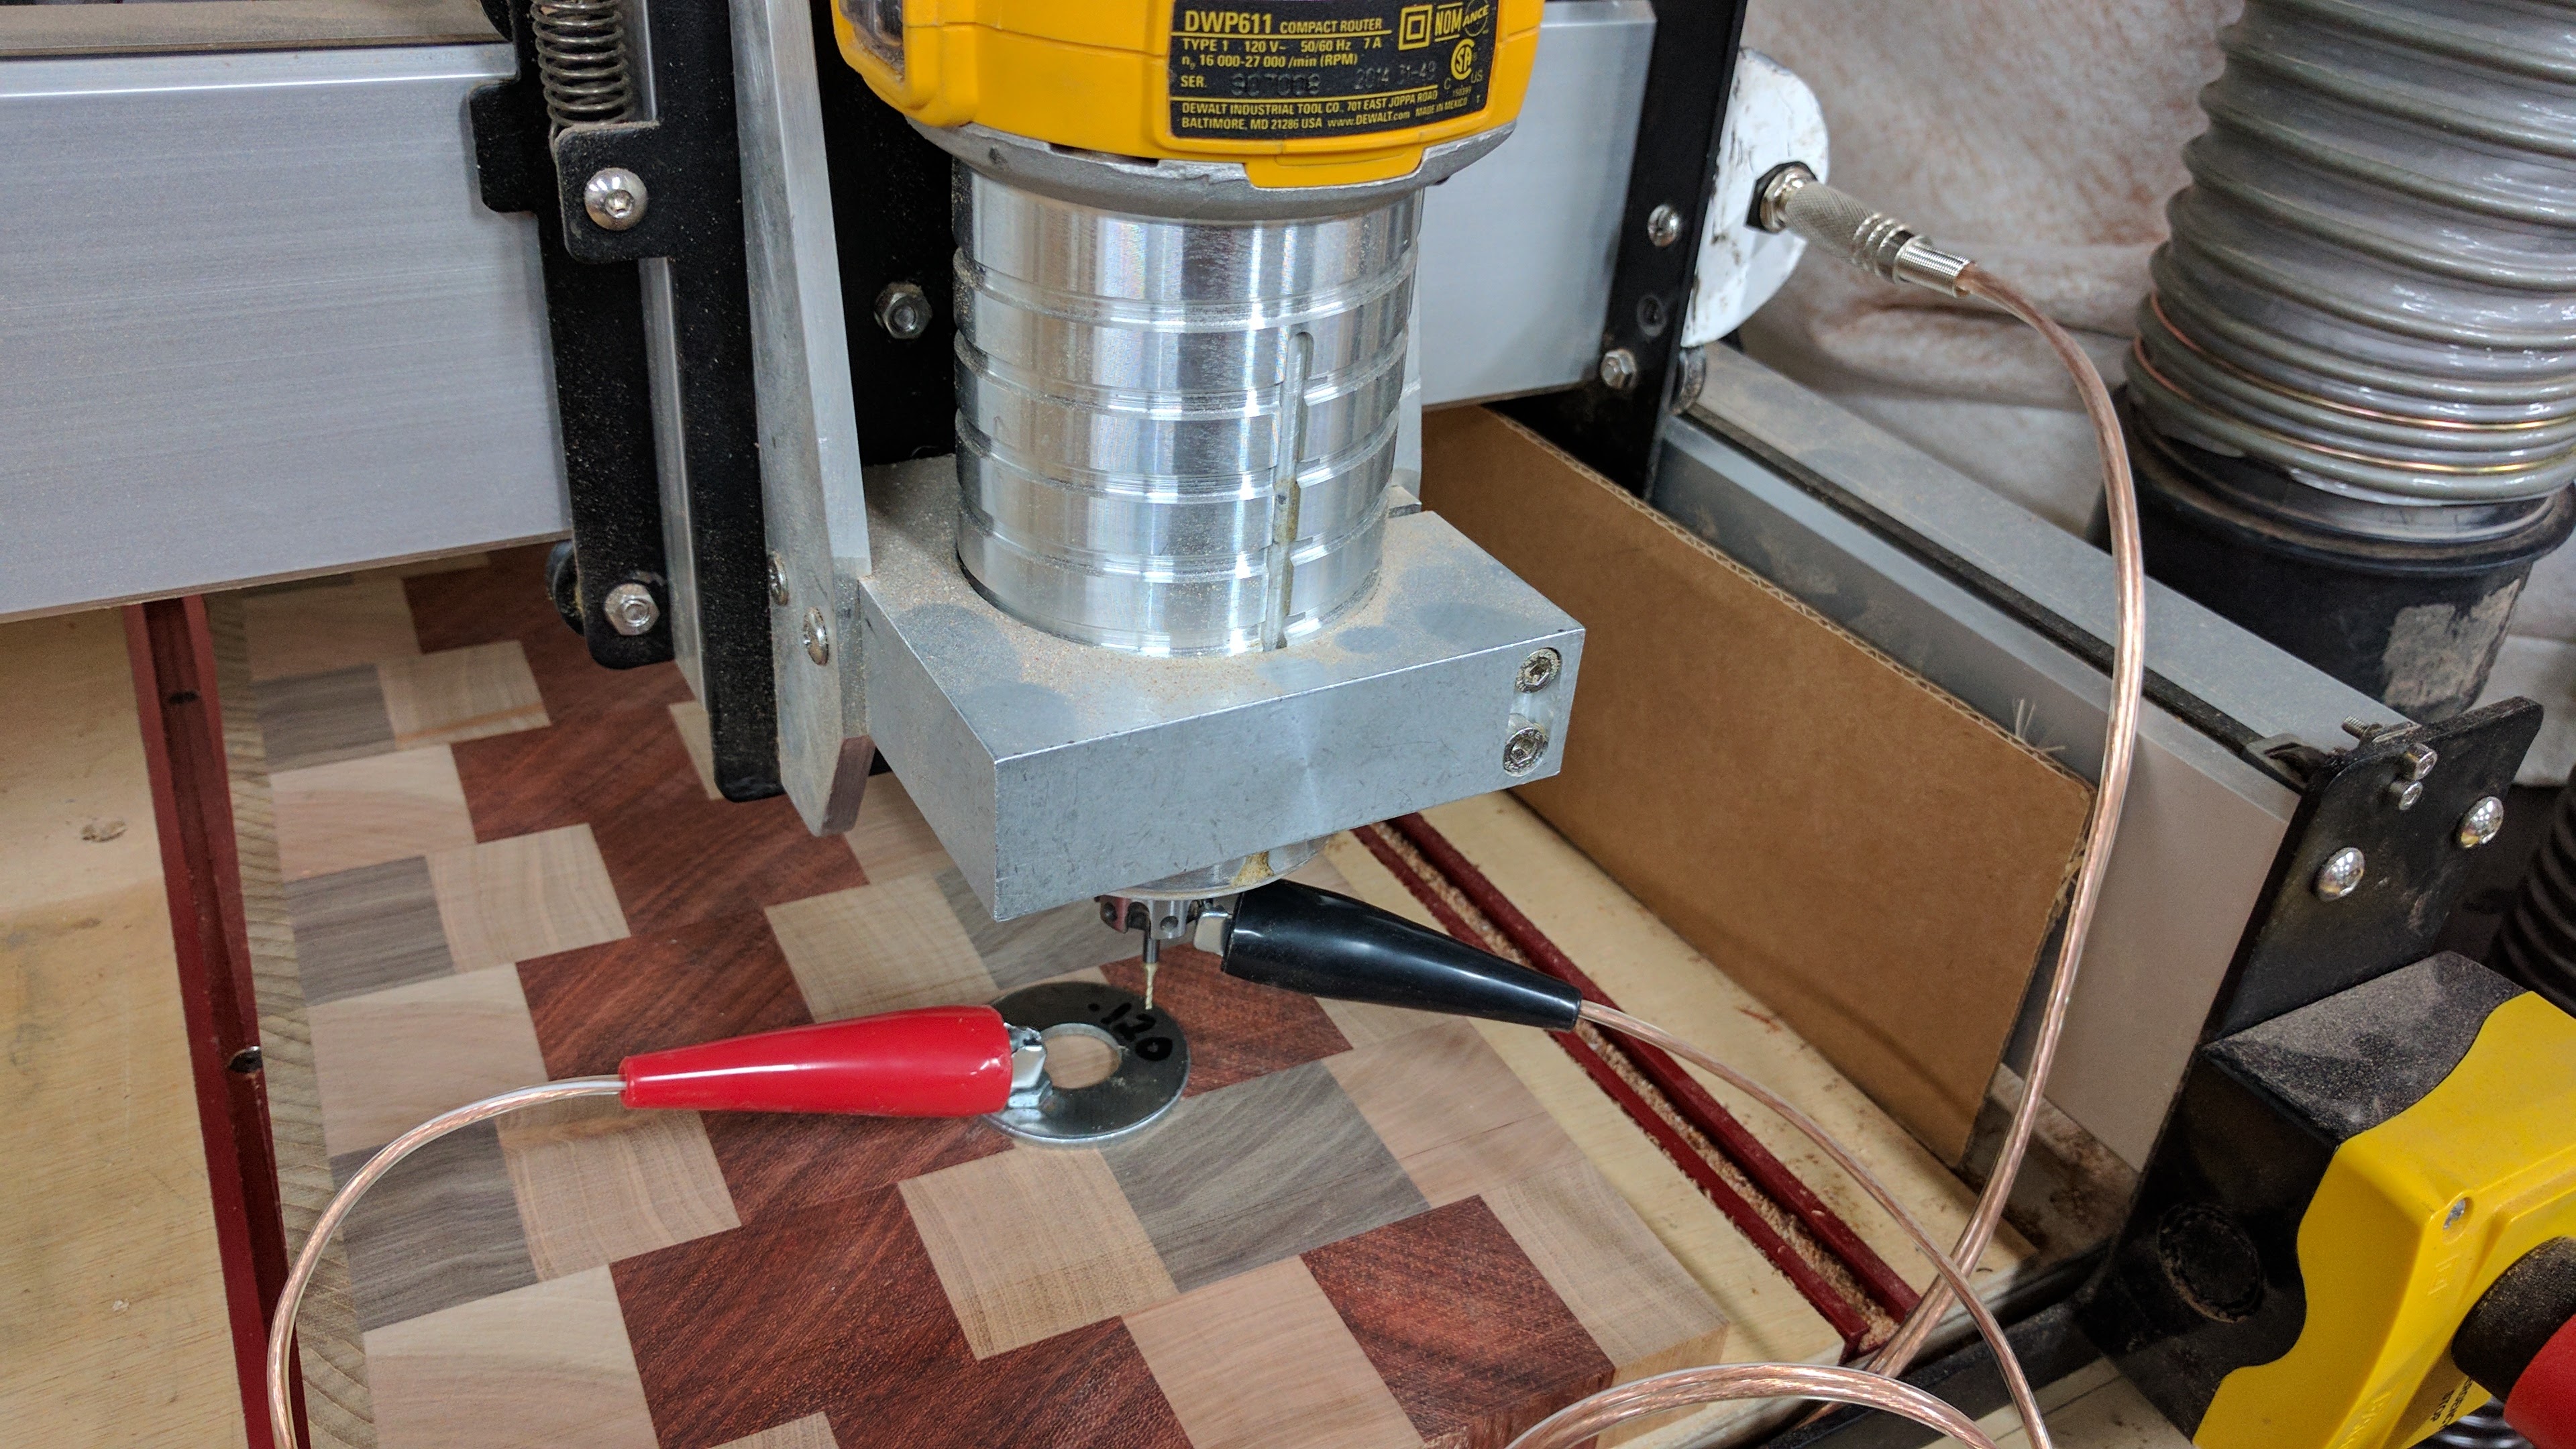
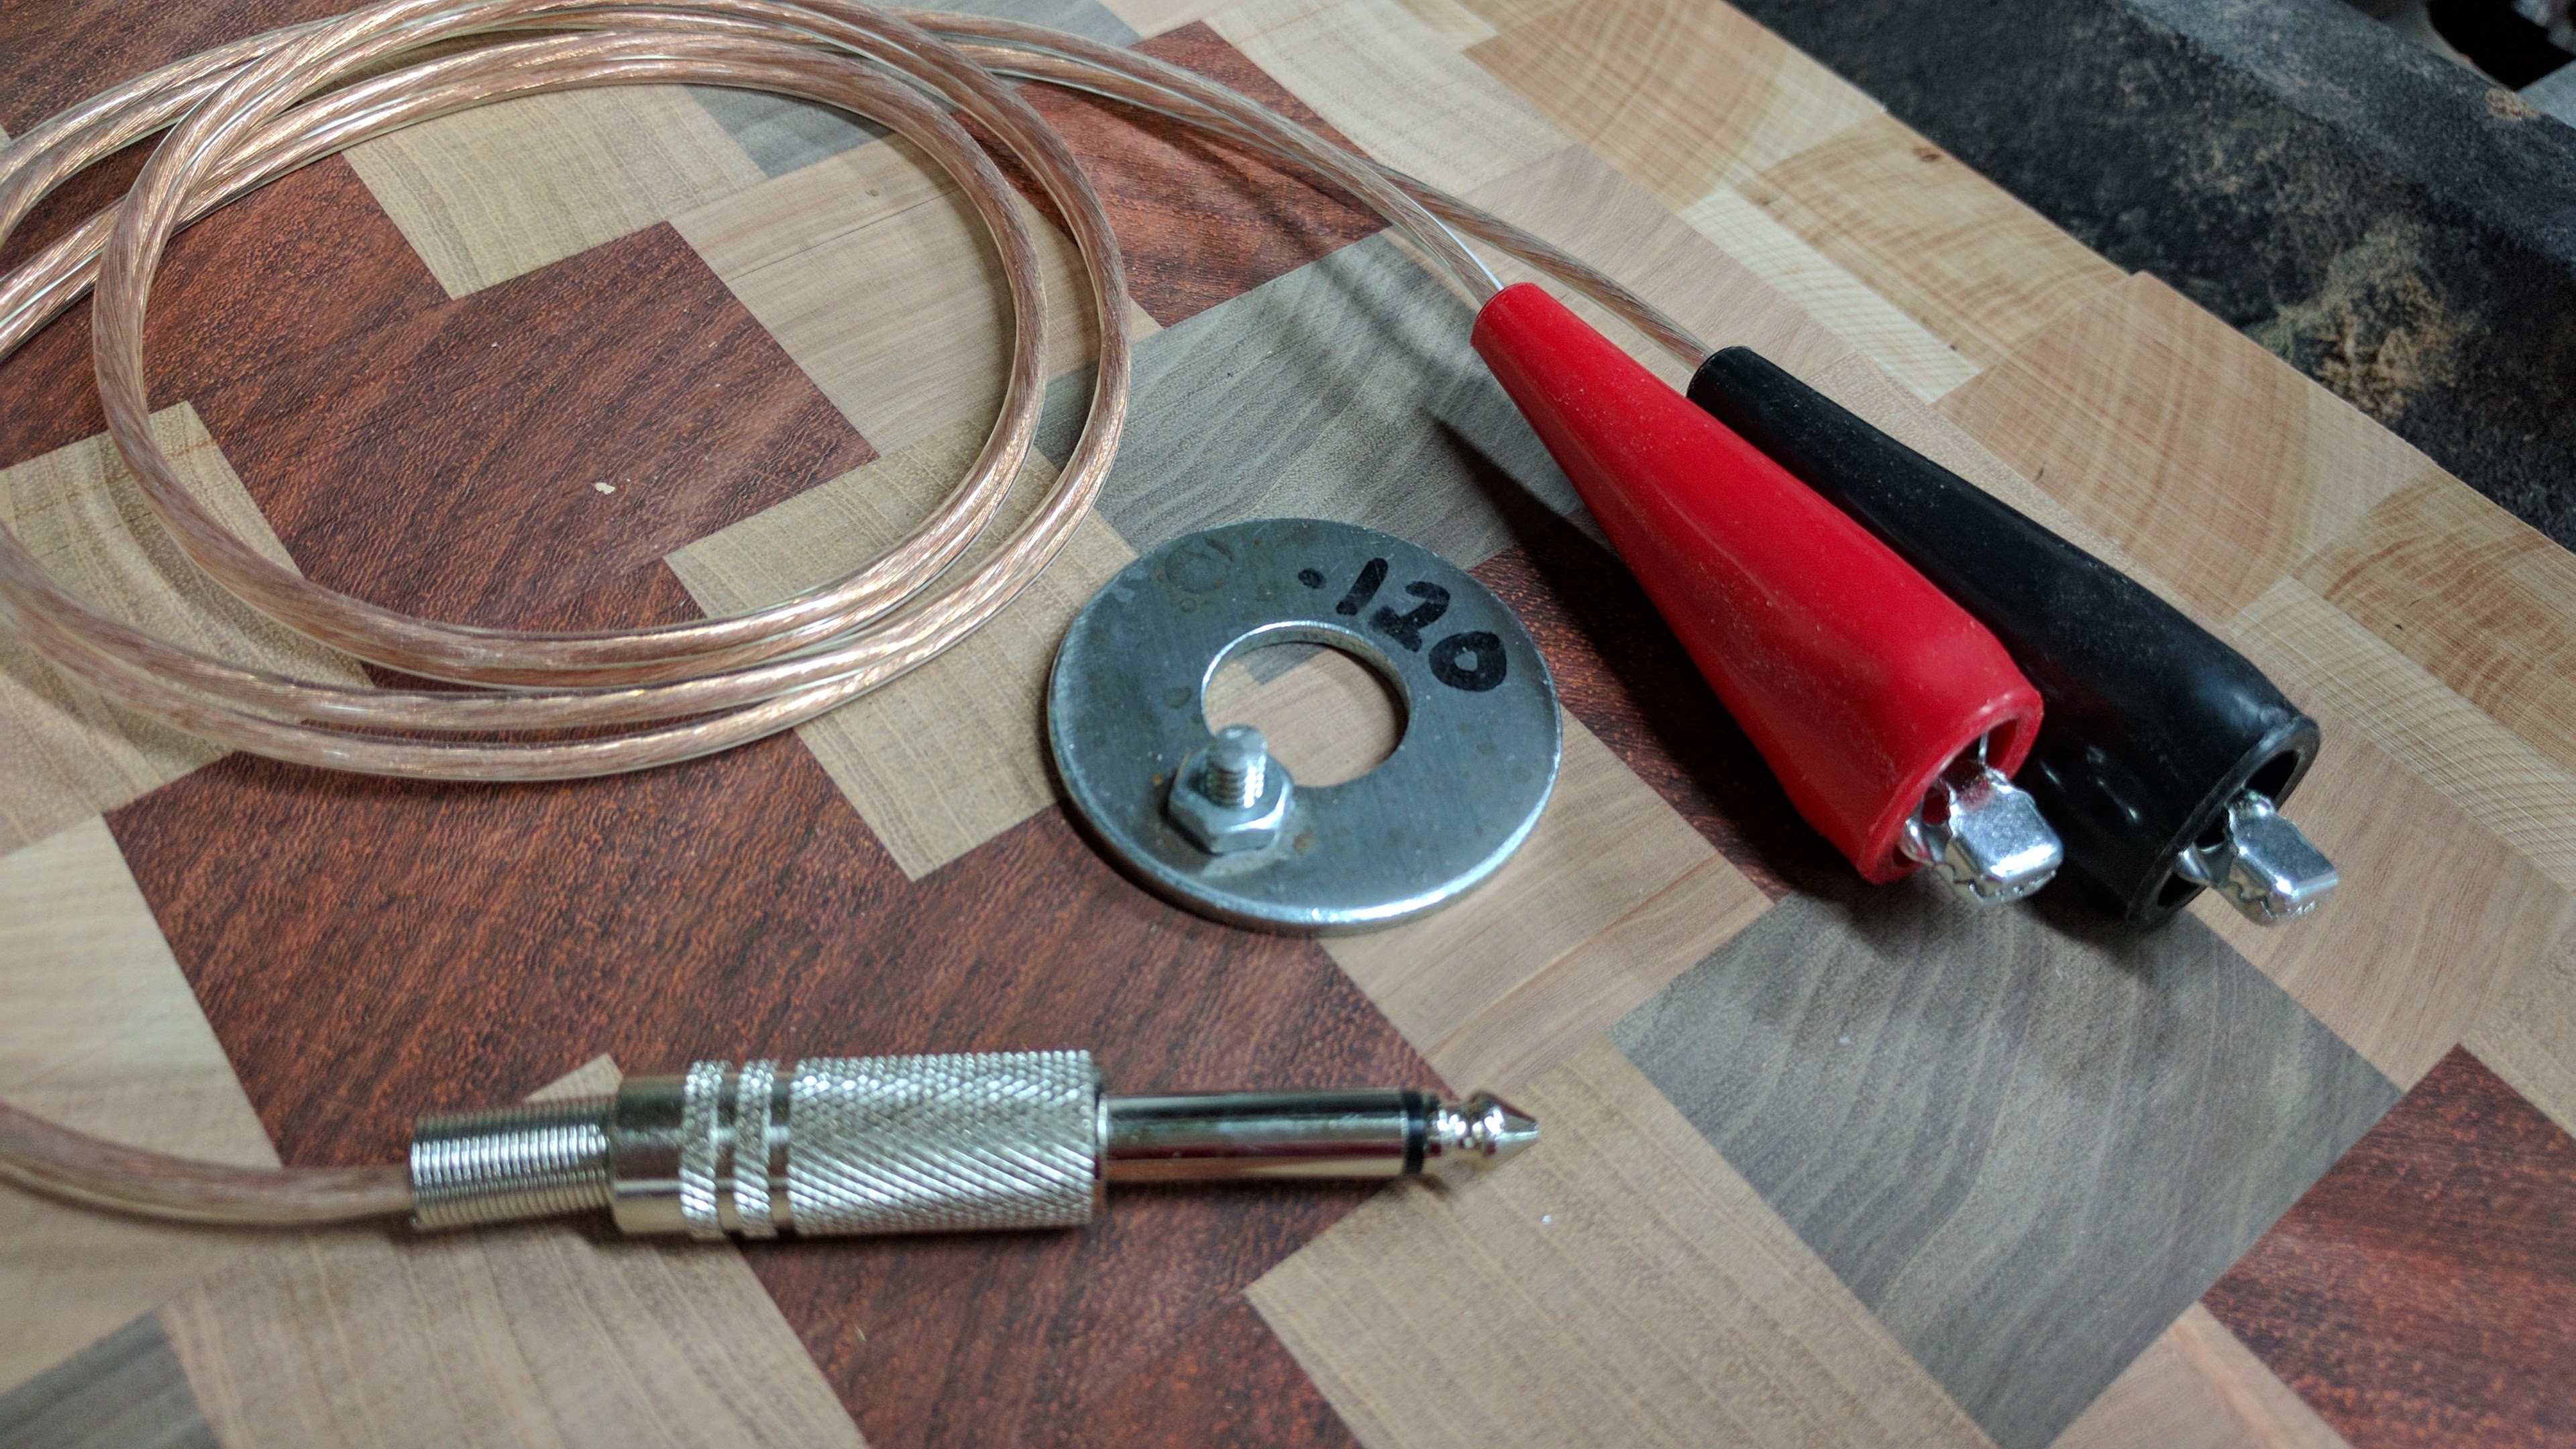
I created a Z-probe accessory for my Shapeoko. I ground a large washer flat and countersunk a machine screw for something to clip to. Then mounted a 1/4" jack to the side of the carriage for a quick disconnect.
Ok, Luke is killing me in the Likes department, so I’m gonna have to pull something out…
Edward said accessories, but I don’t know if I actually saw the word “useful” in there anywhere, and I also saw post as many as I like, so here goes:
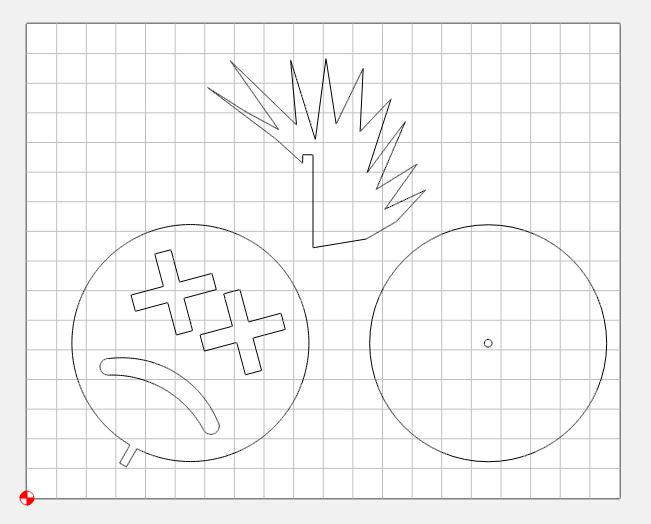
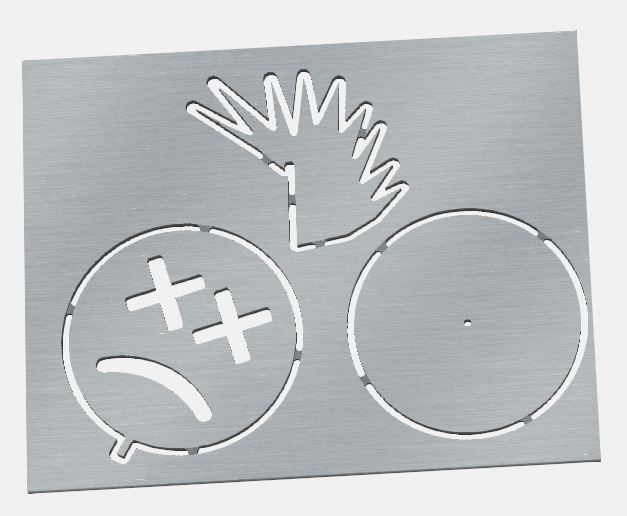
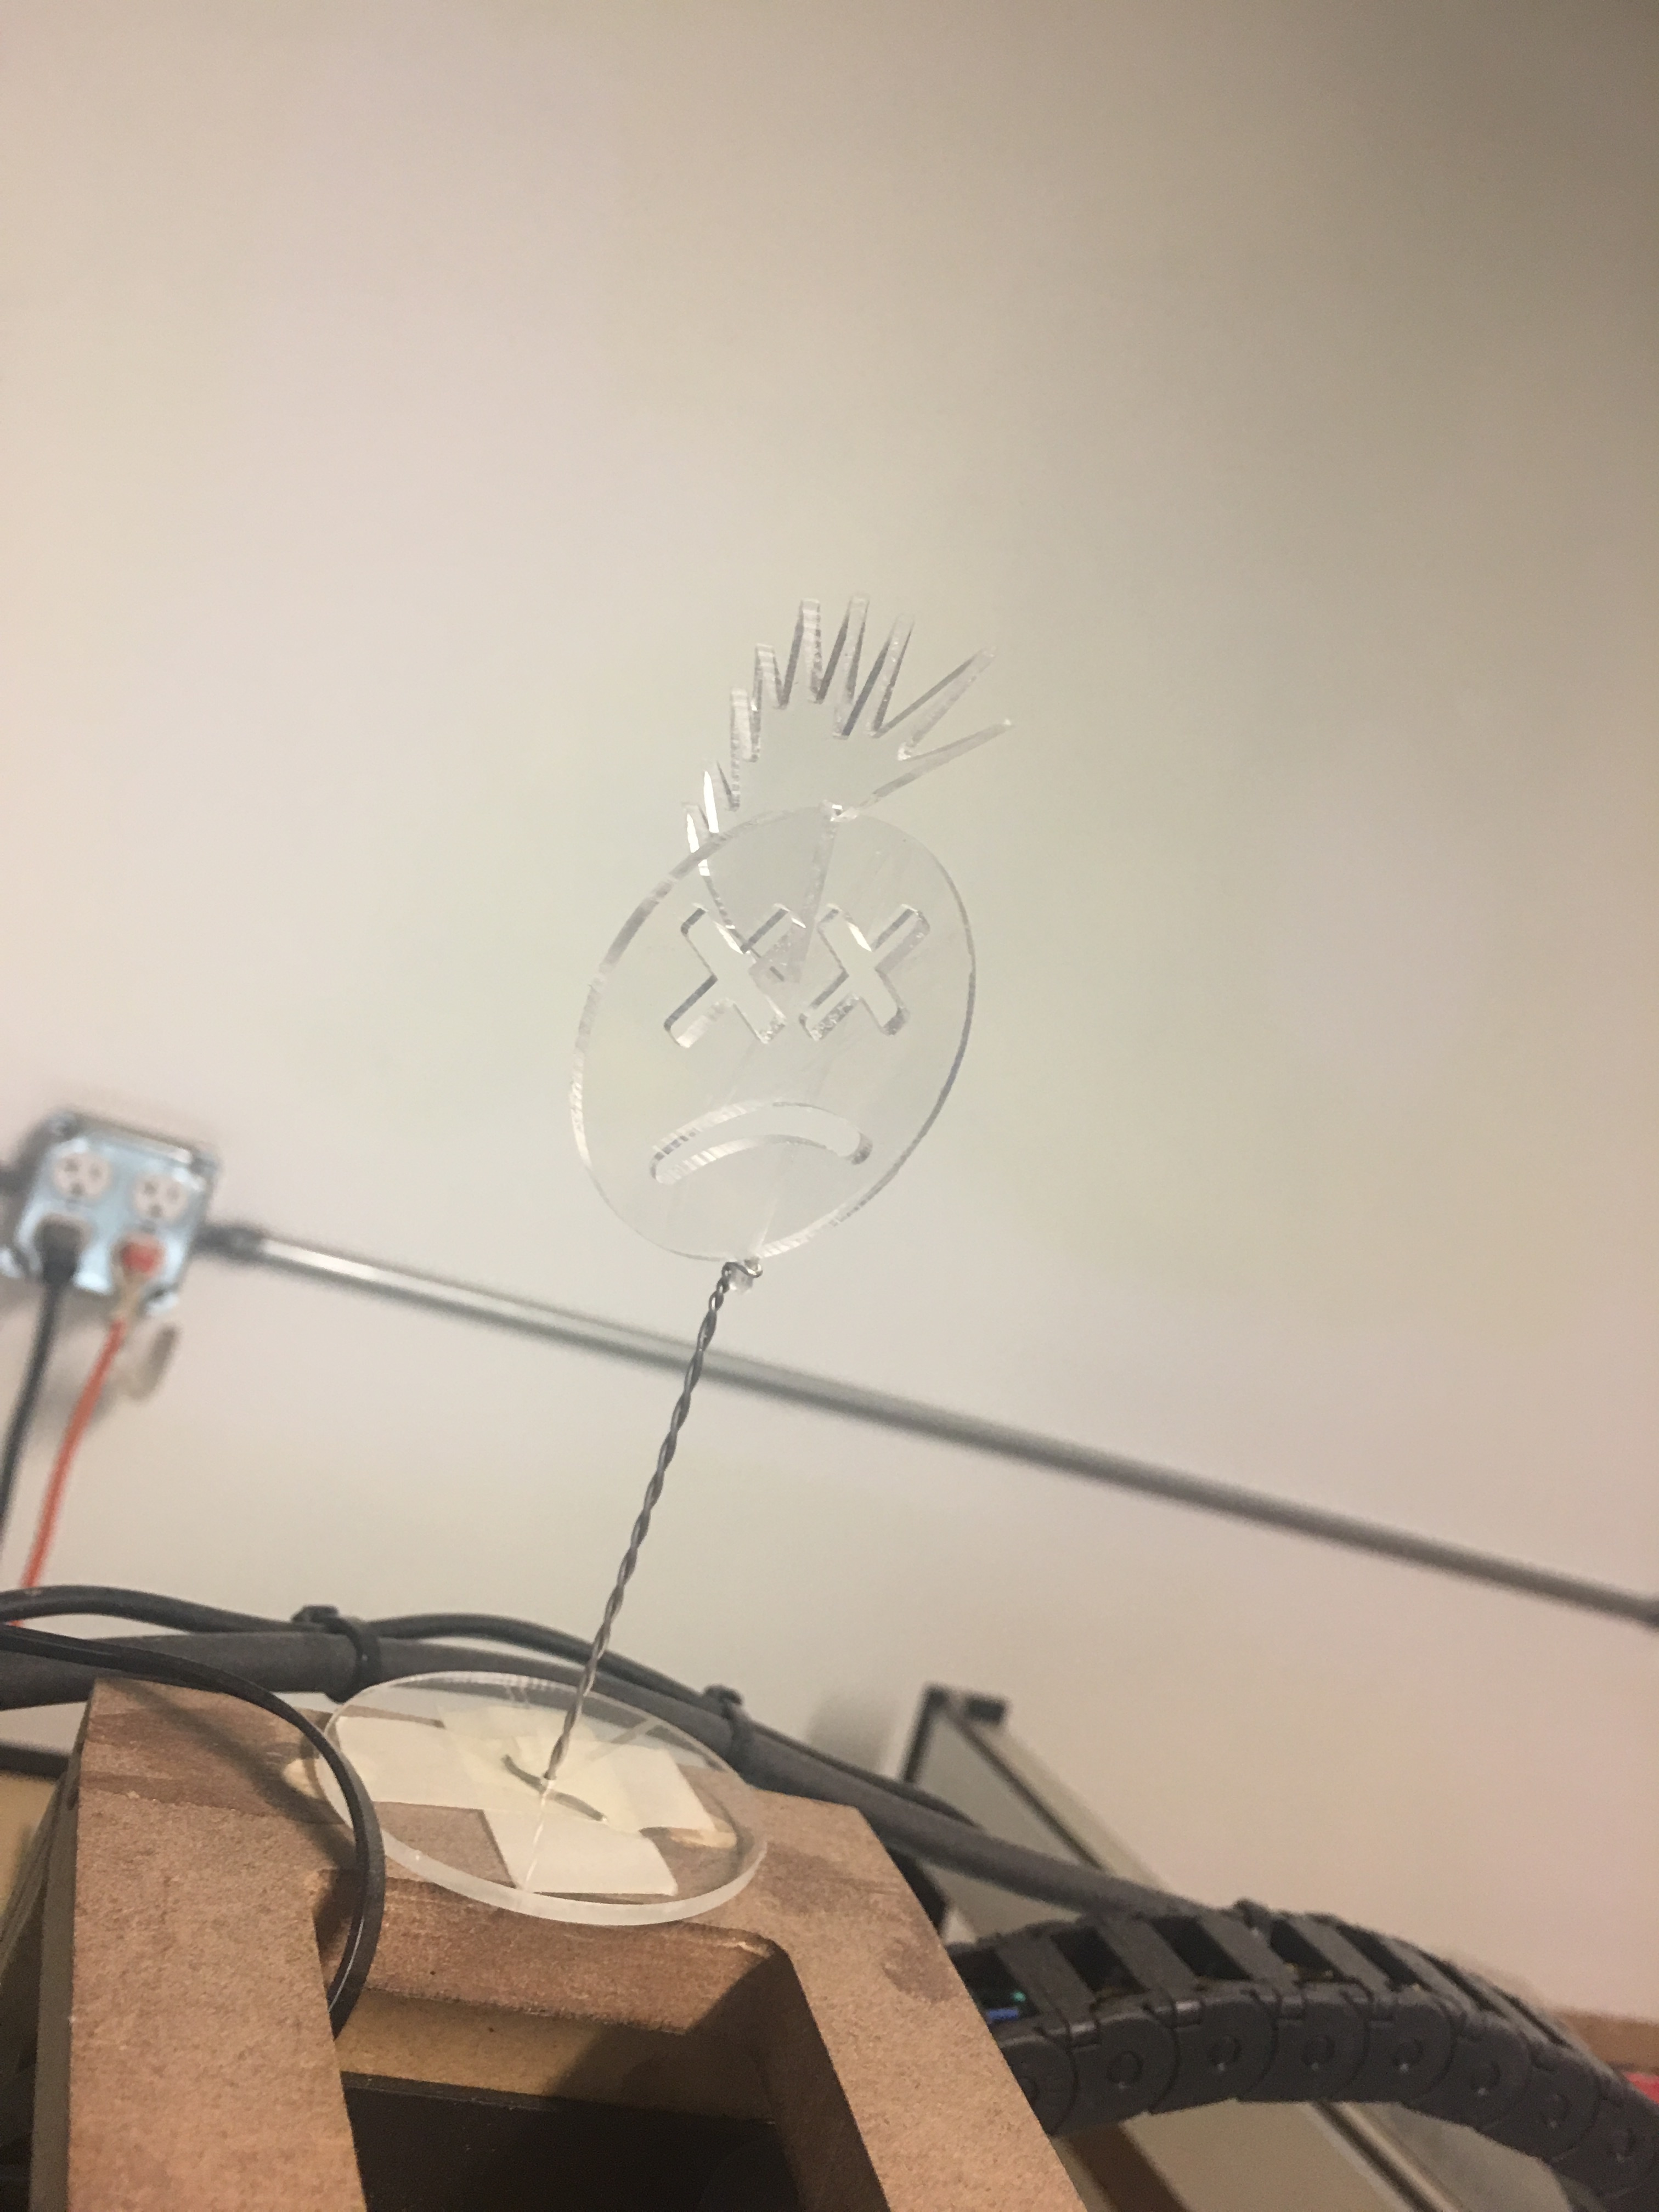
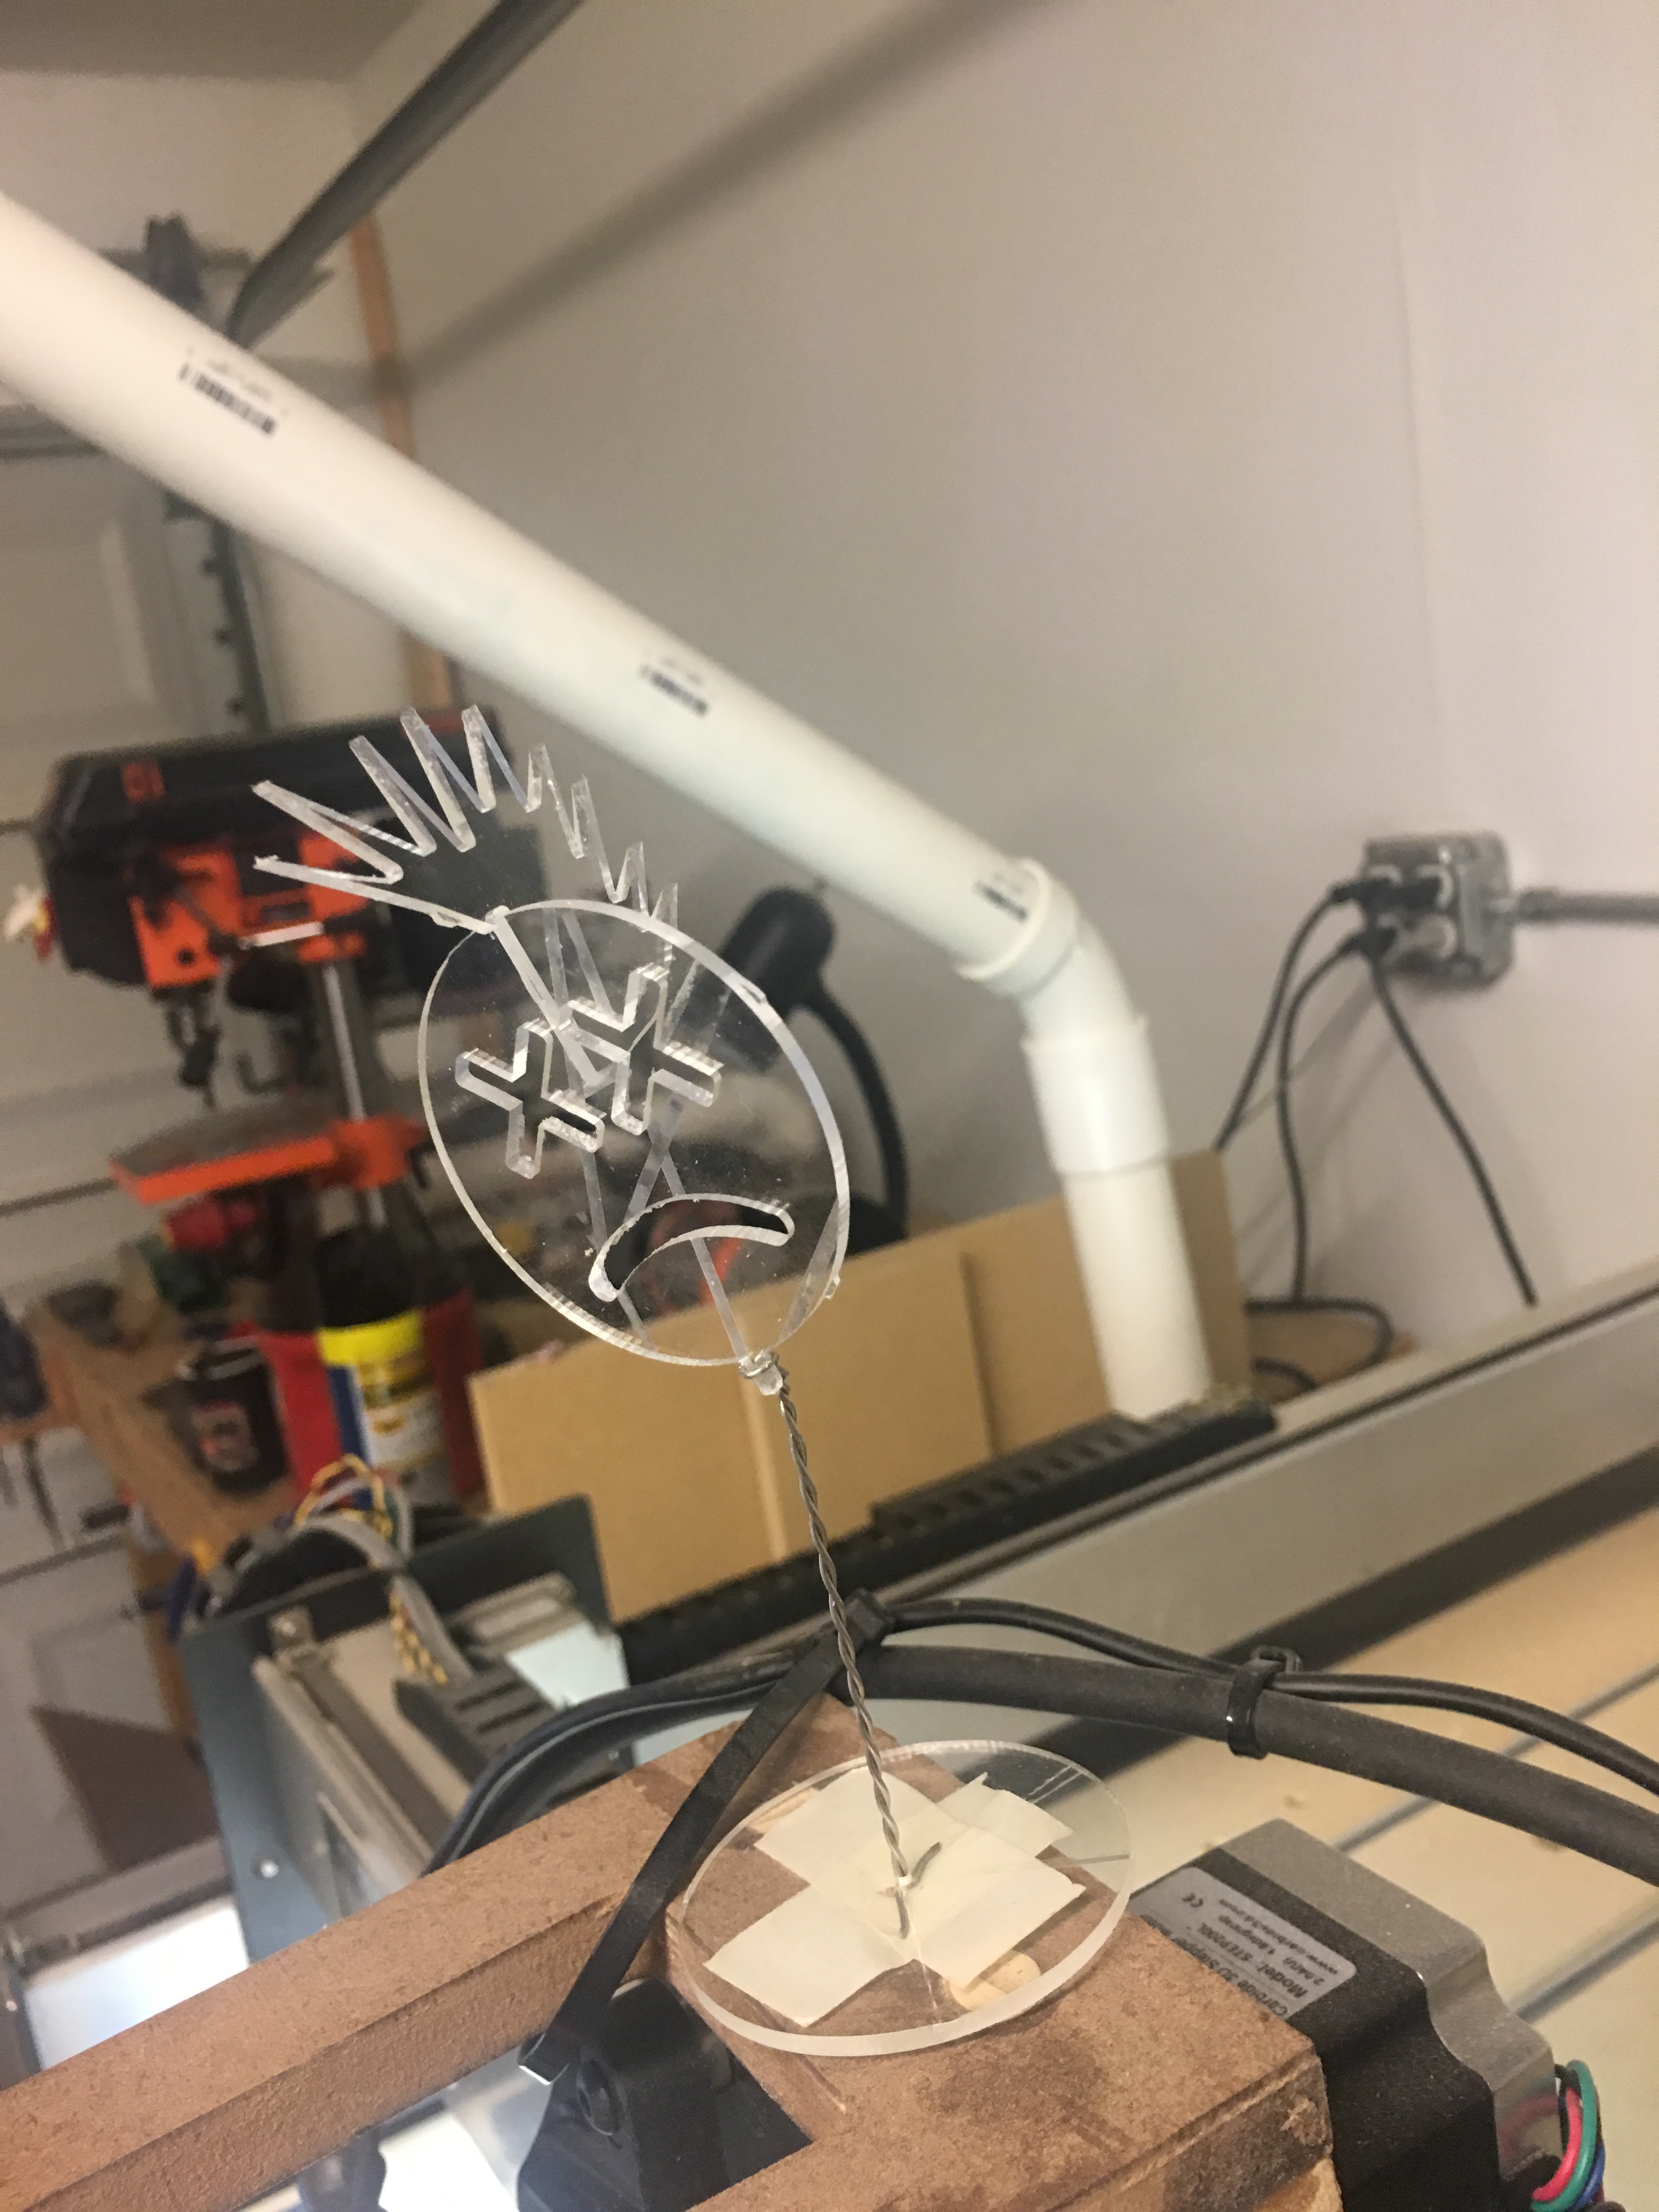
The Pat Splat CNC Enjoyment Boobblehead:
Materials:
1 small 6x5" cheap scratched up 0.087" clear acrylic I’ve been kicking around the shop for months.
about 8" of 0.040" safety wire, twisted with a loop on one end (tried using a pen spring but it wasn’t strong enough)
2" of 1/2" wide double sided tape
End mill 0.0625 flat
Feeds and speeds: 54ipm feed, 24ipm plunge, 0.010" DOC, router at about 23,000RPMs (I use a SuperPID, but I think that’s 4 1/2 on the dial).
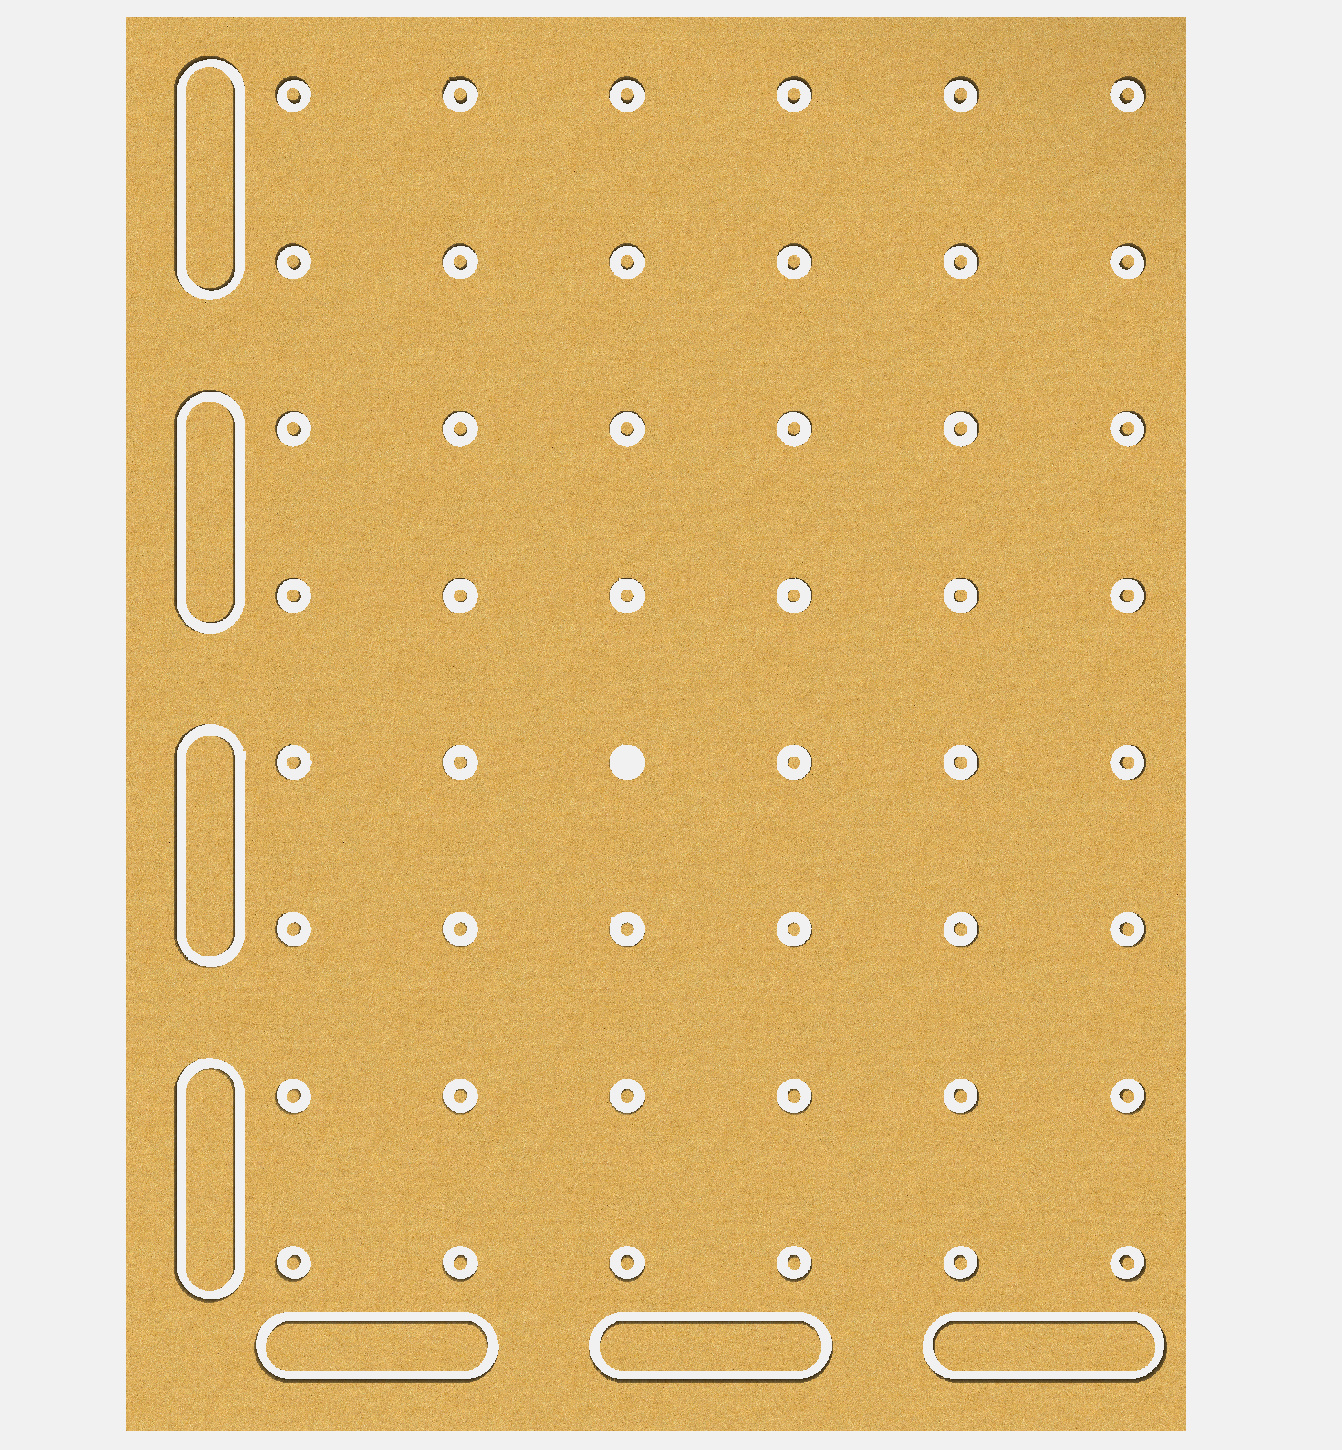
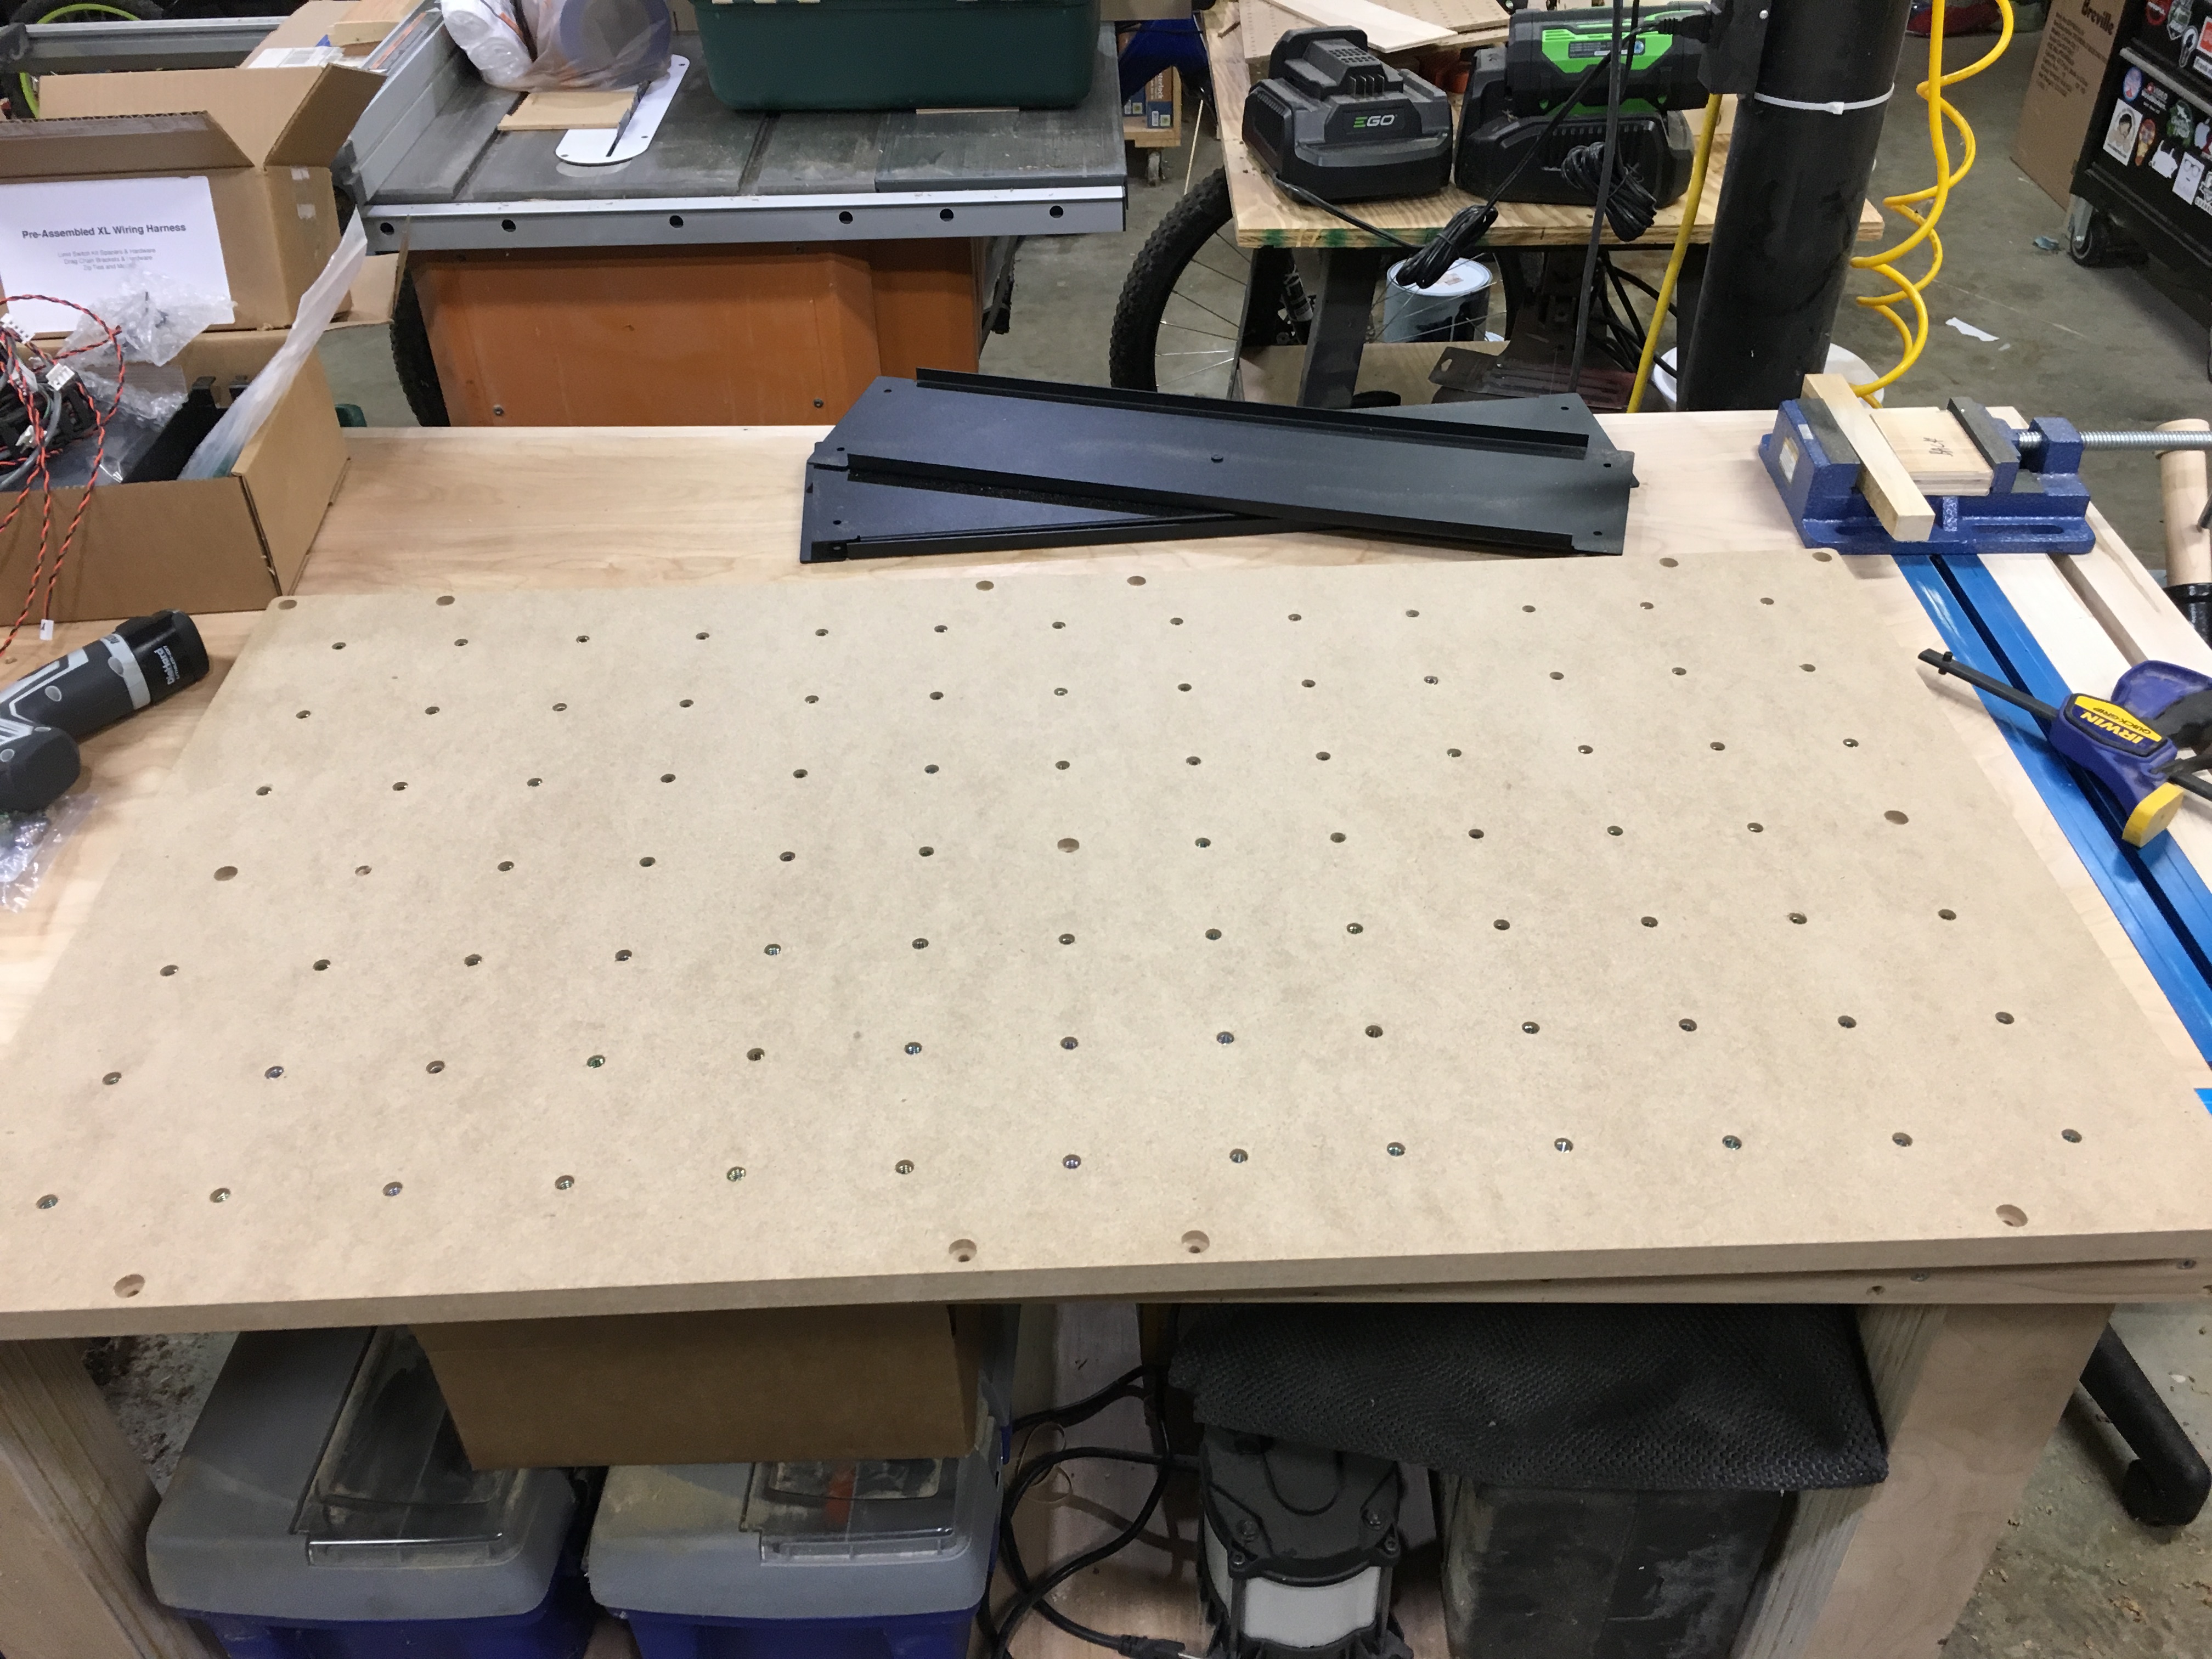
I recently made a clamping table that can be used with saw horses. The holes are just over 20mm to accomodate festool style clamps and dogs in the holes. The holes are spaced 96mm on centre, and the larger holes allow for bigger clamps to attach the table top to other surfaces.
I’m going to throw another couple in there - I love an aluminium project.
As many might know I made my own aluminium bed (shipping from the US to UK wasn’t economical) - there are some designs floating around that I made with the help from @WillAdams who gave me the dimensions.
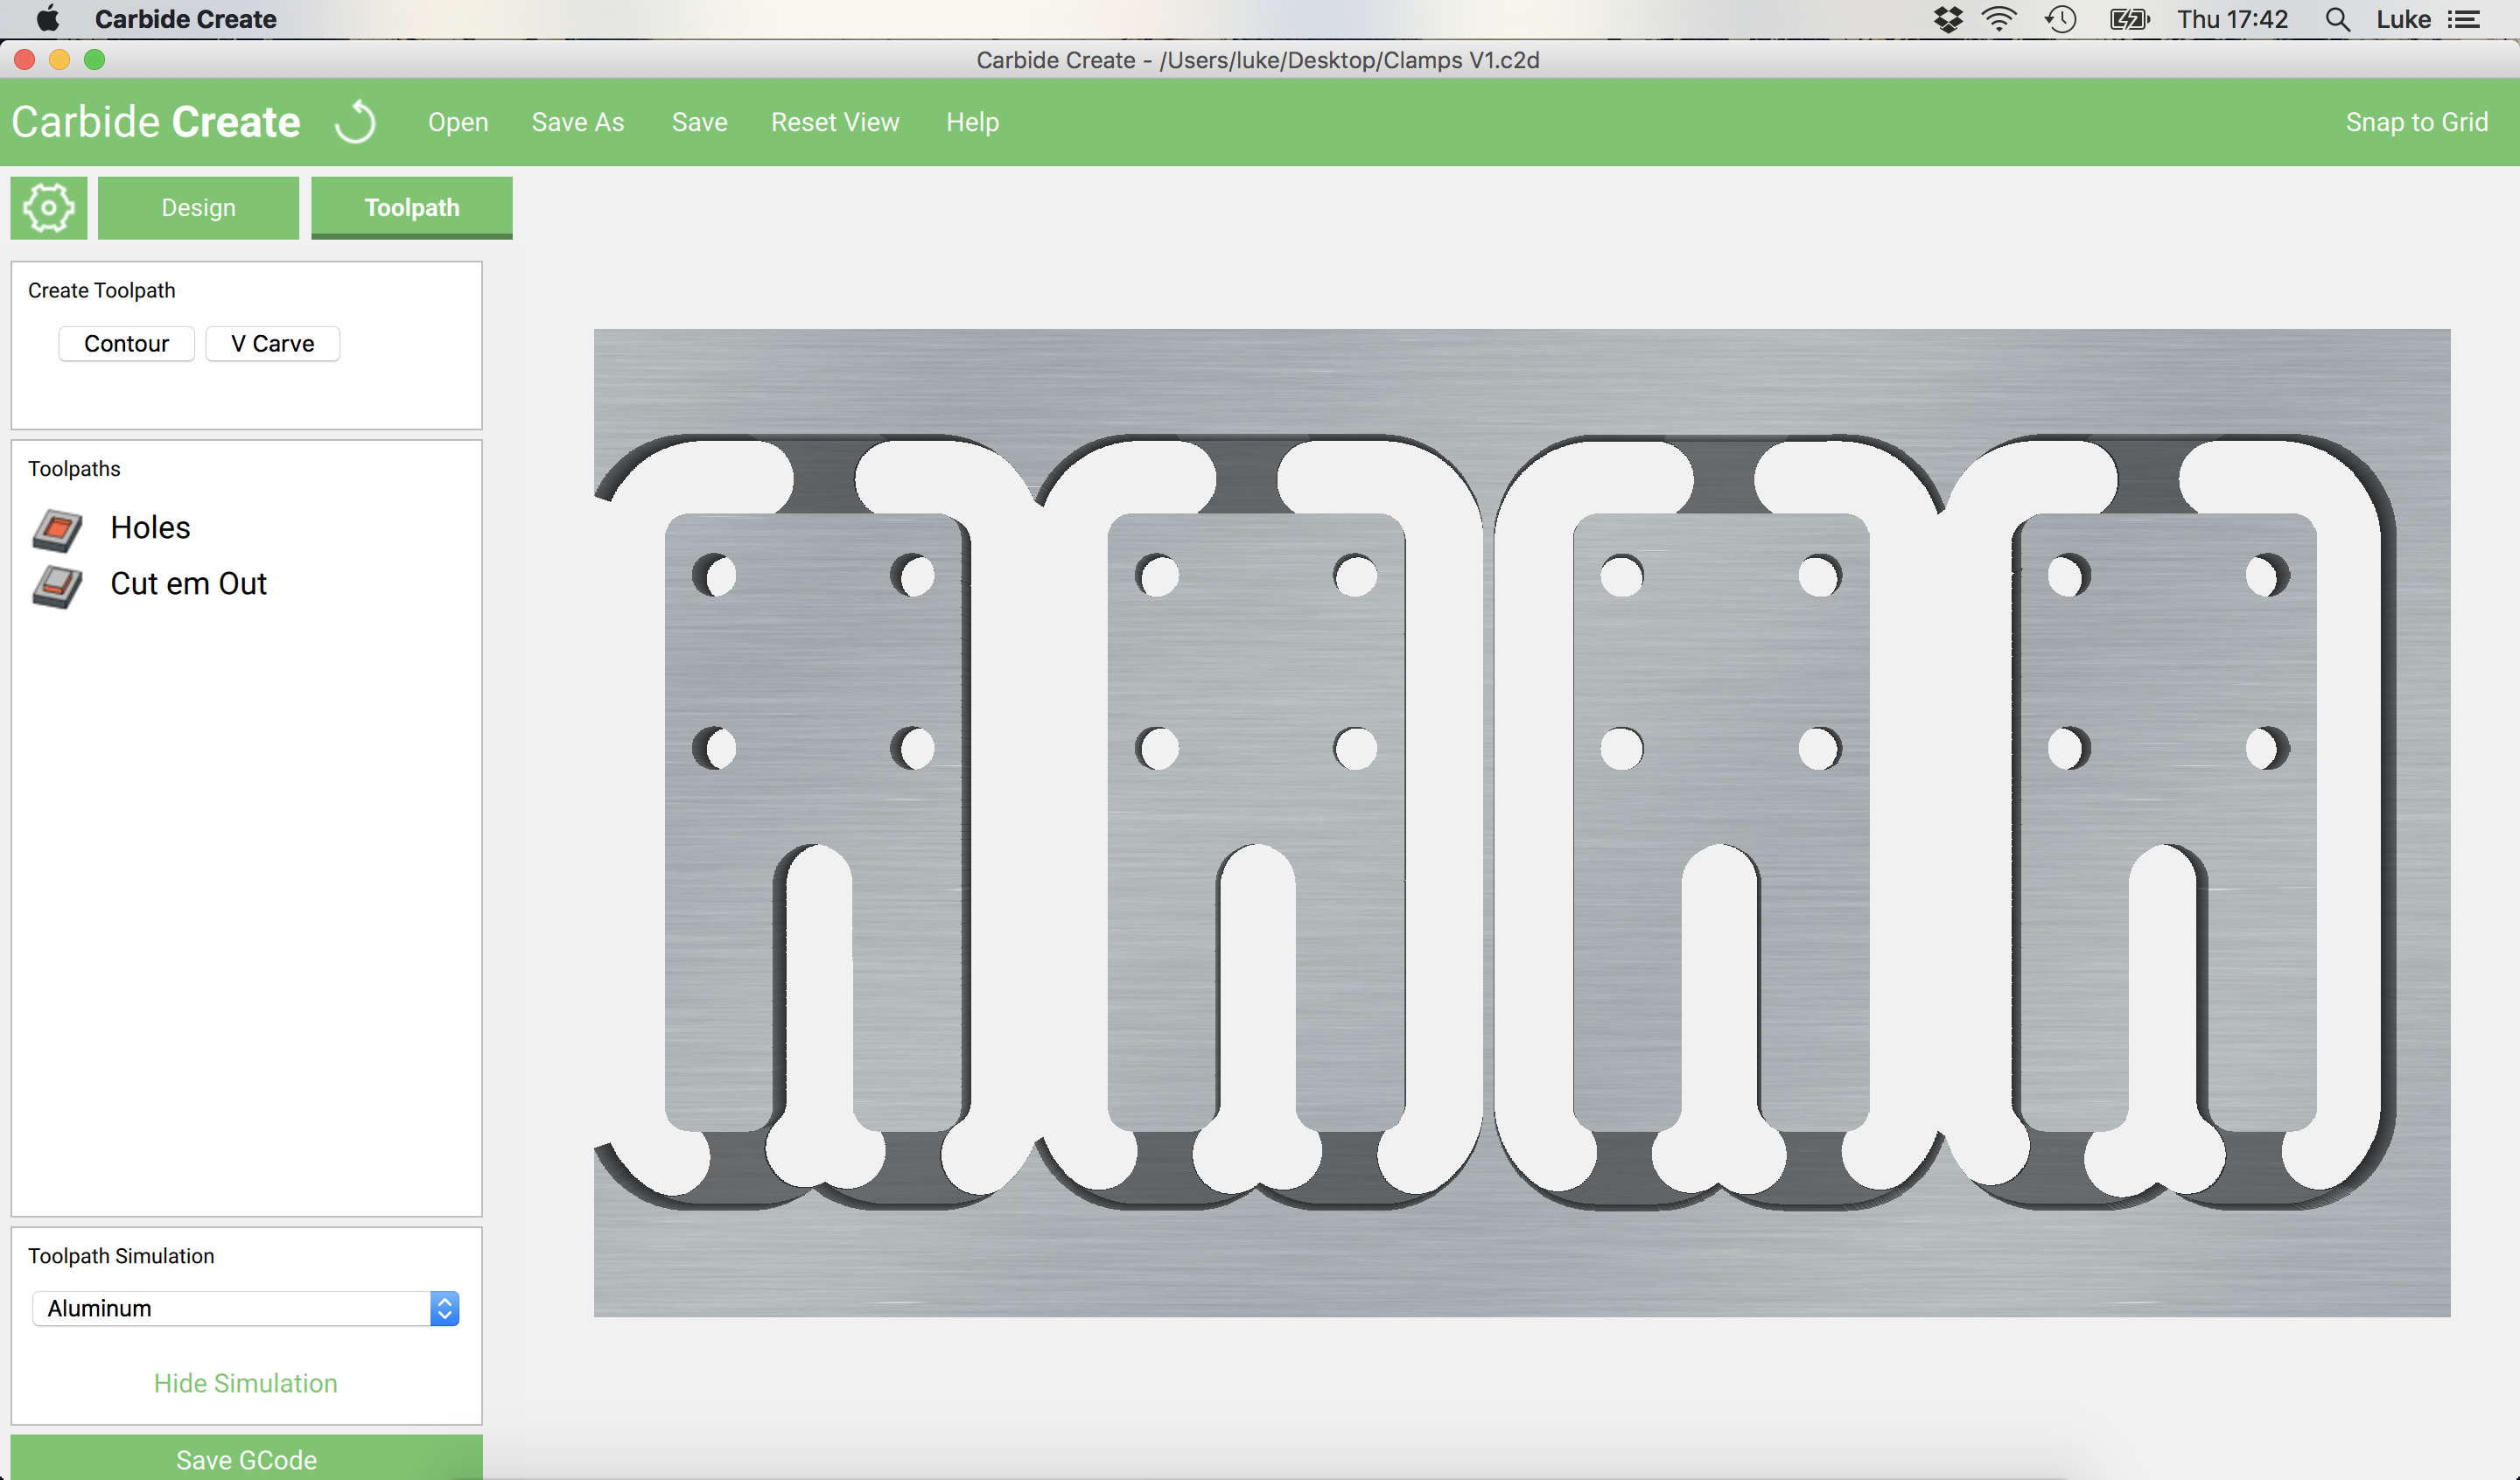
After knocking up my aluminium bed I needed some decent clamps that will hold down almost anything. I know you can buy some pretty decent ones in America, but making my own seemed like a fun project.
I wanted a quick release clamp that allowed me to work on thin wood for a sign project and others that would cater for some heavy duty aluminium milling.
First came the quick release wood clamps - you can get these handy clamps online and some come with bases - but they didn’t fit my table.
I came up with the below - Using quick release clamps bought on ebay
As you can see it’s a half H shape and the screw is at the back - these allow me to mount to my table using small M5 bolts. The clamp can then be adjusted to accommodate work from under 1mm all the way up to around 18mm by winding up/down the screws - note how the nuts look a bit gummy? Thats epoxy resin… As they use quick release clamps I can quickly mill wooden signage quickly and repeatably and the extensions of the H allow for flexibility on stock size.
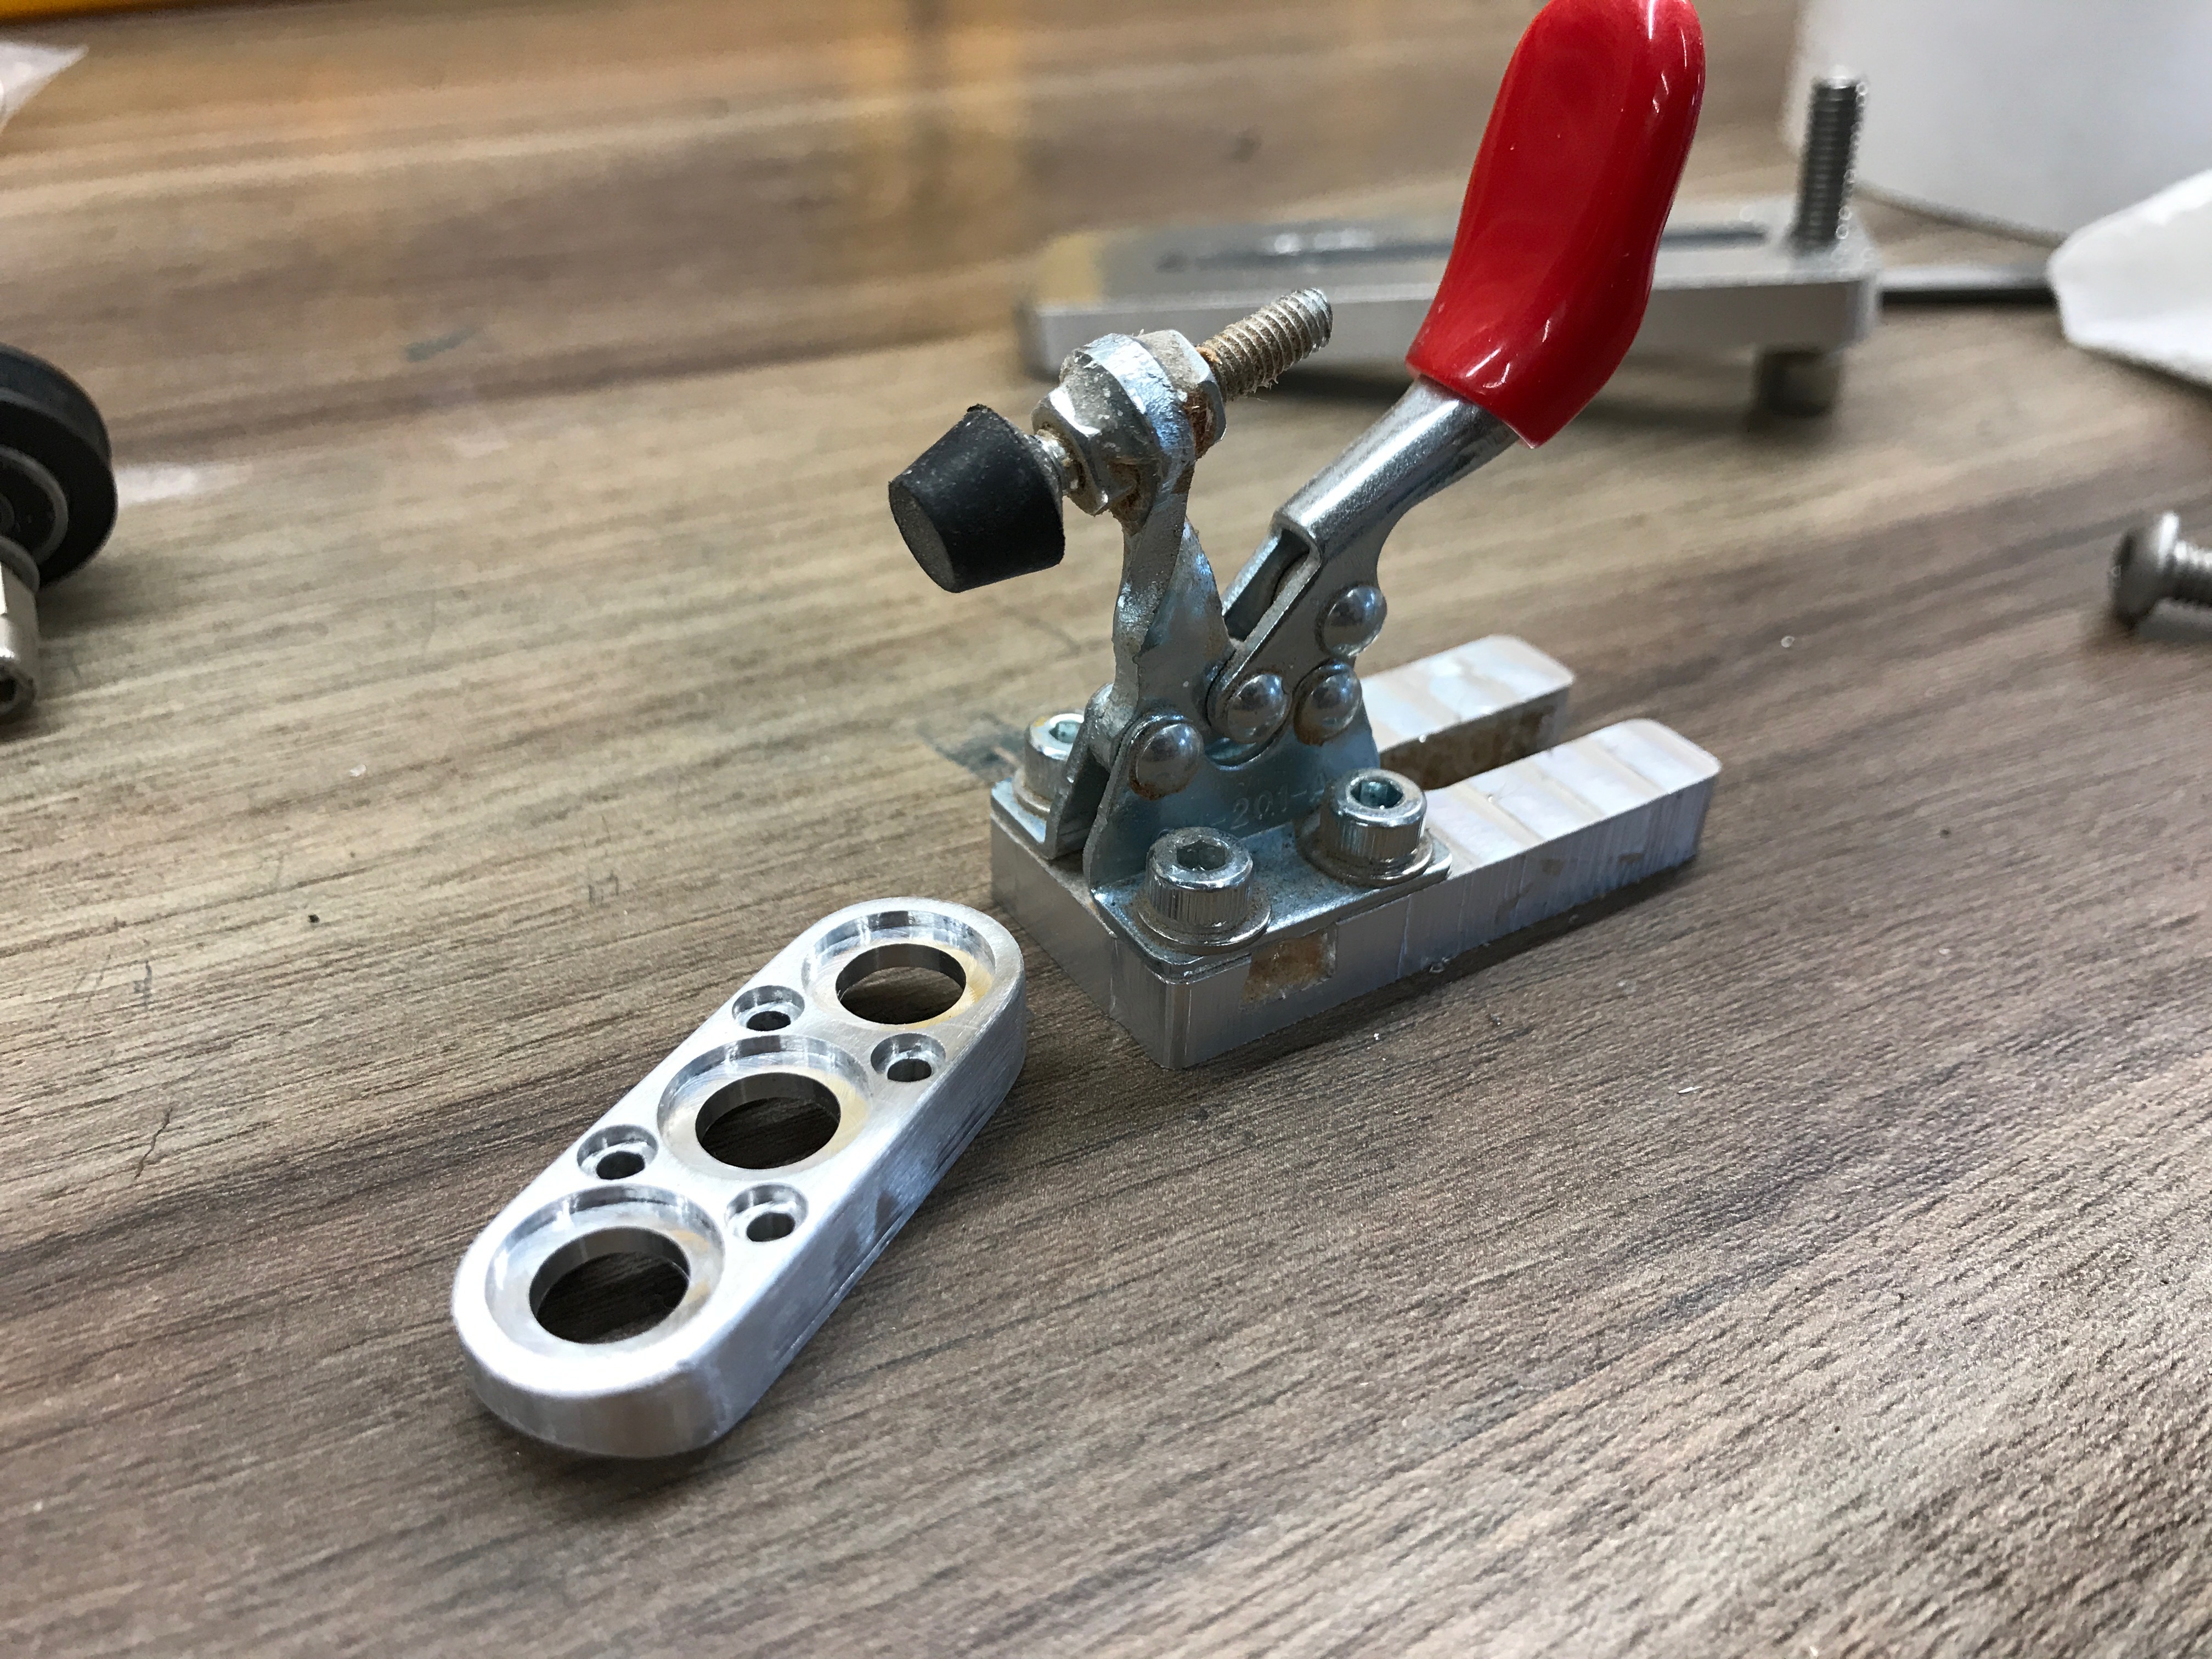
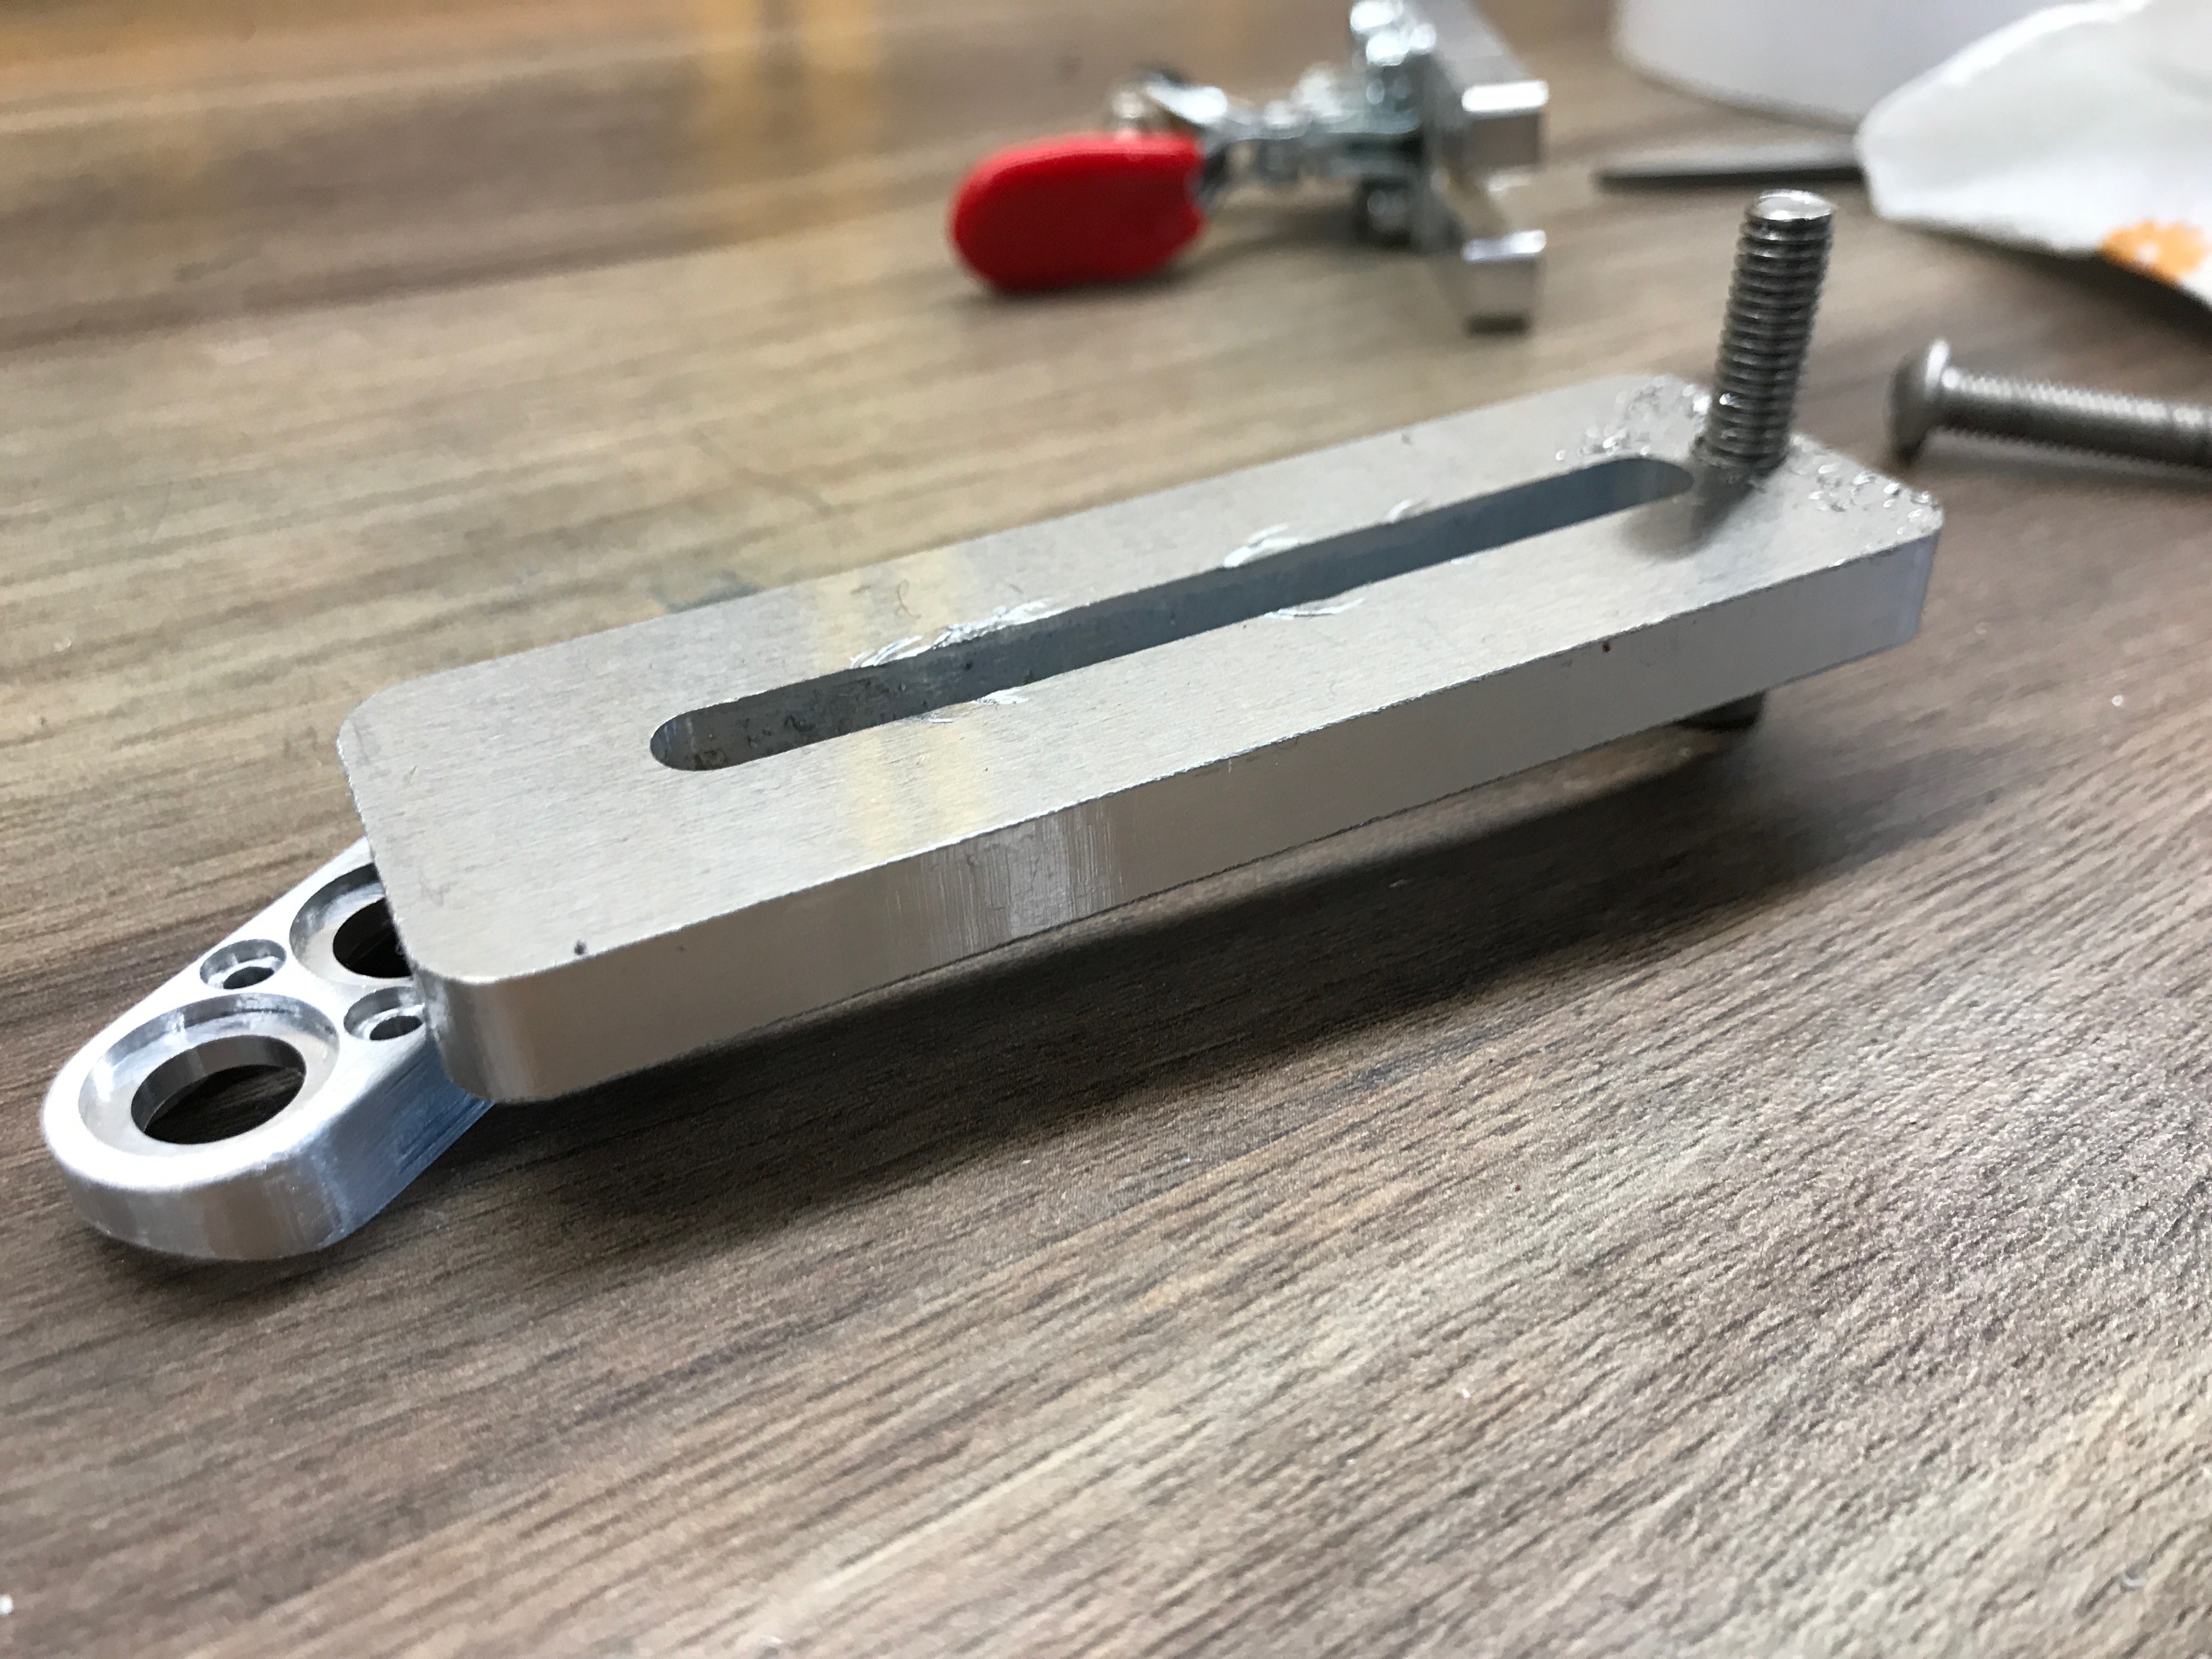
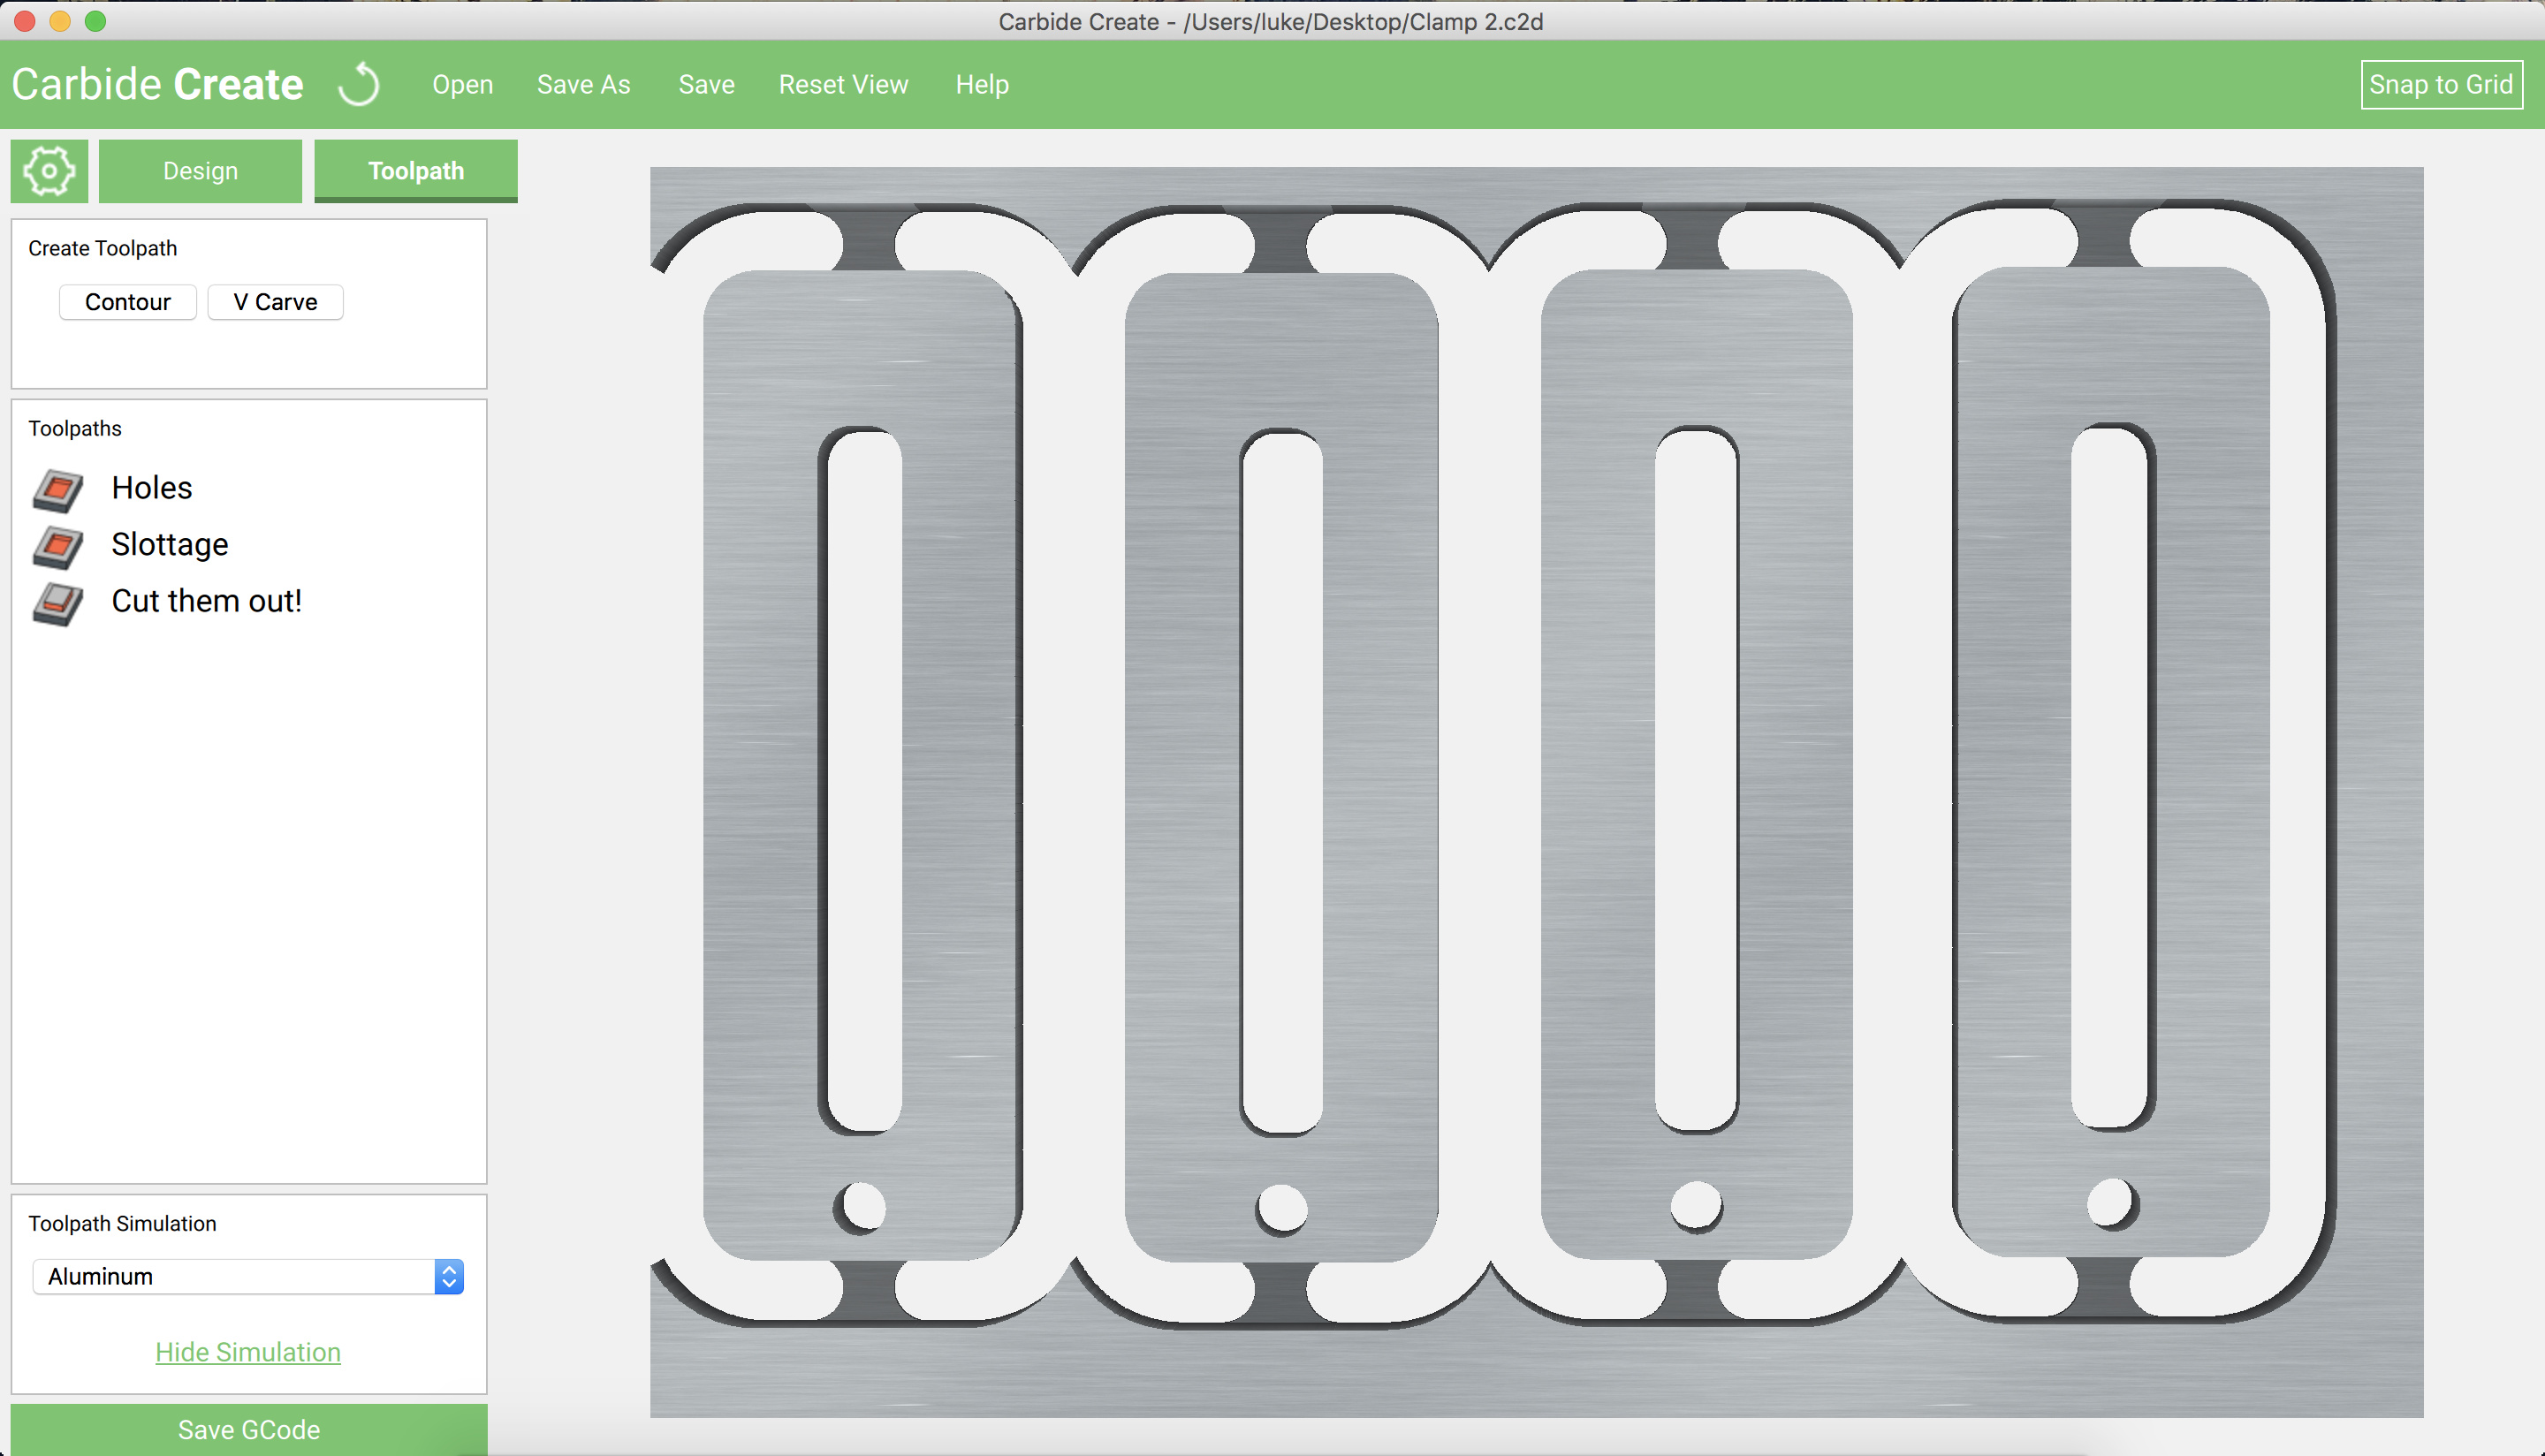
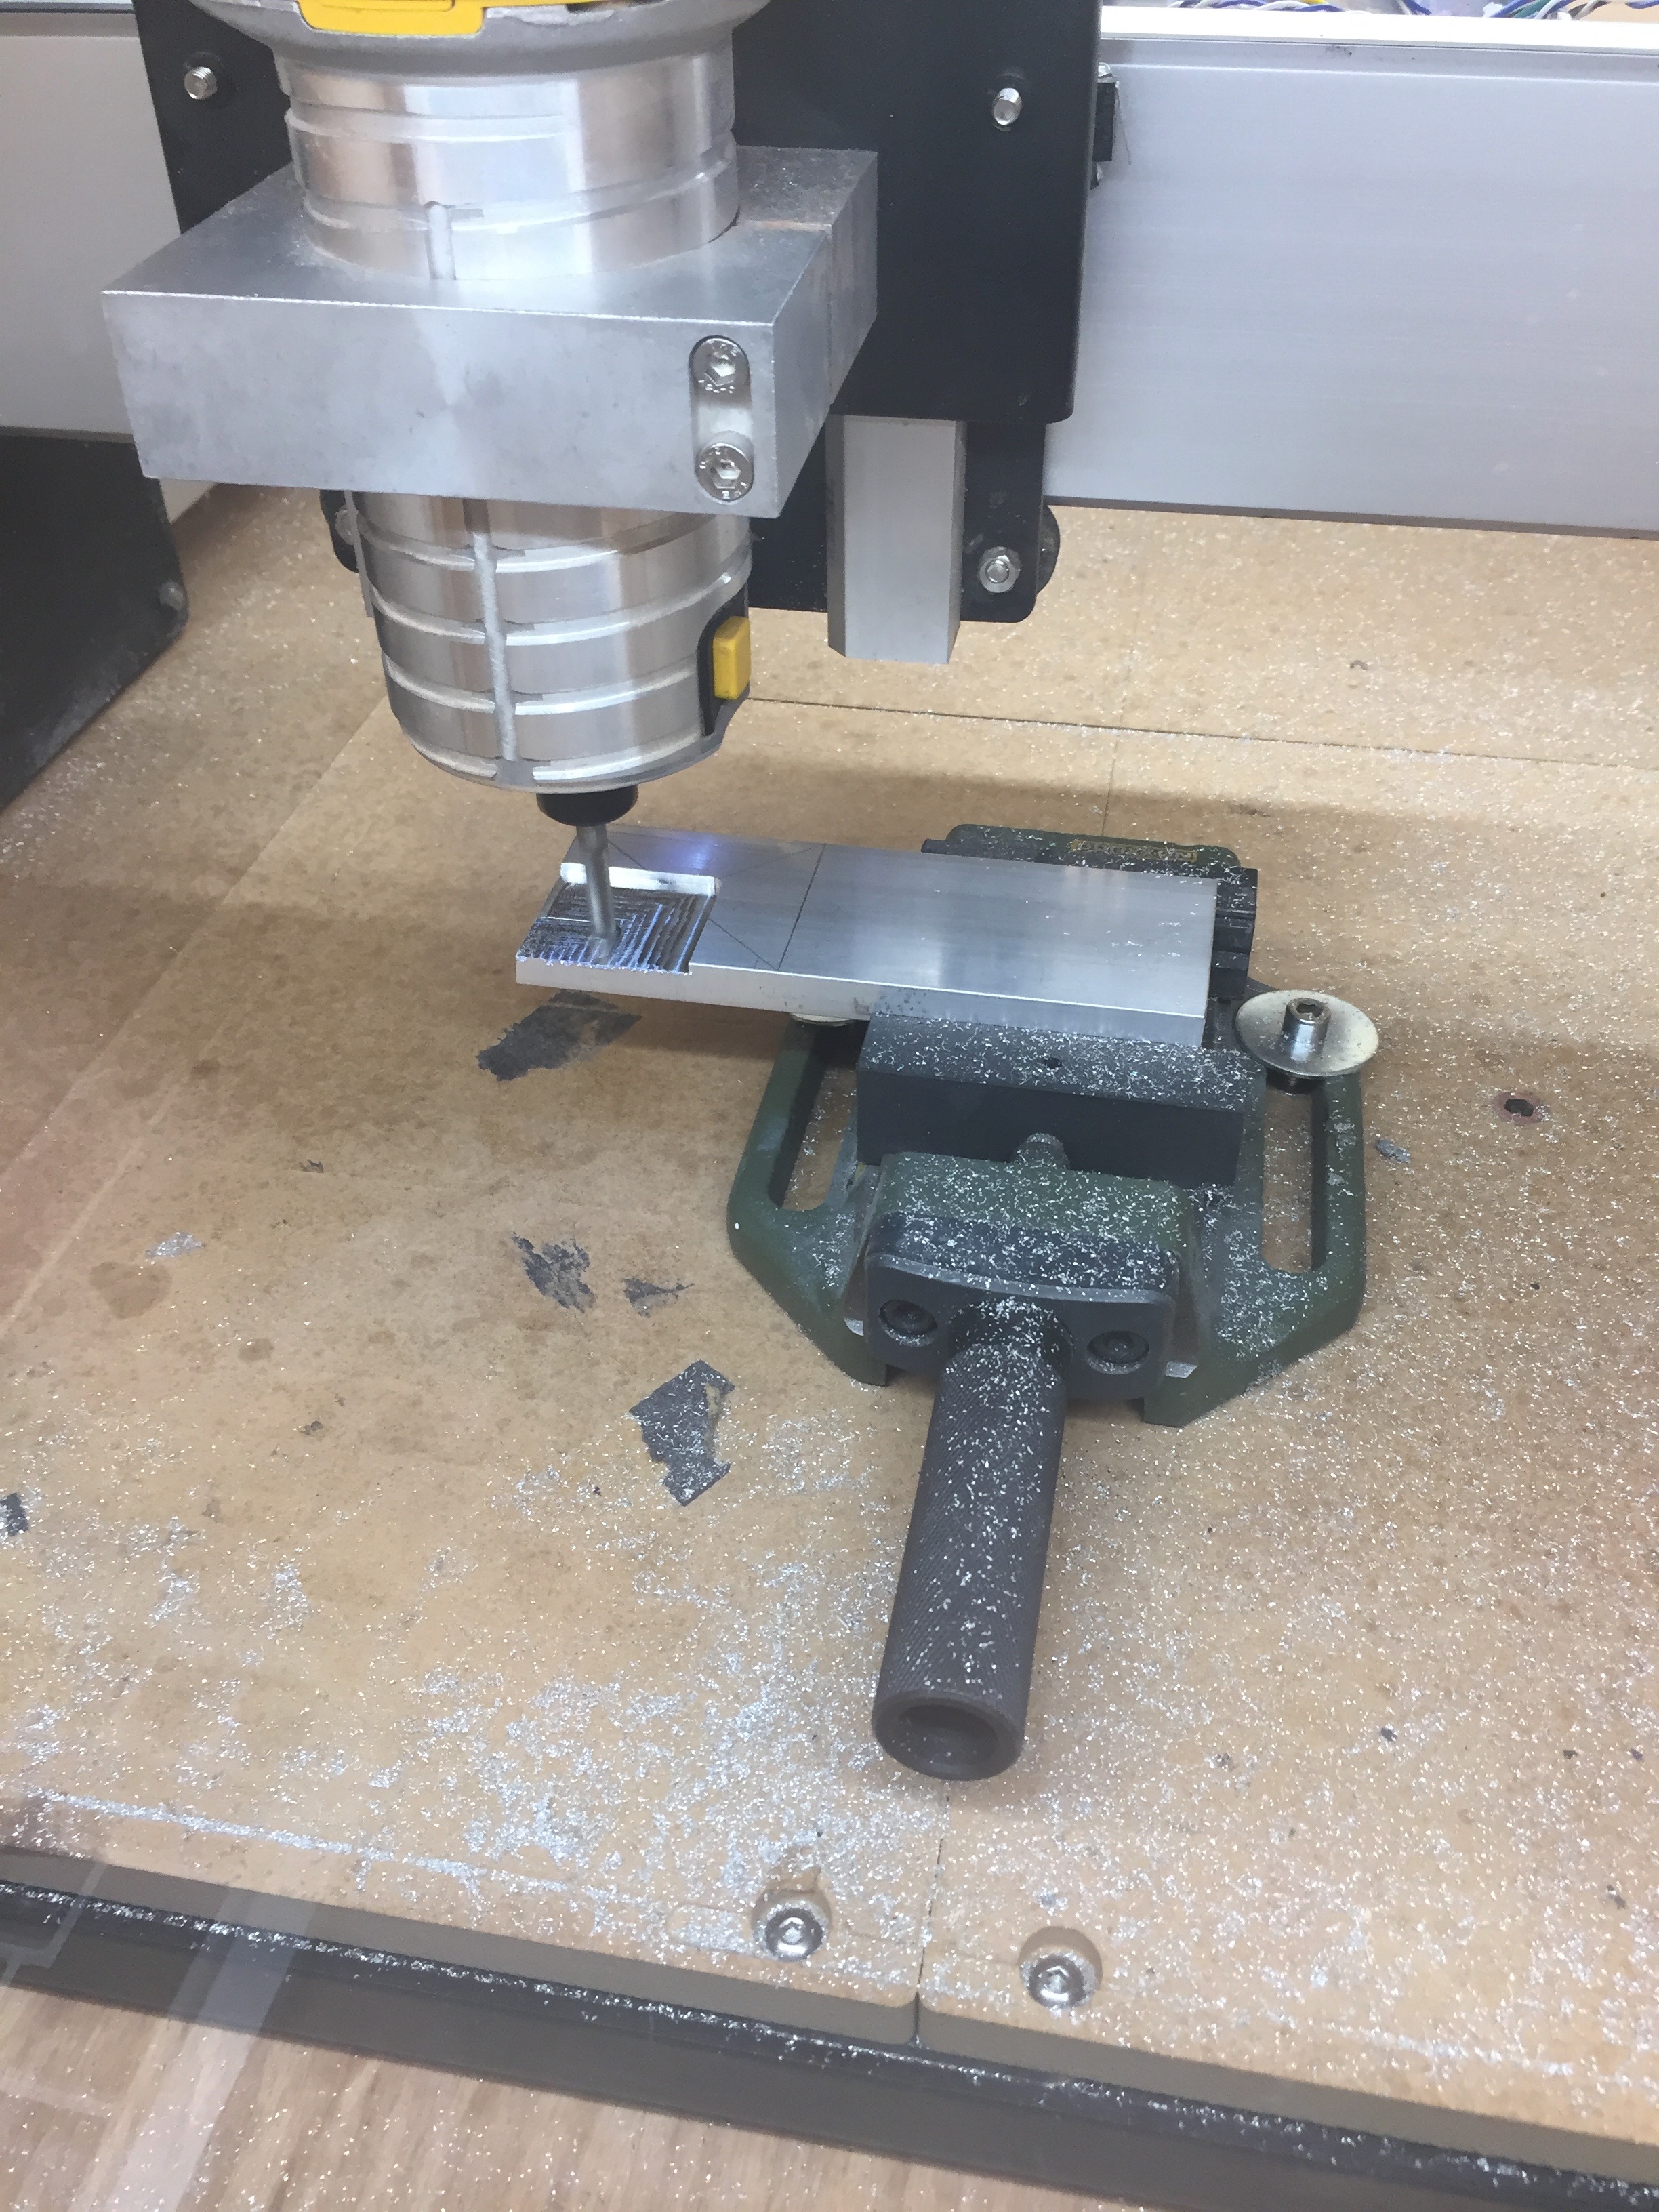
The 2nd clamp is a more common style and designed for my heavy duty work. I can confirm these can handle a spindle going nuts and smashing into them - they have taken the occasional beating.
As you can see they are straight (around 10cm long), and have a slot and M5 tapped hole one side. The M5 hole allows you to position a leverage screw to accommodate almost any thickness of work - if you go over 50mm just swap to a longer bolt.
The main slot allows you yo put a M5 through it clamping down any work. These are really heavy duty and have served me well and if you use 4 of them nothing will move my stock…
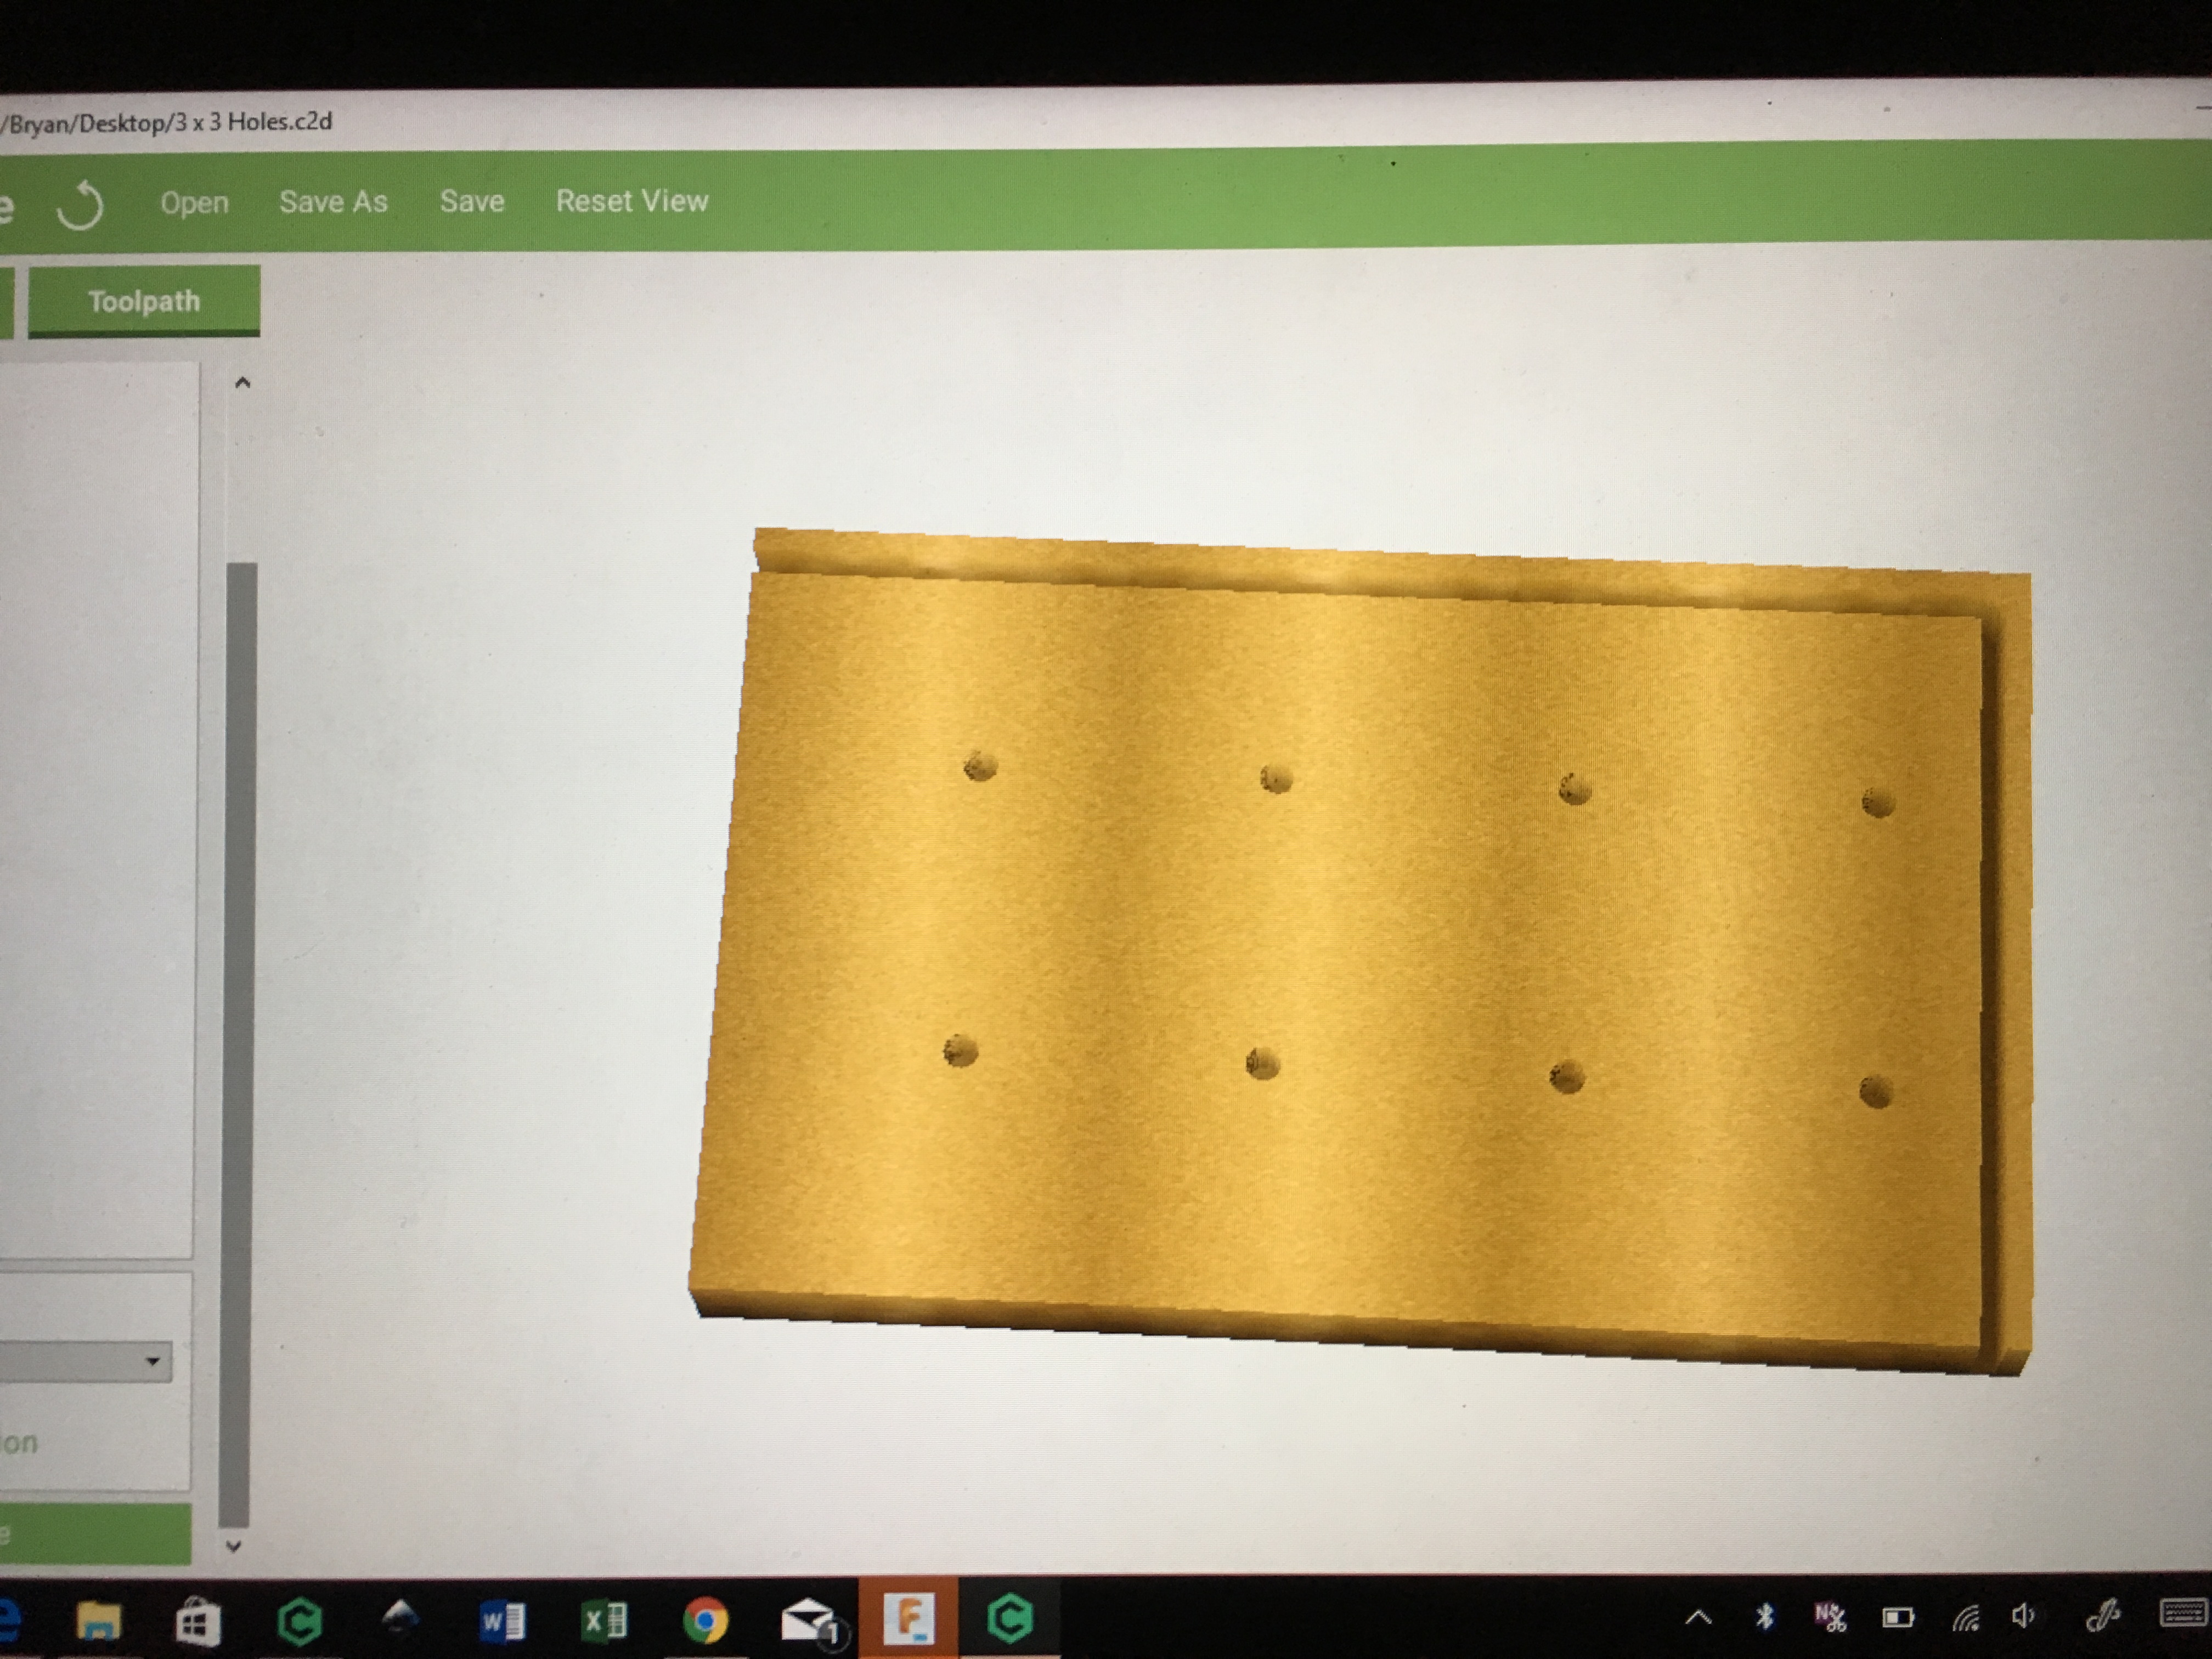
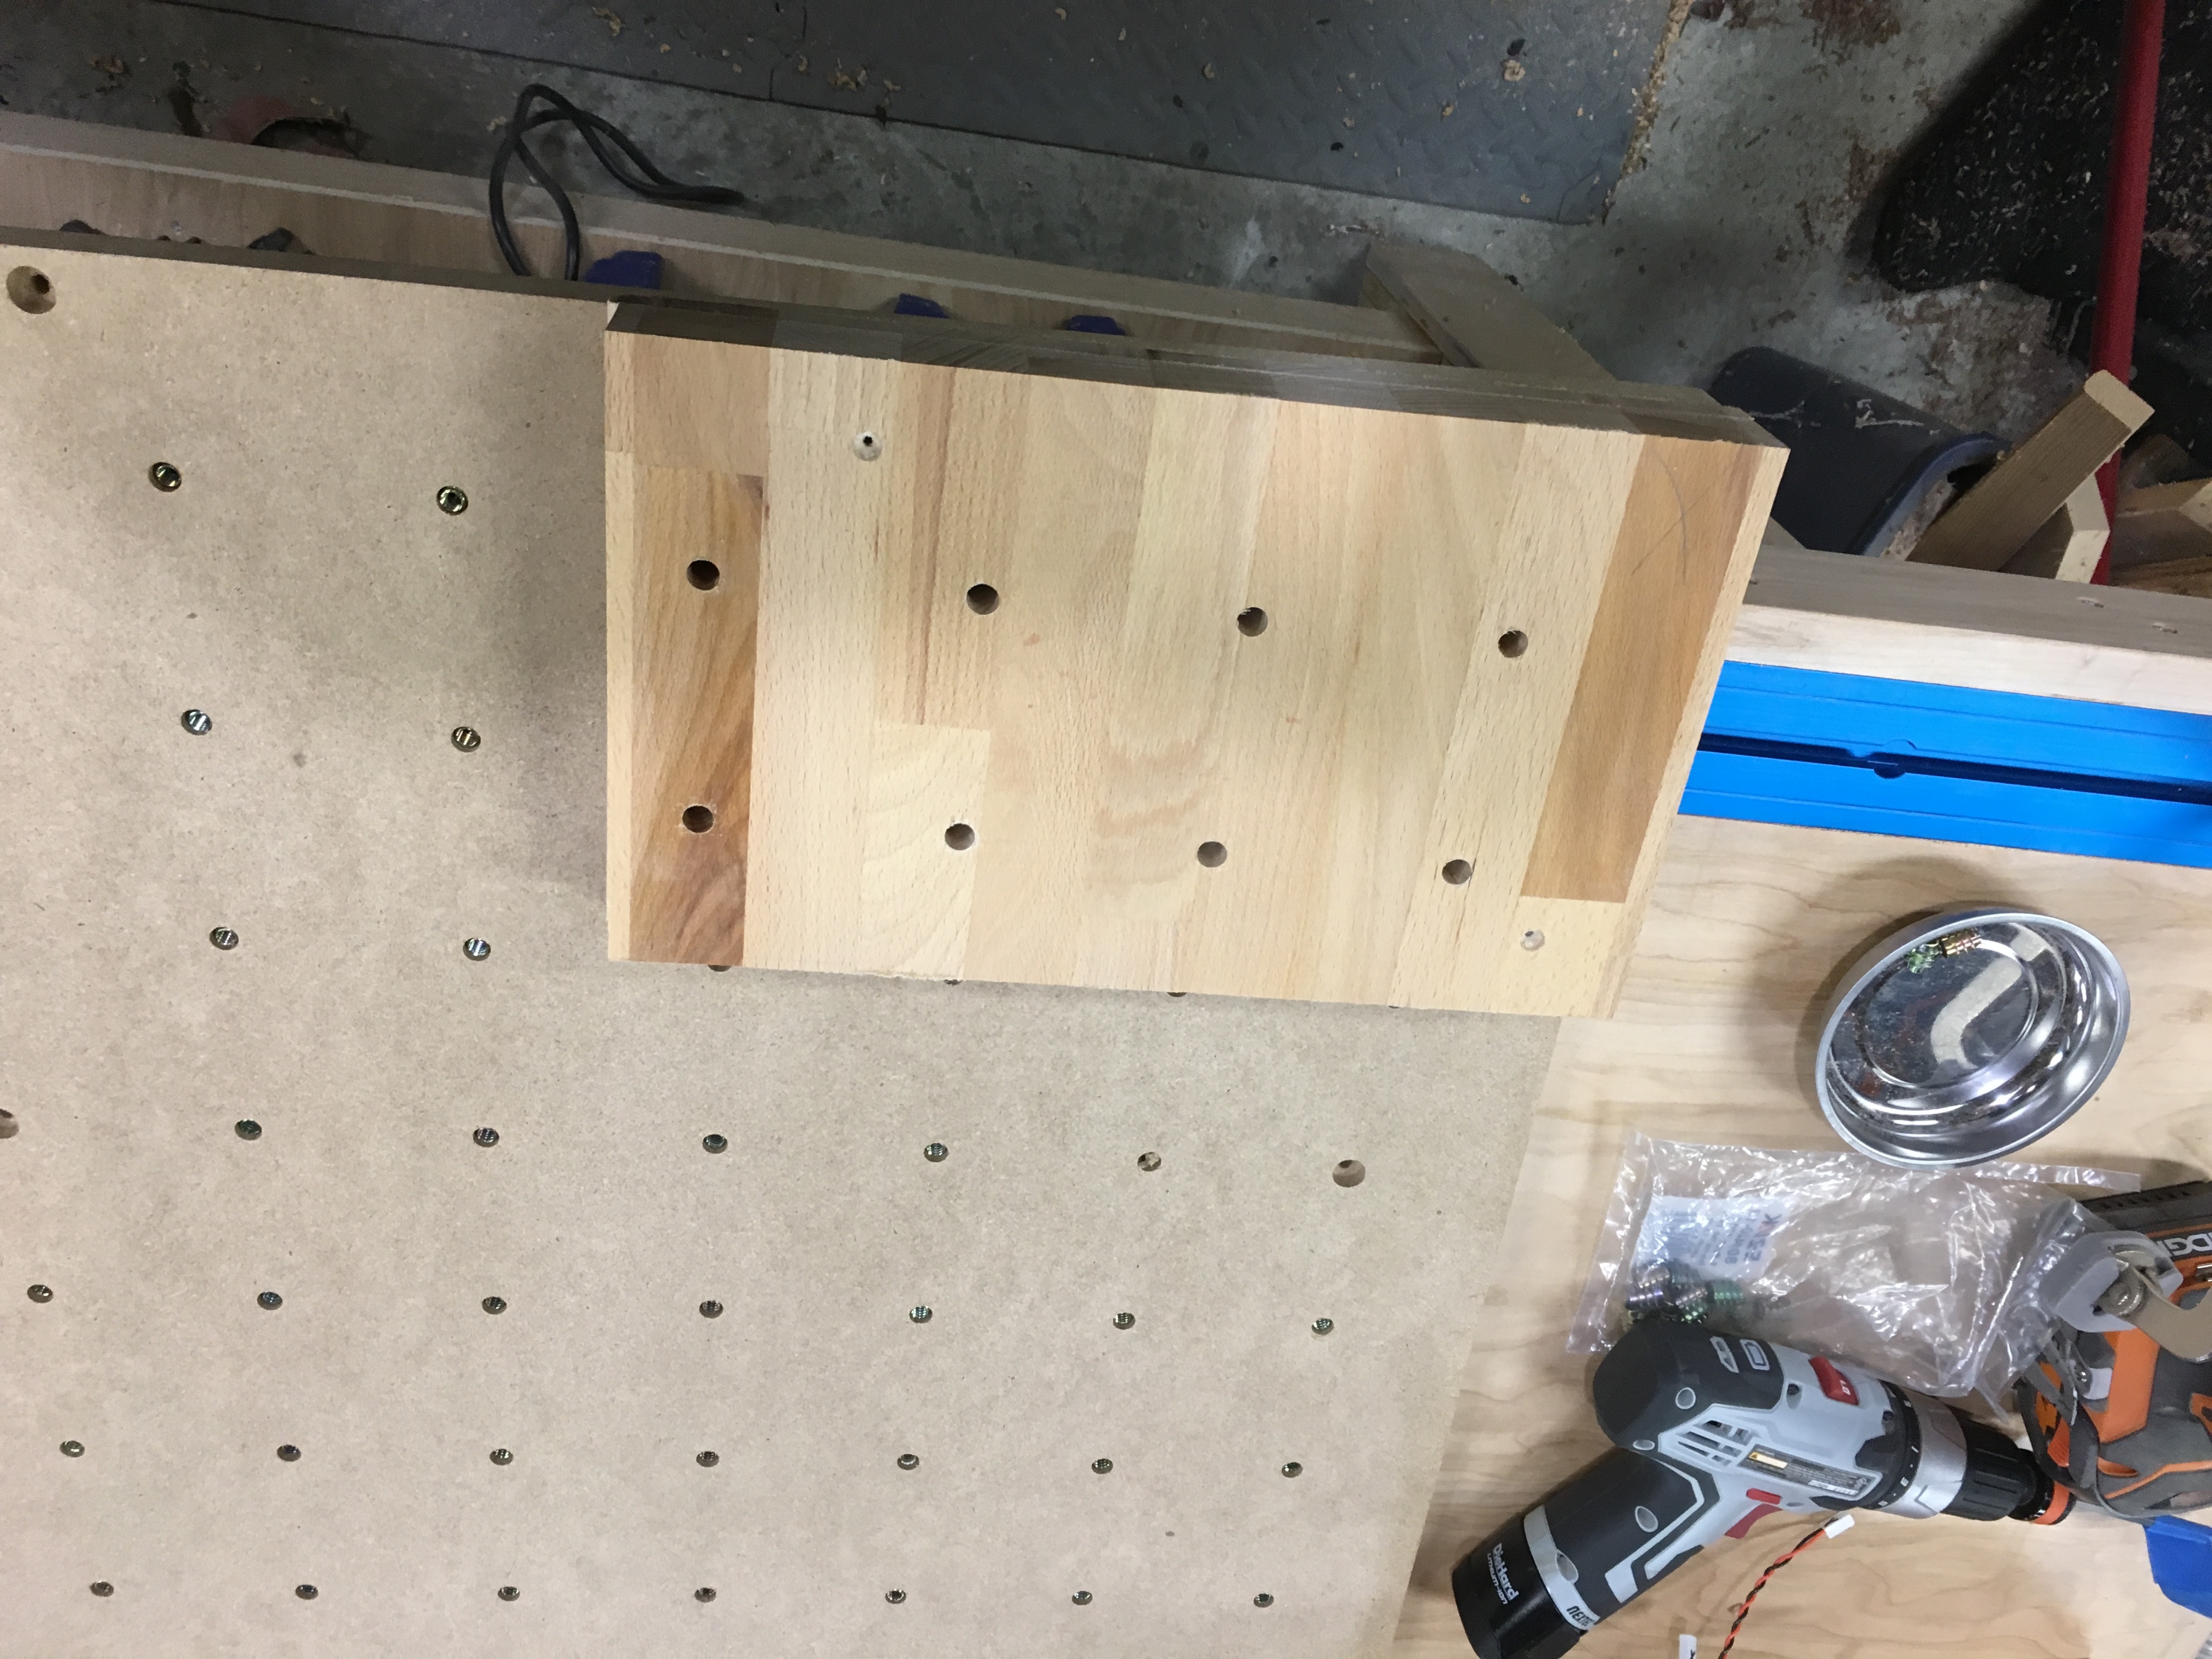
Before putting together my XL Upgrade kit I wanted to put in the threaded inserts. So I wanted to use an old piece of counter top as my drilling guide to keep it straight as possible and two additional bits to work my way across the top by locating the jig in two holes previously drilled. Simple quick project but worked awesome. I used two clean cut edges to locate the first cuts. I finished the holes with a dill press because i wanted a really thick stock to keep the drill bit square. 88 holes later and inserts and I am going to start working on assembling the XL!


 They better not sell out while I’m away!!! Can we preorder?