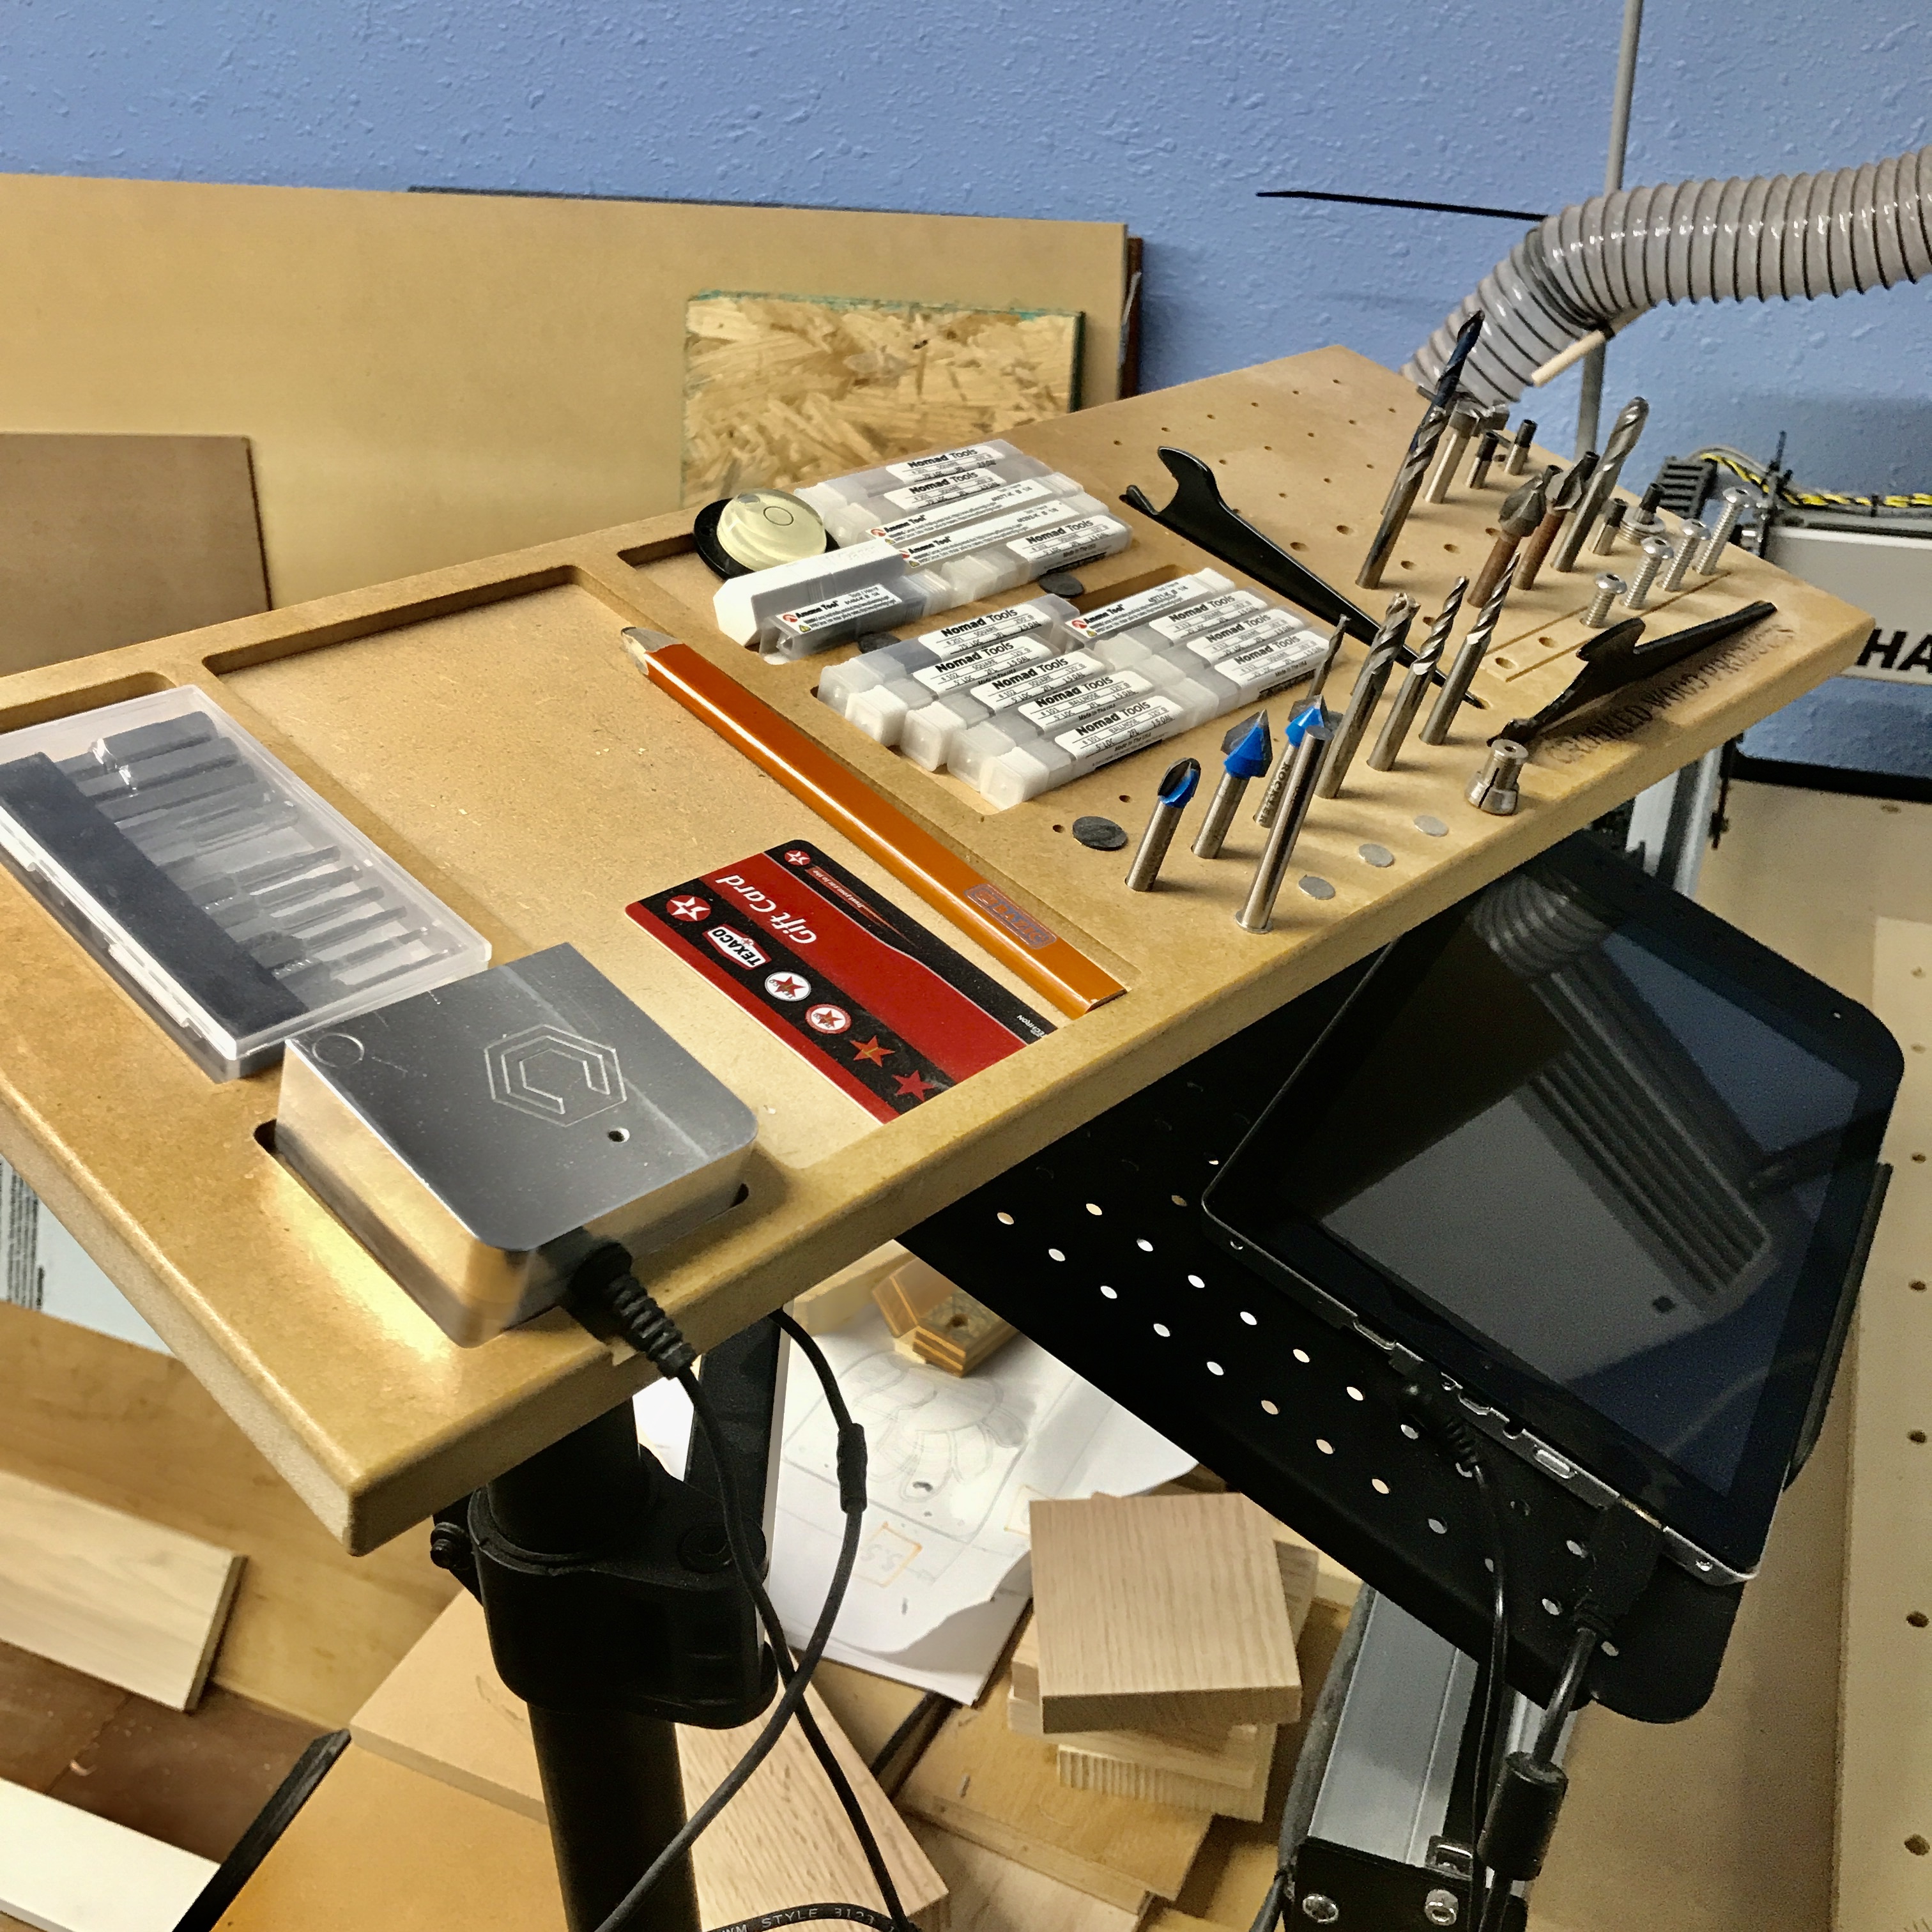
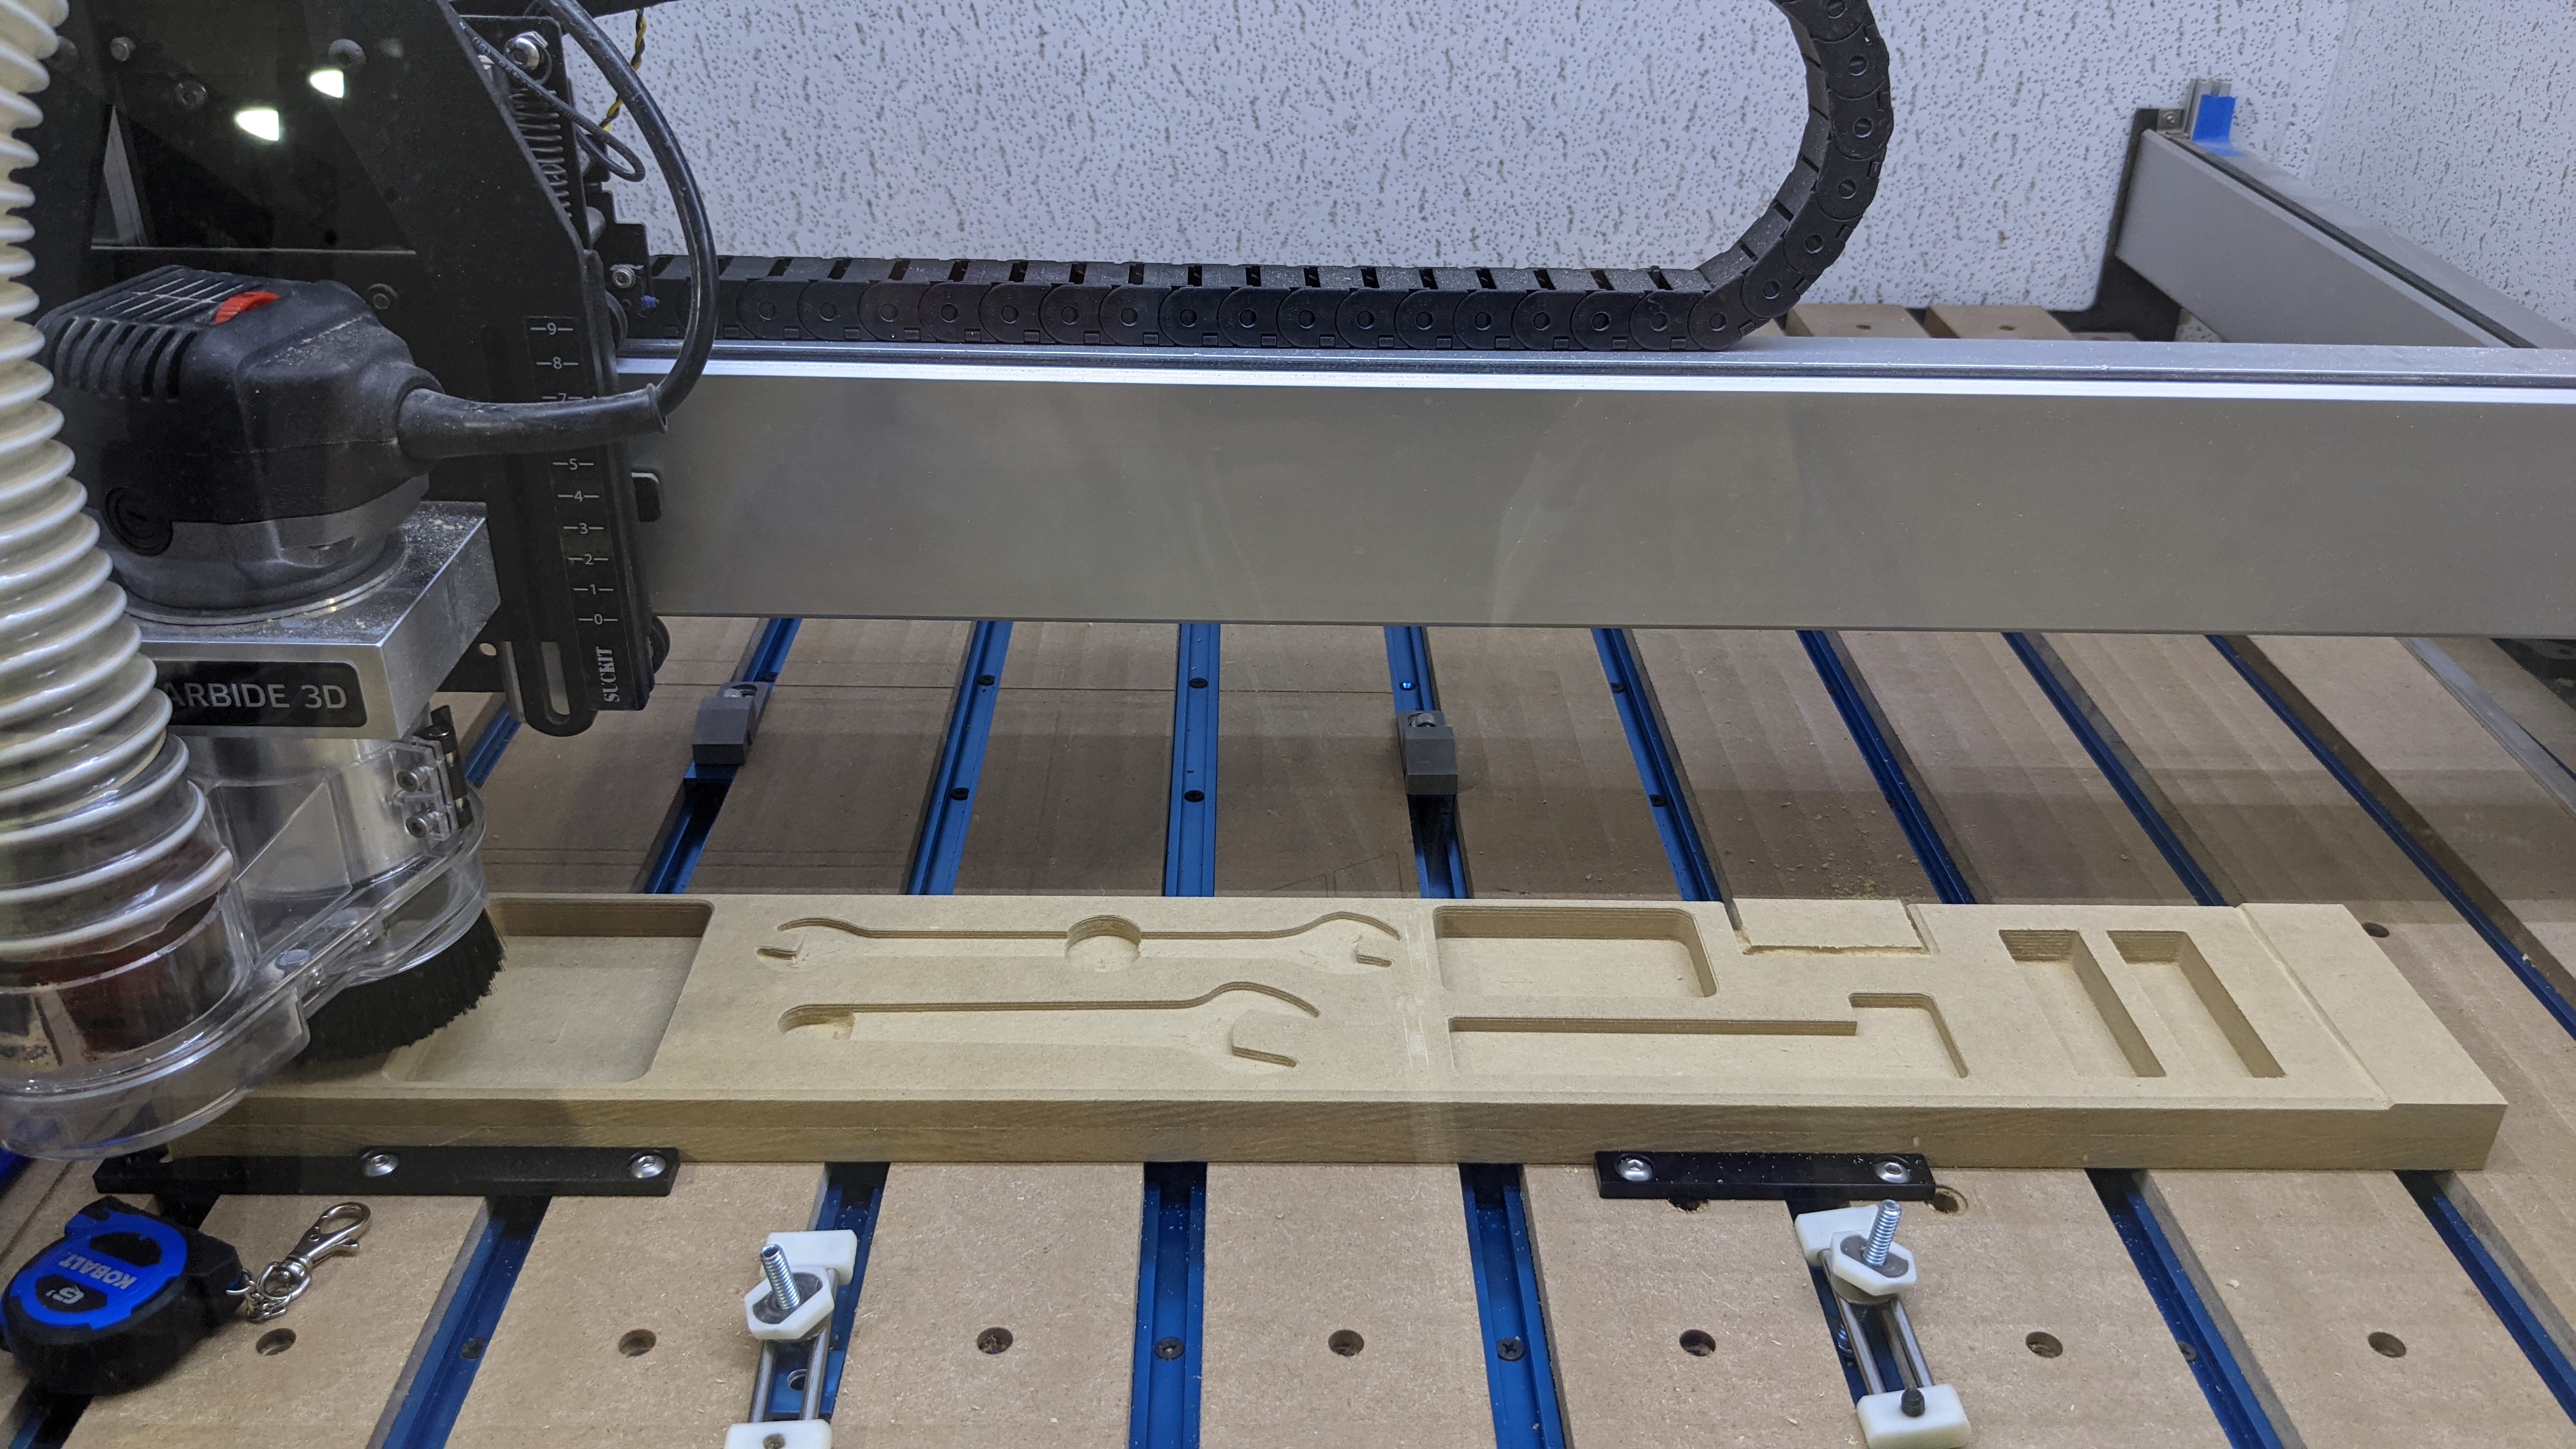
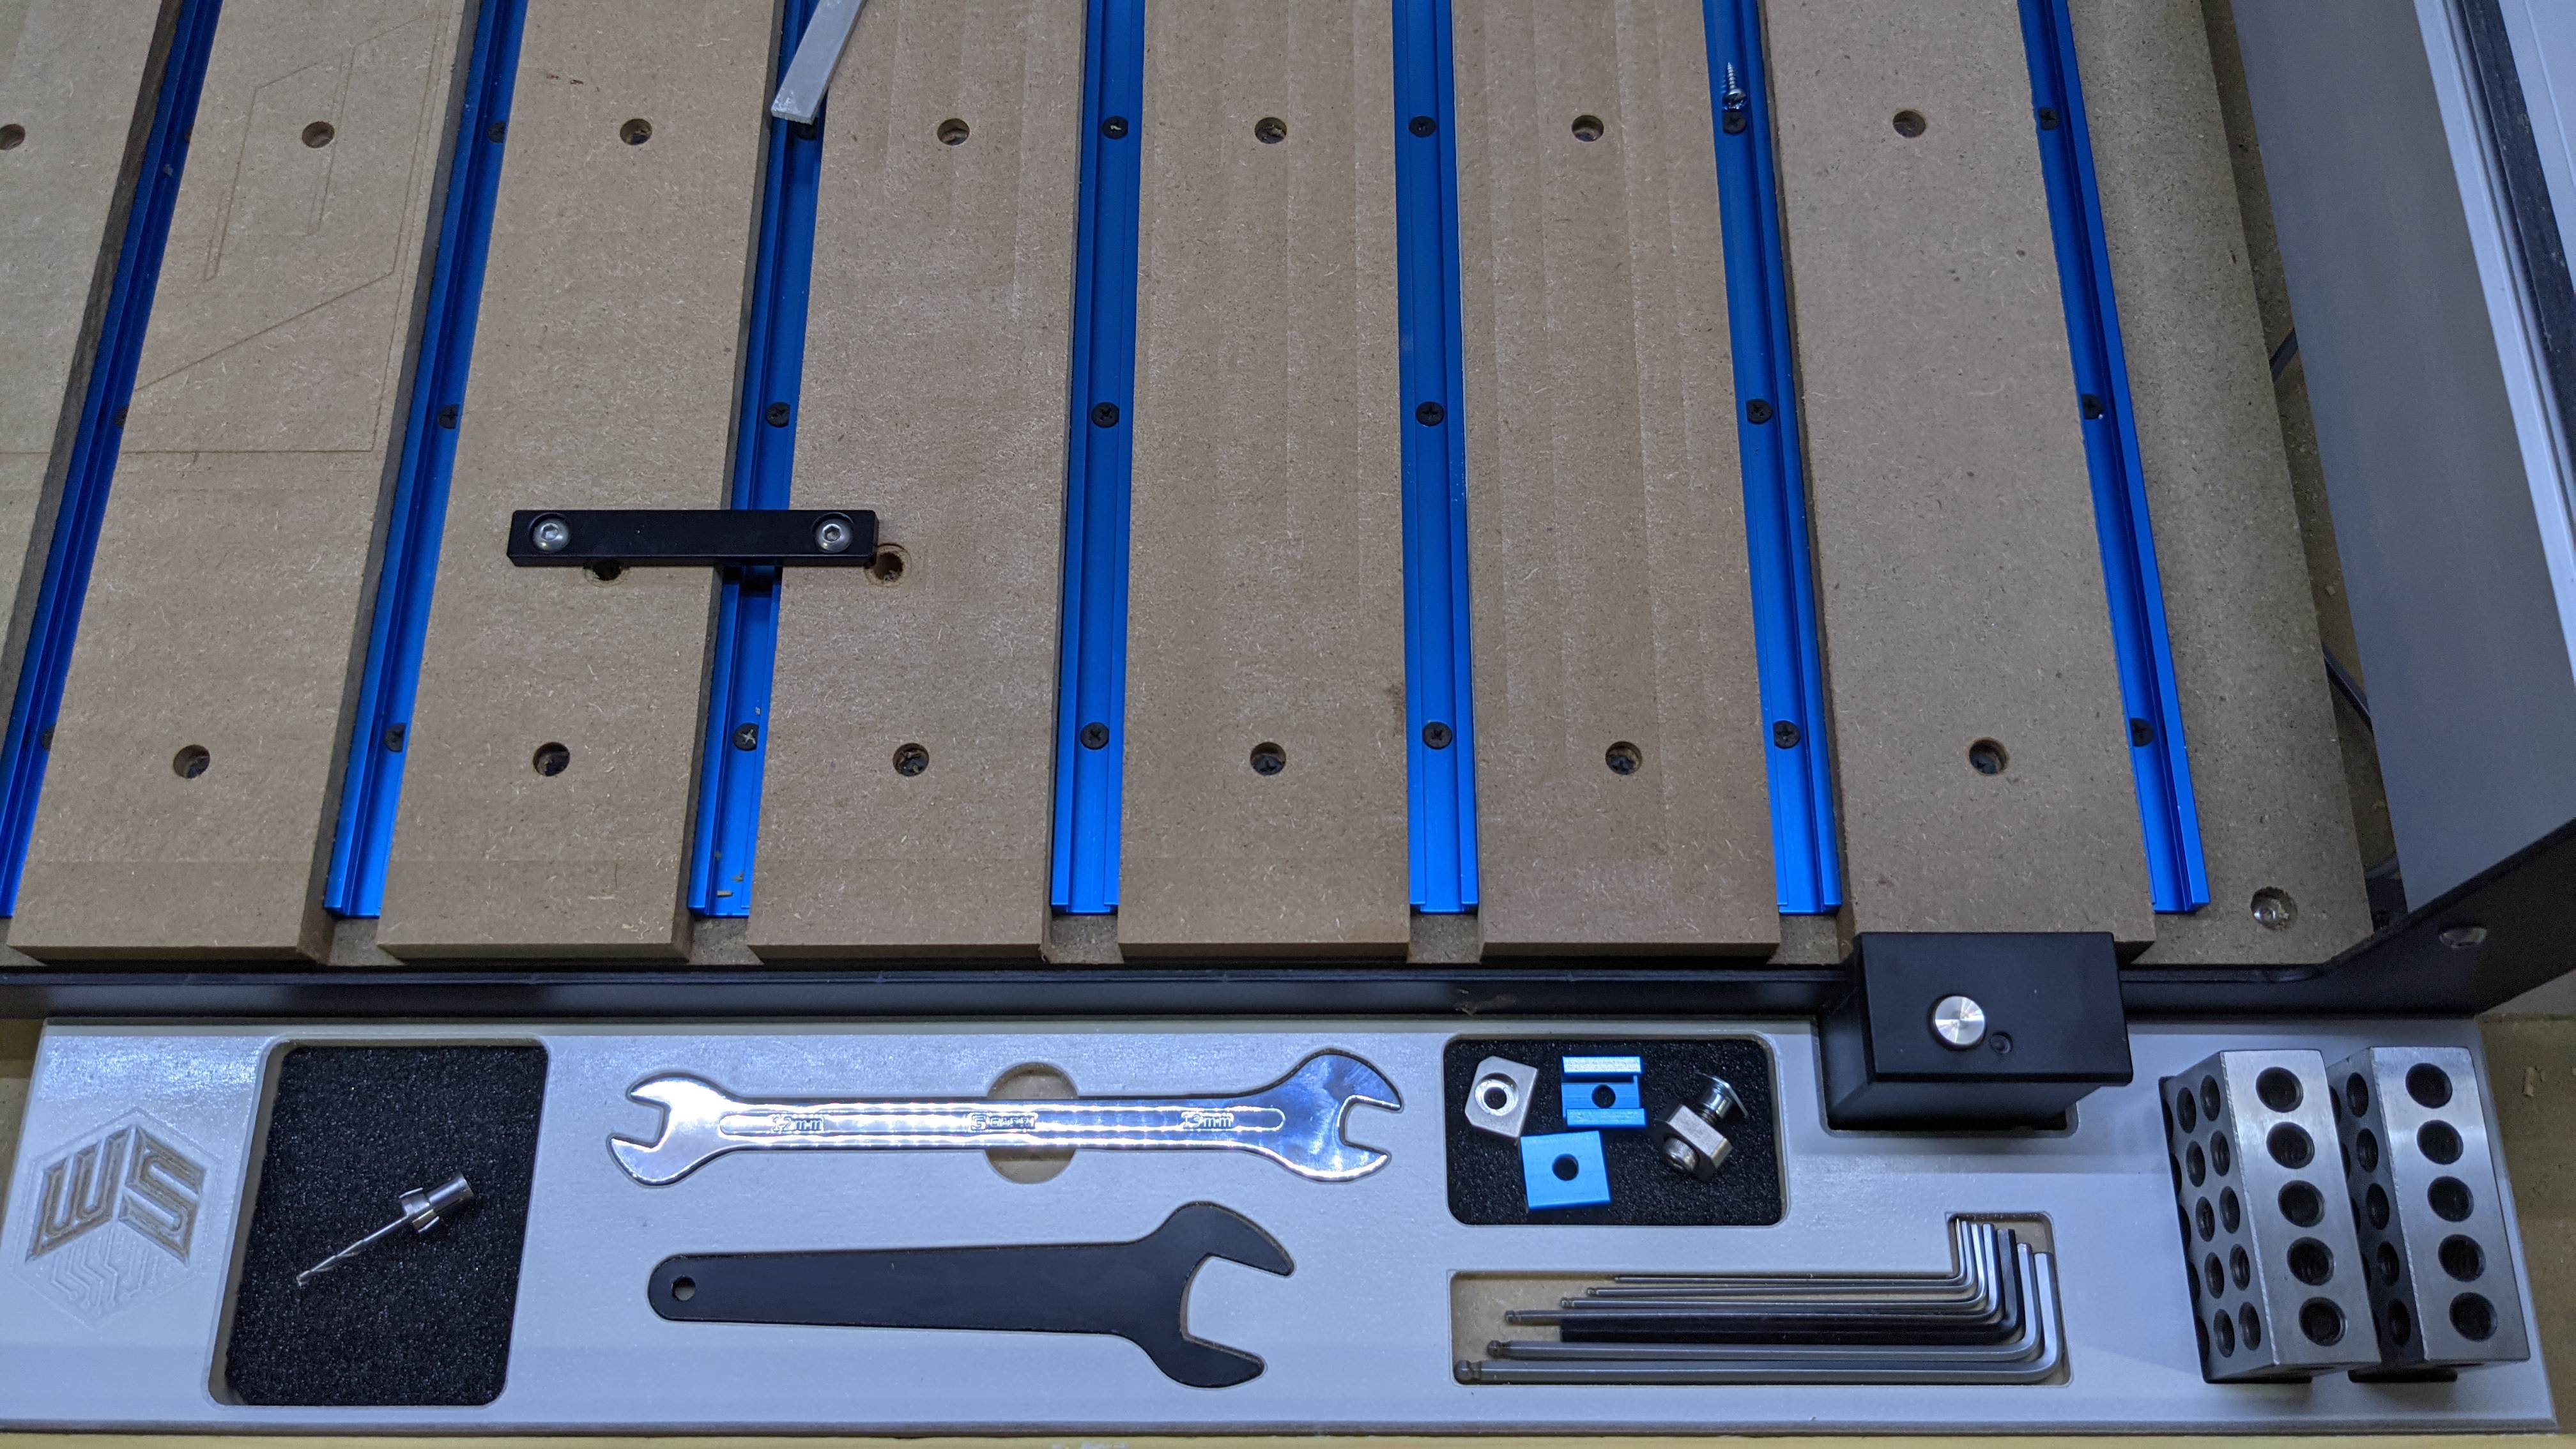
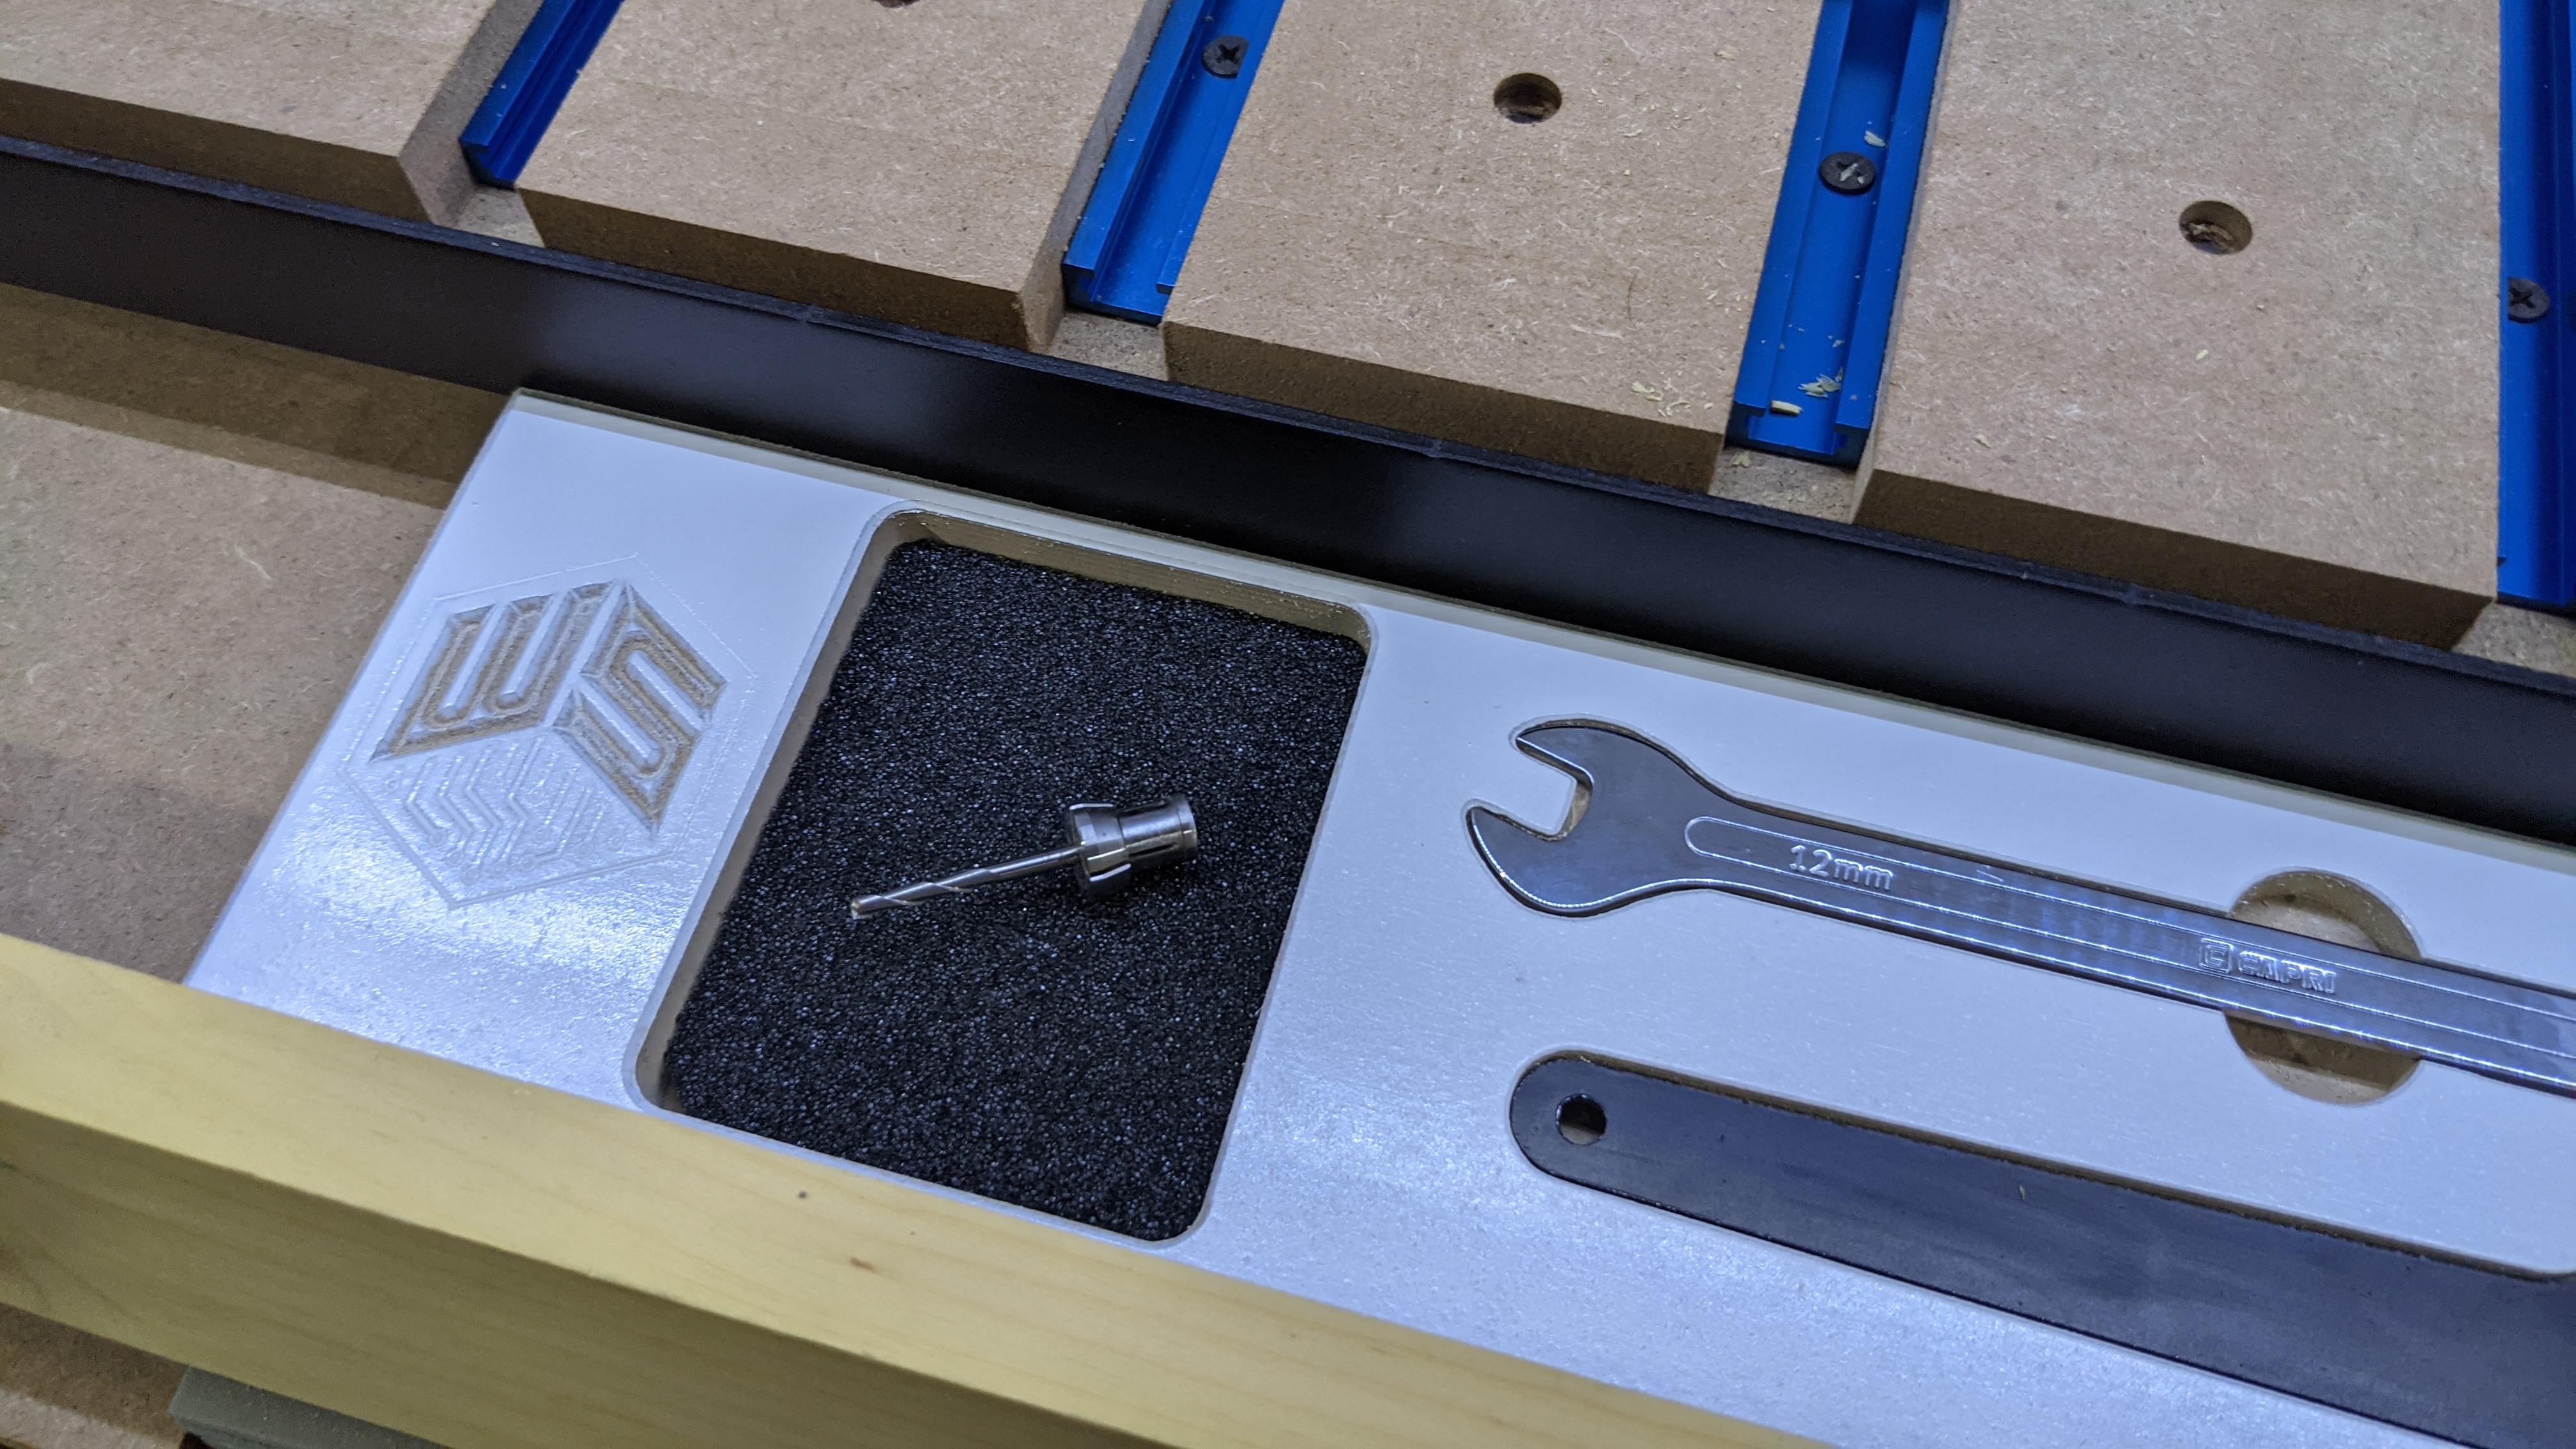
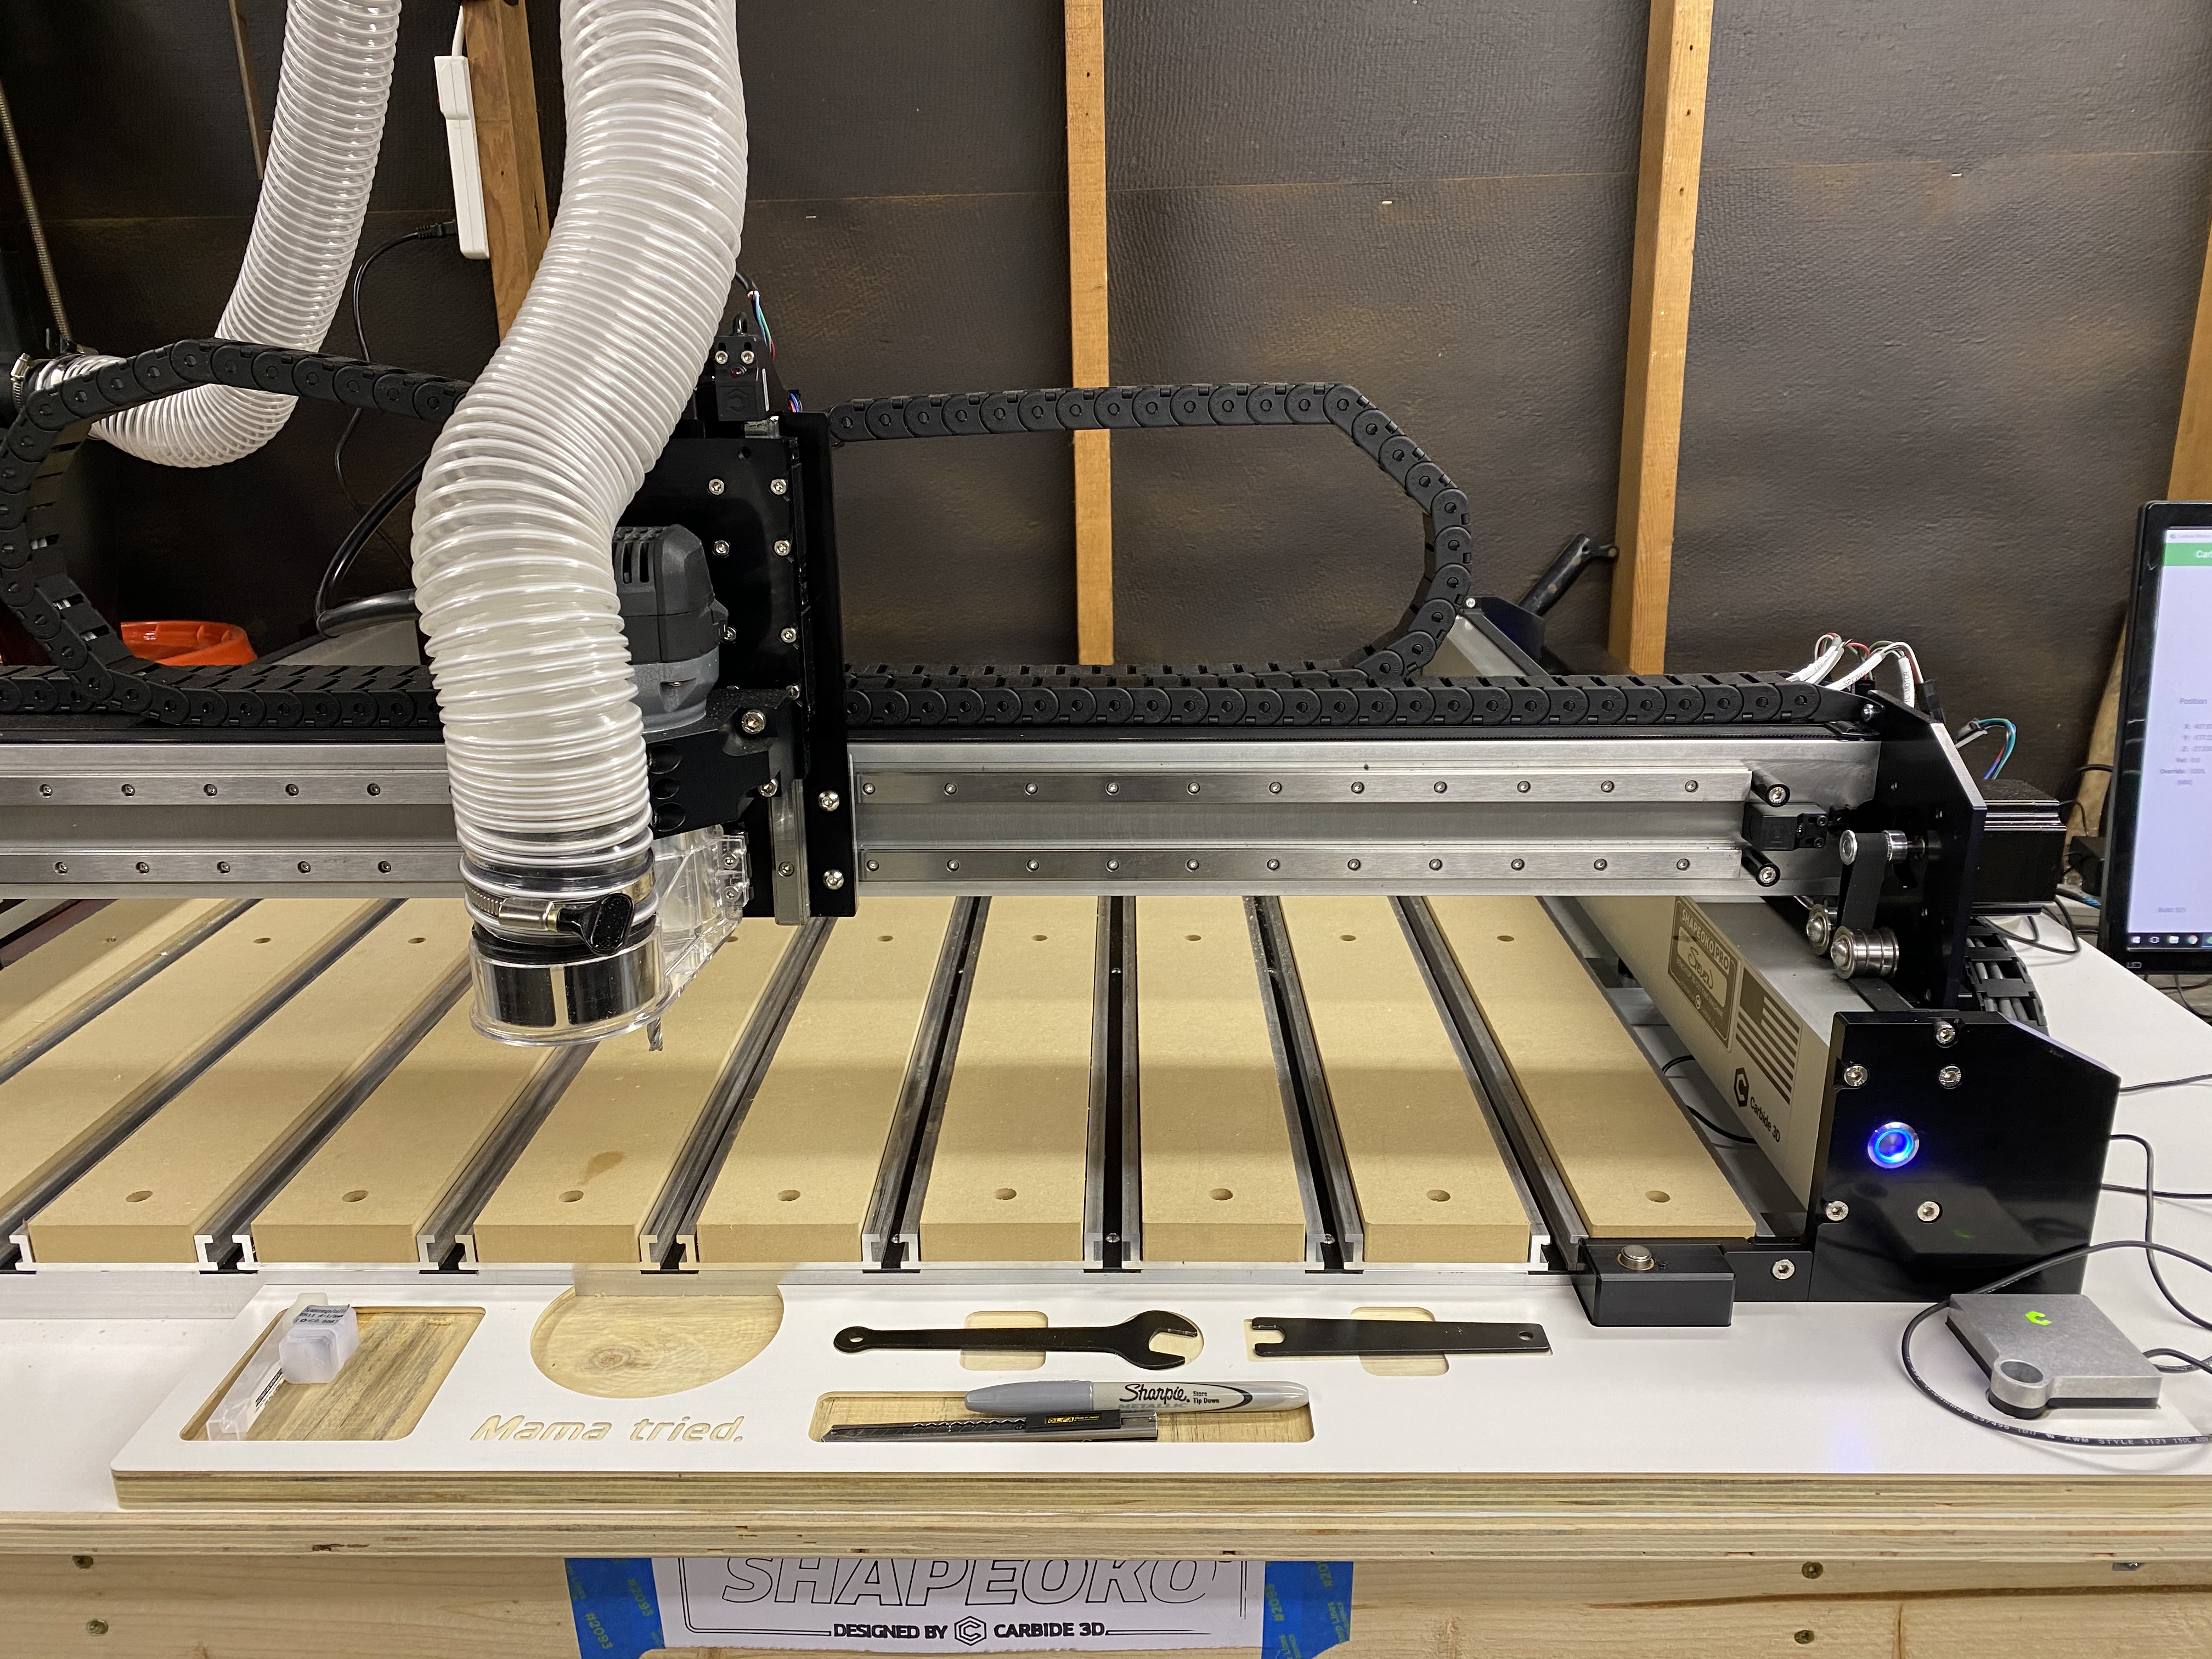
Used a scrap of pine 2x4 to make a better holder for oft used wrenches. I wanted a softer landing for end mills as a few have taken the dive during tool changes. My process was flatbed scan > photoshop for masking > inkscape to svg > carbide create for layout.
I will probably cut this again with a larger blank to better fill my enclosure (preventing voids that get filled with debris) and to tighten up the offsets around the wrenches.
Good point. Not sure if I will use this area or not since I have a tool tray. I had some leftover space on the blank, maybe this will be another rect pocket on next rev.
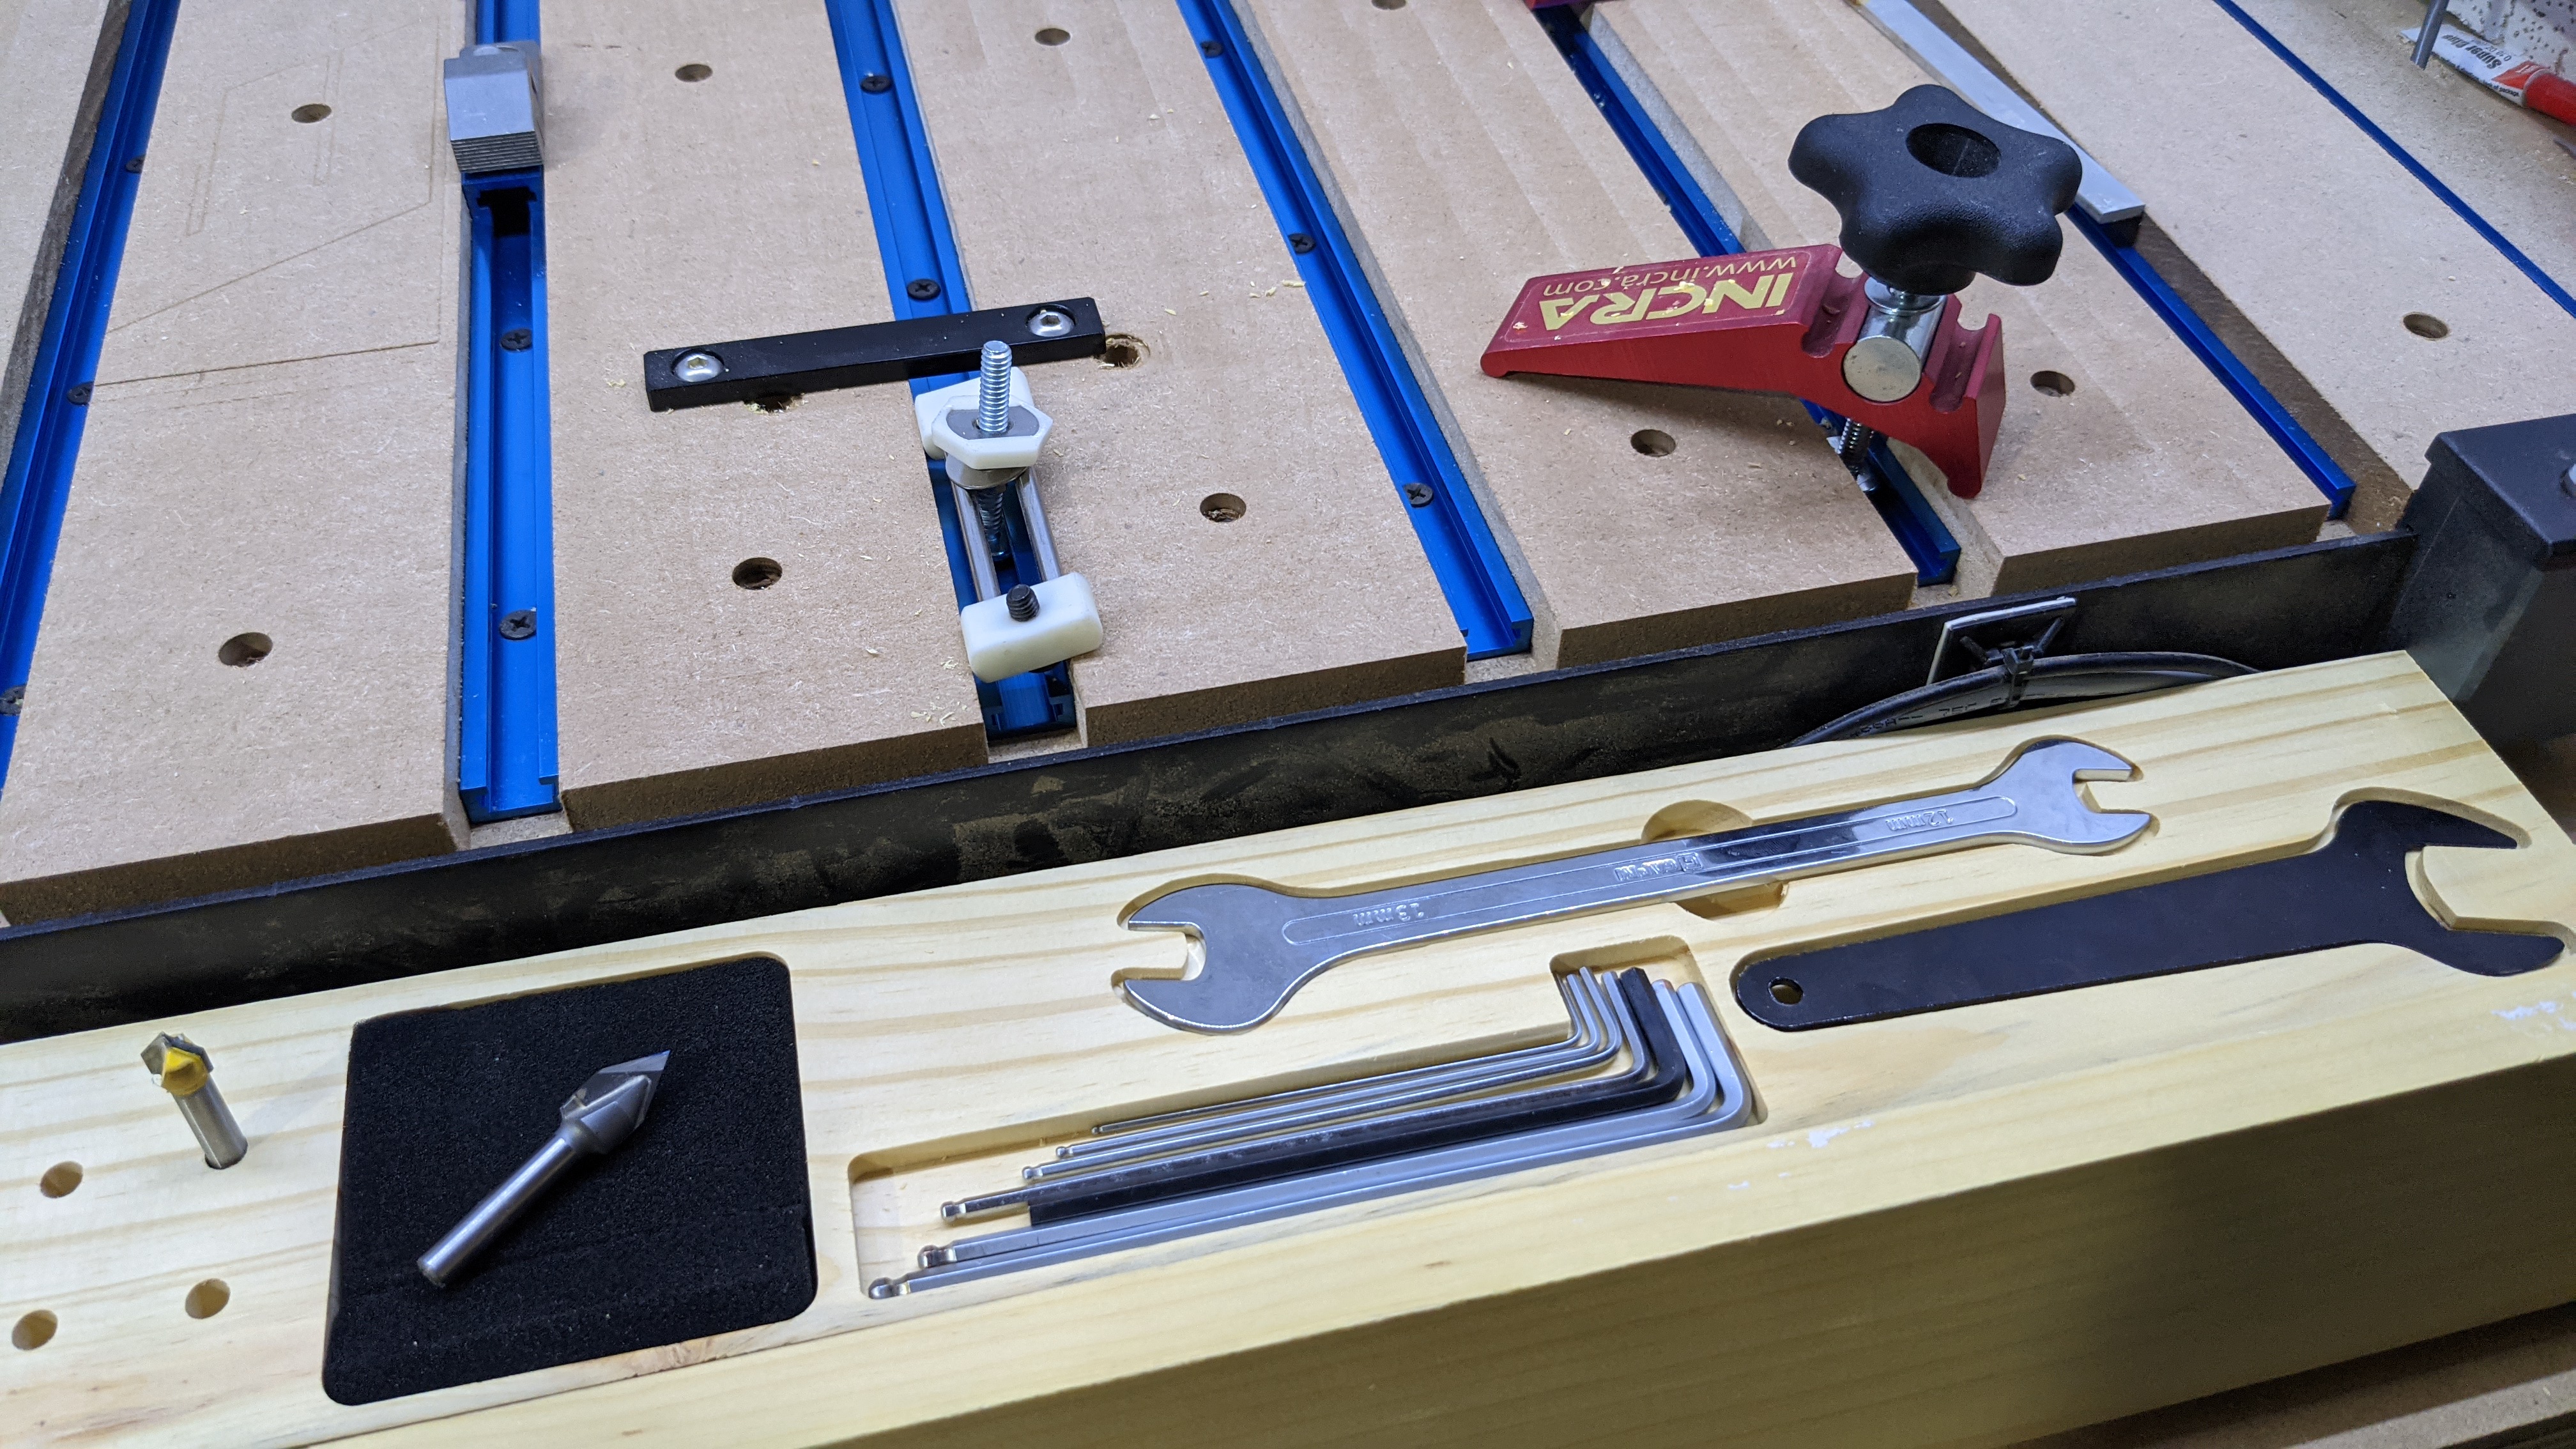
I keep my wrenches vertical, and they come out and go in the same way each time I use them. When you do a lot of tool changes, it is important to have these wrenches easy to get to.
I love my magnets, too.
(I am going to redo mine “someday” to get them closer together. EDIT: I forgot to say that I’m going to put both wrenches in the same slot, because I always use them together. I built this tray quickly as part of a Challenge before I knew what the hell I was doing! Yes, the sharp points can draw blood!)
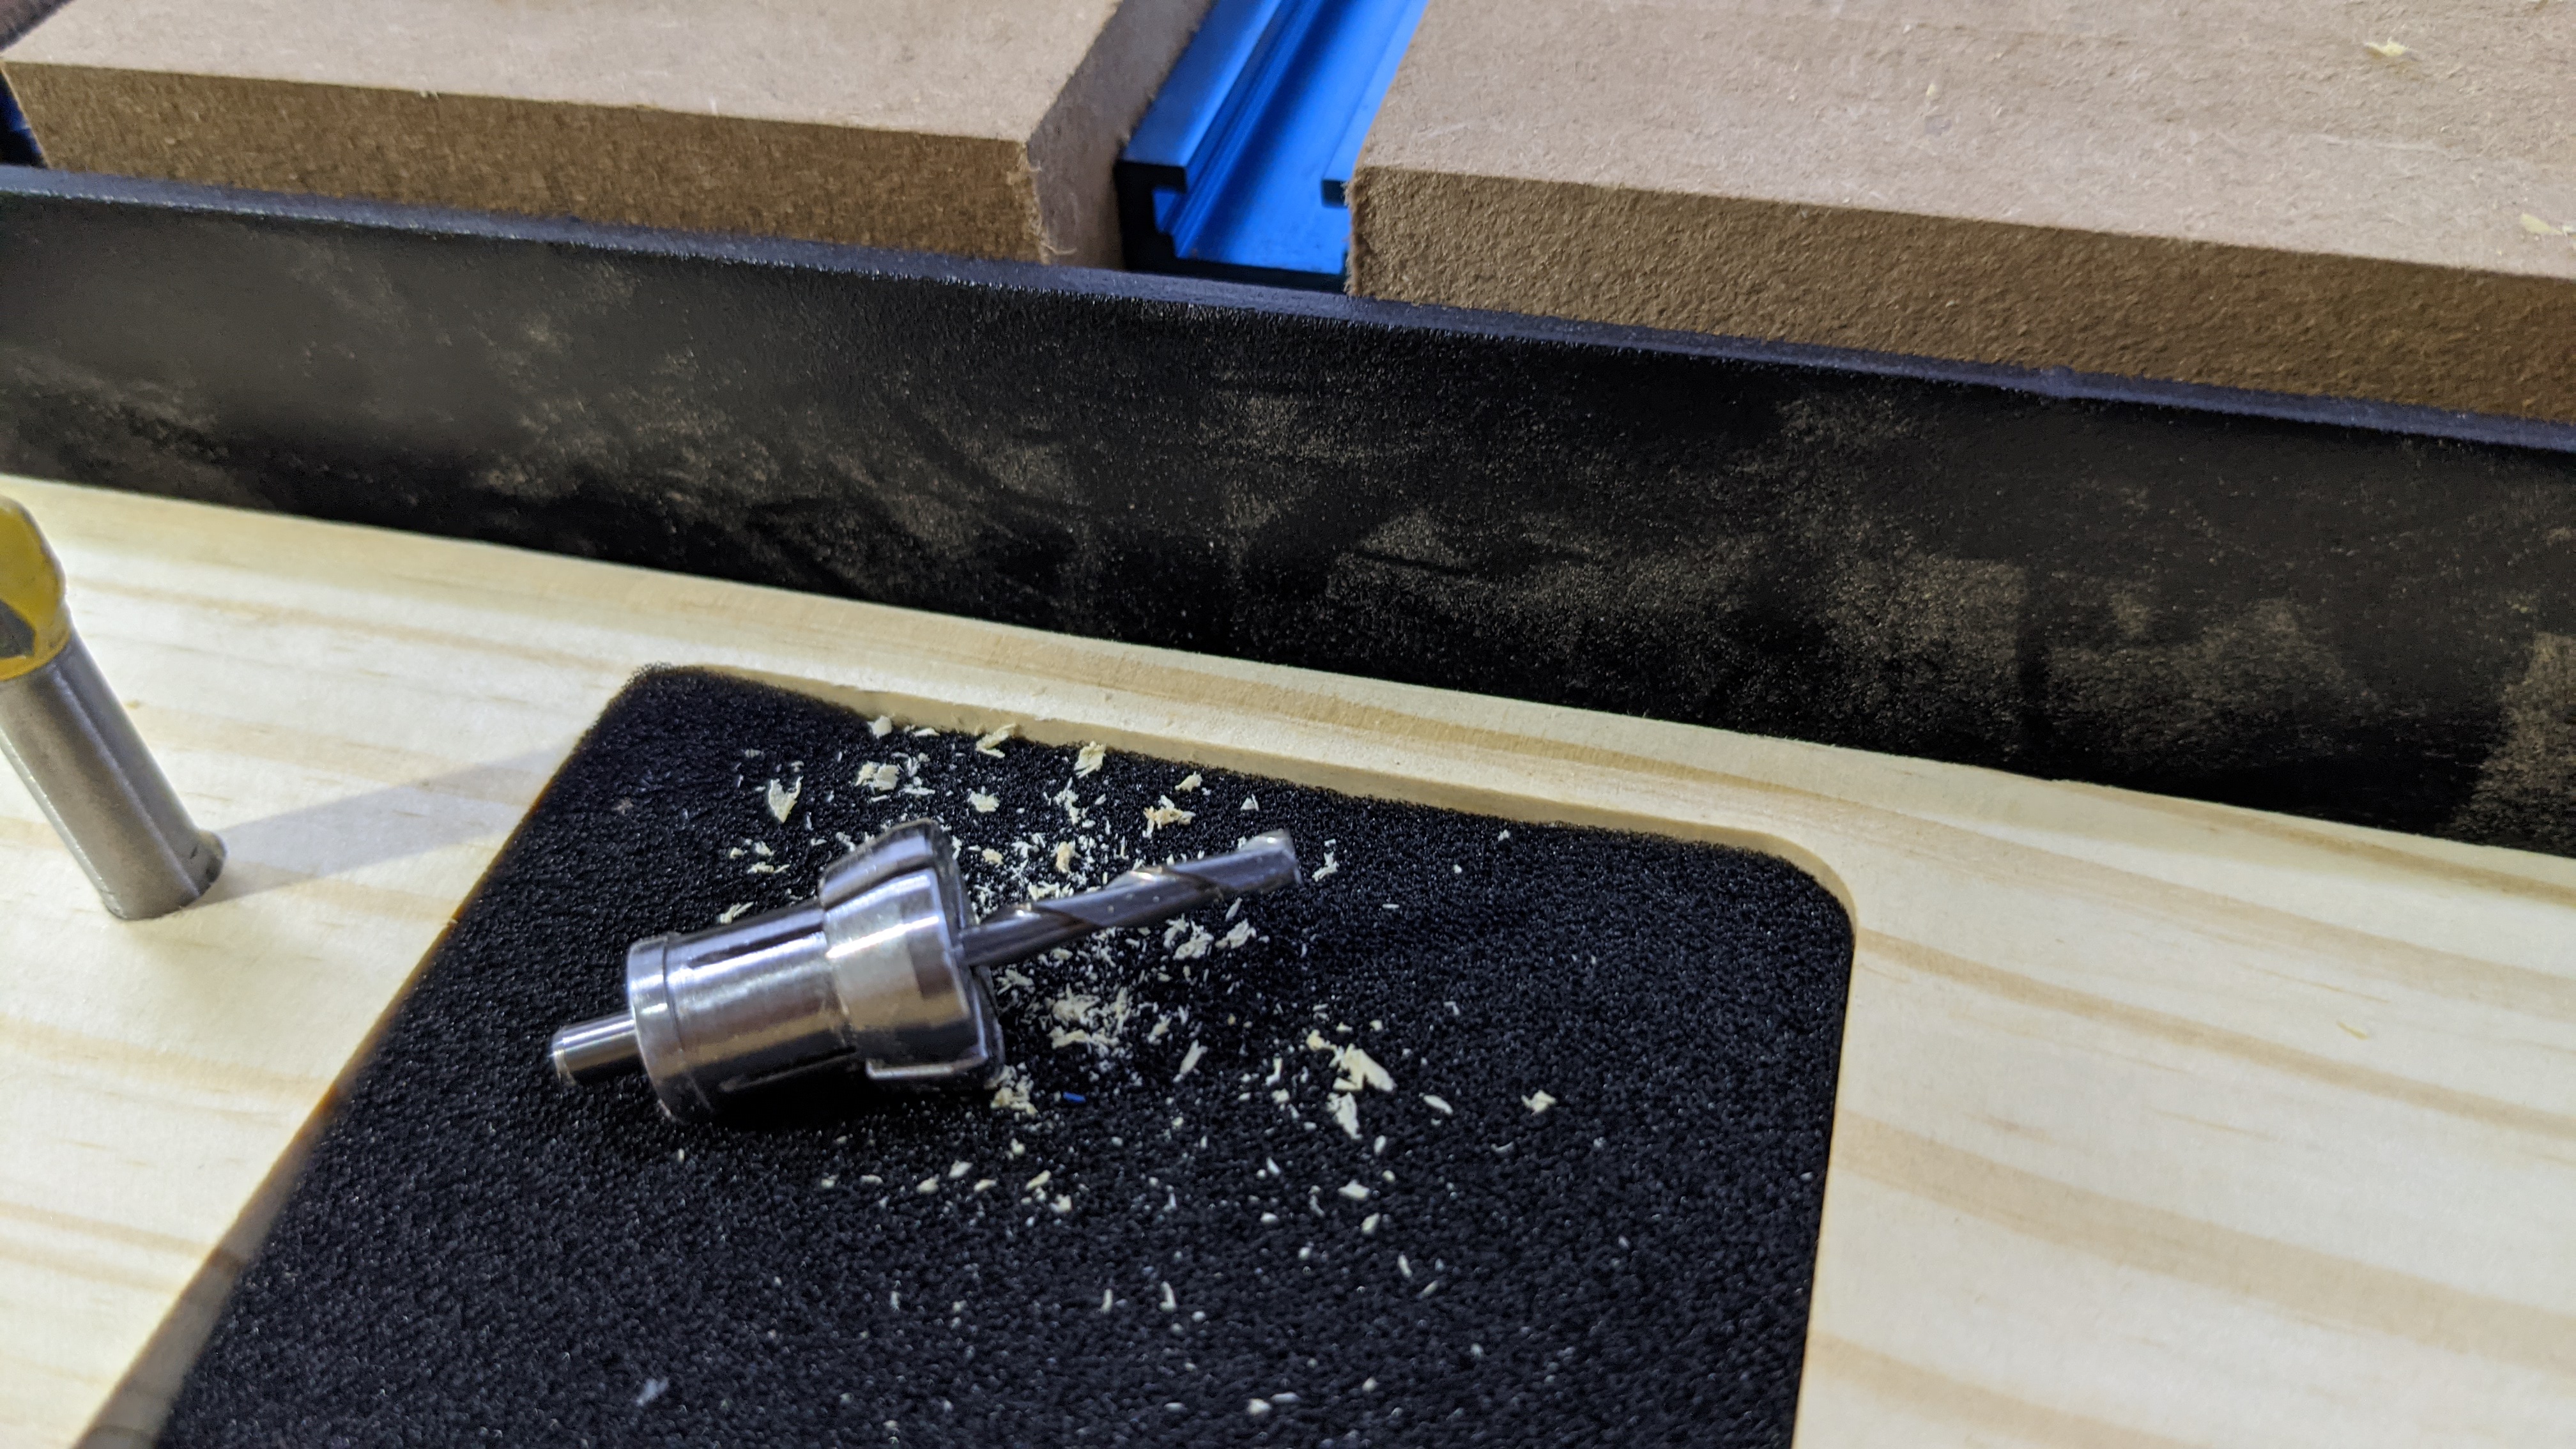
Clever use of magnets. I was thinking of putting some on the side for my next version so it “sticks” to the Shapeoko frame but is easily removed. Now you got me thinking about collet storage so they don’t walk off on me… I spent one tool change walking around my shop throwing my hands up because I couldn’t find the 1/8" collet (with a bit still in it). Ended up having to crawl on the floor to locate it!
What an awesome solution! I’ve (up until seeing this) been clumsily been trying to use the two wrenches to loosen the collet while cradling the bit. LOL Thanks!!!
I love how fast it is to update and pop out a new prototype. Laminated two layers of 1/2" MDF, held it down with tape and glue method since it was cut to dimension already. BitZero got accurate zeroes, helped that it was held along a machine axis with the Carbide square kit. I was a little nervous about the outside chamfer since it could have turned out poorly.
Hah! Why do you think I’ve been cultivating this belly cushion??
My enclosure frame sits in front of the machine, so I have something non-stabby to lean against when working deep in the machine. I’m quite fond of my knuckles though.
I’ve had to ditch my beloved bit and tool tray now that I have a double decker bench… good problem to have. I still have to add the second laptop arm to this. I’ll have to implement your drop tray idea and modify it for my use.
The one crappy thing was the dreaded Static Disconnect issue happened three times over the course of this. I ended up being able to recover by shutting off the machine and turning it back on, then loading whatever toolpath it pooped the bed with and continuing on. After the third time I disconnected the dust collector and just chased the bit around the table with the vacuum hose. Not an ideal solution but I encountered no disconnects after doing that. I’ll get to that problem next.
I ended up with three tool changes for mine - 1/4" for all the big pocketing operations, 1/8" to trim the contours a little more closely (like around the wrench corners) and for the Bitsetter recess, and the 90deg Vee for carving. I should have used the 1/8" for VCarve pocketing to get cleaner letters, can’t remember why I chose not to. I really like the v-carve workflow though, and it makes pretty letters quickly.


 Yes, the sharp points can draw blood!)