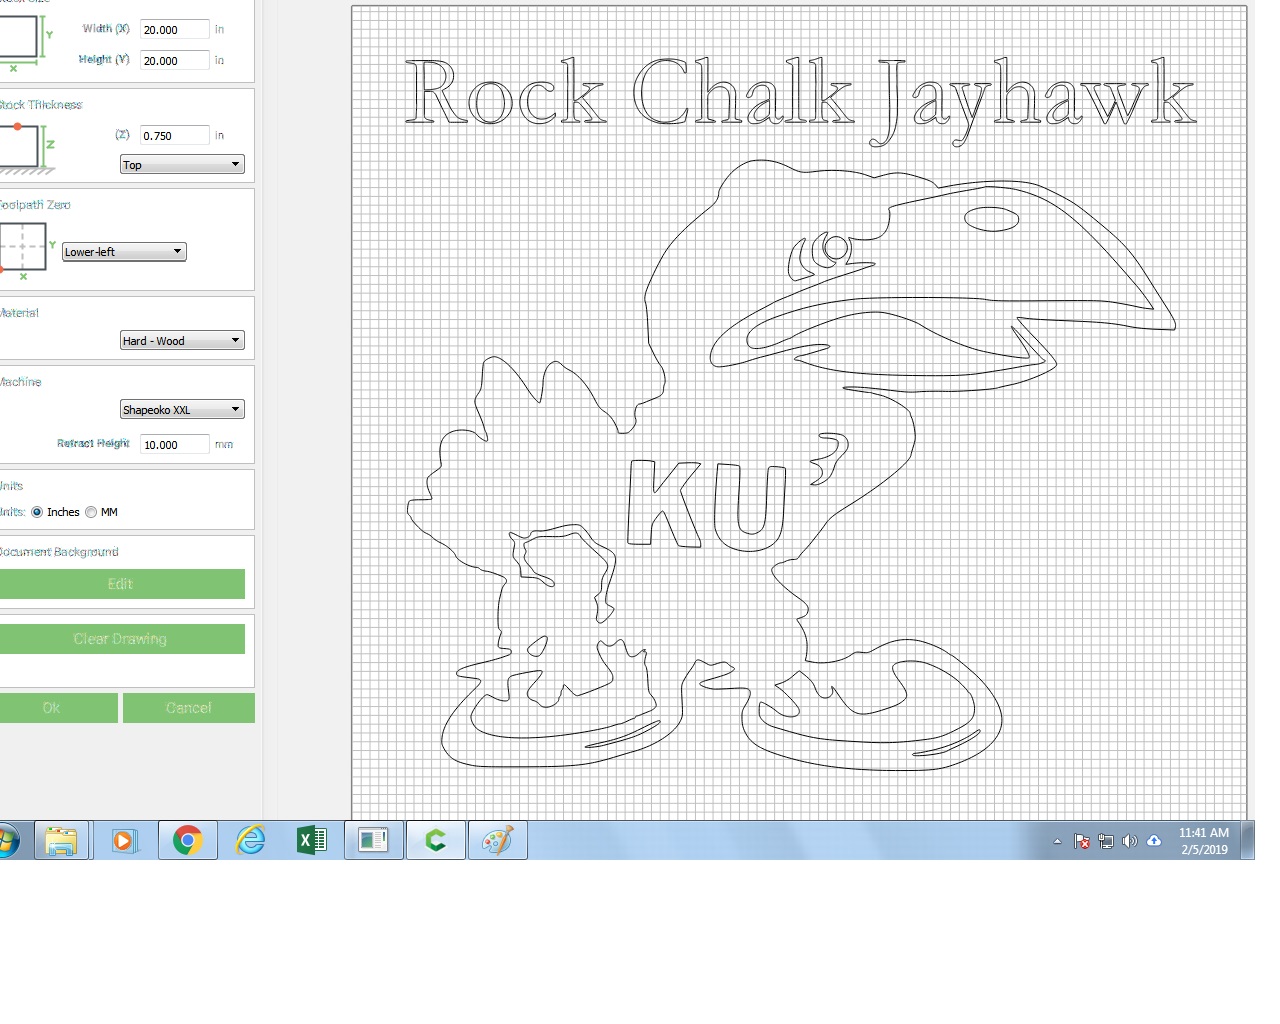
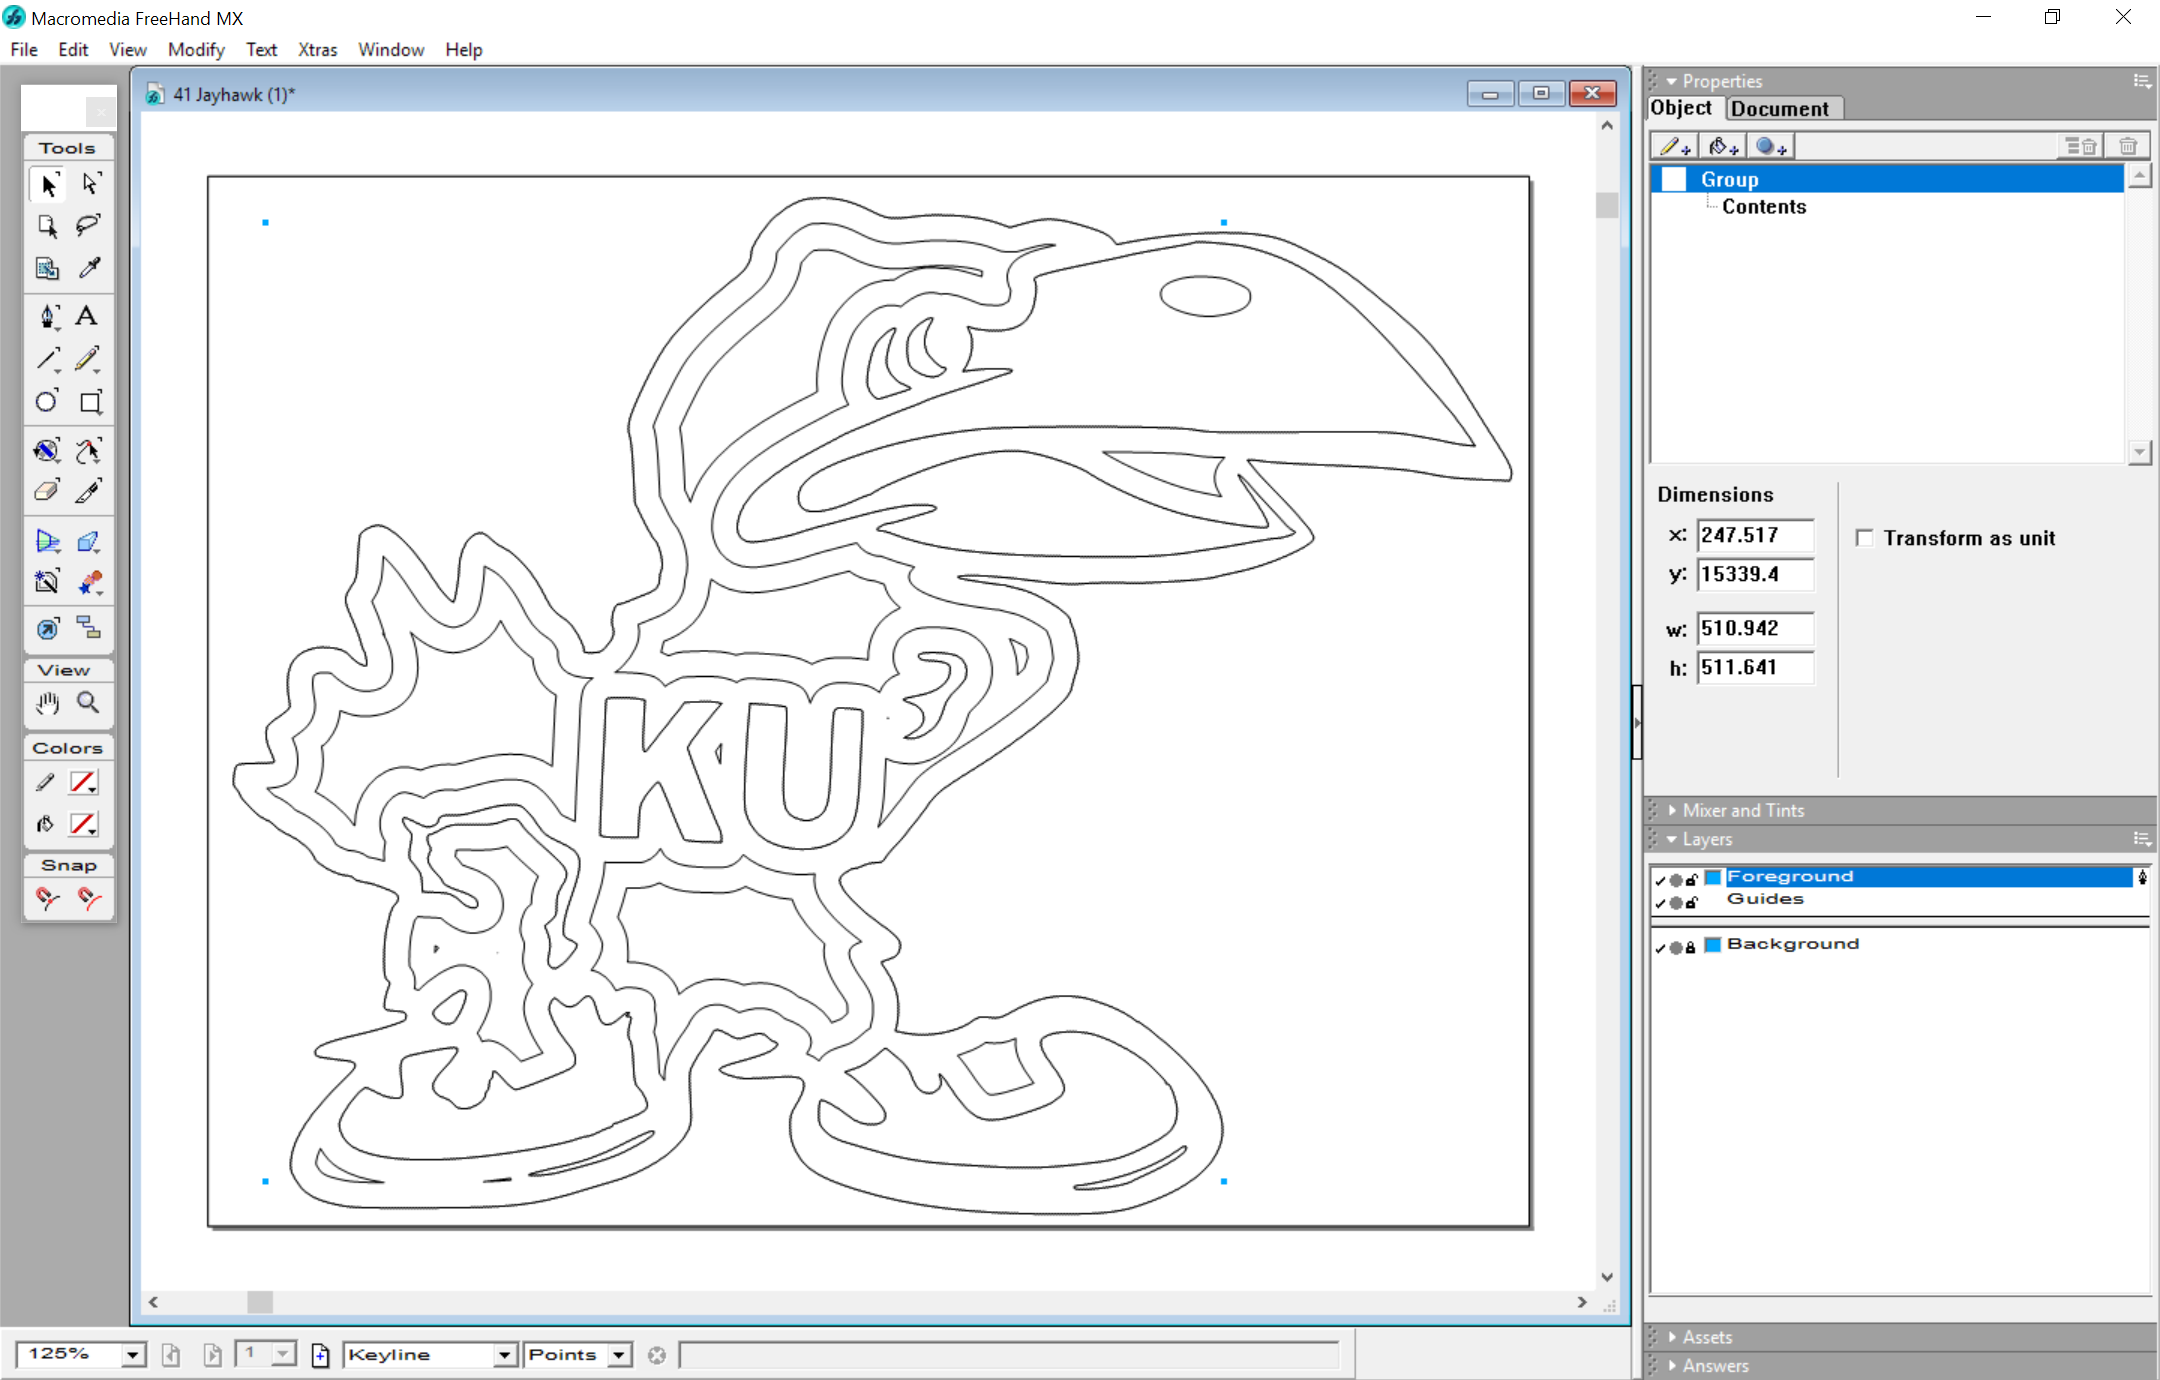
I’m a bit nervous about keeping this machine. I’ve been trying to create very simple Jayhawk design before it arrives. This program is very hard for me to use because the design is simple and I can not get it to create the proper v carve tool paths. I simply want it to carve where the orange lines are. Why are the tool paths so jacked up? I’m seriously thinking of returning this the day it arrives.
Have you asked for any kind of help? Or researched on how to do that? I never got the hang of CC, so bought Vcarve and absolutely love it. There are a lot of people on here and other forums with tons of knowledge but if you are willing to quit just because its too hard maybe this CNC thing isn’t for you.
5 Likes
Your screenshot does not really show what you are explaining, but that aside, I think V-Carving that logo will be a challenge because there are some very wide areas and CC can only vcarve widths that are as wide as your v-bit can plunge (generally for text or finer details). Like Alex mentioned, VCarve Pro/Desktop is more sophisticated software than can set a max depth on a vcarving and use a endmill to clear out the larger flat areas.
If you want to share you project file we can take a look
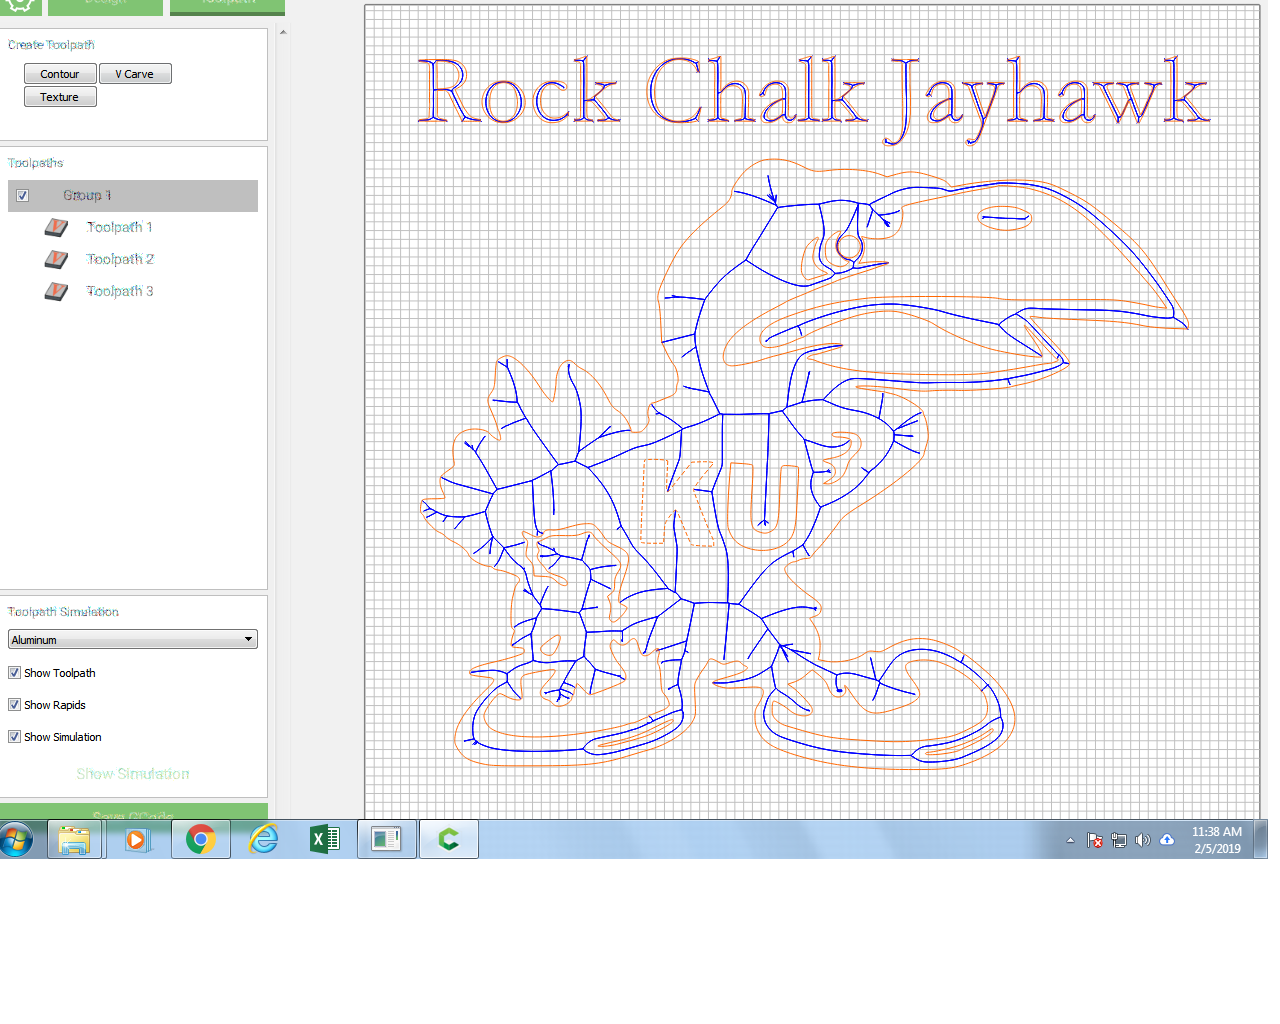
Although I agree that that is a crappy tool path, it is what you asked the computer to do. I struggled with this when I started too. V-Carve works a little different in that it goes deeper to clear a wider path and shallow to almost nothing for a single line. It looks like the letters at the top are close to working. If you just want to cut out the pattern like a line drawing use the lines as a path and cut right on the line. Or if you want more depth cut it out with an endmill using pockets with islands. I am sure you will get it by playing on some scrap material until you get what you are looking for. I would use a 1/8" enmill and use the pocketing with all the islands at the original height and vcarve the words.
This will test your patience but the fact that you got so far already is very promising. I think you will get it.
1 Like
Definitely don’t return it, if cnc is something you’re interested in, the shapeoko xxl is the best way to get into it.
While you’re learning the software, and how the machine behaves you are going to have some tough days, but if you stick it out you will get where you need to.
The issue you’ve got here is that when you assign a v carve toolpath, the software looks to run the v carve bit between your example, there is an outline, and islands inside it.by choosing a vcarve path on that geometry, you are telling the machine to take out the whole area between that outline and island. - every software is designed to work like this. You have some options:
Try selecting the outline and offsetting it 1/4”, that way the software will put the v bit inbetween those two lines, creating a nice outline, you can do the same with the internal features.
Use a profile/contour toolpath, and with that geometry selected, tell it to run ‘on’ the geometry, at a low depth of cut, maybe 0.05” this will effectively trace the geometry with the v bit.
Try not to despair, if you haven’t used it before it can take some time to get your head around it, there are lots of people here that are more than willing to help. Most issues you will have with CNC are your fault, not the software or machine… it took me some time to learn that one!
Feel free to upload your file and ask people to take a look, as I said, everyone here is incredibly helpful.
Don’t send it back!
1 Like
Yea I agree a contour path with a smaller bit or engraving bit would make this image look much better.

2 Likes
I guess I dont understand the vcarve bit. I thought it was used for very fine detailing like engraving a name on a pen or such. Which is why I thought it would work well to engrave a 1/8” cut in this piece of wood. Is it hard to create a contour line? I guess I’ll go through some more tutorials. Thanks for your help.
I don’t do a lot of that type of CNC work, Brian, but there are plenty of guys here that will help you. Don’t return it, embrace it, let it make you feel like an idiot and frustrate the carp out of you. Come here and post questions and learn and move forward.
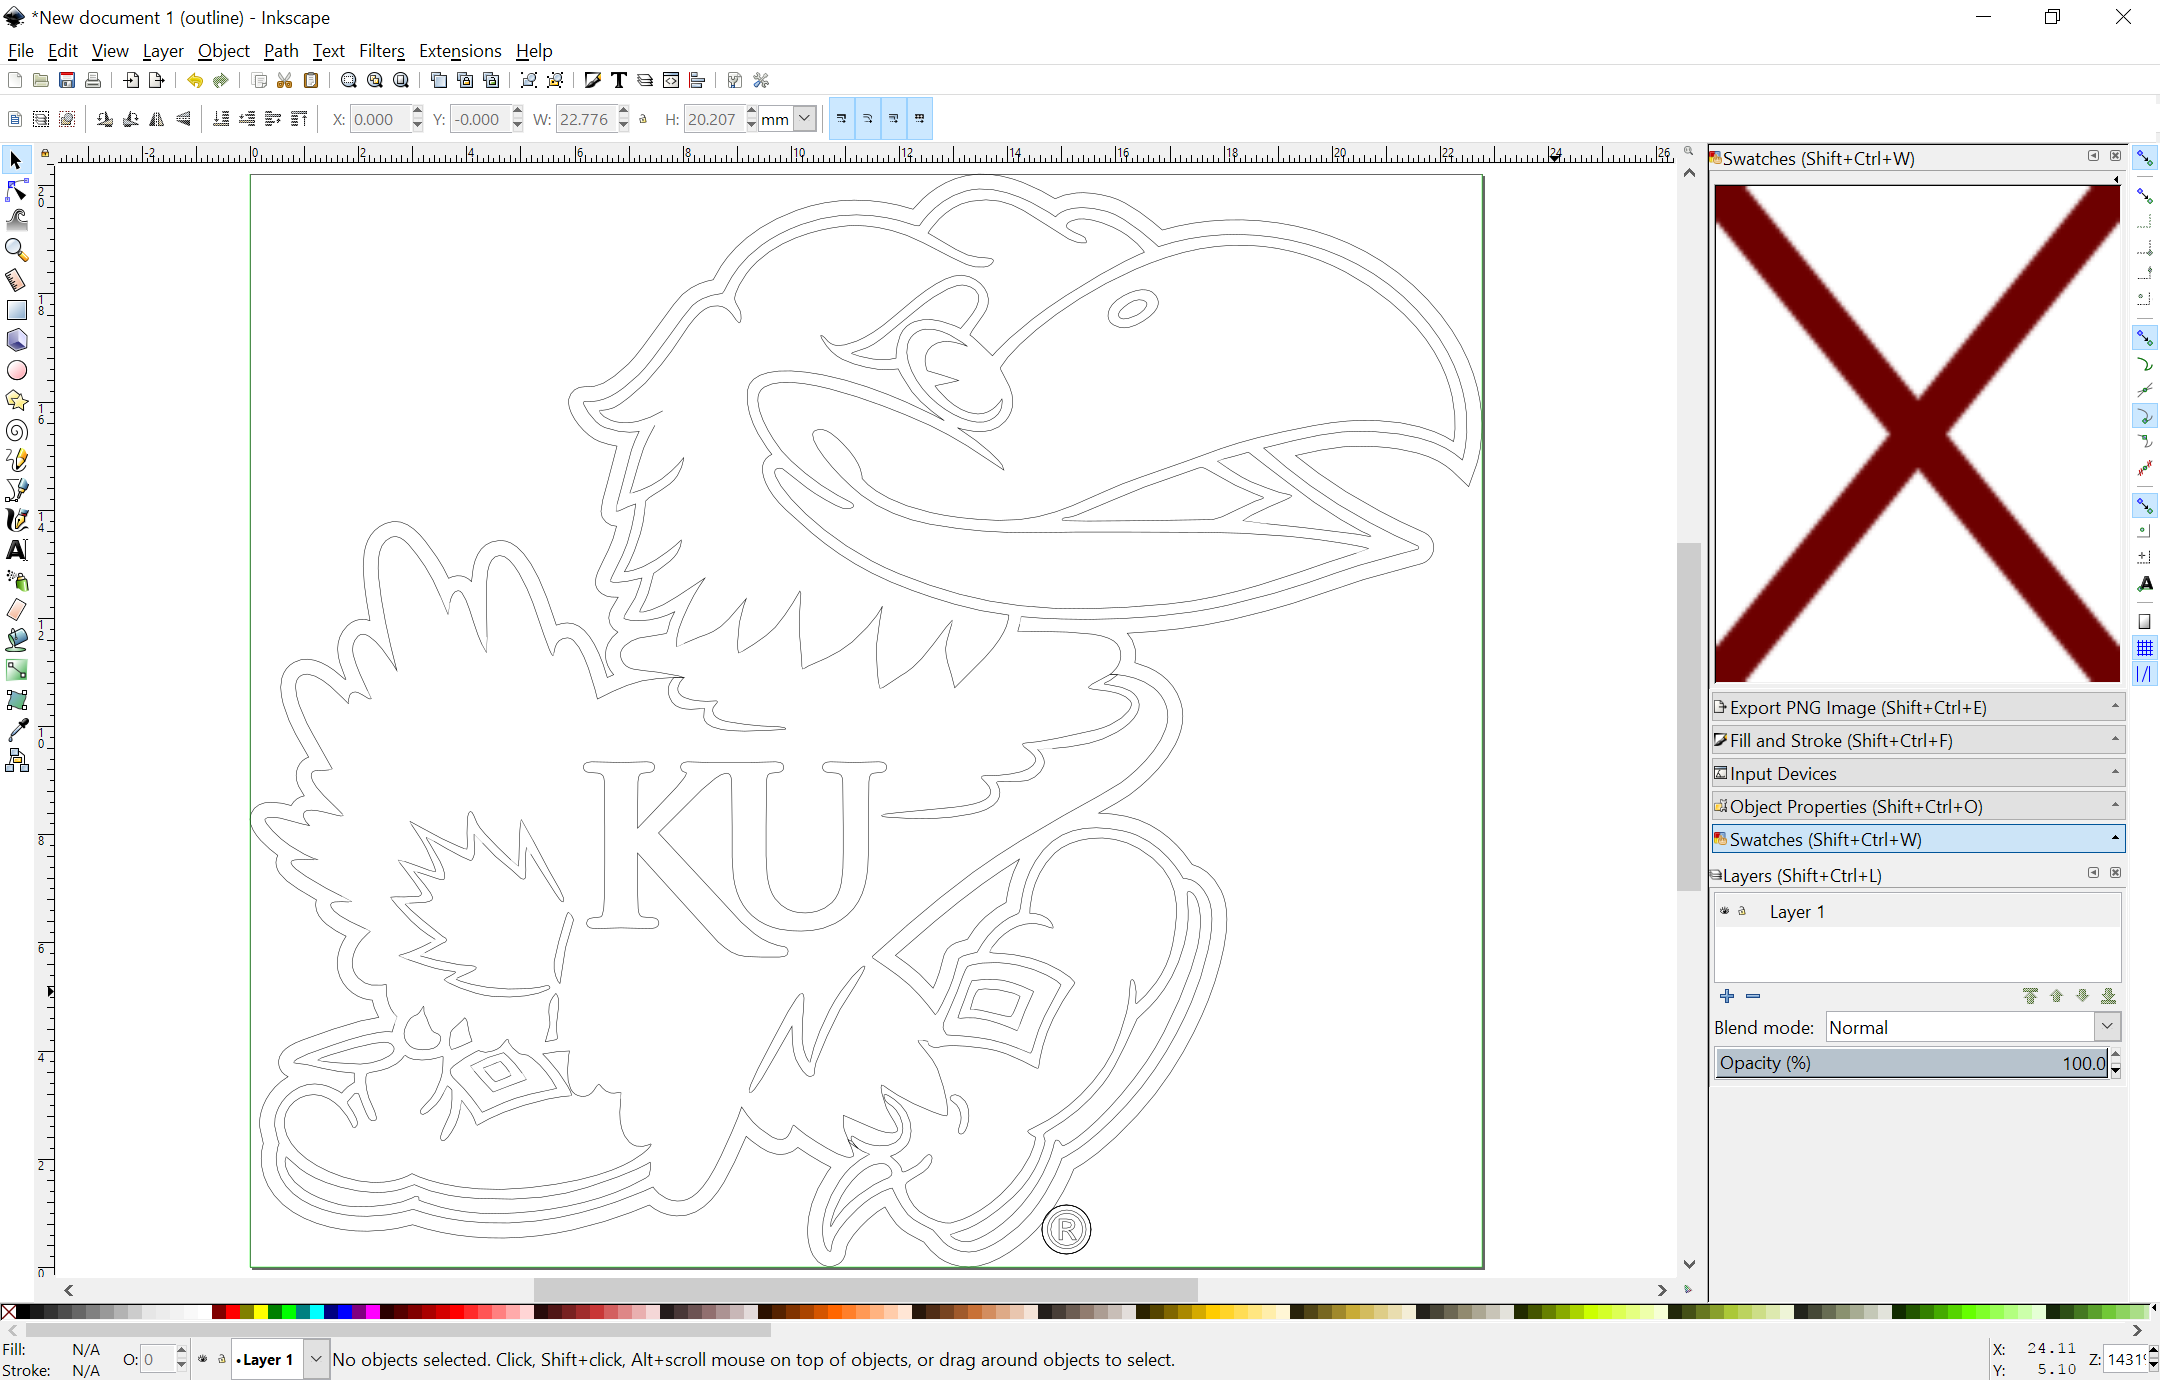
I’m wondering if what you want to do is trace the image rather than vcarve it. You could use a very thin bit or a vbit very shallow and have it follow the outline. That’s easily accomplished. I can’t tell you how in CC because I use another design program. If you wanted me to make this image on an item I make, I would first bring the jpeg/bitmap file into Inkscape and go to Path and trace. I’d take the traced path and save it as an SVG file. I’d open the SVG in my design/cam software and have it trace the paths. Then I’d cut the tracing in wood on my XXL. Here are some samples http://www.hilinski.net/woodgames/#!page-cnc . If you really mean vcarving, I don’t know anything about doing that and I’ve wasted your time.
1 Like
One hundred percent this has to do with the initial file. There are so many ways to carve a logo like that, but almost all of them would take some vector editing / design work.
What do you want the end result to look like?
Try this, modified with Inkscape, SVG. (It’s there…just faint)

CC V-Carve preview (I don’t use create, so I was poking around)
I’m not buying the preview…toolpaths look better than the preview.
EDIT: Attached the .c2d file (zipped) and also realized I used the happy version of the Jayhawk. Go Buckeyes!
KU.zip (805.2 KB)
2 Likes
The software does as is requested, within its limitations. The limitation here is that it can’t cut wider than the endmill and you are presenting it with a very large area which far exceeds the 1/2" cutting width of the endmill in question.
If you reduce it to a size within the capabilities of the software and endmill you get:
In order to work around this you have to simultaneously inset and offset and resolve areas which result in an overlap.
1 Like
Insetting twice by 3/16" results in an image which looks like:
which one may import into Carbide Create and assign the original and inmost paths to a V carving and the middle to a pocket path at the depth of the V carving resulting in what I believe to be the desired appearance:

Attached.Fighting Jayhawk_pockets.zip (547.9 KB)
1 Like
With a bit of effort, you can find a source for a good quality vector image such as:
which will afford one more information as in:
SVG attached. Importing it into Carbide Create and creating toolpaths is left as an exercise for the reader. At the size of almost 20" x 20", no need for a V carve, just cut pockets of various depths and fill with paint.

4 Likes
Thank you to everyone for your input. I’m gonna stick with it. I’m just blown away with the amount of support I’ve received. I guess I was initially confused with what vcarving was. I was under the impression it was used for very small intricate engravings. Like tracing an outline of this Jayhawk. I’ll keep messing around with it.
Thank ya’ll
3 Likes
Just remember that you’ll have moments of moderate to extreme frustration which are often followed by epiphanies.
Ask for help and be patient, and you’ll learn and in the end have some fun.
6 Likes
Phil, that may be the most accurate and eloquent description I’ve heard… Extreme frustration followed by epiphanies 
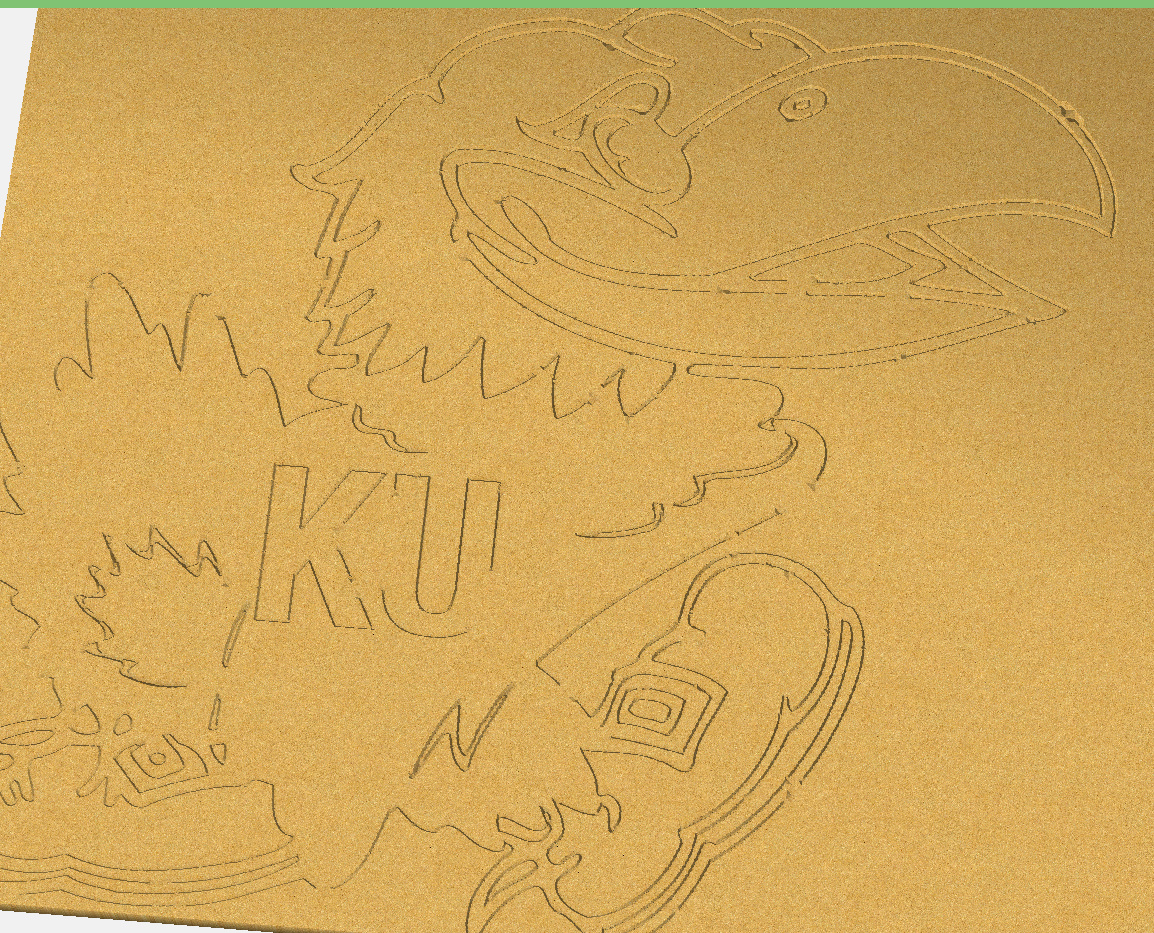
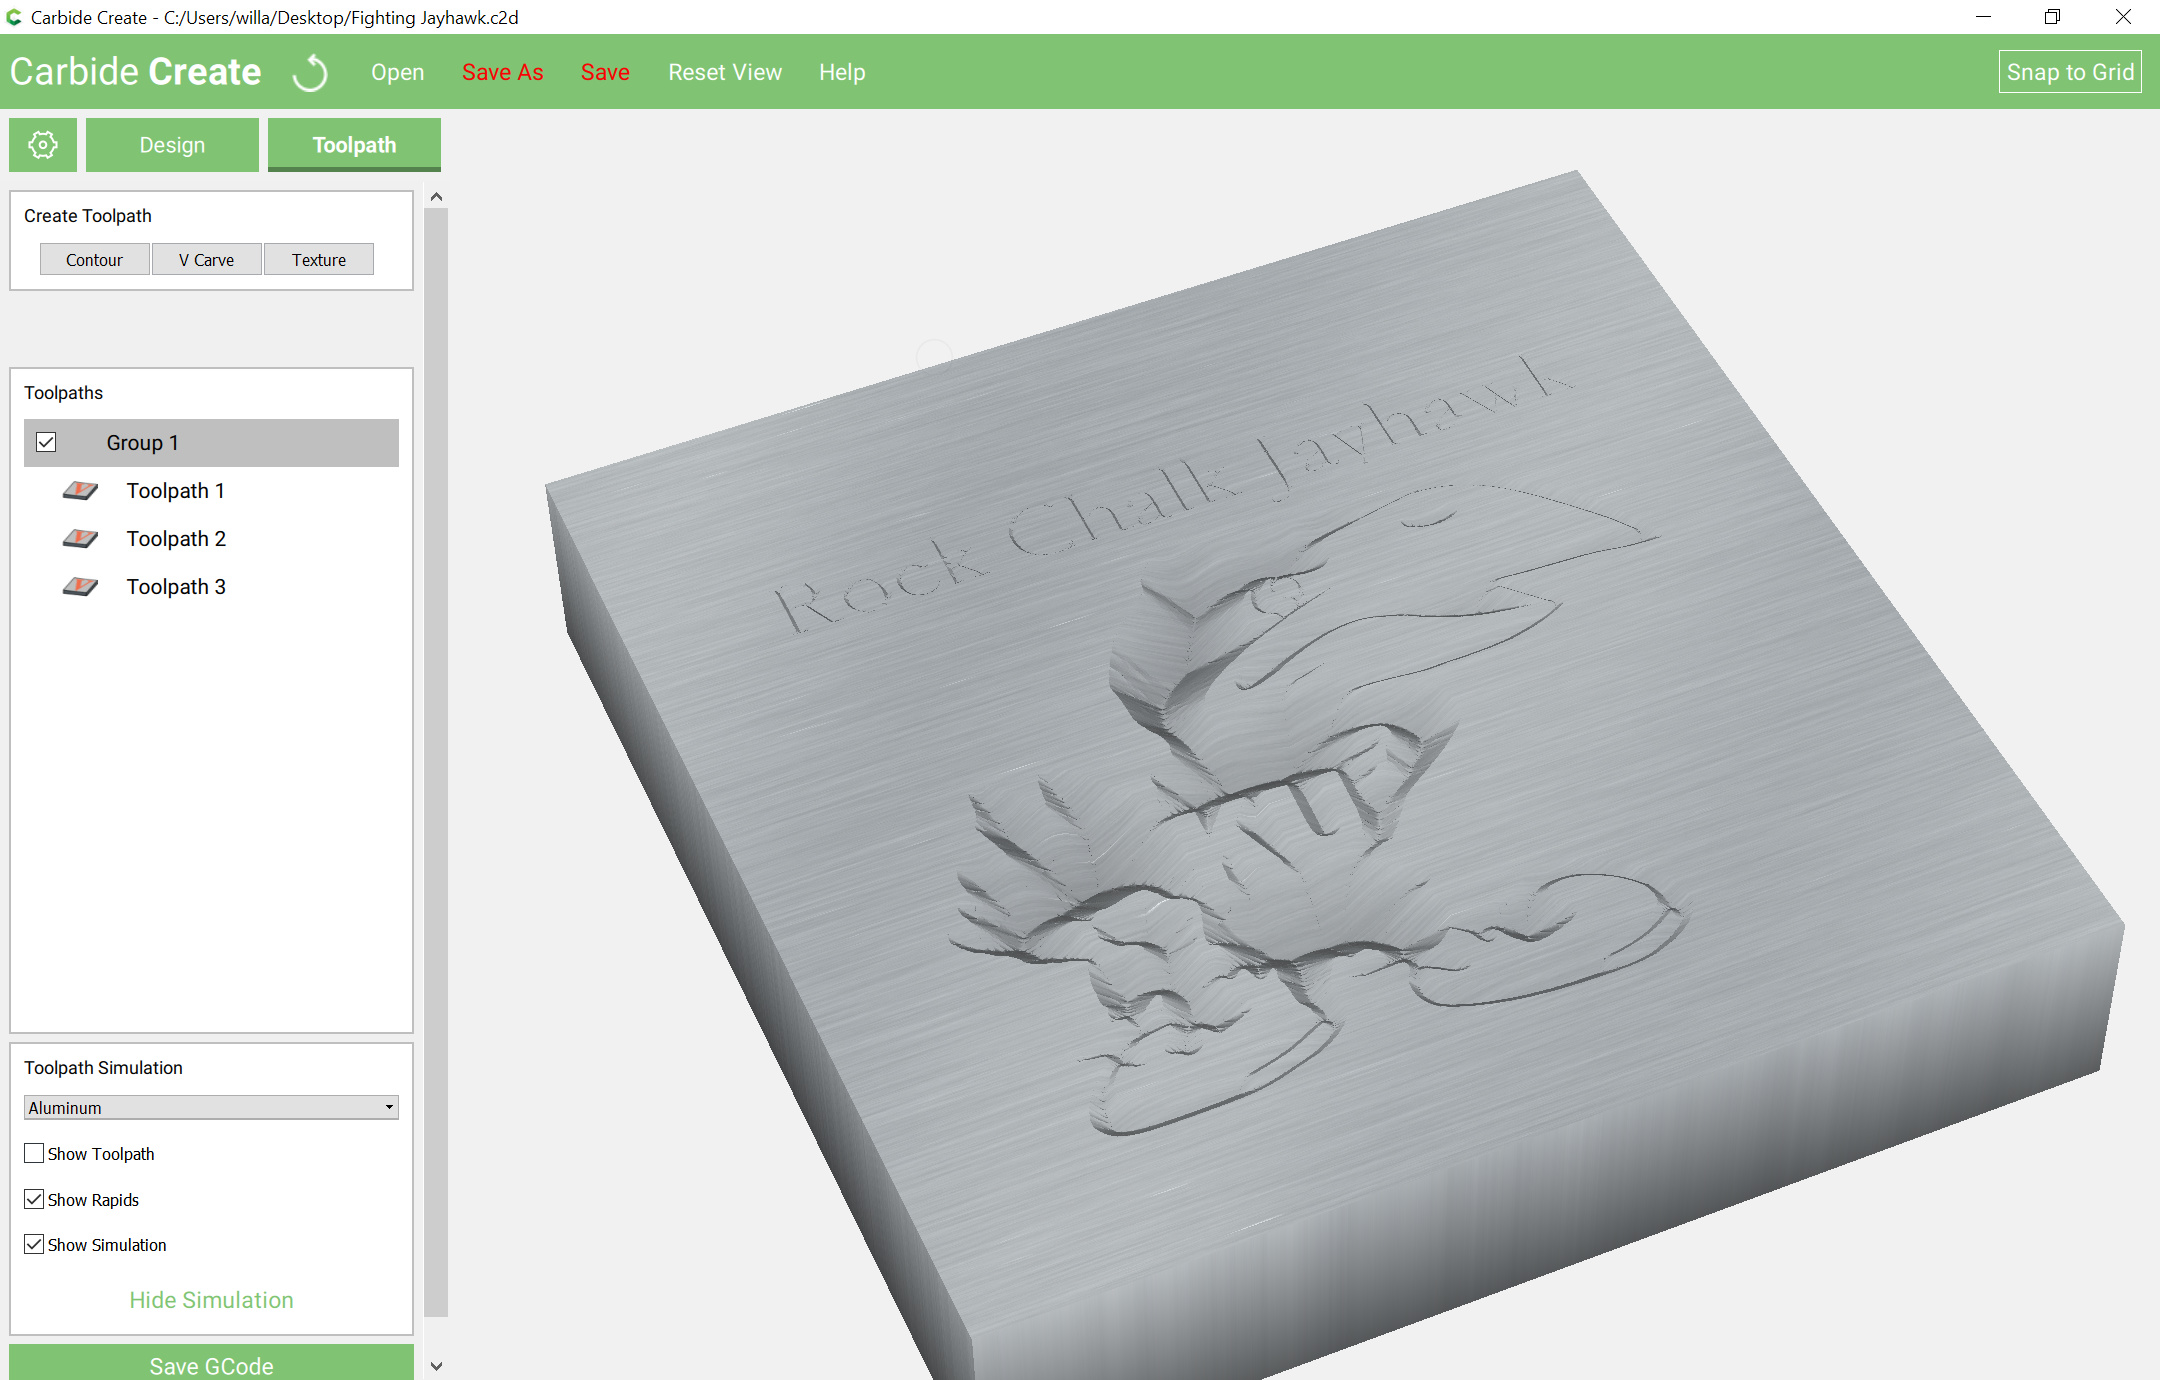
Okay guys I’ve been working at this for awhile. I used contours and it seems to create better toolpaths. However are the simulations accurate? On the simulation view it shows some gaps. I’m wondering if this is what it will really do on the piece of work.
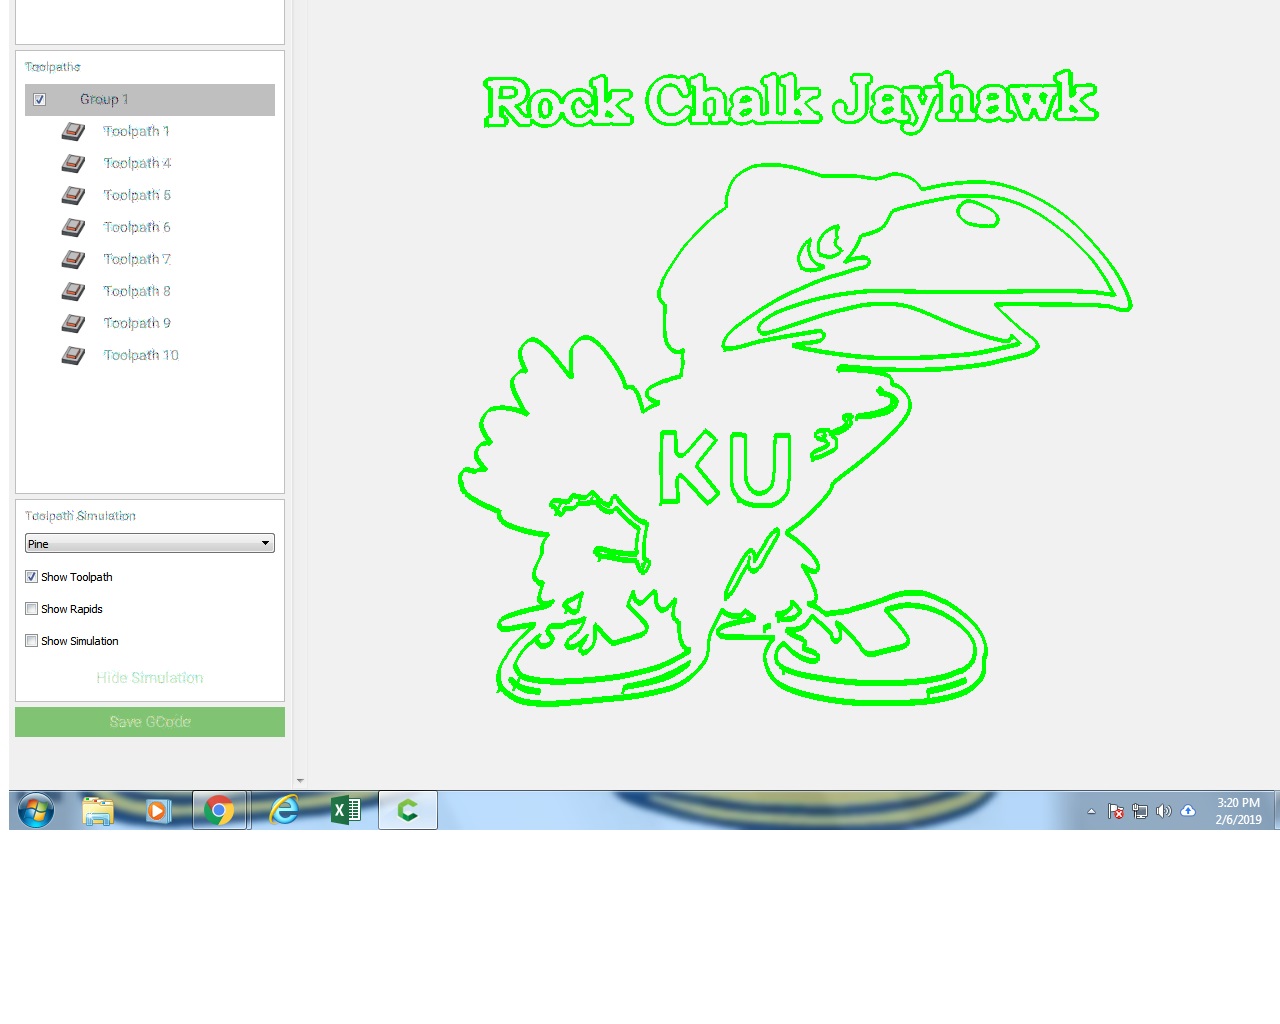
Carbide Create does an optimization pass when working up the 3D preview which discards small features — unfortunately it does so wrongly in some instances — the green movement lines and the blue toolpath lines in the Toolpath pane are accurate indicators of where it will cut, or you can use a 3rd party previewer such as Camotics.
2 Likes
What you have to think about Brian is that V-carving does not cut ‘on lines’, but rather the space ‘between two lines’… so the closer the two lines are together, the narrower, and shallower, the cut will be. I think you’ve discovered that you can get it to do what you originally wanted to do by 'Contour’ing rather than 'V-Carve’ing… just select ‘No Offset’ and a shallow depth, and the V bit will carve right on the lines you selected…
1 Like