…it all needs to be square and calibrated, which I thought was an unnecessary PITA.
I was thinking this as well, as in: as long as everything is with respect to the machine’s coordinate frame, we’re good. Machine level/flat != globally flat, but who cares. That said, my potential issues with angular offset in two sided machining and the post from @CNCInspiration got me realizing this isn’t entirely the case.
Here was my test for x/y perpendicularity.
- I machined an 8mm center hole between two 4mm locating holes, then machined the same pattern ~12in away
- after machining from side one, I flip and run only the 8mm holes ~1/2 of the depth
- offset in the origin hole speaks to repeatability limits, but additional offset in the far hole amplifies if x and y are not perpendicular
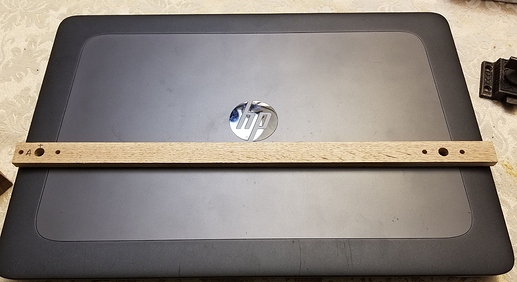
Test strip, with two sets of holes all the way through. I only re-bore the big ones upon flipping.
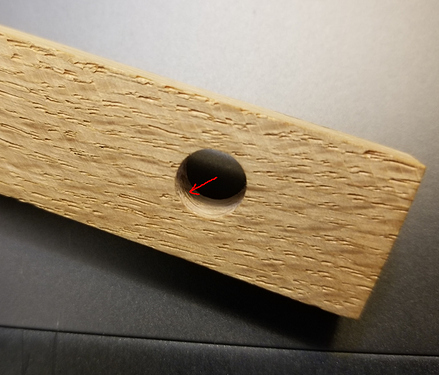
I get it… super tiny and insignificant, but this step does not exist on the origin side and nor do I see anything like this kind of error (~0.2mm) on anything else I do. I interpreted this to be a manifestation of perpendicularity issues.
@CNCInspiration’s note caused me to realize the same thing about not being globally flat/level. If you face something and, say, your y rails rise front to back, and then you flip this about y and run the same thing, you’ll add this ramped offset again.
Maybe these things are unnecessary to worry about, but it might depend on what you’re doing. They would never have crossed my mind until I started trying to two sided machine and wondered if that’s what I was seeing as the cause of my steps between halves. Suddenly it did seem to matter!

