Hey so I got my shapeoko pro XXL a few days ago and had a somewhat successful first cut. And I’m onto my second but my shapeoko started to go deeper into my piece all of a sudden (Z Drift?) and when I paused the z axis was going up and down so I stopped and when the Z axis would move it struggled deciding if it was going up or down I noticed the behavior doing a tool swap as well, sometimes a quick stutter or big shifts… I have no clue what’s up all my connections are tight. My first project had a Z axis problem I never notice till after it cut a little more shallow than it should have.
Any Suggestions what could be wrong??
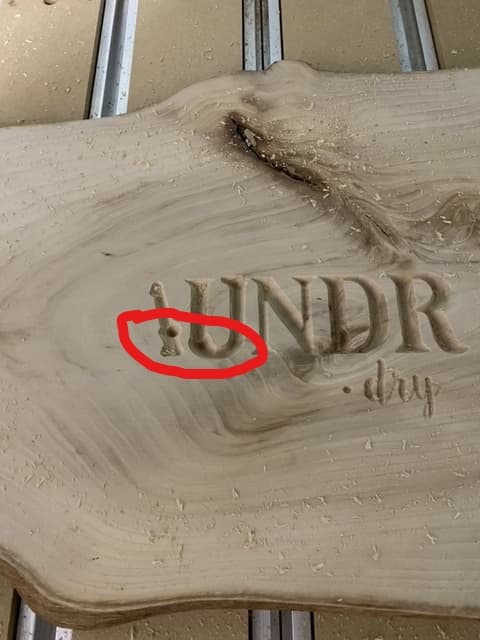
I did also have a video of this happening but i cant figure out how to add
Unplugged all connections and plugged them back in and added some lubricant to the rails and screw… seems to run fine now - didn’t notice anything unusual while checking connections. Will update tomorrow if something goes wrong again
Check your connectors. I just started my machine and once again the homing cycle failed.
The reason was a bad connection and after I wiggled the wires I saw one limit switch coming on and off as I was touching the wires. Those connectors are SO shitty quality I can’t believe!!
I think my next project will be removing ALL the connectors and just solder the wires together, this problem isn’t going away before I do that.
Damn Carbide3d! Use better connectors/wires on your machines!!!
Add me to the list. I emailed Carbide about it last night and received a return email asking for my procedure. I typed it all up and I am waiting to hear back again.
Mine’s been doing this too. At the start of a job, after I set Z-0, it goes over and tests in the bitsetter, then will start. Sometimes it is fine, sometimes it will try to plunge well into the piece. I’ve taken to slowing the speed down to 10% when beginning a job. It’s quite annoying.
I have started filming my process every time I start a new project determined to catch it on film. I show the Screen with zero all, the location of the bit and film me starting the job. I’ve did this twice last night, but both times everything went as planned. If history repeats I’ll have this issue in the next few nights and catch it on film to share with the Carbide team.
On a side note I have been in contact with them about this issue and have to send them some $ values when I get home from work tonight.
I suspect that both of these might be a workflow problem rather than a hardware/software problem. Shoot us an email and ask for it to be sent to Flemming for him to help you out with the problem.
I have been in contact with Flemming about this issue. I was also contacted by Luke about this earlier today and when I get home from work will respond to his questions.
I will continue filming my entire process each and every time I run a project until I am able to catch it on film.
Hey guys, sorry I’ve never replied I got it all working and going smooth and haven’t had a problem since! I split the project up into sections and did it bit by bit instead of running through the process of things that were cut before the incident. All the code ran fine after, I never adjusted the bit during the process so those aren’t the problems here. I suspect it was something to do with the wire connections. I have run a few projects since and it has never happened again. However a few times I have noticed my X axis limit switch not always working causing my machine to crash into the rubber stoppers repeatedly while initializing. My fix has been to unplug the wire and plug them back in usually solves the problem. Might take a couple infuriating tries but eventually works. So I’m sure it’s a wire thing.
Check the wires where they feed into the electronics enclosure. I noticed today the lip around the opening is a bit sharp and is digging into my ground wire and x axis cable.