Not sure what happened, but CM chose to ignore what I set as Z Zero.
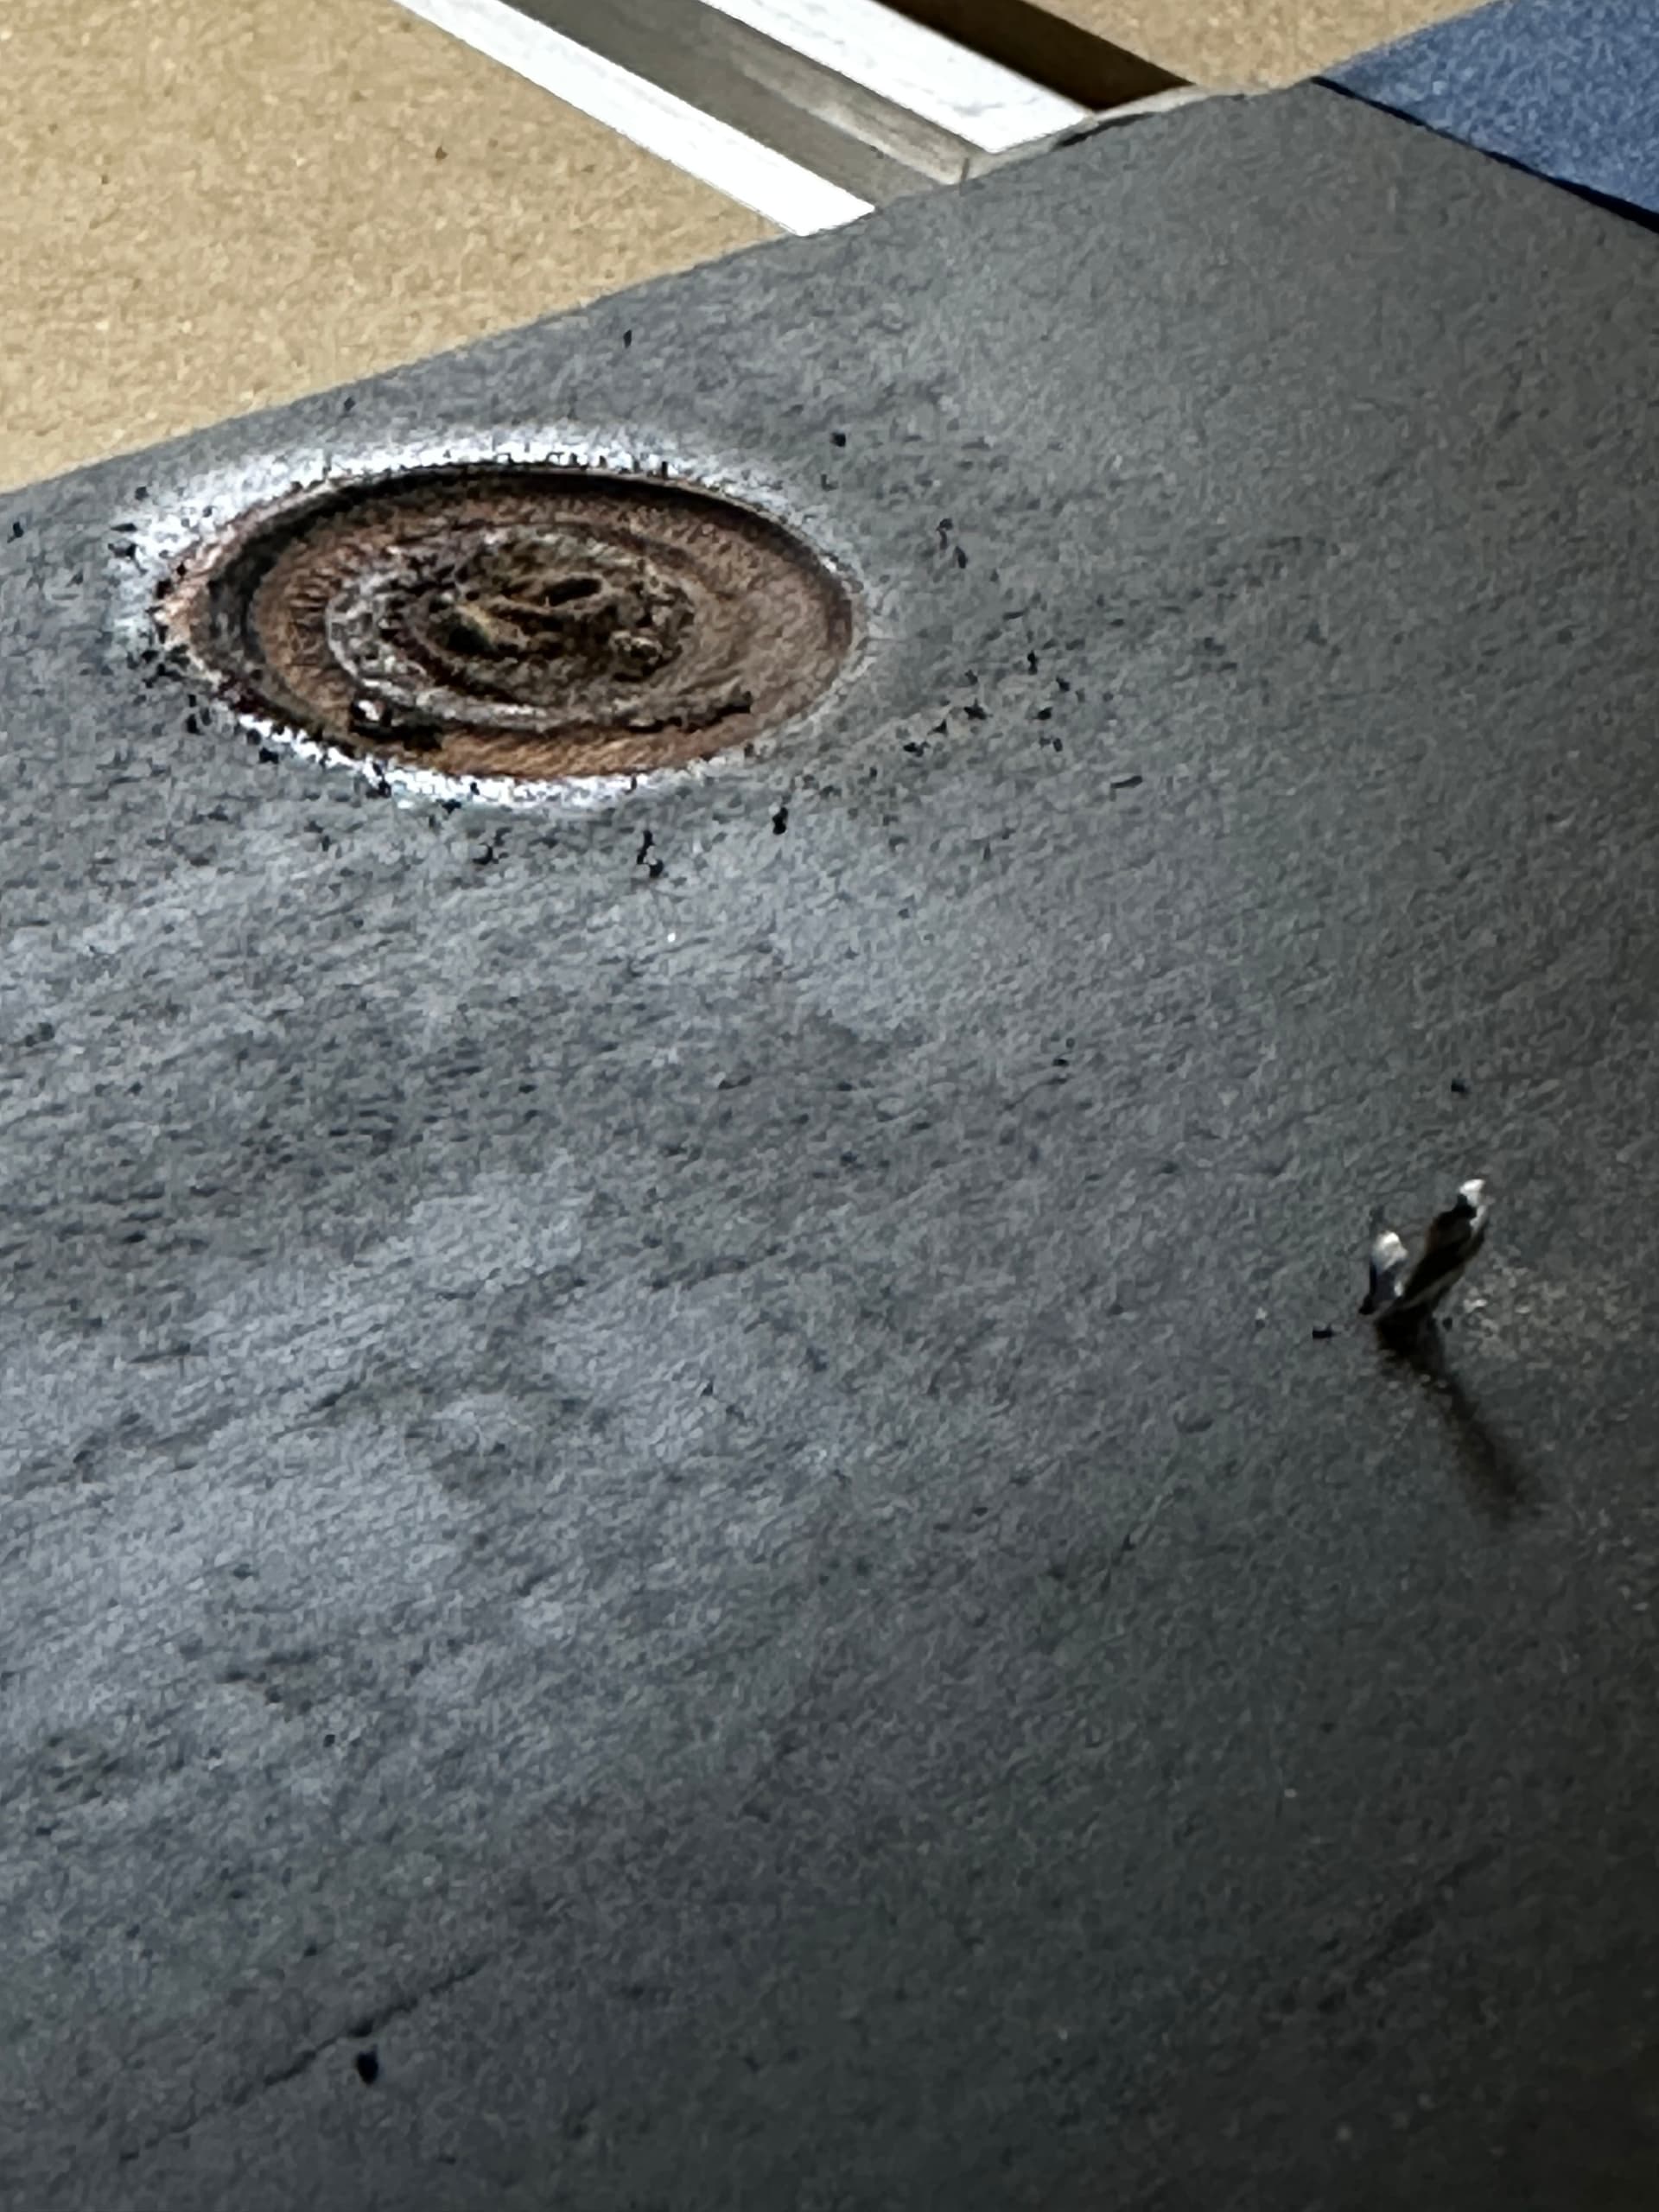
This was run #3 of the same project, where the previous 2 cut as expected, but after resetting zero for X/Y and Z then starting the job the first cut plunged beyond the limit of the end mill and ruined the board segment.
Afterwards I did a rapid to X/Y zero, which was correct, then still annoyed and petulant in the moment had the machine rapid to ‘where it thought’ Z zero was (+6mm), plunging again it snapped the already ruined end mill.
Probe and end mill were both measured with BitSetter before setting positions and cutting. Doublechecked my file and Zero Height still set at the top of the stock.
What possibilities are there as to what could have caused this unexpected behavior?
This happens to me often. I set x y and z with my bitsetter. X and Y are always good but Z will sometimes plunge or if I’m lucky it’ll cut air. I’ve gotten into the habit of checking my Z AFTER I start a job. I won’t start my router when prompted, I “resume” and then I’ll hit the “pause” button, then the “stop” button. After the machine homes I rapid to current X and Y, which as I said is always good, and check my Z with a 123 block. Sometimes Z is good, sometimes not. But you can bet if I don’t check Z it will plunge.
Interesting. Yeah, not sure what’s causing it, because I’ve been really careful with it, although I haven’t gone to the level of checking you do.
After the incident I restarted and initialized the machine and it completed the job perfectly. Before starting the next one, I just exited CM and initialized and it’s going as expected so far.
Not sure what happened before, because I didn’t hit any limiters or miss any steps etc. and I did everything as before when it worked as expected.
I can say that in response to Will’s post I have read the “Unexpected Z-Axis Plunges” document several times. I have had my machine for a year now and I assure you I am no expert, but have created, for me, many fun and awesome things. For the most part things go quite well. As the article describes, I know not to change a bit unless prompted. I know to hit the Load Tool button if I were to change a bit un-prompted. I know too that 99% of any errors are my fault. With that being said it is always in the back of my mind when I start a job that the endmill is going to plunge and ruin a really nice piece of material.
When things aren’t going as planned I do the same thing only I take power completely off the machine and sometimes I’ll go to the extreme and reboot my computer.
I consider myself lucky that my SO3 with HDZ had never behaved badly on its own. Now recently I have started setting Z zero on the spoilboard and have had good results with that not carving up my spoilboard. However a few projects I have set to the top but zeroed on the bottom out of habit. So my only issues are a loose nut on the keyboard. The only issue that relates to carving up the spoilboard and setting Z zero at the bottom is your stock thickness must be exact. If it is slightly taller like when adding painters tape and super glue is the first pass cuts deeper and makes that annoying whining sound. It has not caused any problems because I mostly use the stock F&S so doc is not all that great anyway. So if using masking tape and super glue check your stock height after the project is mounted and edit your CC file.
I think going forward as a precaution before running a job, I’ll restart CM and have the machine jog to Z zero in the tool change area to demonstrate we are in agreement. Adds a few steps and time to getting anything done, but better that than ‘randomly’ ruining materials.
If the issue persists I’ll continue troubleshooting to see if it is in fact a result of my workflow and contact support if I can’t get it sorted.
Thanks for all the info and input - at least it’s not just me.
Rich, not sure what version of Z-axis you’re on - but check your set screws to the Z-motor.
This can happen on the stock belt drive Z and the HDZ (there is a different possibility on the Z-Plus). If the connection from the motor to the belt drive or the ball screw is loose, it will cause a behavior like this. Essentially the motor slips in pulley or coupler connection as it moves each direction. It can look fine and stable when not under load, like homing, zeroing, bit changes. Under load is where the unpredictability begins because the forces are more likely to cause a very slightly loose pulley (stock Z) or motor coupling (HDZ) to slip.
Note - on my HDZ the lower part of the motor coupling was not tight when I received it, good reminder to check all the bolts, v-wheels, belts, etc. even on a new piece of kit.
Thanks for this Dan. I have the S4XL with the standard Z-Plus.
The Z pulley seems pretty solid with some manual force both ways and all the screws are quite snug. The stepper motor mounts on the lead screw and the belt pulley are also snug and there is no movement.
I’ve also checked all the Z connections at both ends of the chain. The connectors are all still locked together and each wire seem solidly set in the connector pins.
When I initially assembled the machine, there was an unseated wire that caused an issue, but after finding that, I checked them all for the same condition. Nothing like that apparent currently.
Definitely all things I will check during next maintenance, but for now, restarting and doublechecking the Z zero at the start of each run seems to be helping me avoid the issue. Obviously if this process fails at some point, I’ll have to dive back into this deeper.
This week I cut some coasters on my Nomad3. I used bitzero on top of the stock and default stepdowns for the material in Create. First pass I looked at the contour and thought “that looks deeper than the stepdown”. Sure enough, by the time it got to the bottom it went through both layers of tape and took a cut through the waste board.
I used bitzero again and ran another sheet and the heights were fine.
I went back and checked tool tightness, cleanliness and movement of bitsetter and z-screw etc and see no reason for this. I don’t think it is losing z steps because there was no pressure on z between tool probe and first pass.
Could there be a bug somewhere causing occasional z offset issues?
If there is a bug, we haven’t been able to get a report out of a user which we can follow up on.
That would probably be a complete Log file of a job, with a video recording showing each step of what is done in Carbide Motion.
For my part, I’ve managed to get the Z height wrong a lot of times, and in a lot of ways — the only times the machine hasn’t done what was expected were when there was a mechanical issue/interference or electrical failure.
I’ve had it happen twice. (Diving into the job). Both times on a program that previously cut fine, and not on the first tool, which also cut fine. And the zero didn’t change because I checked it after ward.
Both were the first plunge after a toolchange. ?? I’ll try to save more info if it happens again.
Mind you, this is twice since April, the rest of the time it runs like a top. (Unless I do something stupid.)
I think I probed with the pin and then put the 102 in when prompted, so this would have effectively been after a tool change too.
I have had it in the past too but put it down to inexperience or operator error. But this was such a simple job and I am far more used to routine after owning for 21months; it left me thinking something else is at play and when I saw this thread I thought I would chip in.
I will keep a really tight log for a few weeks just in case I can find anything useful to feed back.
I have been having similar issues. It’s random but I’ve ruined a lot of projects. I’ve tried to run everything down to include taking apart the gantry, squaring, tramming, deleting and reinstalling software and disconnecting the bitsetter and bitzero. I’ve even flattened the stock, while on the wasteboard before I start. Like JamesD I started resetting the z zero before each cut right over the center of the design. This stinks on ice and is still not perfect.
I often noticed there this an average of .04-.08 difference on the z from when I first set it.
I don’t know if there is any correlation, Im convinced there is, but I first started having this problem when I installed CC V7 (posted here on sept 9).
Please write in to support@carbide3d.com and let us know the step-by-step specifics of how you are setting up the machine to cut this file and measuring the deviation from the zero and we will do our best to assist.