I saw an Aluminum test file on Instagrm and it looked like a nice challenge for the Nomad, so I machined a sample, and wanted to share the results and settings used to machine a 3d file into 6061.
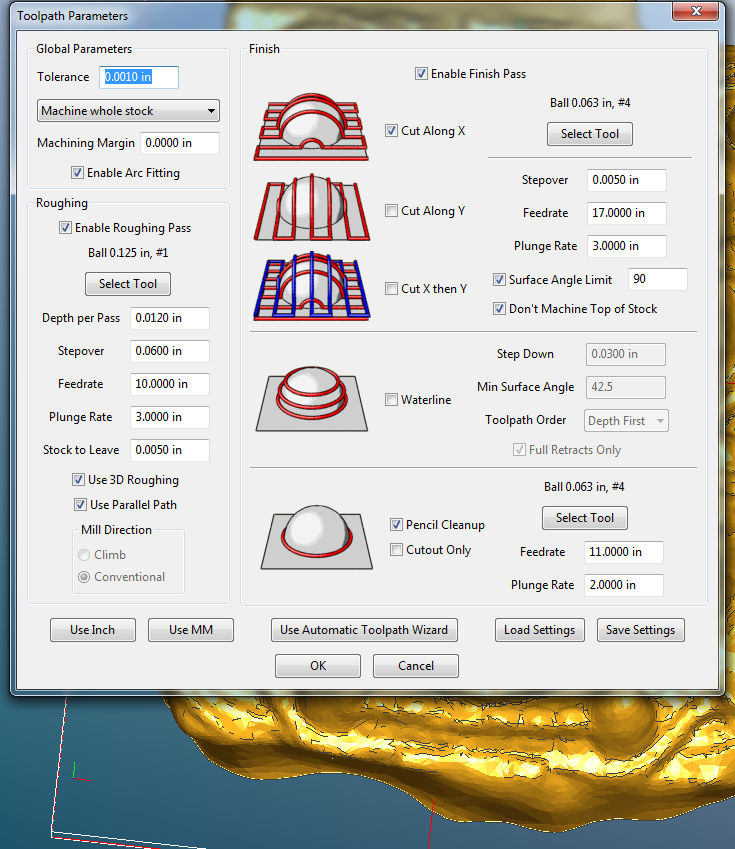
Here are the MeshCAM toolpath settings and some pointers to hopefully save you some time and cutters.
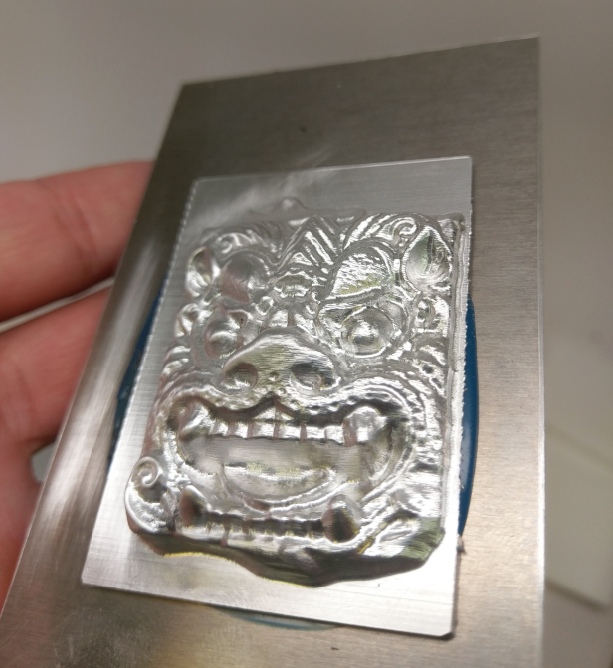
This was cut dry with the .125" ball for the roughing pass and .0625" ball for the finishing and pencil passes.
Run time was around 5 hours. 3D 6061 ALuminum 125 063.tps (2.1 KB)
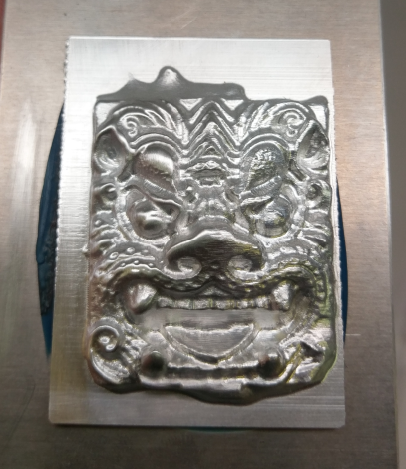
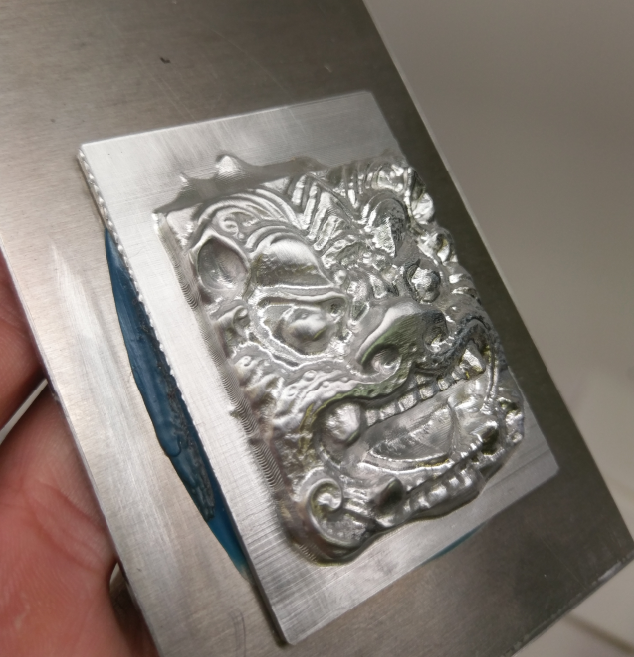
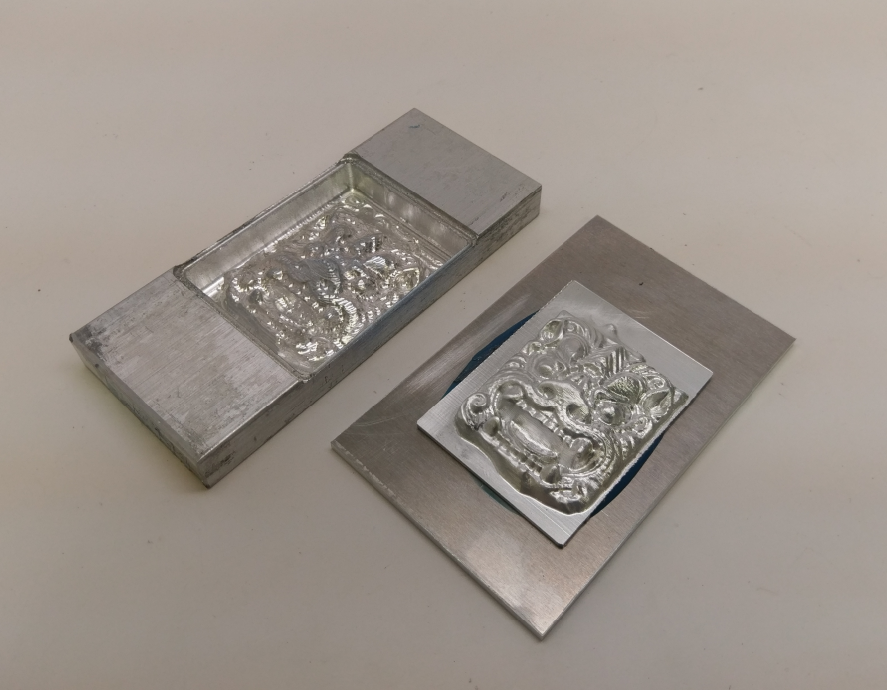
On the left is a Roughing pass only.
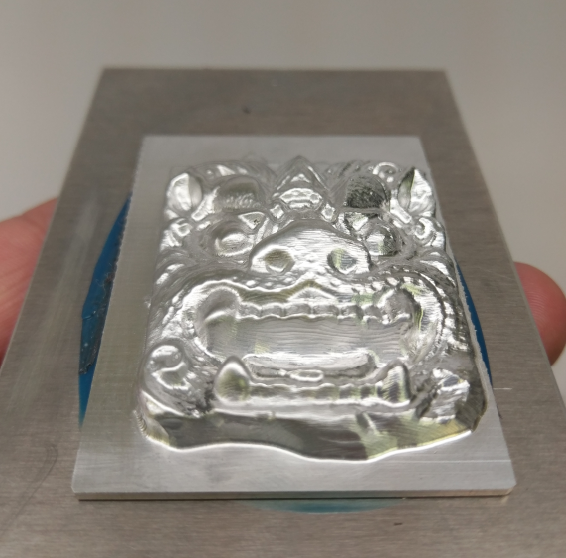
The sample on the right also has the parallel finish and pencil pass and I would recommend setting up your job like this if possible.
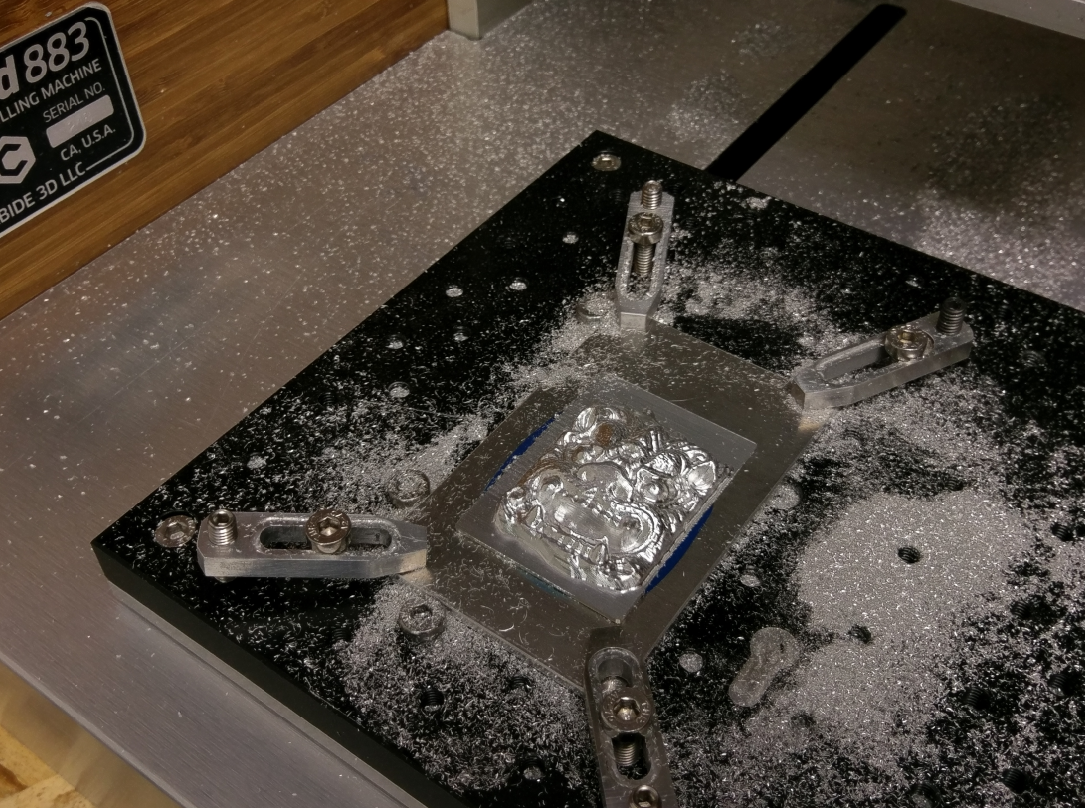
Machining in a pocket (Left) requires removing chips during the job to avoid regrind which will clog the flutes of the cutter.
The stock aluminum I started with was 1/2" thick and 1.75" inches wide.