Diamond Drag Engraving Granite First Project

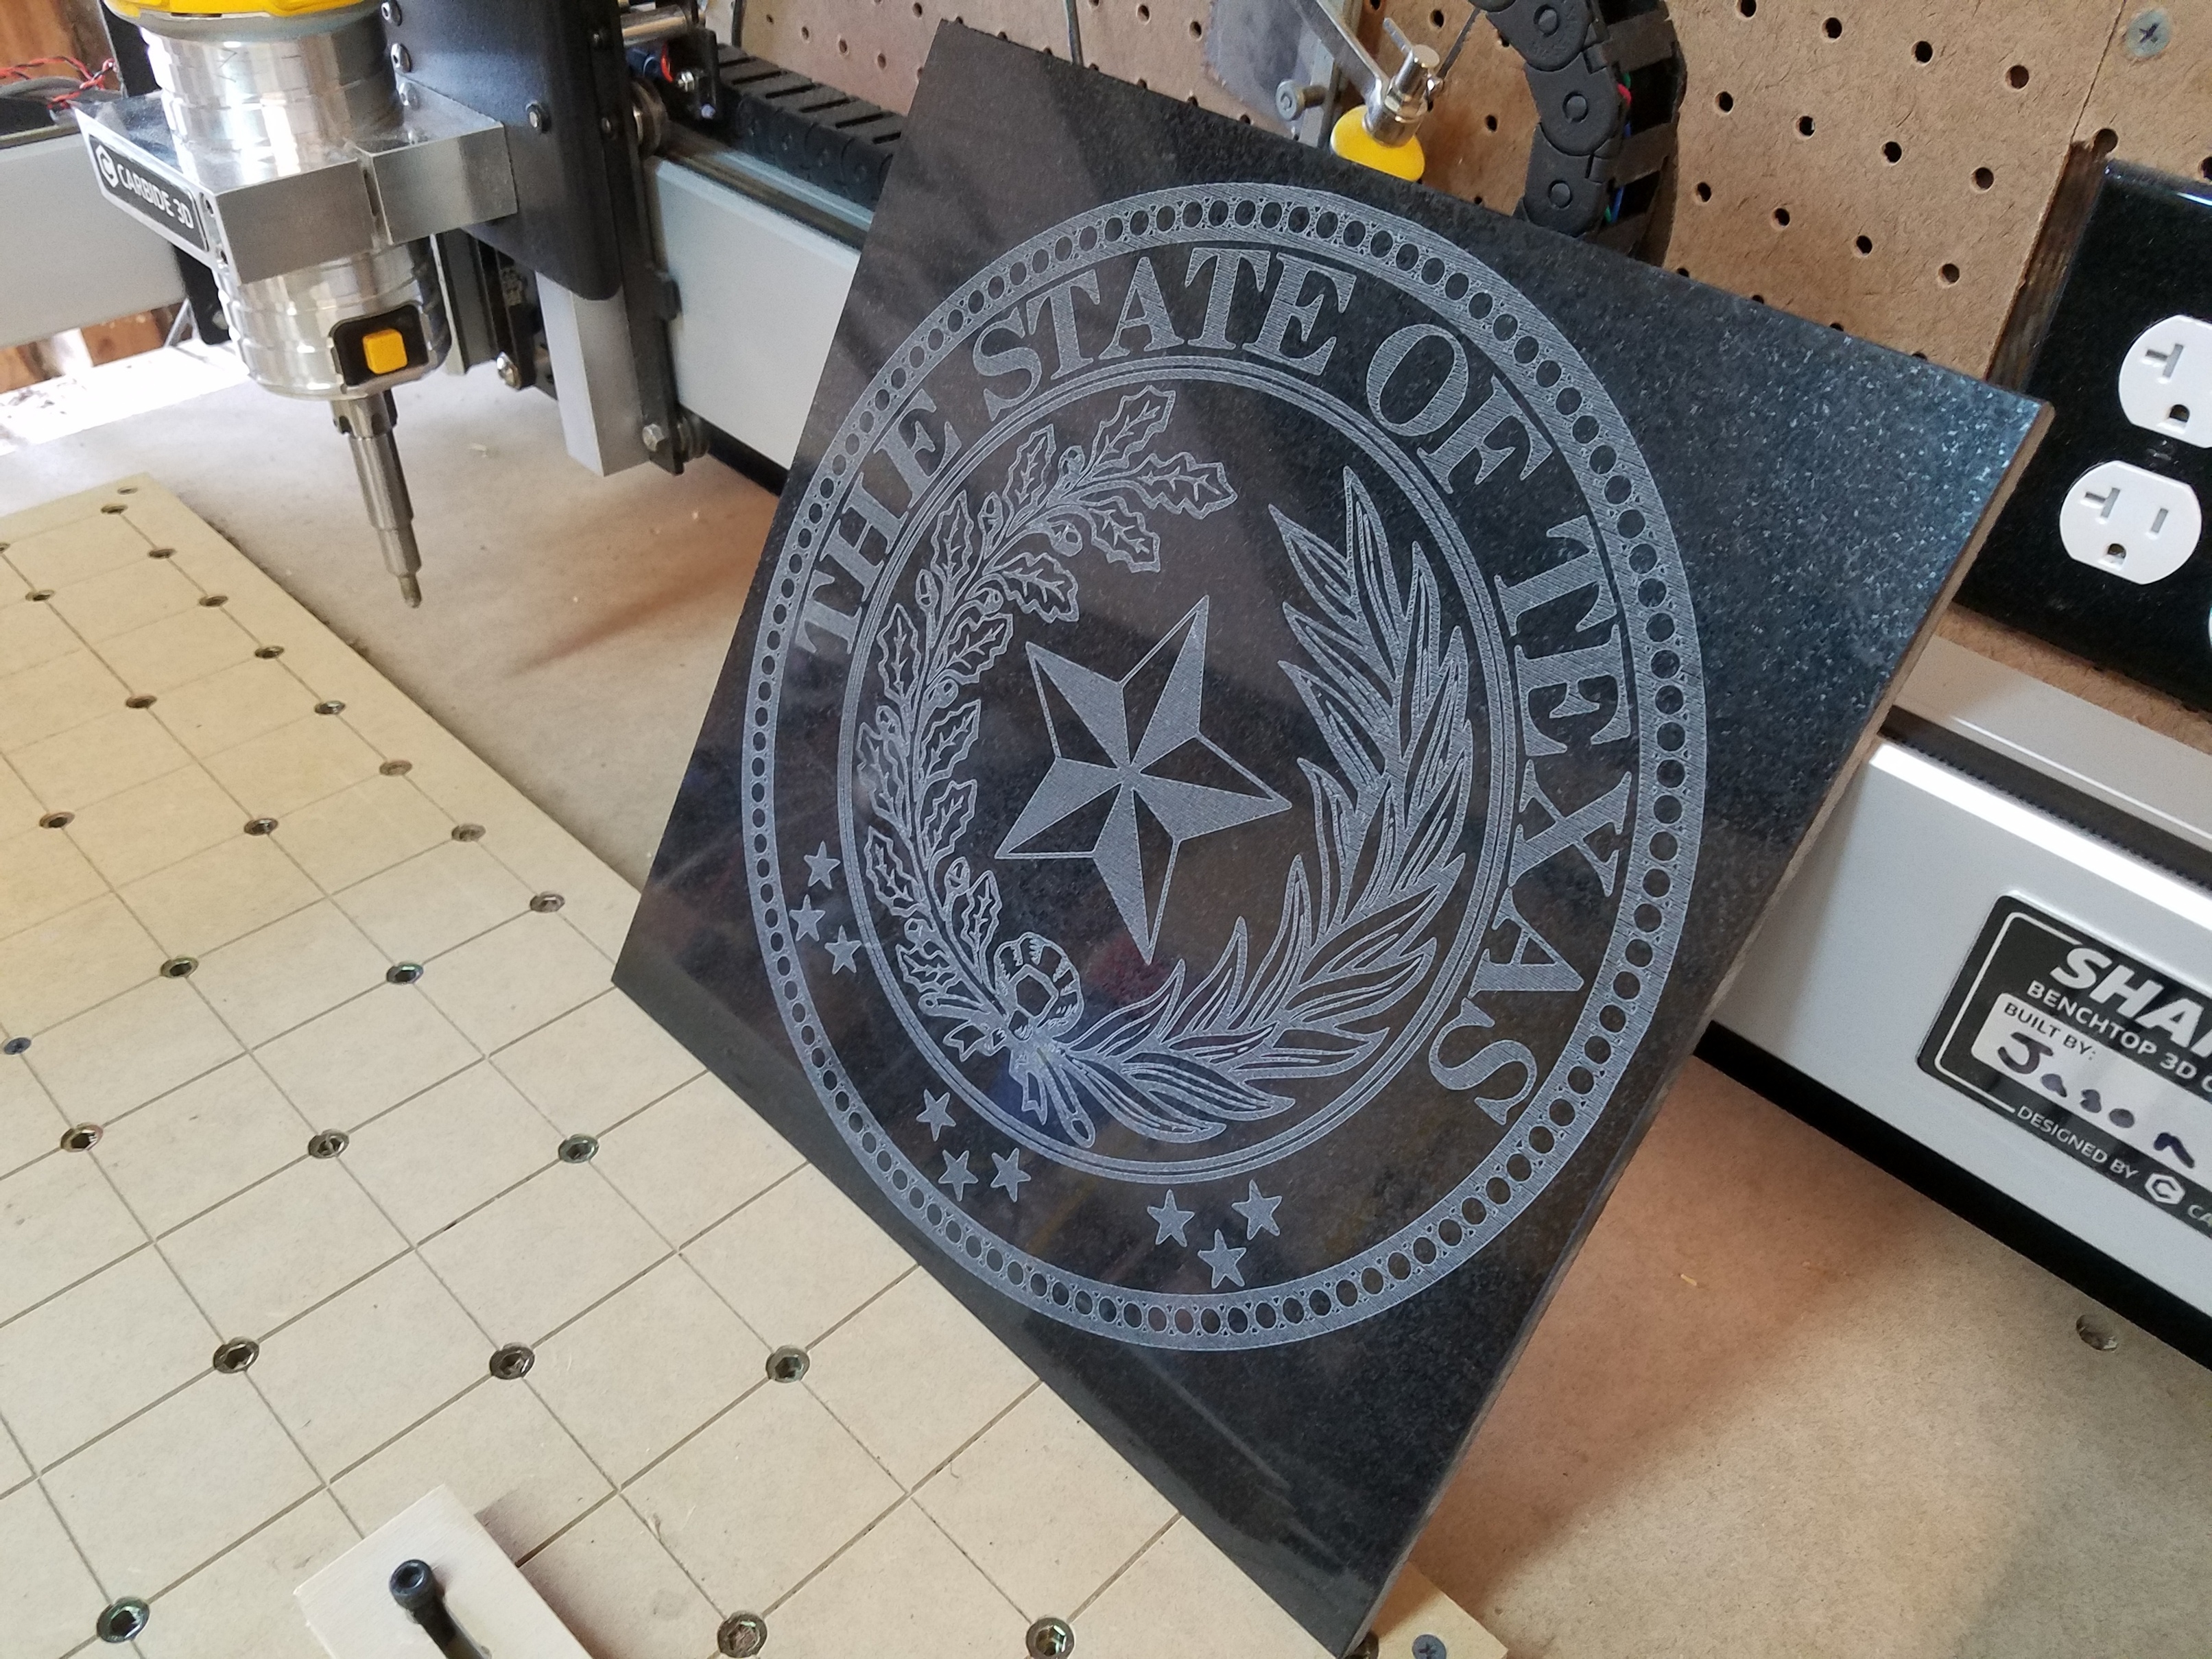
This was my first attempt at drag engraving granite. I think it turned out rather nice. I was expecting it to dig a little deeper, but for the ease of using this spring loaded tool you can’t beat it. If I do it again I think i will make my fill lines a lot closer.

120 degree tip
.400 pressure/depth
60 IMP

The tool used is the one from Widget Works.

25 Likes

Very nice, great work

(1) Machining time?

(2) Does it sound like nails on a blackboard?

(3) Does it create much in the way of dust?

1 Like

I believe that one took about 2 hours. With the smooth polished granite you only hear the motors, and a slight scratch now and then but nothing high pitch, and no dust because I spray it with water as it is cutting to mitigate the dust, and keep the diamond bit cool (not sure if it heats up, but I’ve always been under the impression you are better to use water on stone than not).

6 Likes

That’s beautiful.
How big of a step over did you use?
Do you program this like a .4" deep inlay, and it pushes the rod down .4"?

I can’t remember the exact step over on this one, but I think it was .050, and I use the quick engrave tool path for this. I Z-Zero the bit like normal, and in the engrave tool path I set the Pressure/Depth to .400. So to answer your question basically yes it pushes the rod up to .400 of an inch. There are 2 springs with the tool I used the harder spring.

2 Likes

What software? I don’t know that tool path.
One of my sons work granite, and I have a lot of access to scrap :slight_smile:

3 Likes

I am using Vectric V Carve Pro.

4 Likes

How did you load the image into vcarve? Did you import an image and then trace it and convert to vectors?

Thanks

I uploaded a Bitmap image of the seal, and then converted it to a vector image.

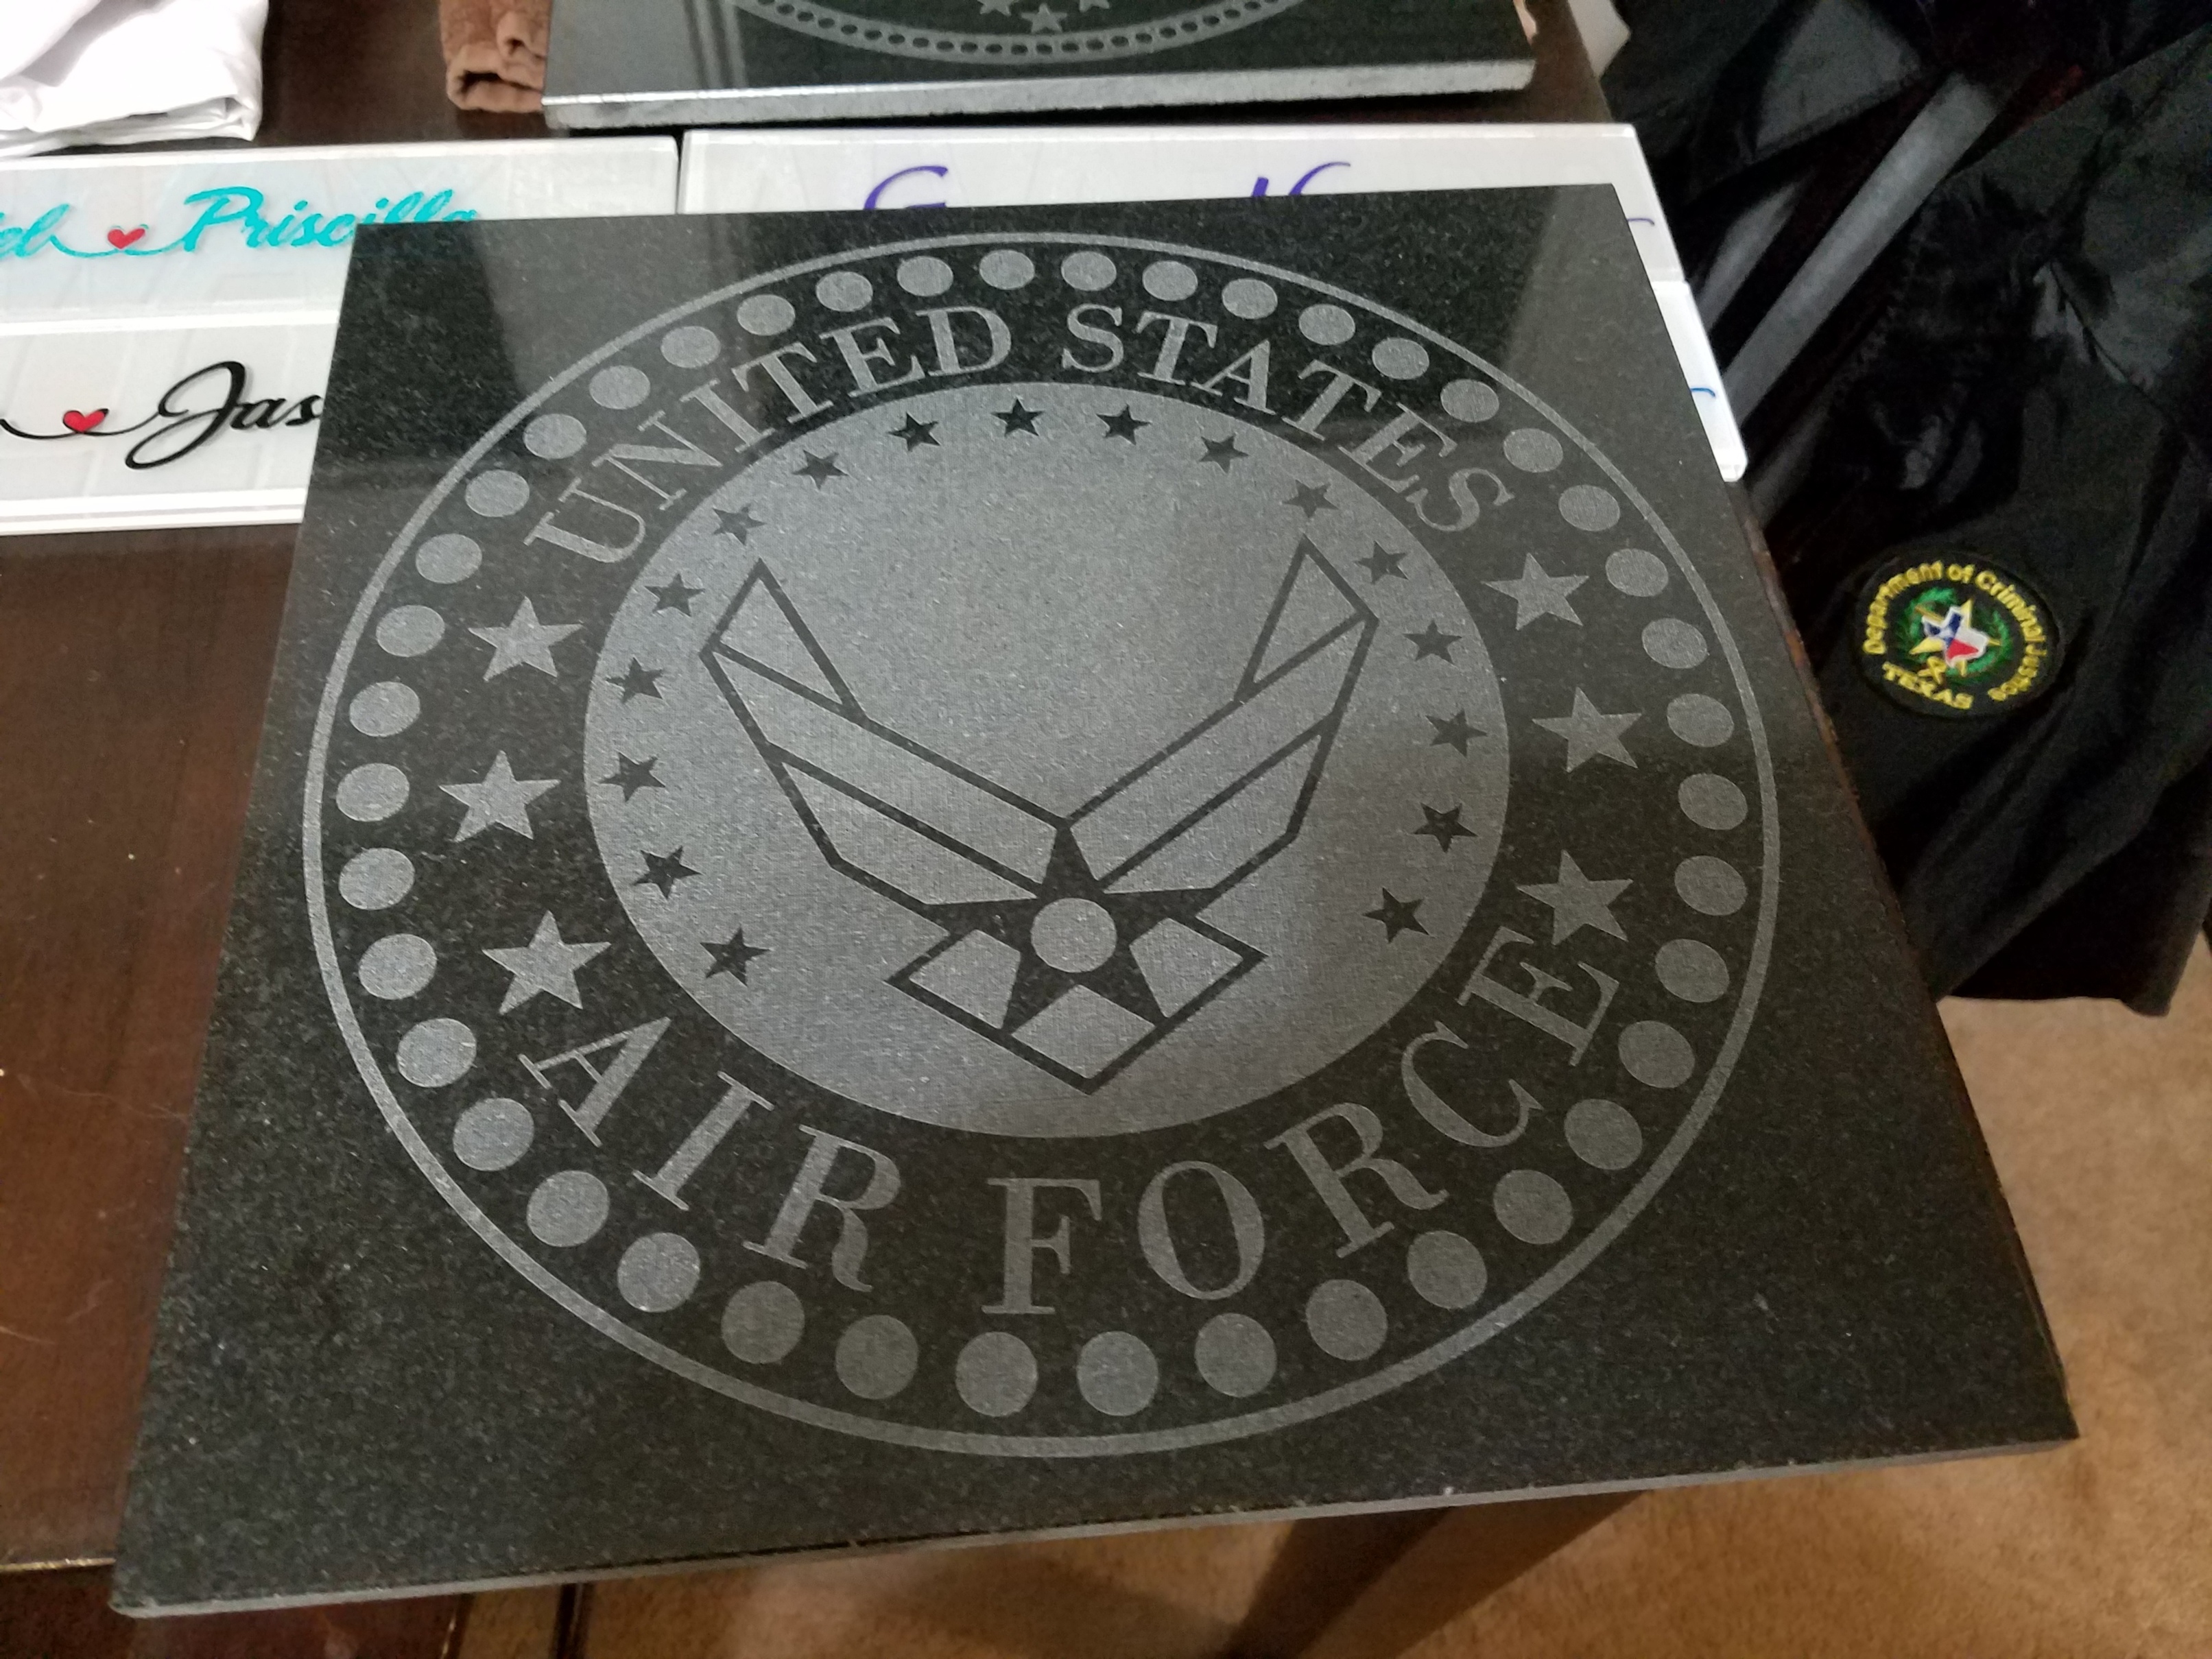
Just did this one tonight for a customer. He wanted a seal with that logo in the middle. I couldn’t find a good hi-res file to use to convert to vector, so I literally had to make the whole thing in V Carve. I definitely learned how to use a lot of the tools in the program with this one.

10 Likes

Very cool! Are you just using tile?

So far just Tile, and glass. I’ve done some metals, but only small things around the house to practice with like a zippo, and a couple e cig boxes.

3 Likes

That came out so well! Love your work!

do you have a link to the engraving tool you used?

Are those rotary tool "engraving " bits okay to use in the Shapeoko 3 with a makita ? like these for example:
http://www.grizzly.com/products/H6100?utm_campaign=zPage&utm_source=grizzly.com
or these:
http://www.grizzly.com/products/Mini-Diamond-Burr-20-pc-Set-1-8-Shank/D2471?utm_campaign=zPage&utm_source=grizzly.com
That diamond drag tool is way out of my range for now, I want to use these shown but I’d like some confirmation they could be safe or any warning not to. Thanks

1 Like

Thanks. Here is a link to the one I bought.

2 Likes

I am not sure. The second product you linked to says they are good to 24,000 RPM. The only problem I would see is depth, and how they hold up to the friction of faster movement in a CNC. I think those are generally designed to be used by hand. I may be wrong, but I am not the expert on all things engraving.

2 Likes

Agreed. My concern about the Carbide engraving bits is that the machine won’t notice if they load up and the openings become filled — at the least one would likely break the bit, quite likely one would mar the piece.

1 Like

What I expected, oh well, I only use them with the rotary tool so they’ll stay there. Thanks

I lower cost diamond drag bit: http://benchtopprecision.com/diamond-drag-engraving-tool/

I have not used it on granite or any tile yet, but works great on aluminum and acrylic.

3 Likes