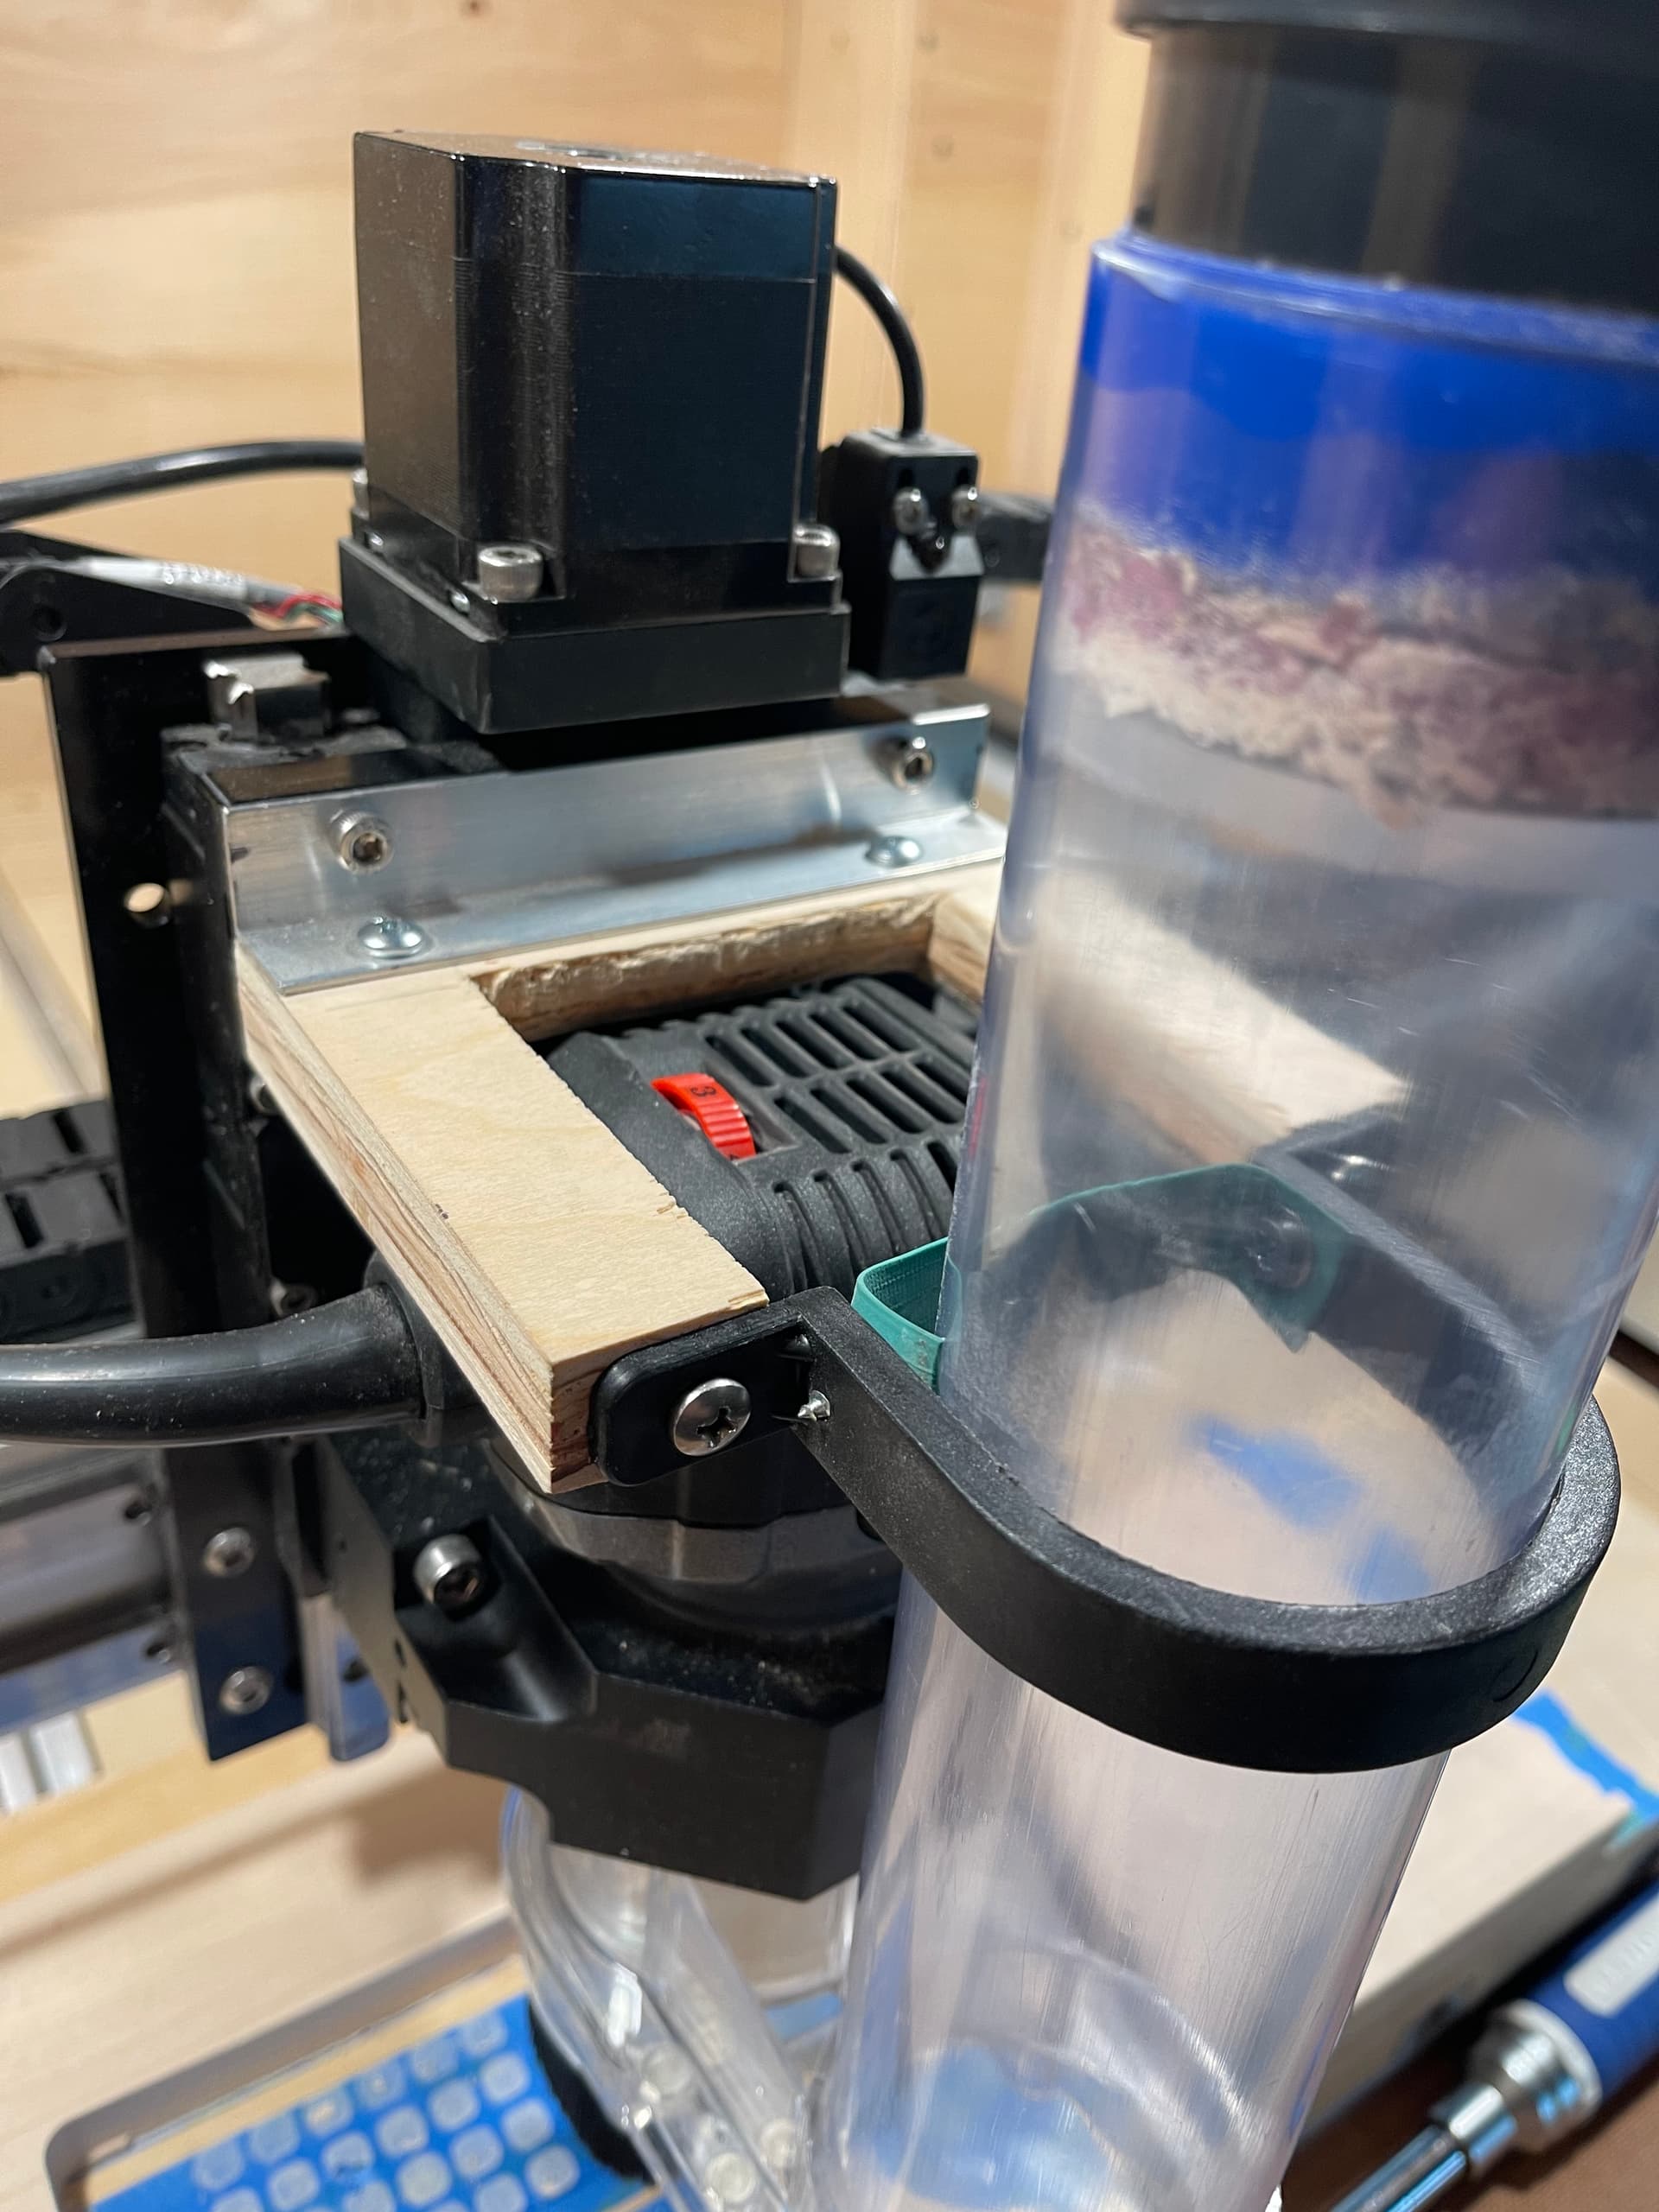
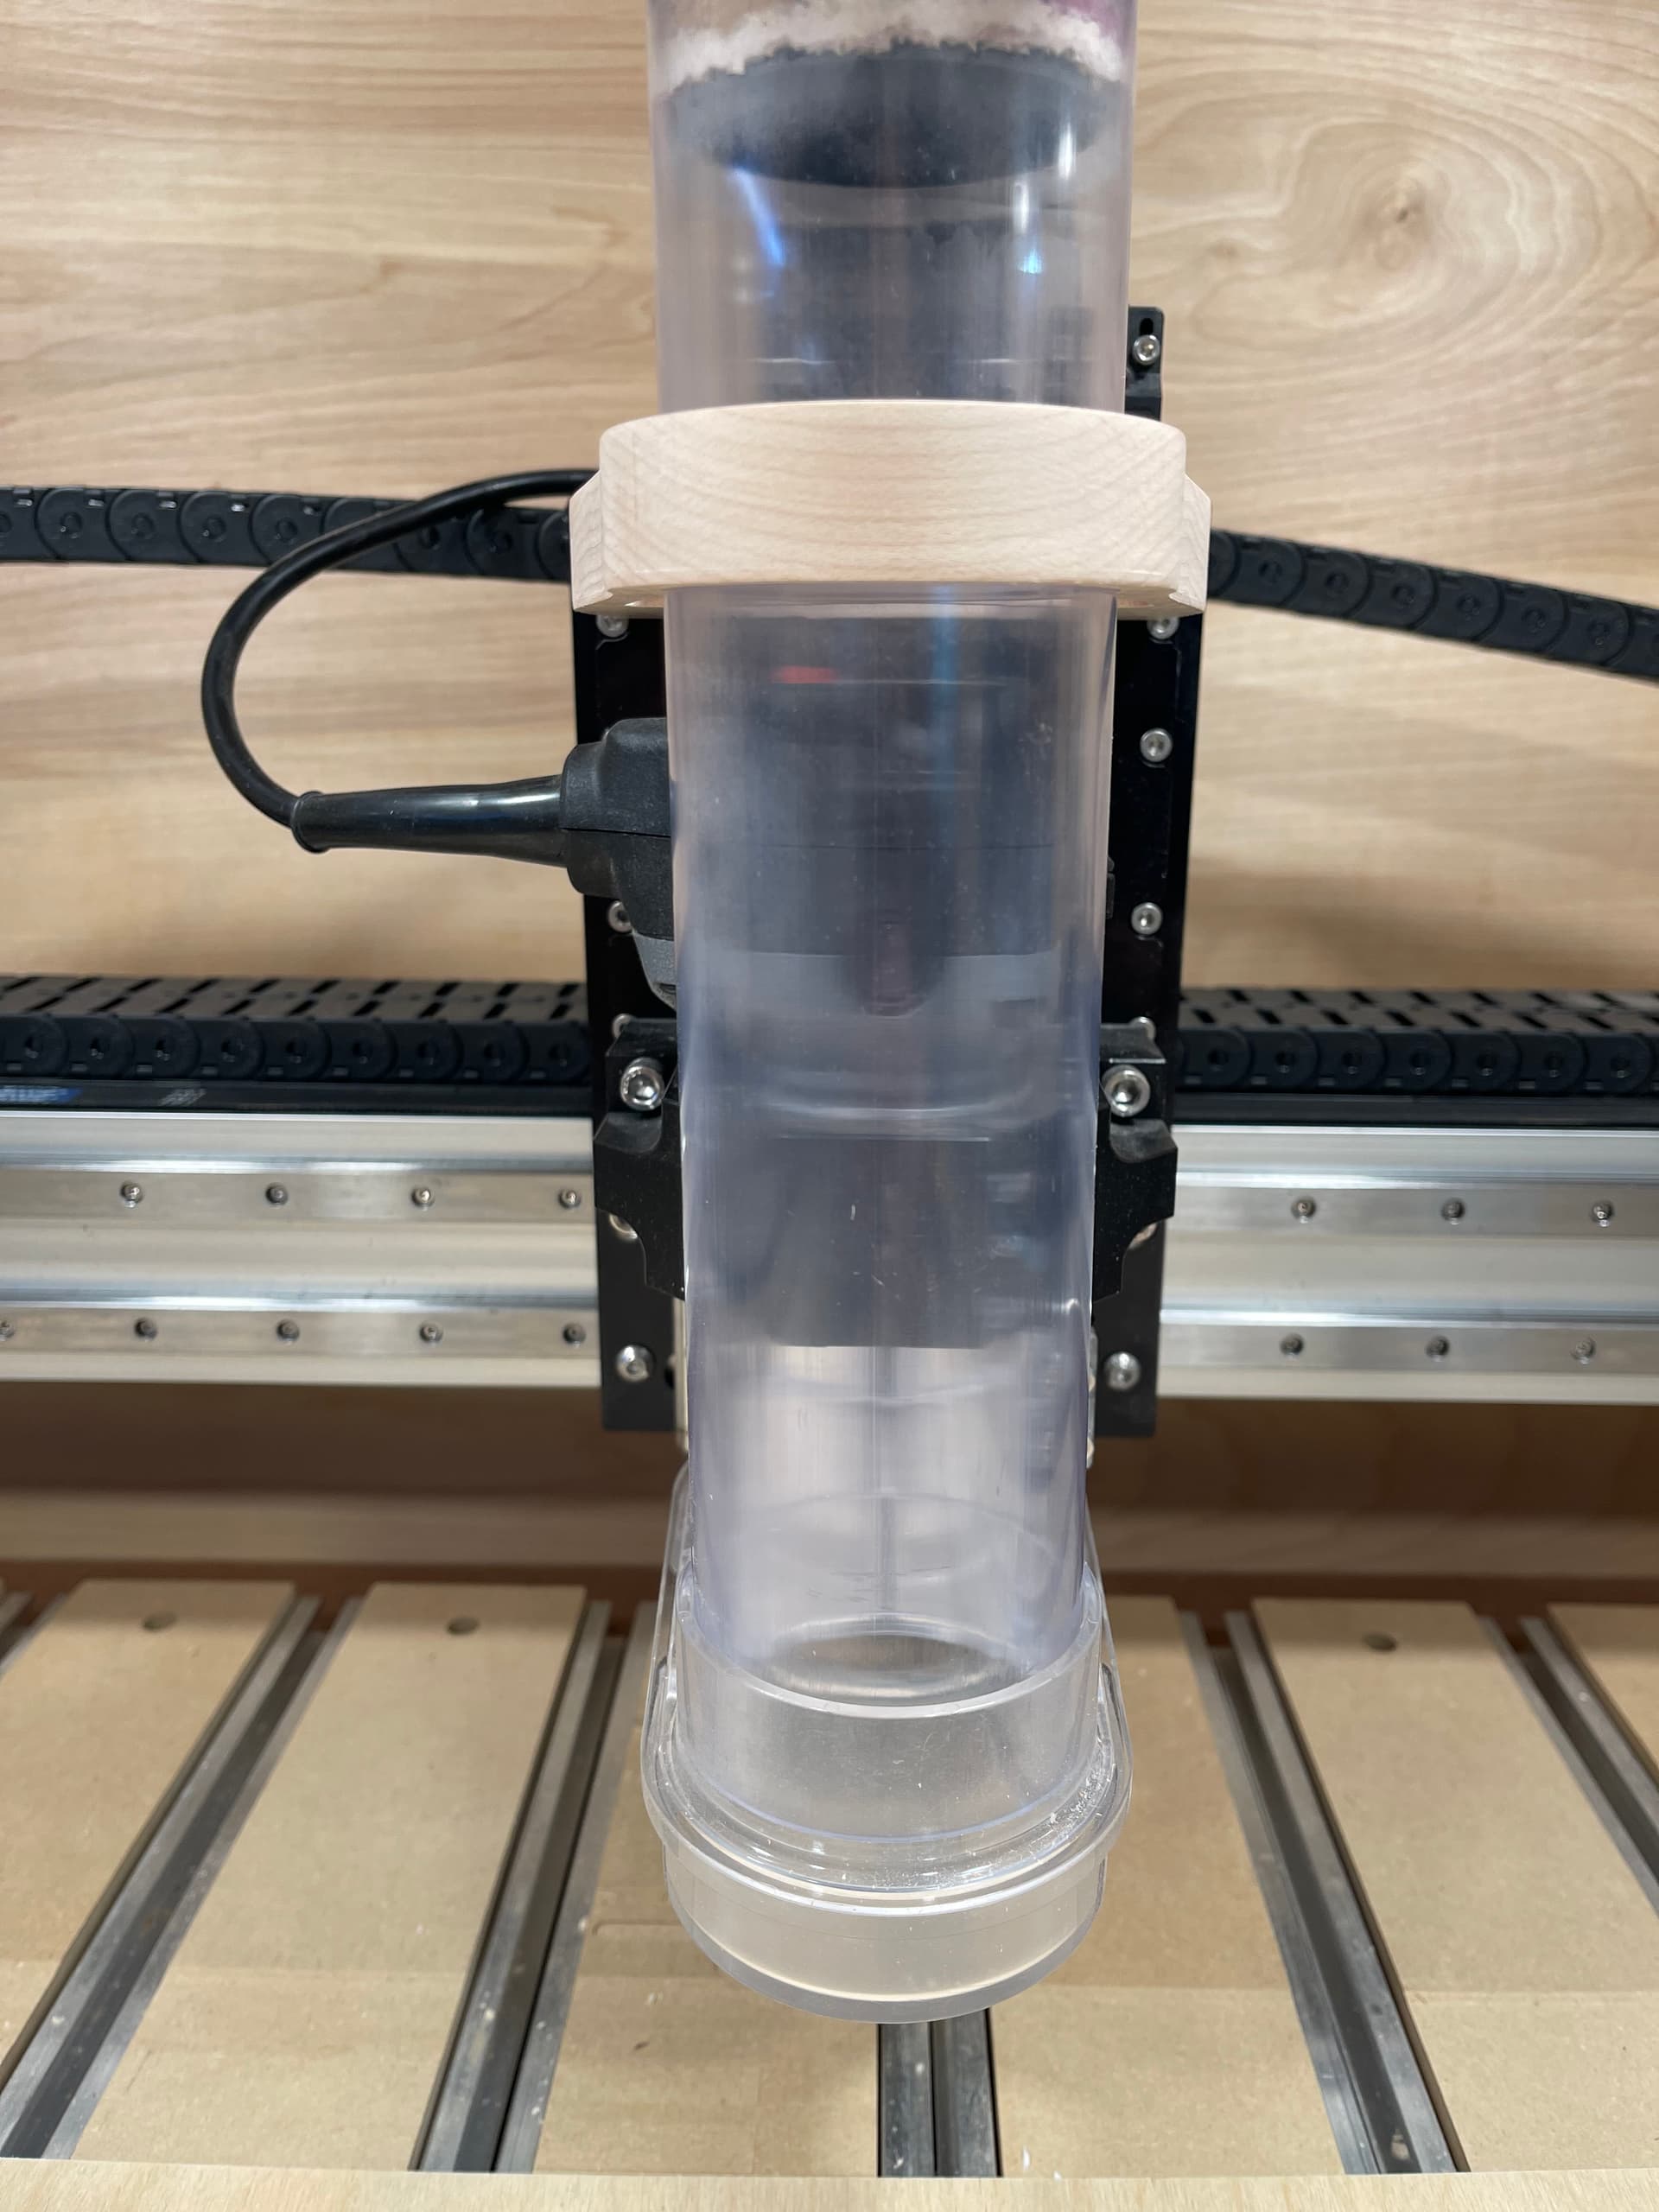
Early in my shapeoko experience, I needed to find a way to stabilize my dust control pipe on the z-axis plate, and so I quickly slapped together a very dirty bracket that I could mount to two empty screw holes that were available at the top of the plate. Wasn’t sure if it would be a long-term setup so I didn’t care how it looked at the time, but over the last couple months I’ve found it to be perfect for how I work.
The pipe slides through the hole with just a bit of friction and holds snugly in the sweepy dust boot. I can pull the pipe out easily for spot vacuuming. It’s very handy.
Btw, the pipe is clear 2-1/2” dust control tubing from rockler. I love that it’s clear and I can see how the dust is flowing.
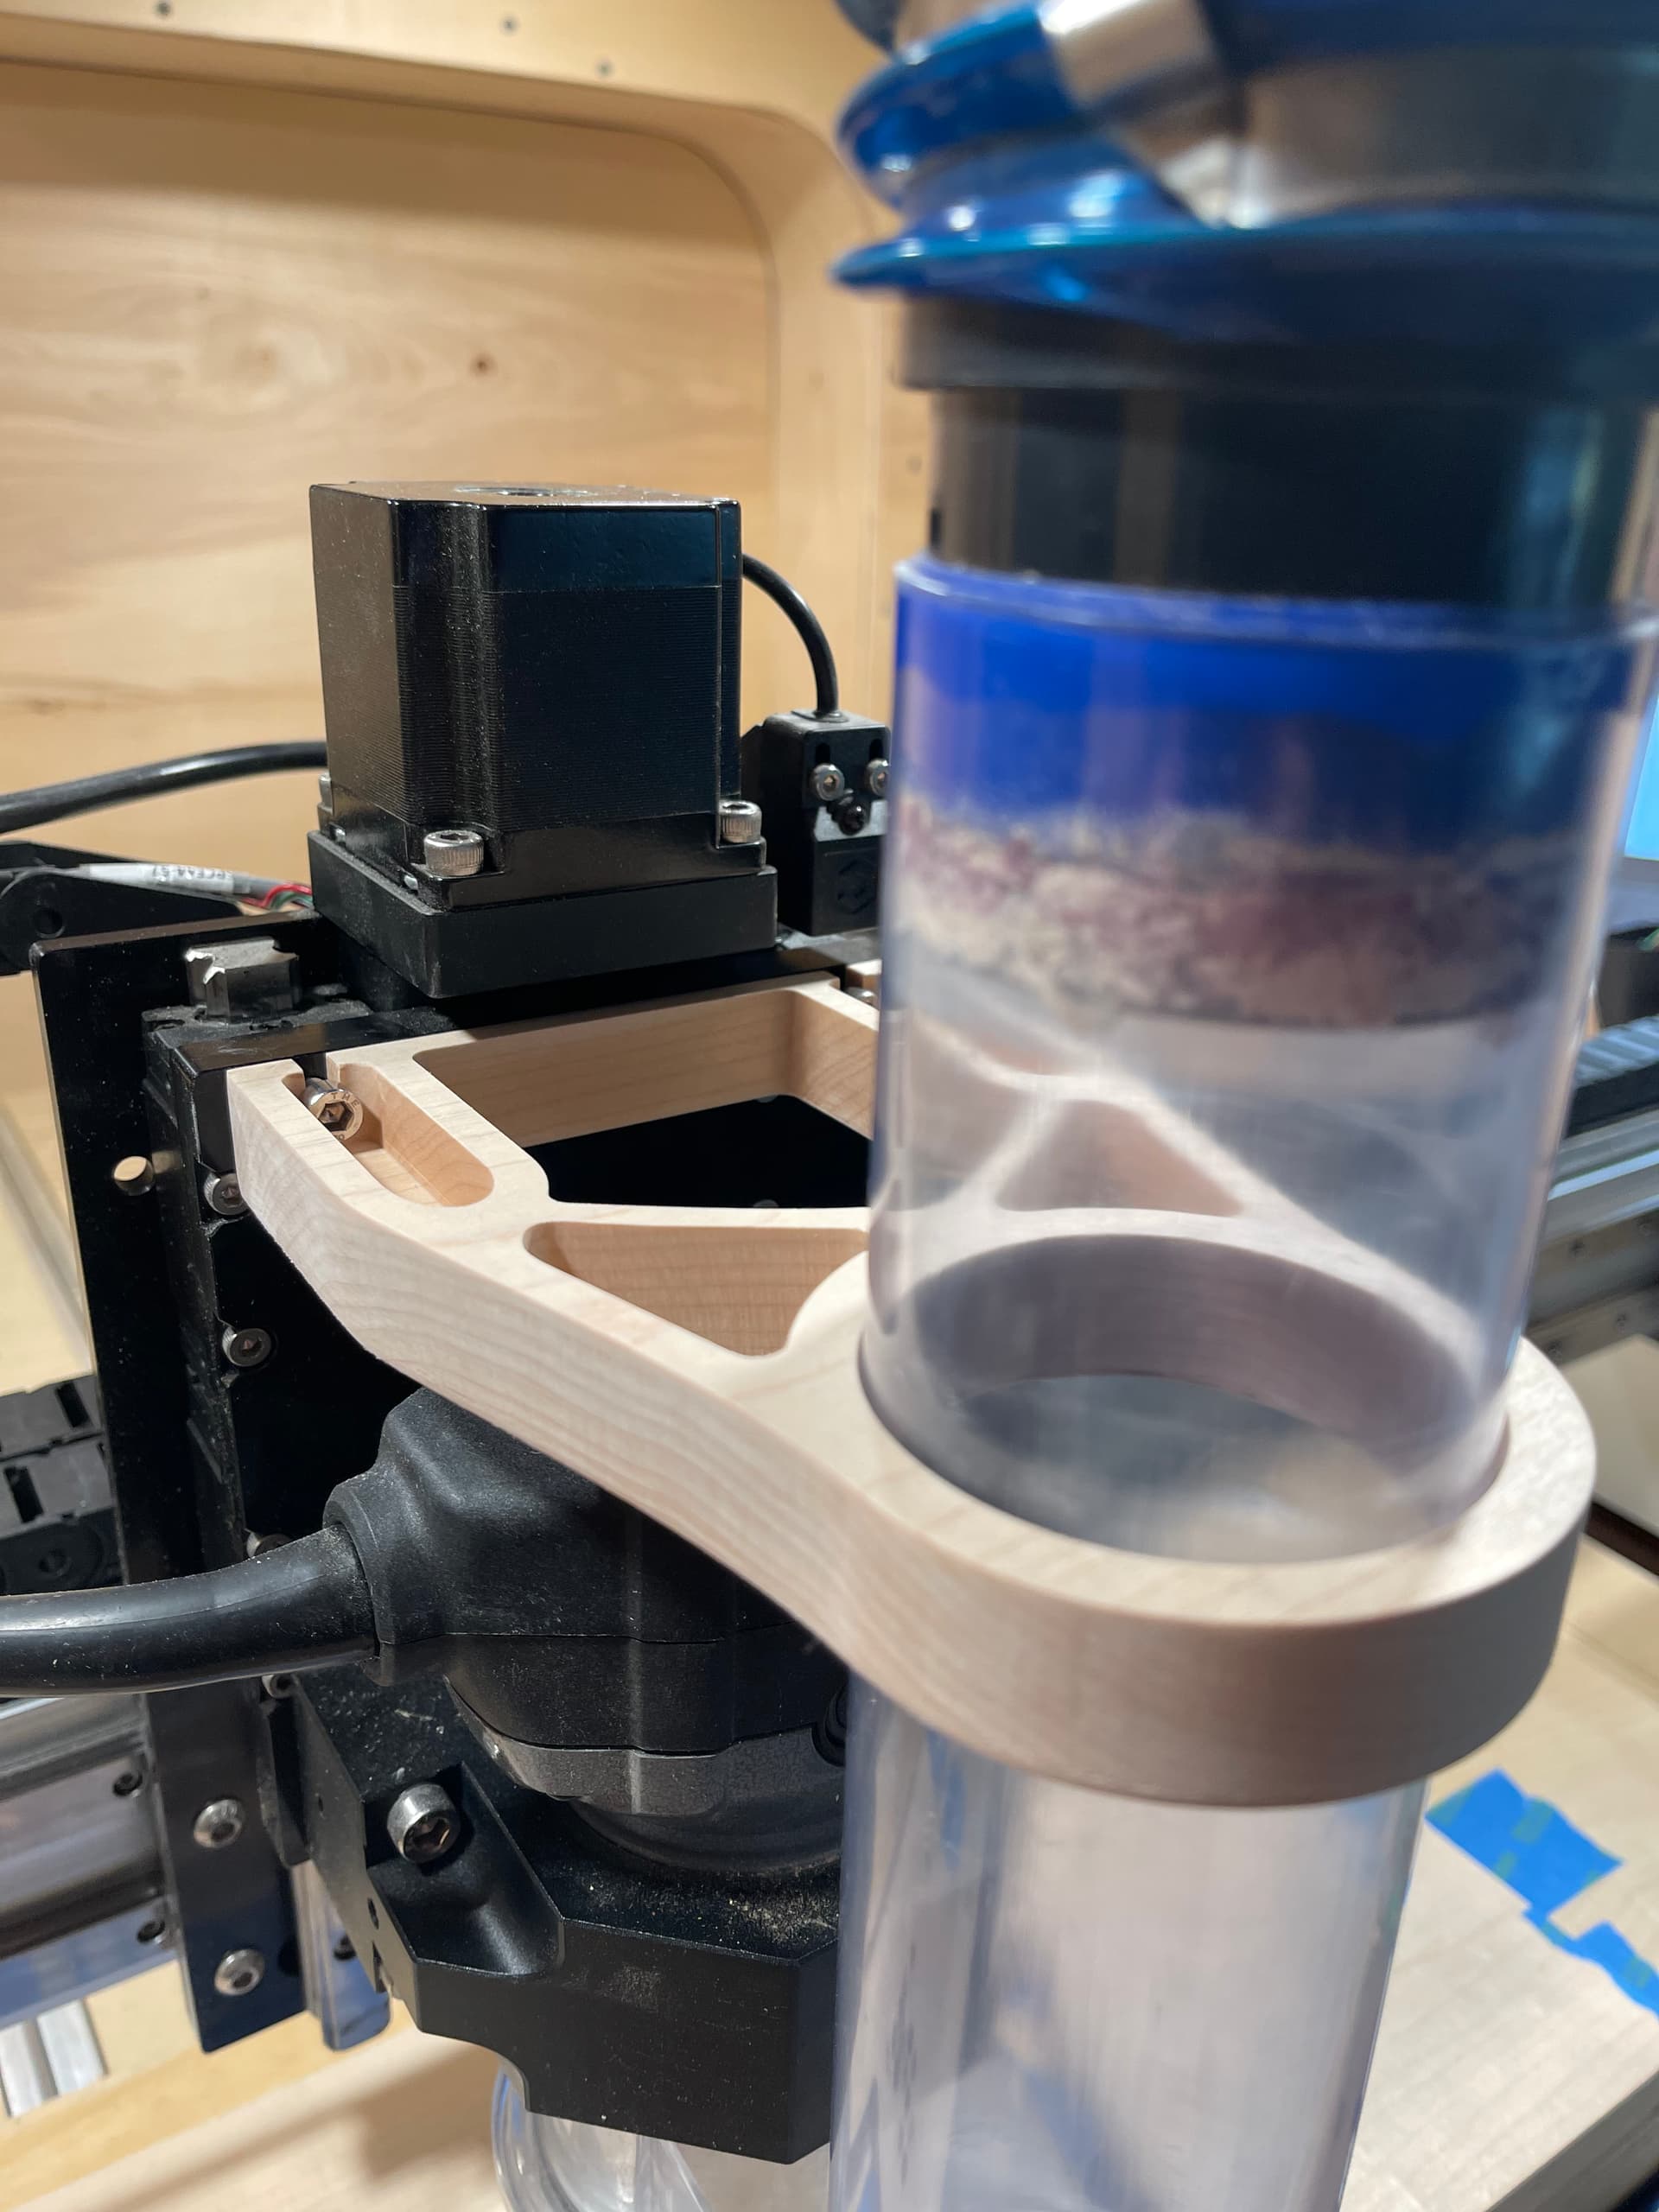
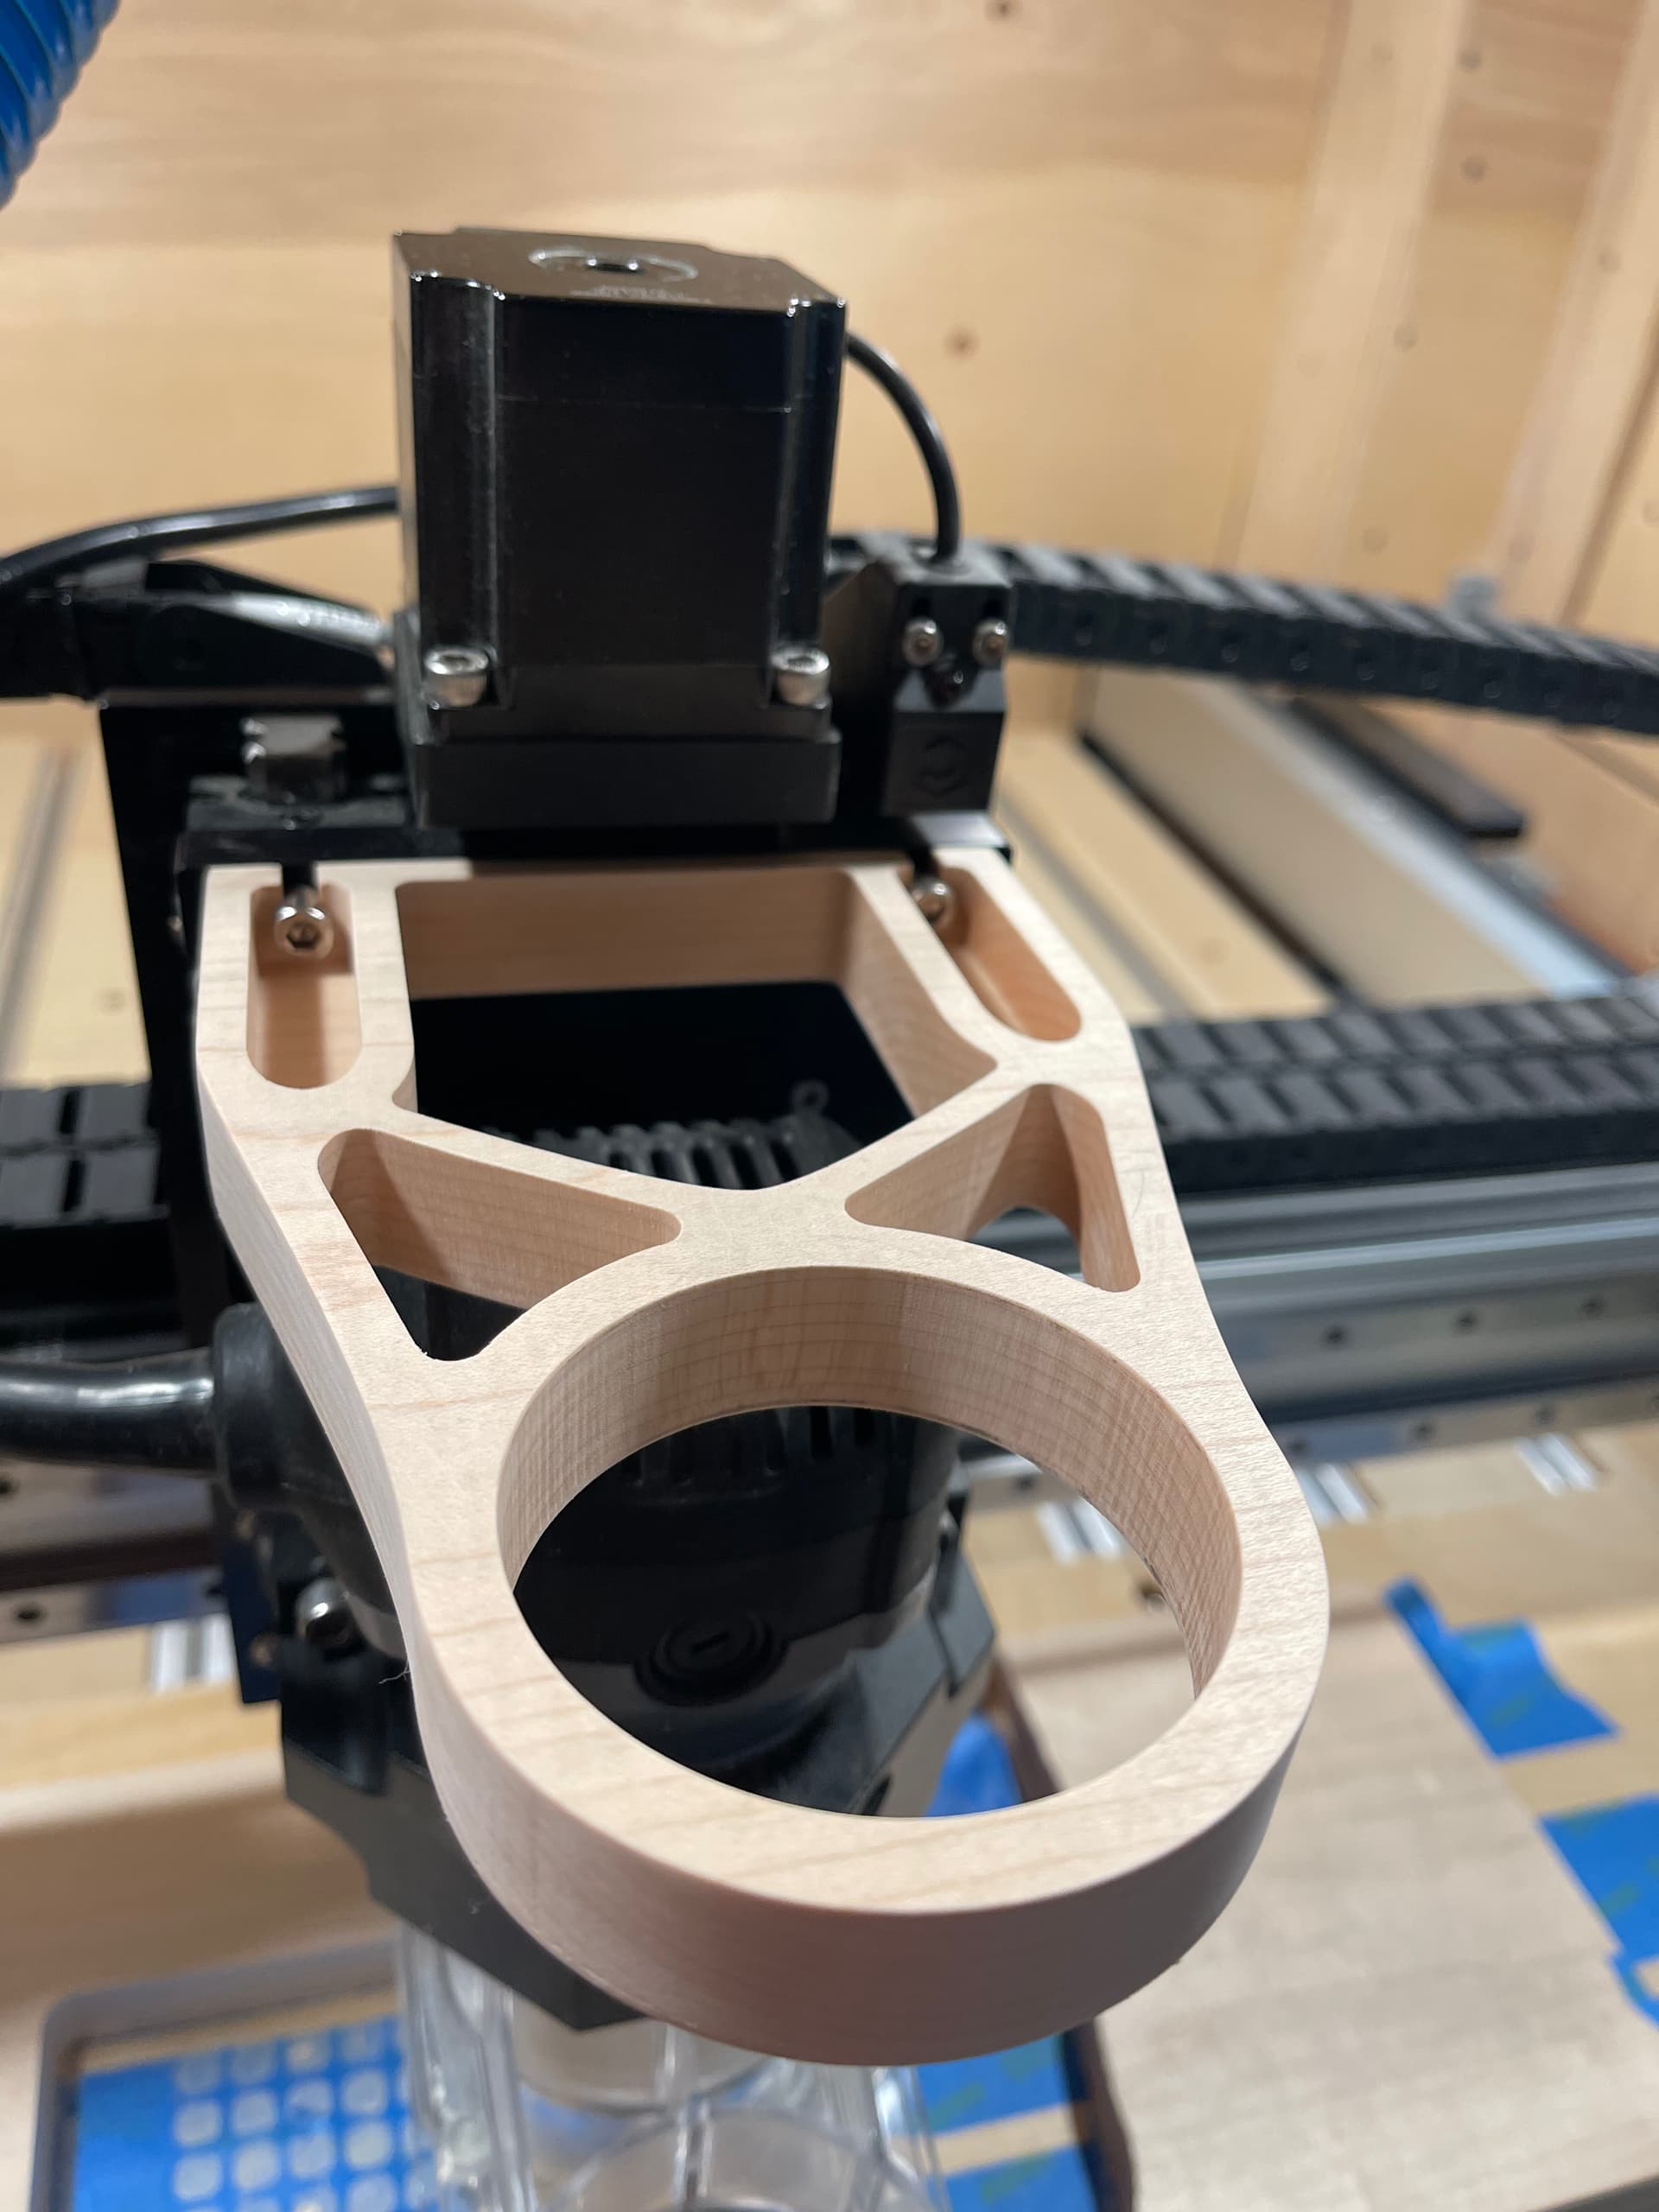
Today I had some free time and decided to give it an upgrade. Cut out of maple. Probably wouldn’t hold up out of anything softer or plywood, but the maple is great.
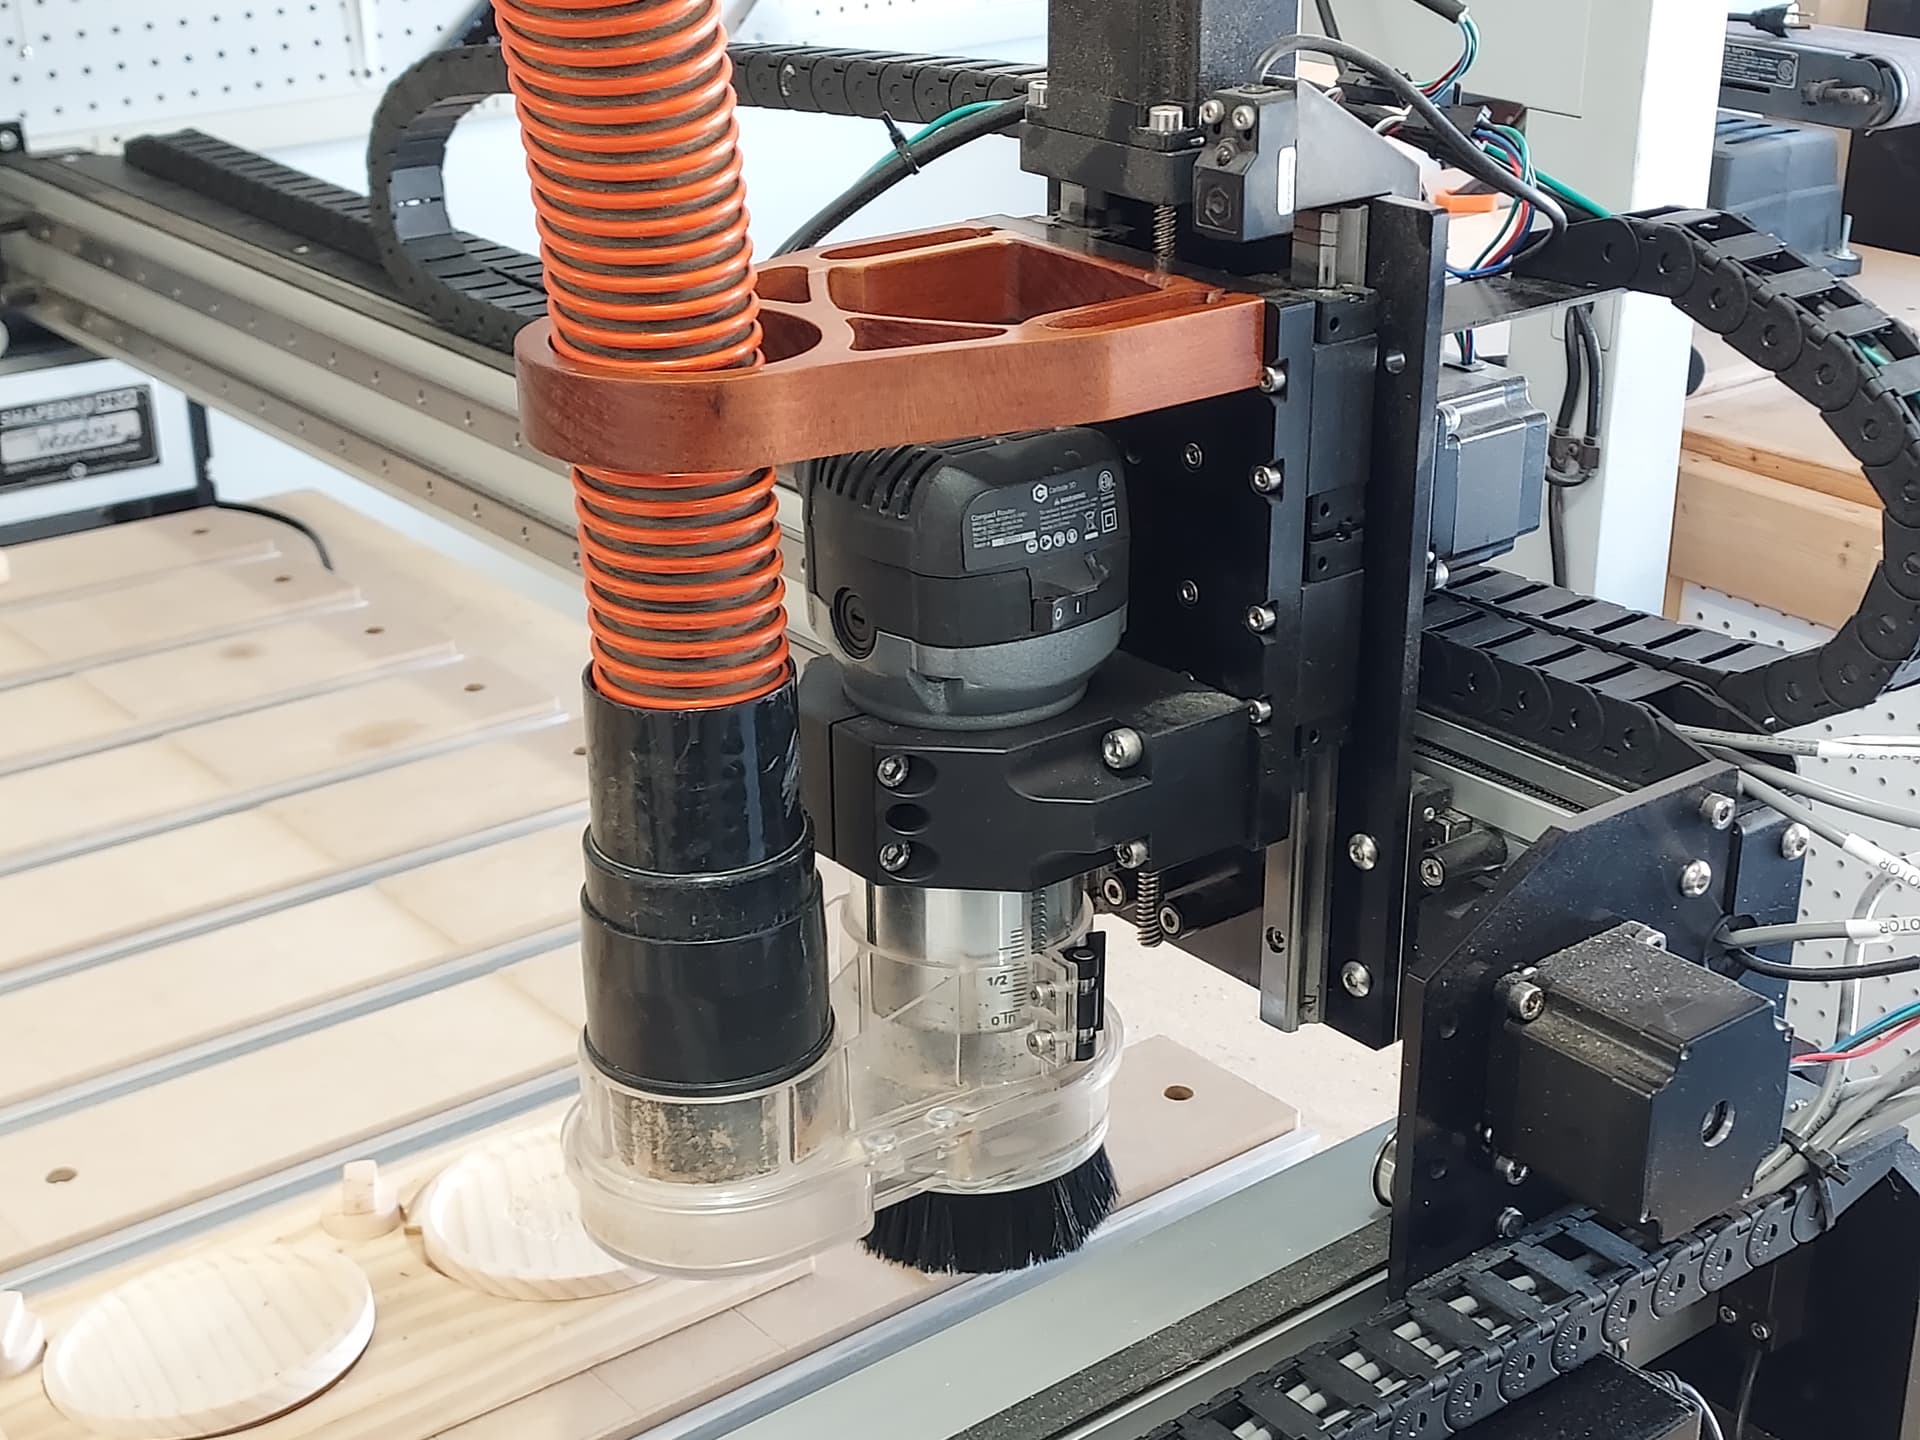
I like the clear tube. I have had plywood debris clog just above the router. The flexible used to be clear but over time it is mostly opaque. I noticed there was a lot of sawdust left on the project and found the clog. The cause was long strands making a birds nest in the hose at a slight bend.
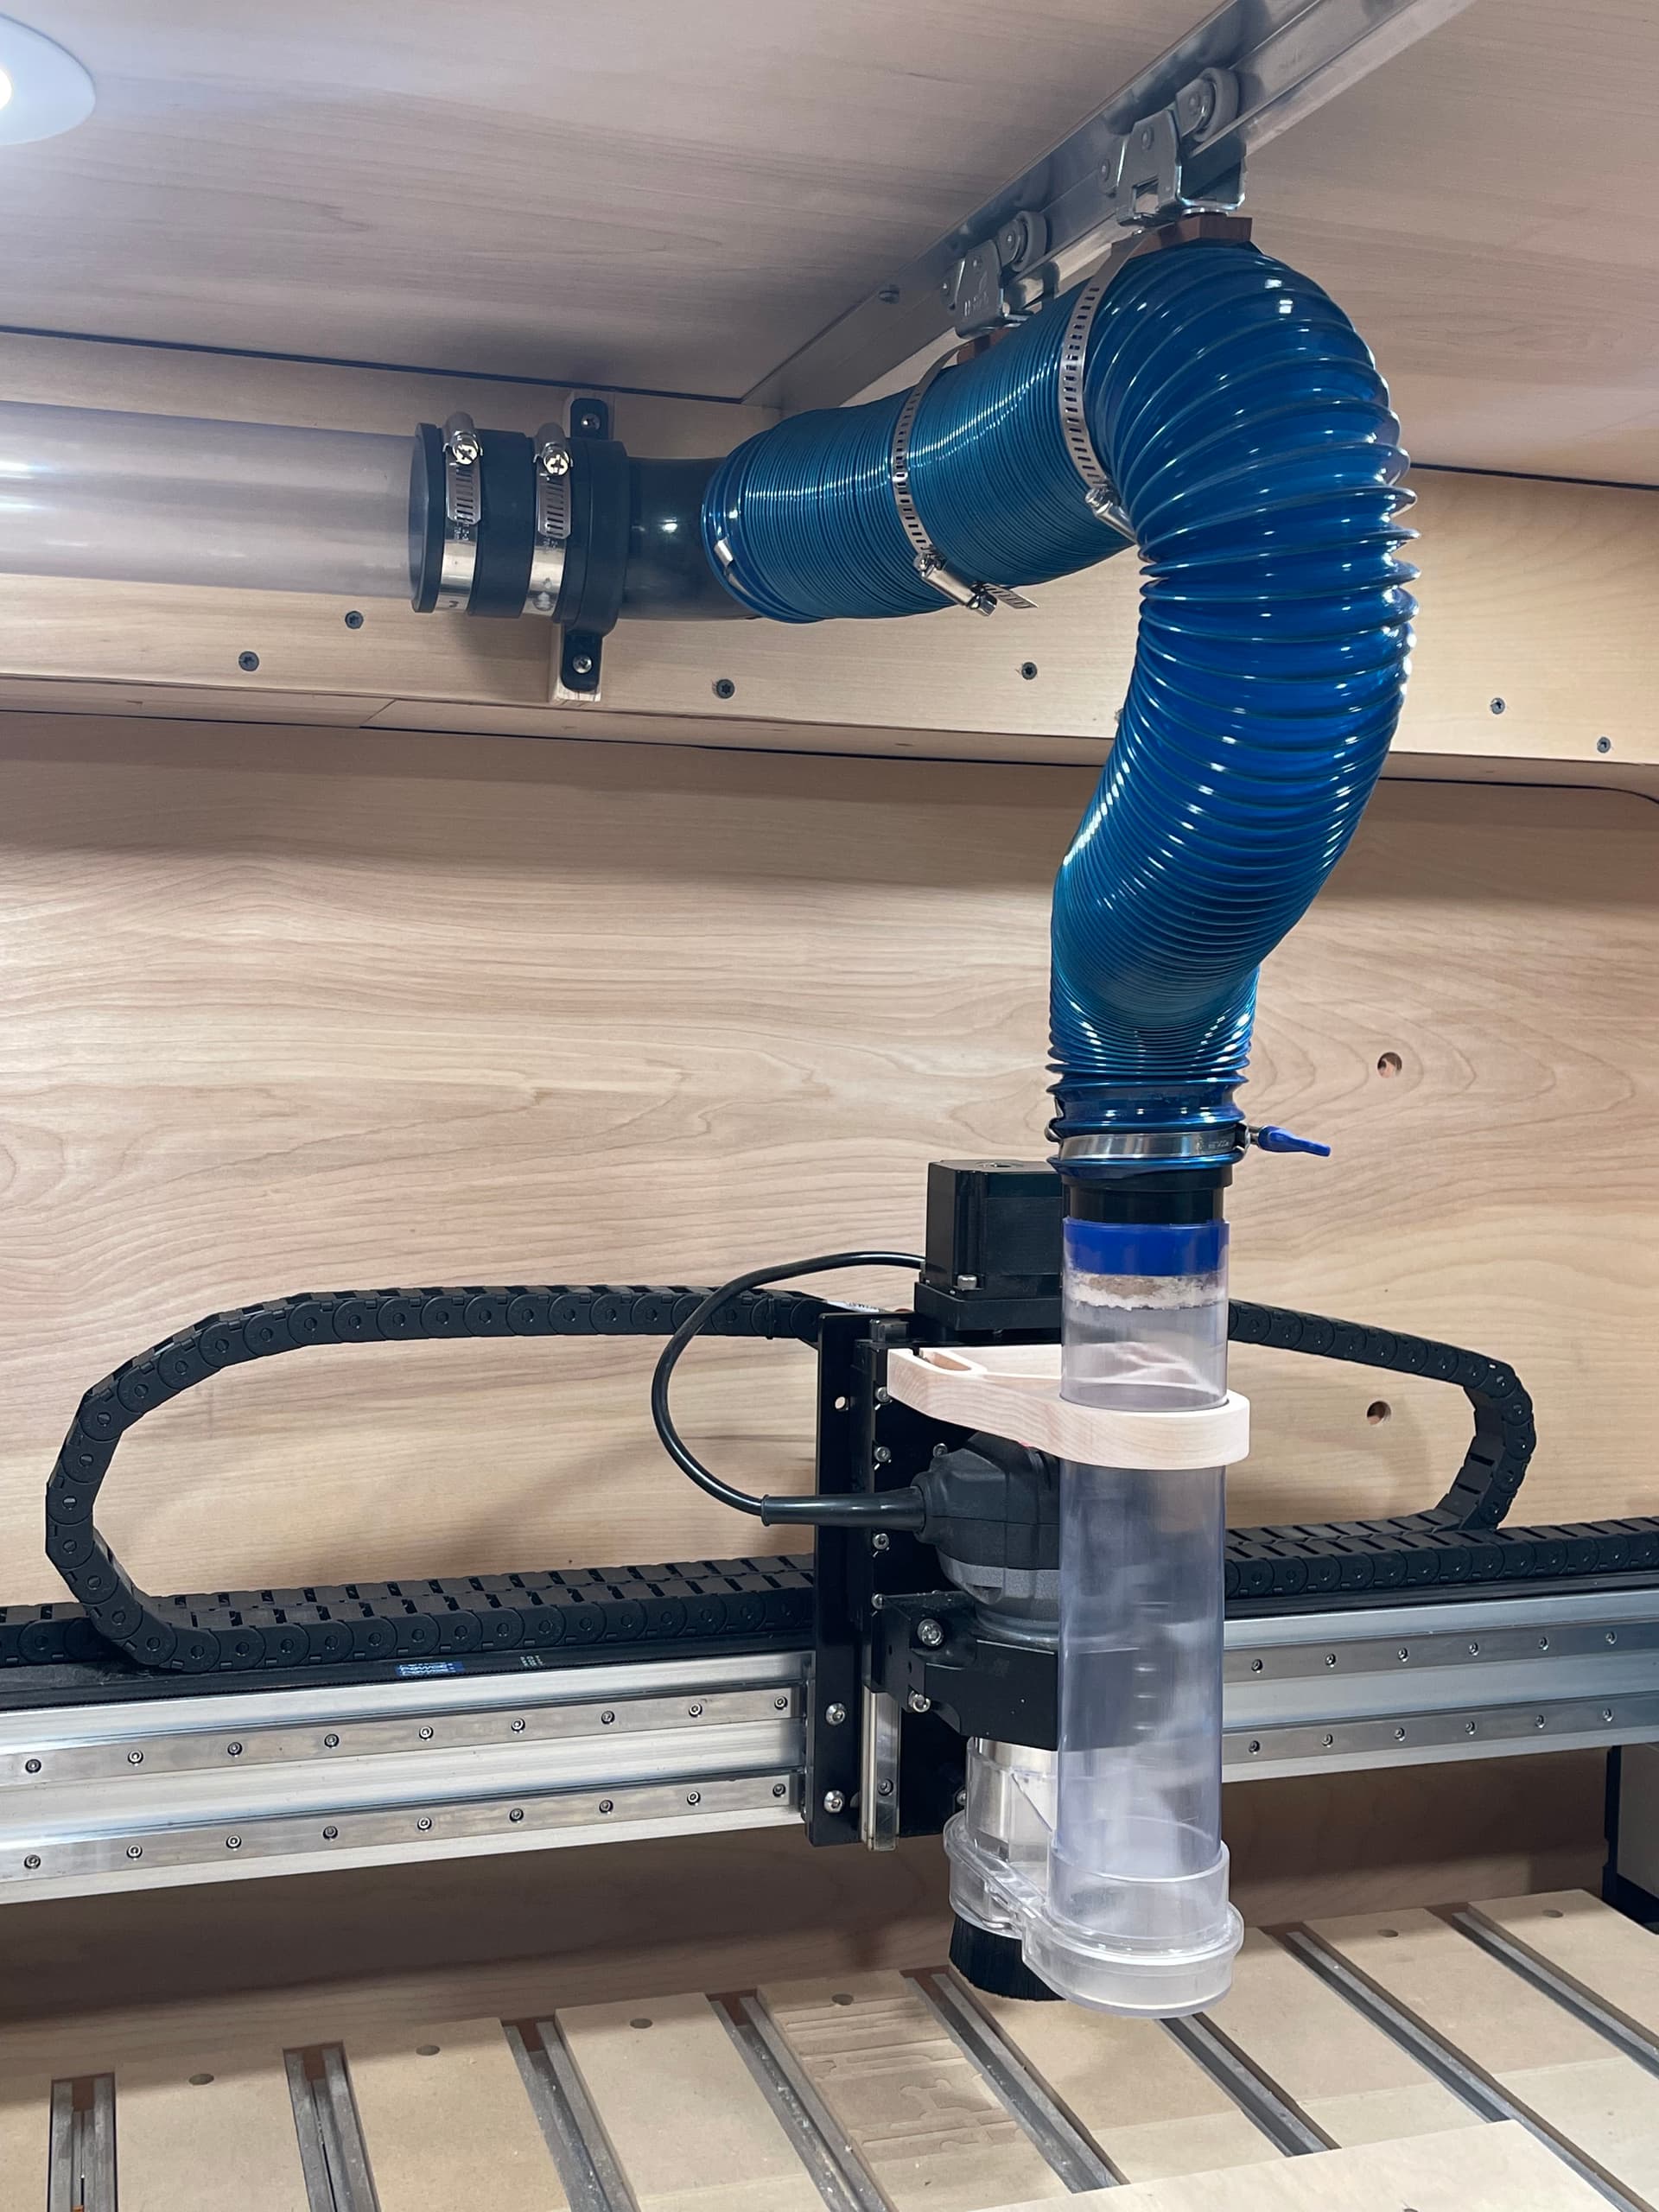
The connection to the Sweepy was a surprising bit of perfection that I stumbled upon. The tube slips right into the sweepy and fits perfectly.
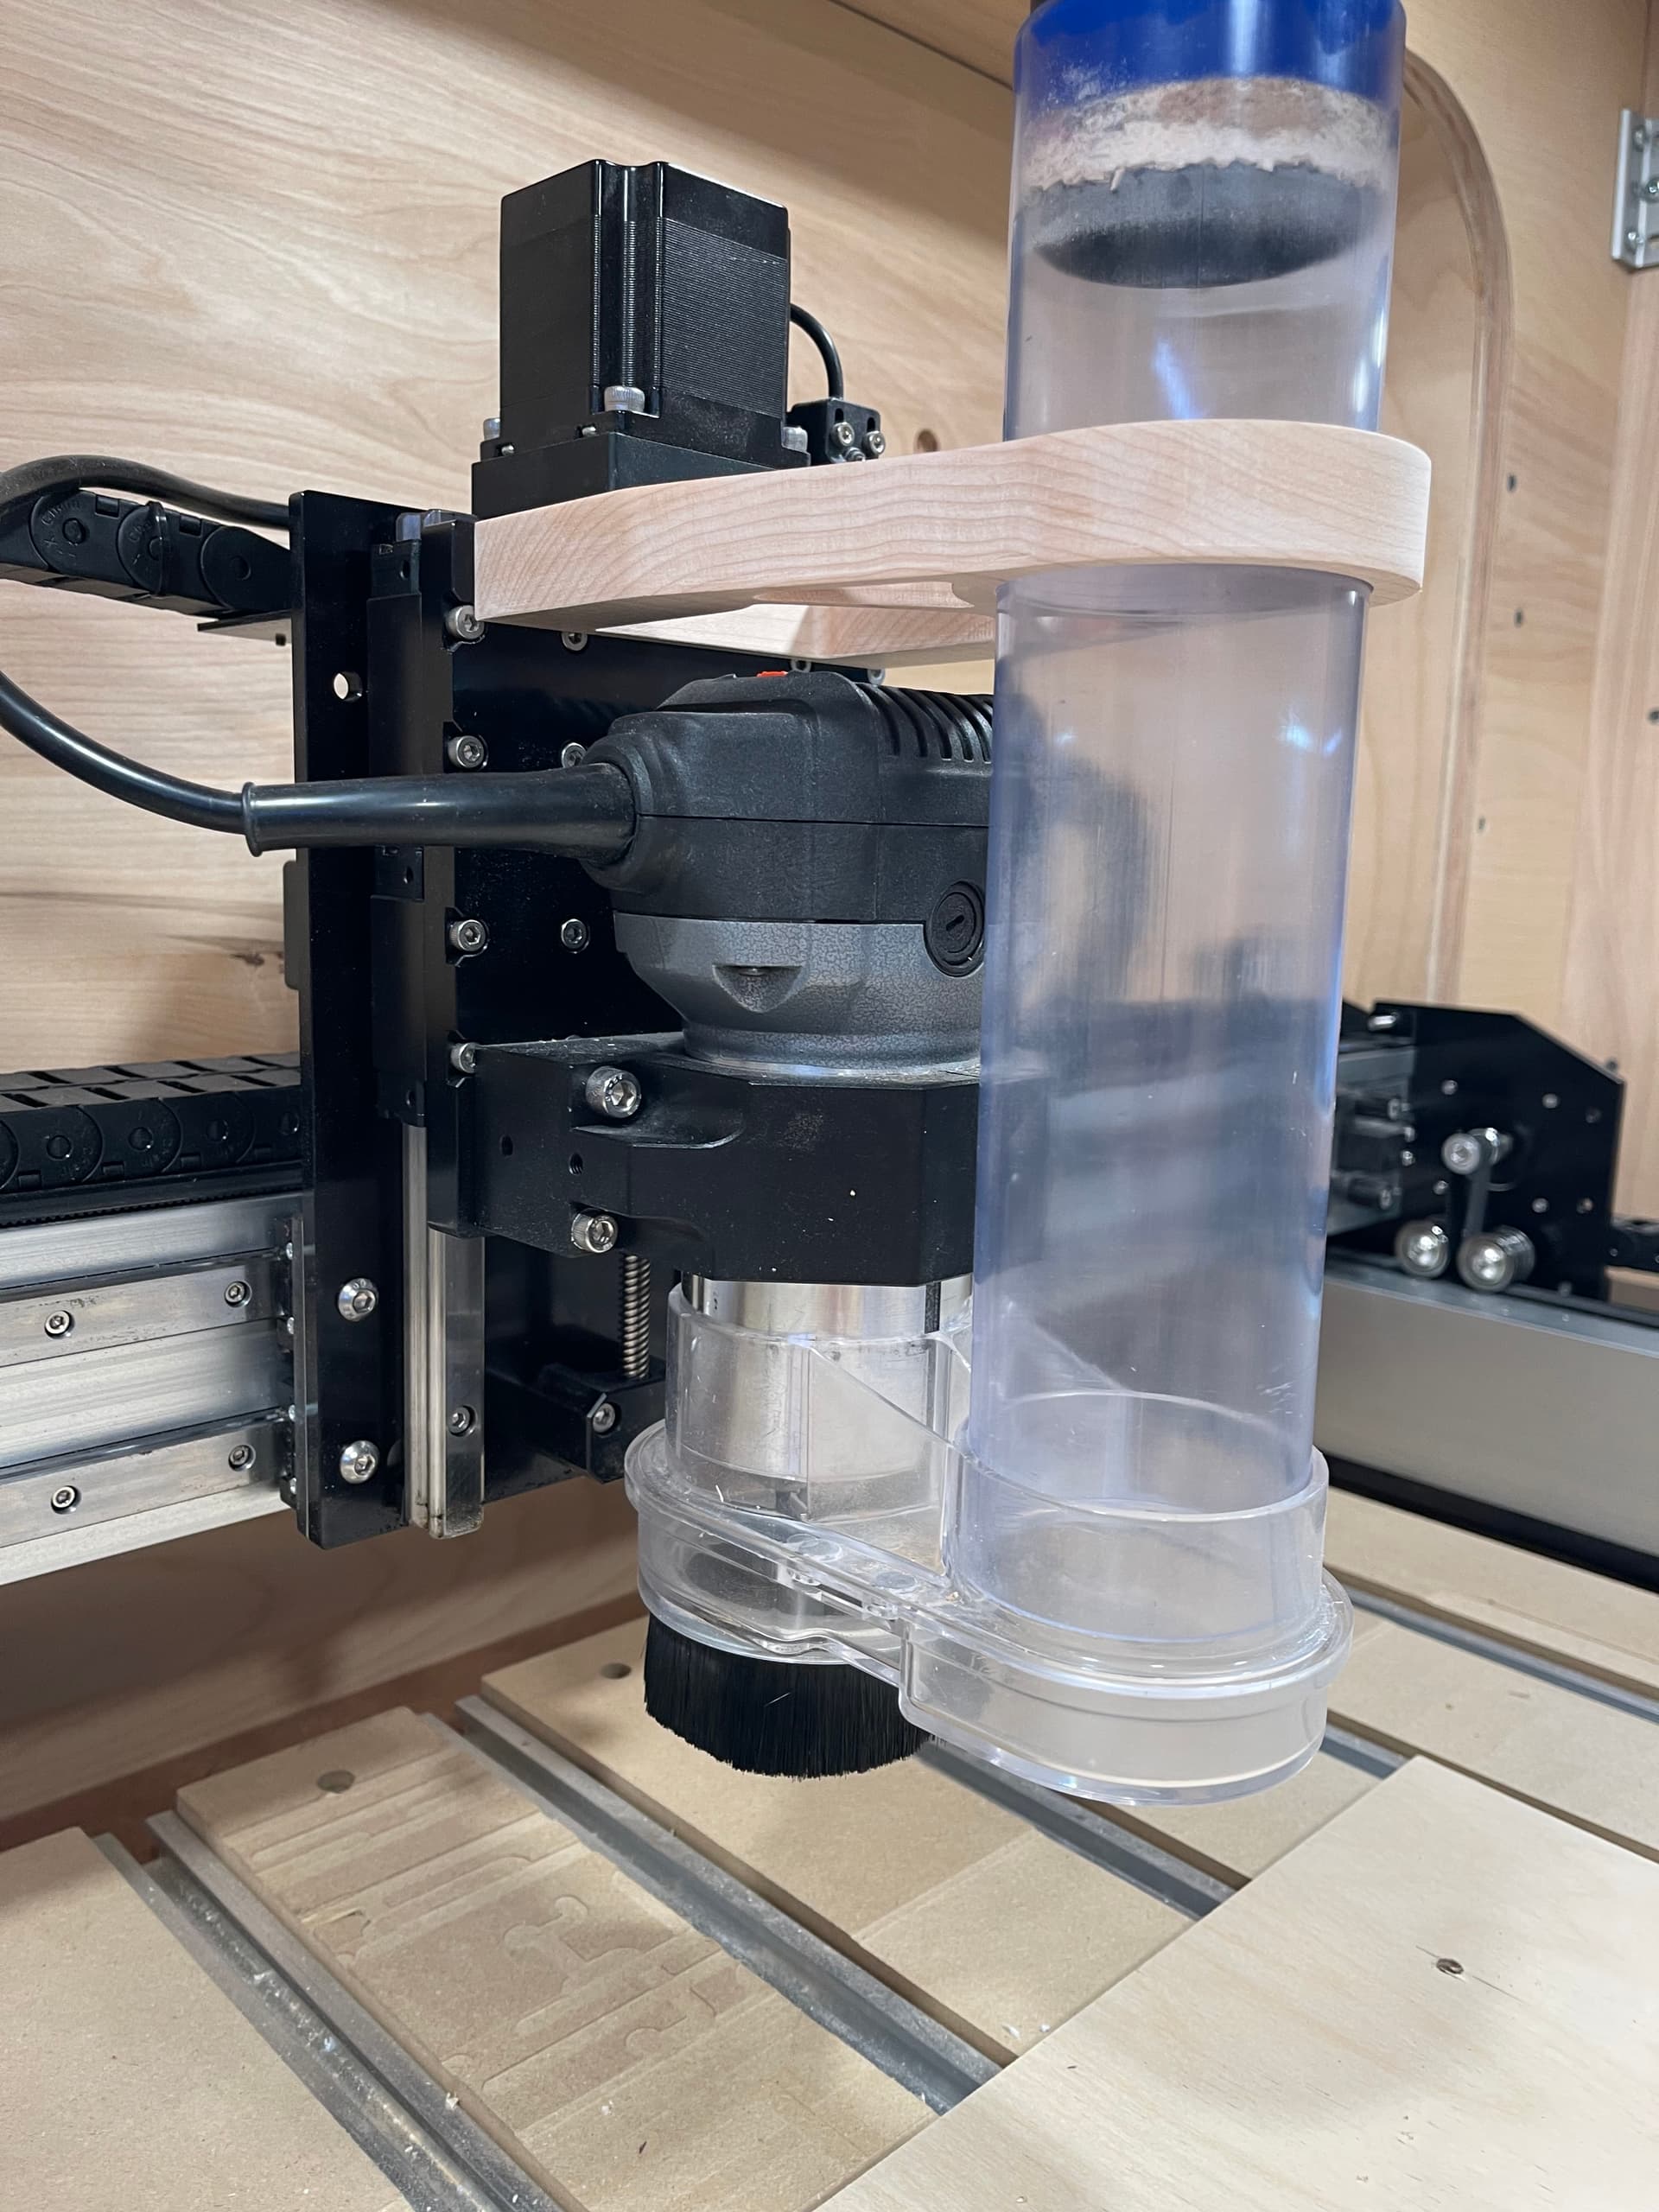
Removing the pipe to change a bit is very easy. Pull up the pipe out of the sweepy and friction keeps the pipe elevated in the bracket while removing the boot to change a bit.
When raising and lowering the boot during a cut, the whole thing, boot pipe and all, moves together as a unit. And it’s completely clear so a good view of chips. The top fitting swivels where the pipe meets the flexible hose.
This looks great! I was thinking of adding a vertical riser.
I haven’t cut anything on my CNC yet as I am still setting up its home. I was wondering if there was a concern about rotating the dust boot 45d to reduce the extension in front of the machine.
It can go in any direction since it’s a collar that slips onto the router body and holds tight with a cam lock latch.
Only thing you’ll need to be careful is operating next to the rails. Definitely can’t have it off to the right as it’ll strike the right rail when zeroing during initialization. Left side can hit the rail if you’re cutting something that wide.
If you can give it the room, front is probably best for worry-free
To be honest, it didn’t occur to me to do it that way. It probably would have cut faster.
Then again, the pockets left a really smooth edge, and I didn’t have to clean up or sand the holes at all. Part was clean off the machine except for the two tabs in the back, and a little bit of sanding to knock off the edges. Sanding in those holes would have been more of a chore.
So, considering bith options I’d still probably cut it the same way. I generally try to let the robot do the work if I can
I thought that was the answer, I wanted to be sure there wasn’t some sort of secret reasoning behind it I was unaware of.
It only adds about 12 minutes or so to the project. I think I’ll leave it the way it is.
Thanks.
BTW: I forgot to ask what size screw is used for the bracket attachment?
Good question on the size of the screws. I actually used two of the spare screws that came in a little zip loc with the shapeoko. They’re the same size that fit the belt tensioning brackets. Perhaps someone knows this size?
I went out and pulled out my spare hardware from my SPXXL build. I did find one extra cap screw that fit the threaded hole. It was labeled spindle hardware. Makes sense since it mounts on the spindle.
I only have one screw, so I’ll have to make a run to the hardware store when it is completed.
I’m thinking it may be a 4mm screw? (Maybe?)
I have since mounted the Bracket and it is 5mm screws.