Hi Julien - what I think is the lead screw (the big spiral rod) is not the part that is moving - it appears the plate (the big black plate that the router attaches to) is what is moving.
If I’m wrong - what is the screw that I can check to tighten - I’ve gone over the z-axis screws and nothing seems loose.
yes, but that big moving plate is attached to the leadscrew via a leadscrew nut that rides up and down the leadscrew. It’s not easy to see it, but take a peek looking down from the top of the Z-plus, with the axis jogged to the bottom and you should see it, and maybe just maybe see it if got loose. There is a picture of that case on the forum somewhere, let me try and find it for illustration
I’m afraid I don’t, you should ask support, I don’t want to lead you down the path of removing the plate from the rails, which is a potentially messy business (due to the rail blocks and their tiny ball bearings)
Had the exact same problem about 6 months ago, was getting erratic results in v-carve inlays. My memory is too fuzzy about how I got access to the screws to tighten/add a little thread seal. I know I did it the hard way. Think I took the mount off, which meant I had to re-tram afterwards. But want to recall before I was done that an easier way appeared. At some point in the z-travel, I think there are ‘access’ holes in the plate that will allow you to get to the bolts. As already suggested though, hopefully support has the easy answer handy.
I spoke to support - (Fleming) and this is the suggested way to tighten that screw. I’m rerunning the hello world after tightening (very easy to do). Hopefully this fixes this issue, and helps somebody else down the road. Fingers Crossed with optimism.
Hey Erik,
To tighten that screw, you will want to turn your machine off and raise the Z axis all the way up by hand, there are two open holes on the back of the Z axis that are access points for the inner hardware in your photo. I would use a flashlight to tell if the screws are aligned with the holes, once you tension these back down try another bitsetter probing cycle and let us know if you are still seeing an issue!
Thanks to the group and support (Fleming) for valuable feedback and steps to fix this. I wouldn’t have figured it out in my own.
I could never hear the rattling of the z axis in a real job because the dust collector is running - it took careful observation based on the community suggestions. Thanks everybody. I’m so pleased it’s carving normally again!
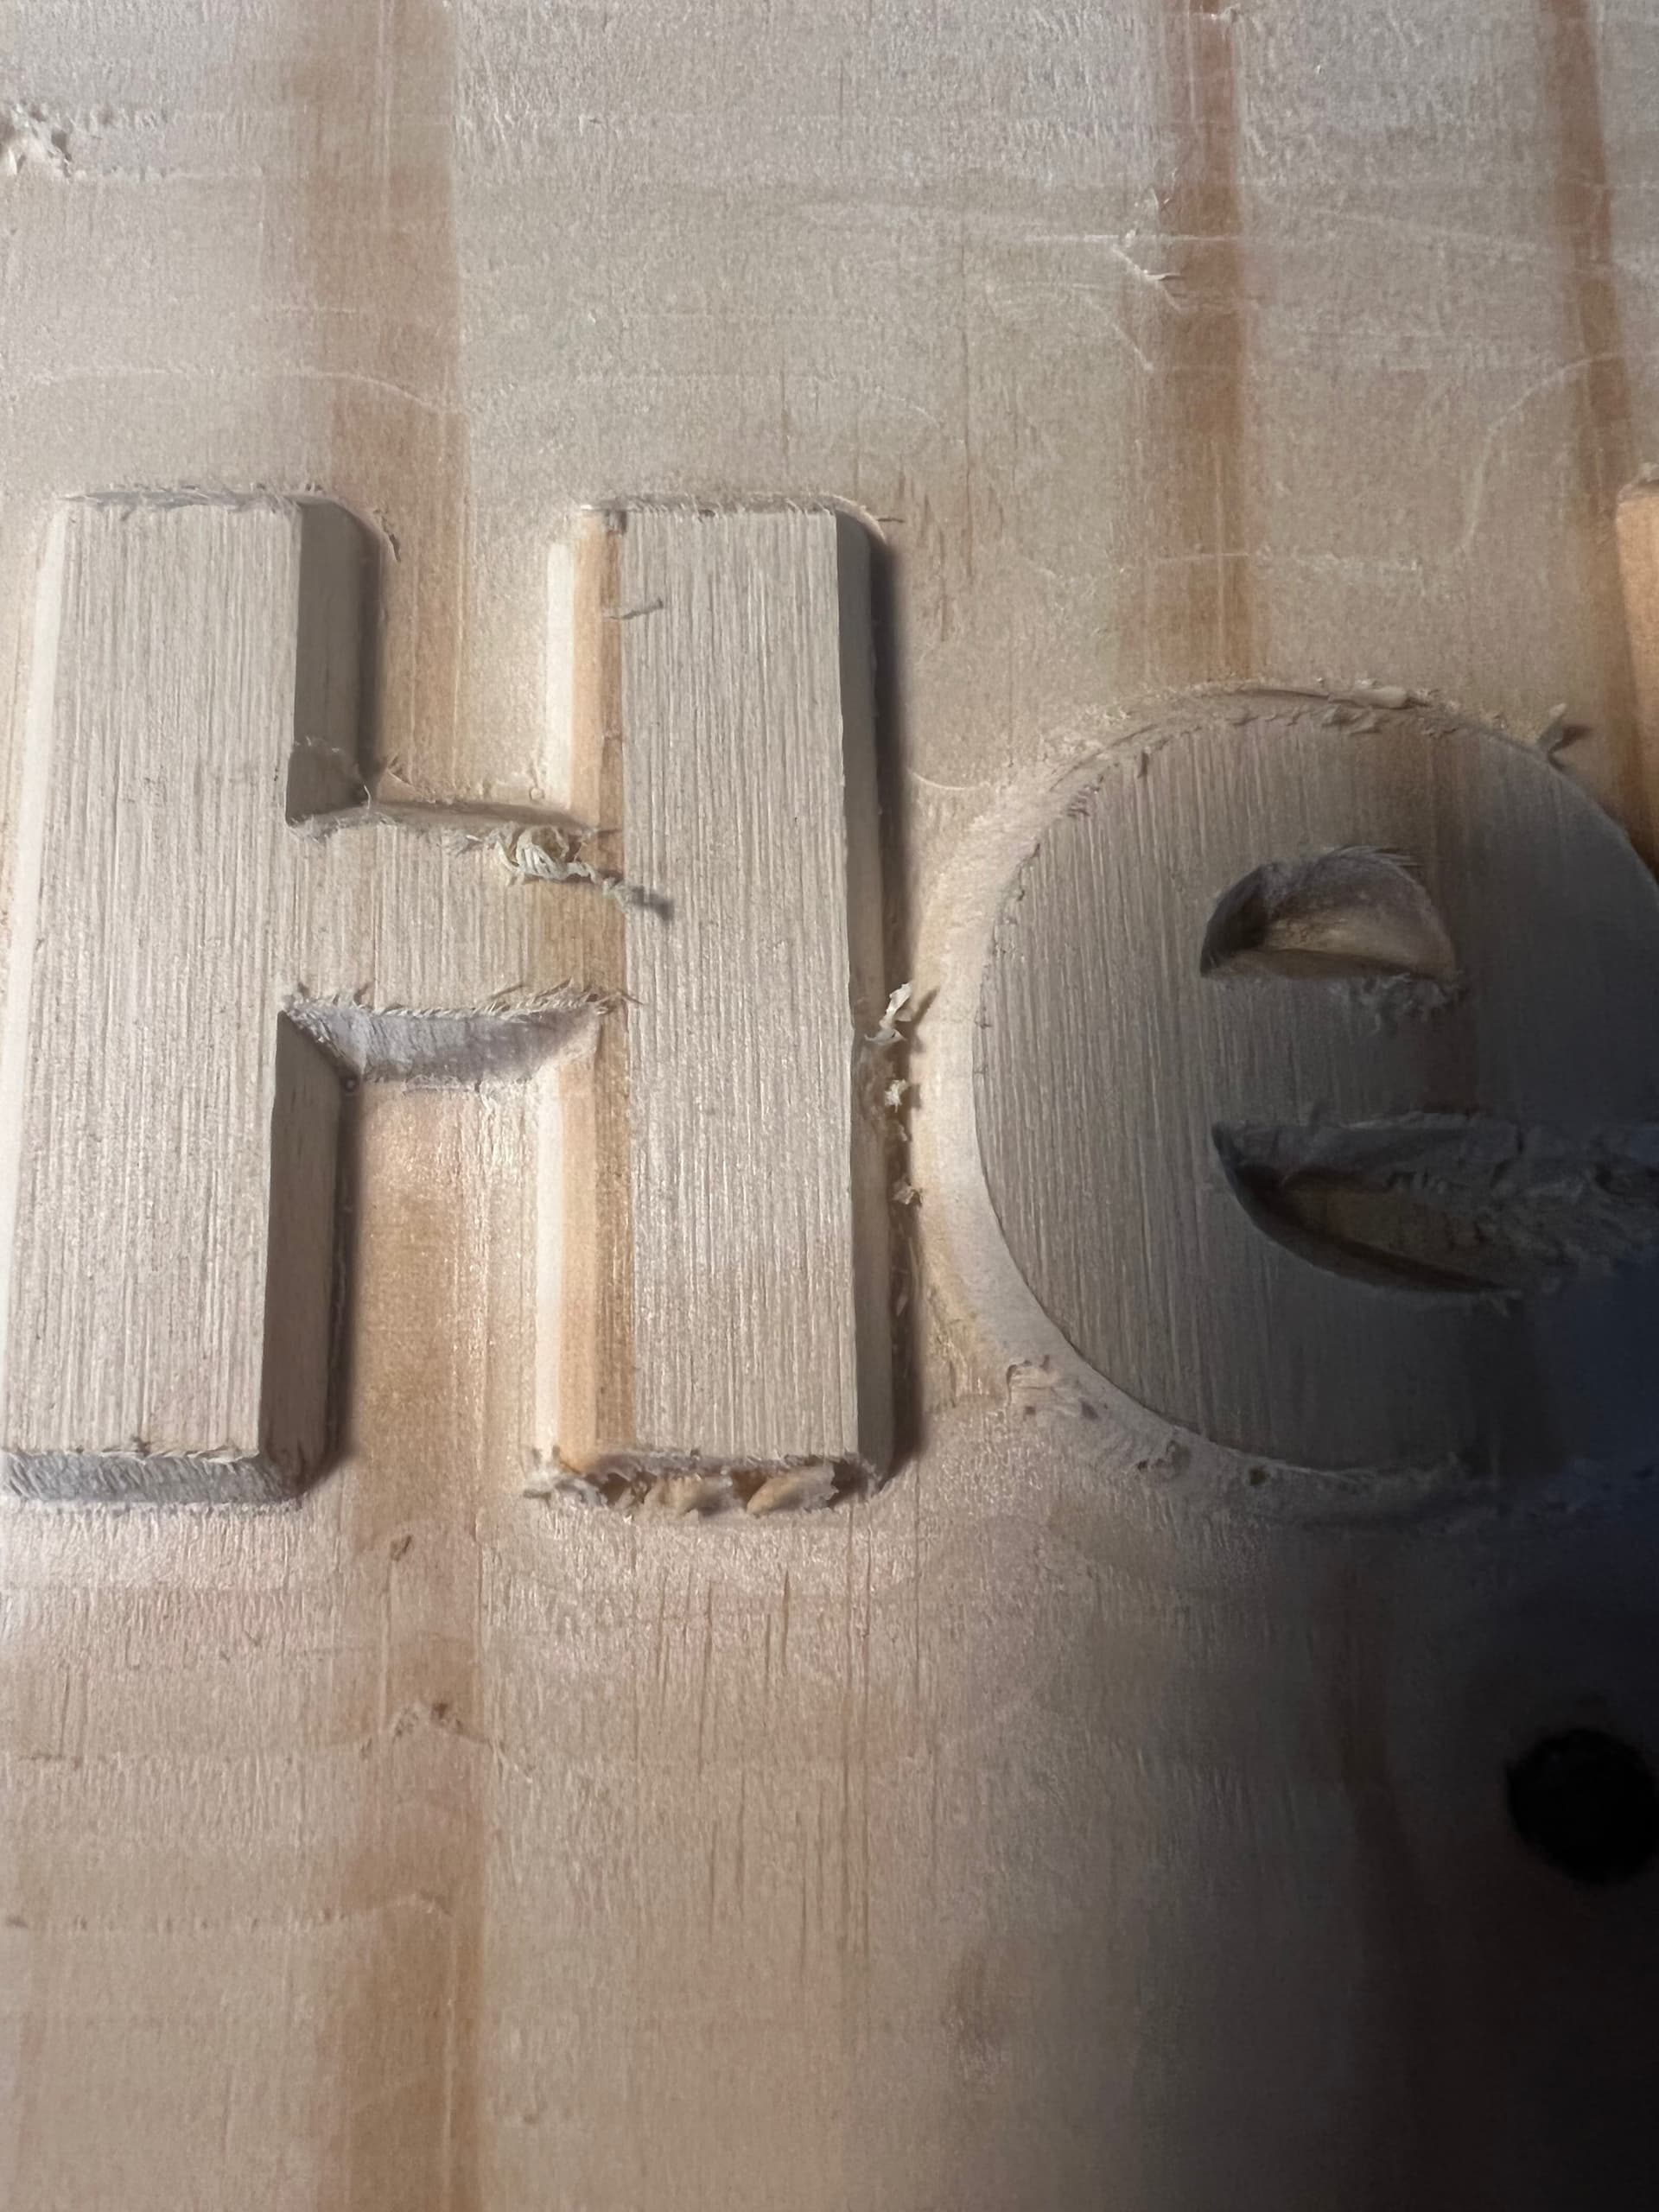
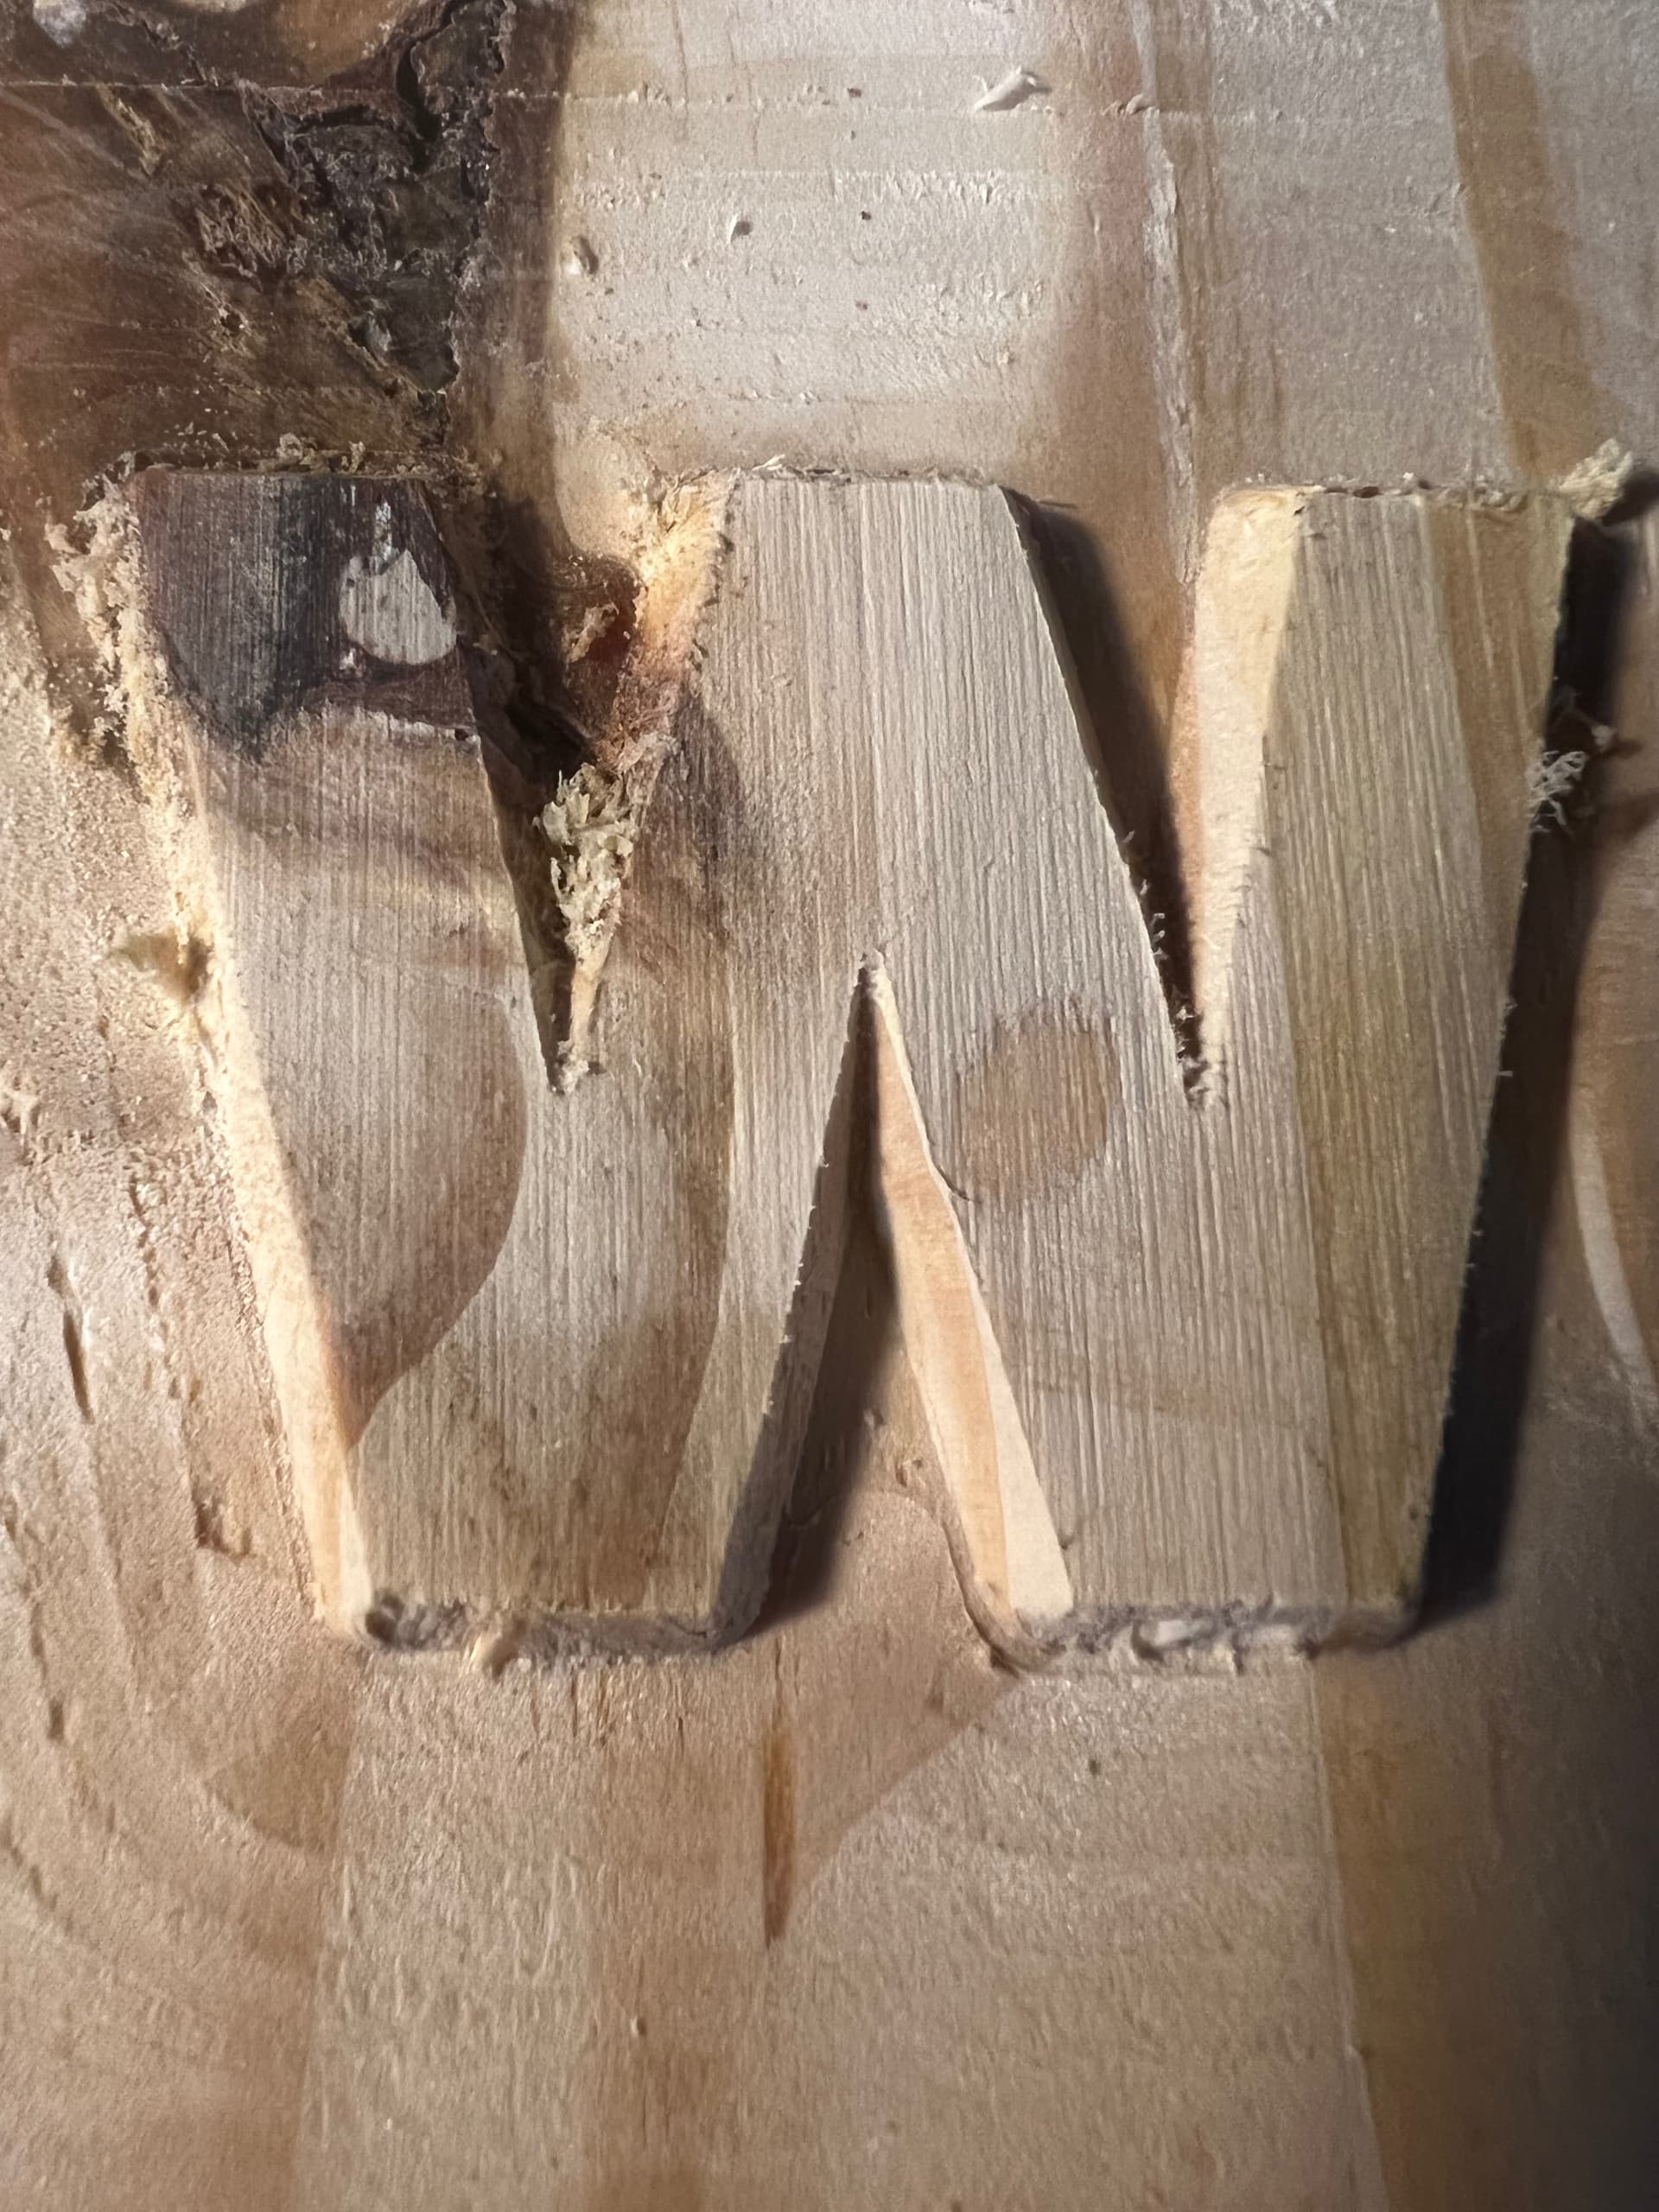
On a different topic - the picture show carve lines from the pocket tool - are they serious enough to tram the router? The don’t show that much and I usually sand them out. Not sure what threshold tramming should be done
There is no rule. If they don’t bother you and/or they can be removed by sanding then for now you might as well have fun machining stuff and worry about tramming later. If not, tramming is easy enough, and it is satisfying. Note though that even with perfect tramming, in some woods you are always going to get faint tool marks anyway