Thanks for all the suggestions. I finally finished the box and holy moly did I learn a lot! 
It’s definitely got some production errors, but I generally like the result:
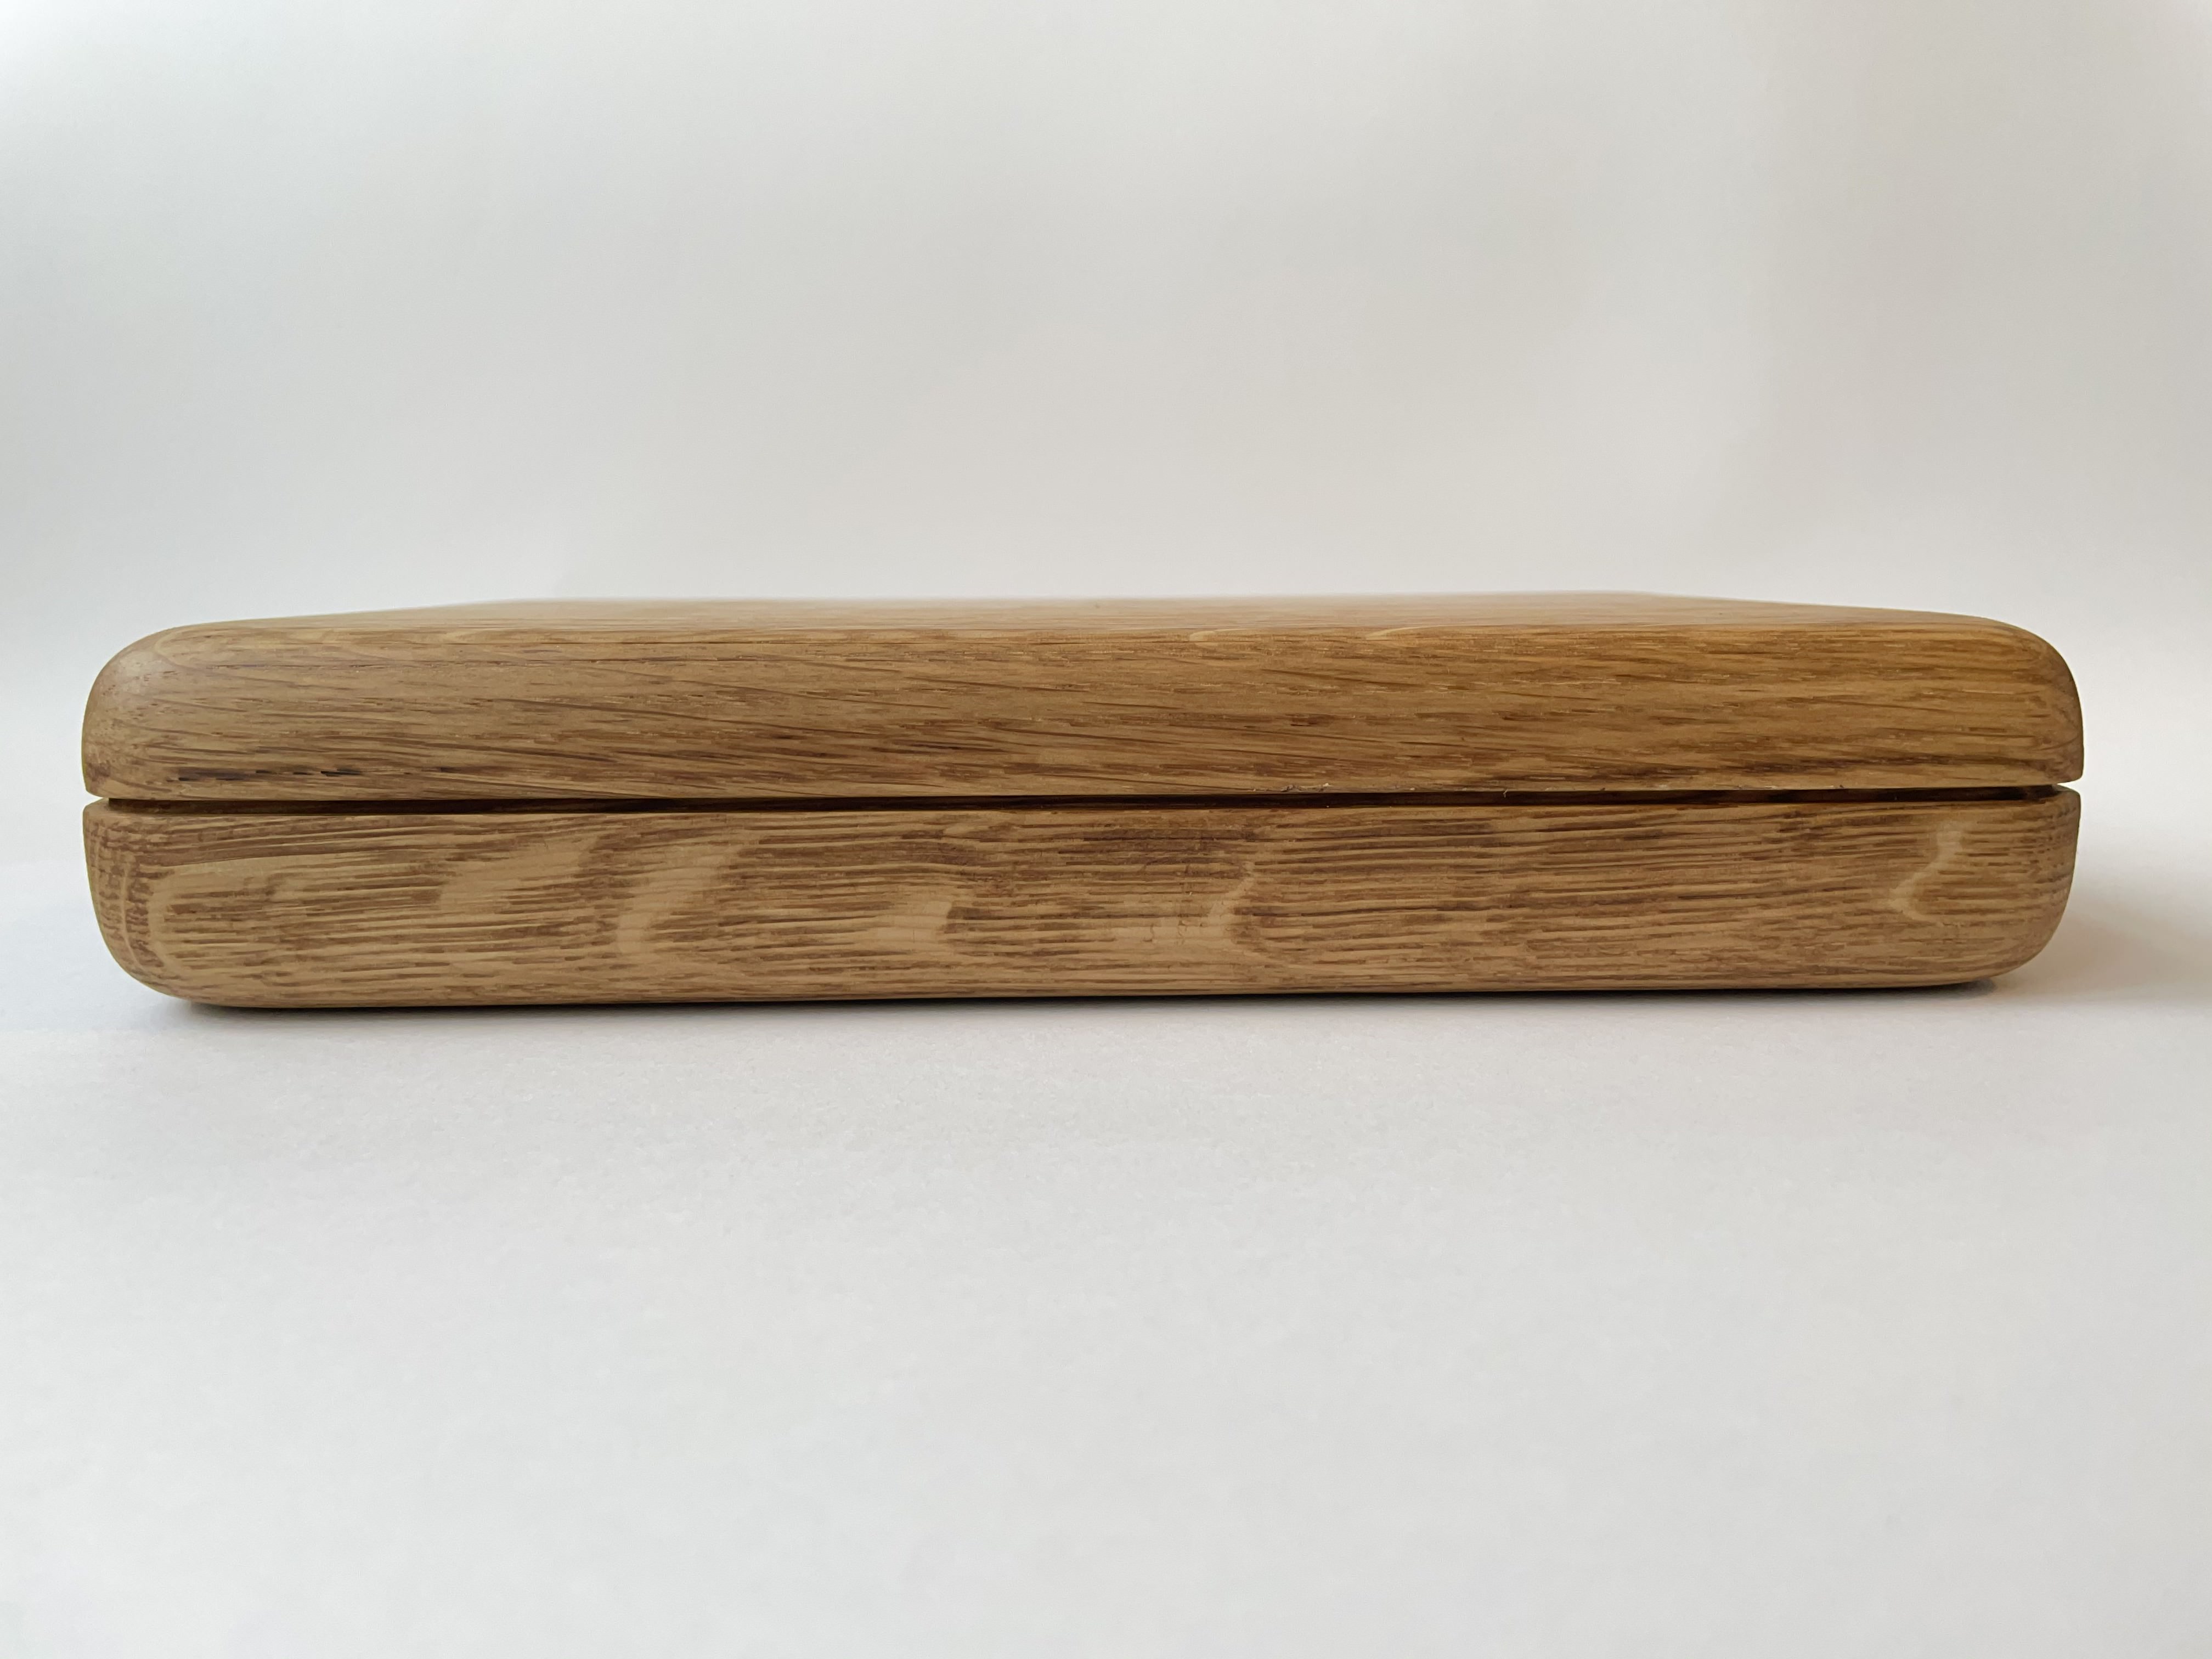
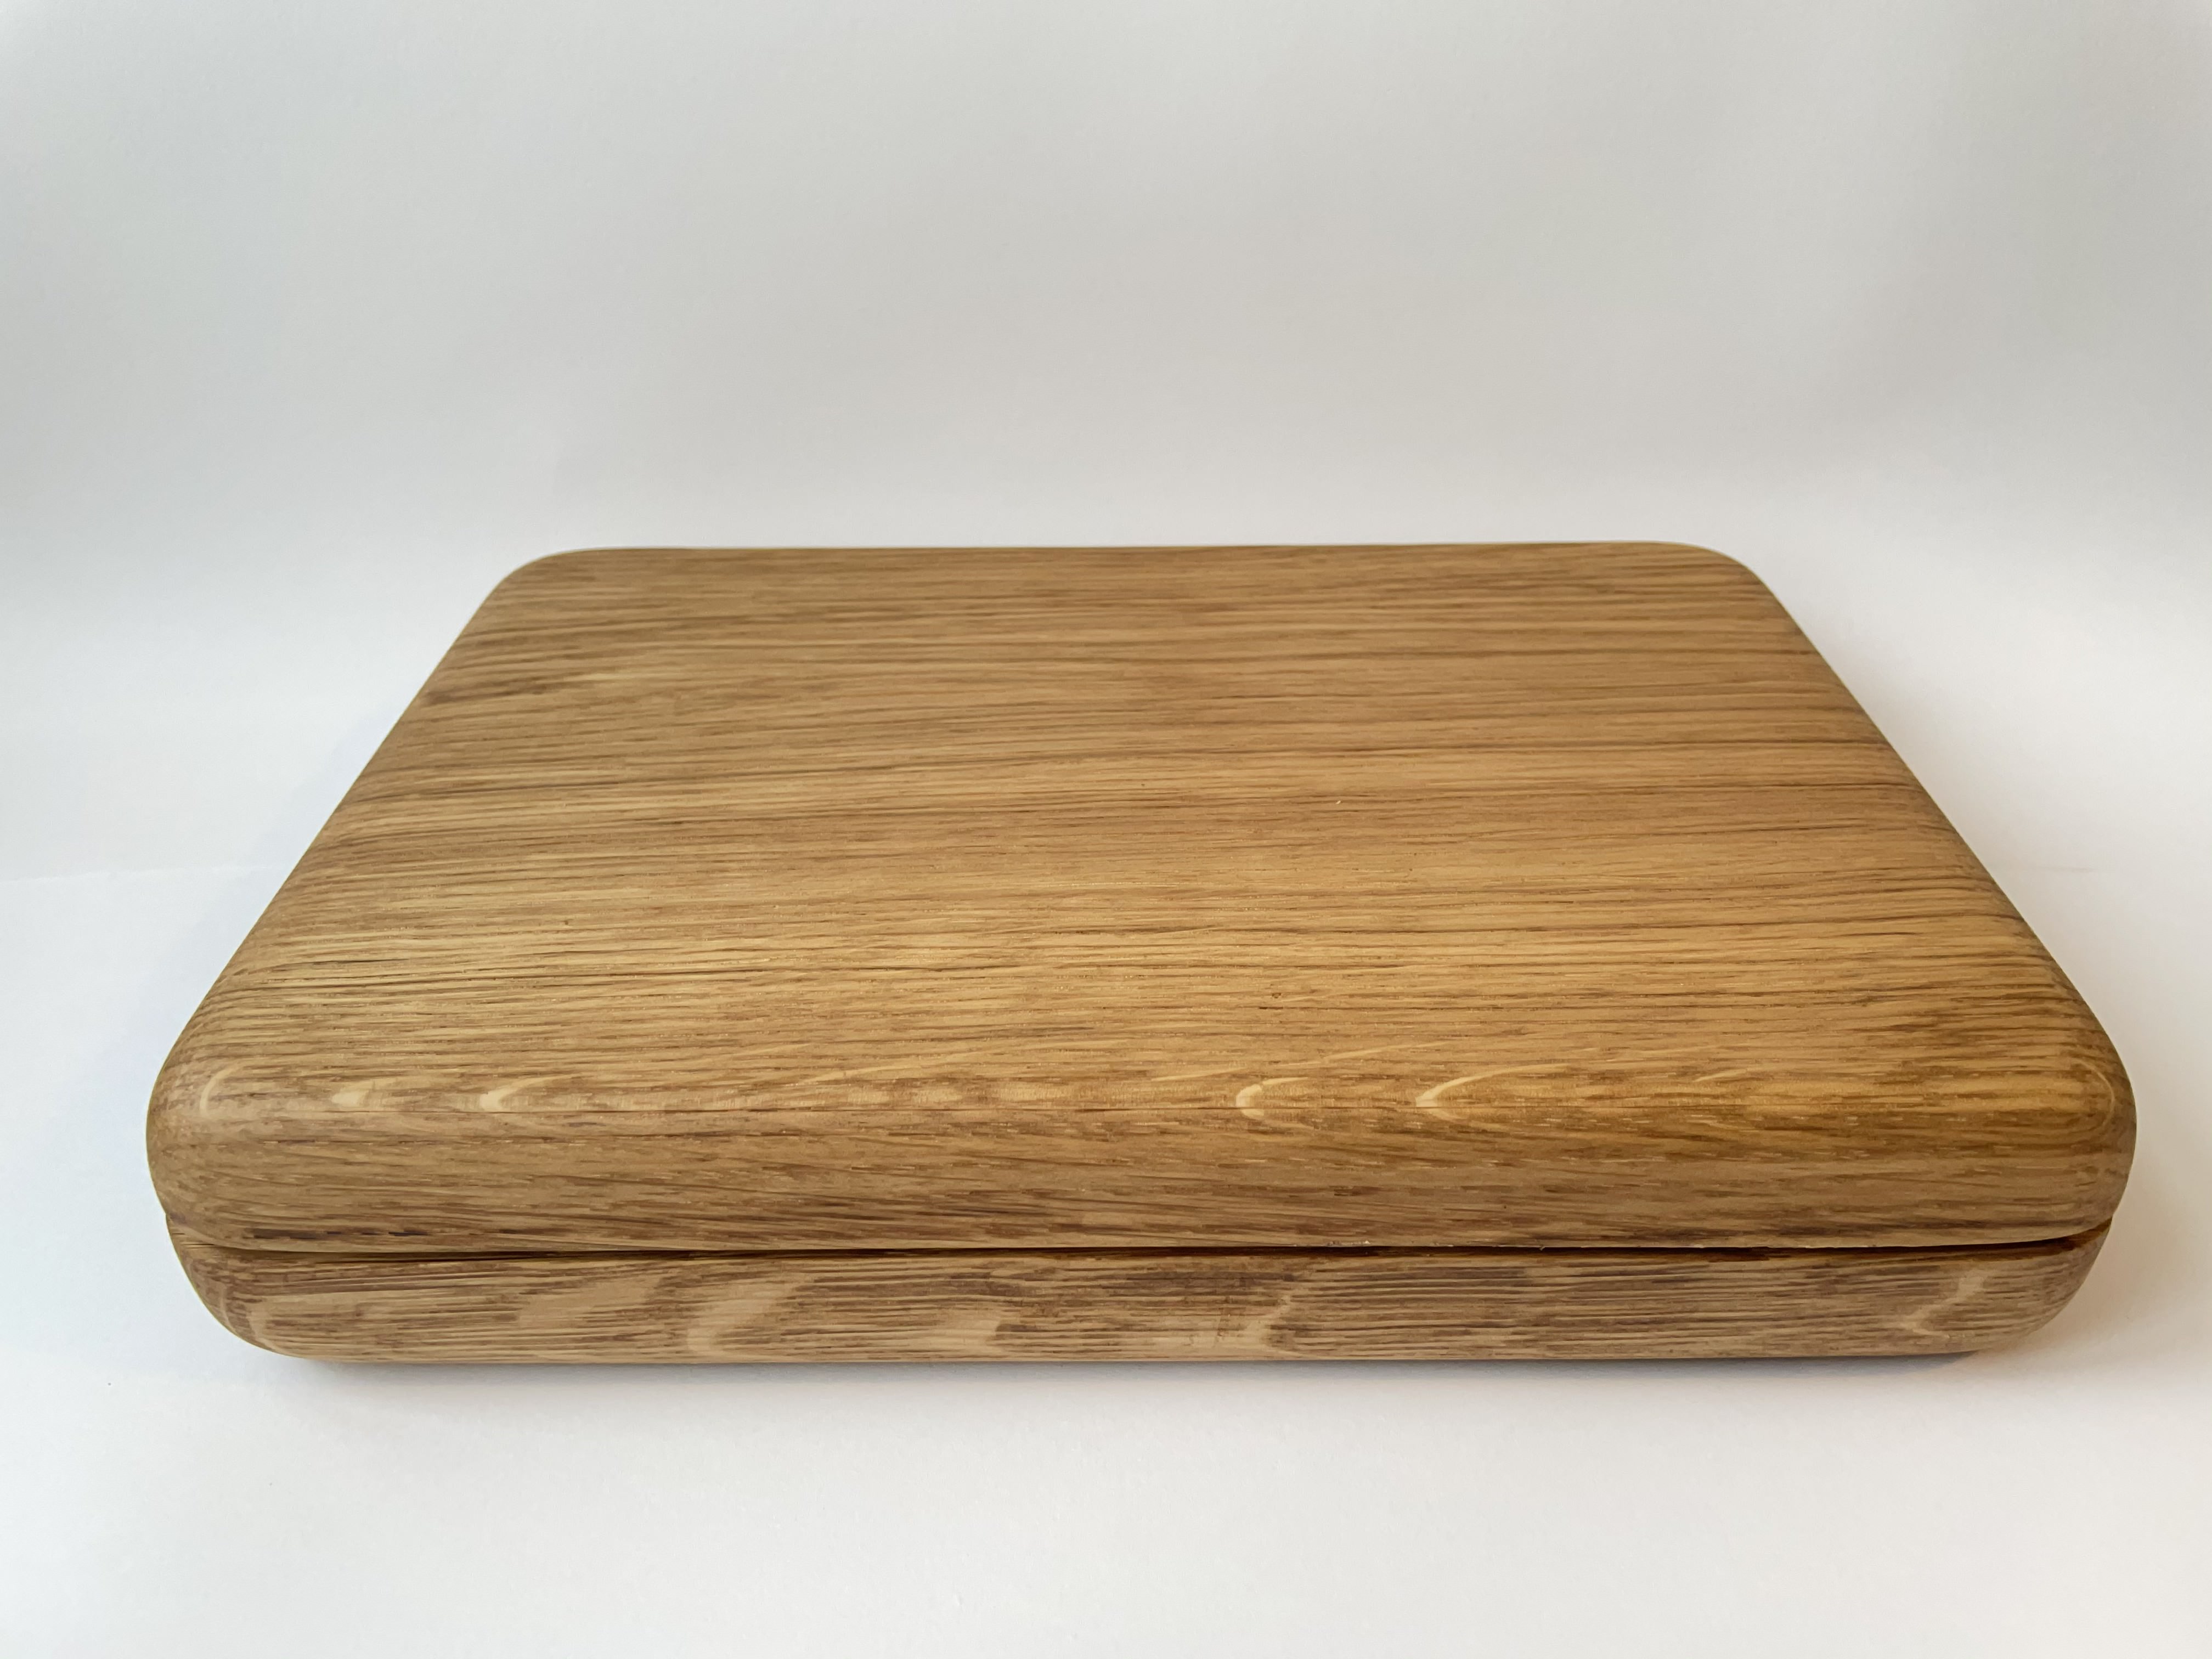
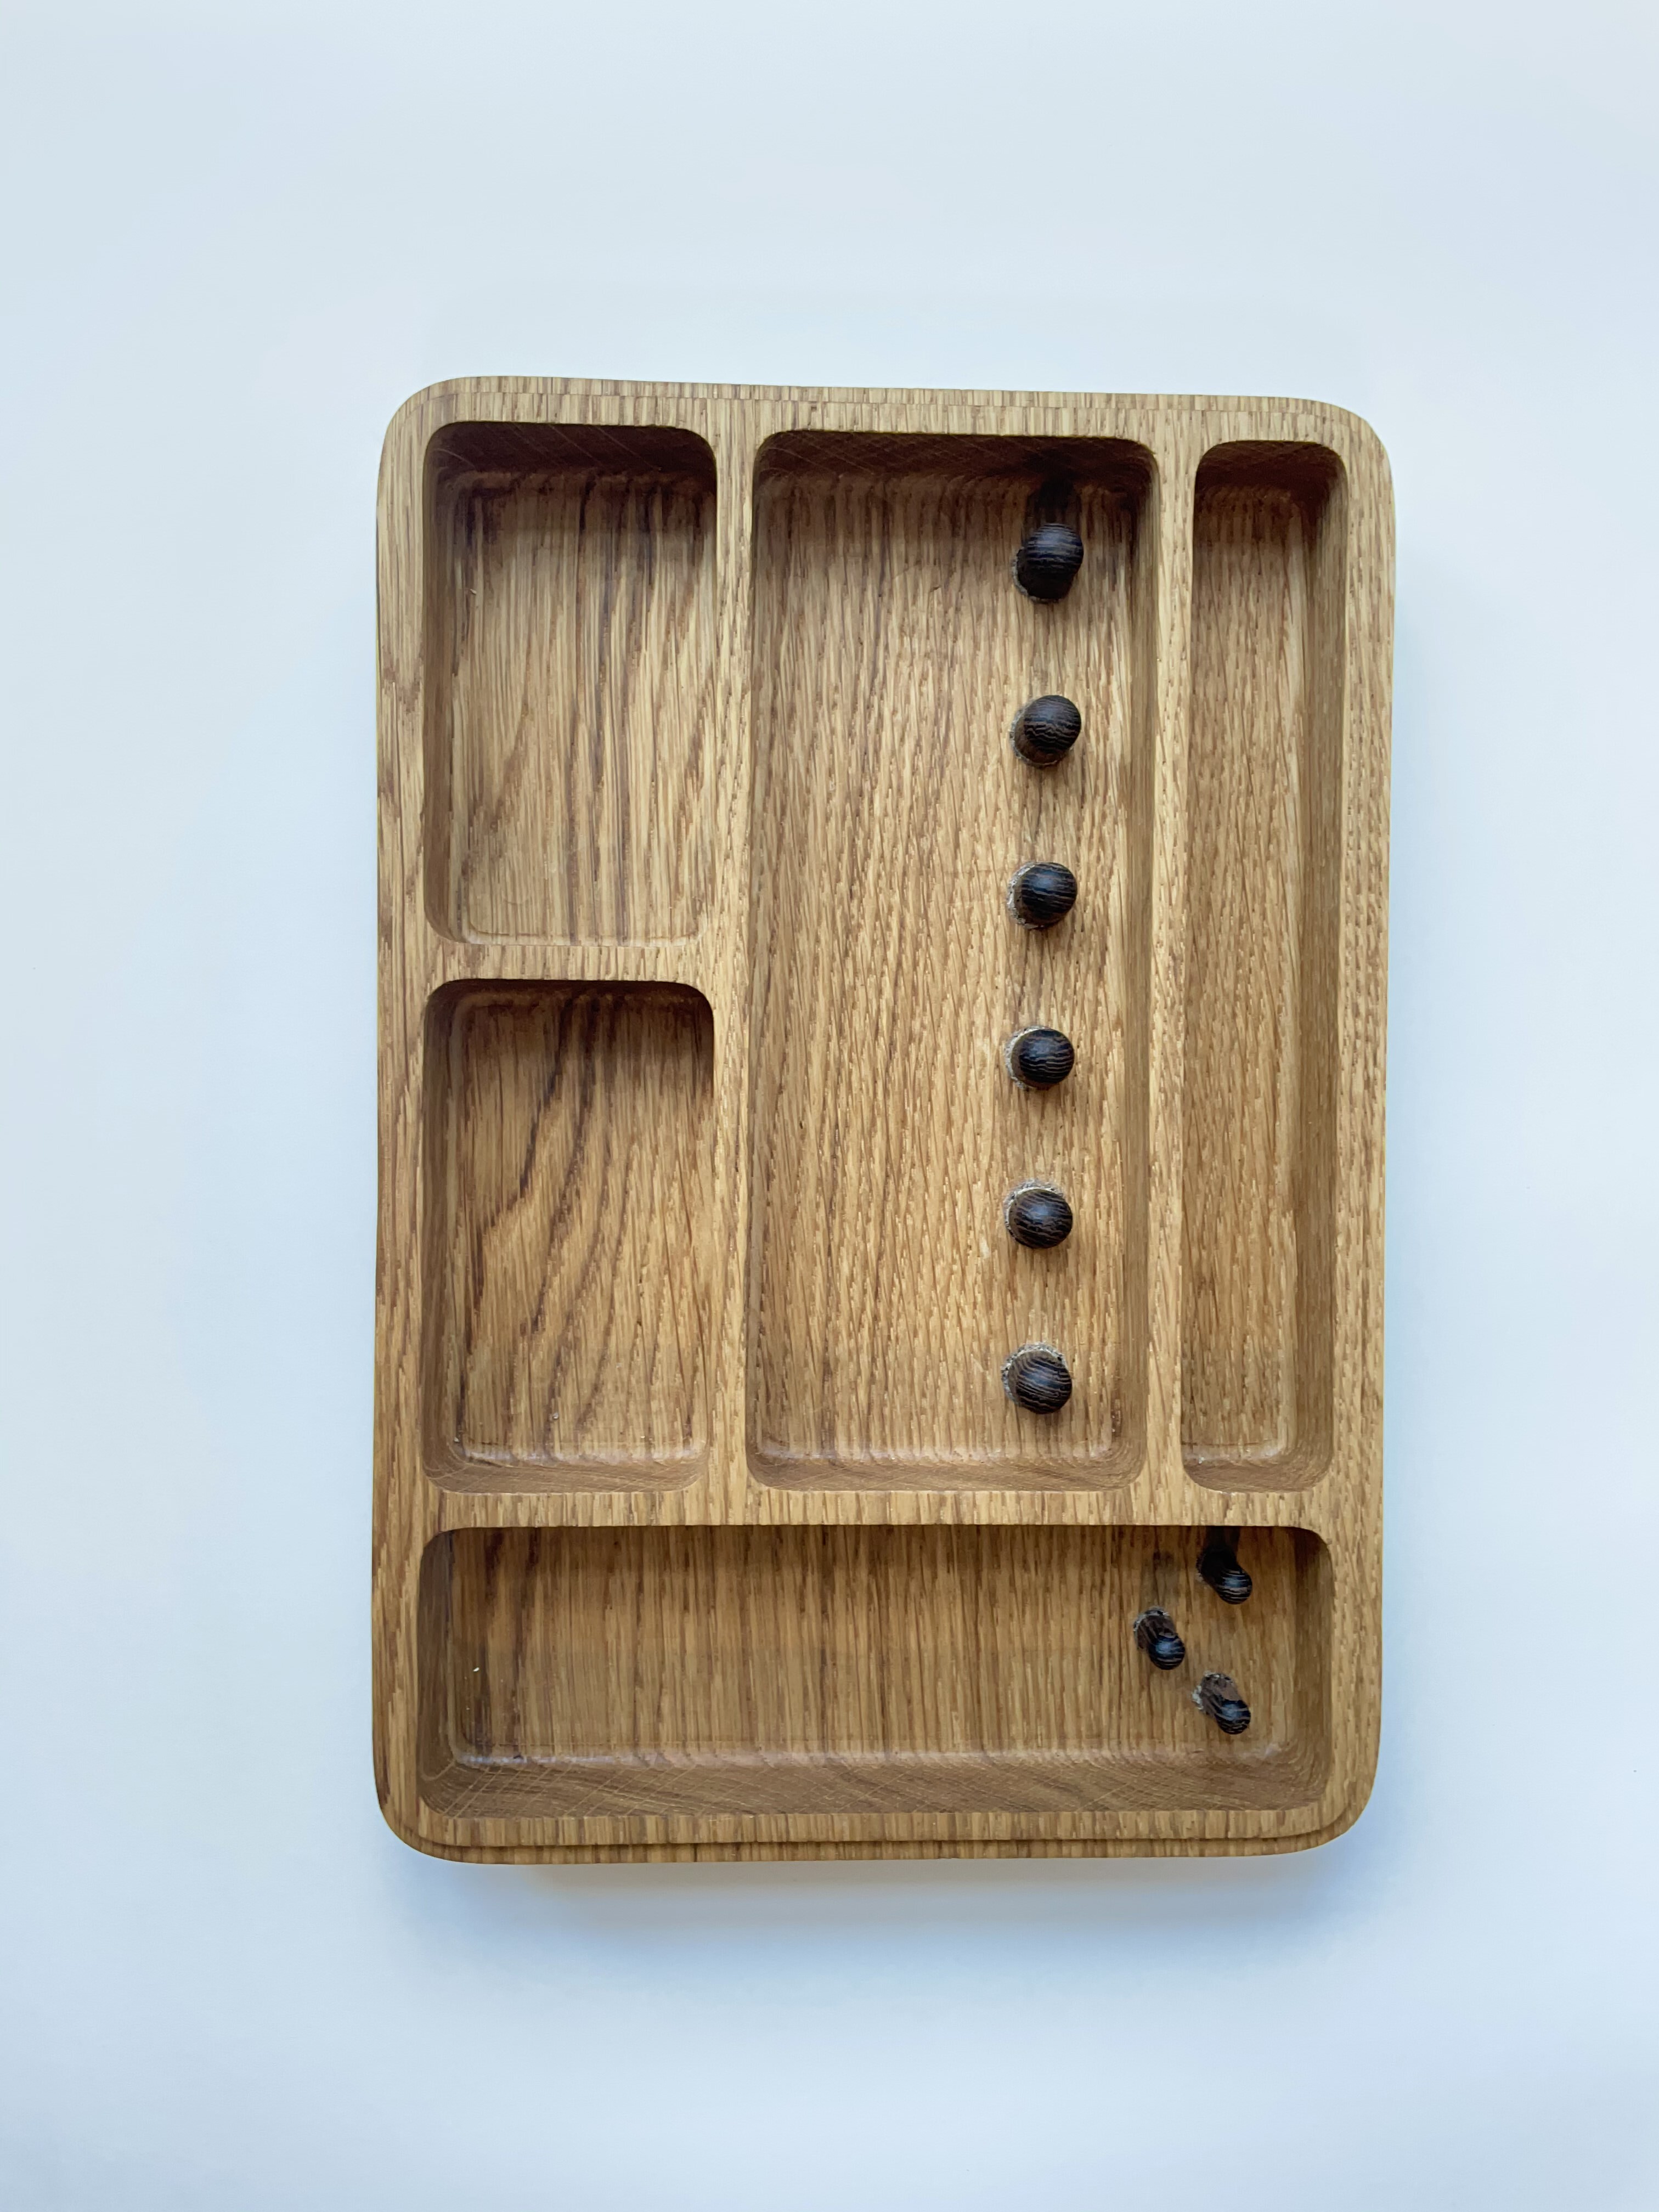
What do you think?
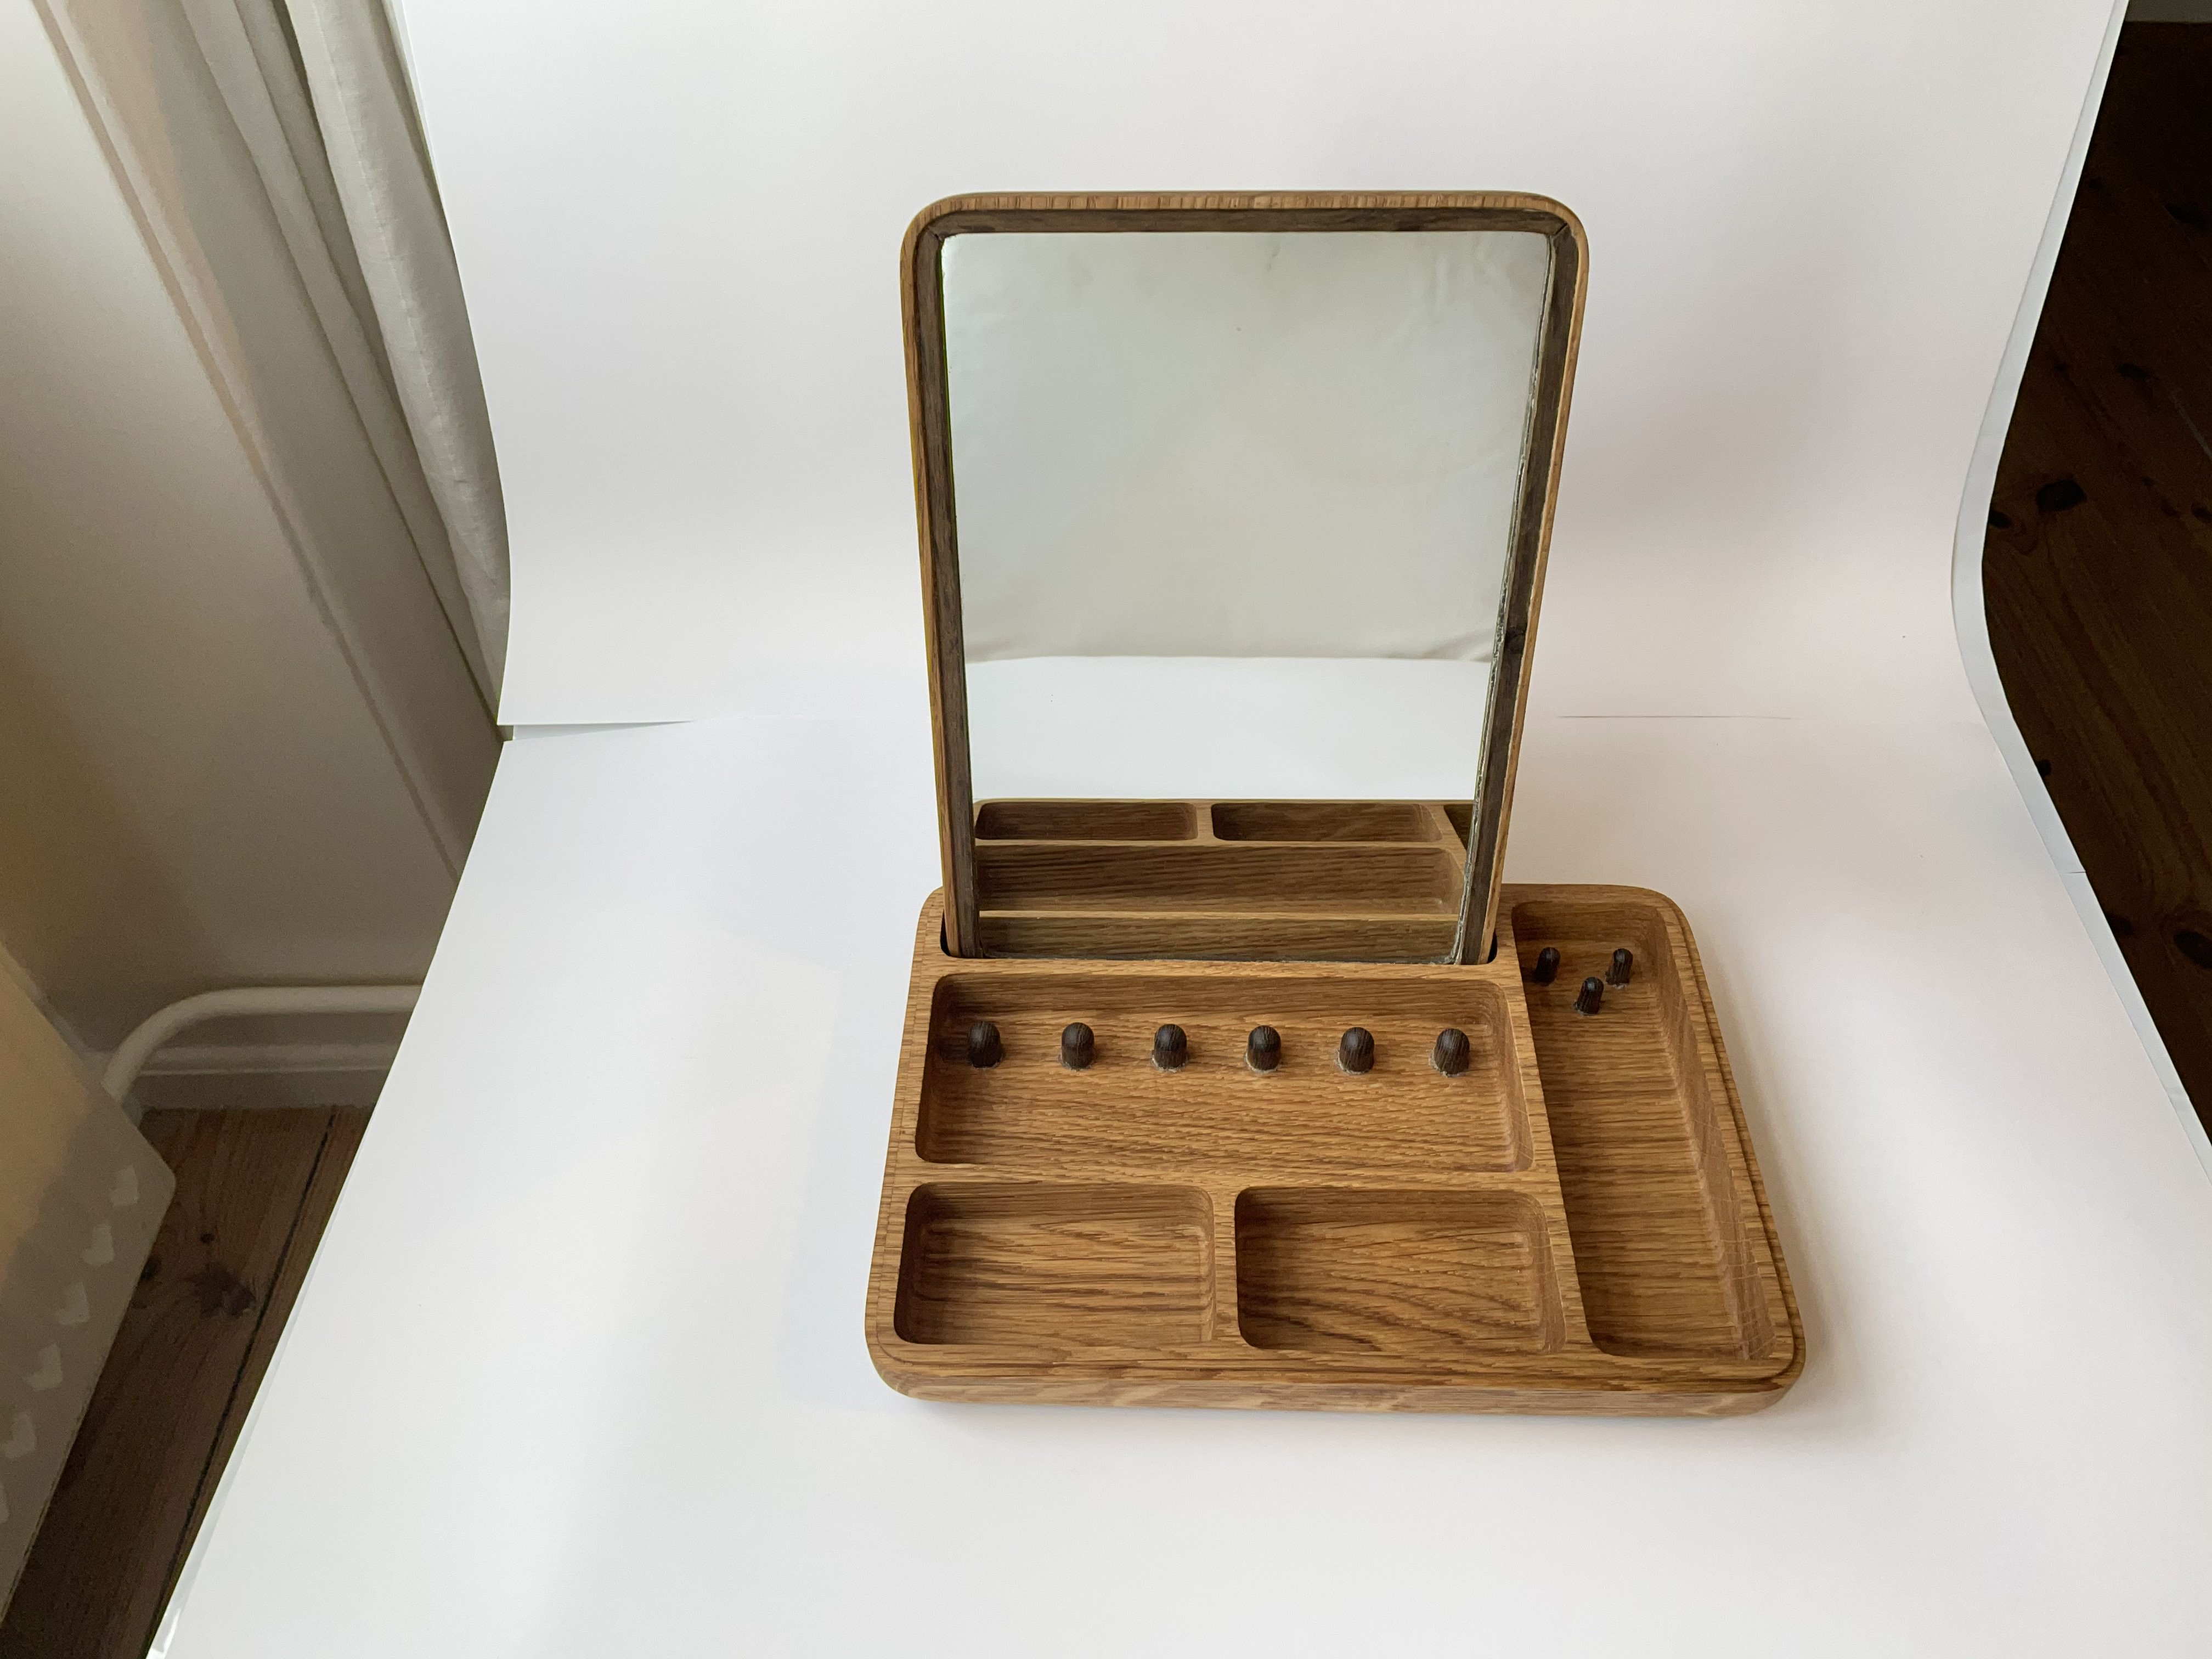
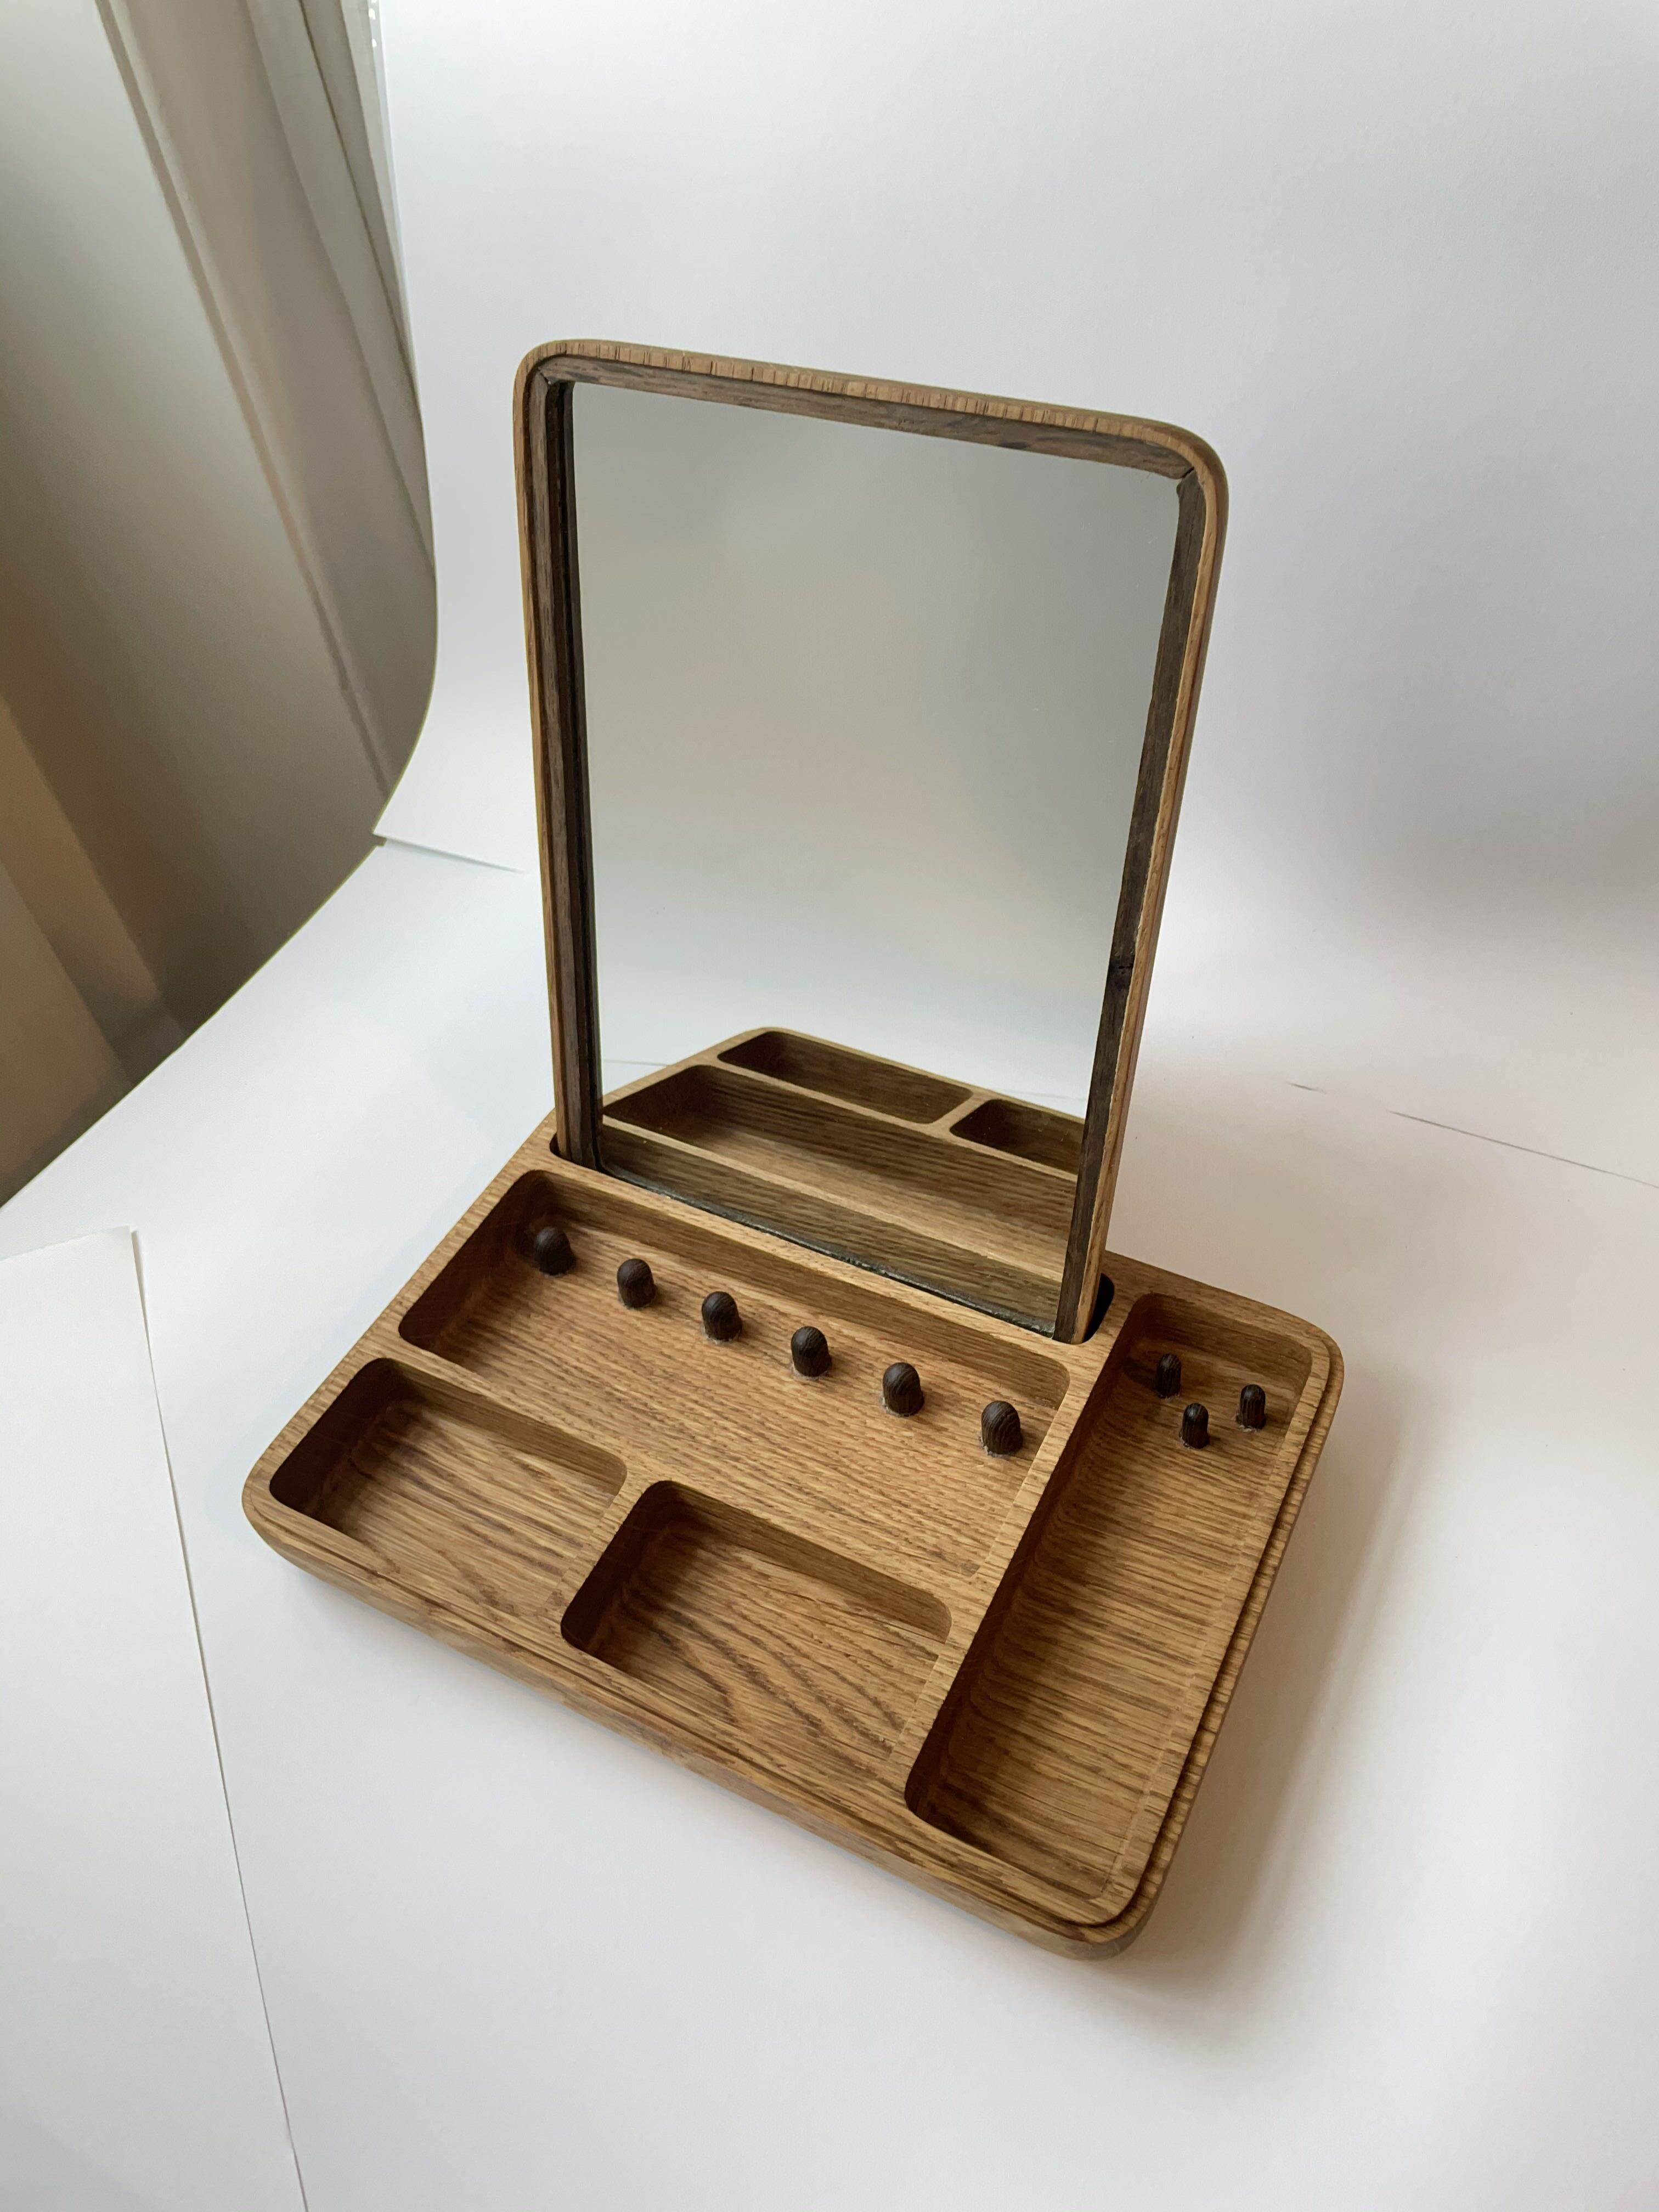
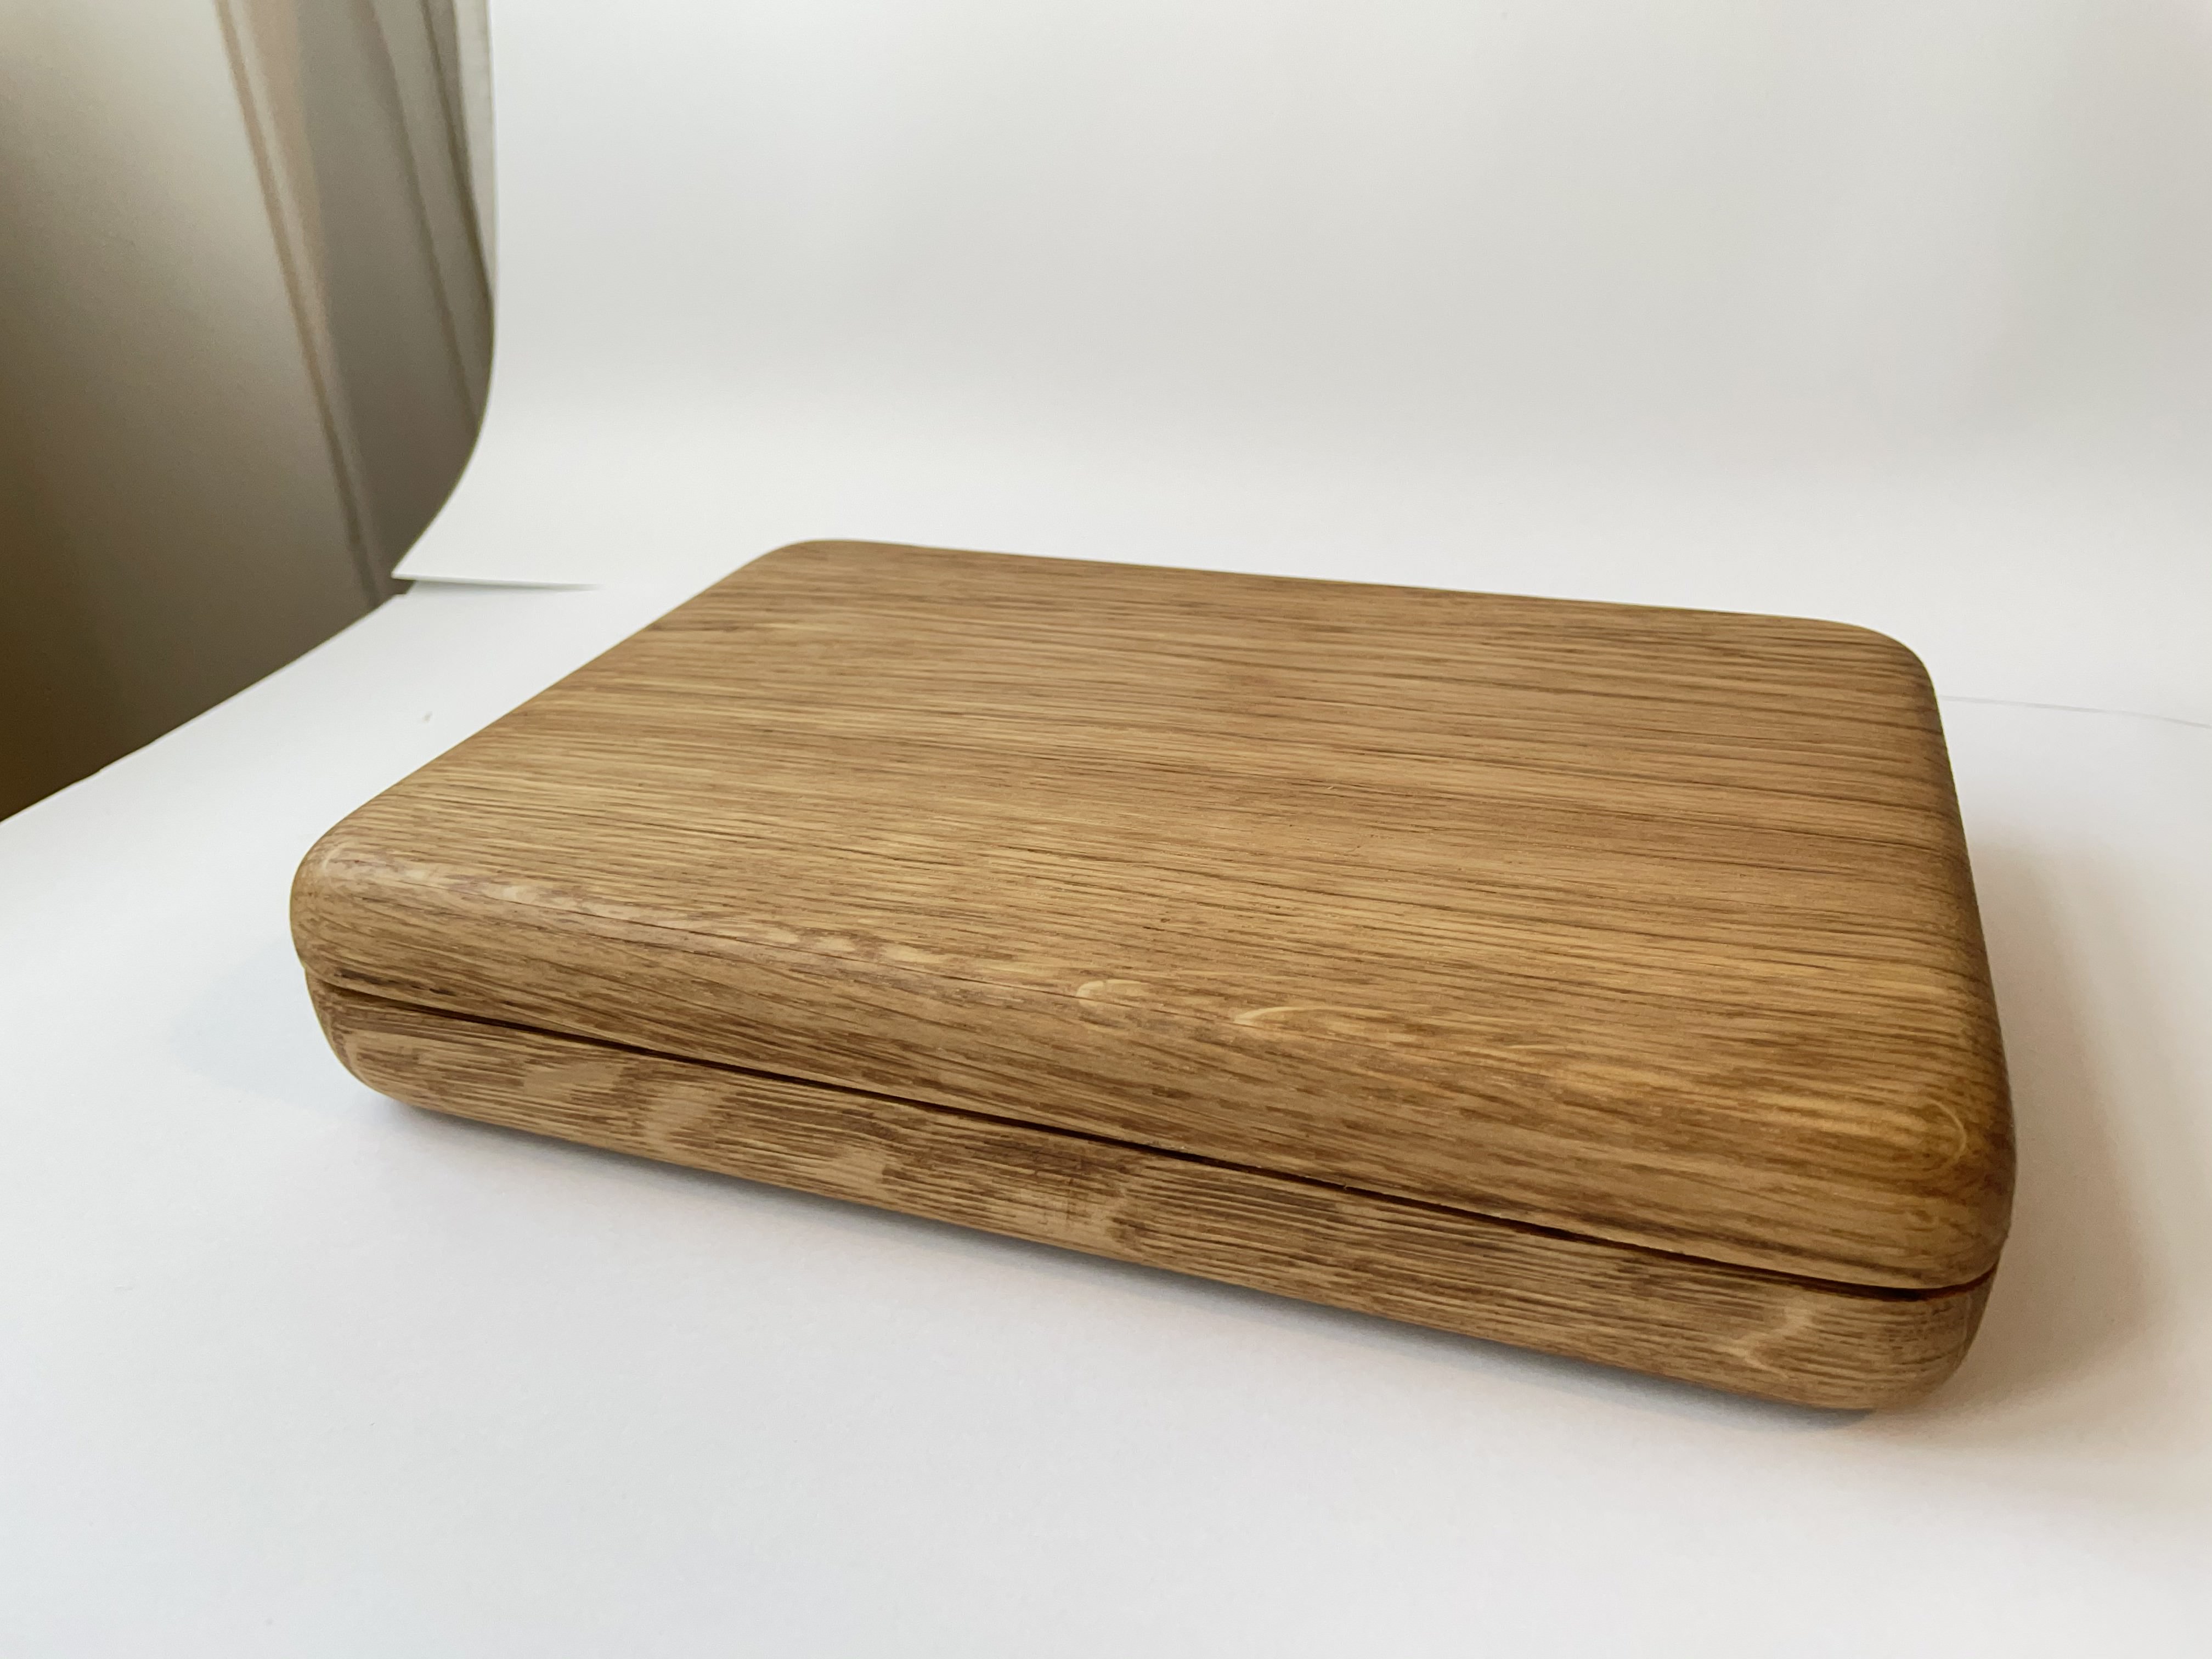
Thanks for all the suggestions. I finally finished the box and holy moly did I learn a lot!
It’s definitely got some production errors, but I generally like the result:
What do you think?