Hello everyone again, sorry to spam so many questions. I’m really excited for my new tool to show up.
Are there any videos or tutorials to show what I do when I open my new box to get the tool set up?
The Carbide 3D YouTube channel has you covered:
")
1 Like
Can’t wait to watch, ty again team !
What an awesome video!!
Is there a list of the tools you would need to assemble this because I don’t have a lot of those tools he used on hand?
Basic tools are included in the box.
Tools which will make assembly easier:
- T-handle hex wrenches
- full-sized wrenches
ratcheting functionality will help a lot, esp. when assembling the Hybrid T-track.
If you’re getting a Sweepy Pro you will definitely want a flex head tool (you’ll know when you come to the screws in question).
1 Like
on the T-handle hex wrenches: Get the metric ones!
1 Like
The chickens are in the coop! The boxes are staring at me and I’ve watched the video a few times over I think I’m almost ready to put it together!
Can anyone tell me where to find the information on how to surface the table when you first get your machine?
I’m guessing you will need to surface it before using it for the first time?
1 Like
I put a file for the SO3 up at:
(I have a similar file for the SO5 Pro, but it’s for my gantry-shifted 4x2)
That said, it’s not strictly necessary to tram the surface first — many folks don’t, and some folks never do — it’s just a function of what sort of work you are doing and how plumb you need the stock to be relative to the spindle movement.
Di you purchase a surfacing bit like the McFly?
1 Like
I have not bought a surfacing bit yet, but do you think it’s something that would get used on other projects?
And does carbide sell this bit?
The McFly is my favorite surfacing bit, and I’ve been thru a lot of them. ![]() It can be found here:
It can be found here:
It can be used to surface any wood project like a slab or other rougher cut lumber. You can basically make your S5Pro a 4x4 jointer/planer. Having a level surface on v-carve projects helps get good results.
1 Like
That looks fun!
Ty for the info.
Why does it say $90 when I look at the bit but $45 on the picture you sent of the bit?
$45 is the price for just the inserts — we have both on the one product page for the convenience of folks so that they know the inserts are available from us, but Shopify defaults to the lower price even if not a complete product.
1 Like
I’m having trouble finding the information to tell me which of the two non-wire drag chains are use on which rail.
Send a photo in to support@carbide3d.com and we will do our best to assist.
I believe I got it, because when I look at the manual carefully, one of the chains looks like three links shorter than the other, and the longer one goes on the gantry I believe
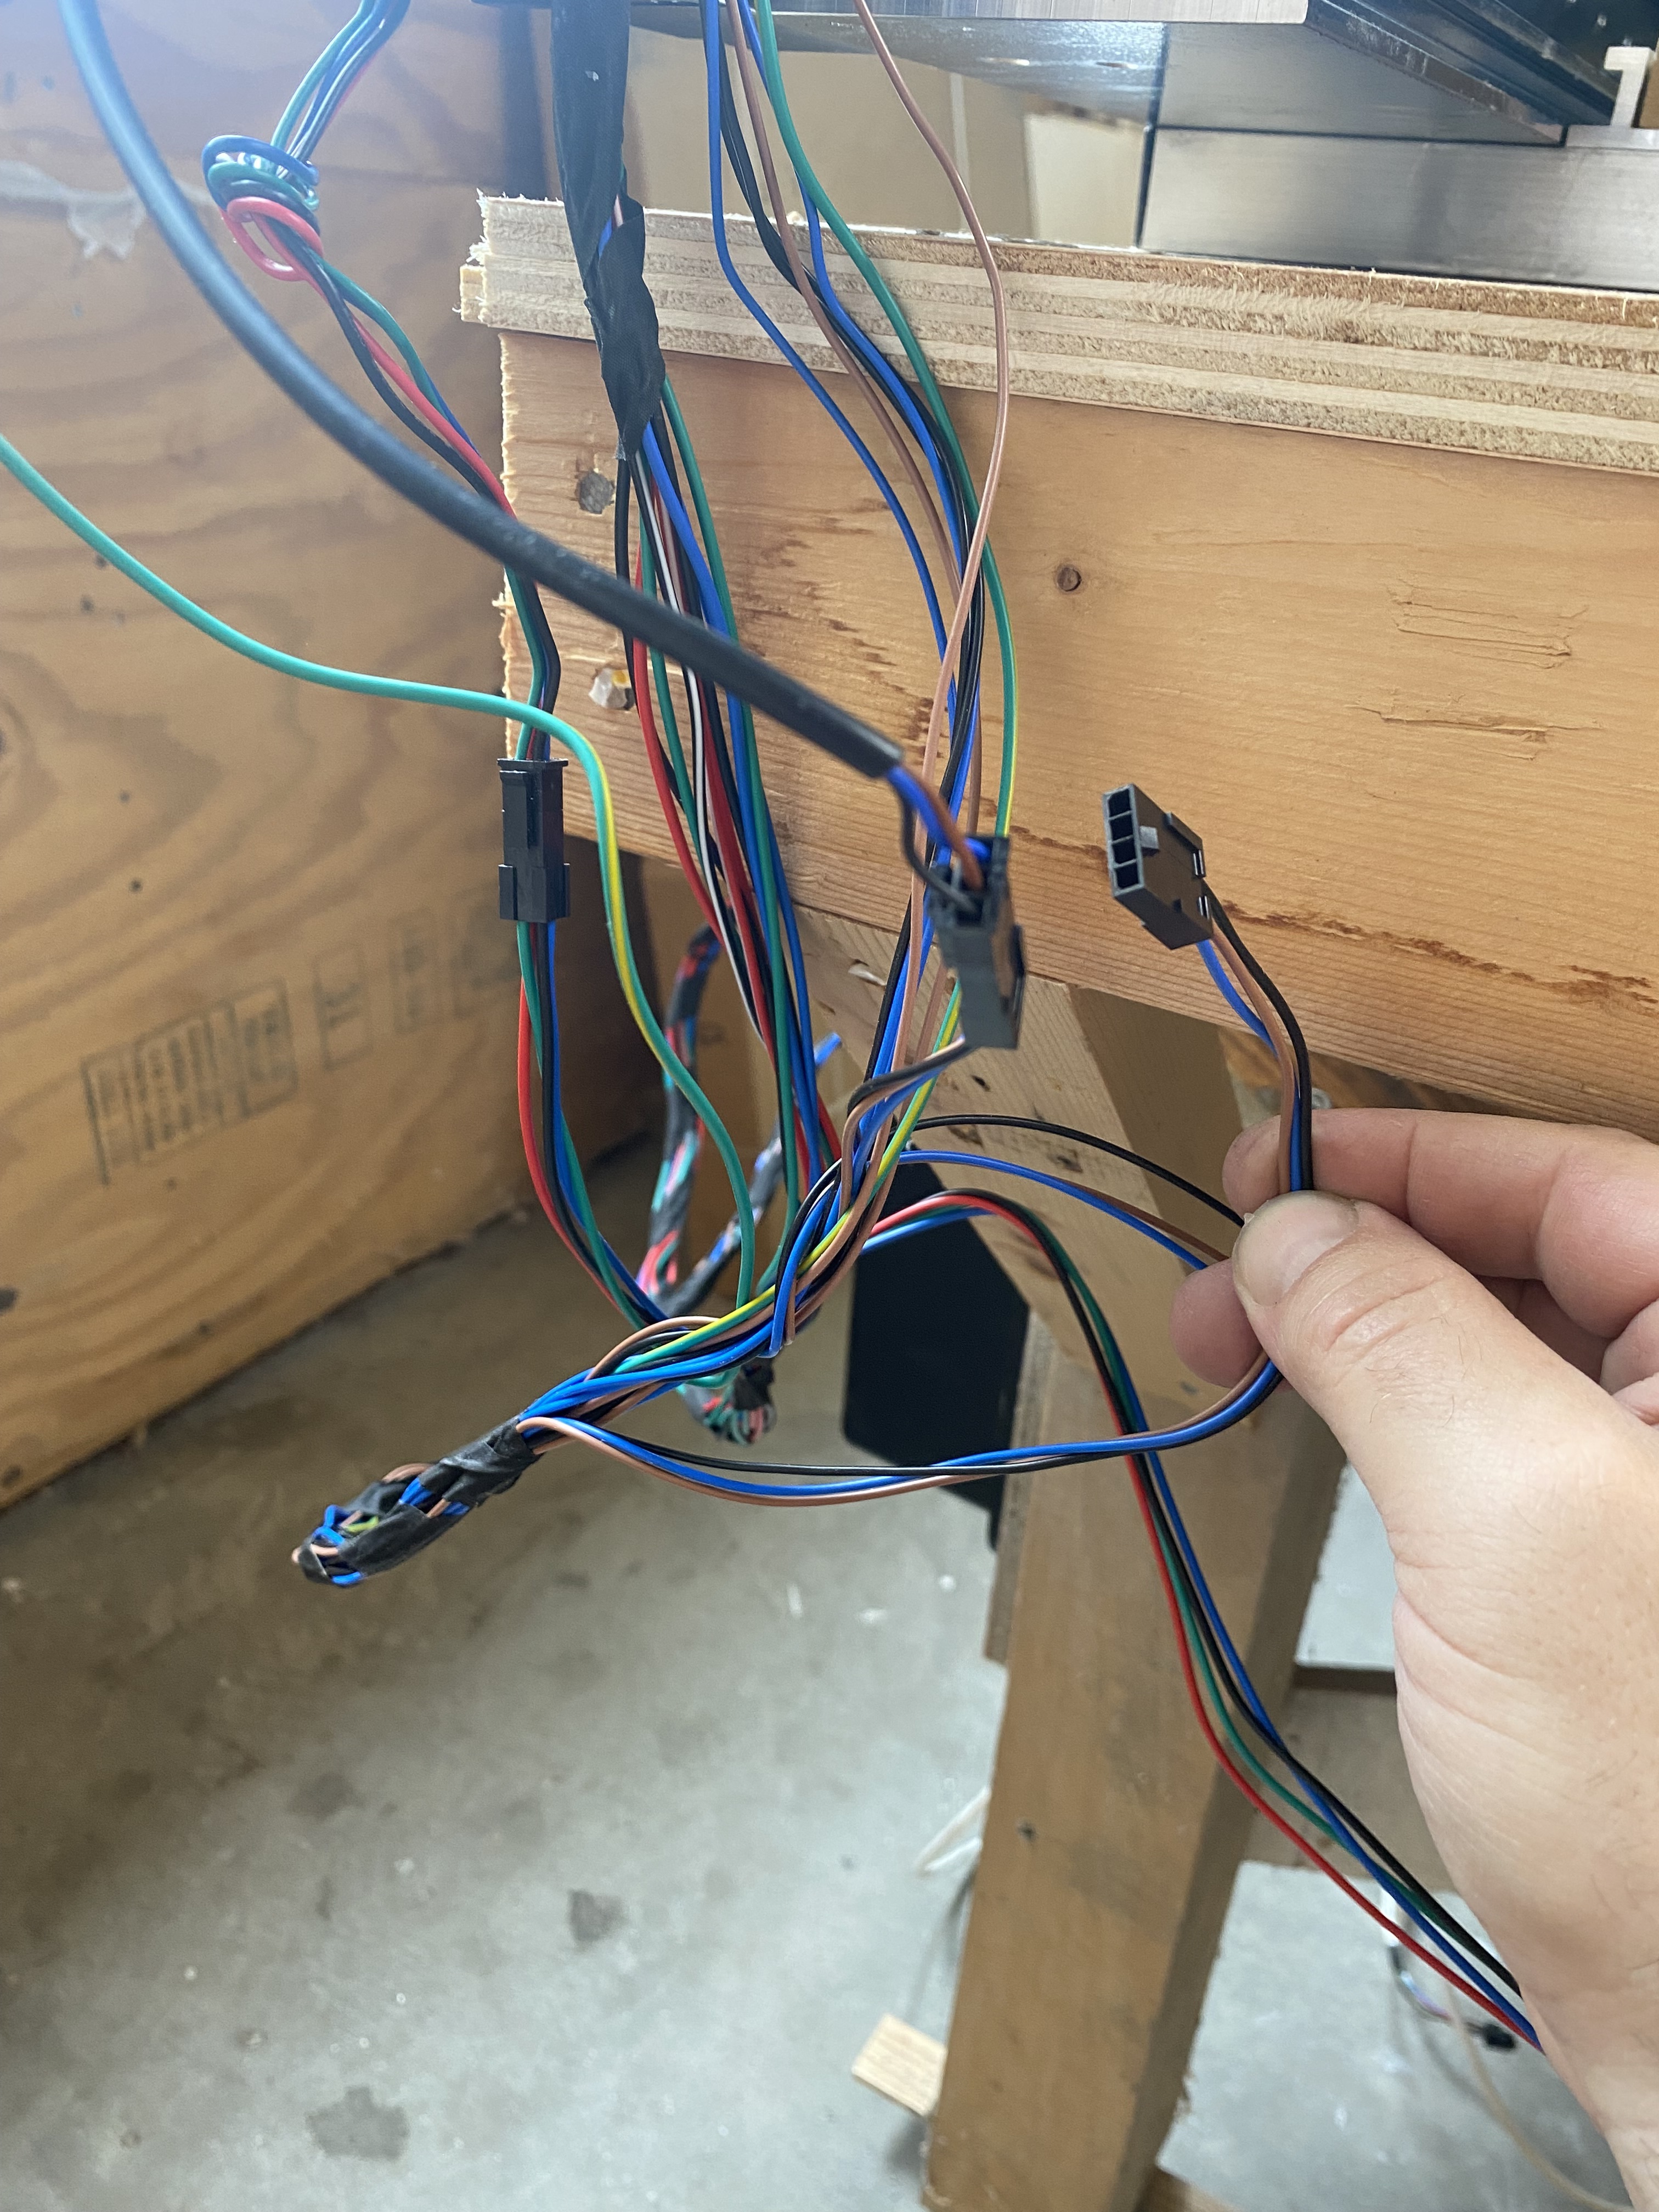
Also, both the manual and the video say I should be plugging the bit setter into the side part but to me it seems it won’t go in that part. Here’s a picture.
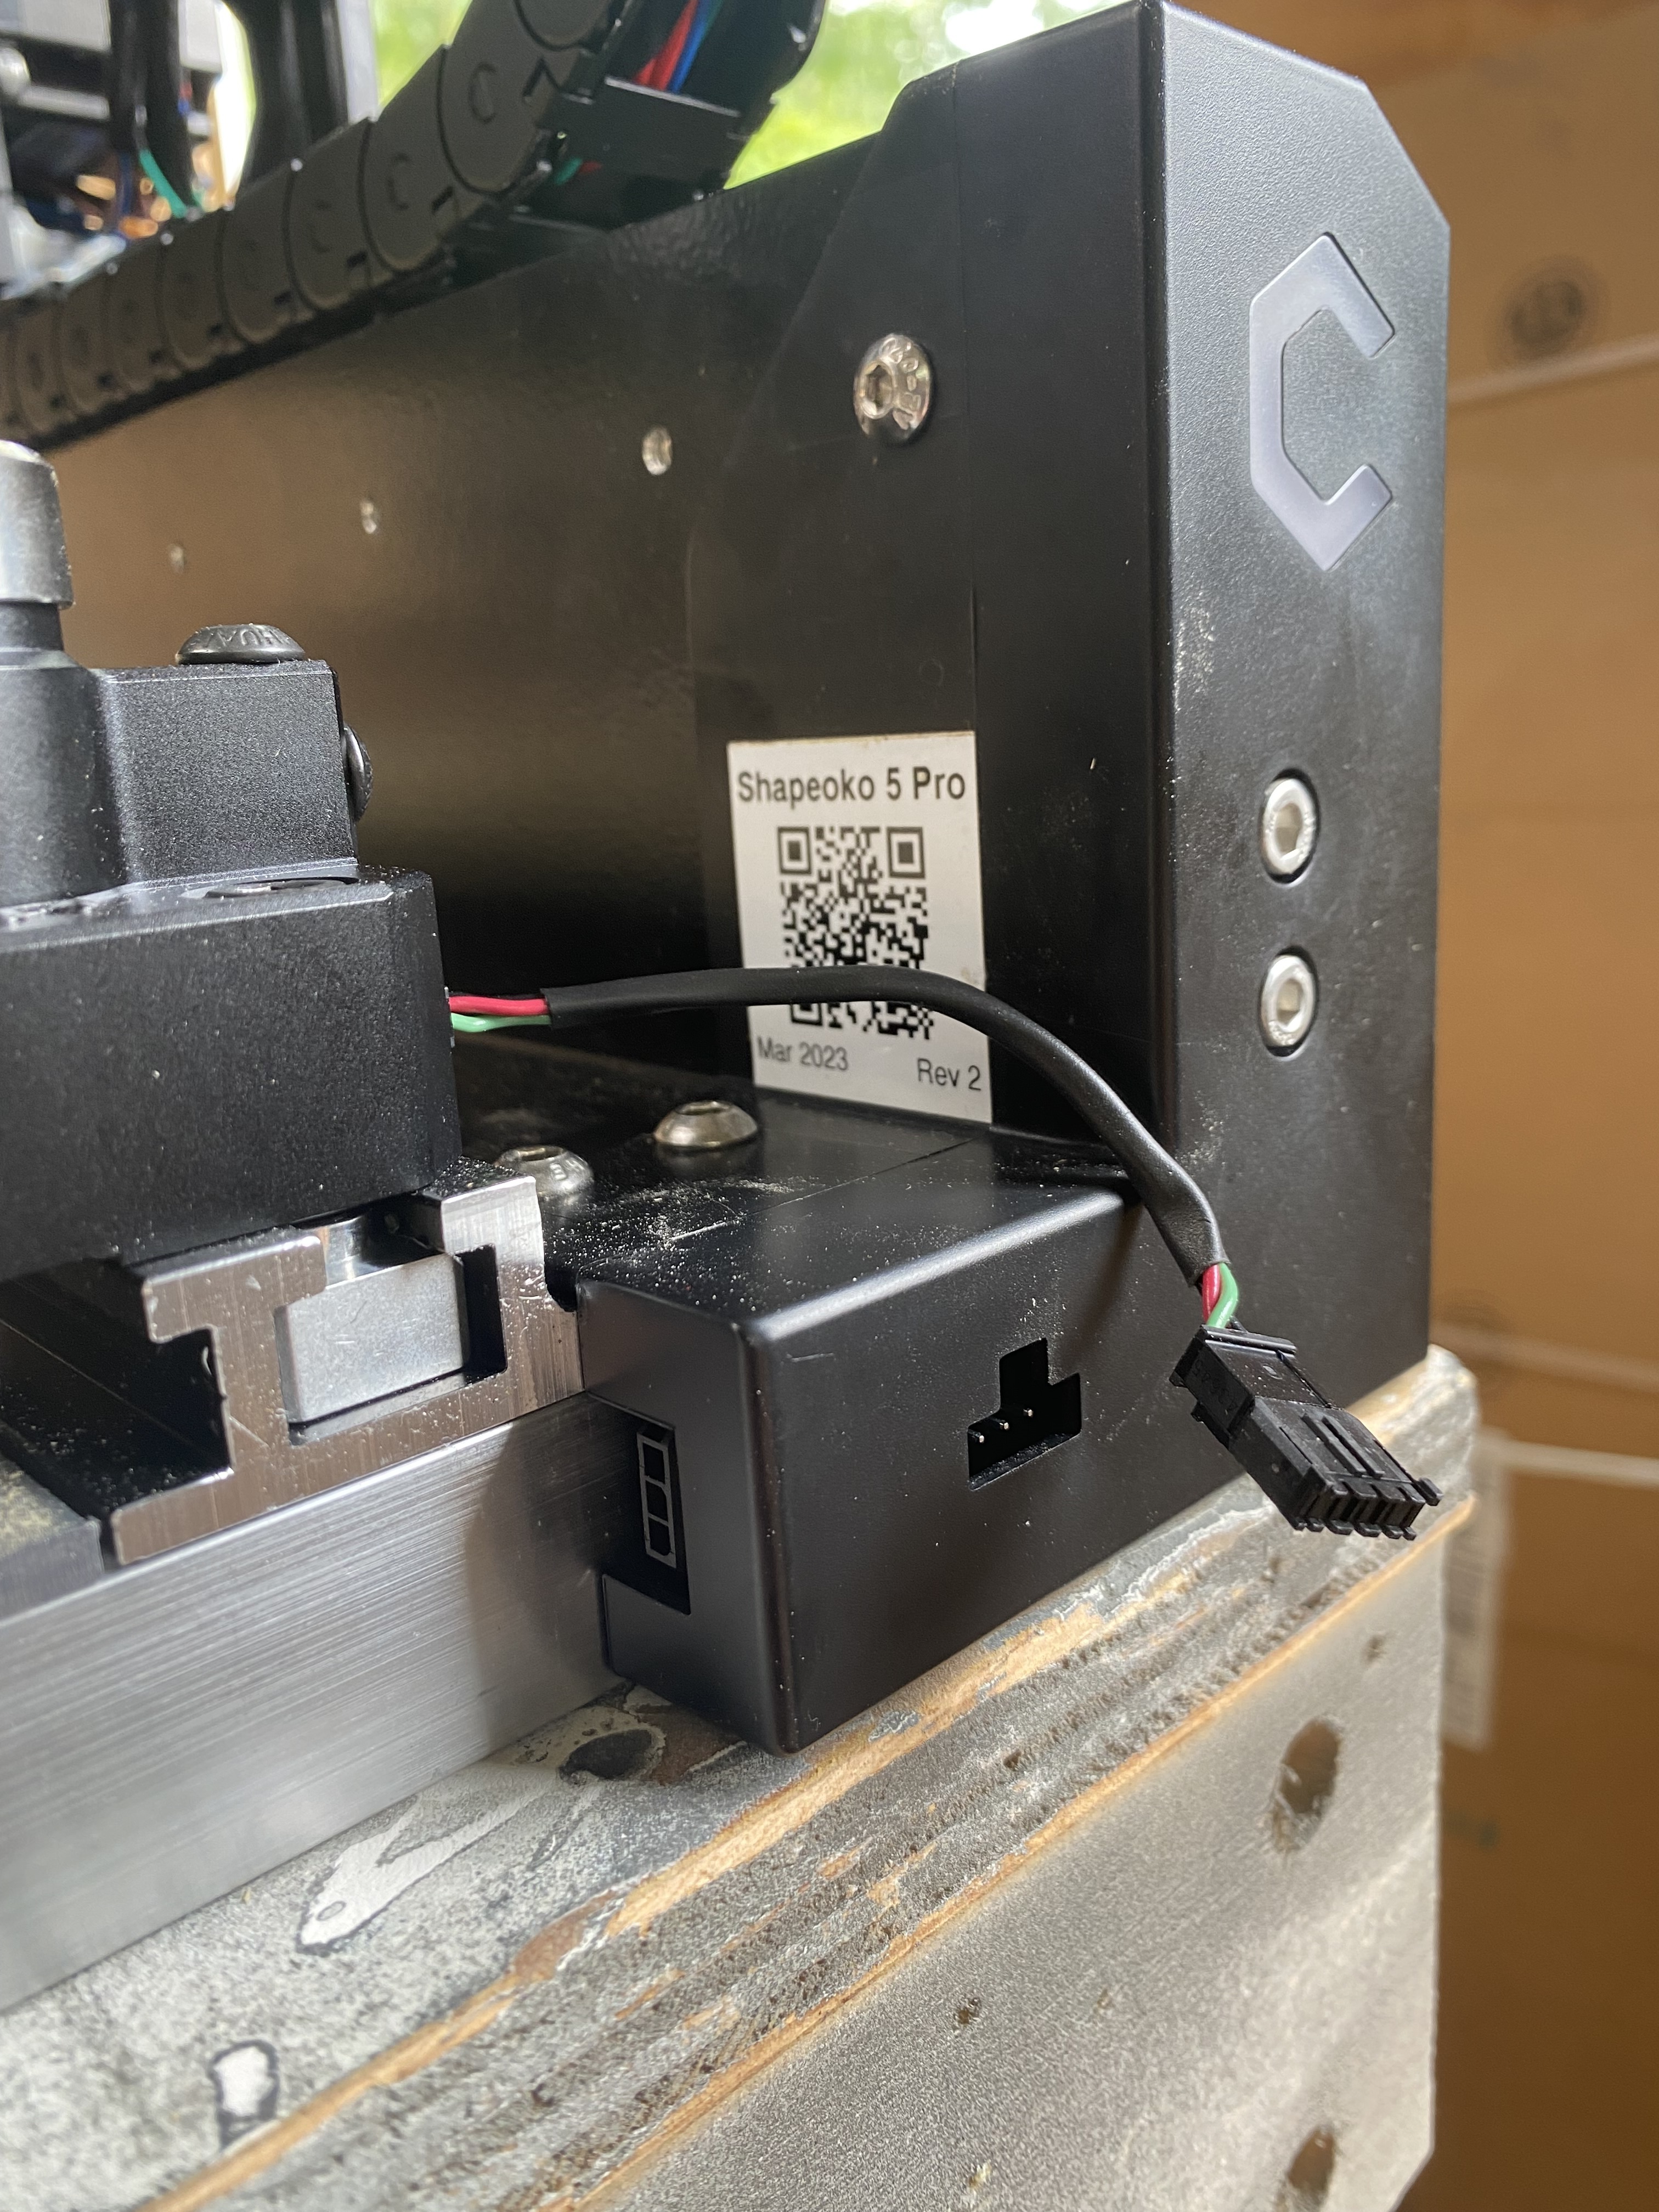
All connections should be used. They were on mine. Is that the group of long wires that runs across the machine in the back?