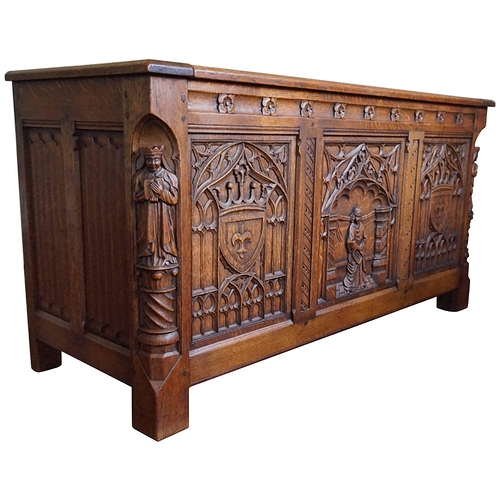
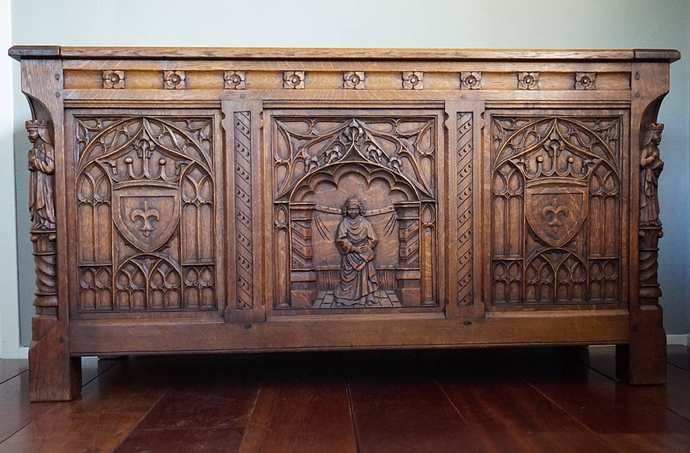
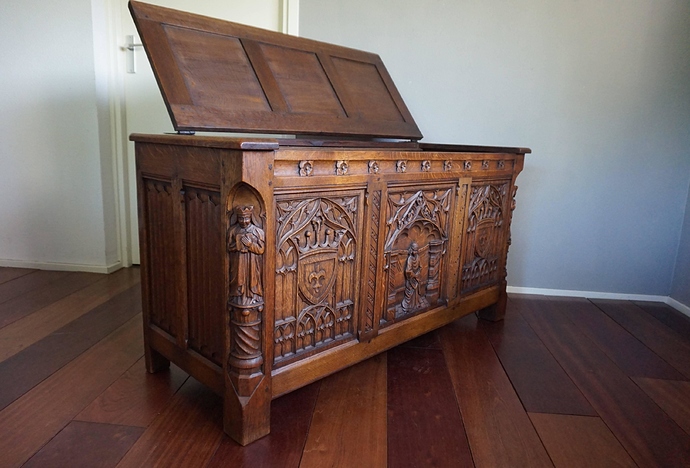
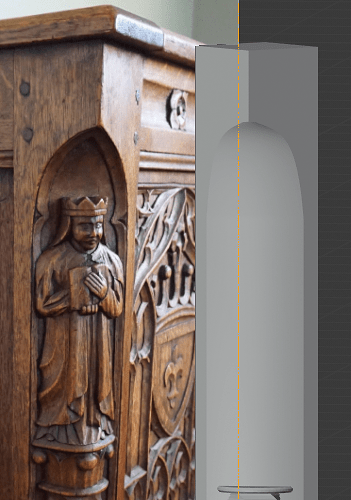
I’ve begun work intending to do this project on my Shapeoko. I’m using Blender to build the 3d models. I figure it really won’t get rolling until Winter when the cold makes me not want to go out in the shop. But the decision is made and I feel good about it
ambitious and inspiring !
That’s gorgeous! Please keeps us all updated!
How do you plan to do the legs? I can imagine a jig to hold the legs at a 45 while doing the carving but with my stock XXL, that would be too thick of a material.
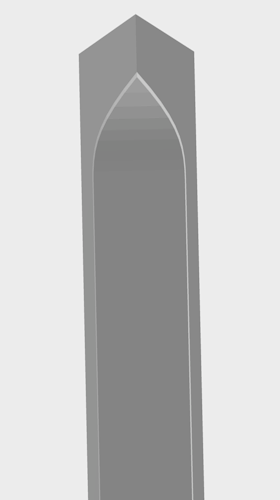
At first glance the legs are 75x75mm which gives 106mm at the Hypotenuse. Three methods are possible at first glance
Jig Method: The wasteboard to the HDZ is around 119mm so I’d have little room to spare to jig it.
Leg in 2 sections: Slicing the leg diagonally in a single cut at 45" would be complex since my Powermatic 2000 10" table saw can only cut 54mm deep at 45 degrees (per spec). The carve would be limited to 53mm deep if the cut were centered. Offsetting the cut might be a solution to keep within the table saw limits, solves carve depth, and could allow hiding the glue line inside the case. It would allow glueing up a slightly larger piece and hand planing it flush to the leg. Sounds promising.
Leg in 4 sections: allows using face grain on all 4 sides but not real useful since 2 sides are mostly hidden here.
Doing a cut that’s offset from the hypotenuse sounds like the way to go. Clearly, you’ve been planning this through.
It’s also good to know the clearance between the HDZ and the wasteboard. I’ve been giving serious thought to upgrading to that in order to cut thicker stock. I thought it had more clearance than that. It’s not a deal breaker but is good to know.
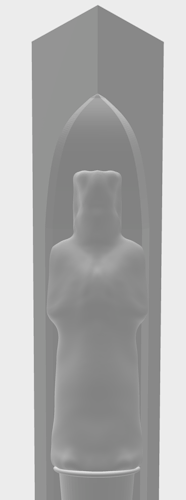
Making progress. A little more to finish the pillar in the corner post. I can then copy the corner post for the other corner. Then I can start the figurines which are different for each post. I may delay the figurines and work on some of the other parts first; I get a little bored with the same part day after day.
Have you seen the YT video from Mark Lindsay on reducing machining time in VCarve/Aspire? You may find useful tips for your project.
@luc.onthego I think he meant the design process in Blender. It doesn’t look like he’s gonna be ready to optimize toolpaths for a bit.
OK, I thought he was doing his design in Aspire. I guess I should have gone back to the beginning to re-read the background!
LOL, no problems. If Vectric want so discount a copy of Aspire for this retired gent I’d be interested. Otherwise I use what I can afford.
For some reason, I guess based on a post in a previous thread, I thought you were a user of Aspire. I will correct my database of information! 
I’m hoping Vectric doesn’t want me to show what you can do without an expensive product. (not really hopeful but I can dream). 
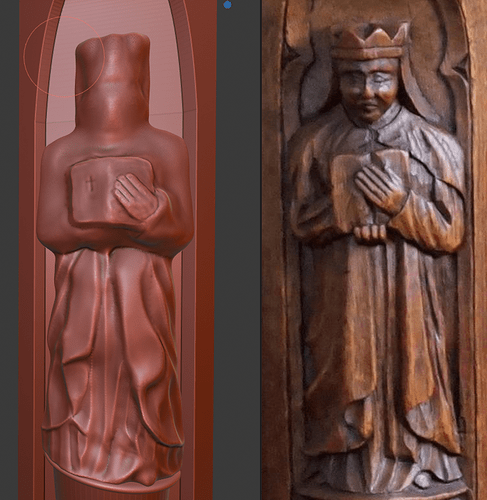
Taking Shape - I’m starting to feel more comfortable sculpting. I’m making it a little more free form. I still need to figure out what to do with the right hand since it doesn’t bend the way the original has it. Once I get it roughed in I’ll up the level of detail.
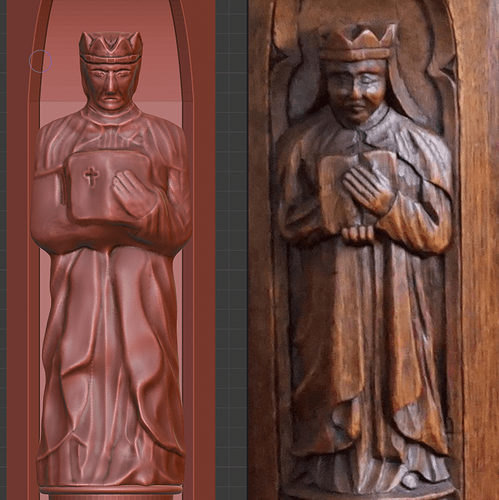
My stern looking monk! Still need to finish the right arm and detail the lower robe. But it’s taking shape.
Really nicely done my friend!
Sculpting has been on my list…forever.
I’m guessing your still using Blender as per your earlier post? I’ve been dabbling with Blender for a couple of years, pretty steep learning curve. If you’ve just recently picked it up I’d be appreciative of some educational hints.
Will be following your progress on this regardless.
Youtube is your friend:
For Blender basics see the BlenderGuru at https://www.youtube.com/user/AndrewPPrice
For a course see http://gabbitt.co.uk/2.8-beginners-course-1.html
For Sculpting see https://www.youtube.com/watch?v=L3XtAFUWNuk
Grant Abbott has a bunch of other videos. I’m learning by watching and doing!
This topic was automatically closed 30 days after the last reply. New replies are no longer allowed.
