You do realize that you also have to come up w/ a project which makes use of the triangular scraps of bamboo?
5 Likes
Most definitely. I plan to do something based on cutting individual letters out of the (large) thin bamboo scraps
2 Likes
Got the LED strips all cut and installed tonight (minor progress, but still progress)
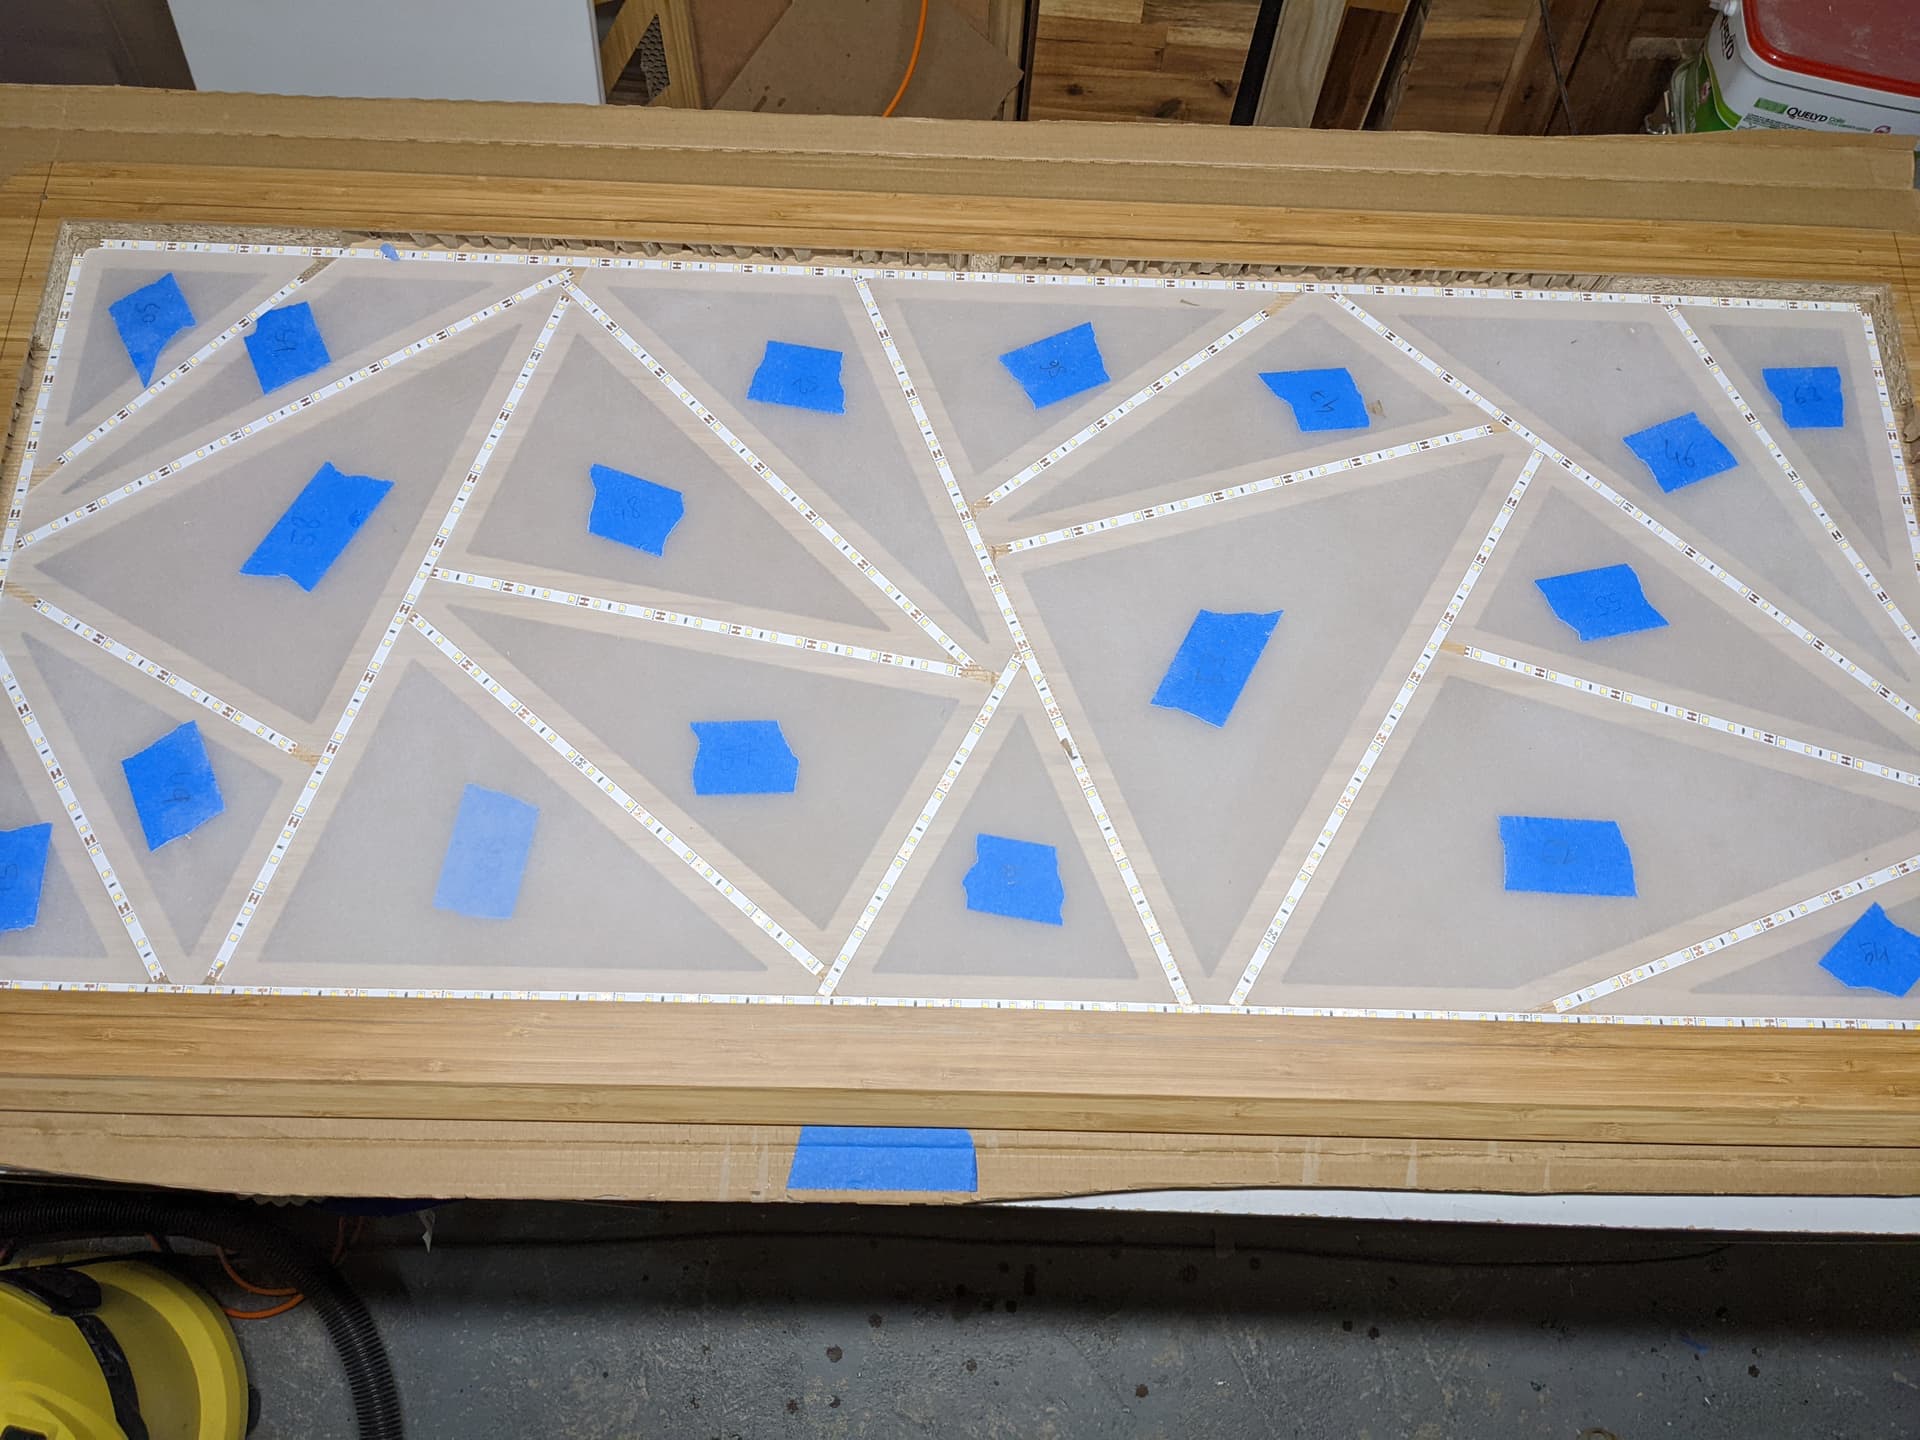
Good thing I picked a LED strip type that is cut-able every 3 LEDs, the strip lengths as cut should end up providing a good LED coverage everywhere (with the light diffusion helping, that is)
Tomorrow night is going to be no fun (soldering the ~20 connections)
5 Likes
We have (back) light.
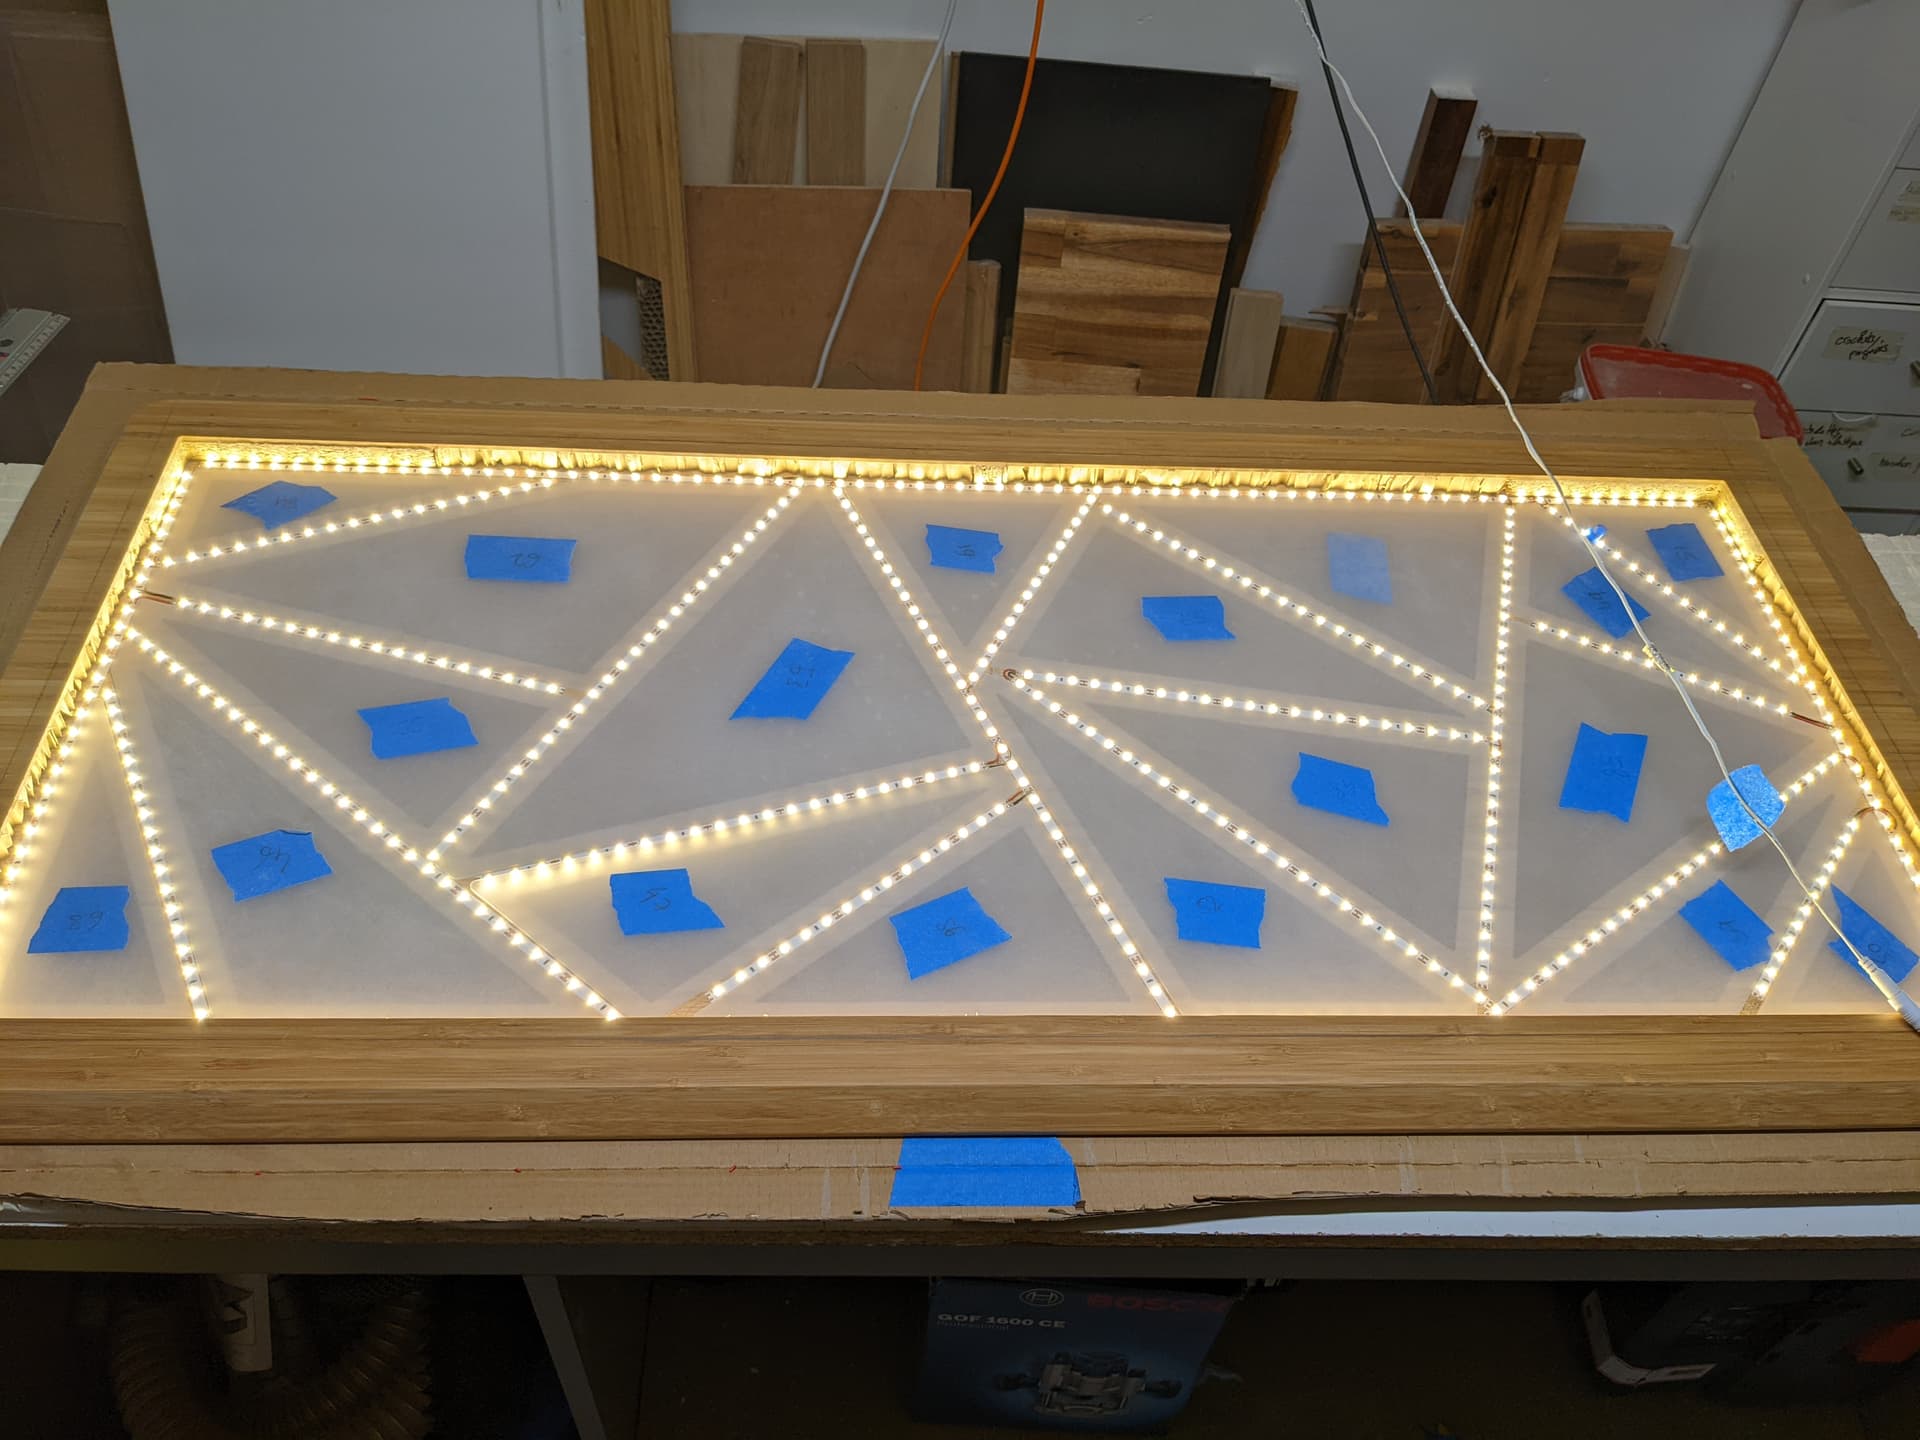
Soldering was exactly as fun as expected…
Next, working on the reflective backing and the outer wooden frame.
6 Likes
Fiat lux. Let there be light.
3 Likes
Now you need lots of model planes to land on those model runways you’ve made…

4 Likes
Imagine being a ATC(Air Traffic Controller) on an airport with a runway layout like that 

2 Likes
BTW,
It might be obvious, but it took me a little while to realise that a tube of clear silicone sealant was a great way to seal over the solder points and hold the wires in place once the strips were joined.
It took me way too long to realise that, might help somebody else 
3 Likes
That sounds like a really great idea, except for the “silicone” part. Silicone is a repairman’s nightmare. I sticks too well and leaves a spot that most stuff will never stick to.
I’ve always kept/keep a hot glue gun running during manufacturing. “A Little Dab’ll Do Ya!”
3 Likes
I was about to reply that I did go with the hot glue gun option, I secured all soldered connections this way and also used some in places to secure the strips themselves, because the adhesive backing would give up sooner or later, and II am most definitely not looking forward to having to re-open the wall panel to fix a section of LED strip gone wild.
I did not anticipate that I would not be able to do this all along the strips lengths, before the ridge the LED strip stands on is exactly the LED strip width. Live and learn. Hopefully the hot glue points in as many places as I could, and the inter-connections between the LED strips in a mesh fashion, will help keeping it all in place for ever.
I like hot glue in that it’s great for really committing to the fact that the design works and won’t change (so better triple-check everything beforehand  )
)
5 Likes
A potential rabbit hole for you.

1 Like
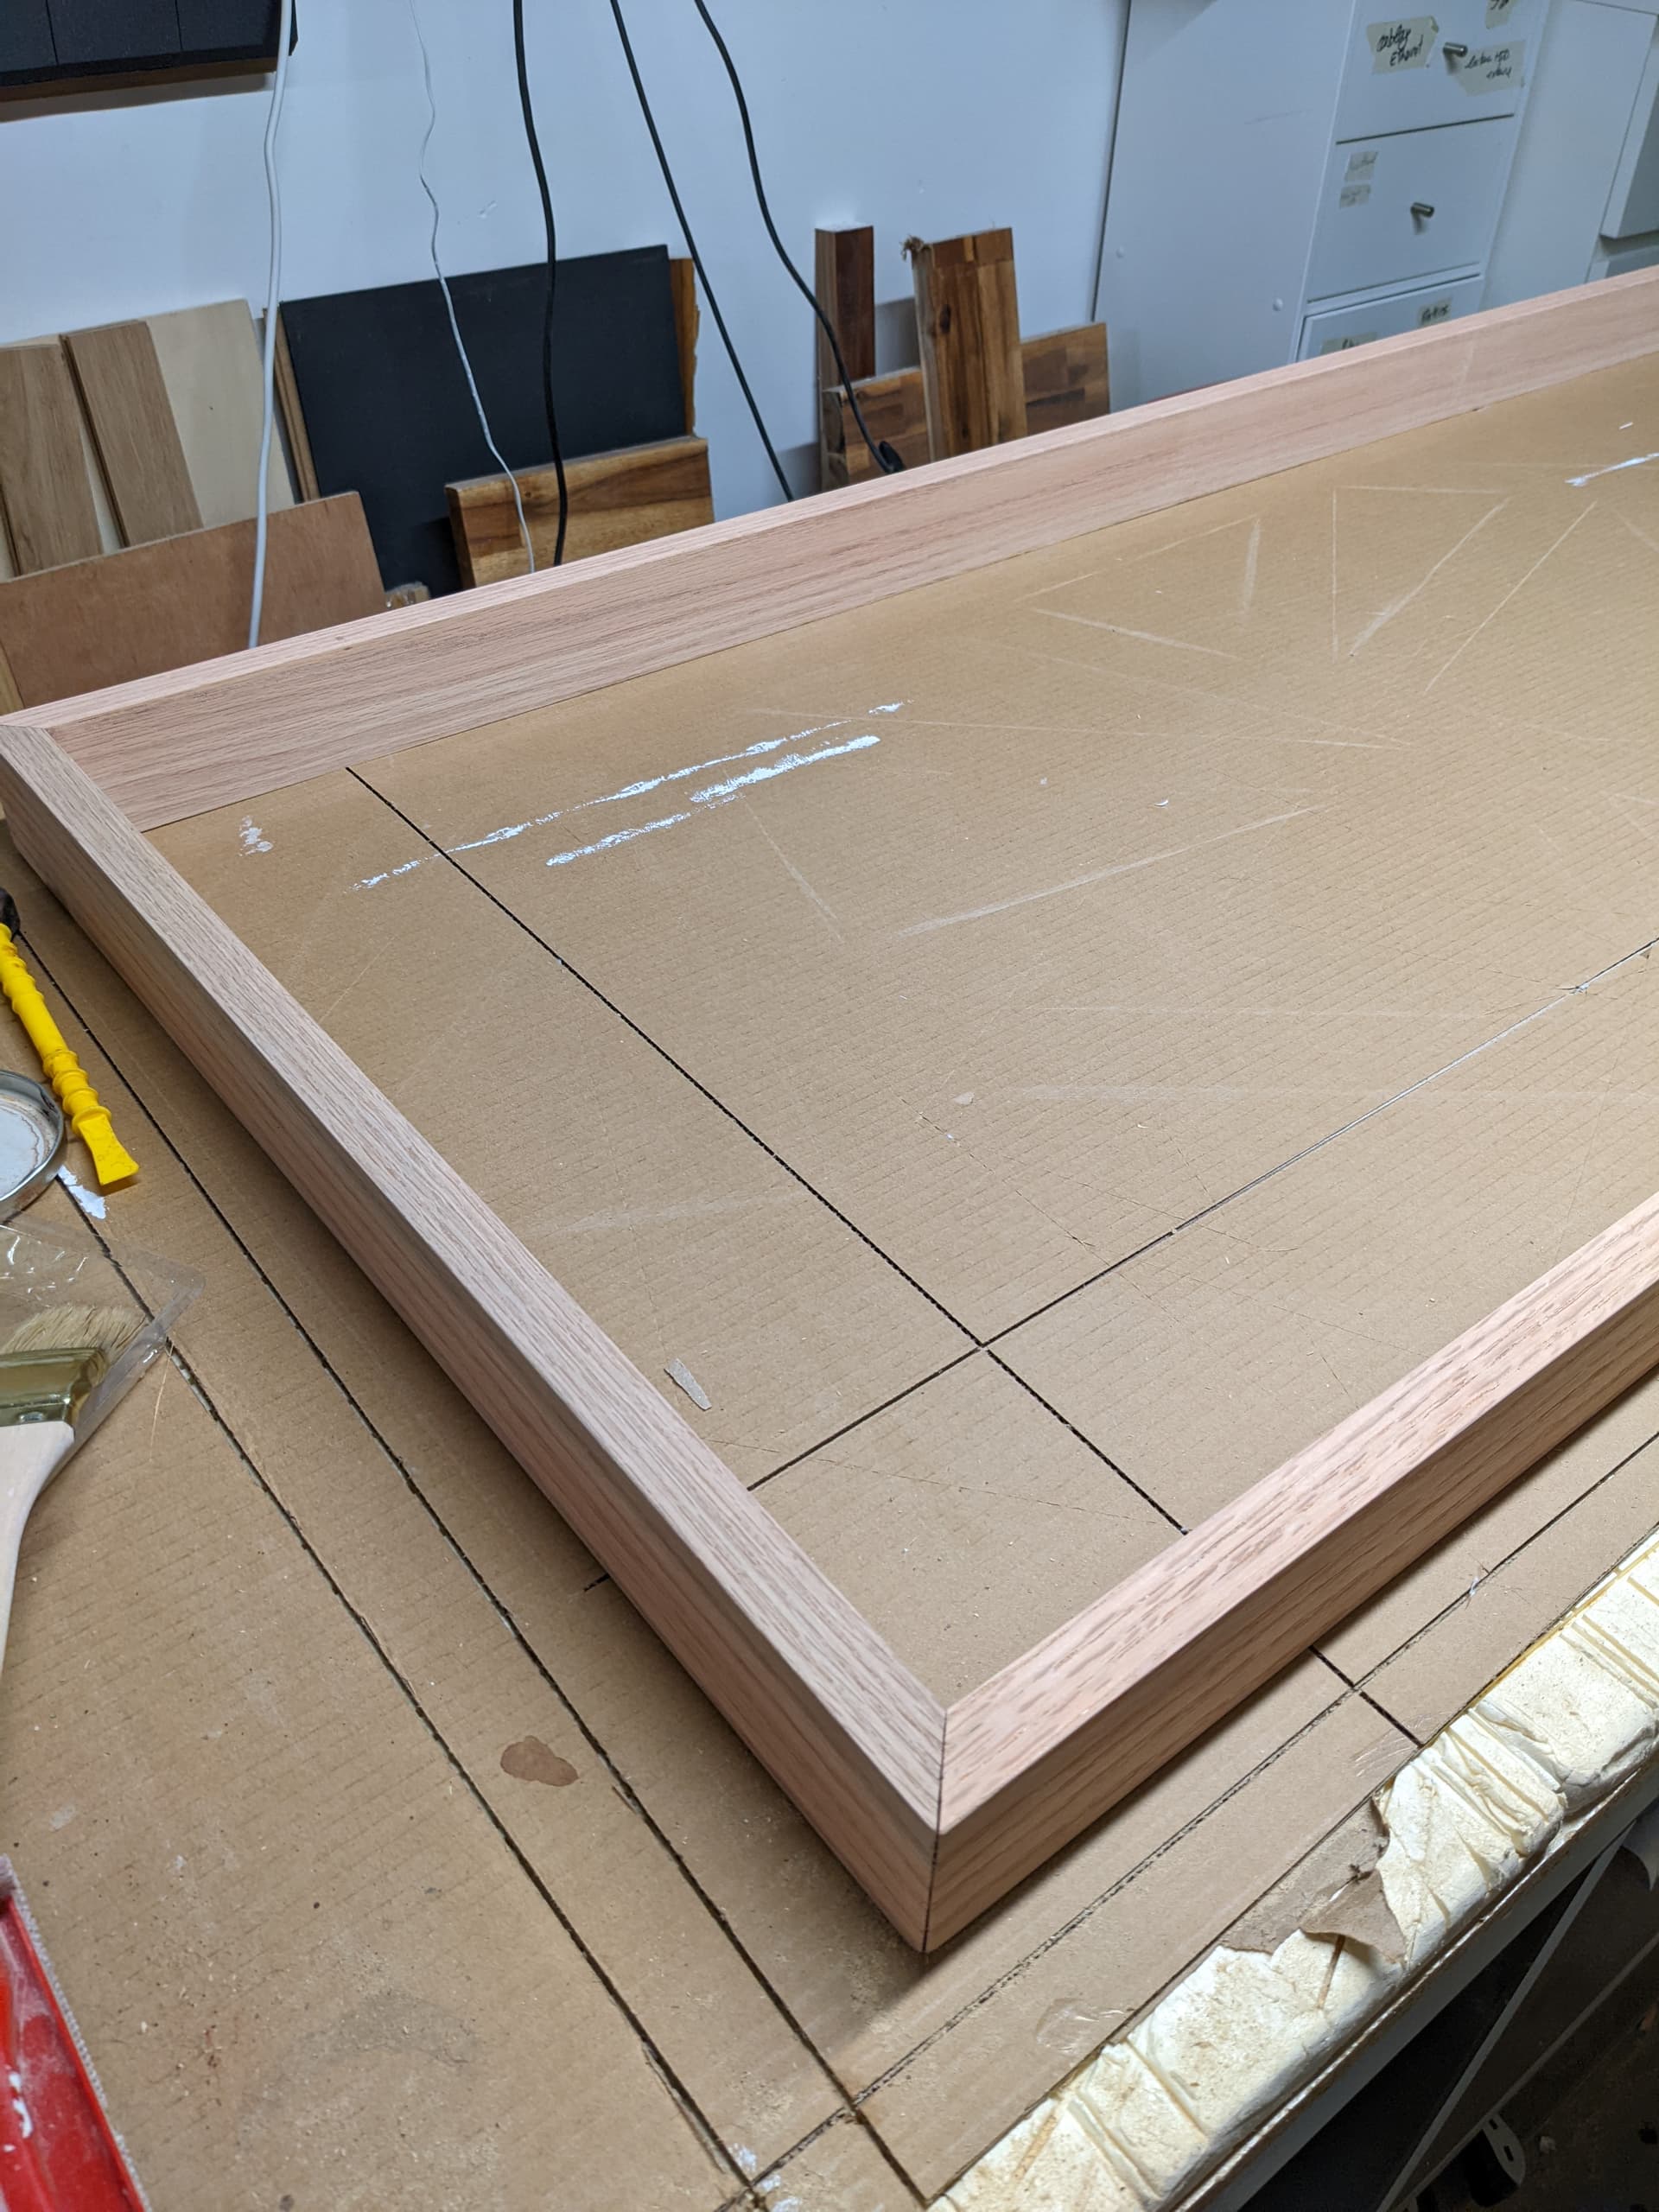
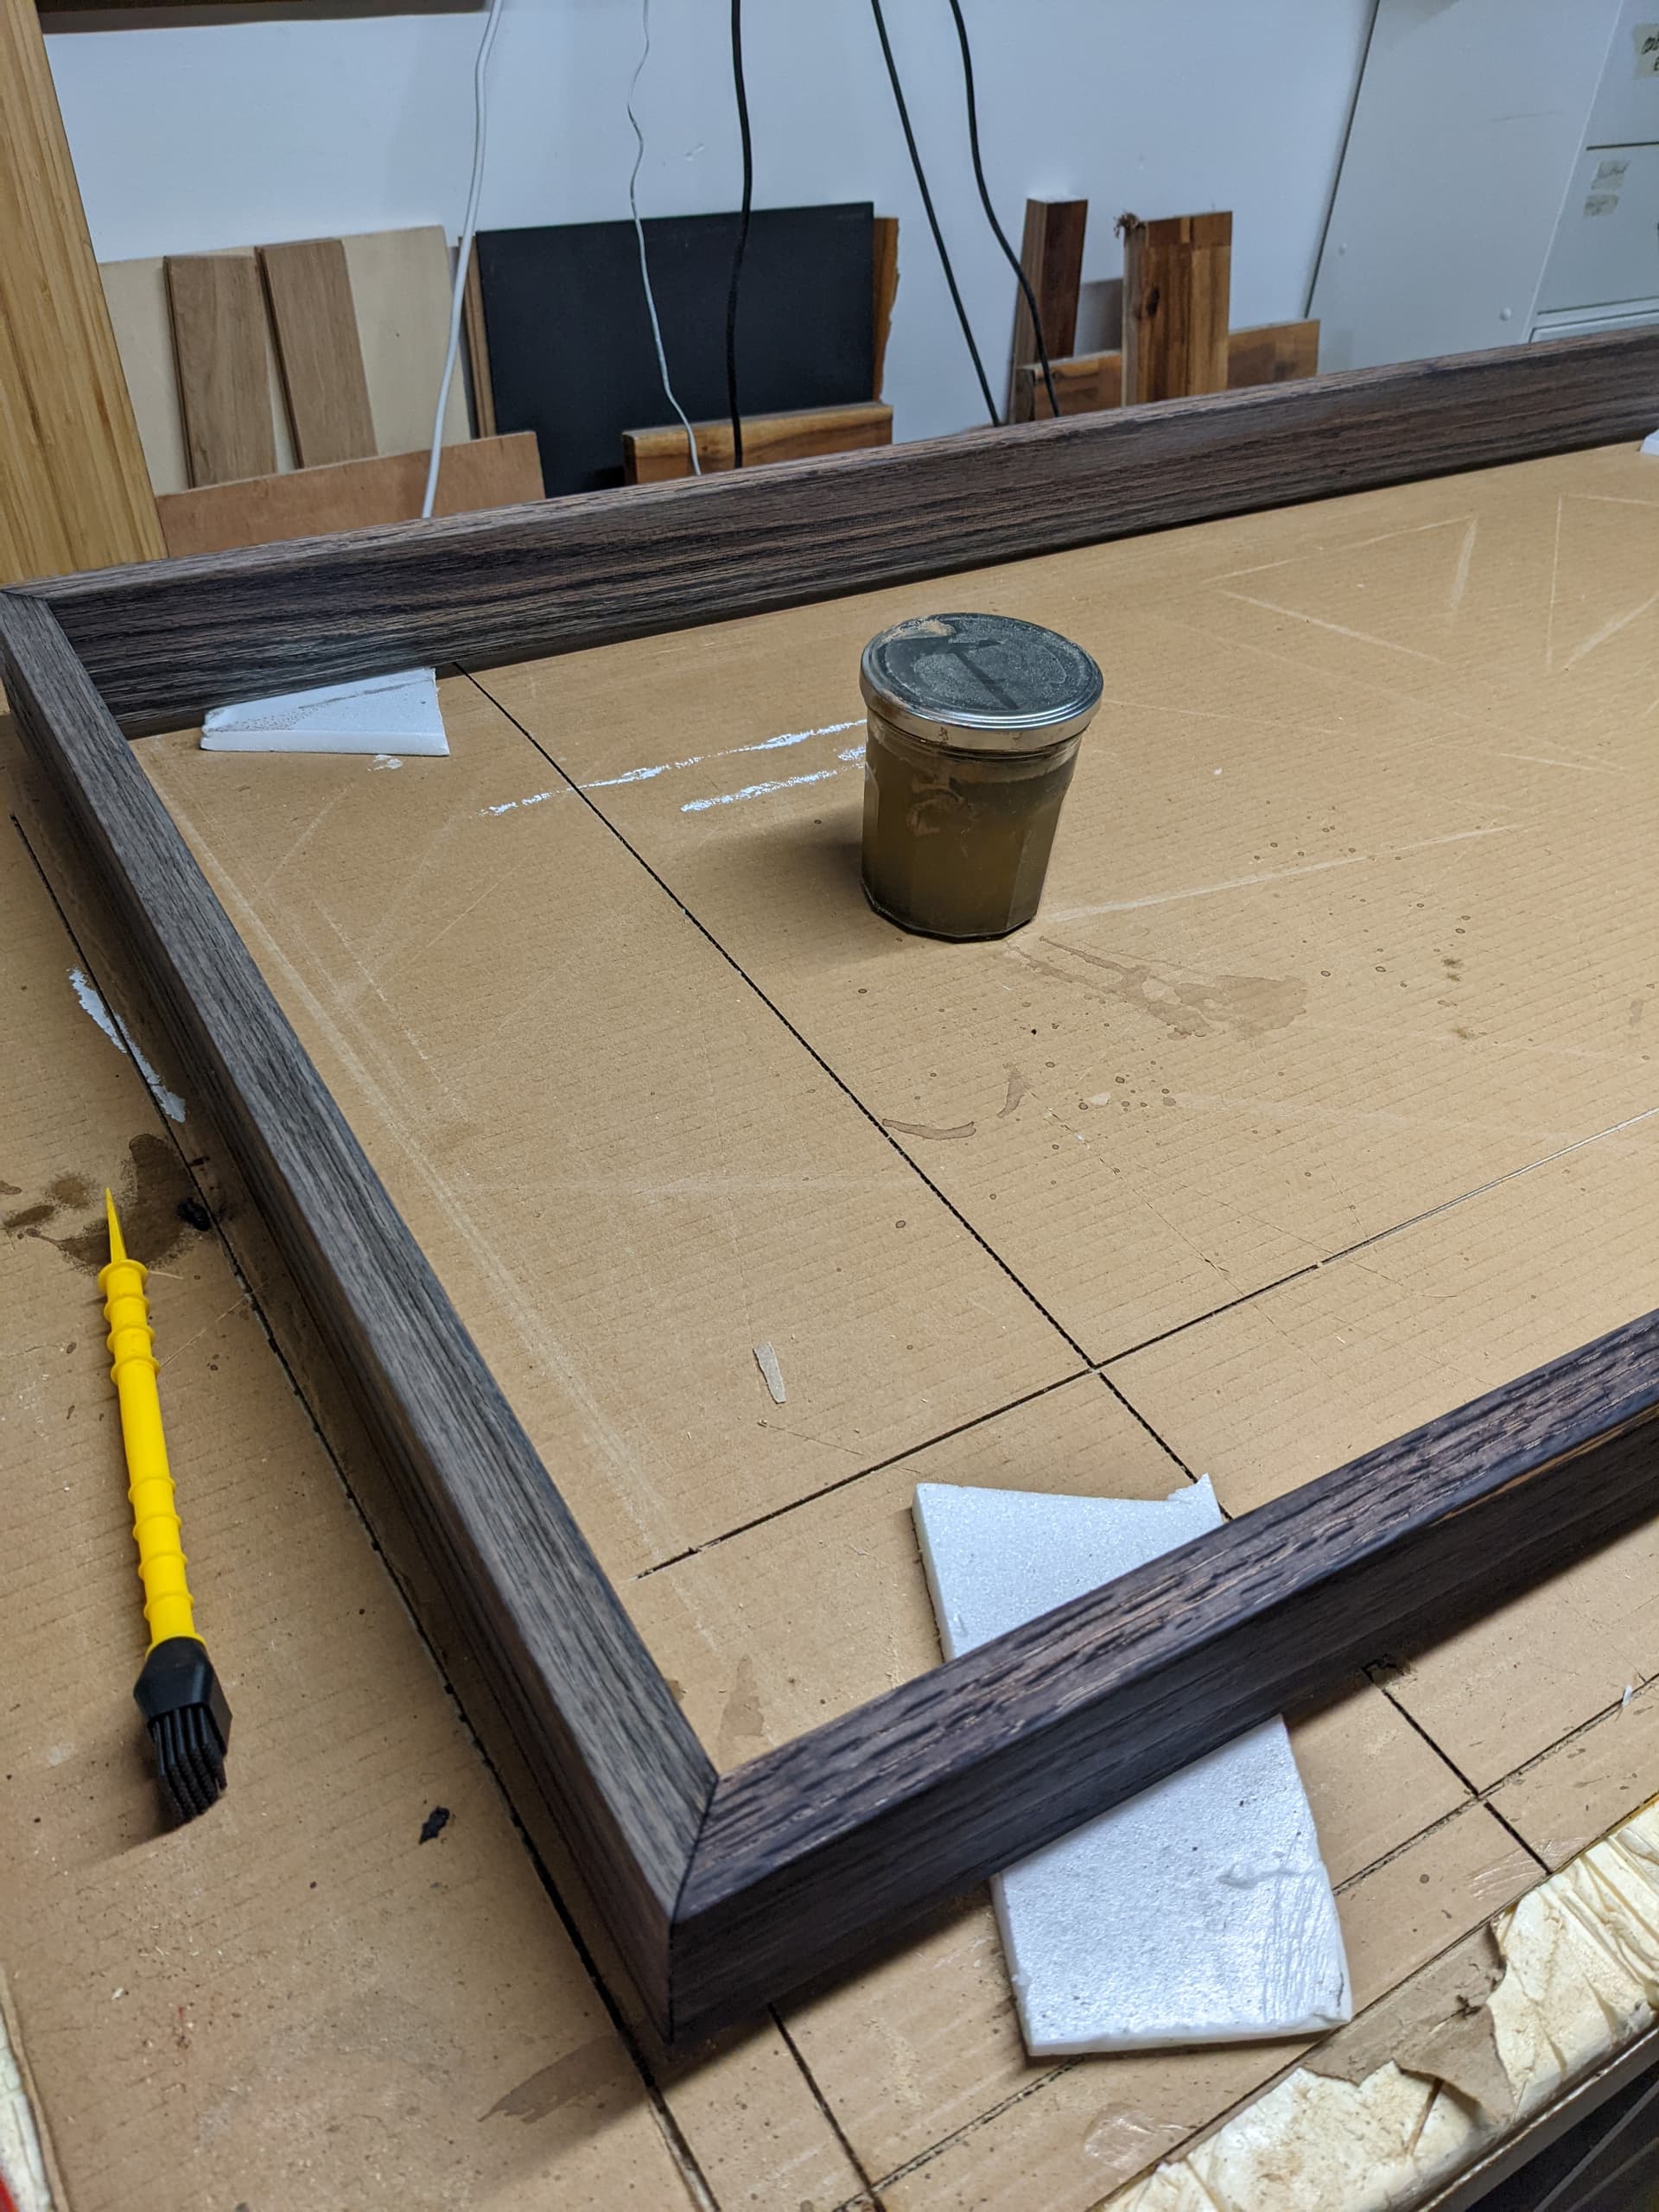
Tonight was about using the tracksaw to cut the four sides to the final dimensions, and then the miter saw to cut the four elements of the outside frame.
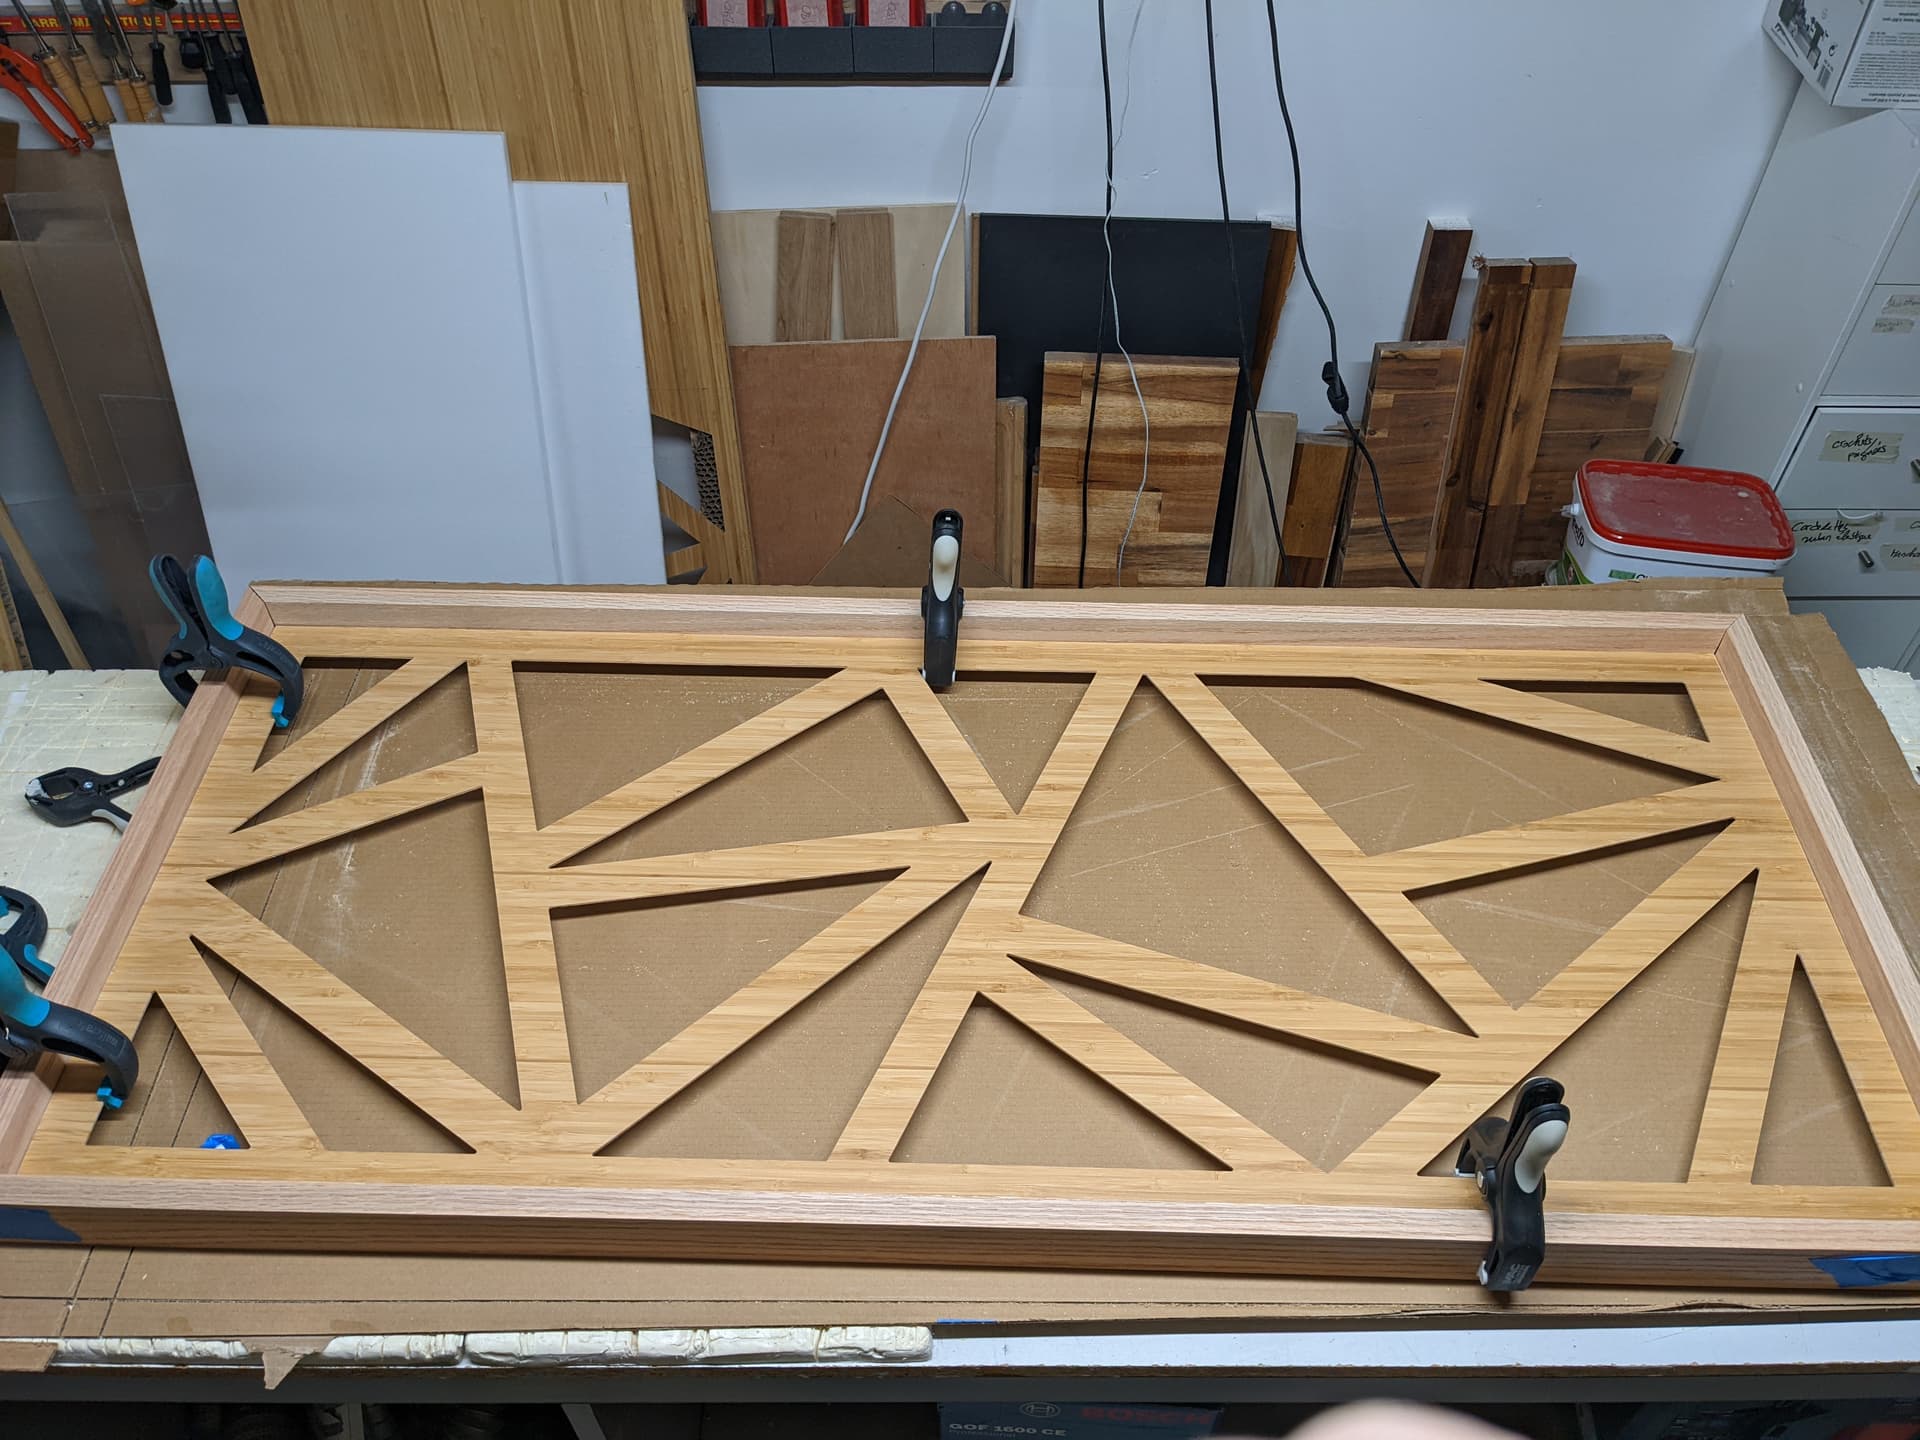
This confirms I like the “recessed” look (if that’s the word).
The BIG question now is what color I should stain/paint the frame. I’m thinking black (as in the F360 render), but maybe leaving it as is would work. Poor contrast ?
@OldDude: thanks for the video, pretty cool project. My WAF is still too low though.
I love his custom lift, I’m going to look into that
@Julien Do you want the grain to show through?
Is the frame oak?
If the bamboo is already finished ebonize the wood frame?
1 Like
I agree with @WillAdams on this…there needs to be contrast. I don’t know if black is the only answer – it depends on what else is in the room where it’s going to be. I could see this with a dark walnut finish, or even a red mahogany — it depends on what it needs complement to get compliments!
EDIT: (and arguing with myself): Since it’s Shoji paper, black does make sense. More traditional.
EDIT 2: Continuing to debate this in my head (I have WAY too much time on my hands…I need to get back into the shop!): Since you’re leaving the bamboo natural, that does away with the black traditional Shoji screen…so I’m back to the browns working as well - based on the rest of the pieces in the room.
2 Likes
Thanks, yes the frame is oak, and ebonizing it sounds like a good idea, I’ll have to do some reading
1 Like
So I’ve been watching this video,

and re-reading that great thread
And I’m on my way to the store to get some white vinegar and steel wool and various stains. I’m not sure yet I want the frame ebony black, but for sure I want to learn that technique, its sounds like it could come in handy sooner or later.
4 Likes
Quick update on the amateur ebonizing. This is how it started,
and this is how it’s going (after applying some of that filthy vinegar+steelwool mix I prepared 2 days ago)
Mysteriously (to me), in places it turns really black while leaving some areas untouched, even though I brushed vinegar all over.
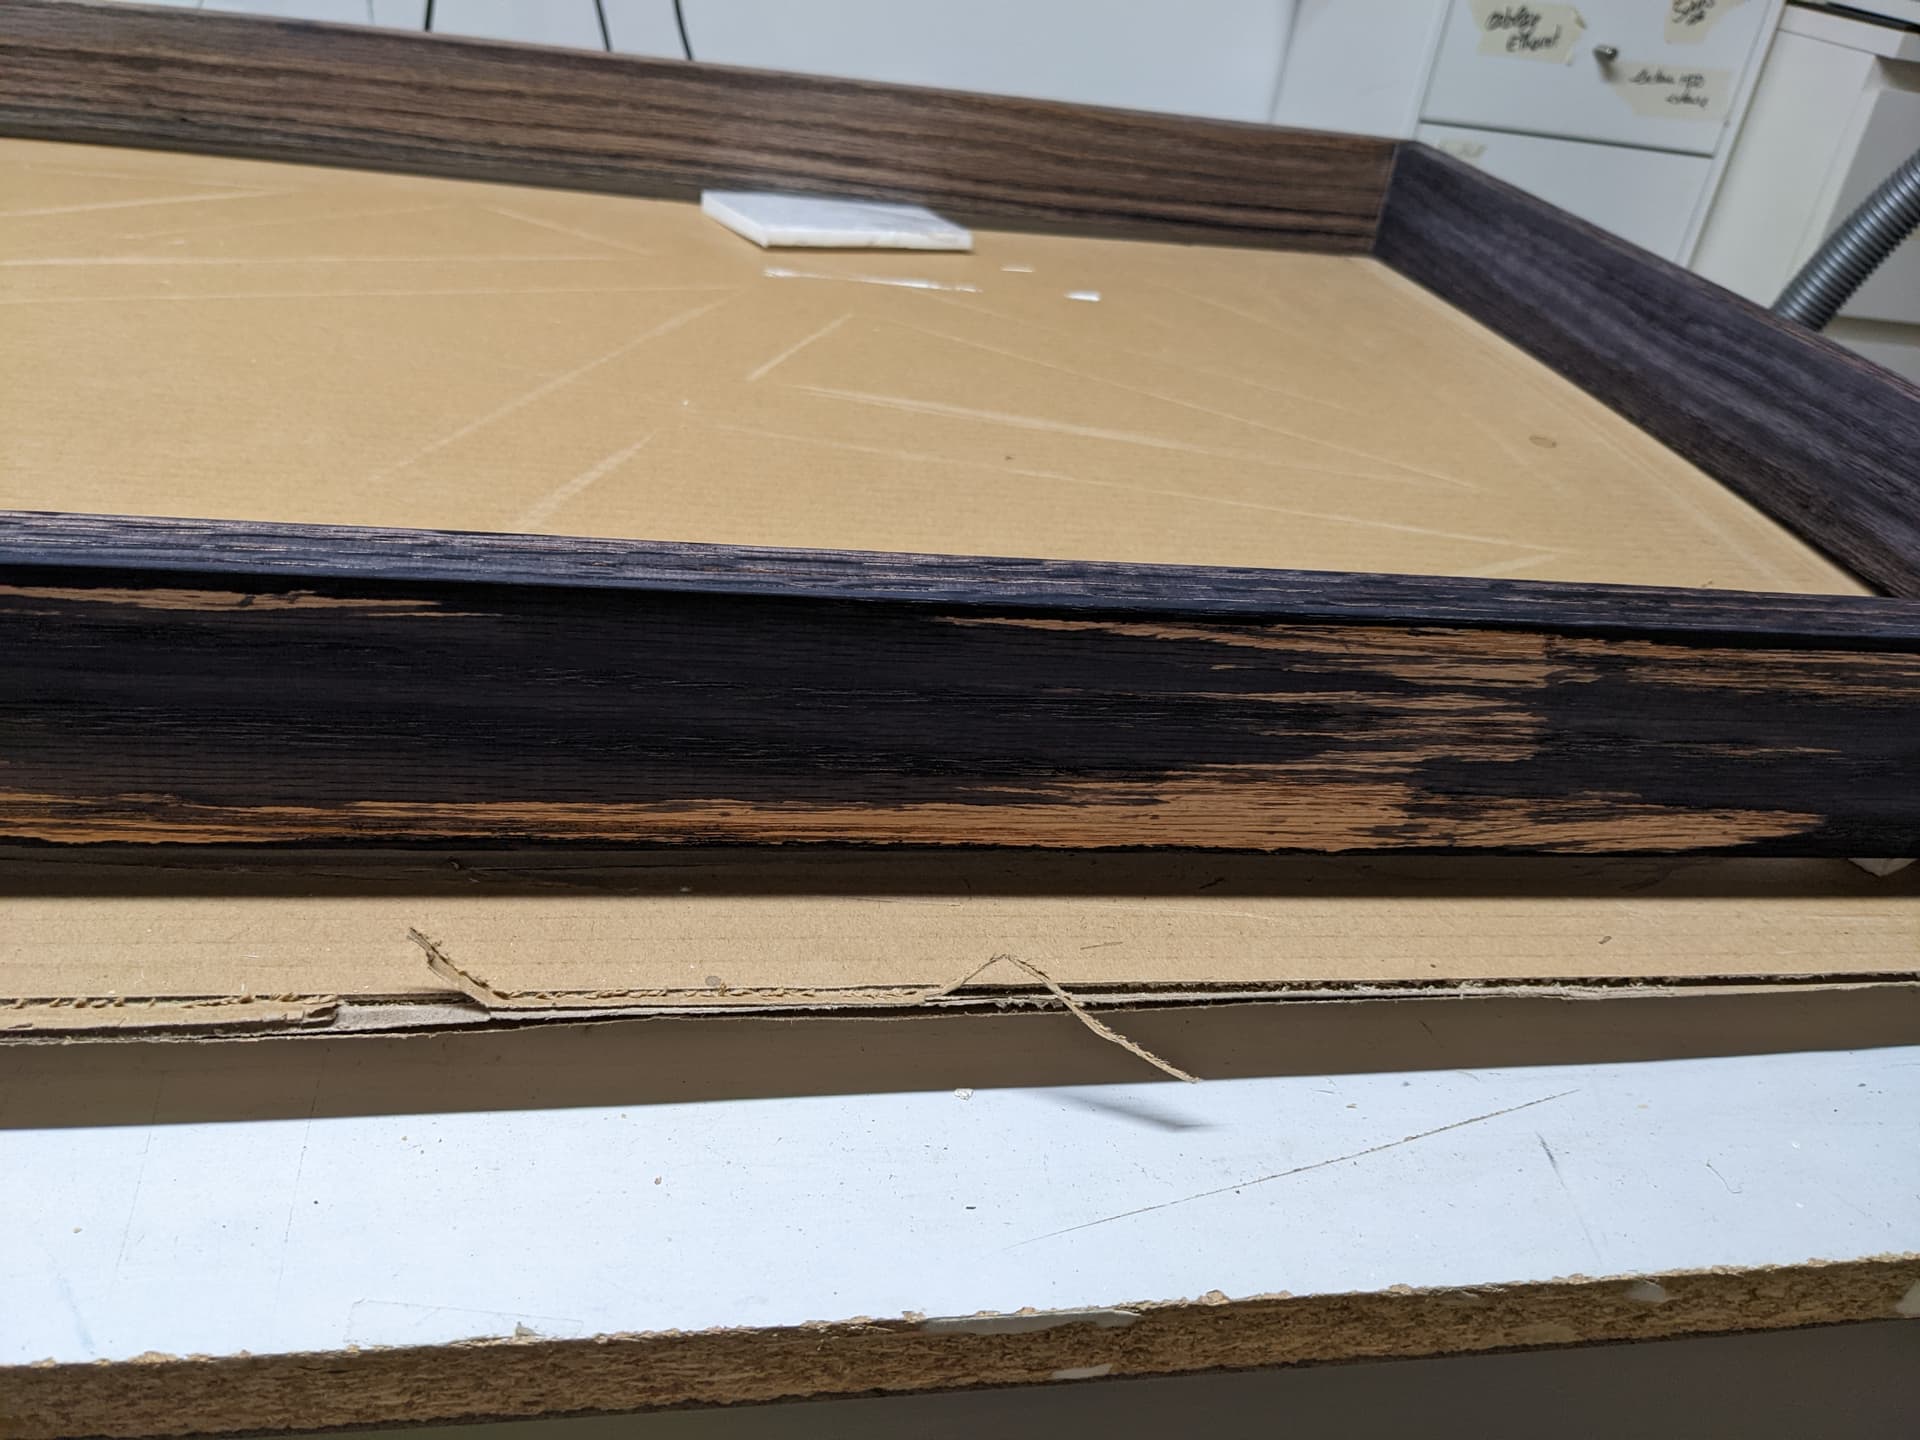
It will probably need 3 or 4 coats and/or I may have used the mix too early (I was desperate to try it, the effect is still spectacular)
1 Like
Is there any chance there’s some existing finish in the wood in the patches that have not responded?
I’m keen to hear what those with more experience of ebonising suggest, I always liked Chemistry.
2 Likes
Ebonizing interacts w/ tannins in the wood — it won’t work where either there isn’t as much tannin, or where the ebonizing solution can’t penetrate. One thing which can help is to “paint” w/ tannic acid (a strong tea will work — I just use a used tea bag from my most recent cup).
4 Likes