I noticed that one of my Y belts was basically slack with the other being pretty loose. No problem, I’ll tighten things up. I found this thread on belt tension and built a little jig to hold a hook scale I have. Measuring belt tension, squaring and calibration
I can’t get my belt to tension past 10 or 20 pounds. Every time I try it slips on the clip. The left side has the same issue. I can reach under the belt, pull up and get it to slip a notch. I noticed the one clip was bent inwards a little, 80 degrees instead of 90, so I bent it back. Not really helping. When you tighten them to rotate a little and the belt wants to slip out to the left which doesn’t help.
Do people put something under the clip to close the gap, tape the belt tail in place so it grips better, or is there another trick? I don’t seem capable of getting much tension on my belts now.
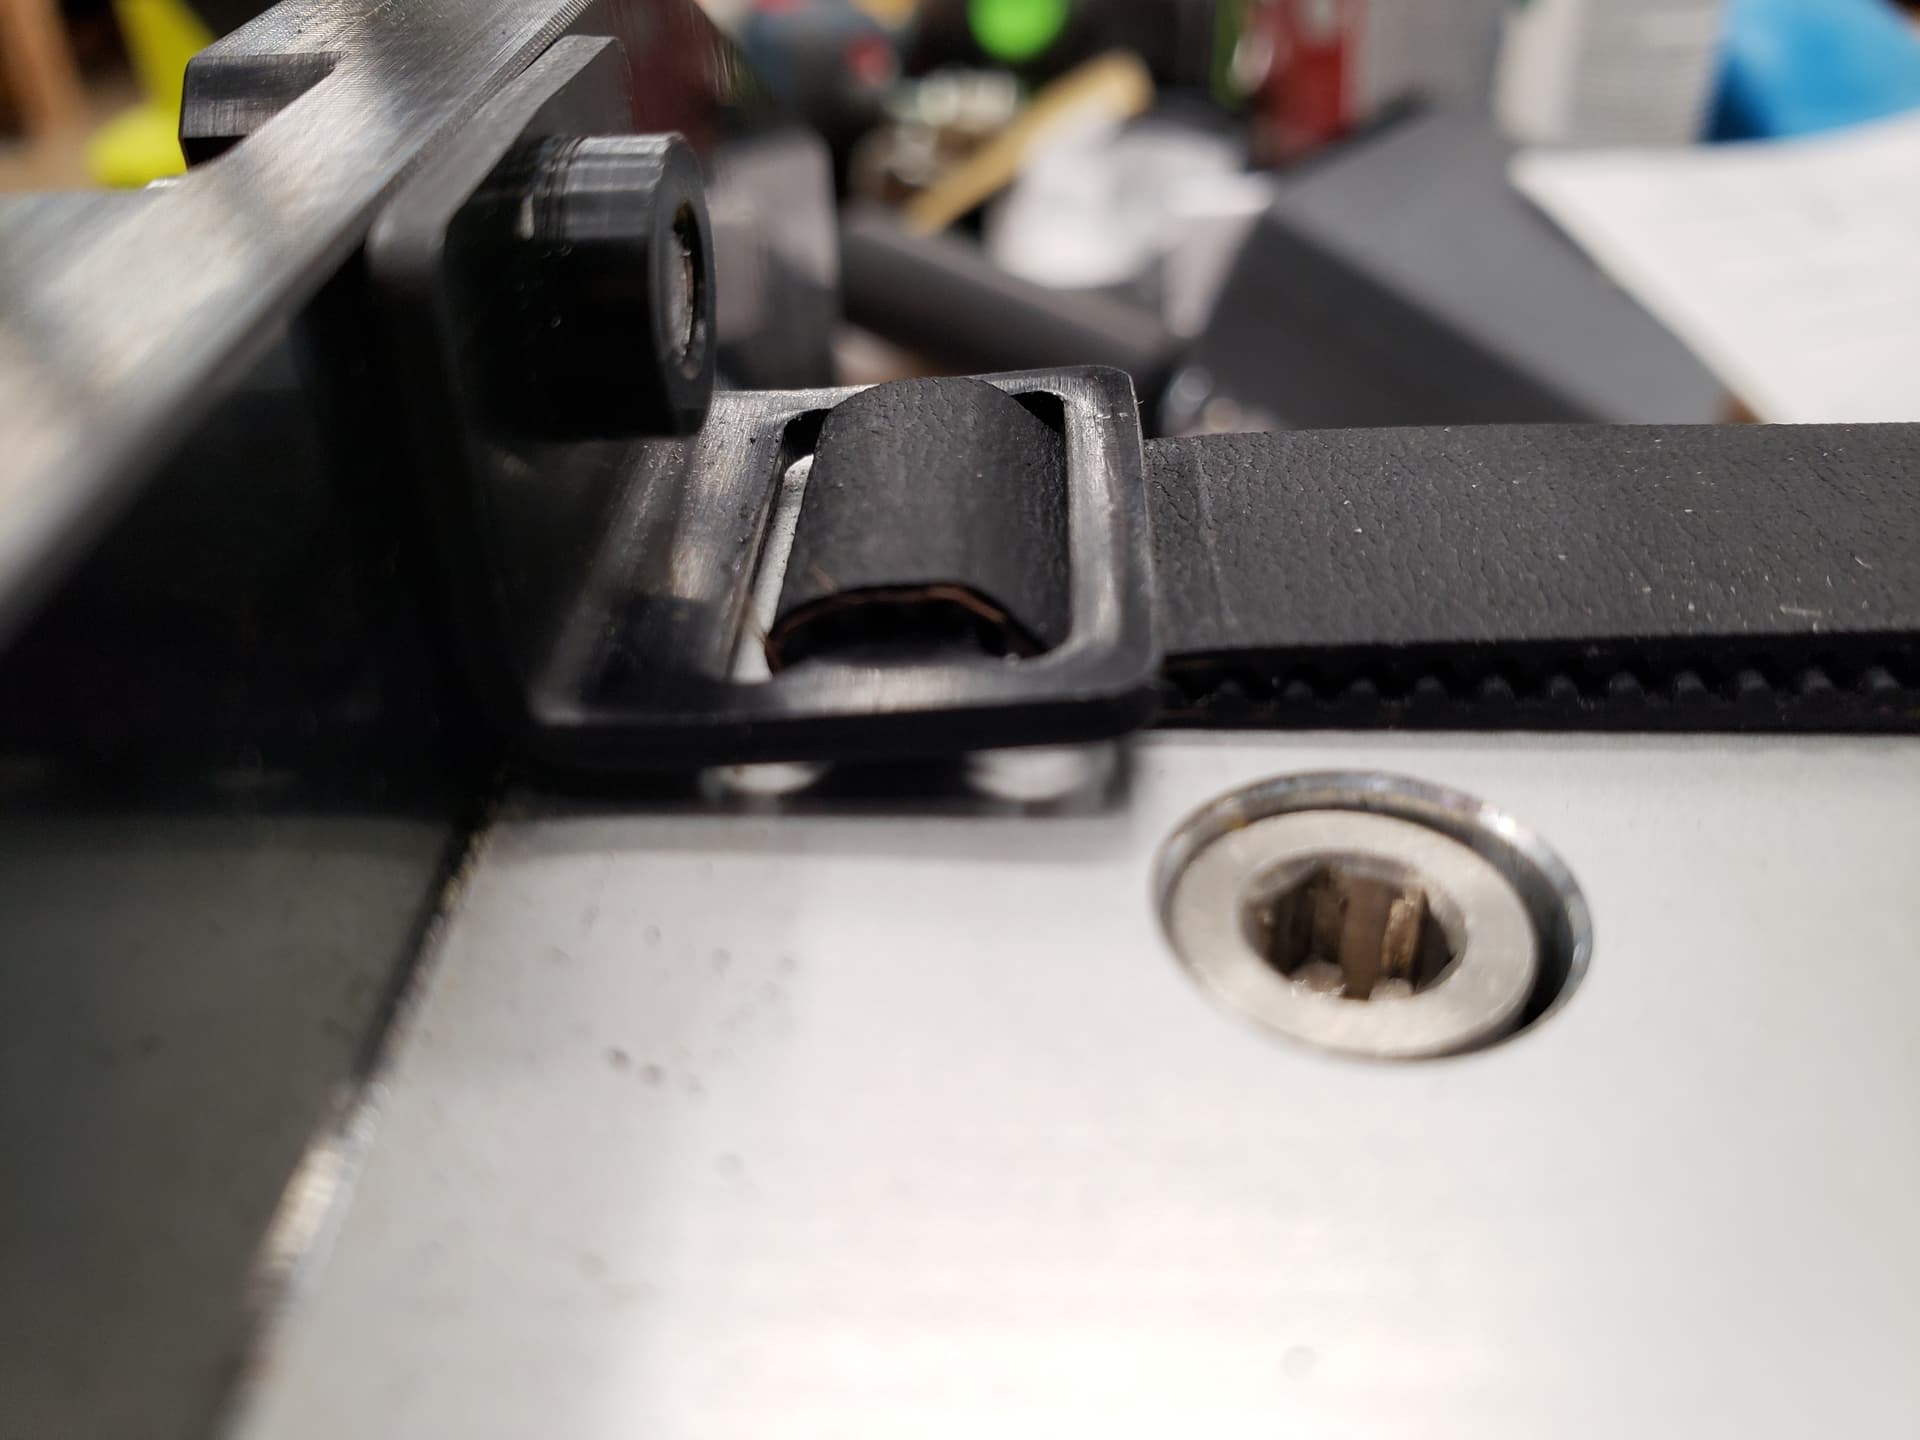
can you share a pic of how the clip with the belt in place ? (just to check how you inserted it)
Initially you need to find the position of the belt in the clip such that the clip barely engages with the screw, and then you have to push the clip downwards and towards the front plate, for the screw to engage. Then keep the downwards pressure, tighten the screw. The tightening force does tend to rotate the clip, use something to push back against the rotation while you tighten. Sounds complicated but it isn’t, while you get the hang of it.
Well, Winston explains it better and a video always help, check out this video at 04:50
The way you described, is how I have always done it. My only missing bit was that the clip would rotate and I never corrected it. Keeping it level seems to help. Otherwise the bottom tail slides out to the side and doesn’t engage with the top belt under tension. Pictures below.
I think the measurement may have been part of the problem. Pulling up to measure tension is bending the clips and exacerbating the situation. Instead of getting super scientific I might just stick with a “snap” test from now on. That or mill some beefier clips out of aluminum with side gussets so they maintain their shape.
Indeed, no need to overthink it. The only golden rule is to keep the belt tension equal between the left and right sides, so make sure they “snap the same”.
Or if you go back to wanting to measure belt tension, consider using the Gates app version of the procedure in @LiamN’s thread? It just takes inserting two endmill shafts under the belt, which probably puts less effort on the belt/clip than the luggage scale method (I don’t know for sure, but it feels like it should be the case)
Also, if you feel your belt clips are not quite right, feel free to send an email to support.
Thanks for your help. I got a decent snap on all the belts and ran a pocket test on some plywood. I was hoping this would solve an issue where when I do a pocket, then contour I always have about 0.010 left on all the edges. Alas the issue remains. I was hoping it was a backlash kind of issue. At least I know it should be repeatable now. I’ll keep an eye on the belts an post any new clips I make if I find they are beneficial.
If you can post more details about that we may be help to troubleshoot it.
There are a few things than can lead to small dimensional errors, have you seen that (old) page of the ebook? It may be useful to start investigating the cause.
I thought bit deflection, so I made sure the last contour cut is really thin. I moved to a 1/4" bit (single flute upcut and double flute straight bit) and it still happens. I documented some of it in a previous post, but got no response. Fusion always under sizing pockets and countours
I checked calibration by going a very long distance and always get error in the fractions of a percent. I figure runout will make my pockets bigger, not smaller. At any rate, the little beast is awake again so my shop time has ended. I bookmarked the page you sent and will go through all that as I find time. Thanks for the help.
As I mentioned in the belt tension thread, all you need is enough to make sure the belt doesn’t go slack on the ‘push’ side of the belt. As Julien says, even belt tension on both Y is what’s important.
Excess belt tension I found to increase backlash for no improvement in deflection or accuracy, in addition to directly shortening the life of the stepper motor shafts.
I spent quite a while trying to figure out why I had these sorts of errors on mating sides of the joint, what I now do is deliberately cut a little tight, then use the ‘offset face’ in Fusion to iterate the mating piece until I get the nice tight fit. If you keep the piece clamped down on the spoilboard and test the joint fit with the other part or just with a set of calipers you can get a nice tight joint.
Noted on the tension. I was aiming to stay below your 55 pound force upper limit, but maybe now I will shoot for more like 20 pounds.
I have the same issues with my joinery. I really found the issue vexing when trying to make finger joints. I found using a negative “stock to leave” figure in my last contour cut did the trick. It took a bit of tuning, but getting snug joints was the reward. If you had differences with the X and Y offset, your method would work better. If it is a symmetric and universal problem, my method should be a little easier.
If your machine is on the 9mm belts I would suggest finding some of the kevlar cored 9mm belts, I’ve found them to perform like the steel core but last like the fibreglass core. I don’t have to re-tension and even after quite noisy ‘mistakes’ they require minimal, if any, tension adjustment.
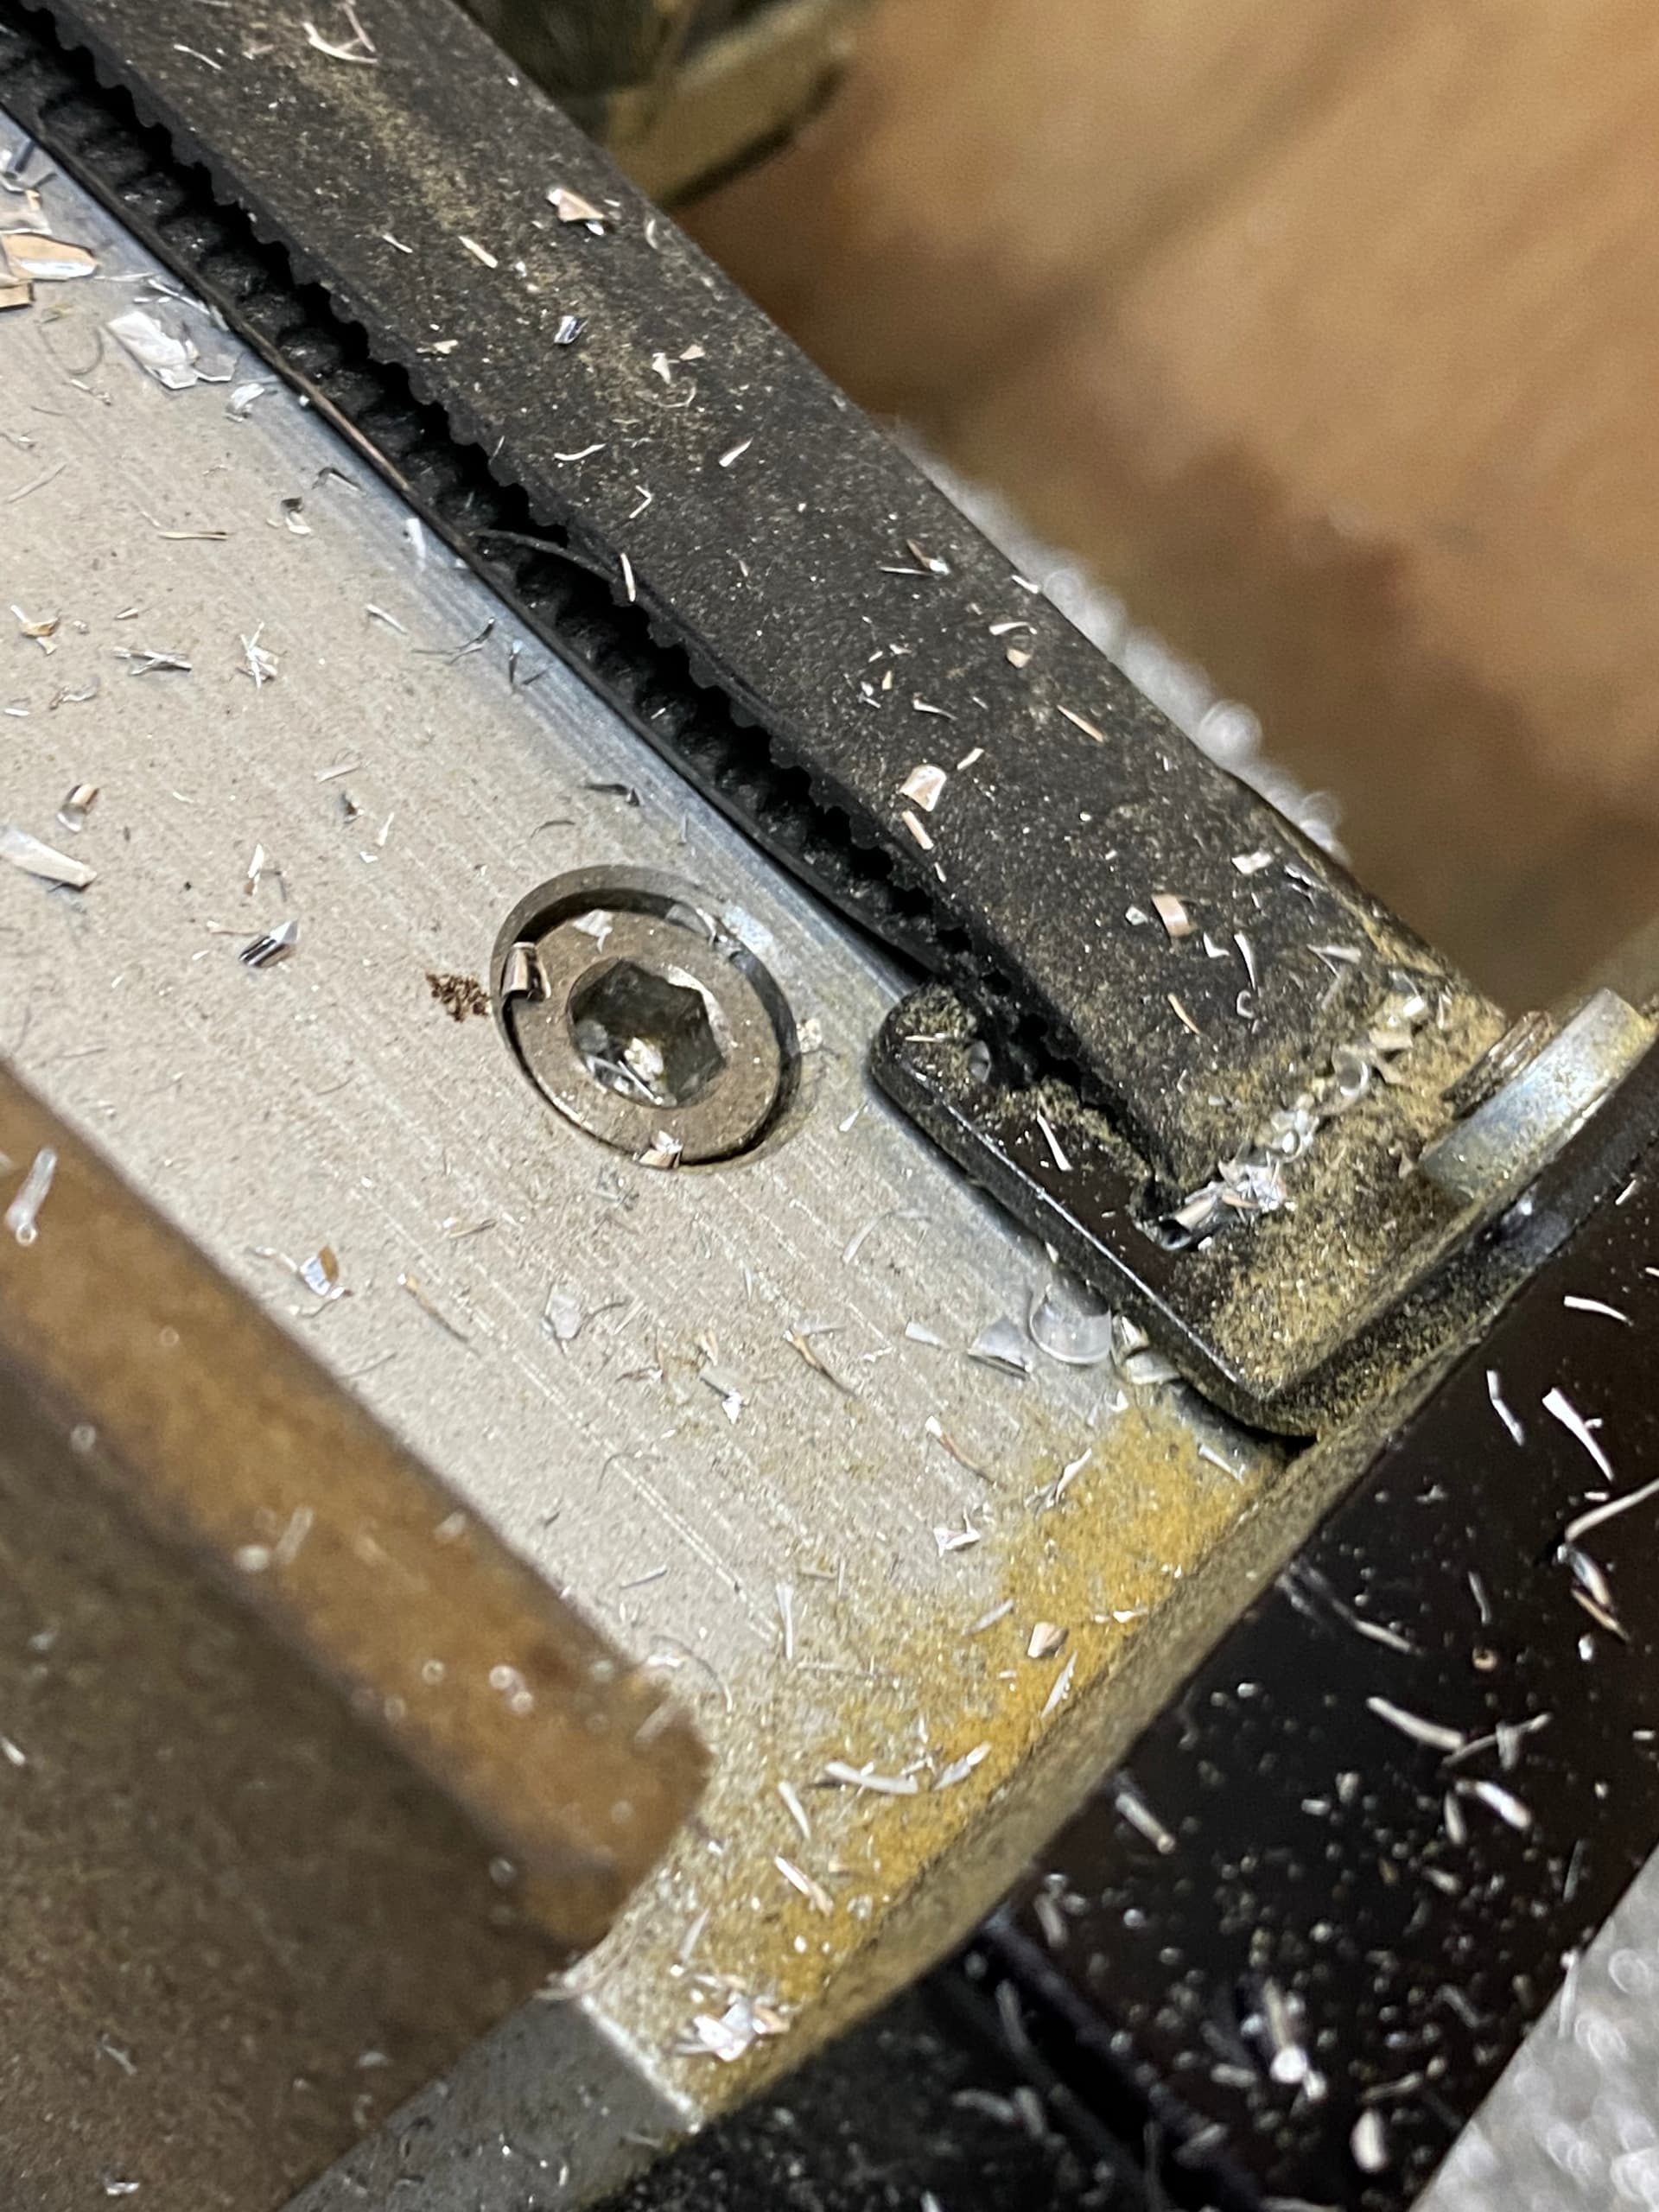
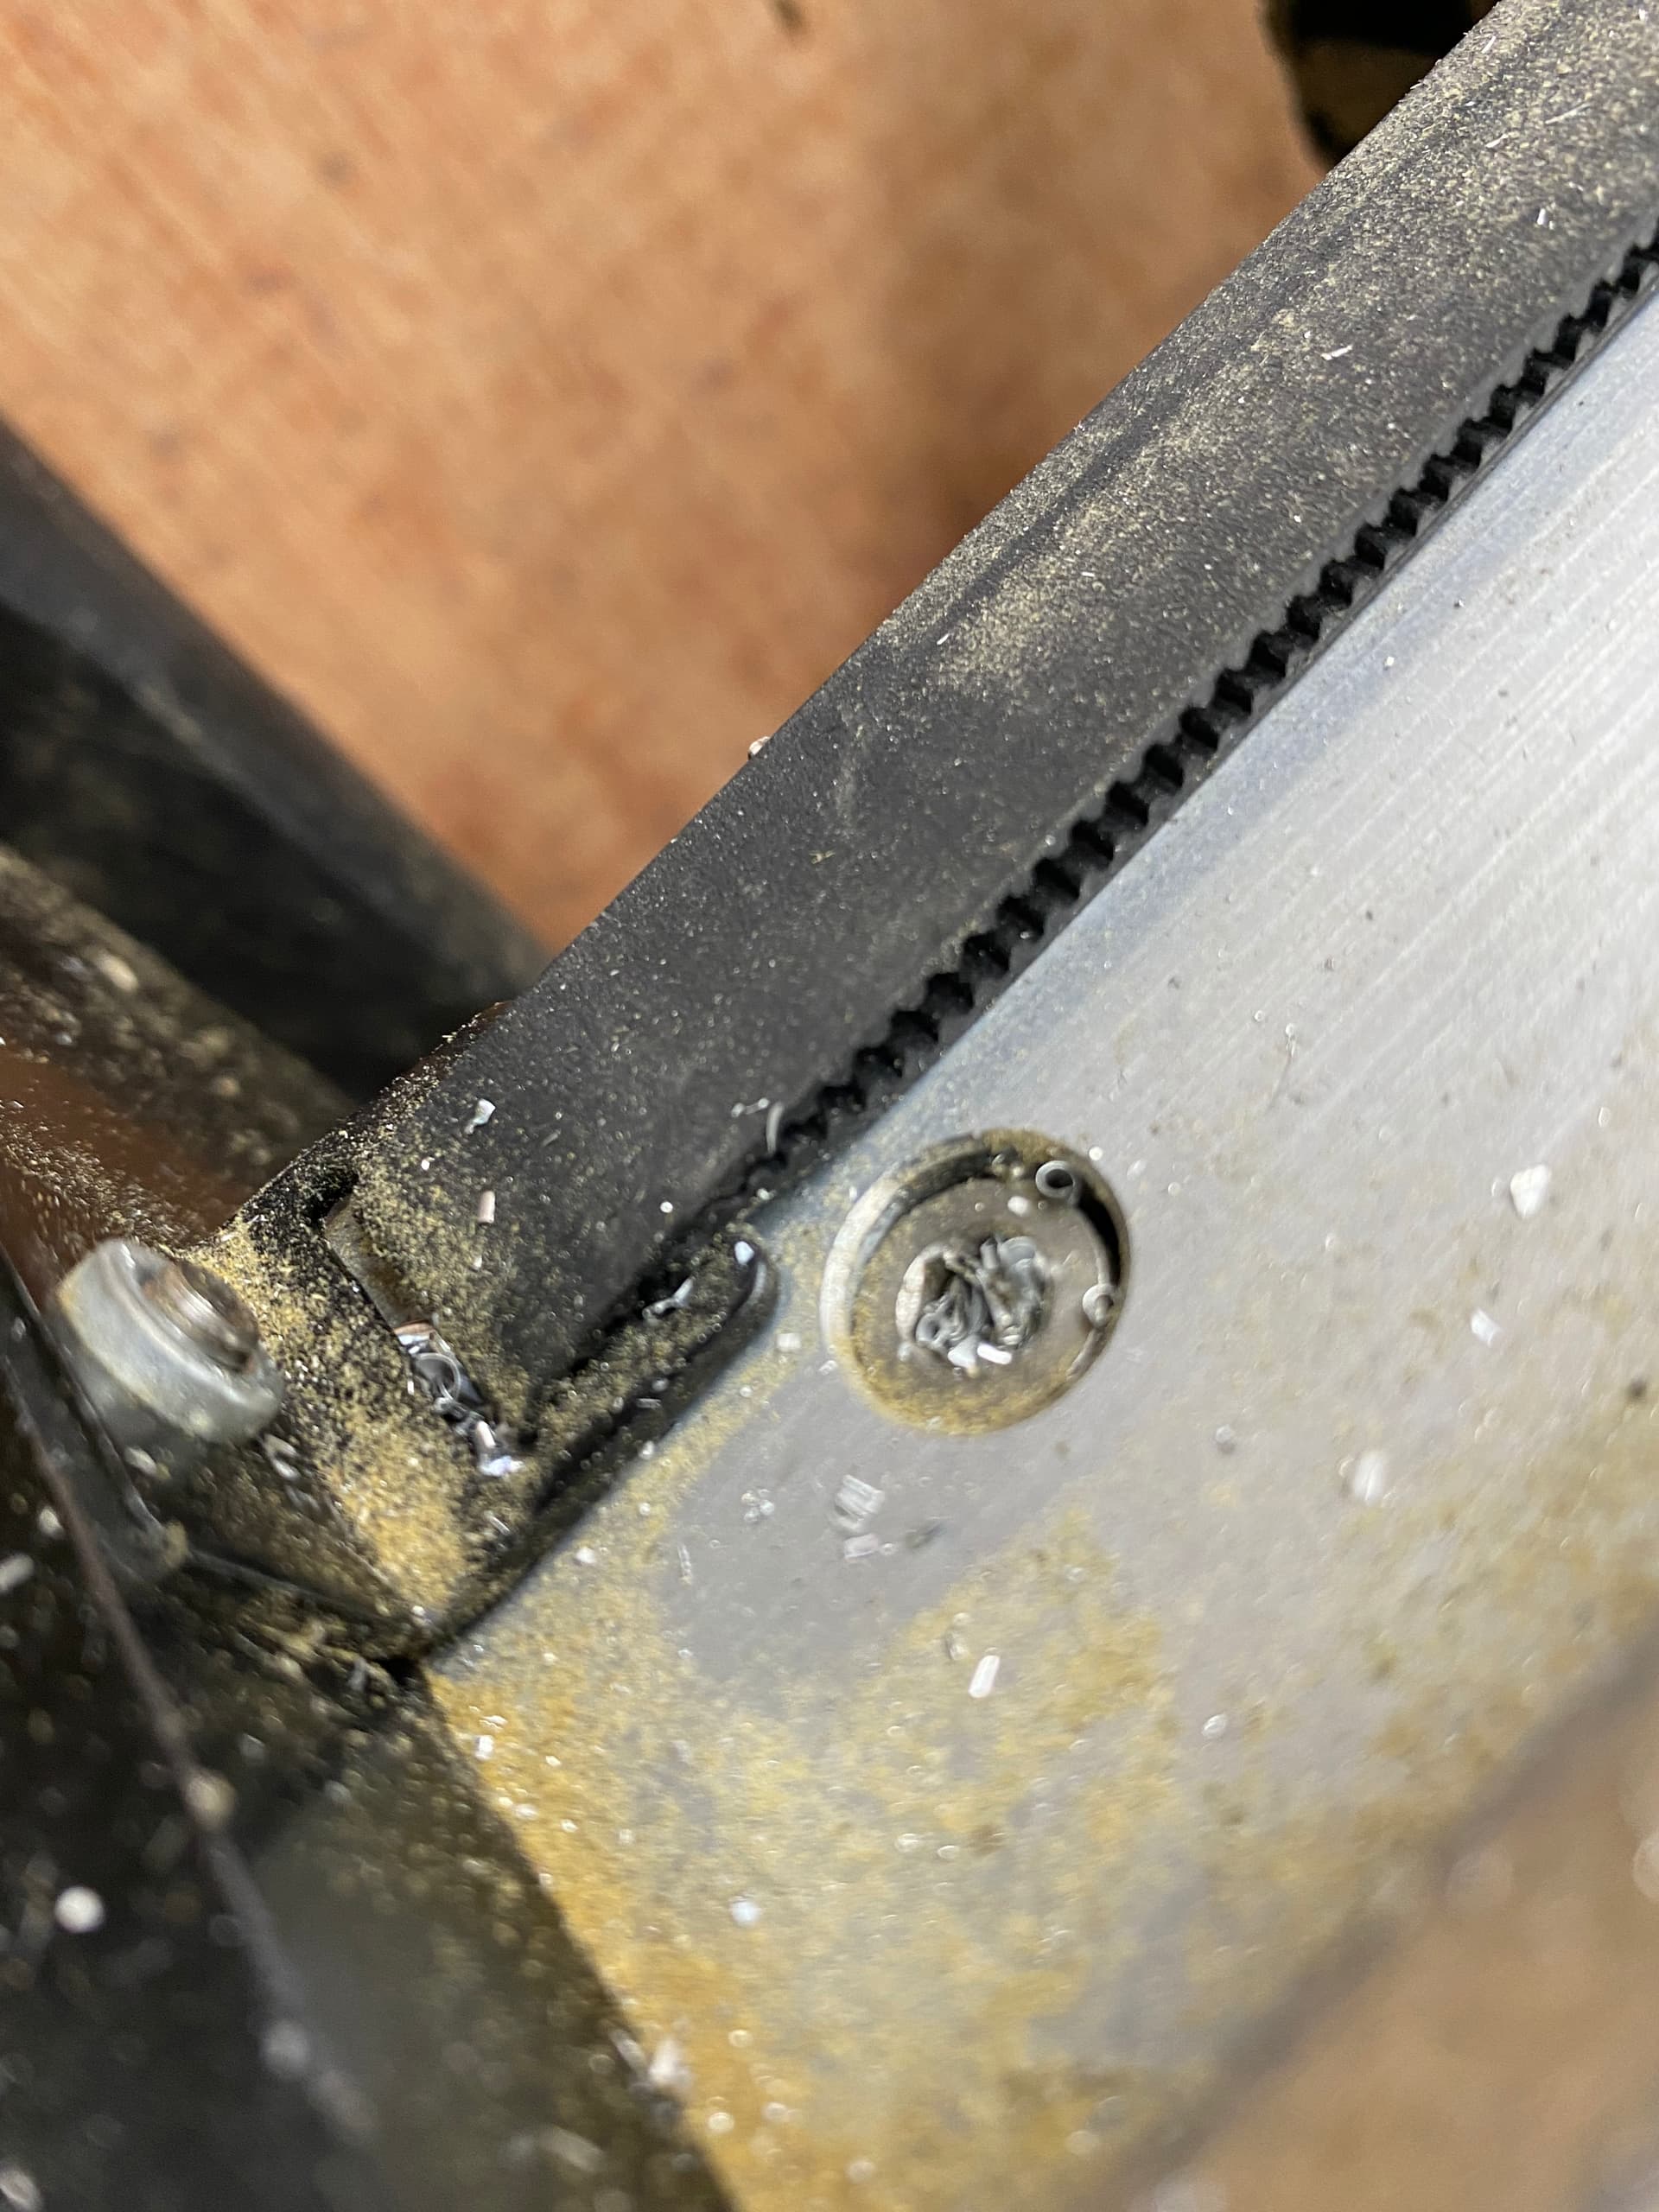
The issue is she stock way the belts are held in the clips, they naturally want to go back to the last place they were. On my Pro XXL I finally ran the belts like the pictures below, I run aluminum all day and the belts stay put and really don’t stretch. I believe that the “stretch” most people see is what I saw, gradual slipping as you push harder.
This has been my go to belt setup now for 3 months and it’s game changing. It’s simple and holds them tight
Thanks for the link. I went through the ebook and could completely relate to the 1. obsess, 2. chase tail, 3. just fix it in CAM steps. That is totally what I did. Tool deflection would make the problem better, I am cutting pockets too small. I didn’t realize it was 40 steps per mm. I calculated it myself with a tape measure. I was off by 0.2%. That might help, but not nearly enough for the offset I am seeing. Ultimately, doing a -0.005" stock to leave is my final answer. I was going to need to sneak up on the number anyways to get a good friction fit for joinery. Thanks again for the help on that issue.
Will, I have to respectfully disagree, the stock belt setup is flawed and causes much of the slipping that people see IMHO. When cutting wood/MDF its not an an issue due to cutting forces, but when people start to push into aluminum the slipping is a major issue. I chased my tail with constantly loosening belts as I got deeper into aluminum (non-aggressive cutting may be ok) when you start to push F&Speeds is when the issues arrive. Changing the belts in the clamps has keep me stable for months now and is not an issue at all, and much easier to get them adjusted right.