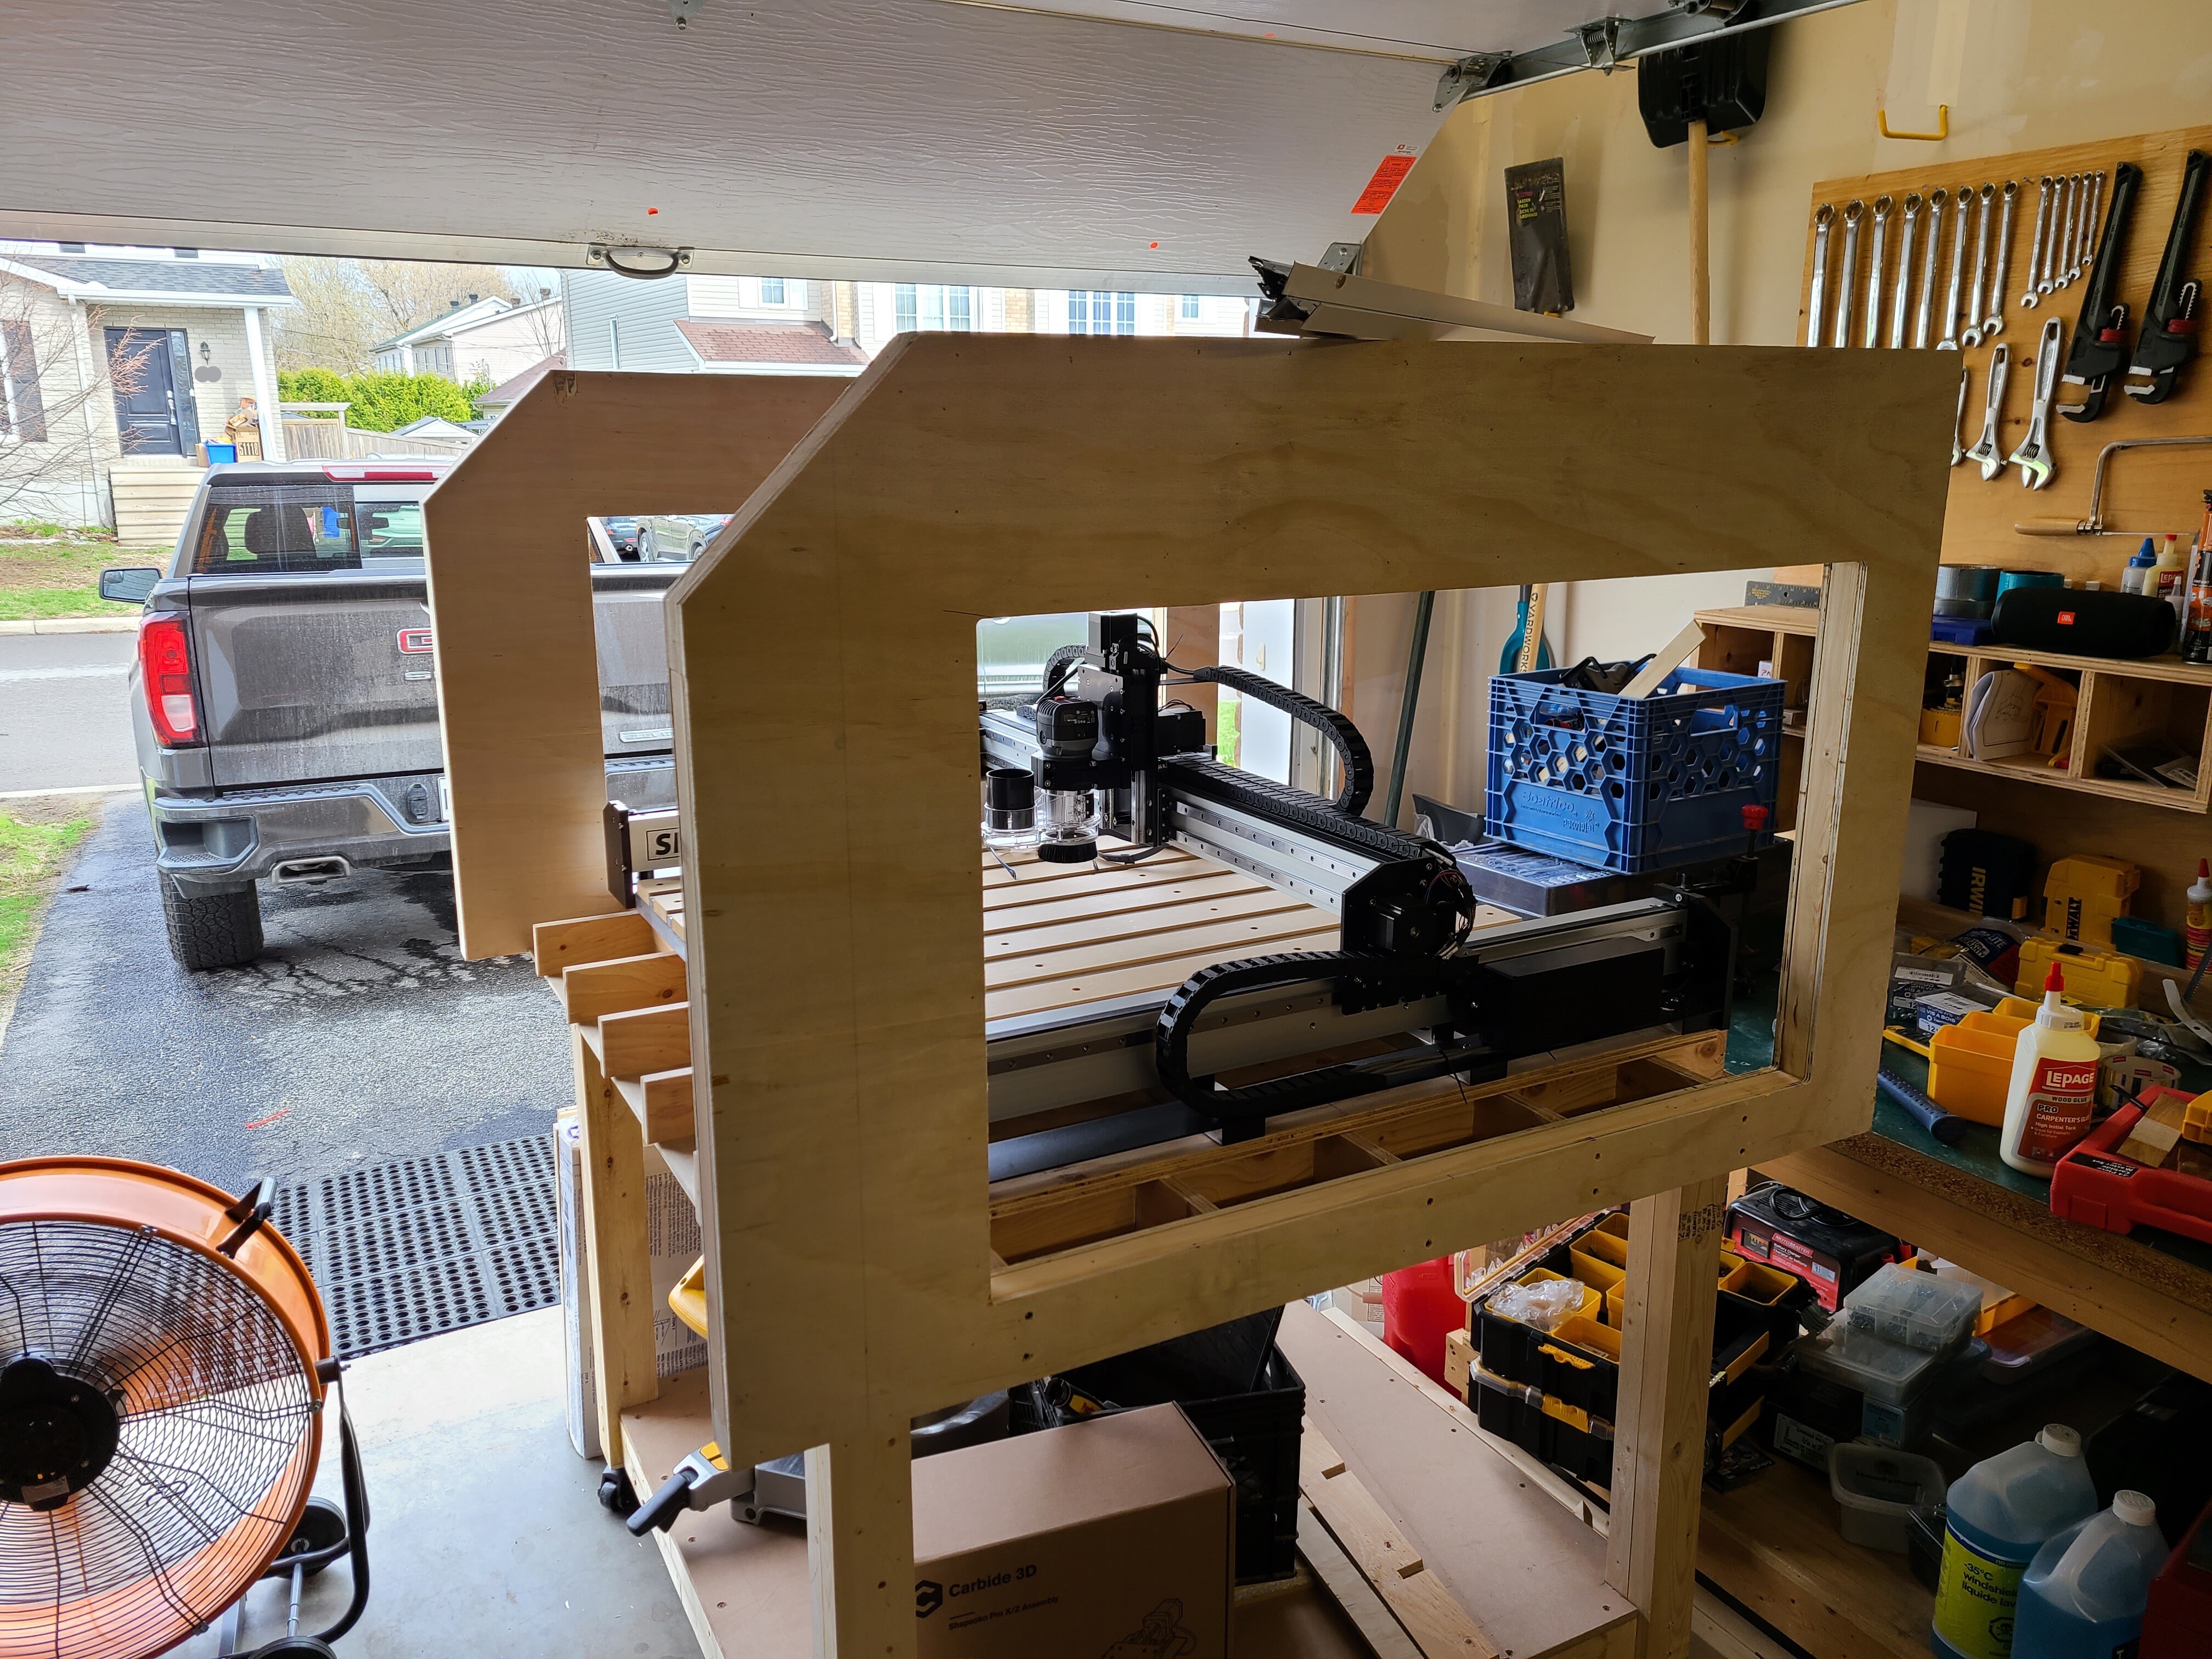
My Shapeoko Pro XXL shipped quicker than what I thought it would which meant I had to get going on building my table. My goal is to get far enough along this project so that the table is sturdy and moveable so I can setup the Shapeoko and possibly use the machine itself to keep building the rest of the cabinet/enclosure to serve as a learning project.
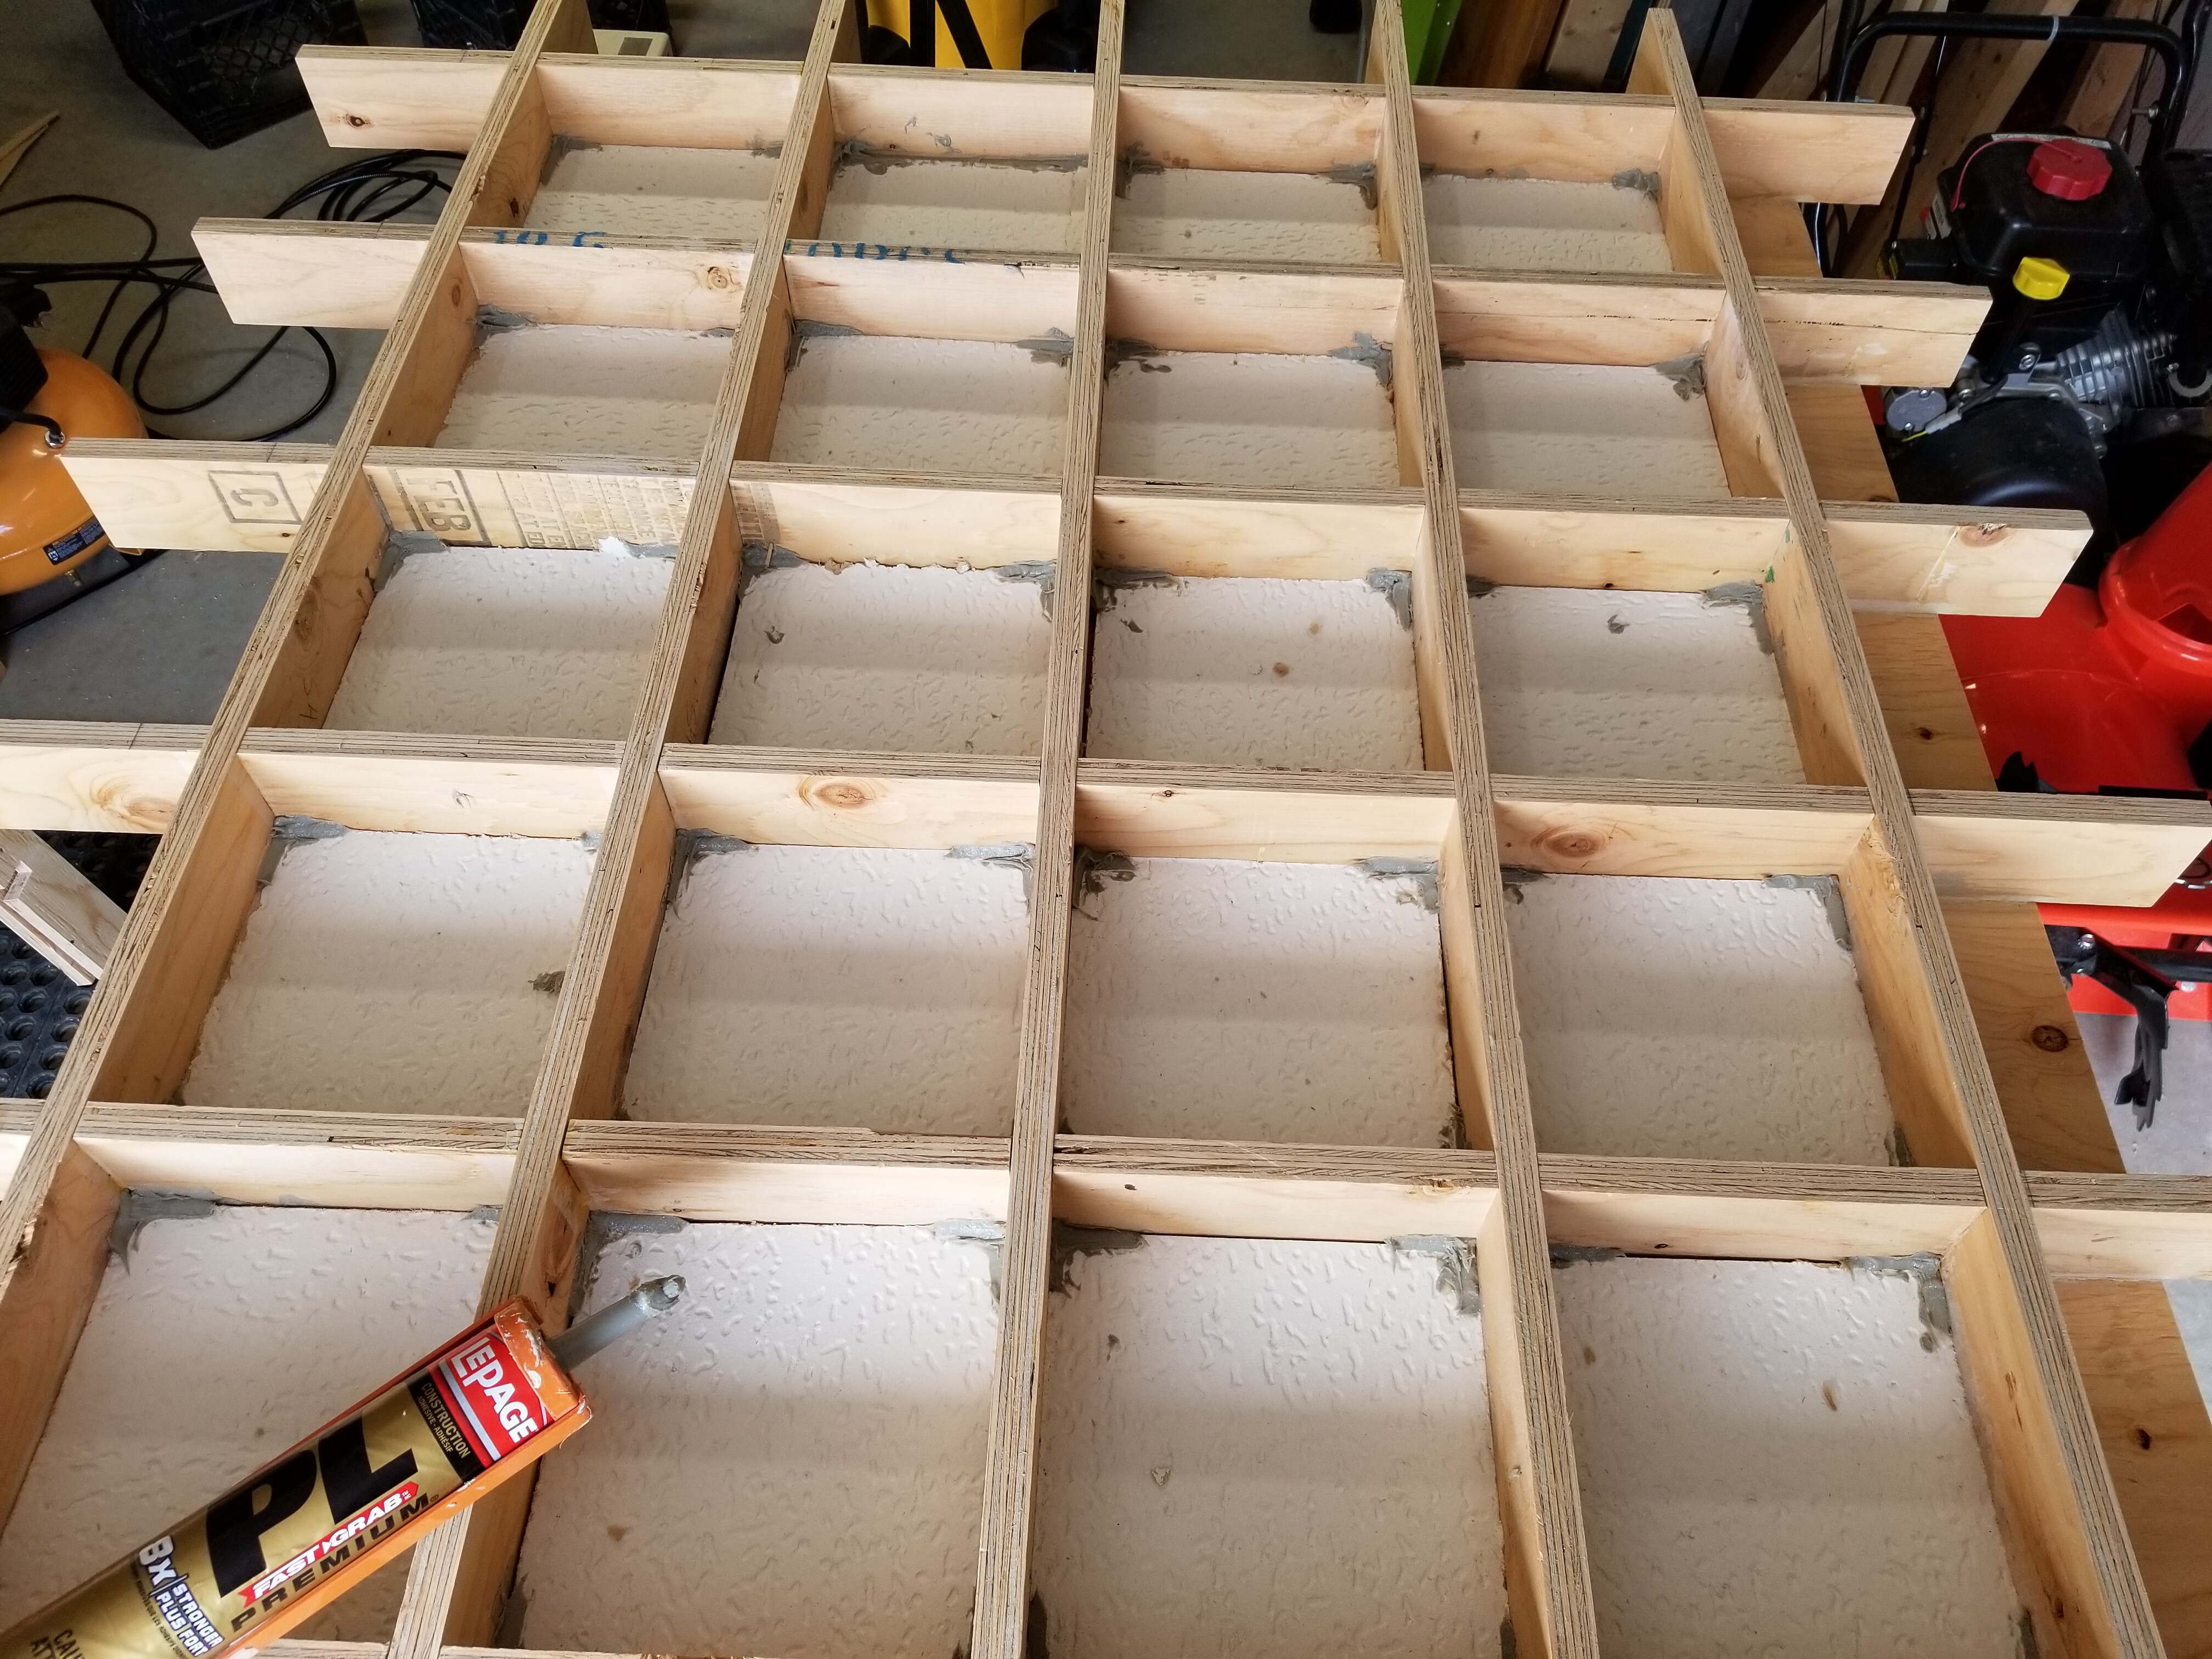
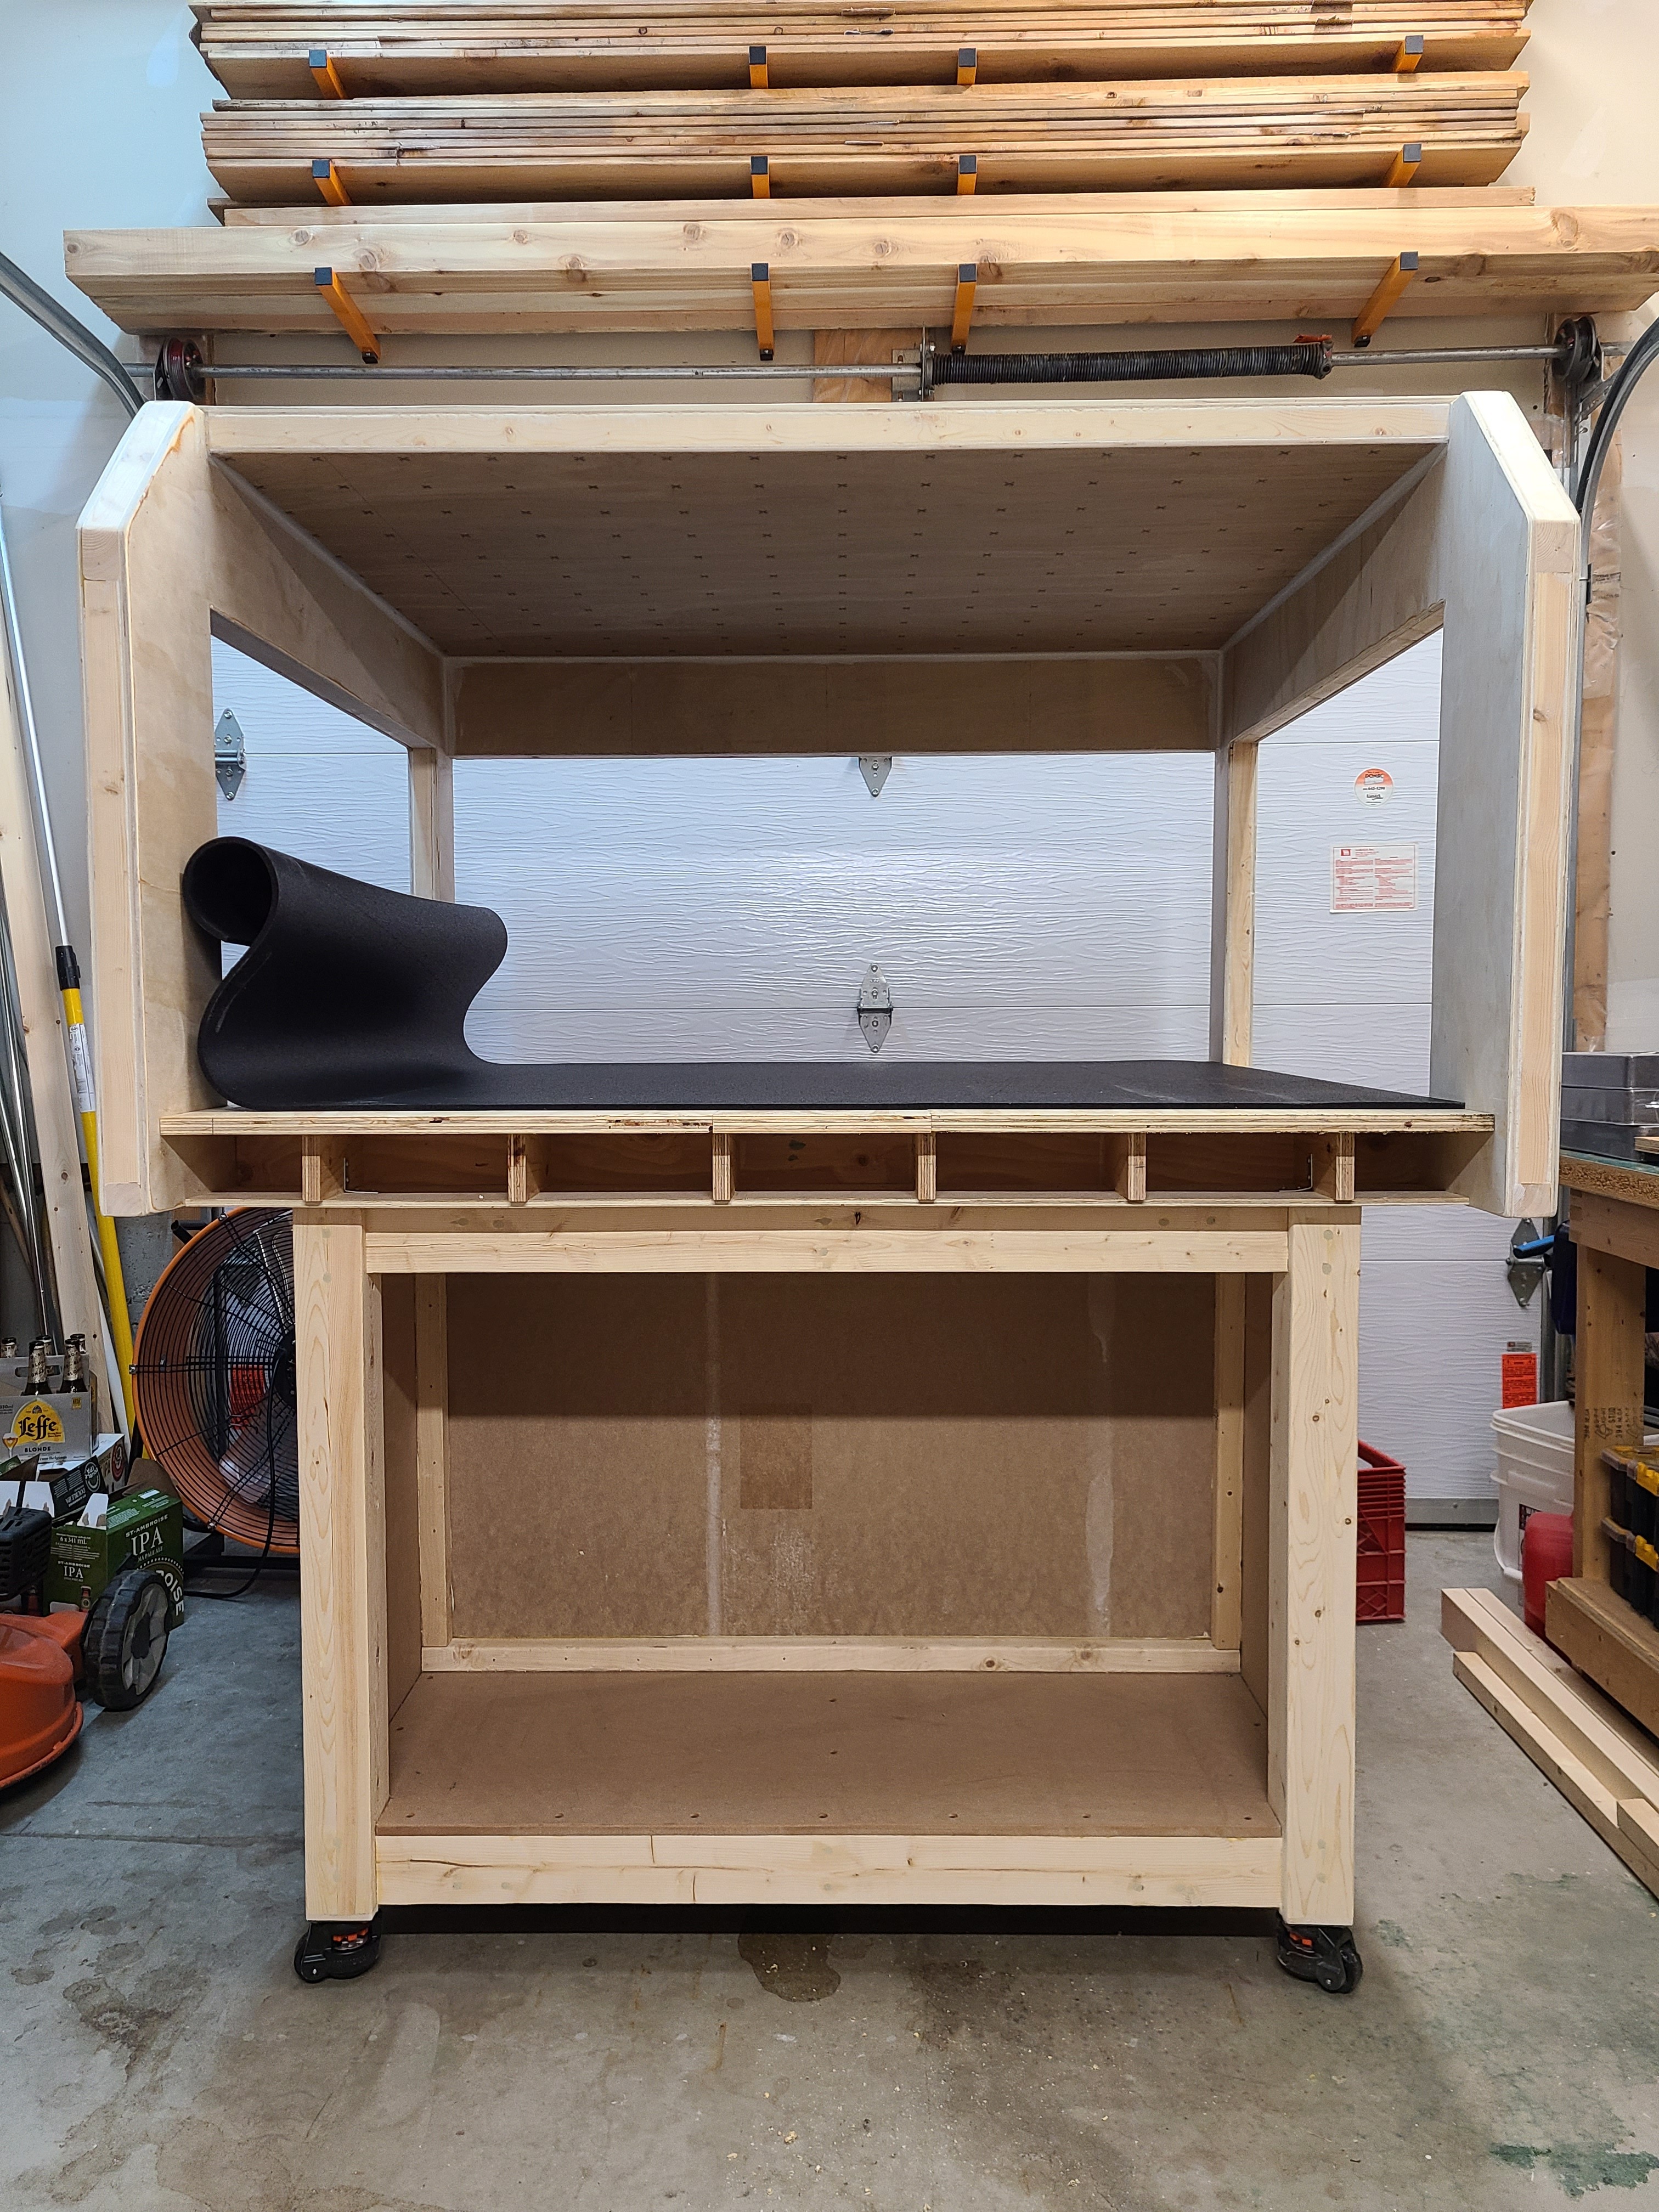
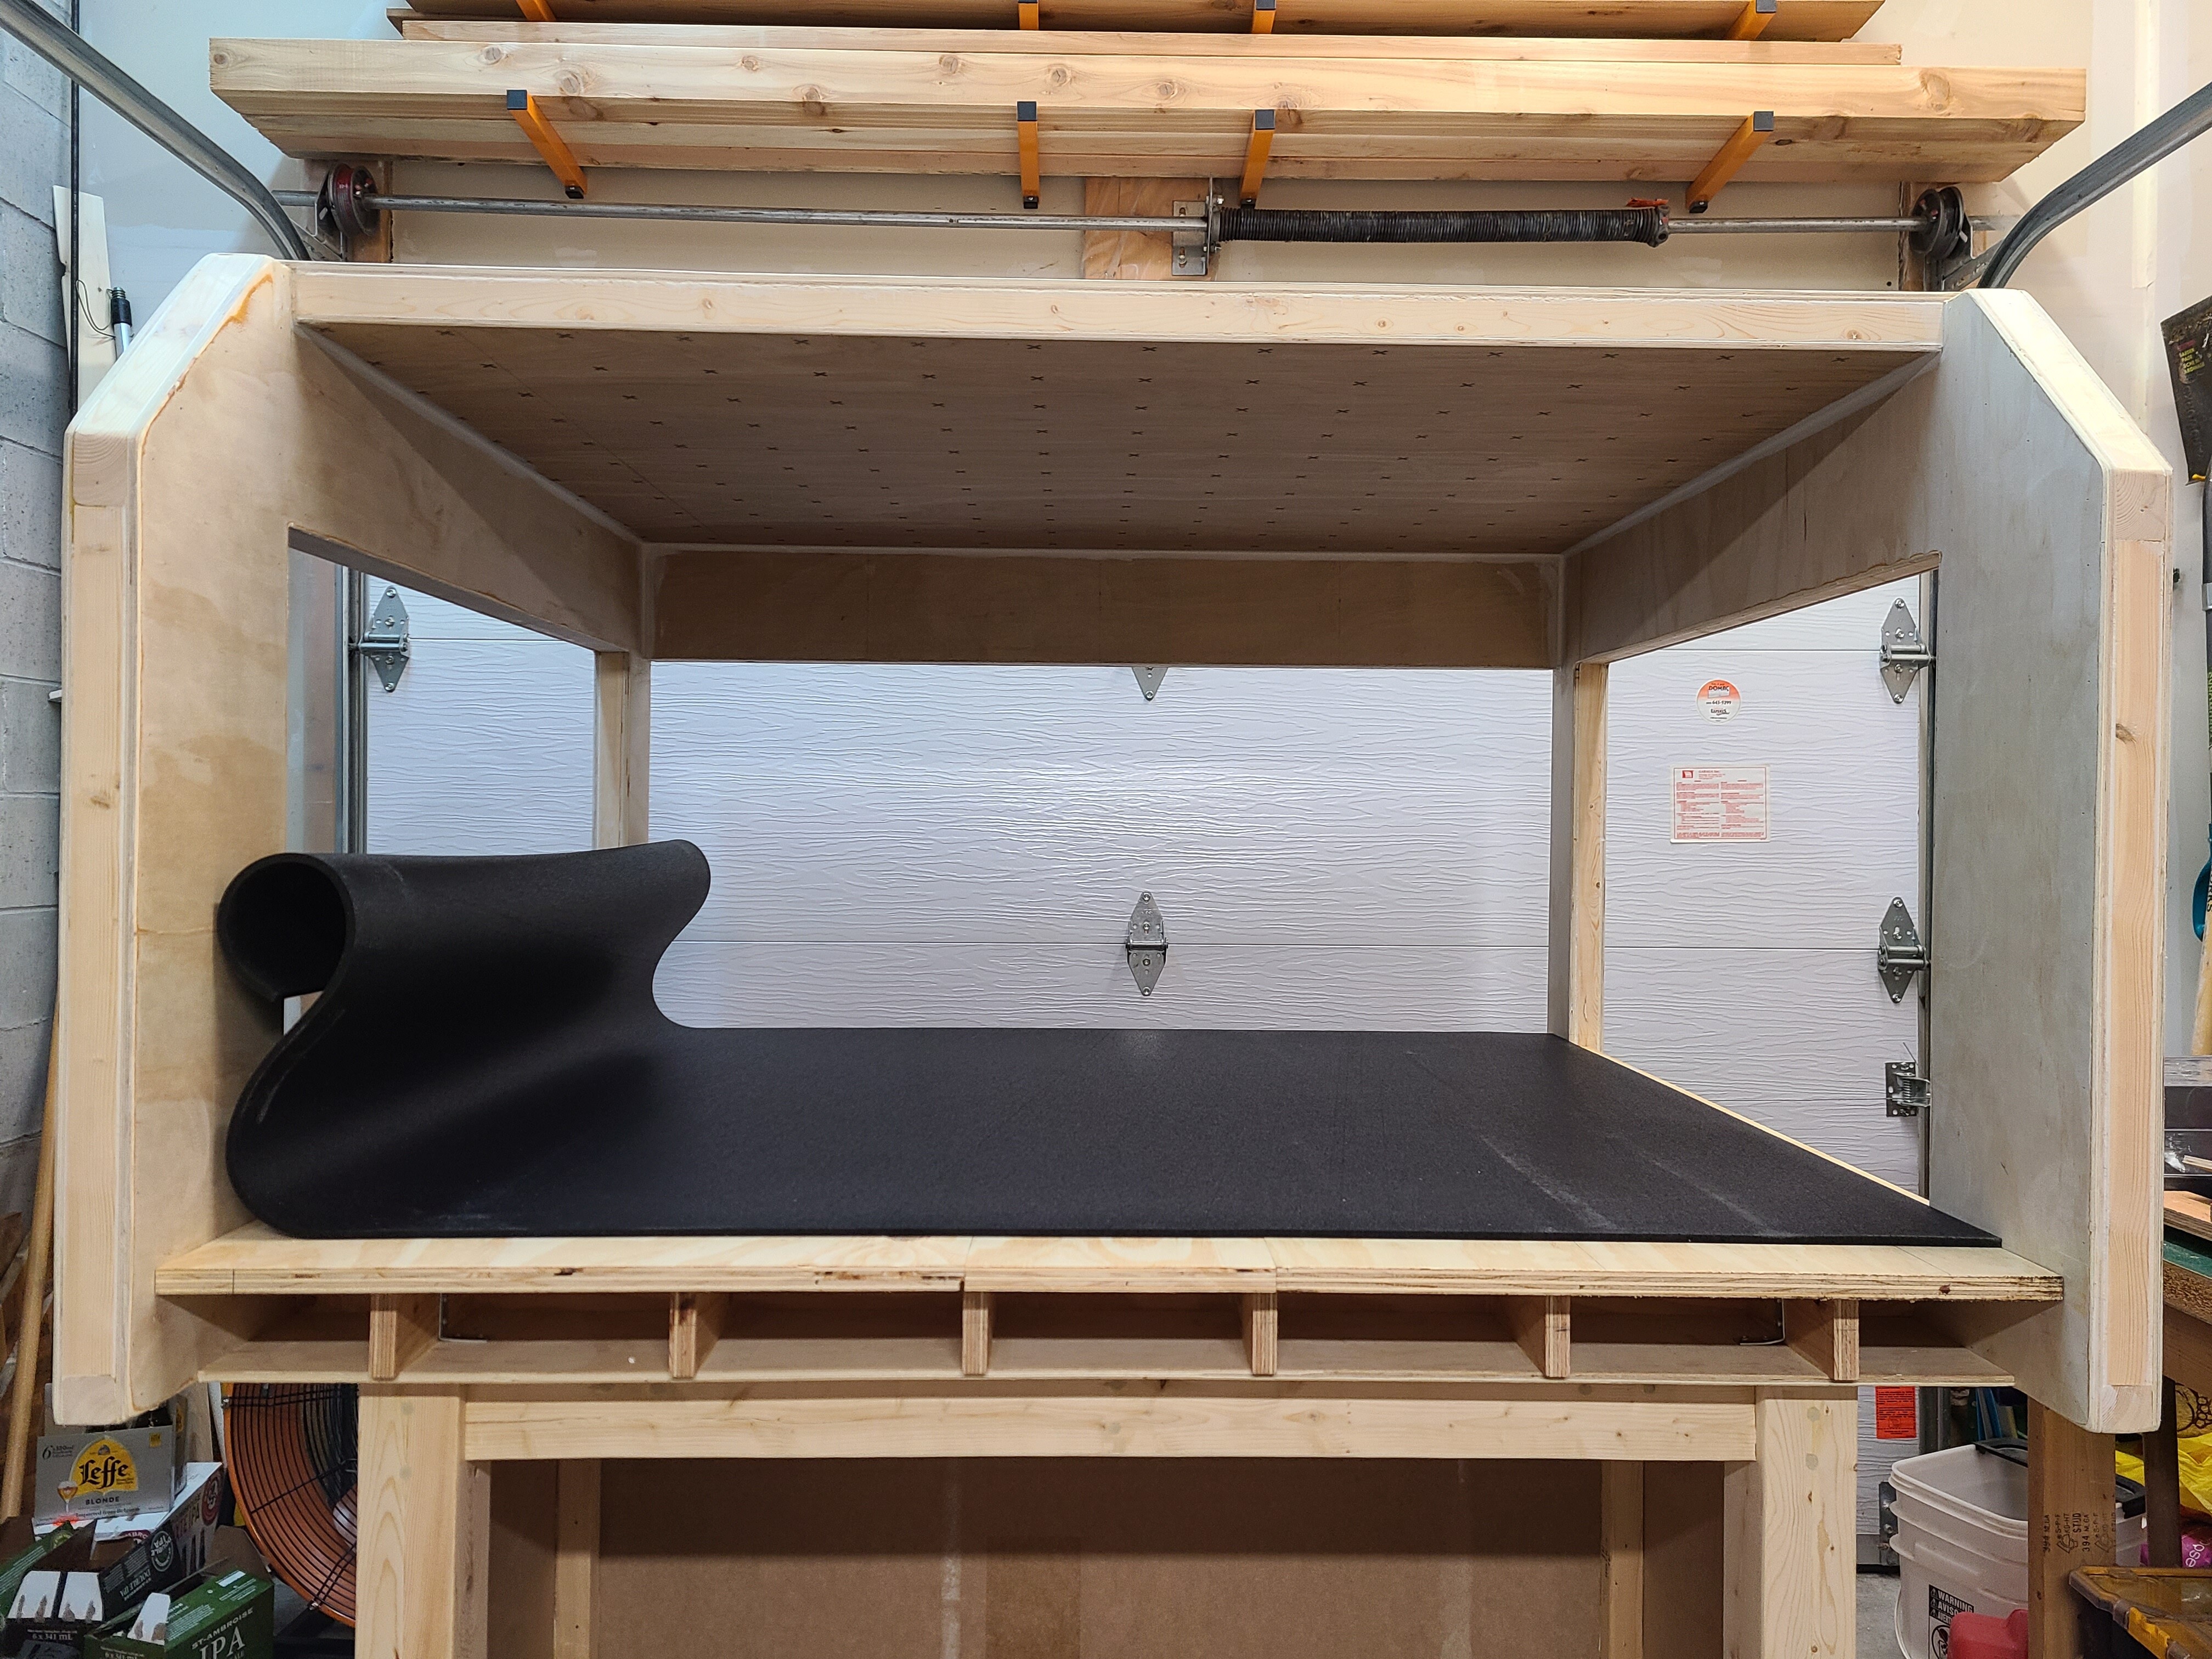
I decided to take the advice I’ve seen on the forums and go with a torsion table build and I inserted some cheap ceiling tile within each of the sectors of the table. We’ll see how effective that turns out to be but if too much noise still gets through the tabletop I may drill small holes from the bottom later on and possibly add some spray foam if needed, not sure if anyone has advice or thoughts on that? As for the top plywood the size cut out is roughly the size of the machine itself (42" x 50"). For the remaining grids I’ll either stuff it with more ceiling tile or batt insulation and use the cross members of the torsion assembly to secure the top enclosure to it and fill the gap with stacked ceiling tile to raise to the plywood and cover it all with a 1/8" hardboard. I also saw rolls of cork when I was getting my materials and was thinking this could also be good to cut the sound and also dampen the vibrations from the base of the machine.
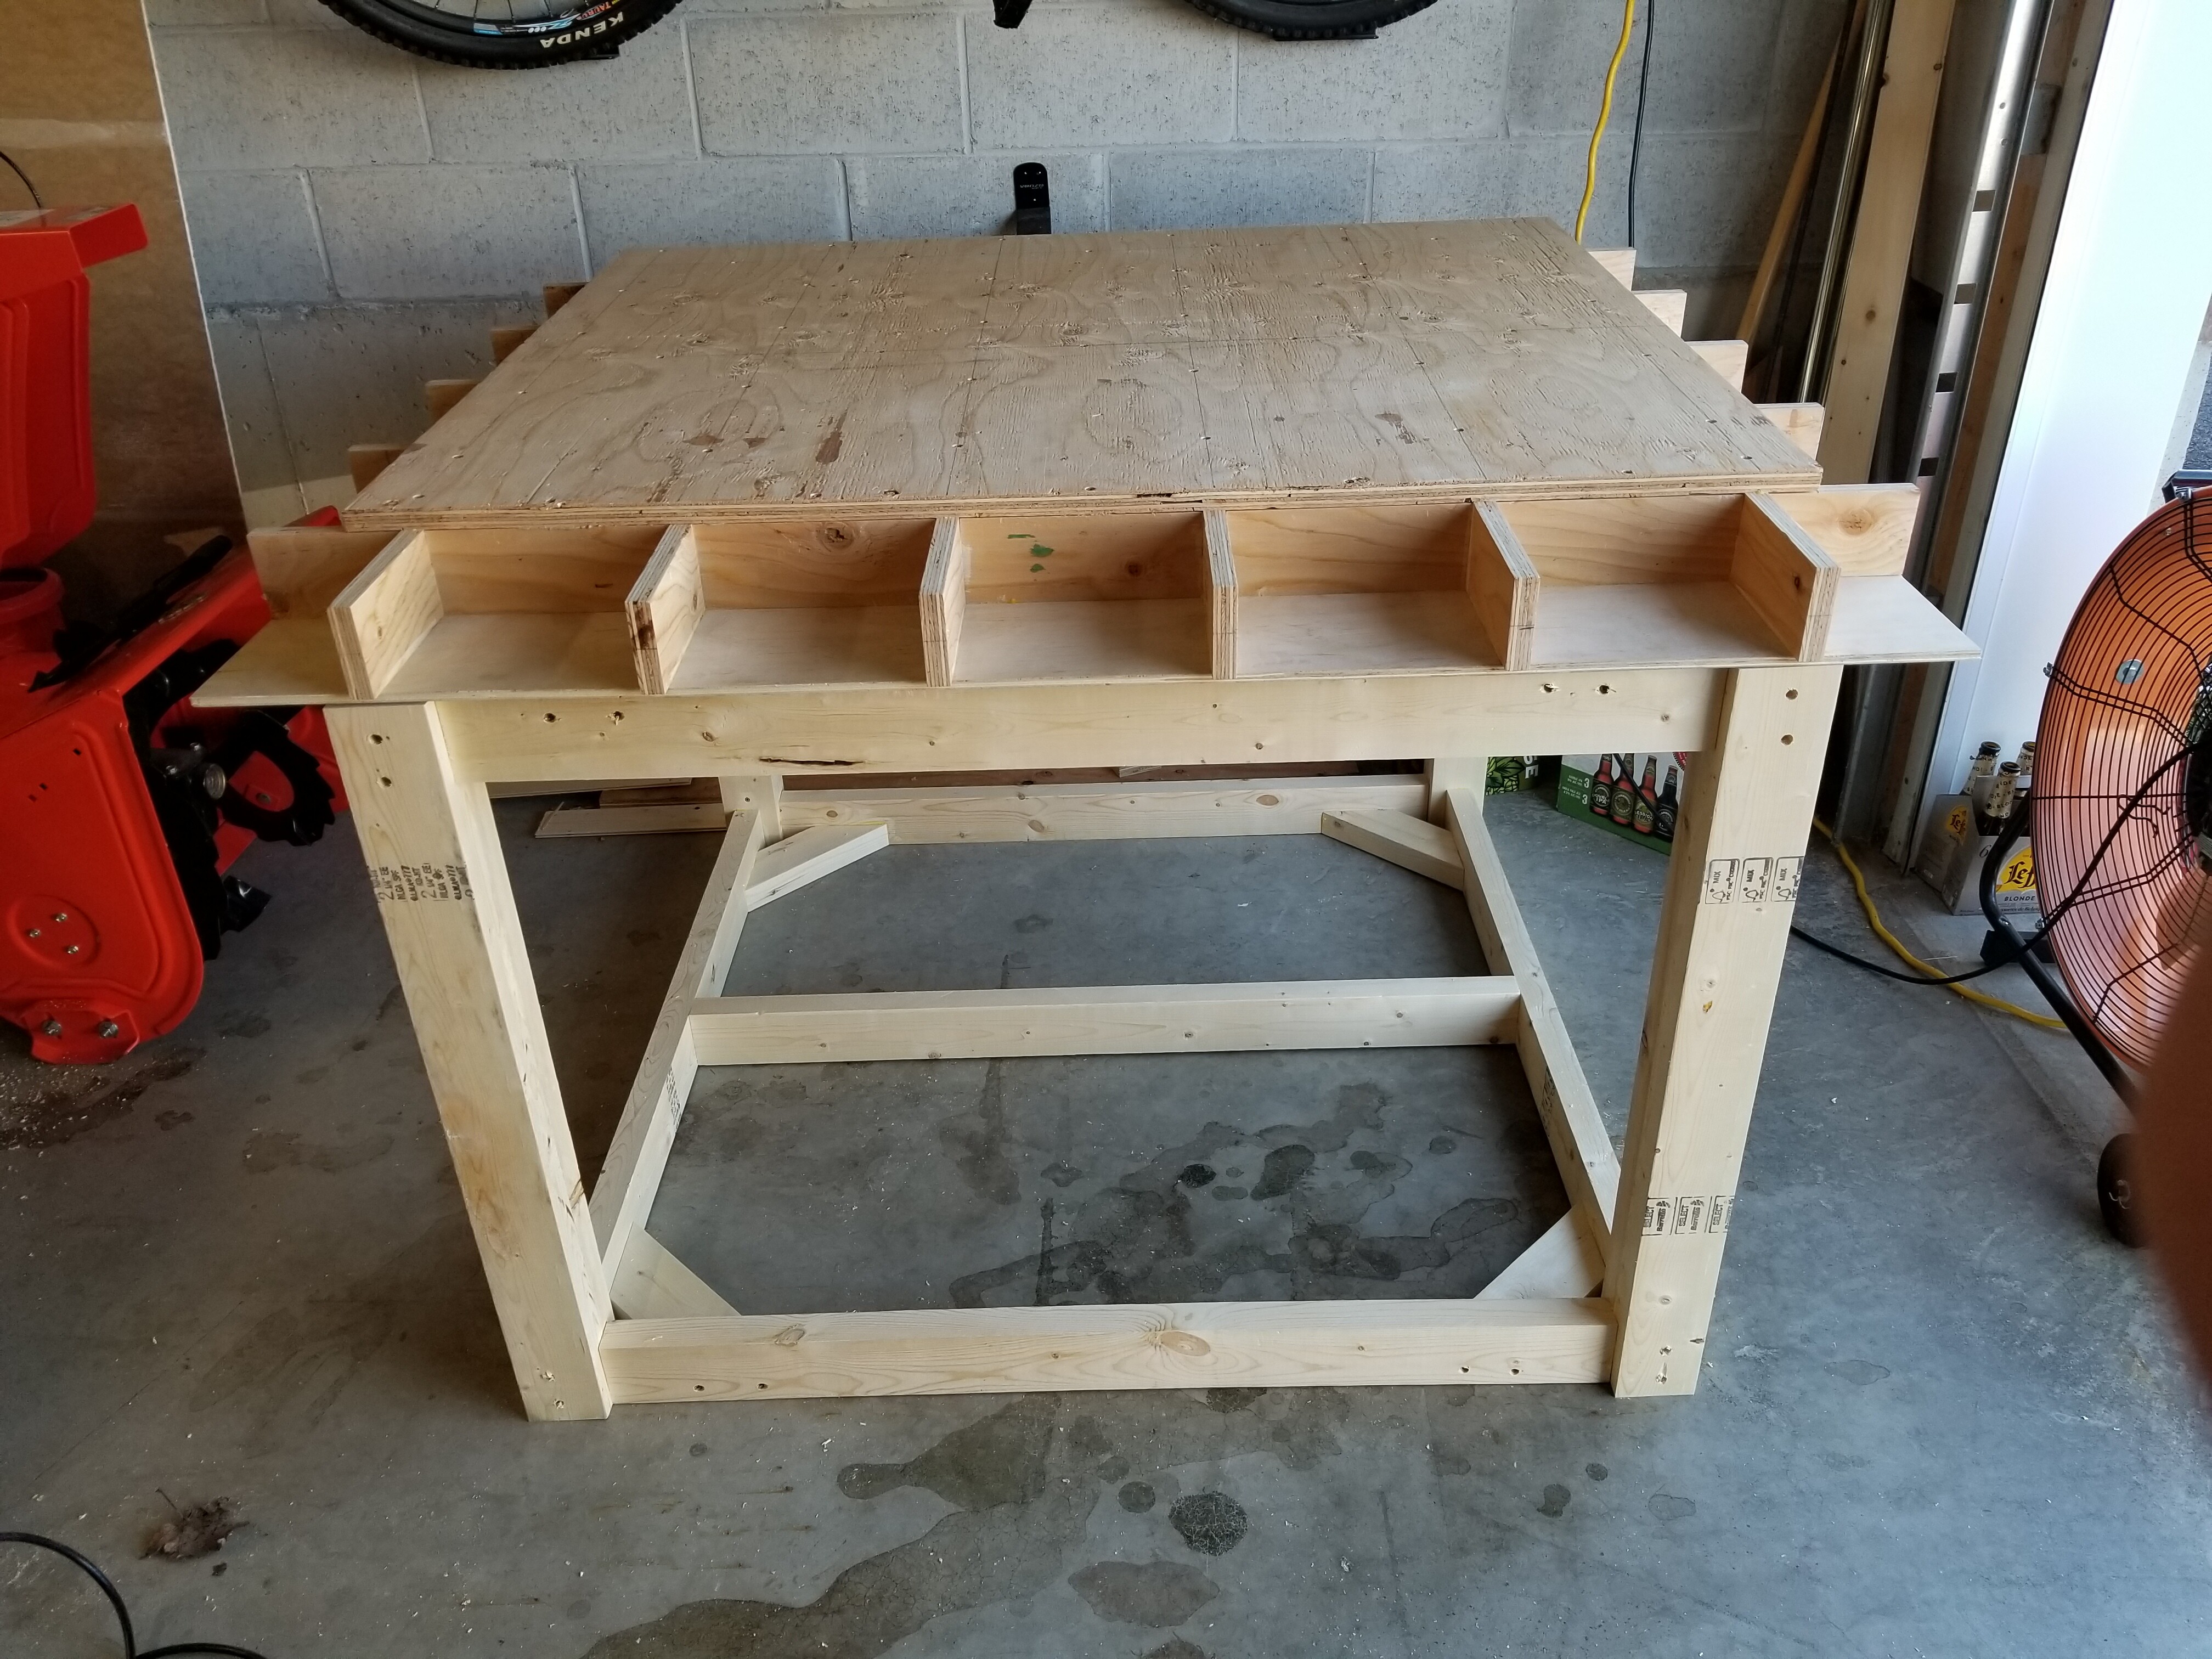
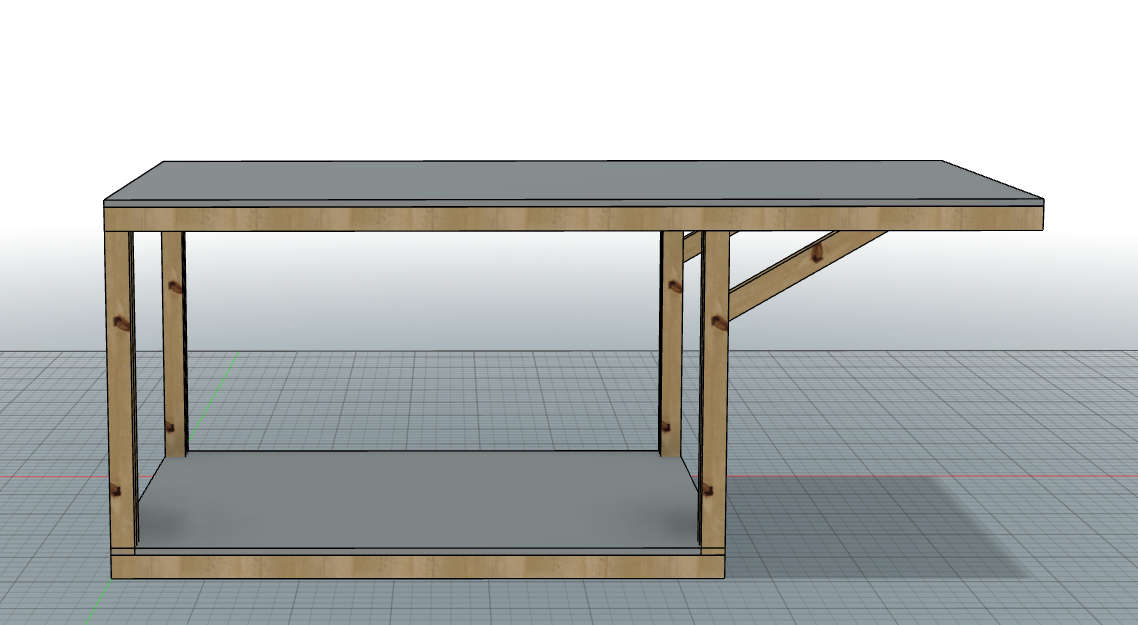
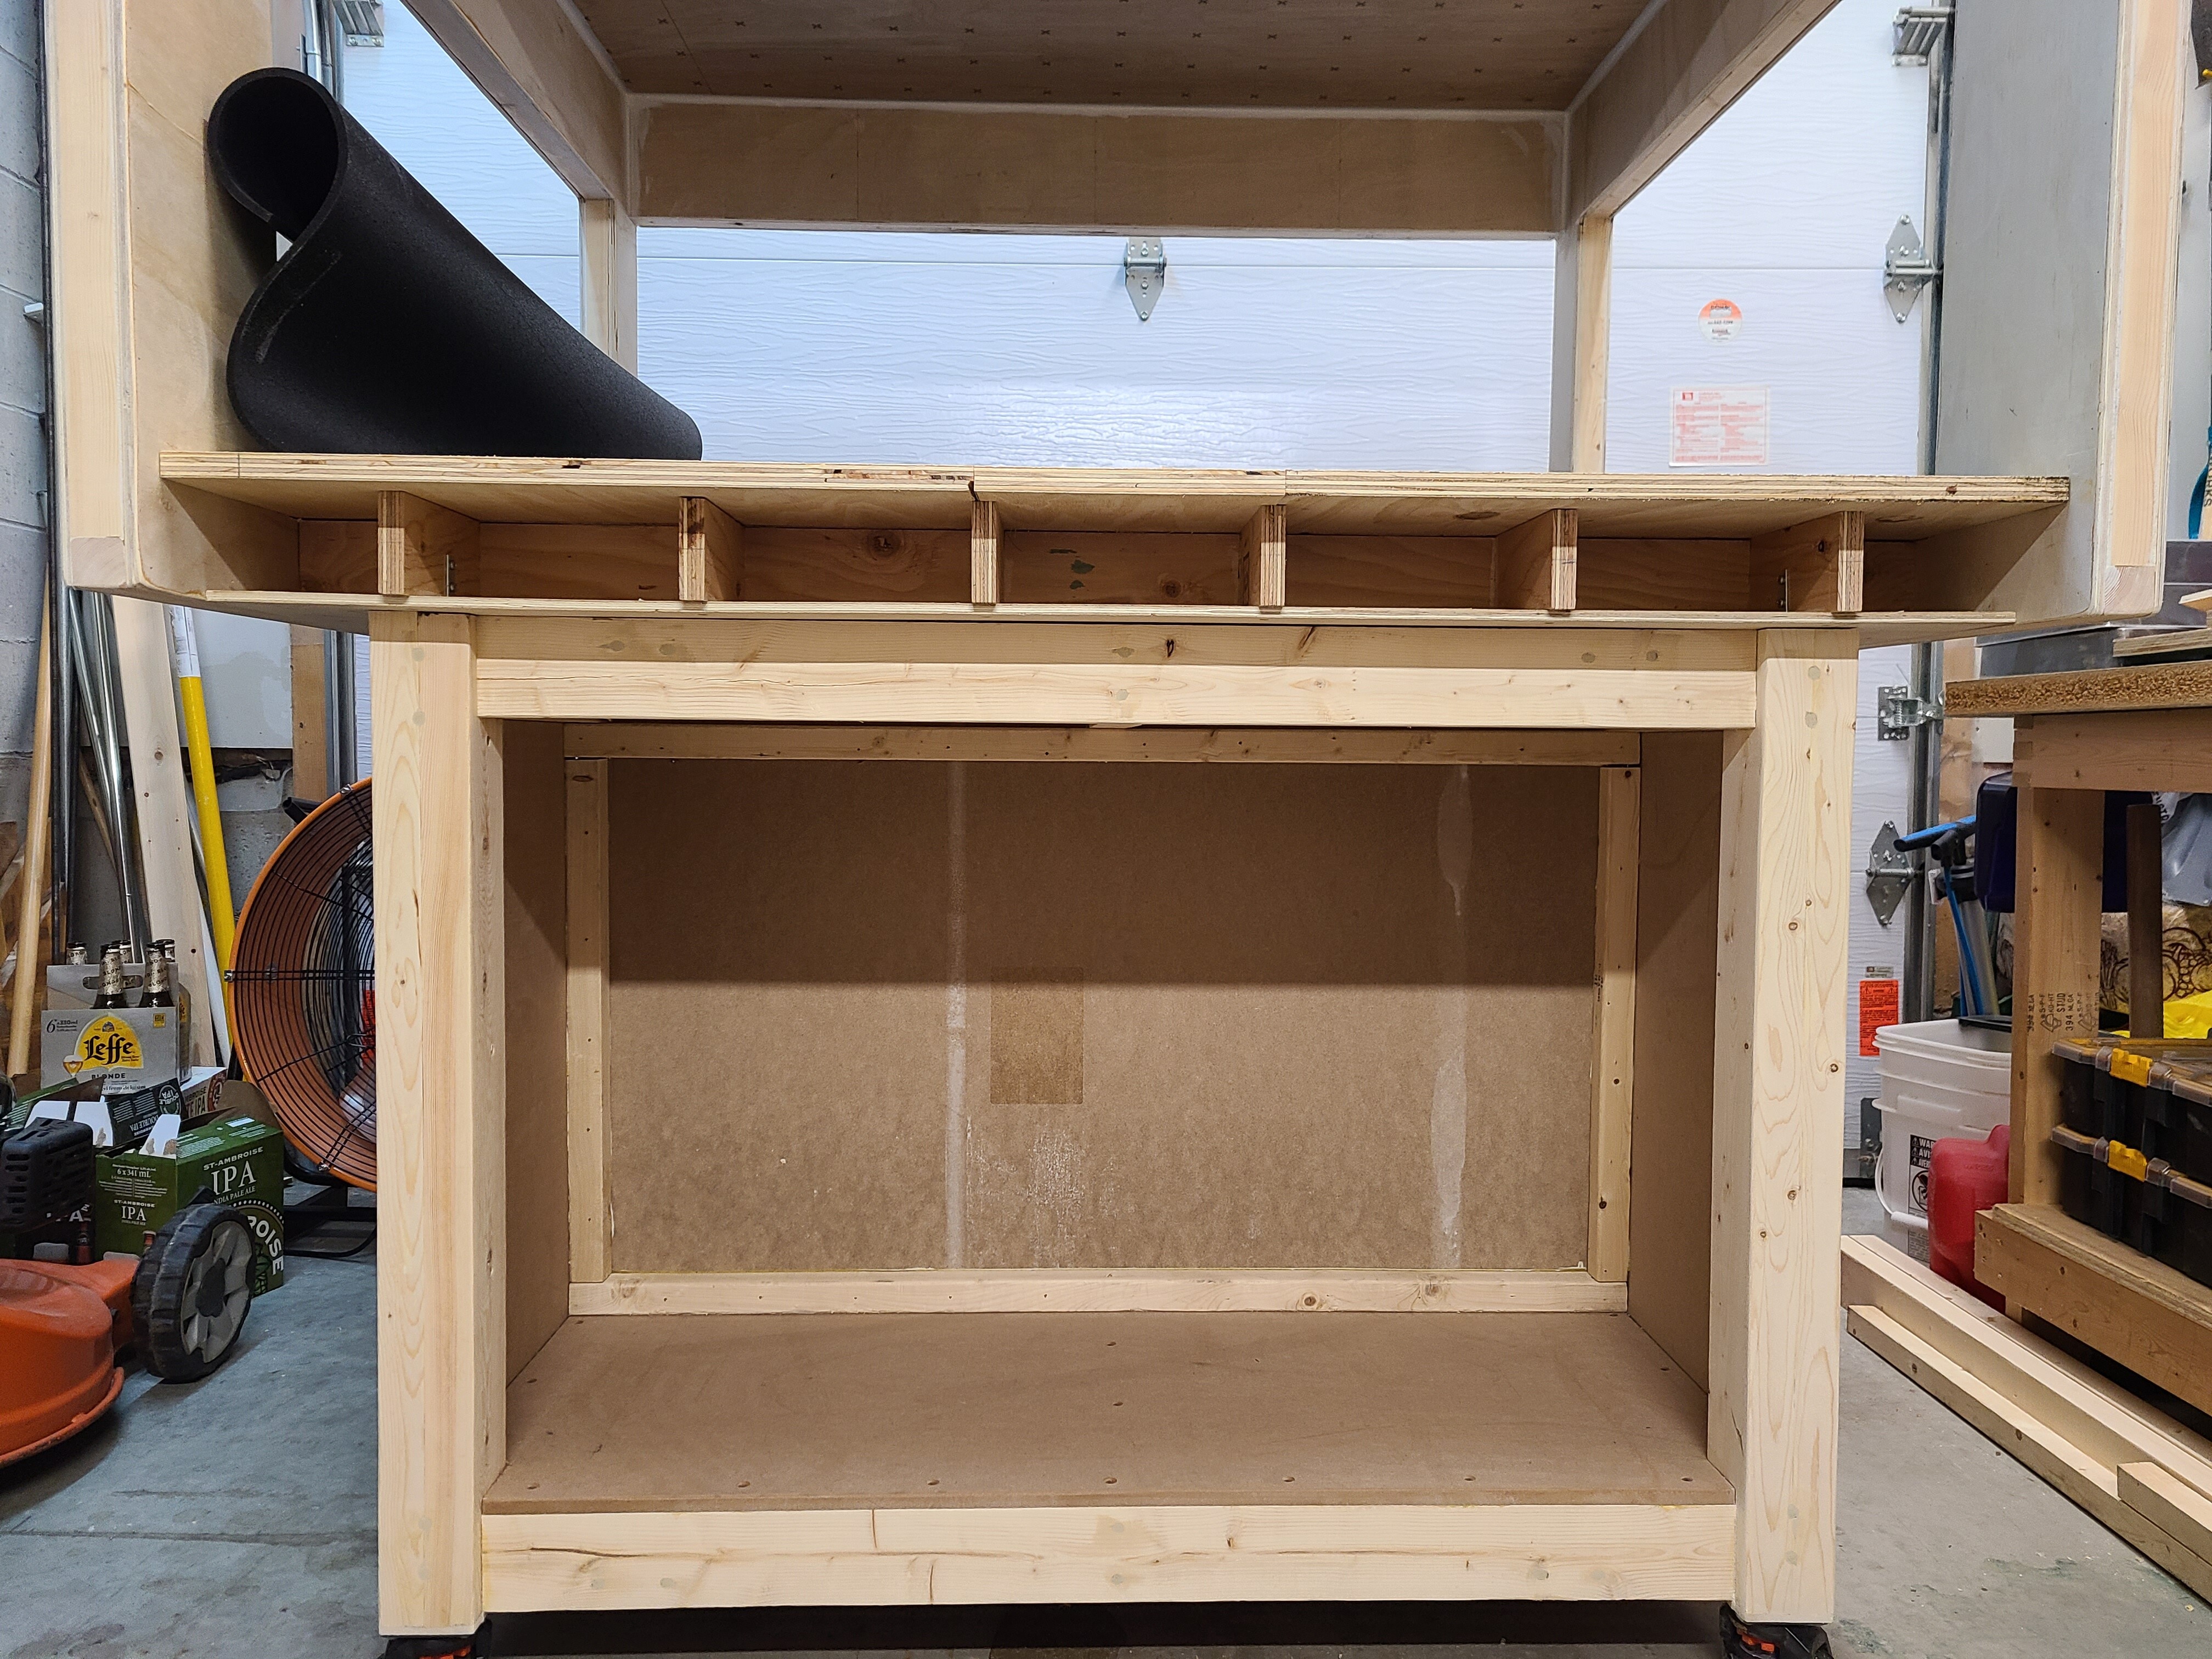
As for the lower portion I just used 2" x 4" which I ran through the table saw to square up the rounded edges to facilitate gluing pieces together. A jointer/planer would have been better but I do not have these tools, maybe later in the future. I also decided to make the base not as wide as the table so there’s a slight overhang for when I’ll access the worksurface from the front/sides.
I would have liked to start assembling my CNC today but waiting for an Amazon order to deliver the casters that didn’t show up today. Once I get the casters on I think I’ll follow up with the following:
Setup the Shapeoko
Build the top enclosure (priority will be to contain the dust over the noise of the dust collection/vacuum)
Organize the space below the table (ie. drawer/cabinet, dust collection, power management, possible home for a future spindle upgrade/vfd, etc…)
Sand, paint and add some extra cosmetic touchups.
Looking forward to joining this community and get my first projects underway. I’ll update this thread as I make progress throughout my enclosure build. In the meantime if anyone has comments/feedback/food for thought please feel free to share as I’d rather deal/catch something critical during the build process then discover an issue/flaw once is it’s all done and have to fix a finished product.
Great job on that guide, very detailed and useful information. As I was building mine I was thinking wouldn’t it be nice if I already had the machine setup to cut the pieces although I would have needed to tile the job as the parts obviously need to be longer/wider than the cut area of the machine.
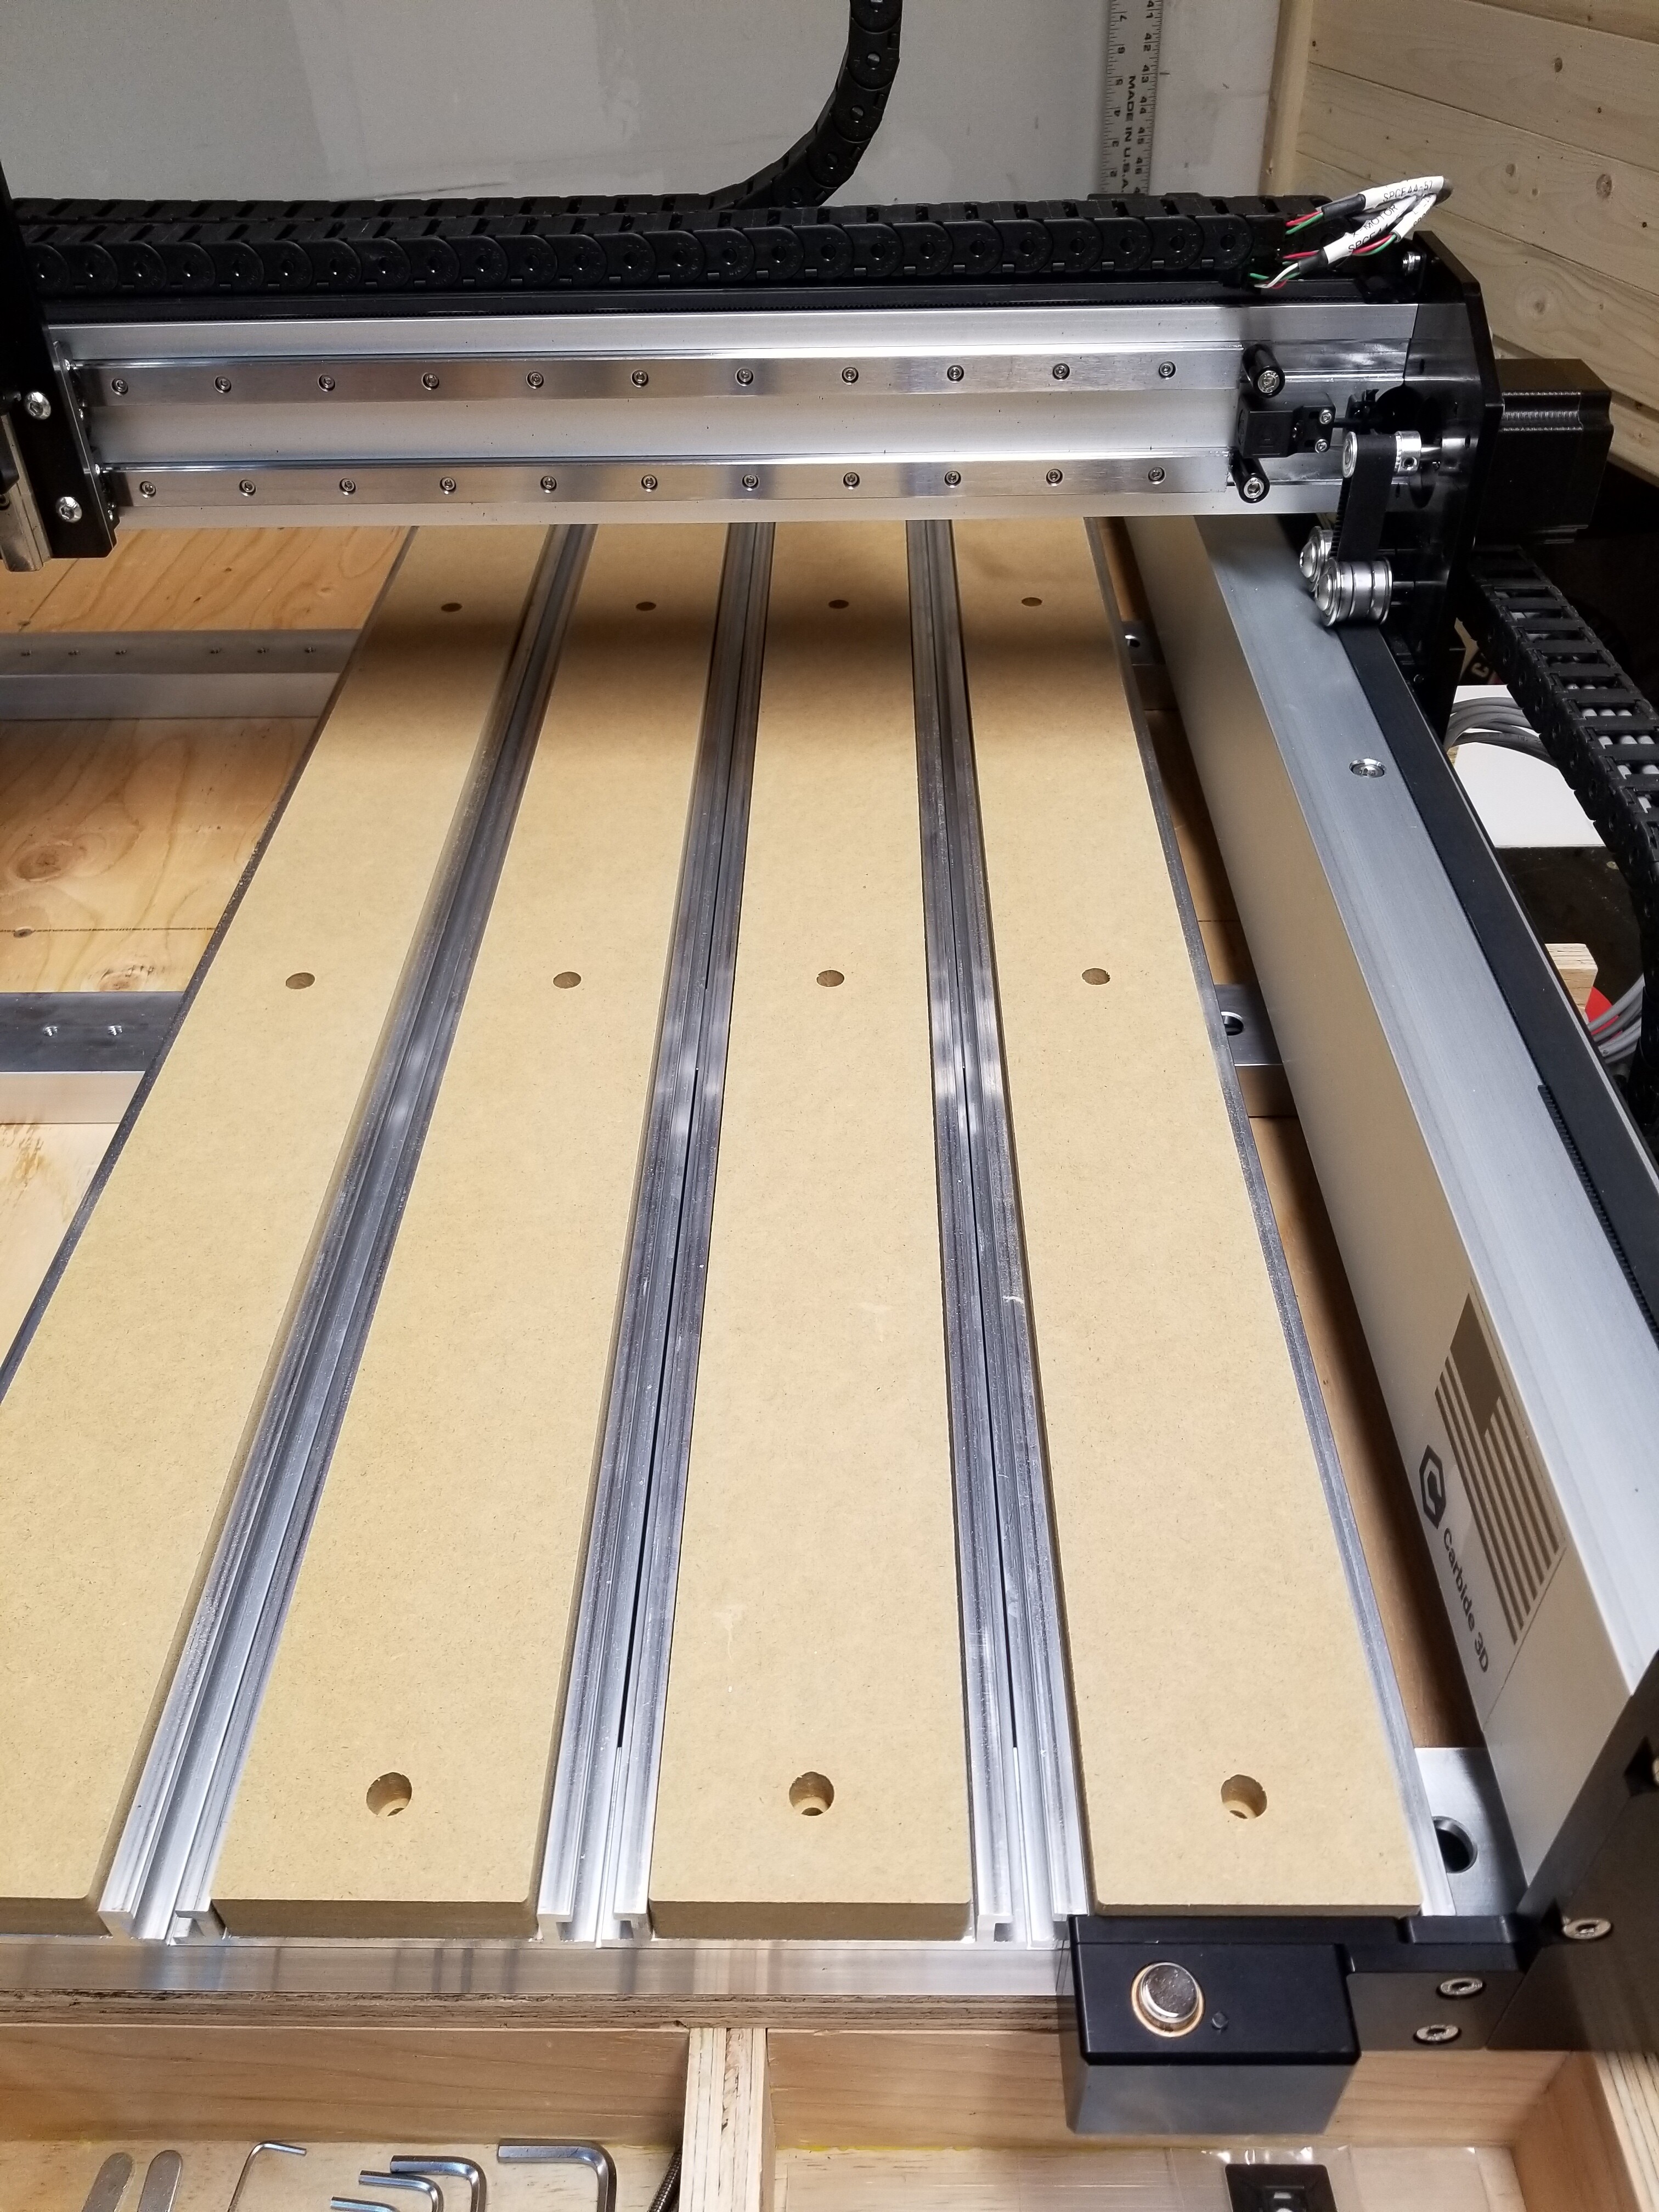
So I thought I read somewhere something about the hybrid table having a new design and doing away with the filler strips and by the looks of it that’s what I ended up getting. Now looking at this I had an idea to incorporate this into my enclosure design. I’m not delusional thinking that I’ll keep all the dust from getting out of the enclosure and spreading out in my garage but I’ll do my best to minimize it as much as possible. With the small separation between the aluminum extrusions I’m thinking maybe this can help create a downdraft worksurface by cutting a hole through the table and attaching dust collection to it. My plan is to eventually get a bigger dust collection unit with 6" duct work and for the CNC machine split into 2 x 4" hose where the 1st goes to a dust shoe and the 2nd goes to either an intake under the machine (the downdraft table idea) or near the back of the enclosure to extract the really fine dust floating around inside the enclosure. Interested in hearing others take on this approach of trying to create the downdraft idea. Also good to note that even if these slits are small and maybe not equal to the surface area of a 4" hose air could also make it’s way under the CNC bed by passing just inside the main Y beams/extrusions as there’s plenty of clearance there.
Got some more time this weekend to continue my enclosure build so worked on the side panels today. Basically I’m going with a layered panel framing with 2” x 2” (actually it’s truly 1-1/2”), 1/4” plywood as the outside skins and 3 layers of fitted ceiling tile to fill the cavities between the framing. The middle will be a removable panel to gain access from the sides.
I know the lumber prices are just insane these day. I remember not long ago I could buy 3/4" plywood for about $45 per sheet. Bought some 3 weeks ago at $85 and went back about 1 week ago and I saw the same sheet was at $98 per sheet (Canadian currency). Makes for an expensive enclosure which would have cost less than half only 1 year ago. Oh well no turning back now as this is where my project is at now.
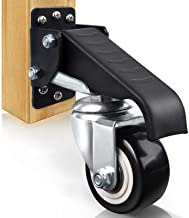
If you have not put wheels under your enclosure you will wish you had. Even though the enclosure is large mobility is important for machine and shop maintenance. If you get casters get the kind that lock in both directions.
Completely agree and I did add casters rated for 550lbs each so worst case an uneven floor where the majority of the weight is supported on 2 wheels that’s 1100lbs so I think I’ll be good there
Then once set in place you turn the orange disk or use a 1/2" wrench to lift the enclosure off the casters and level so it won’t be going anywhere once set in place.
(Edit: Mobility was a must since it’s a fairly small space and if I ever want to pass longer pieces through for tiling a job then I need to be able to move it around)
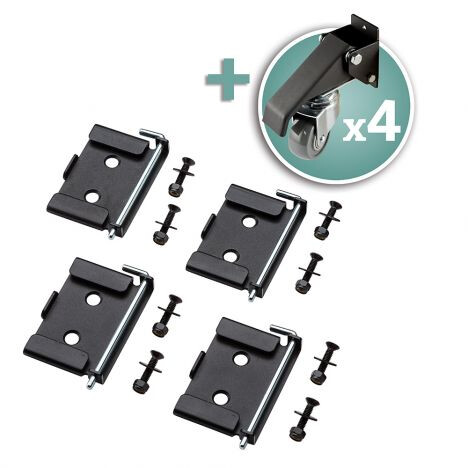
Those type casters are pretty good. You can buy an extra set of mounting brackets that stay on the bench and you can move the wheels around the shop and use them on different tables/benches. Then you get more bang for your buck. You usually only raise the object to move it and then drop it back down with the wheels doing nothing in the mean time. The only complaint I have with them is they stick out pretty far and if not placed in the right place they can be easily kicked and/or trip you. The leverage to raise them is not too bad but sometimes to reach the back legs can be hard if you are in close quarters with other objects. Additionally they do not raise your tool very far so if you have rough terrain to roll over you can get into trouble with this type. As long as your floor is reasonable level they work fine but you cannot go over any obstacles with them like the lip of a garage door etc.
This image is from Rockler.com. Some of the cheaper versions do not have the brackets.
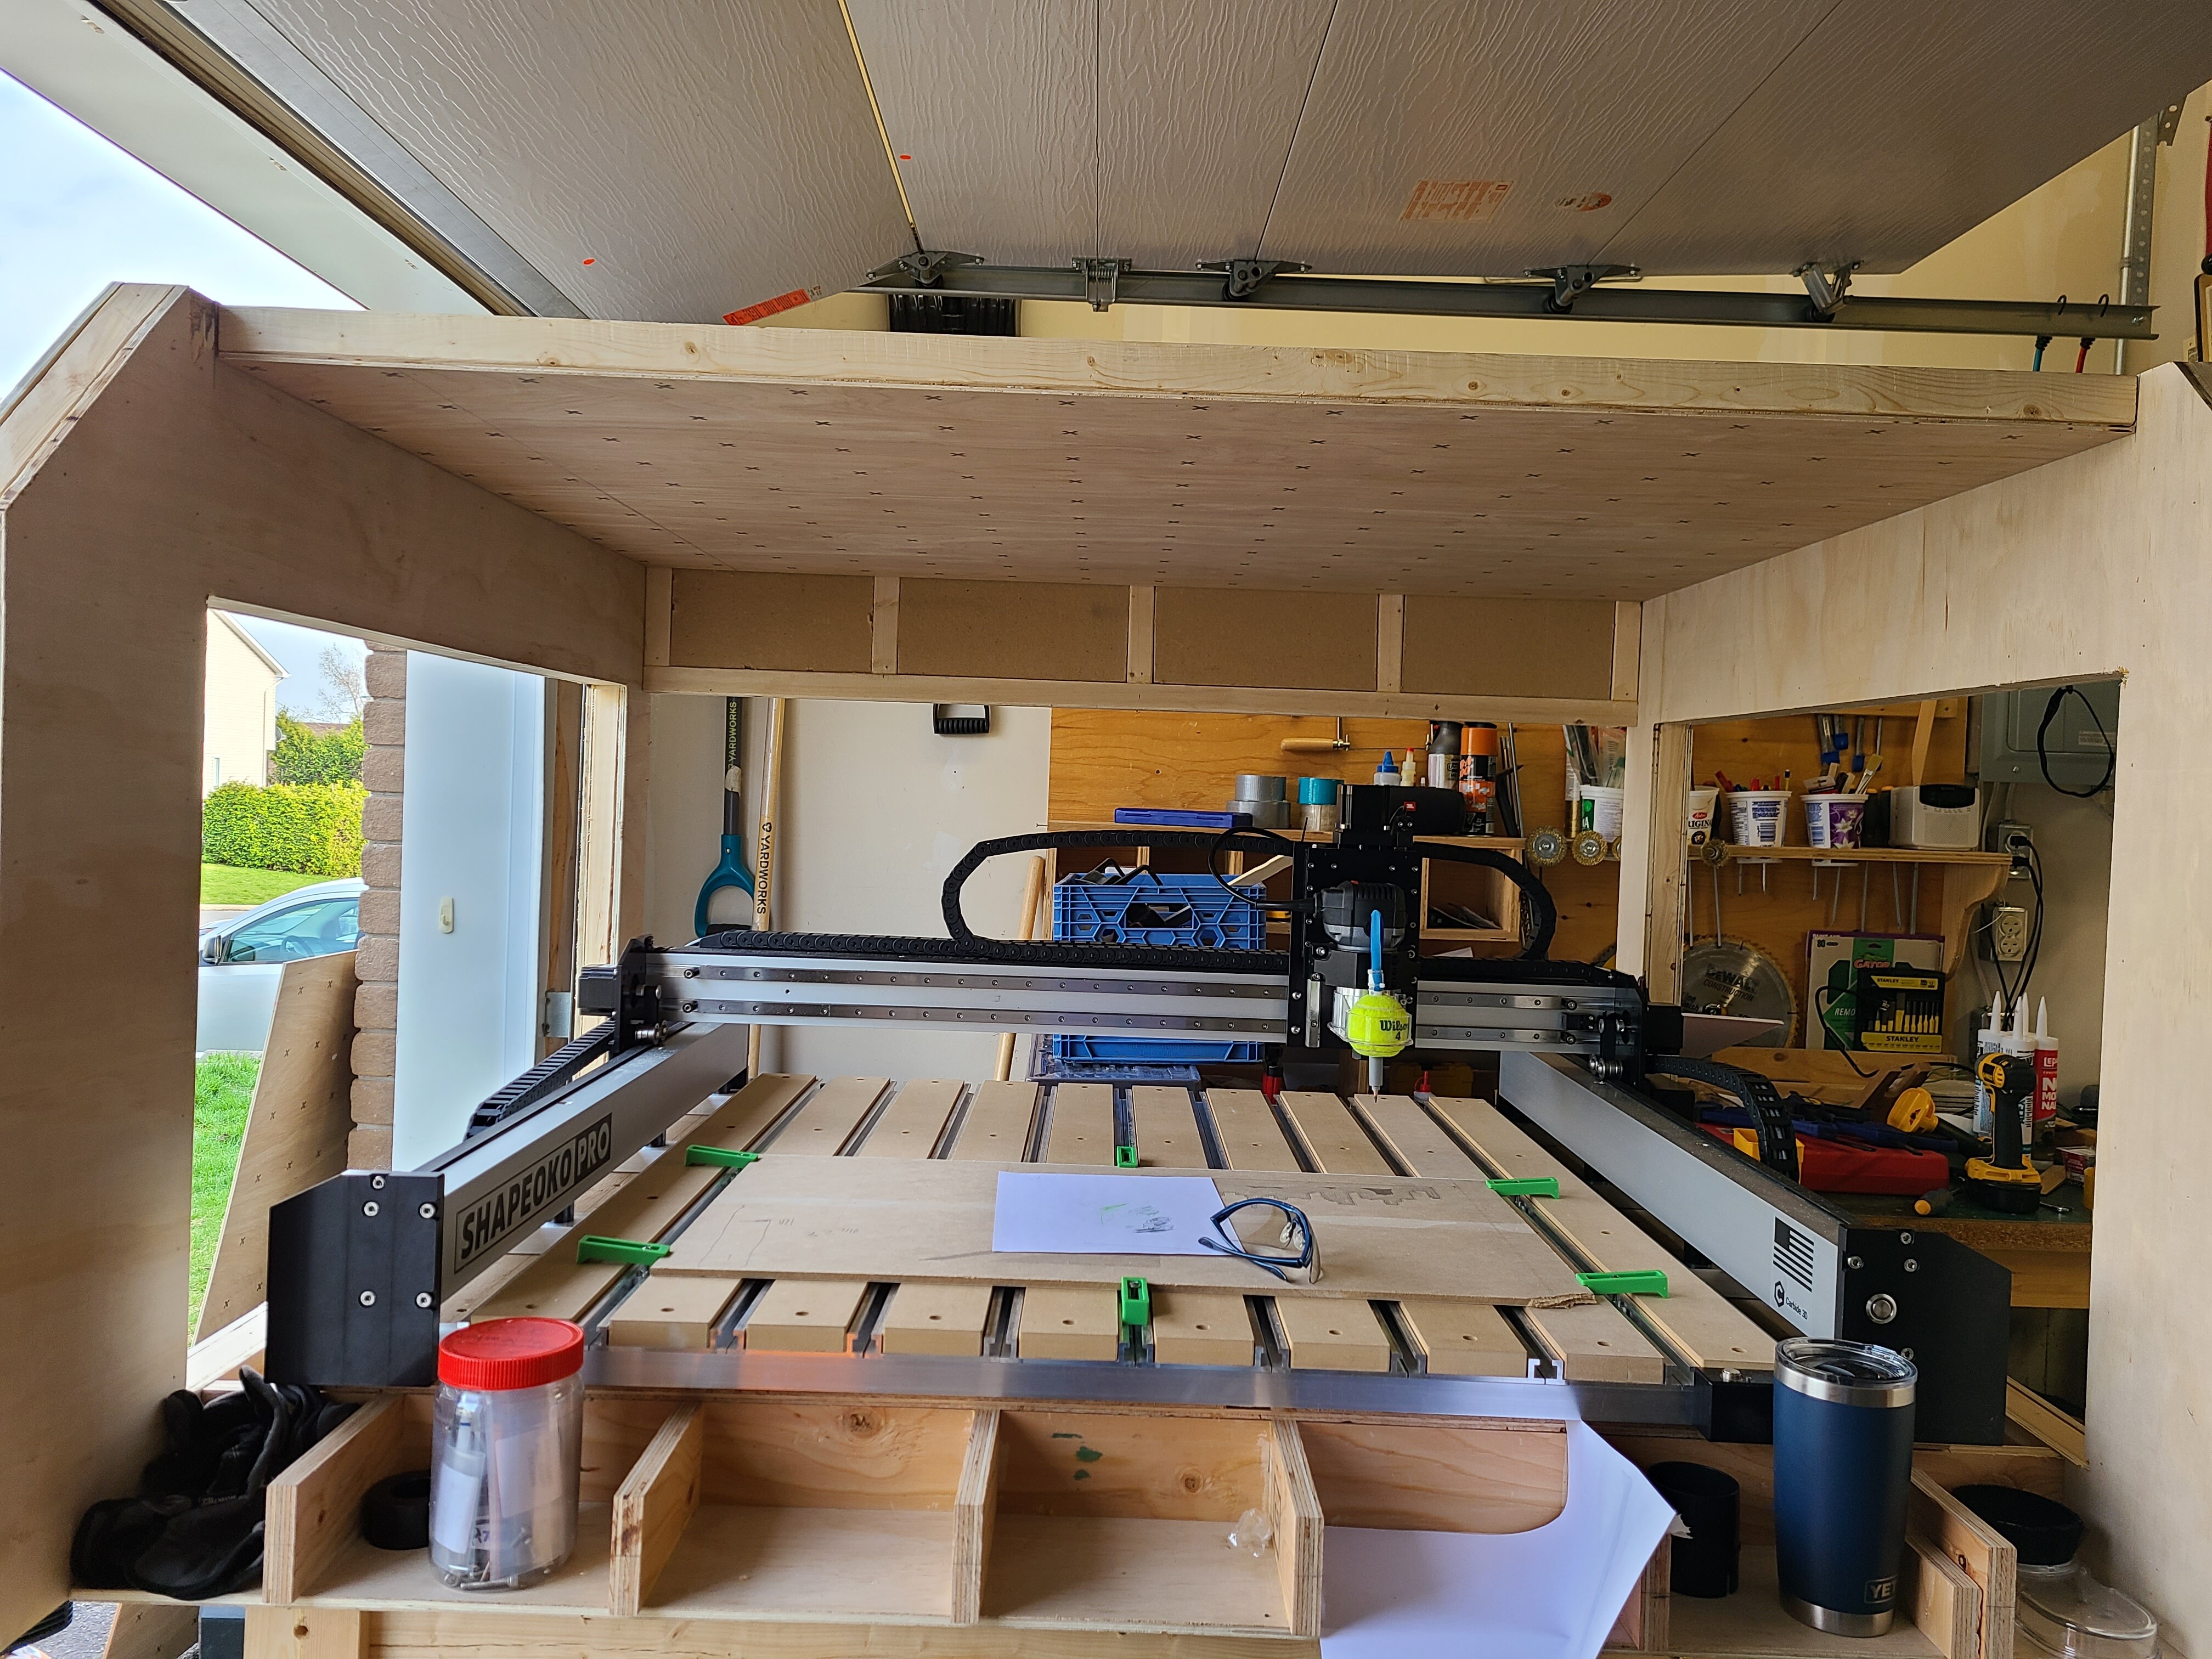
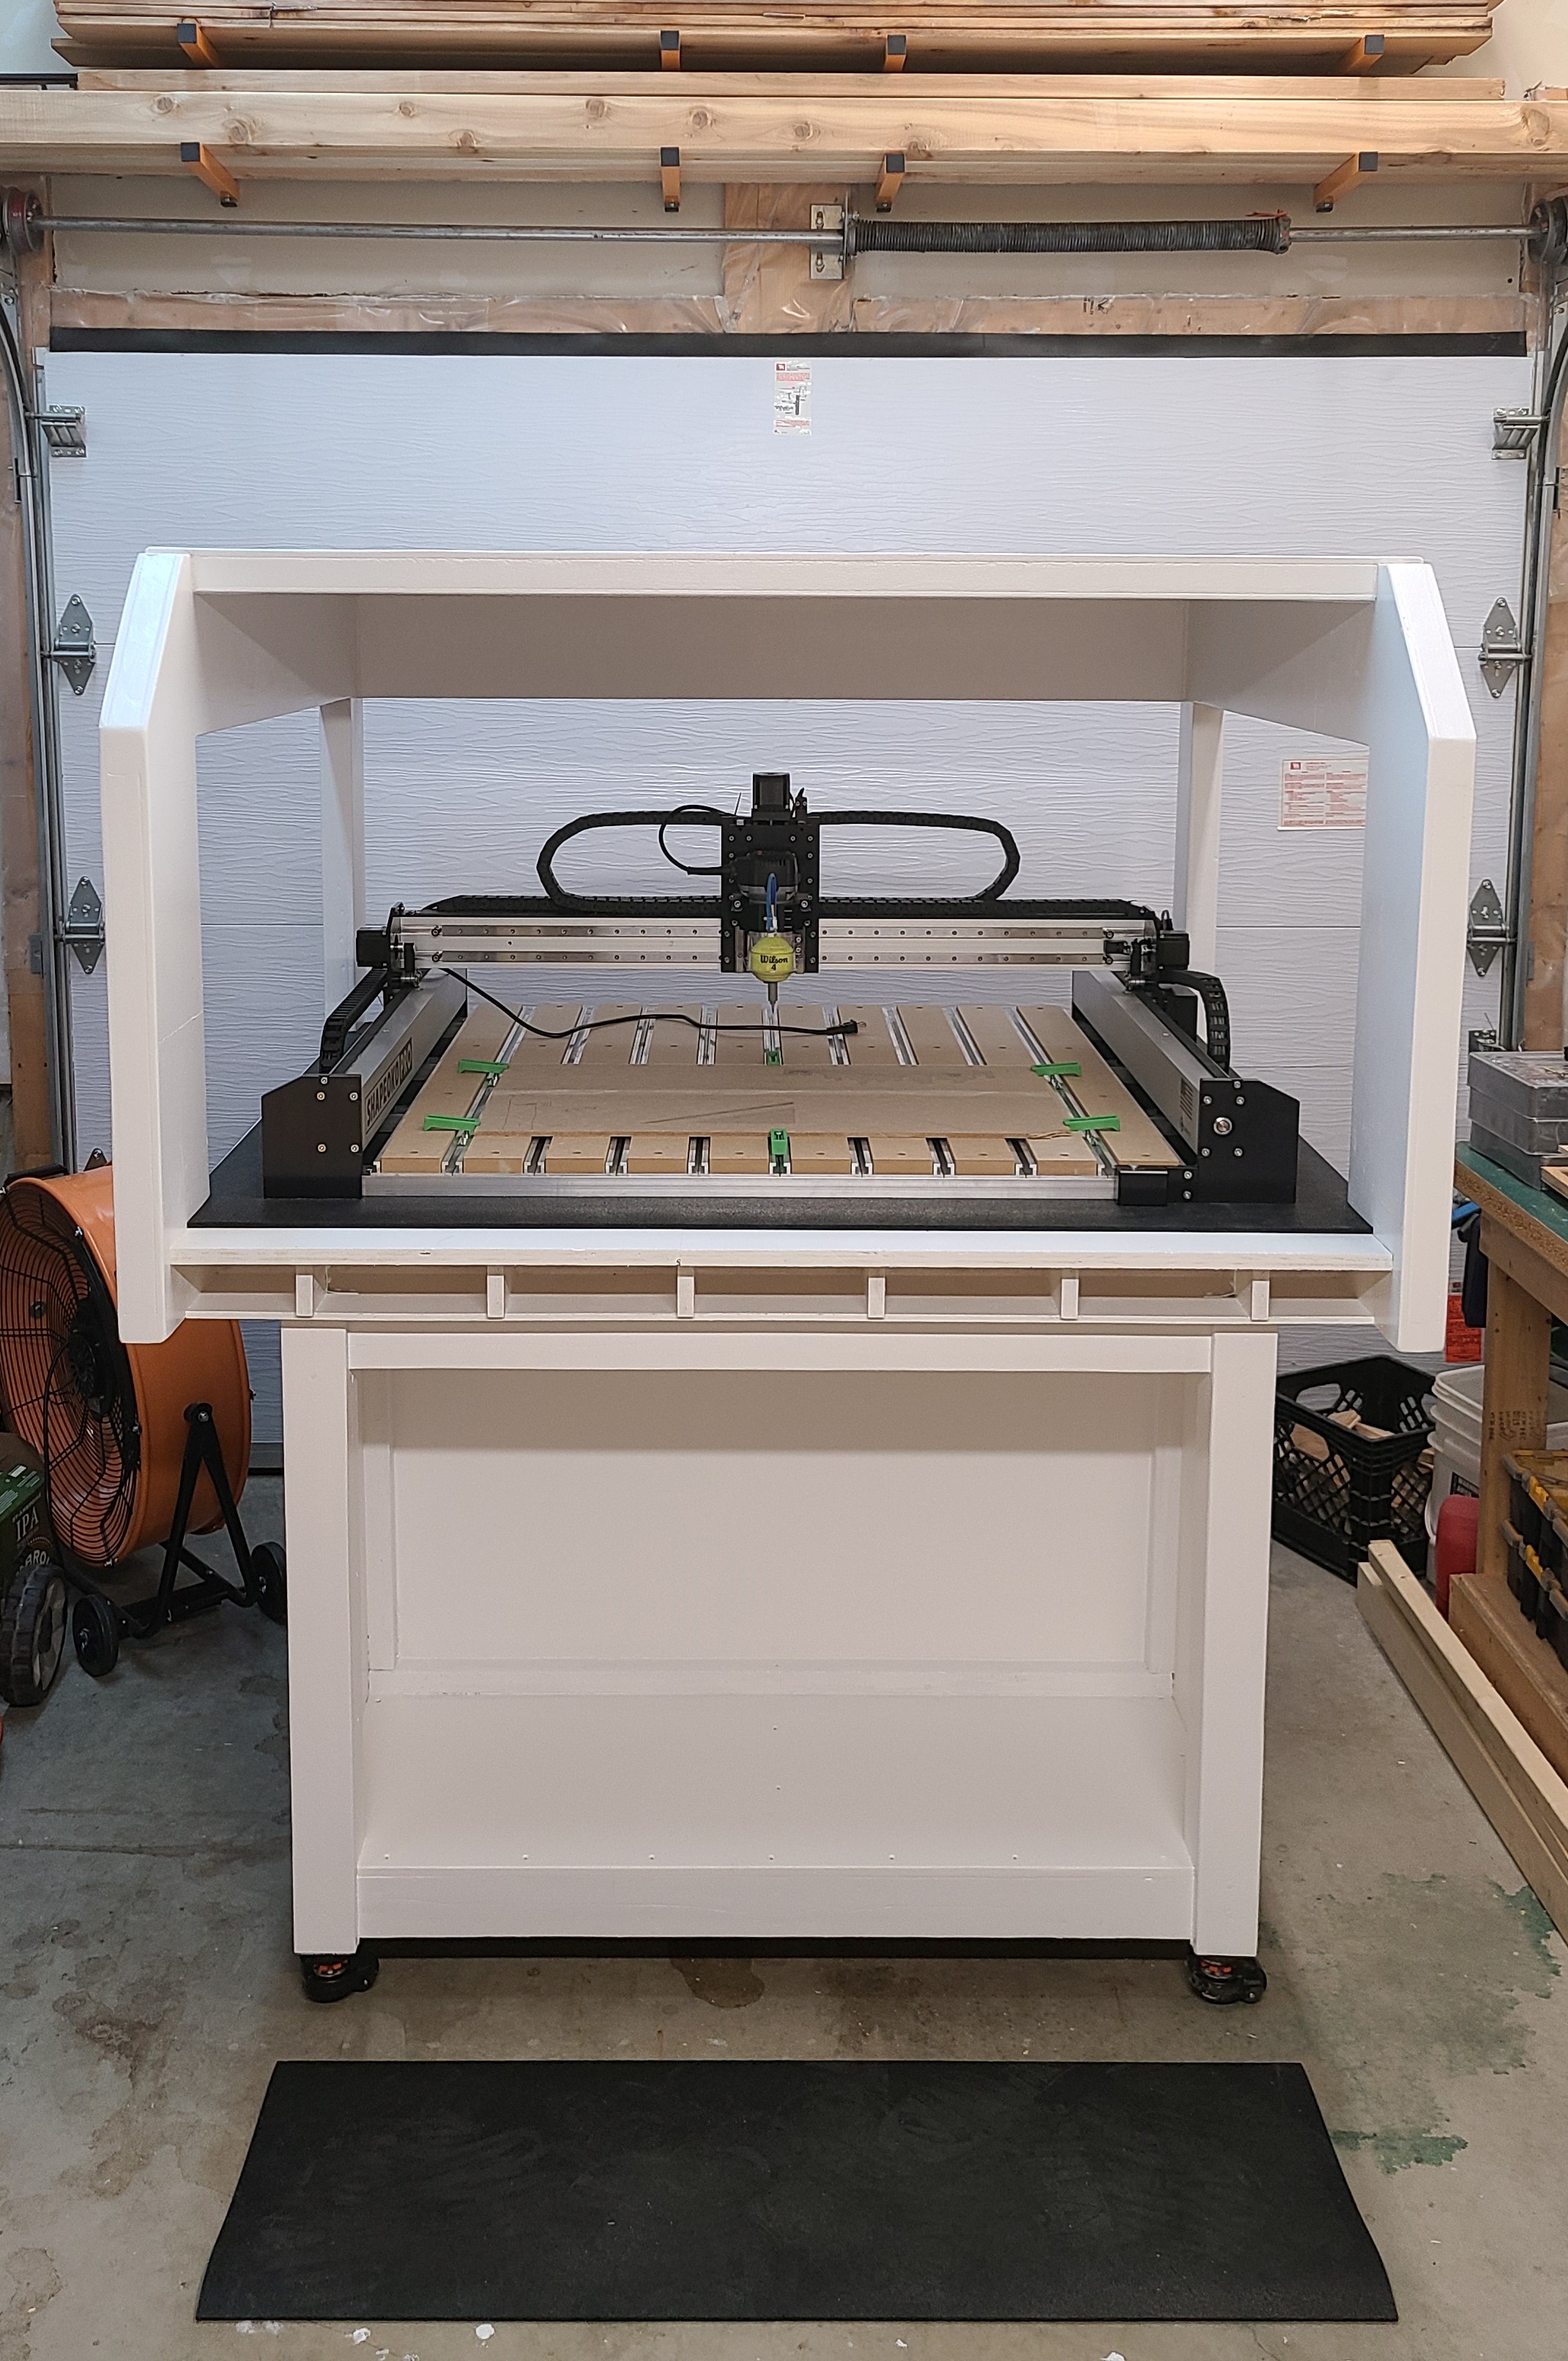
Got the top added to my enclosure today. Same as the rest of the panels I sandwiched the 2x2 framing between plywood skins and added 3 layers of ceiling tile again to fill the void between the 2x2 framing. I think I’m finally far enough along to paint the interior white and seal the access panel openings with vapor barrier to start making chips and use the shapeoko to make my access panels. I also have a 1/4" piece of plexiglass on order for the front door. I remember watching Winston’s enclosure build and his comments about the time taken to build it… I can now relate to what he said.
I’m sure Wilson will have time for a few more pictures/attempts between now and close of contest #20. It’s funny how building an enclosure is kind of like moving into a new place… Now Wilson needs to choose paint colors, select some lighting, choose some flooring (table top material), get central vac setup, etc… And for those who are reading this and have no idea who Wilson is well it’s the tennis ball mounted in Sweepy’s holder in the previous picture that’s made an appearance in the Community Contest #20.
(Edit: as for Community Challenge #20 I’m also looking into the different toolpath available in Fusion 360 to see if I can get different patterns/textures in the drawing)
So today I took the Shapeoko out of the enclosure and did some sanding, crackfilling/hide fasteners, siliconed edges and got this 40lbs piece of 3/8 rubber to cover the worksurface and help dampen vibrations. Its actually a workout/exercise mat. Next step is prime and paint. Also going to use the spaces between the framing of the torsion tables for small drawers and hold tools, collets, etc… that is handy to have close by.
Well that’s done but this was probably one of the most awkward things I’ve ever painted. I’ve painted on numerous occasions and never finished the job with as much paint transfer on my clothes, arms, face, head… At least the inside will be white so no more reaching in there with wet paint all around me.
(Edit: Changed picture for one with the Shapeoko in the encolsure. There was also enough of the rubber mat to have a pad to stand on while in front of the enclosure.
Eric, I have those same casters from Rockler! But I also purchased some plates to mount on each Cabinet, table or whatever. Then with one set of wheels, you can use them on all equipment!! Tried to show link but I don’t know how. But thery are from https://www.rockler.com/