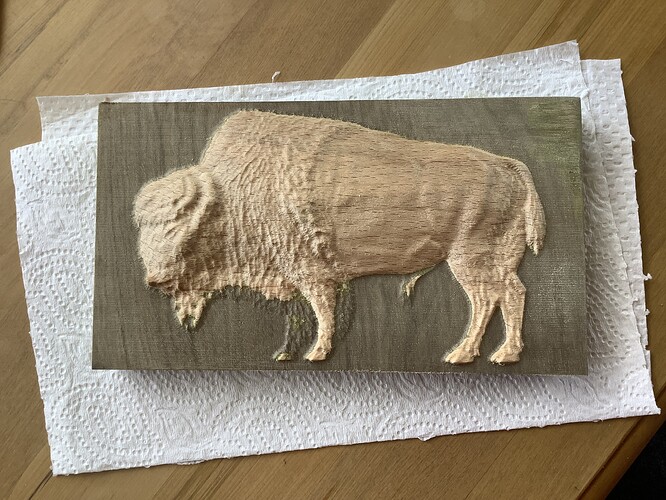
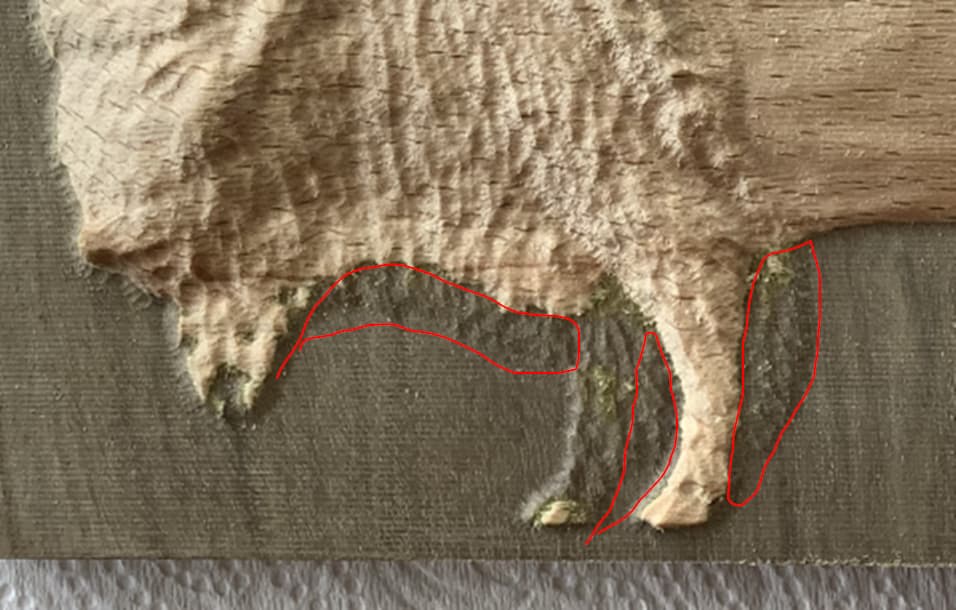
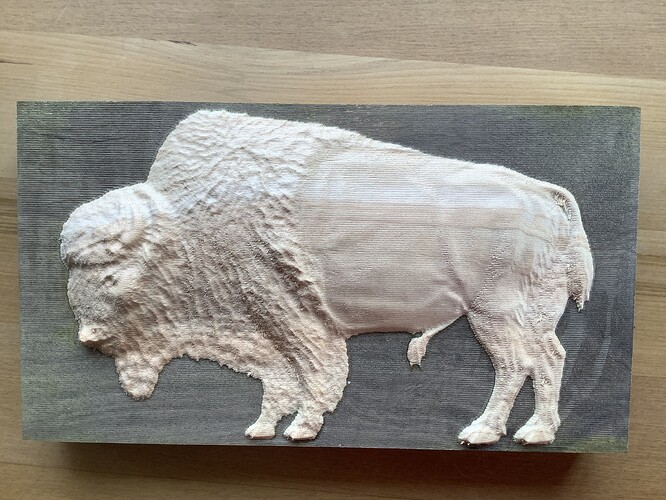
Hi all,I have had two goes at carving the Bison using two separate woods glued together in order to get one to stand out.First attempt missed going deep enough by .5mm,I was probably far to cautious.Second attempt nearly got there but the front leg has gone a bit deep and carved into the base wood,the difference is .3mm.Now a question if I carve out to say a 1mm above where I need to go,can I then do another cut the third as a finishing one to carve outside the Bison?
Are you talking about a profile / contour cut to flatten out these areas?
I would think so, you just need to be able to define that outline.
Hi Tod.Yes I think that is my only way to do it,I am struggling to think of any other way.
I did a 2-piece carve like that, what I did is I set the finishing pass slightly higher than I wanted, and let that complete. After carefully measuring how much more was needed, I lowered my Z Zero by that much, and re-ran the finishing pass.
As I found out with a second attempt, sometimes as the top layer is removed, it will want to warp, and can do so with enough force to move even though it’s attached to the second layer. In my case, the center of the piece rose upwards, and so what should have been land turned into water.
I thought about that approach for this project but decided to cut the mountains separately and then glue to the base.
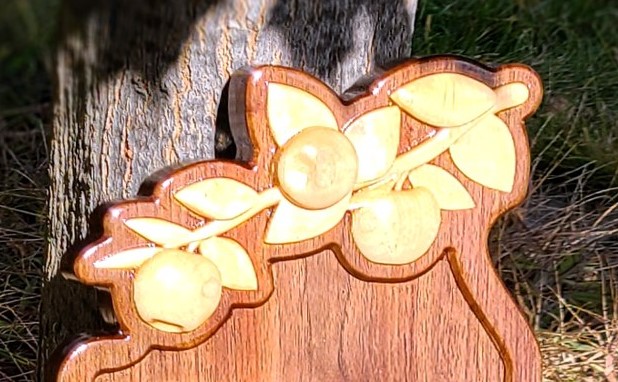
I’ll start by making the assumption that you’ve previously surfaced your spoil board and also either machined both sides of the darker wood species to make sure you have 2 parallel surfaces (top and bottom) or a quicker way would be using a jointer and planner. If you have not surfaced the spoil board or your stock to make sure uniform thickness this would most likely cause you grief using this method. I used this same approached when I made the following sign for the tree branch and apples.

- I did set my Z=0 at the height where both wood species faces are glued
- My bottom depth for carving the the 3d object was at .05mm above Z=0
- Like Tod mentioned I had defined a curve for the outer contour of the 3D object and used a toolpath that went slightly lower than Z=0 to surface the wood species in the background. This final toolpath did not touch the 3D object, only the background.
Yes I surfaced the wood both sides and the spoil board is also surfaced,I am only on a SO3 but thinking is there a small amount of deflection in the base,I might turn it 90 degrees and length wise down the machine but hard up to one side.The pieces of dark wood were all planed both sides before they were given to me,I checked for thickness then ran both sides with a skim pass to finally check.
Another option might be to add some space between the 3d object (bison) and background stock like .5mm. Not sure what software your using but in Fusion 360 I’d extrude the outline of the bison by about .5mm which is kind of like a buffer where you glue surface lands between Z=0 and Z=0.5mm. Good luck and let us know how you make out with this.
Well I did it,left the finishing pass higher by .1mm expecting to do another finishing pass but no I did not need to.My Zeros are at the top so wonder if work everything from the bottom up??
This topic was automatically closed after 30 days. New replies are no longer allowed.


