I just read this post:
Guess I grabbed extruded acrylic, but let’s see … ![]()
I’m editing this post to document my entry:
Seems the whatever type of acrylic was no problem.
I did an “advanced” (w/o bitsetter) V carve using a
- 90° V bit at 1700mm/m and 17000 rpm
- 6mm end mill with 2700mm/m 17000 rpm and 900mm/m plunge rate, DOC was 1mm
During pocketing it startet to smell of warm plastic very quickly, so I added 30% to the feed rate.
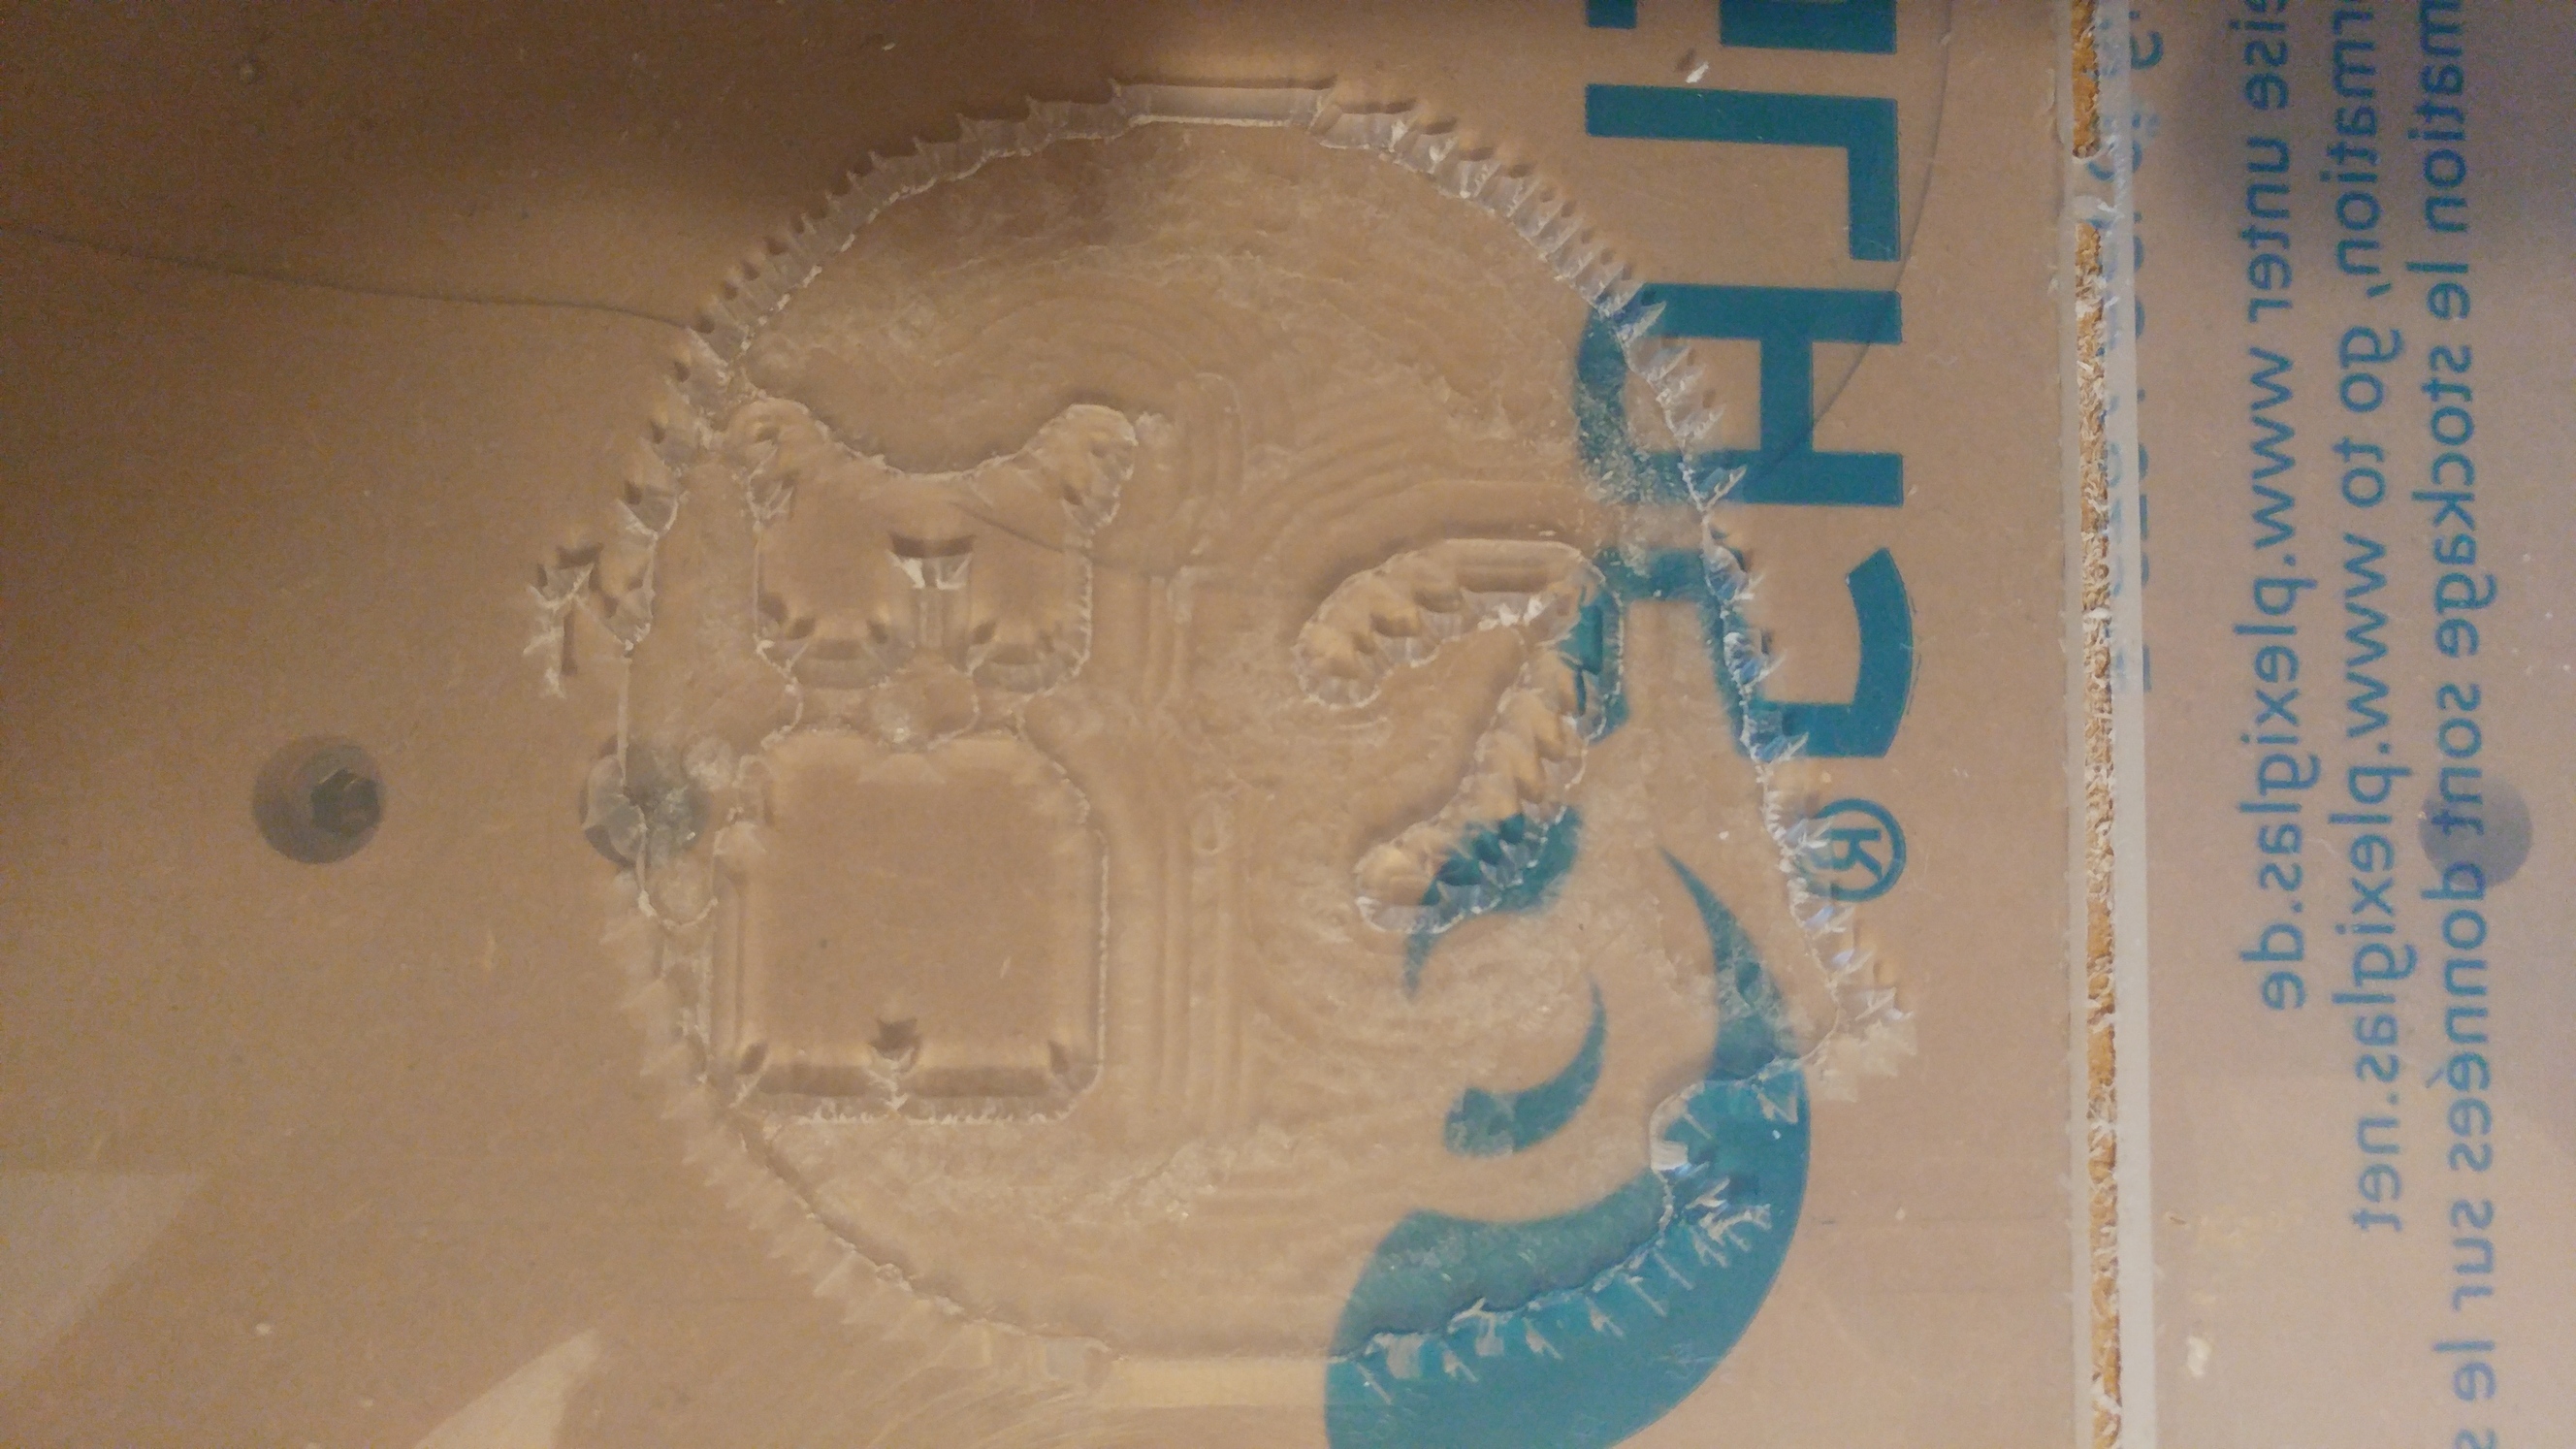
Those are the V carve chips:
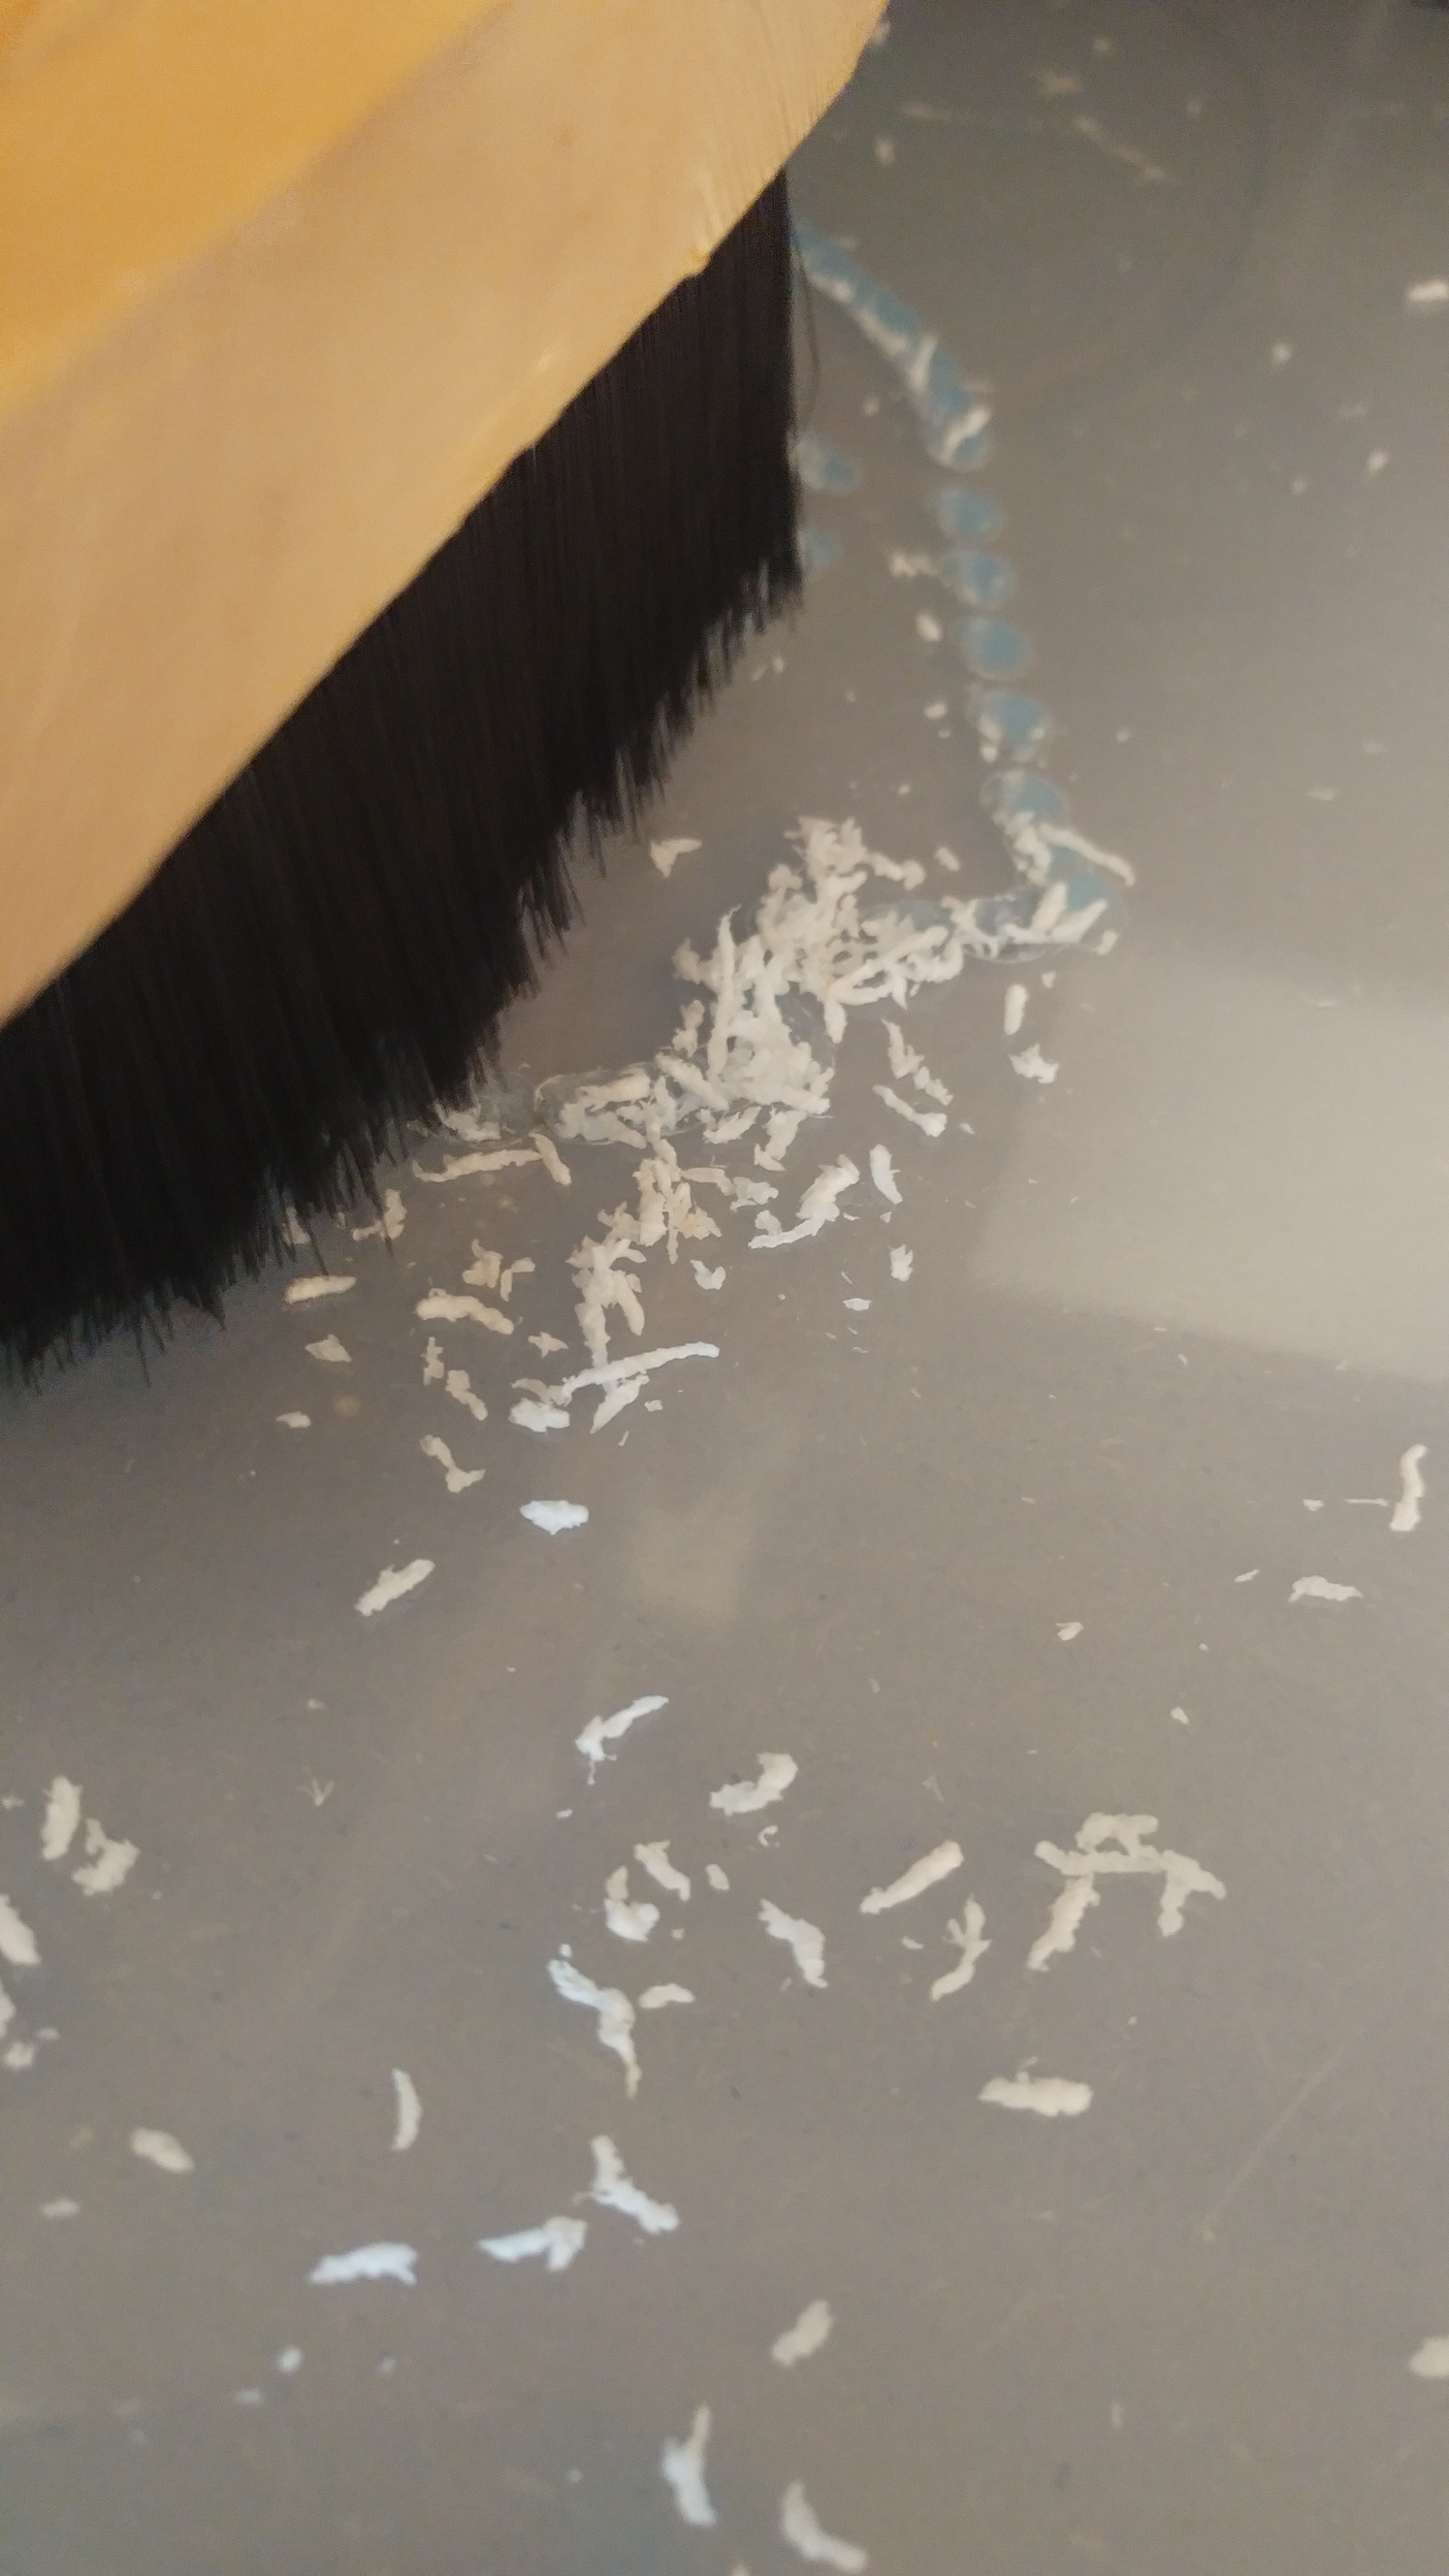
And the end mill chips:
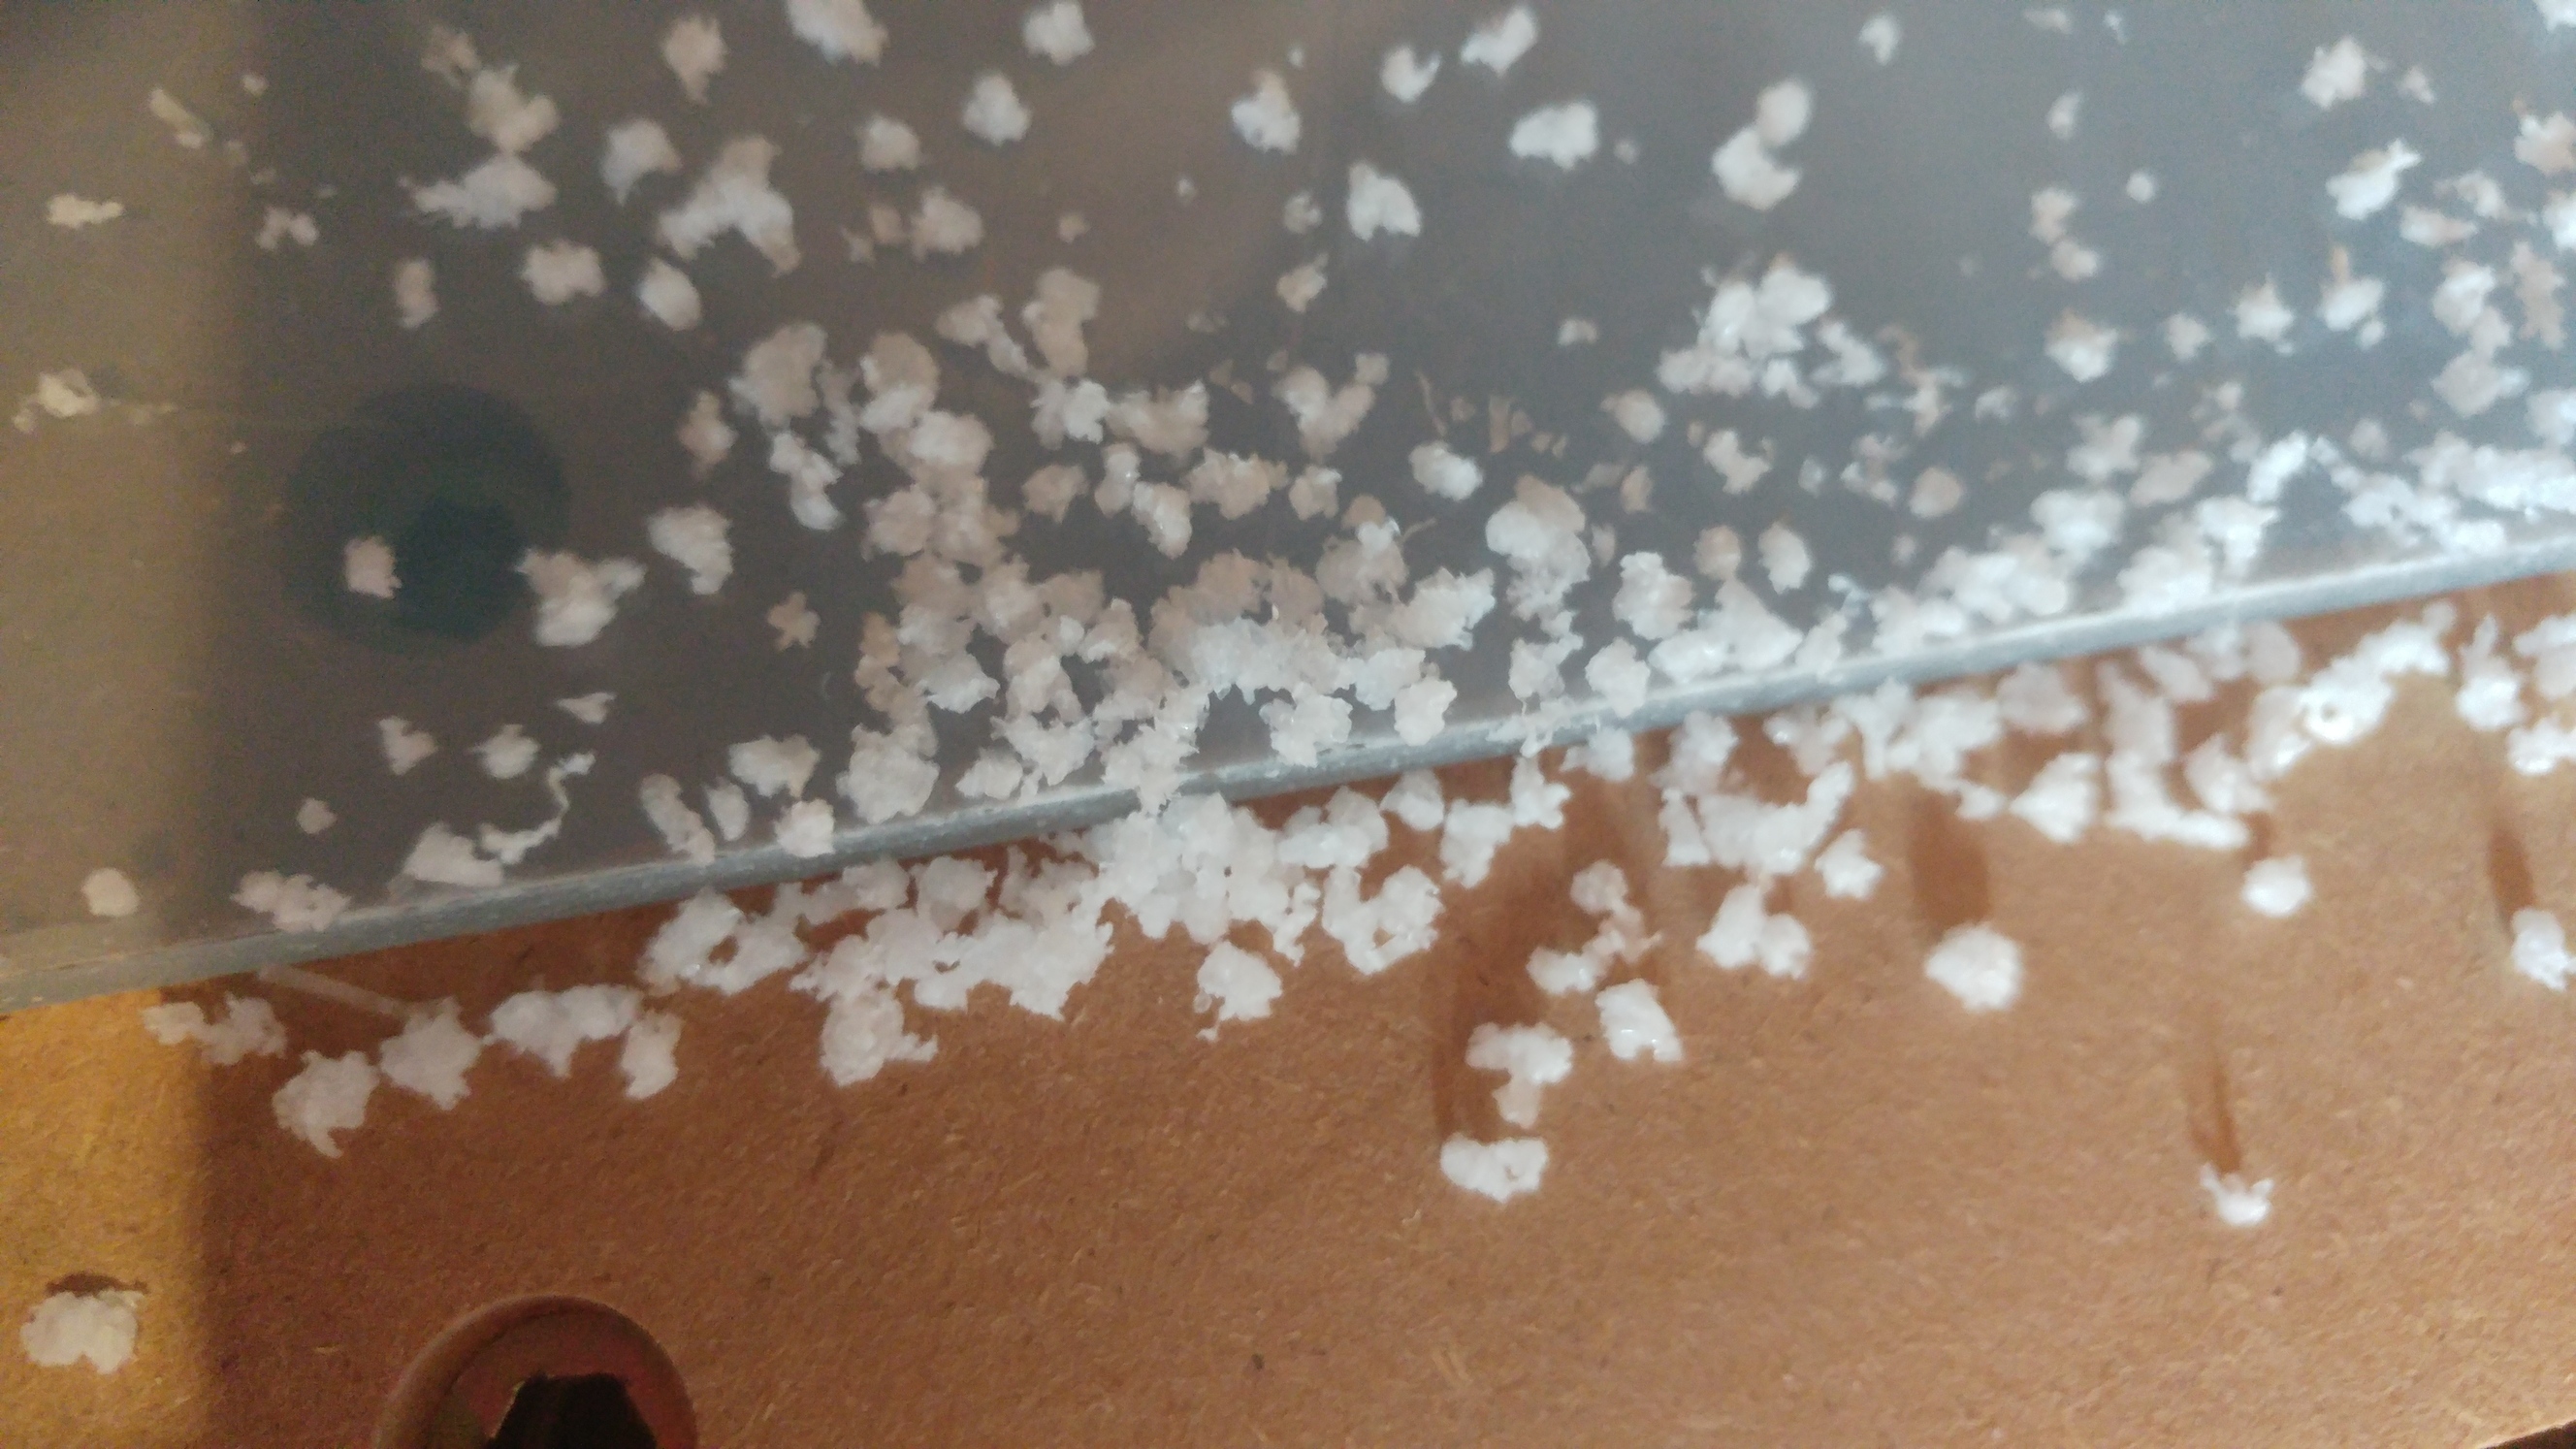
Seems that in both cases smaller chips melted together to bigger chunks but nothing sticked to the bits!
It all went quite well, until my clamps gave in to the high feed rate: The stock started moving and the result screwd up.
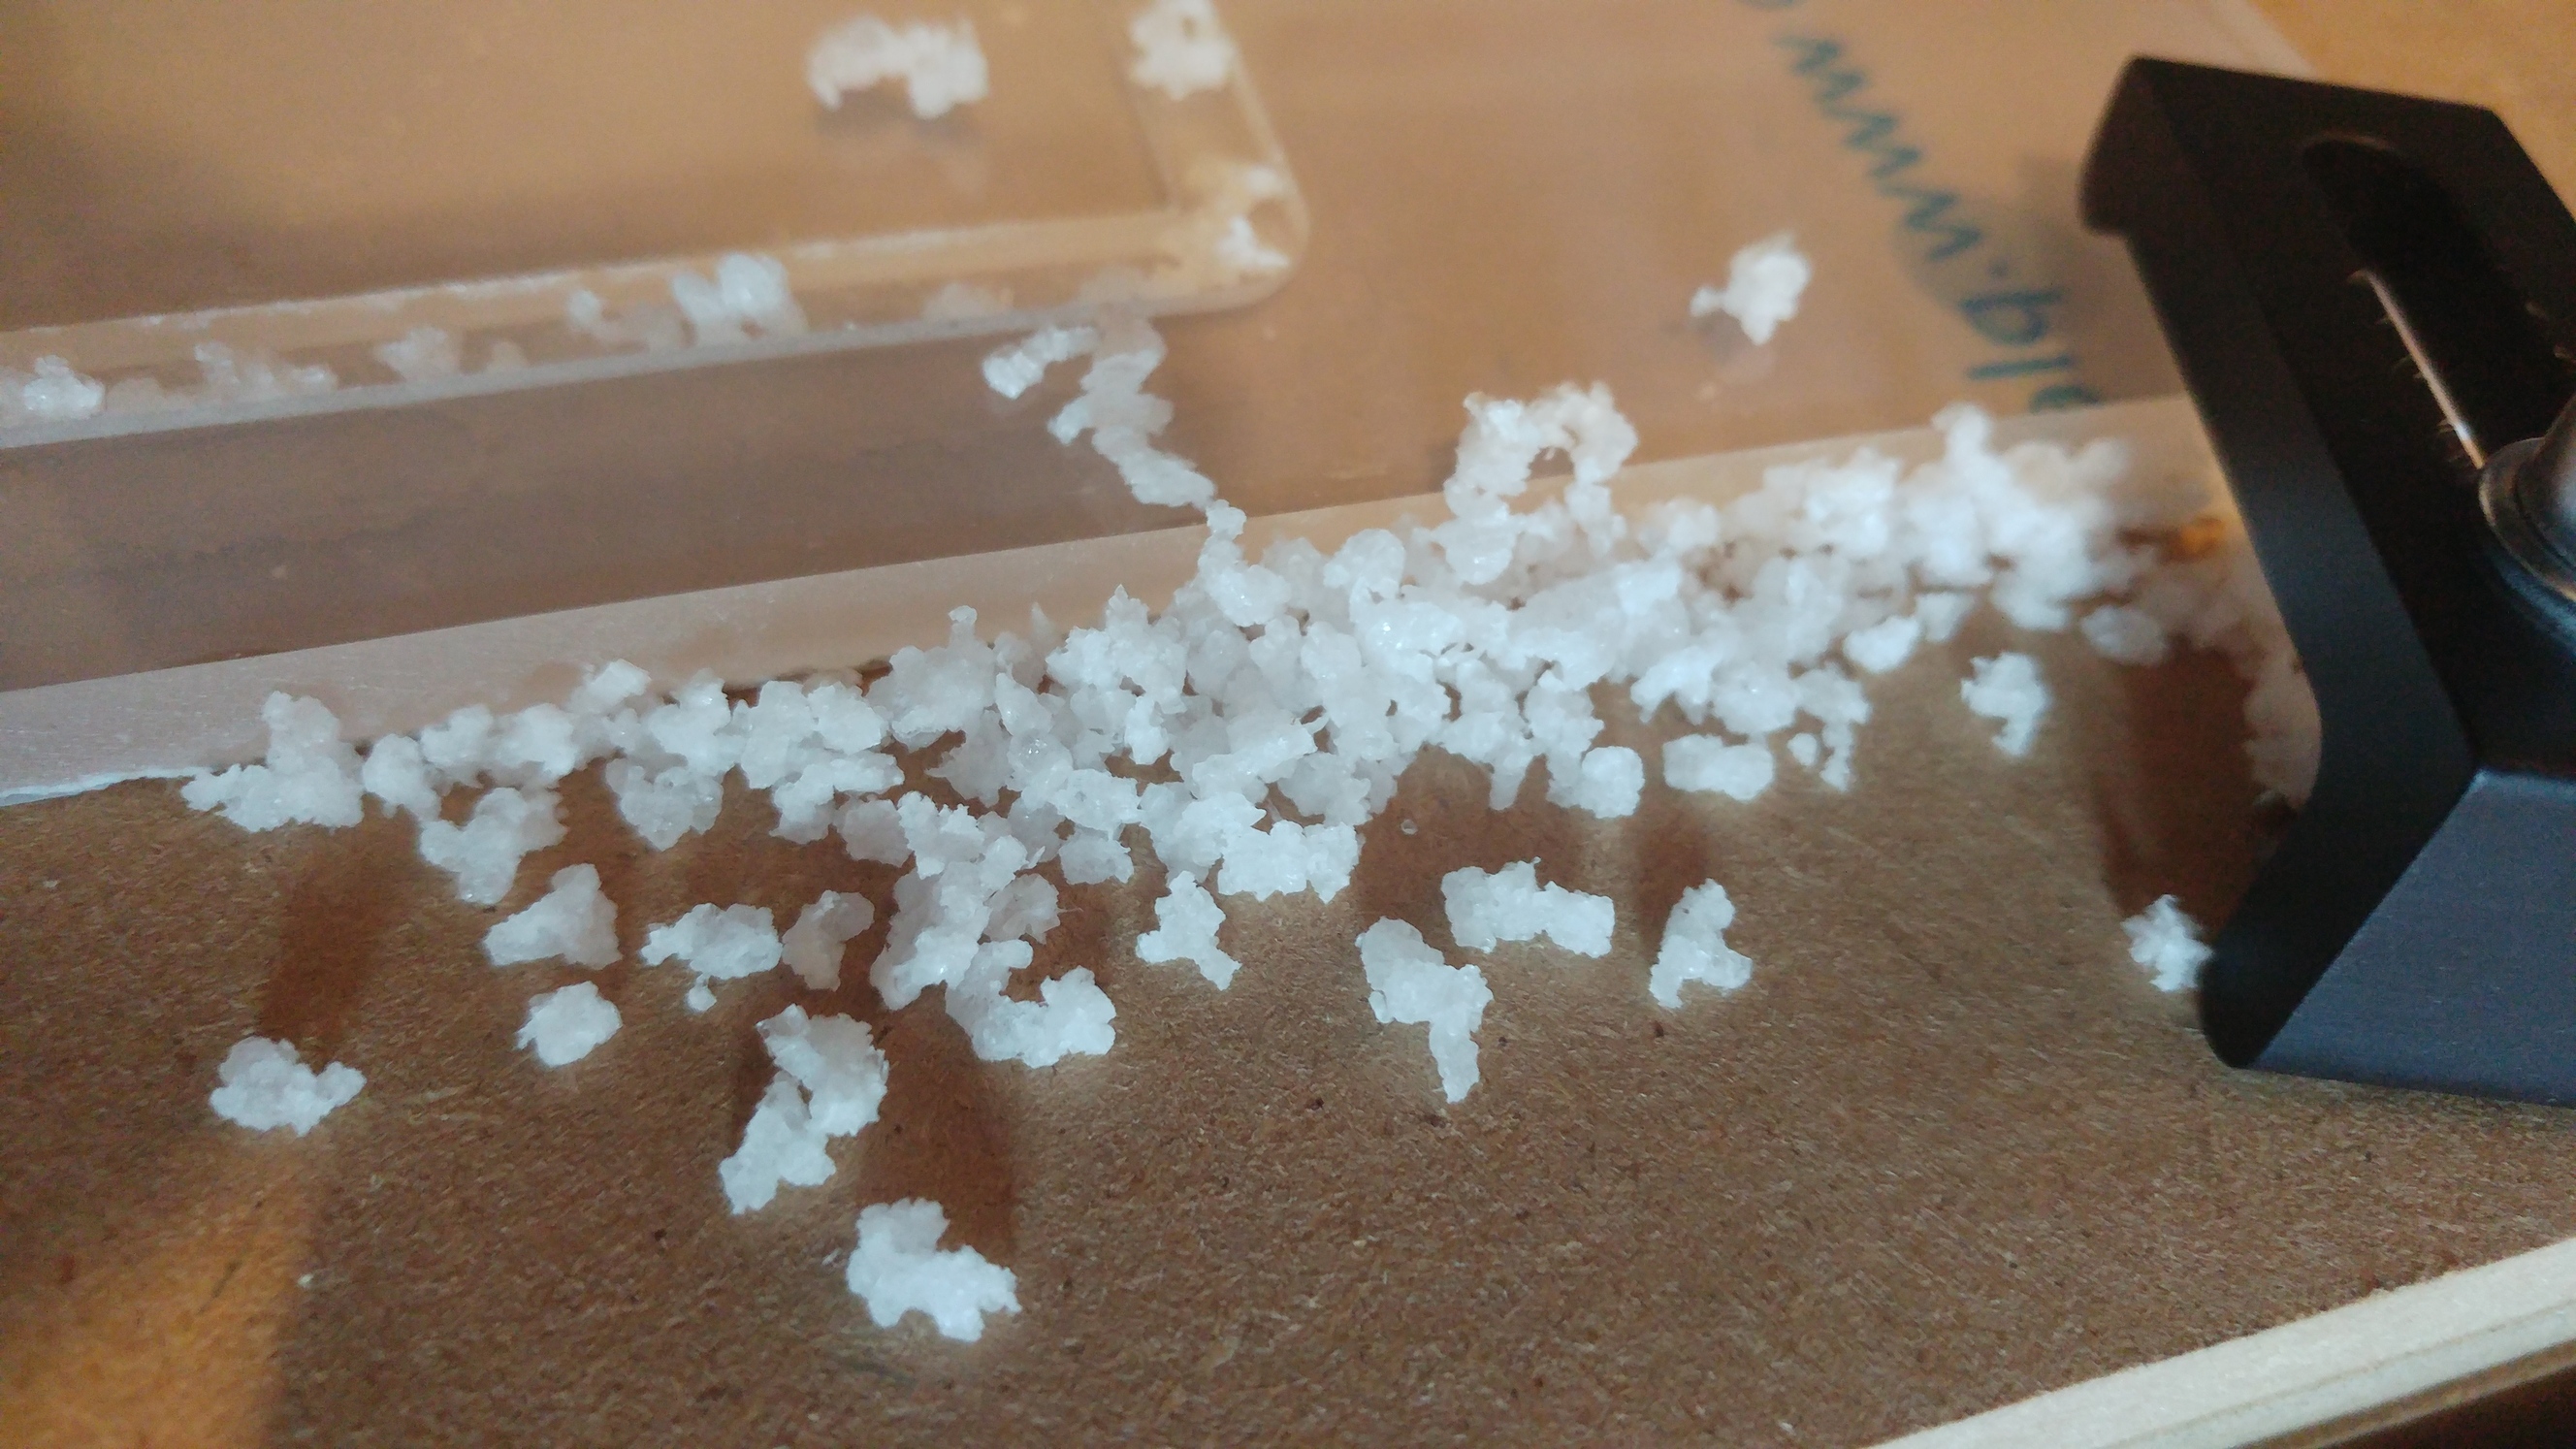
So I had to do another round with feeds&speed decreased for the pocketing:
- 2160mm/m and 12000rpm
The chunks got even larger this time and the bit was notably heated up, but nothing sticking to the bit.
So next time I might increase the feed rate a bit or decrease the spindle speed a bit further.
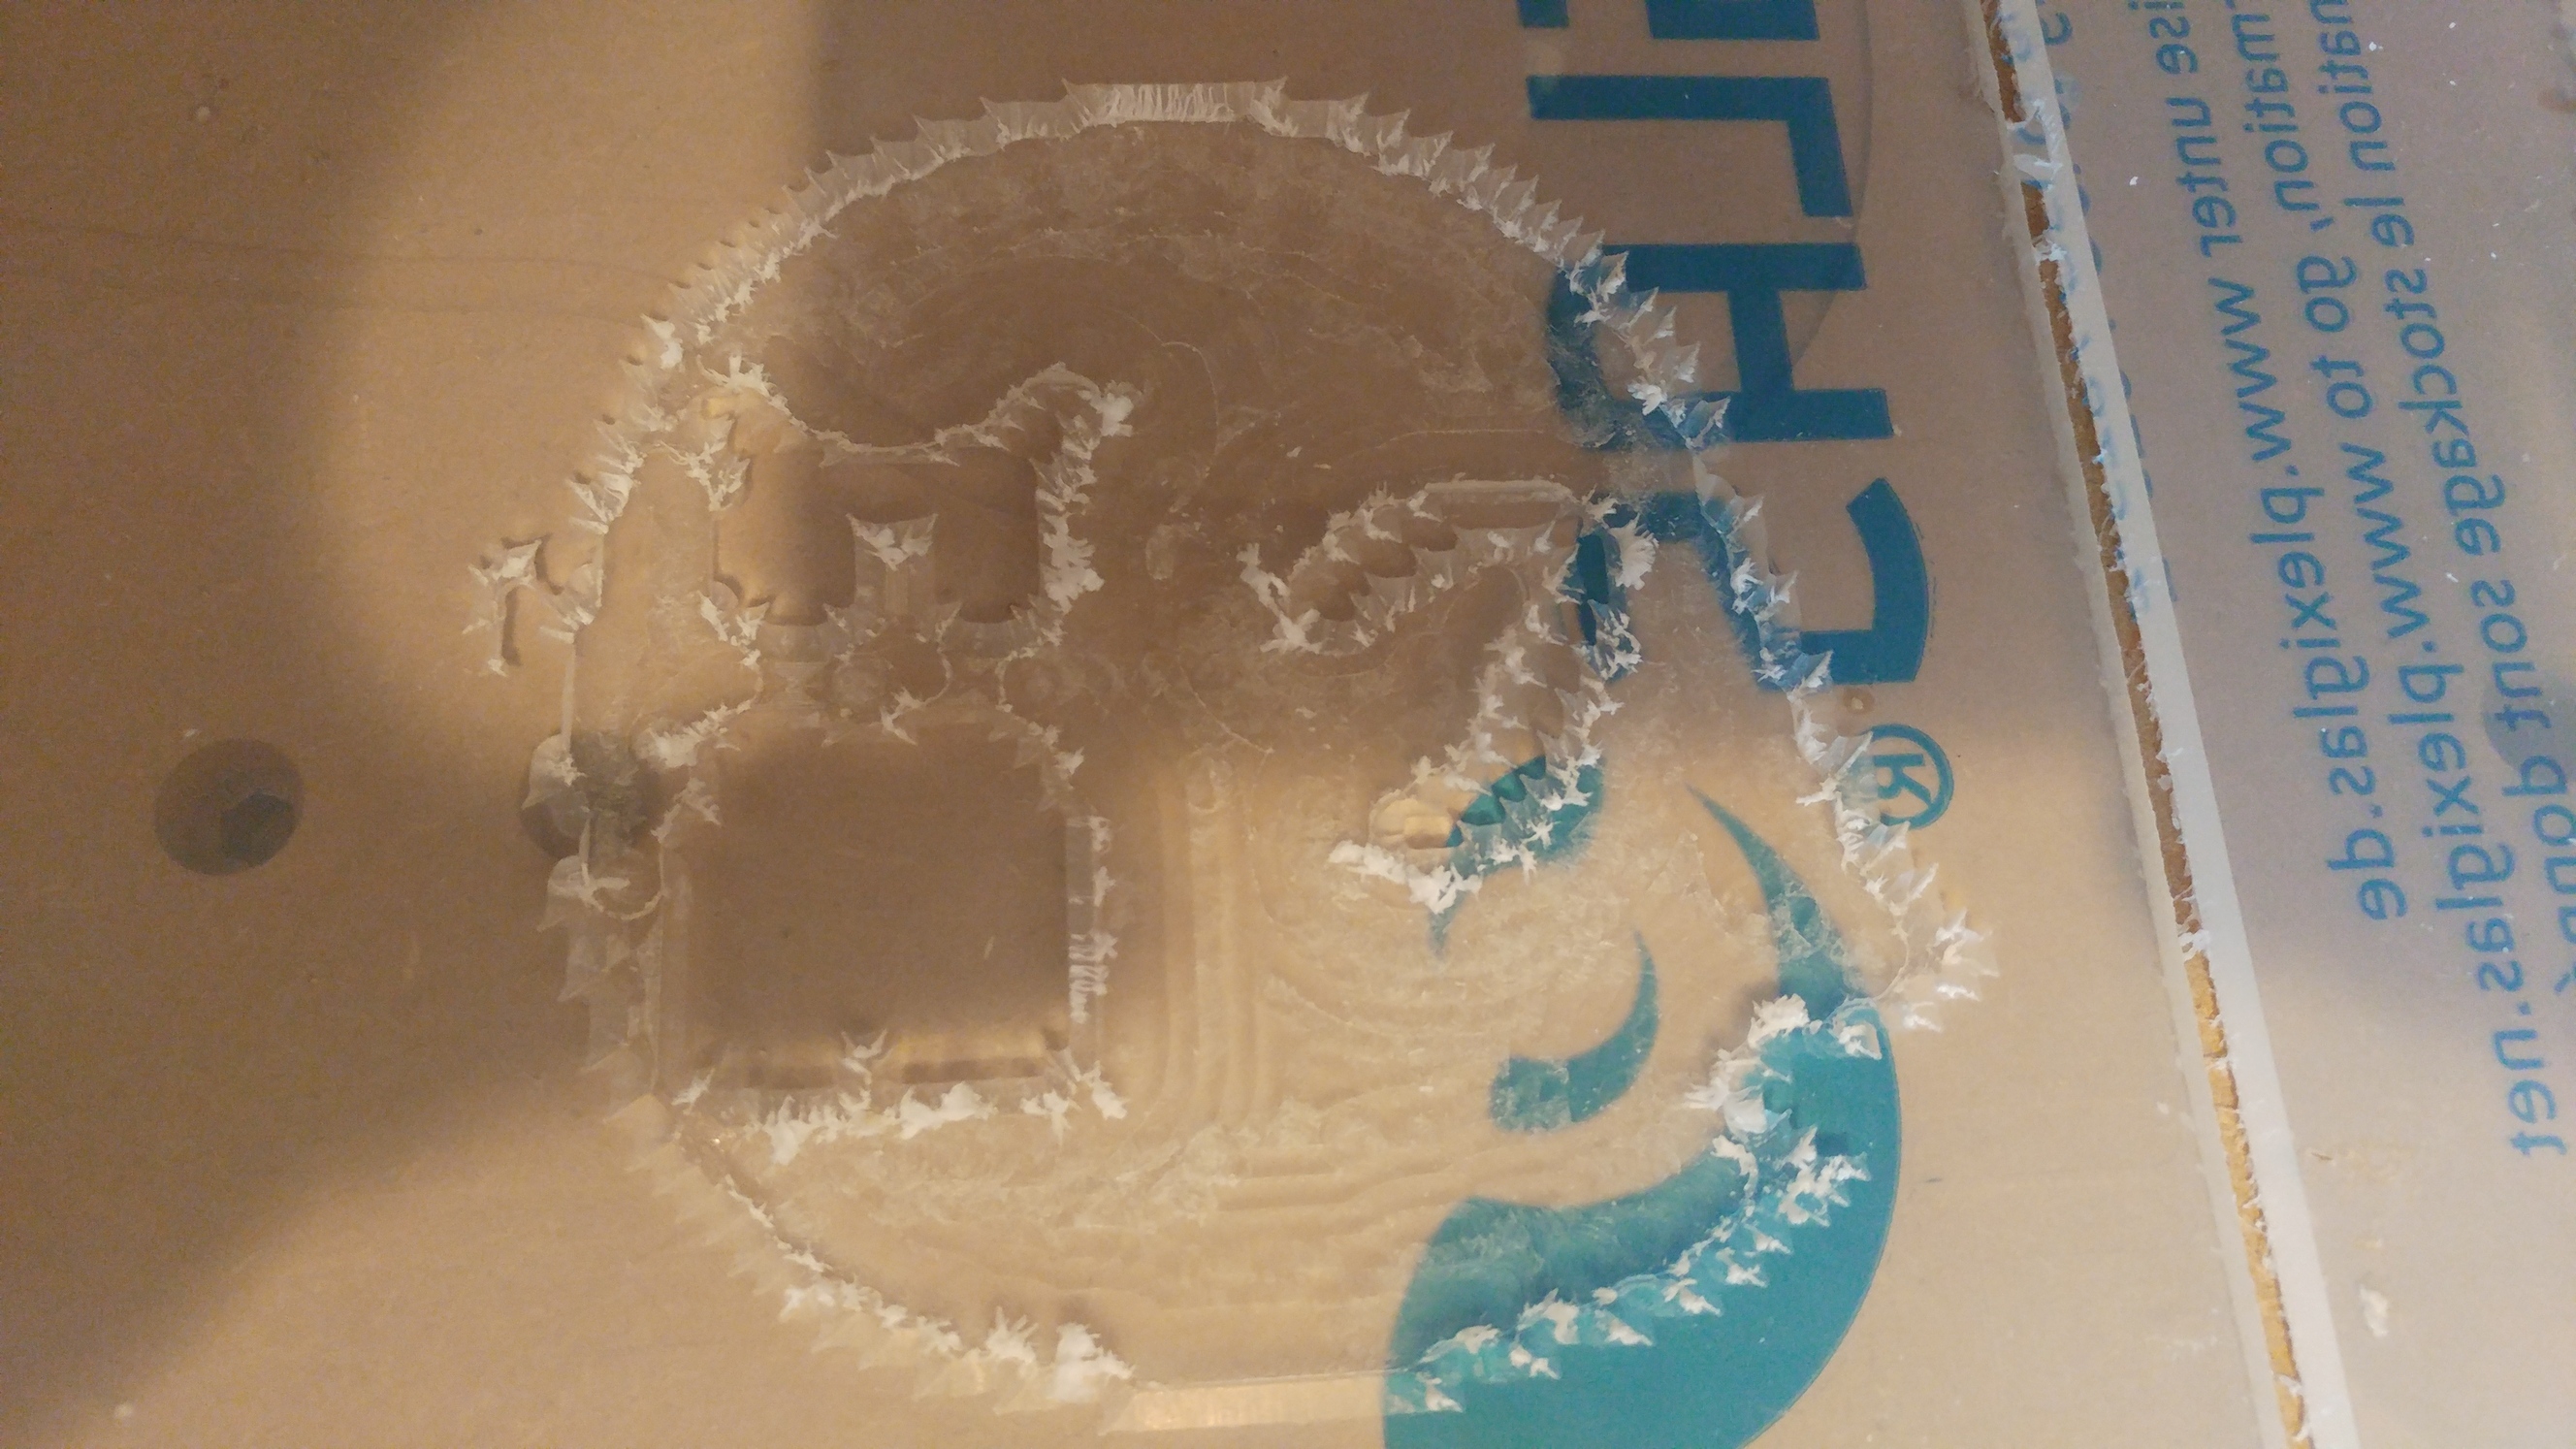
This second time I also did the pocketing pass before the v carve and removed the thin plastic film from the stock. There were no chips left that my dust boot did’nt catch during v carve!
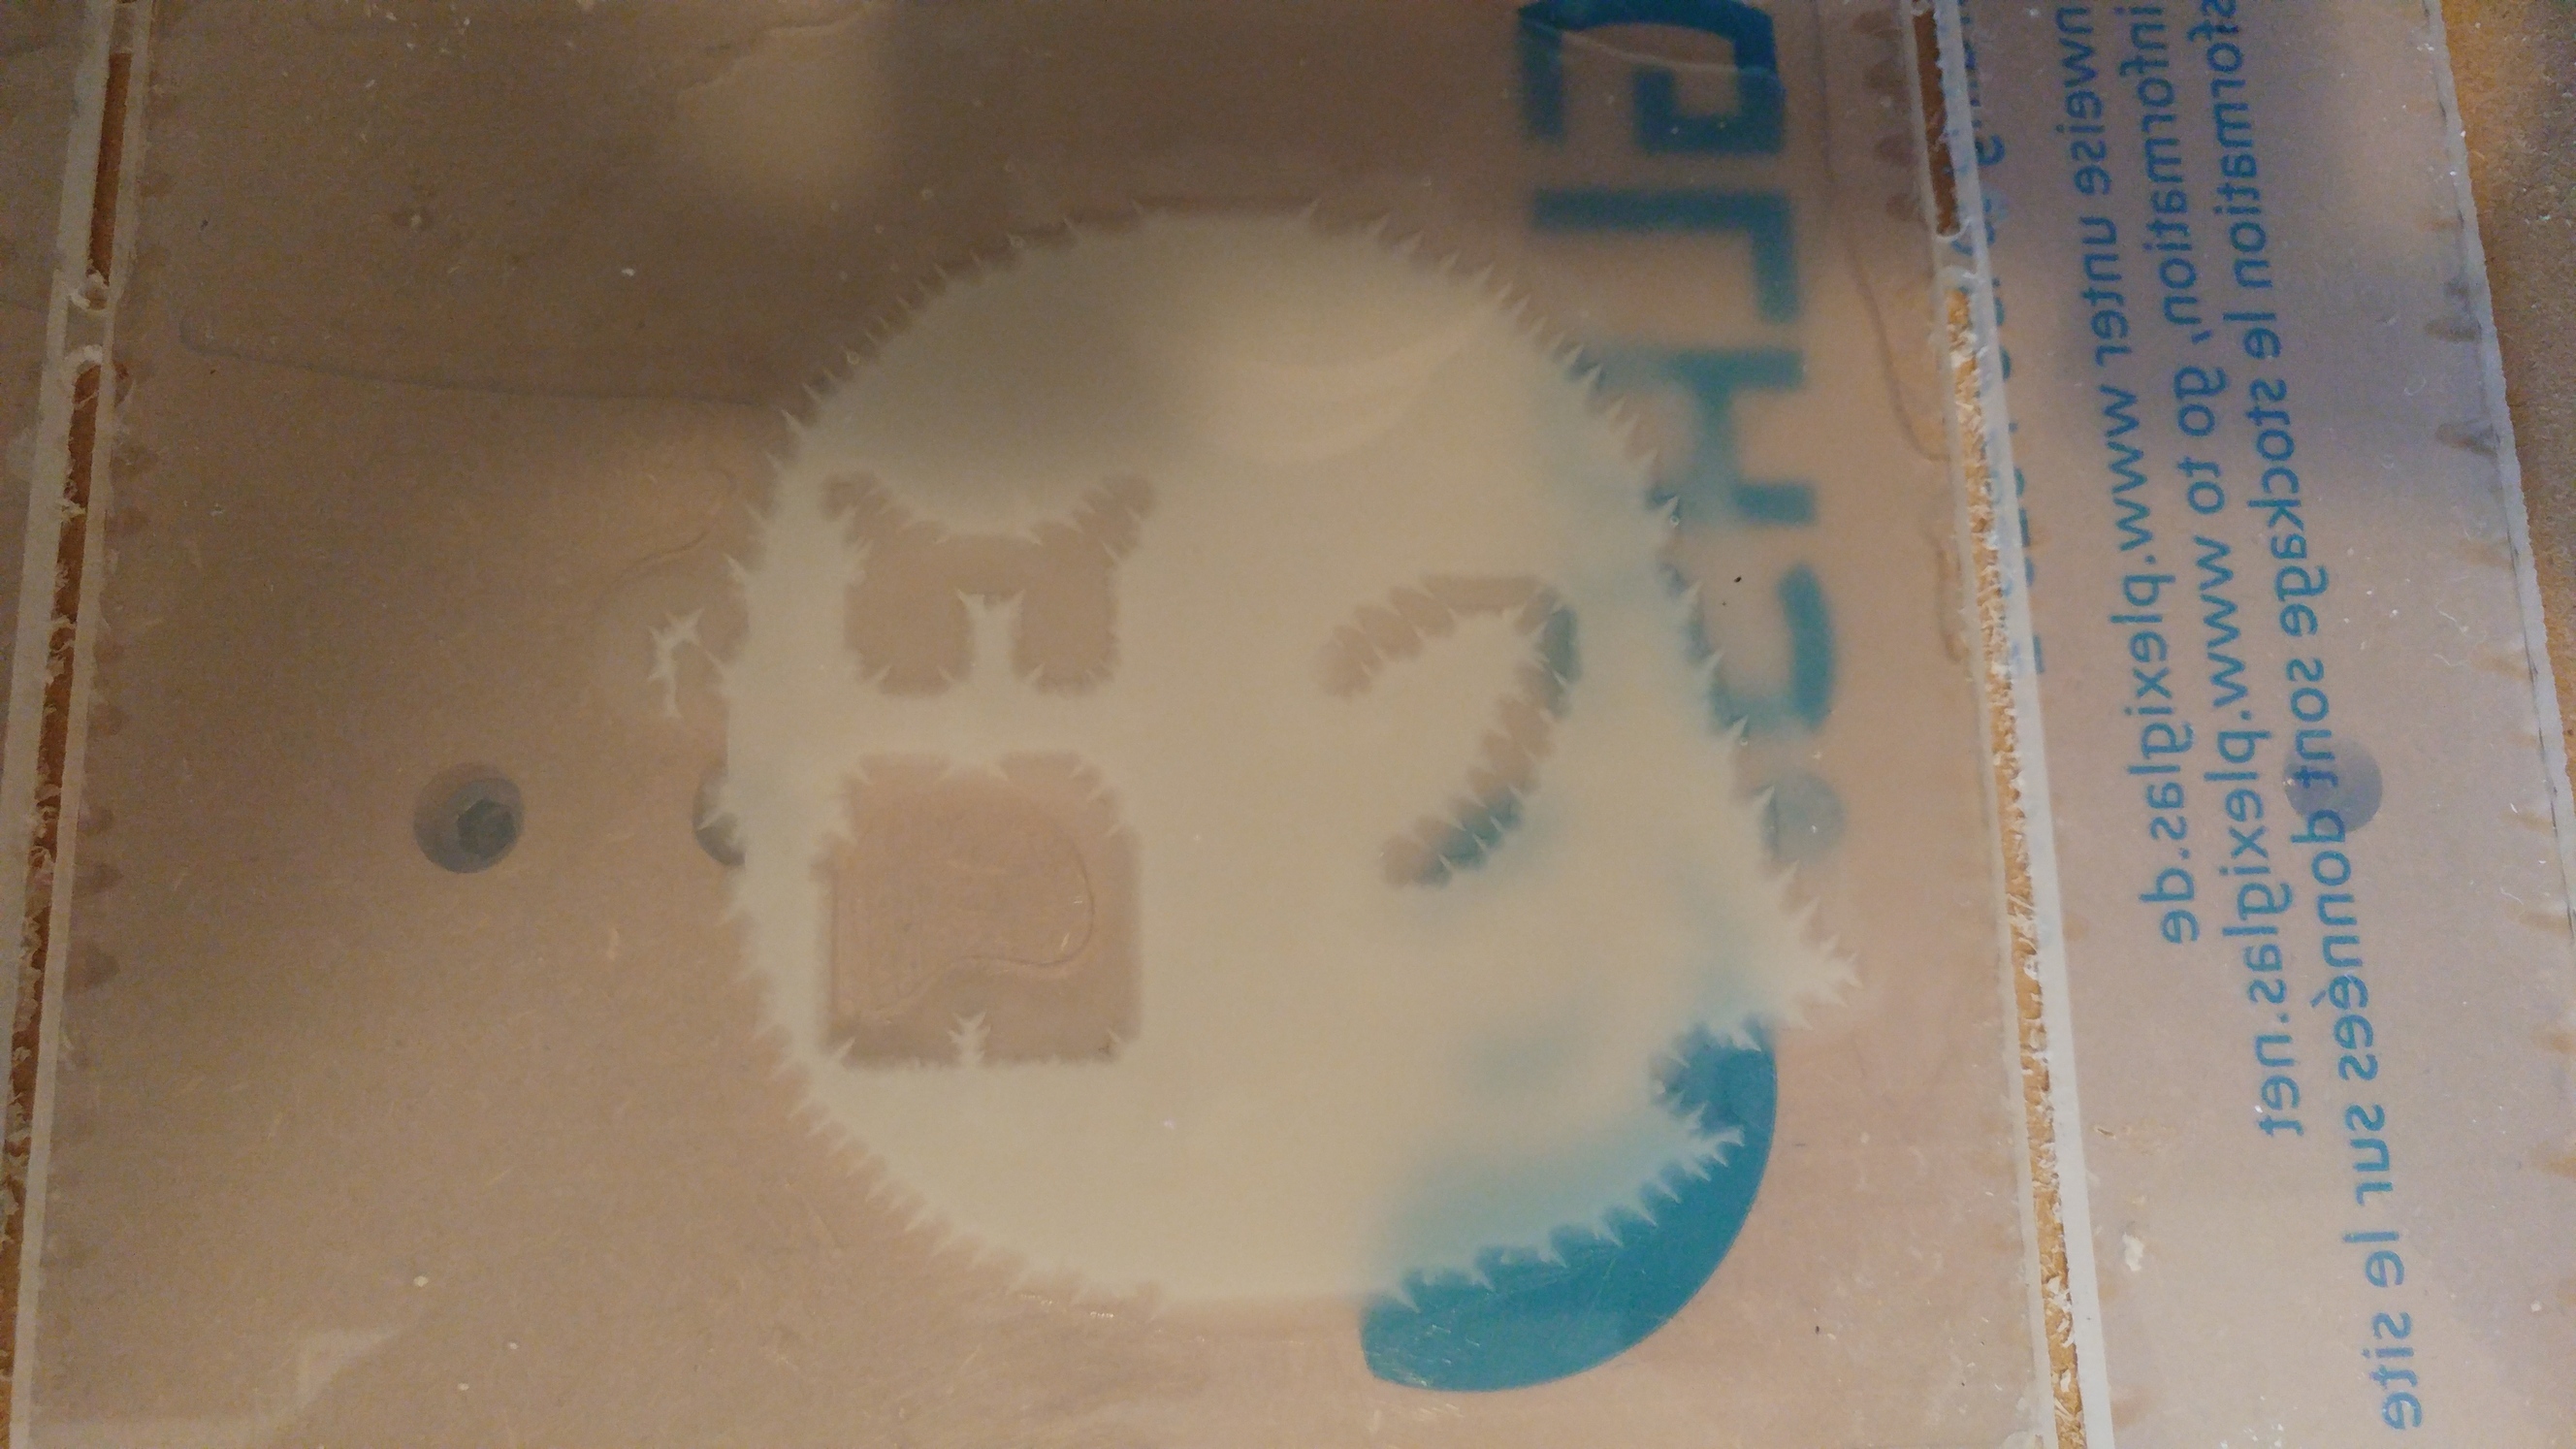
Here’s the result after one pass of the v carve portion:
And then after a second pass and minimal sanding with a sanding fleece:
The next step was to fill the pocket with epoxy resin and fluorescent paint, which I’m currently waiting for to harden.
Based on your SNES experience, you might be able to guess where this is going. ![]()
Today I milled off the protruding epoxy and sanded the acrylic.
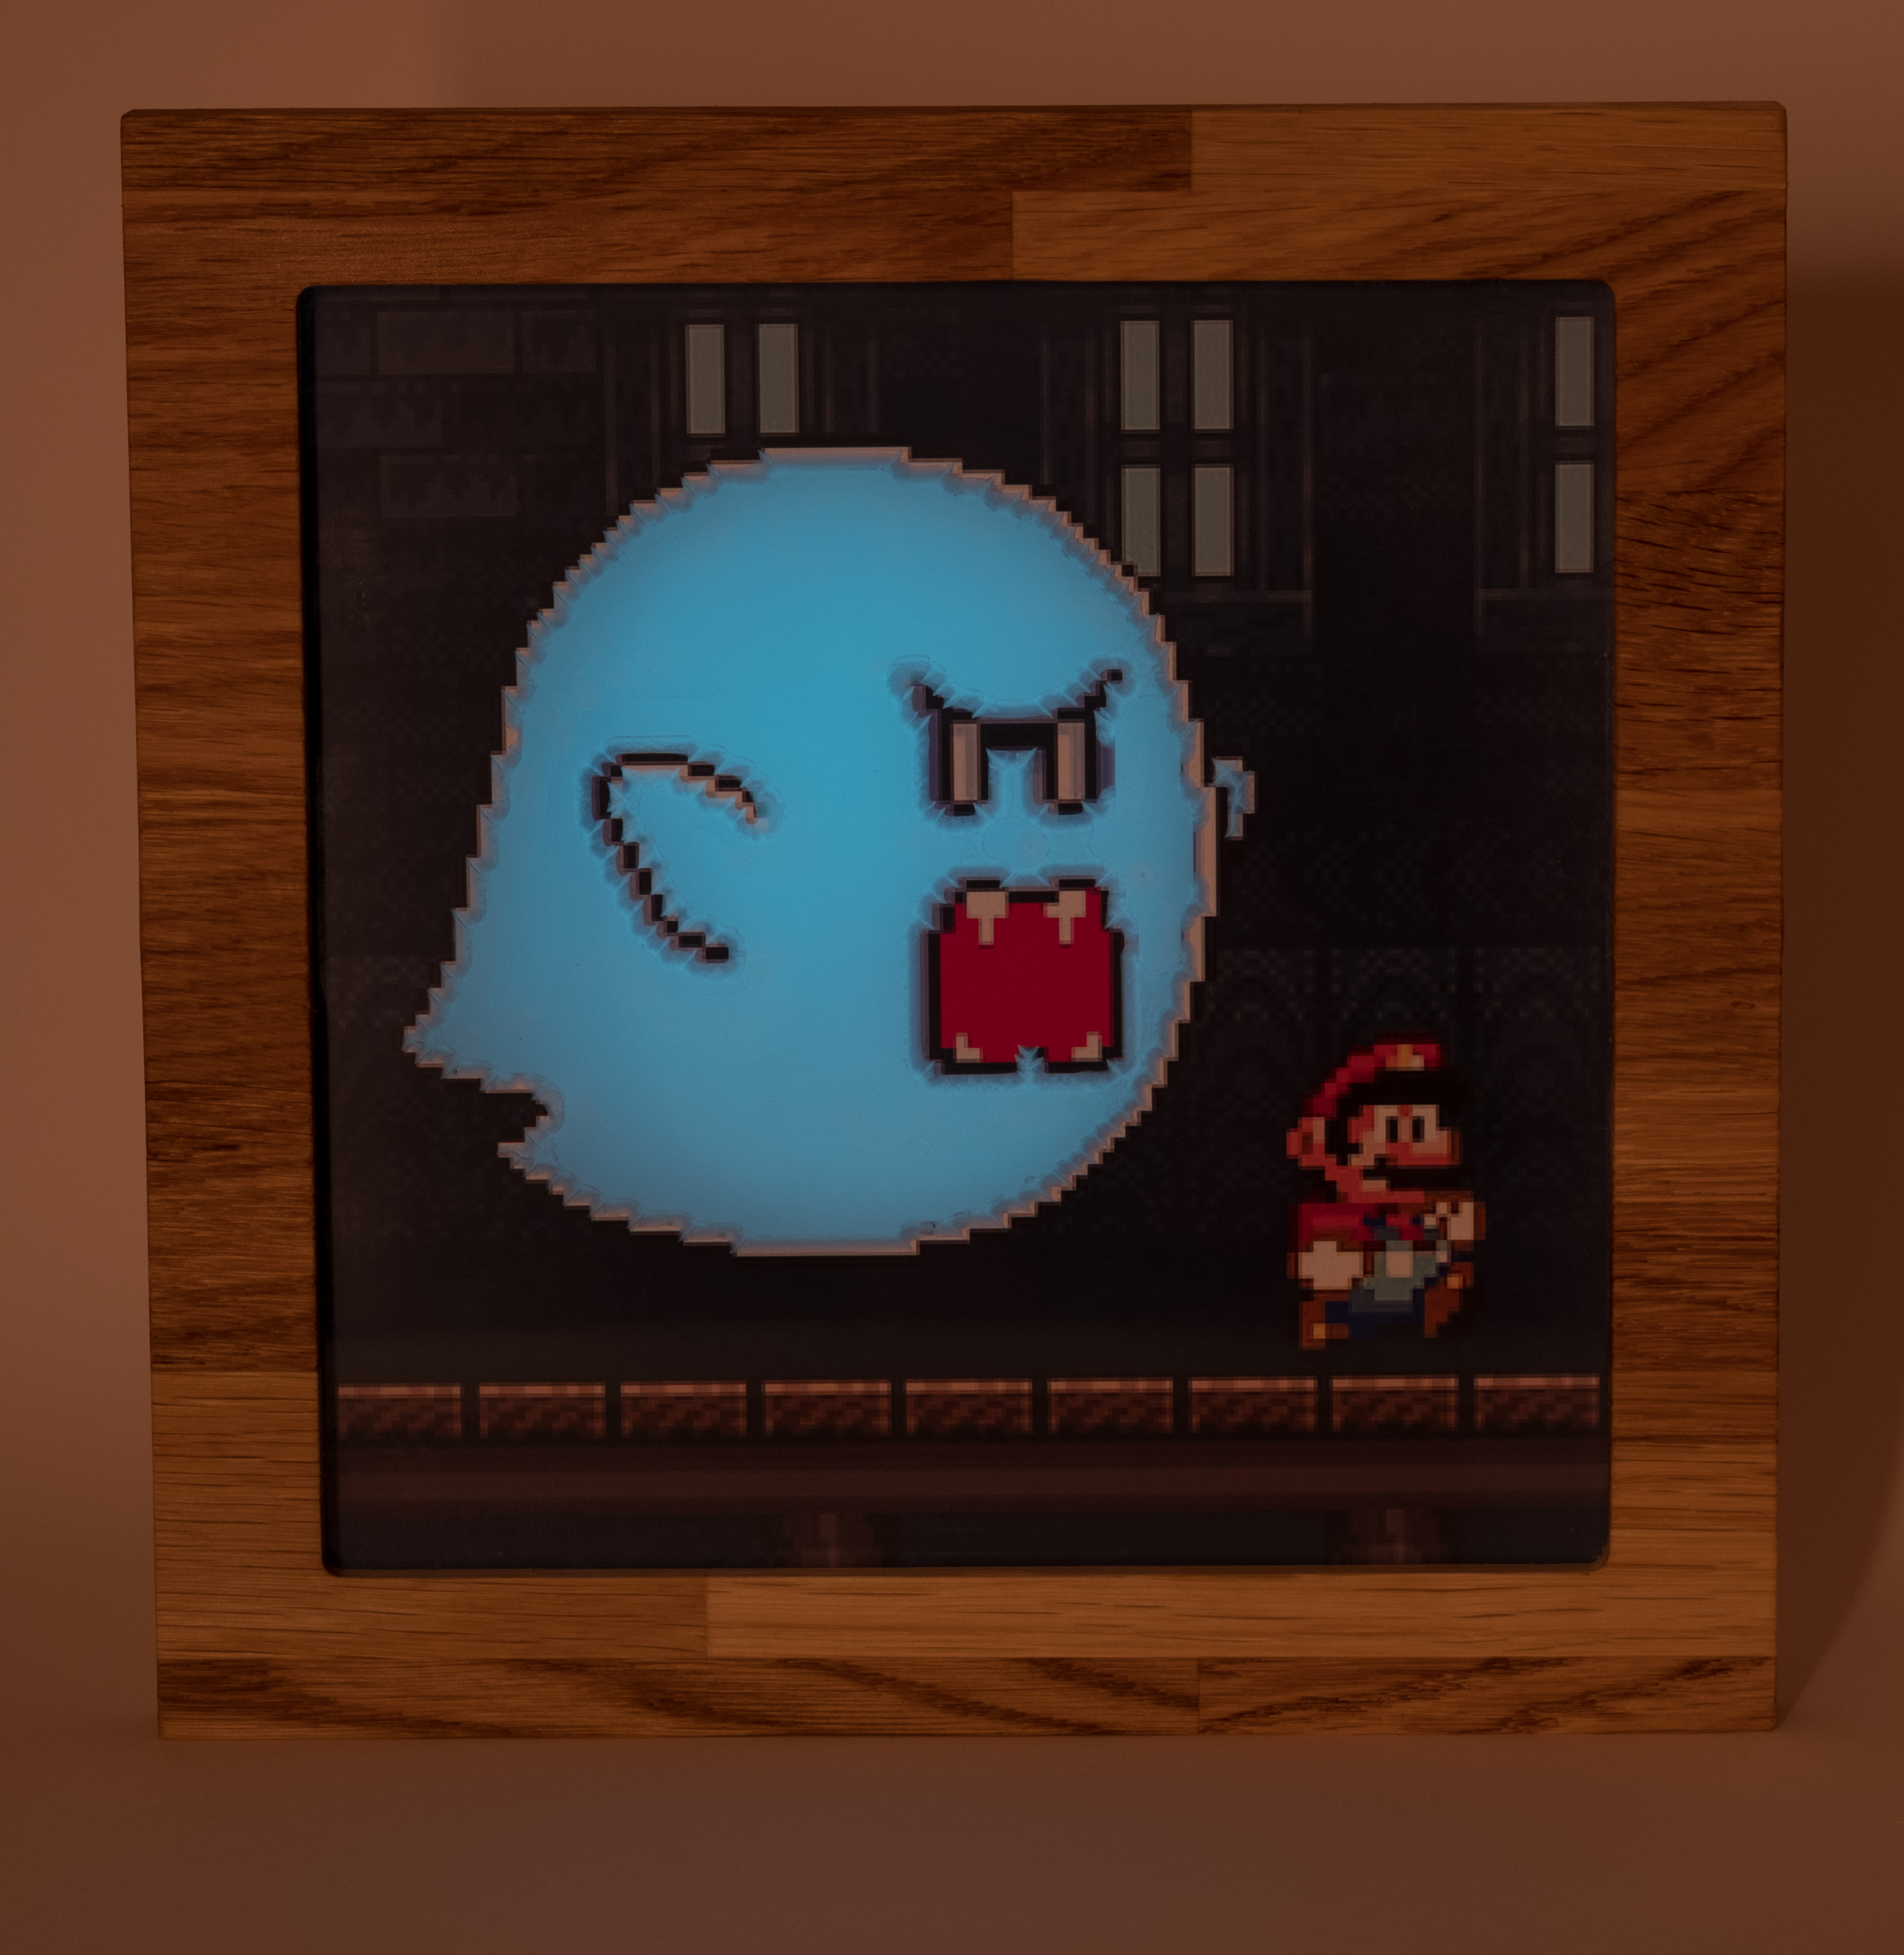
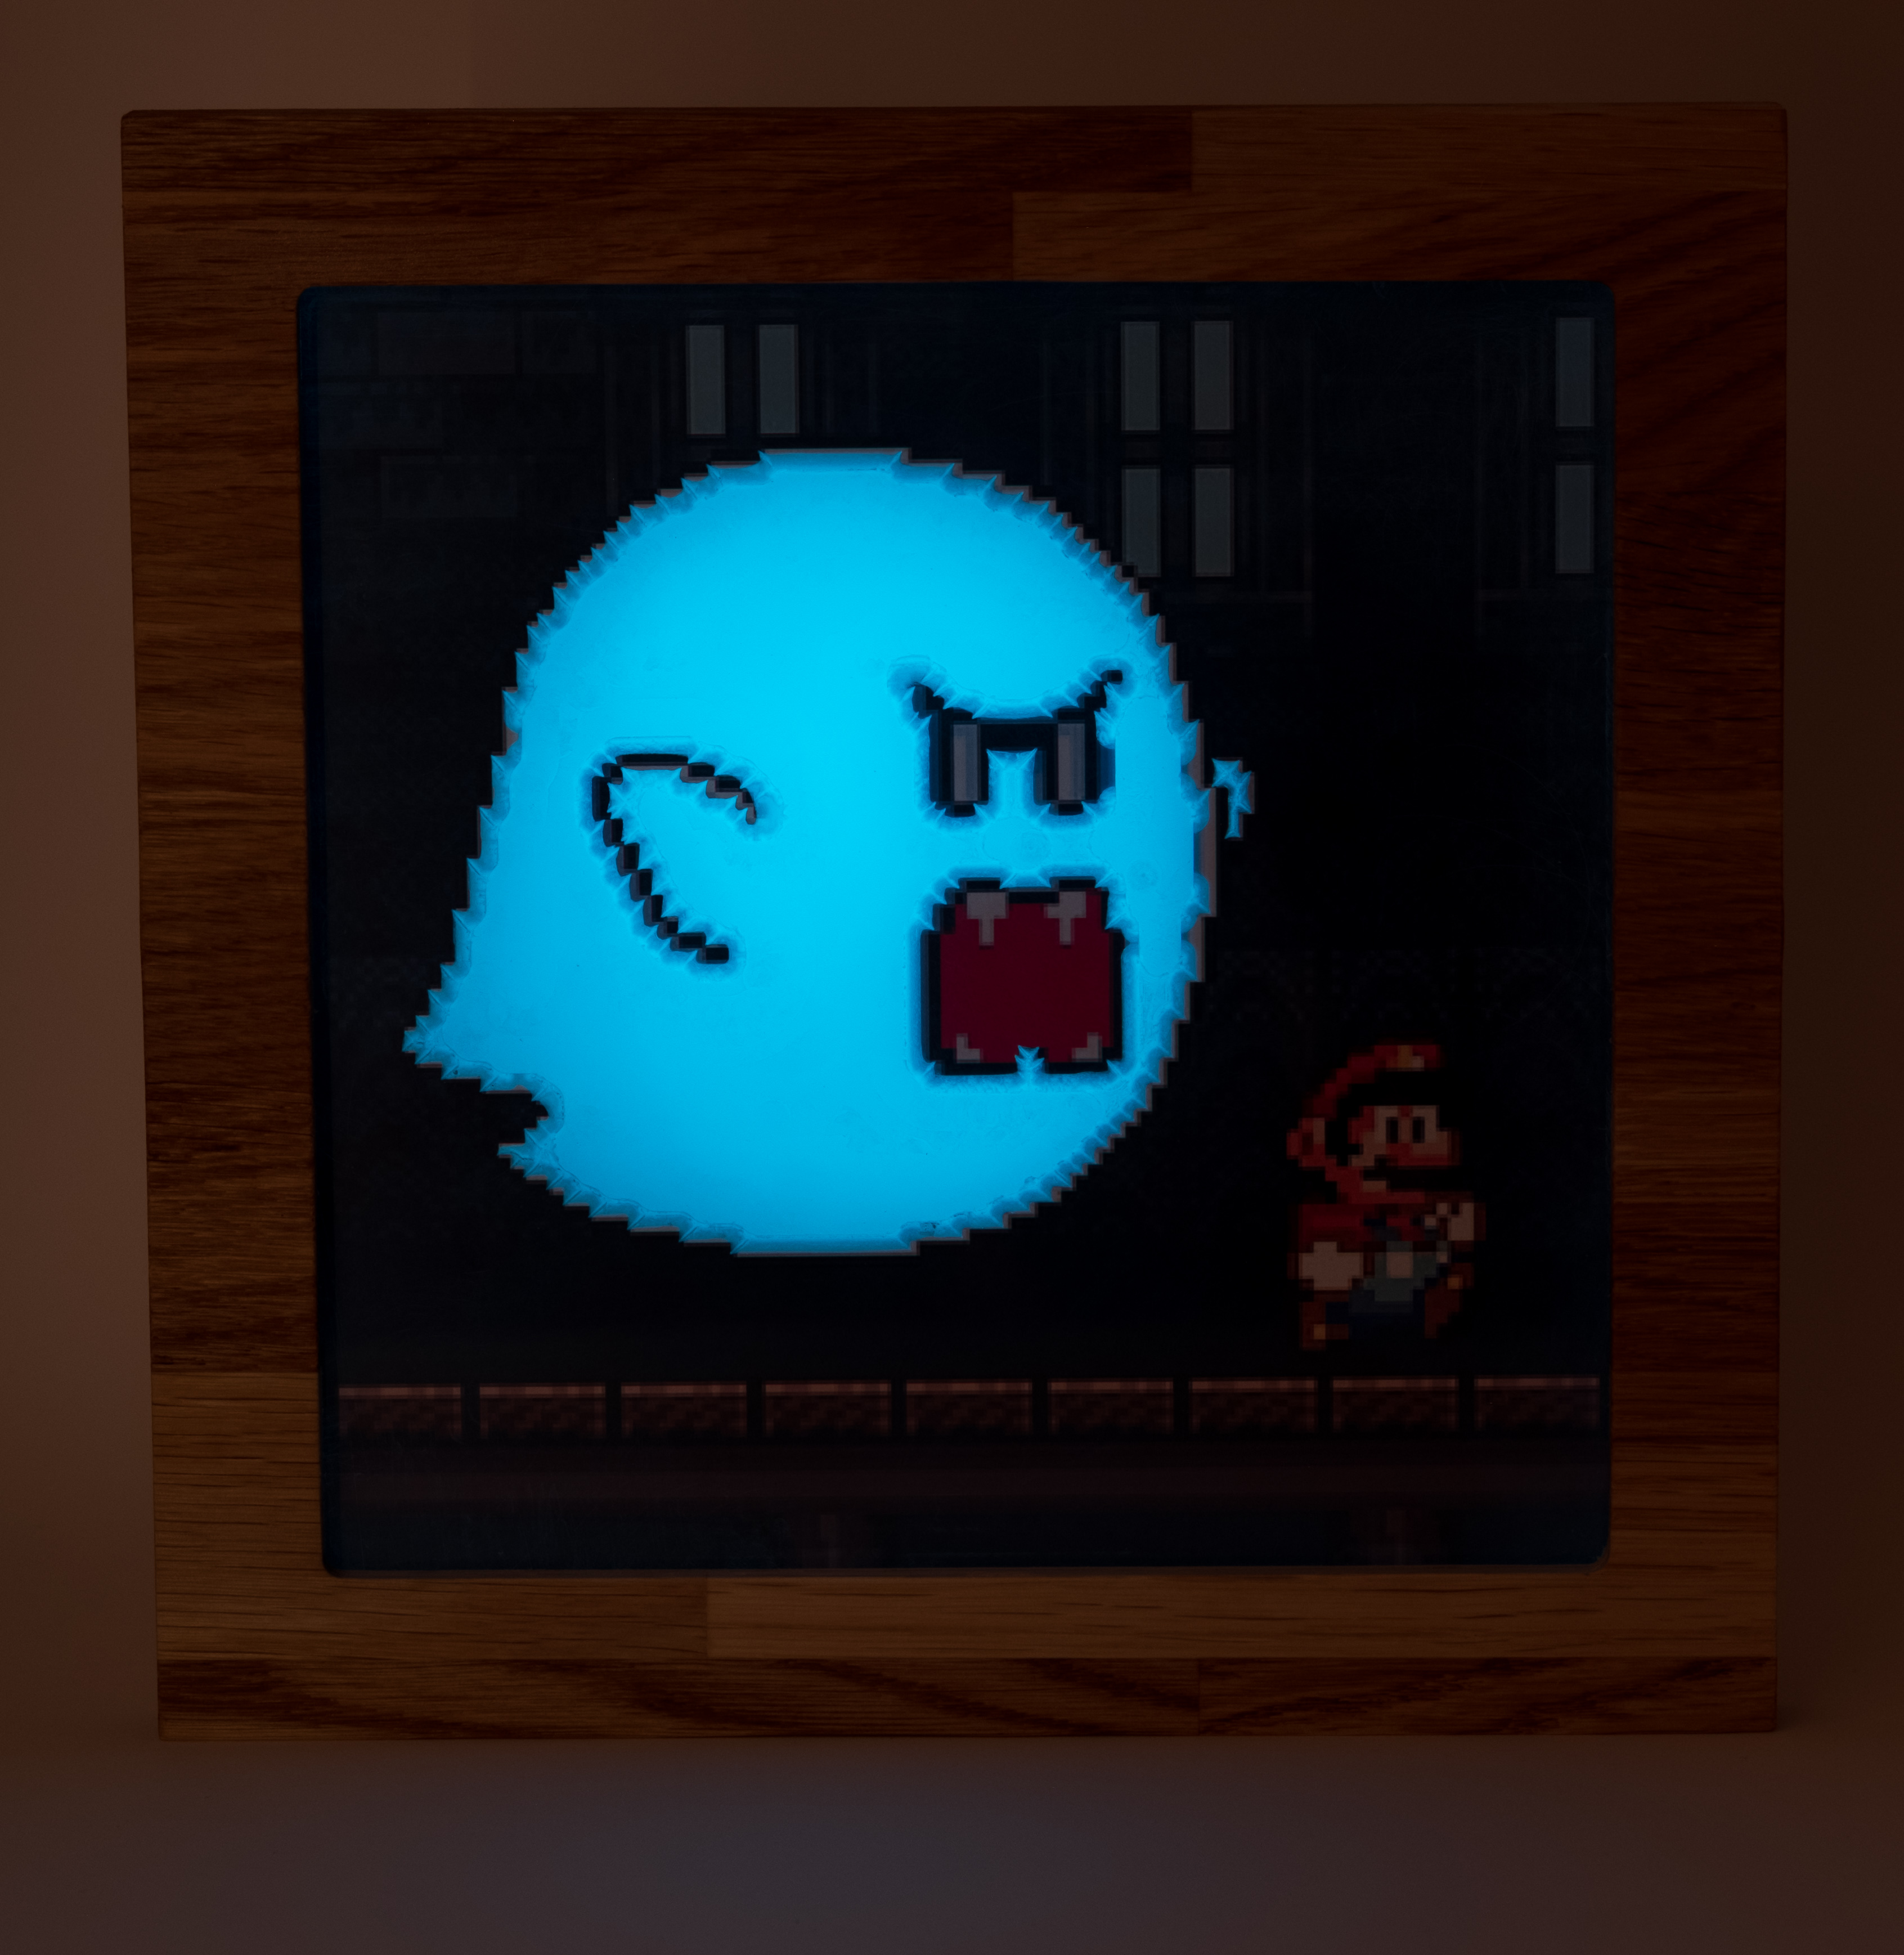
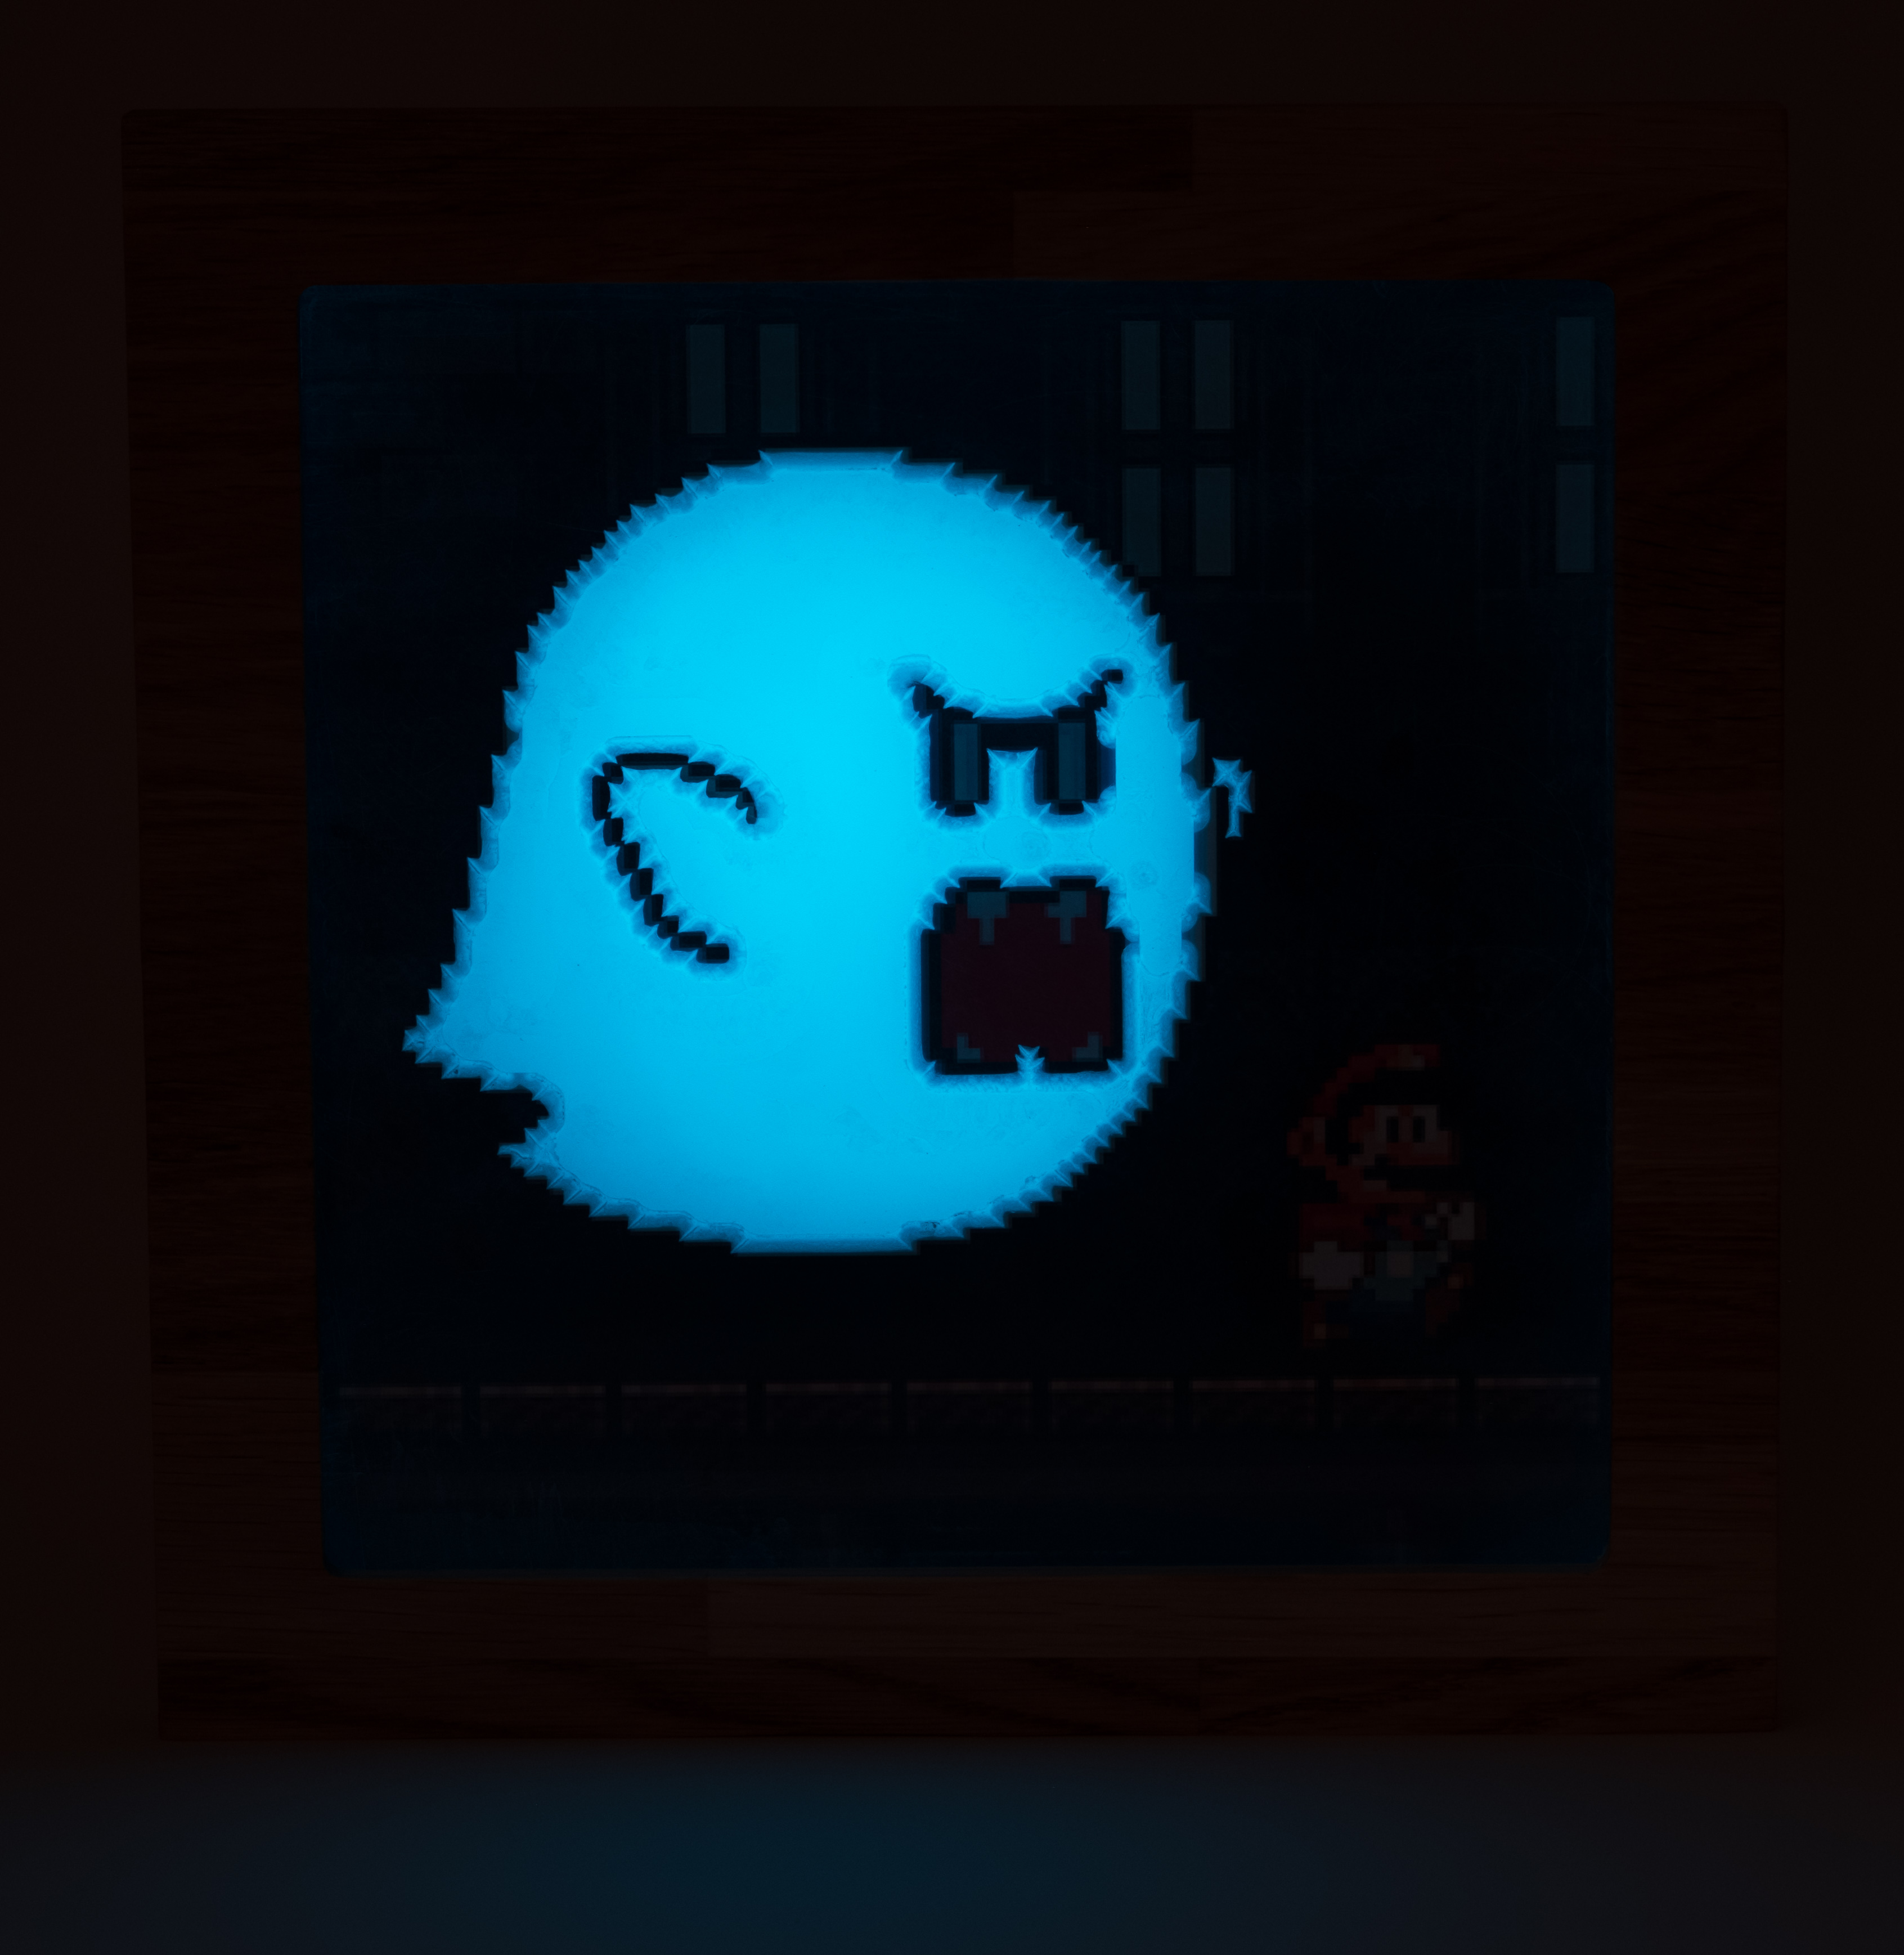
A frame will hold the epoxy Big Boo with a picture of Super Mario beneath:
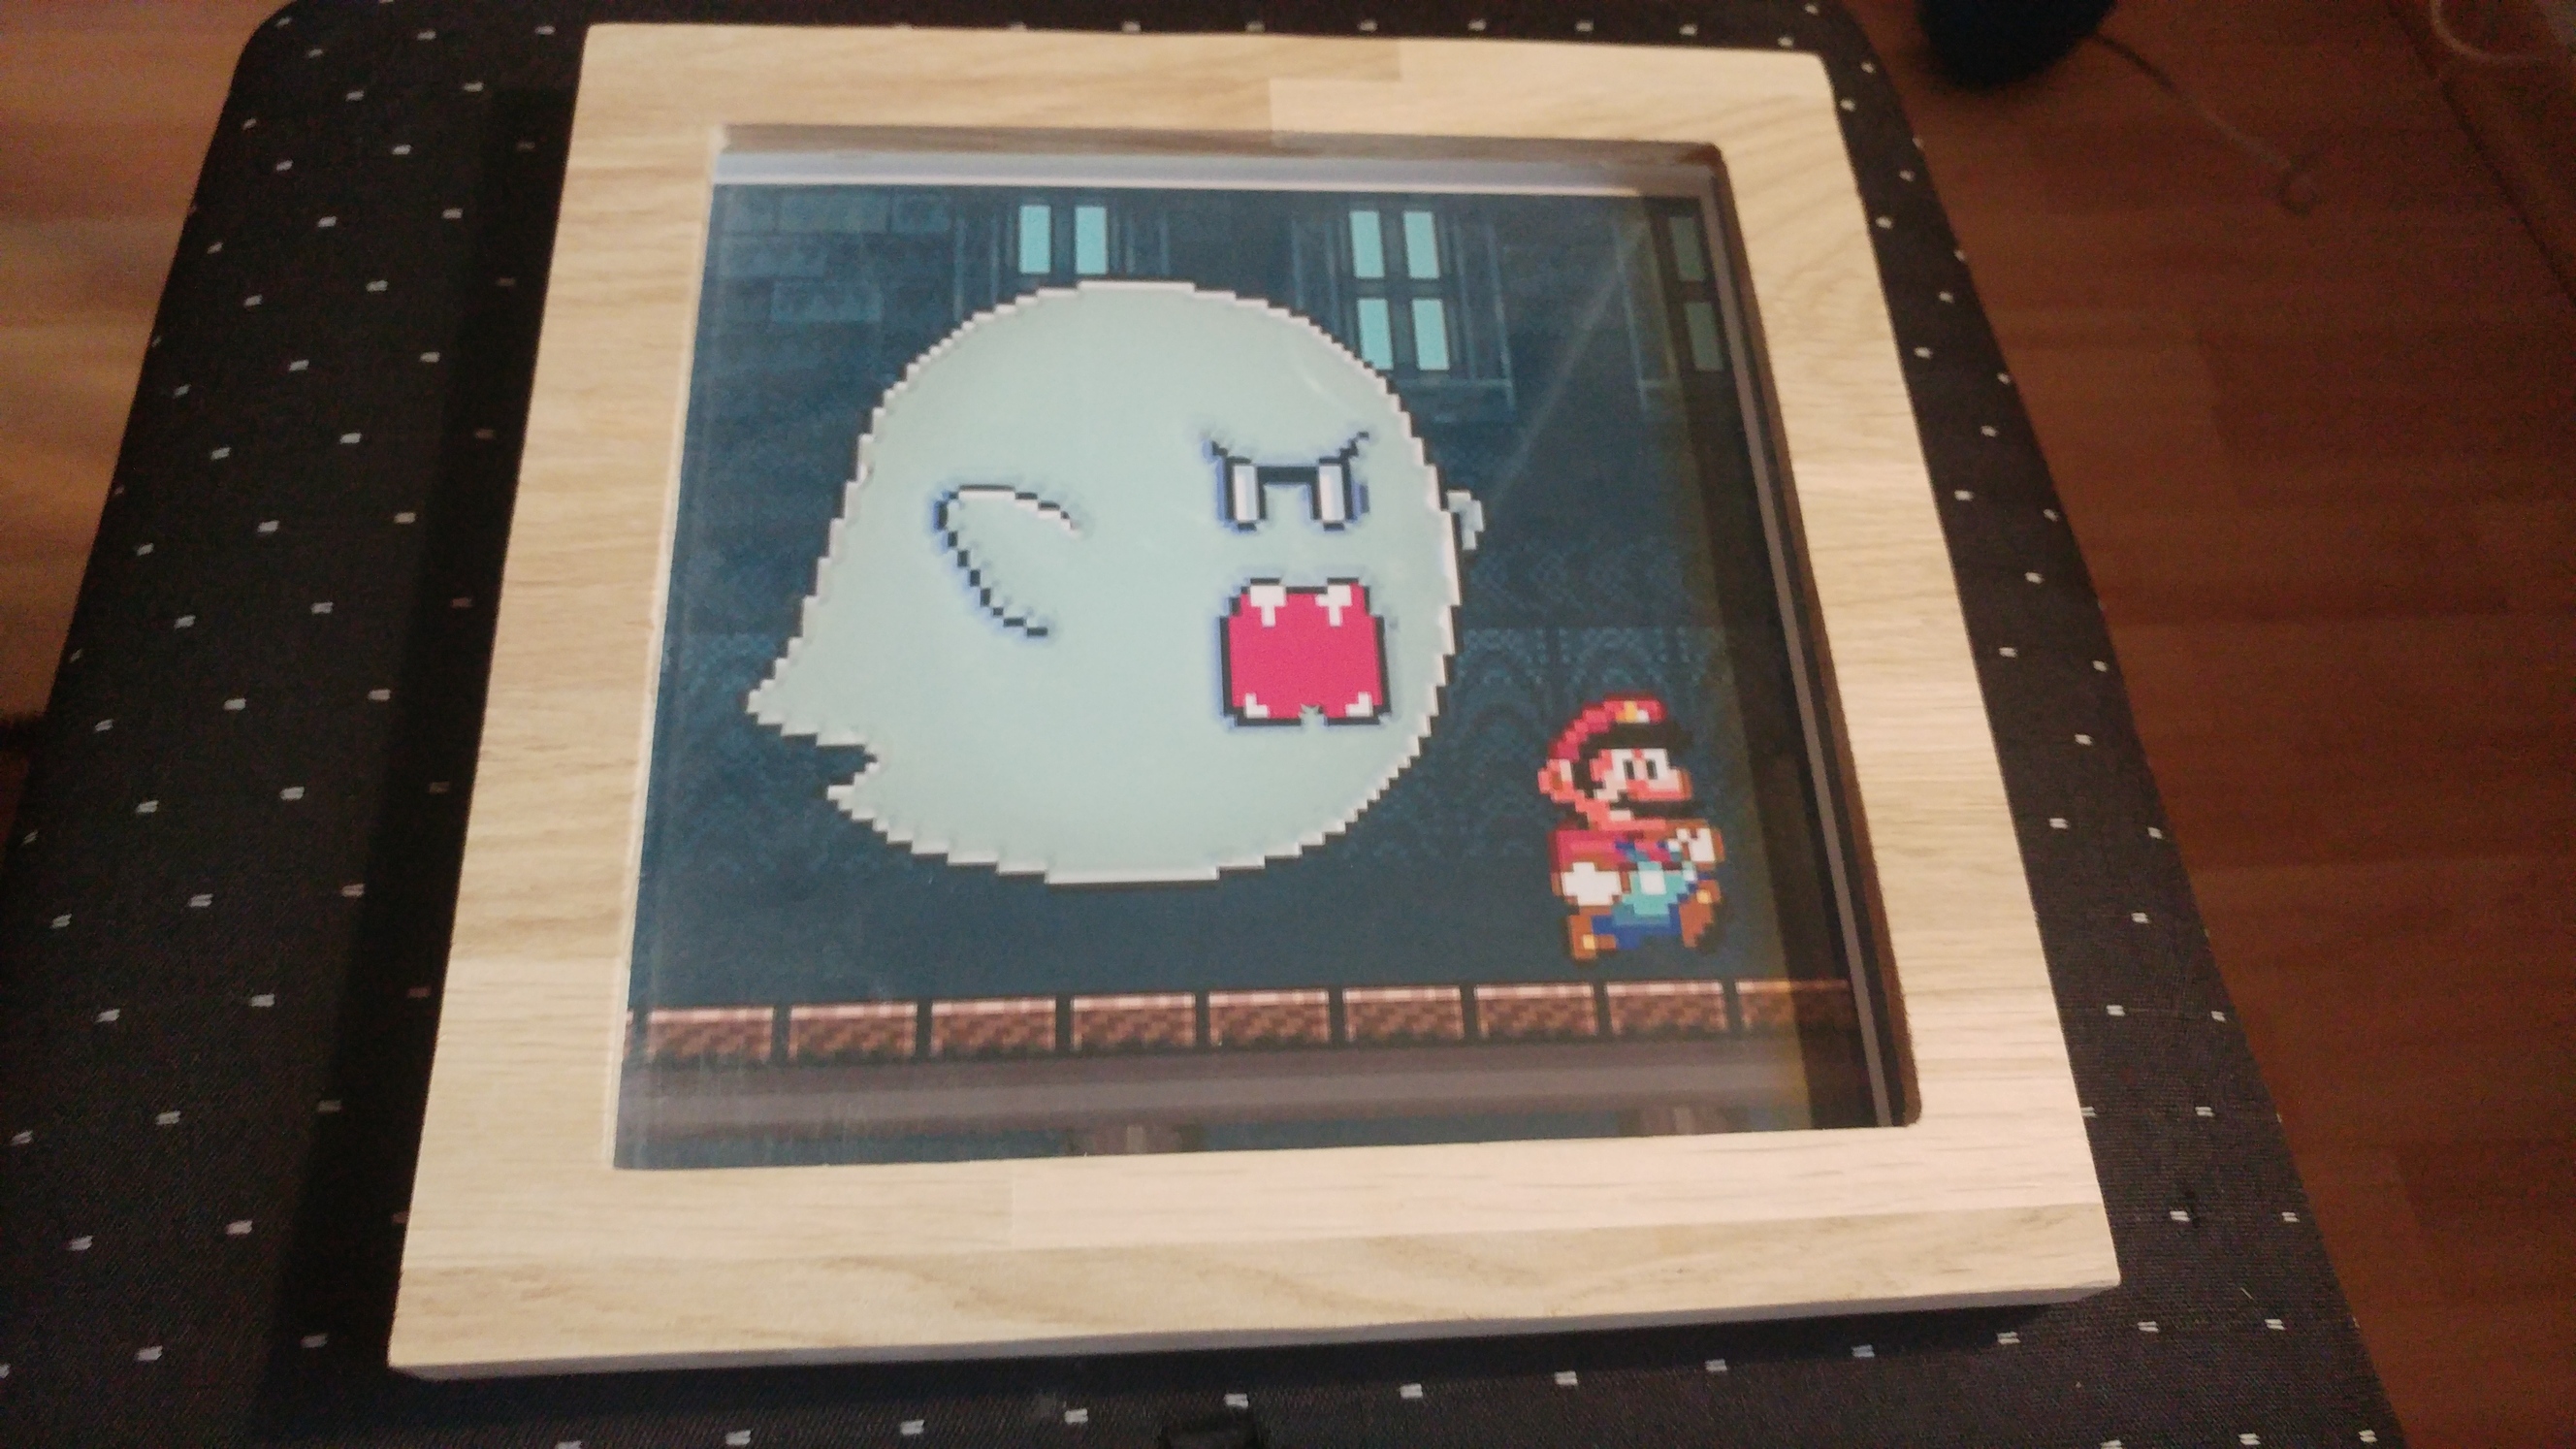
… and when its dark, you have a glowing Big Boo:

Unfortunately, the glow is not as strong as I hoped, so its hard to see both, the glow and Mario.
The next steps will be finishing the frame and putting everything fixed together.
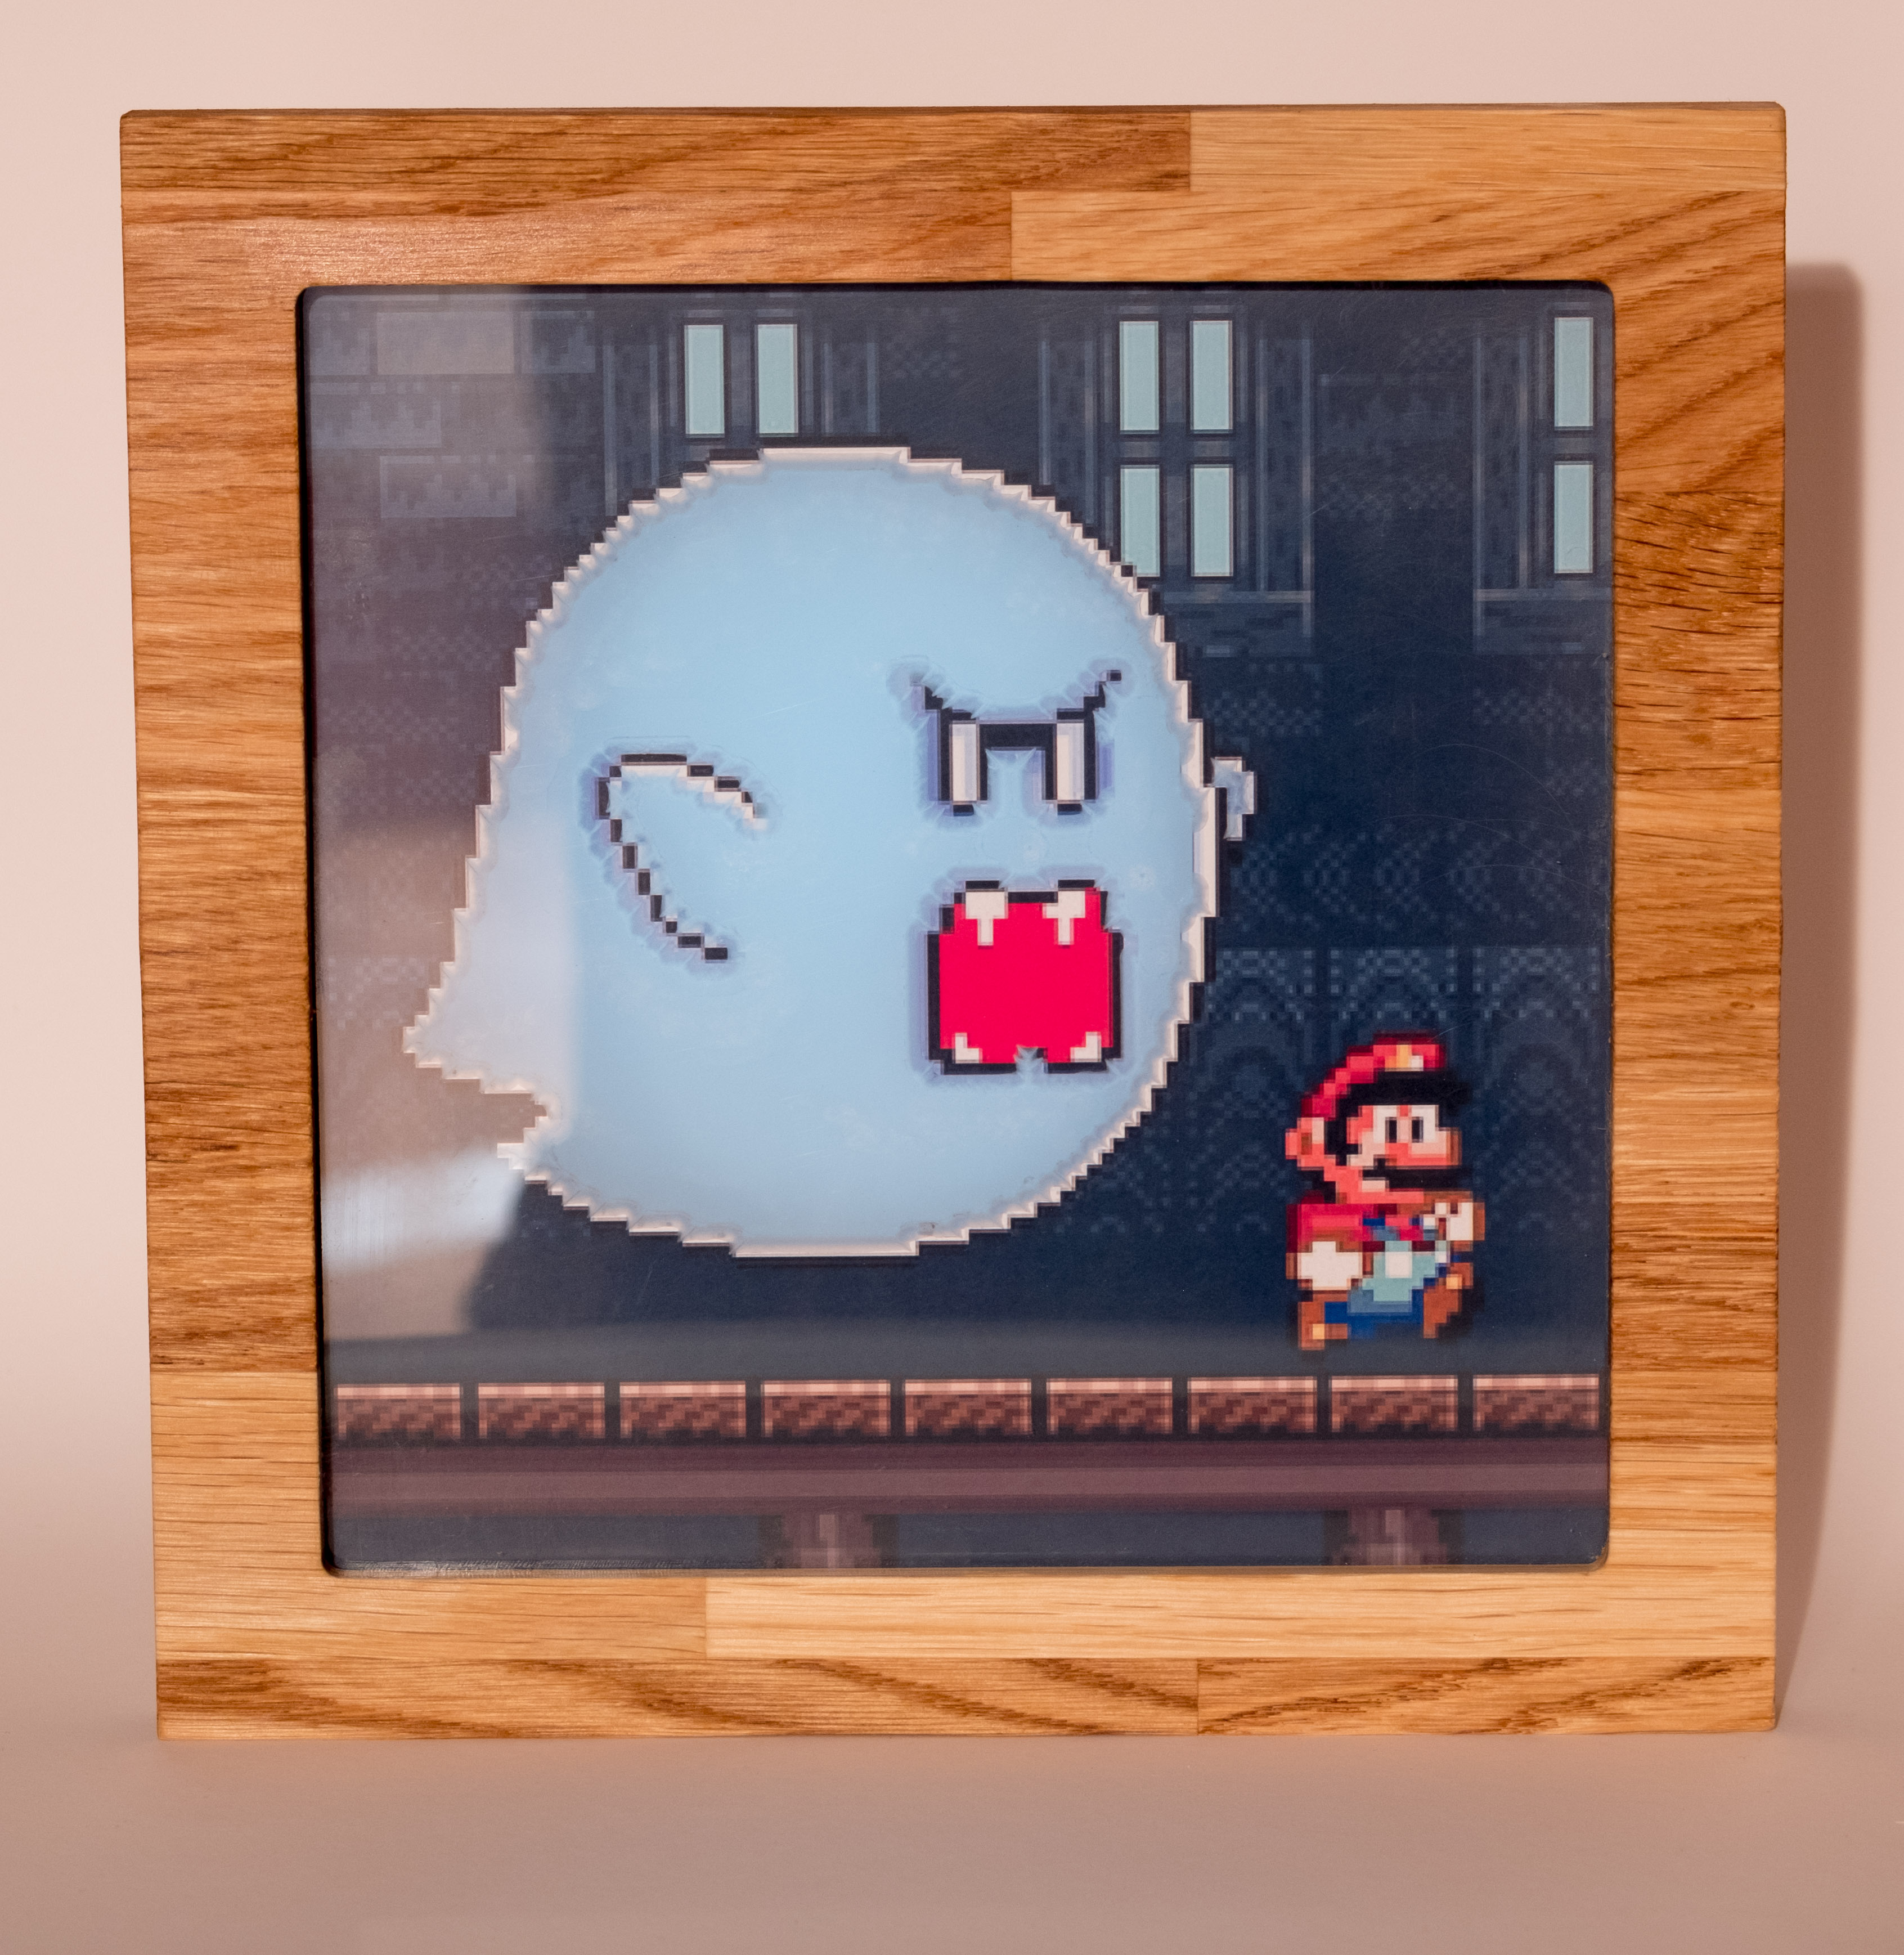
Finished the frame today. I was wondering what I might change to light the Mario a bit more, but I couldn’t come up with anything. A thin layer of glowing epoxy wouldn’t have changed much and rather spoiled the color of the image, I think.
So, a final image series:
And the files:
bigboo.c2d (3.8 MB) rahmen.c2d (19.1 KB)
and Cutrocket link: Glowing Big Boo by nlichtenberg