It is time for another challenge, and the theme will be: Kitchenware
And…that’s it, really.
Rules for this 22nd challenge:
submit your entry in this thread (you can post multiple entries if you want)
you must use your Shapeoko or Nomad
the jury will decide whether it qualifies as “kitchenware” (should there be any doubt)
post pictures (or a video) of the project
posting your project to CutRocket will get you a +2 bonus on the vote tally.
Timeline:
Deadline is set to July 11th 2021, midnight PST (I added a week, since the week-end of July 4th does not count, let’s be fair for all American contestants)
there will then be 7 days for voting.
voting will be open to legit community members only, and the jury reserves the right to remove votes from “outsiders”, and will also break any tie.
First place: HDZ !
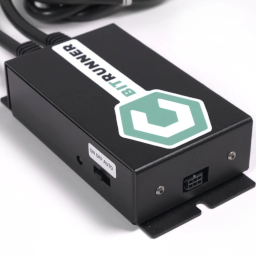
Second place: a vintage BitRunner v1 from @Jorge’s special stash. A rare artifact!
Jury’s prize: a vintage BitRunner v1 from @Jorge’s special stash
Nice! Don’t hesitate to edit your post to add “behind the scenes” details of how you designed and milled it, mishaps, tips, etc… those are usually very useful to the community.
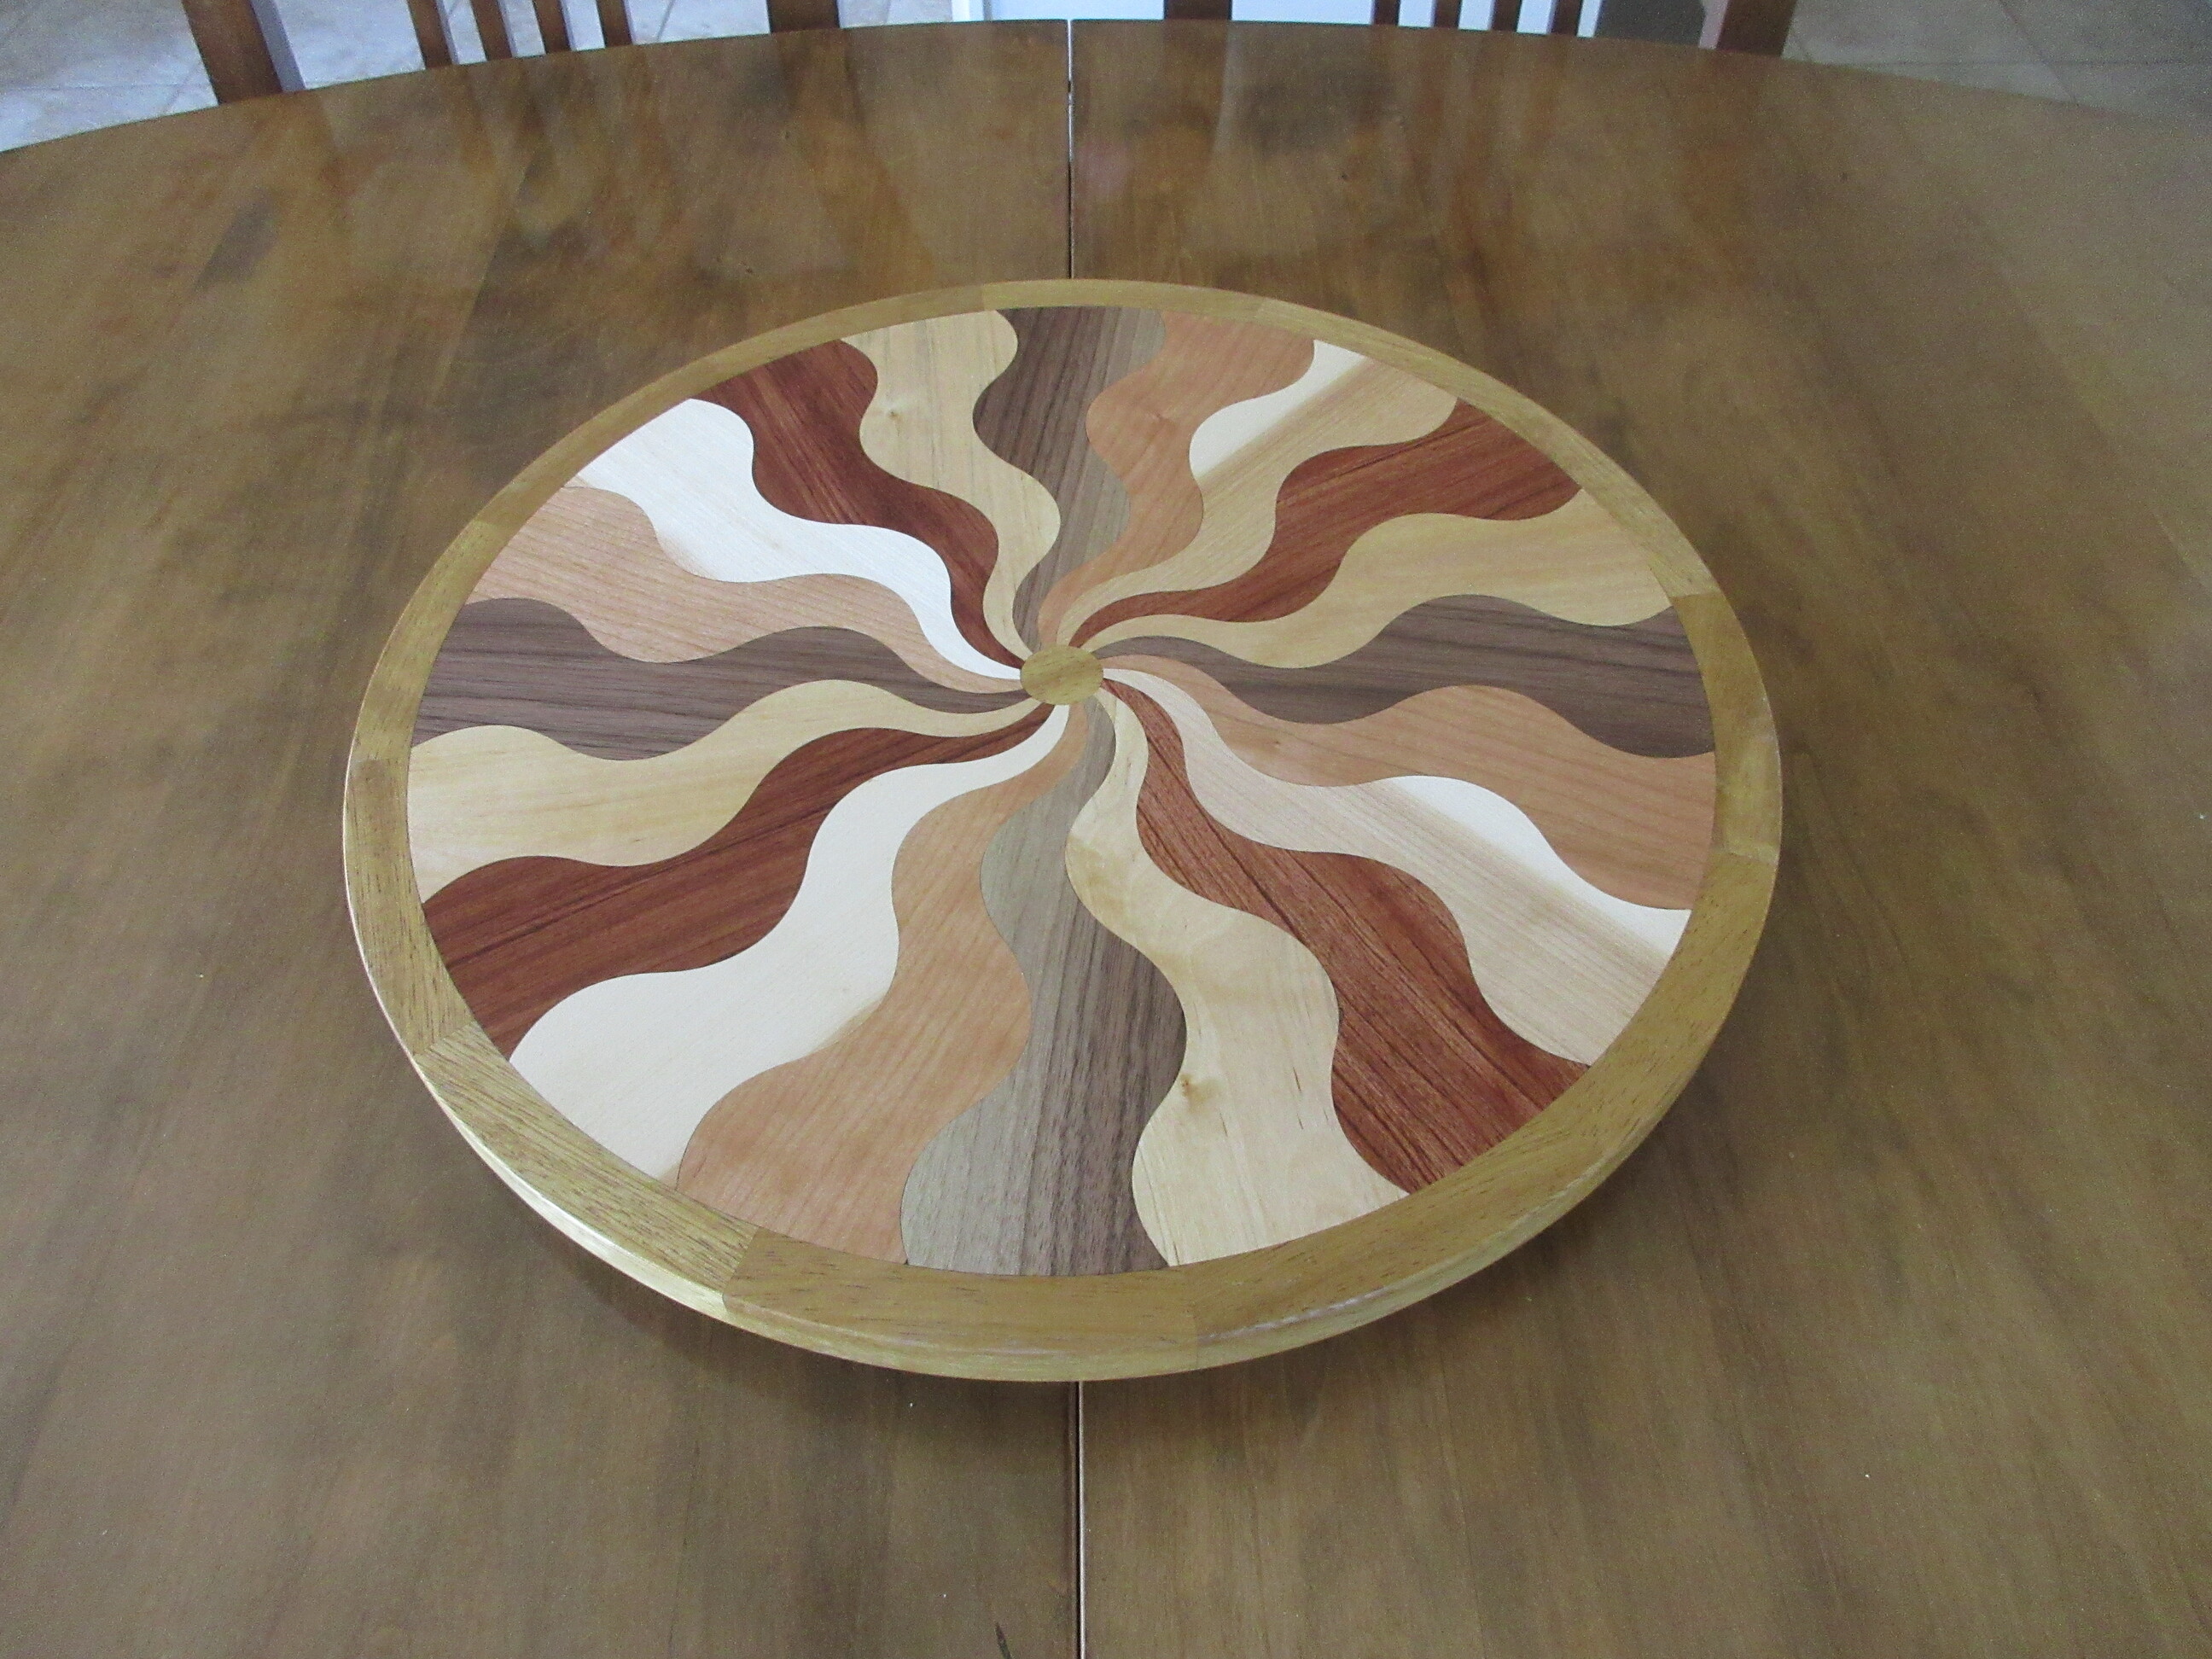
No fine tuning or sanding to fit required, I made sure that the curves had no discontinuities in them. I did tune fit the outer ring around the main assembly. I machined the ID of the ring and then put the main assembly on the Shapeoko and machined it in 0.005 increments until I got a snug sliding fit. I went 0.005" under in the end to allow a bit of space for glue. My machine has always been very accurate as long as I use good bits. i.e. bits with an accurate cutting diameter.
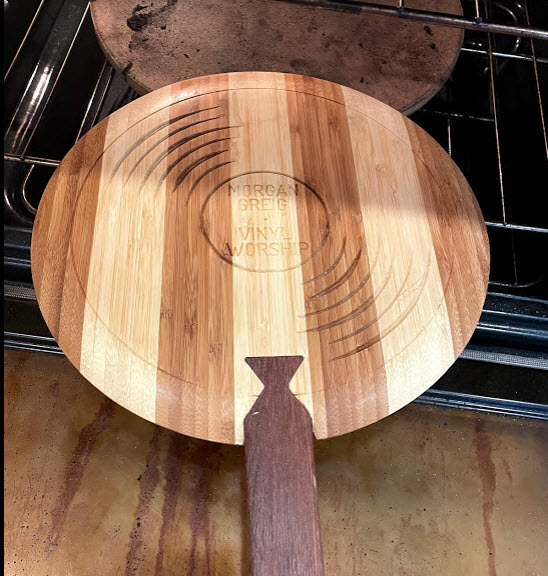
I made this record shaped pizza peel for a friend with the name of his album on it. Two sided 3d carve done on MeshCAM, Vcarve and pocket done in Carbide Create. My first successful 2 sided 3d carve. Carved on Shapeoko XXL. CAD model done in CATIA, exported as .stl for MeshCAM, and .dxf for Carbide Create.
-J
PS: I can’t seem to publish to CutRocket. Where’s the FAQ for CutRocket? Maybe it just doesn’t like my CATIA design files. Seems to be geared toward F360.
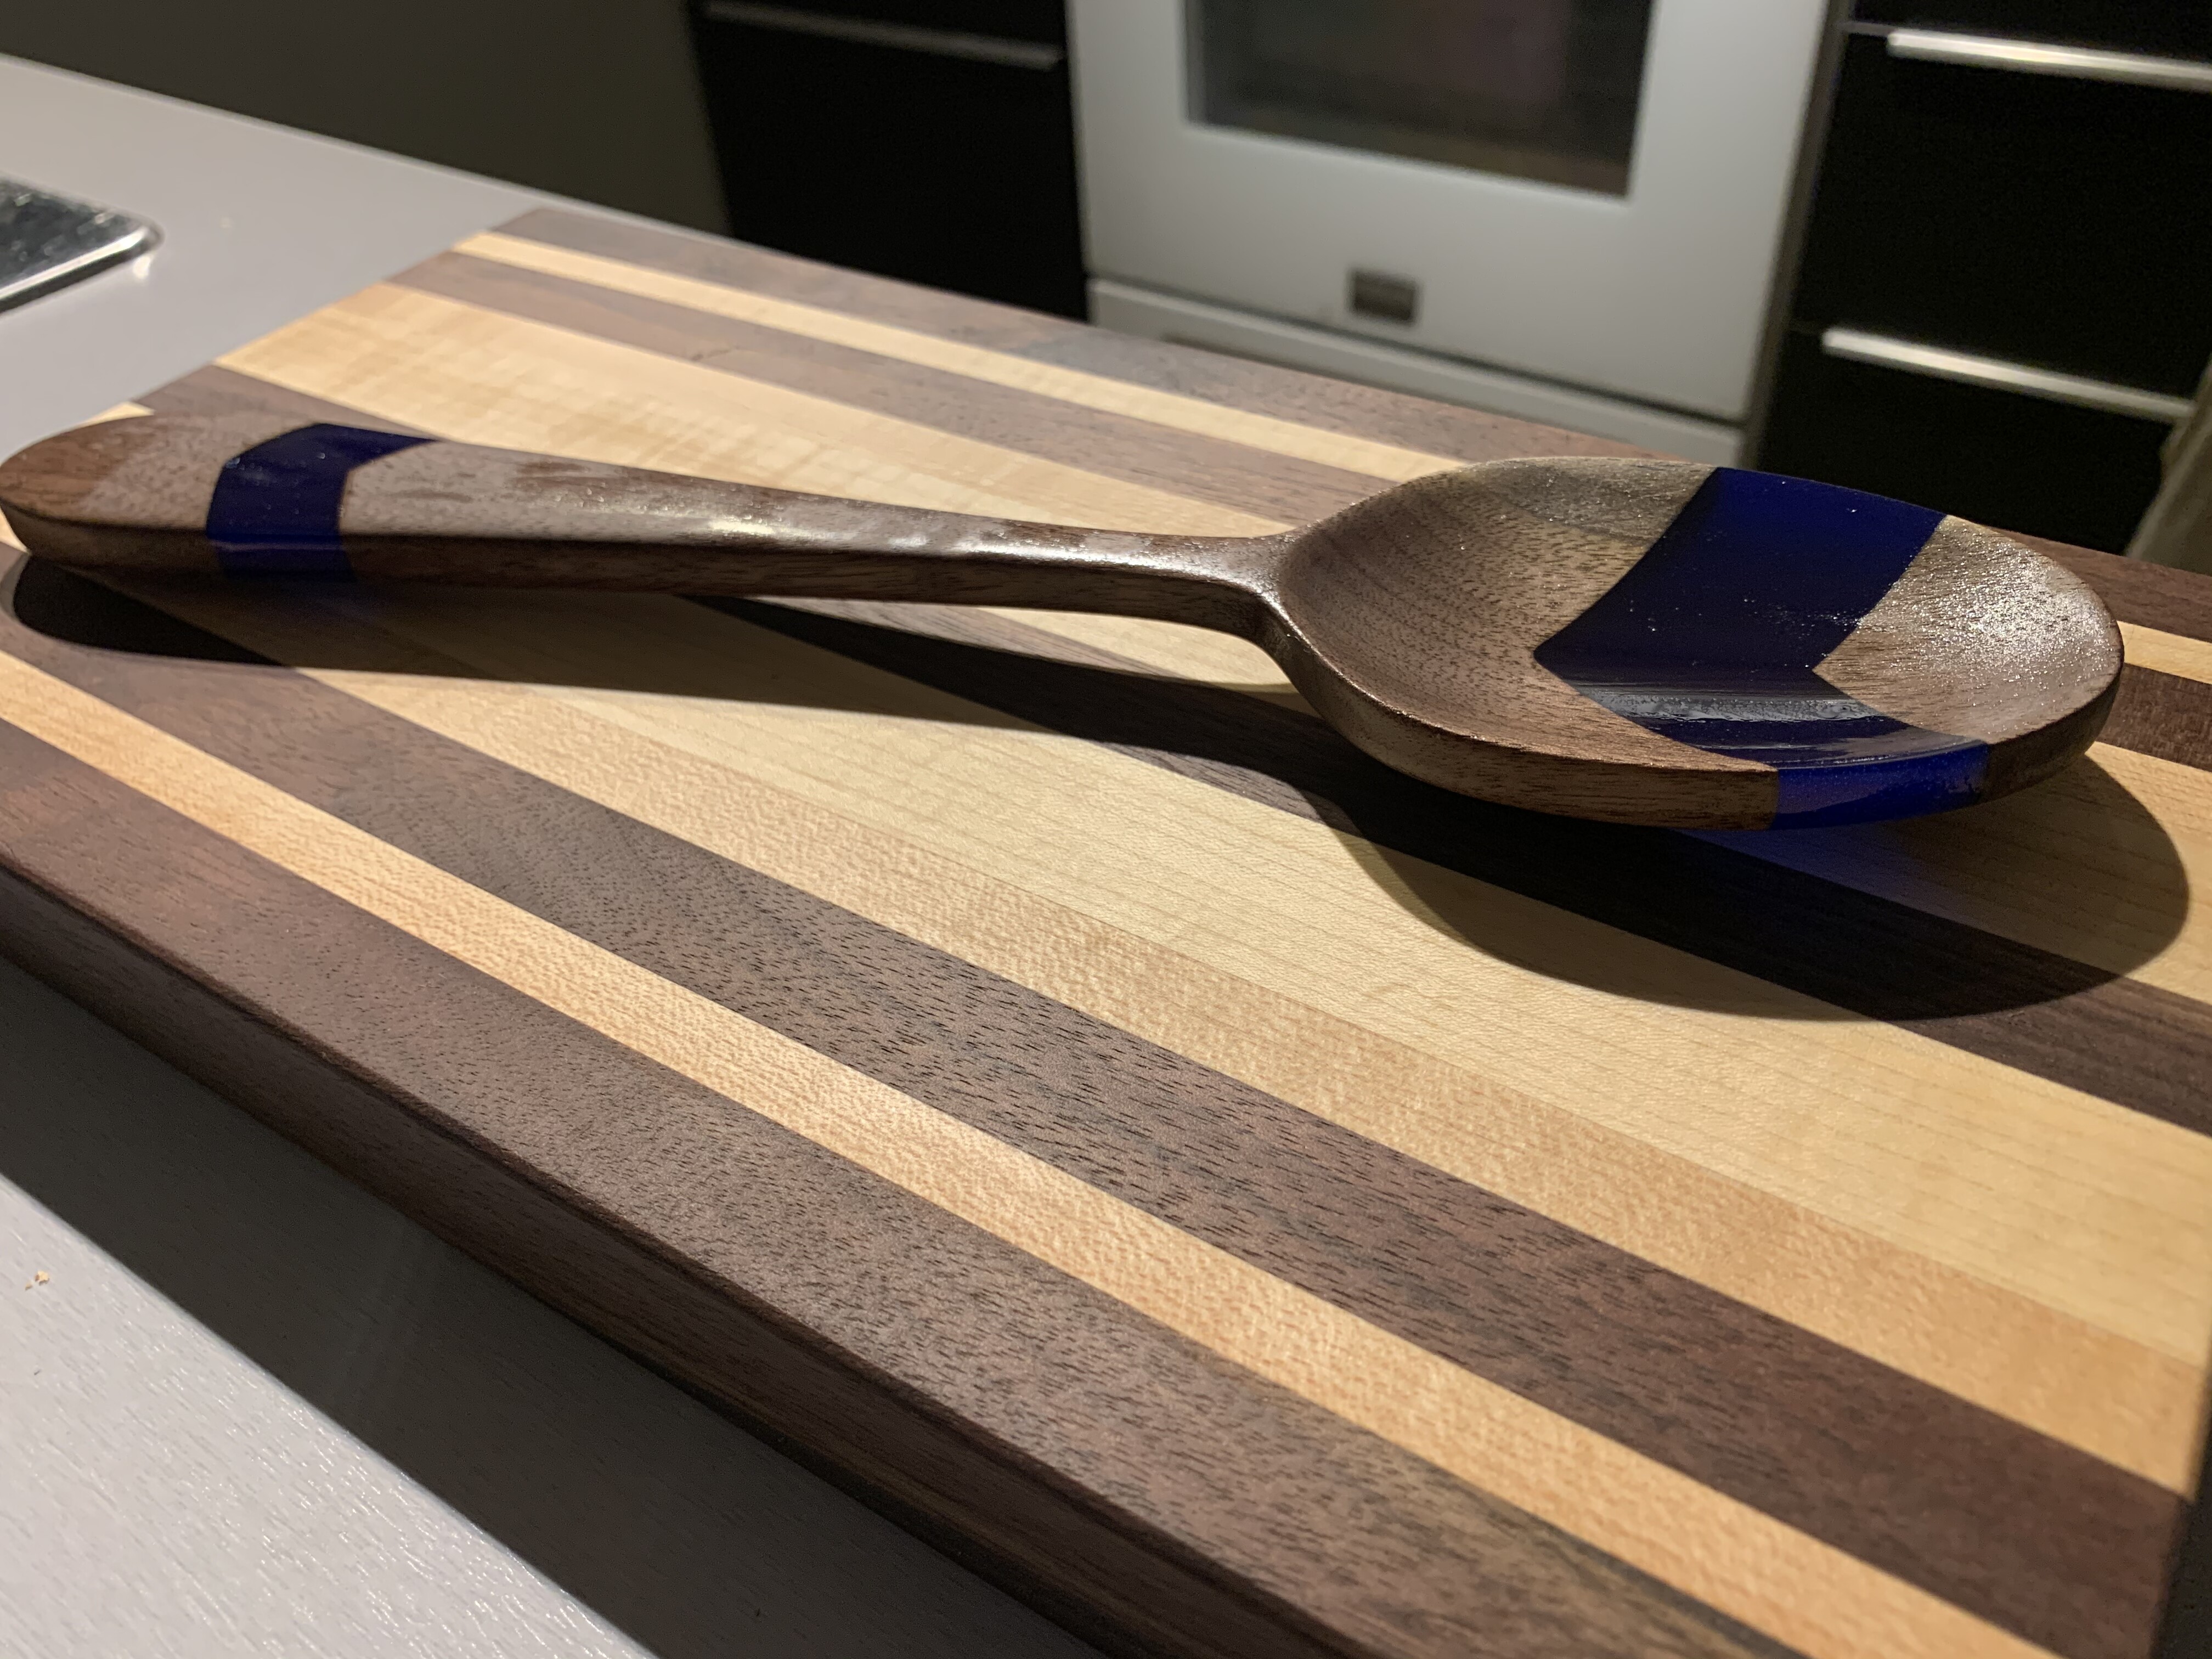
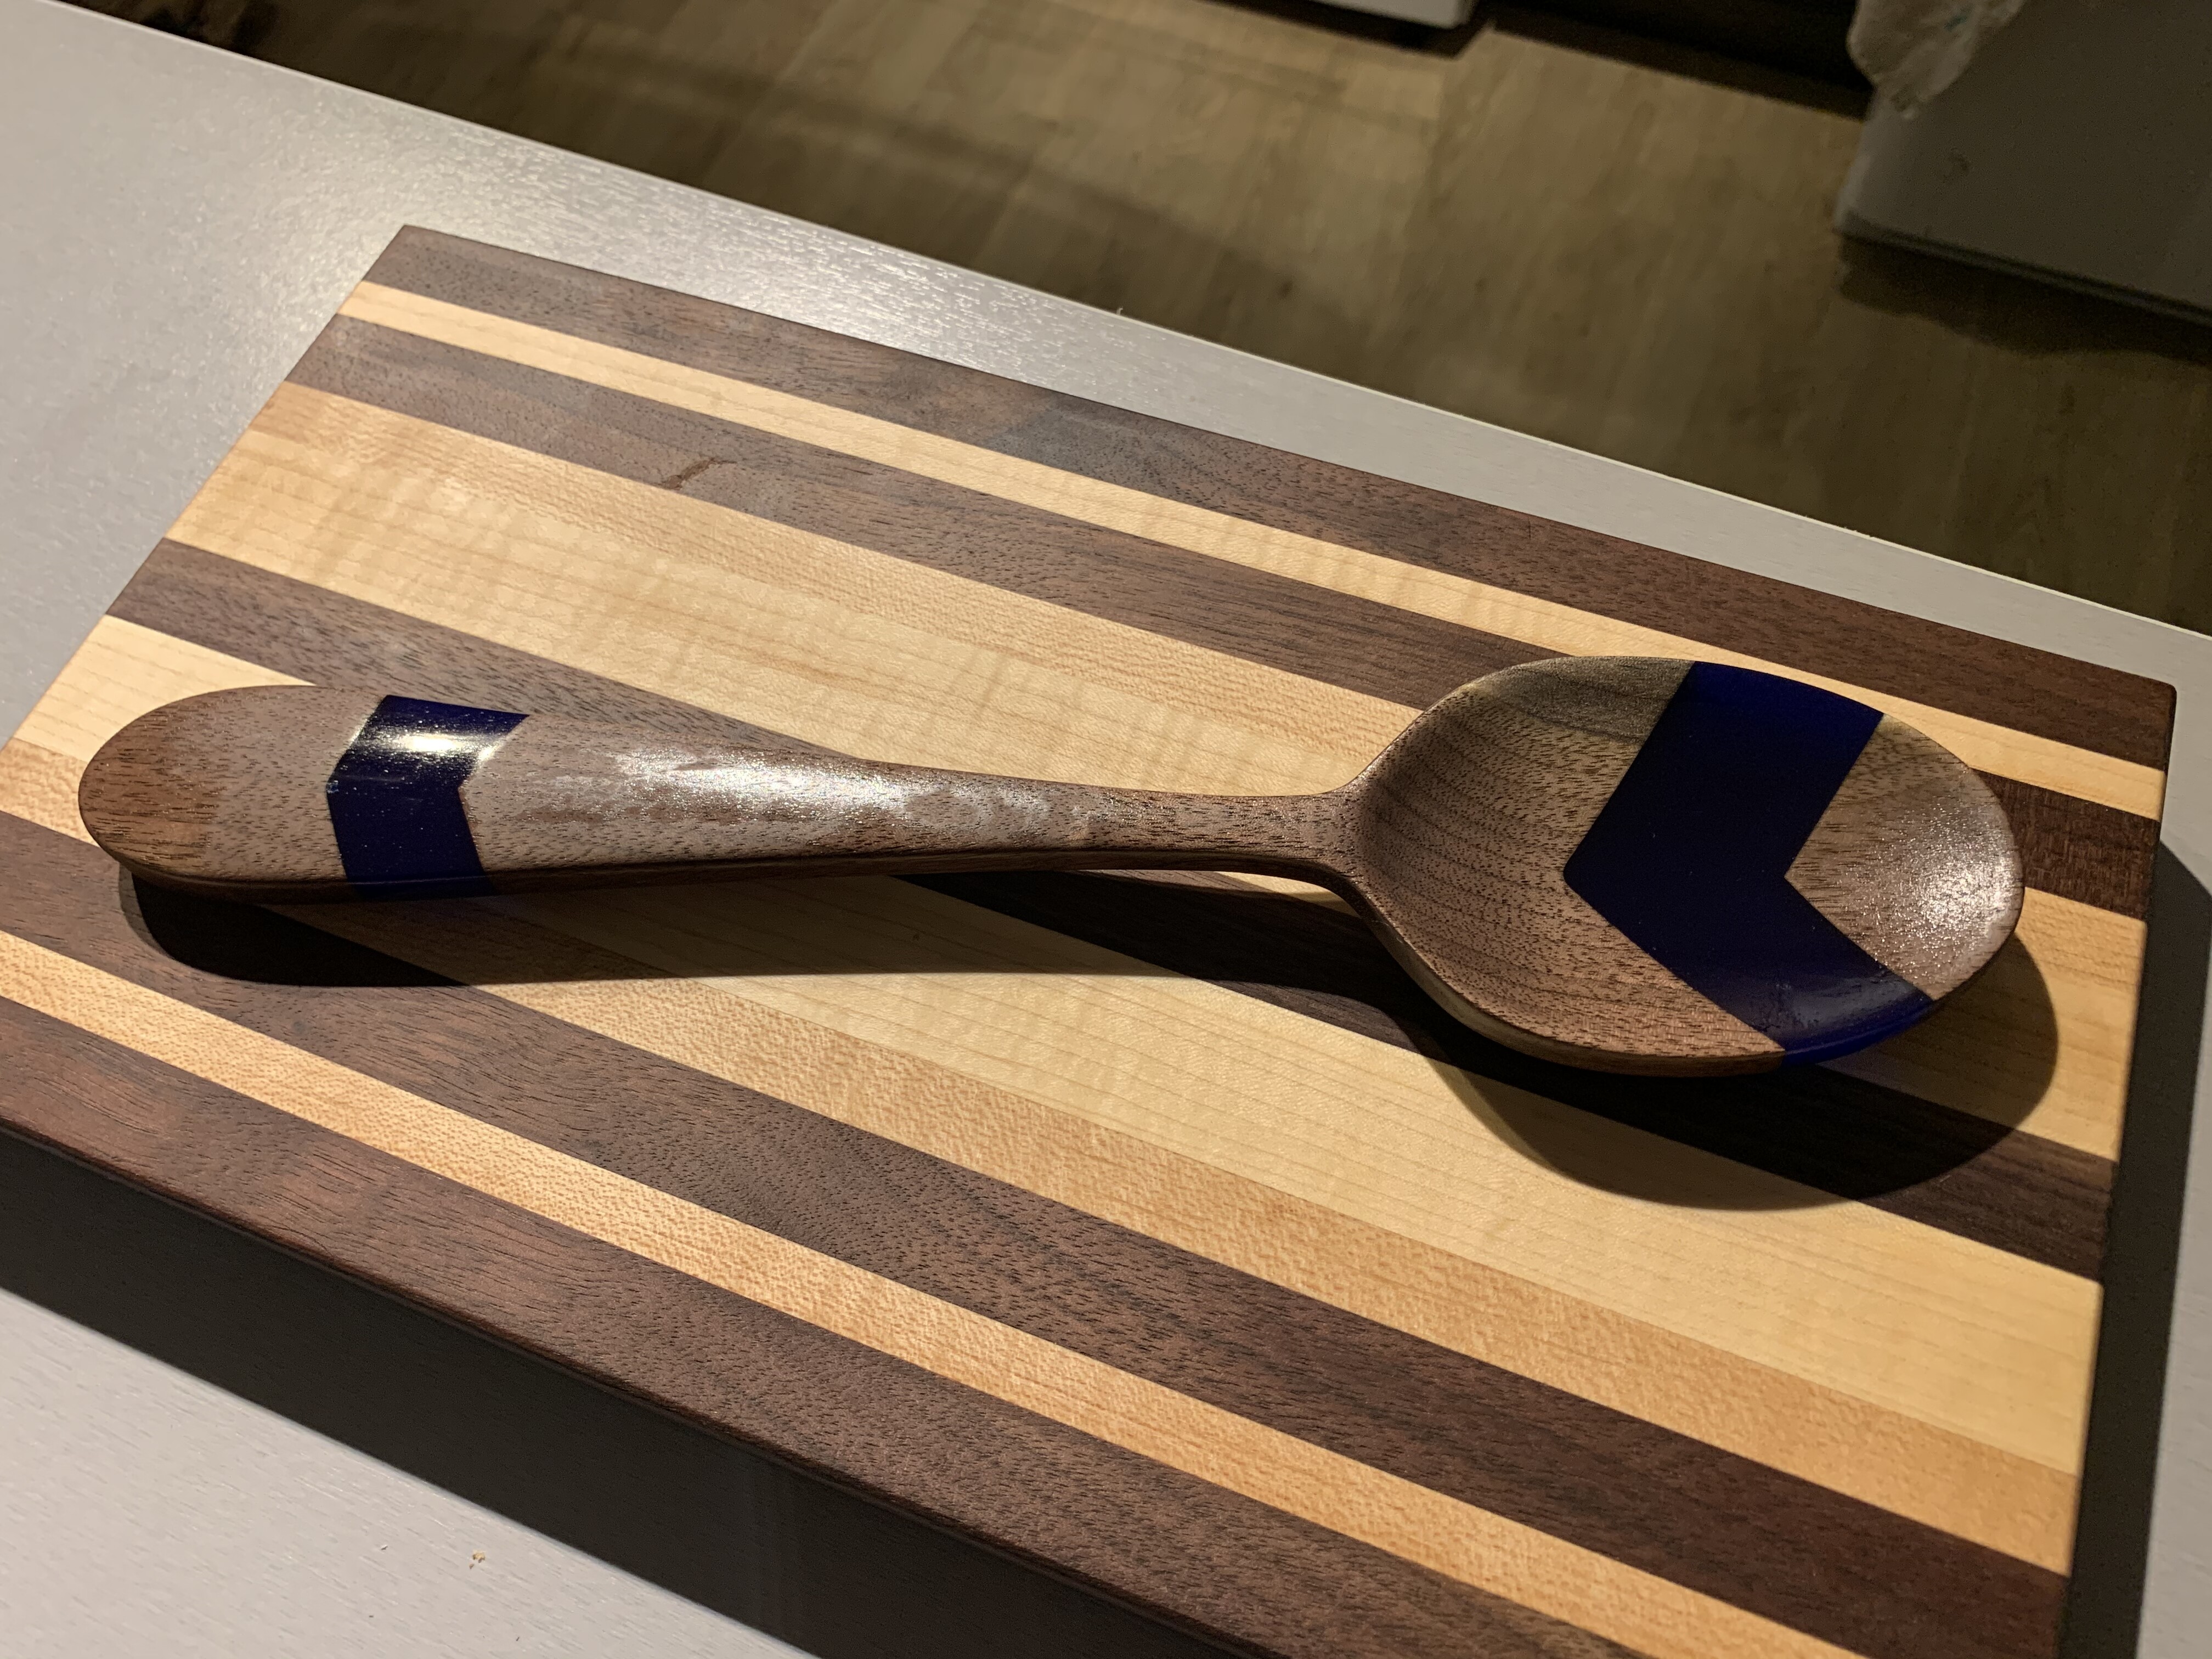
I hope I’m doing this right. First time entering one of these. Here is a spoon with epoxy. All done on my XXL with CC and CM.
Unfortunately I didn’t take any video of the machining of the epoxy spoon as it wasn’t my first attempt. So TheseVideo are the same procedure just on a non epoxy version
For the 2 sided machining, I used two bolts to locate the blank in front and took my Y zero.
For the second side I moved the bolts to the top and flipped the blank also retaking my Y on that side. This way if my the blank wasn’t exactly the size in CC things would still line up. I then moved the bolts before machining as to not hit them during the process. I took X on both OP’S
Cool idea (the wood and epoxy mix for a spoon). If you have “work in progress” pictures, and a description of how you handled 2sided machining, that would be helpful, you can edit your post until the deadline to add this or any other info you feel is interesting to share