It looks like I’m going to really bump up my effort for these contests. I’ll grab first eventually though 
Let me start by saying the end result is not so much the entry here. The process is the real star of the show. I only had about a day to do this project so I put the “rapid” in rapid prototyping.
What was the prompt? Well, I have a really nice olive wood spatula that has a nice curve on the end for right handed folks. My wife is left handed. As with many things in the world, she was left wanting for a left handed version. You would think the prompt might be “make a left handed spatula” but I have no exotic woods beautiful enough for the wife, nor do I have a machine large enough to do it in one go. I just got a nomad 3 about a week ago.
So let’s adapt. The wife has a slew of tiny silicone utensils that she absolutely adores. These tools are rare enough in the standard variety, there’s no chance someone is making a miniature left handed silicone spatula…that’s something I can work with.
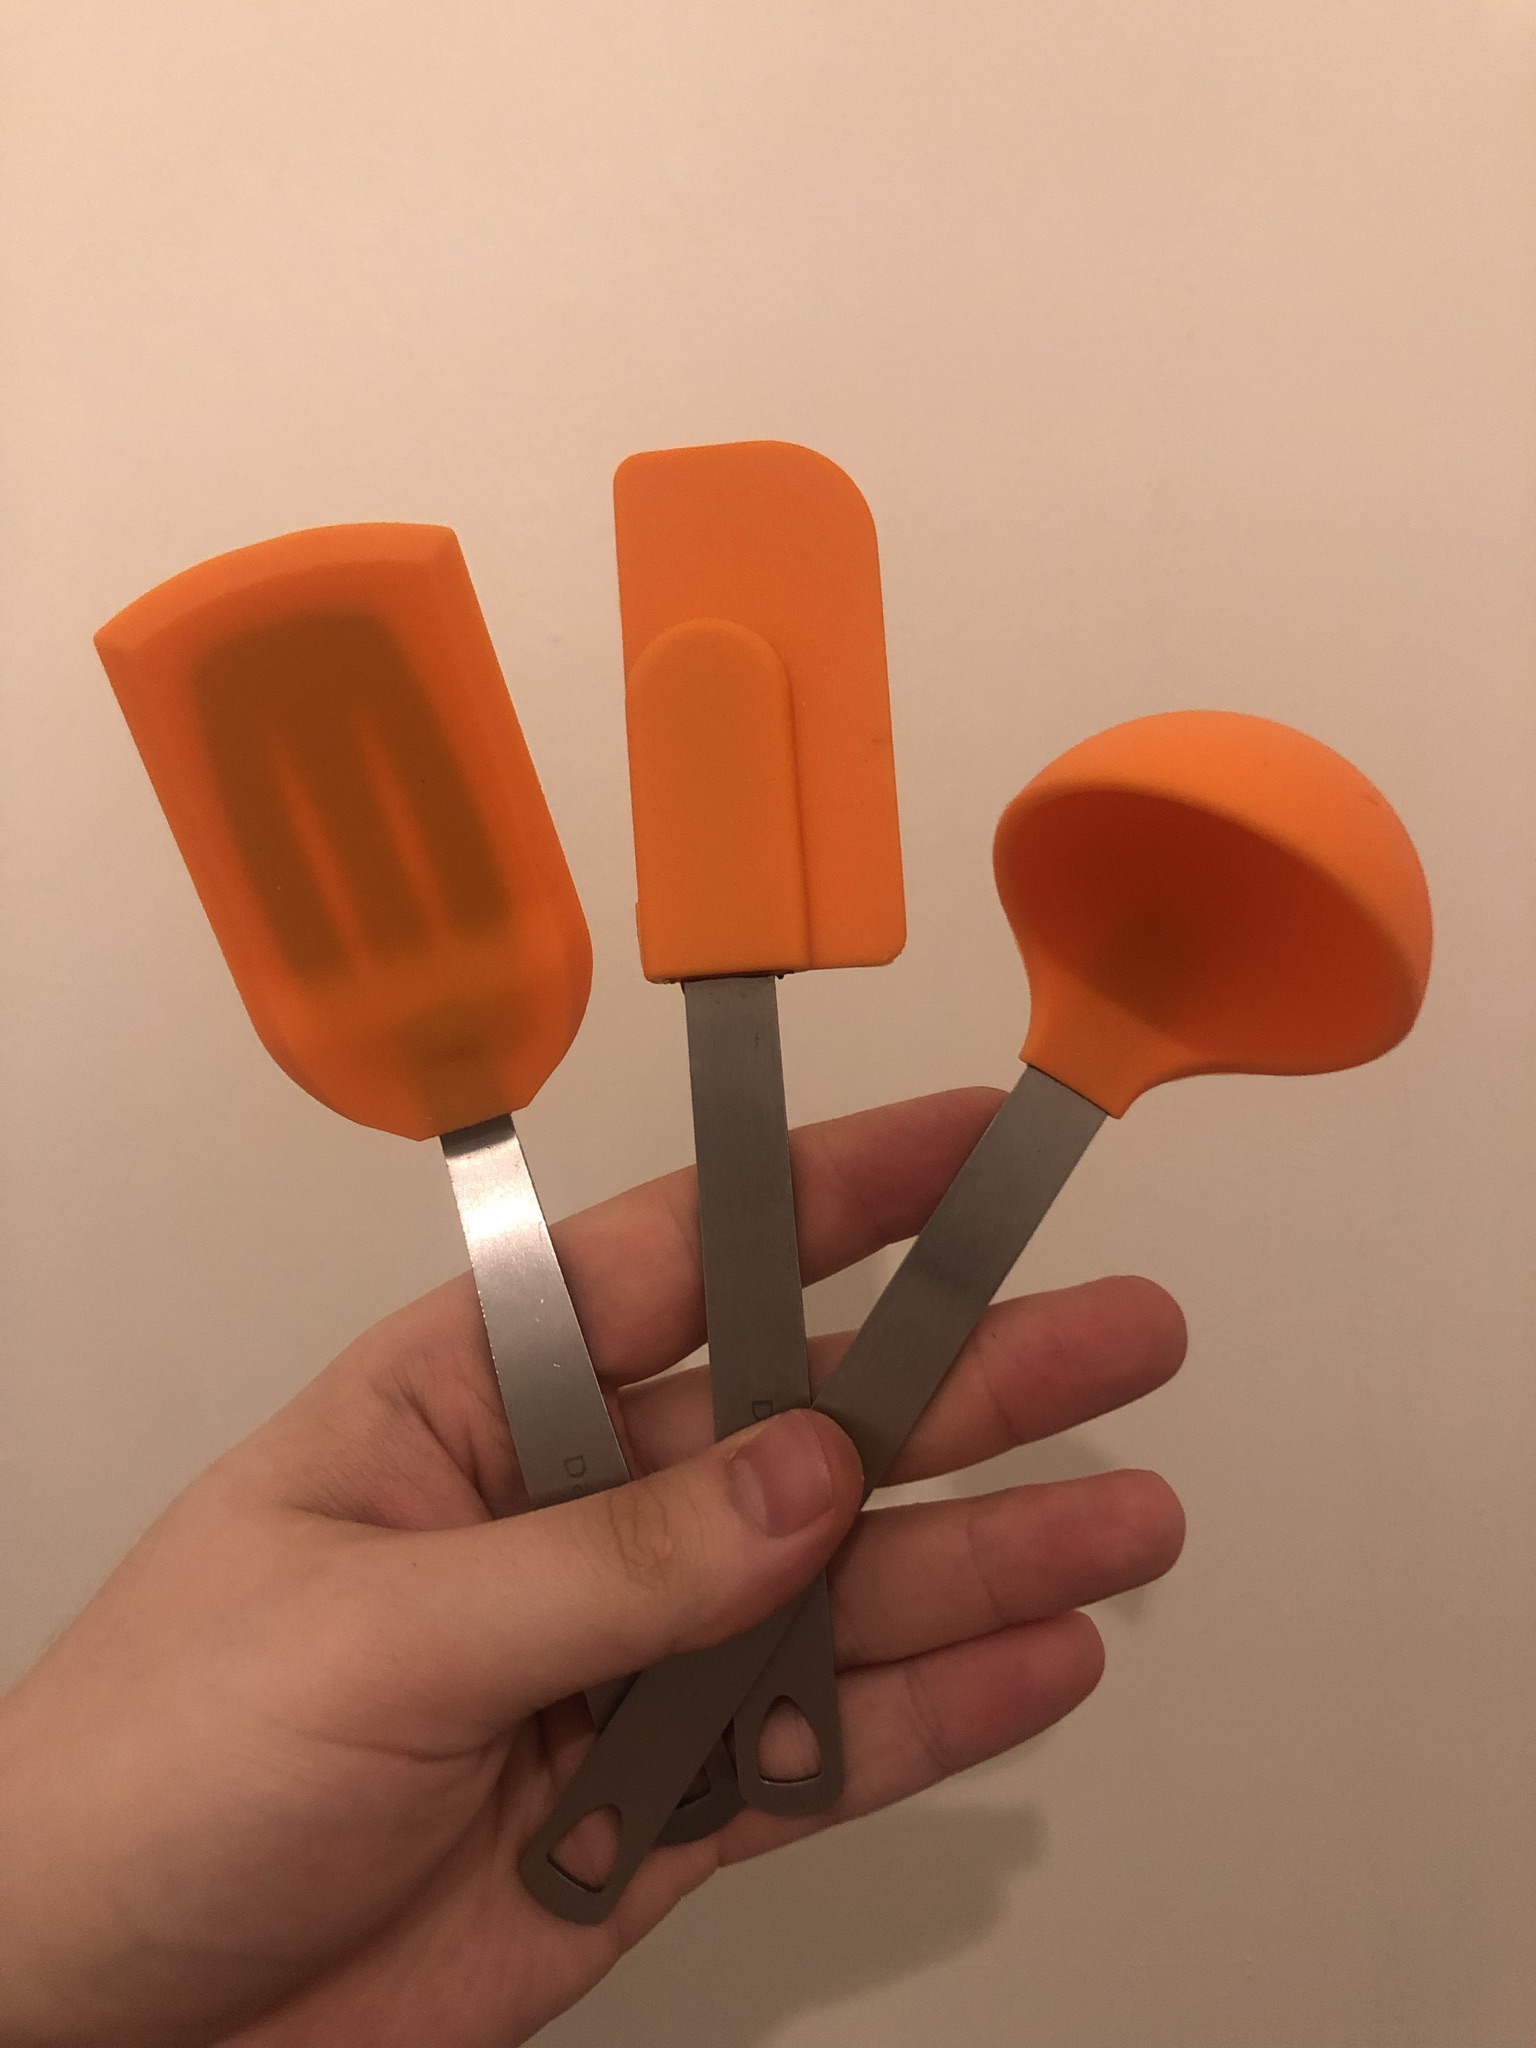
I hopped into fusion 360 with my calipers and a deconstructed mini utensil that was starting to rip anyway, the wife wouldn’t miss it. I modeled up the handle first, a long thin piece of flat stock. Then proceeded to model the spatula head, the piece that would be made of silicone.
Remember how I said I got the nomad around week ago, yeah…I have no idea what I’m doing. I’ve got some blocks of machinable wax that will be my go to material for prototyping. Apparently it cuts like butter and I can recycle it easily. I thought to myself “Self, you’ve got a 1” thick block of this wax but you only need a ~6mm slice.” so I did what anyone in that position would do and threw together a hot wire cutter with my bench top power supply, a bit of nichrome wire, and a block of HDPE.
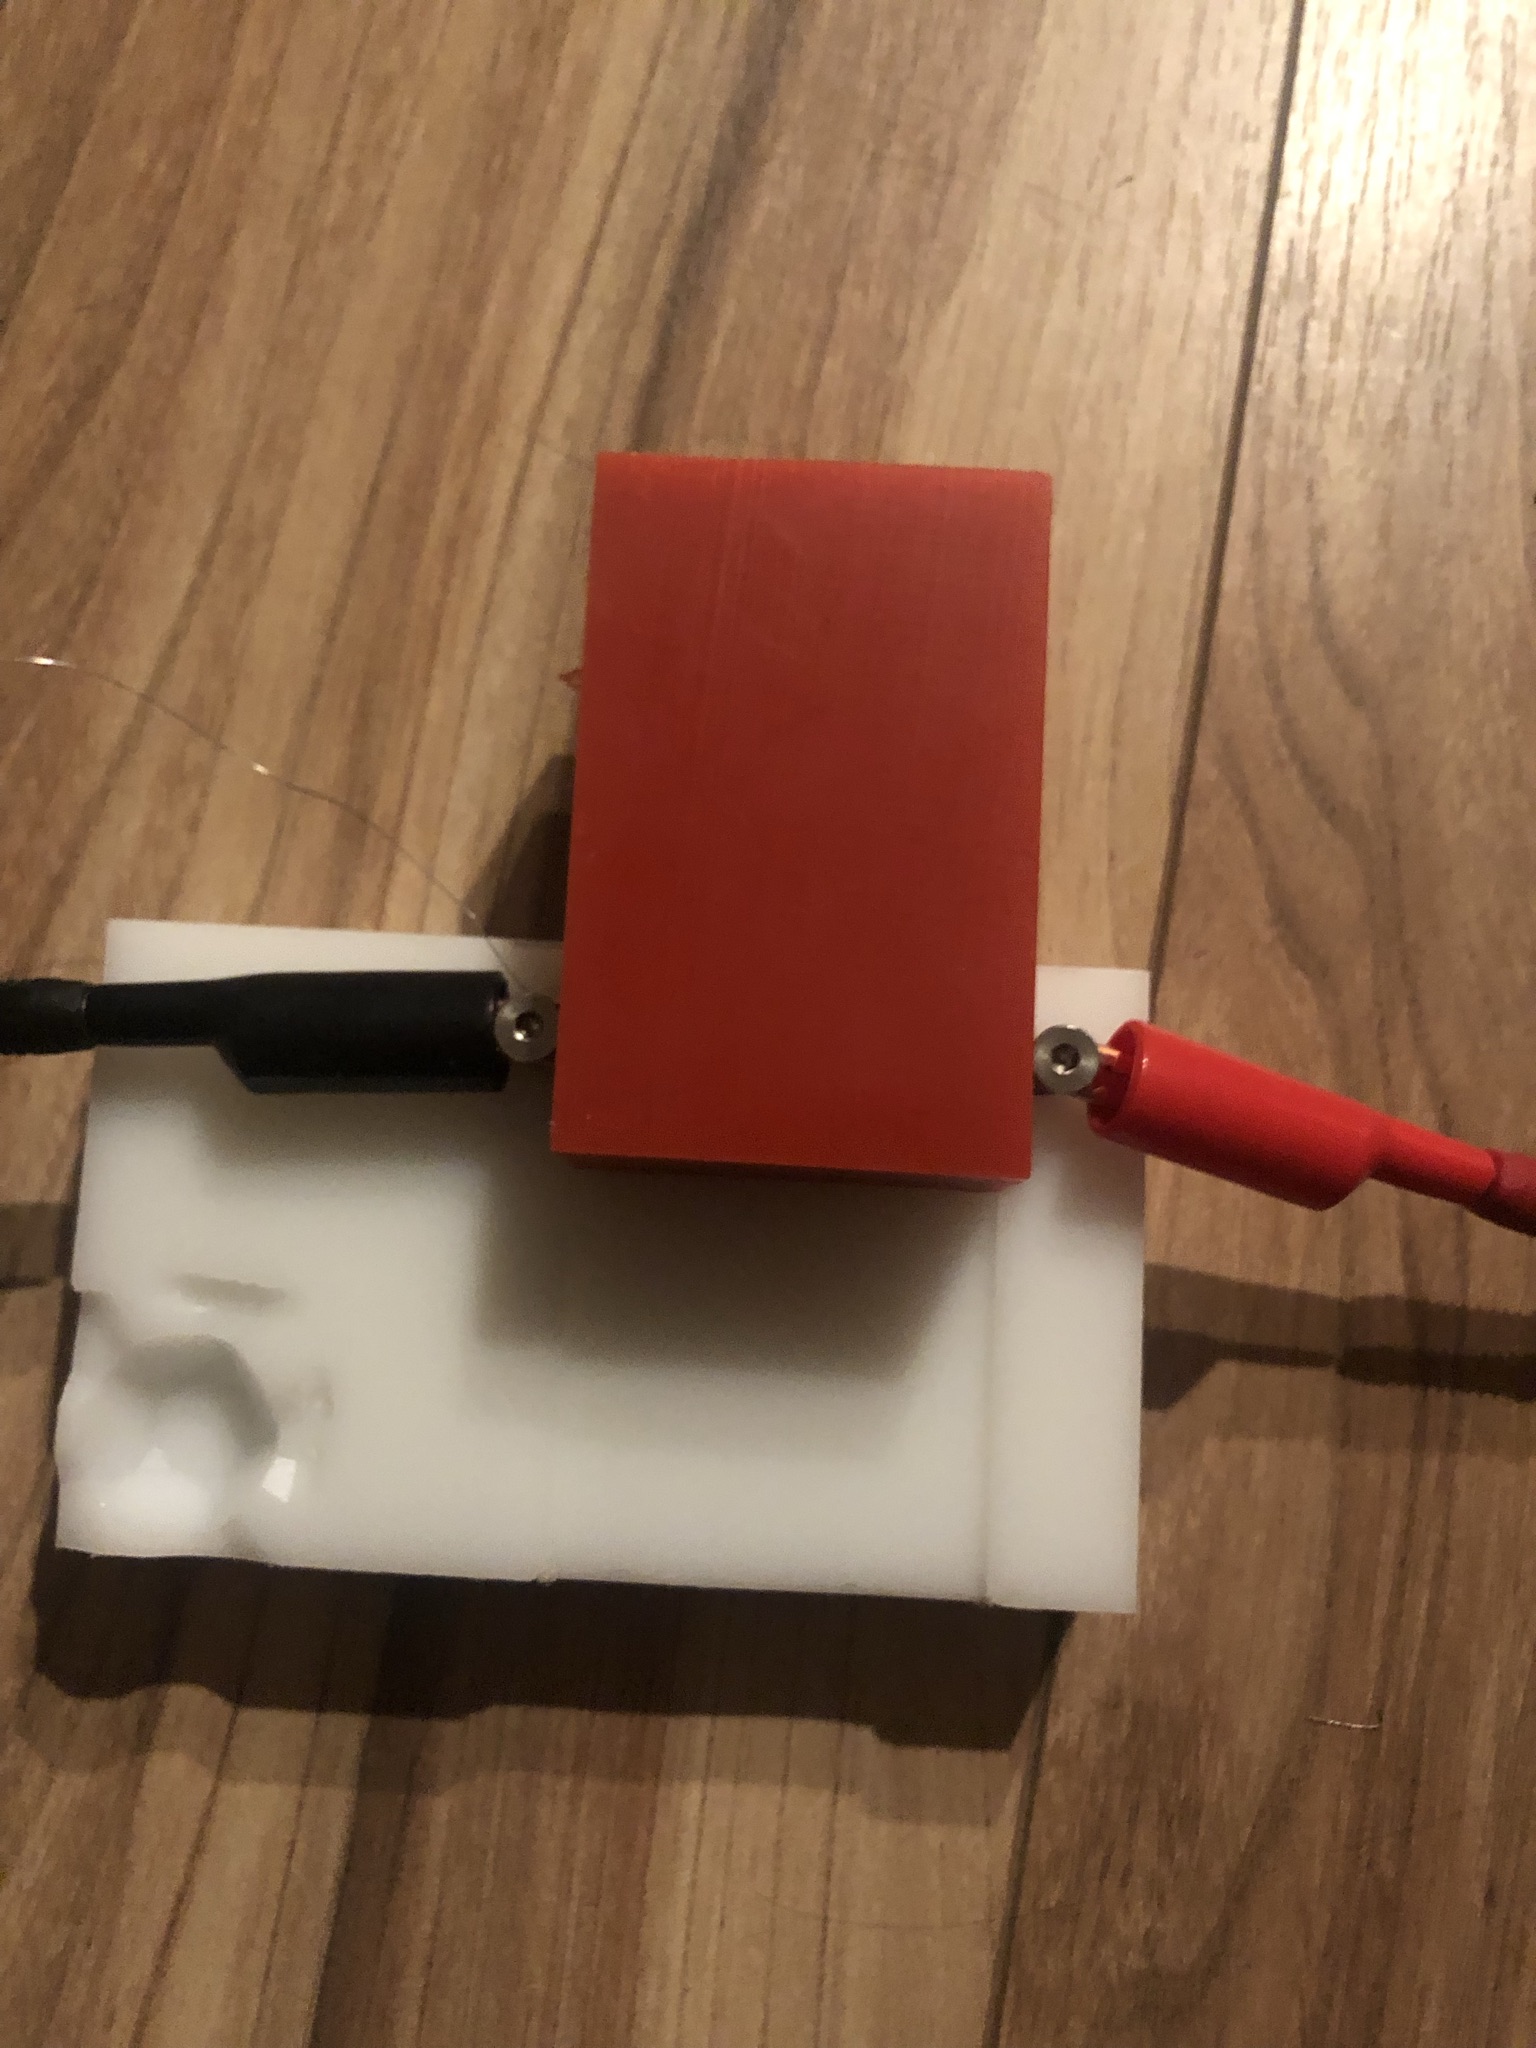
It worked surprisingly well BUT I learned that wax likes to reweld as you cut it so that idea was shot. Still, it’s something to figure out in the future. For now, we would just deal with using a less than ideal piece of stock.

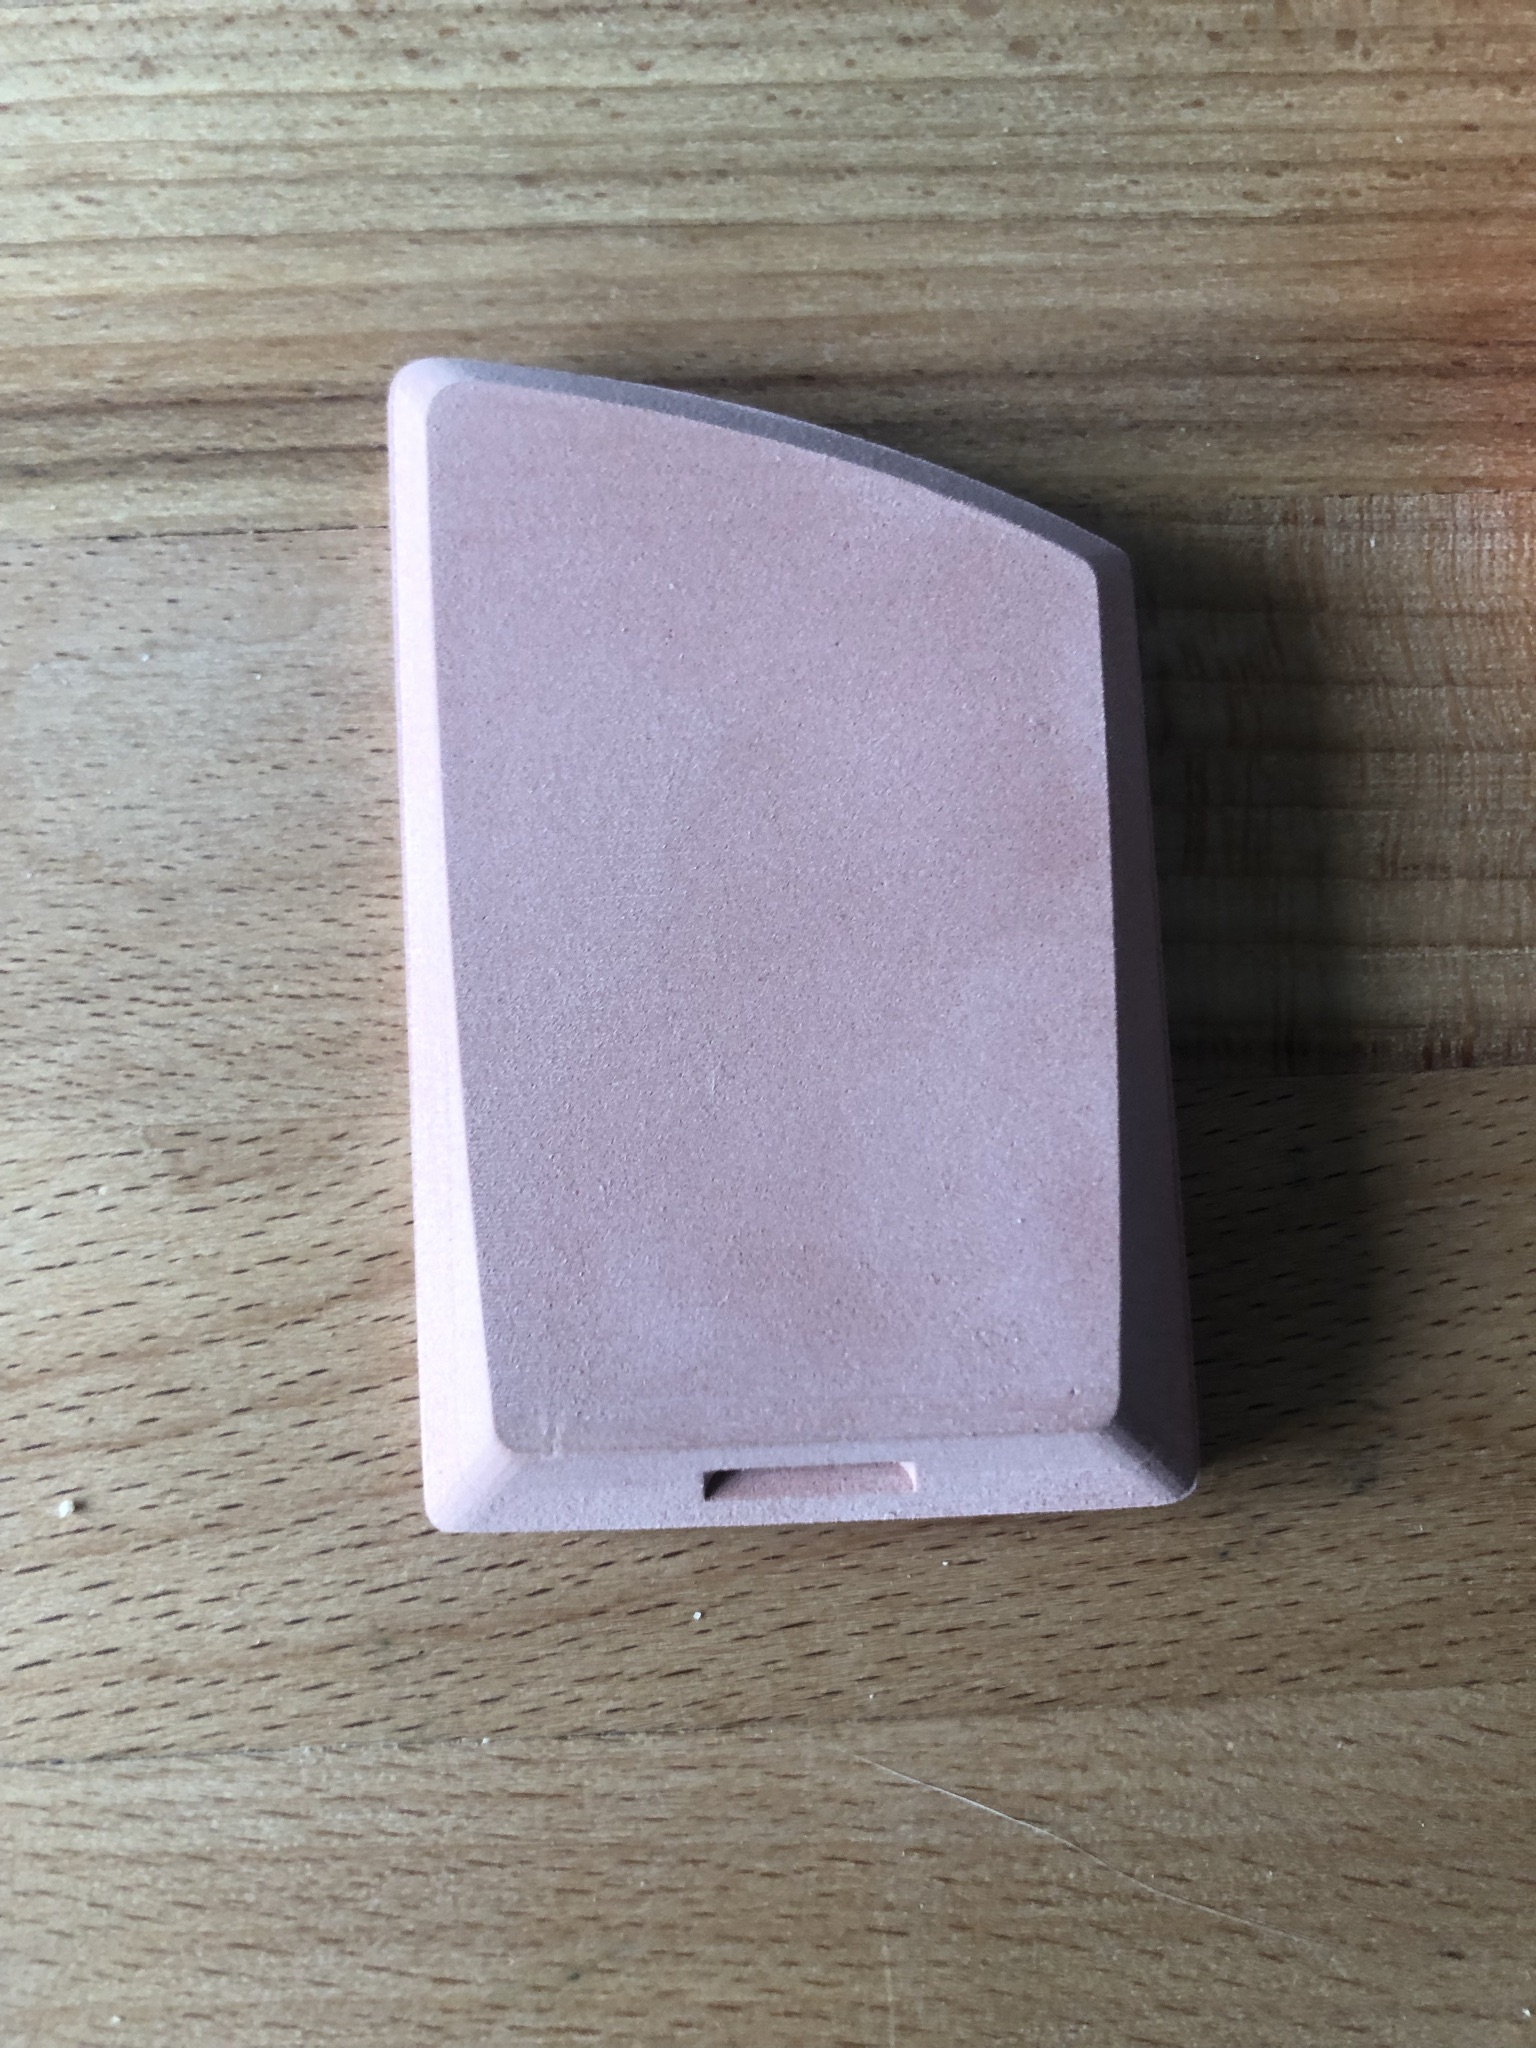
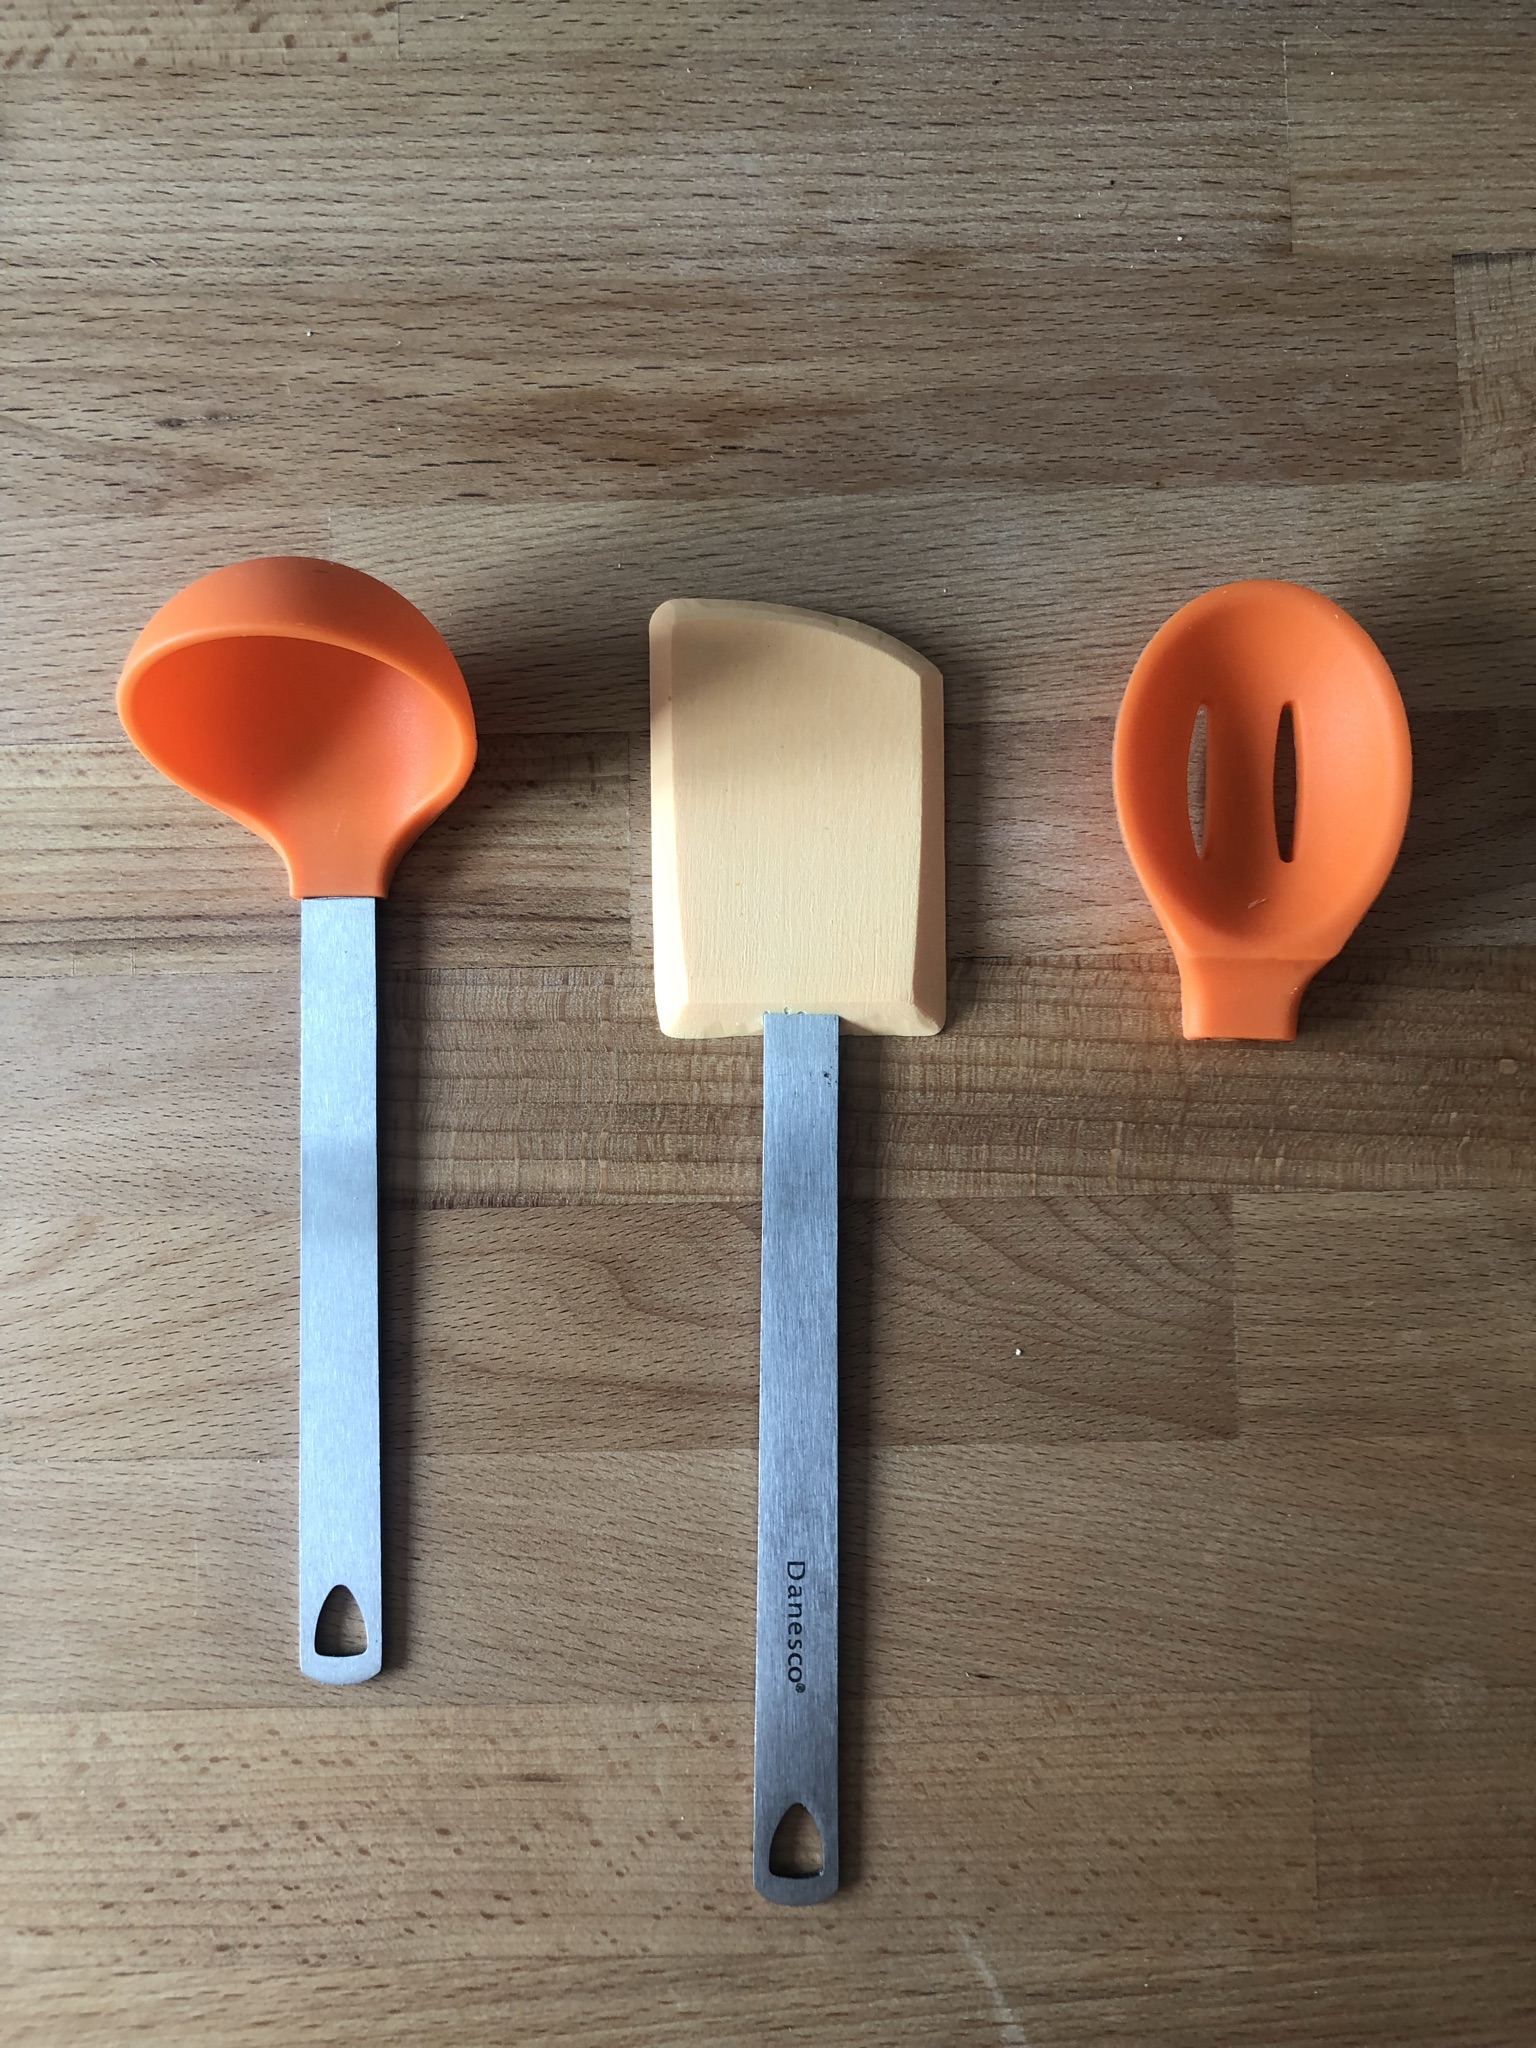
Aaaanyway, I had the thing modeled and wanted to do a test run. Cut out the shape from a piece of material the wife could hold, beat up a bit, and ideally sign off on. I have some renshape which I’ve never used. I figured now was as good a time as any (that stuff is amazing by the way). I got the model cut and into the wife’s hands where she proceeded to run it though the corners of our pots and pans. She decided the corner radius “needed to be fatter” and the angle on the front edge “needed to be flatter”. Other than those two issues, she absolutely loved it.
(renshape spatula: first attempt. Top left corner too pointy, front angle too steep)
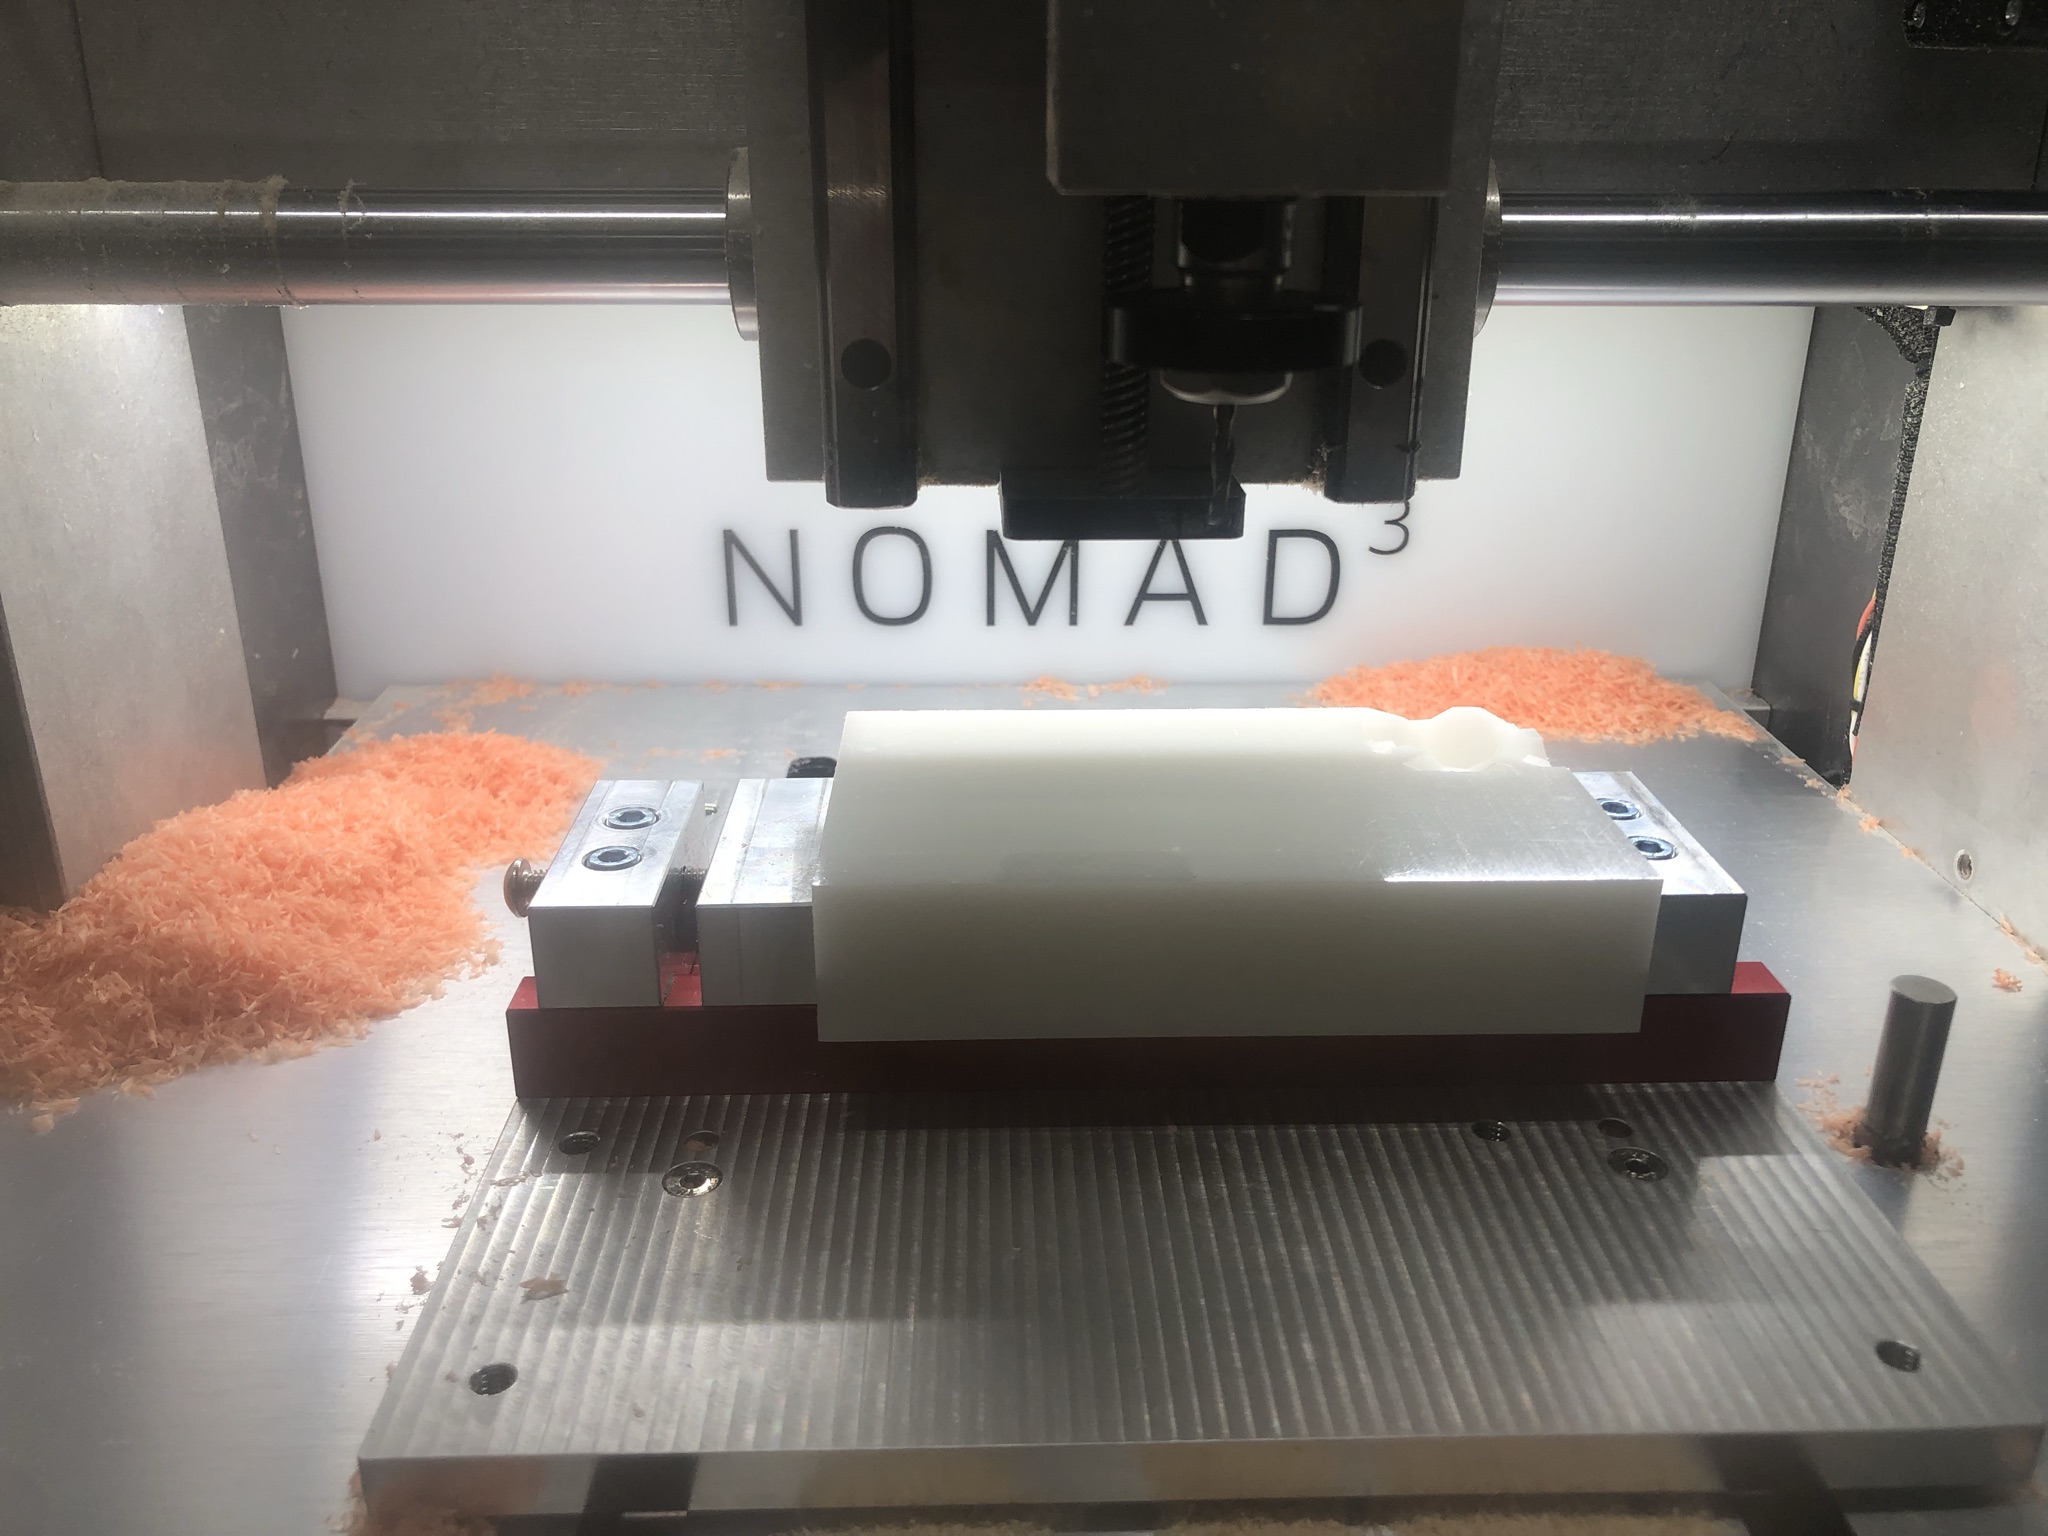
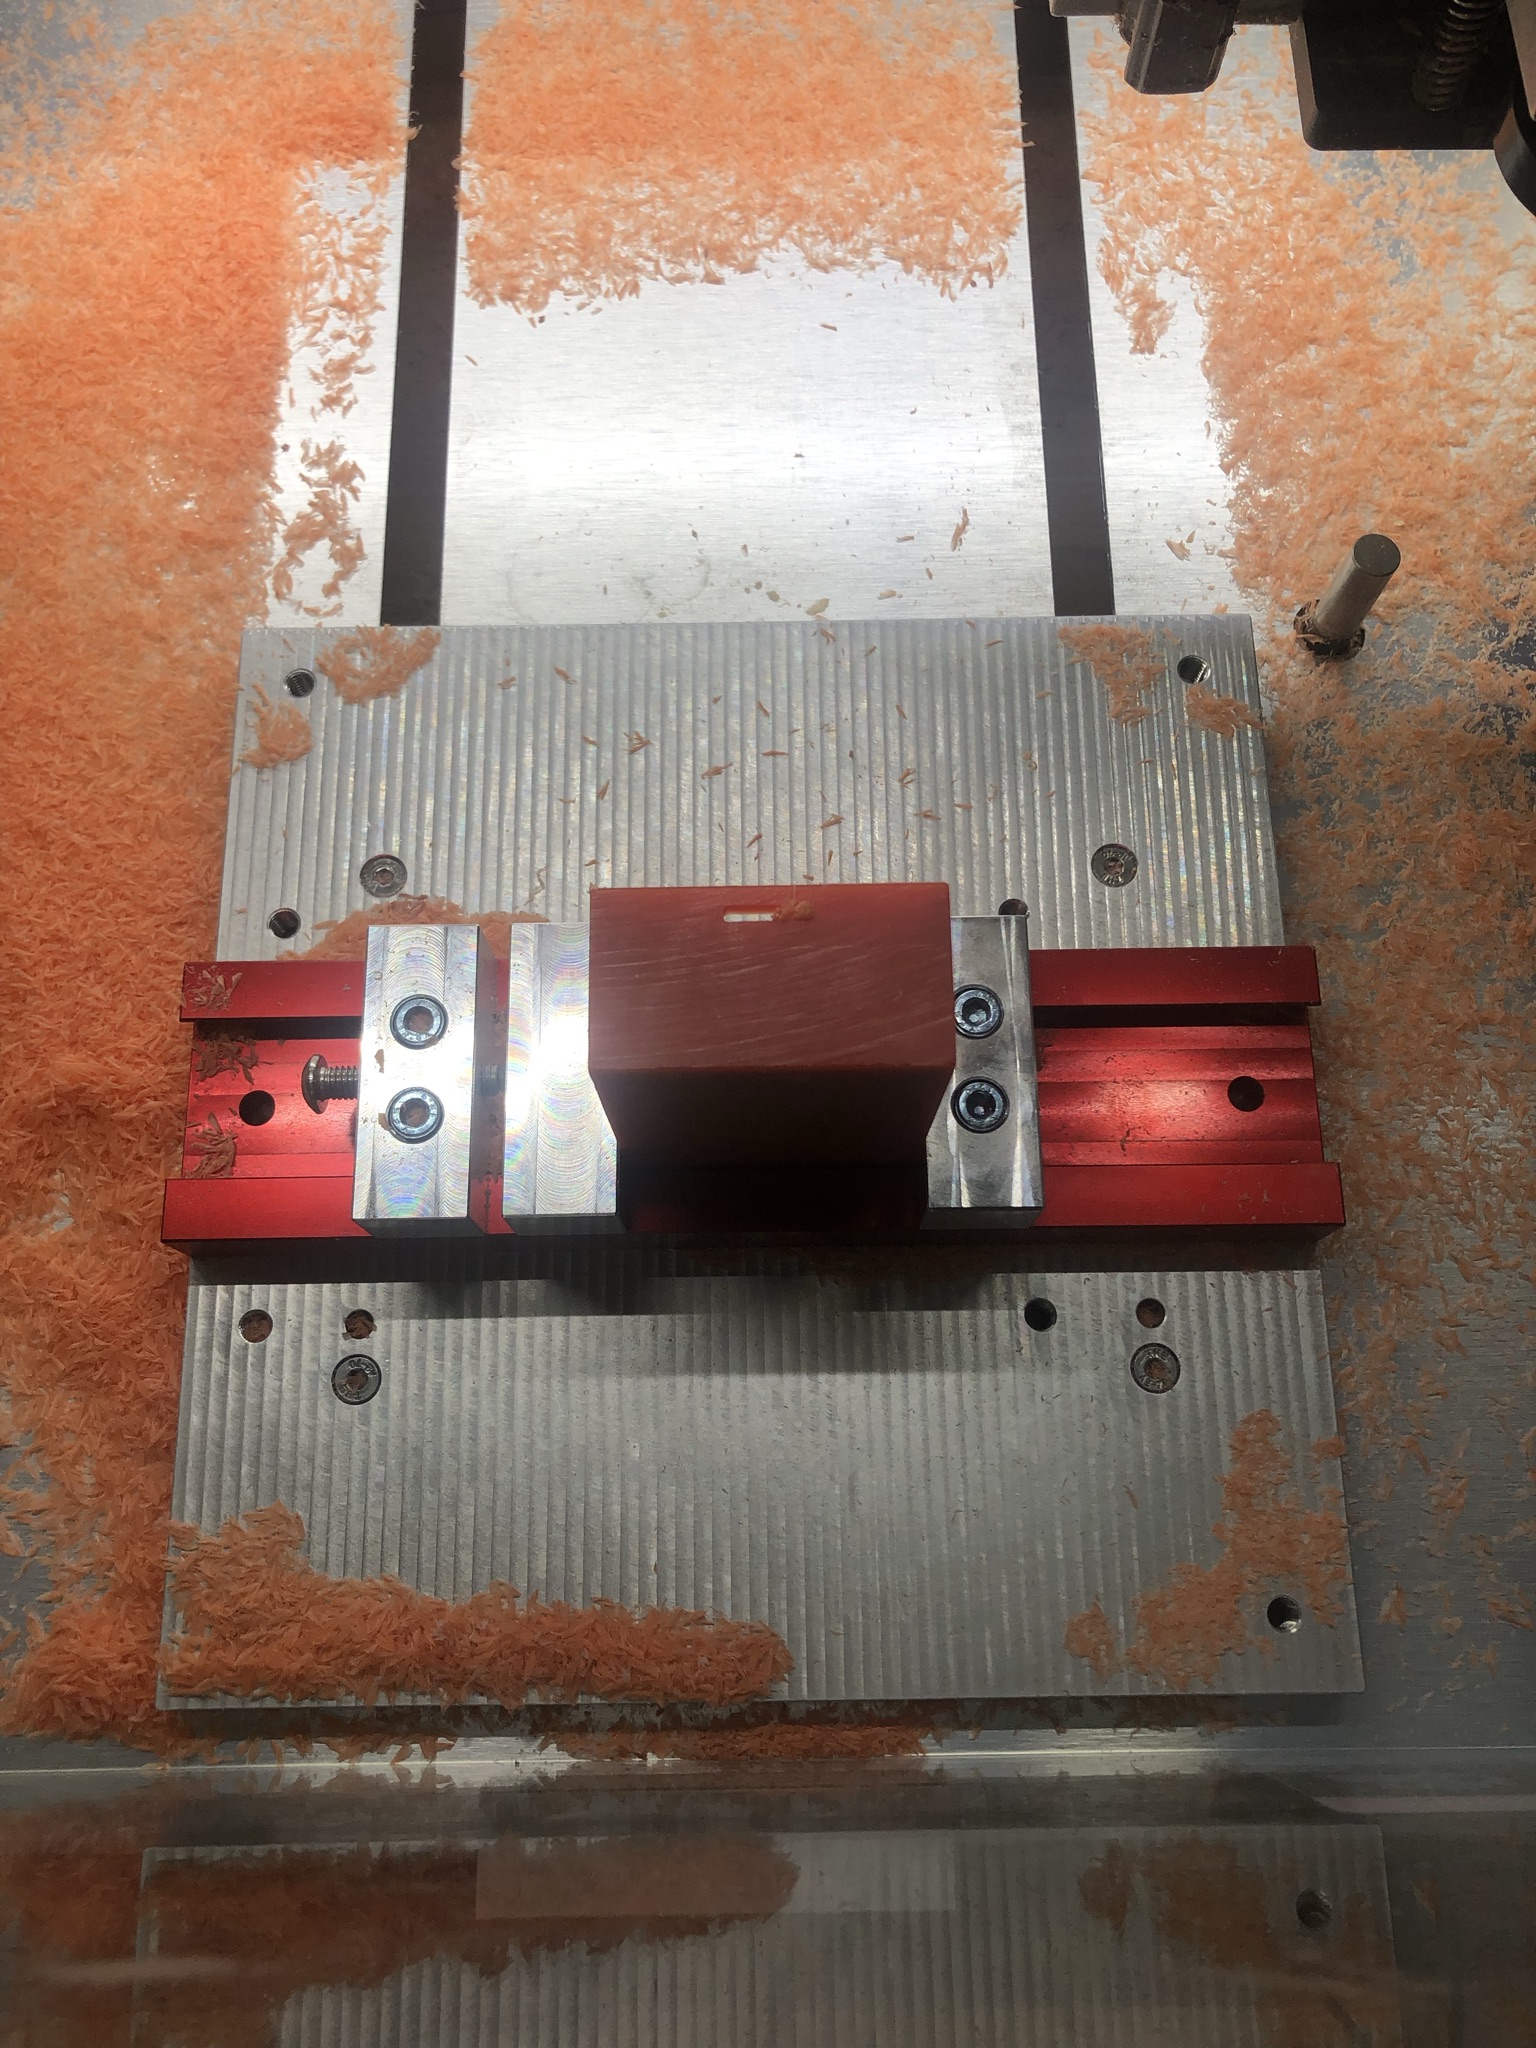
With that feedback in hand I quickly modified the model. I didn’t have time for another test piece though so I whipped up the mold that would be cut from wax and crossed my fingers. (This is another huge lesson learned: You can get much cleaner lines and edges when cutting away stock leaving your final shape as opposed to cutting the mold into the stock. This is obvious in hindsight but it was a real facepalm moment for me)
The wax also cut beautifully, I cannot wait to get my recycling operation up and running for it. So with the wax mold in hand there were two things left to do: quickly mill the reinforcement plate and overmold it with the food safe silicone I have on hand.
wax: highly recommend
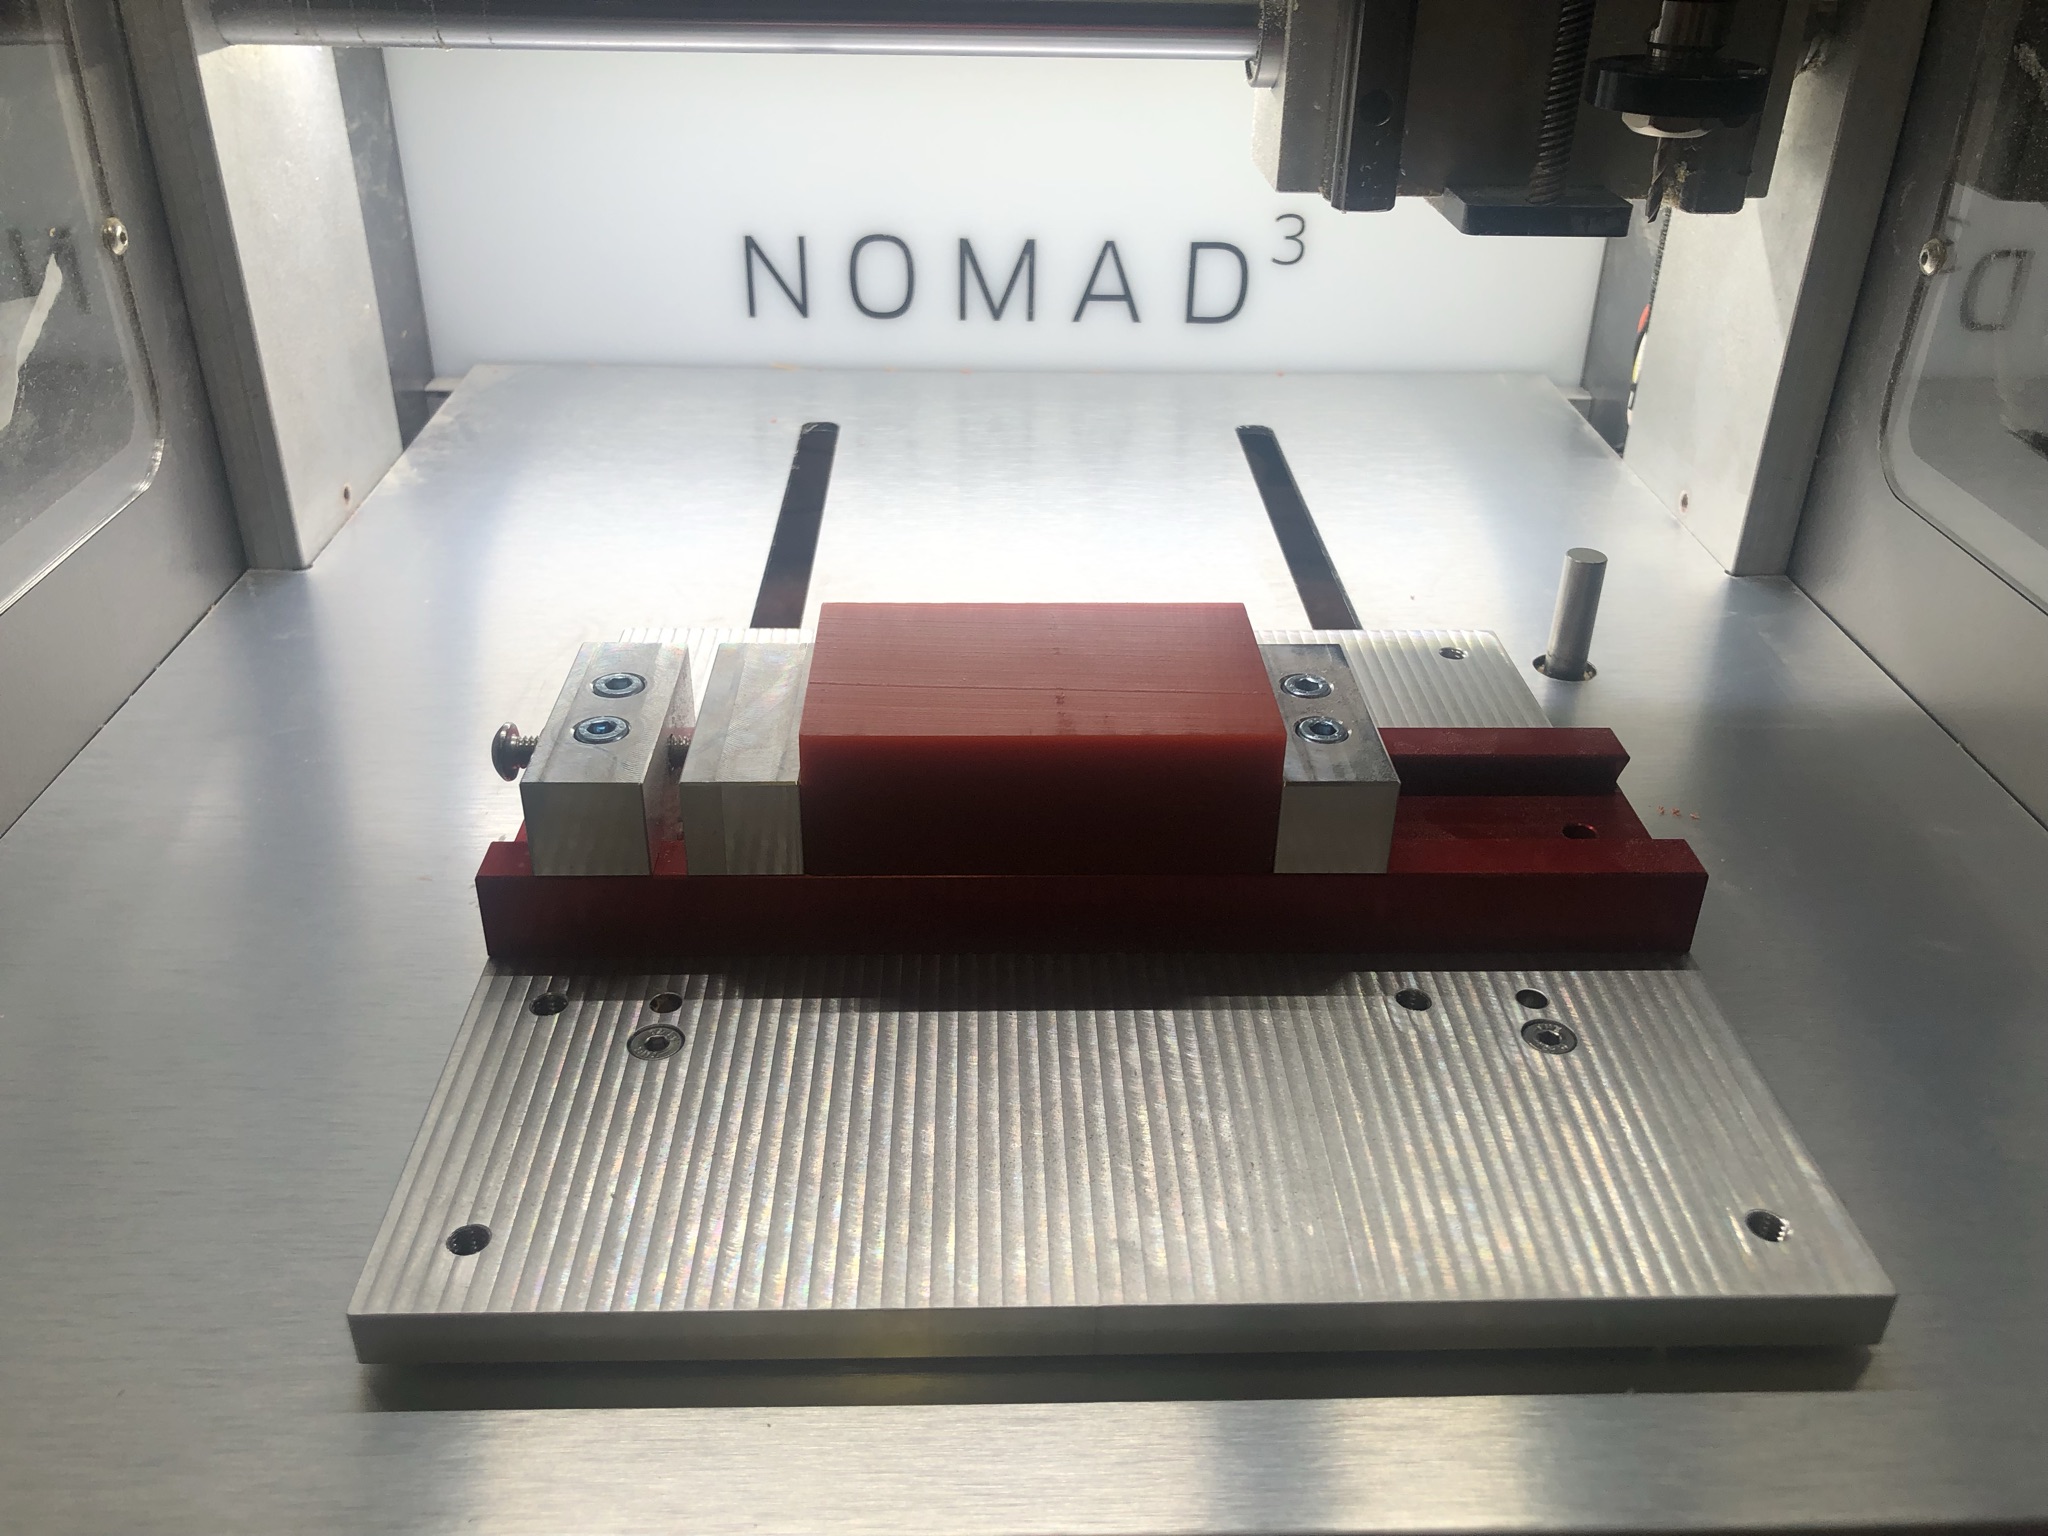
Surface finish: bad. Meh, cut me some slack I’m new here
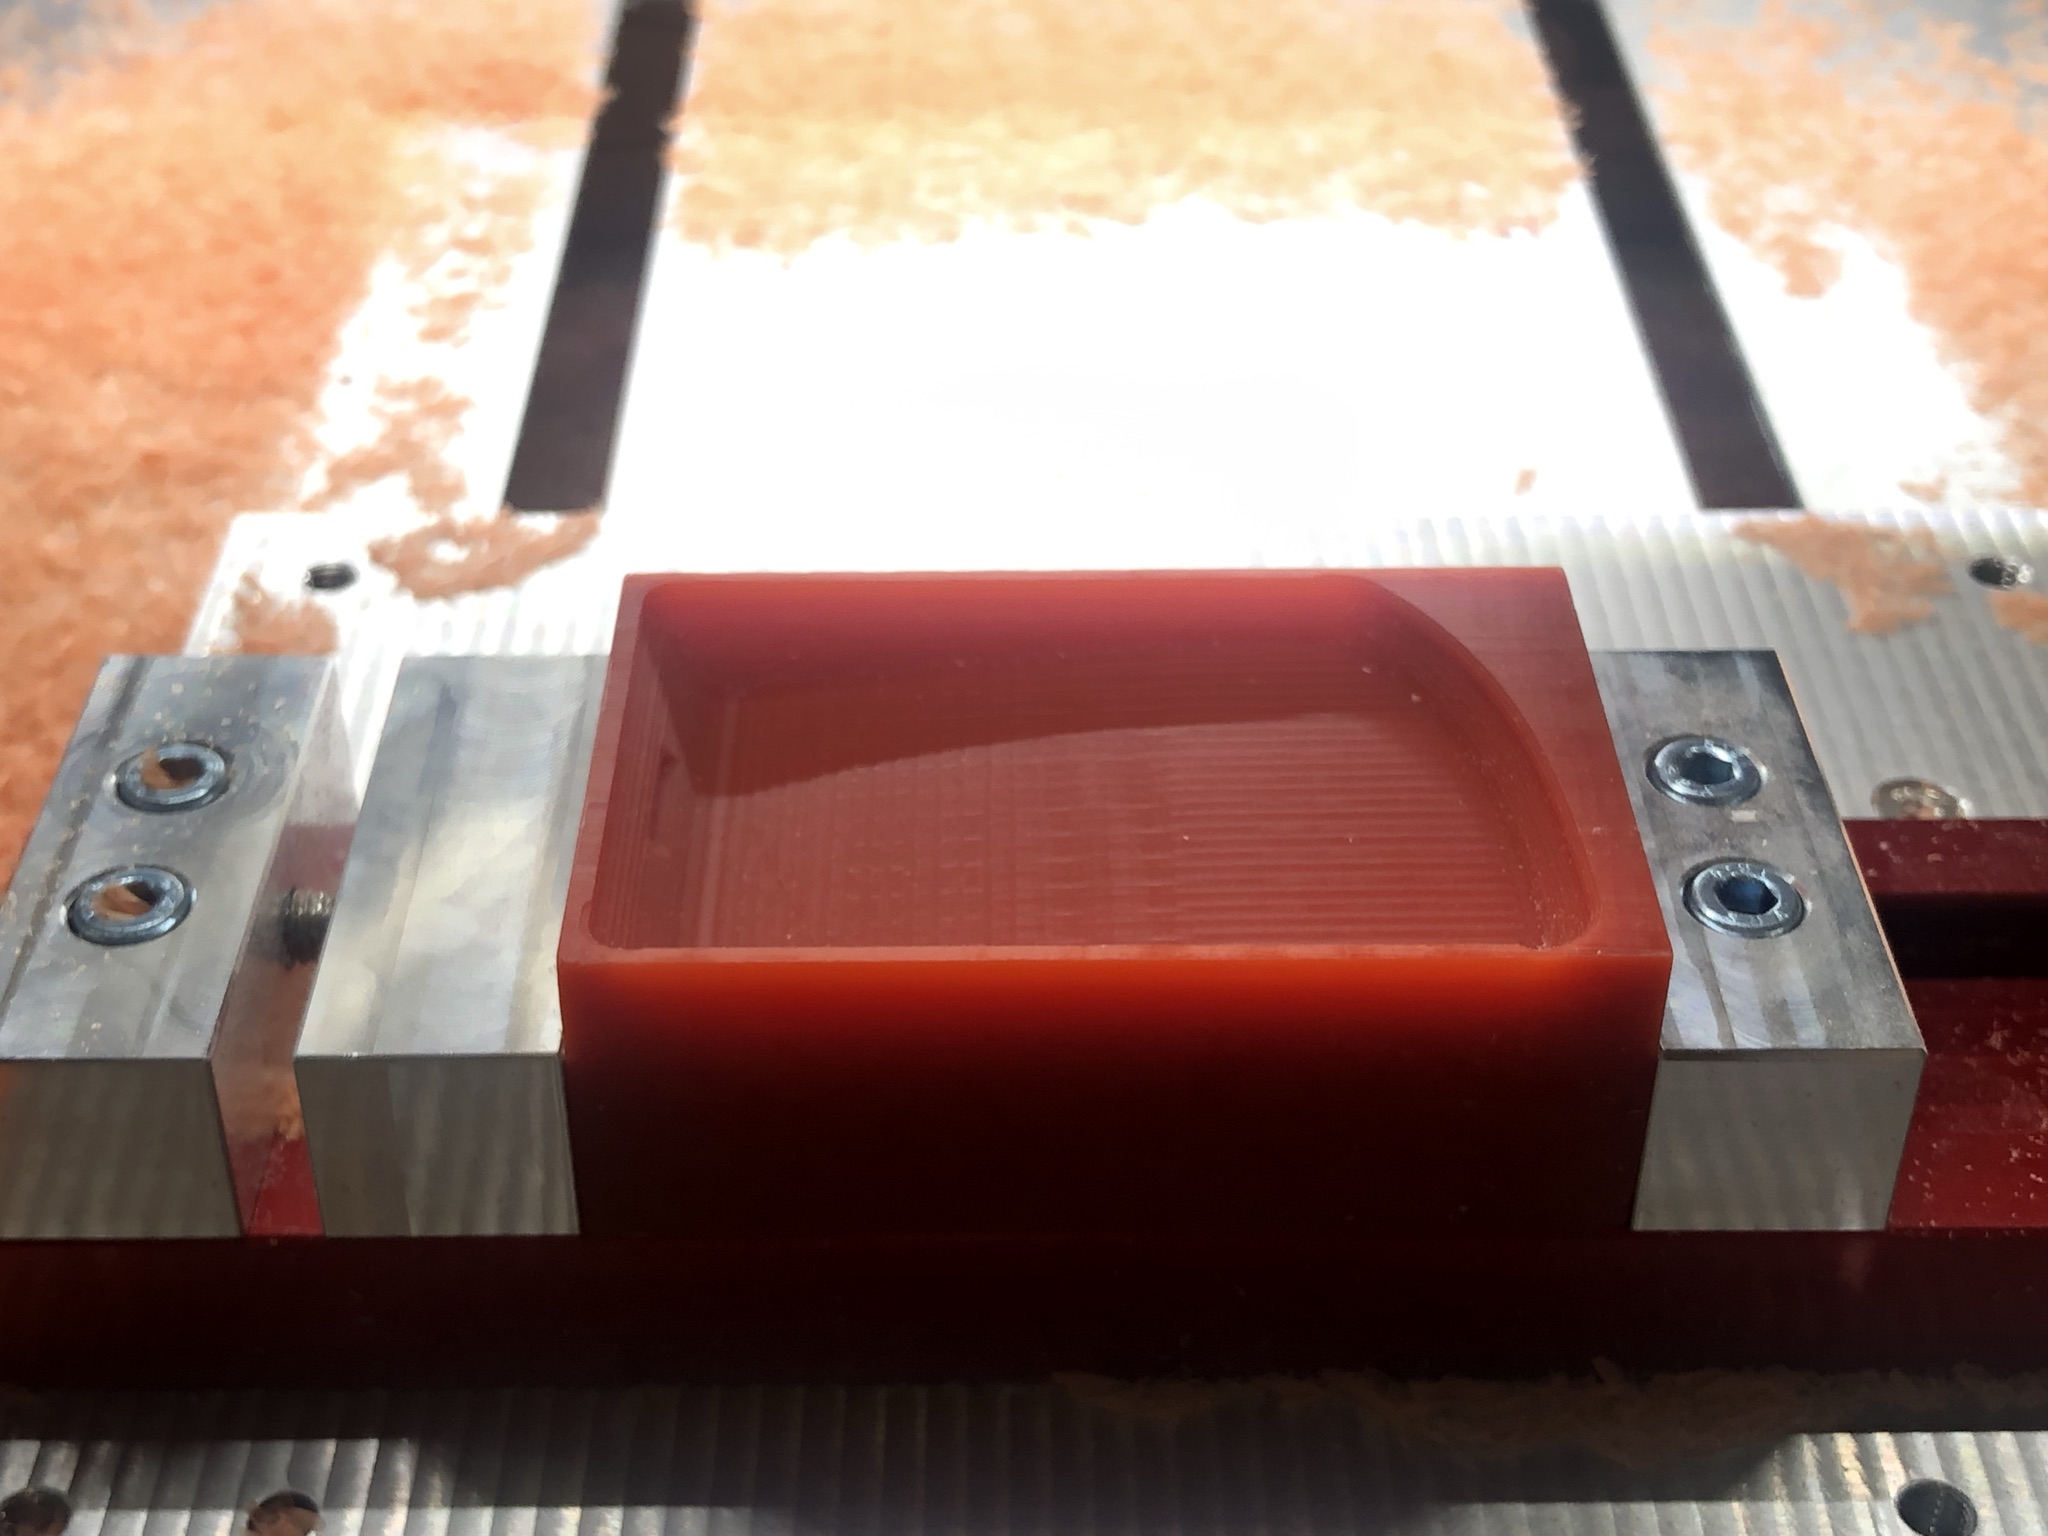
I hit the z axis limit switch because of my retraction height doing this operation
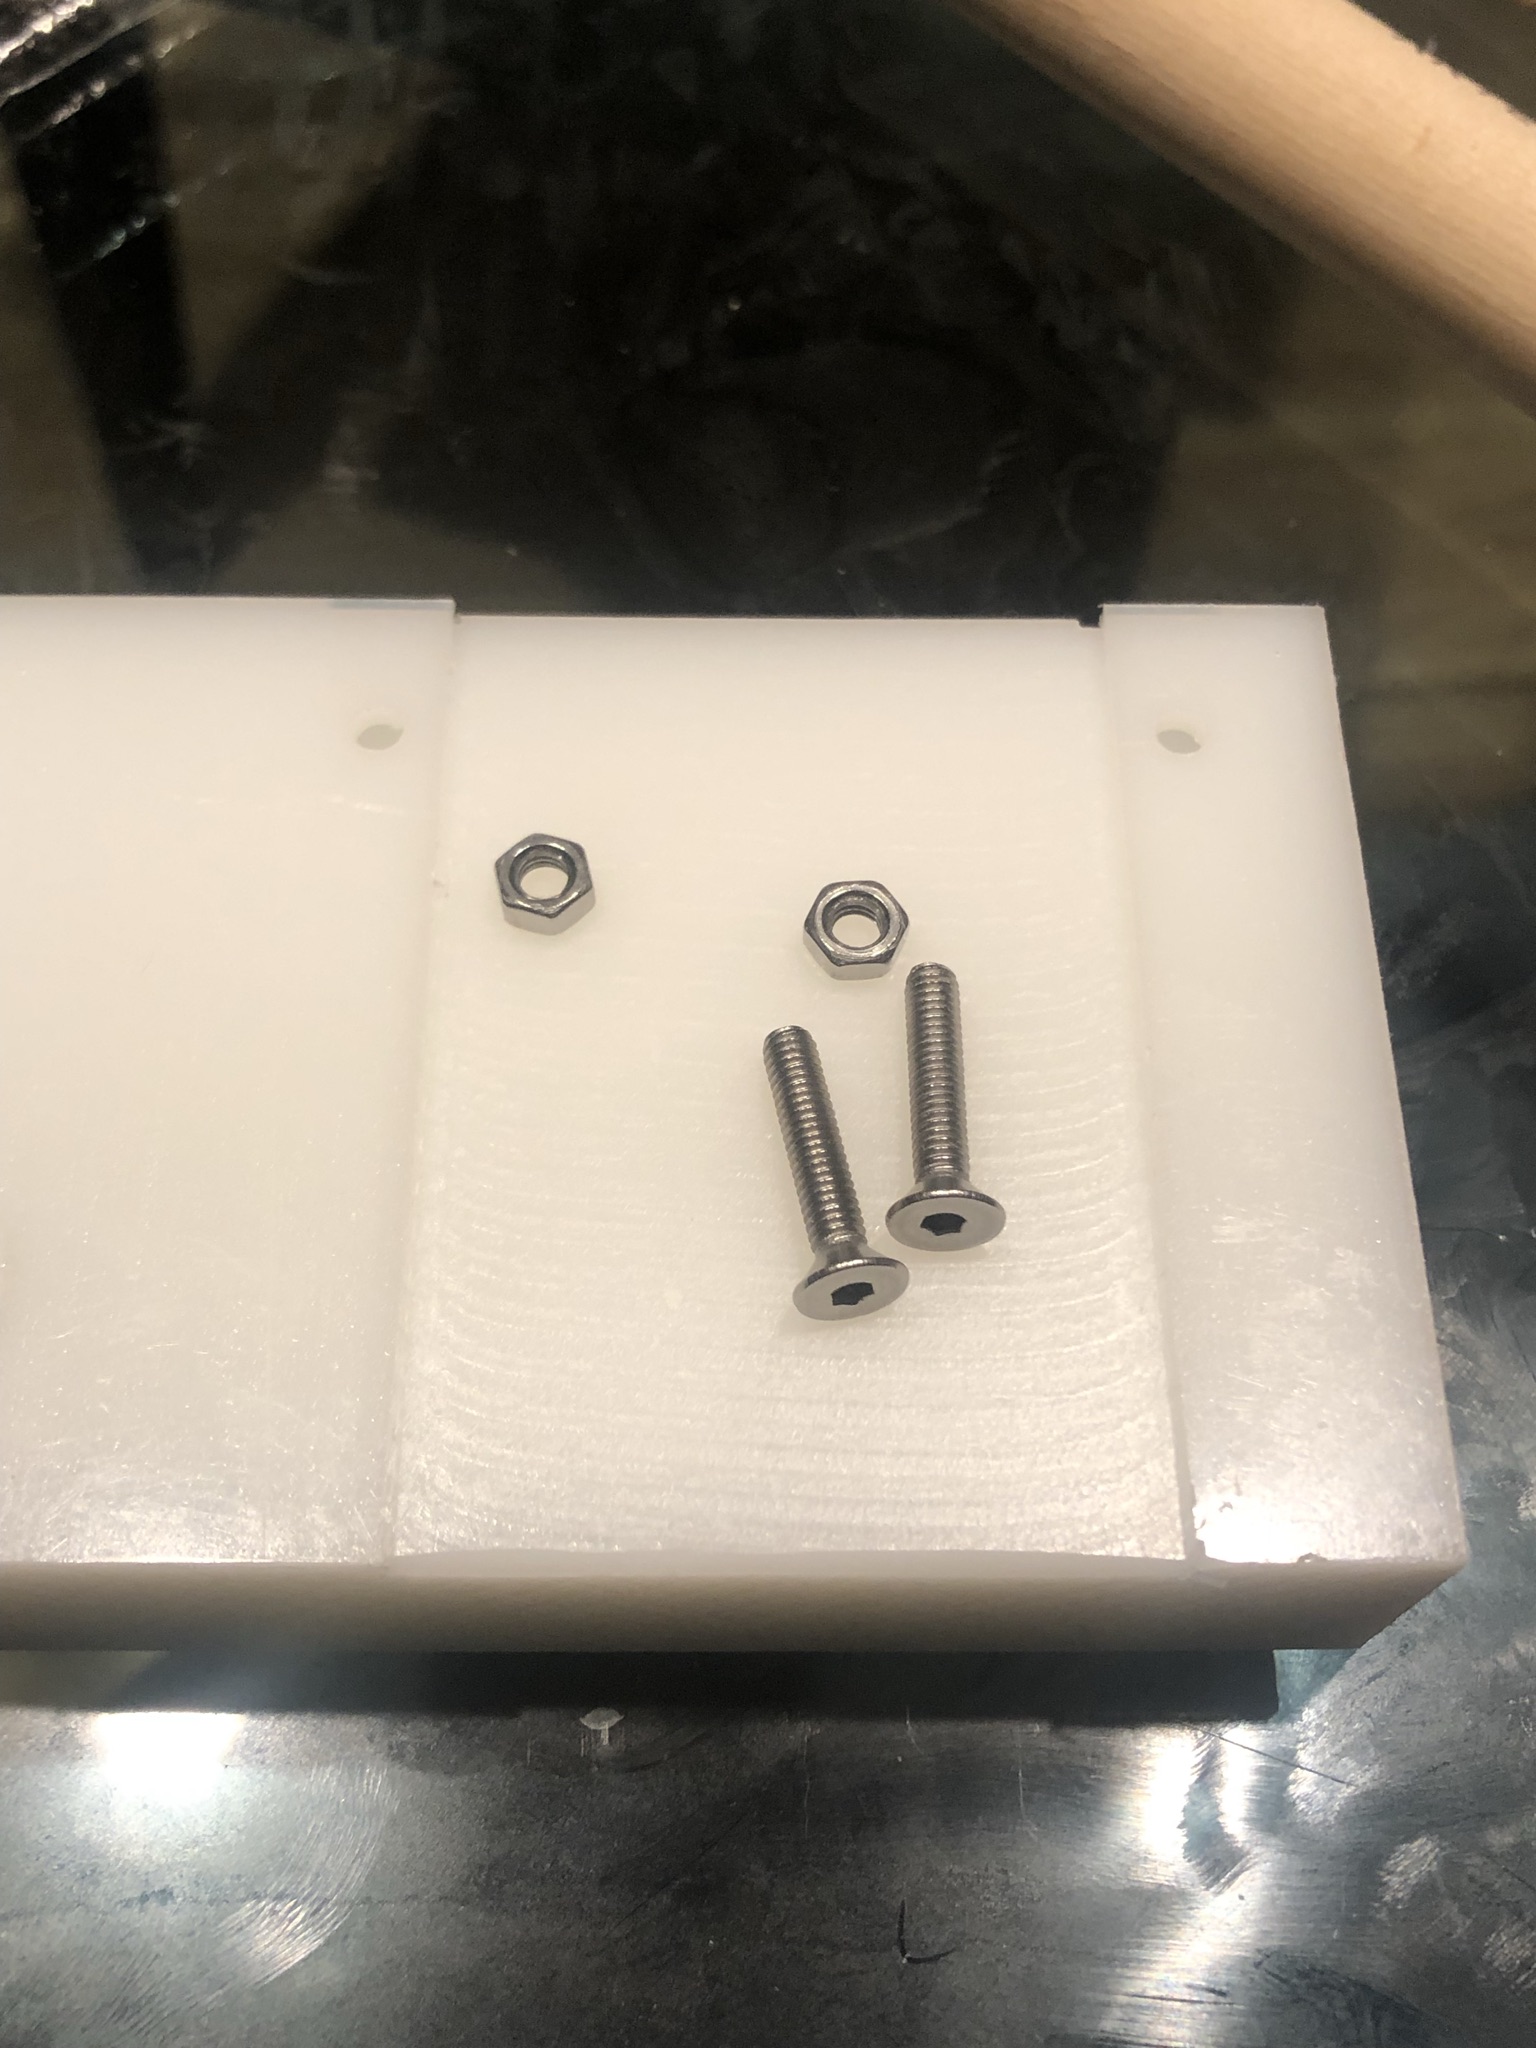
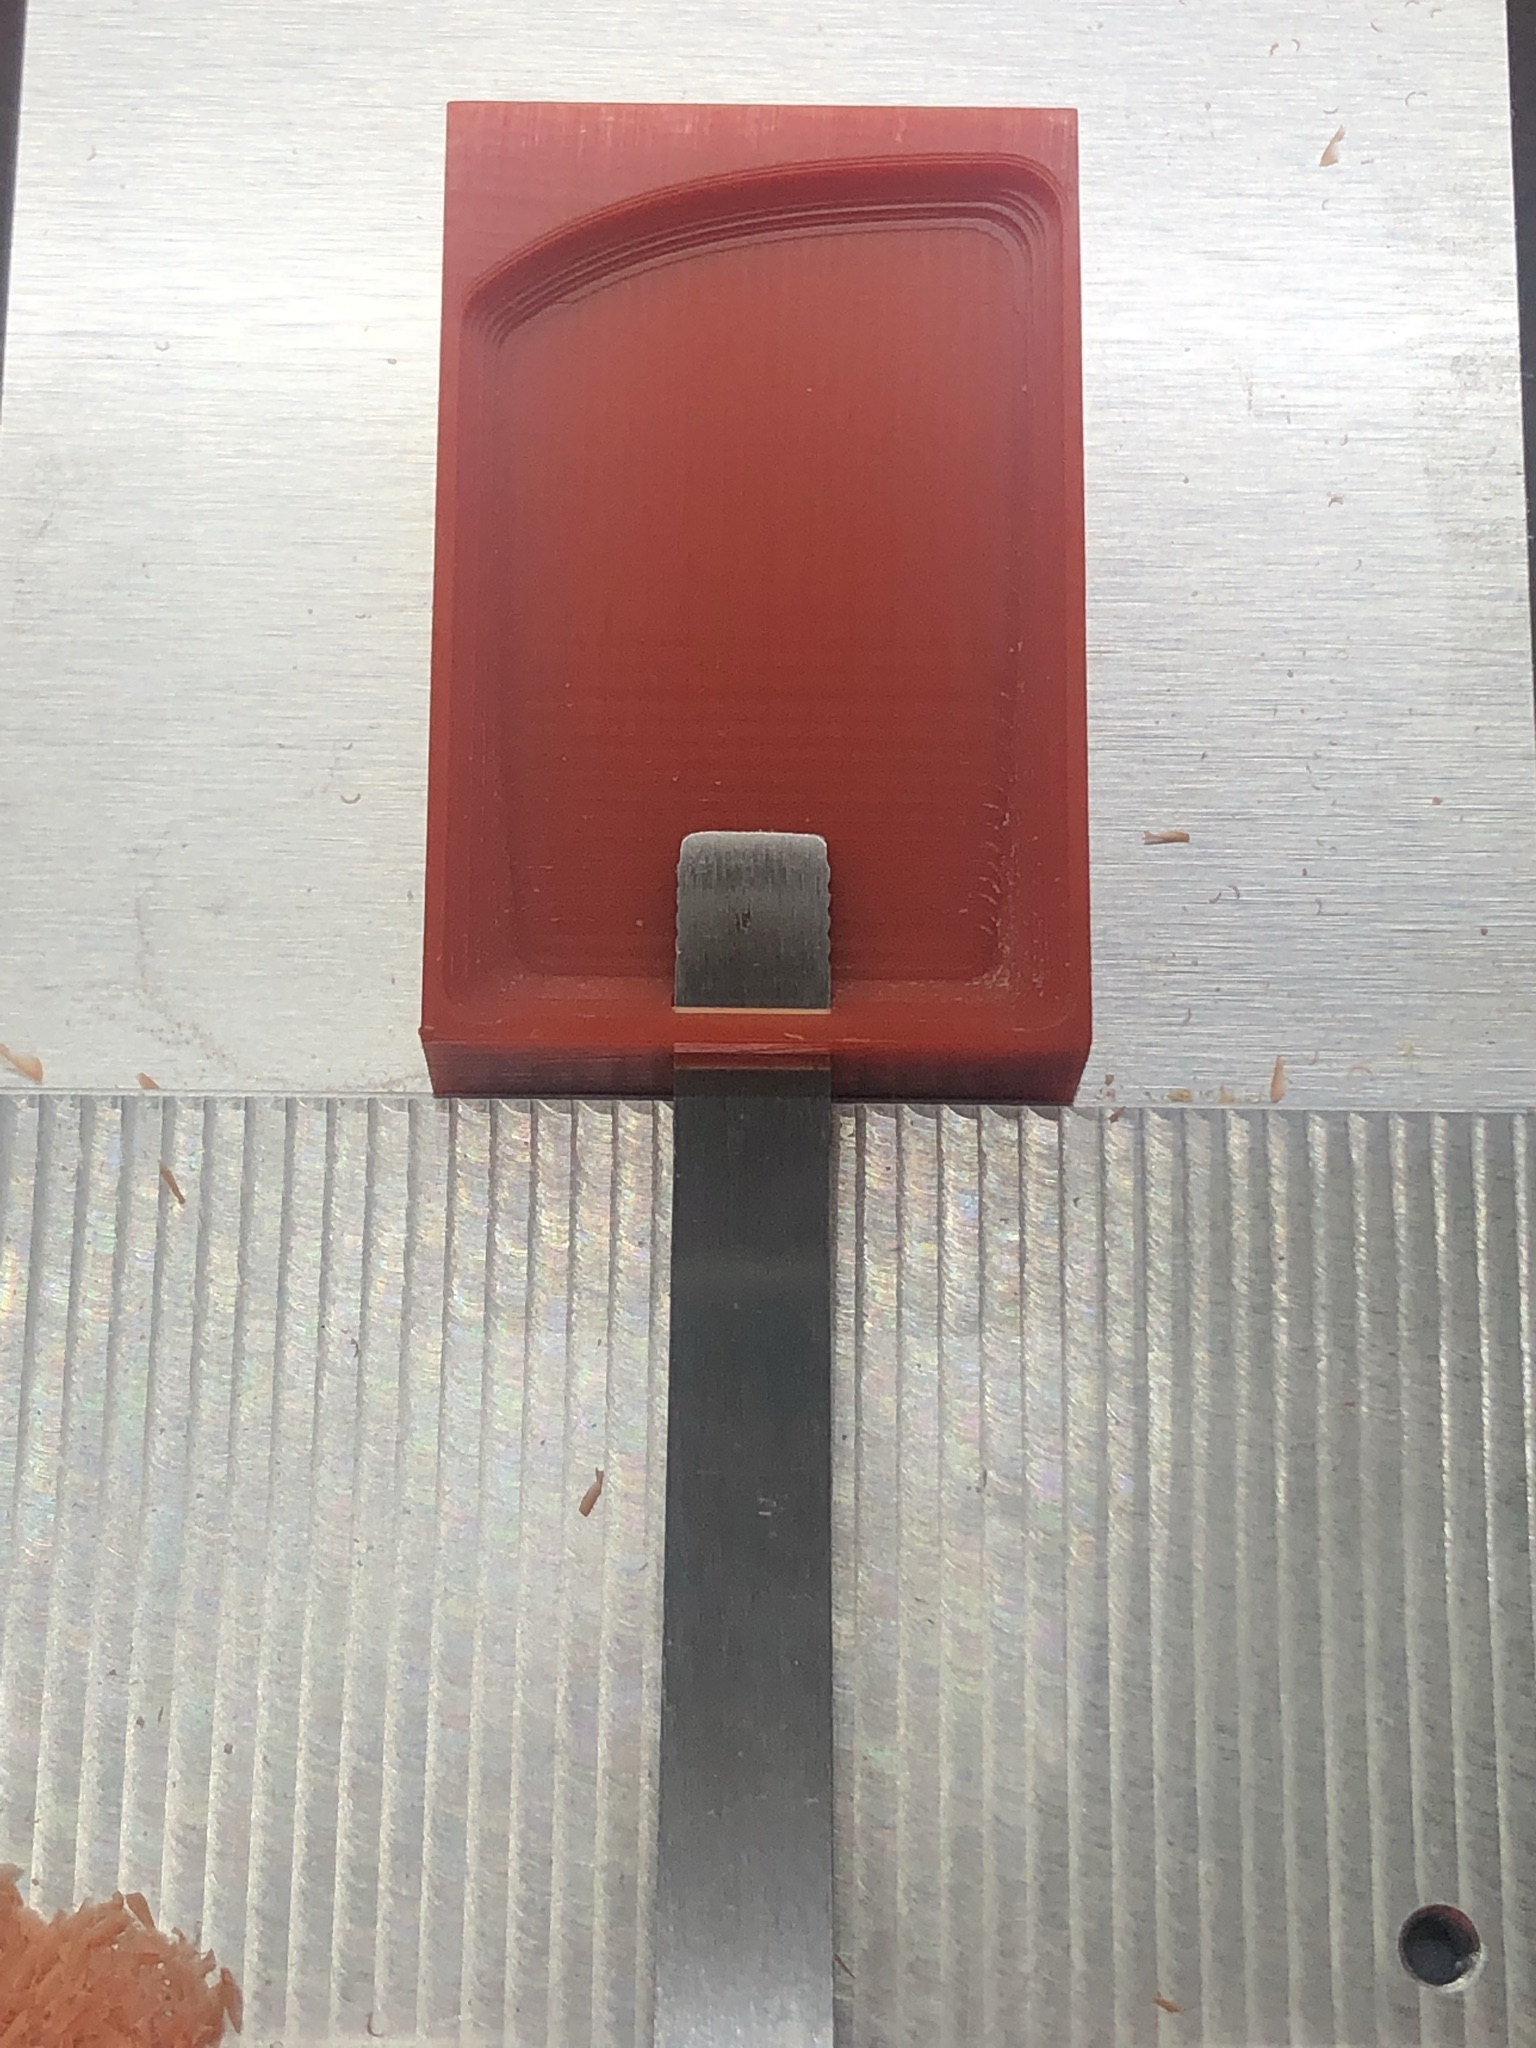
The handle fits perfectly. I just cut the little wax bridge, I’ll mill a removable one eventually.
With those two items I had two issues: I have no material to make the reinforcement out of (I only have ¼” aluminum with I’ve never milled before…and I don’t have 12 hours to wait for the silicone to cure.
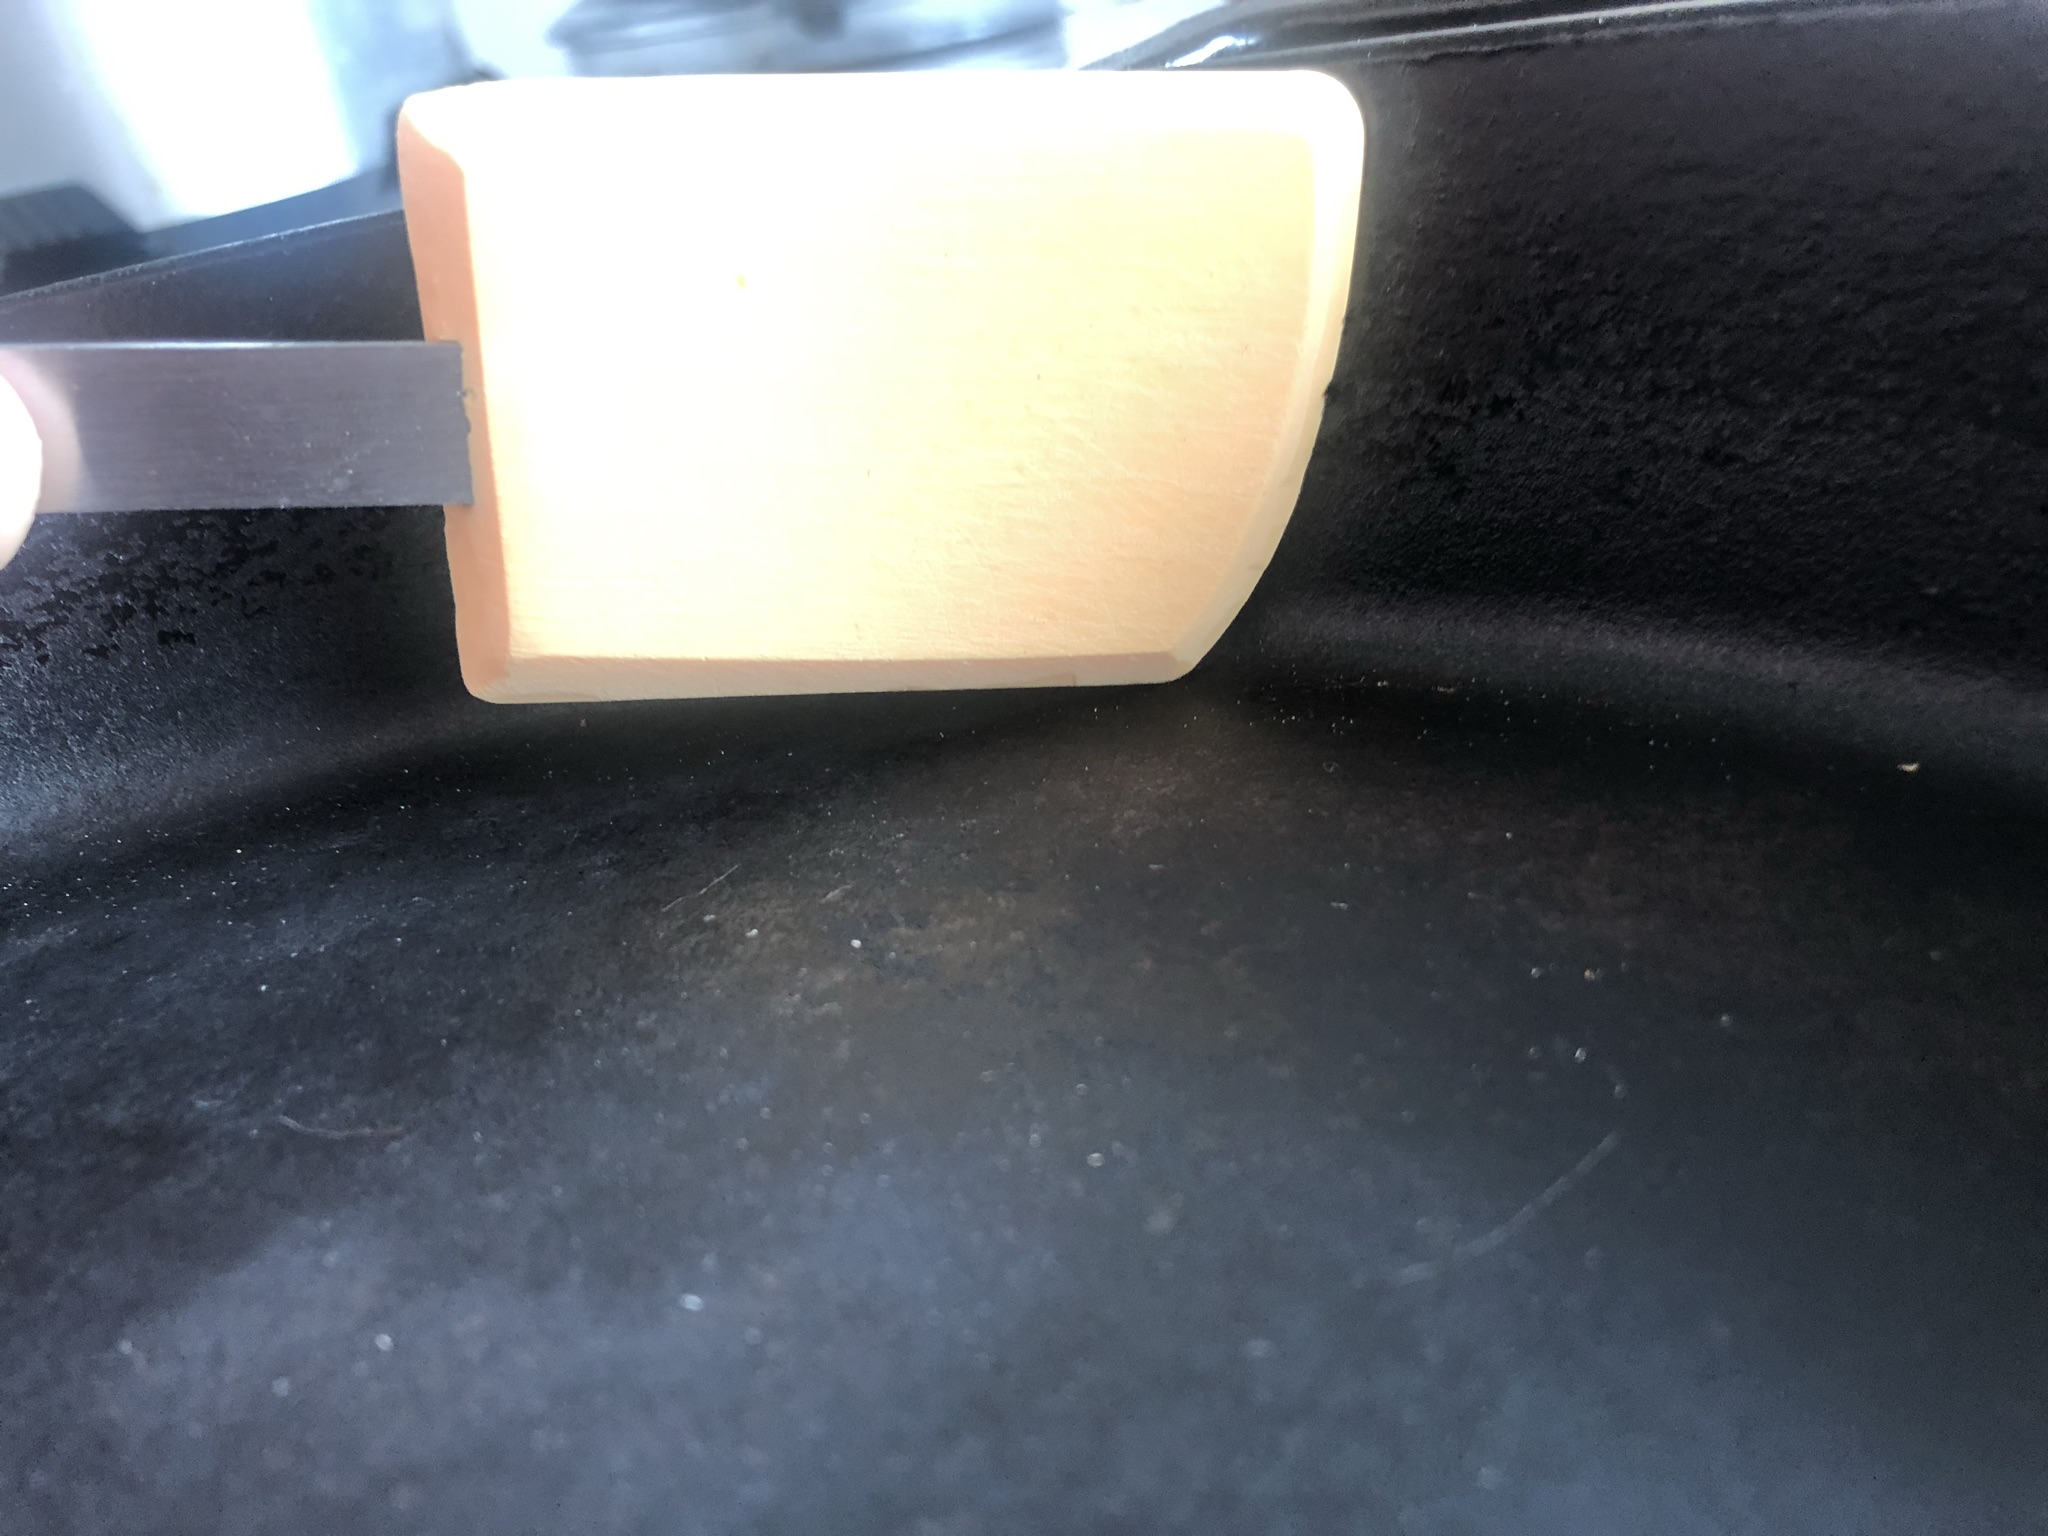
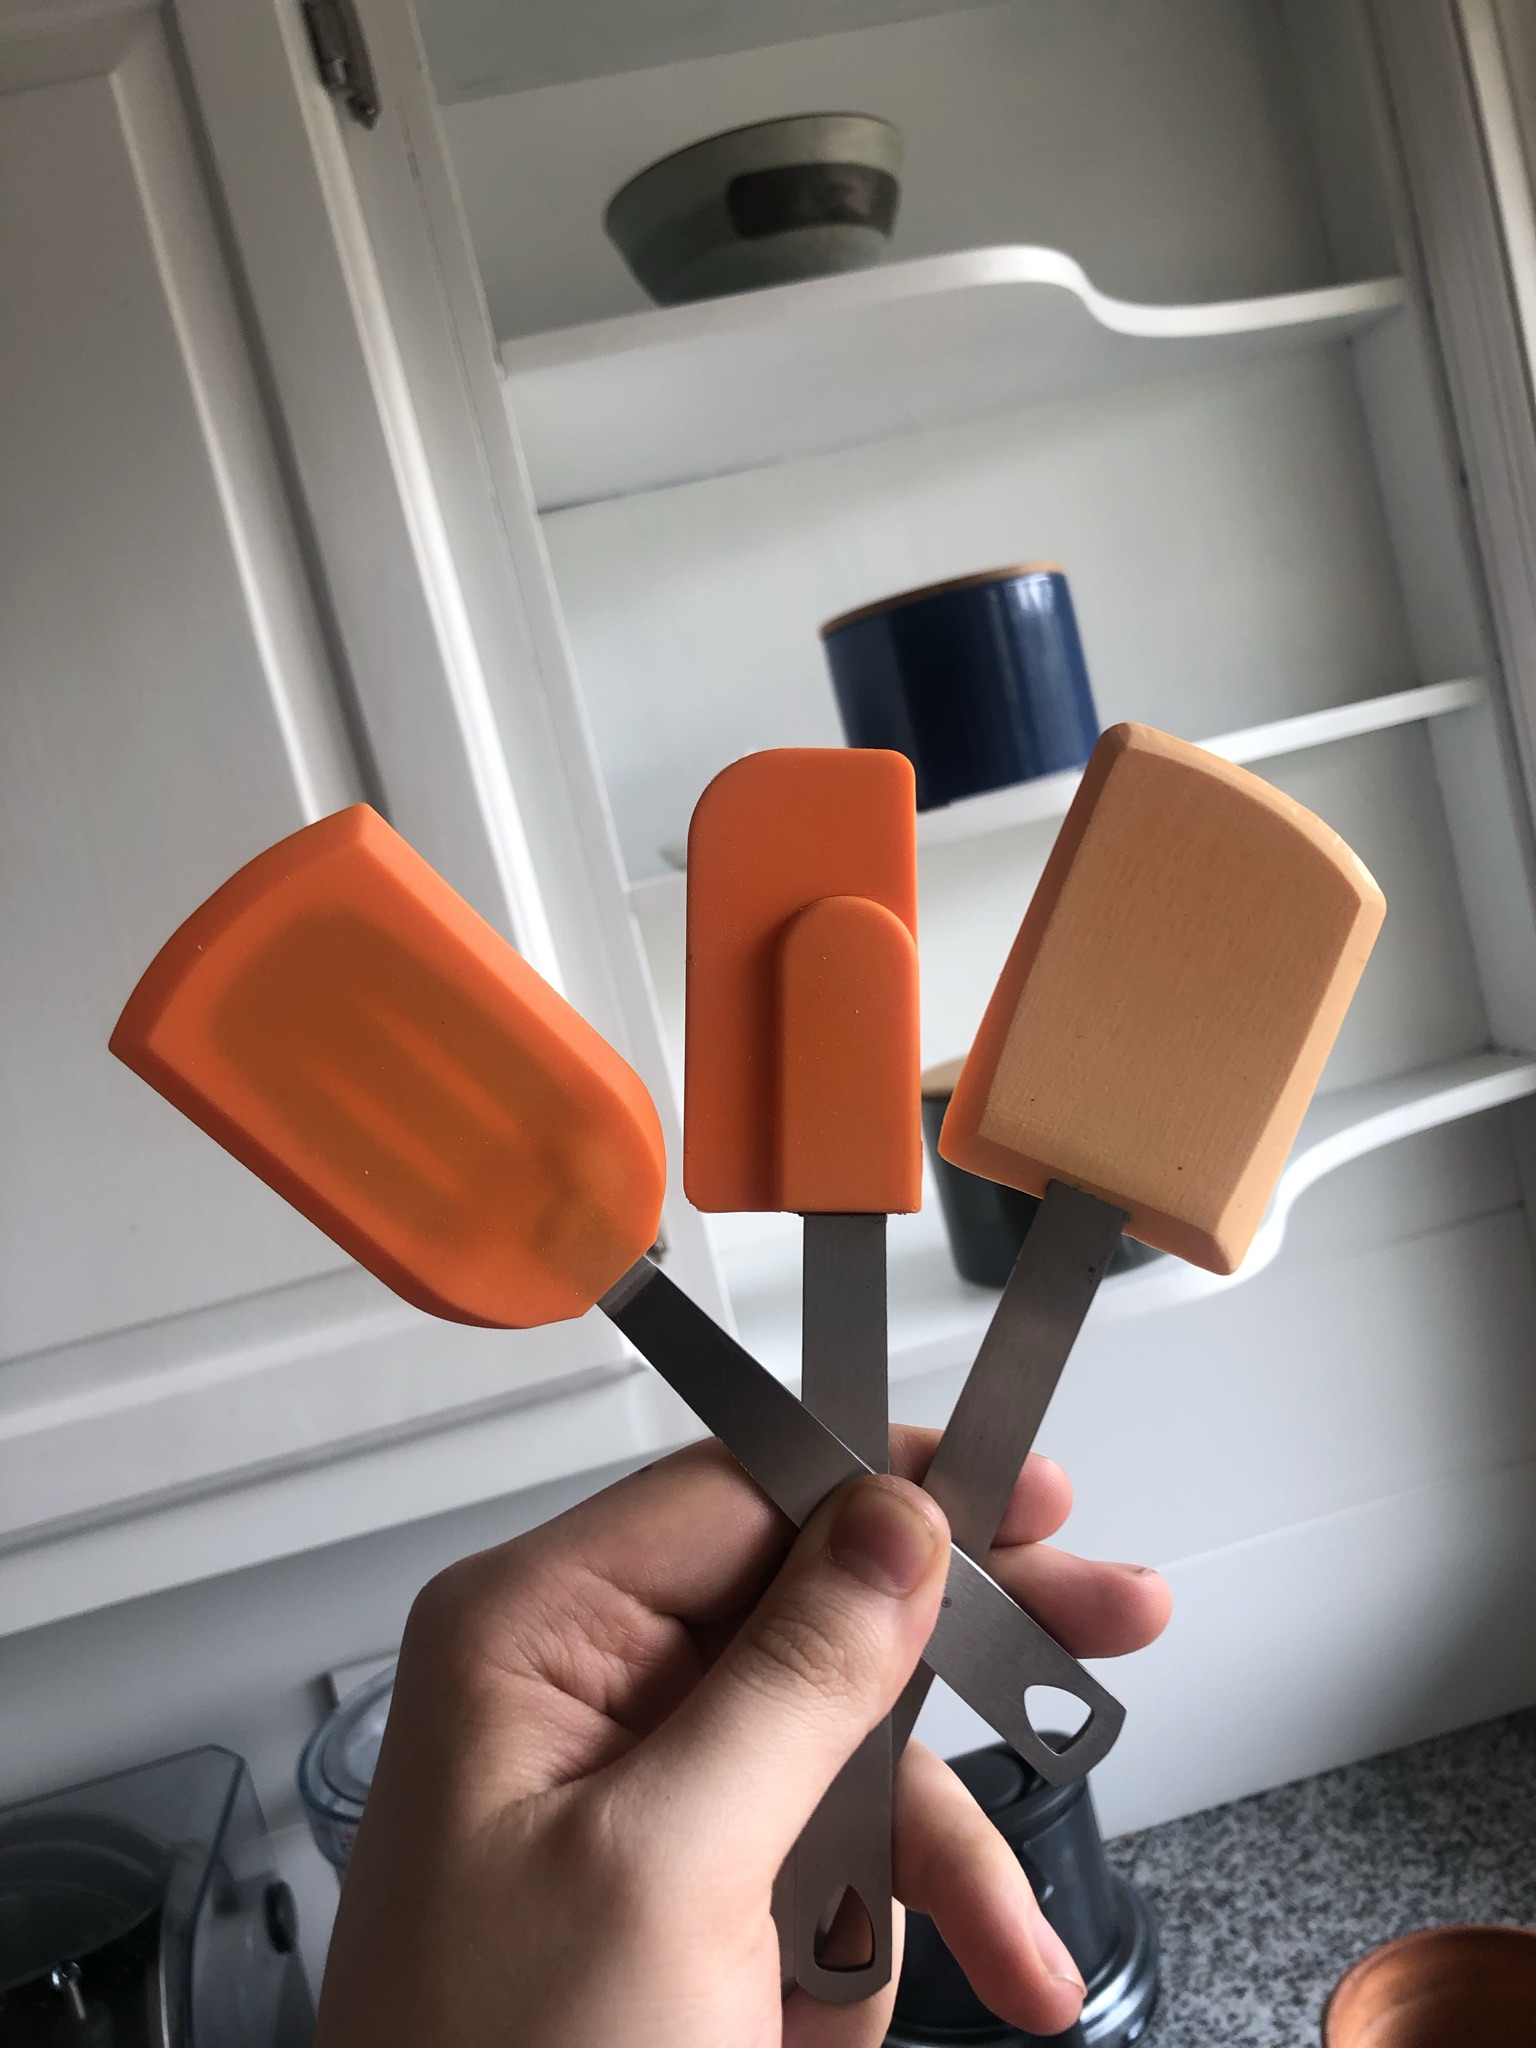
So my entry is going to be a quick cure resin proof of concept. If it looks right/feels right, I’ll get some proper thin plate stock in and I’ll obviously have to buy some orange silicone dye.
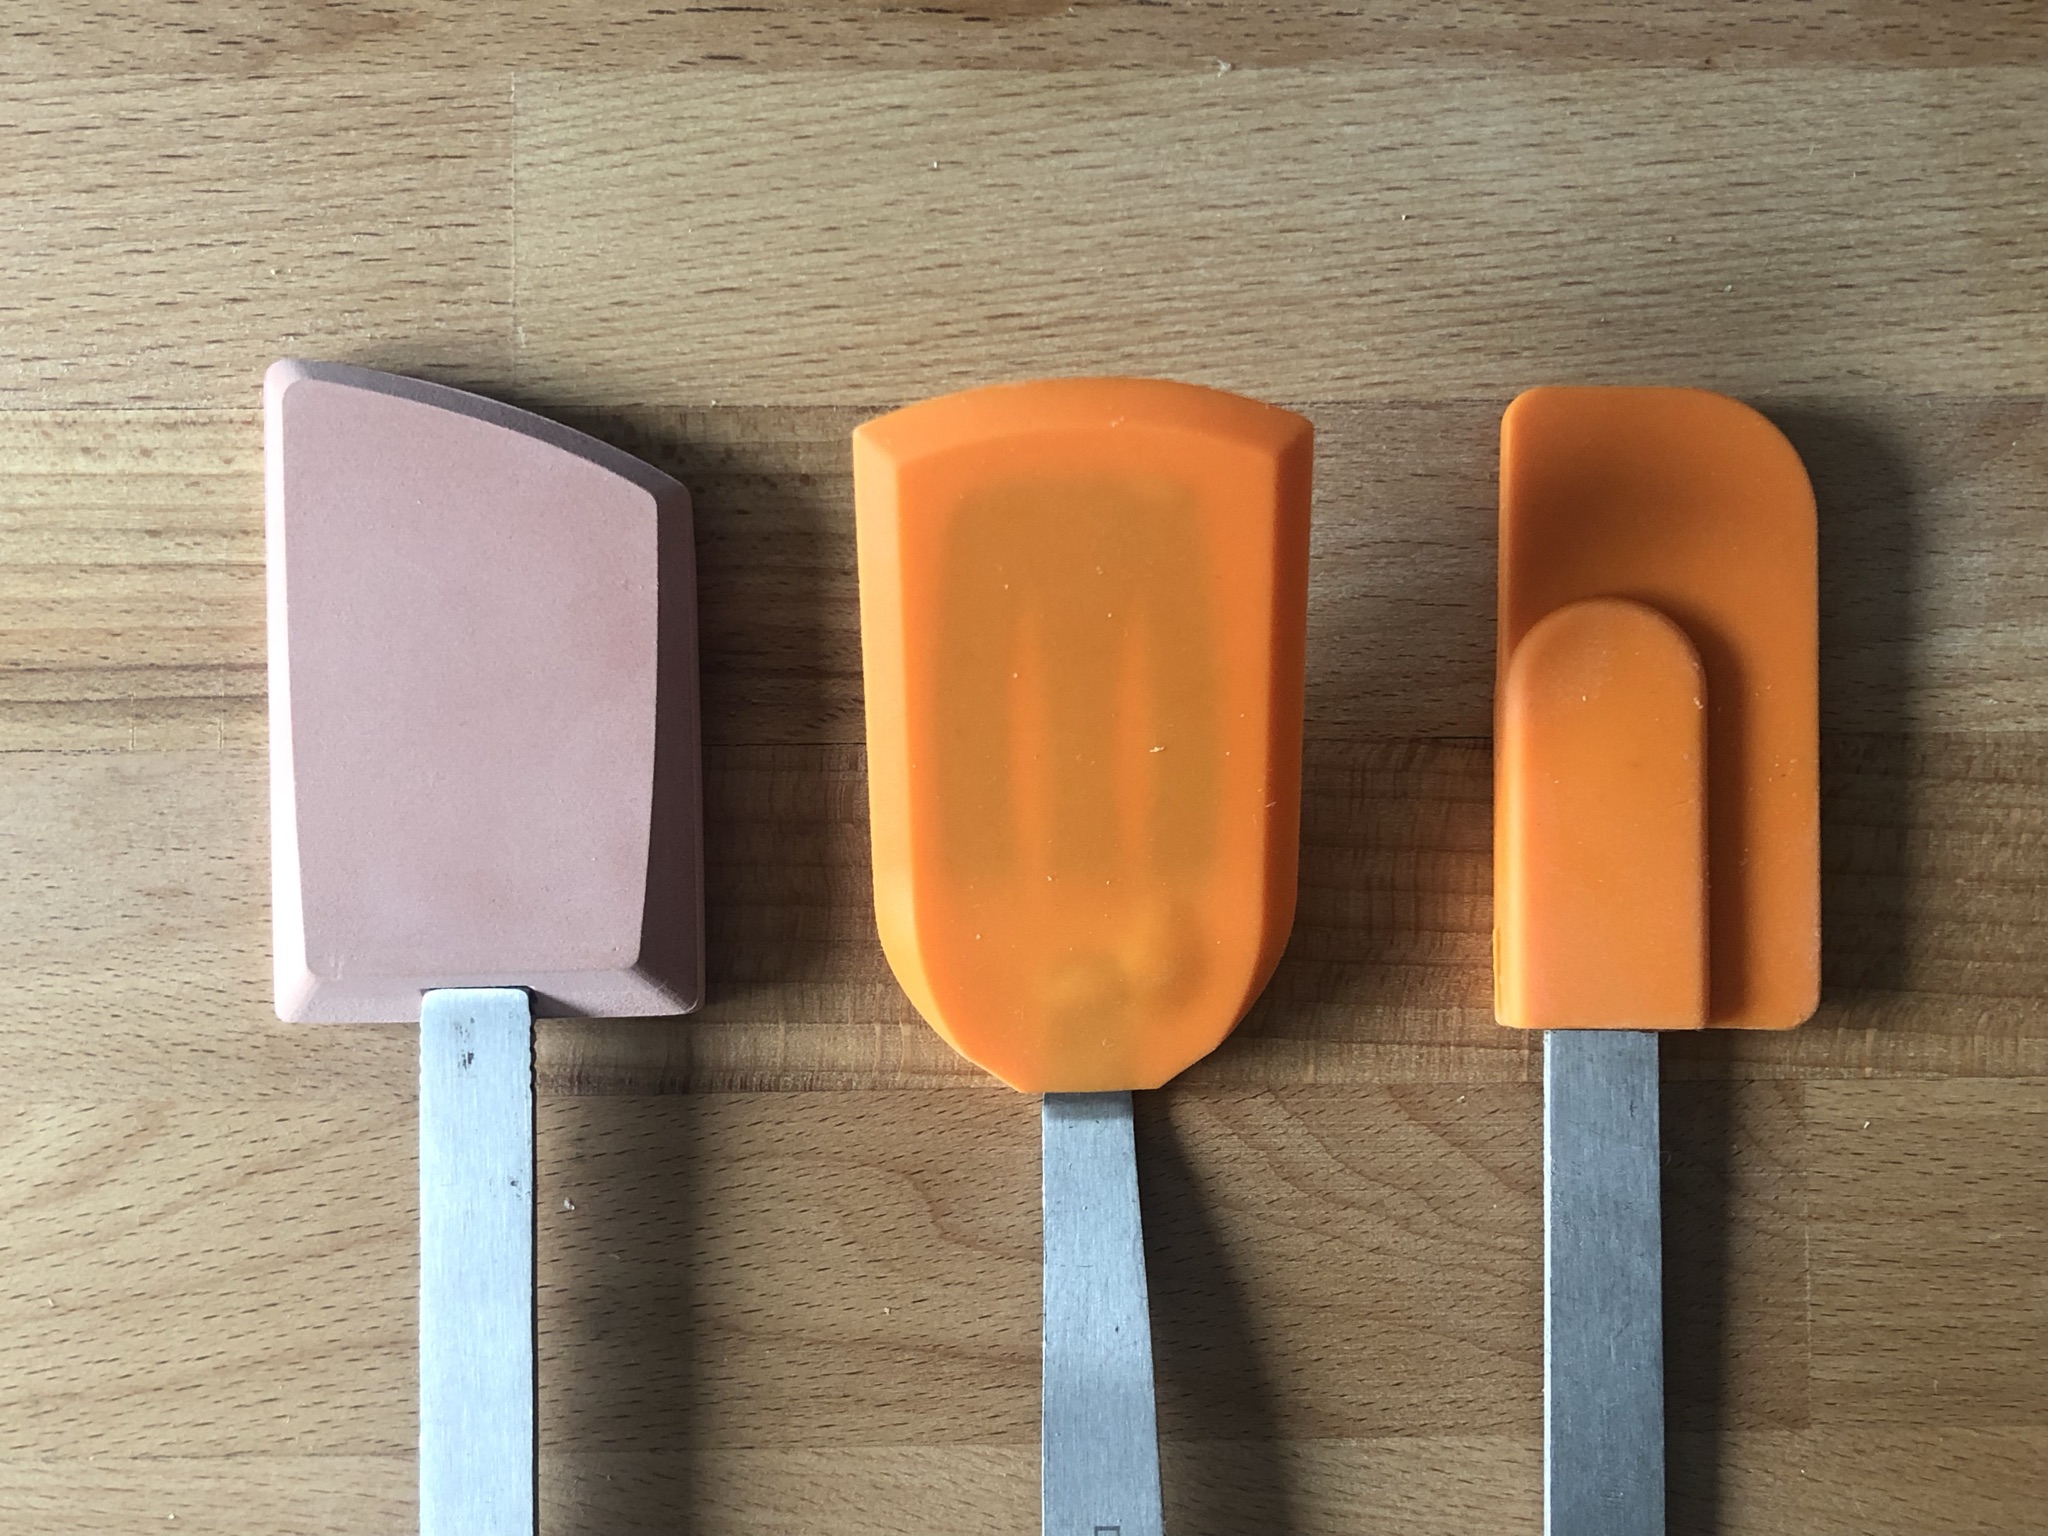
Orange dyed Smooth-On smoothcast 300. Cures in ~12 minutes


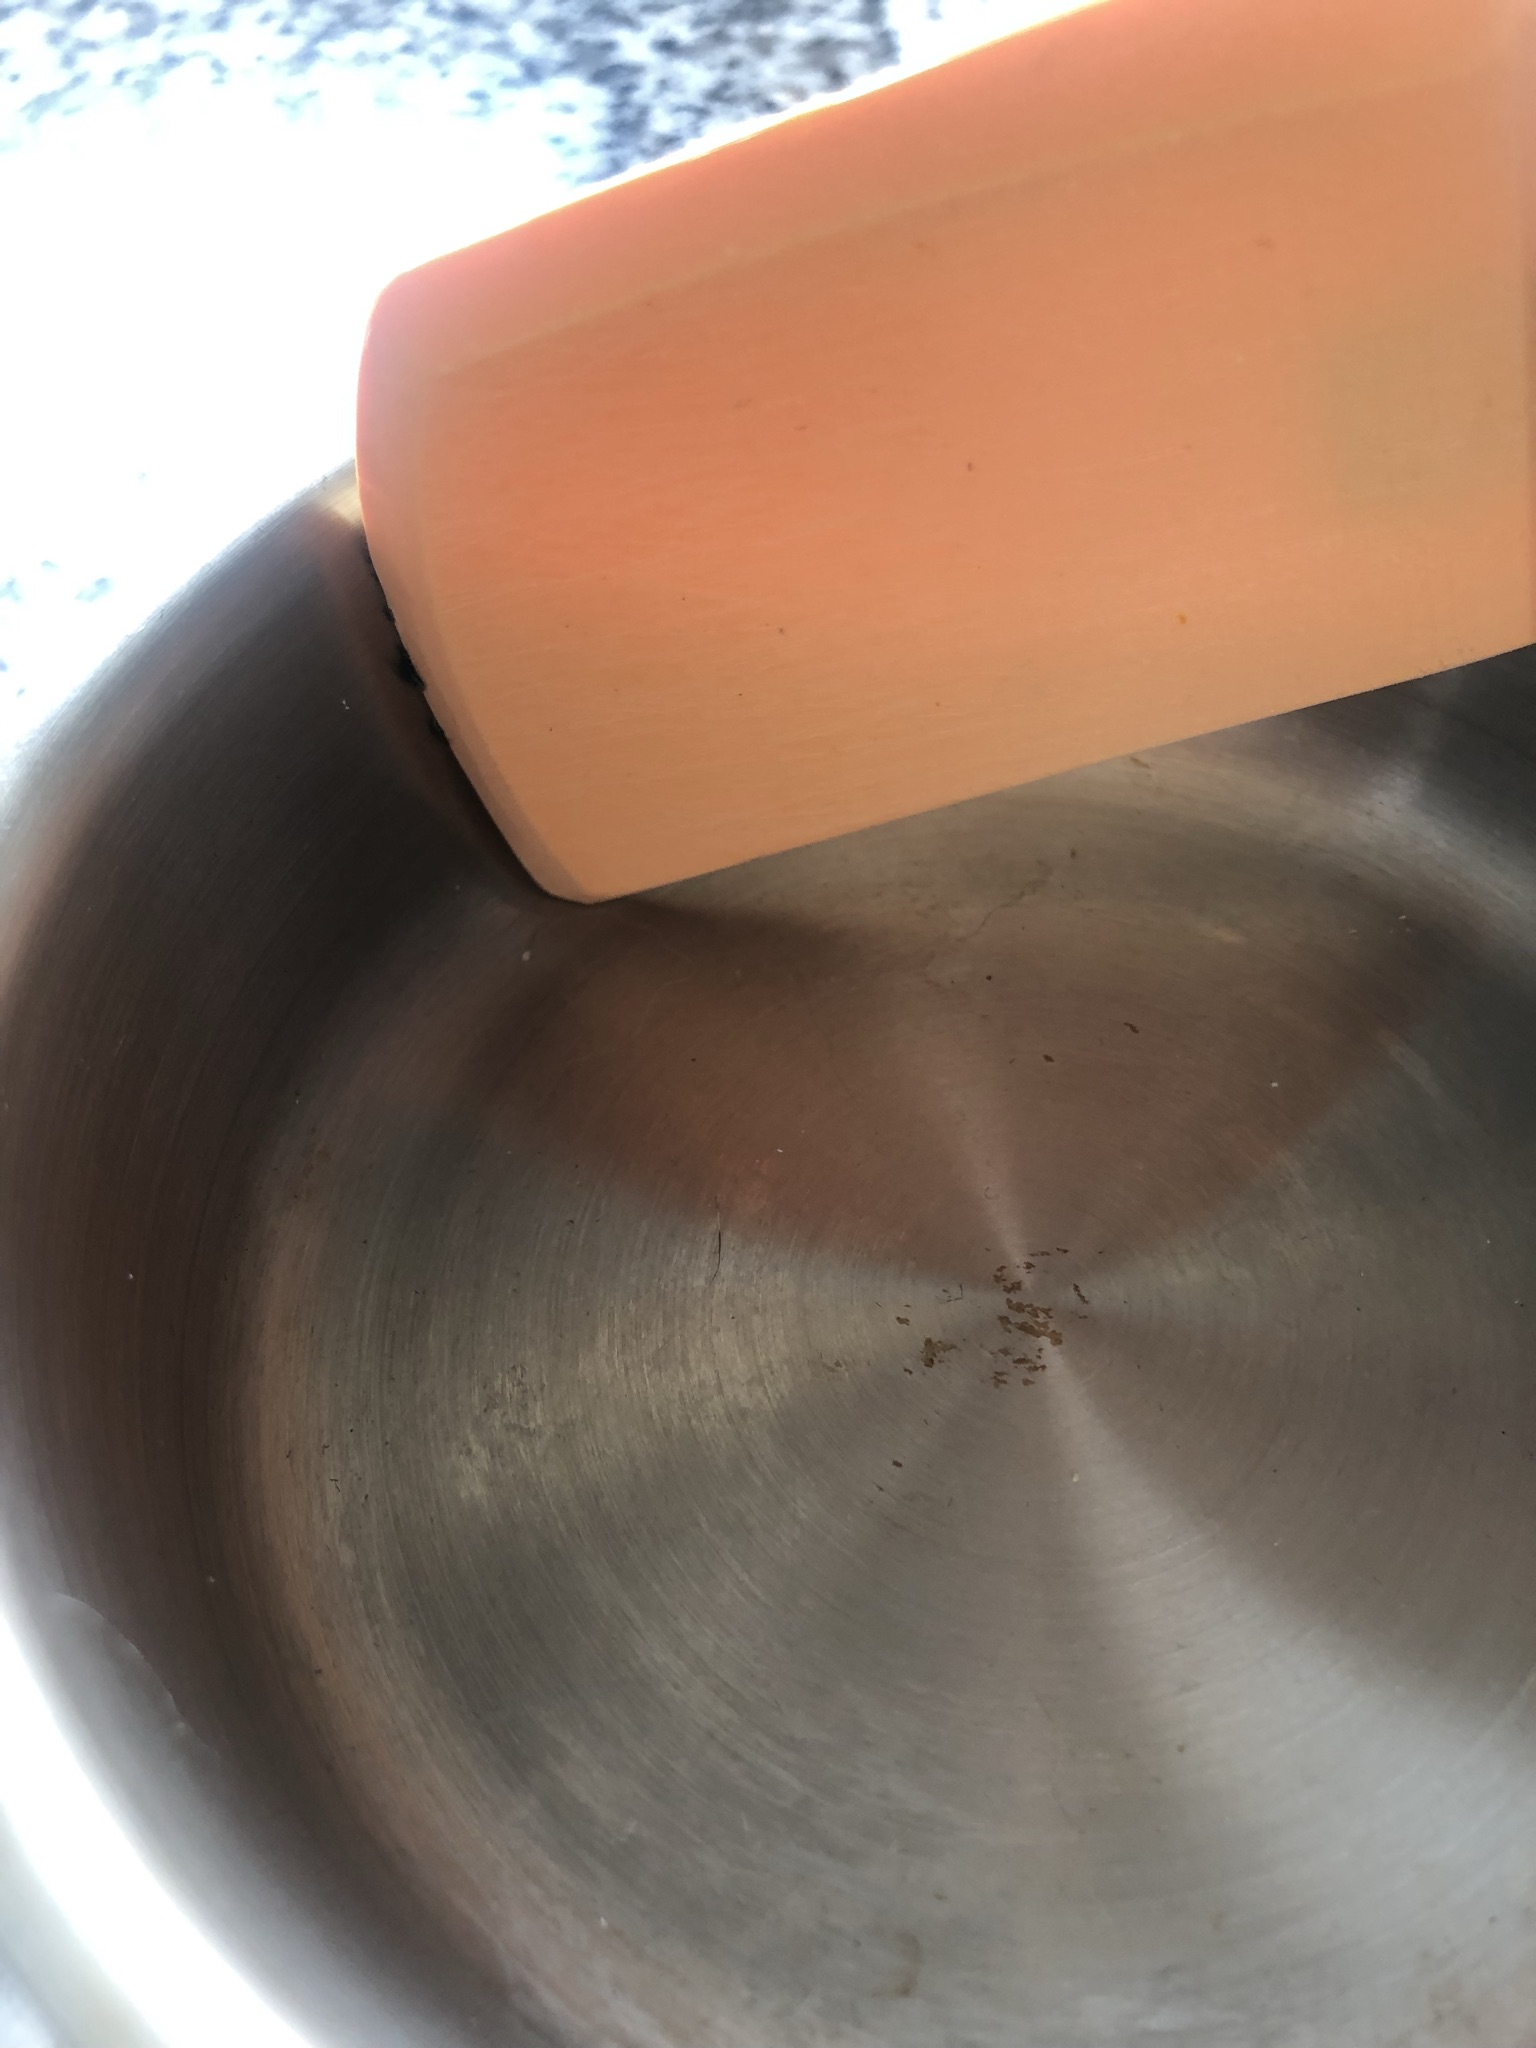
Almost looks like it belongs there
Passed the pan curve tests
The wife has requested I keep the sheet metal and silicone needed for these tools in stock. Looks like she’s really leaning into the “You can make real stuff instead of just 3d printed junk now!”
TLDR Lessons learned:
- It is easier to mill a final shape than it is to mill the mold for a shape.
- There is a z height limit that while you may not hit with the model, you can trip with the retract height…whoops.
- Validation is worth the time/effort.
- I need to work on my finishing strategies, they suuuuck.
- I need to start charging my wife for design time.
Overall this has been an incredible introduction into the world of CNC. I can crank out designs so much faster and easier than with my form 3. Now I can keep my wax stocked up and essentially iterate for free. The process will be: iterate designs in recyclable wax, validate injection molds in high temp form resin, mill final injection mold from aluminum on the nomad.
For items that will not be injection molded I can simply use the wax as the model and cast silicone molds, again recycling the wax.
Apologies for absolute wall of text/photos and the non-kitchenware related tangents. I’m just silly excited to finally jump into this  It’s going to be a good time.