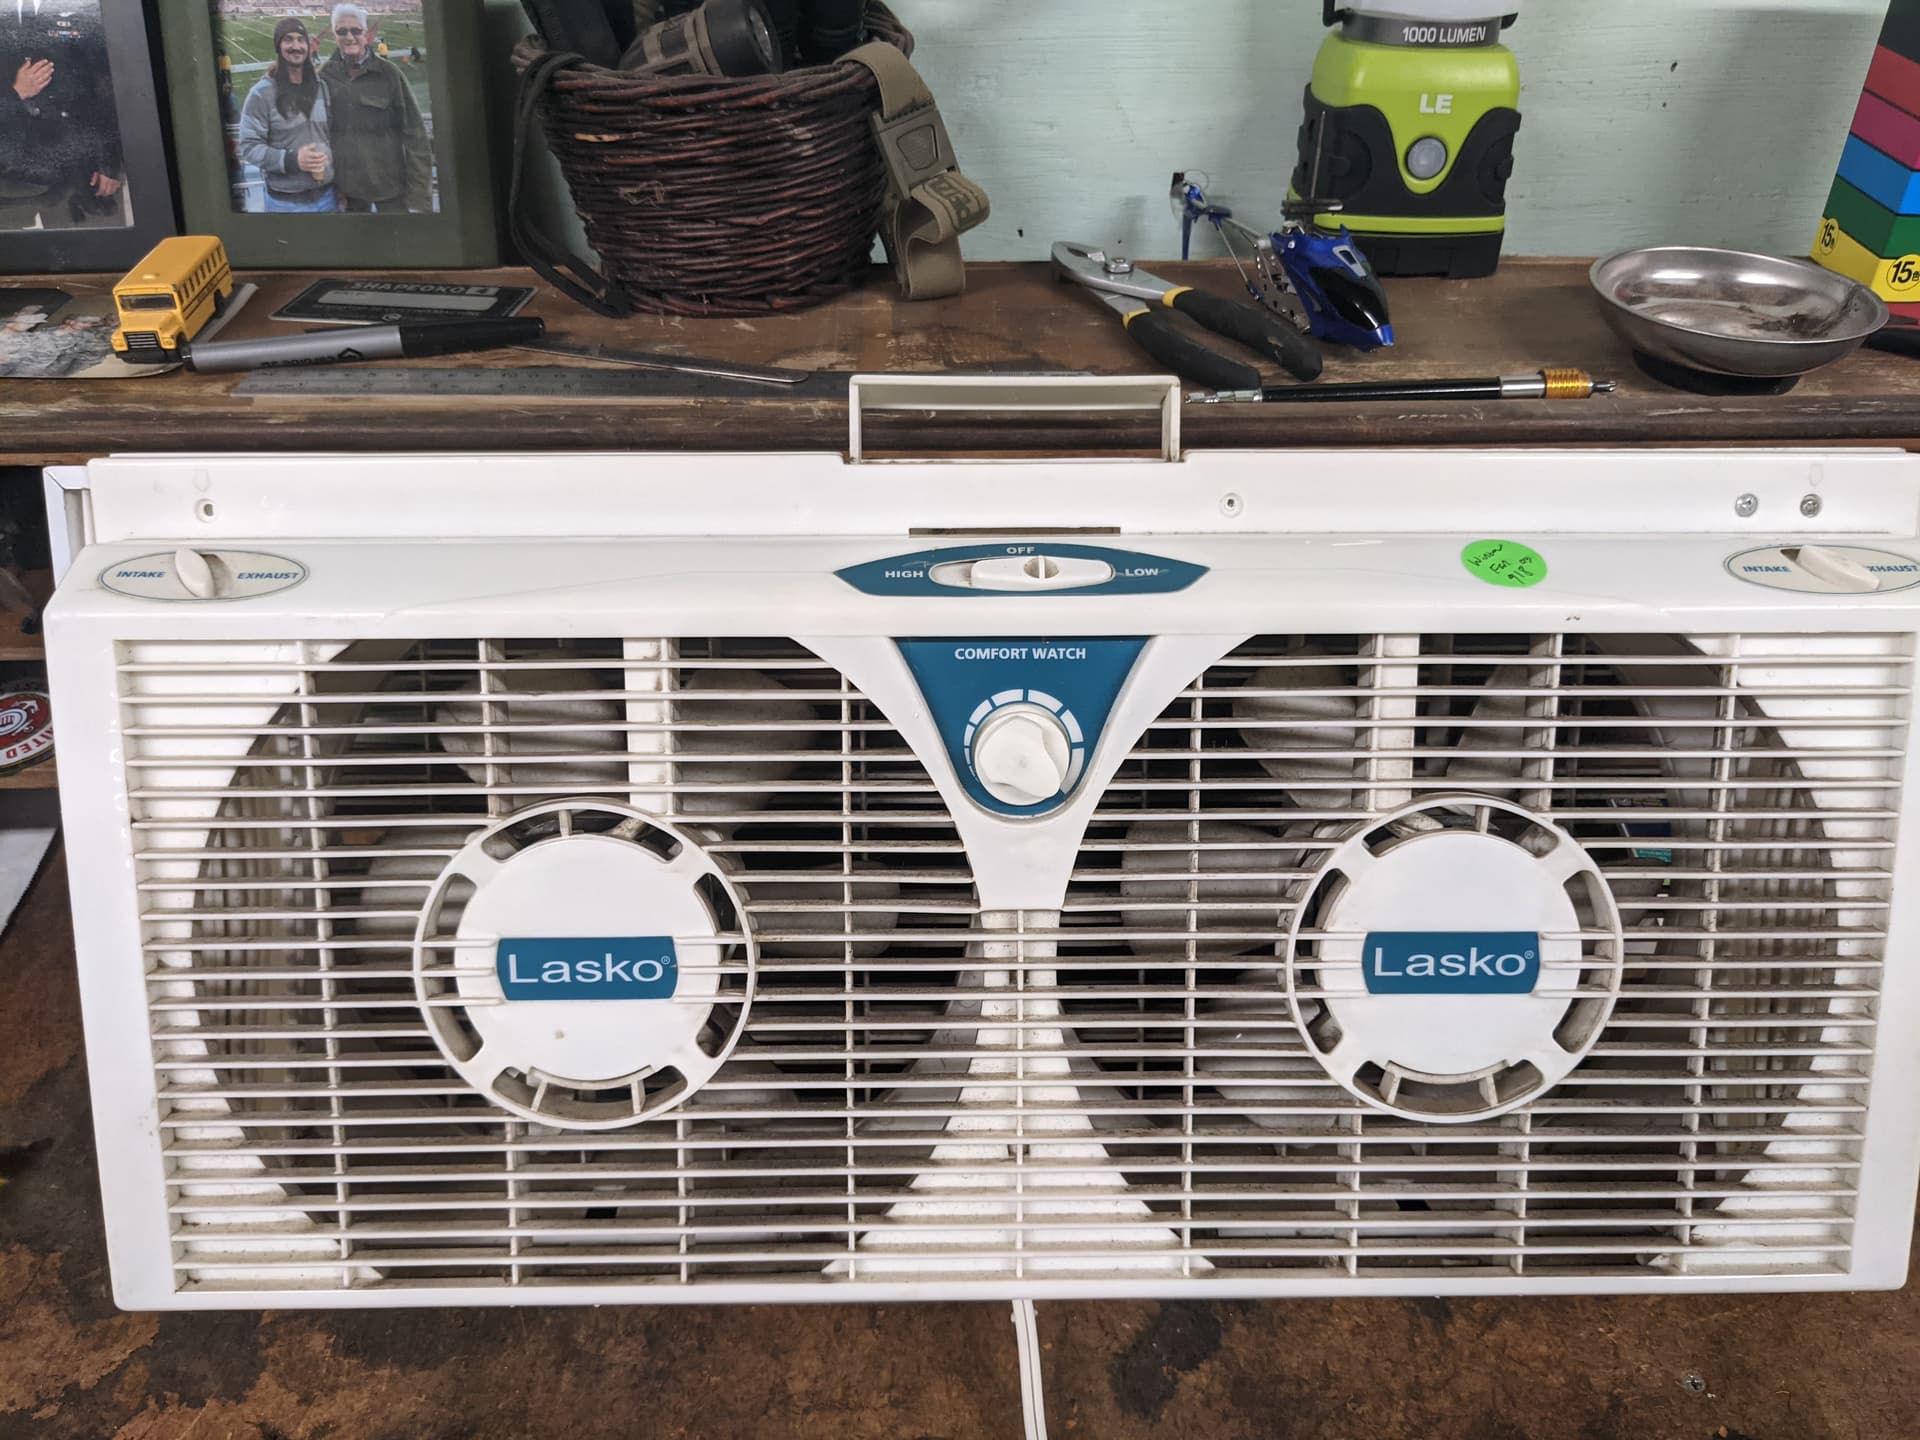
This is the exhaust fan I meant to link
Cheap and way less noise!
This is the exhaust fan I meant to link
Cheap and way less noise!
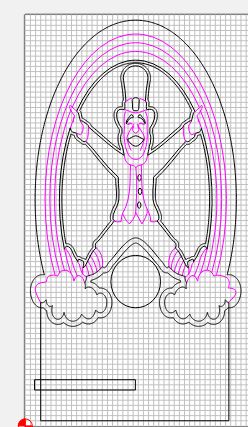
Here is my submission. It is a PG version of a wine holder that I’ve made in the past.
File used: HappyStPatricksDay_5.svg
I resized the file to fit my material and did some boolean operations to merge the image with an already created bottom section.
Toolpaths:
Detail- No-offset contour, depth of .005, 20 degree v-bit.
Inside and outside contours-1/8" compression bit at full depth.
Material: 1/4" MDF.
Process: Carved, sanded, 2 coats of sanding sealer, spray paint, sand off the overspray.
I ended up deleting some of the detail in the face due to tear-out on the first 2 attempts (using 1/4" ply). I also deleted the text as it wasn’t visible with the wine bottle inserted.
Issues-The first attempt on plywood I had a lot of tear-out and chipping on the detail. On the second attempt, I slowed down my feed and it turned out a little better but when I sanded off the over-spray, I went through the top layer of plywood in some spots. Third attempt using MDF. I still had some tear-out (see the buttons on the vest) so I slowed down the feed more and the last button turned out like it should.
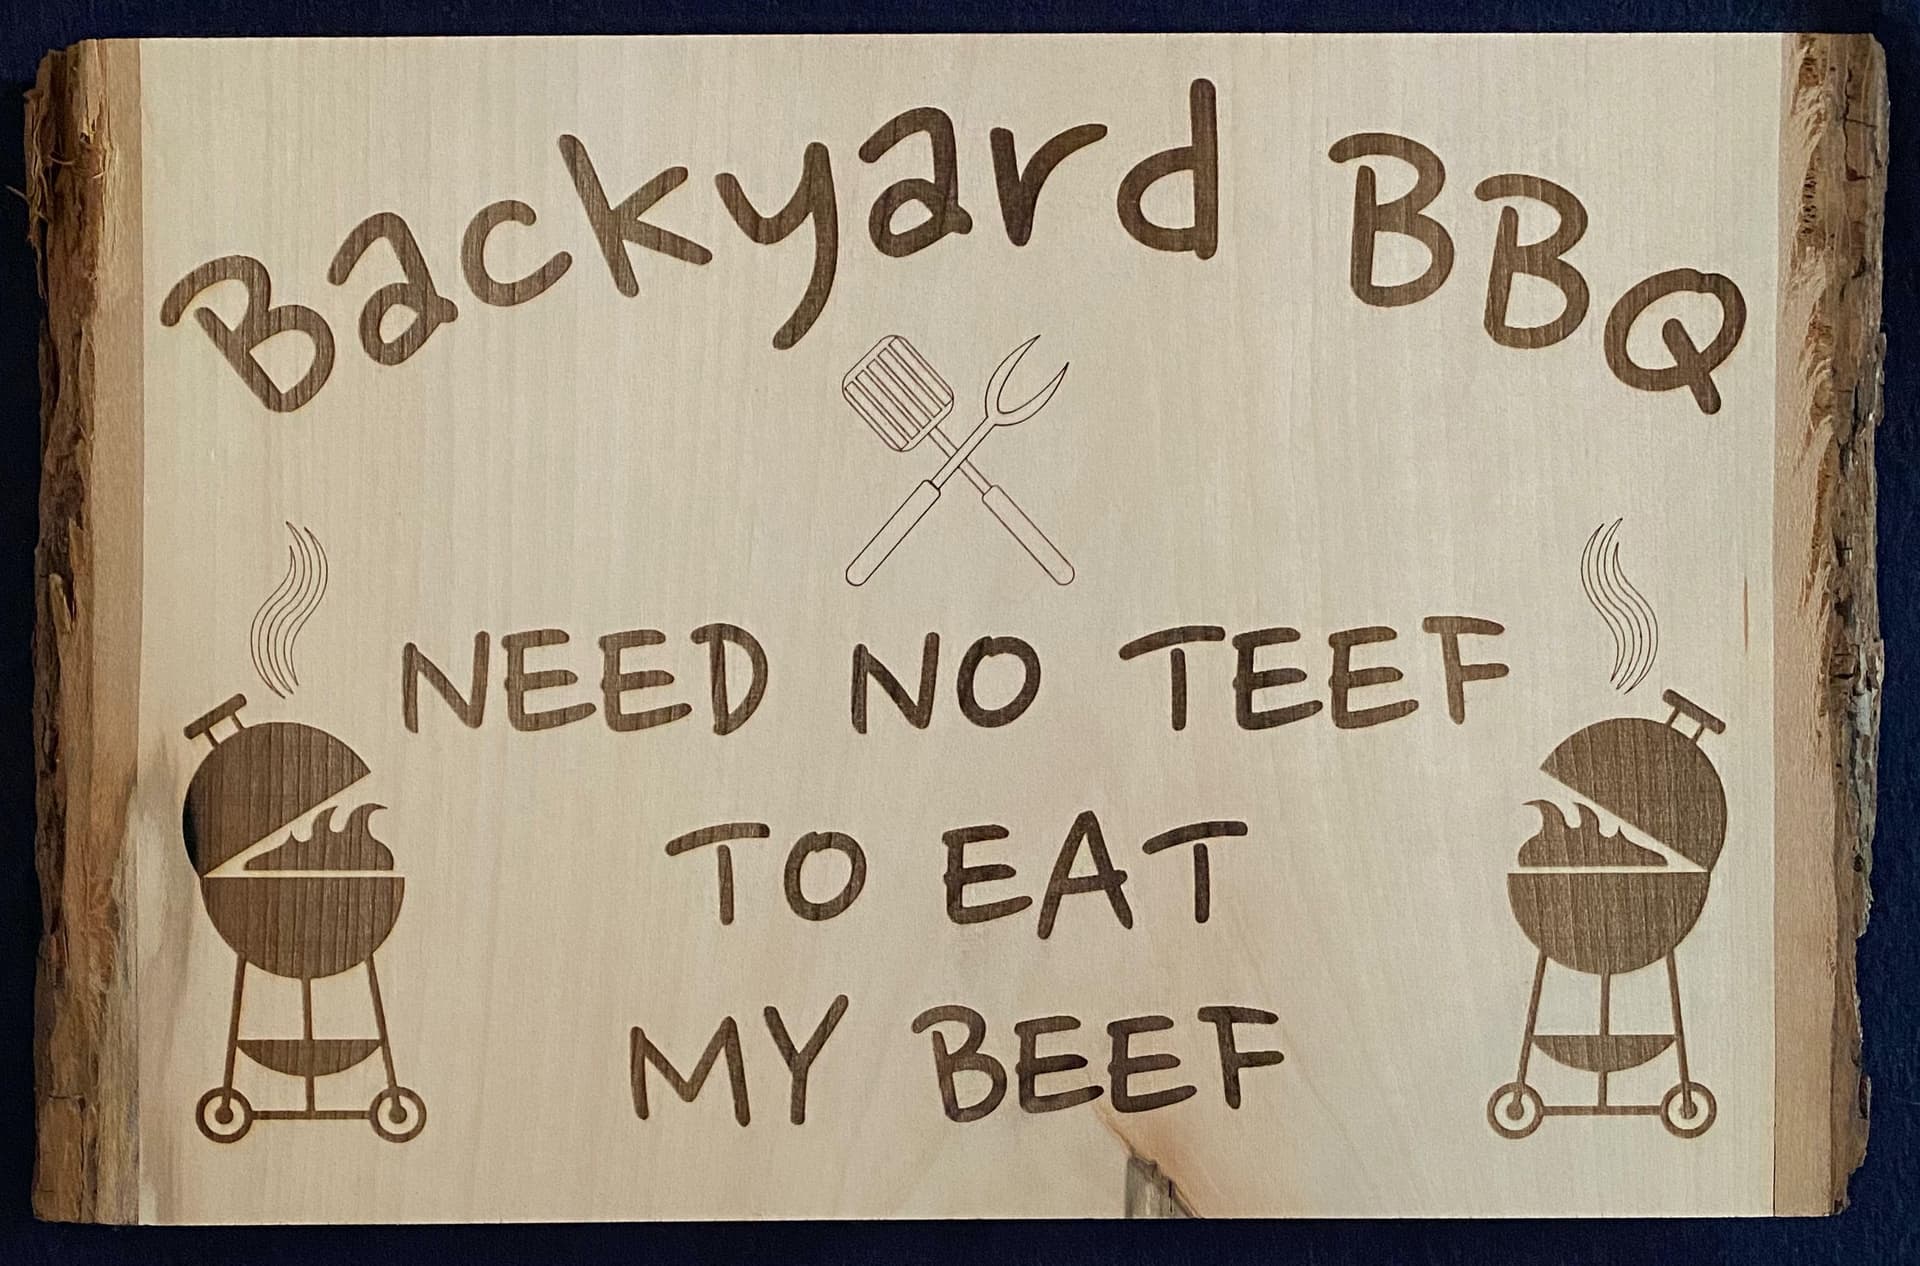
LASER BBQ SIGN
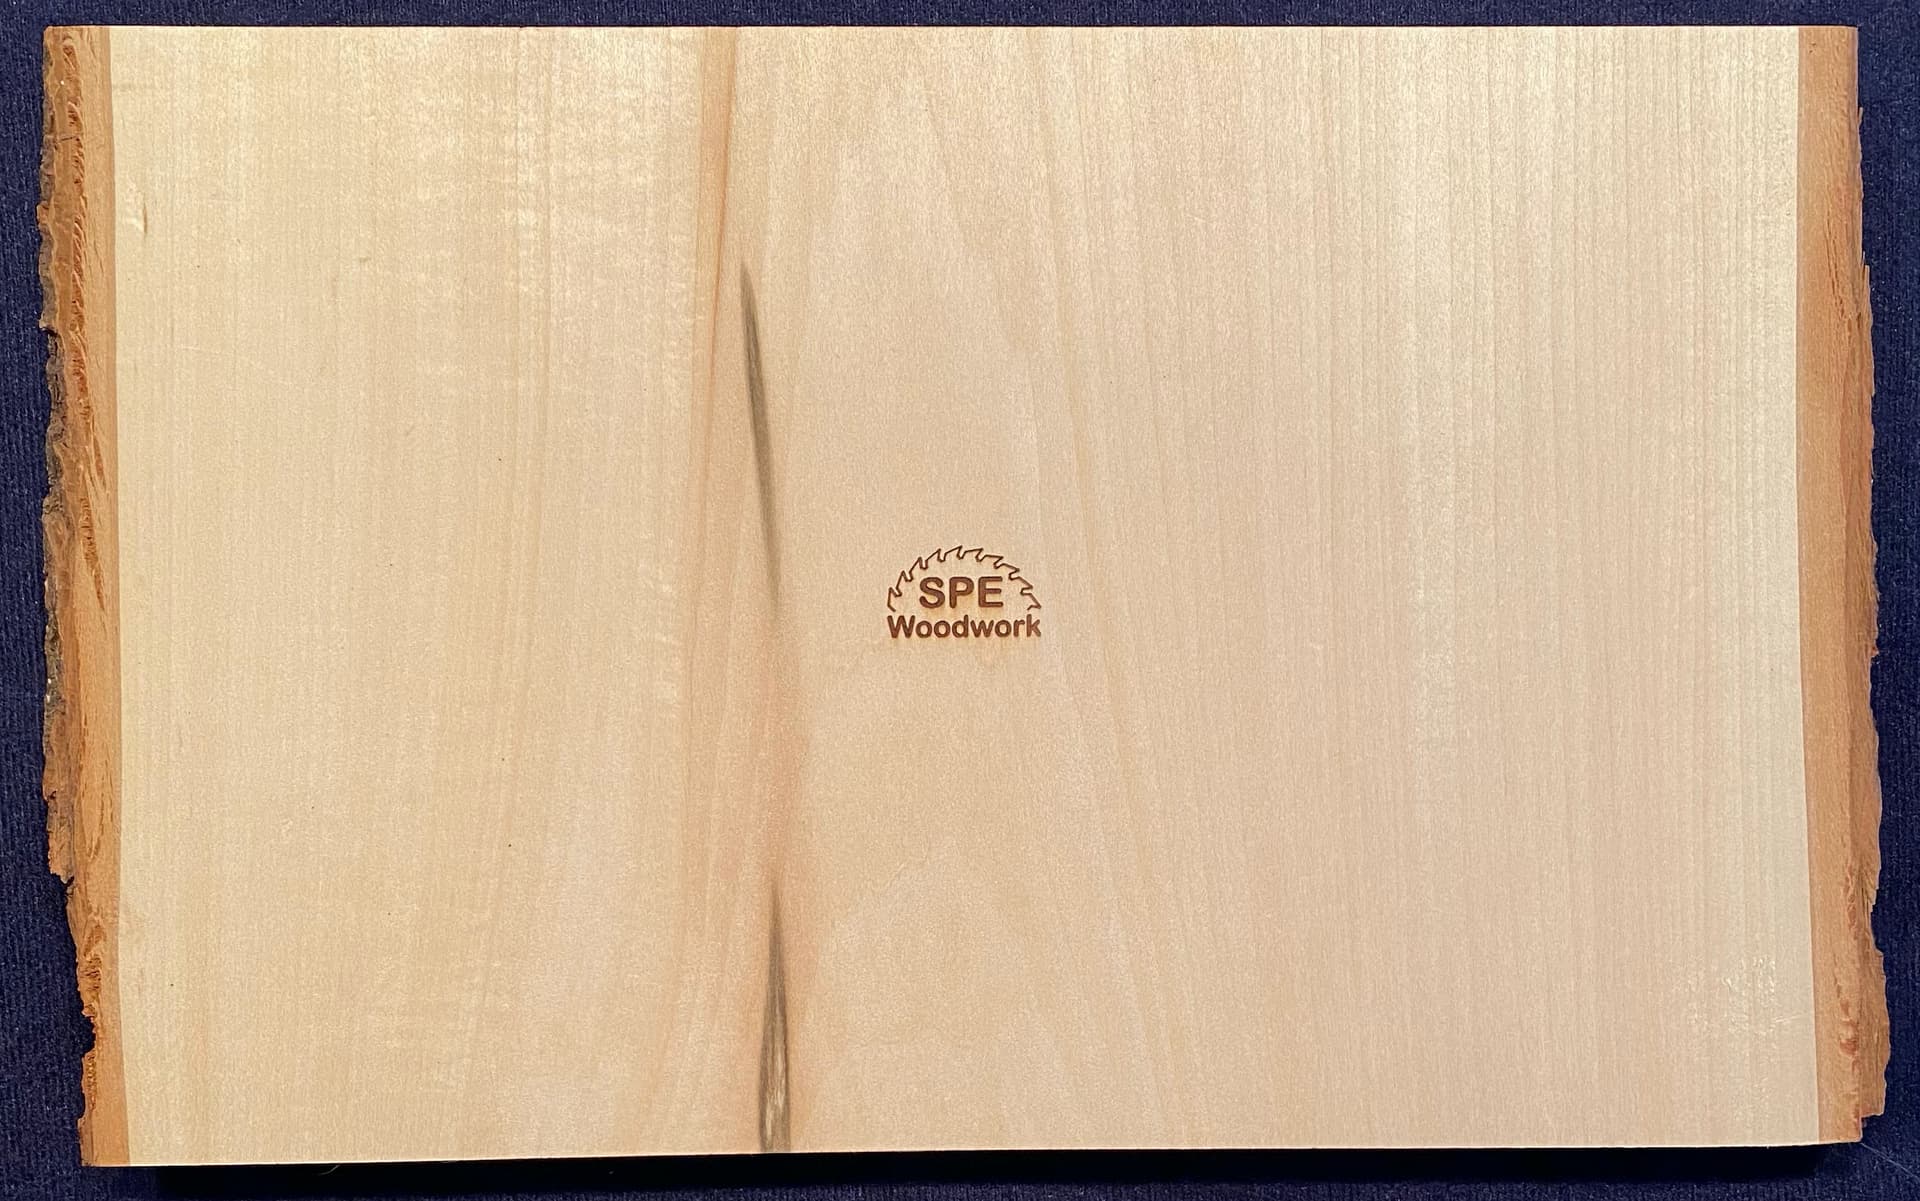
Back side with new brand
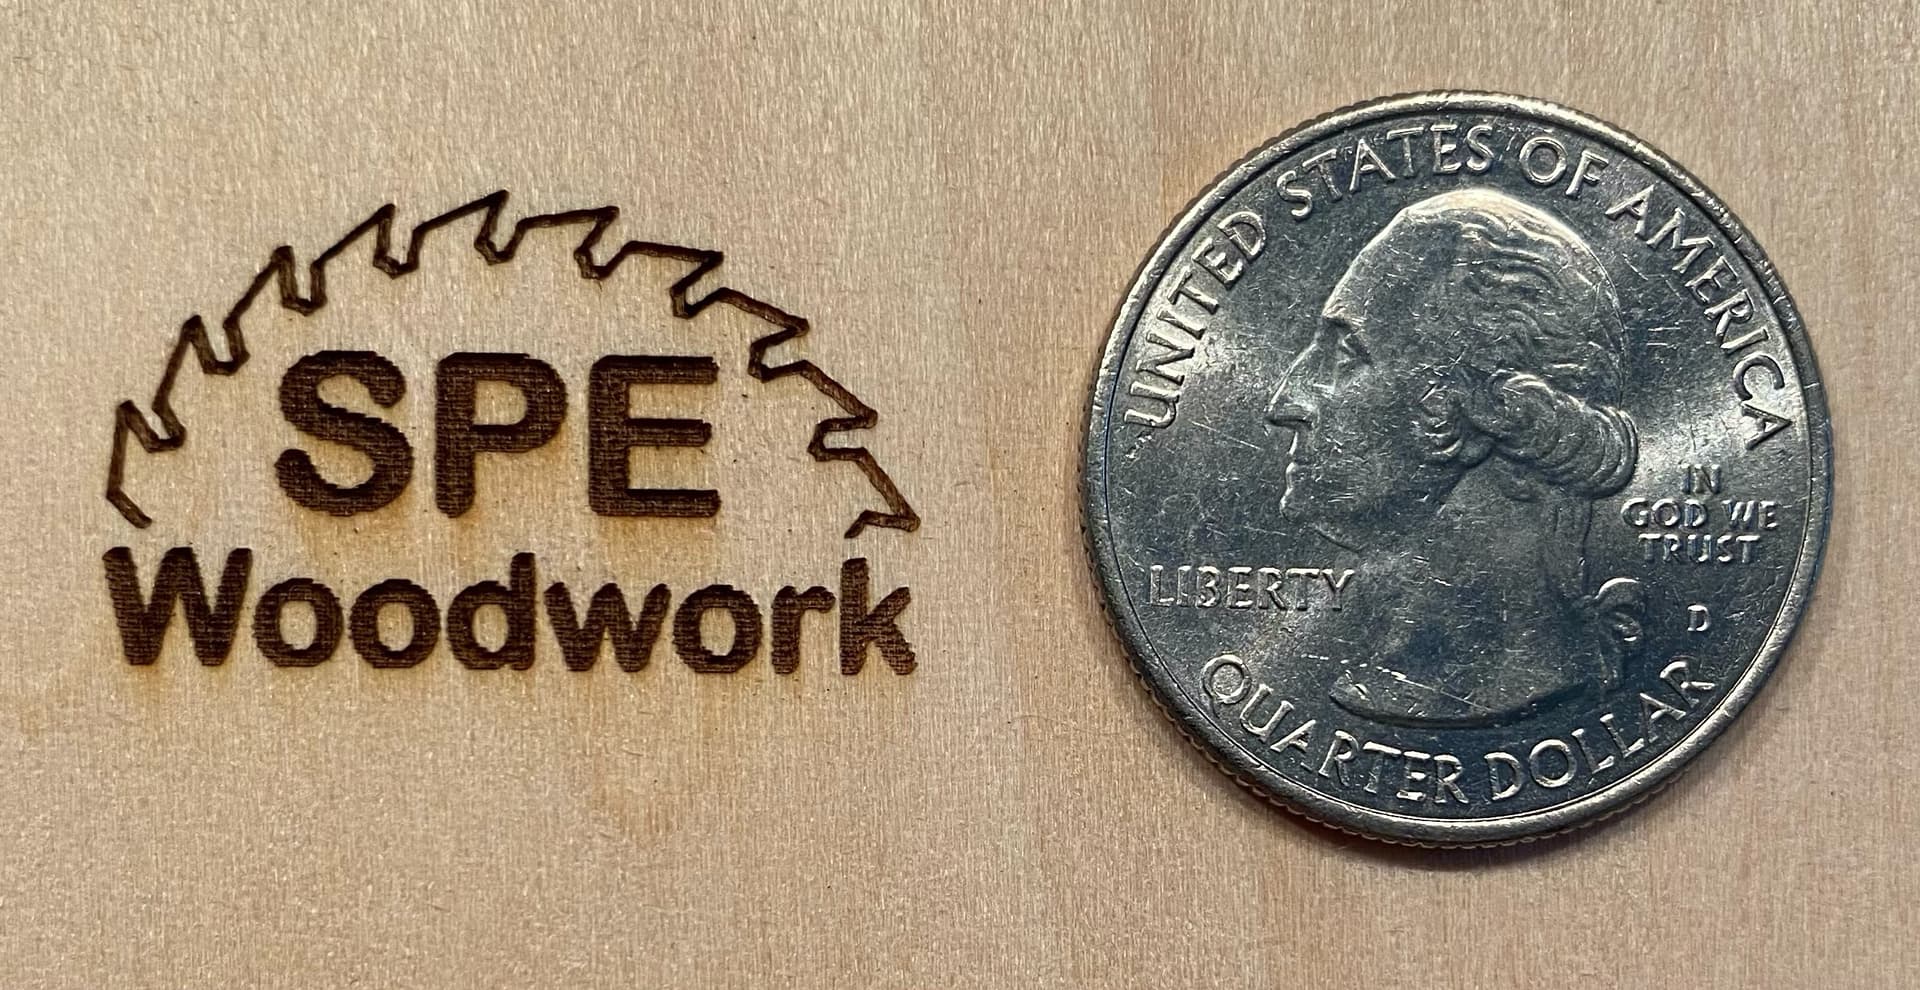
Brand closeup
OK, I hesitated to post this, but @gallionl set the tone with a humorous entry so here goes. Admittedly not my finest work, but this new laser is fun! I have a Treager pellet smoker, and you truly don’t need teef nor a fork to eat a smoked brisket off this thing.
I’ve always been interested in one of those branding irons to personalize projects, but never got one. With the new laser, I designed a small logo. This is my first project to get branded.
The grills and BBQ tools are straight from the “BBQ” category in the Carbide3D design elements.
The “smoke” above the grills is modified from the Flourishes_19.svg design element.
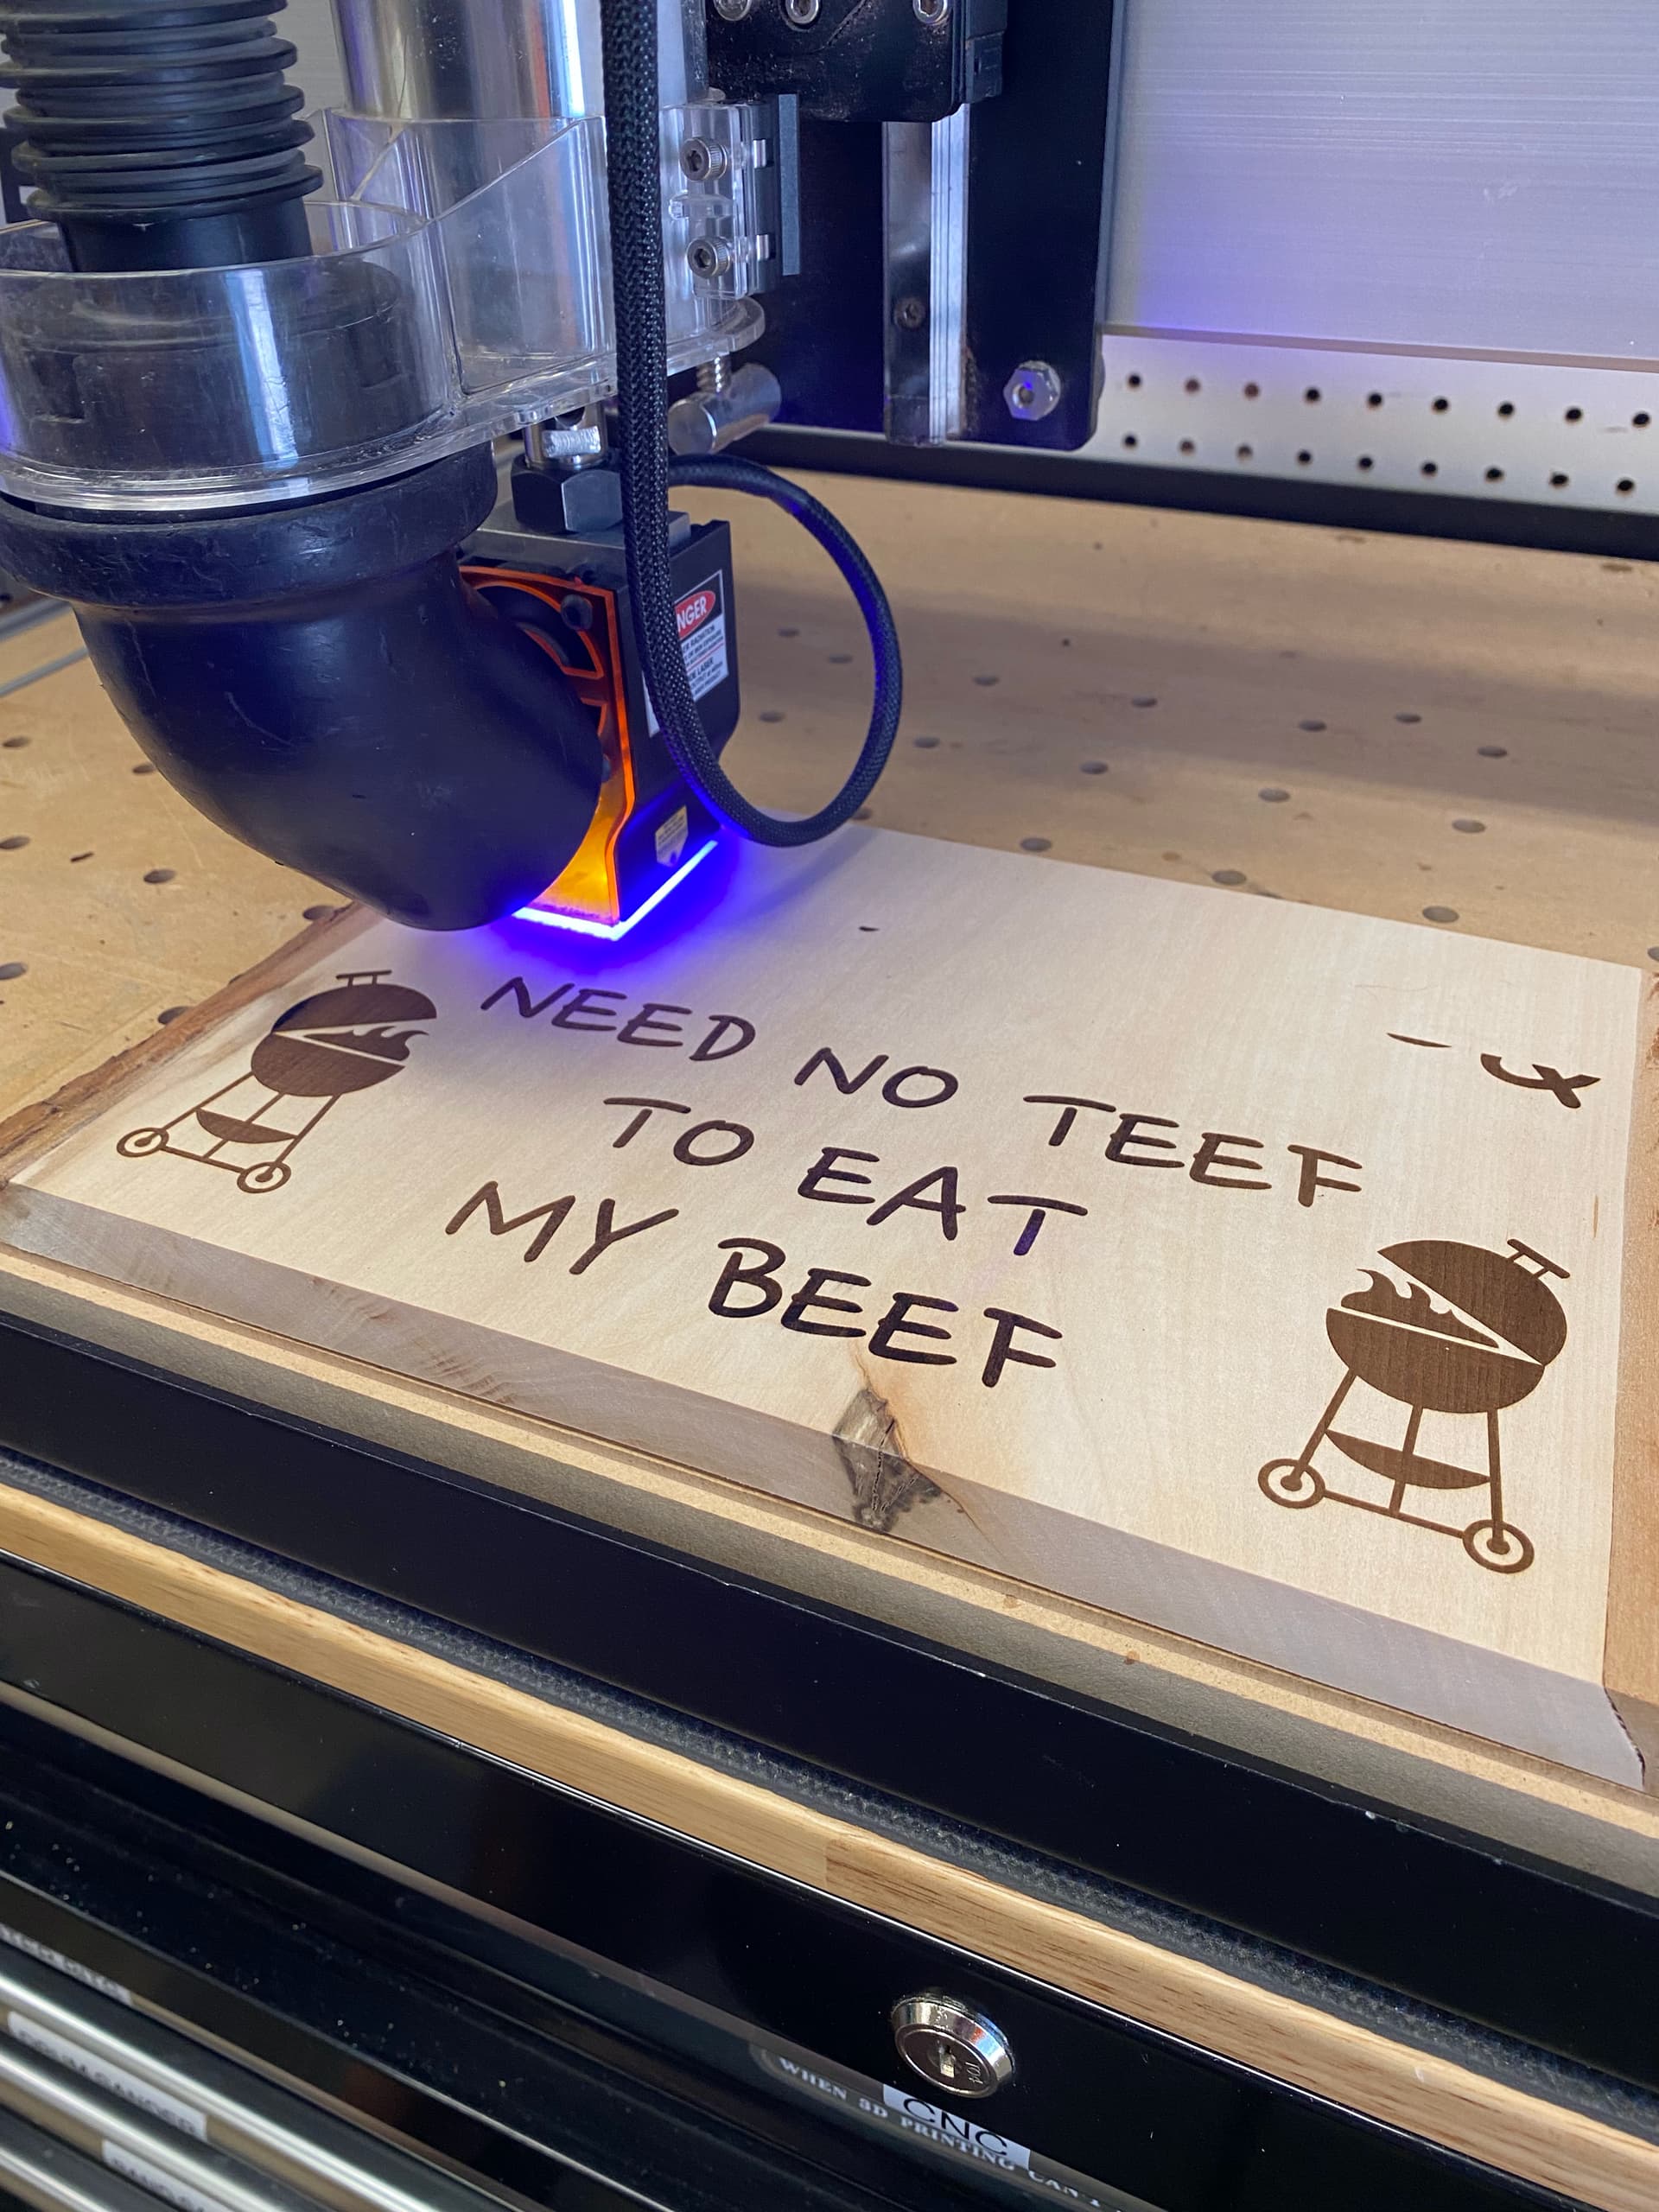
Basswood, JTech 7 Watt Pro Laser, 60 inches/minute, 60% power, .006” line interval.
Burn-in-progress:
Cutrocket Link: BBQ Sign by ScottsdaleSteve
Final day of the challenge, let’s see if we get a few last minute entries!
Im a slacker and just started today. Thought we had longer to go. I am working on making some Halloween decorations for the yard.
This was my first try cutting foamular from menards. Here is progress so far. Hoping to get painted later today and post write up.
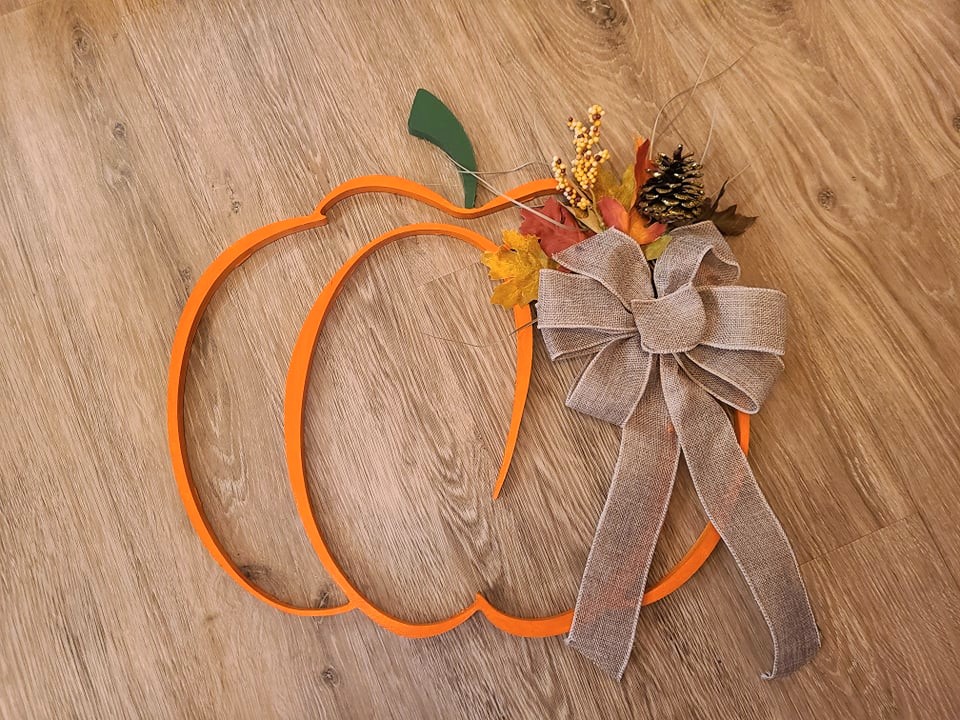
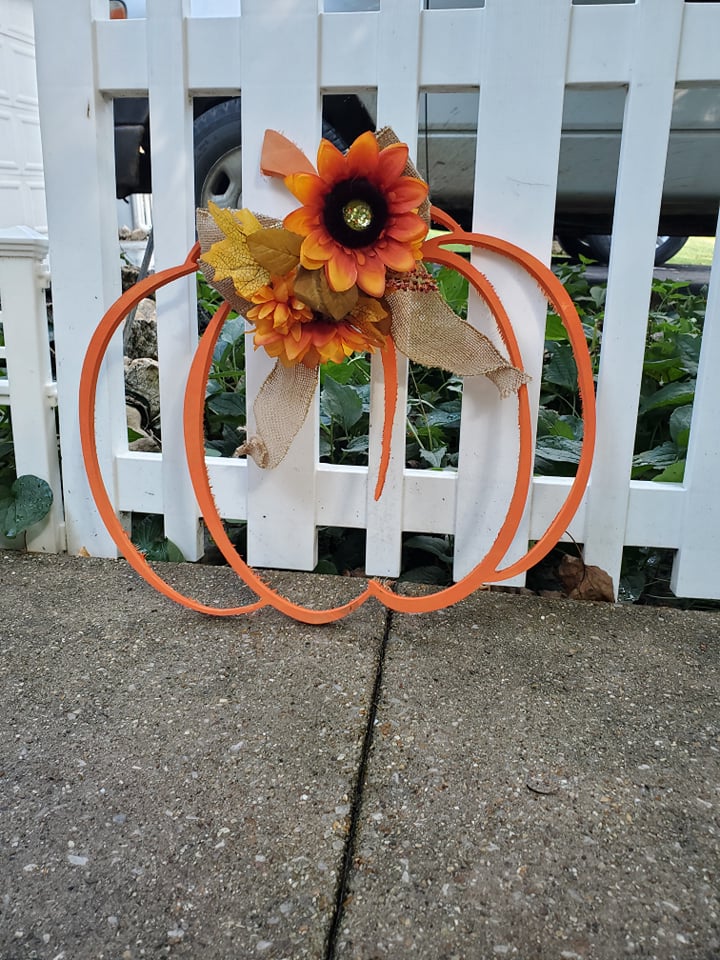
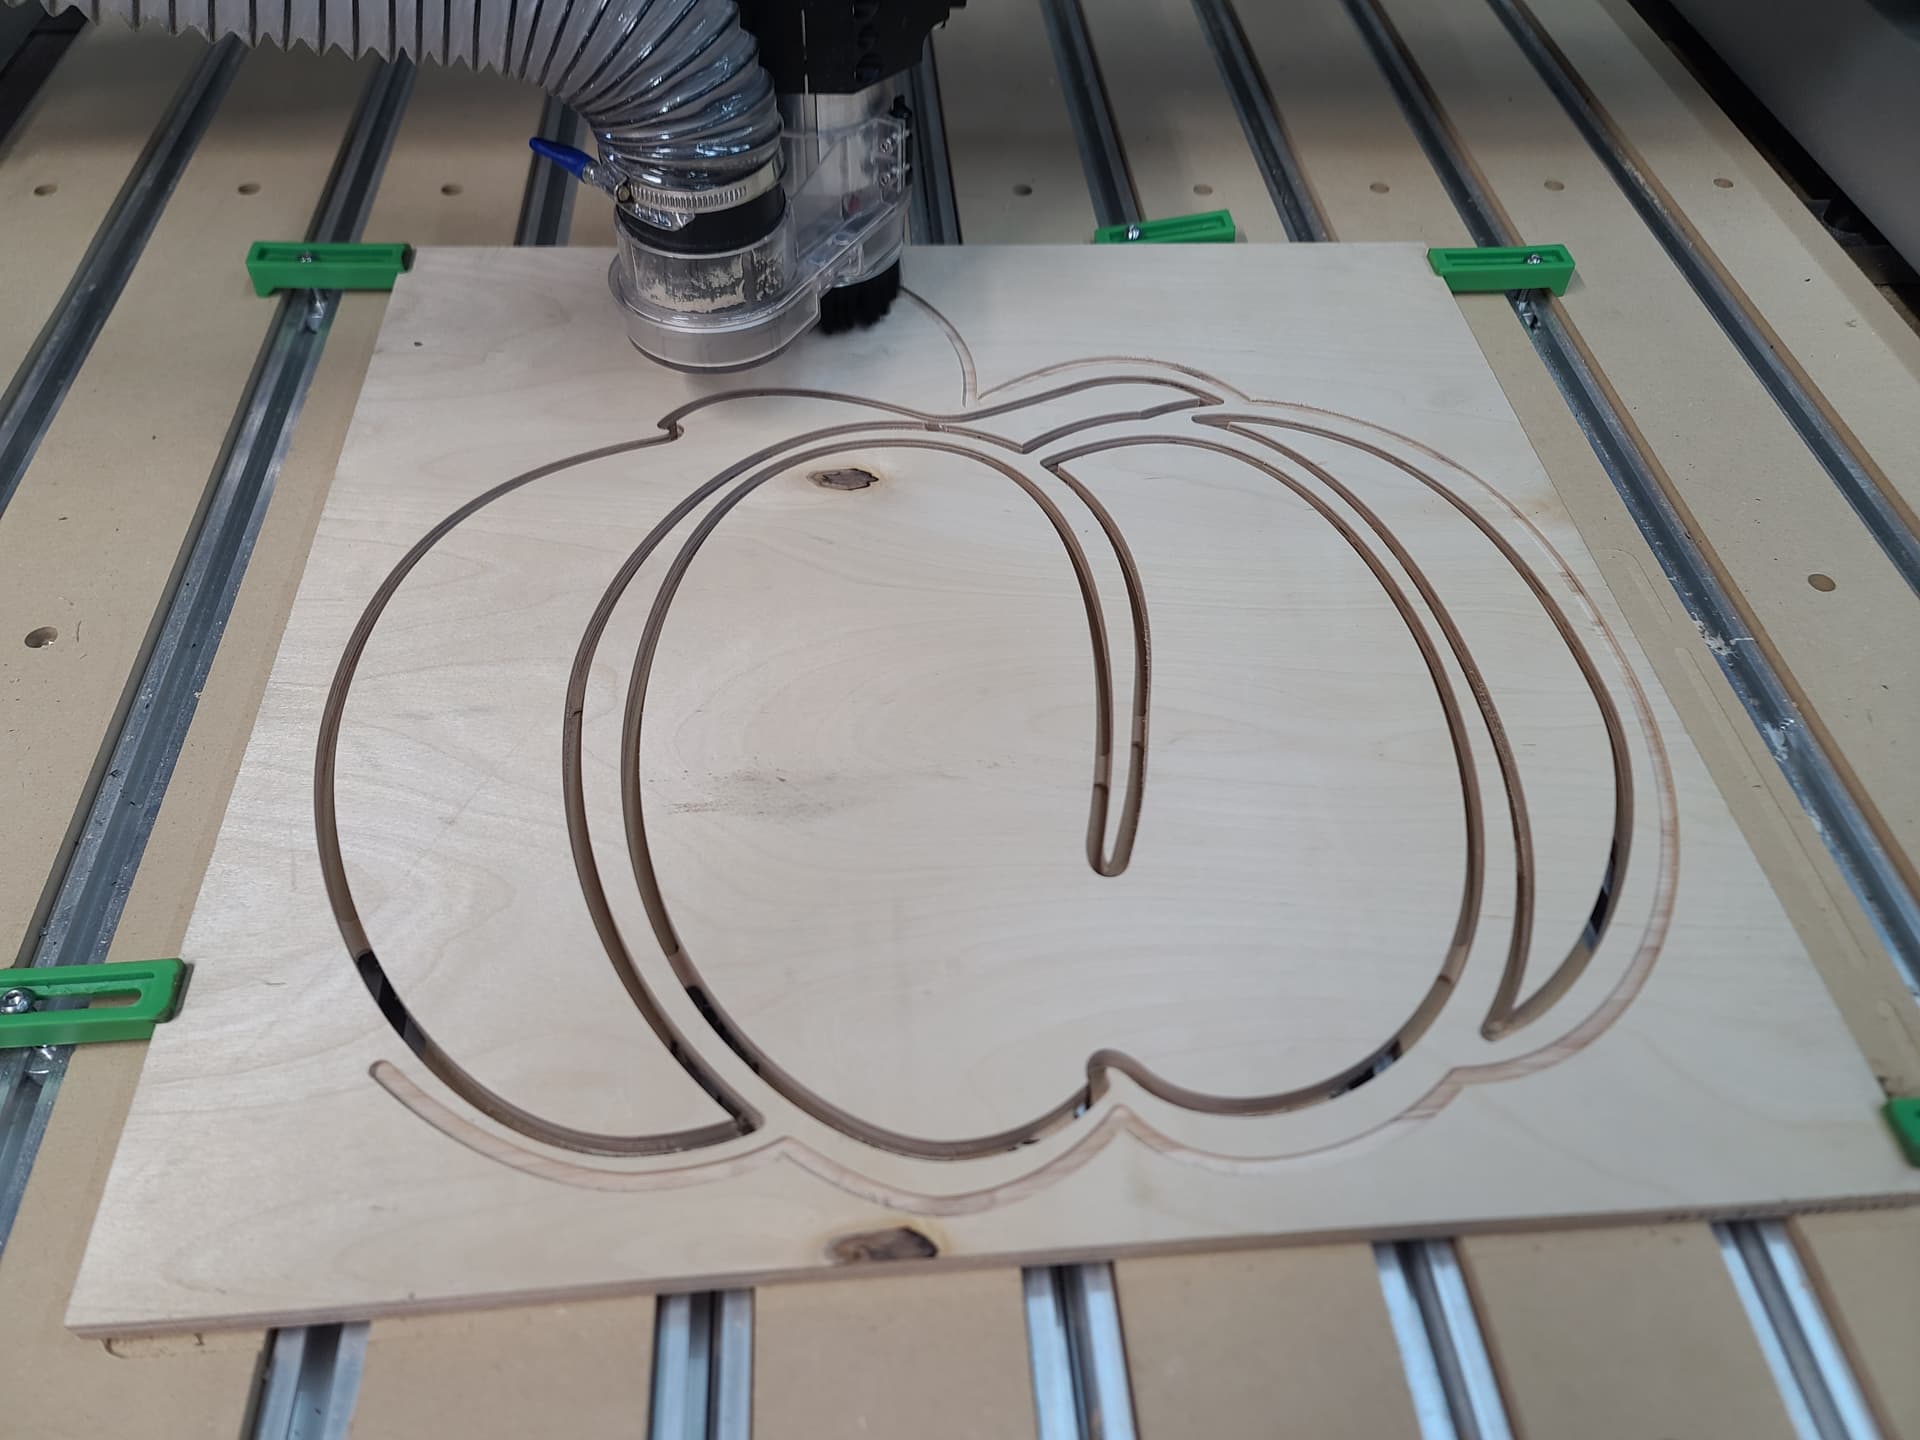
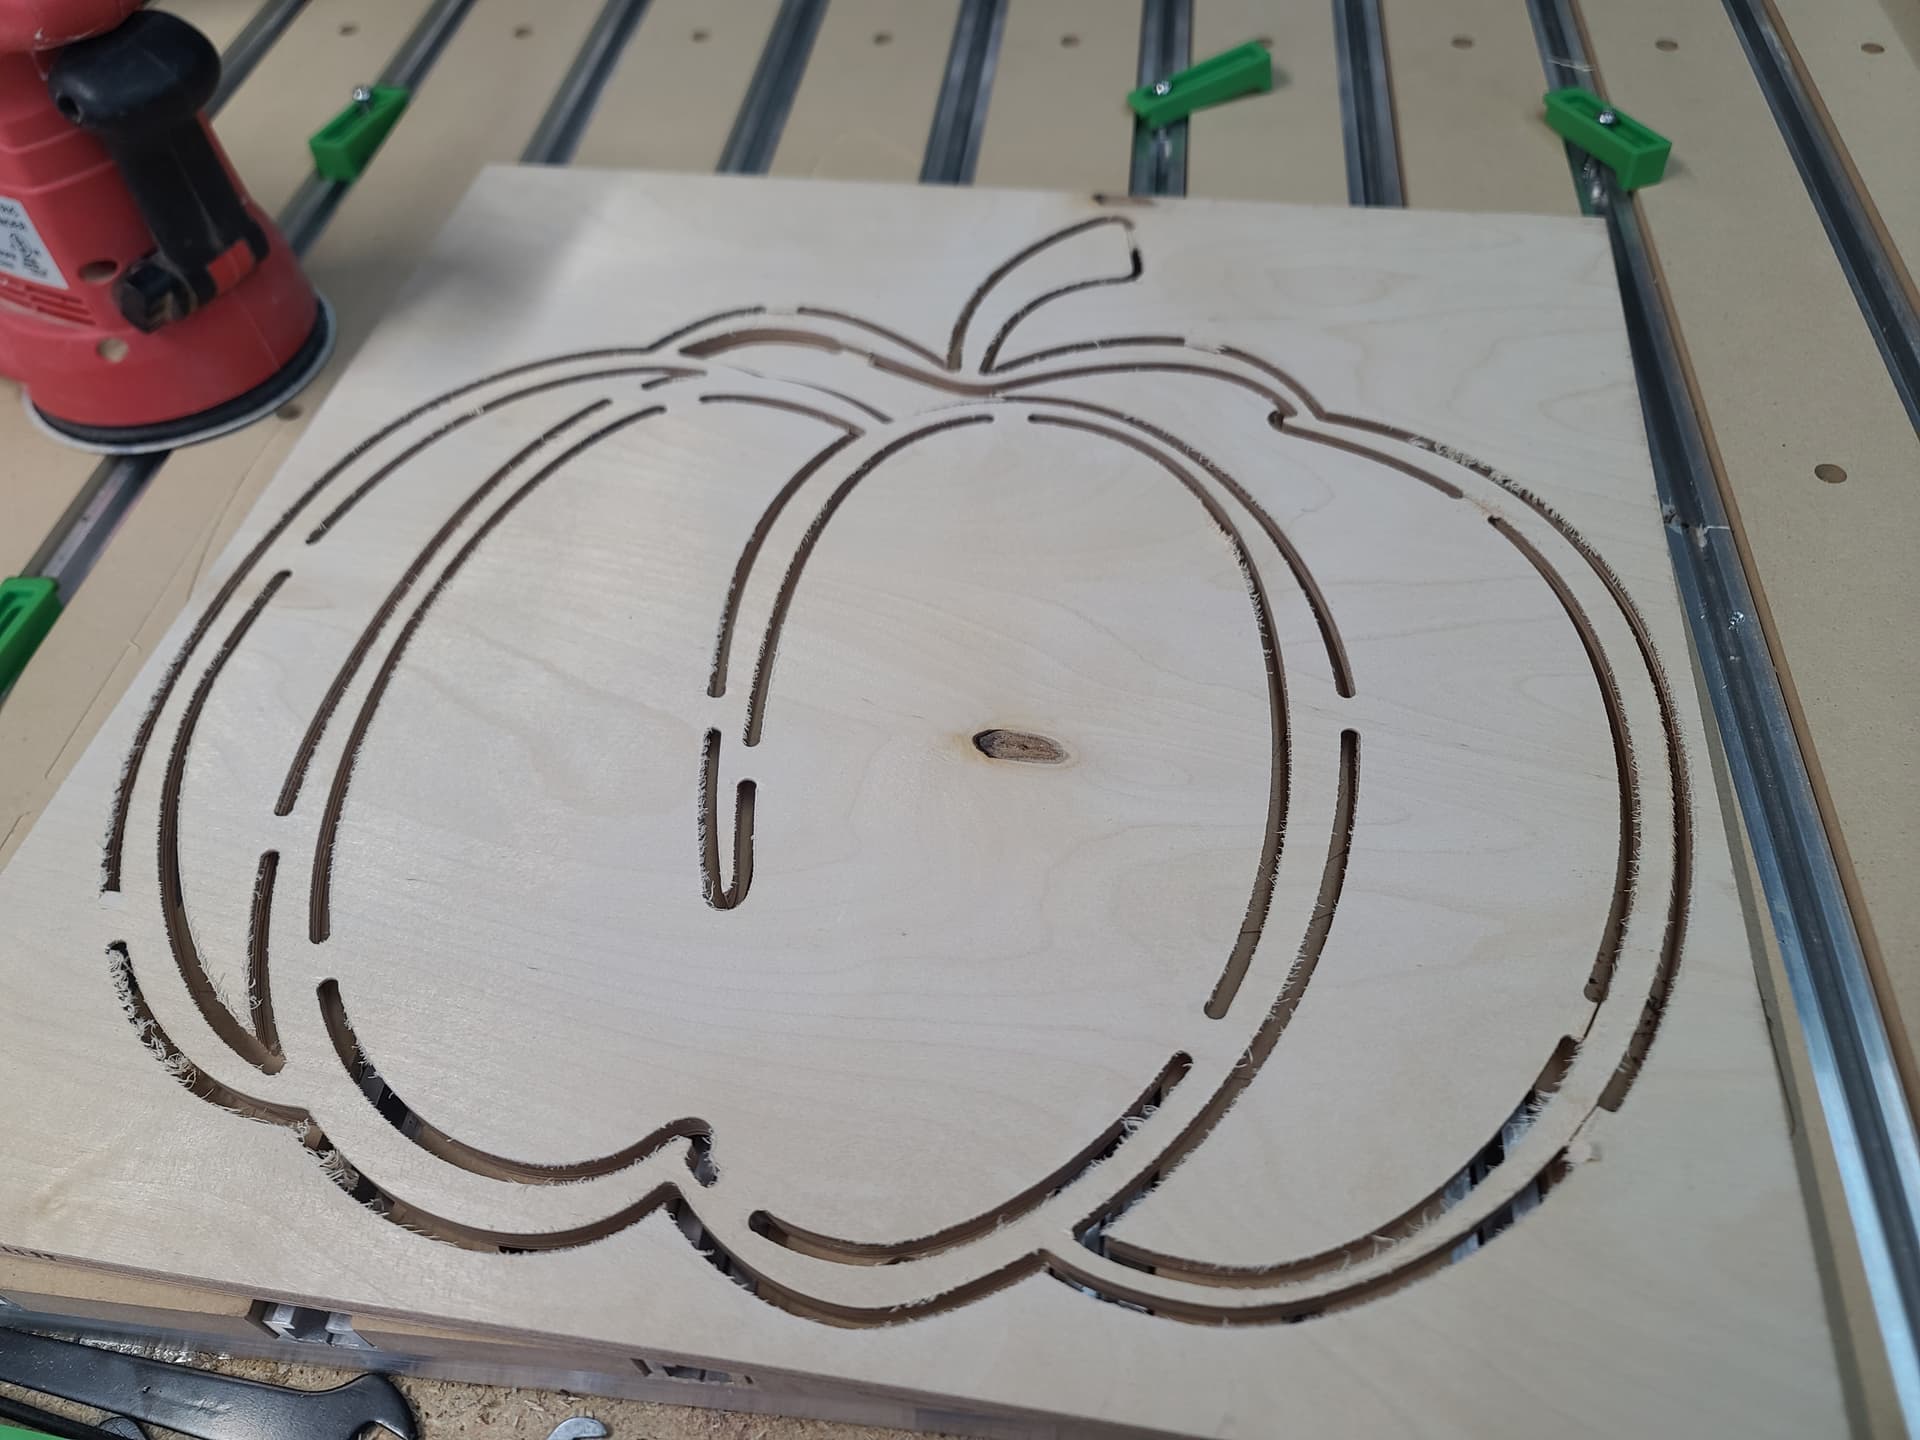
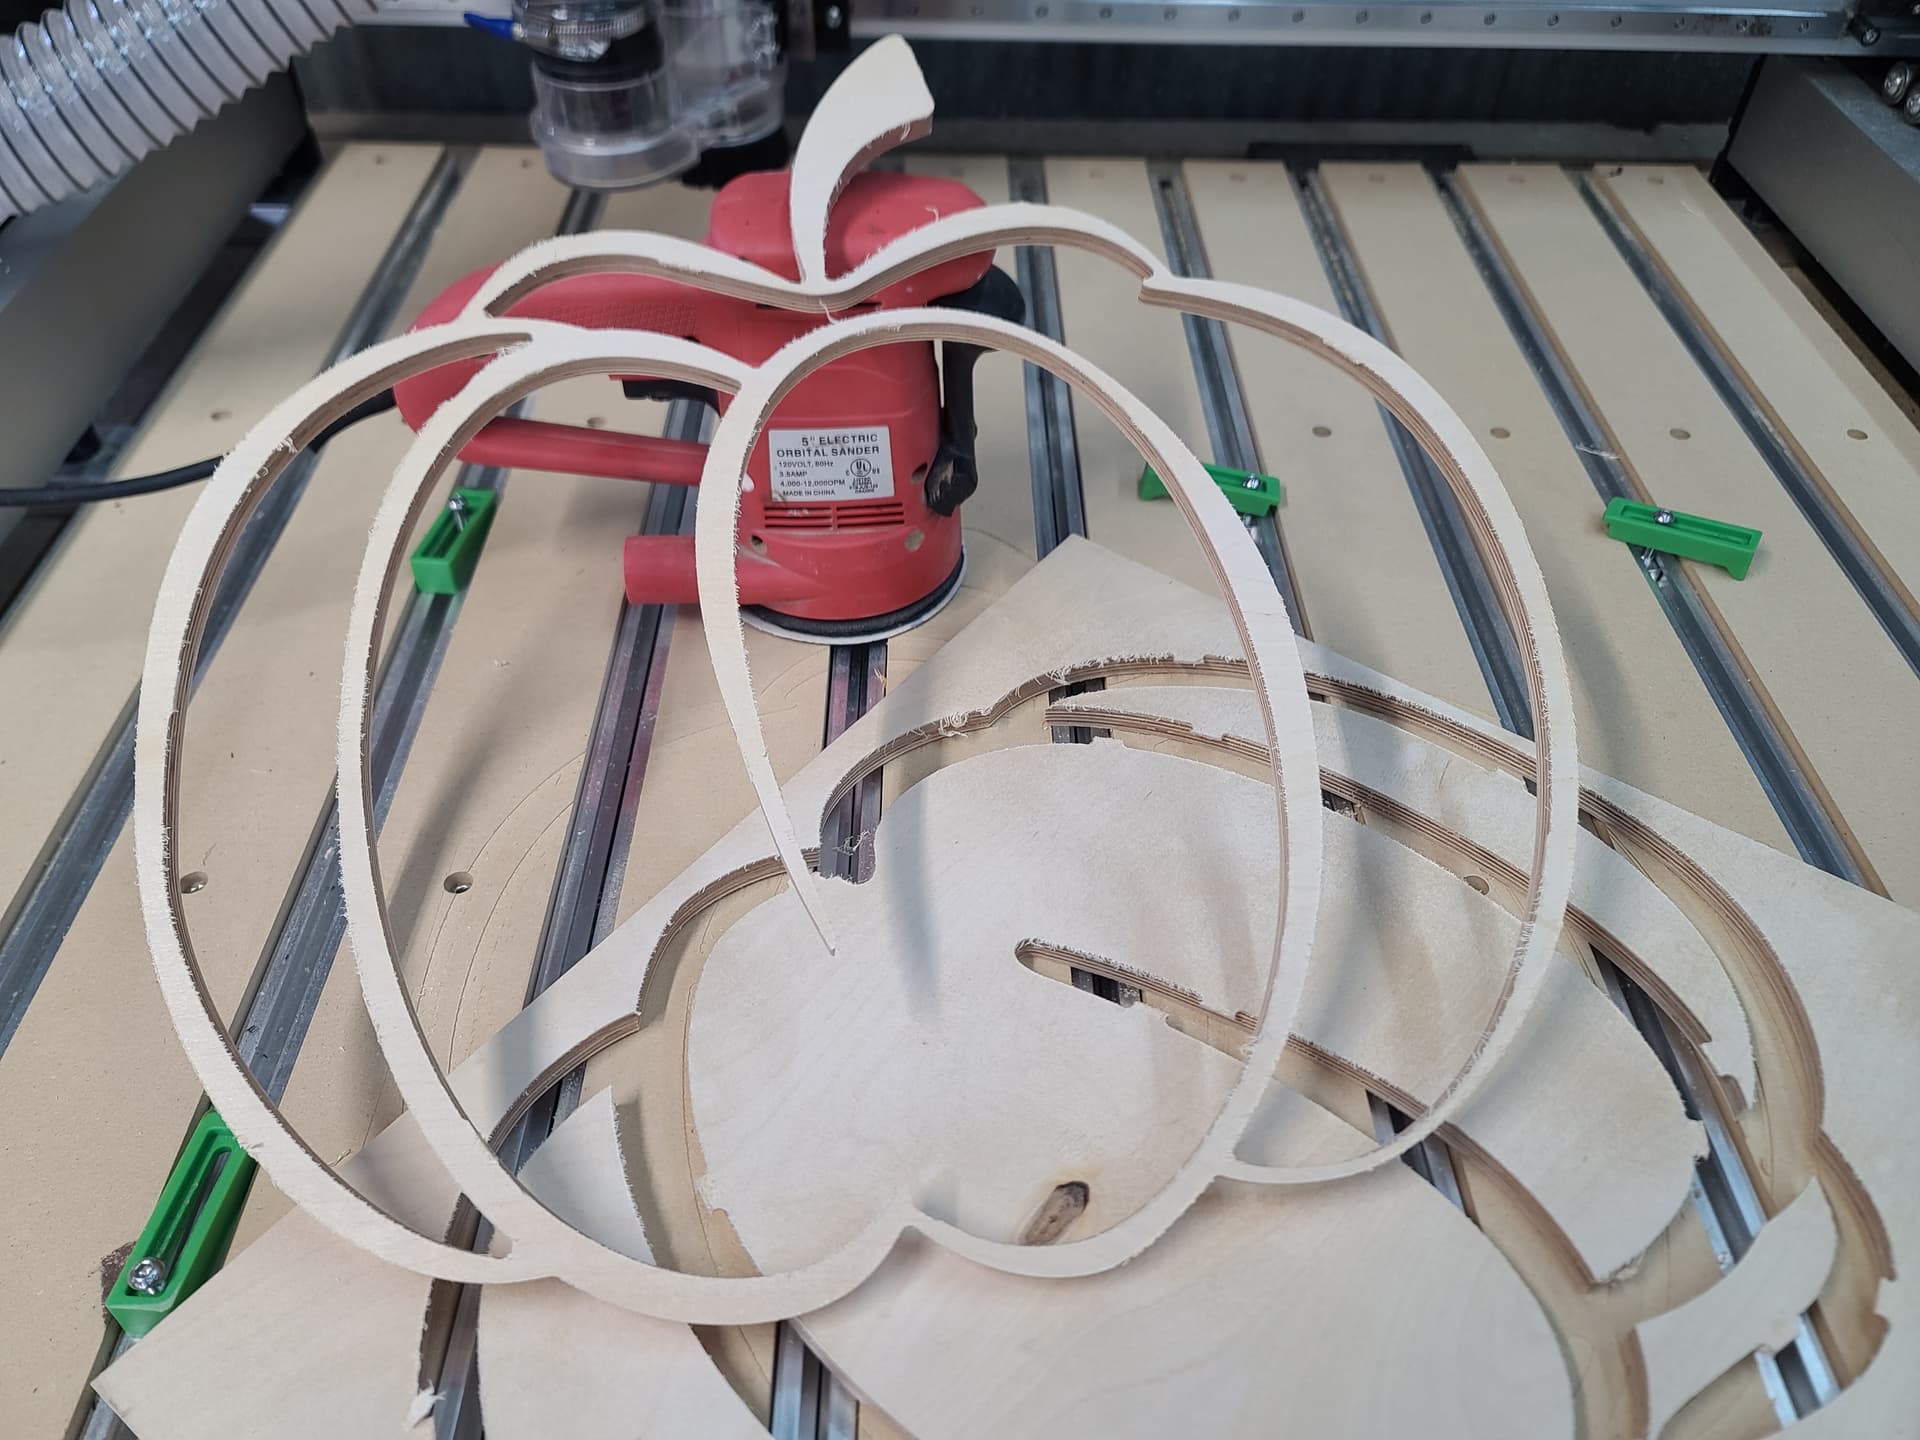
My wife and my mother in law have started putting out their fall decorations. I wanted to make something simple that they would both like. I have been looking for little simple projects to do for them that will get them to ask for other projects. I usually have a stack of the 20x20 Russian birch plywood panels from Menards for little projects like this. It is a simple and quick pumpkin cutout that can be decorated however you want.
Look up mooning monkey Aloha tattoo for a another adult wine rack. I couldn’t believe my buddy got one on his leg. I won’t link it for obvious reasons.
I’ve been wanting to try out metal cutting for a while, but it’s pretty intimidating — a lot less forgiving than what I’ve tried before (wood, foam board, and plastic).
I decided to start out by carving some coins. At first I wasn’t sure if it was legal, but as far as I can tell, it’s only illegal to modify US coins to look like other currency — turning them into non-currency is fine.
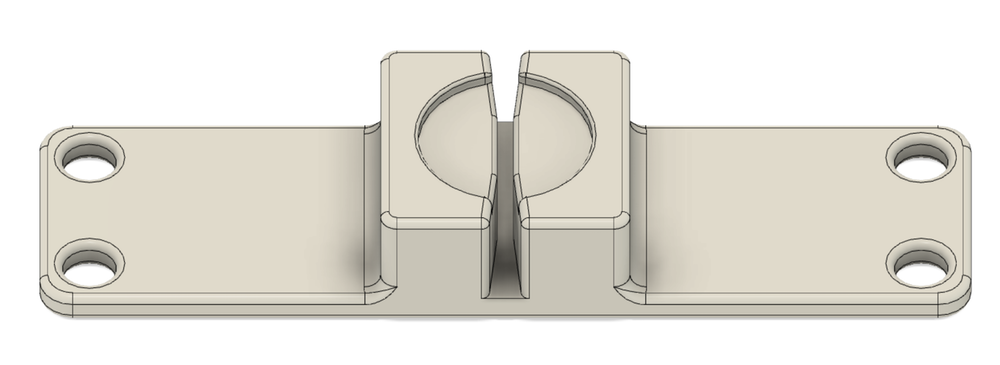
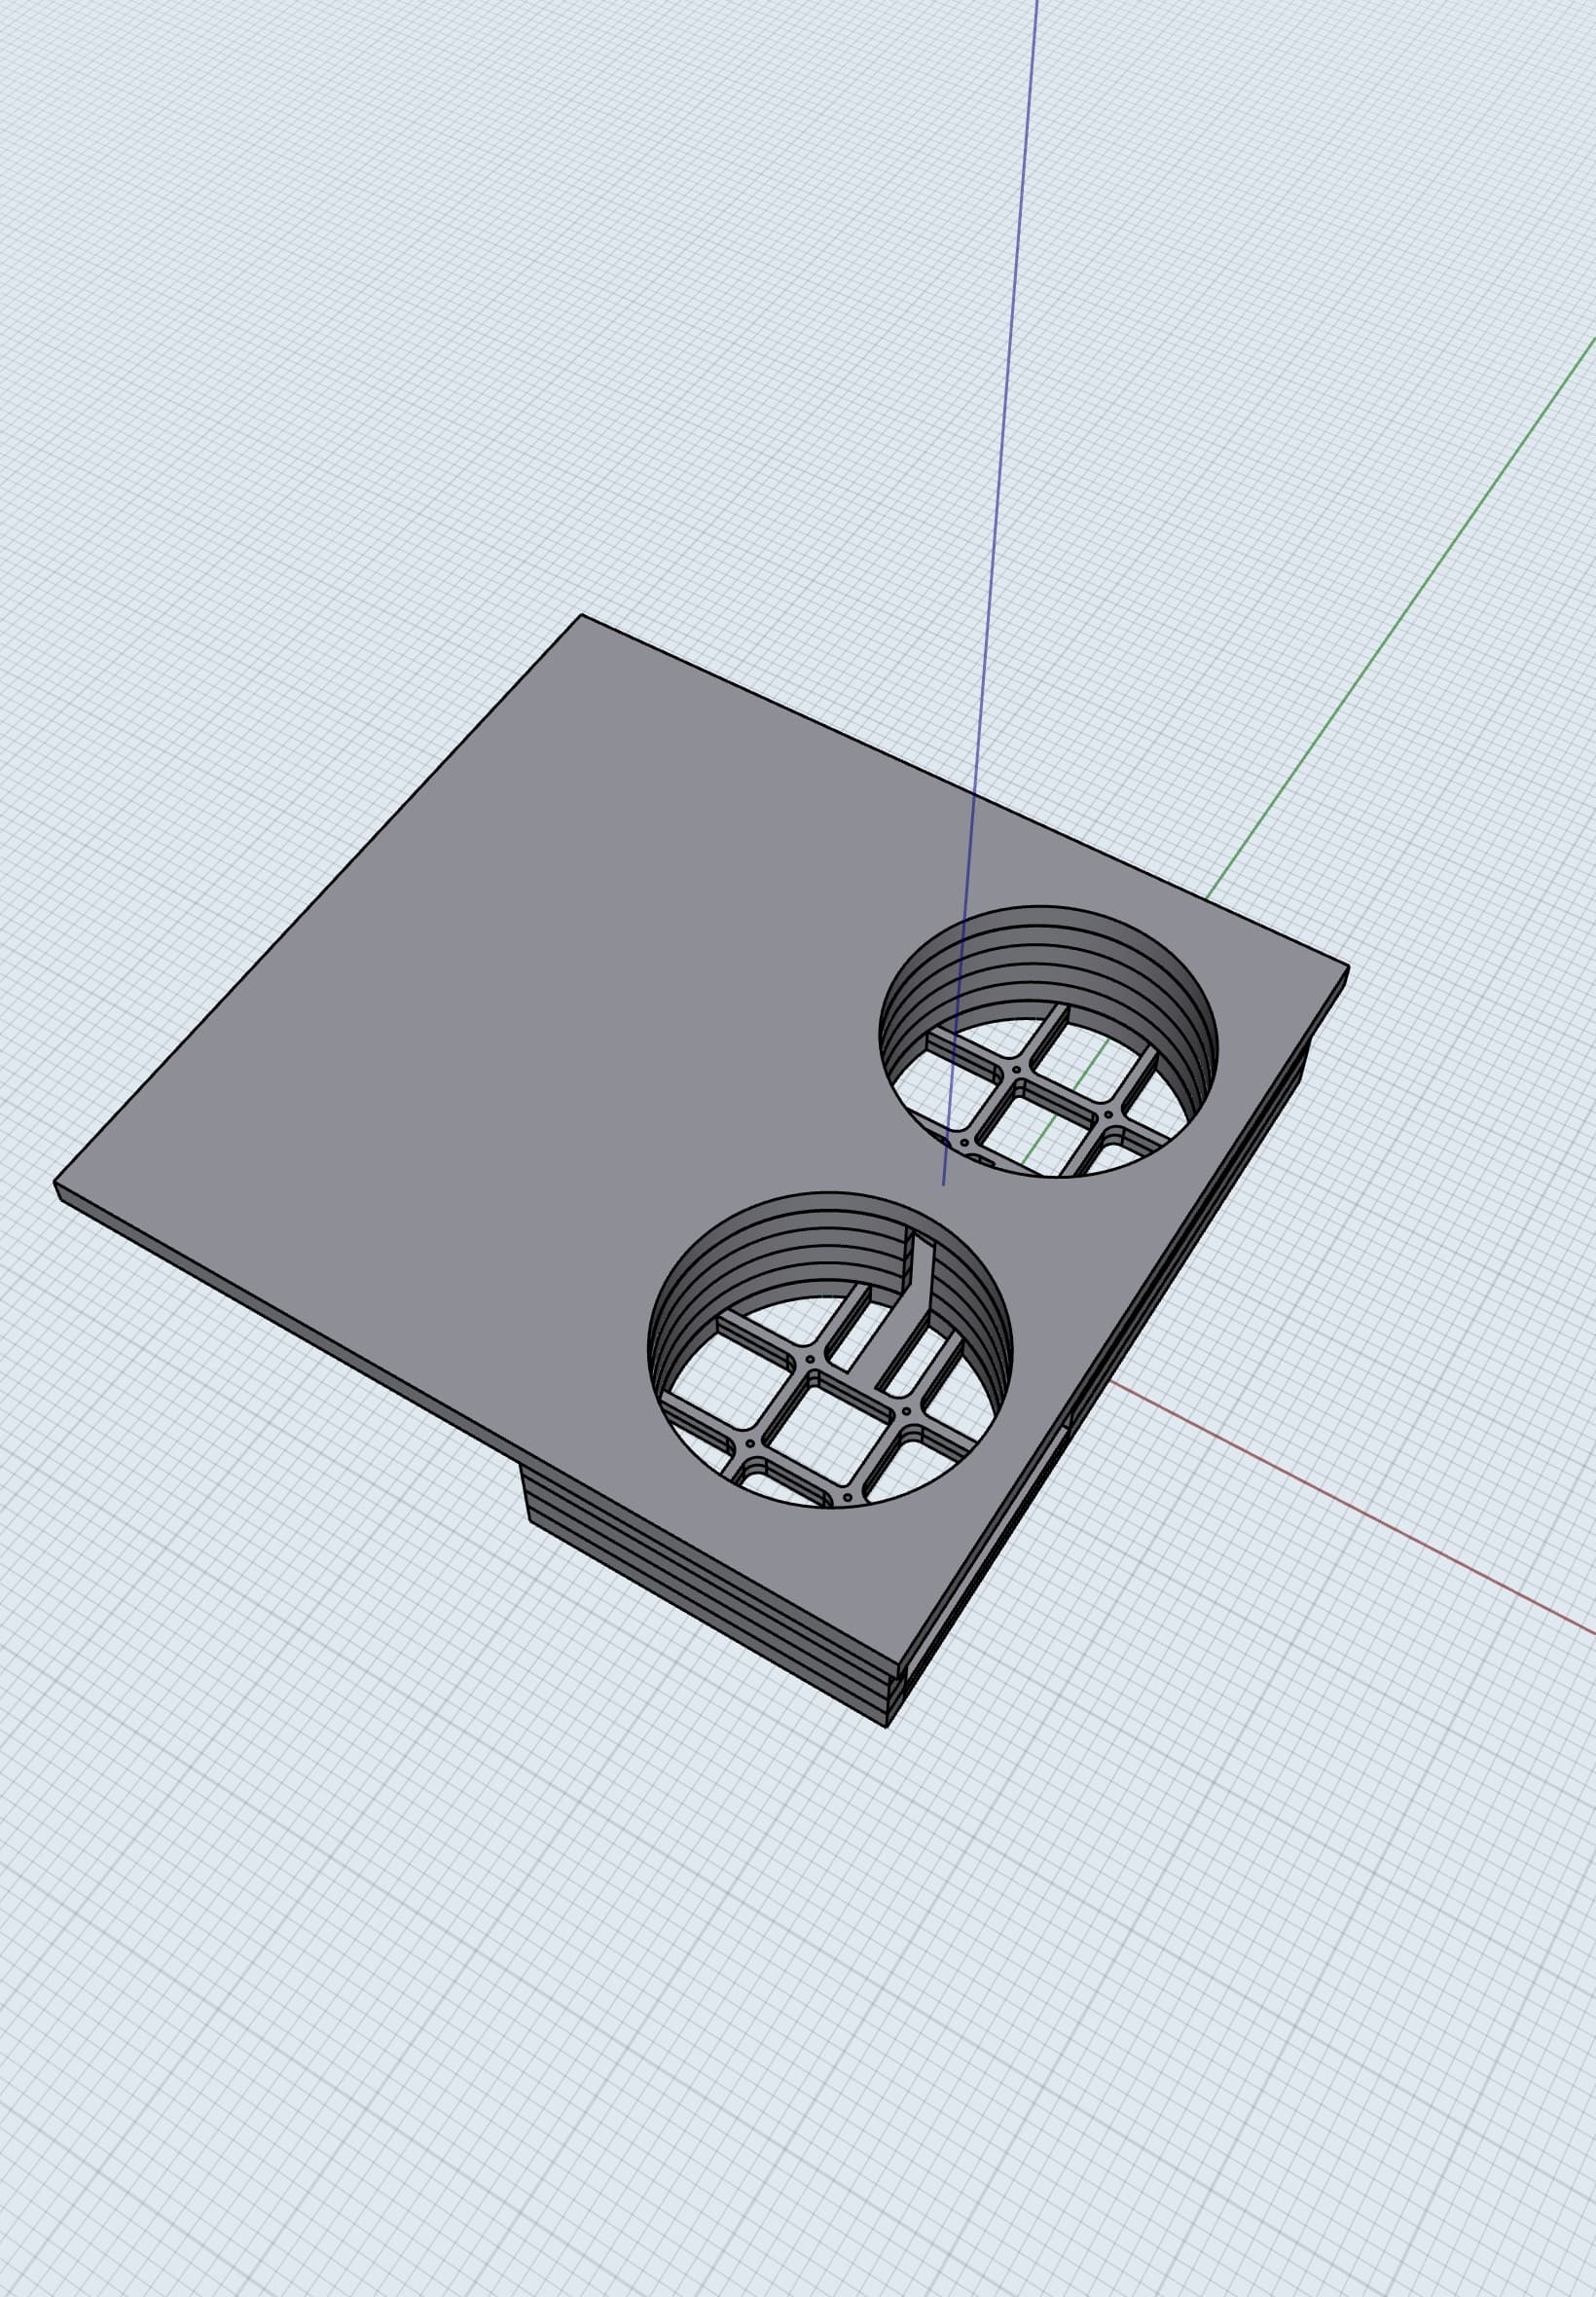
I’m using nickels, because they’re thicker than any other common us coin. I took inspiration from this post for a coin vise: Work Holding Solutions: The Soft Vise for Engraving.
I modeled the vise in Fusion 360, with the diameter of the coin area slightly smaller than a nickel. That way I could use a flathead screwdriver to wedge open the gap, place the nickel in, and have it firmly stuck in there.
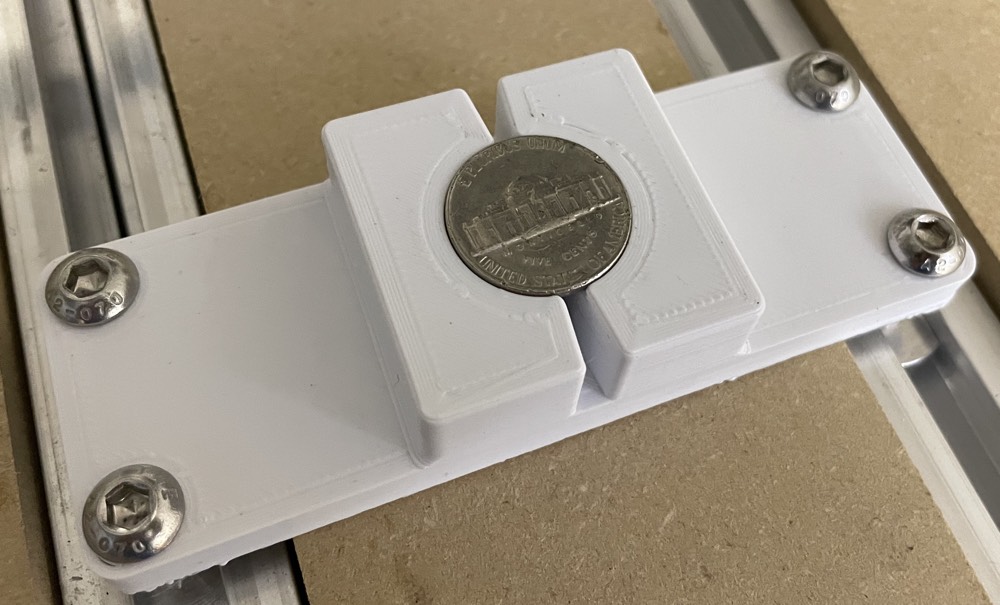
After a few prints to dial in the dimensions, I mounted it to the hybrid table on my Shapeoko Pro.
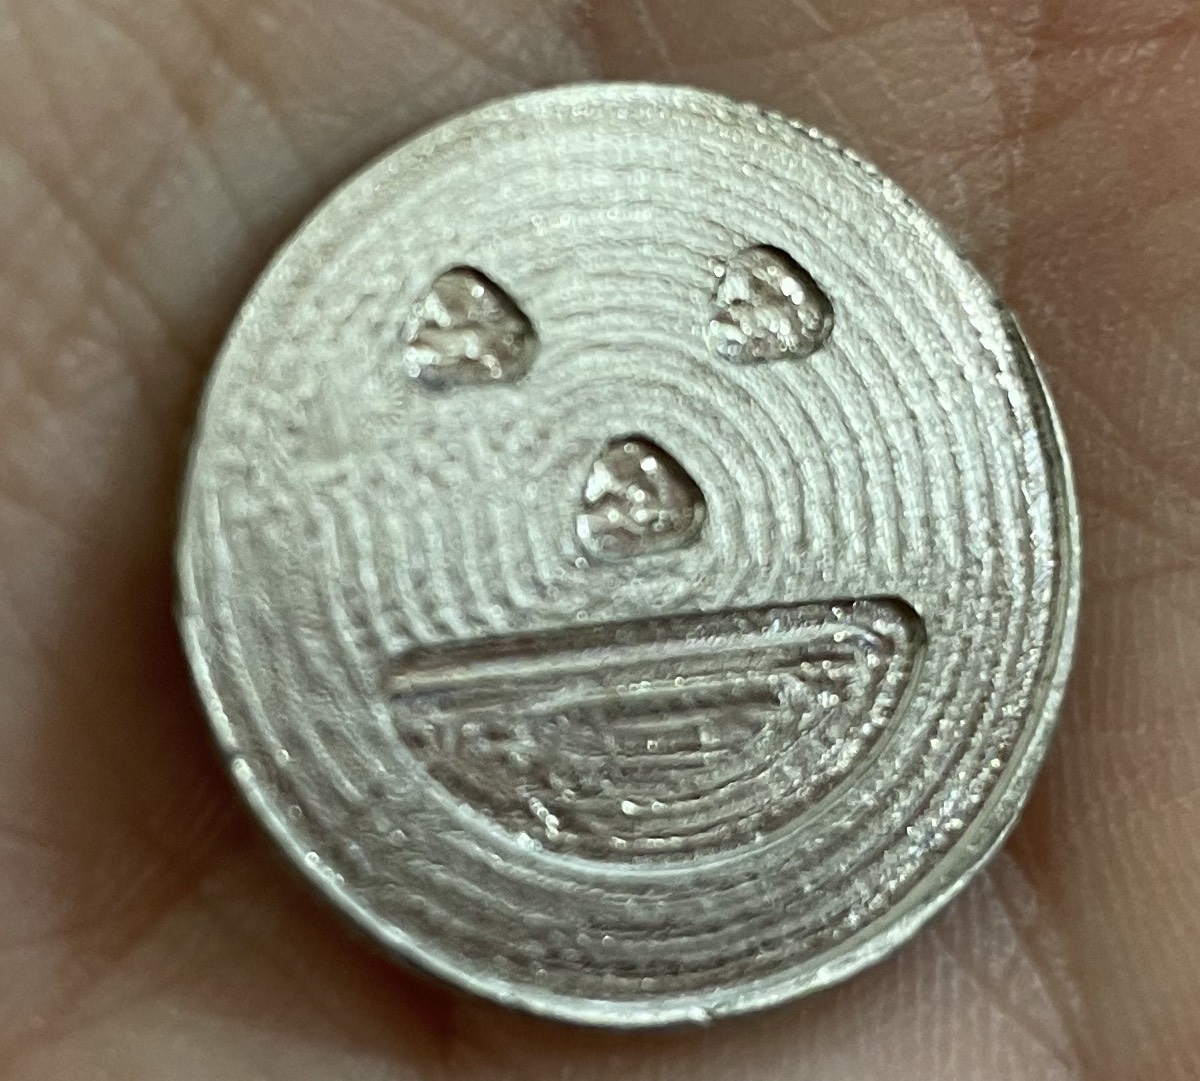
For this proof of concept, I wanted a simple design, and Halloween_JackOLanterns_1 from Design Elements was perfect. I used the default feeds and speeds for Aluminum in Carbide Create to face and pocket the design.
I screwed up the zeroing on the first try, but the second try went really well 
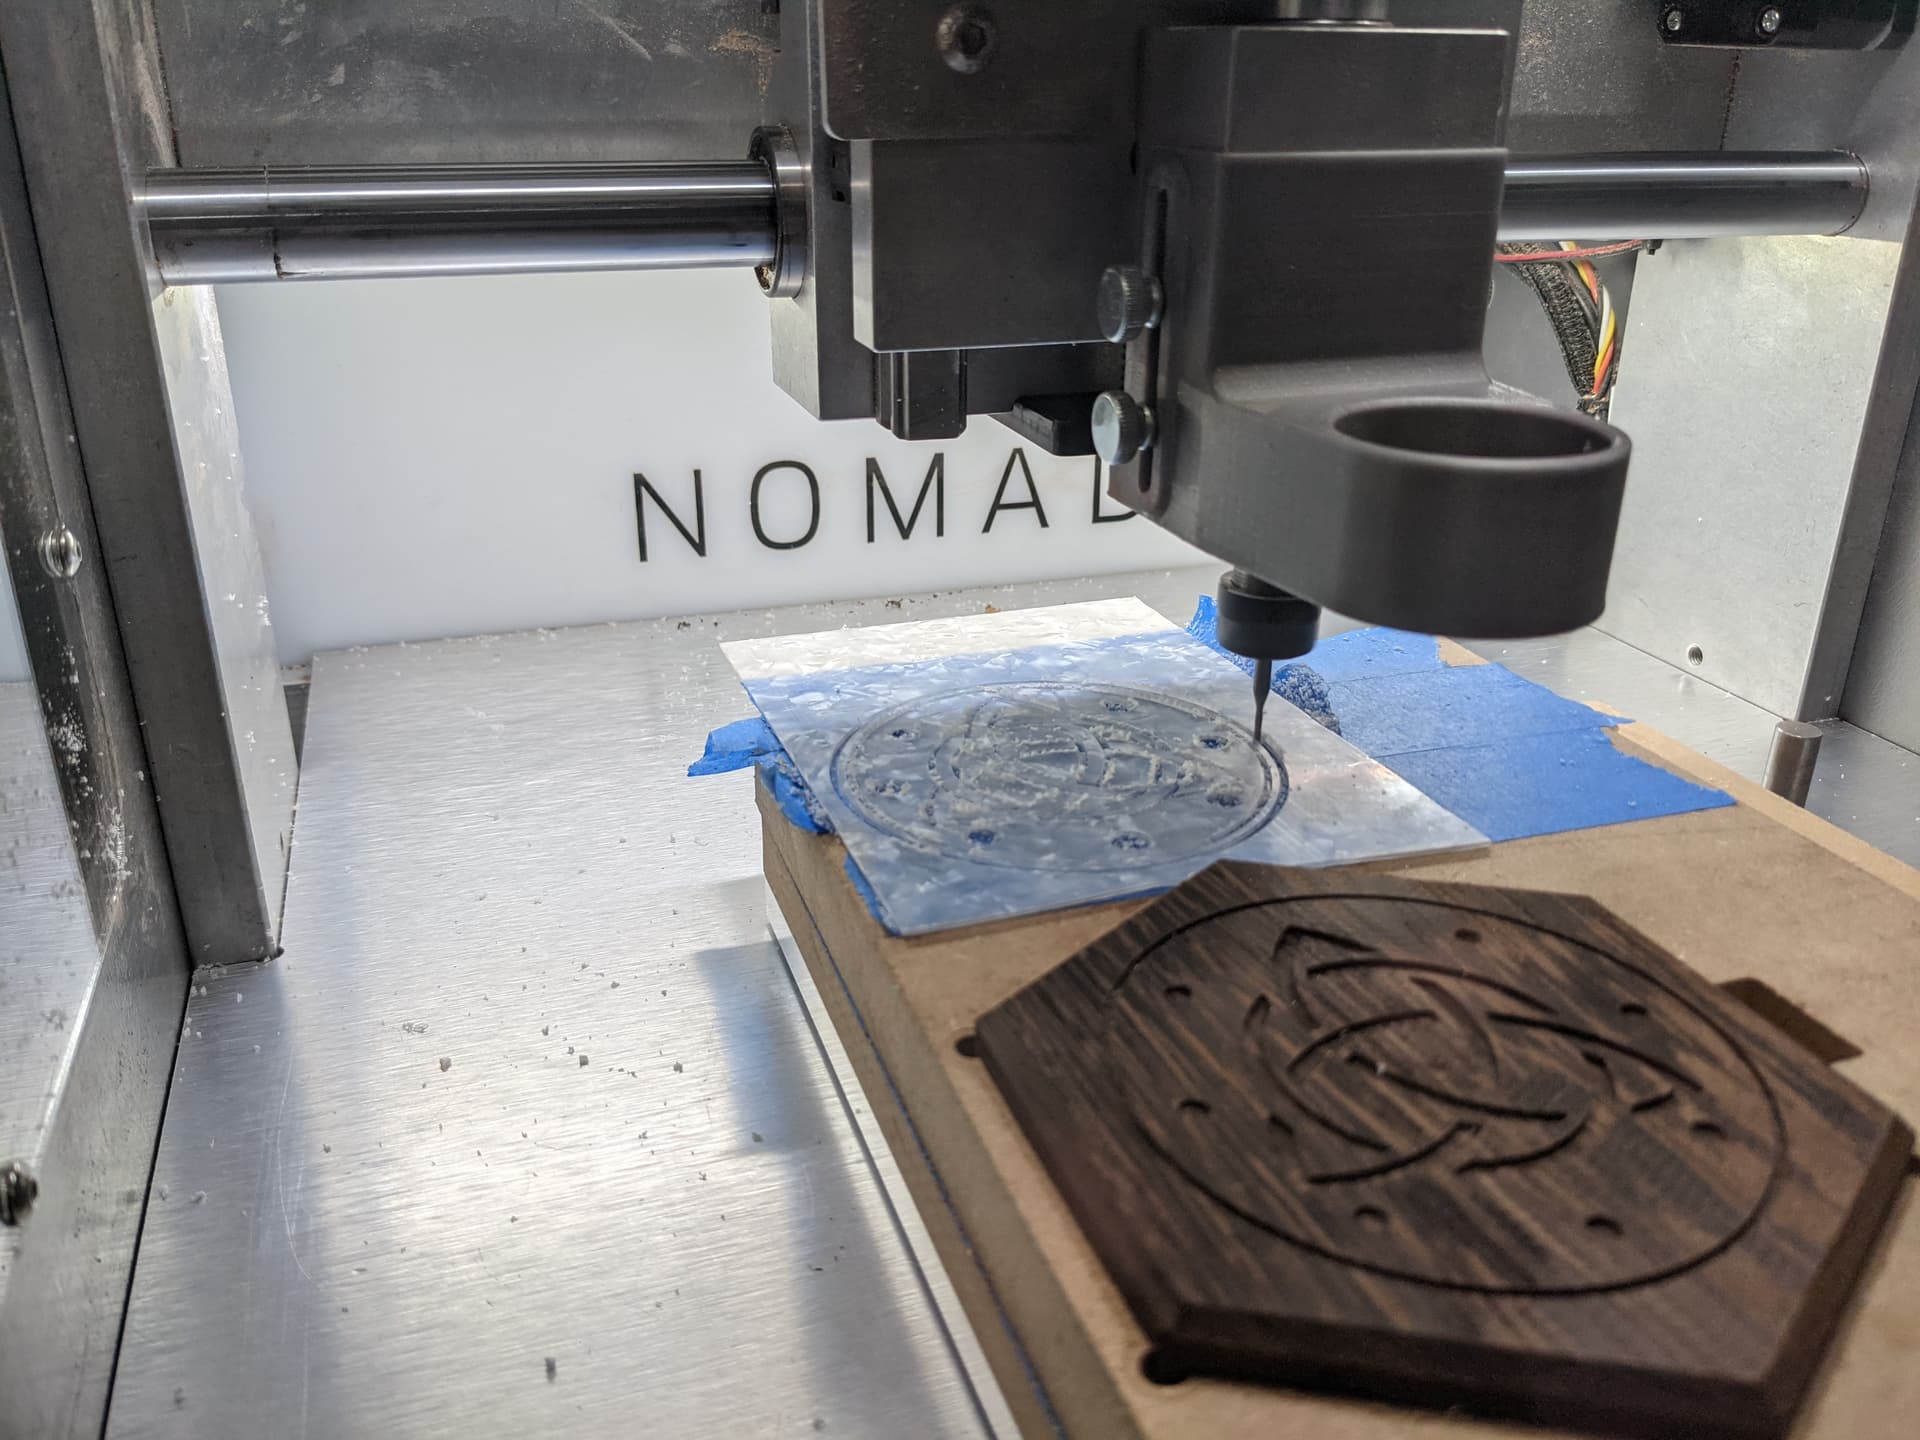
With that success under my belt, I wanted to try something more complicated. I moved over to Fusion 360, and pulled the center design out of Celtic_Shield_2 in Design elements. I started by pocketing the flat areas with the 1/16" flat end mill I used on the first design, then moved to a 1/32" ball end mill for the details. The simulations were looking great:
However, in trying to dial in the feeds and speeds in Fusion, I actually broke both of the 1/16" end mills I had, so that design is going to have to wait until I can get new ones delivered 
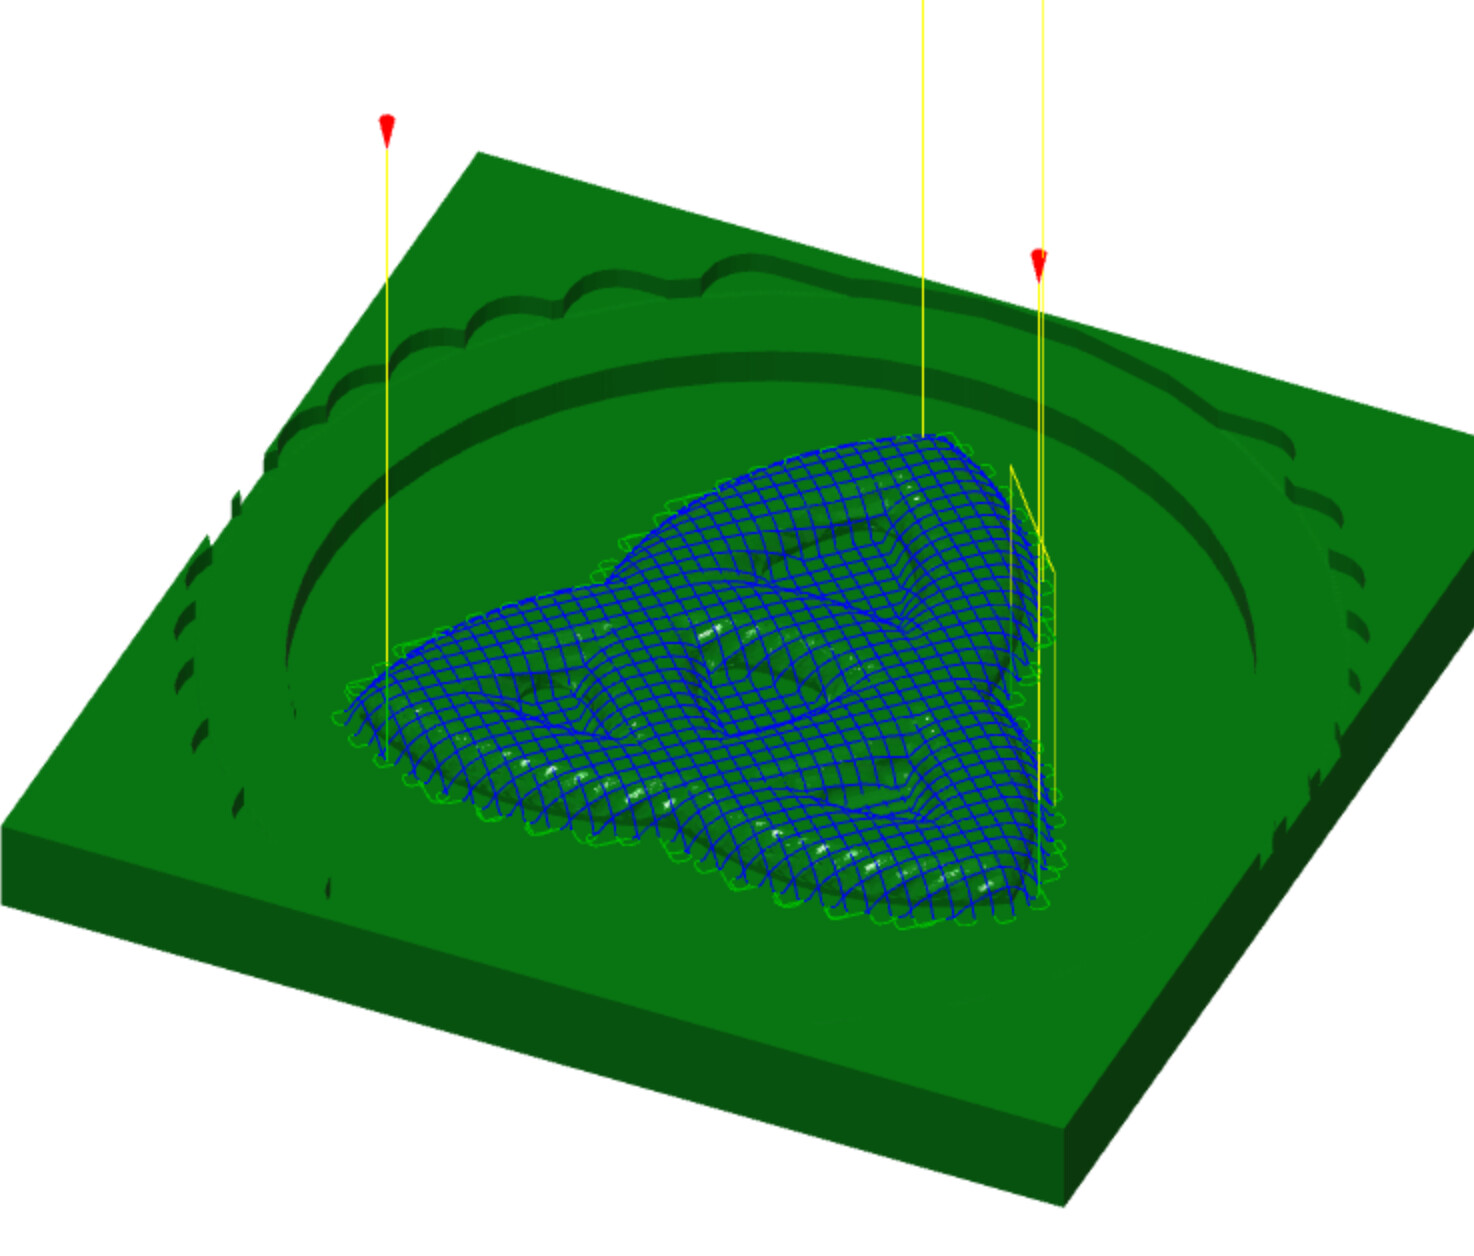
Got mine finished. [Cutrocket link](https://cutrocket.com/p/6147a17087b06/)
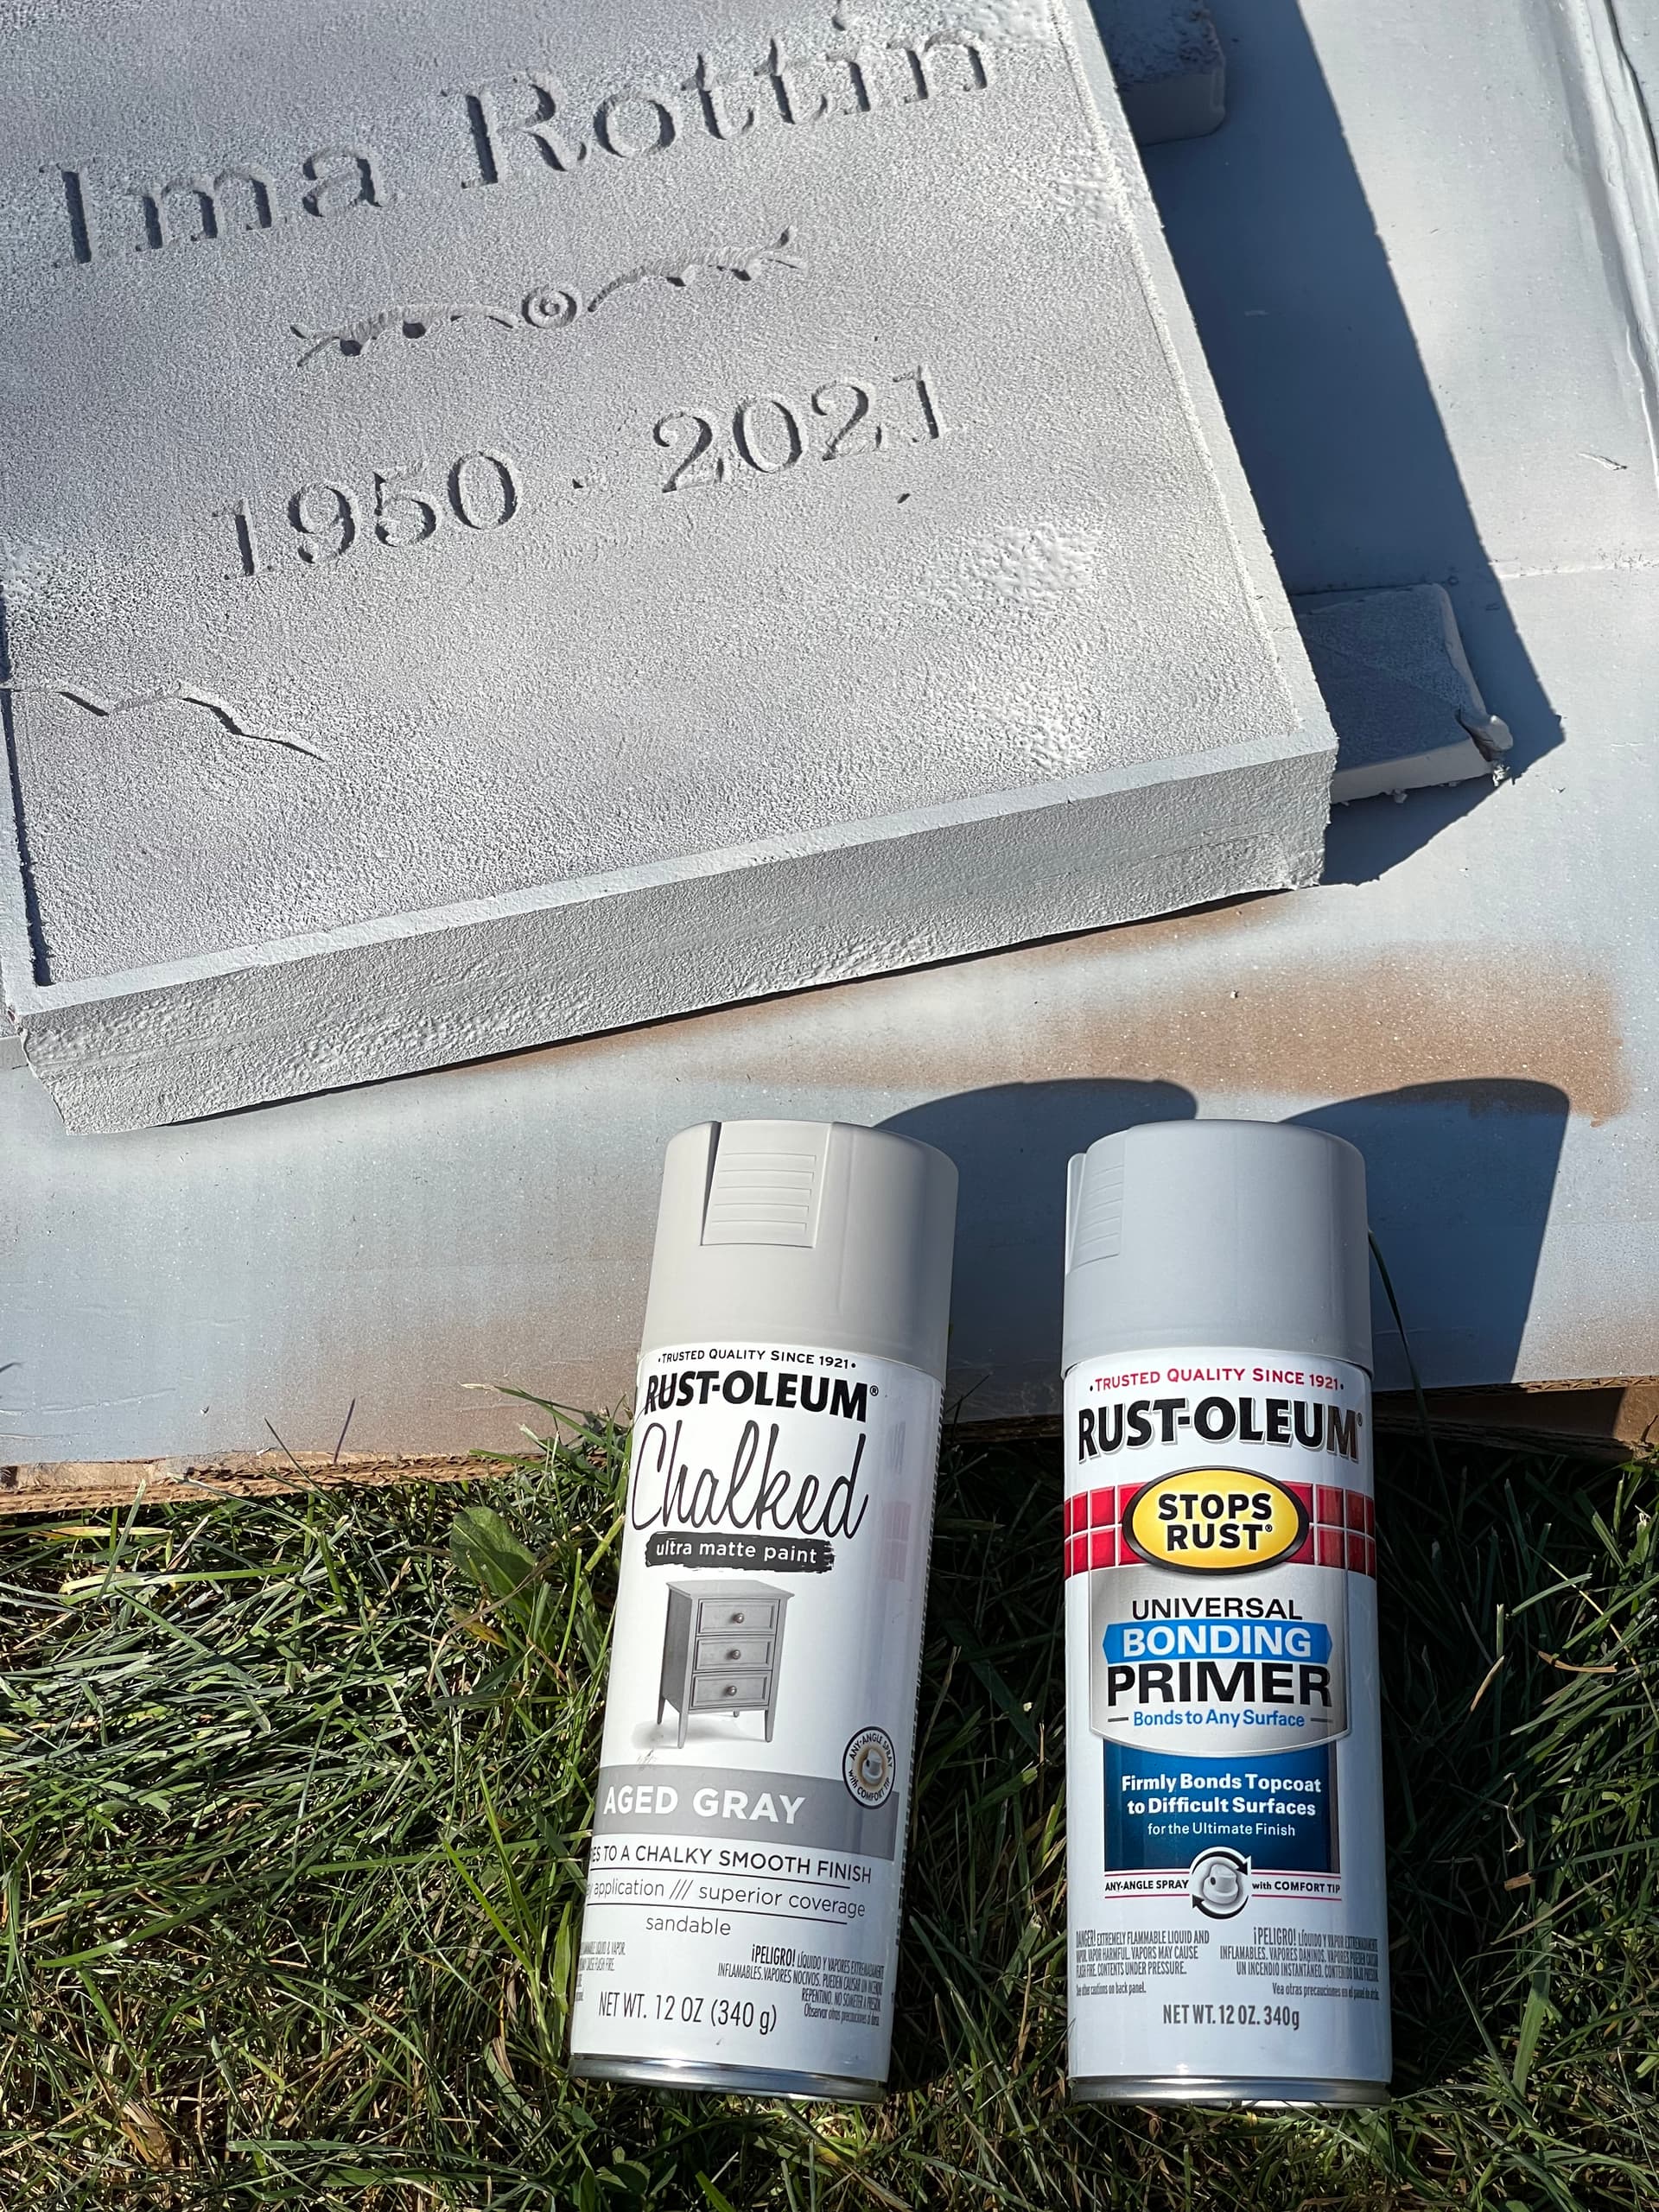
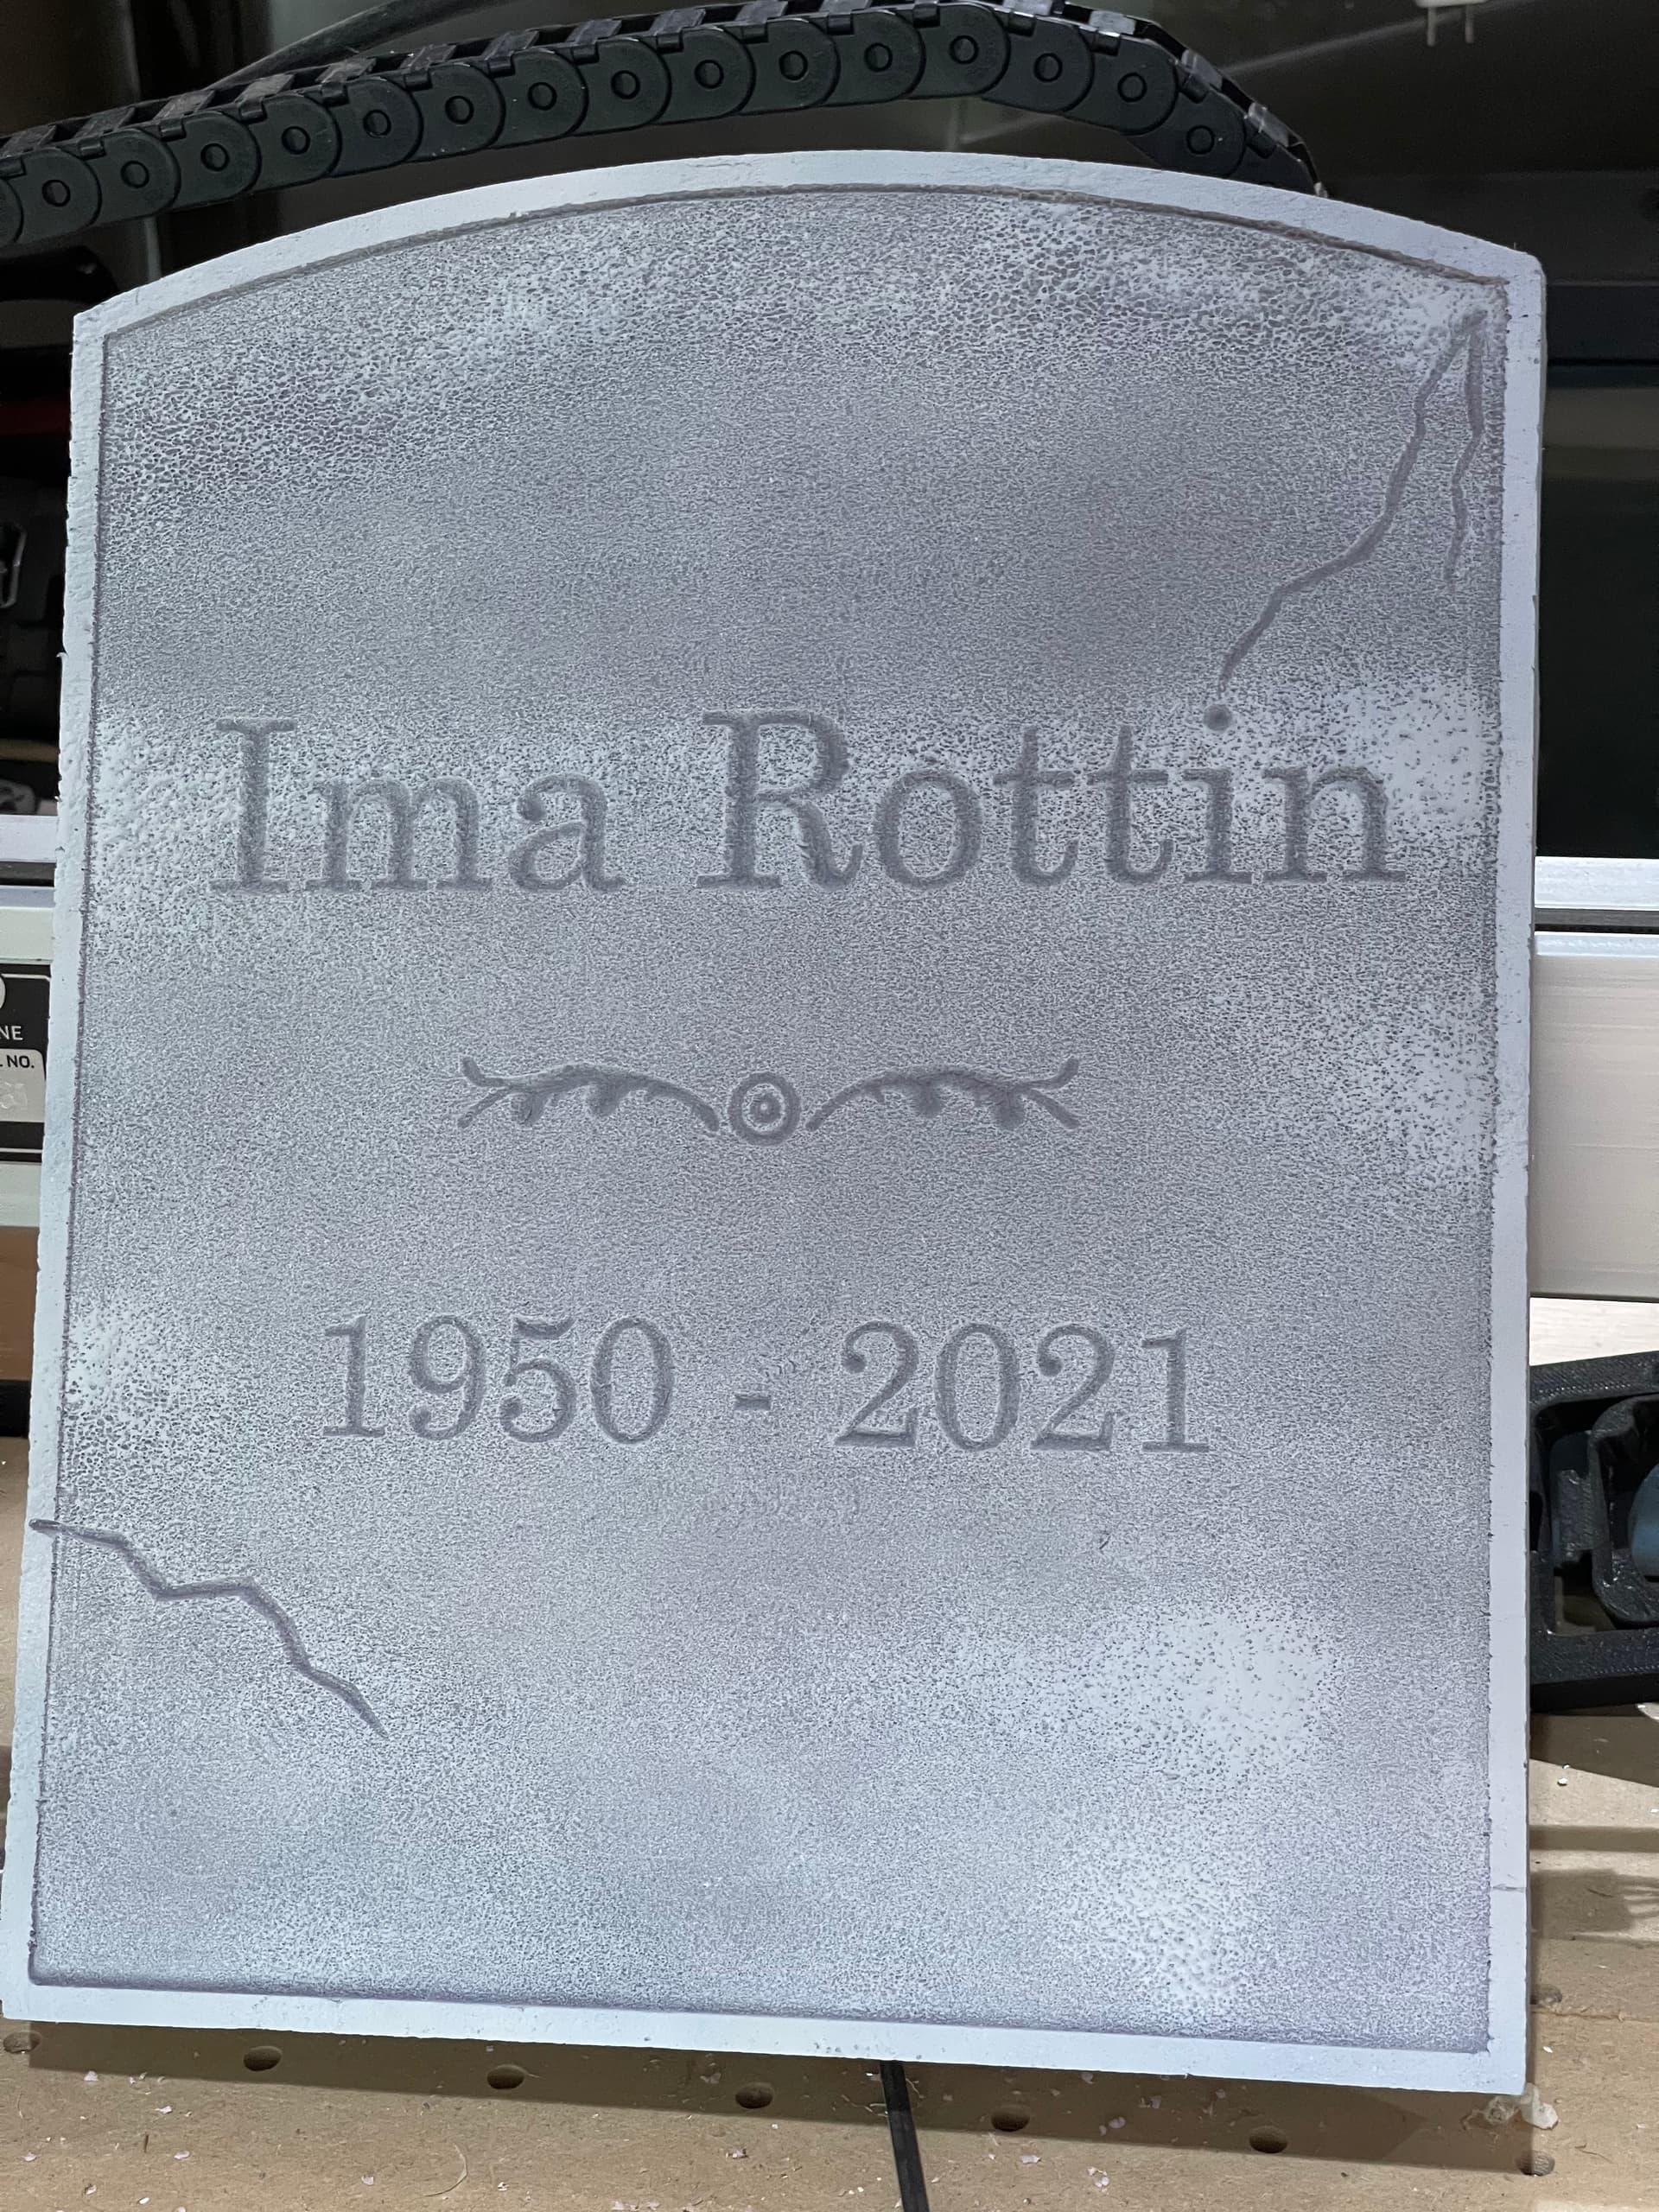
I used the tombstone from the Halloween design elements.
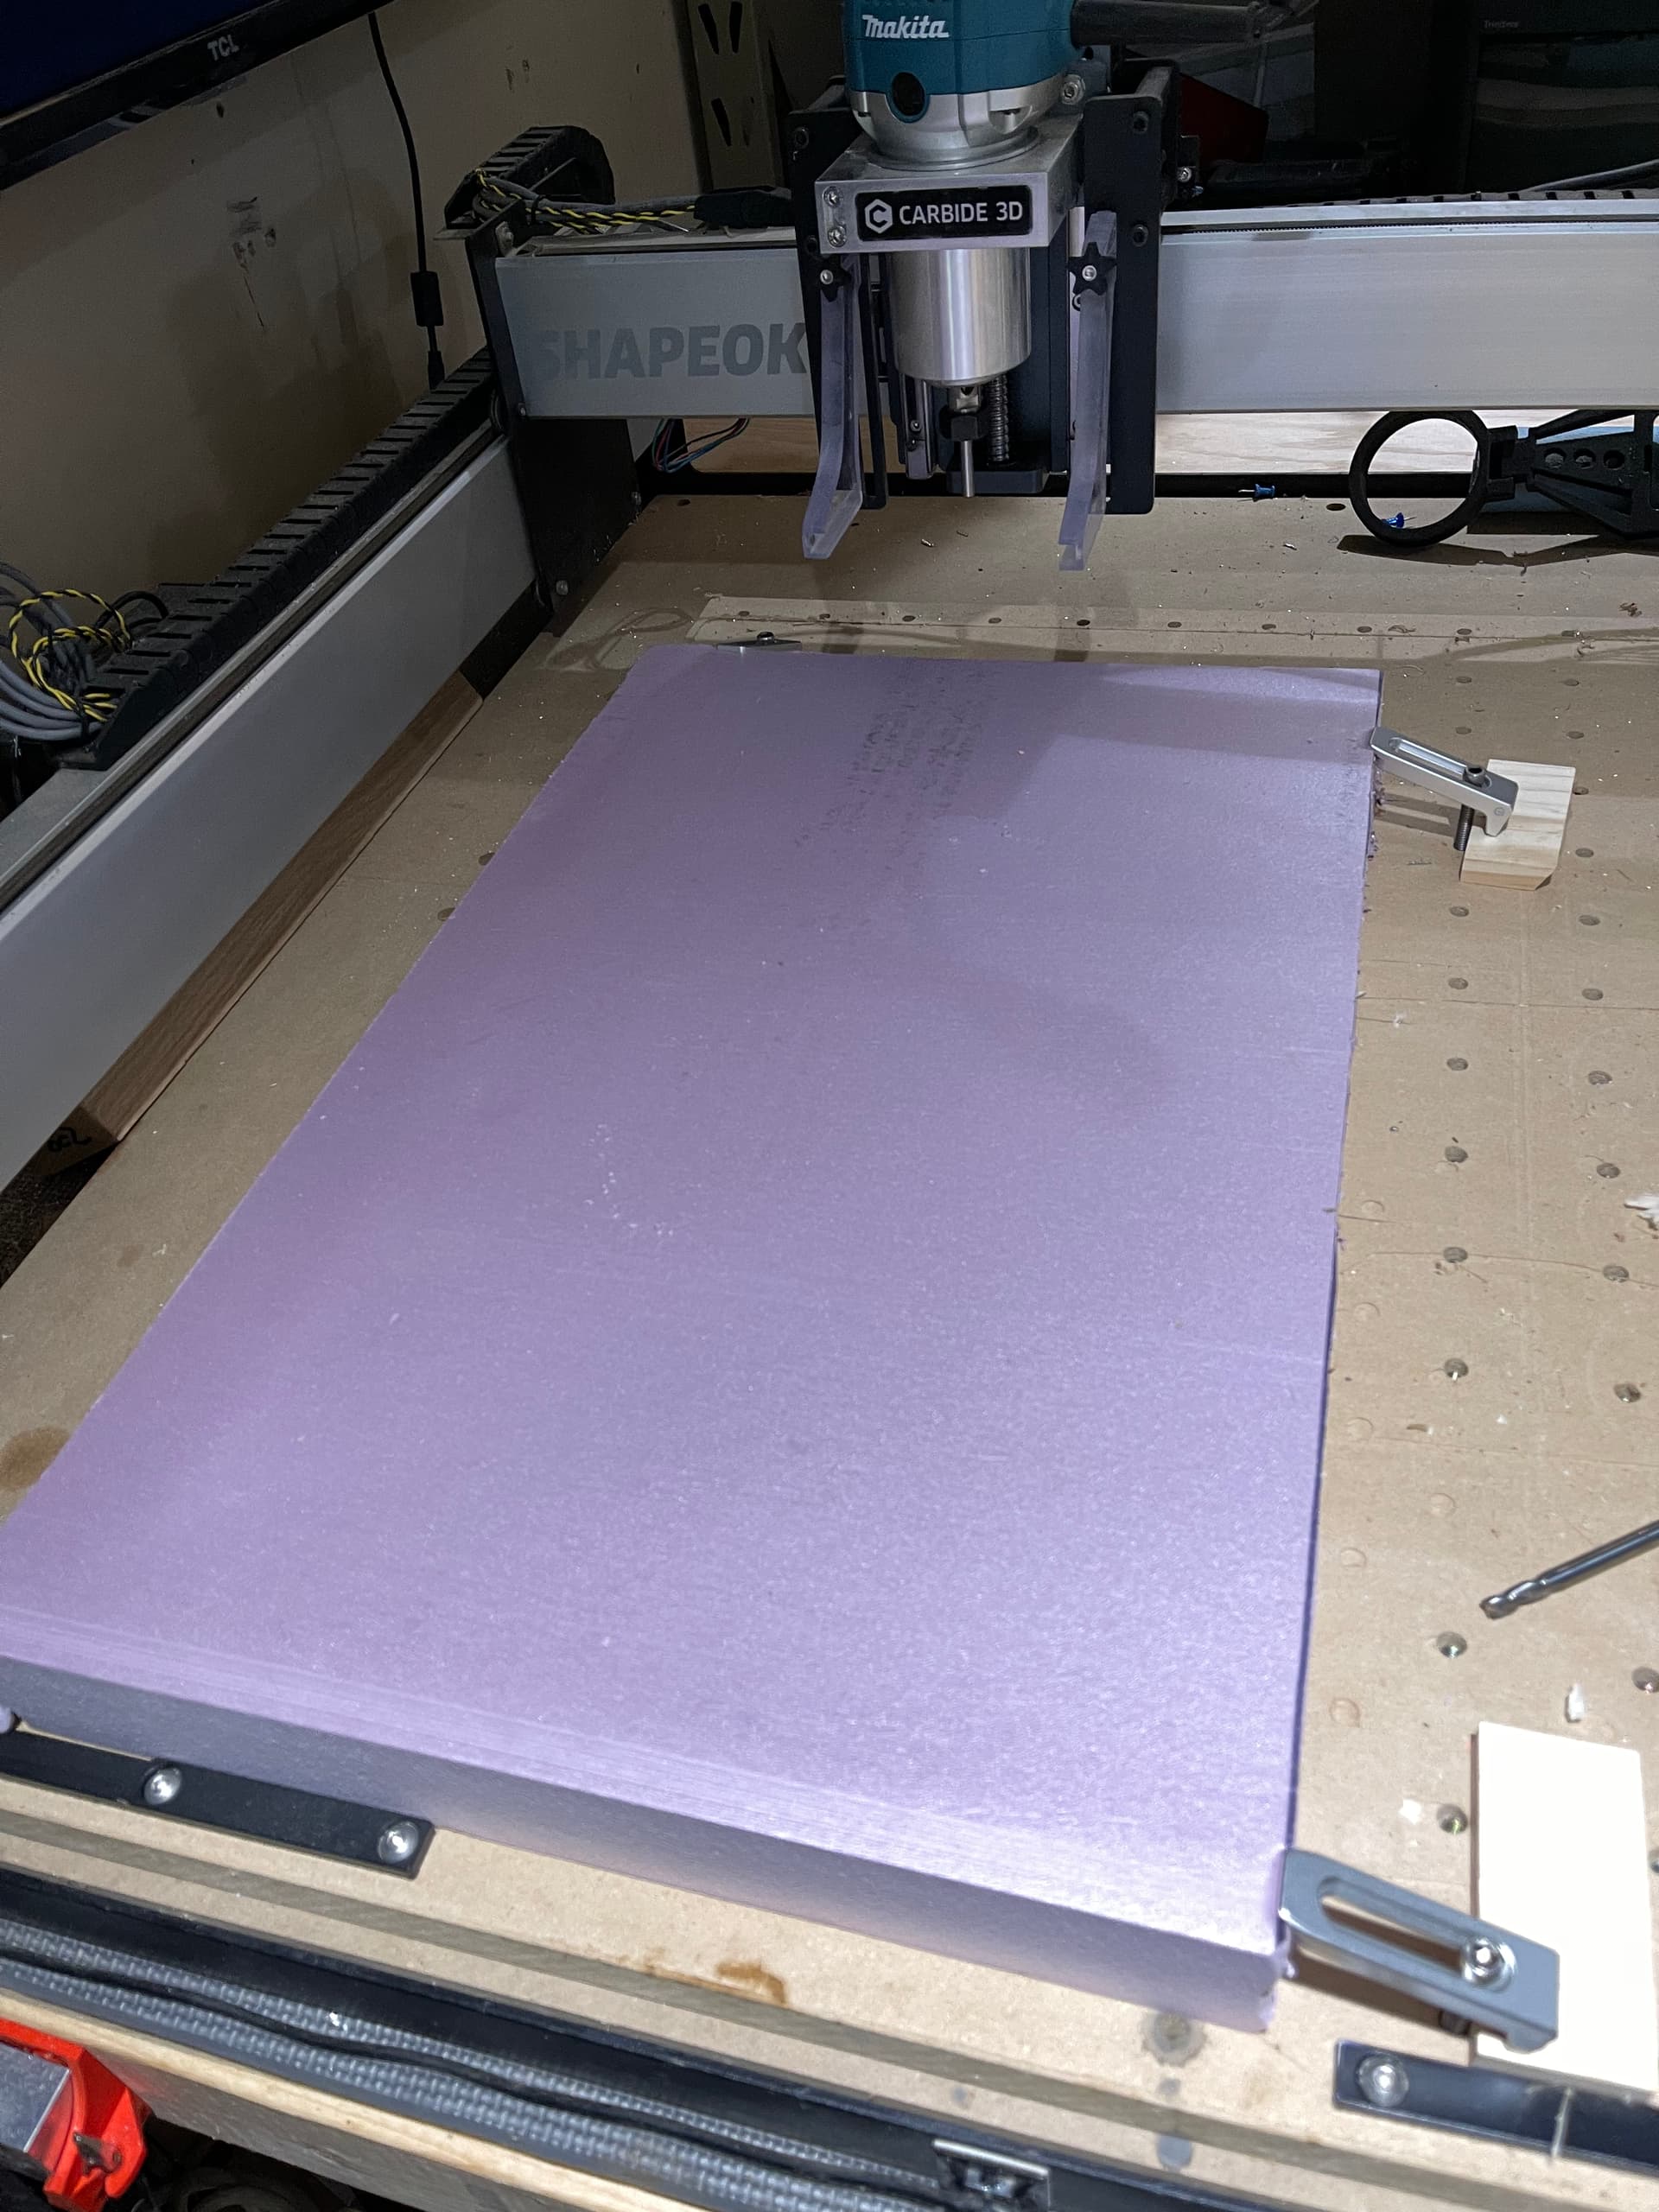
For material I used a 2" thick sheet of Foamular from Menards. It was around 27$ for a 4x8 sheet. The size of the tombstone I made was 12"x15"
The Gator clamps worked great to hold it down. Probably couldve used longer bolts if I had them.
For bits I used
-RC-2243 1" spoilboard to clear out the main recessed in area quicker.
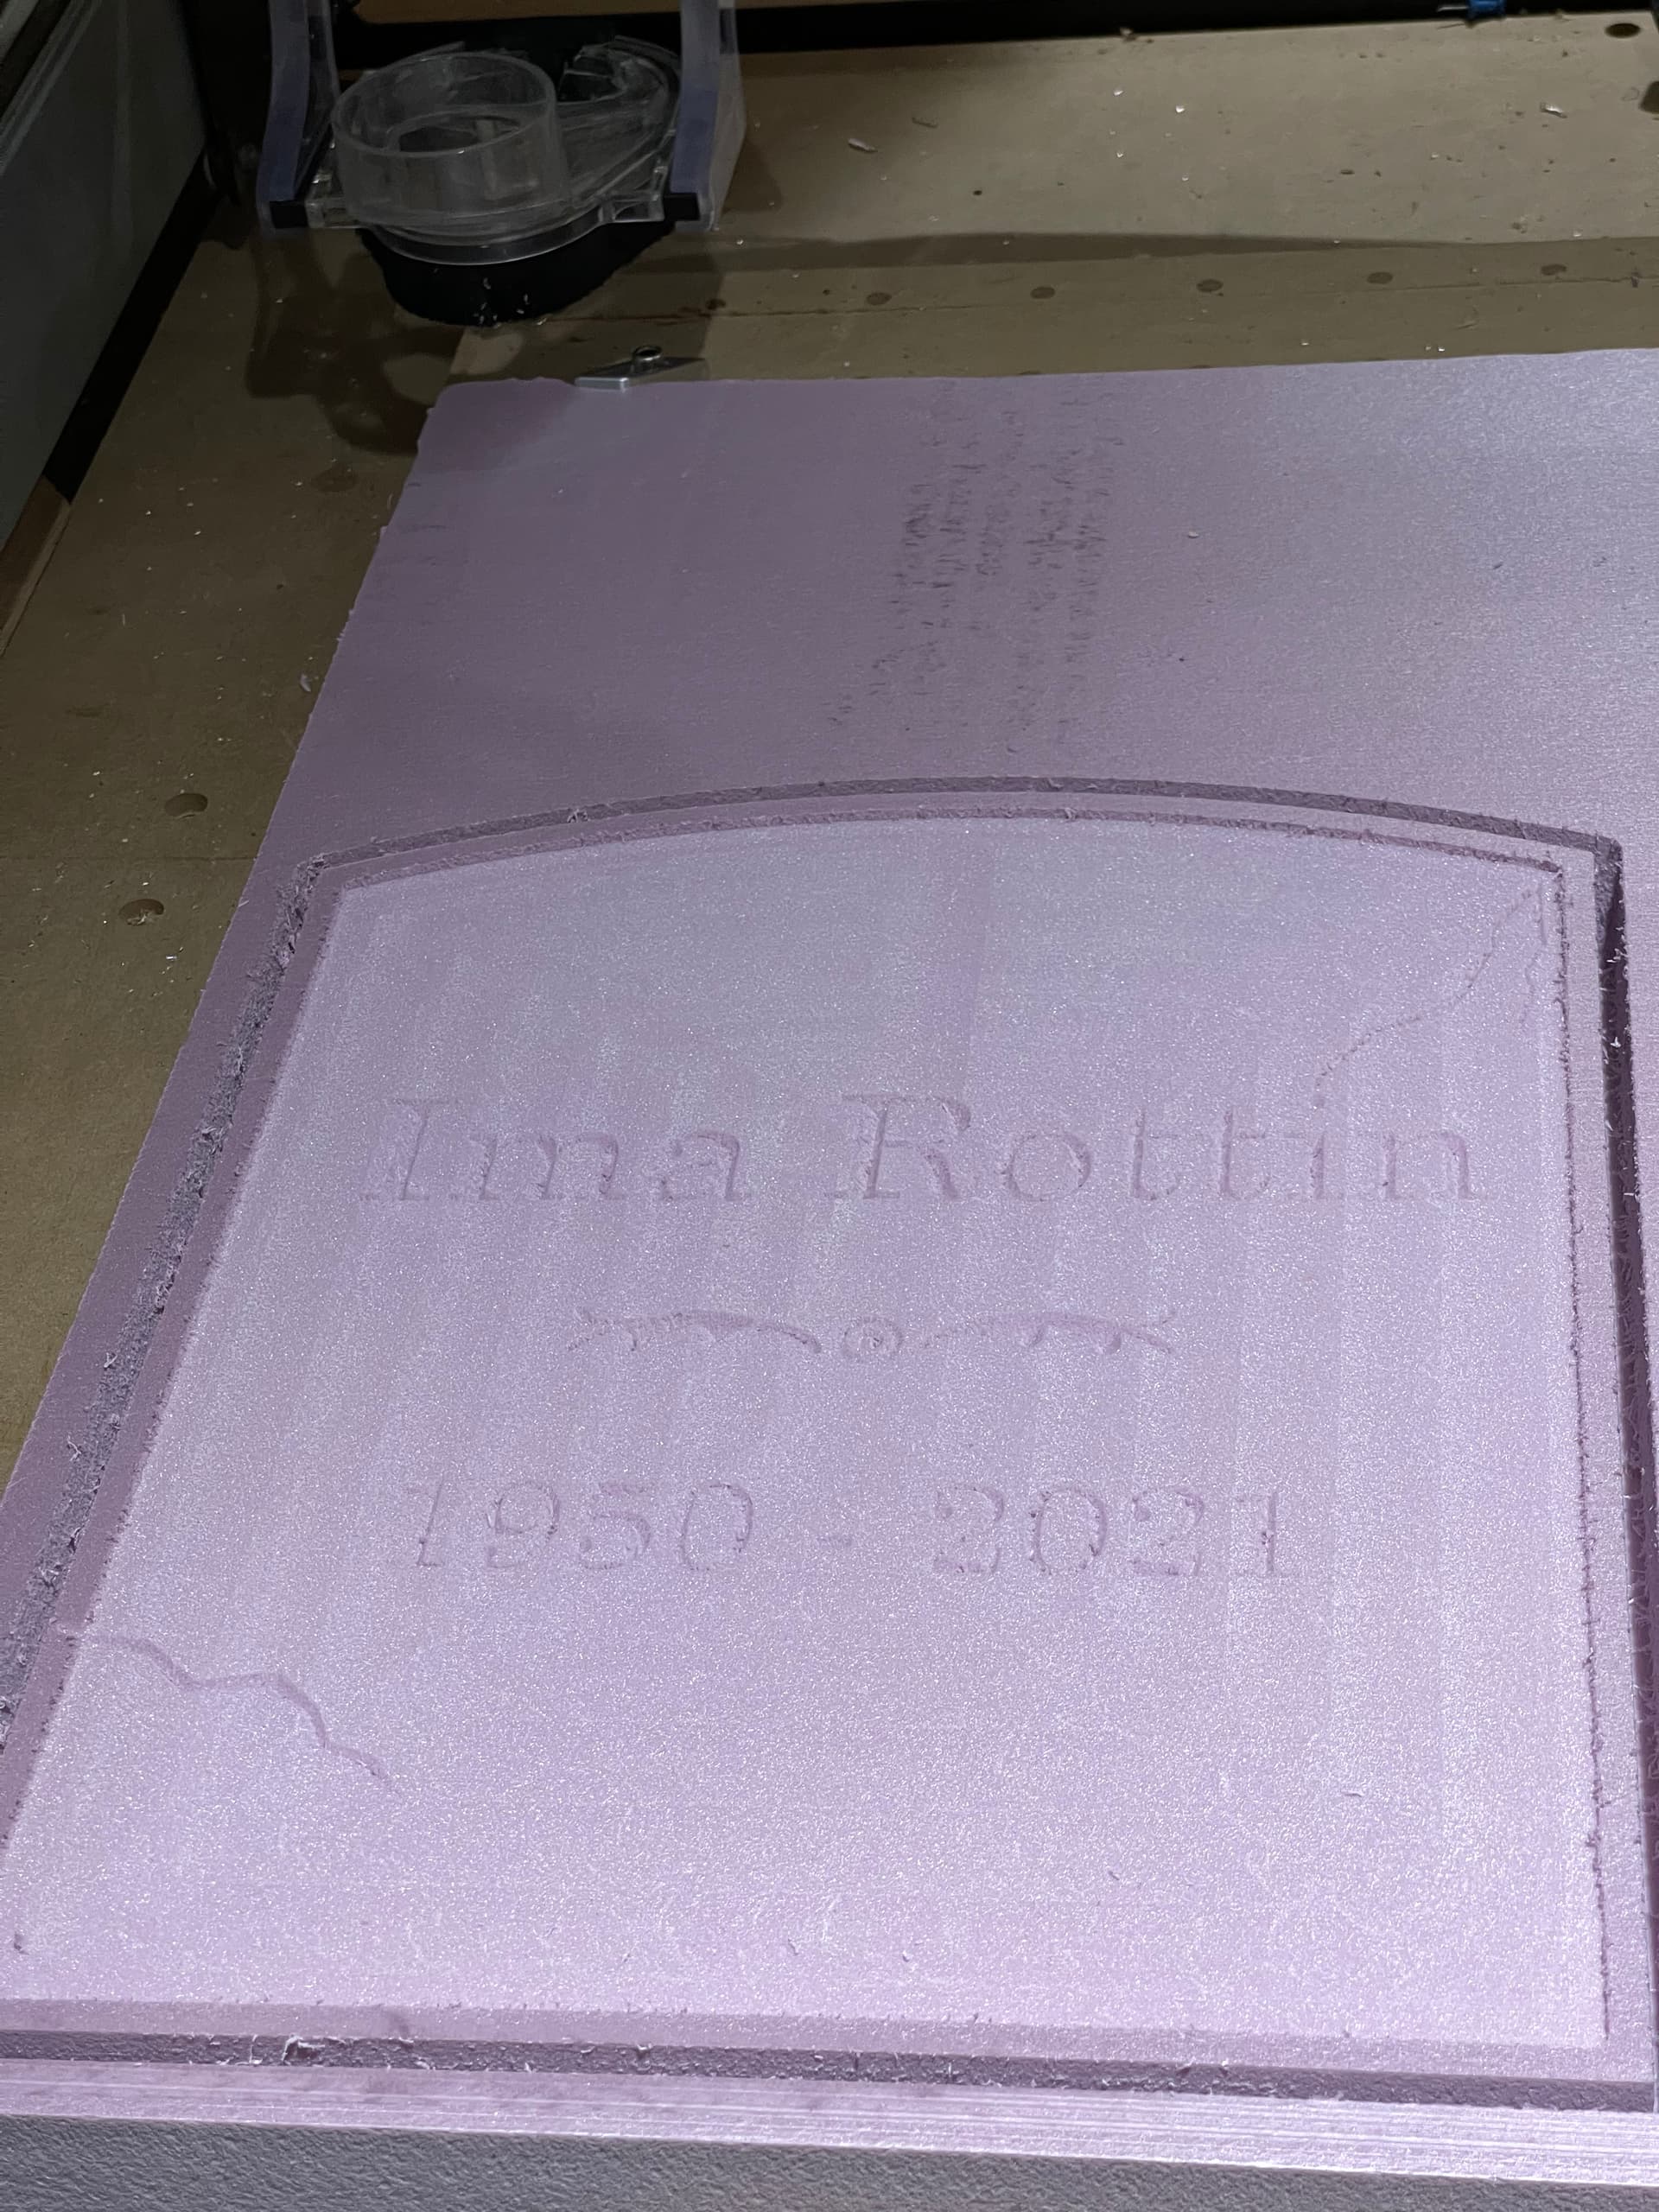
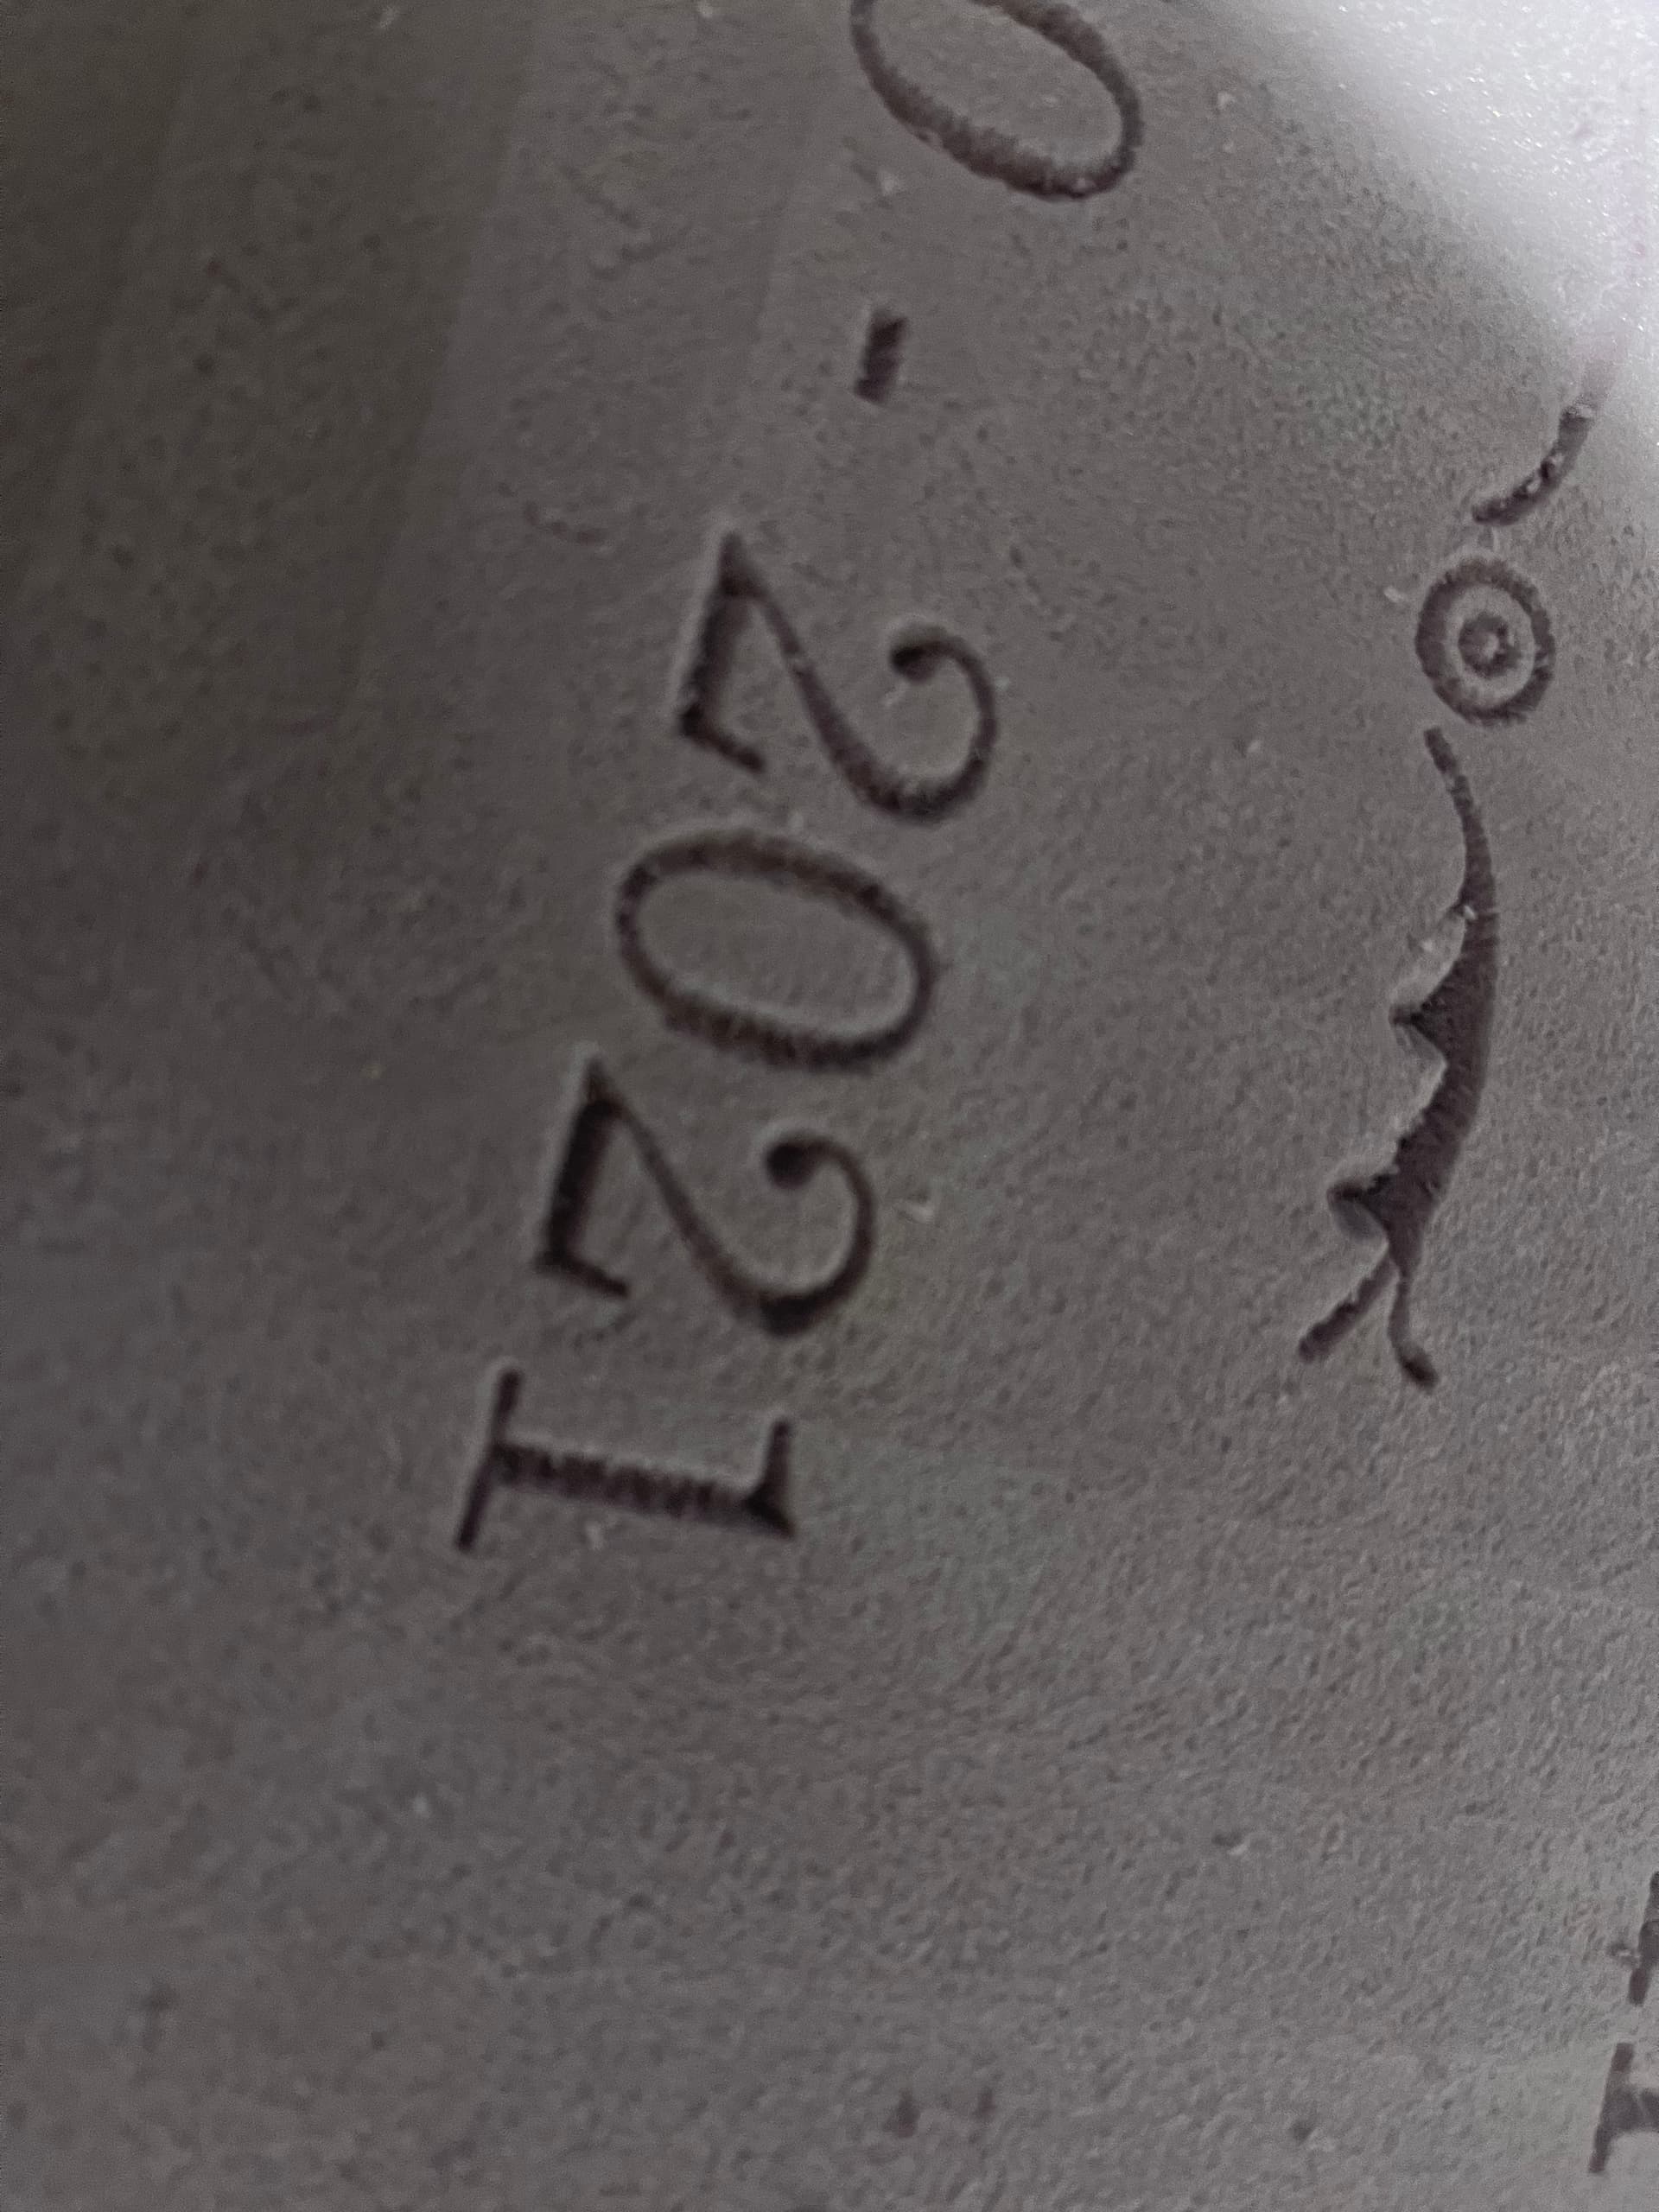
Cut pretty well at 100ipm and the Makita router at lowest setting. The fuzzy’s in the lettering cleaned up good using a toothbrush.
For paints I used. Was limited to what was left in stock at Menards.
Overall I think it came out quite well for my first try. No one will be getting up close and it looks good while standing a few feet away. Now to figure a way to mount to the lawn.
Try a helical plunge and adaptive tool path as nickel is pretty hard and I don’t know if my eyes are tricking me but it looks like the coin starts to lift out of the clamp slightly.
I would just get 2 little pieces of reward from menards. They have little 2 ft pieces. Drive them into the ground about a foot apart and a foot deep then you can push the foam down onto them. Should be fairly secure. I might test it on a scrap piece of the foam first though.
Yeah, the pinch force of the plastic isn’t quite enough to keep the coin from moving if the mill hits too hard. For the next version I’ll add a bolt that pulls the sides together.
There’s also a little bit of flex in the z and y axes. I need to beef up the plastic, or maybe use some metal stabilizing plates.
The end mill I was using had way too much flute length (I originally got it for foam board). The new mills I have coming are nice and stubby, so they should have less flex and be less likely to snap.
You could also sand 1 side flat and use the super glue painters tape method and not rely on plastic clamping surfaces. Or possibly spray the plastic clamp with hair spray and pop the coin in for extra hold. Then use rubbing alcohol to clean it between coins. You will need to get it kind of wet and let it dry a few minutes but it works on bike grips so maybe it will help here.
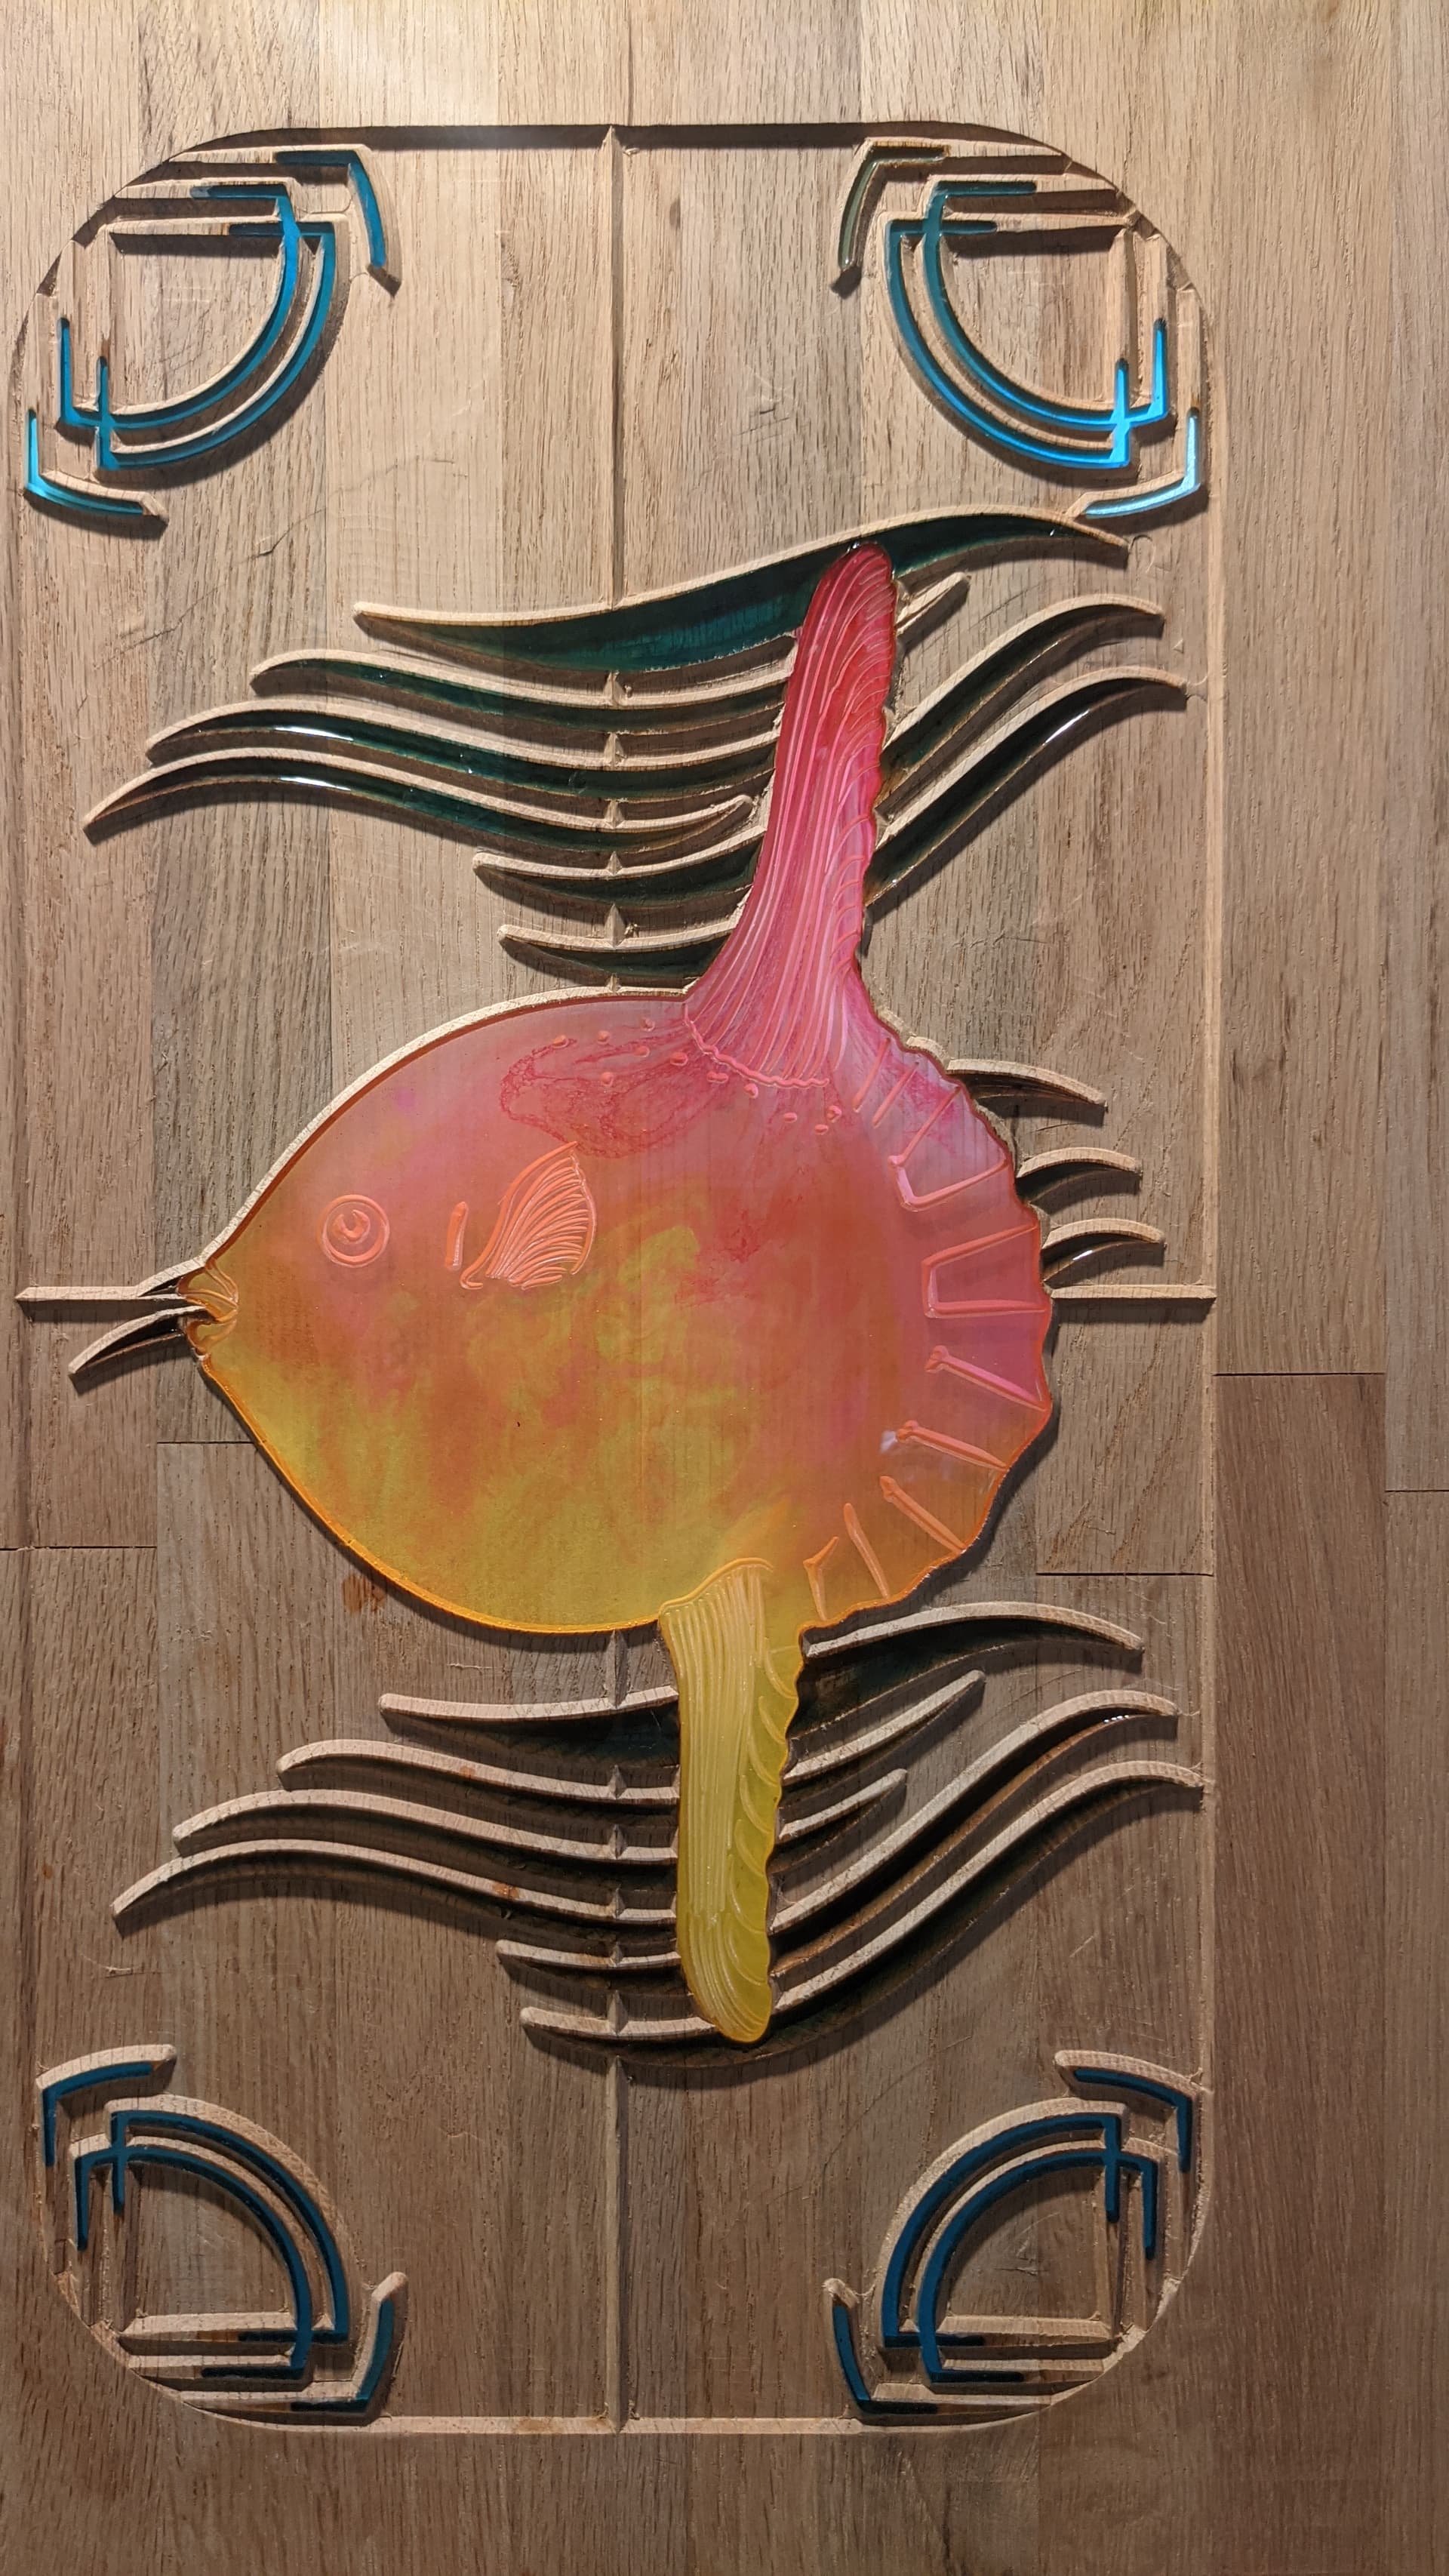
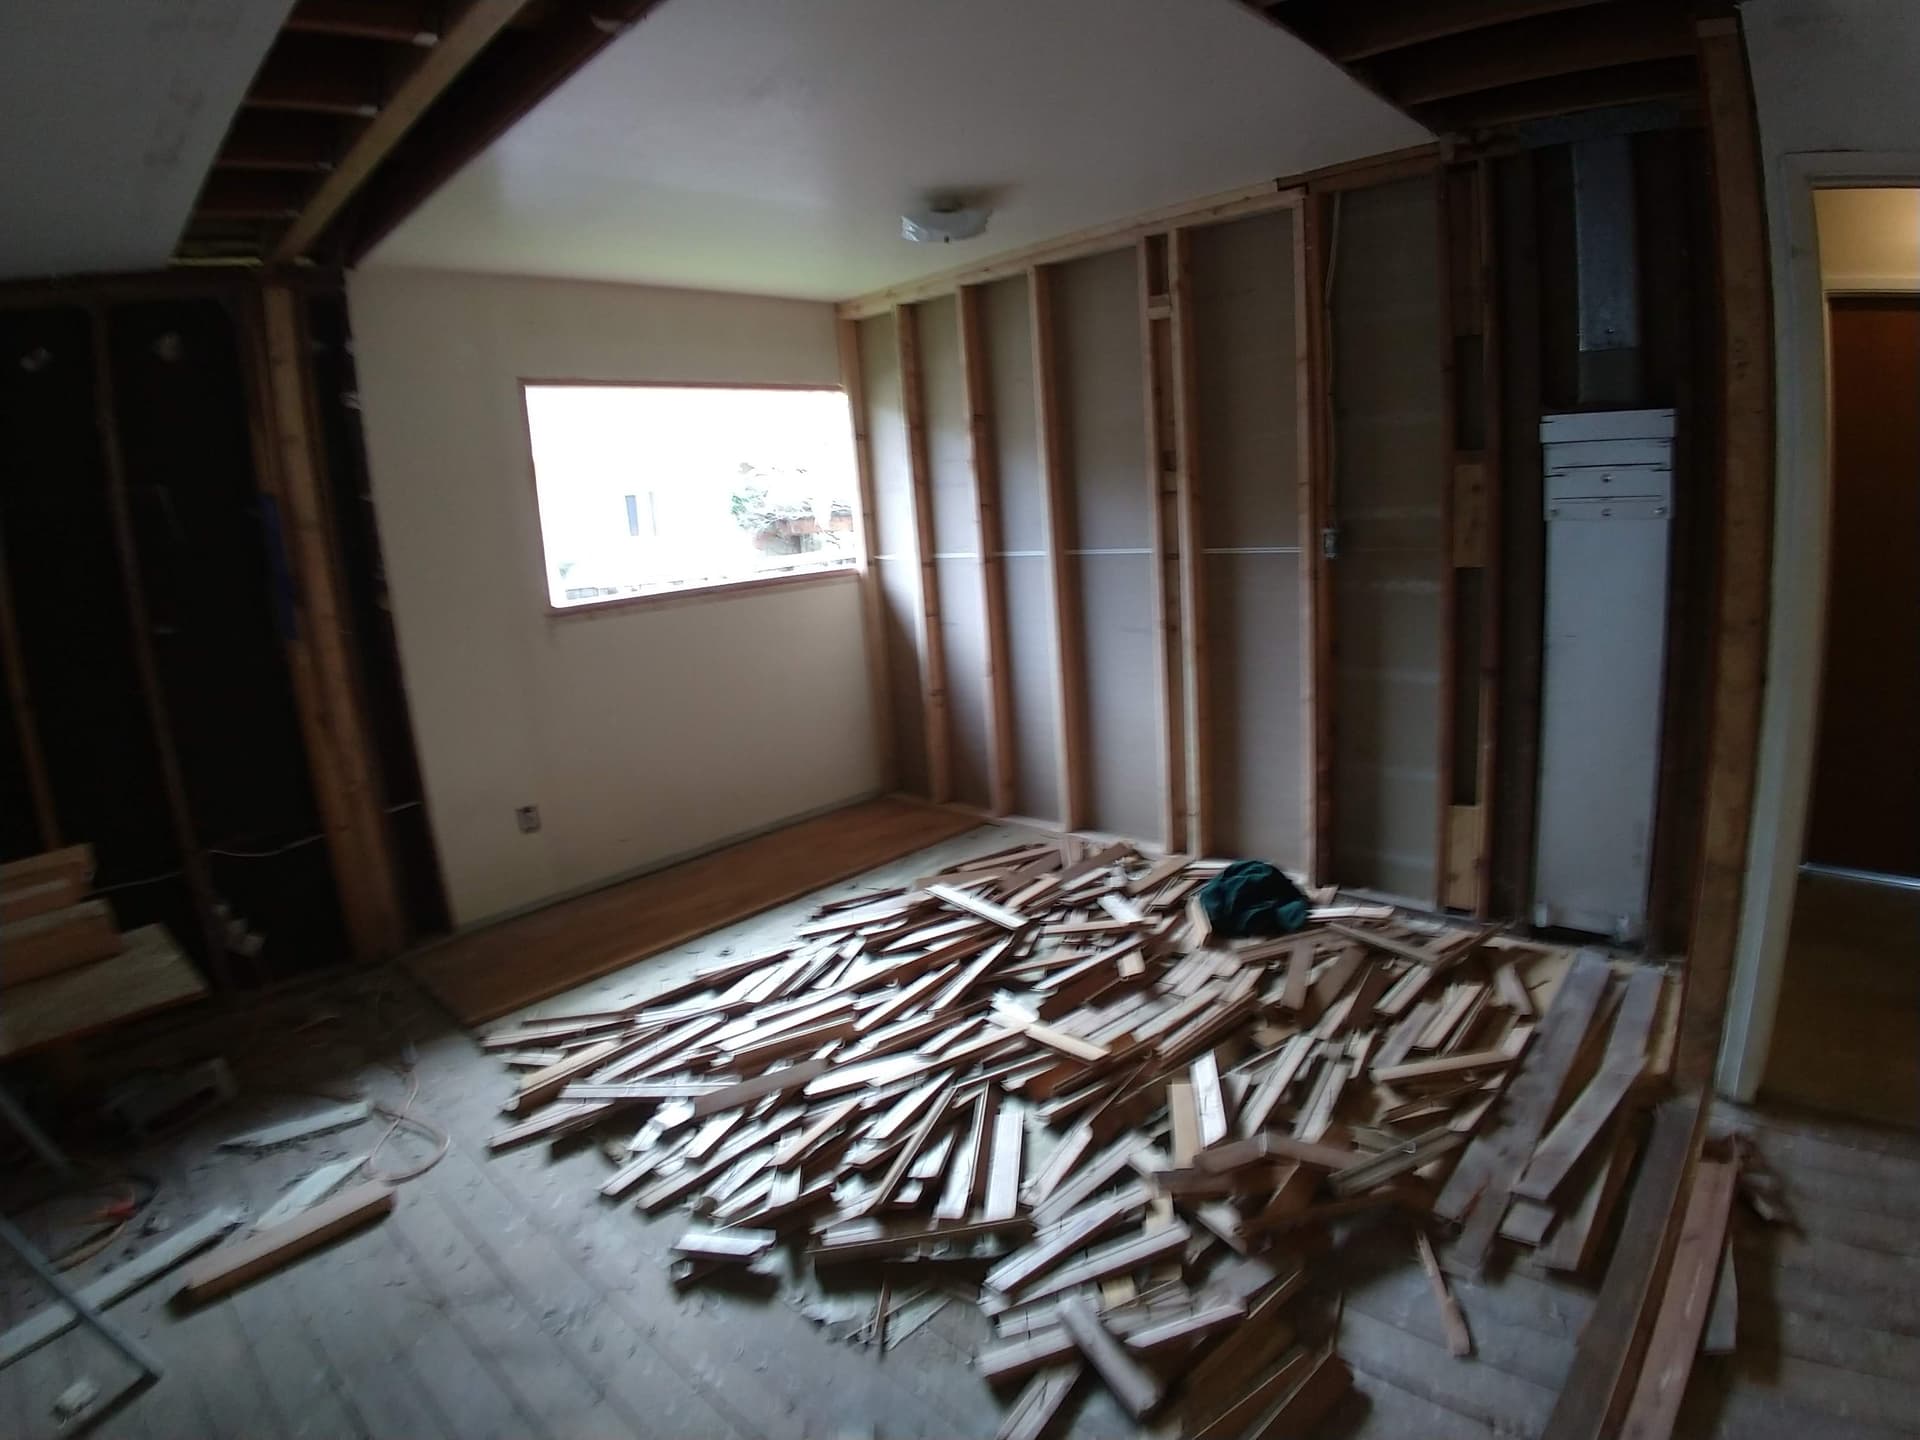
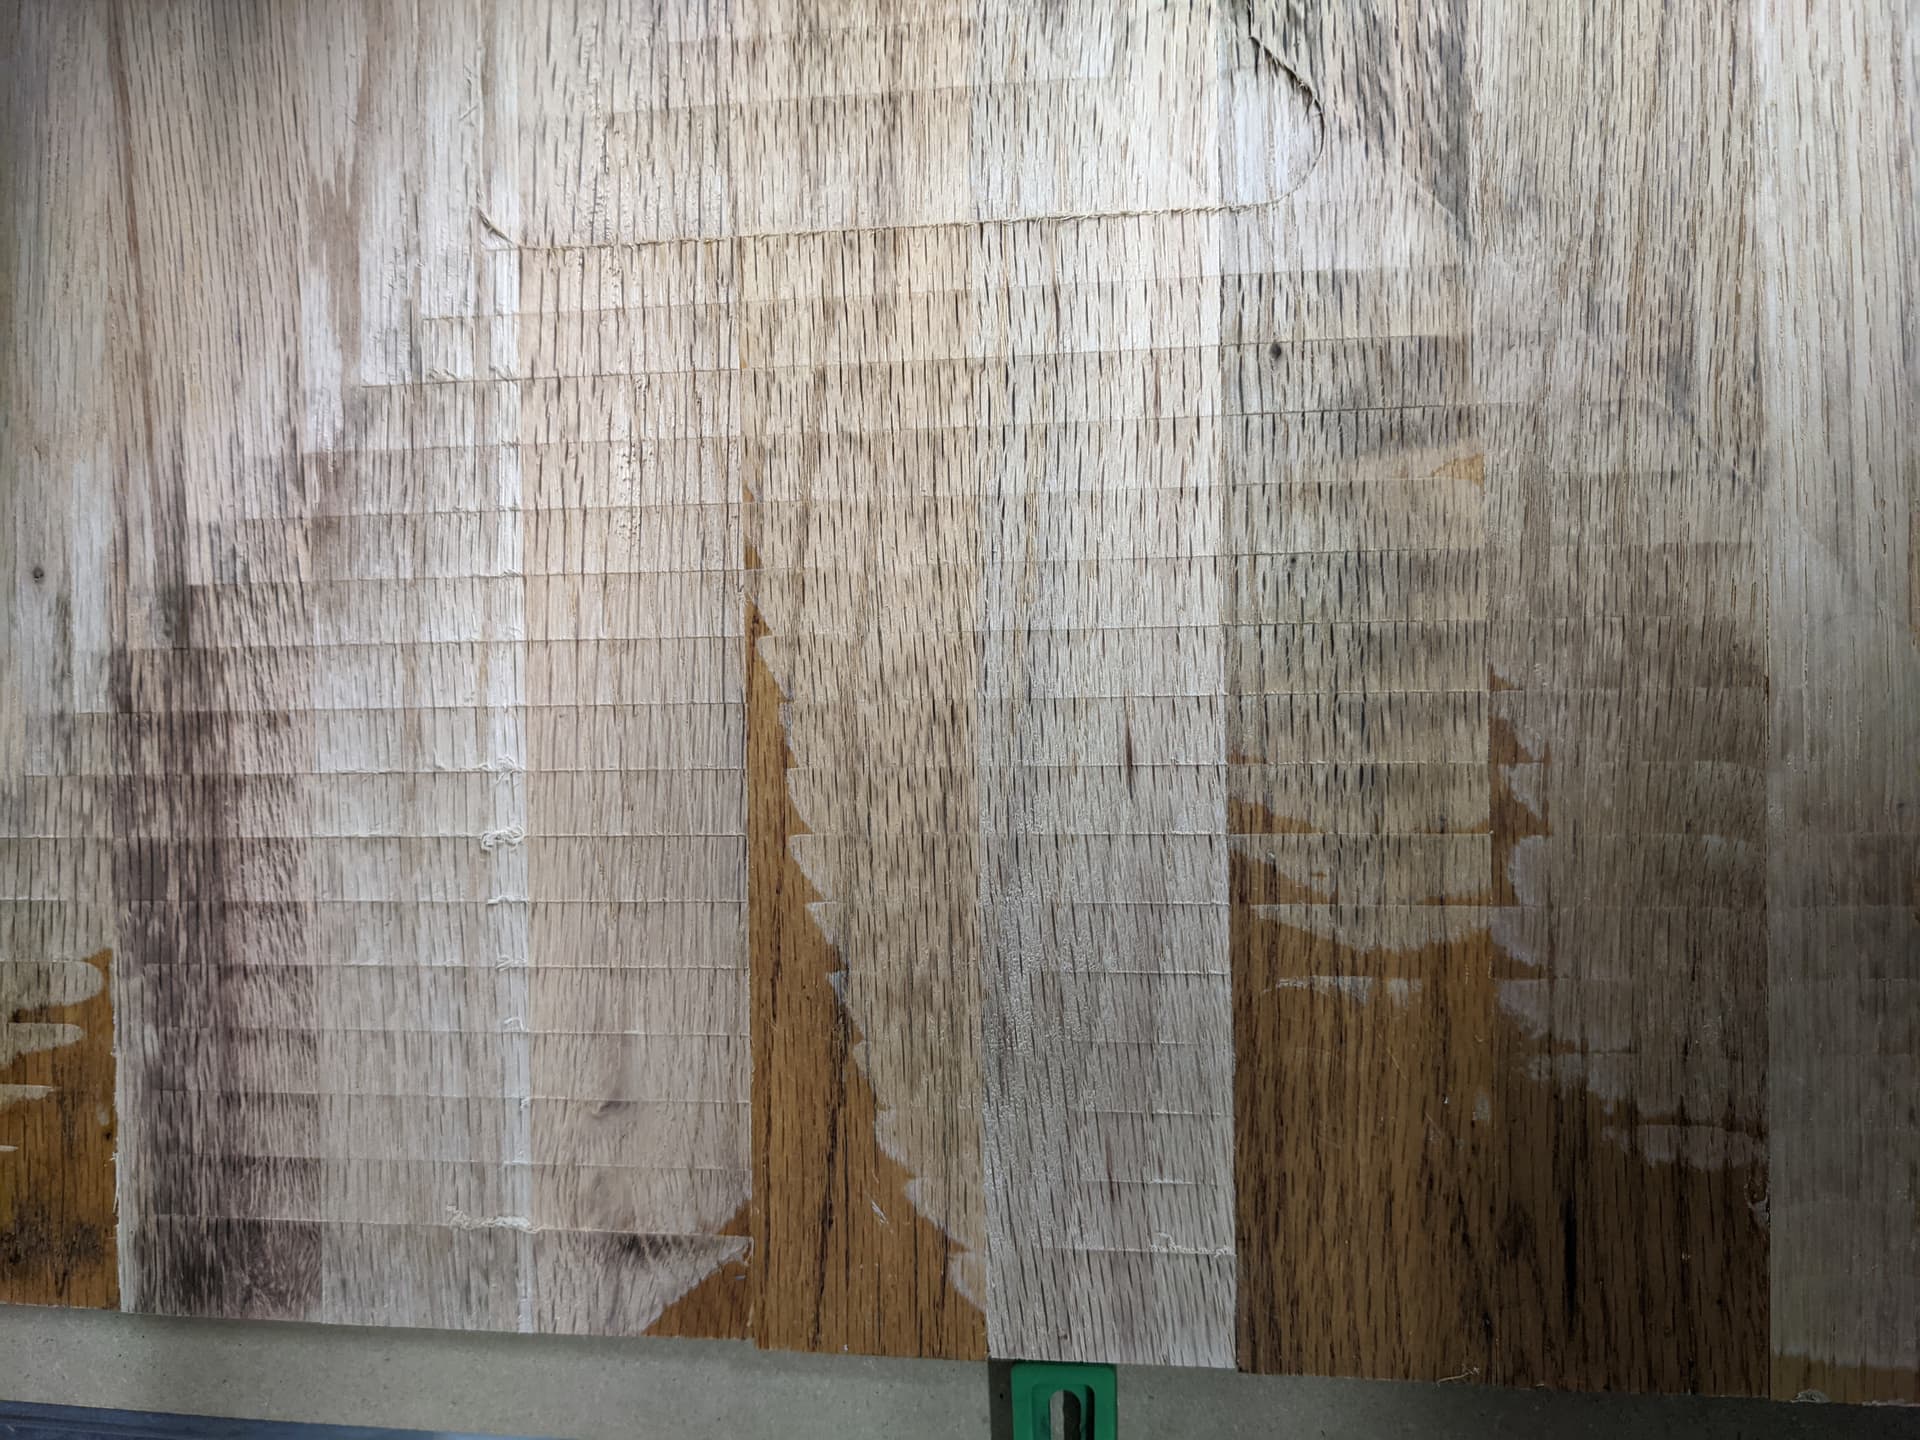
Alright, finished-ish project first.
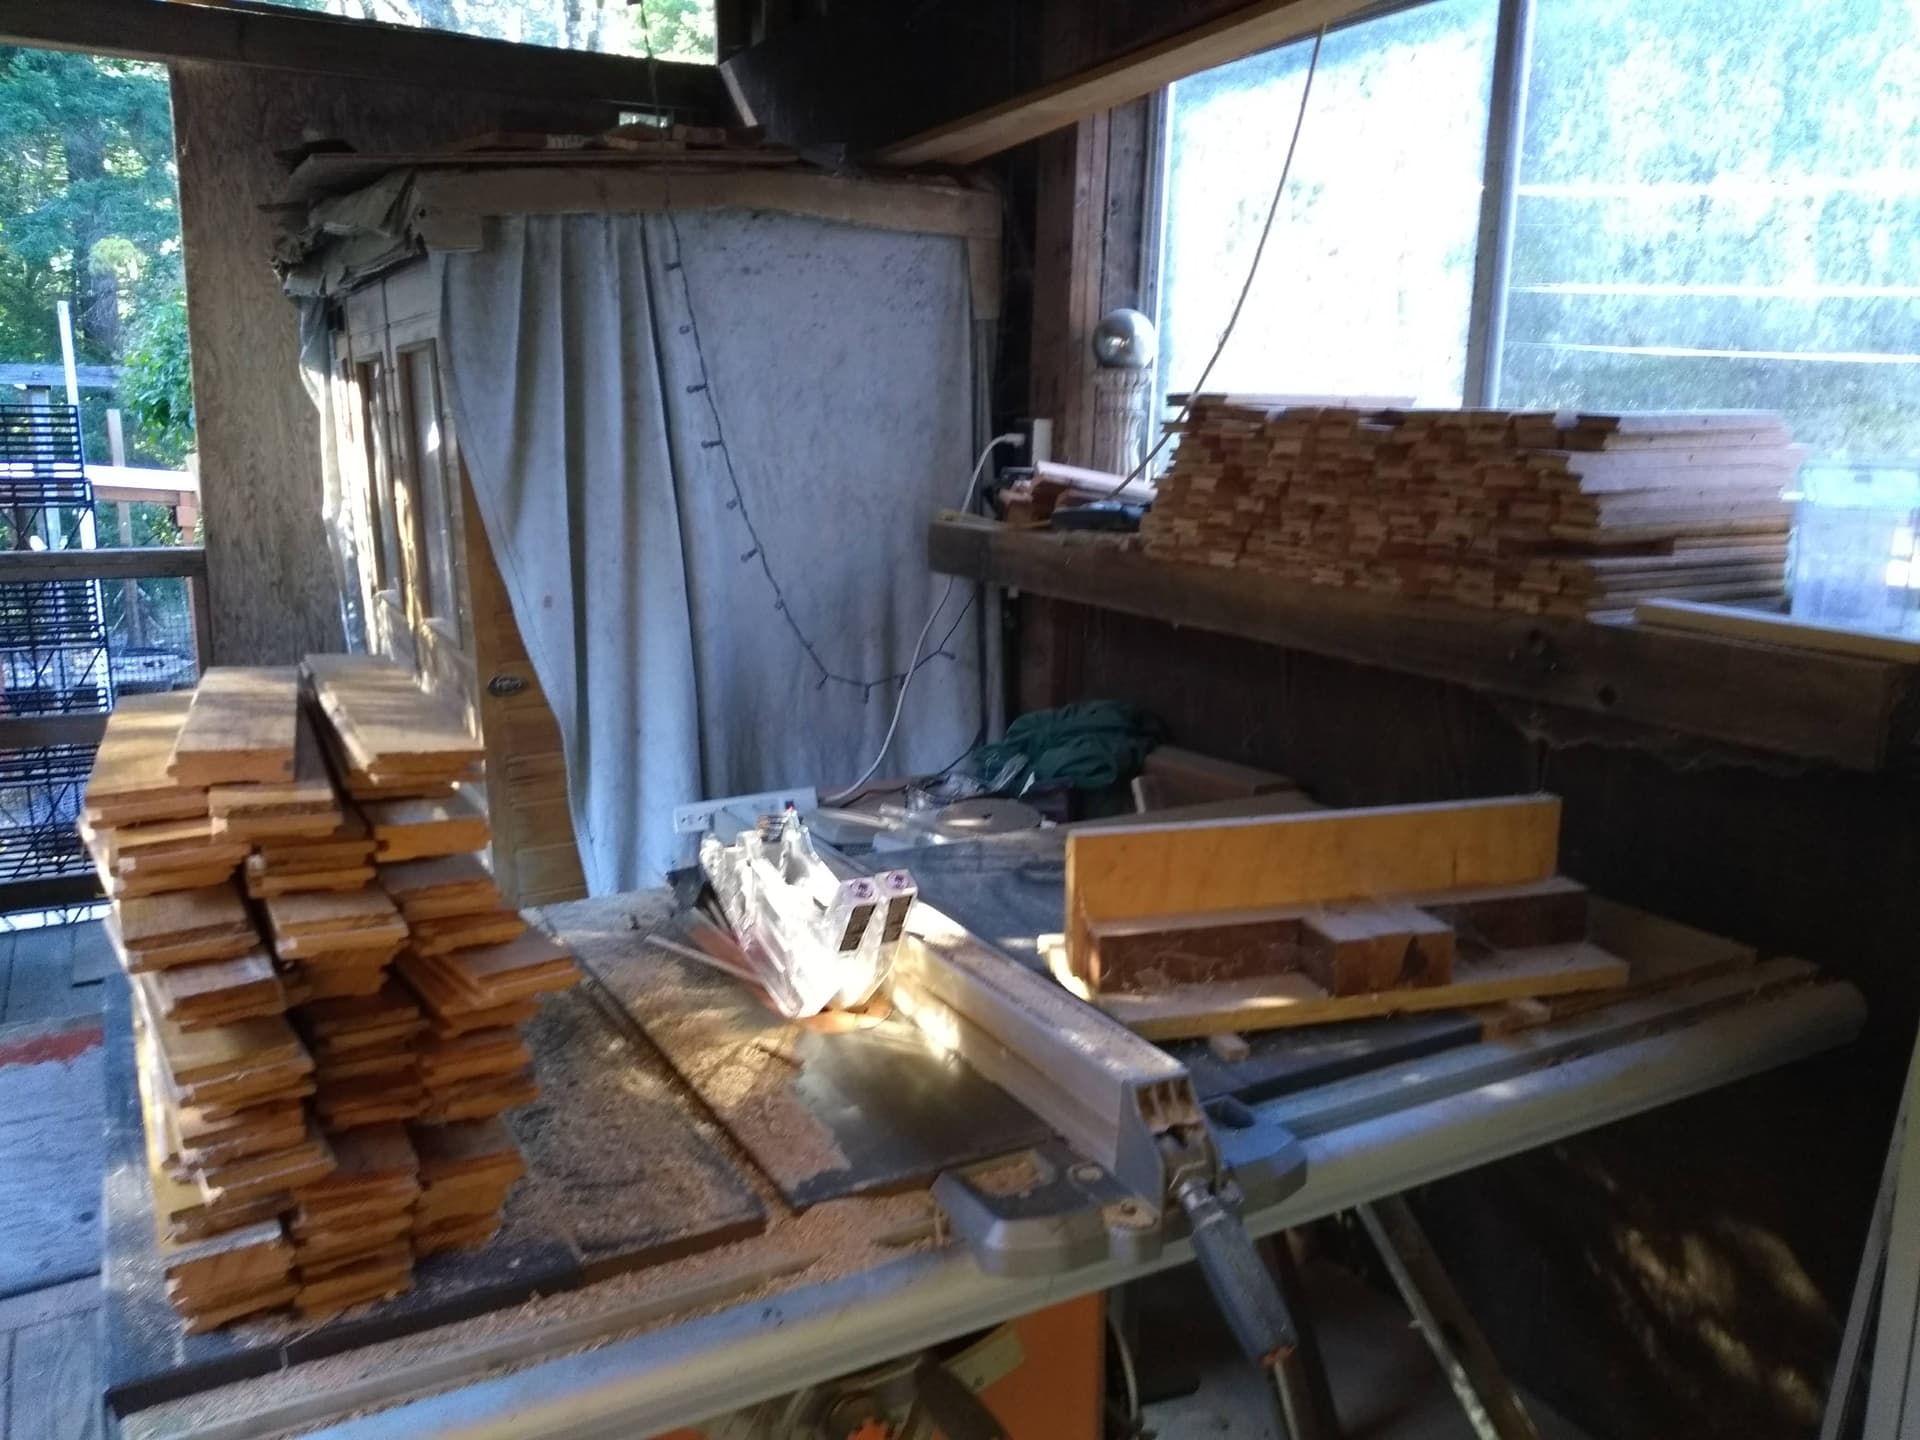
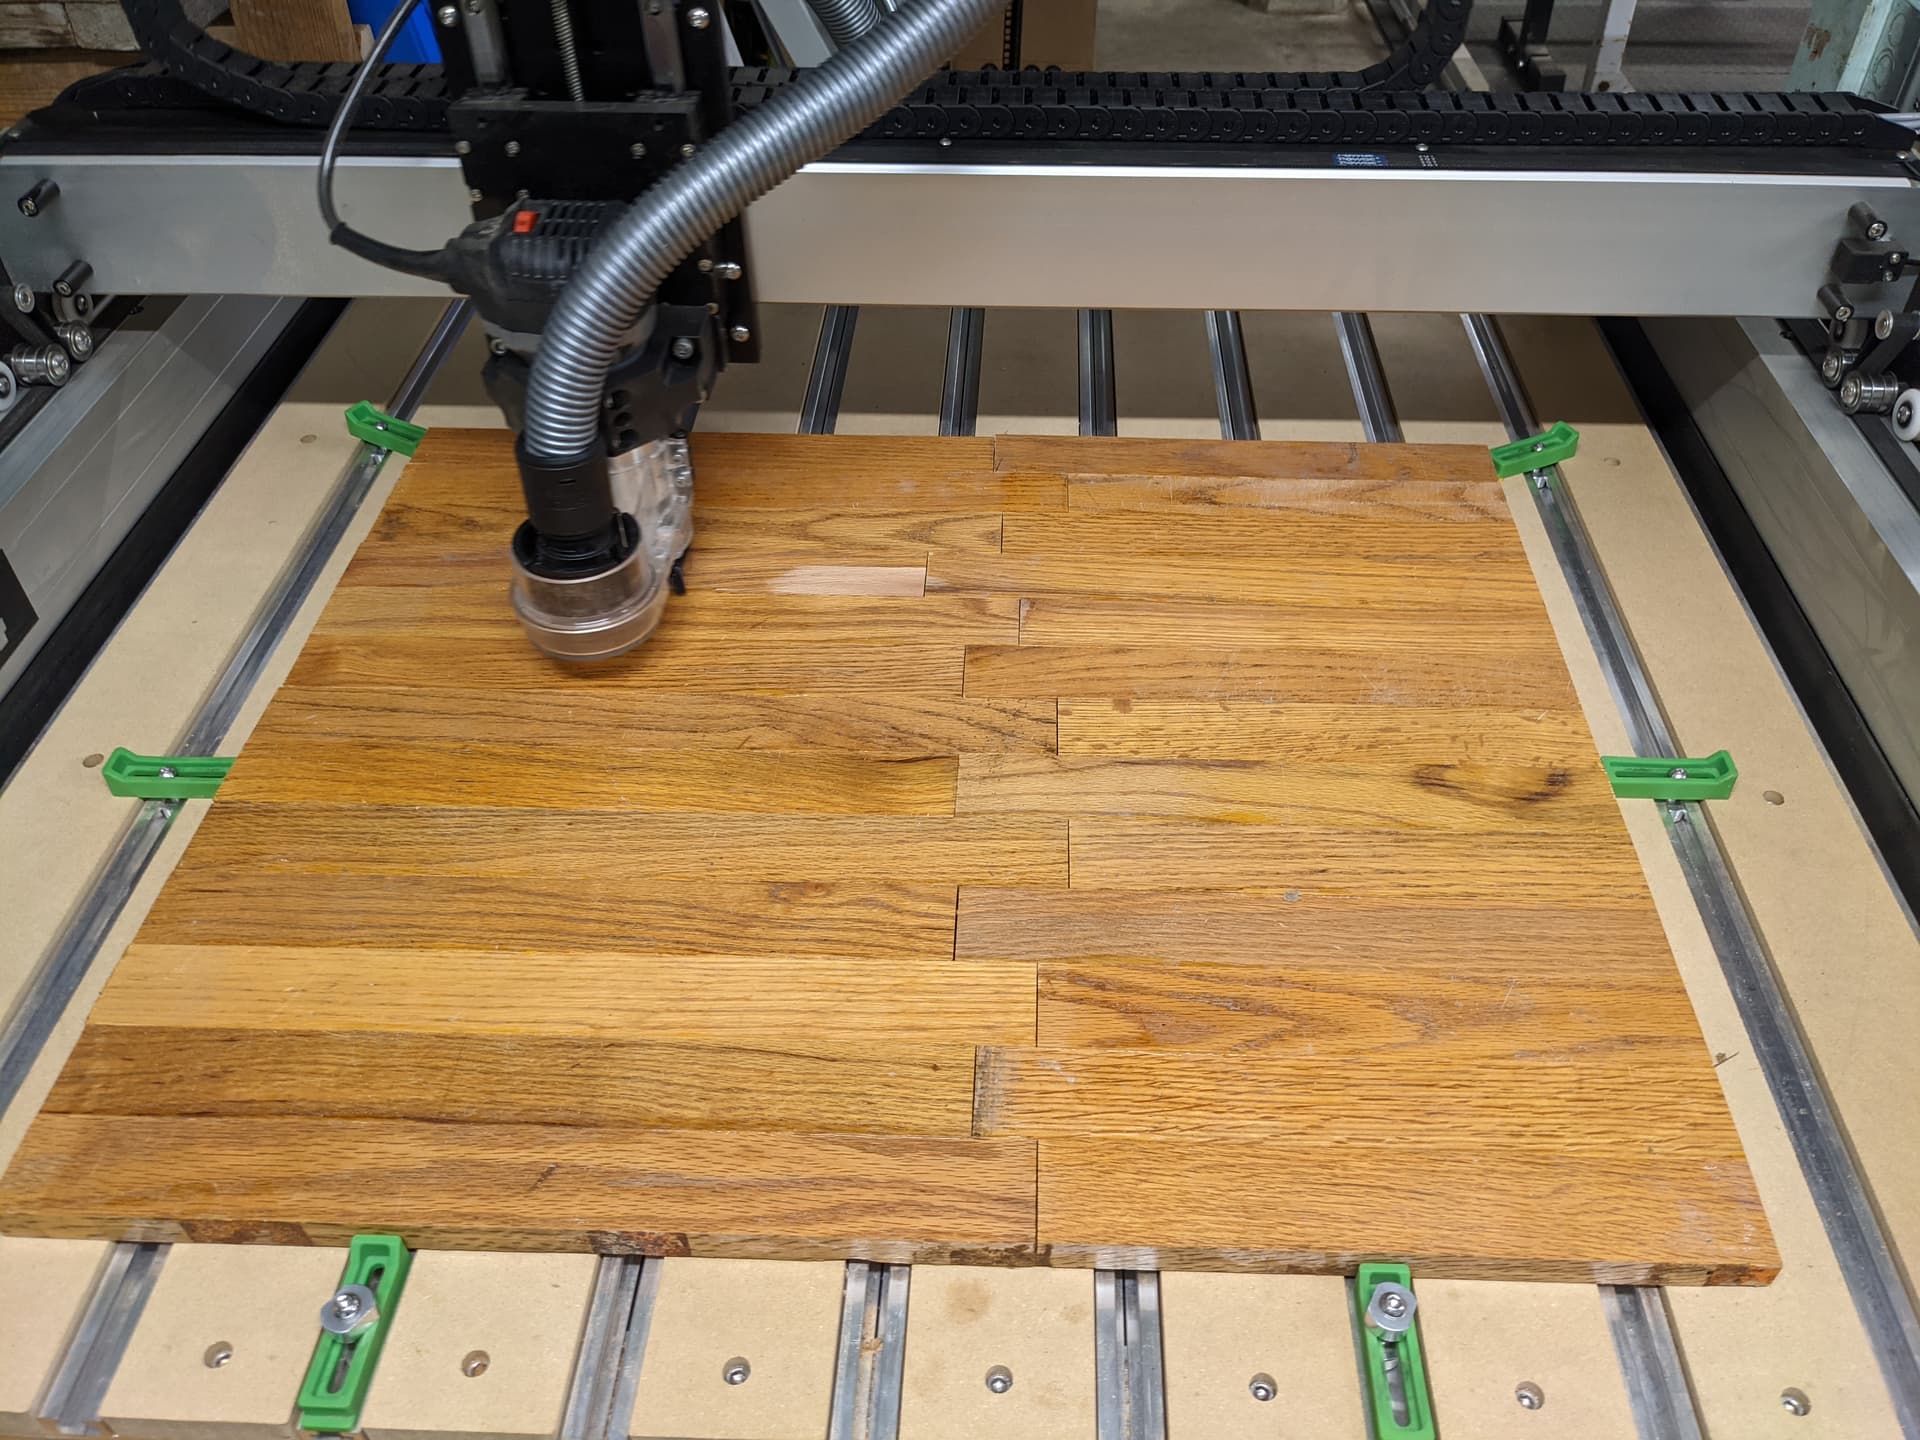
Awhile ago I had picked up some old oak flooring off craigslist that I decided to use.
Thanks for reading,
Wyatt
Sunfish Window.c2d (732.9 KB)
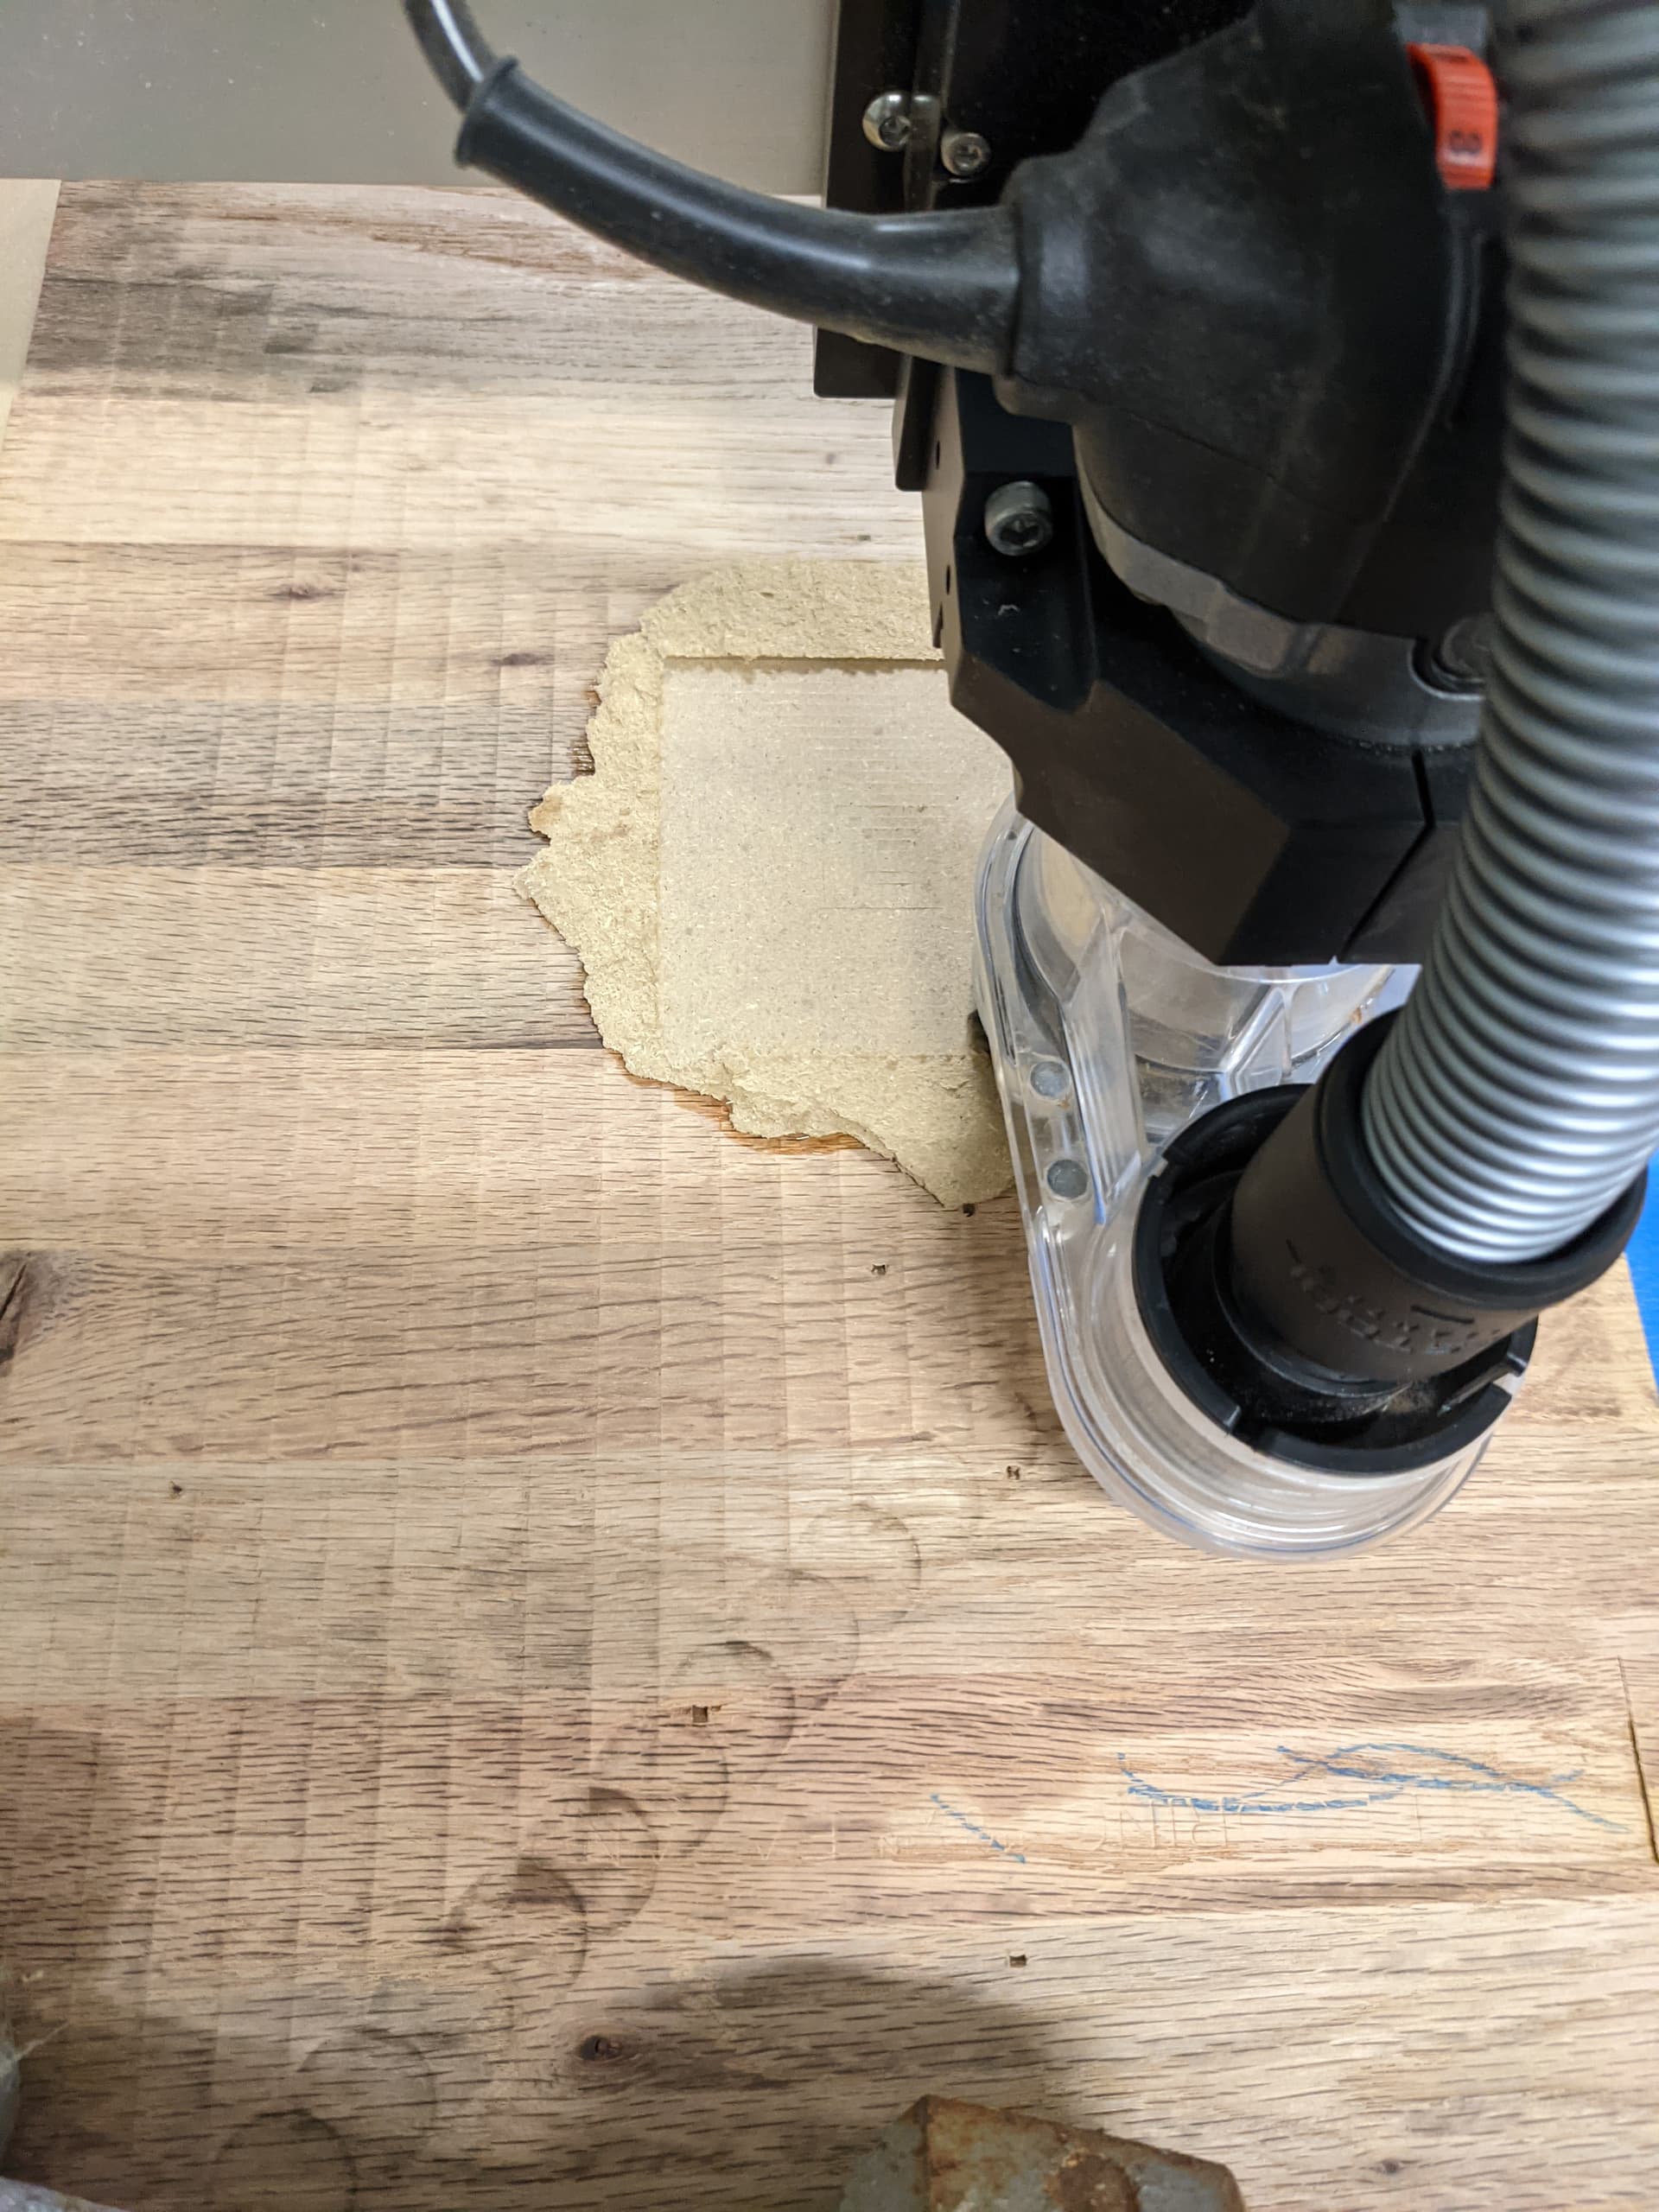
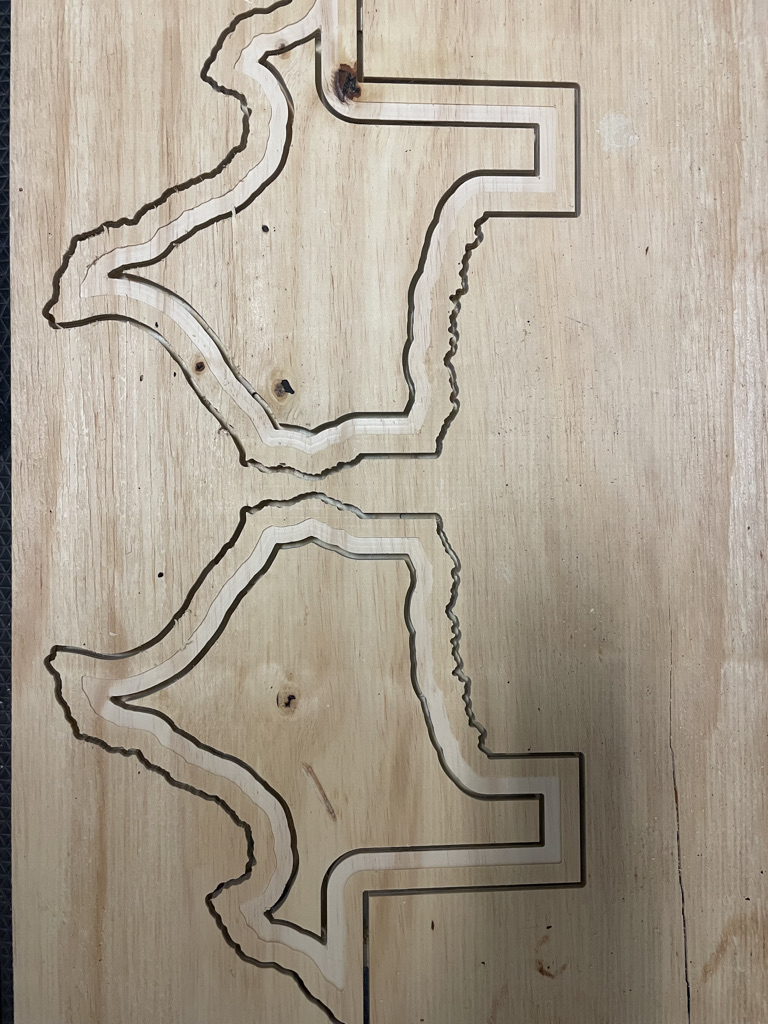
Hi all! Got our Shapeoko Pro up and running Friday night after several issues. This was my very first project and went horribly wrong, but I learned a lot. I’ve been following the threads and see a bunch of first projects that are amazing, so I figured this might be a pick-me-up for anyone else out there struggling to learn how to use a CNC. Hope it’s ok that I’m posting a project that is going to be completely scrapped and restarted tonight!
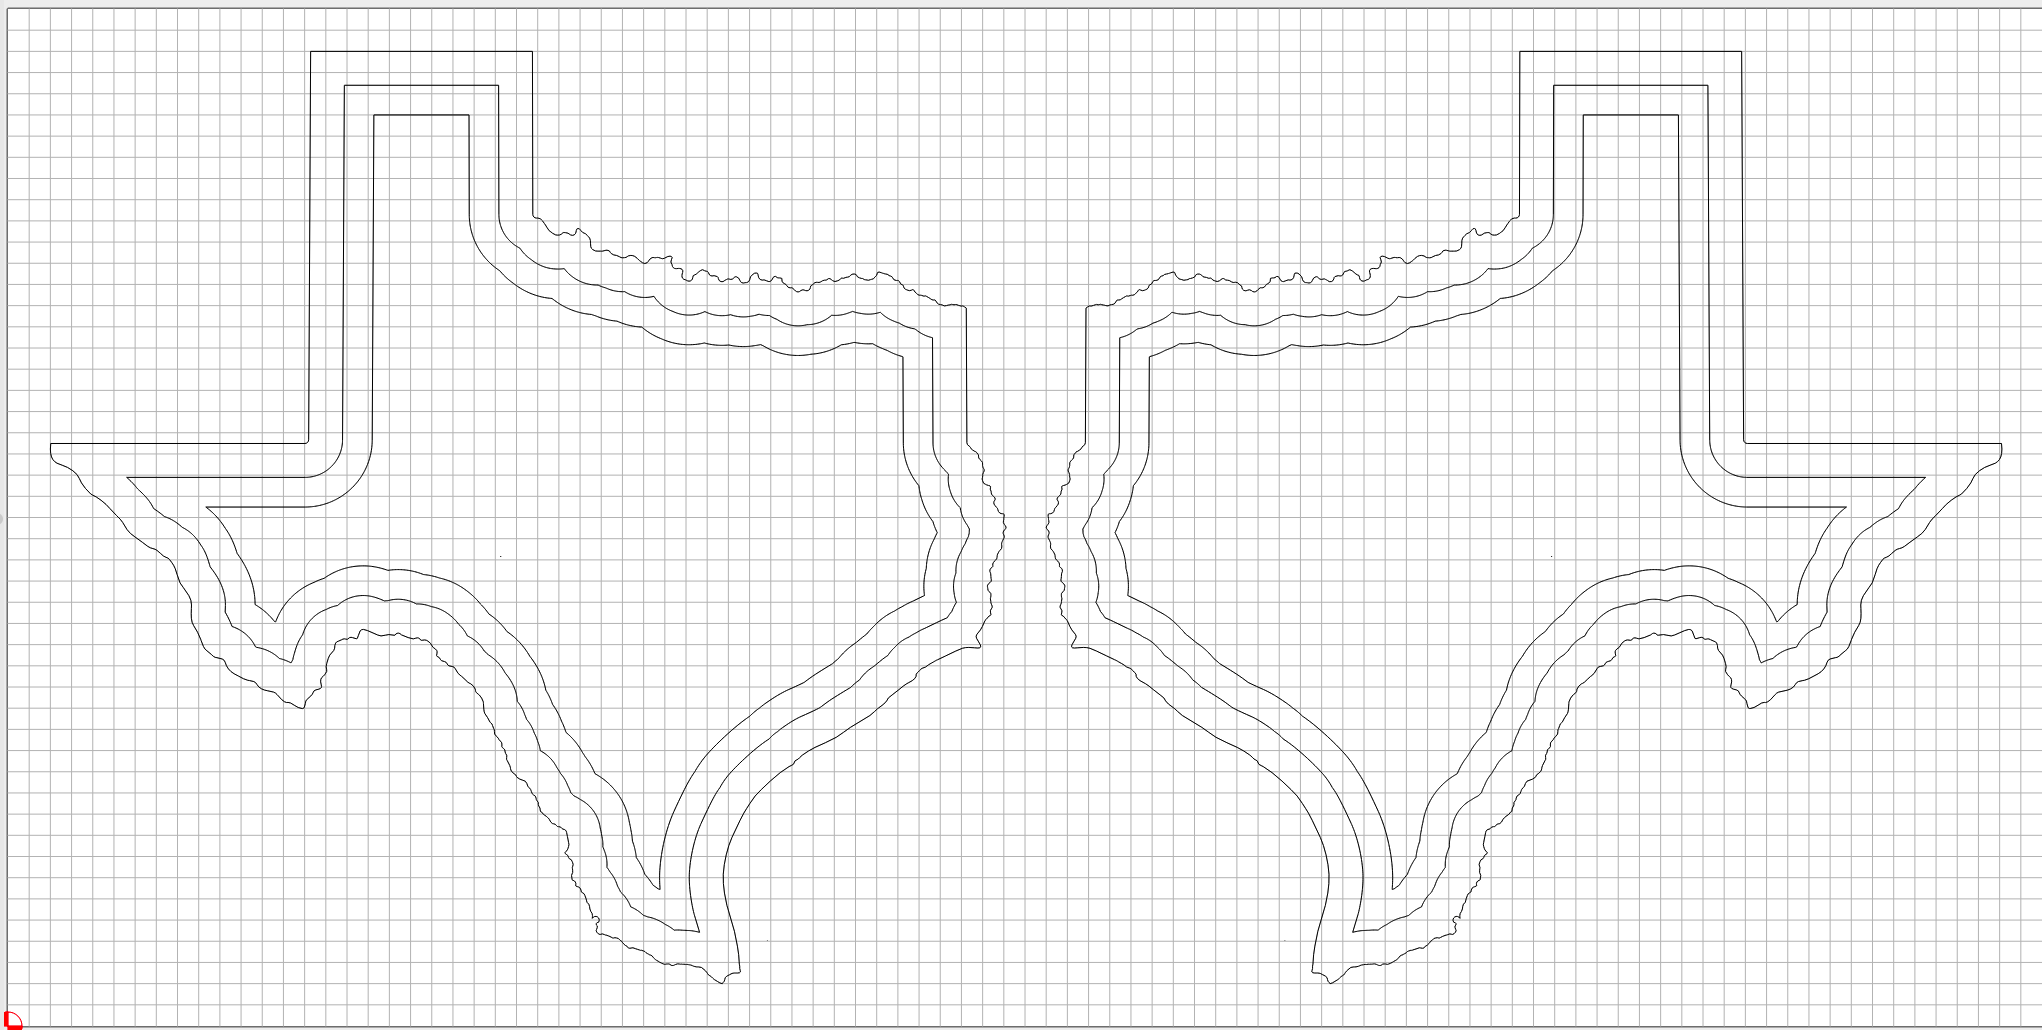
I used the TX_Detailed.svg file to create the outline of TX, then out 2 Offset Vectors in the center so I can create a depression and to remove the inside. The goal is to have a picture frame of sorts that I can glue together. Inside of the outline, I am going to be making a Stained Glass piece of the MD state flag (my husband is from TX and I’m from MD).
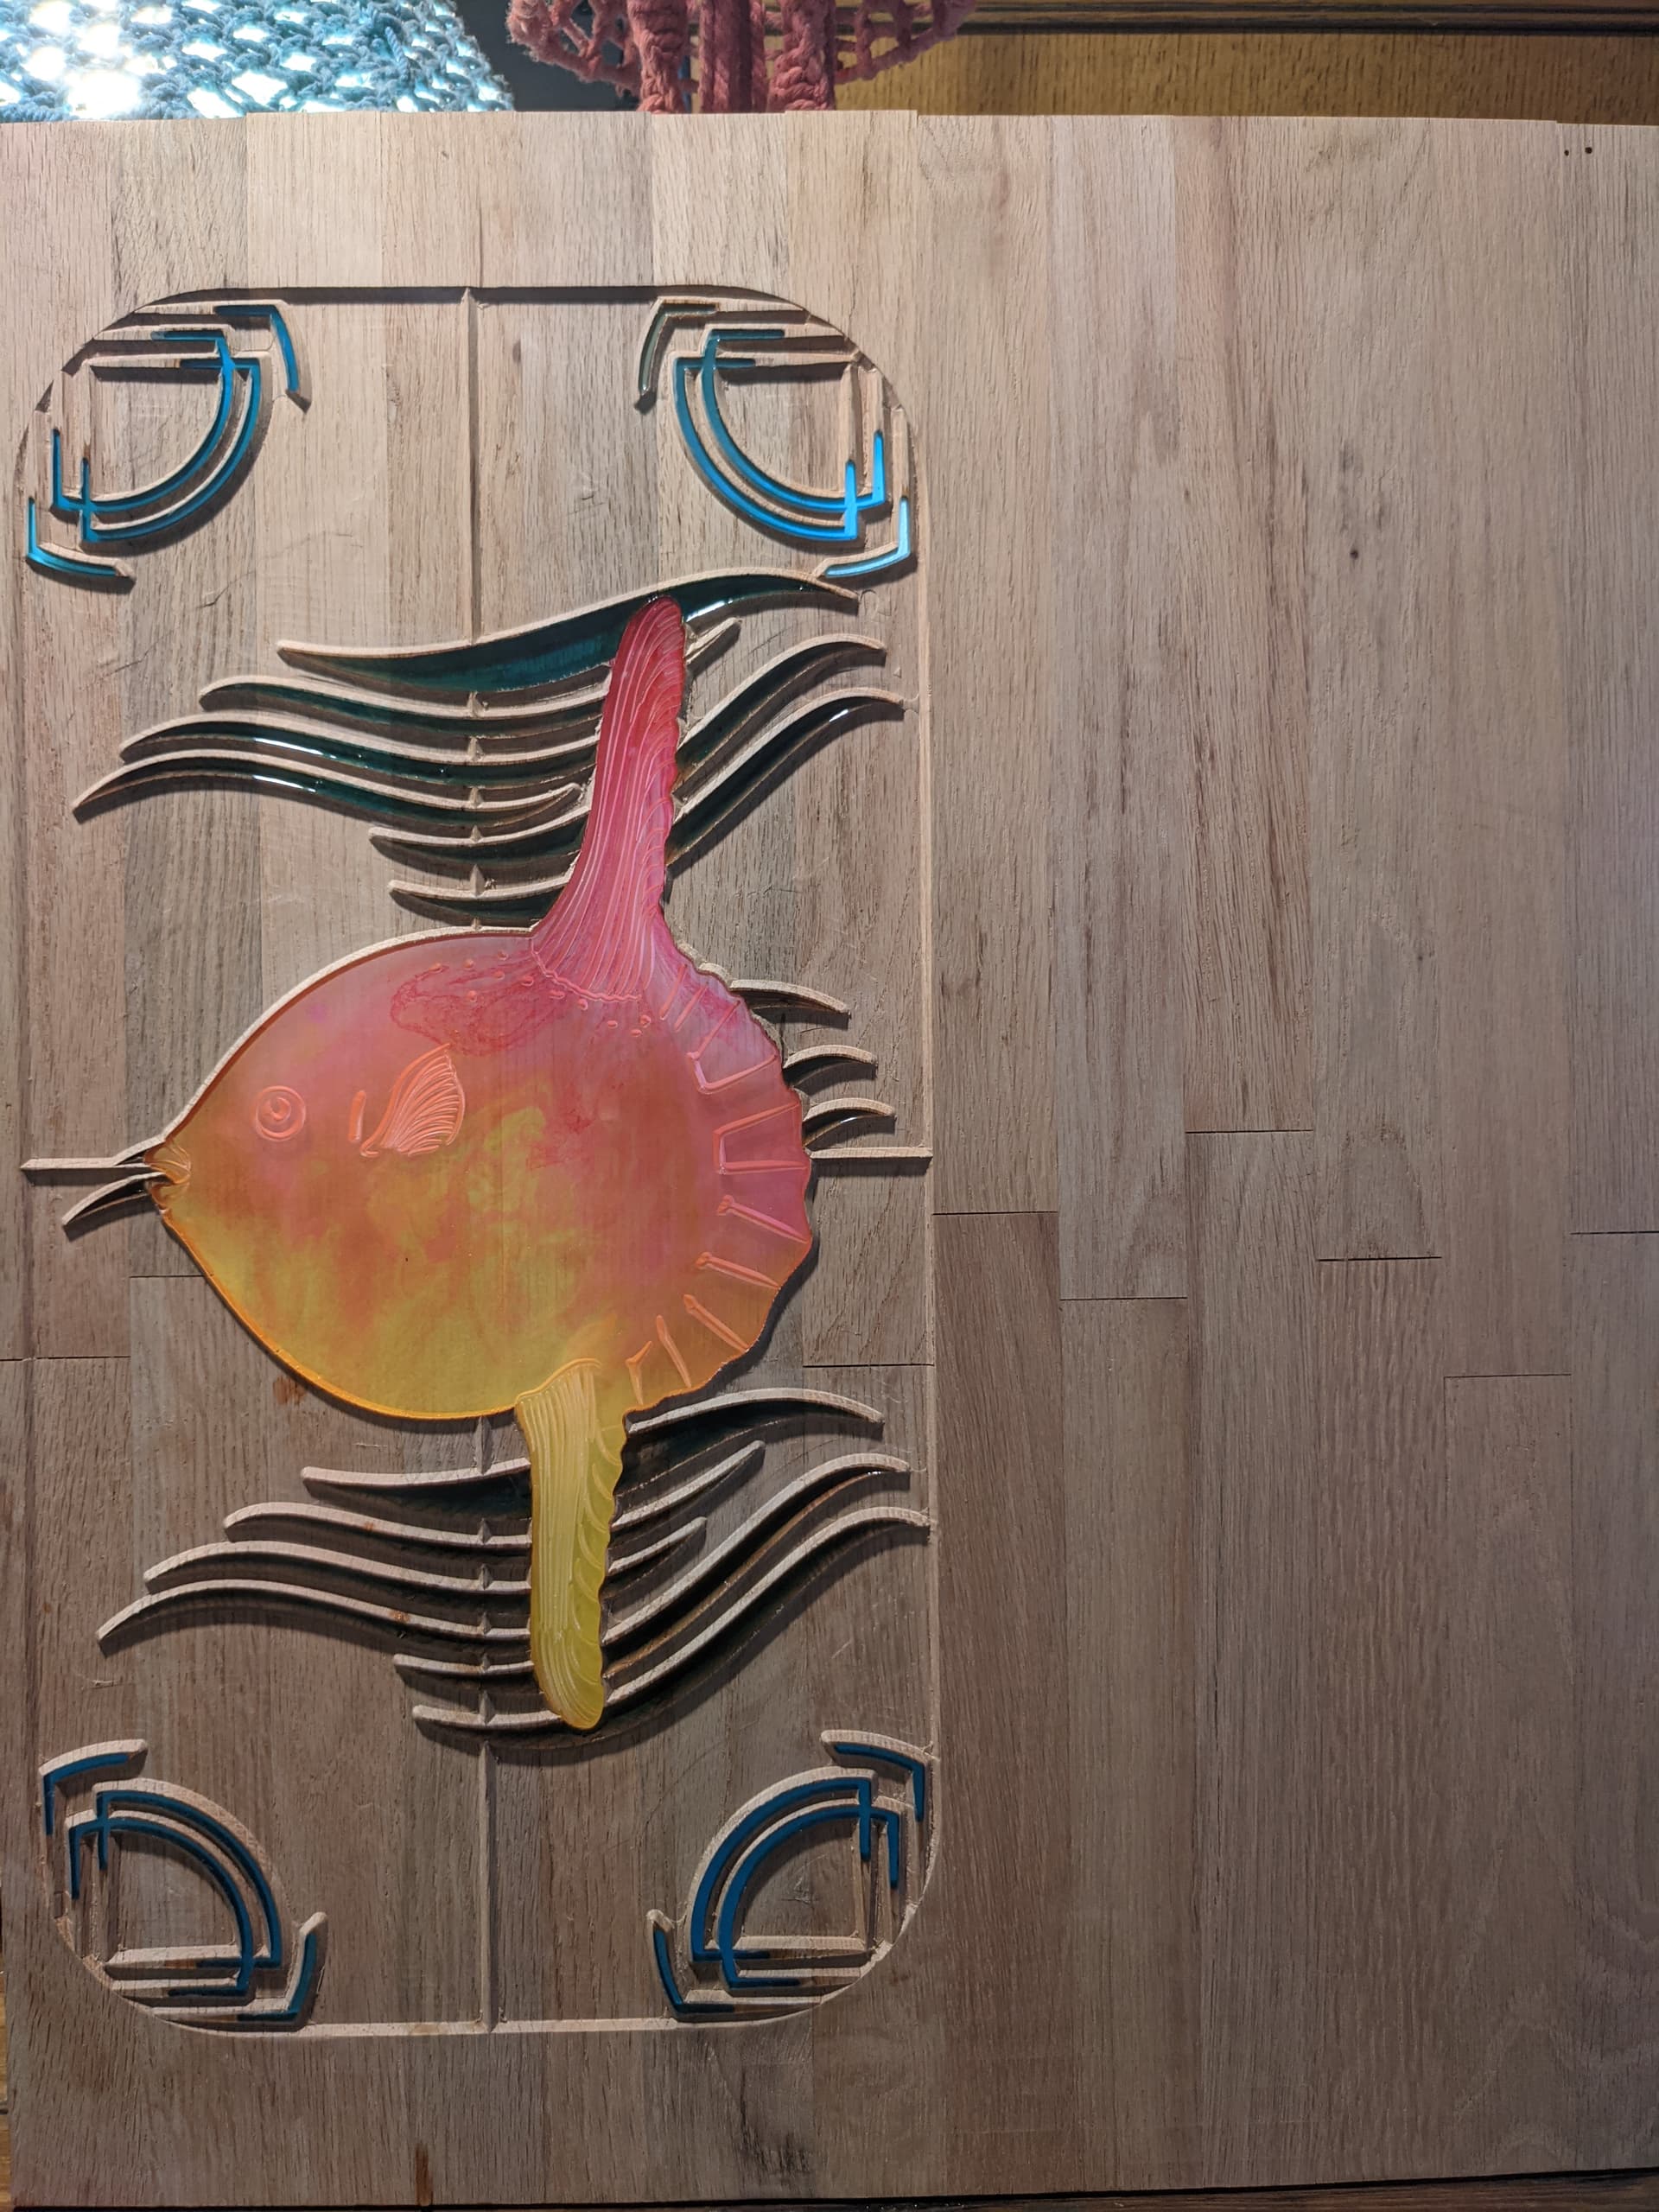
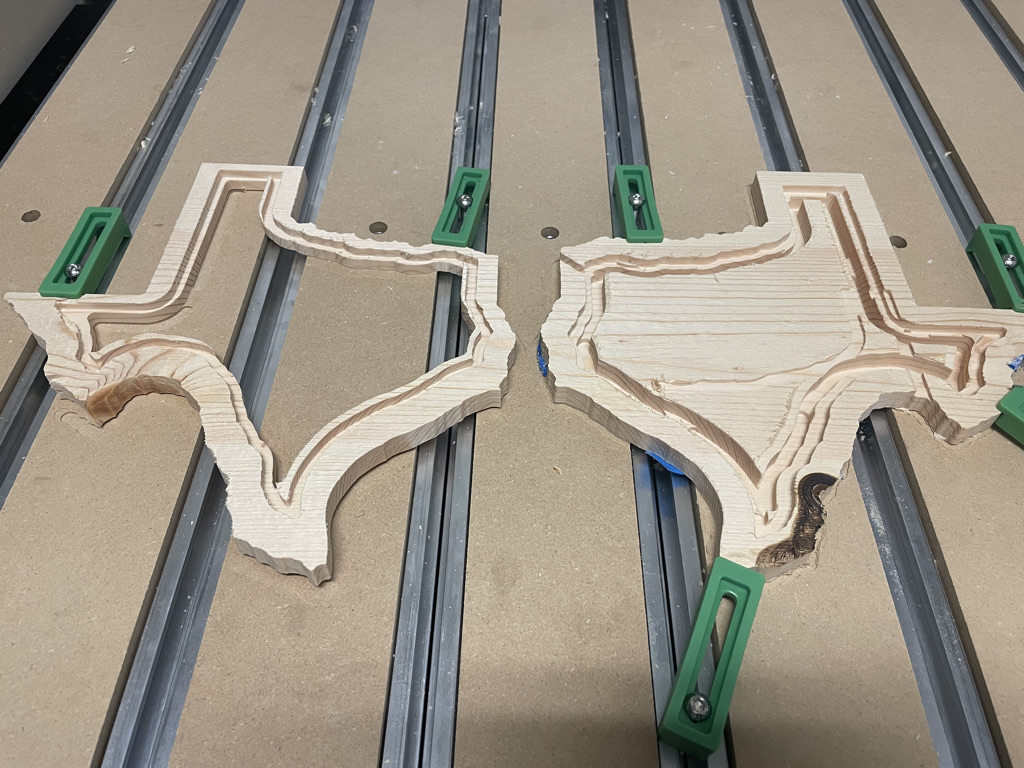
Here’s a picture of it in-progress. As you can tell, everything went a bit haywire resulting in uneven lines, not everything being cutout, burn marks and lines in random places. On the bright side, I learned how to zero the machine and what to do if you pause or have to stop your project in the middle of it cutting out!
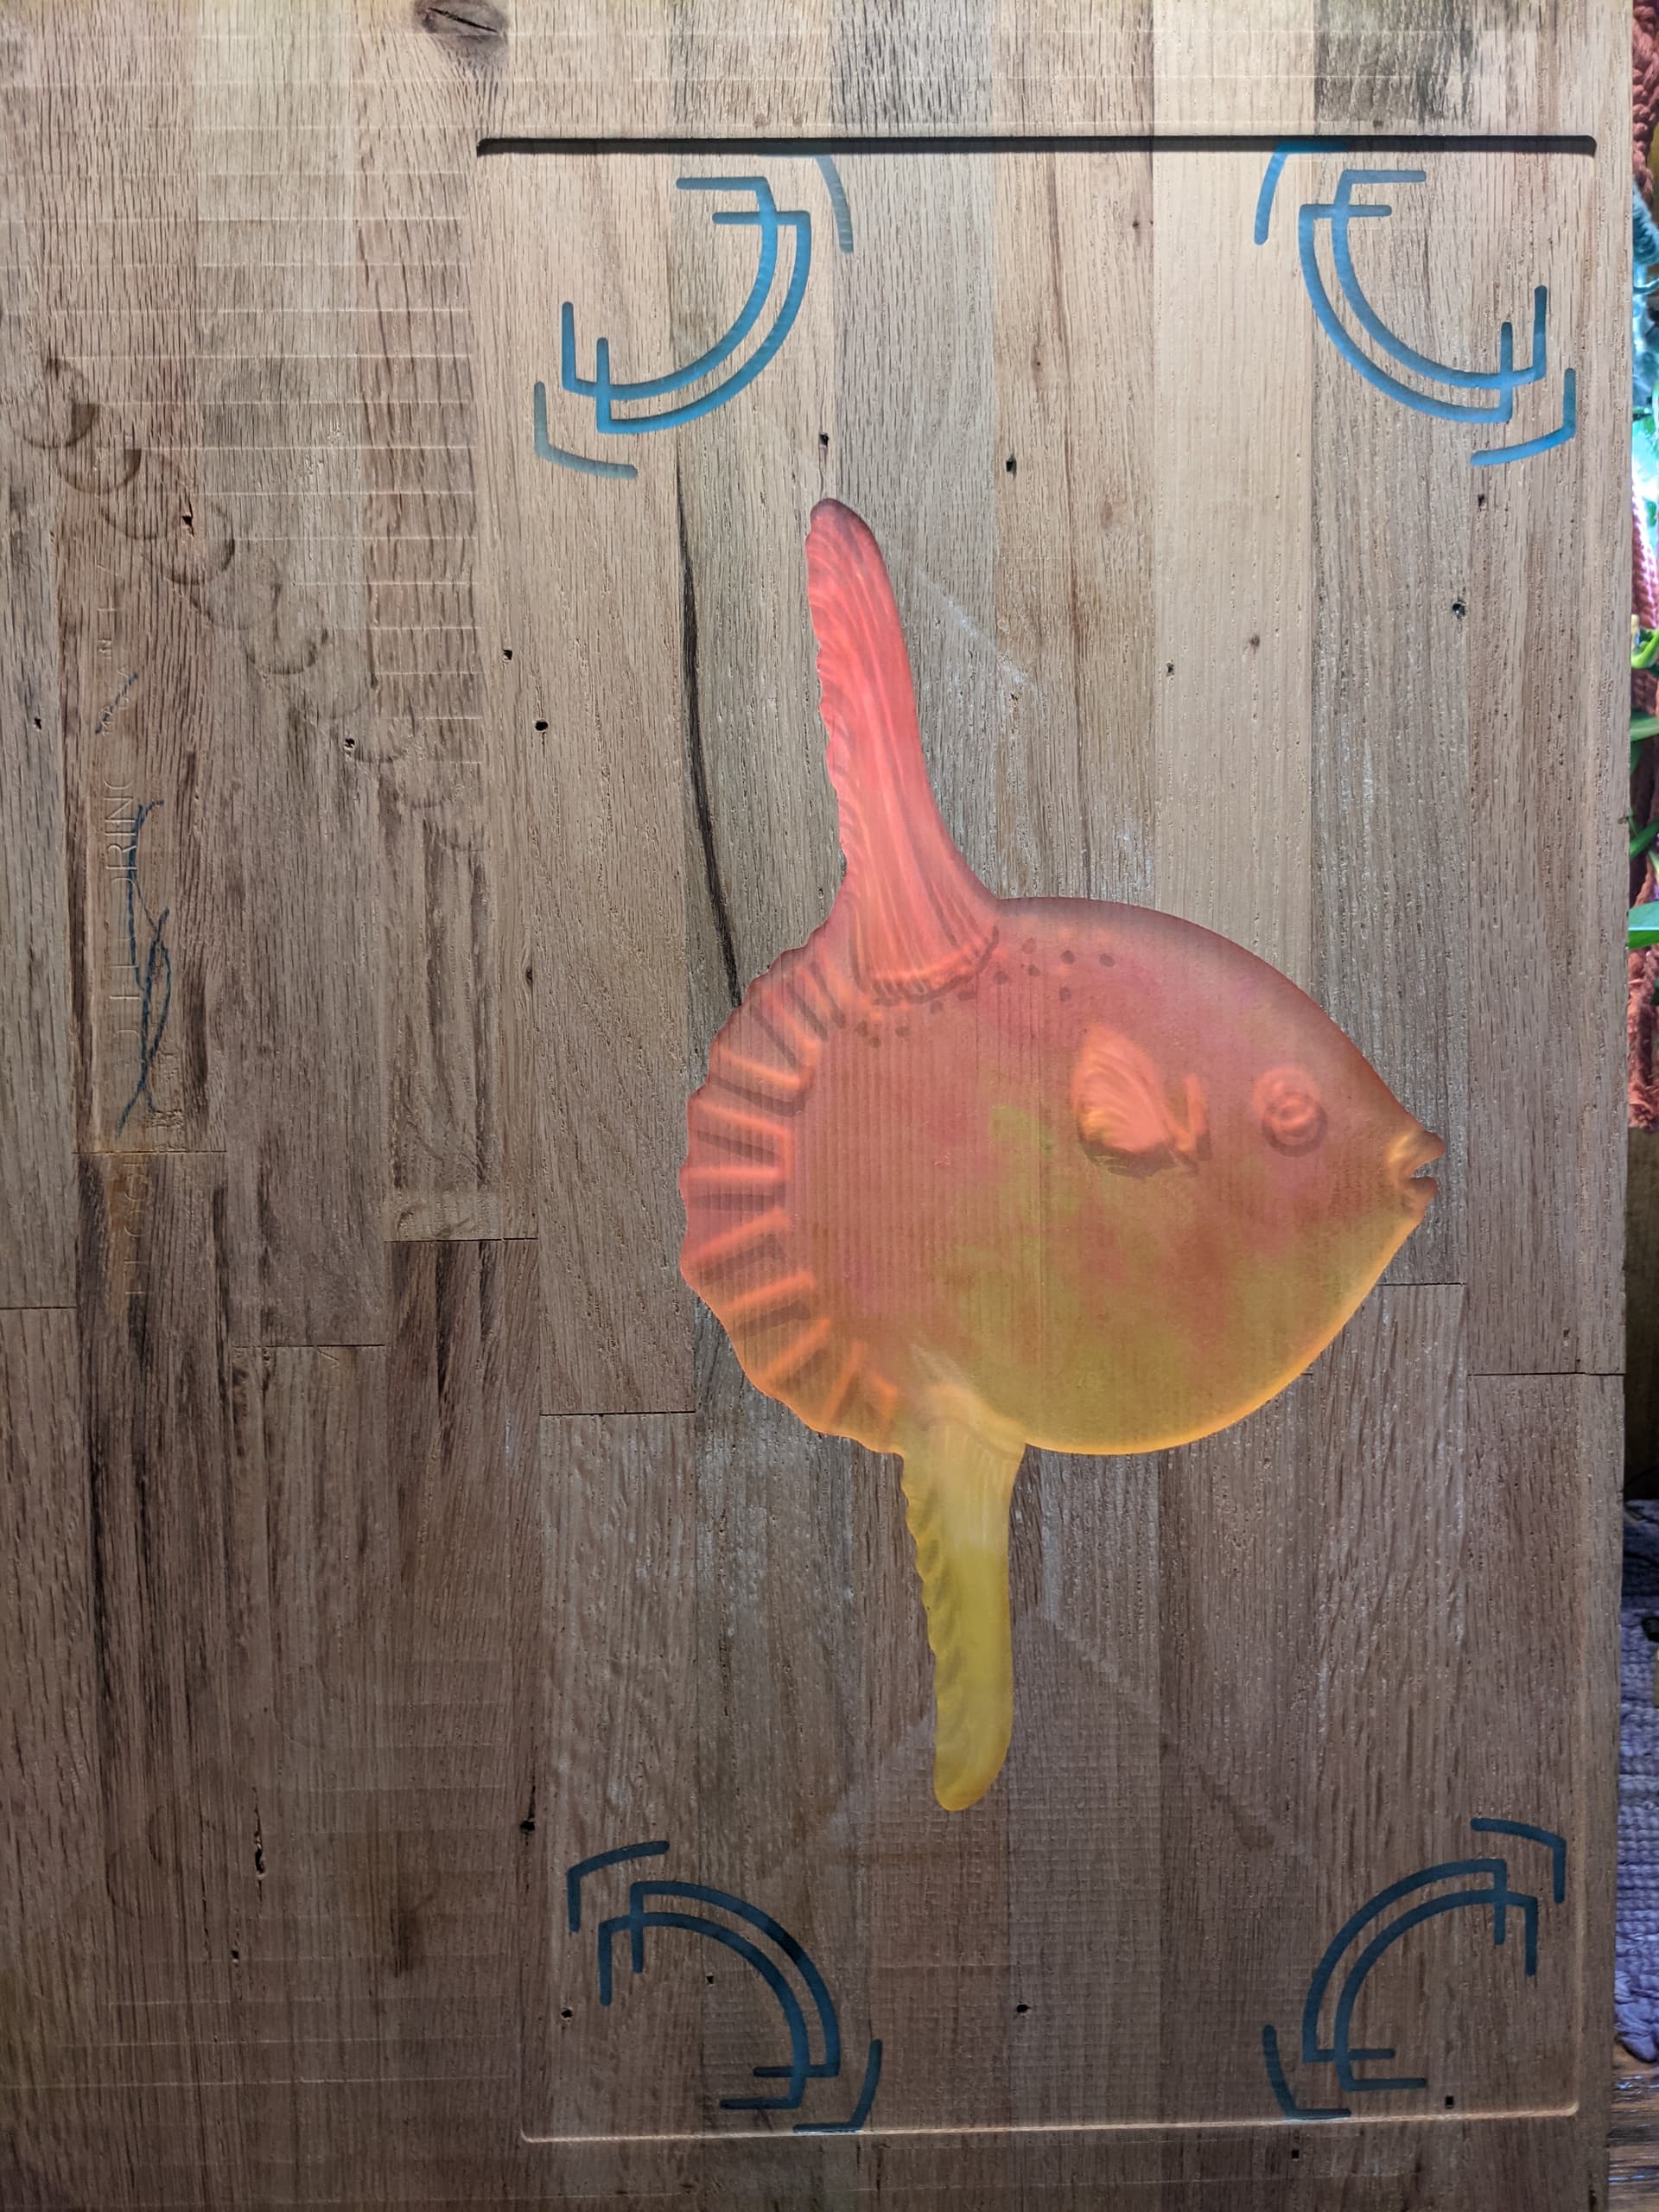
Here’s the “finished” project that will be repurposed for something else.
I’m going to try again tonight and will update if it goes smoother!
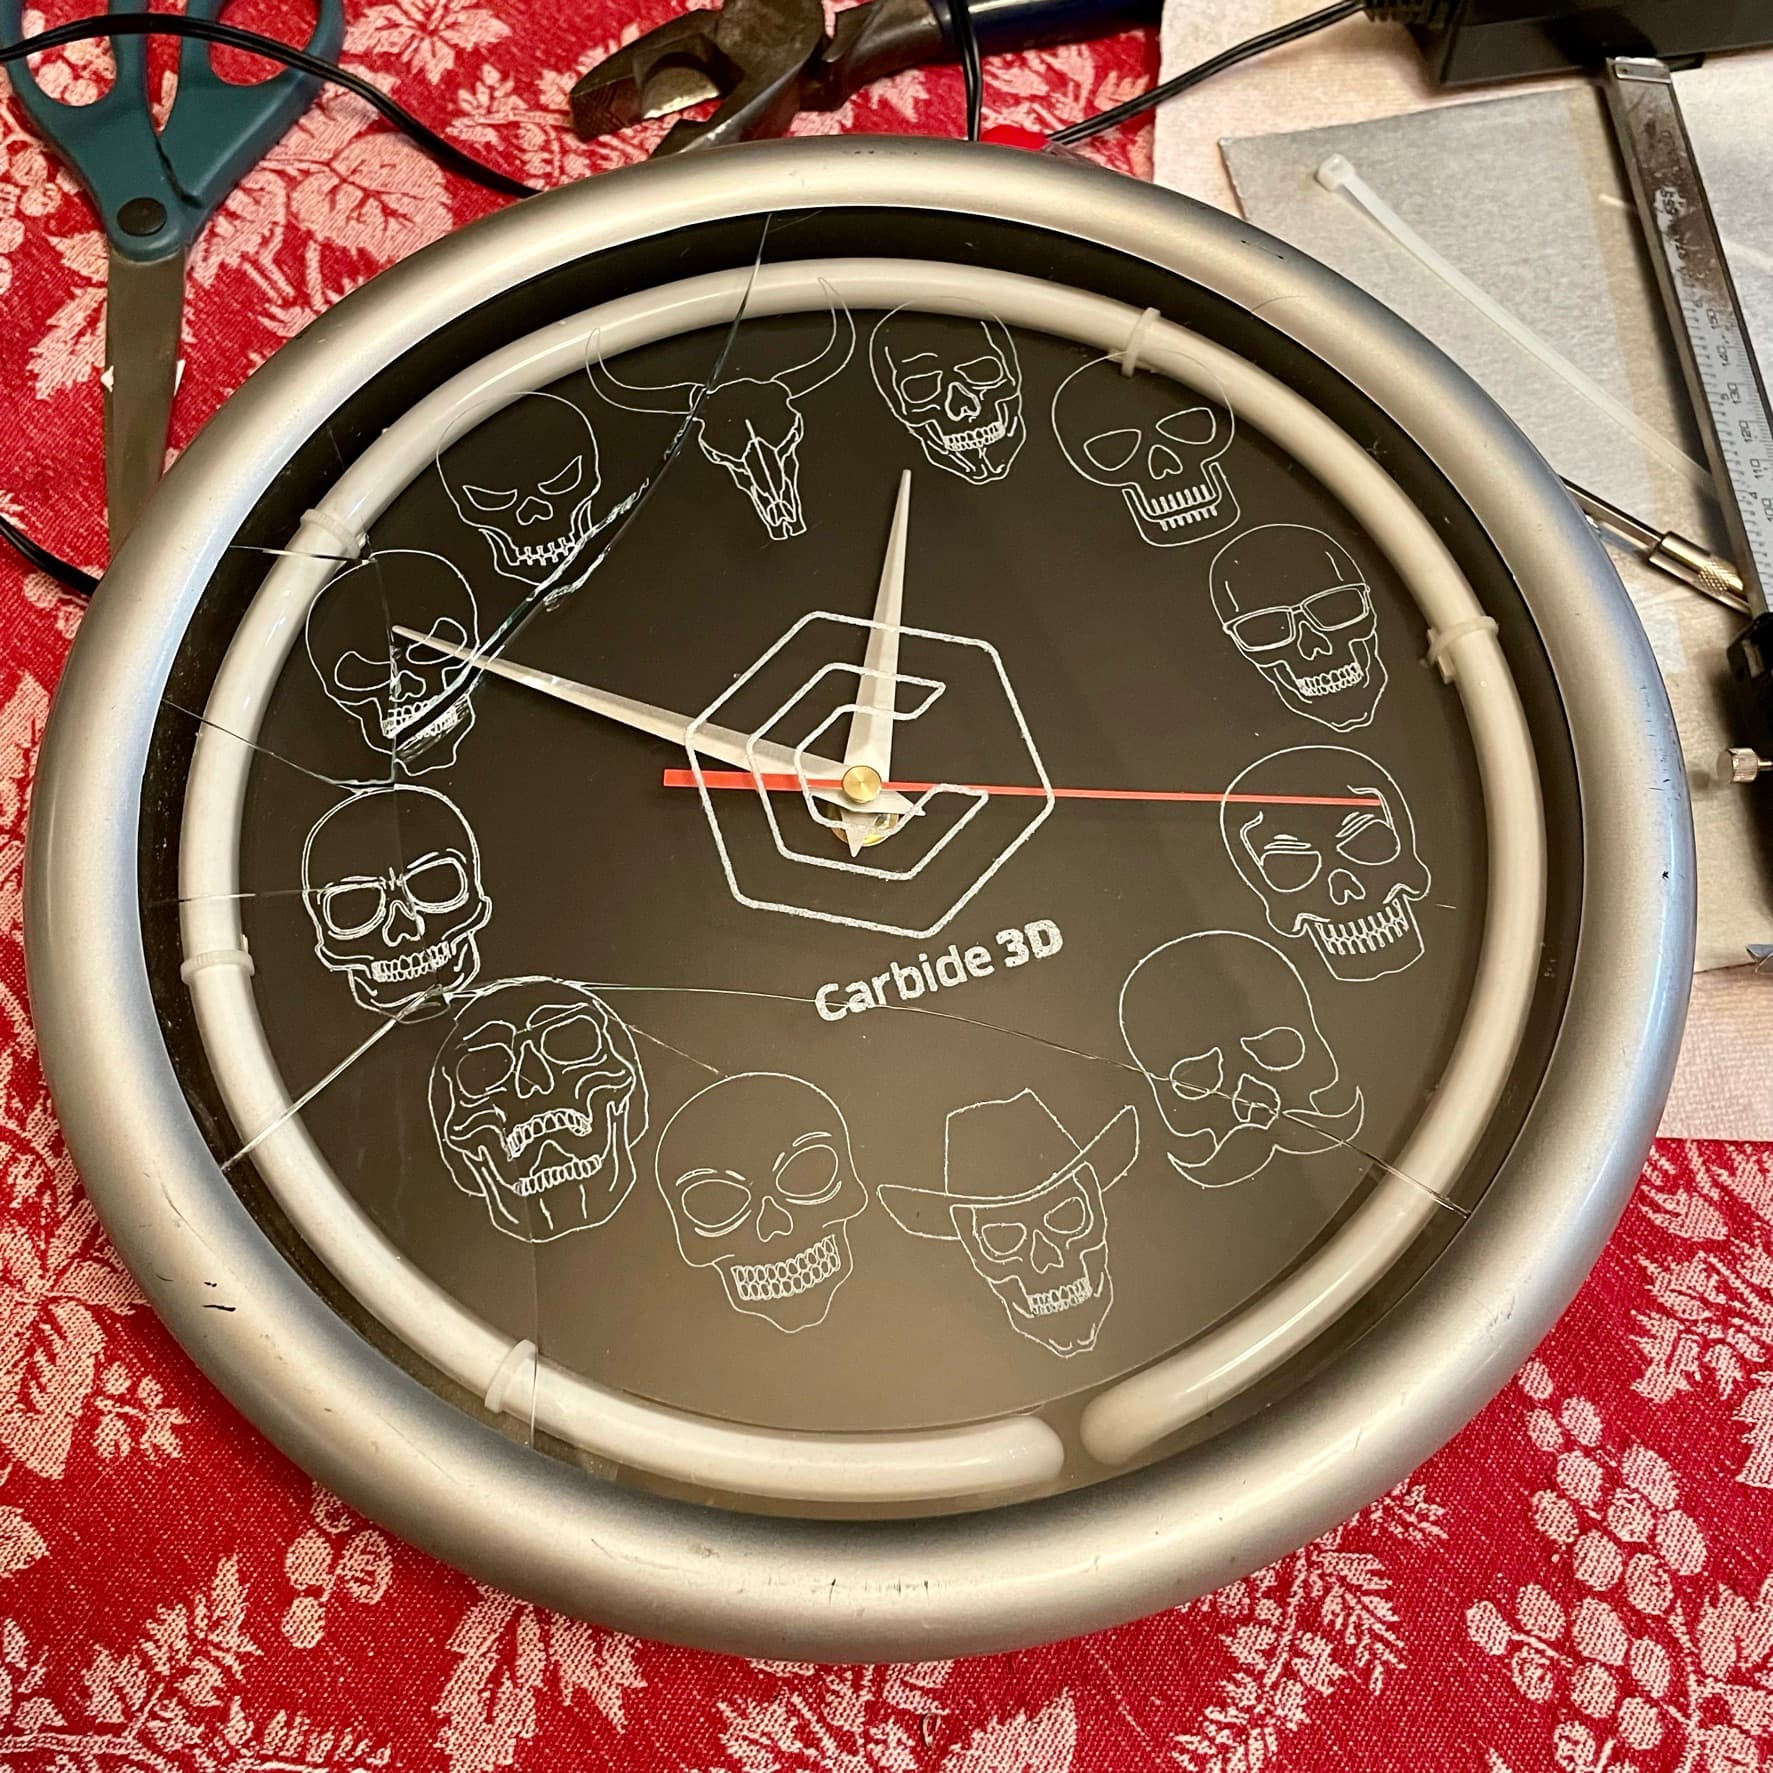
Hey guys! So I’d like to submit this entry, but, forewarning: I destroyed the project in the very last step… 
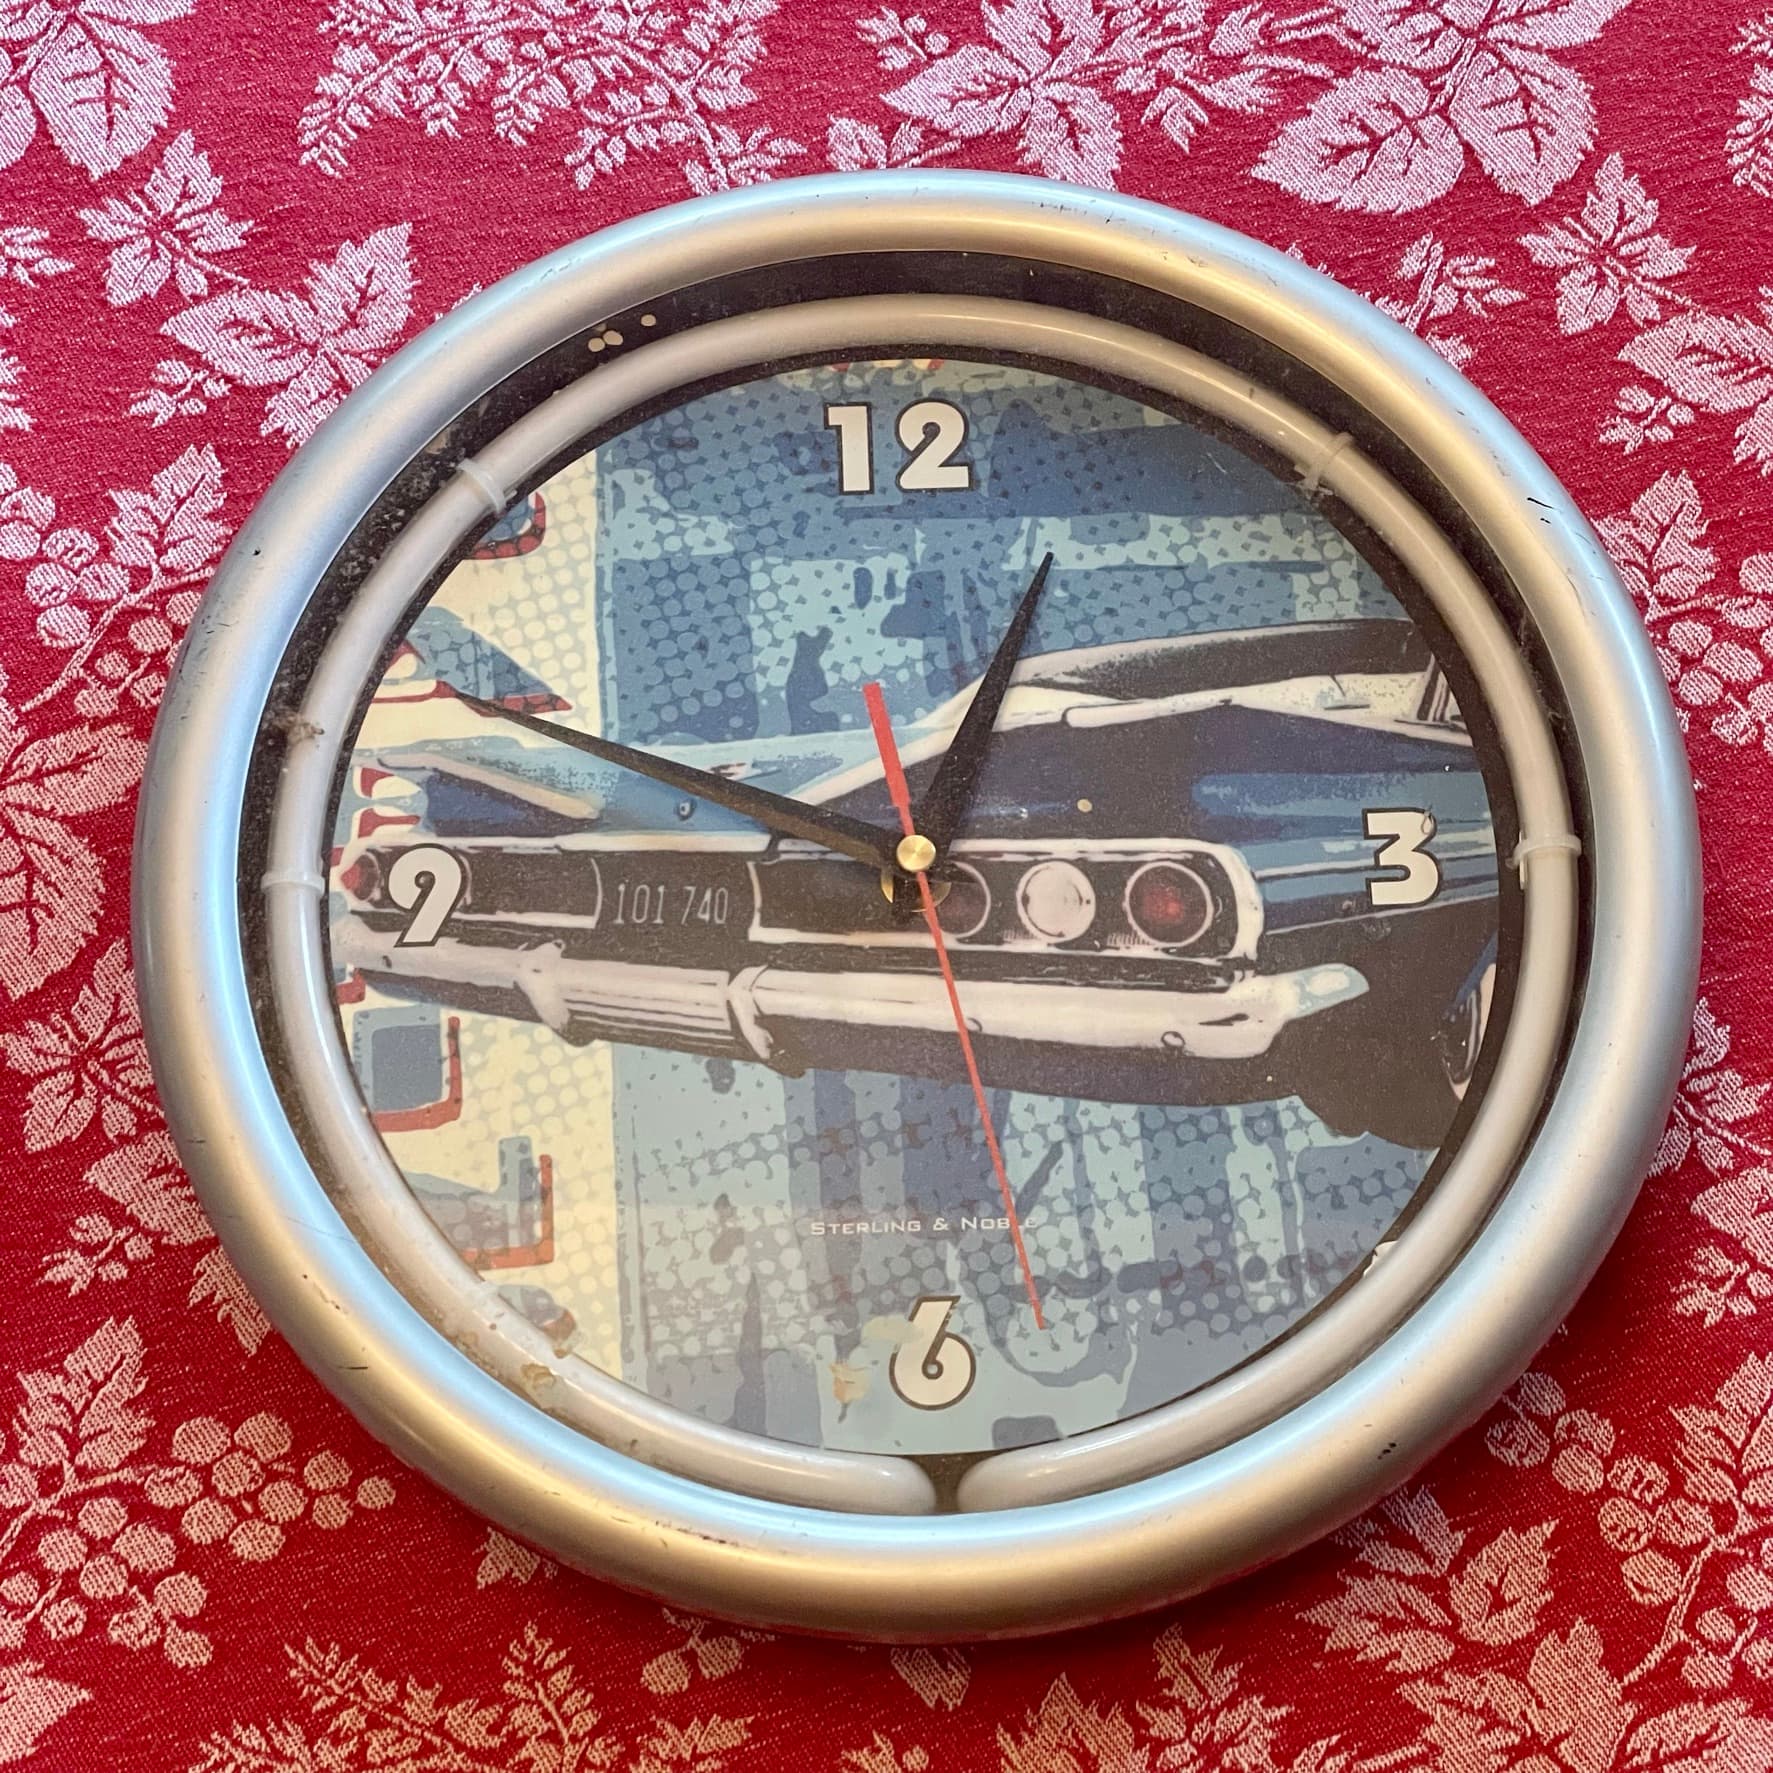
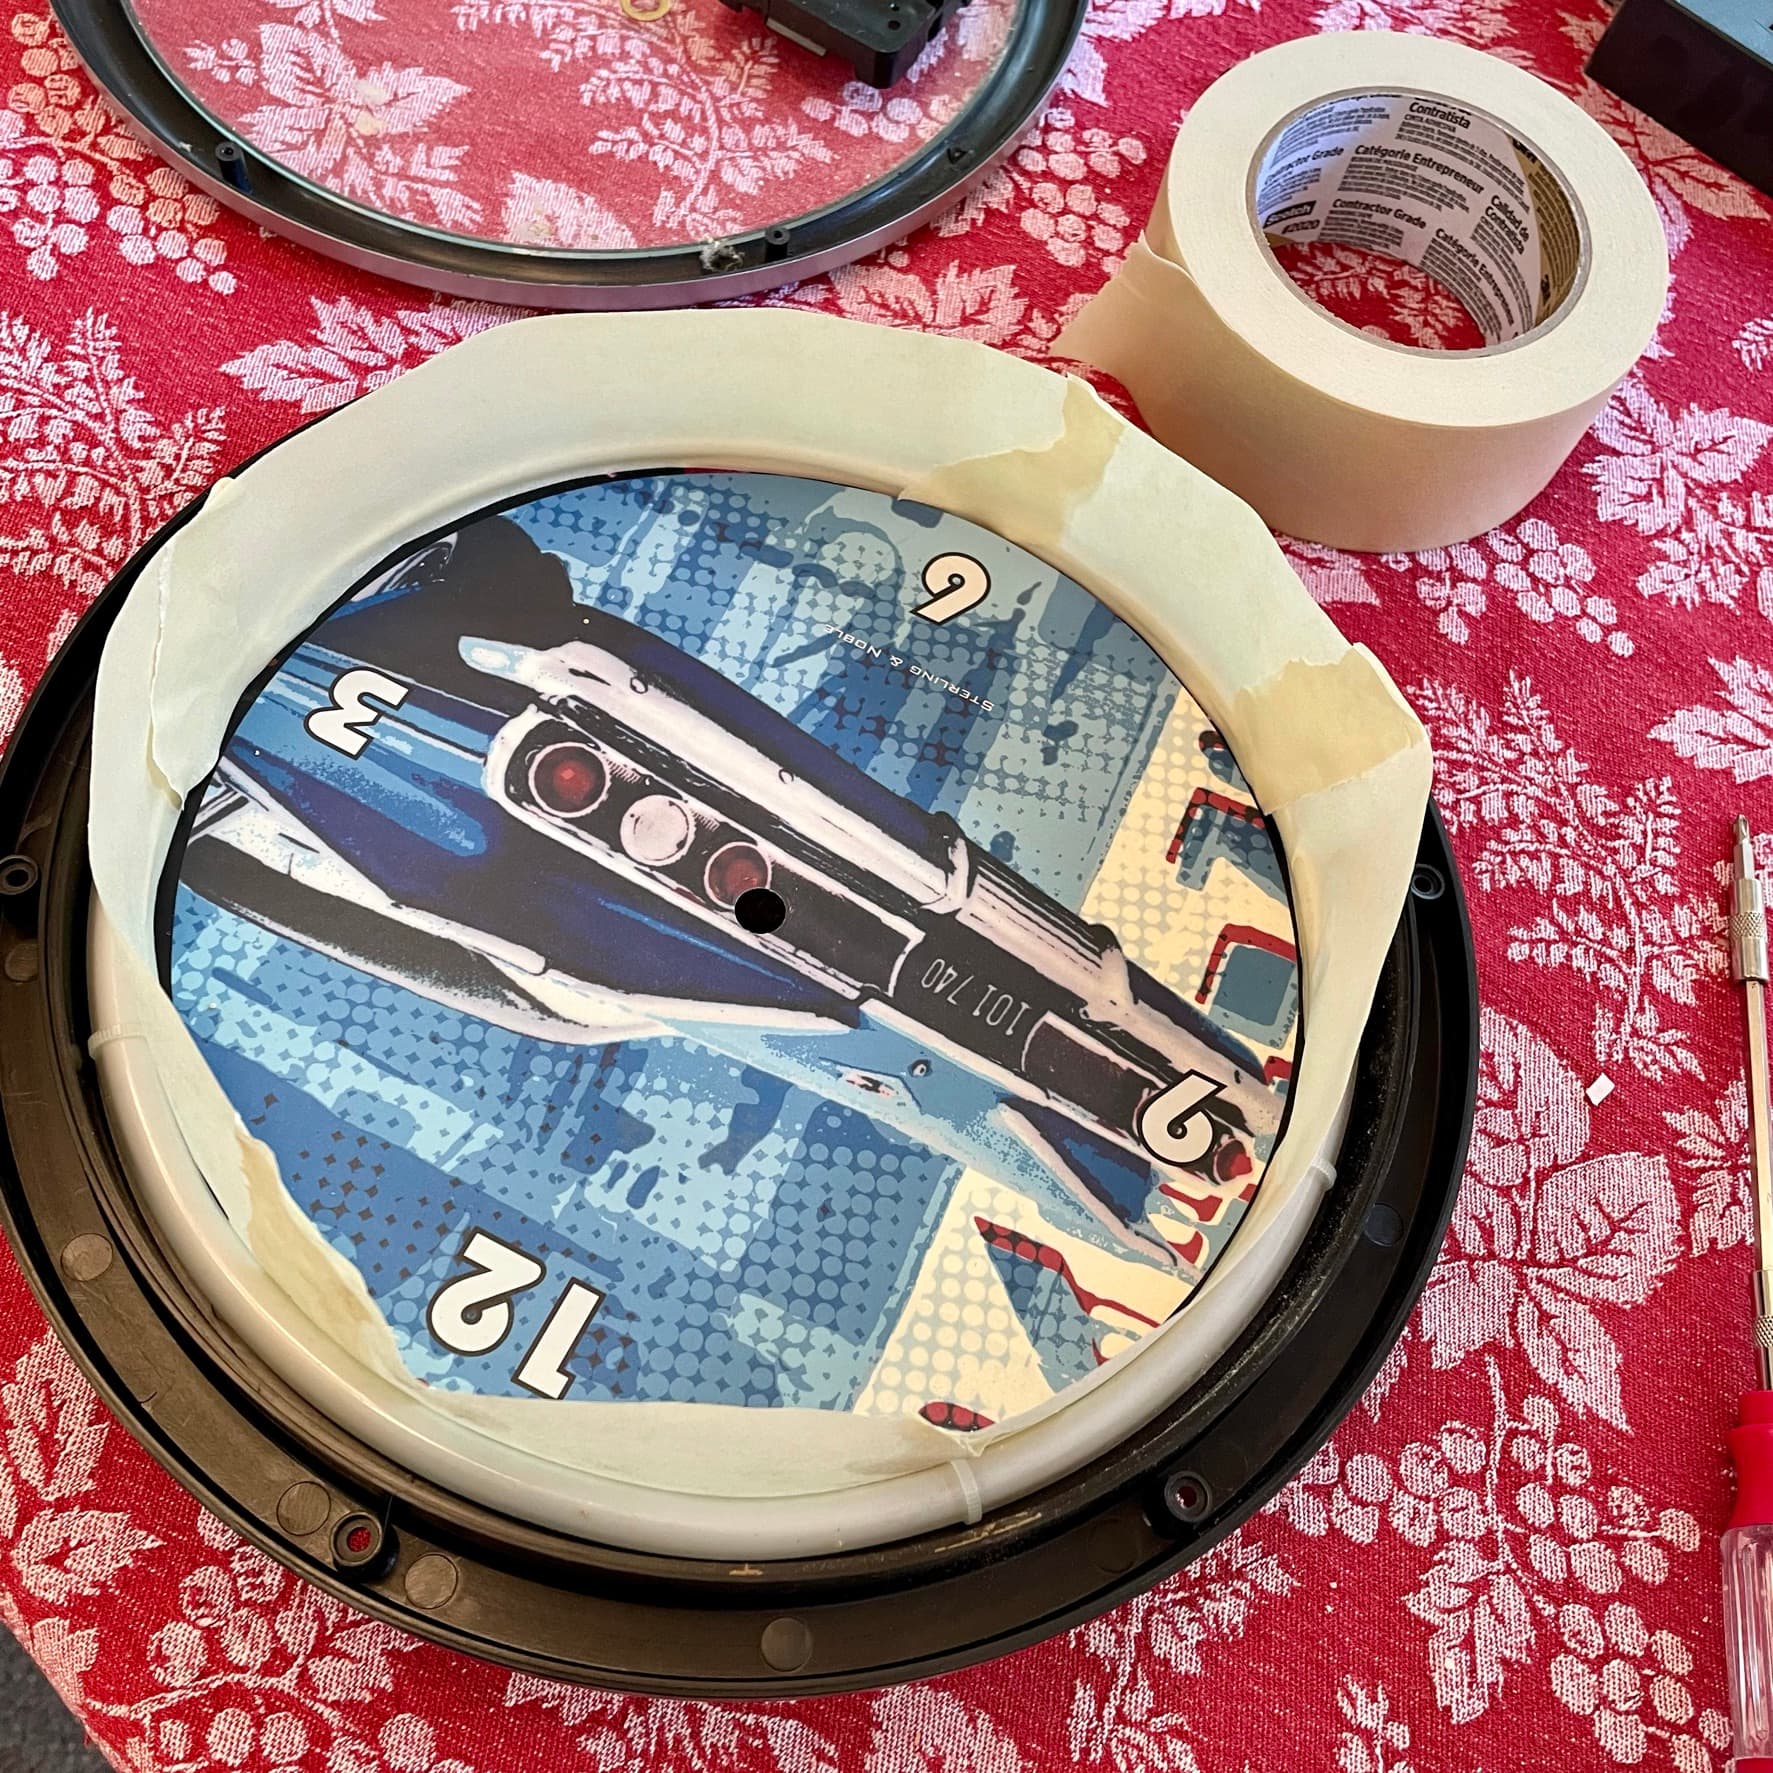
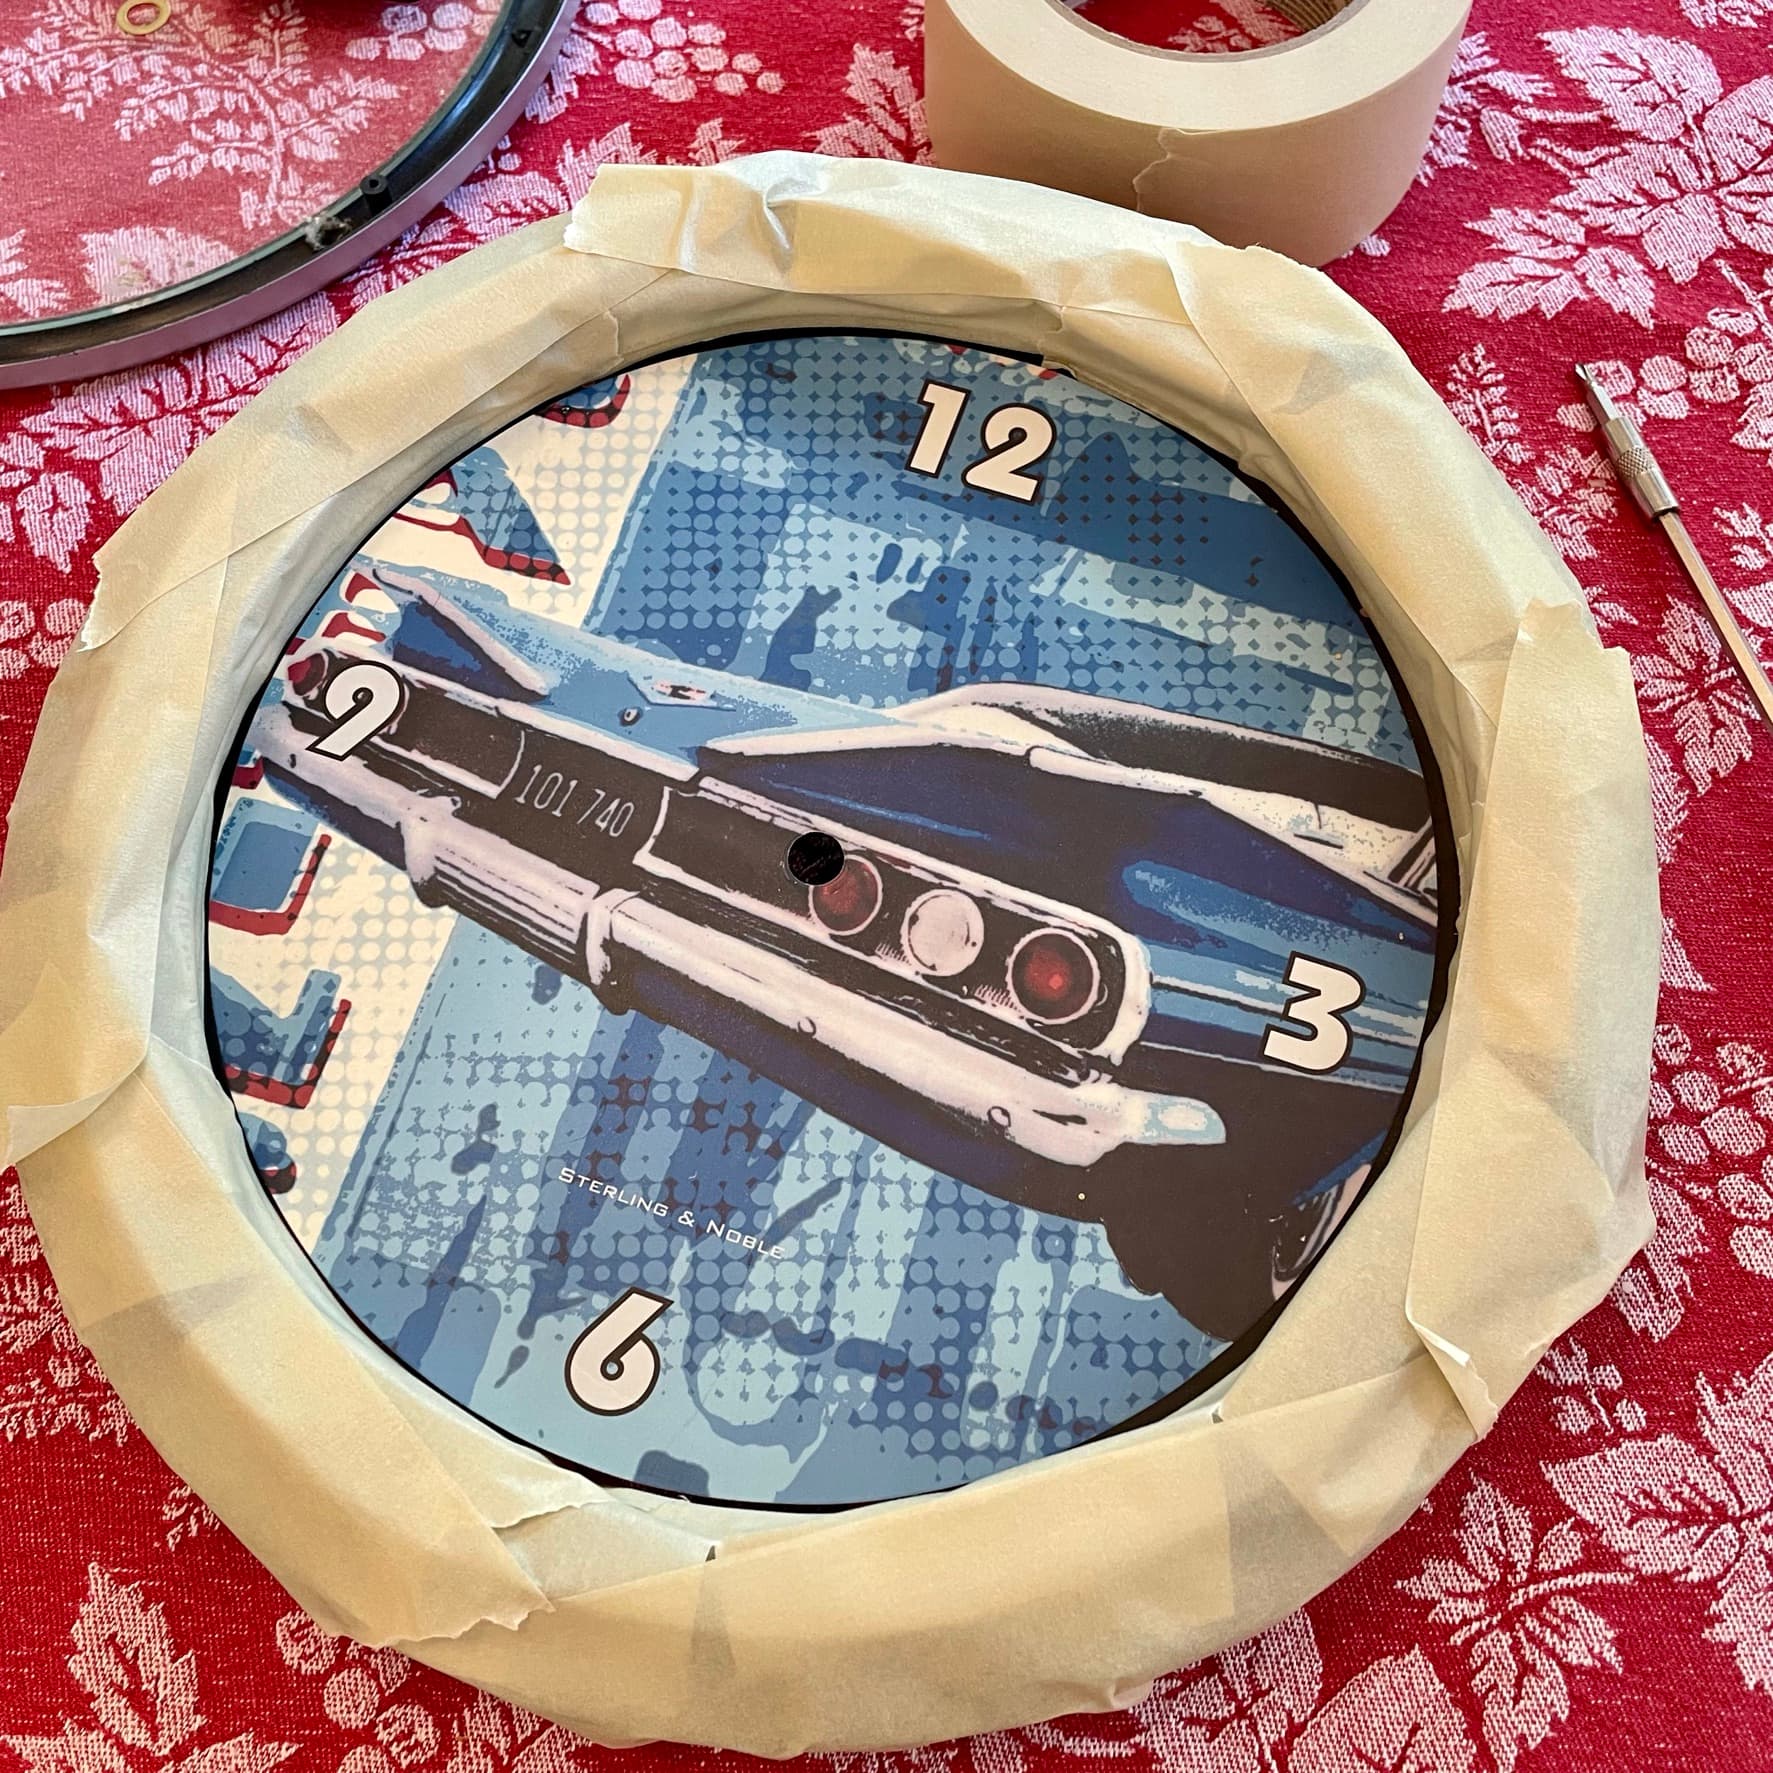
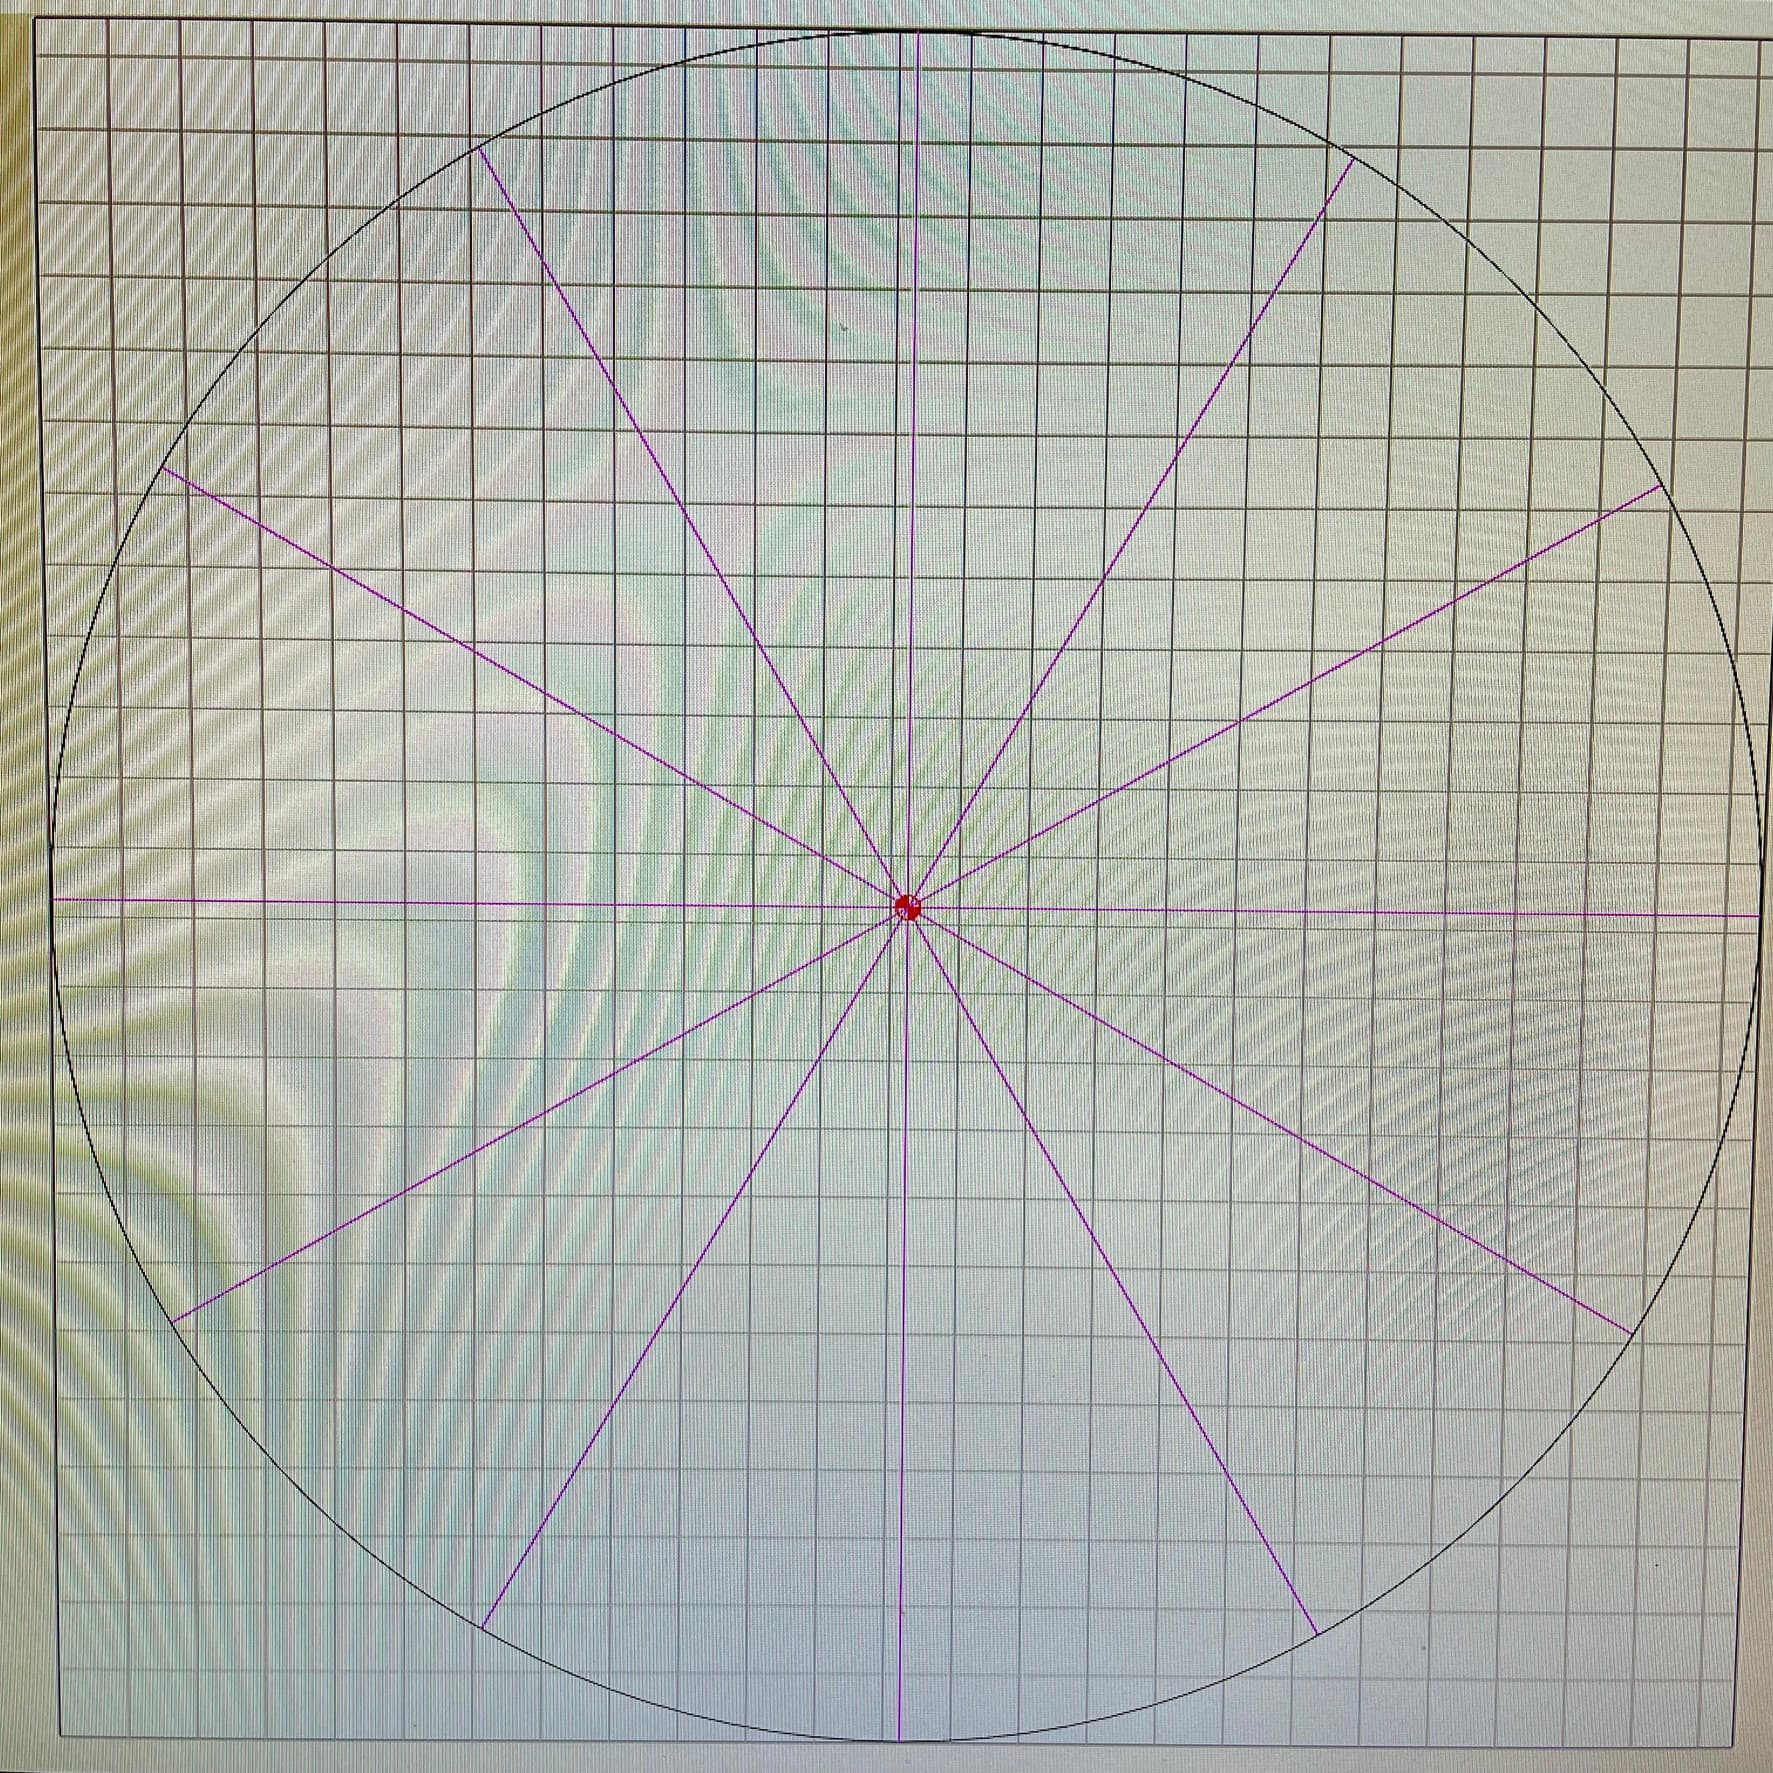
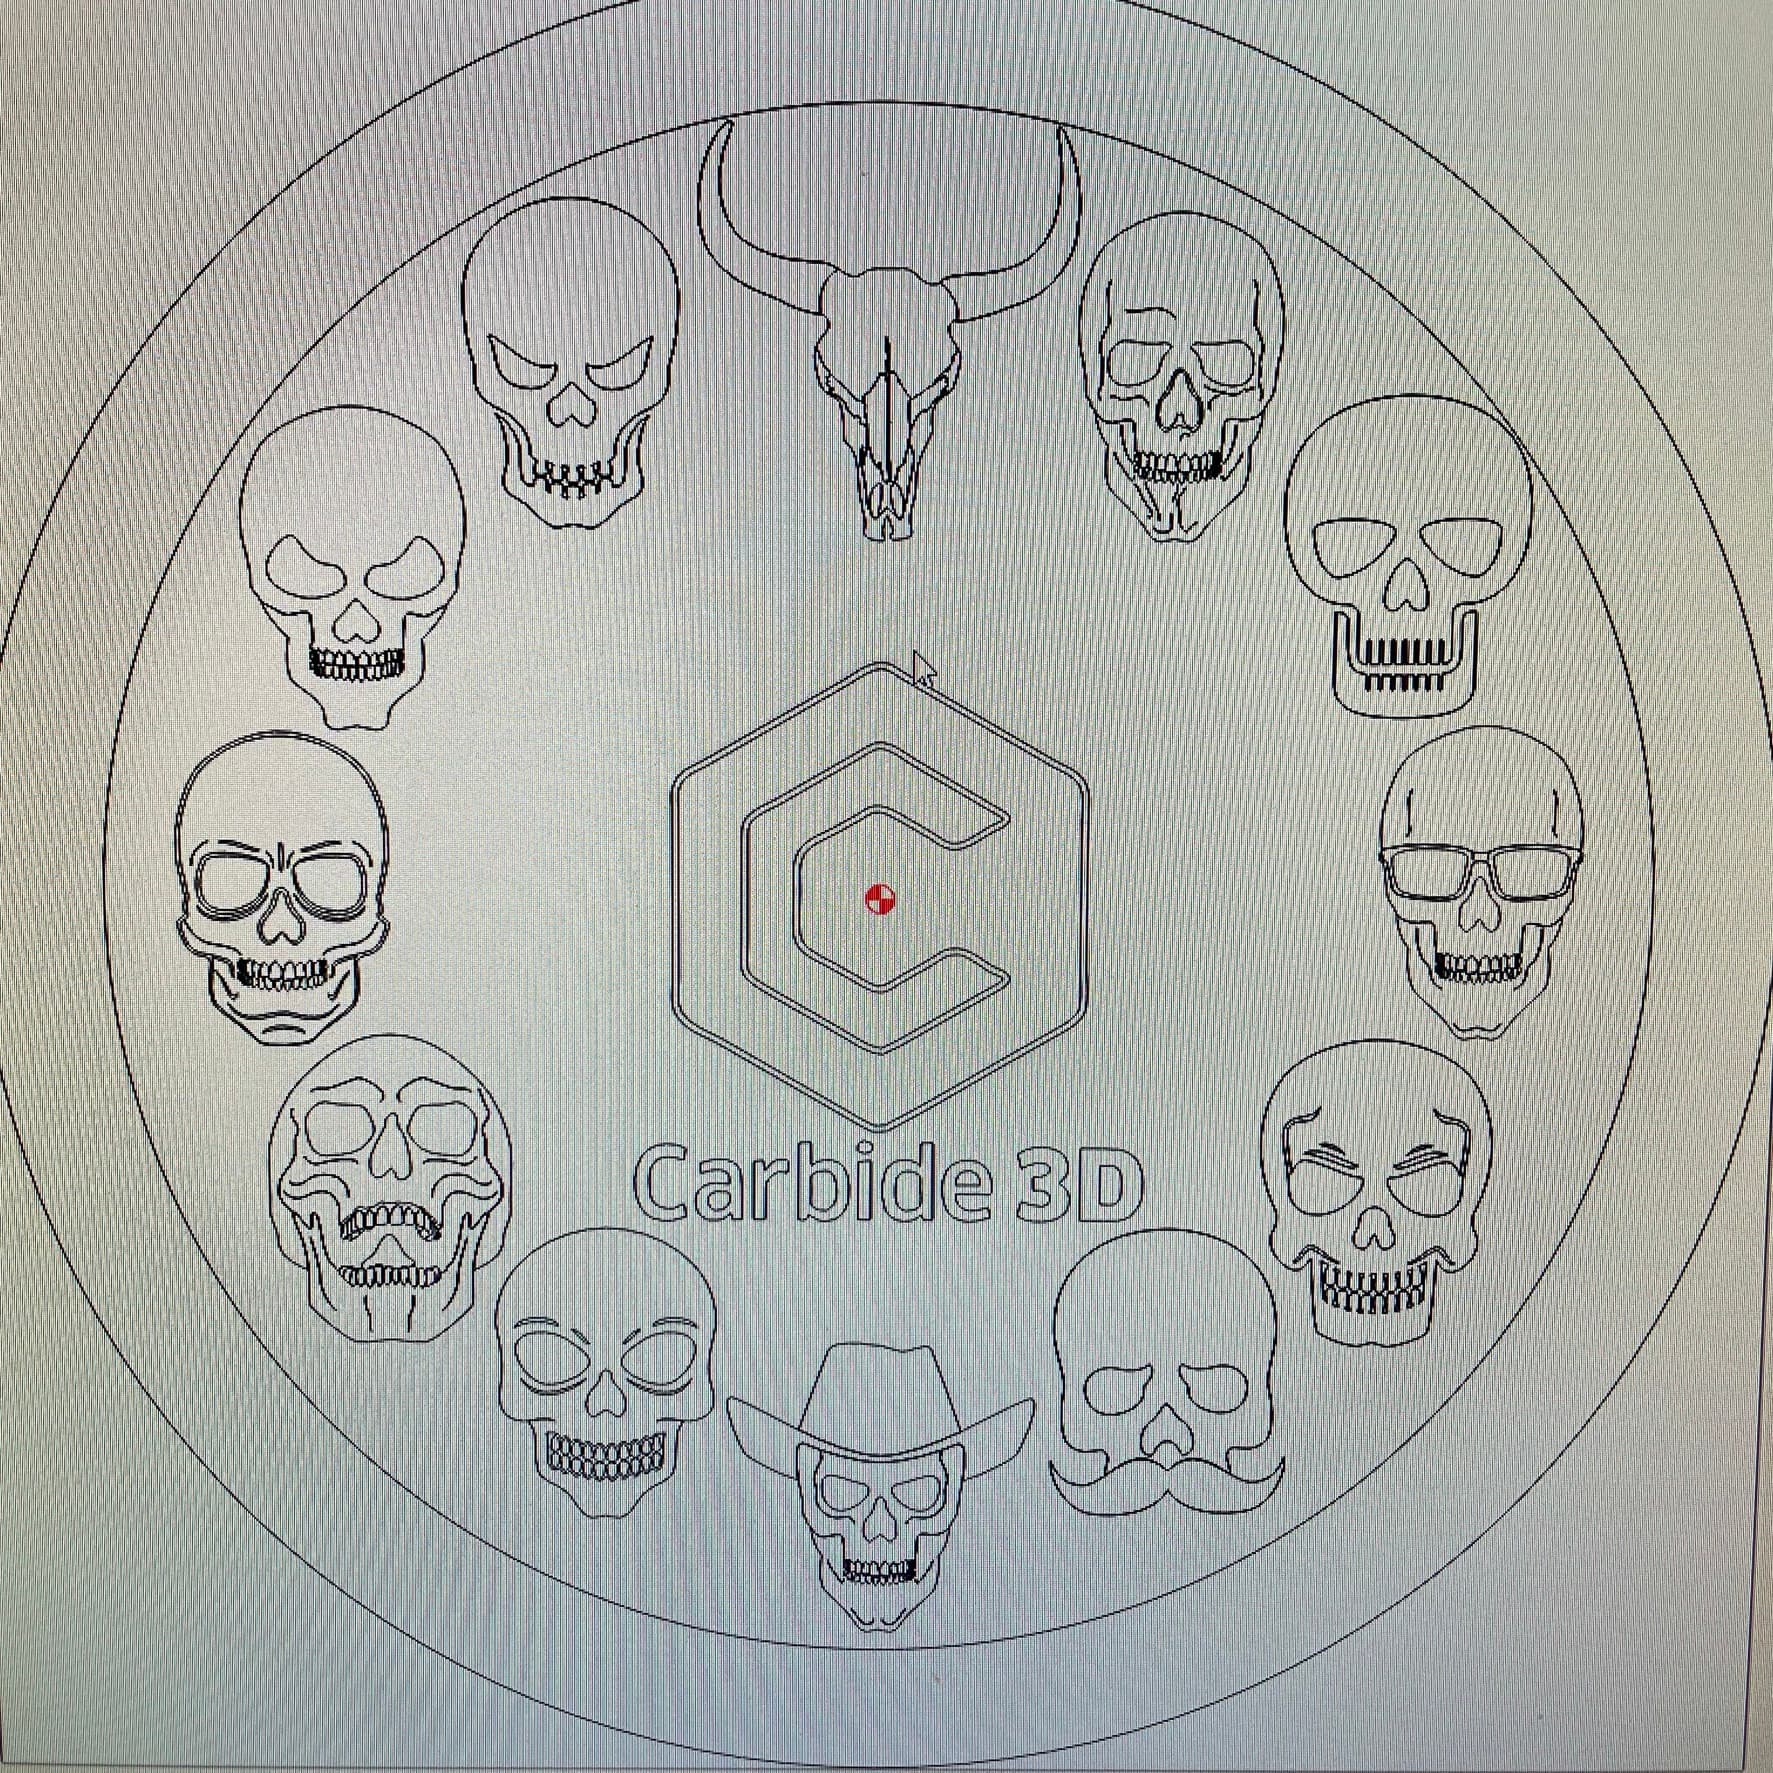
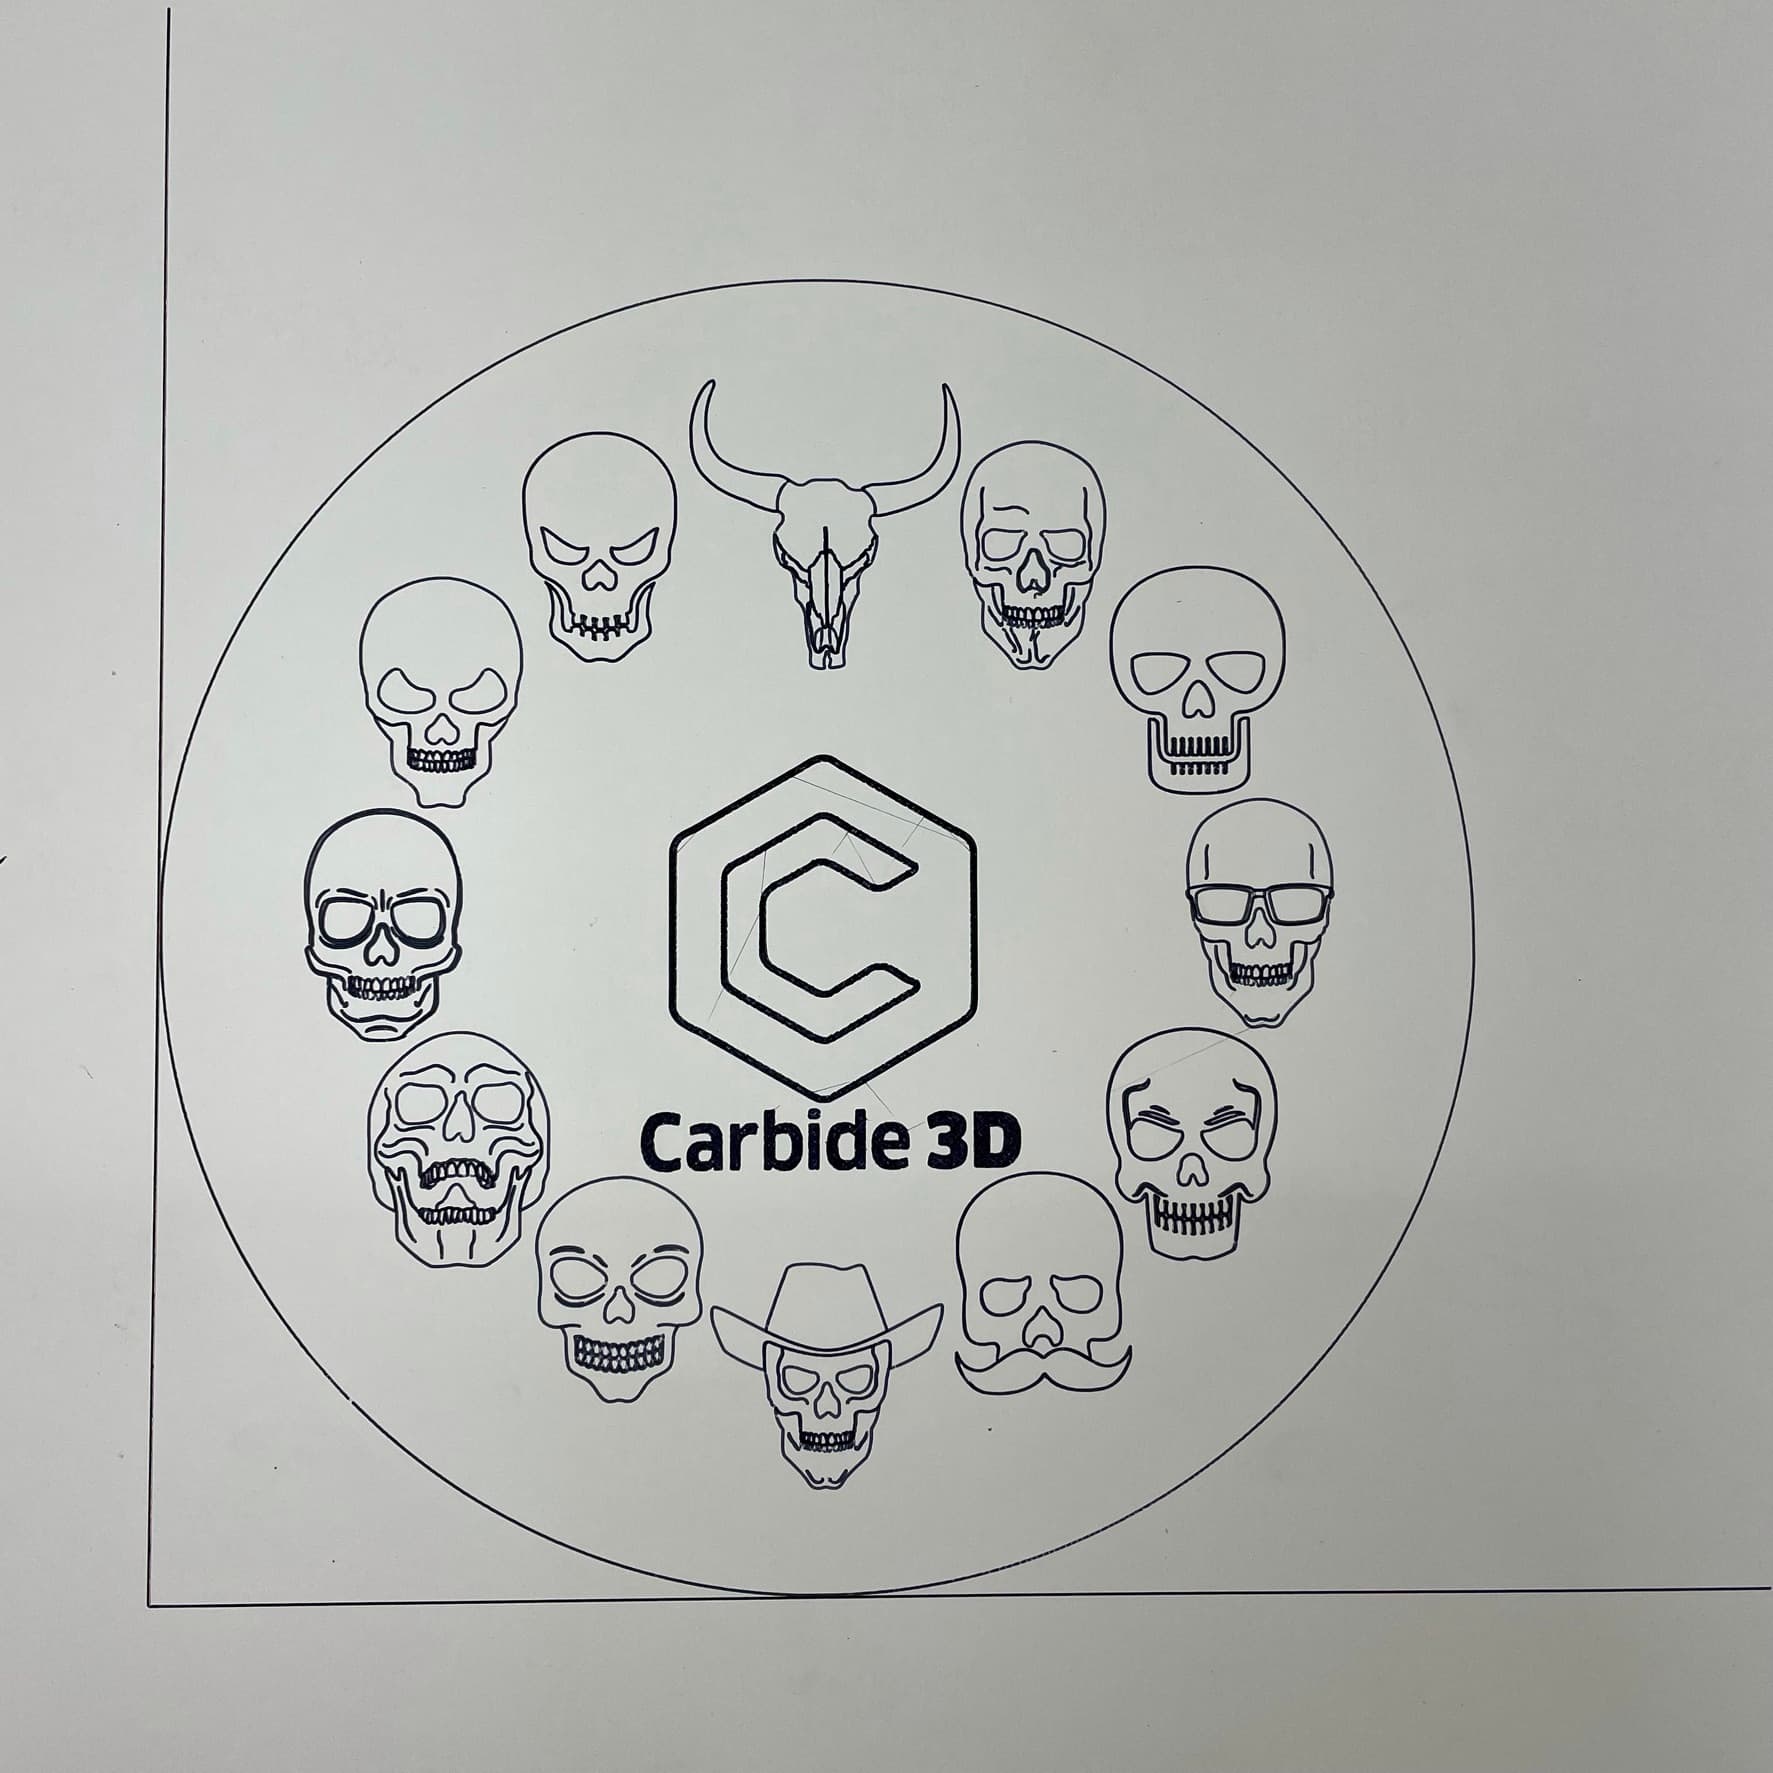
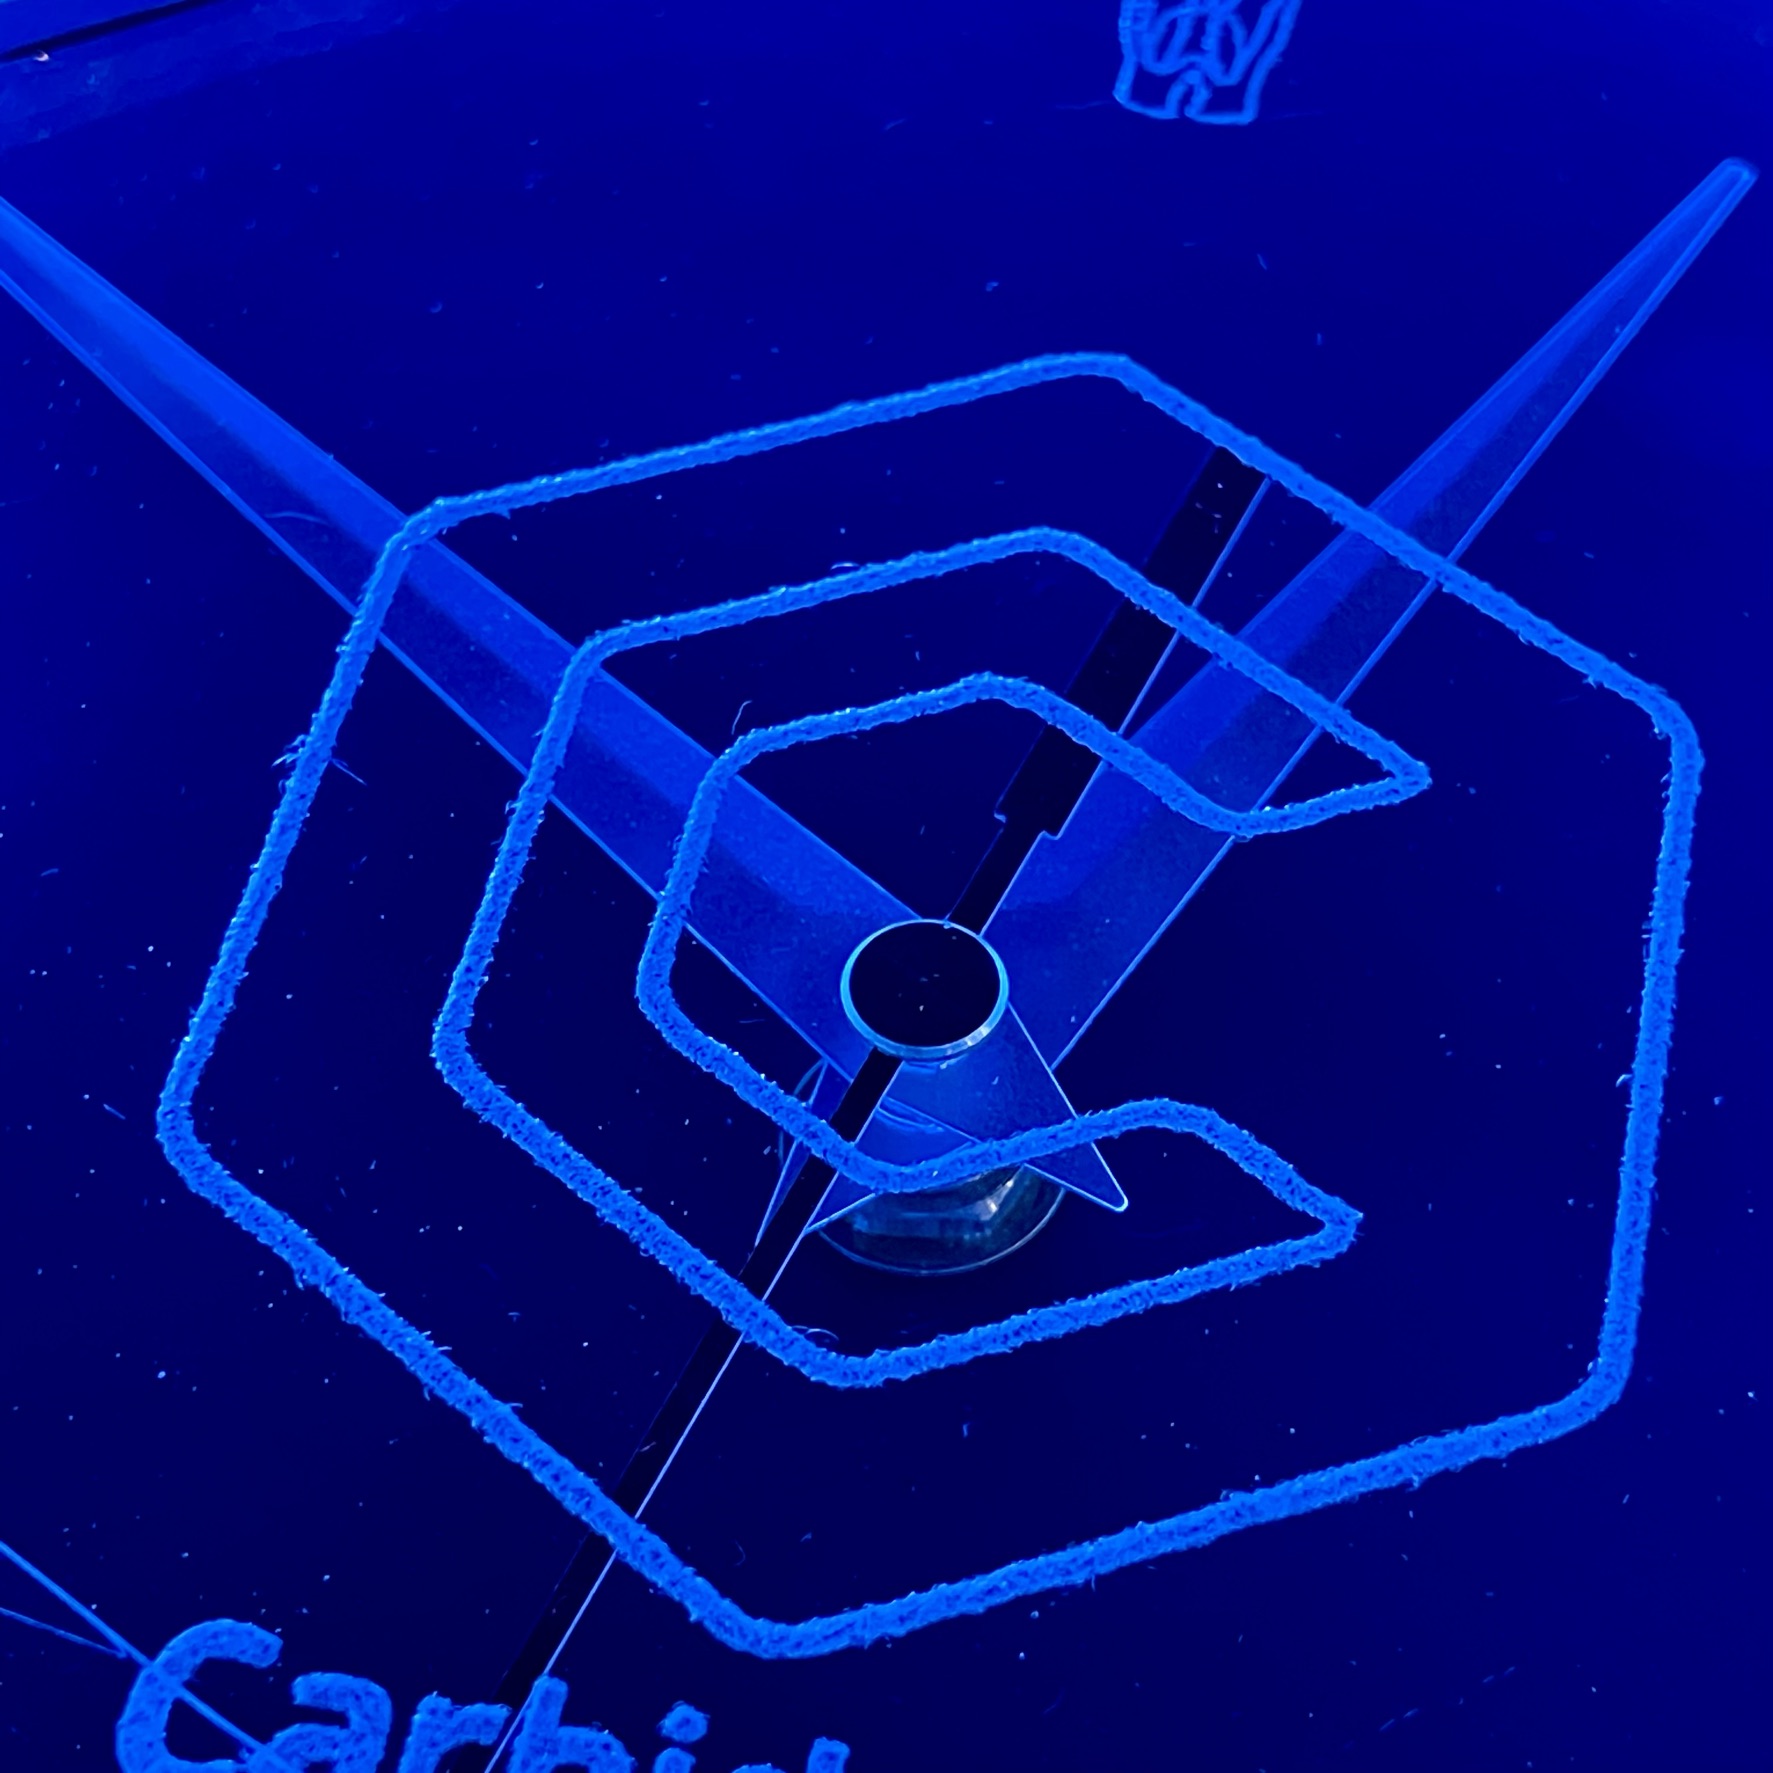
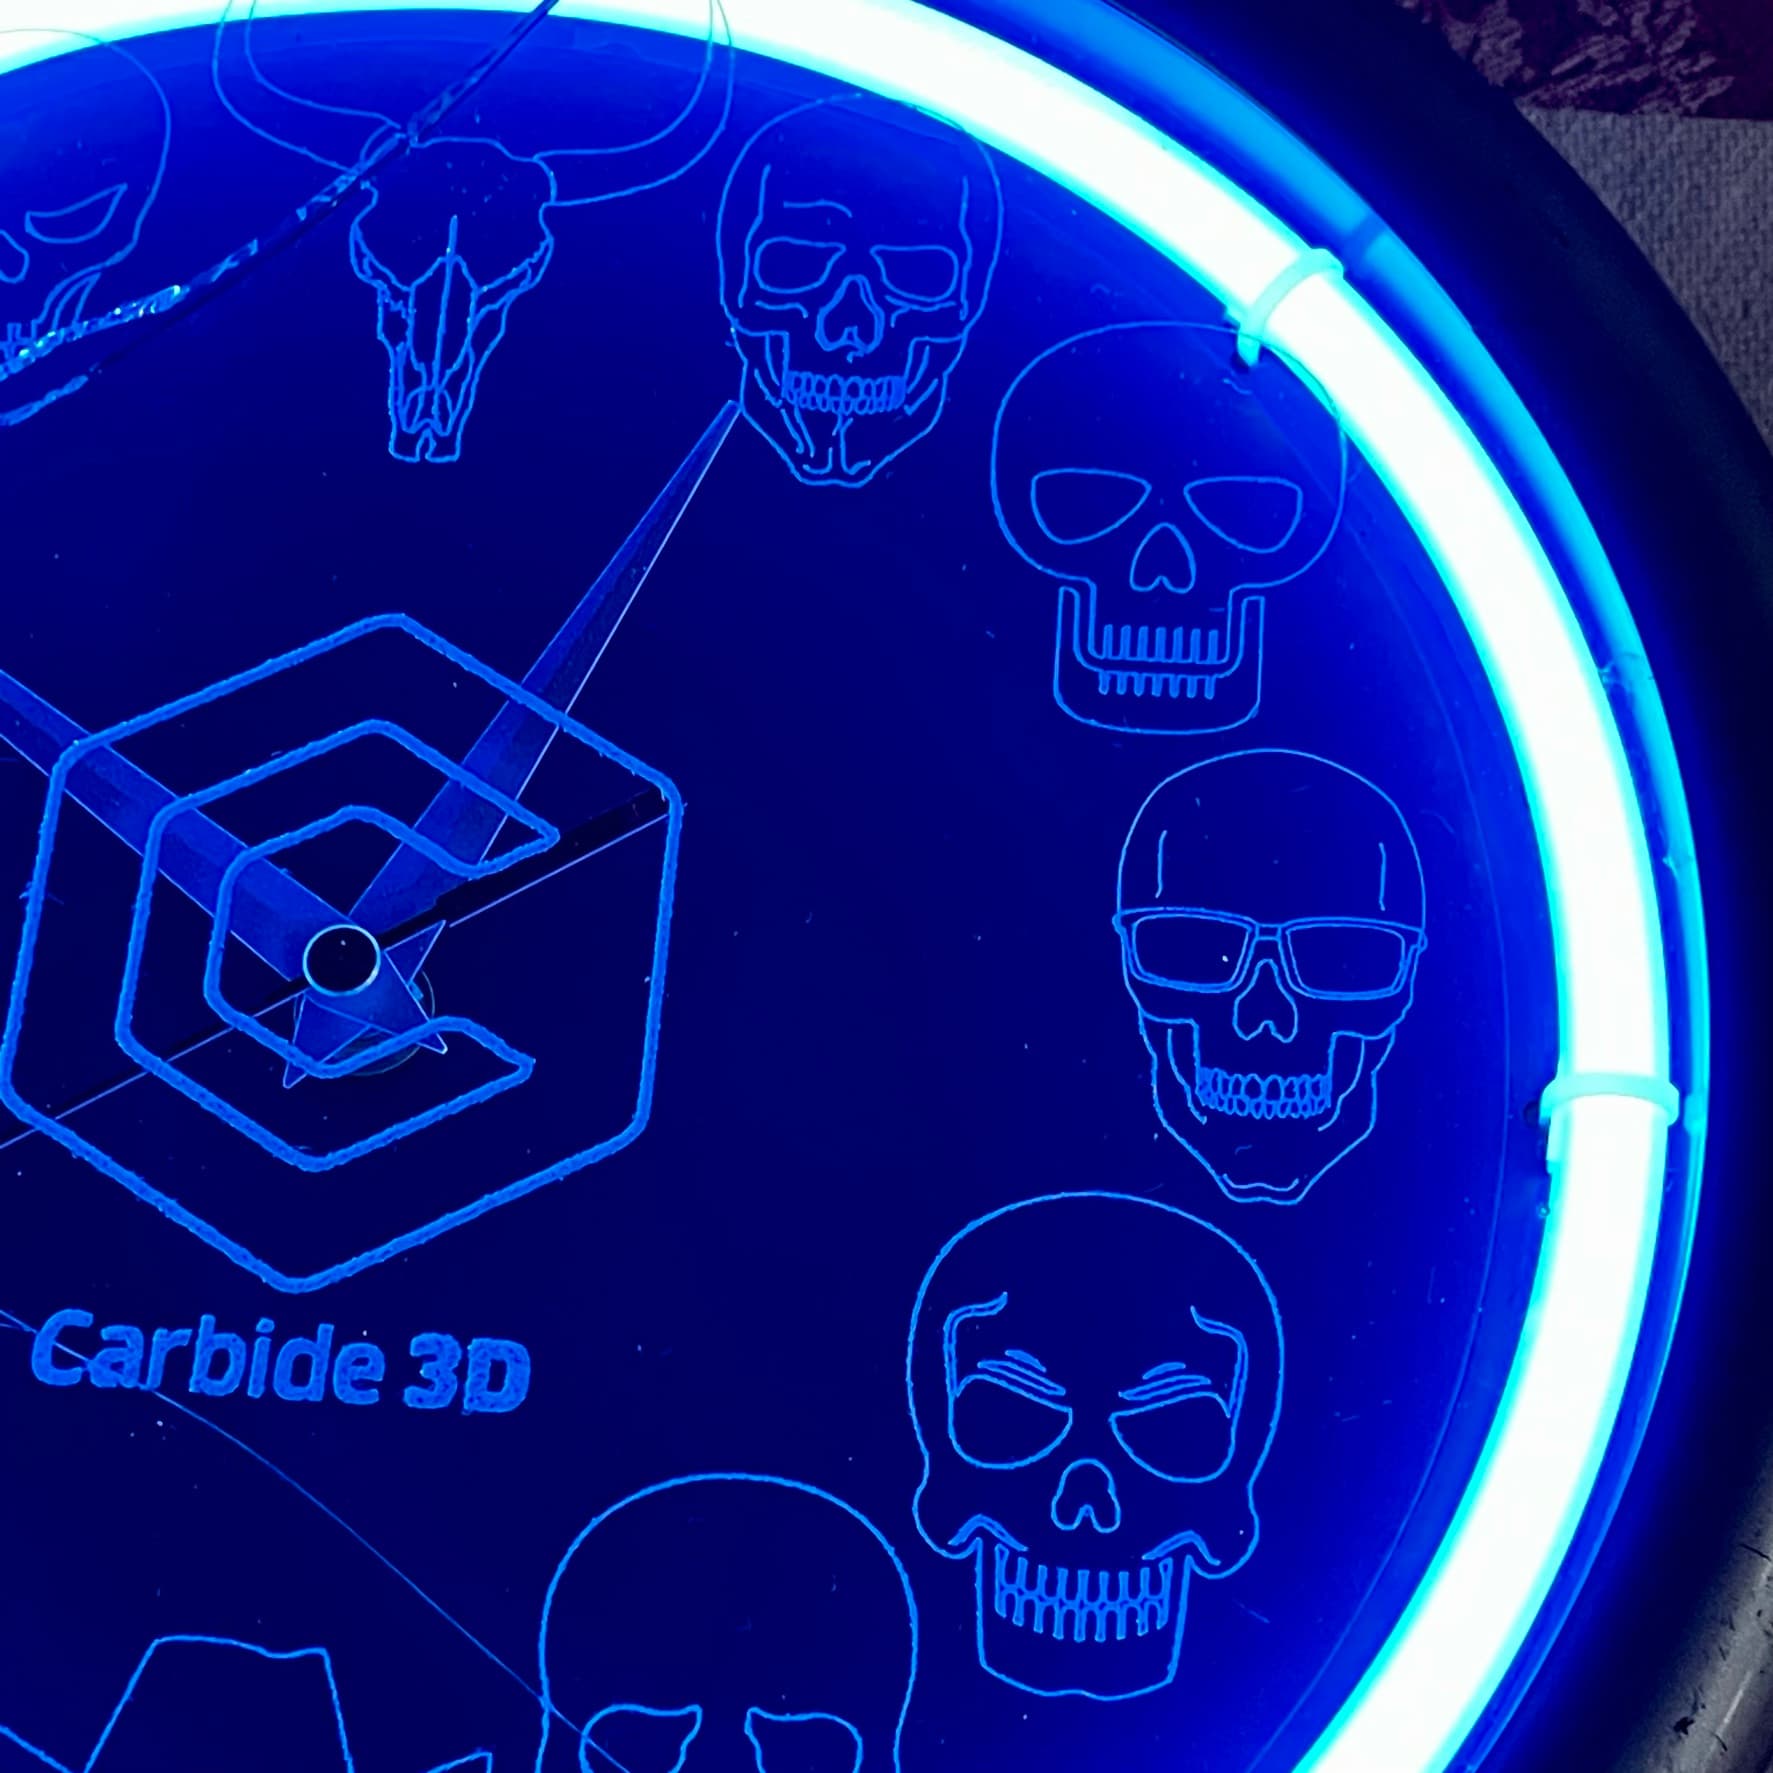
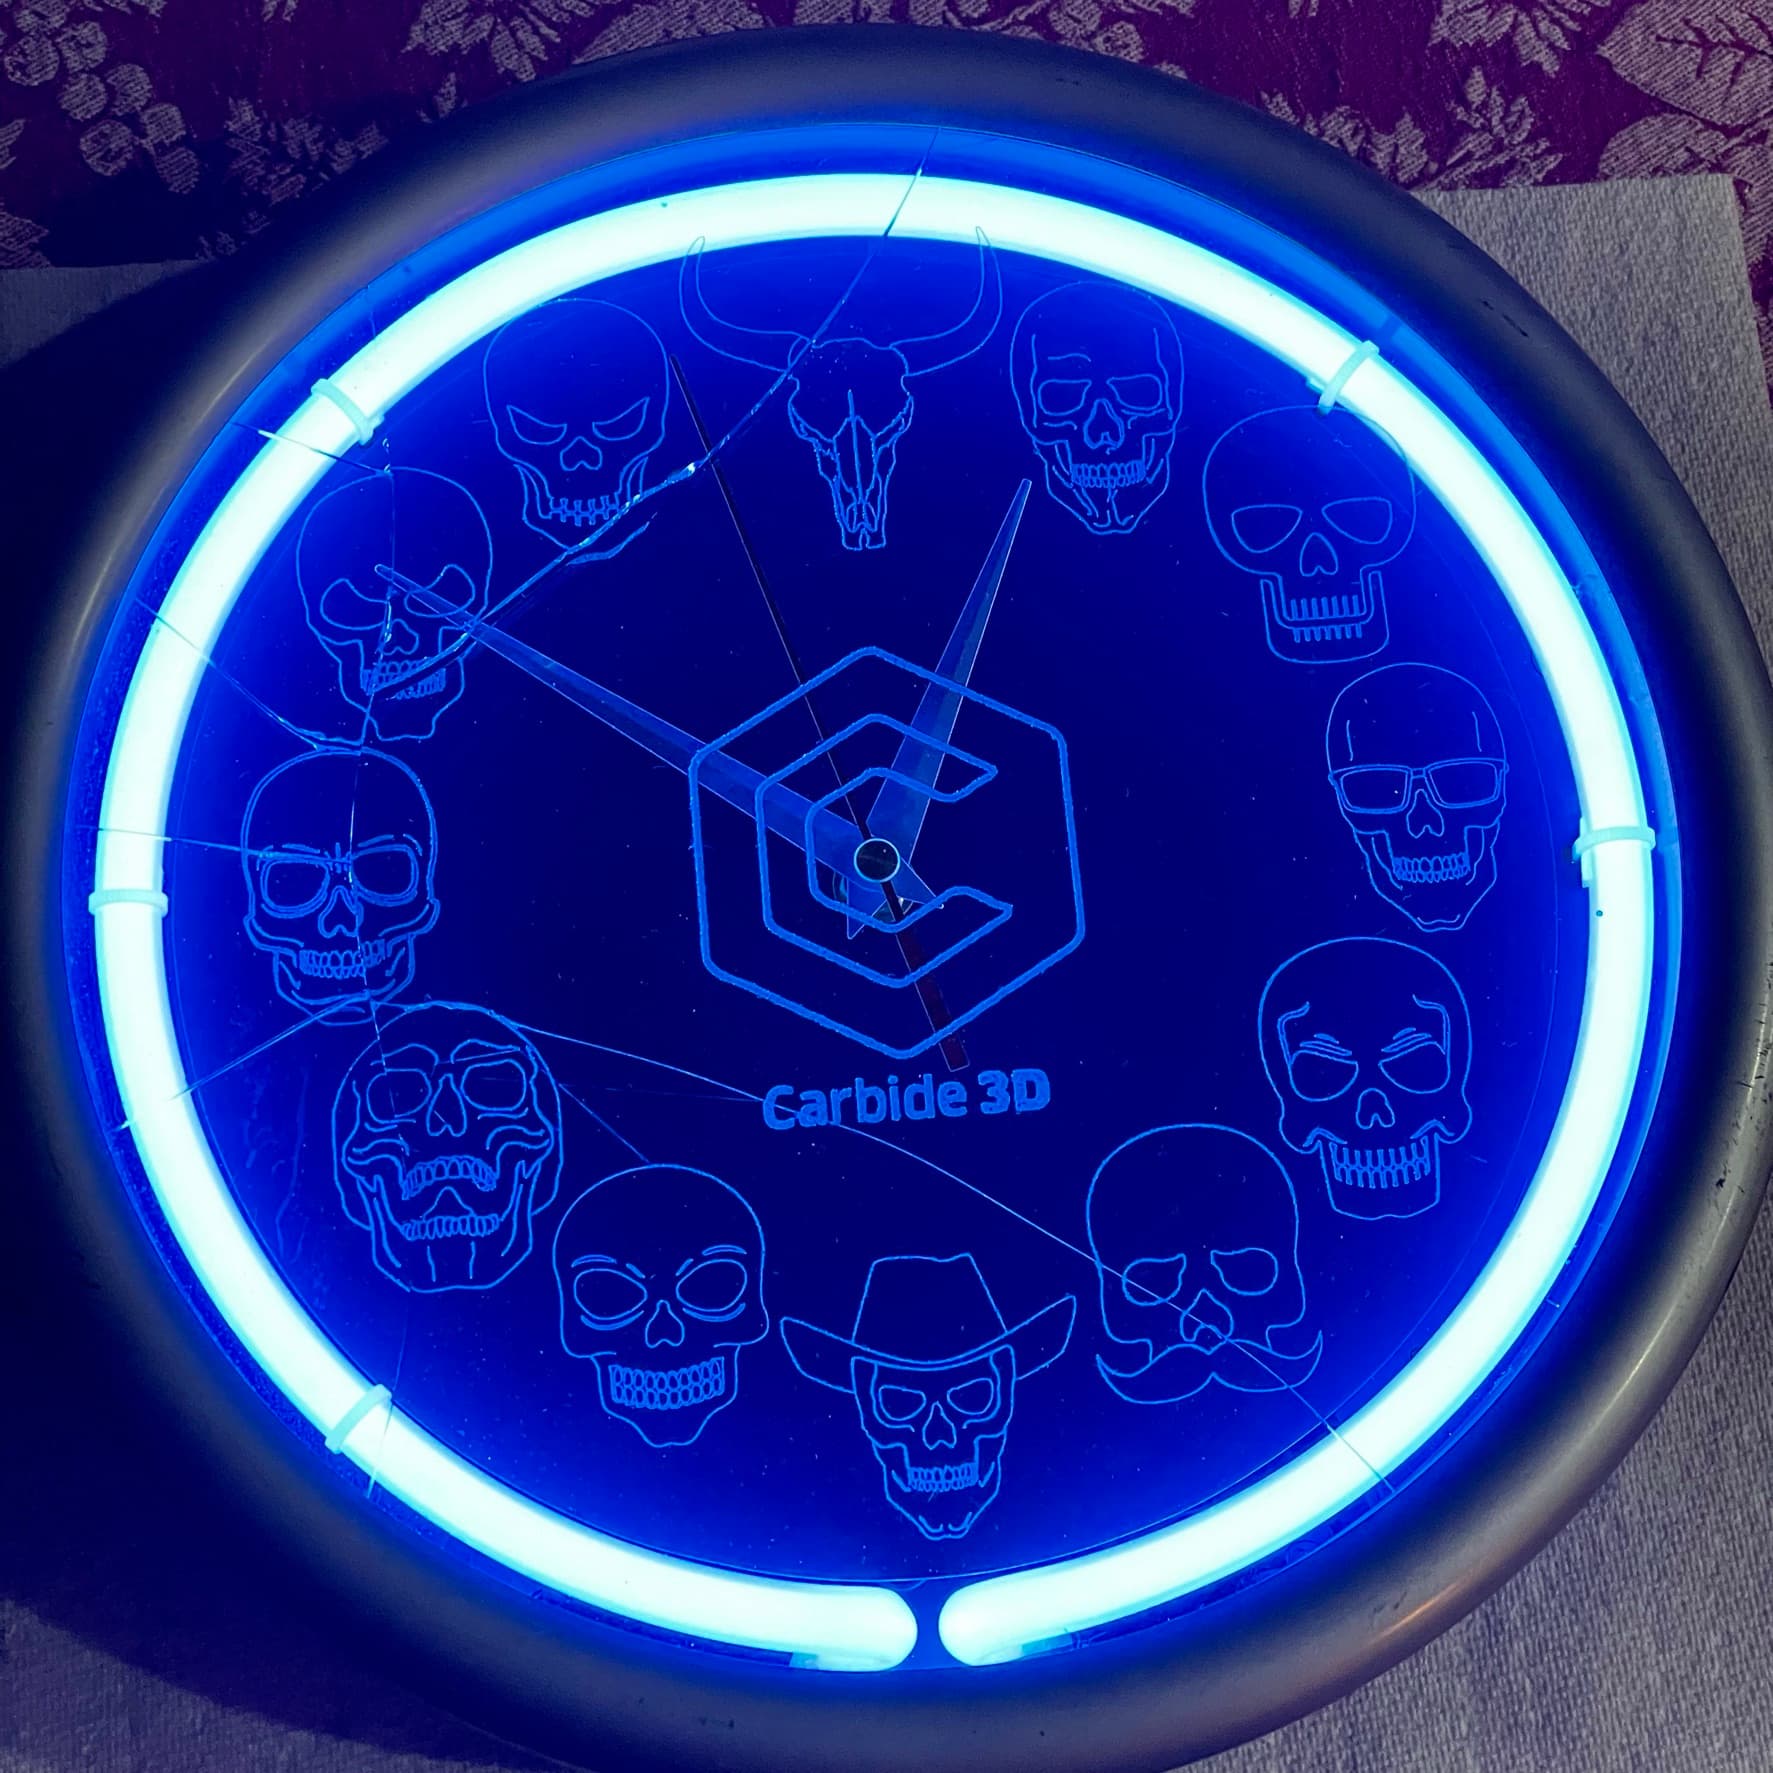
My idea was to use the Carbide 3D vectors to make a clock design with a slightly different skull on every hour… I happened to have an old clock laying around with a neon blue backlight and a 245mm diameter piece of circular glass.
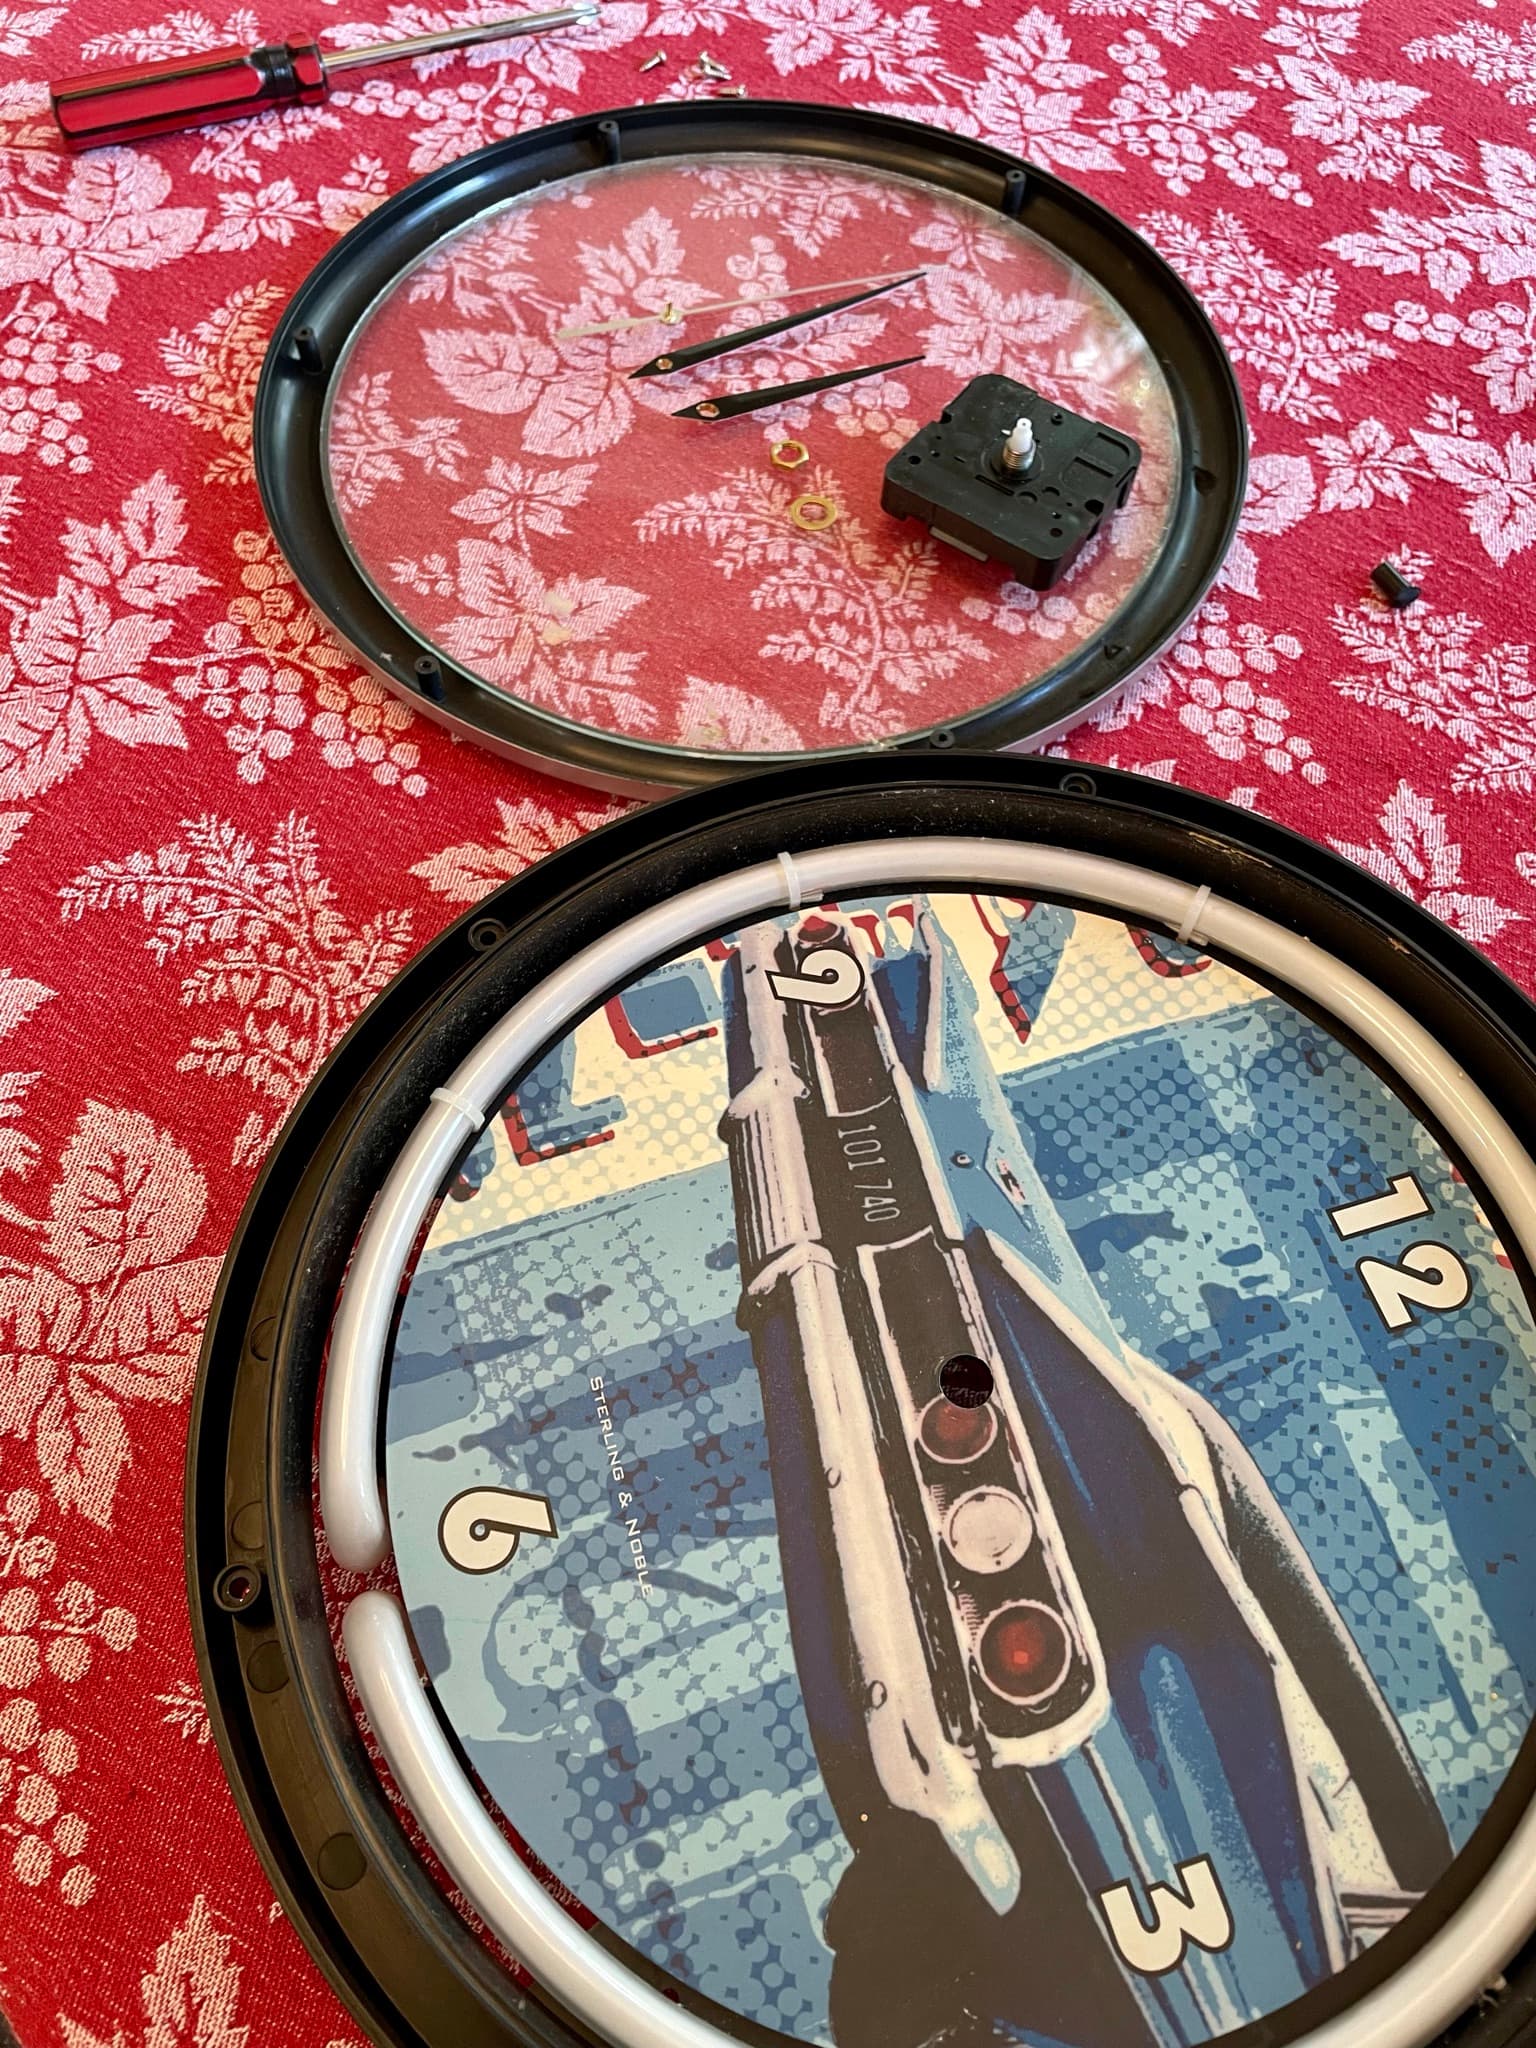
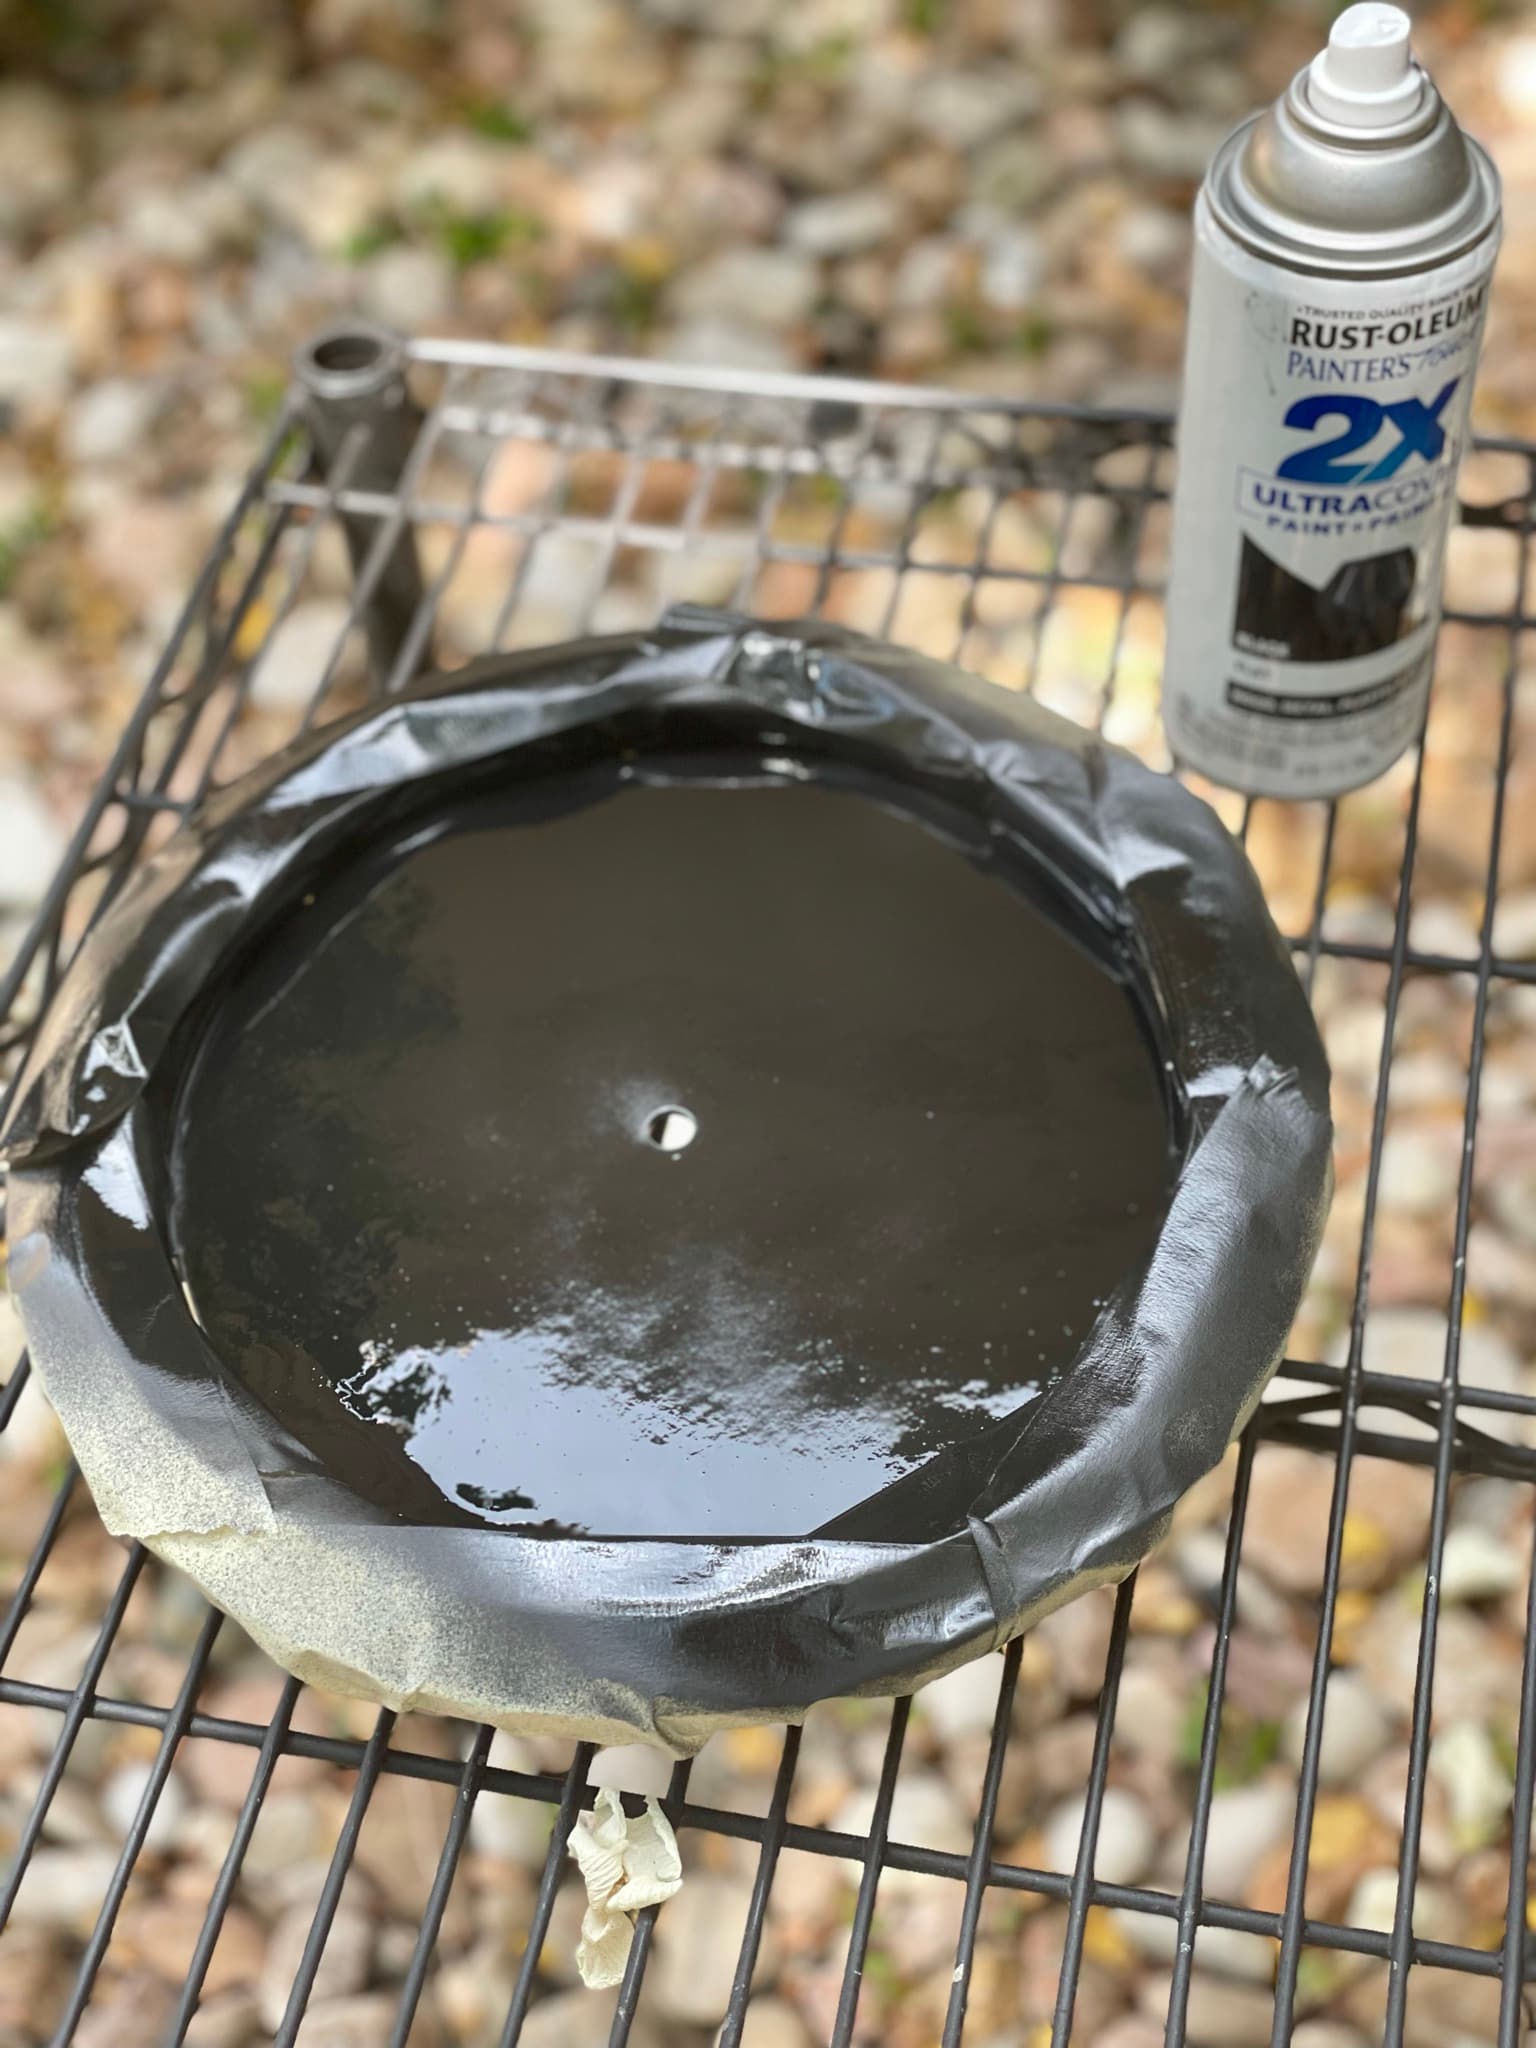
I used the Skulls category in the design elements page & picked my favorite ones. I recently purchased the Mc Etcher 120/90 degree dragbit pack, and was excited to find a fun use for them. I started by taking the clock apart, and masking the neon light with tape. I’m a spray painter by trade, so this was pretty easy.
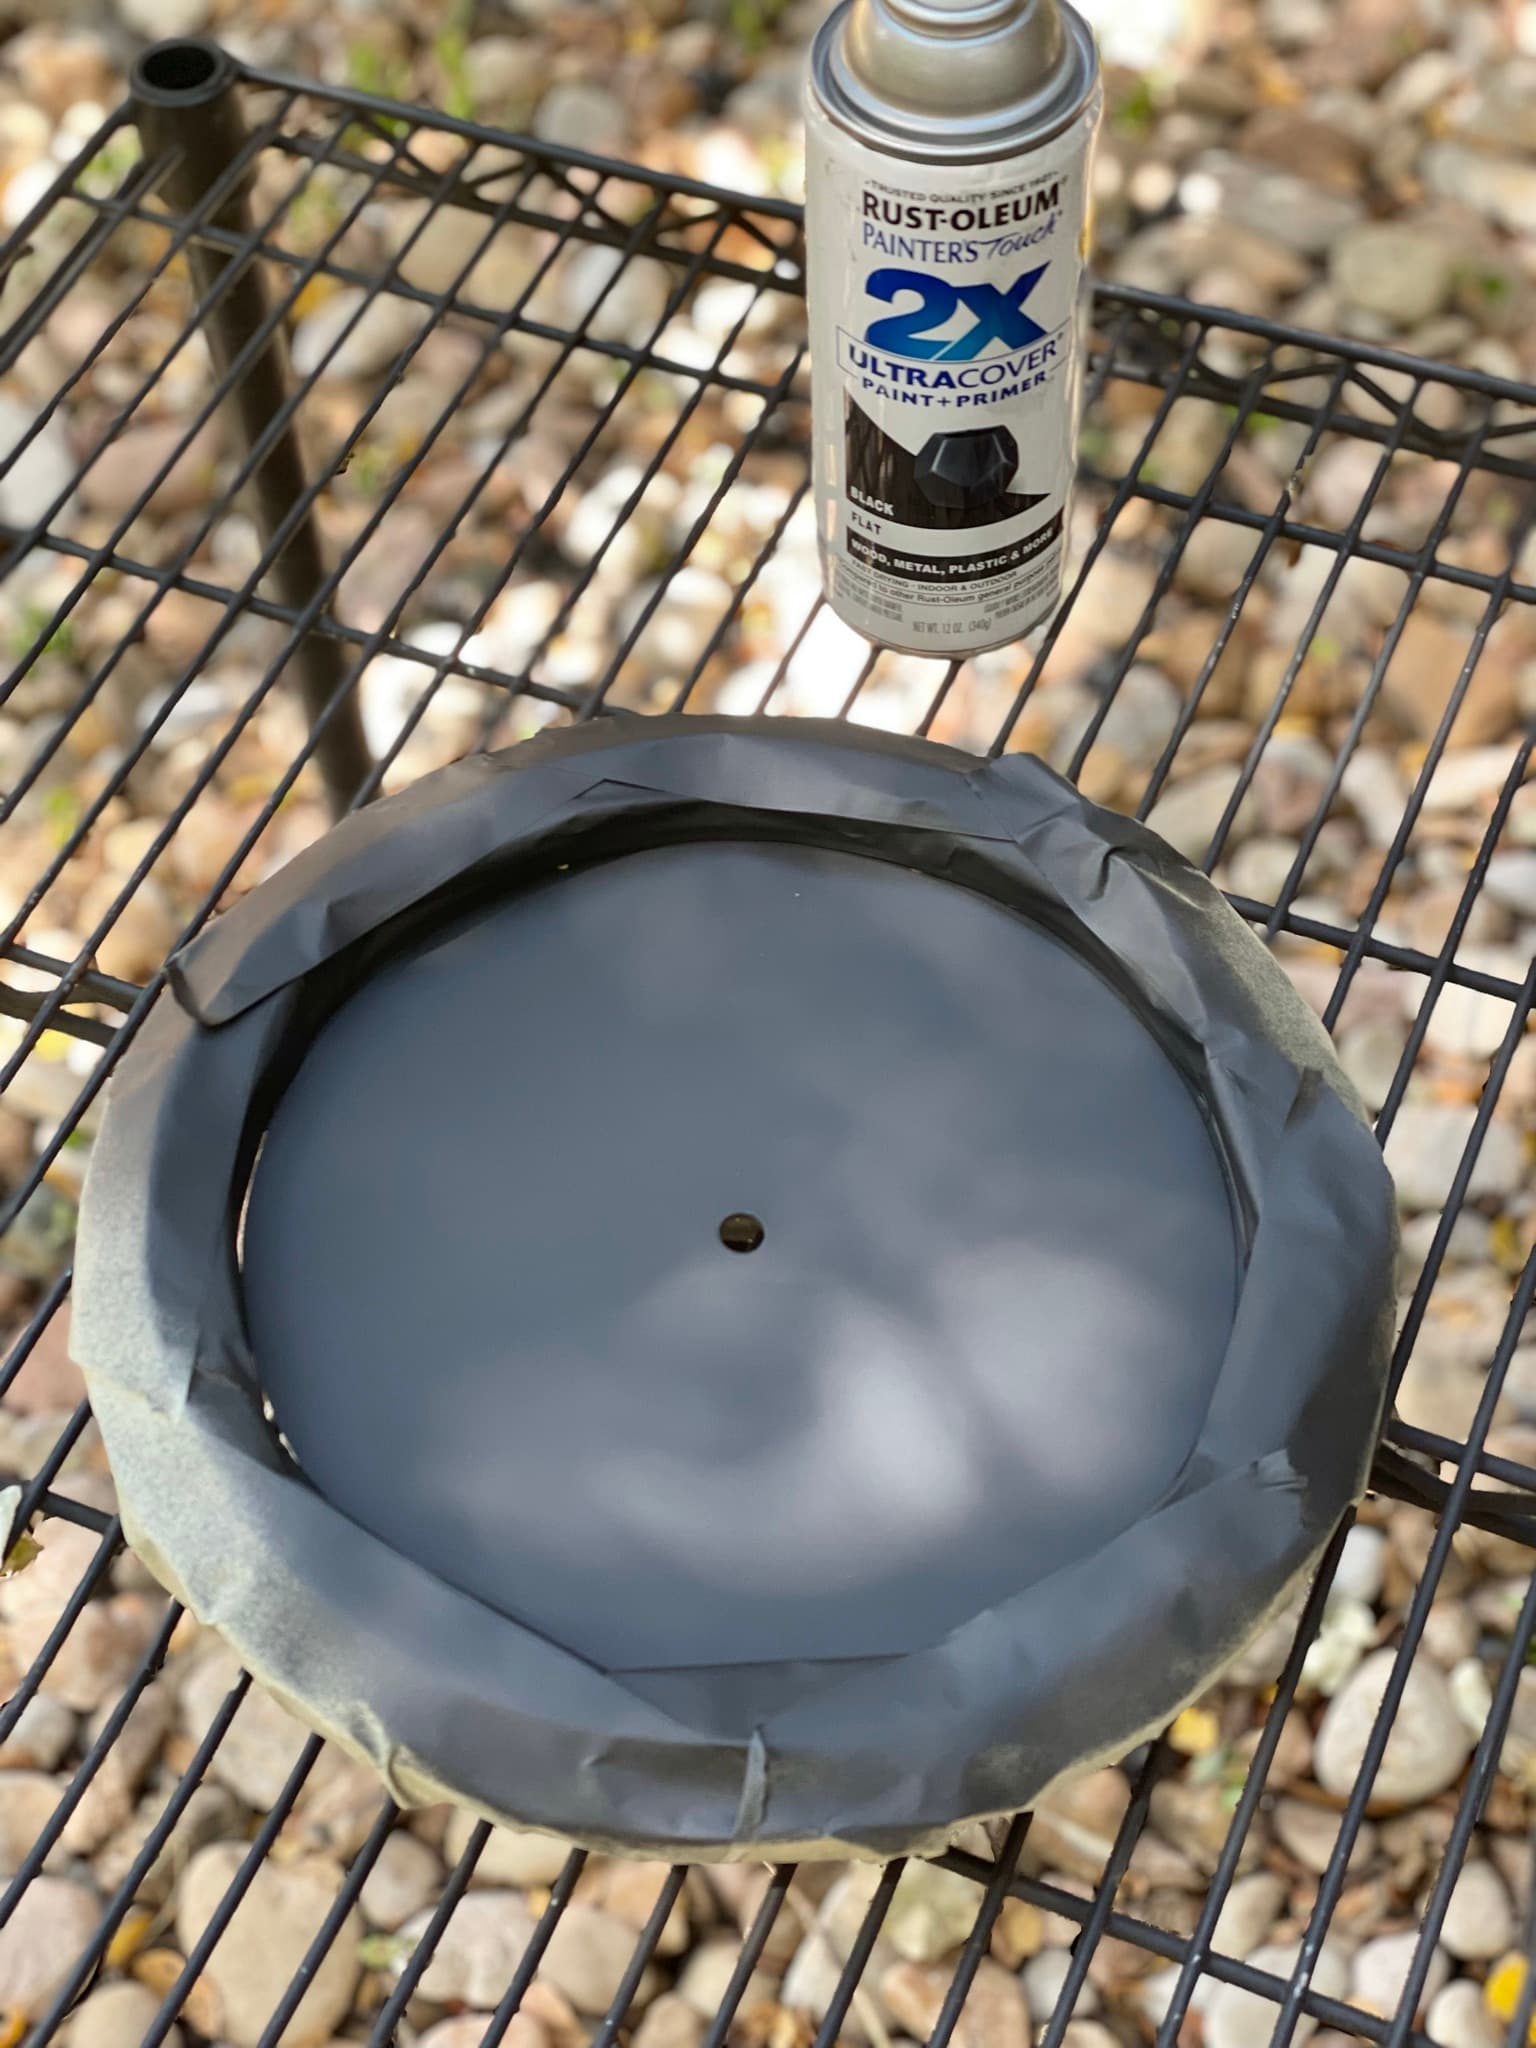
I used rustoleum flat black to repaint the clock face. I used Carbide create to position 12 skulls at 30 degree increments. (360/12…) I’ll include plenty of pictures 
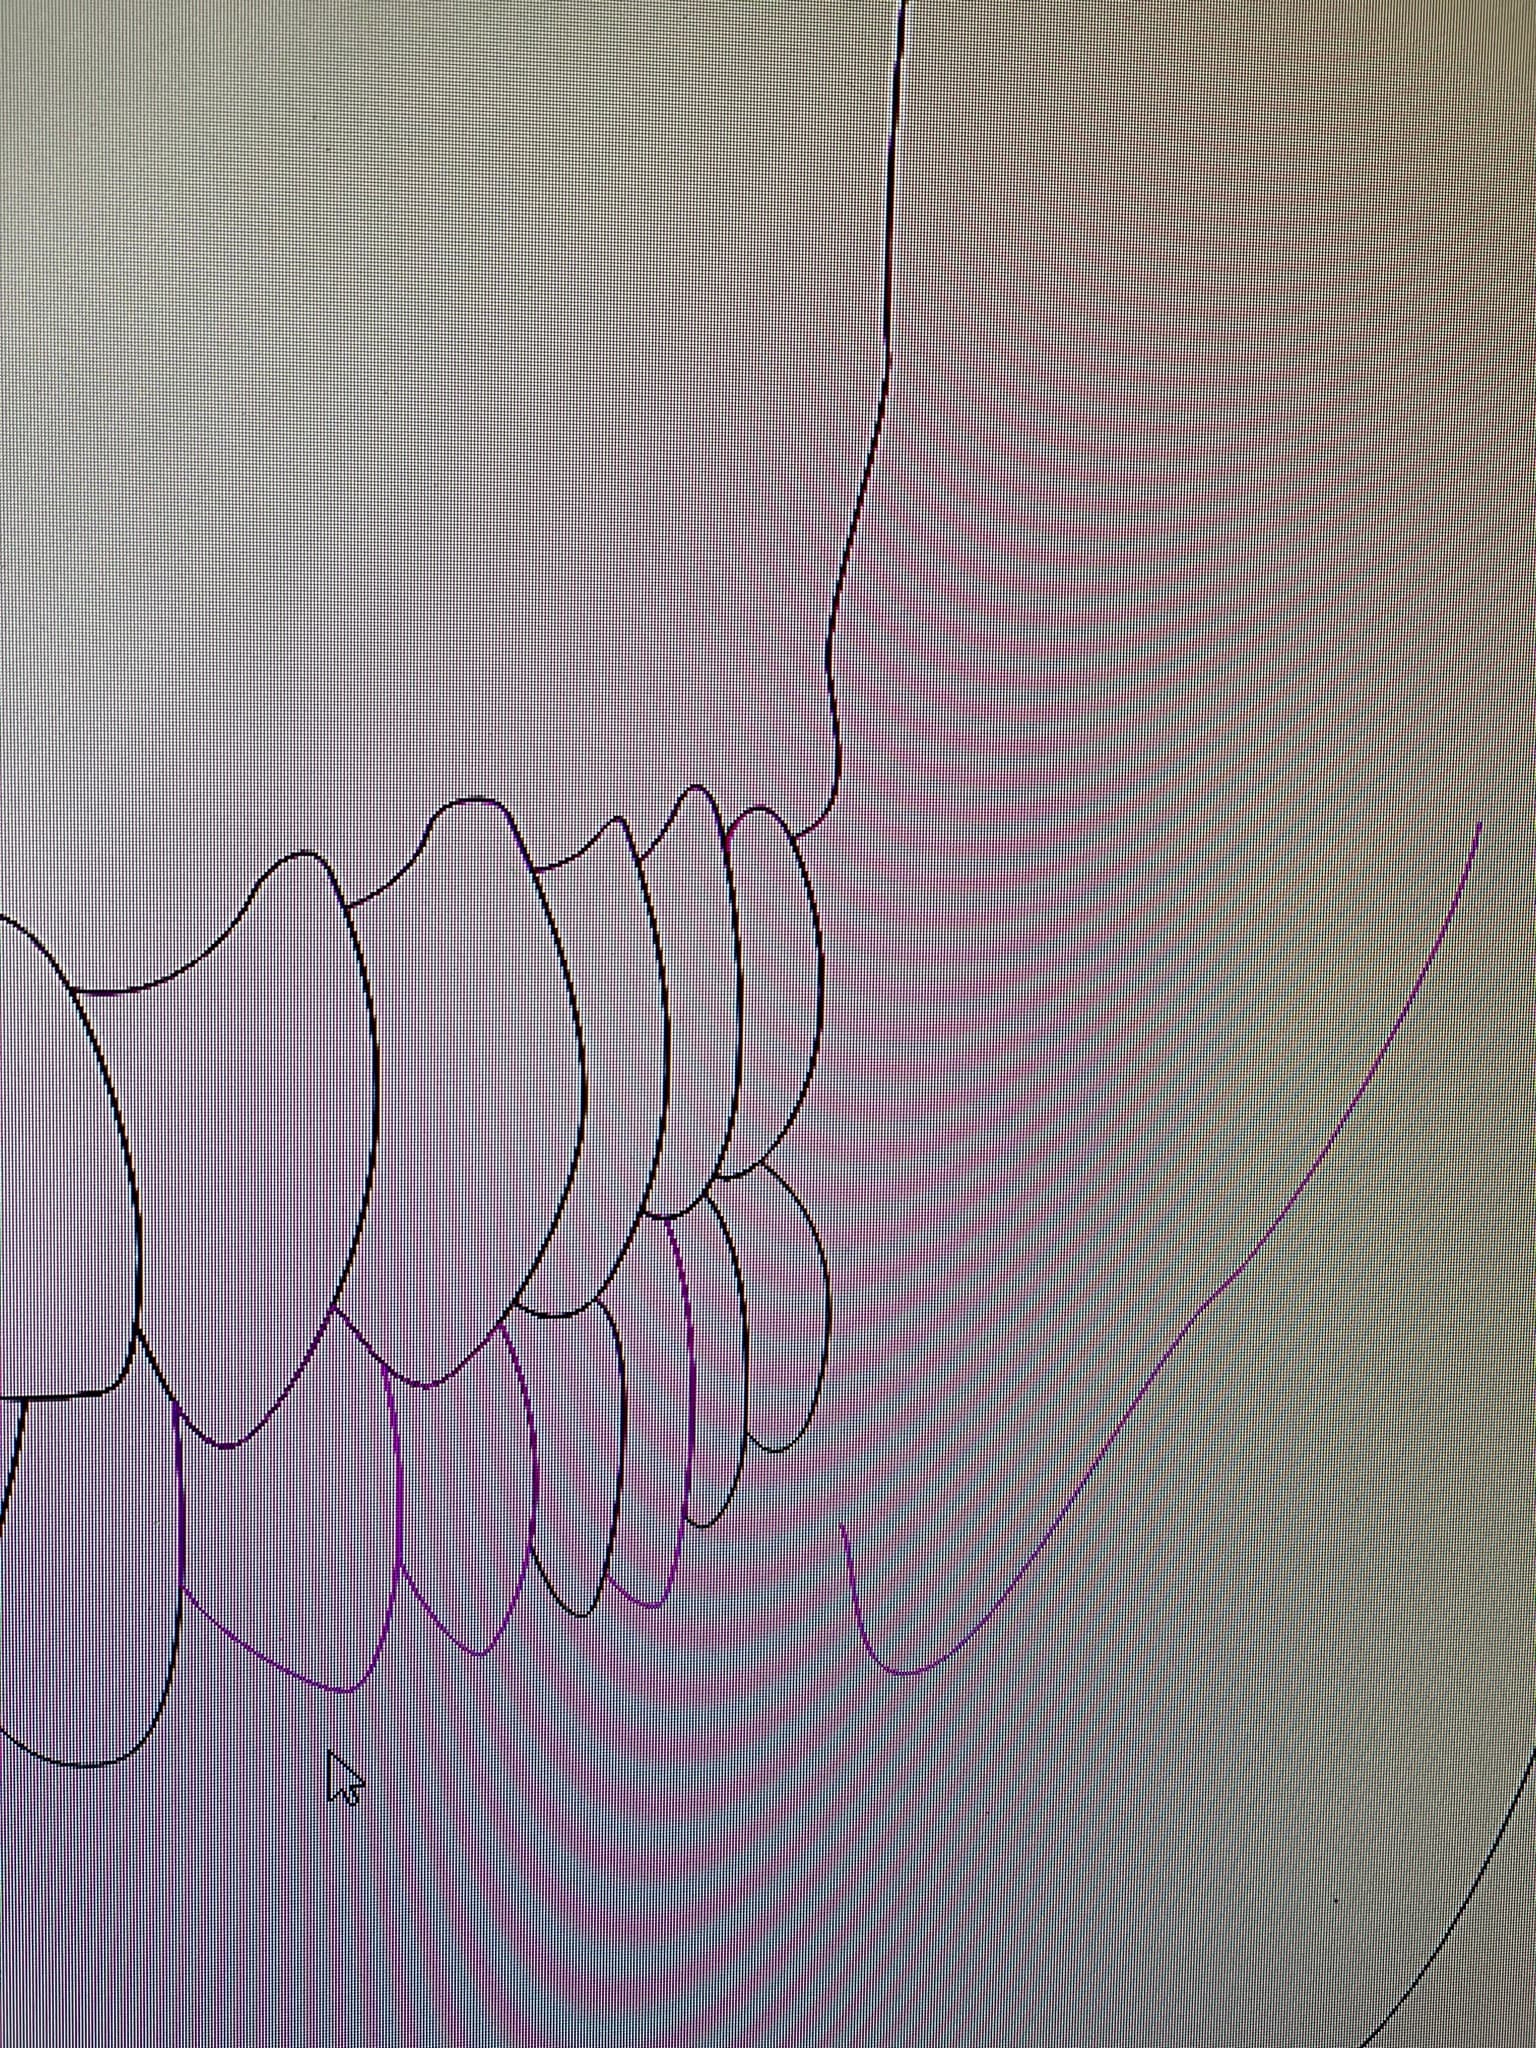
I had a hard time using the default svg’s from the design elements page… I had to use the node editing function to make sure everything was closed & contained…
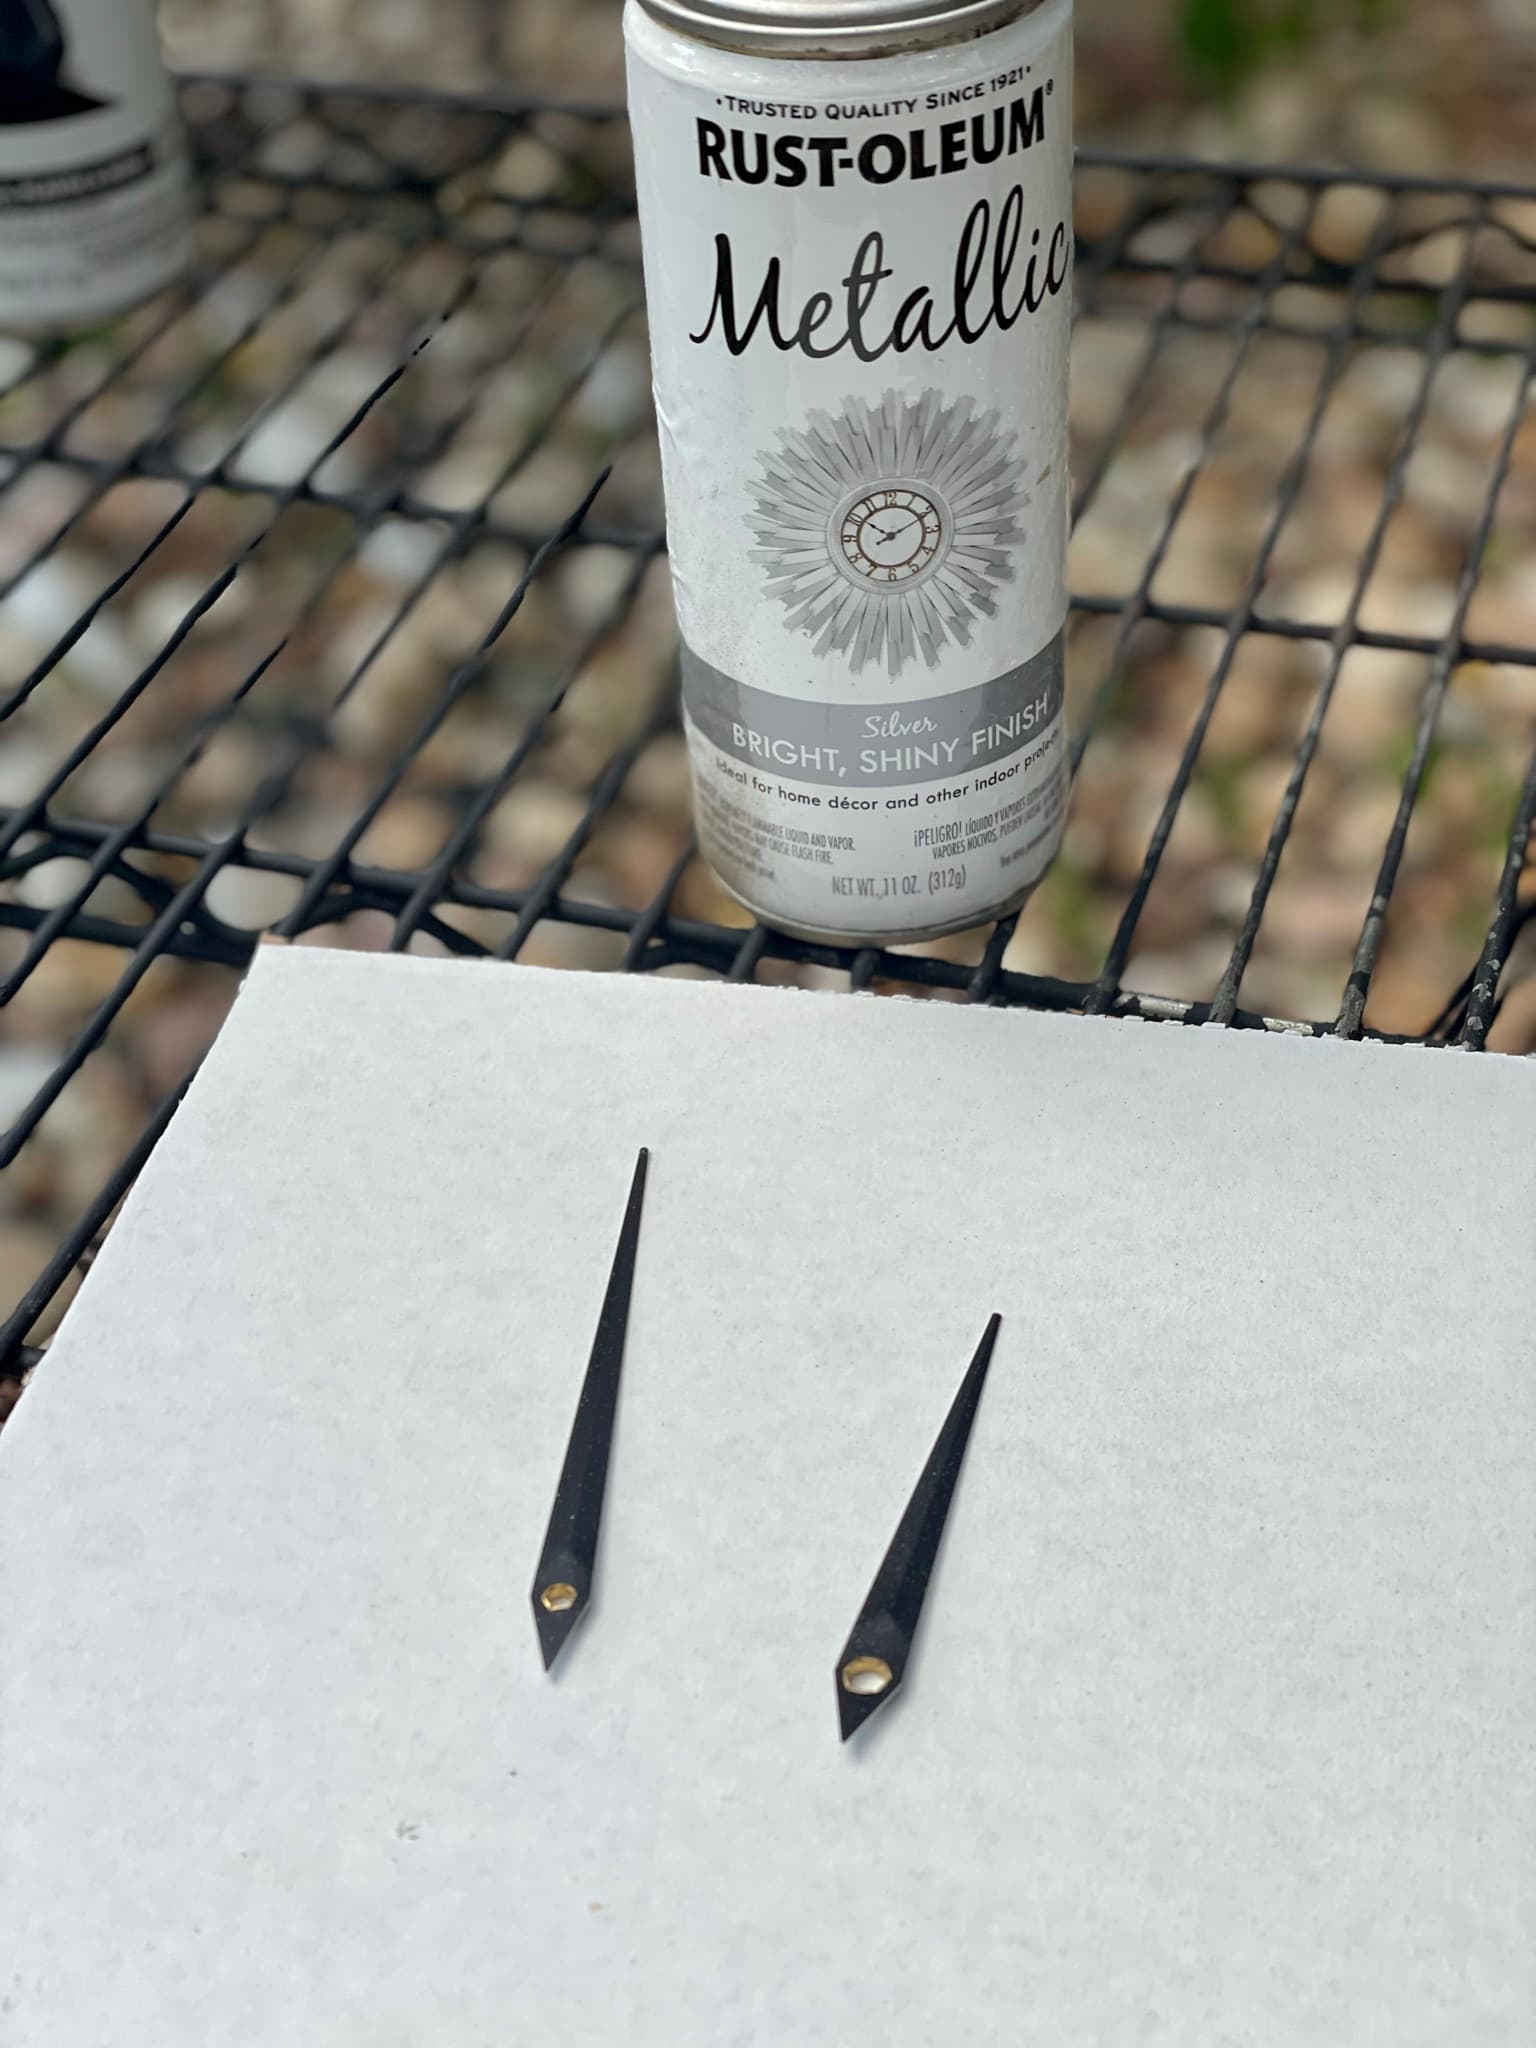
Then I painted the clock hands silver for more contrast, and made sure my tool paths were alright.
I finished my design in carbide create, and used my pen-holder to do a test run on some posterboard to make sure the vectors looked alright. The pen holder design is actually what’s available on CutRocket: Simple Pen Holder by thefrenchwickler
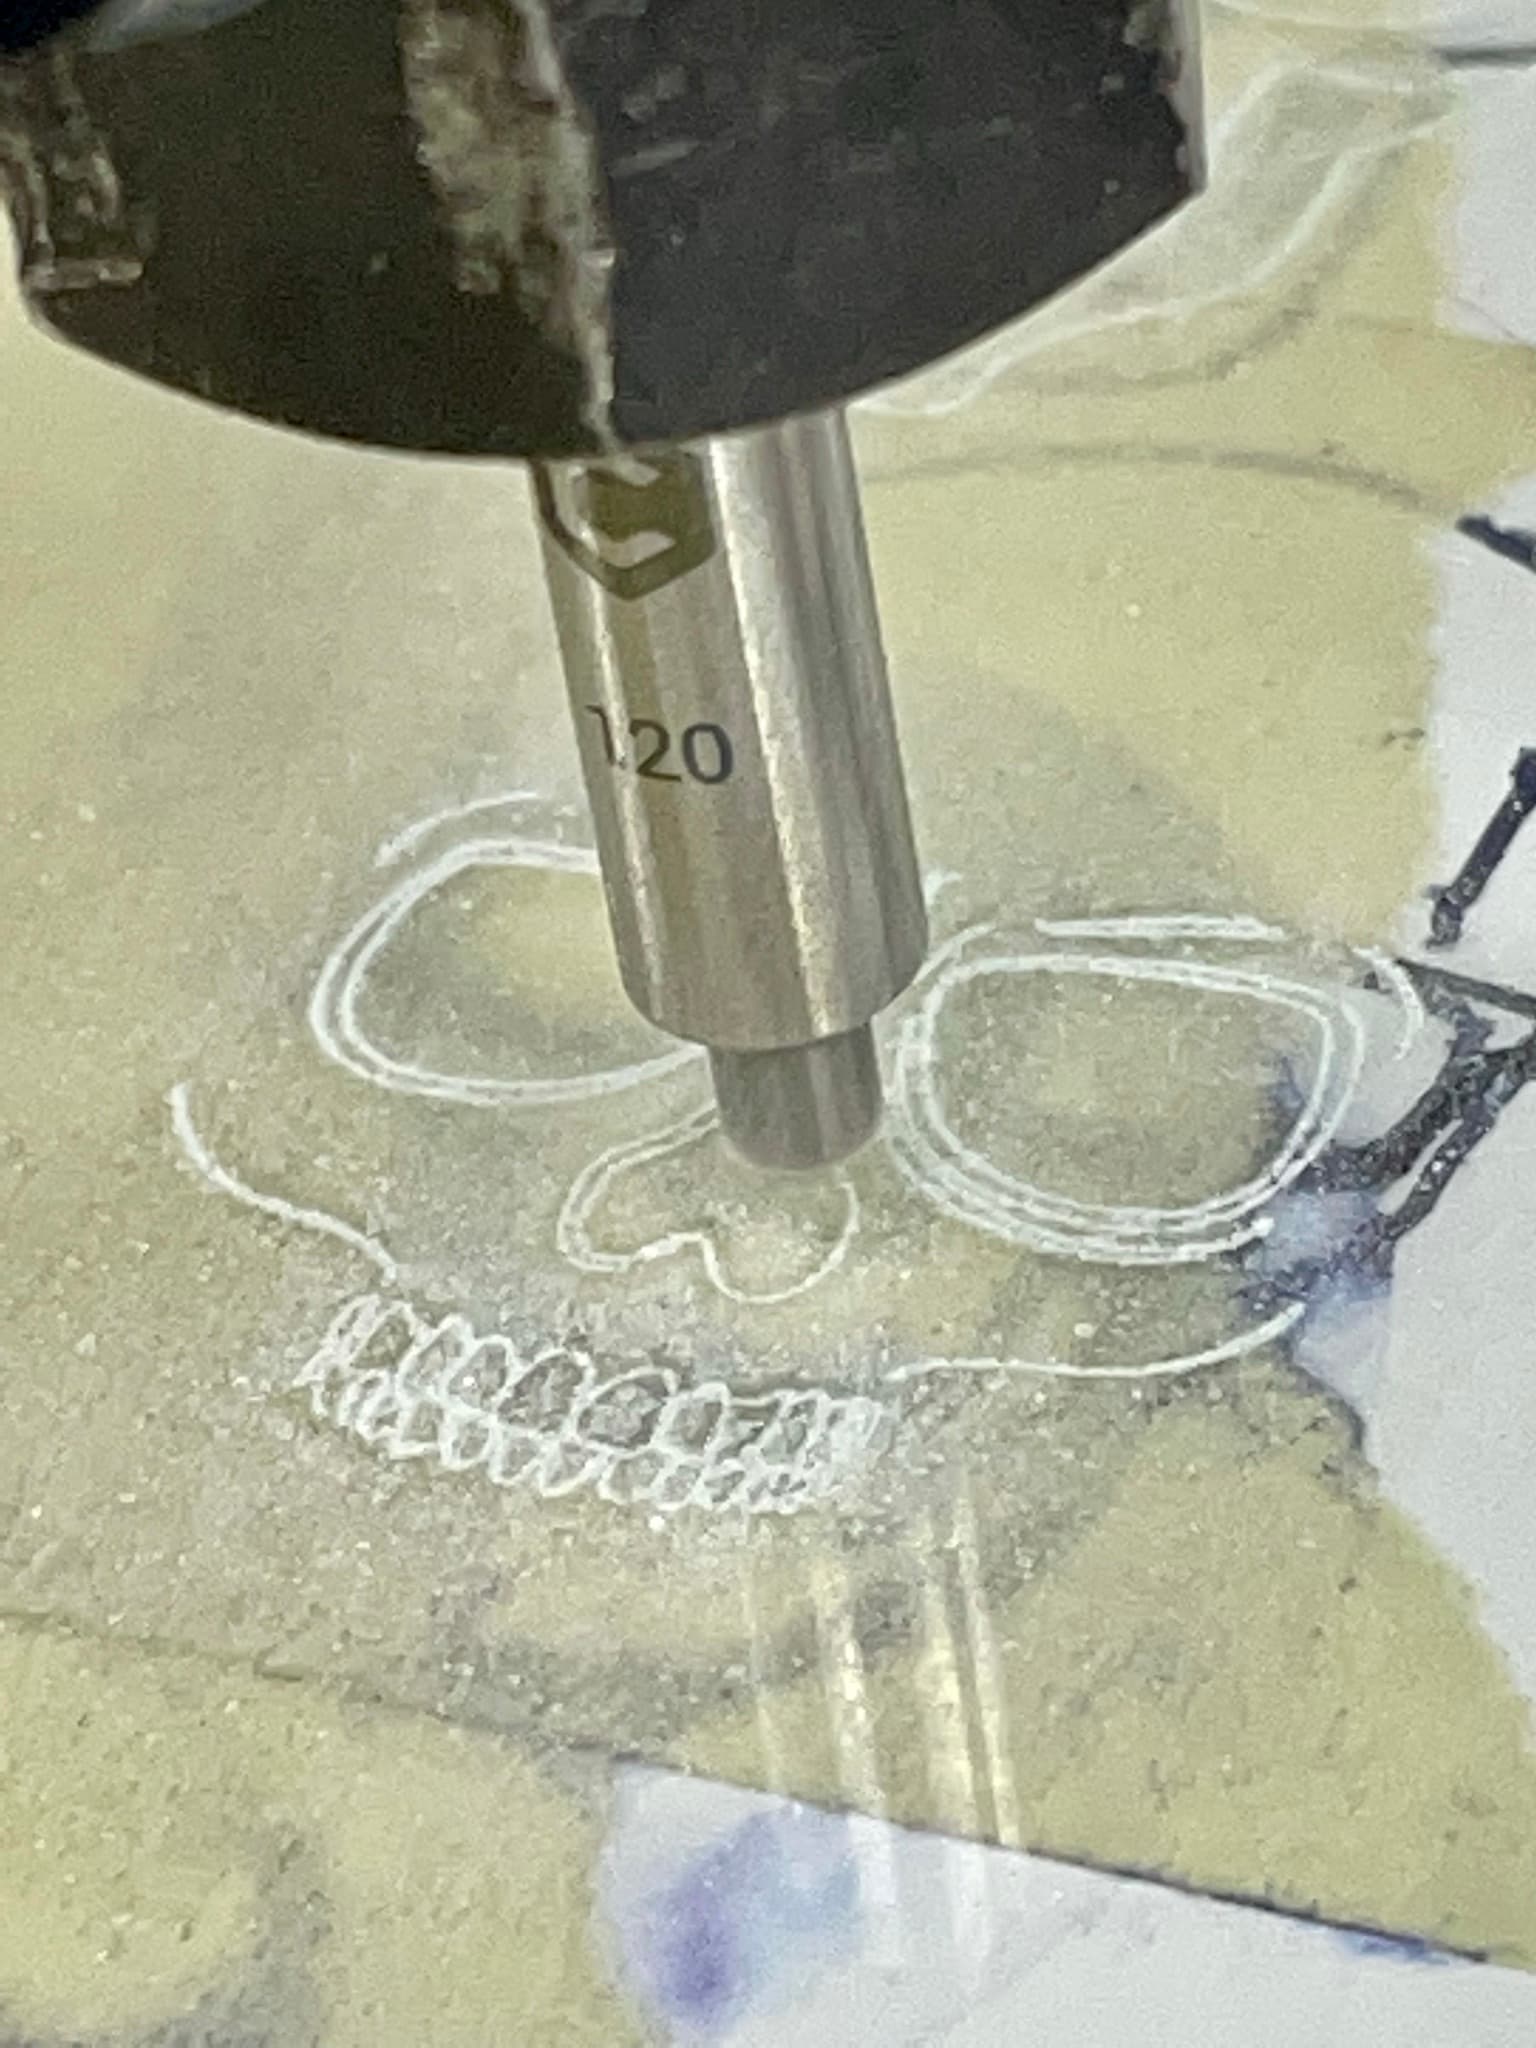
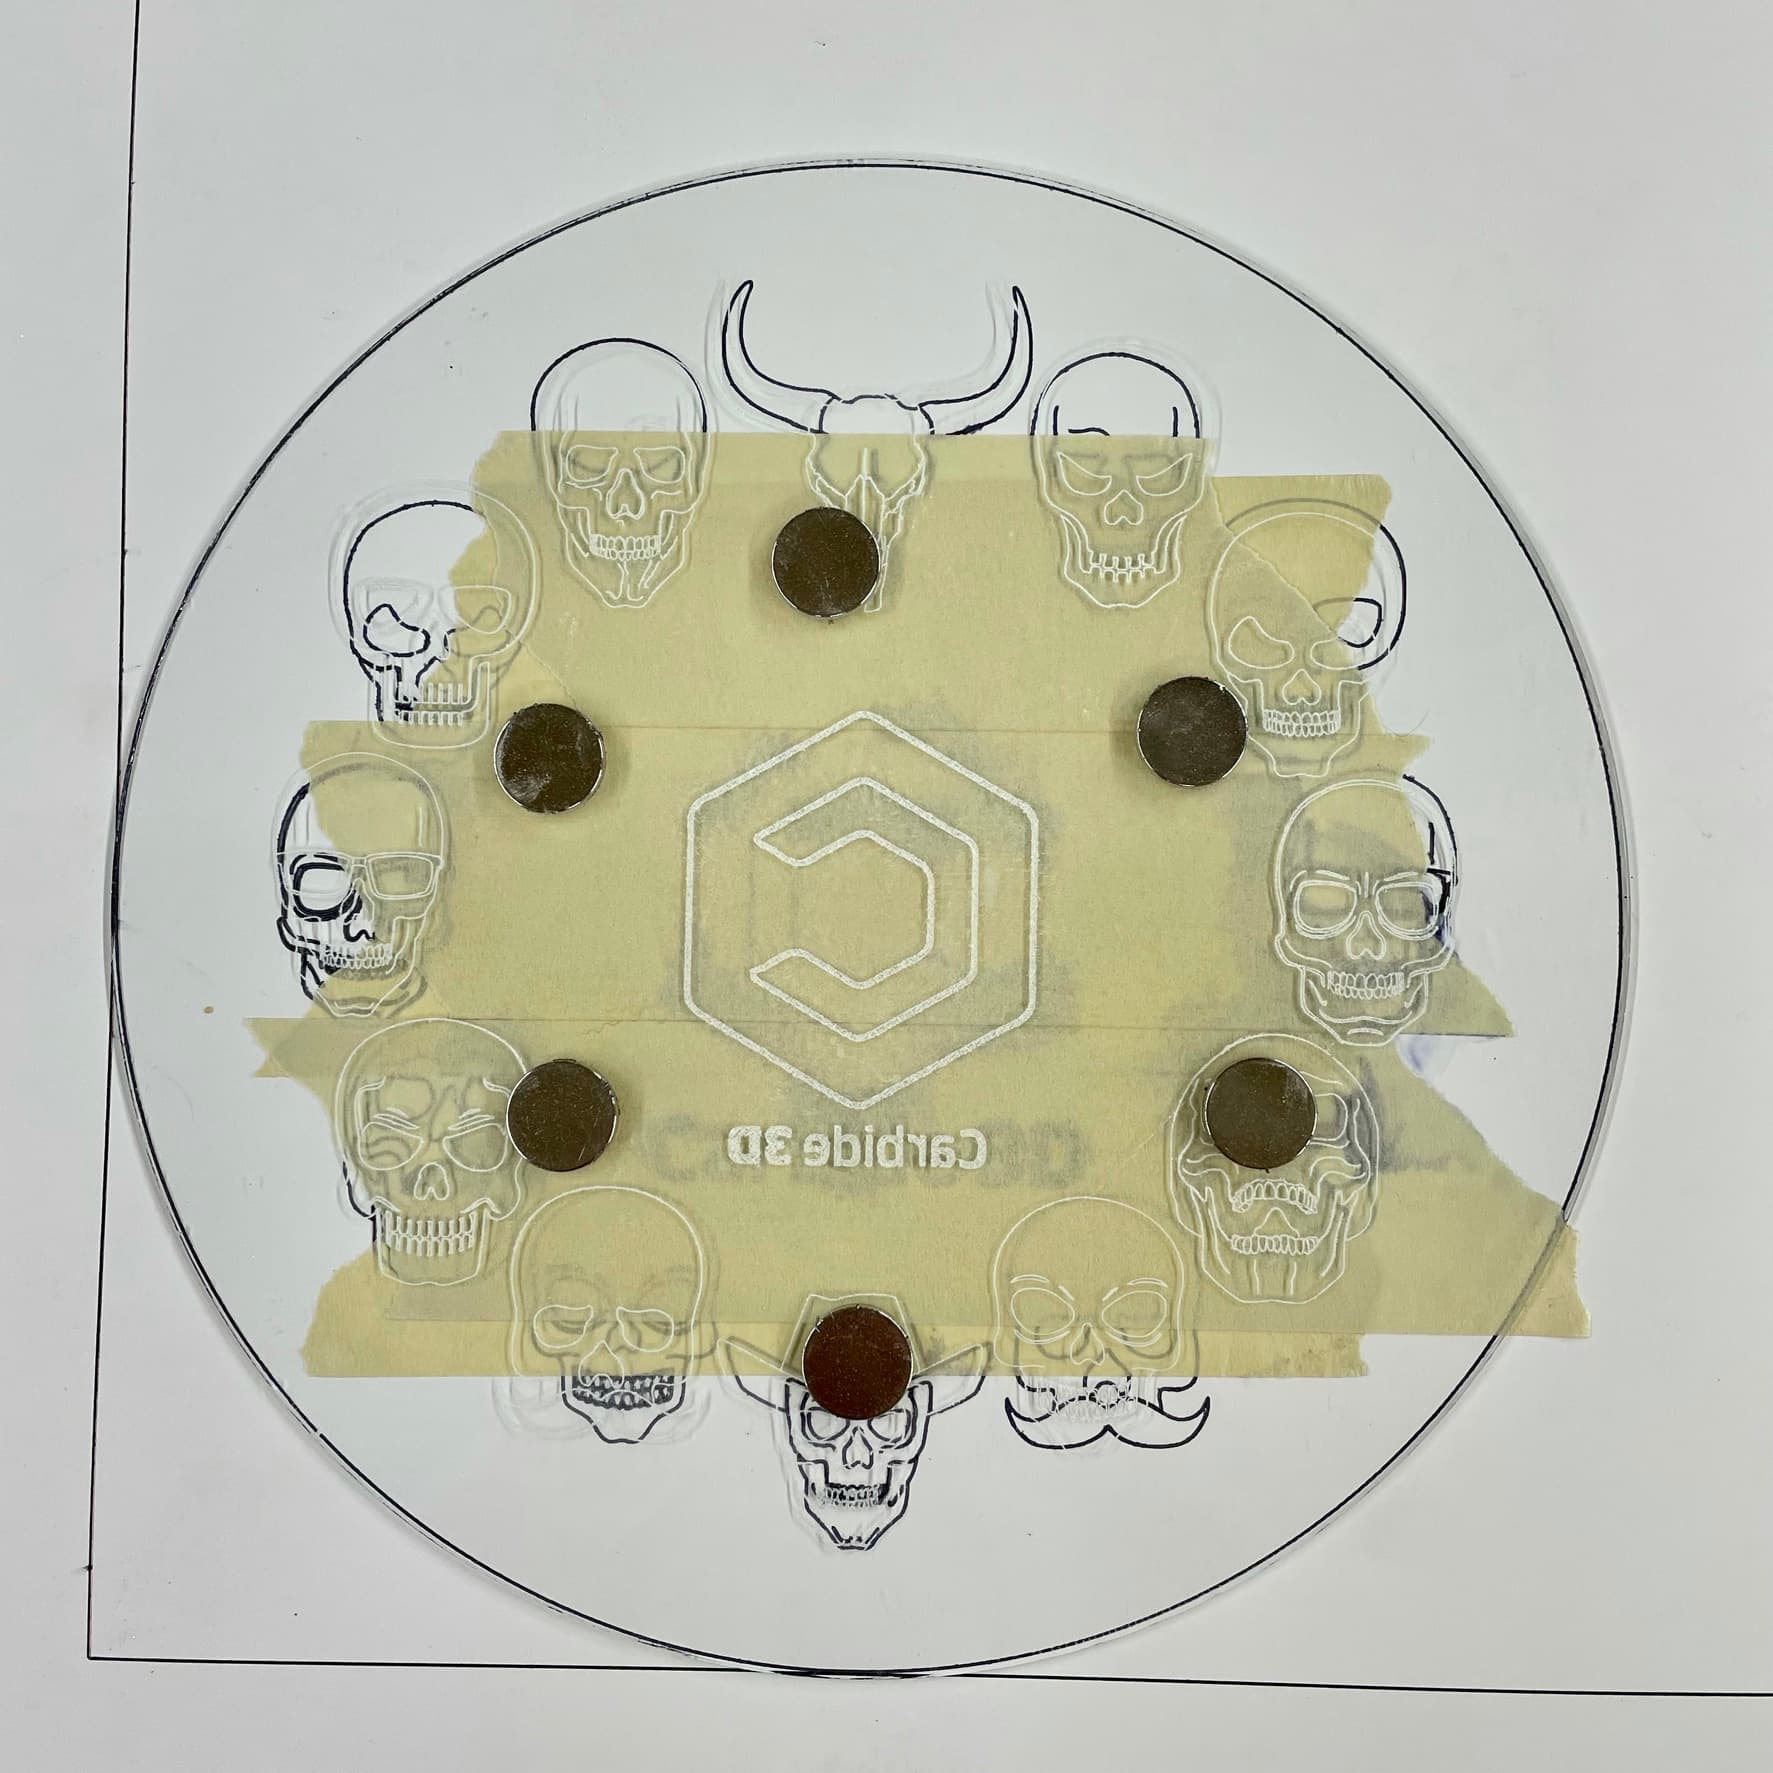
I used my test run to position the glass face of the clock and started etching with the 120 degree drag bit:
I made sure to flip my image horizontally by 90 degrees so the etching would be on the backside. It looks better that way, trust me. 
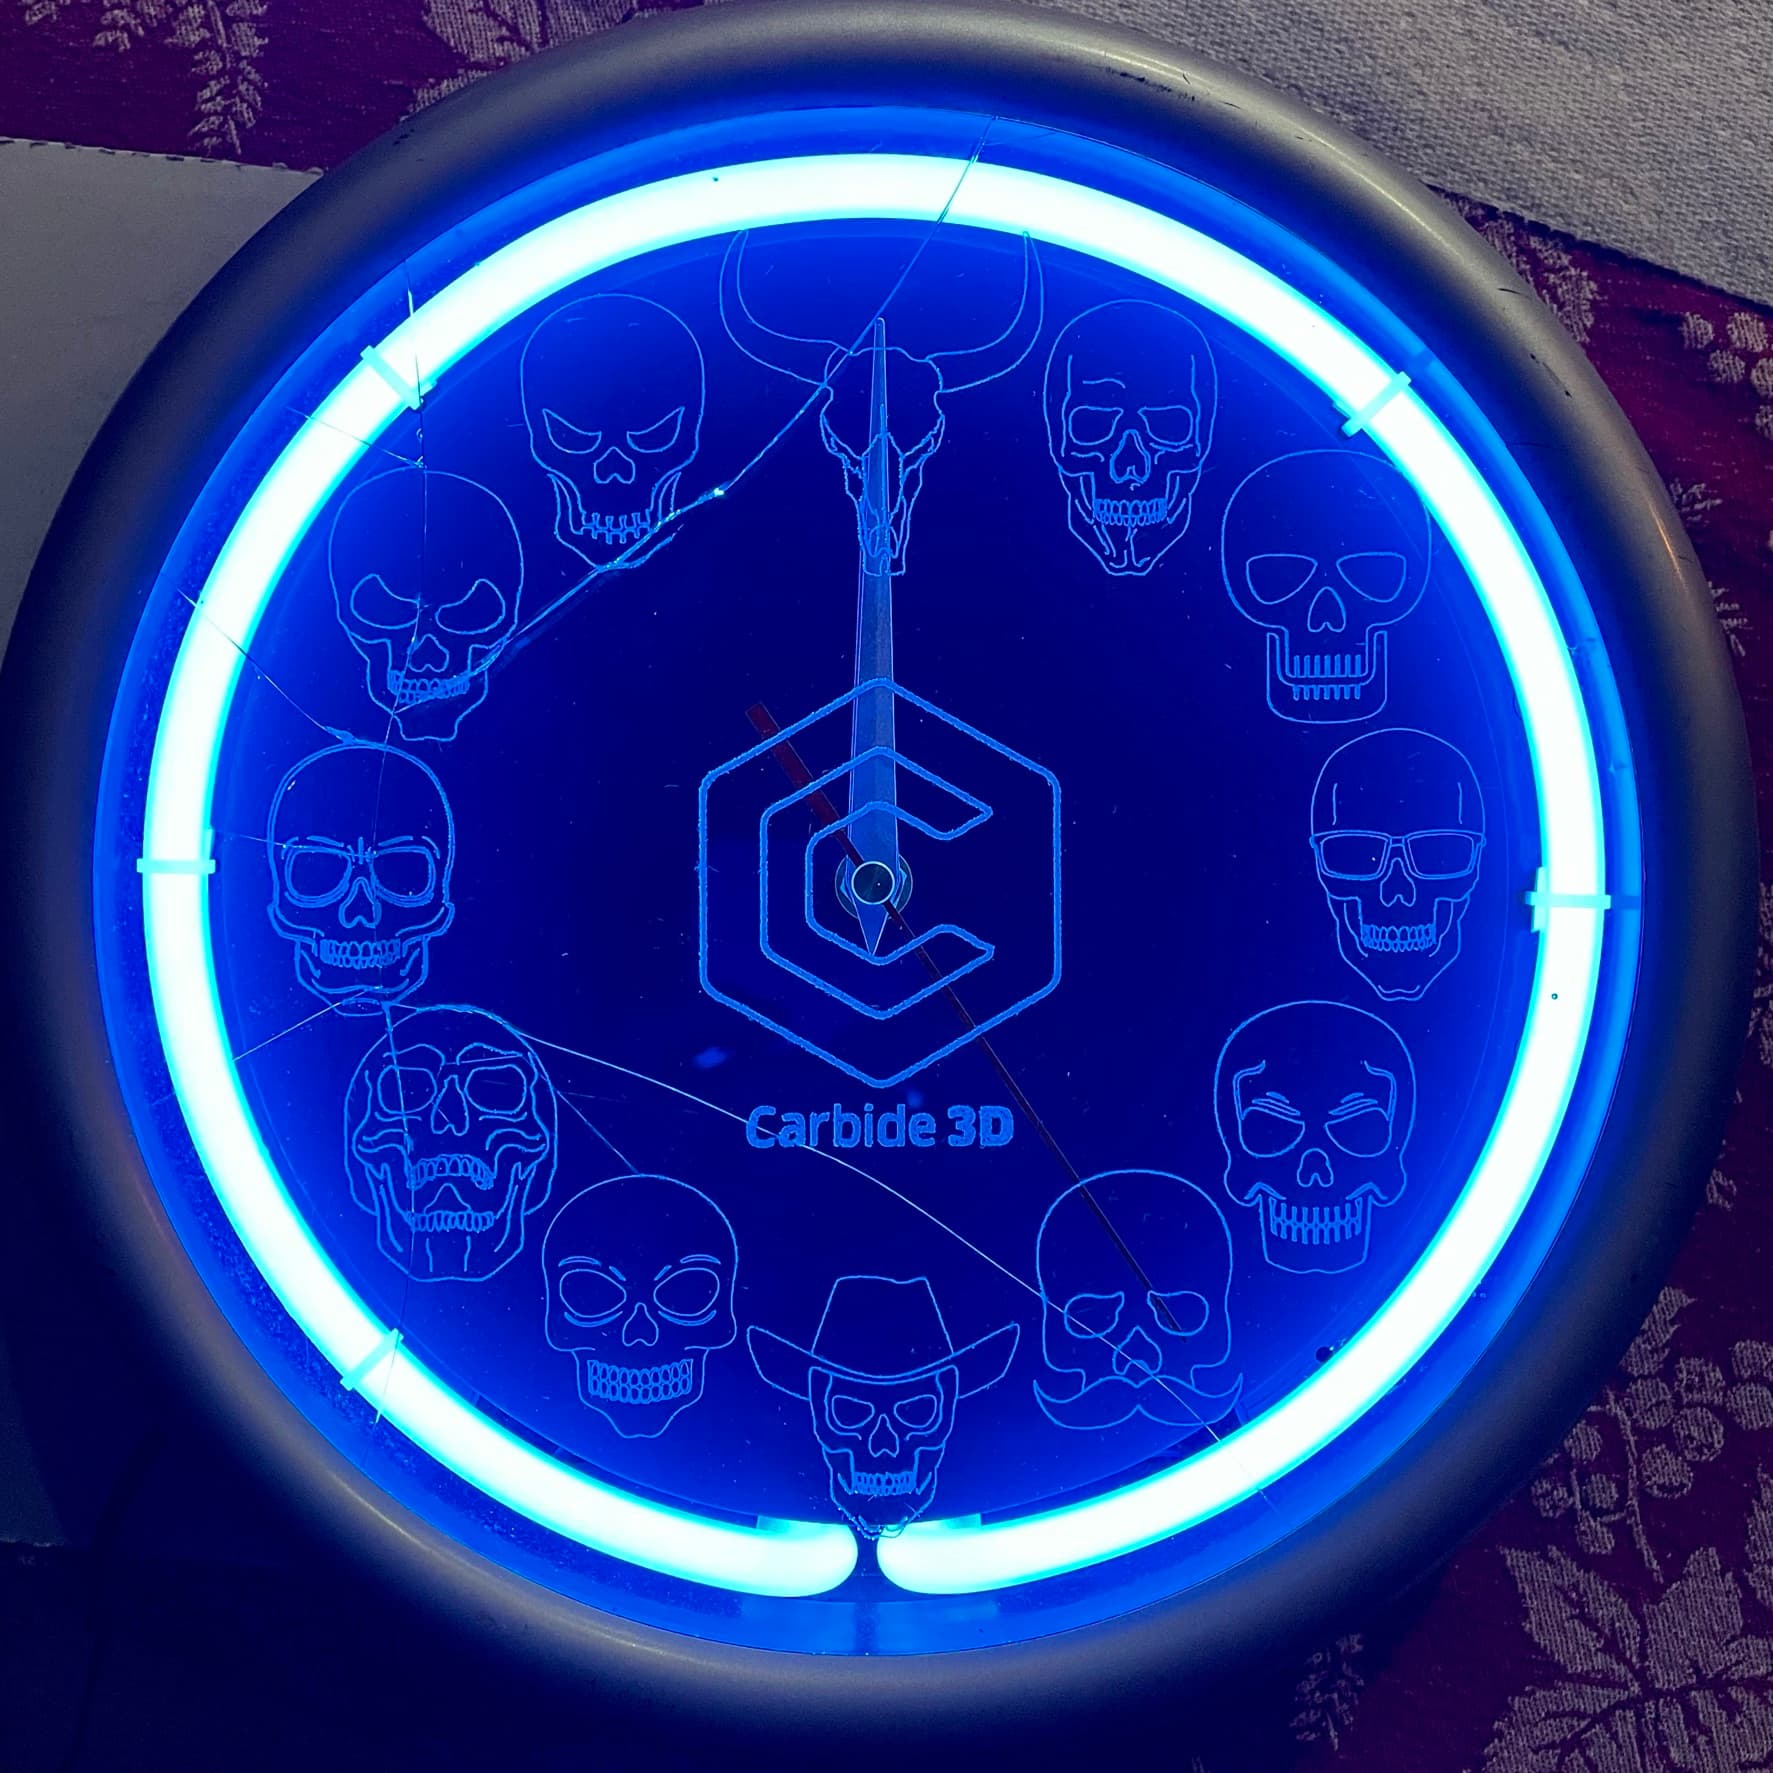
After the etching was complete, I reassembled my clock.
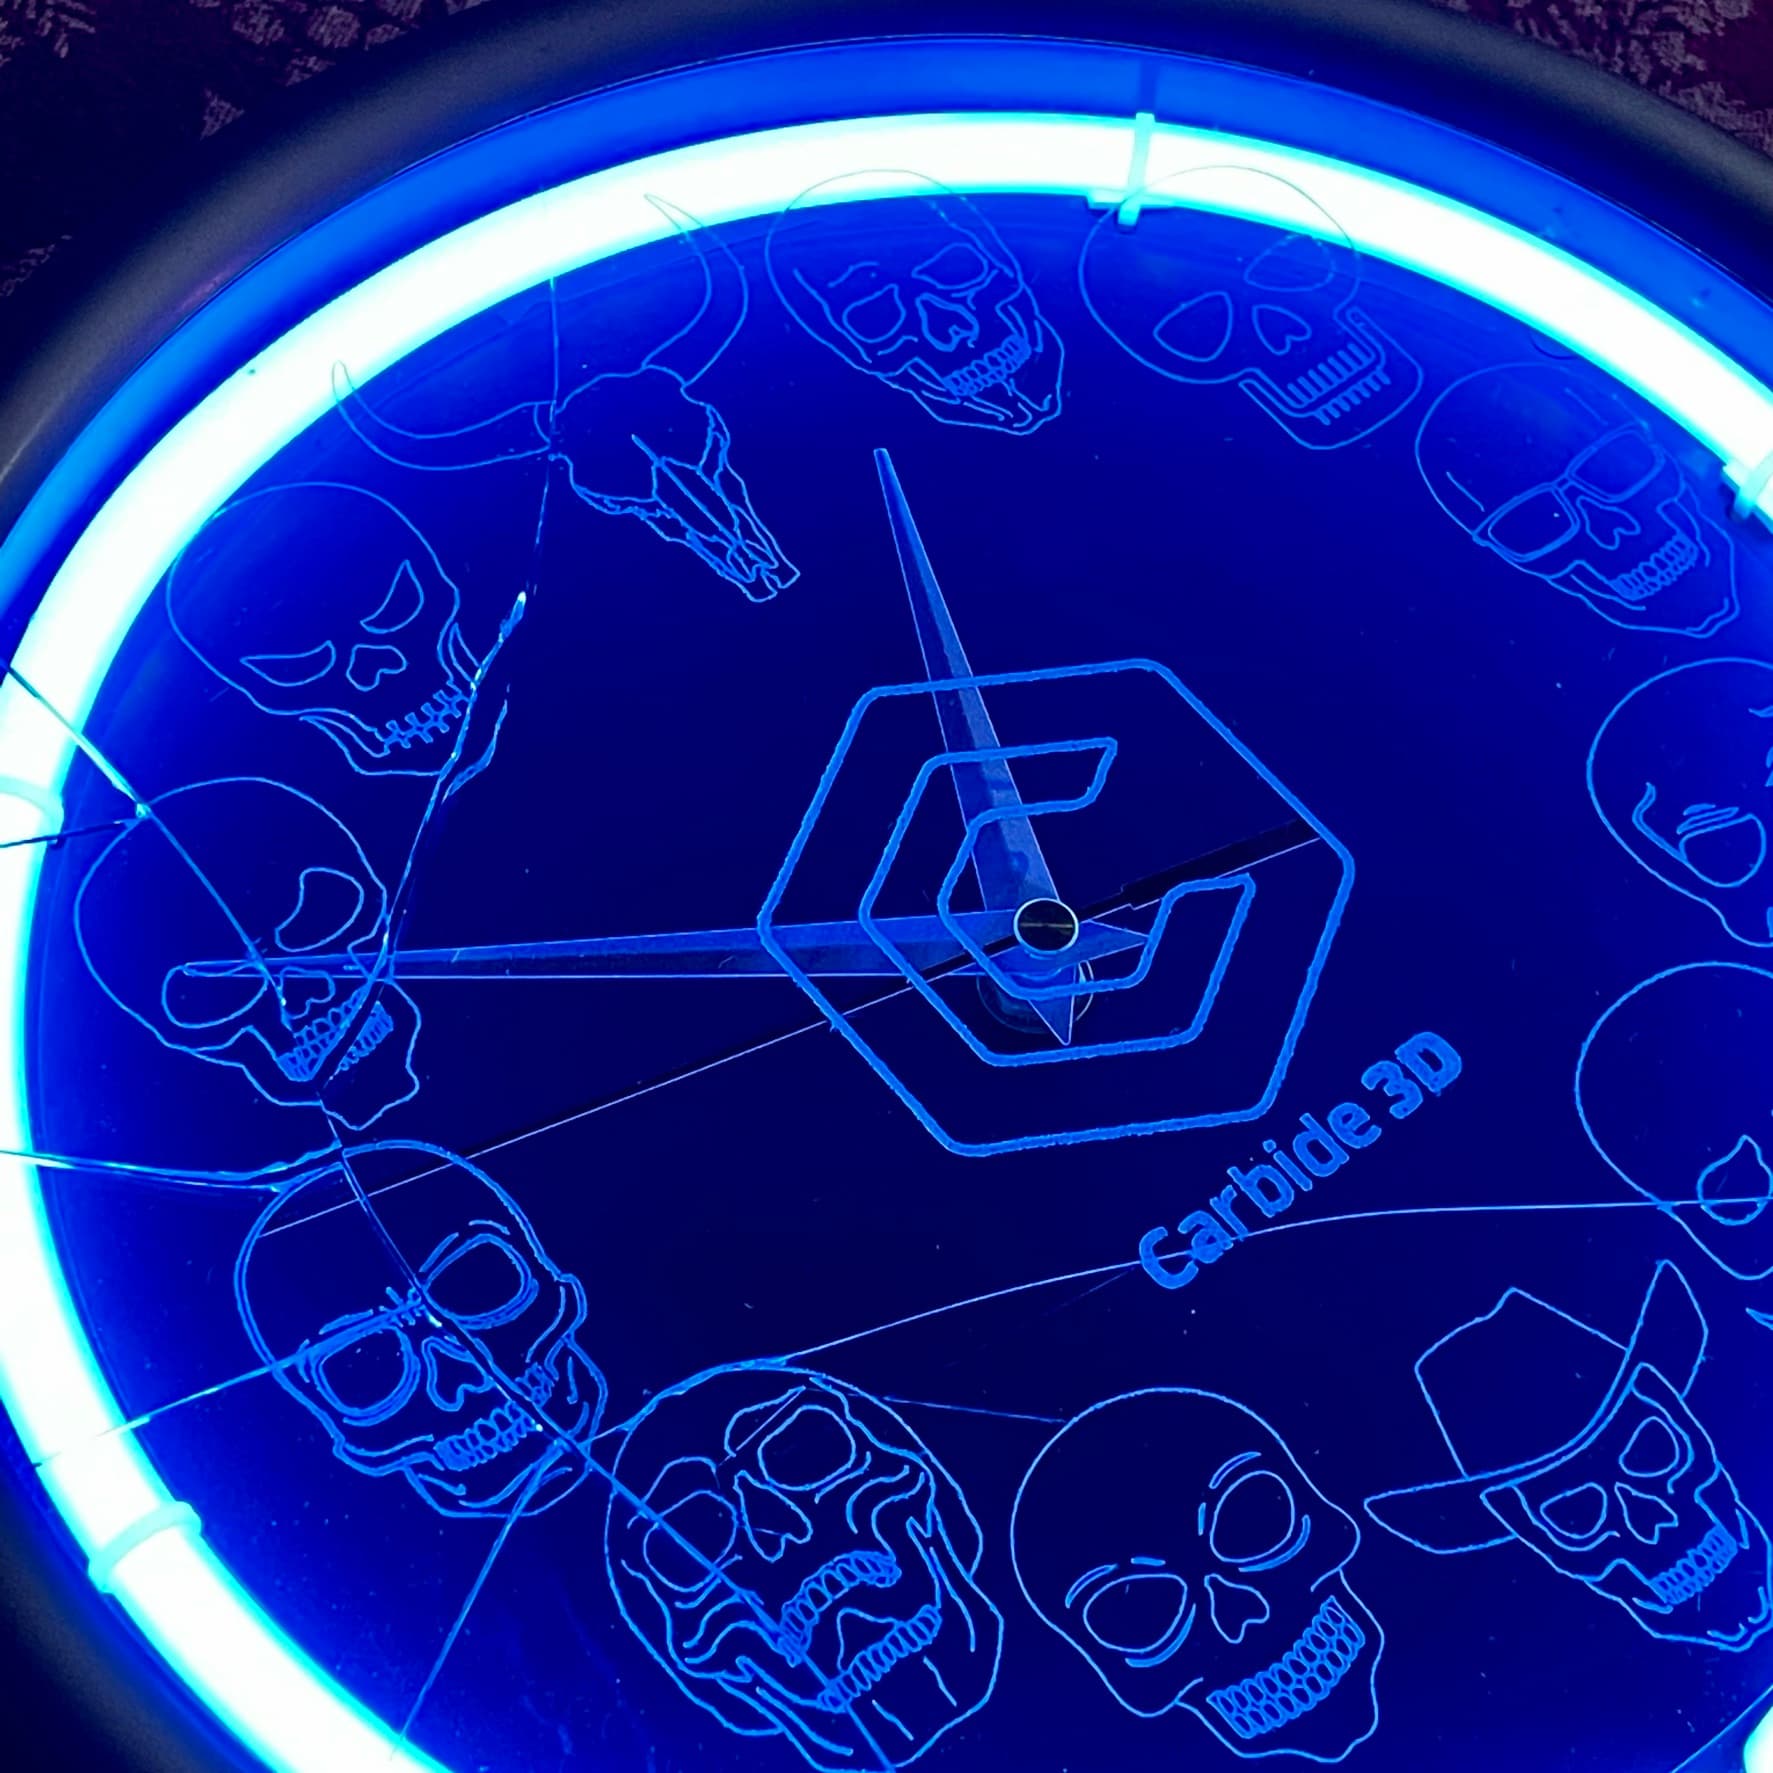
However, I cracked the glass when re-tightening the screws.
Ughhh so annoying!
The project would have been “perfect” if it weren’t for the glass cracking.
Oh well. Lesson learned? I still think this was an improvement to the original design! Now I just need to find another piece of glass with a 250mm diameter… 
then it’ll be good to go! 
Sort of finished project:
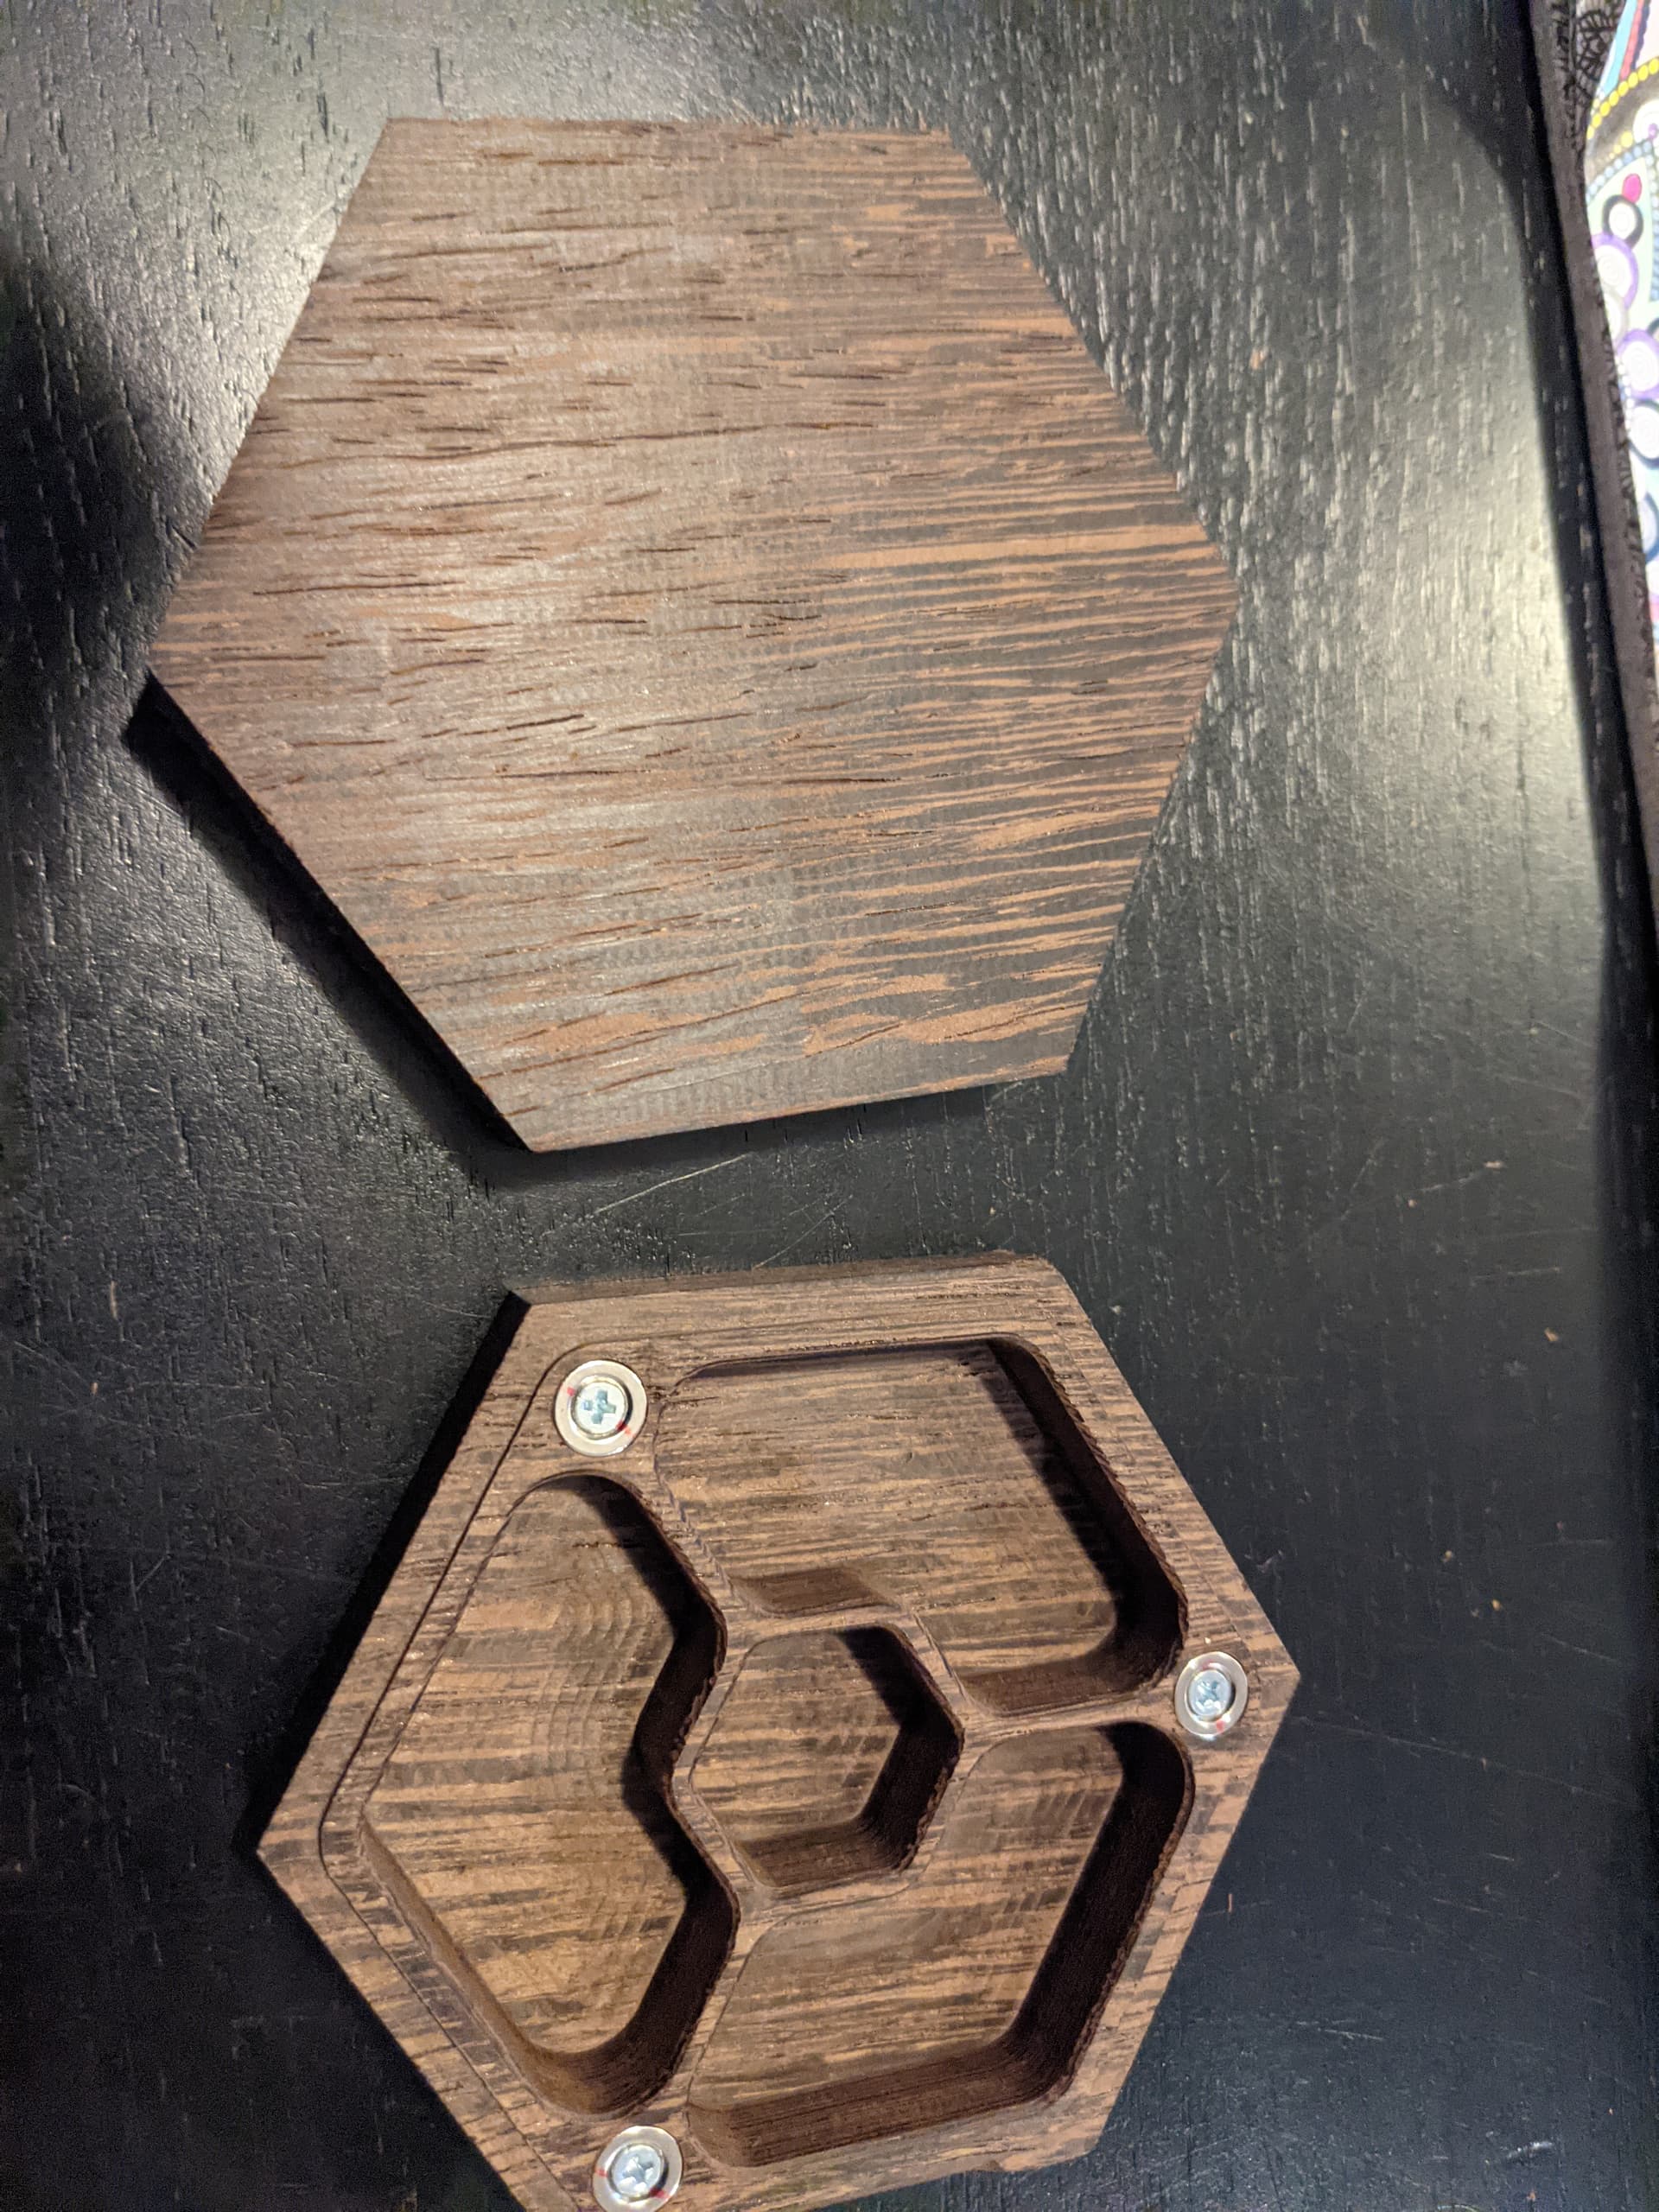
I’ve been making a few of these dice box things.
Started as a for fun thing, then got asked to make a few more, and I’ve got a bunch of wood laying around and a workshop that needs more space freed up so making these hex boxes has been a nice little endeavor. (Also design entirely inspired by wyrmwood)
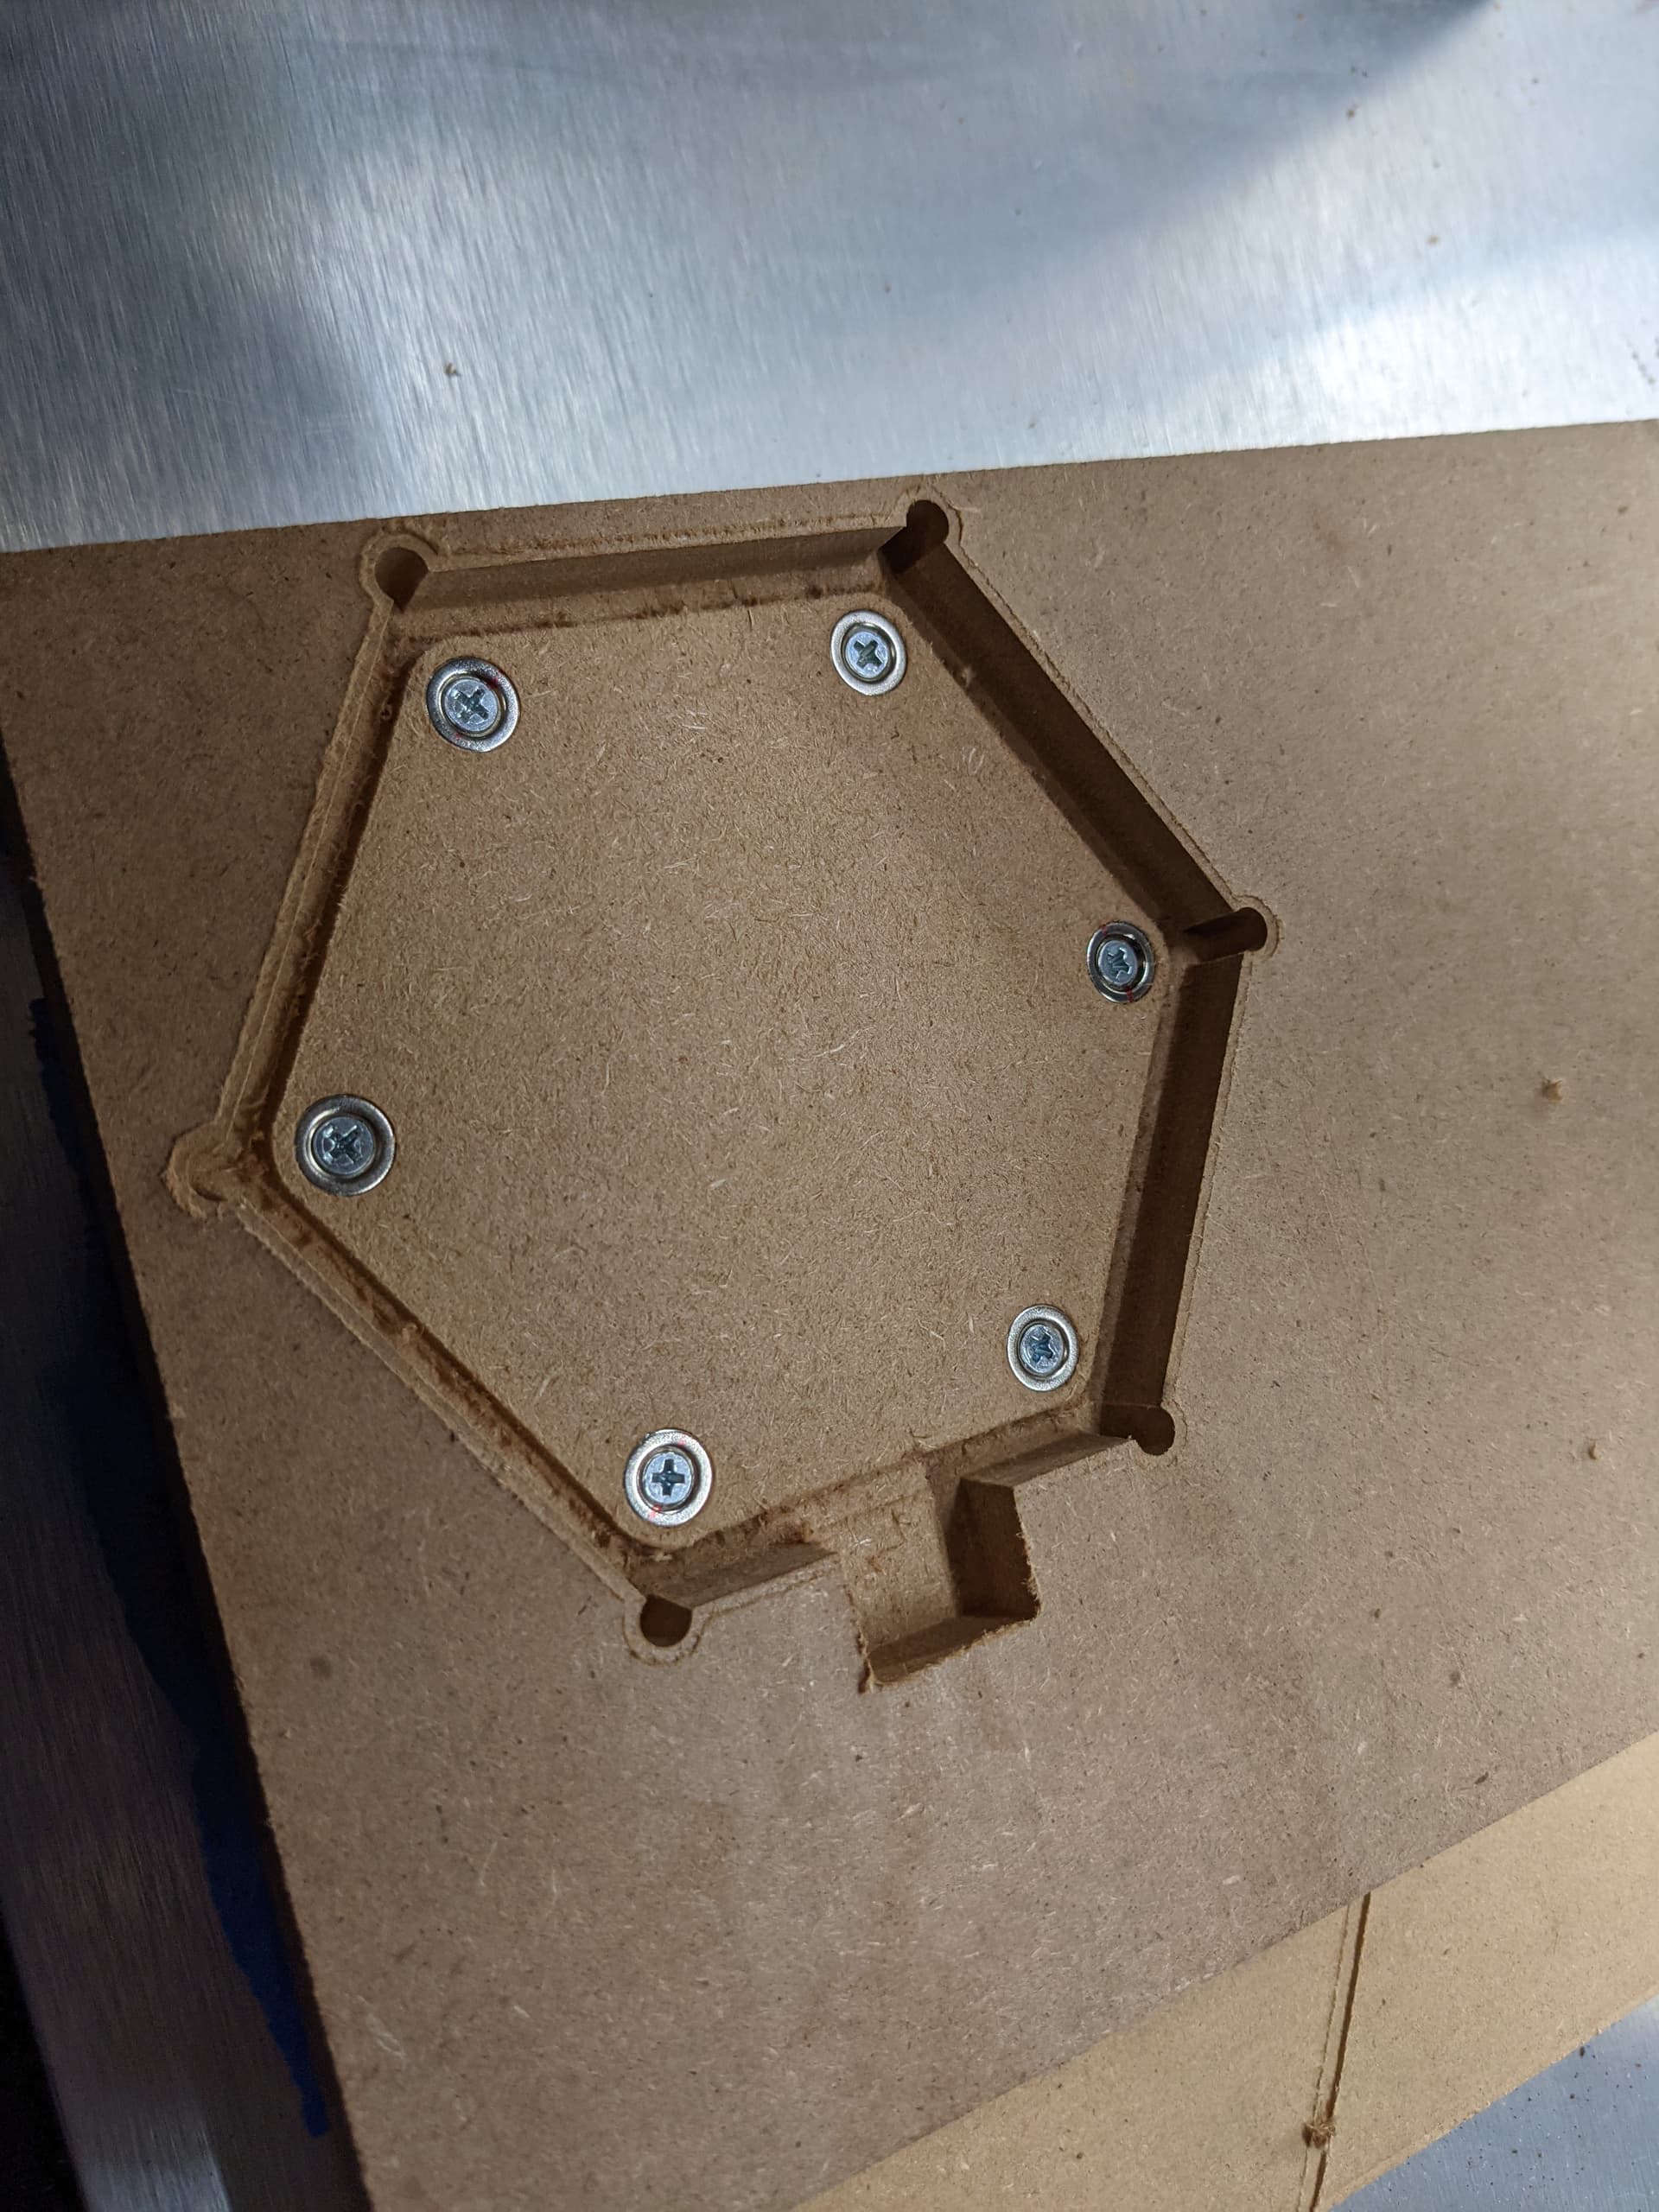
Since I have a few of these to make I’ve been looking at jigs. Since the magnets are on…sort of opposite sides I can use that to my advantage and put 6 magnets in the jig and 3 of them will line up with either side of the box.
This allows me to put a chamfer on the box (and flatten it)
Then put a design on the box as well. I also was inspired by the recent post from Winston on instagram about doing mother of pearl inlay. But that stuff is expensive! So I got some cheaper plastic stuff to test out the idea.
Used some super glue and a hammer to push the parts in. Would recommend doing a slight inset to make that process easier.
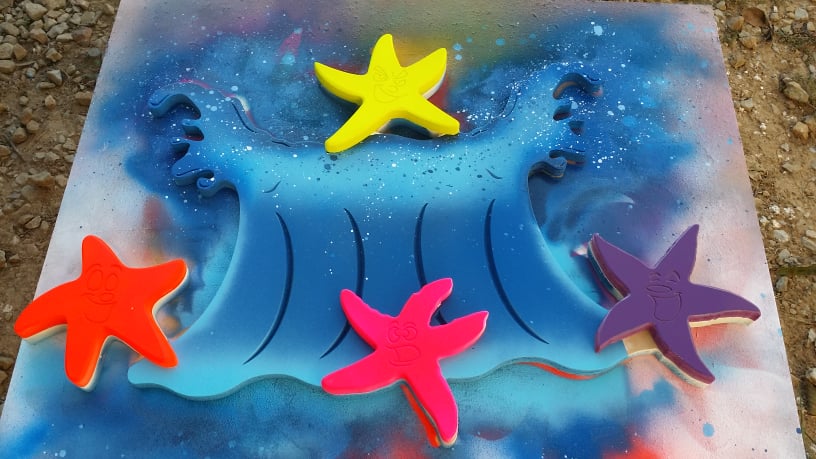
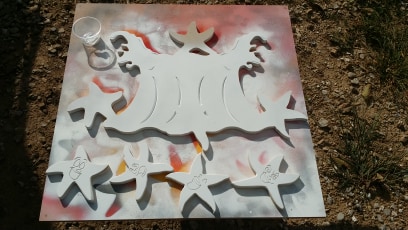
So this one was actually quite.fun. Usually just use whatever is being made for someone but this drove us to use our creativity within a specific set parameter. So this narrows things down for my brain and allows better focus. Gong through all the SVG files I came up with a few ideas. Drew them up and when I was lacking the proper endmills to execute some of the elements I chose. Normally that wouldn’t be an issue but it is currently… Some ppl… ugh… Lets not go there. ;( … anyways so, that led me to create a few more designs. Finally I had an idea that made me smile and went with it…
First I was looking in the wave elements and kept wanting to do something with this guy found here.
https://elements.carbide3d.com/category/waves/wave_15.svg/
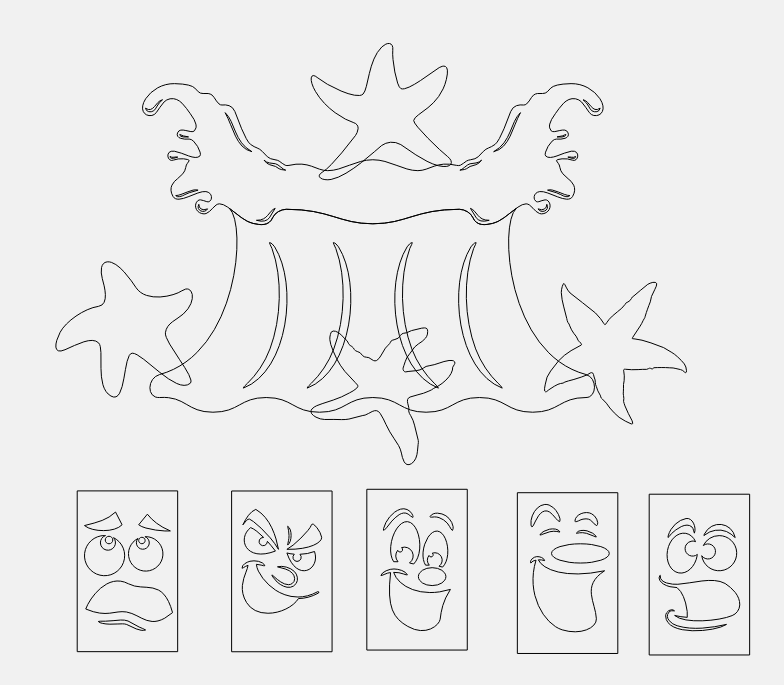
After that I was thinking of a tiki riding the wave which I did put together but wanted more. So I kept looking and was thinking what can I do with the Jack O lantern faces?
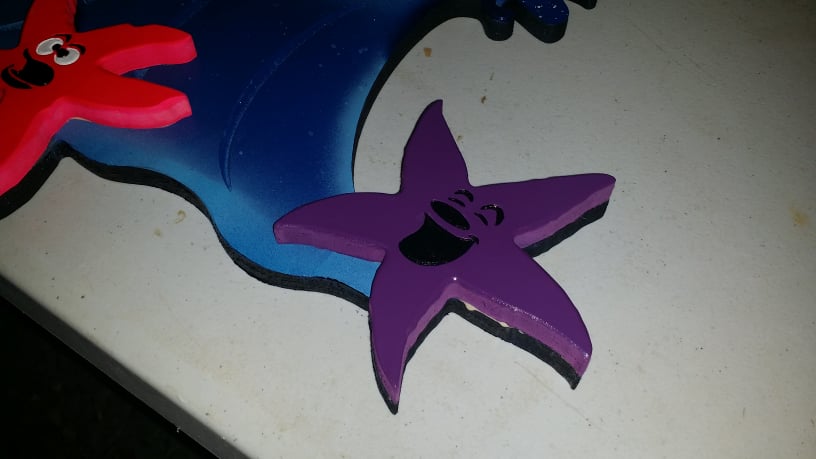
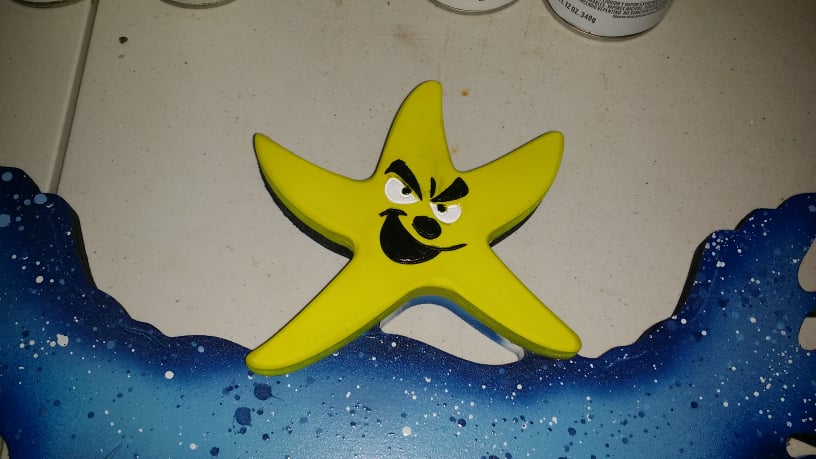
Light BULB!! Star Fish go with this wave I’ve kept going back to.
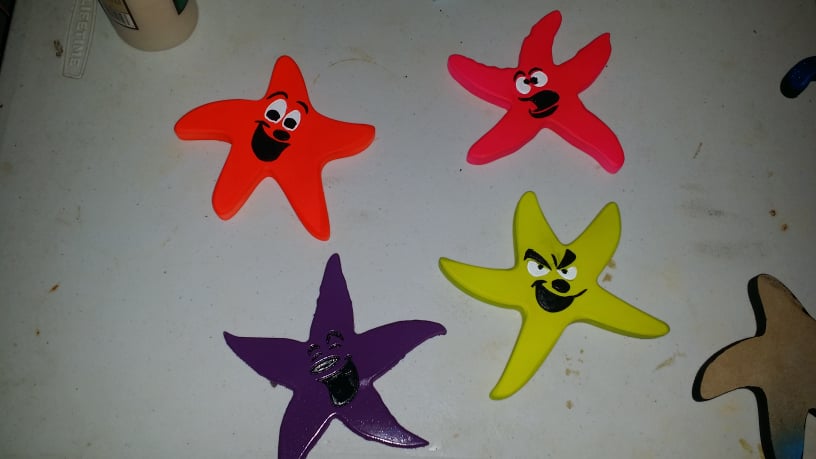
So I went and looked at my choices and the ones that just looked like they wanted faces and already had their own personality where the ones I went with.
https://elements.carbide3d.com/category/starfish/starfish_16.svg/
https://elements.carbide3d.com/category/starfish/starfish_20.svg/
https://elements.carbide3d.com/category/starfish/starfish_22.svg/
https://elements.carbide3d.com/category/starfish/starfish_24.svg/
After Finding all of them I had to go see which faces they were wanting… Lol… Just gotta listen they’ll tell you!
https://elements.carbide3d.com/category/halloween_jack-o-lantern_faces/halloween_jackolanterns_10.svg/
https://elements.carbide3d.com/category/halloween_jack-o-lantern_faces/halloween_jackolanterns_17.svg/
https://elements.carbide3d.com/category/halloween_jack-o-lantern_faces/halloween_jackolanterns_18.svg/
https://elements.carbide3d.com/category/halloween_jack-o-lantern_faces/halloween_jackolanterns_27.svg/
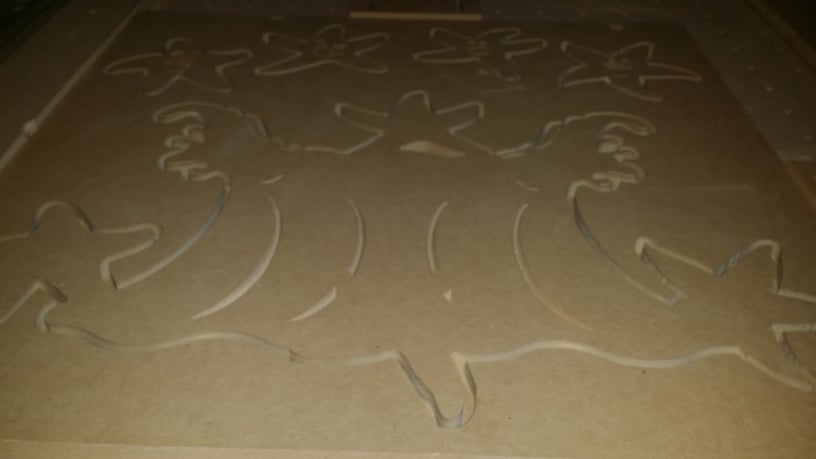
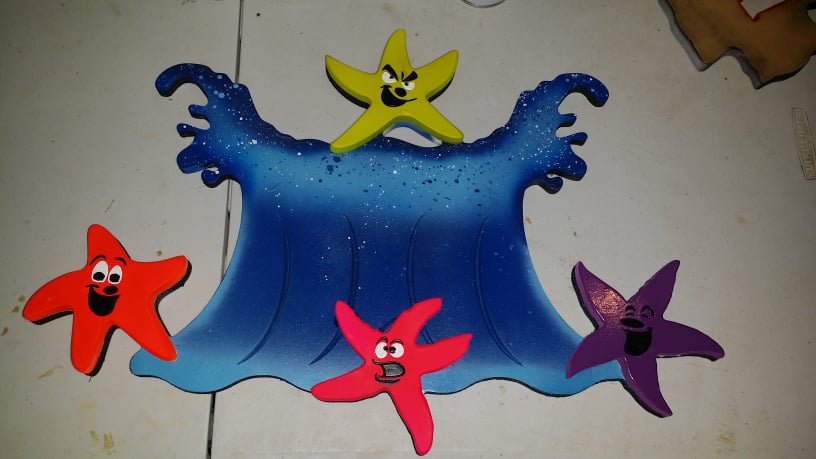
After having all the elements downloaded into CC everything went pretty quick.
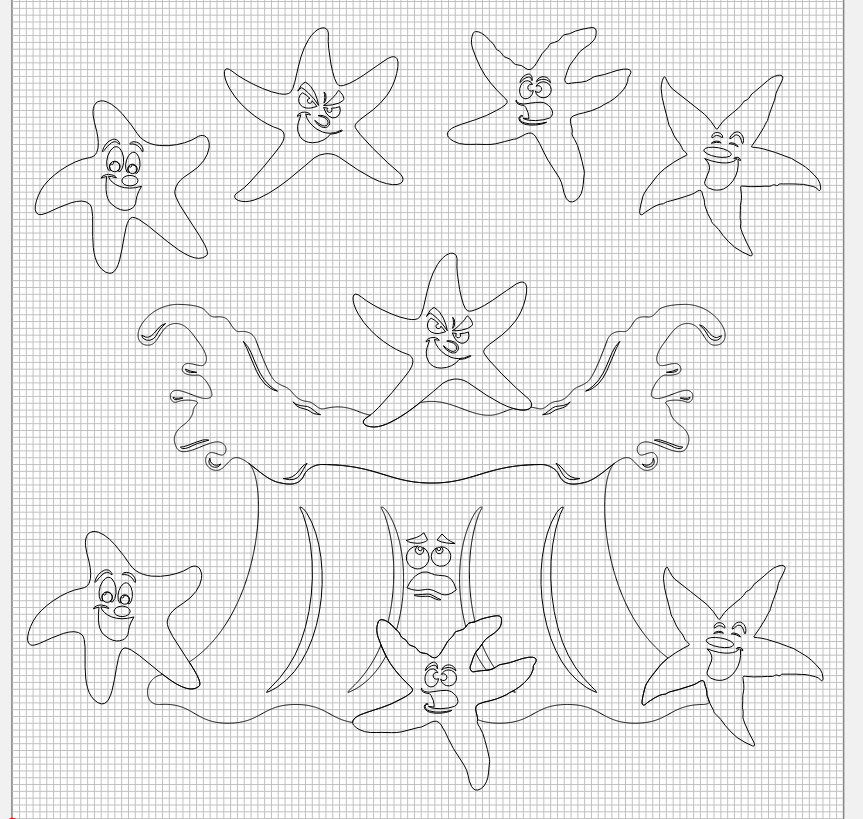
I layed out the starfish where I felt their motions made sense. Grabbed the corresponding faces for each starfish I had picked. After that it was time to start joining elements. Now while I’m creating a drawing I like to keep all elements in their original form just incase editing is needed later. So what I do is lay everything out and then make a copy off to the side and start doing my editing on that while preserving the original.
So while joining I primarily used Boolean Subtraction. Having created multiple layers of the starfish in order to get the desired results.
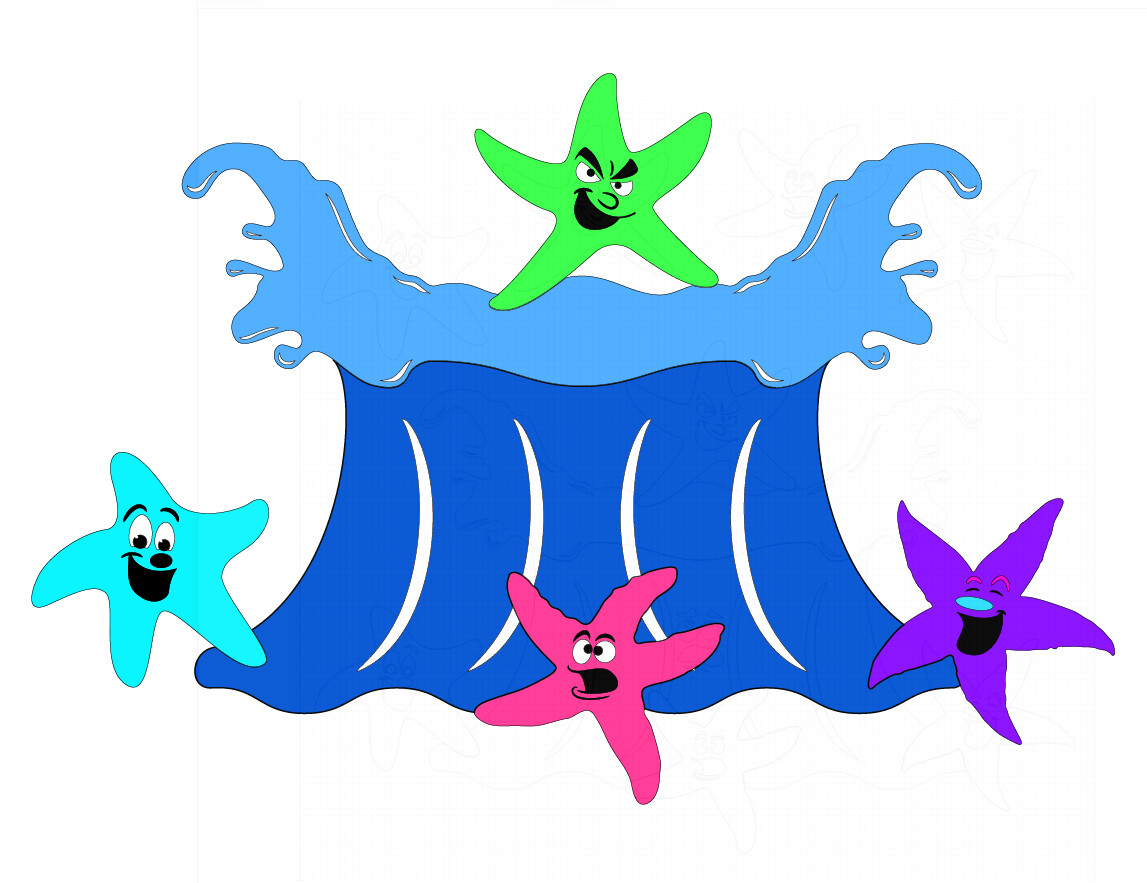
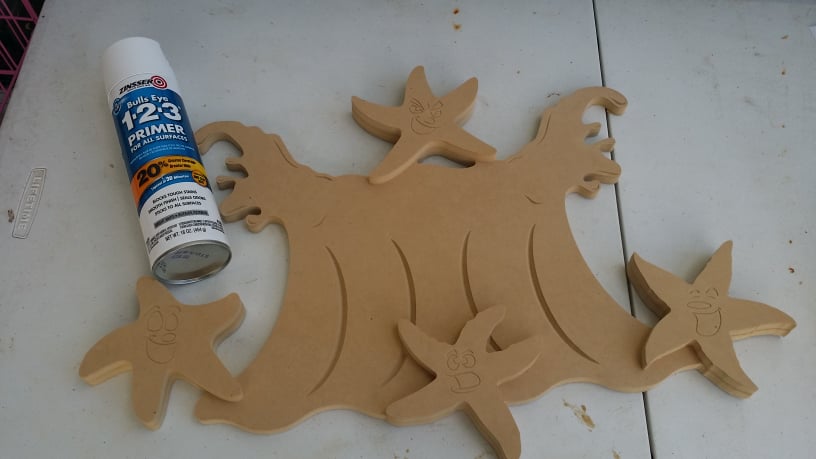
After the drawing is complete I like to add a little color in AI to get a foundation on what I might possibly do with paint later.
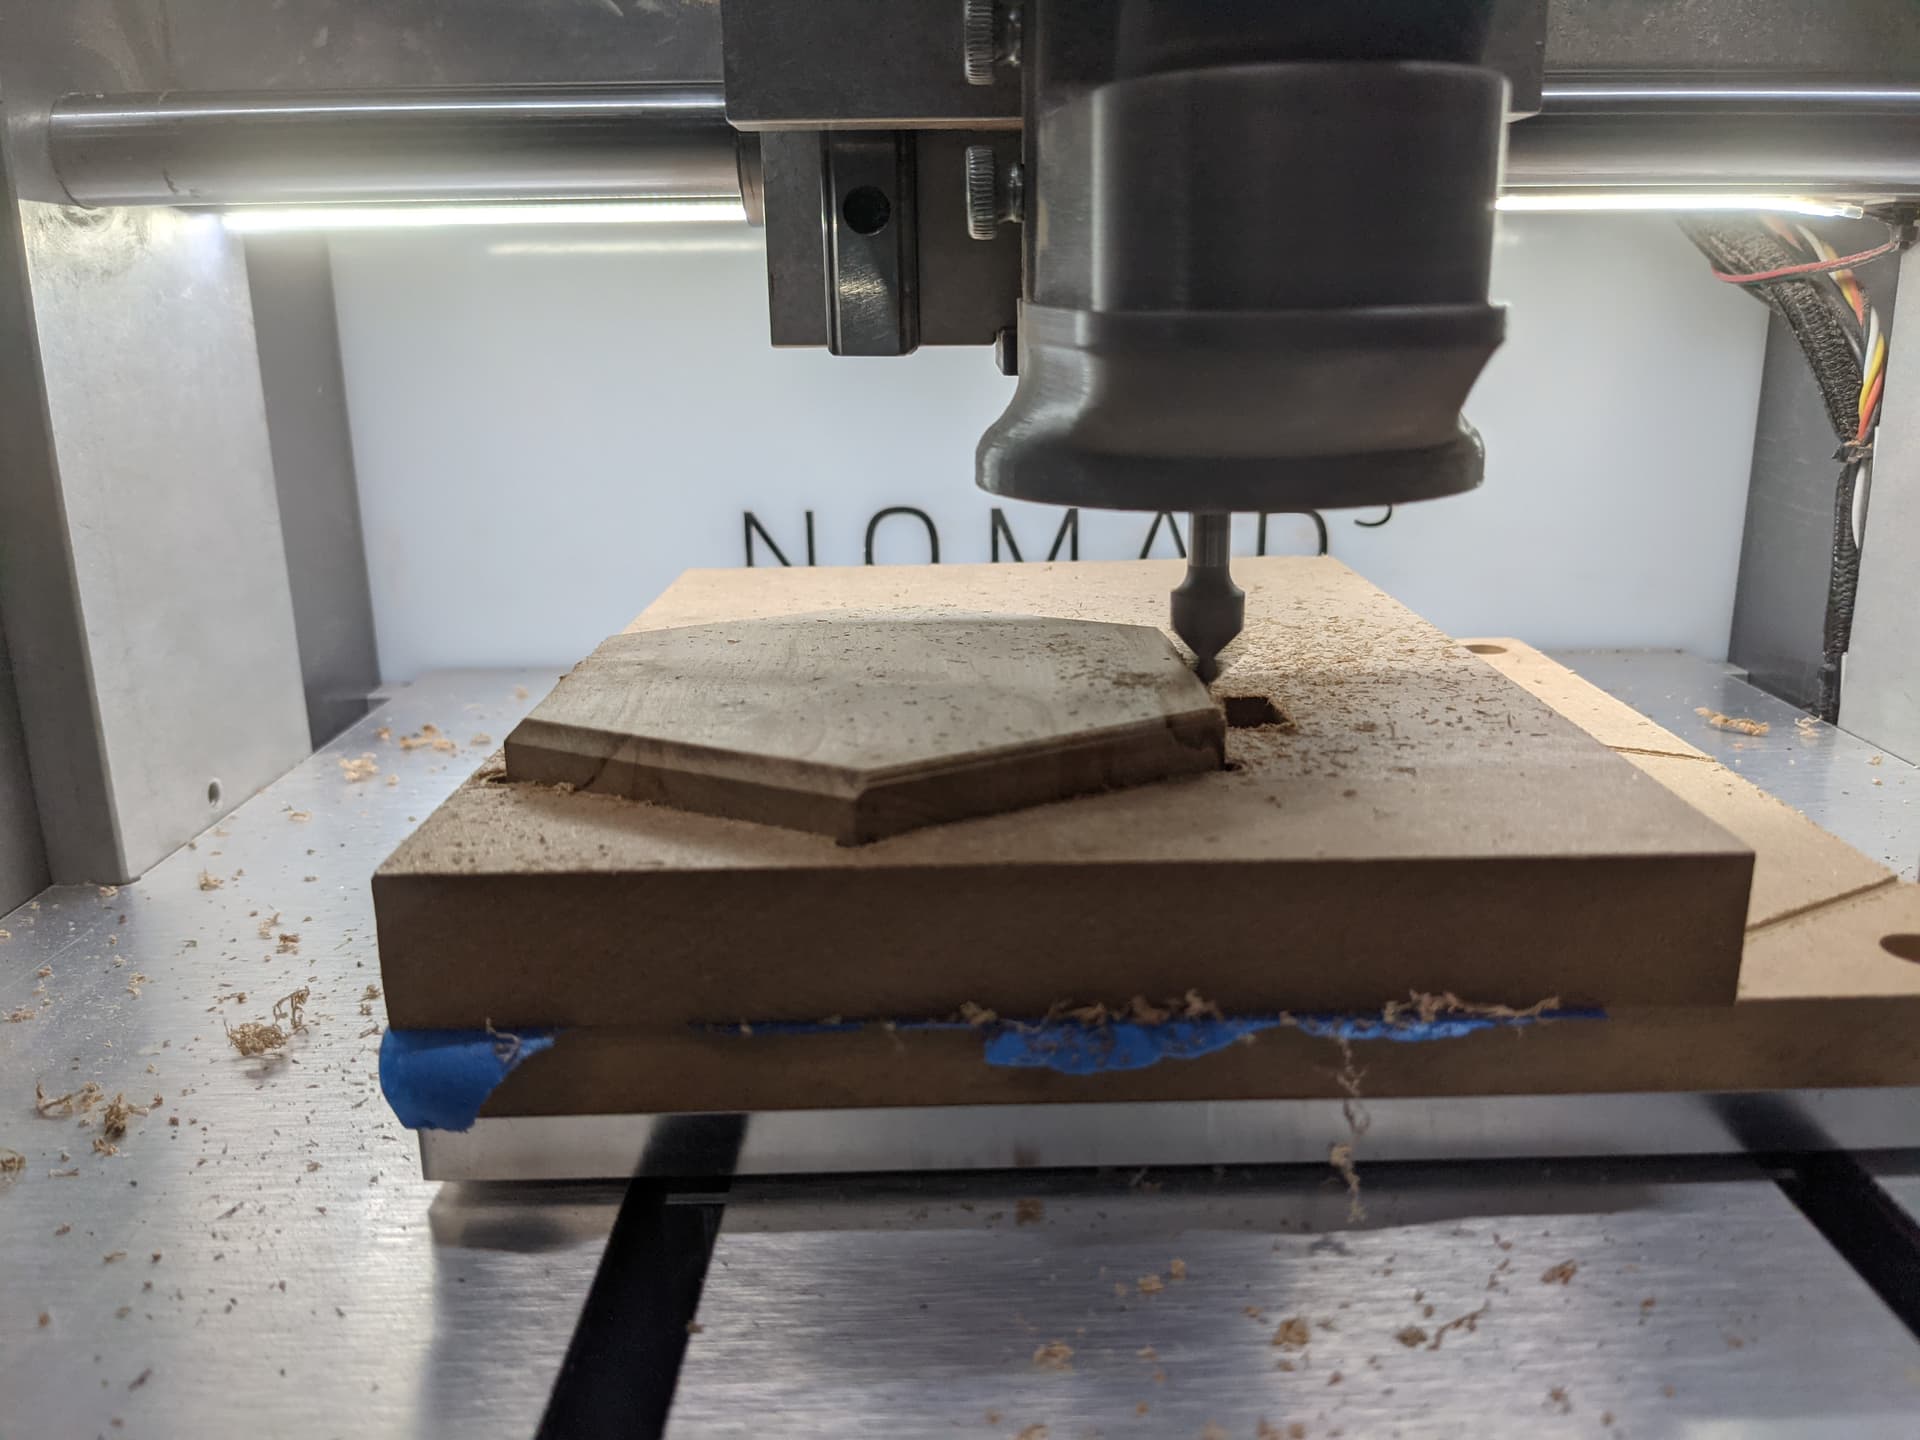
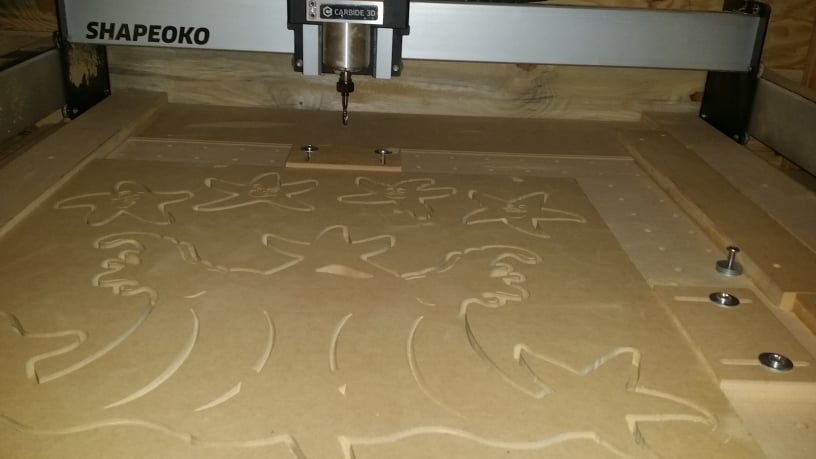
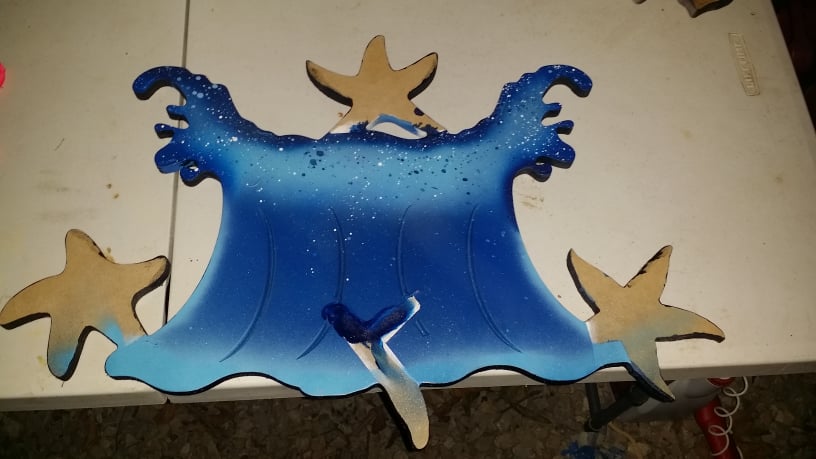
Ok now time to set toolpaths for v carve and contour to cut the pieces out.
Everything checks out and time to start cutting.
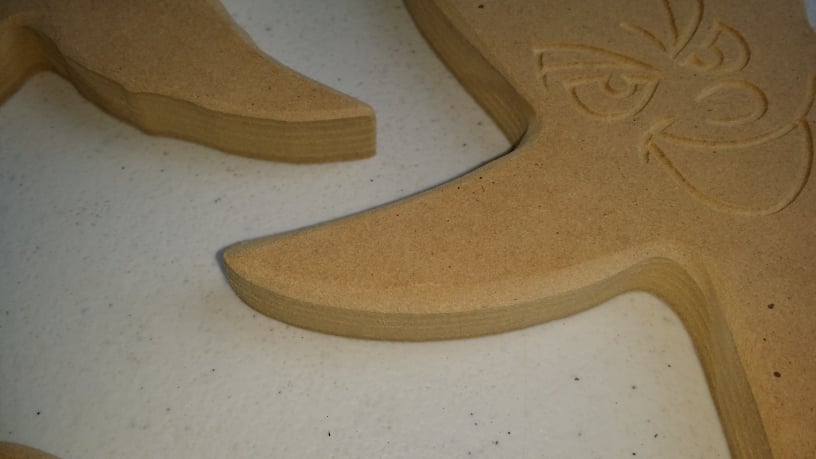
I don’t typically use very many tabs unless artwork demands it, I leave a small layer and cut on final pass just a few thousandths and am fine. If you need to use tabs do so. Files don’t contain any.
Well well maybe I should post more to Cut Rocket… just noticed the 3 files I did post have around 1,800 downloads… that feels kinda nice… Thanks Guys
I dunno why the project won’t publish on Cutrocket as of this moment. but working on it.
Here’s the link to the project. Probably was waiting for approval. Forgot about that. Thanks you secret ninja…
Thanks for reading.
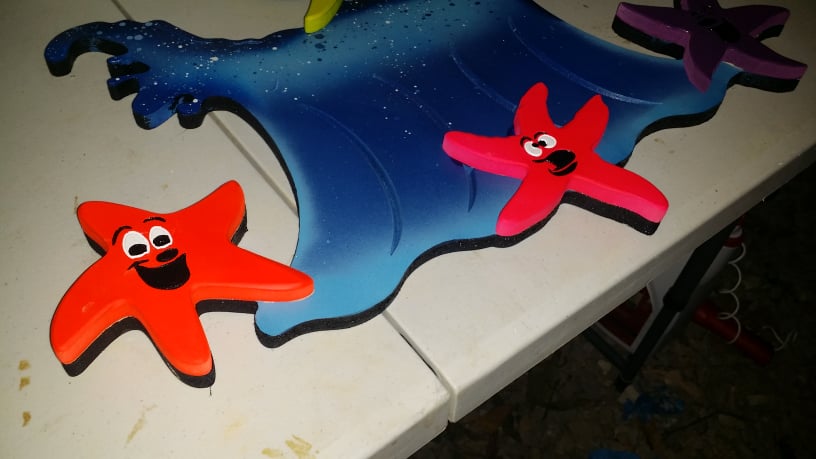
Round 2 went way better!! They need cleaned up a bit, but definitely workable.
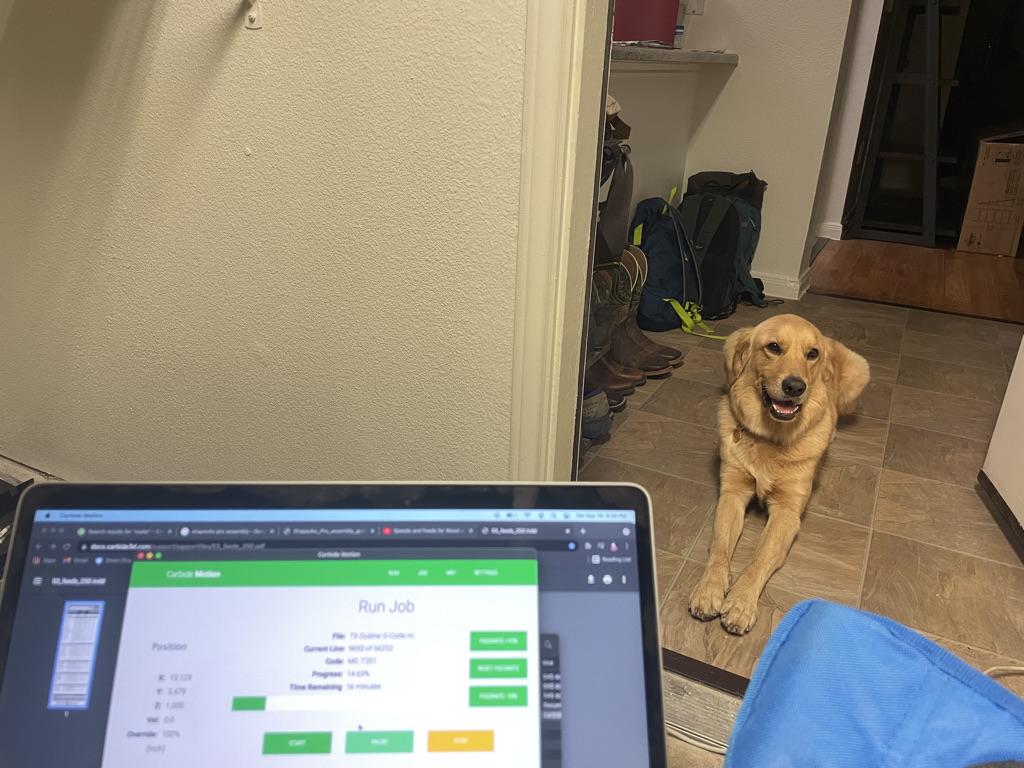
Also, this little guy kept me company while it was running