Work Holding can be challenging, especially smaller and irregularly shaped parts.
Here is an easy solution using Carbide Create and a block of HDPE plastic (3"x 5" x1") to make a Soft Vise fixture.
This design is very simple and can be modified to your needs.
In this example I am holding a penny which measures .75" in diameter and attaching the soft vise to the Shapeoko threaded table which has 50mm spacing, so my bolt holes here are 100mm apart.
Very easily you could modify this Soft Vice design to fit the Nomad vise or table spacing or to hold a Dog Tag, Badge, Dice,…just about anything.
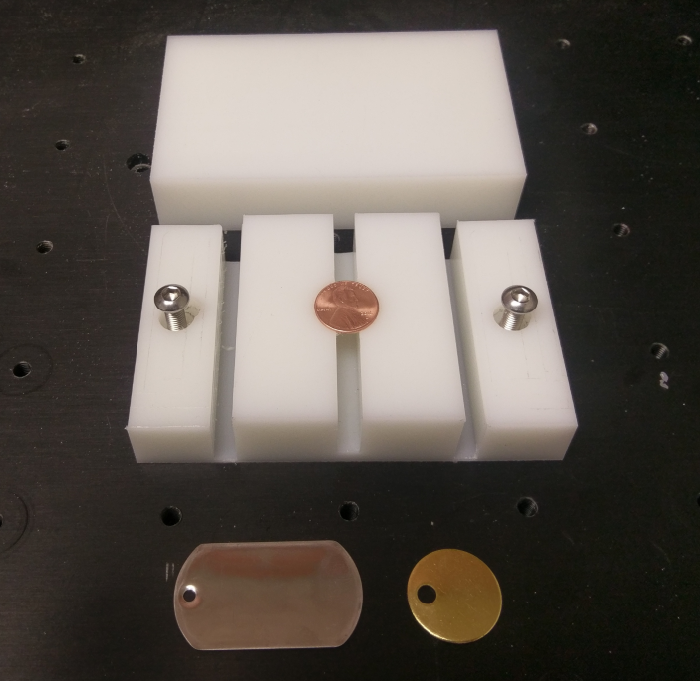
Raw HDPE Block and finished Soft Vise holding a penny.
Lets walk through the Carbide Create process
My Job is setup to be the same size as my HDPE block so the stock size is 3" x 5" x 1"
Here is the preview with all jobs disabled.

Creating the Soft Vise requires 2 setups.
Note: I have separated my toolpaths into 2 groups; labeled A and B.

With the Job A Toolpaths enabled we can see the first 3 operations in the simulation:
Slots
Bolt Heads
Through Holes

With the Job B Toolpaths enabled we can see the second 3 operations in the simulation:
Side Recess Pockets
Penny Pocket
Penny Slot
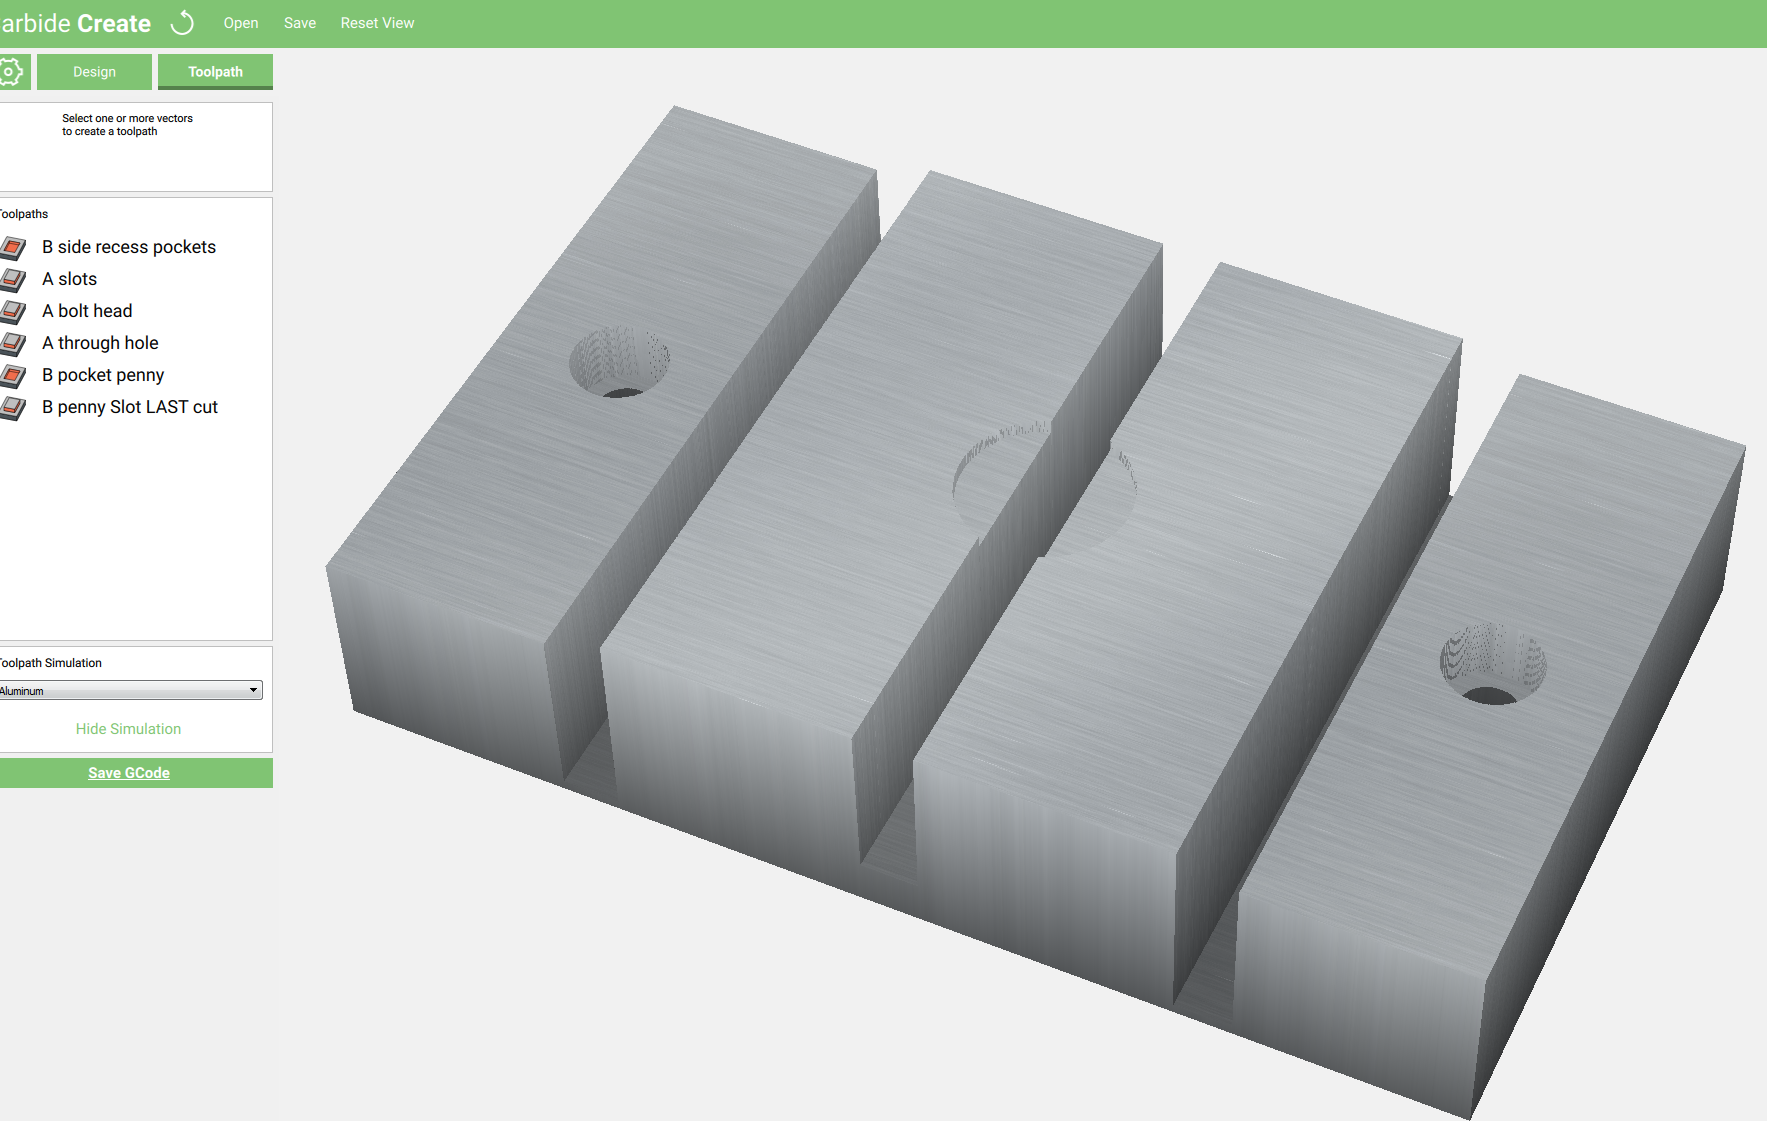
With all toolpaths enabled we see the final part.
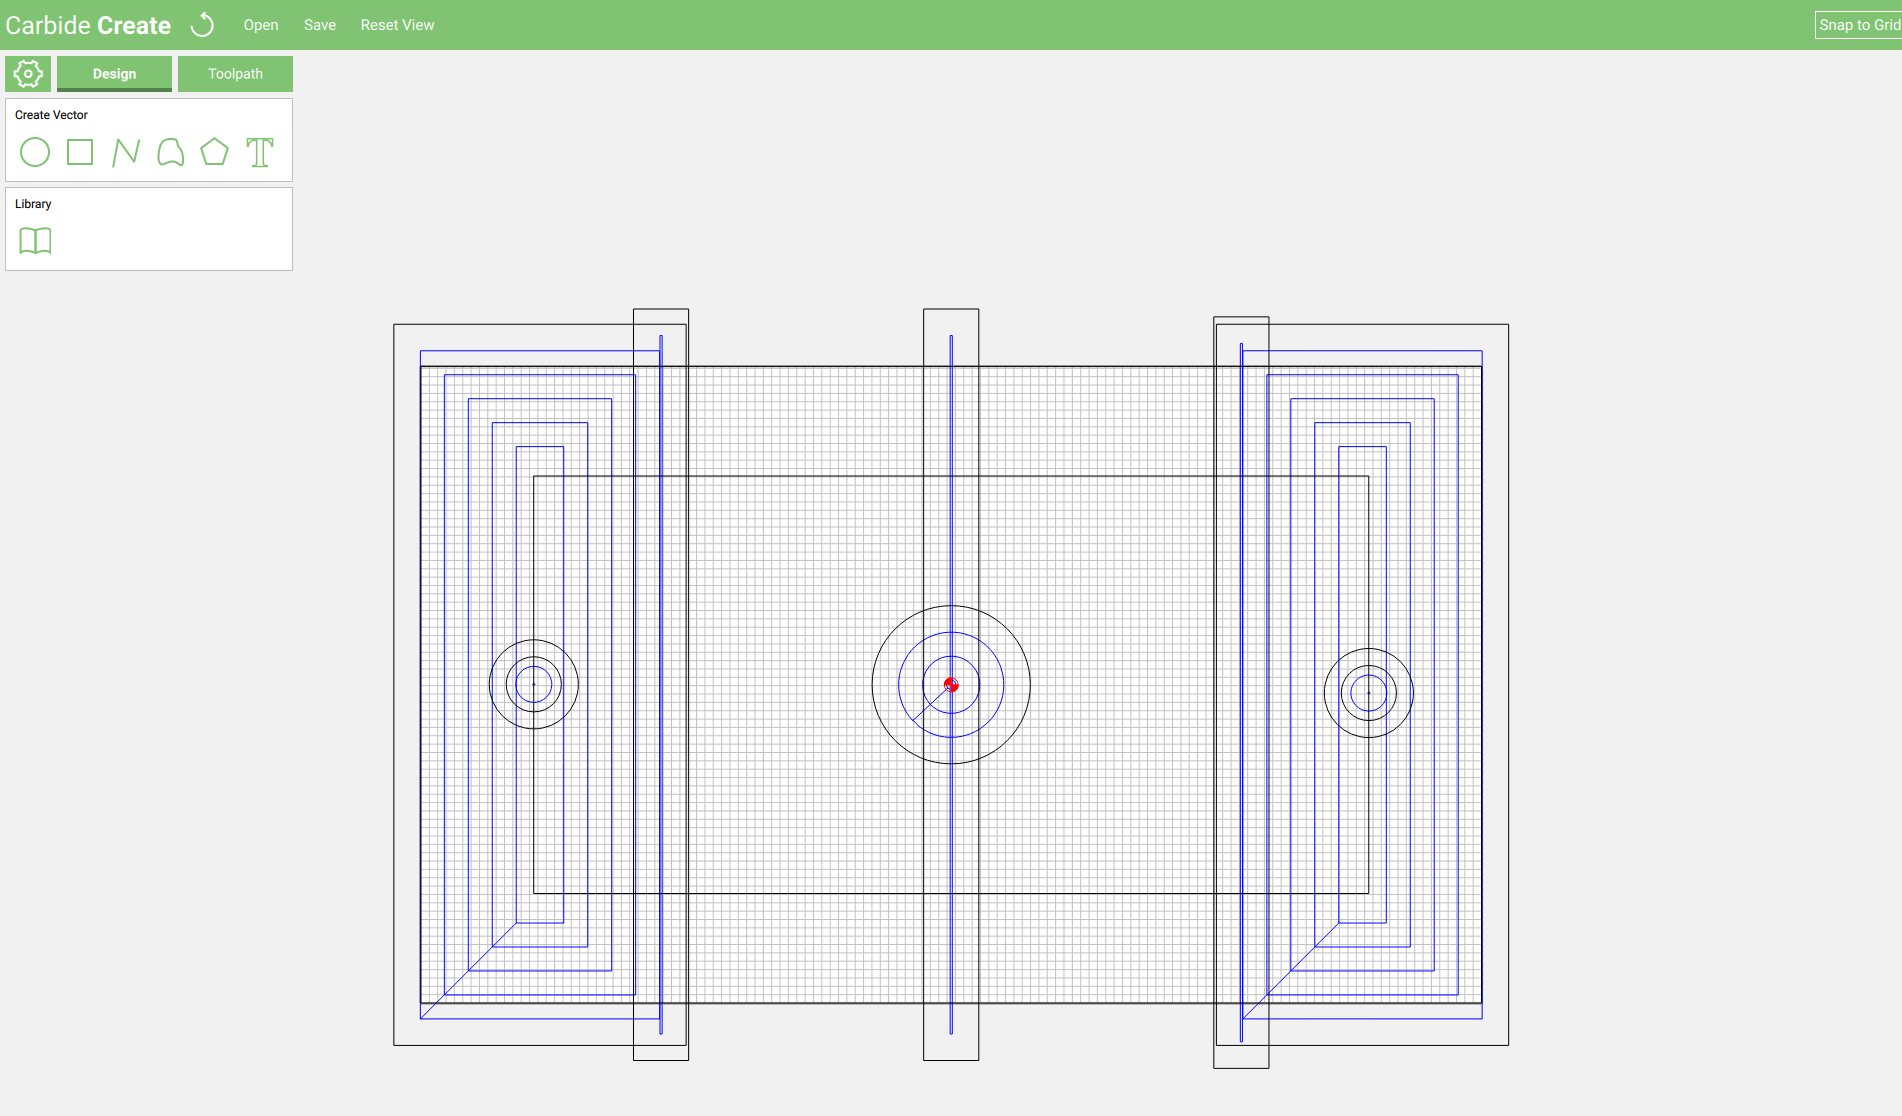
Carbide Create Design screen.
Note the rectangle inside that has no toolpath assigned to it? That is a construction element that gives me the 100mm center spacing between of the holes
The Setup (Job A)
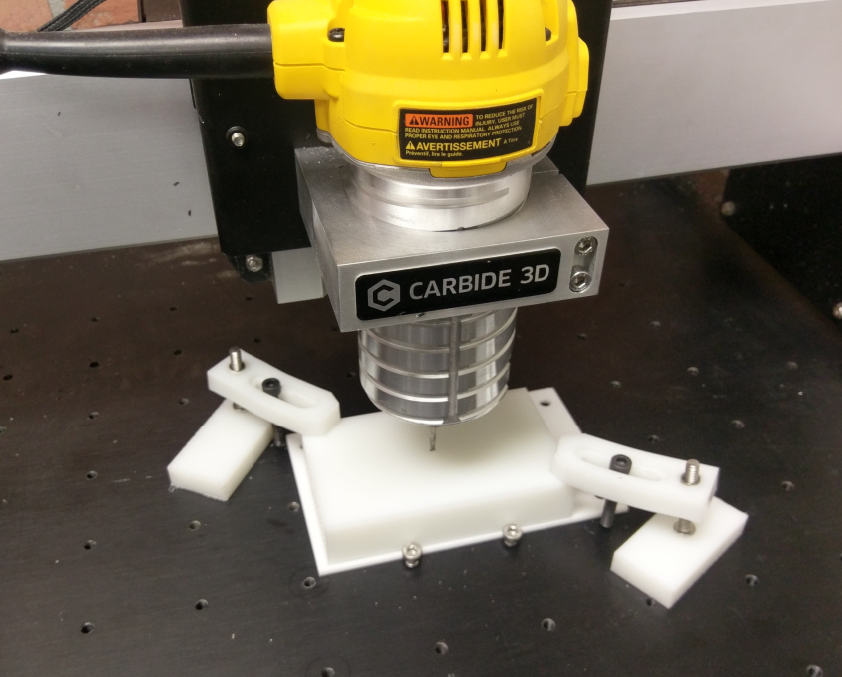
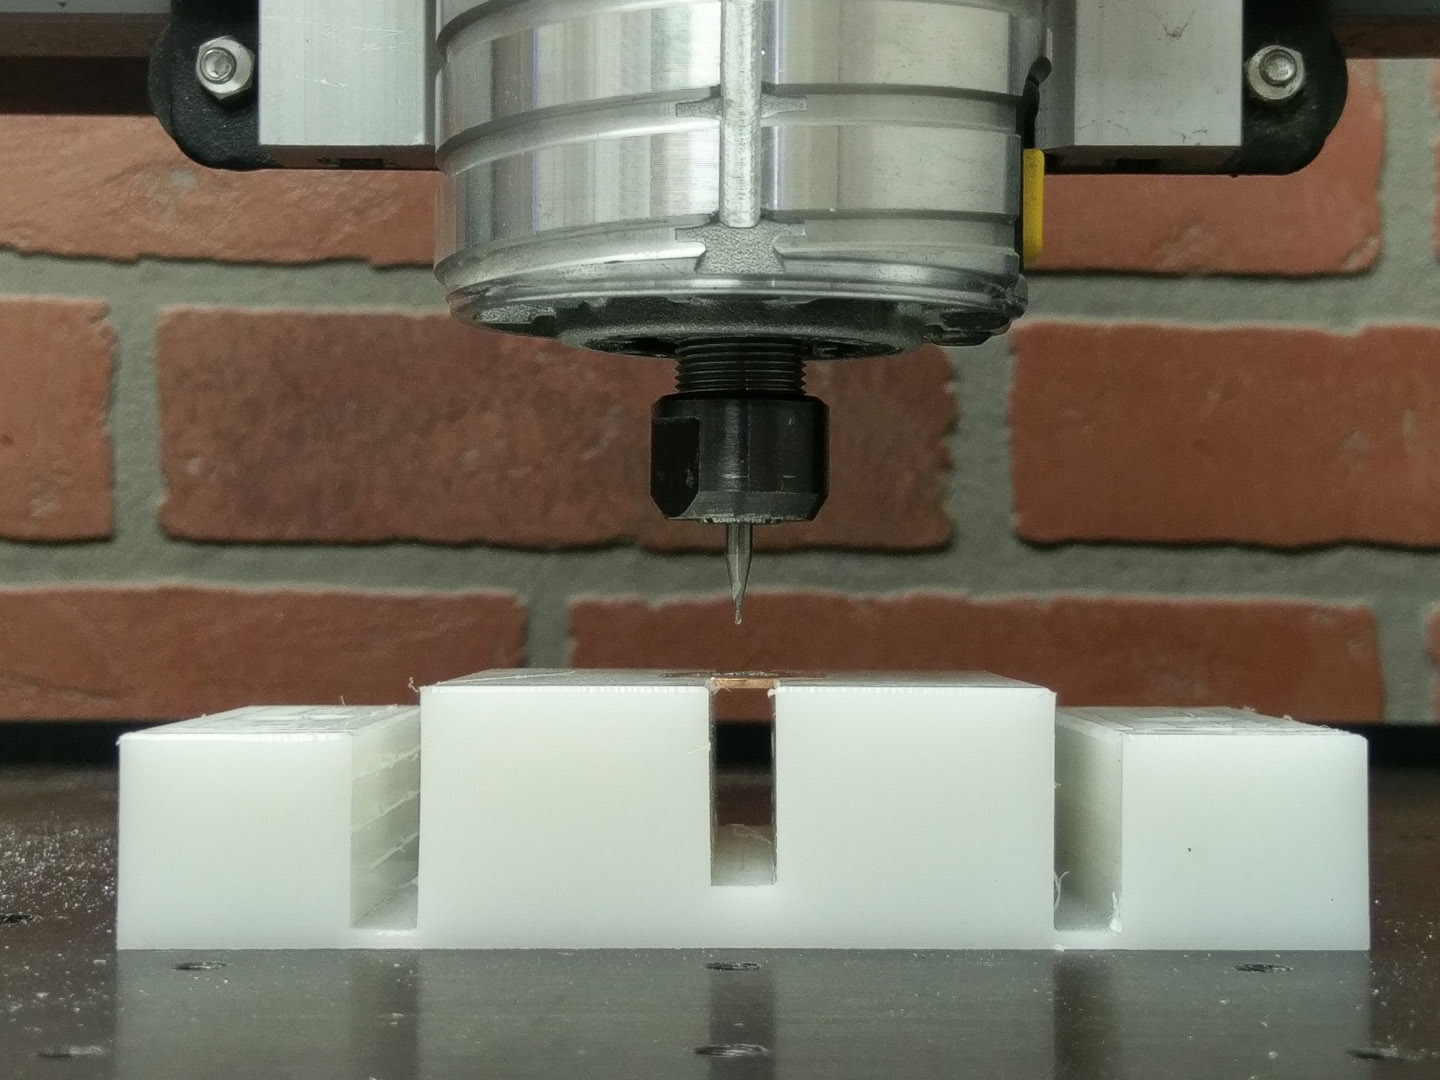
Center the Cutter on the 3x5x1 Block using clamps to hold the corners and allow room for the Collet nut to clear when creating the Job A slots.
Note the 1/8th waste board below my block to allow the cutter to cut my through holes with out cutting into the Table.

Job A complete.

With Job A complete I mounted the Soft Vise to the threaded table.
The Setup (Job B)

Once the Soft vise was mounted - I Homed the Machine, and Zeroed it out.
Then I jogged over to the center of the Soft Vise and noted the X and Y coordinates.
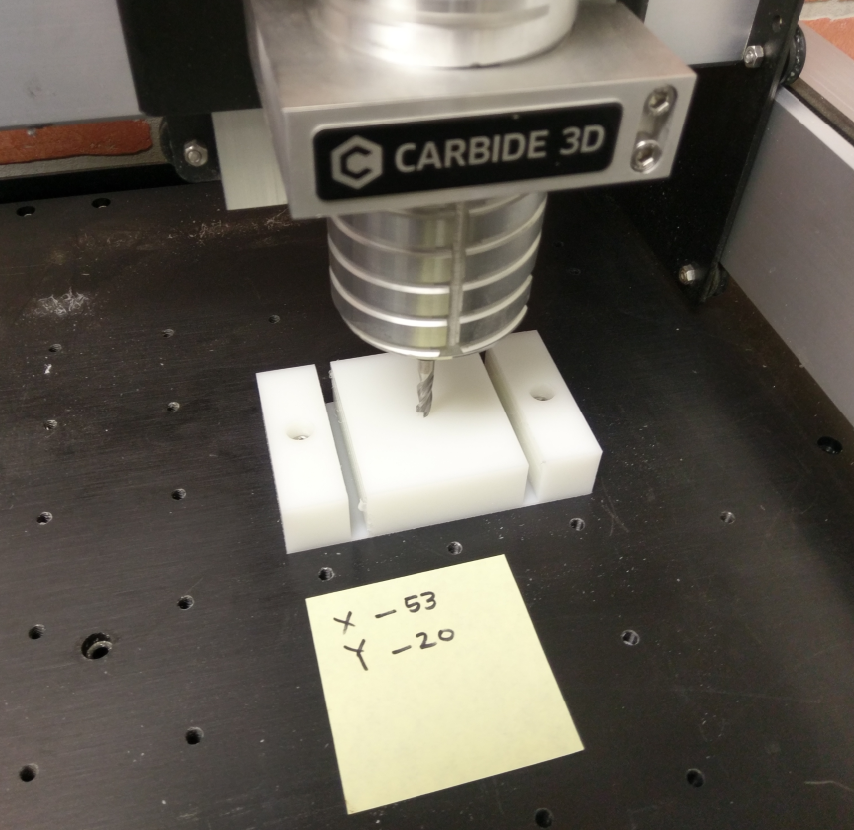
These Numbers on the Sticky Note, they are wrong.
I had to move the Fixture block additionally Y-50 and X-50 in order to reach the back edges.

Heres the Final Soft Vise.
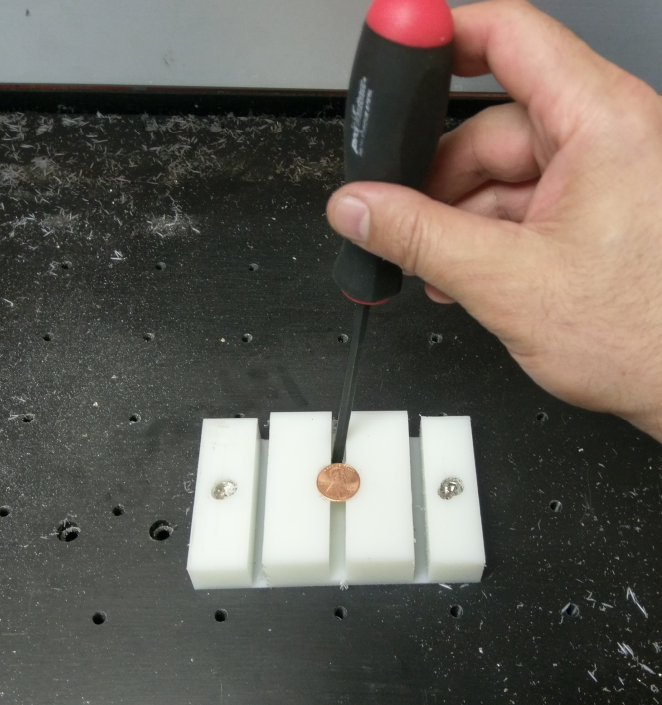
The Penny Pocket is machined at .746" so it is undersized and creates a natural tension on the Edges.
To insert the penny, gently pry the jaws apart and pop the penny in.
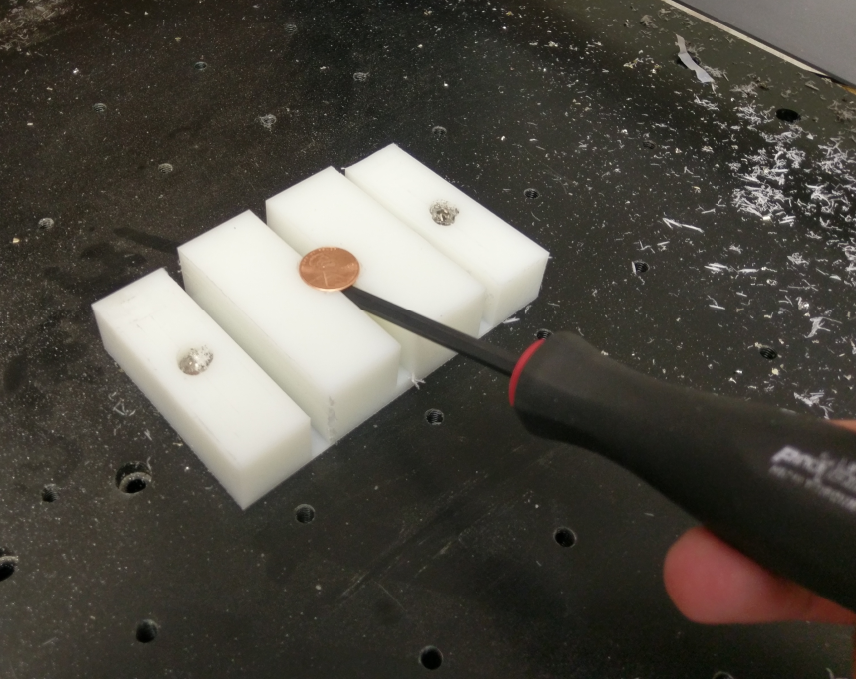
To release the penny just pop it out.
Want to try engraving a Penny?
Heres the Soft Vise Design:
Soft Vice 100mm.c2d (13.0 KB)
Heres the Instagram Video
If you are making stuff on Instagram tag it #carbide3d and say hello!