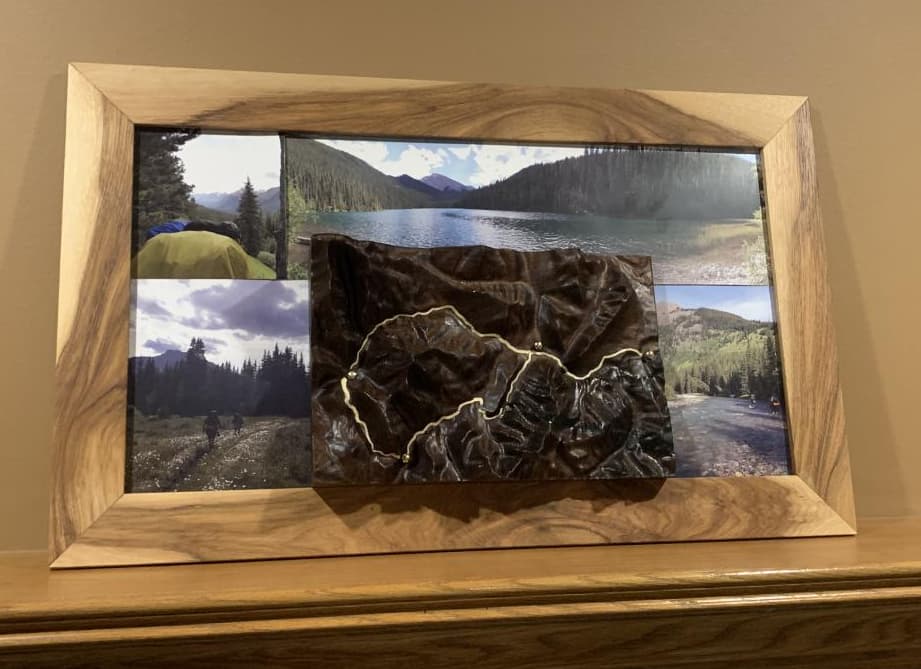
I’ve actually had this project in the wish list for a few years, but never had a driver to set aside the time to learn how to do this all. Community challenge pushed me along and I’m happy with the result.
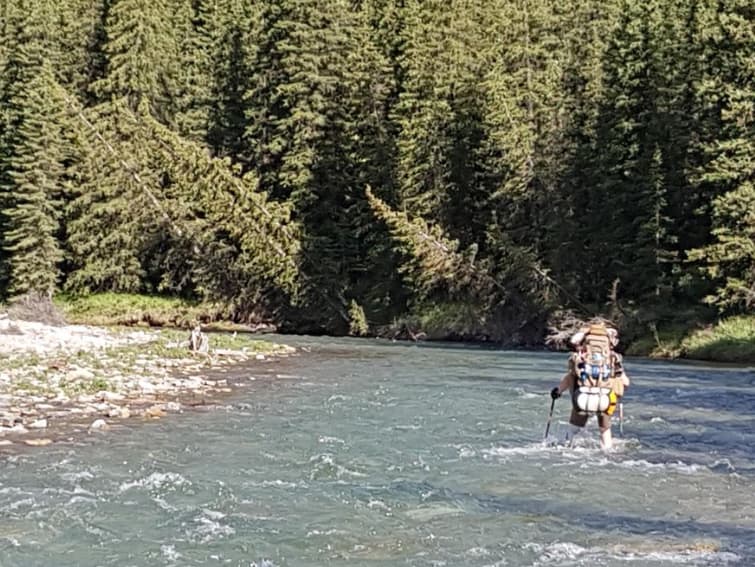
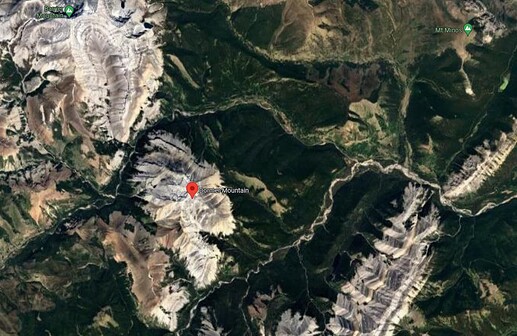
In 2017 2 friends and I hiked for 5 days around Dormer Mountain, it was just over 60km which had what felt like 100 water crossings back and forth over the Panther river. It was frequent enough you just give up on changing out of your hiking boots and save your dry runners for camp each night.
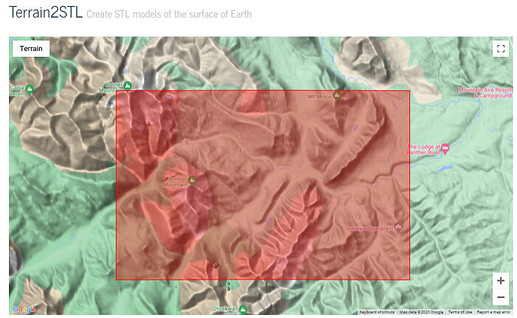
I used Terrain2STL and cropped the view to capture the hiking path we took.
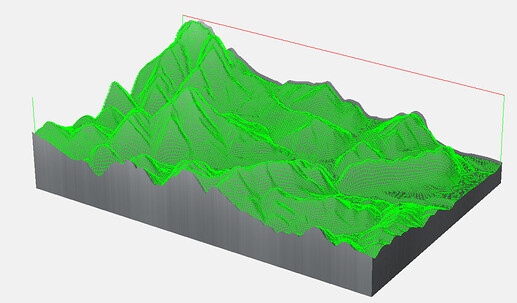
This supplied me with a great stl which I used meshmixer to crop out some of the bulk at the bottom.
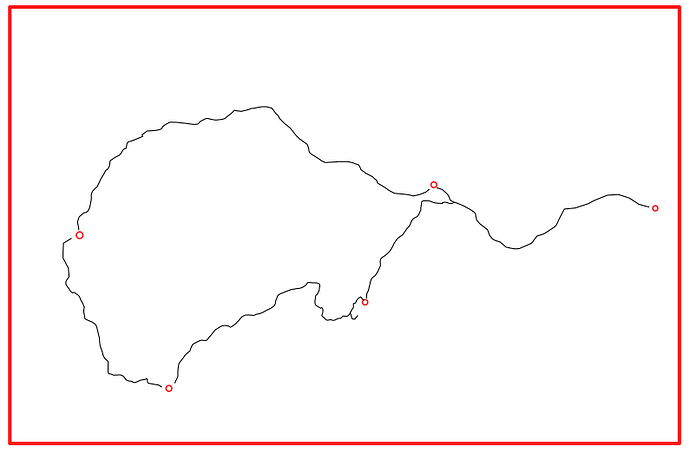
My friend sent me the screen shot of the gps path we took and where the campsites were which I traced with Inkscape for later use.
I ended up breaking this process into a few different files to keep them straight in my head.
PantherHike.c2d (3.6 MB)
(ignore the bit names in the file, working off a new laptop and hadnt set up my library yet. The correct bits are in this writeup)
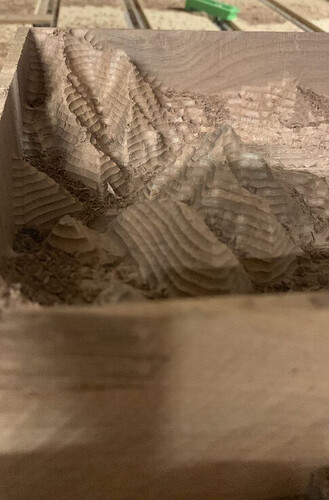
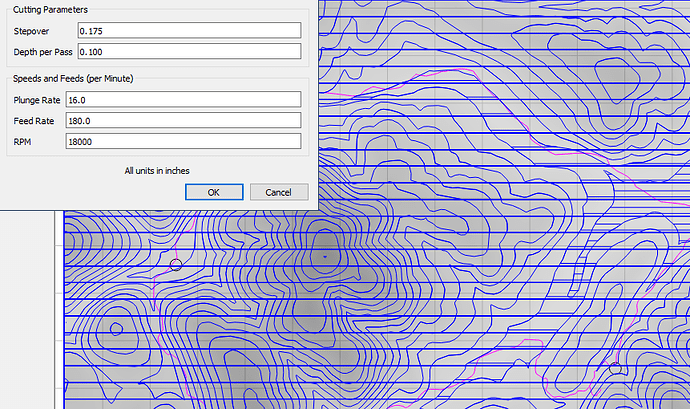
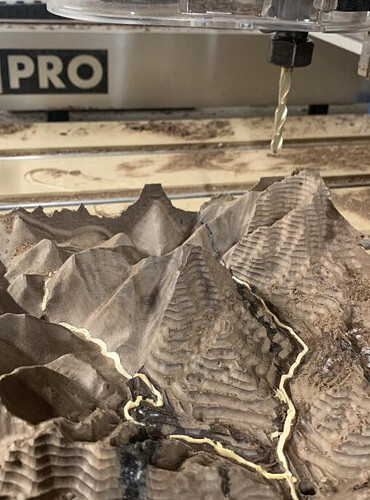
The first was the 3D roughing pass done on a 11" x 7" x 2.75" chunk of black walnut. I used my long reach 1/4" ball nose bit to clear out the bulk of the material. I was careful to ensure there was a solid wall around the mountain range so I could later flip over the stock to work from the other side. Since the route was a loop, I added breaks in teh path where camp was each night and used those areas as tabs to hold it all together and later milled those out for decorative pins.
This did take a while… Amana Tool 46294
PantherHike_path_pocket.c2d (120 KB)
The Hiking path was machined from the backside (so flipped the workpiece over and re-indexed and secured down. (Kept the same Zero)
I used just simple vector lines and did each days path at an appropriate depth. I used this bit
Amana Tool 46280-K. To ensure I was milling deep enough I did add a rough pocket first to work inside of.
PantherHike_path_plug.c2d (136 KB)
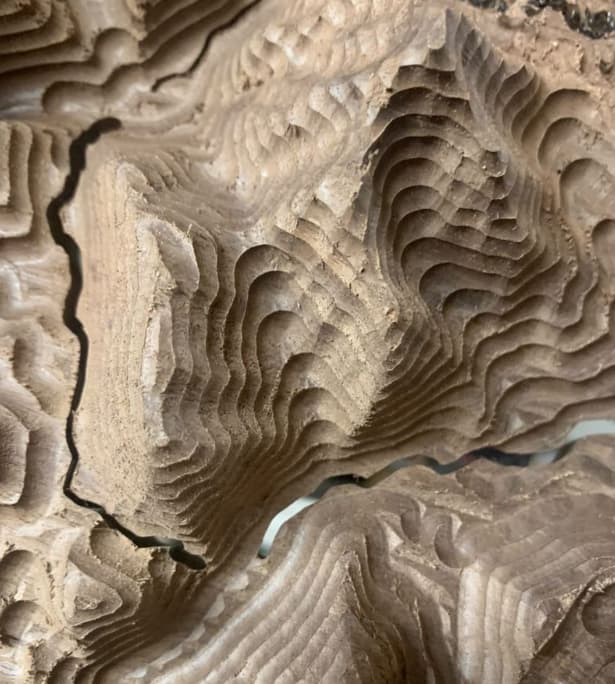
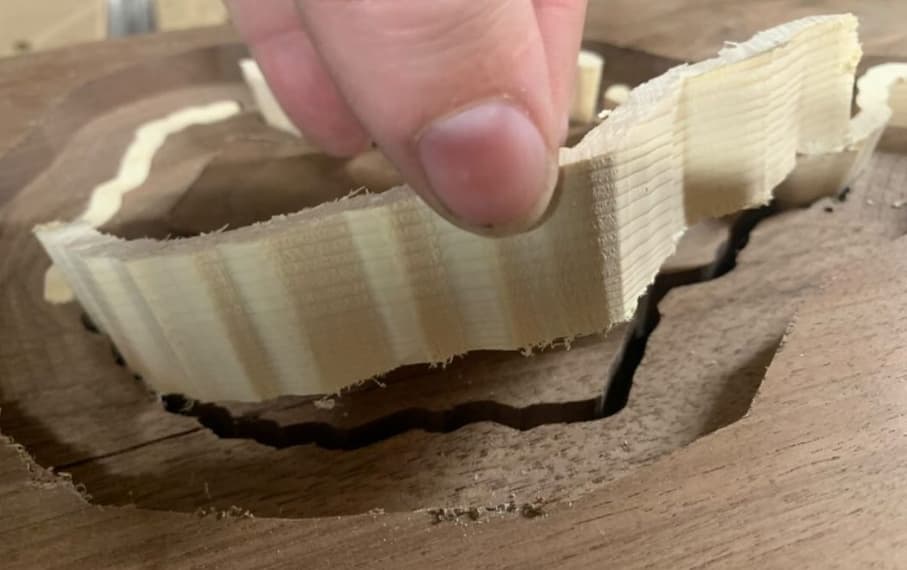
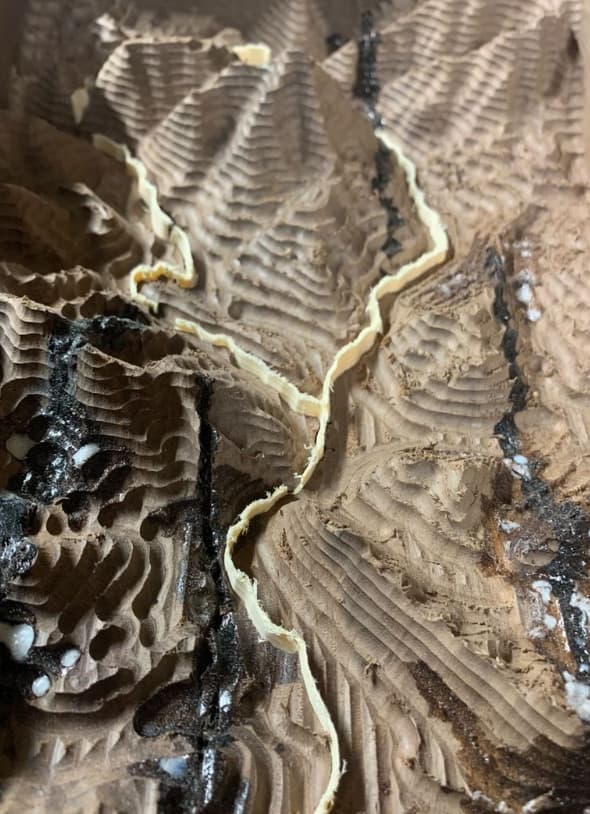
The plugs were cut out of a 2x4 and hammered home. I used the same vectors (flipped) with offsets on either side for the bit to follow. It mostly worked.
The finish passes next would clean up any plug sticking through.
Along the way I found voids in the walnut so these were touched up with CA glue, later to be cleaned up in the finishing pass as well.
Flip over the stock after gluing in the inlay hiking path and load up the finishing pass file.
It’s cleaning up nicely.
I opted for two finishing passes, so I could do additional cleanup with CA glue in between.
First pass at 45deg, second at 135deg

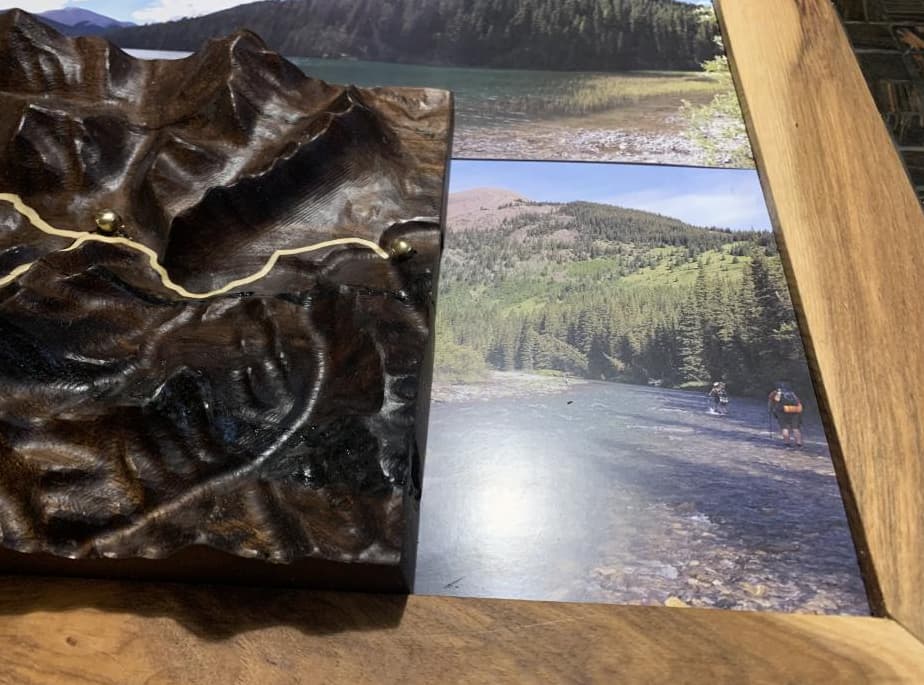
Whipped up a simple frame (24"x14.5"), threw some pictures from the trip around the carving and added some brass pegs to mark the start/end and the 4 camp sites.
