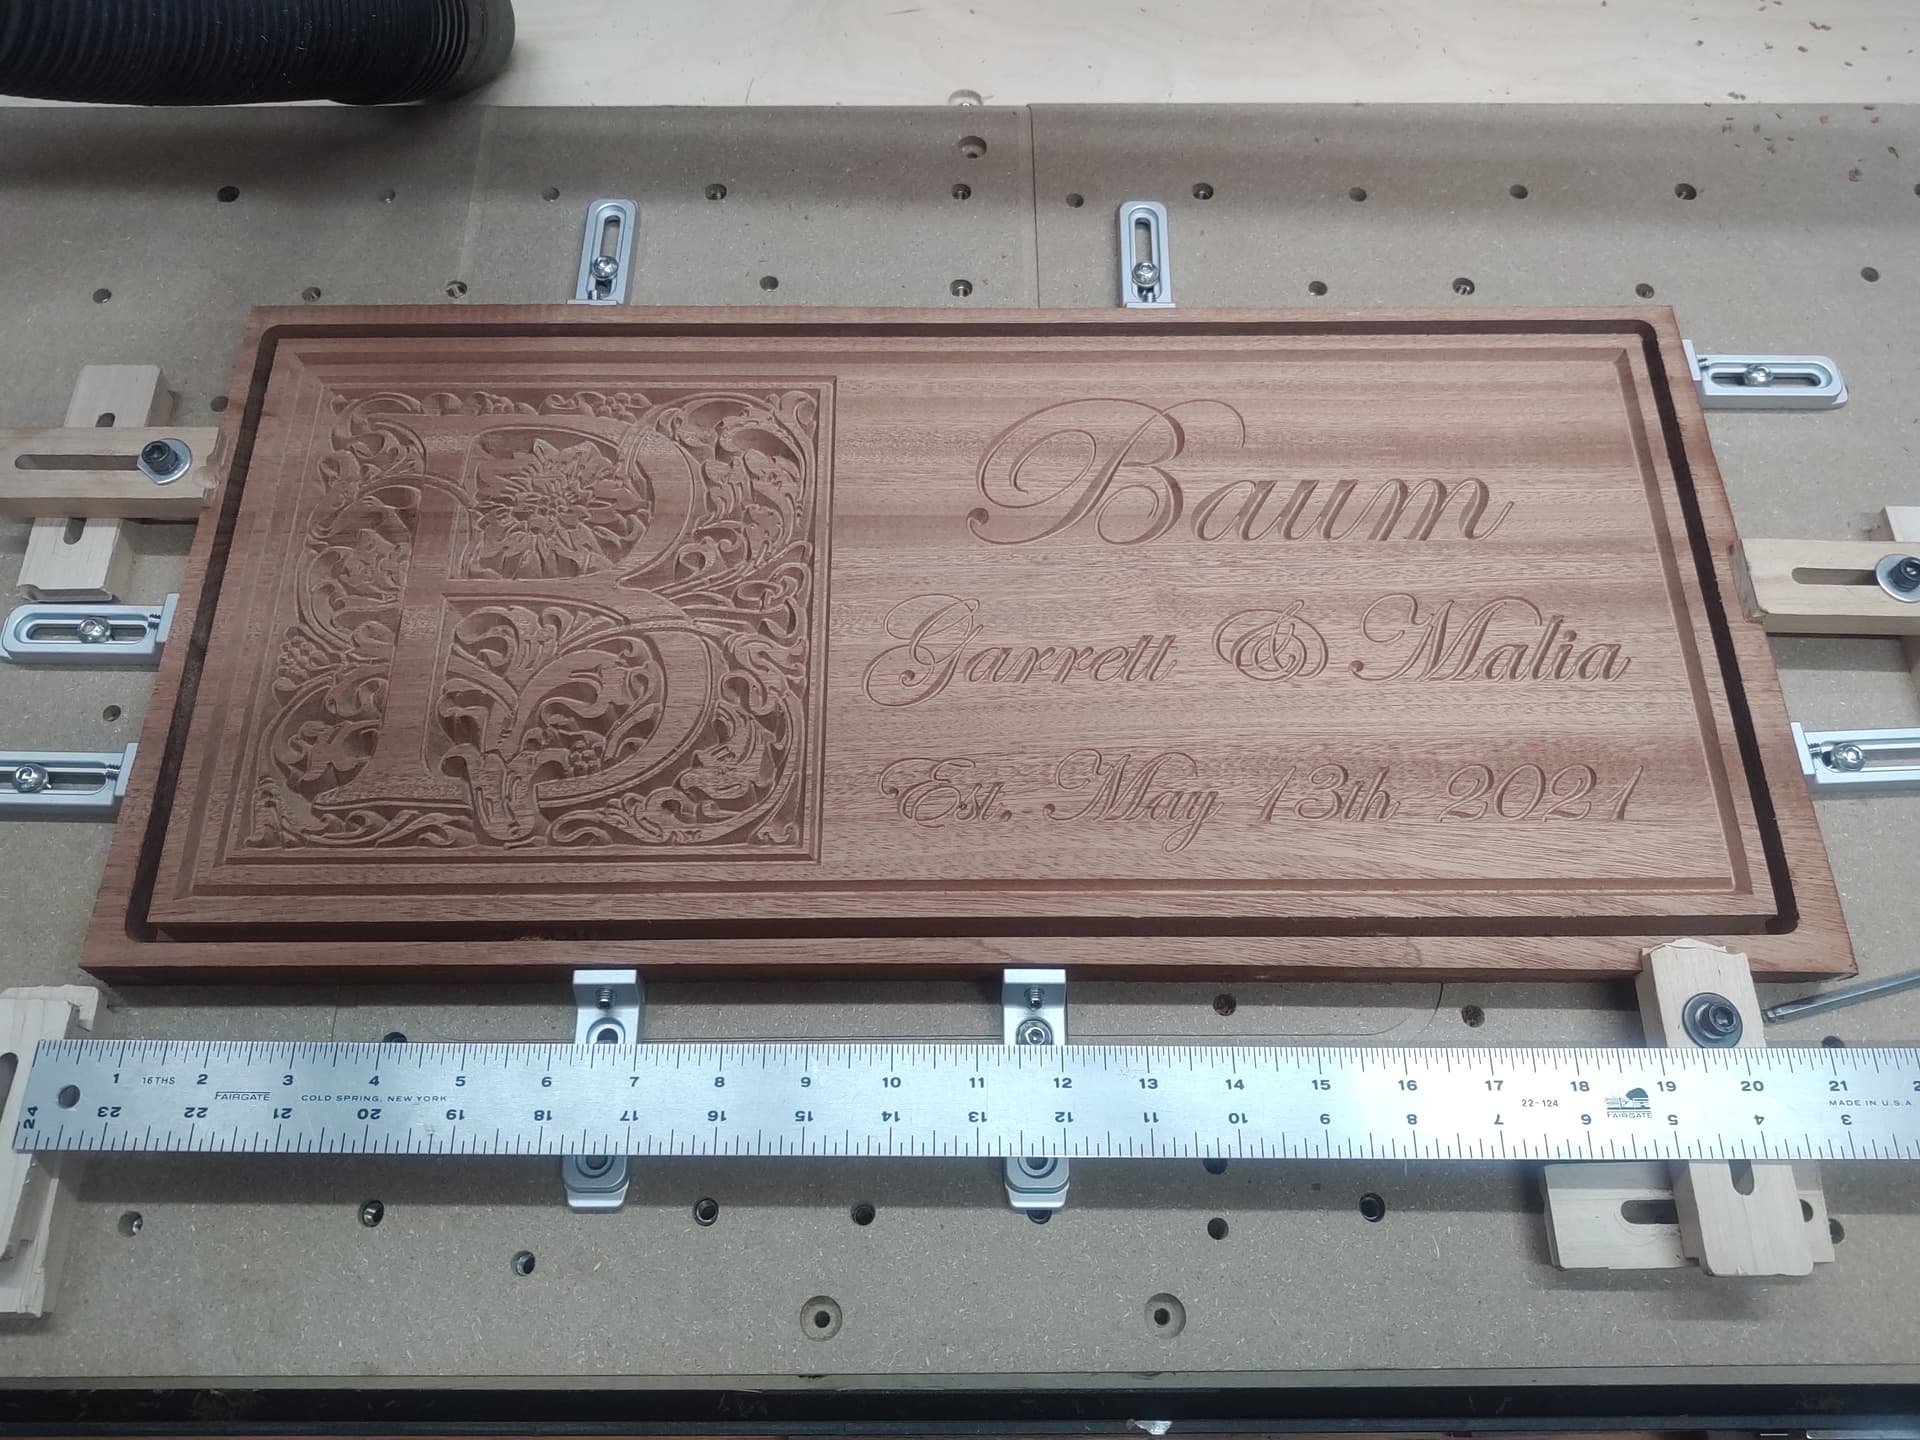
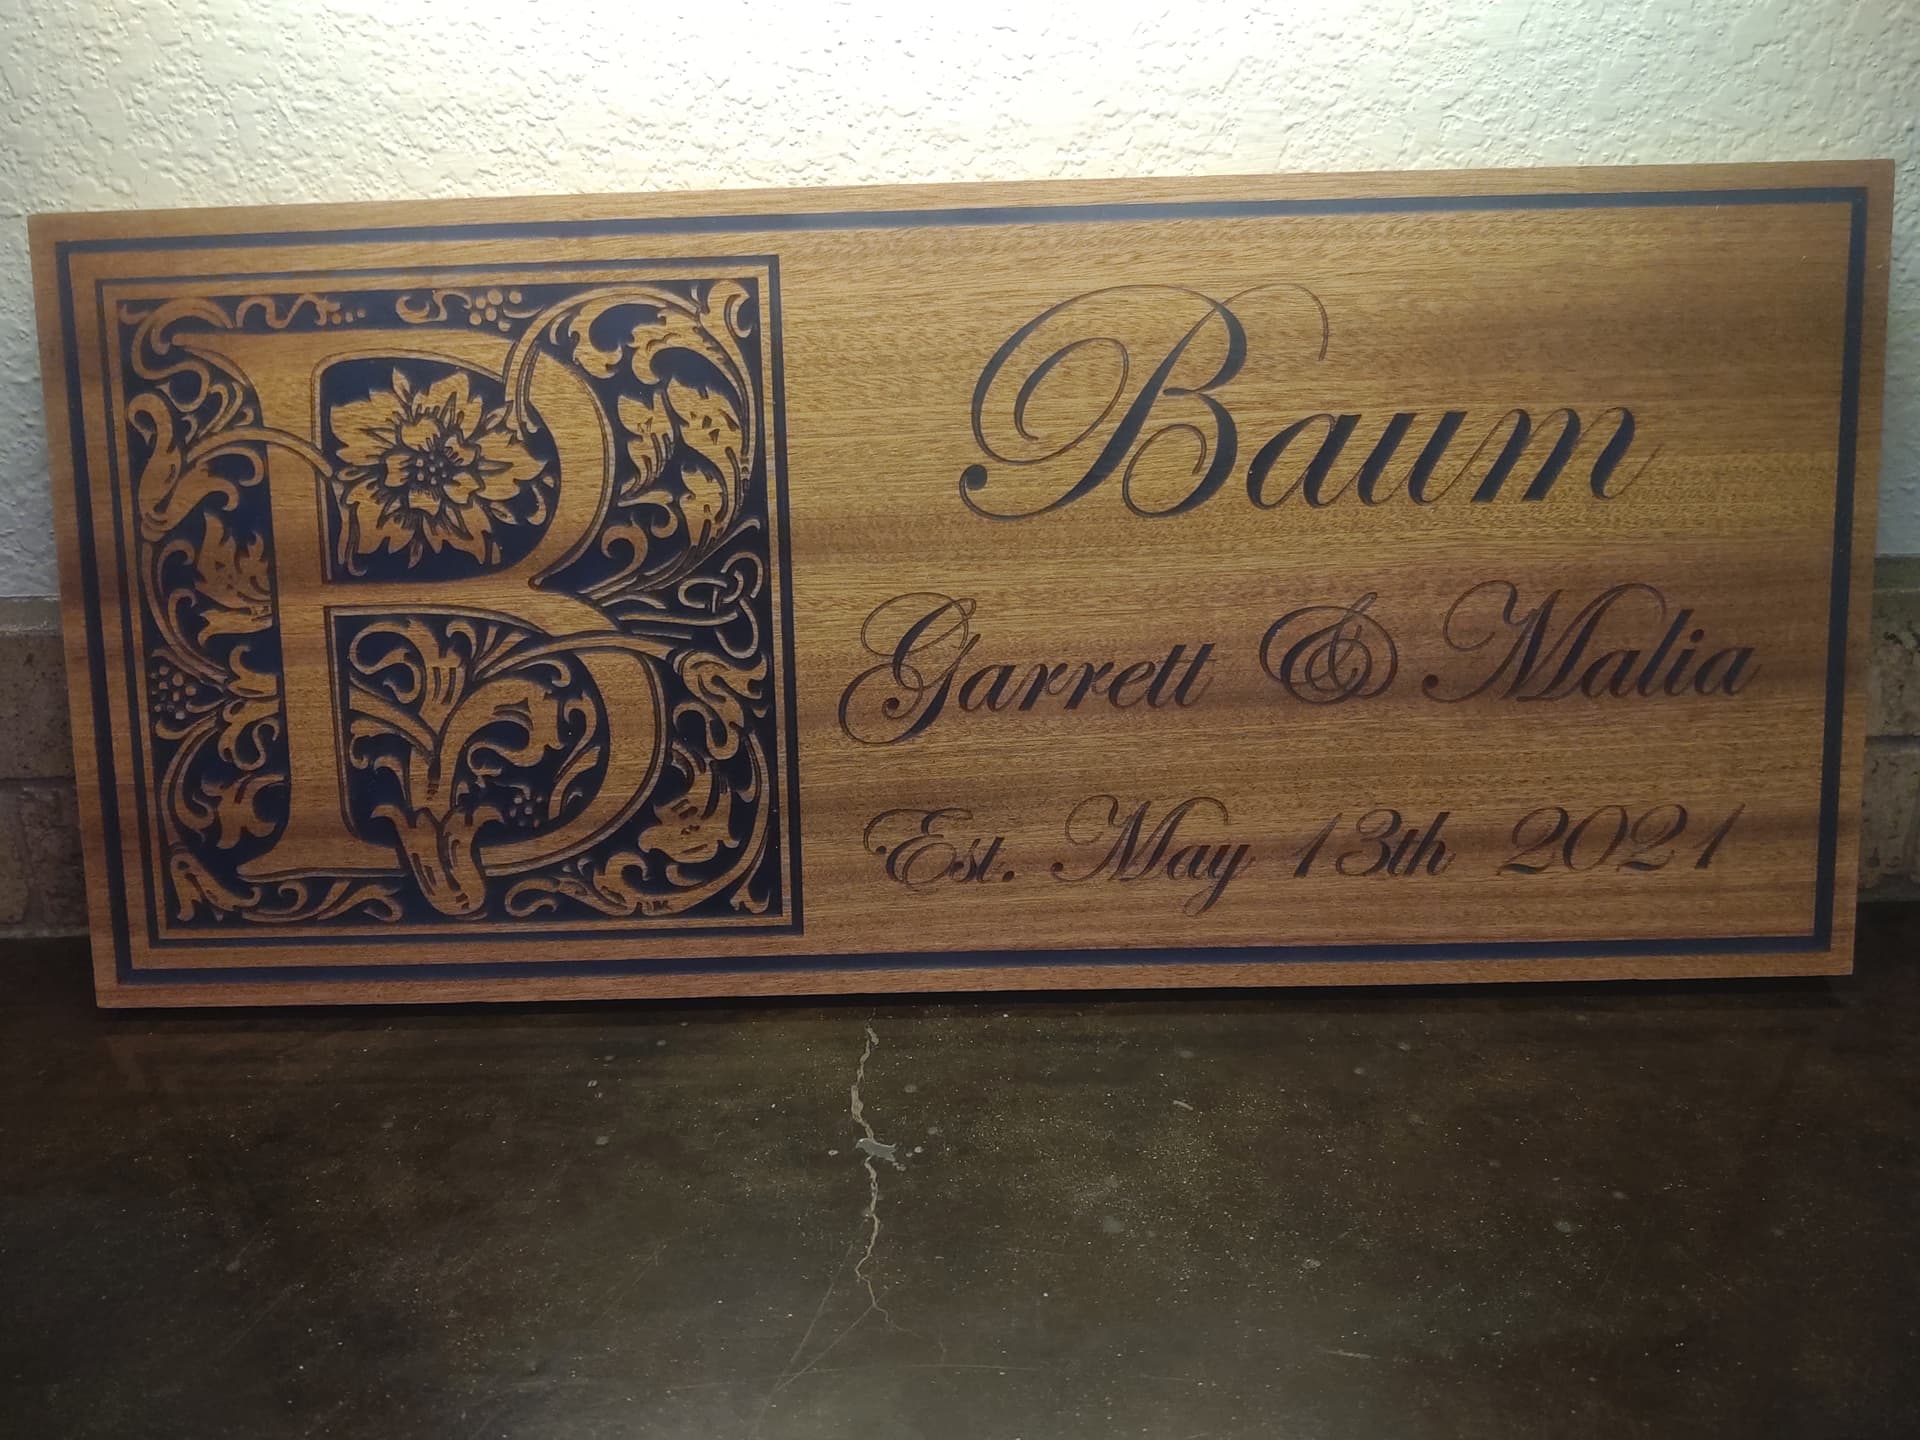
Made using my Shapeoko 3 XXL
The Process:
I found original idea I believe on this site many years ago and decided to give it a shot. They look nice and are perfect not just for newlyweds but also I am making some more of these for all my dear friends who have been married for a long time.
The longest time-consuming part is making re-creating the many long sweeping vectors in the big “illuminated” letter. Converting from a raster image into vectors, then painstakingly cleaning up extra vertices for the many curves in all the flourishes. Once its done it can be reused of course …one letter down, 25 more to go for other names!
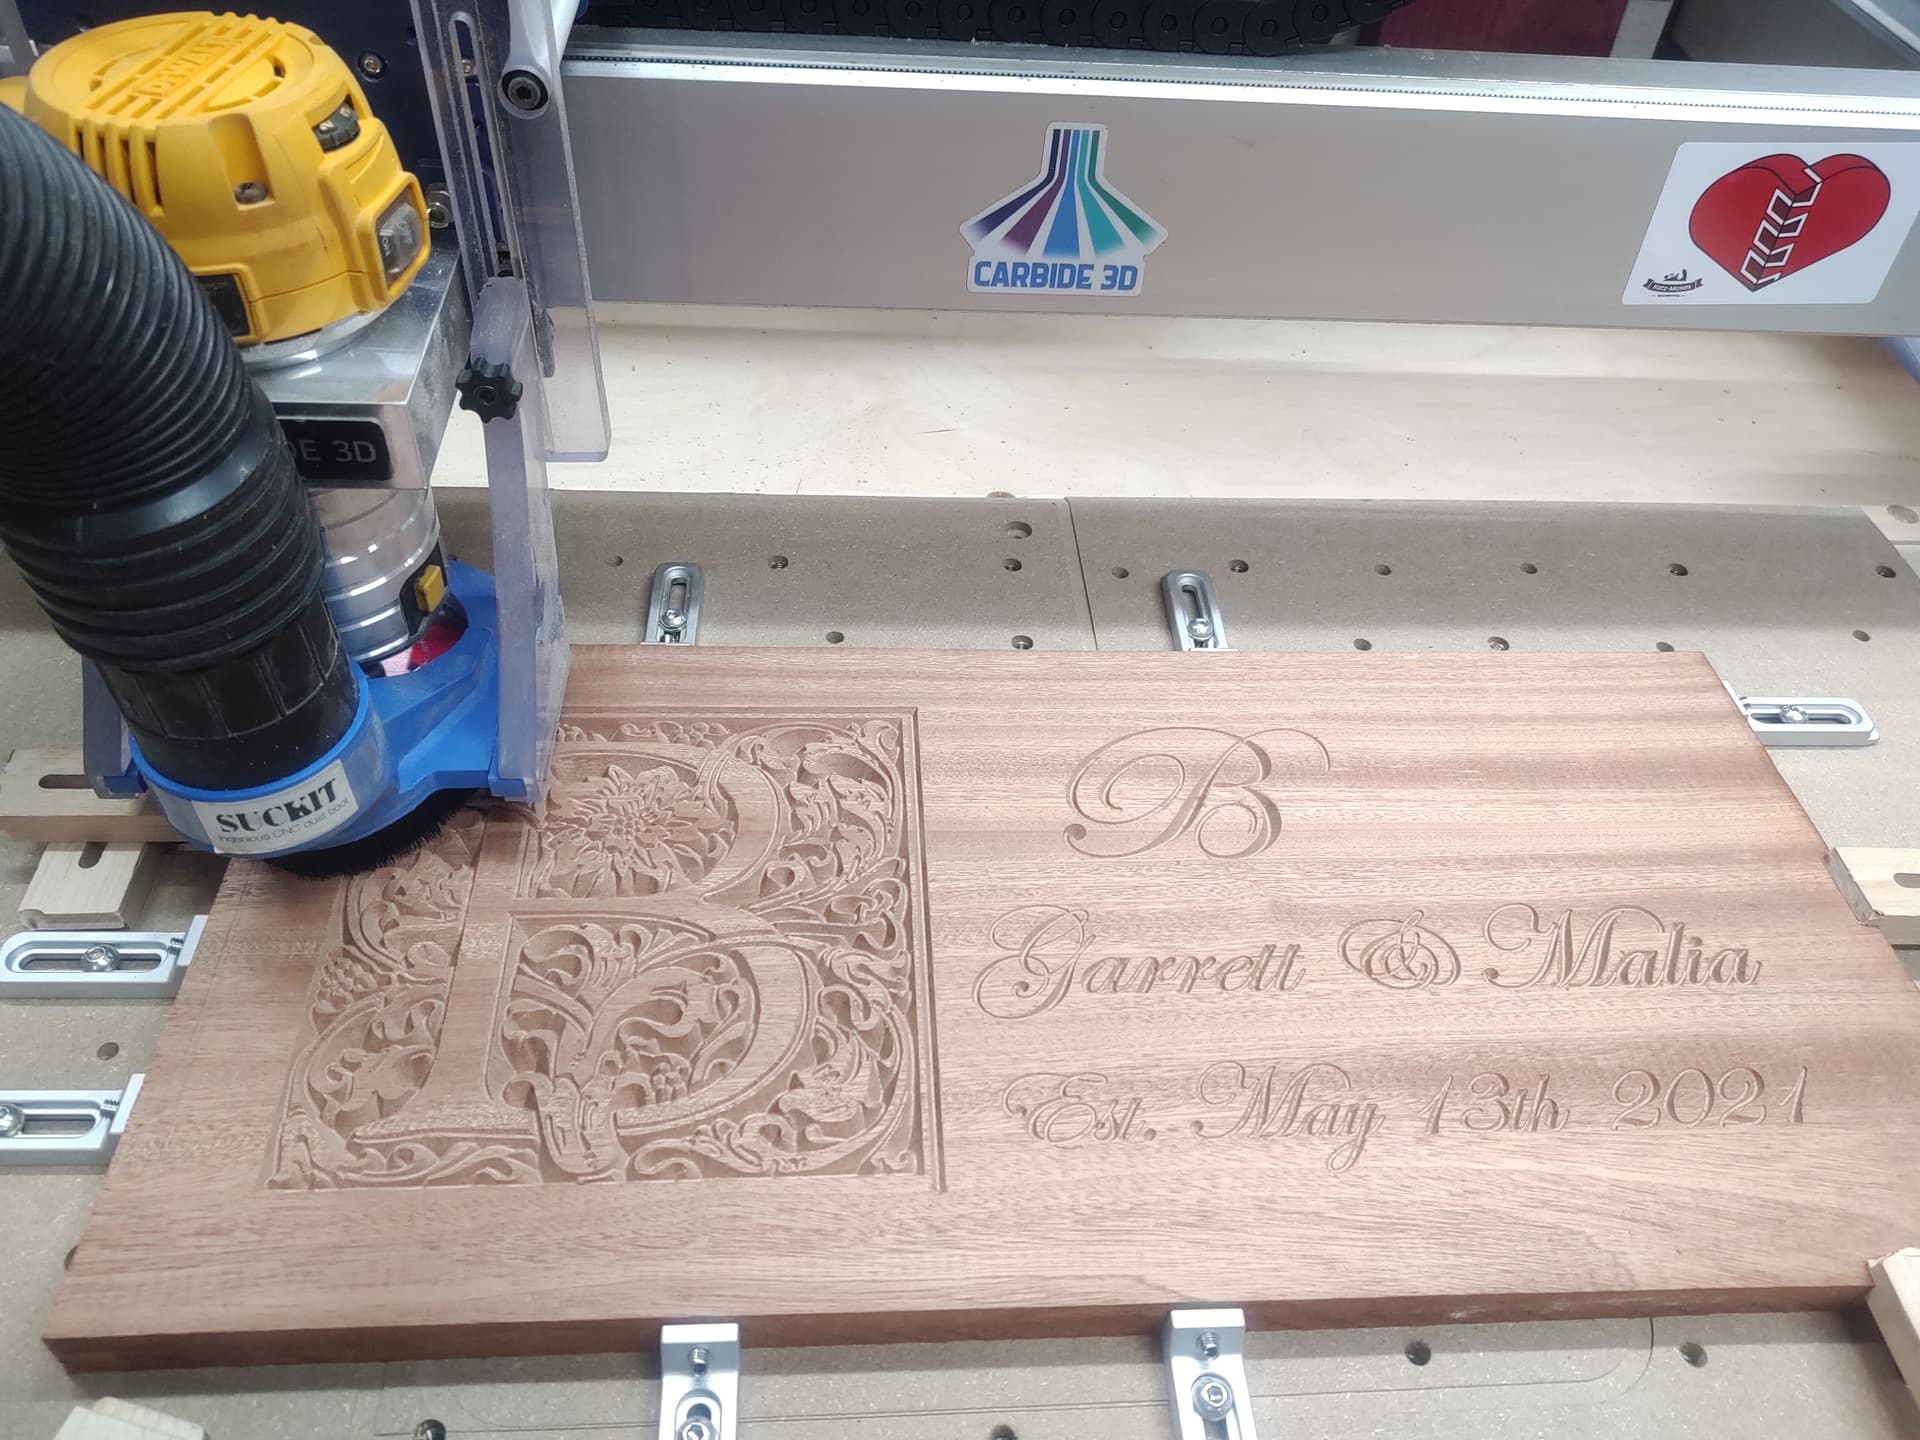
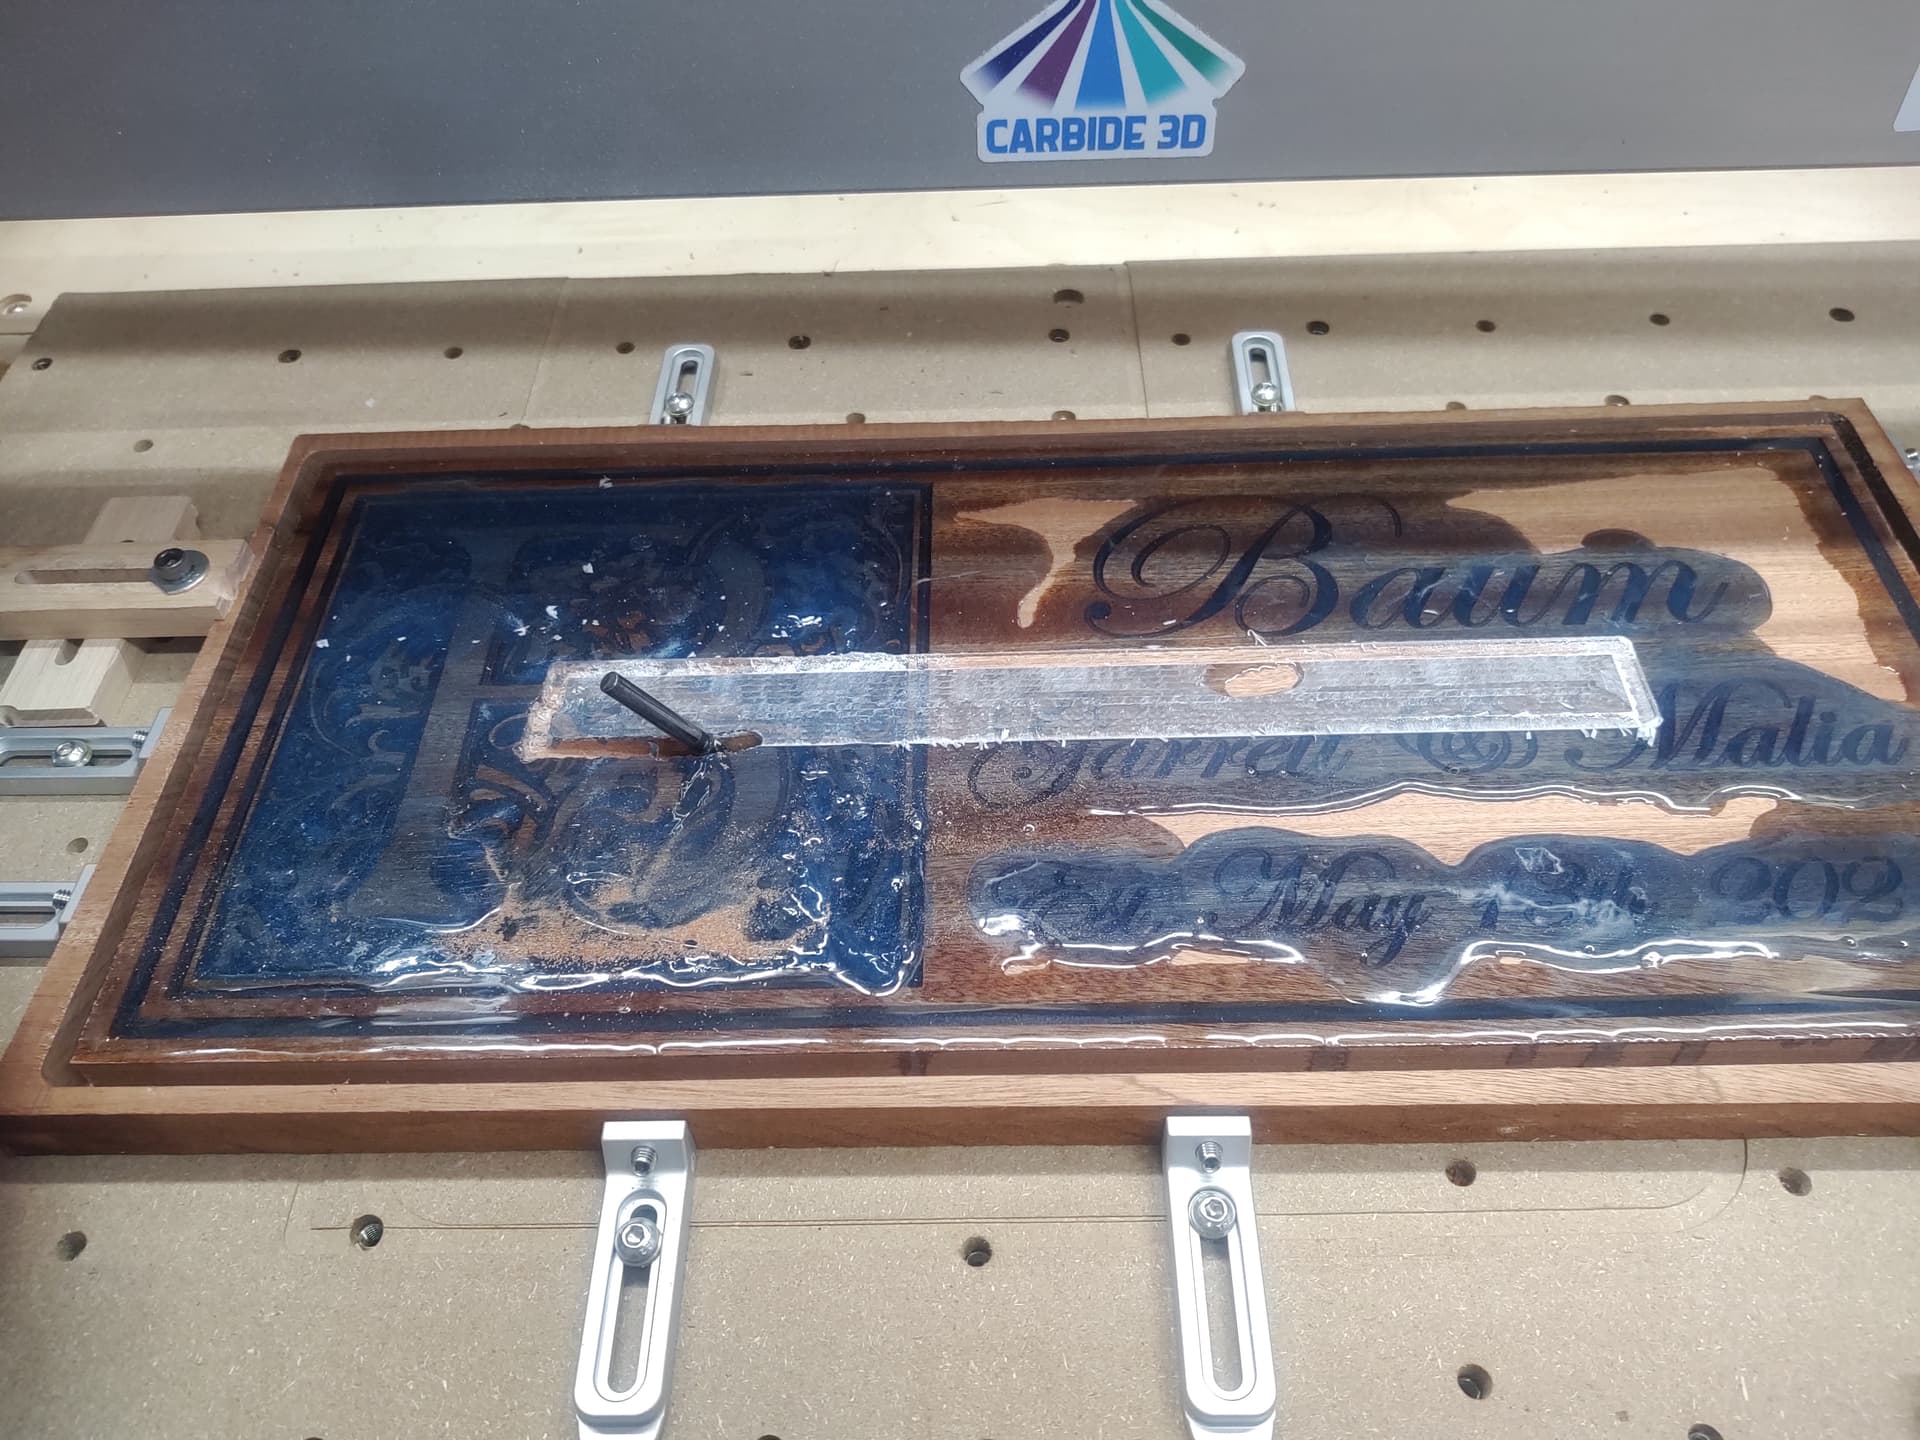
Everything was cut using a 60 degree v-bit. Except for the final cut out. However its Ieft in place for the next and final CNC step , to flatten and remove epoxy. Same .25 endmill for cut out was used for final epoxy surface removal. More to come on that….
Lessons learned:
Making sure your environment is safe and stable. I tried to run another quick layer removal after a power failure due to overloading my circuit panel. I though I could get away with it since absolute zero didn’t matter for simple surface g-code boy was I wrong….TBH I think it was because I didn’t tighten the collet enough.
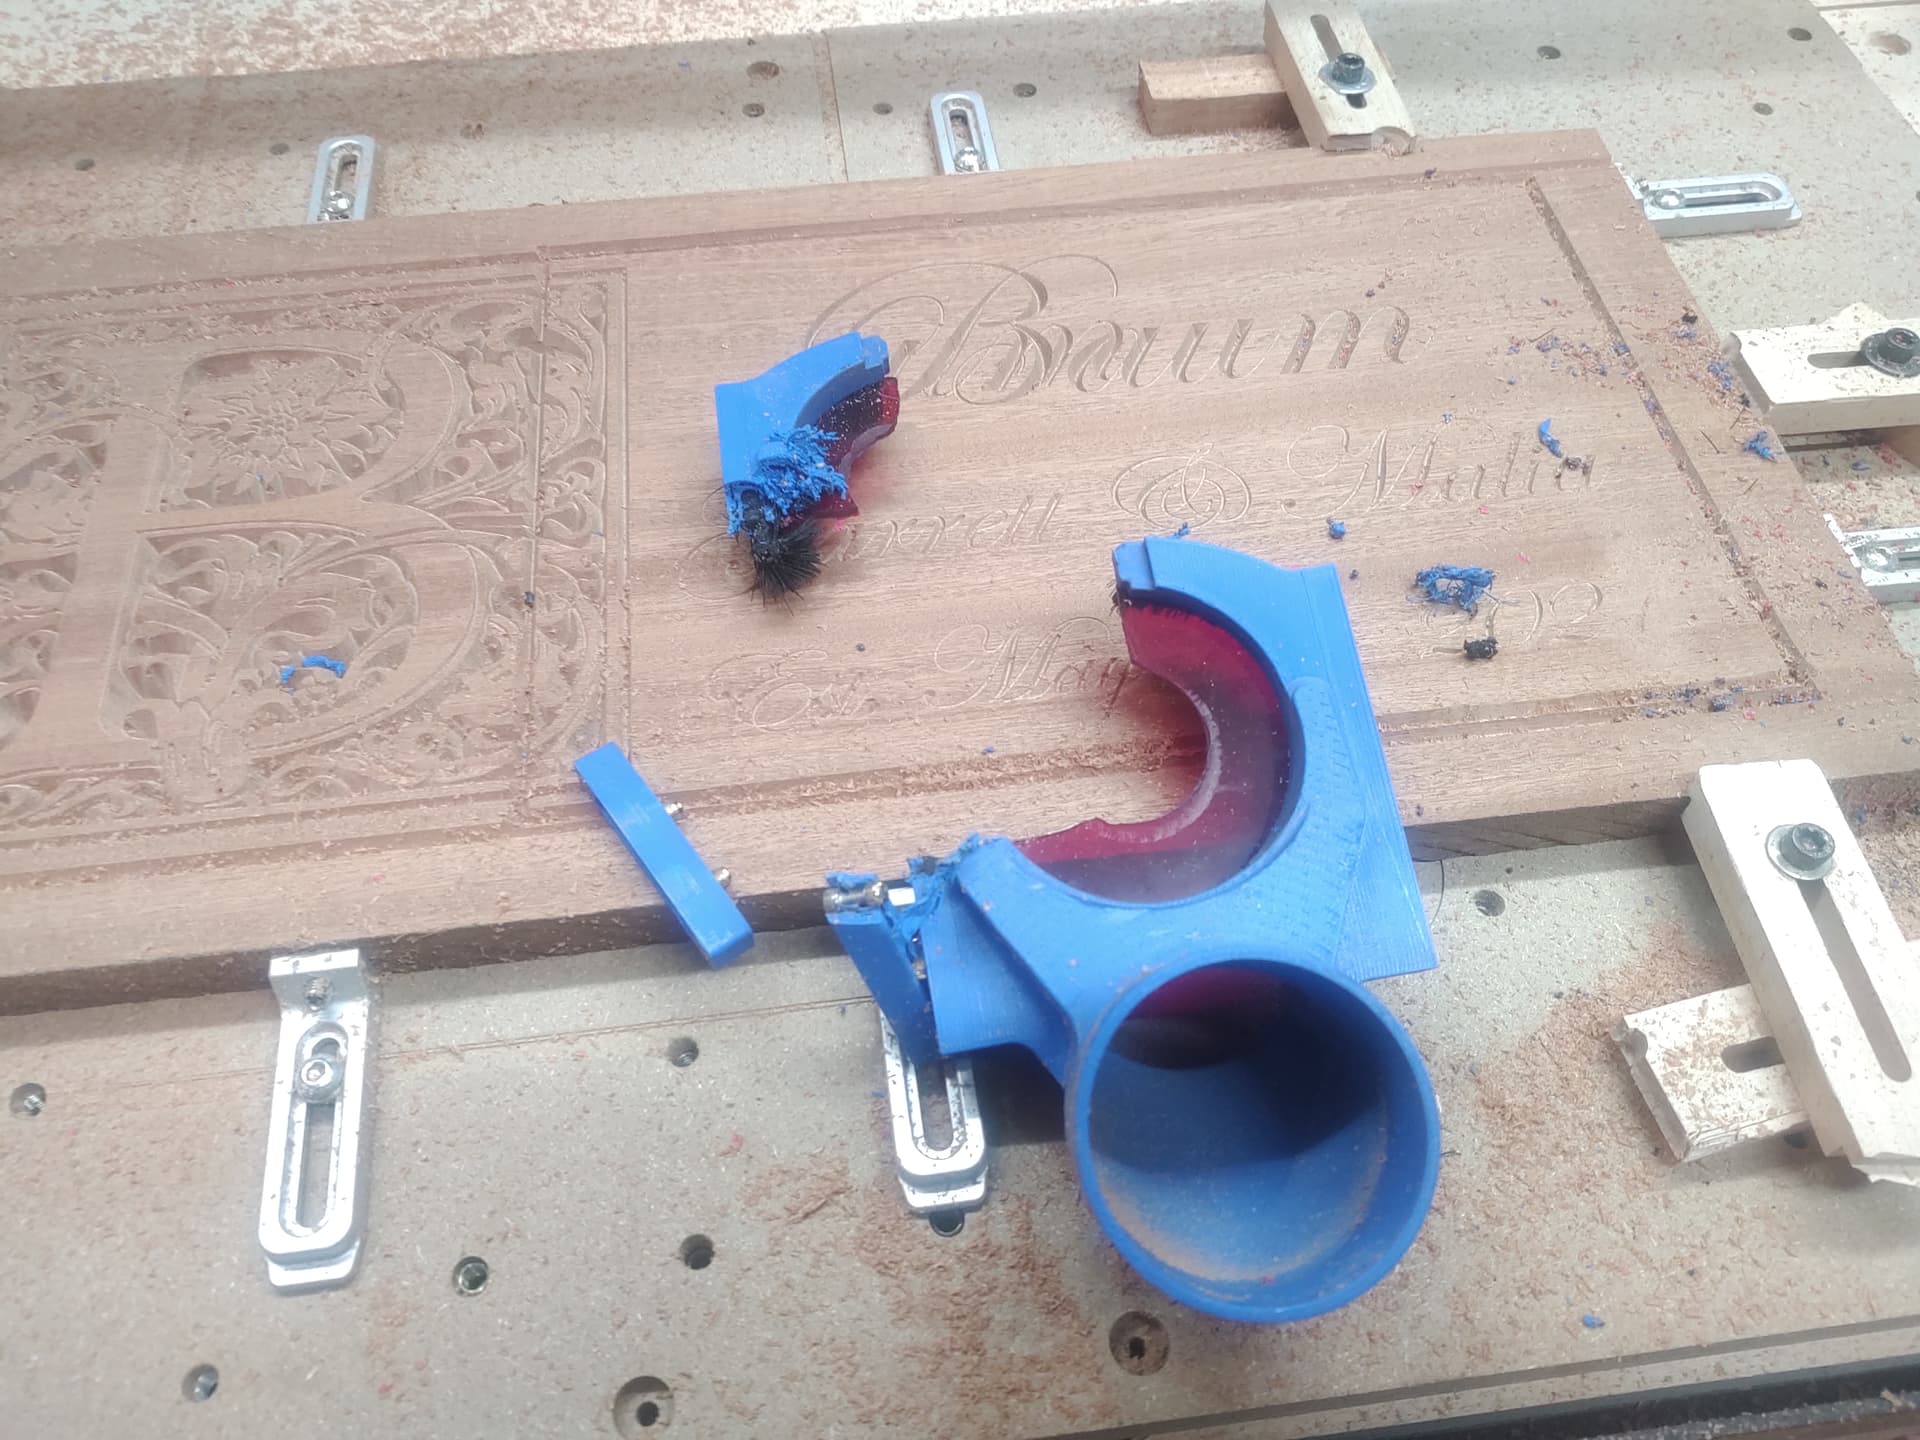
Second attempt: I was not watching when the next incident occurred, and I almost cried when I realized I lost one of my most cherished accessory mods for my Shapeoko….Not sure what happened but my suck-it dust boot became the next victim for this gift idea. So sad ![]()
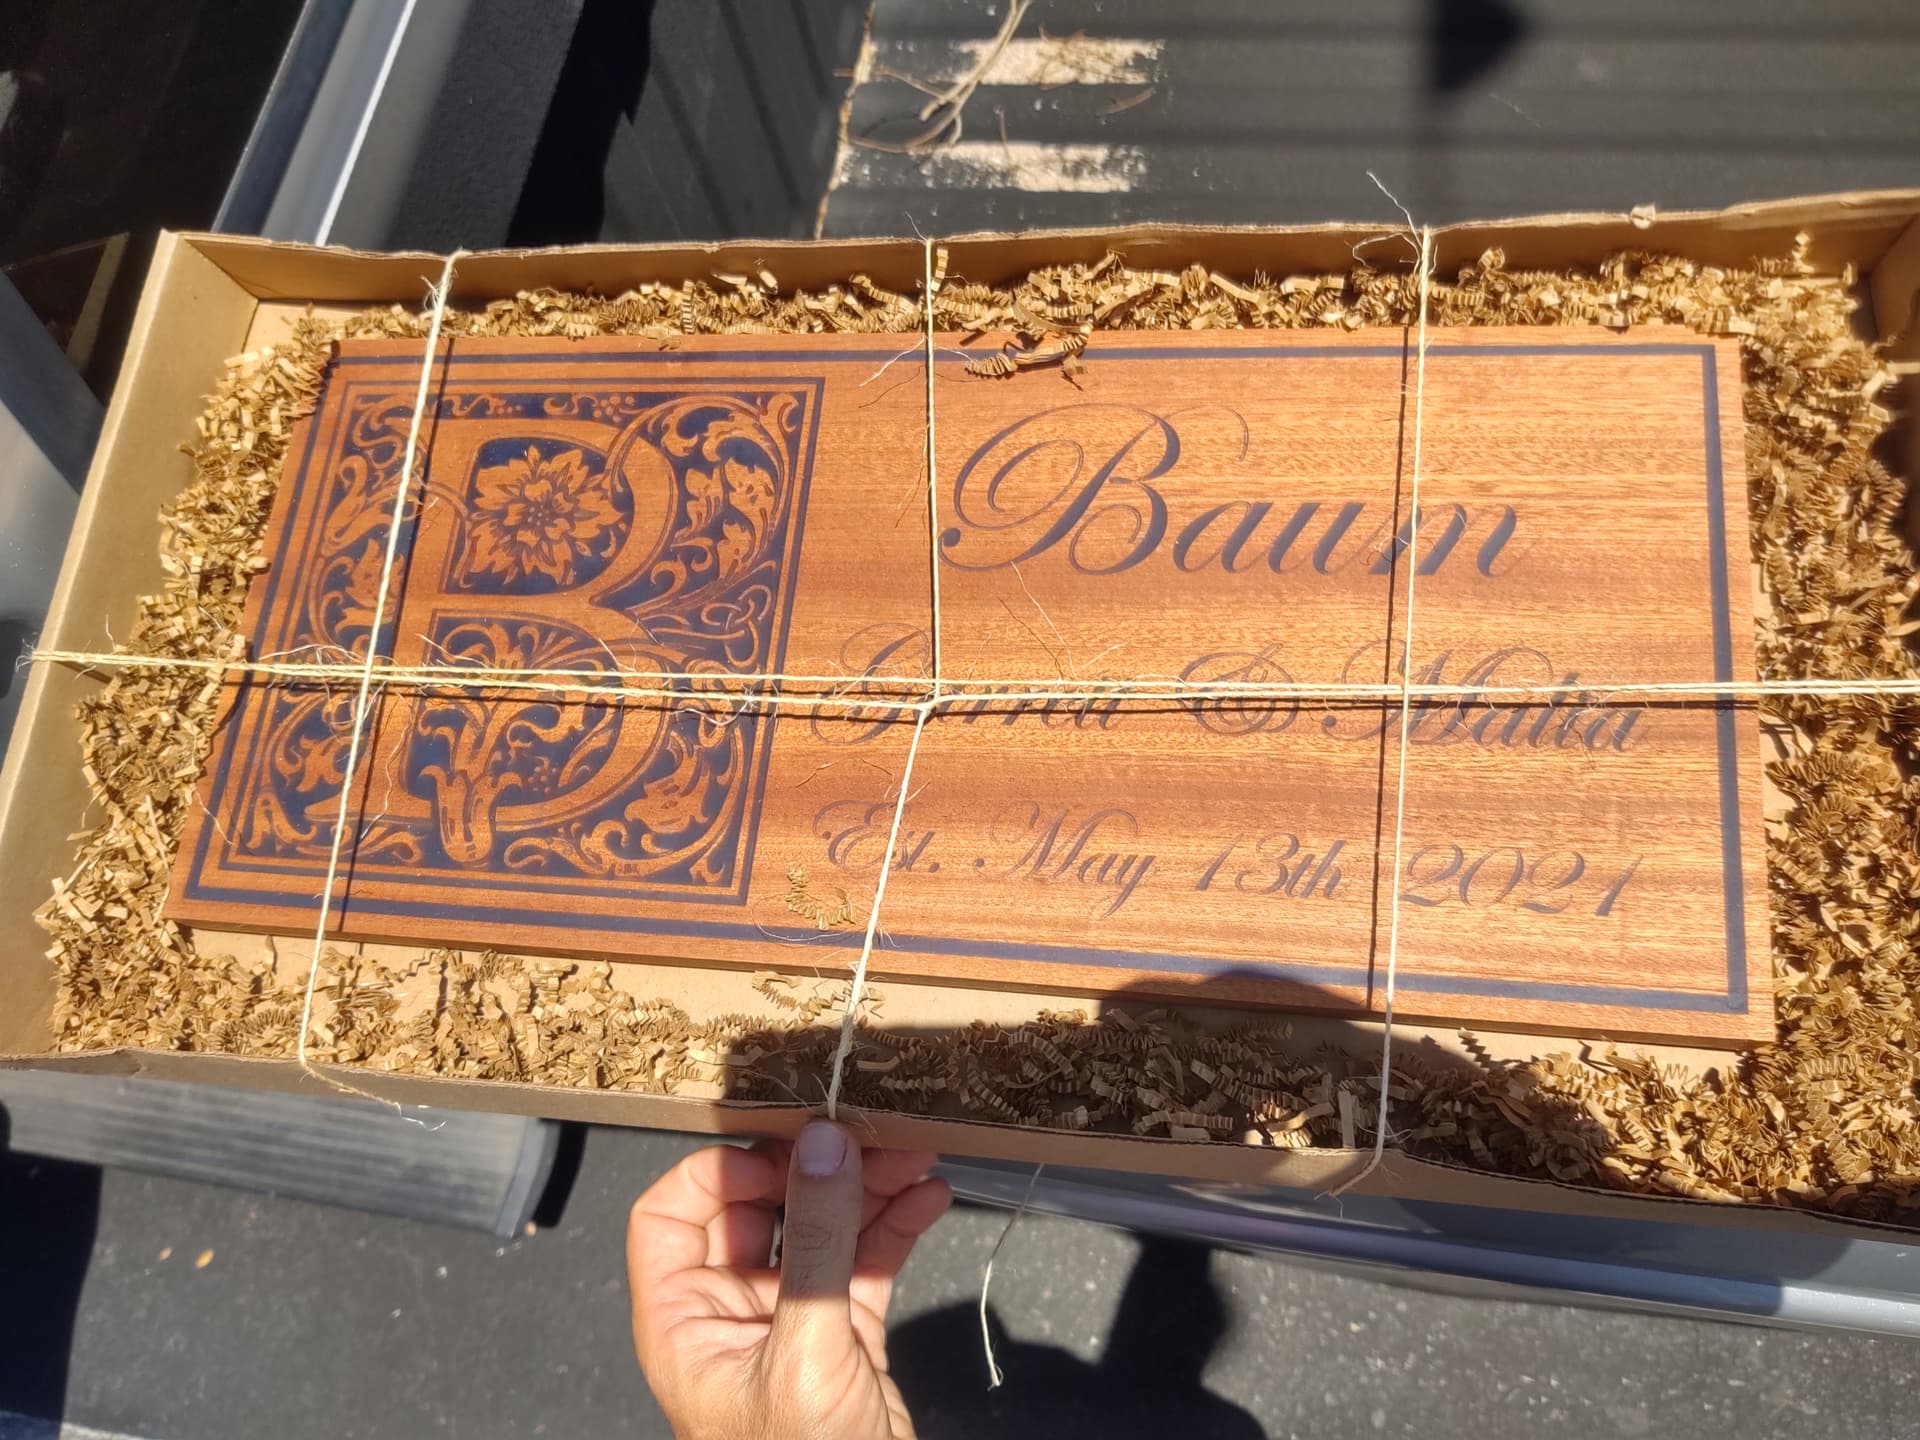
In the end it looks great and I cant wait to give this as a gift and see their expression on their face. Of course I cant tell them the pain it caused ! LOL