It wont let me add more than one media item to this post so I will try to reply to my post with more
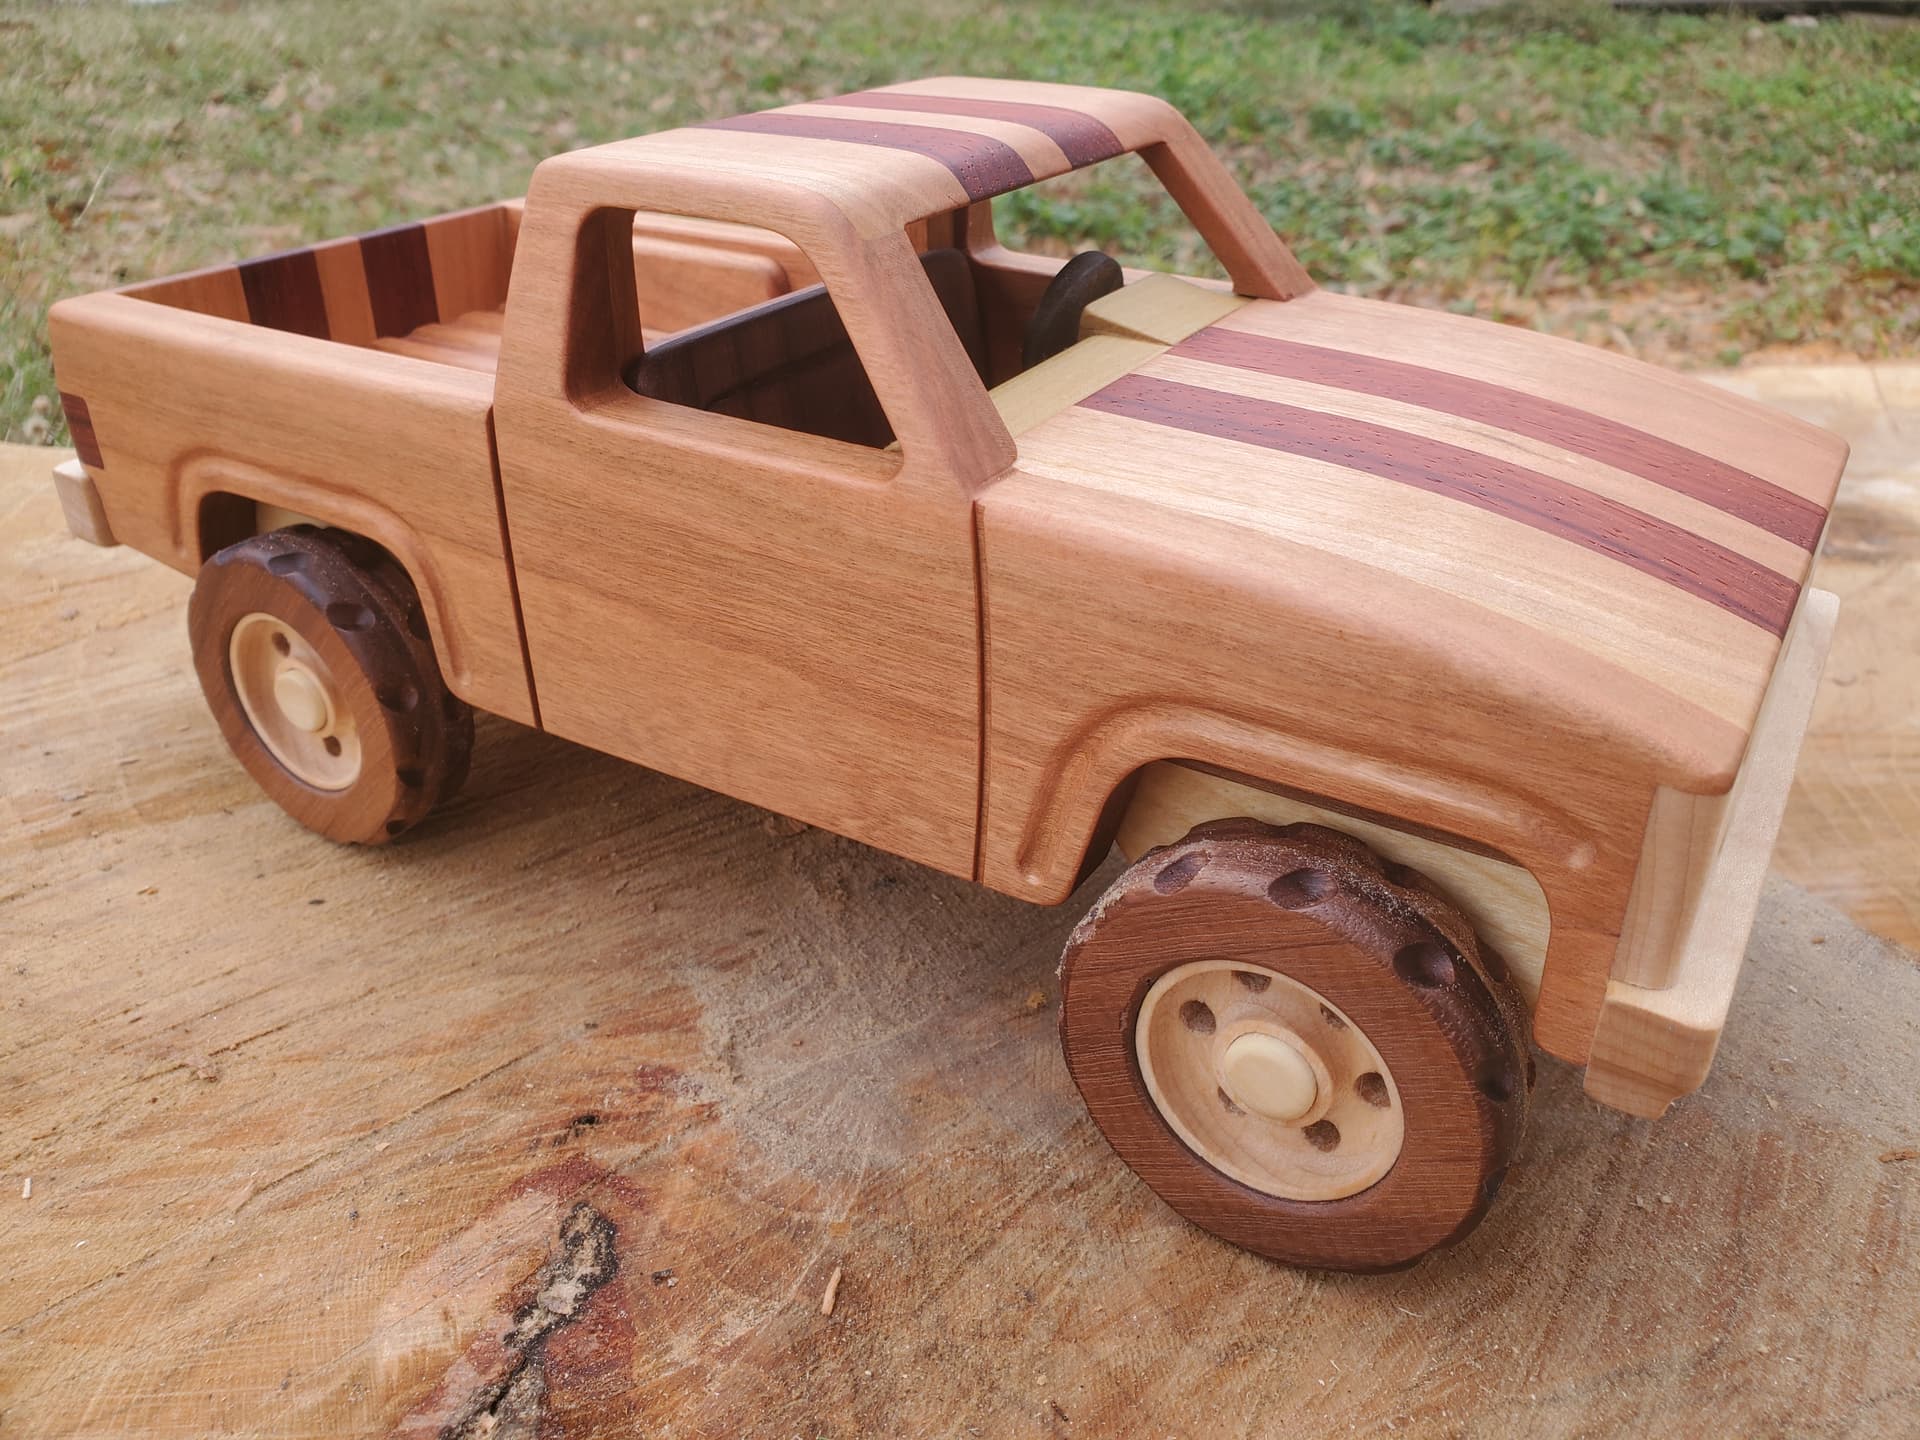
This wooden truck was a project that has been on my mind since I first thought about getting a CNC but had always been pushed back in favor of practical or profit-making projects. My youngest nephew was born this past March, and as Christmas approached, I knew exactly what I wanted to make him for a gift.
The immediate problem I faced was that I am not yet comfortable with 3D modeling to the point I could design and machine the complex geometry needed to accomplish my goal so I knew I had to break the design into more simplified shapes.
I decided to (loosely) base the truck off of a classic Chevy C10 pickup because it is one of my favorite body styles and the design is fairly simple. The design of the grille was inspired by my '94 Chevy (my favorite body style). I found a side view of an '85 online and set it as a background image in CC. I used vectors to create an outline and scaled it to roughly the size I wanted the finished project. From this, I was able to work out the sizes of all the other parts.
The assembly consisted of several CNC cut parts:
chassis, wheels, tires, body sides, back cab wall, bed floor, grille, and rear bumper
The chassis was cut out of 1/2" Baltic Birch plywood
The body sides, cab wall, and bed floor were milled from 1/2" solid cherry.
The ribs on the bed floor were accomplished with a pocketing operation and a V-bit contour. This was faster than doing an advanced V carve because the ends would get cut away on the final toolpath.
The tailgate, roof, and hood were all cut from a single glue up of cherry and padauk. These parts were shaped after they were glued in place using a combination of the bandsaw and sandpaper.
I machined the wheels from maple and the tires from walnut. The tires were machined in two halves so opposing tread could be added more easily. I didn’t have a good way to make the tire treads on the CNC so I resorted to a few shop-made jigs.
The tire treads didn’t look aggressive enough for my liking and since I glued the tires on prematurely, I had to remake the whole set.
The interior parts were all made the old fashioned way
The grille was a simple pocketing operation on a piece of 1/4" maple. The backside was milled away to accept a thin piece of walnut. The pockets for the park lights were milled slightly deeper than the headlights and pieces of oak veneer were glued in.
The front bumper was shaped on the router table. The “bumper bolts” aren’t just decorative, they are small dowels that help hold the bumper to the chassis.
The roof and hood started out as 1/2" thick panels that were shaped after being glued in place. The taper on the doors was also added after glue up.
The steering wheel and dash are made from poplar and the bench seat is walnut
The tailgate was shaped to match the angle on the bed sides using a sanding block with course grit paper.
Somehow I forgot taillights in my initial design so I had to hand cut and inlay some pieces of padauk after the fact.
The rear wheel tubs were cut by hand and added later. A consequence of designing as you build.
Some of the lessons I learned from this build:
I really want to learn more about 3D modeling and machining. There is so much more detail I would like to have added. I am still overjoyed with how this first attempt turned out.
I need to work on cleaning up my design process. My computer screen tends to look like my workbench. It is utter chaos to anyone else looking at it but I know exactly where everything is. I will probably come back around and clean things up so I can potentially sell the files for this.
If you are going to calibrate your machine, do it BEFORE you start cutting any parts; otherwise, your new parts wont fit previously cut parts. I feel even dumber reading that back to myself.
To wrap things up:
I am extremely happy with how this project turned out. It was built to be driven so it is fairly robust in construction and lacks any parts that could break off easily (ex. side mirrors, exhaust pipes). It will probably be a while before my nephew can actually play with it but I think it will be a great 1st Christmas gift and one he can cherish for many years to come.