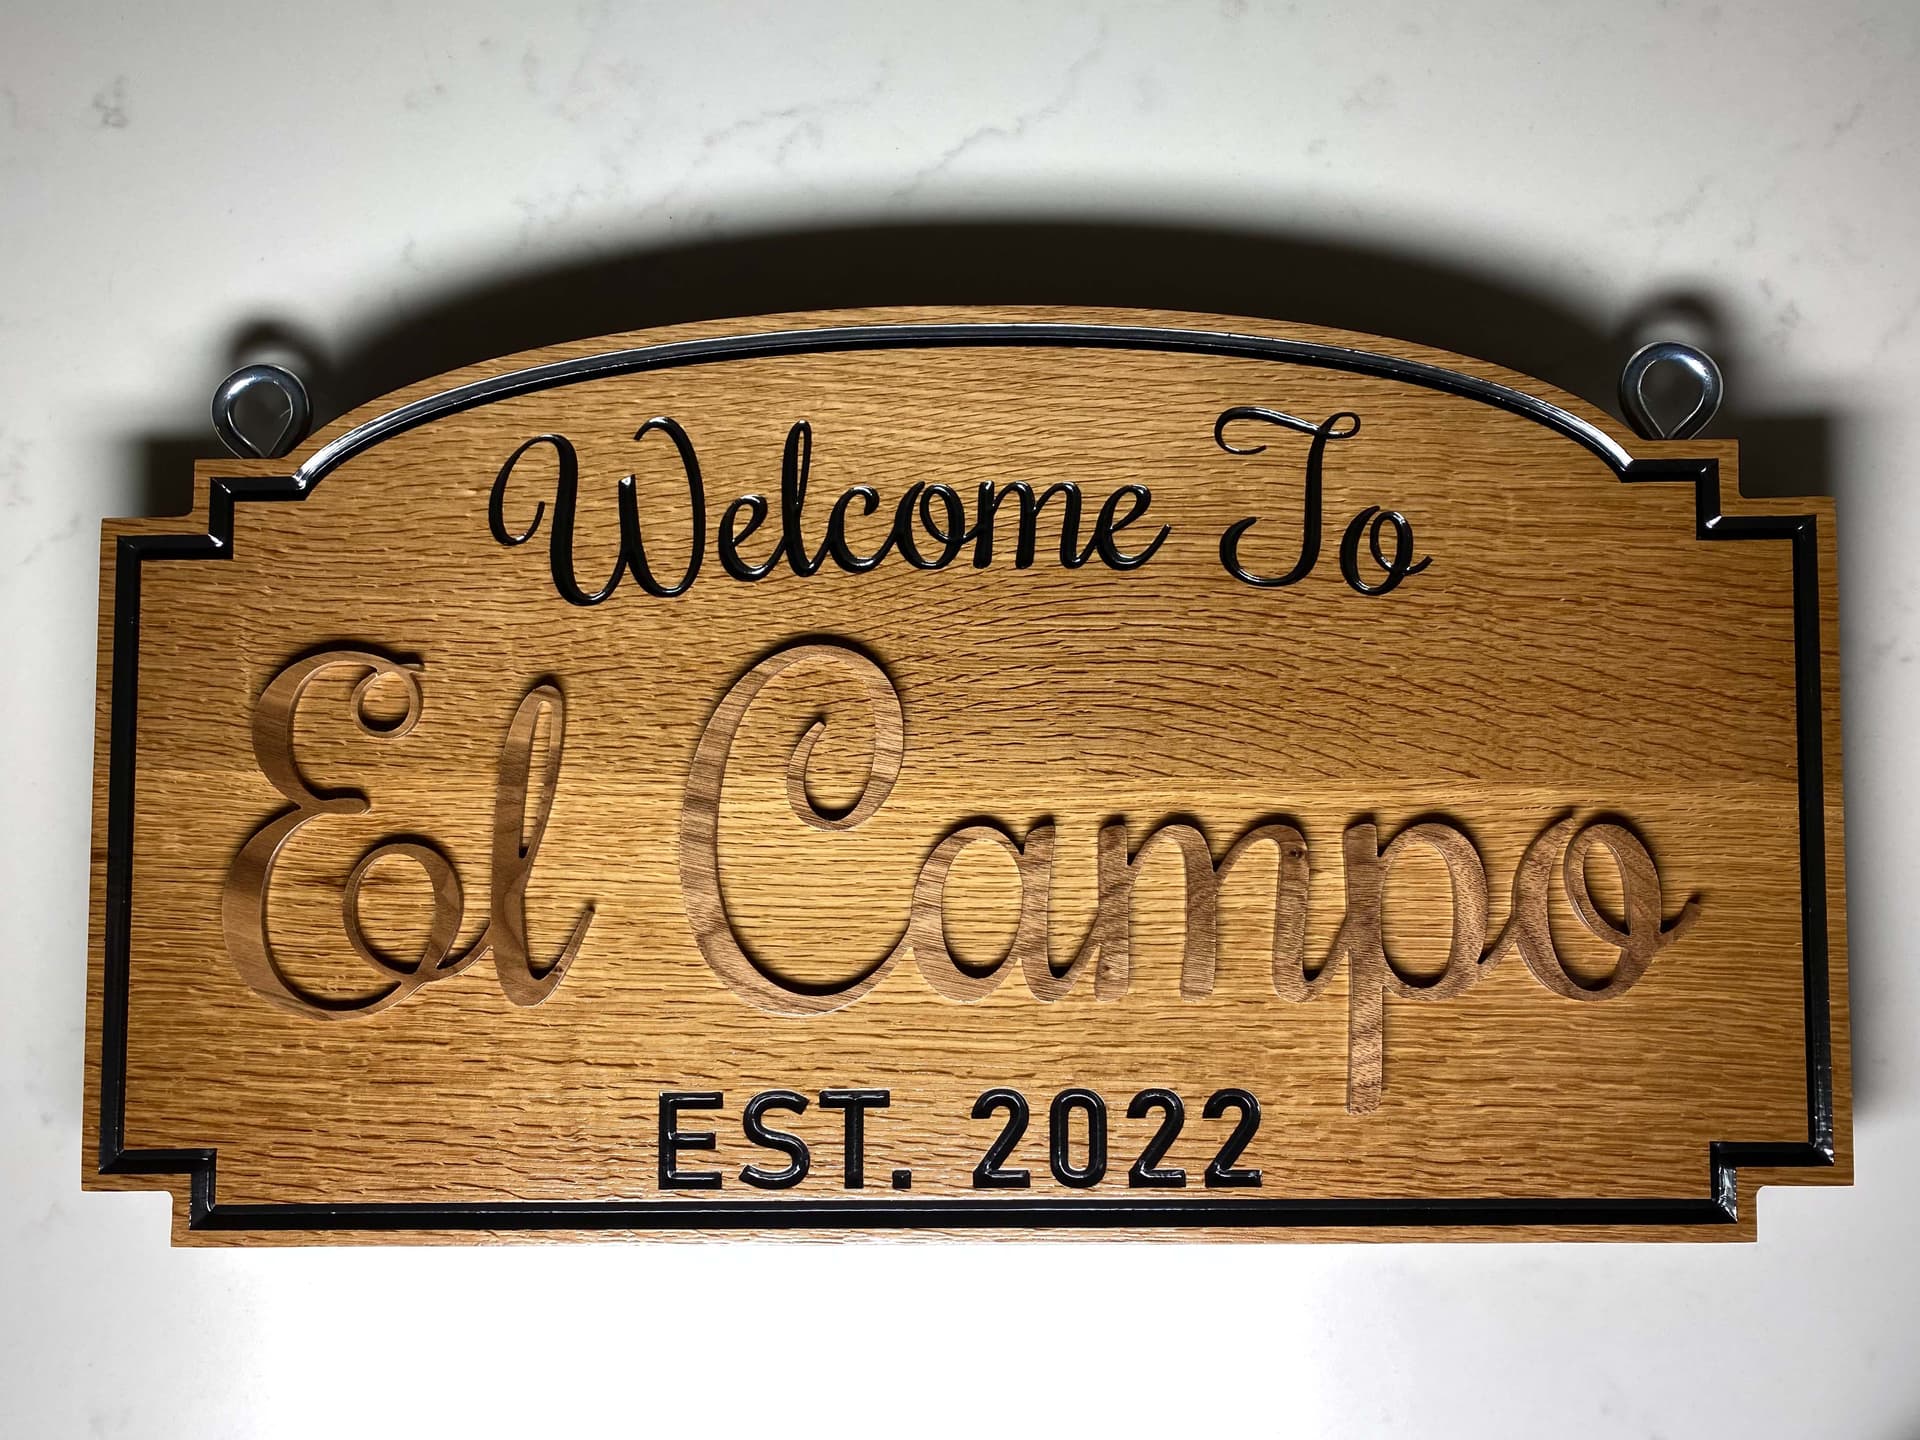
Not sure if it’s allowed, but since I’ve gone off to college, I haven’t had much time to spend creatively with my machine. However, if I am allowed to post past projects, here is a sign I made for a teacher of mine to give as a housewarming gift to a friend of hers. She requested a sign they could hang in their outdoor kitchen with eyehooks and a chain, thus it needed to be quite thick to accommodate the eye bolts. We ended up deciding on an oak background with popped walnut lettering. I began designing it in Carbide Create, although I redid it in Fusion 360 to send rendered pictures, and then in the end, I created the G-code in Carbide Create. I designed the walnut and the oak to mesh using quite a few locating pins. I glued up two 1.75 inch thick oak boards to create a 31” by 18” blank to carve the sign. From there I used Oramask 813 during carving and then painted the V-Carved text and line portions black. For the walnut, I carved it from the back to create the pins and then the profile. This was incredibly fragile after leaving the machine, and I broke it on multiple occasions, fortunately this was usually reparable although I did have to completely redo the “EL” portion after a pretty significant break. After the paint was dry and the pieces had been completely sanded, I glued them together and applied 5 or 6 coats of Helmsman Water Based Spar Urethane. I re-attached the eyebolts, and it was ready for delivery.
Here is the final sign and a few in progress pictures.
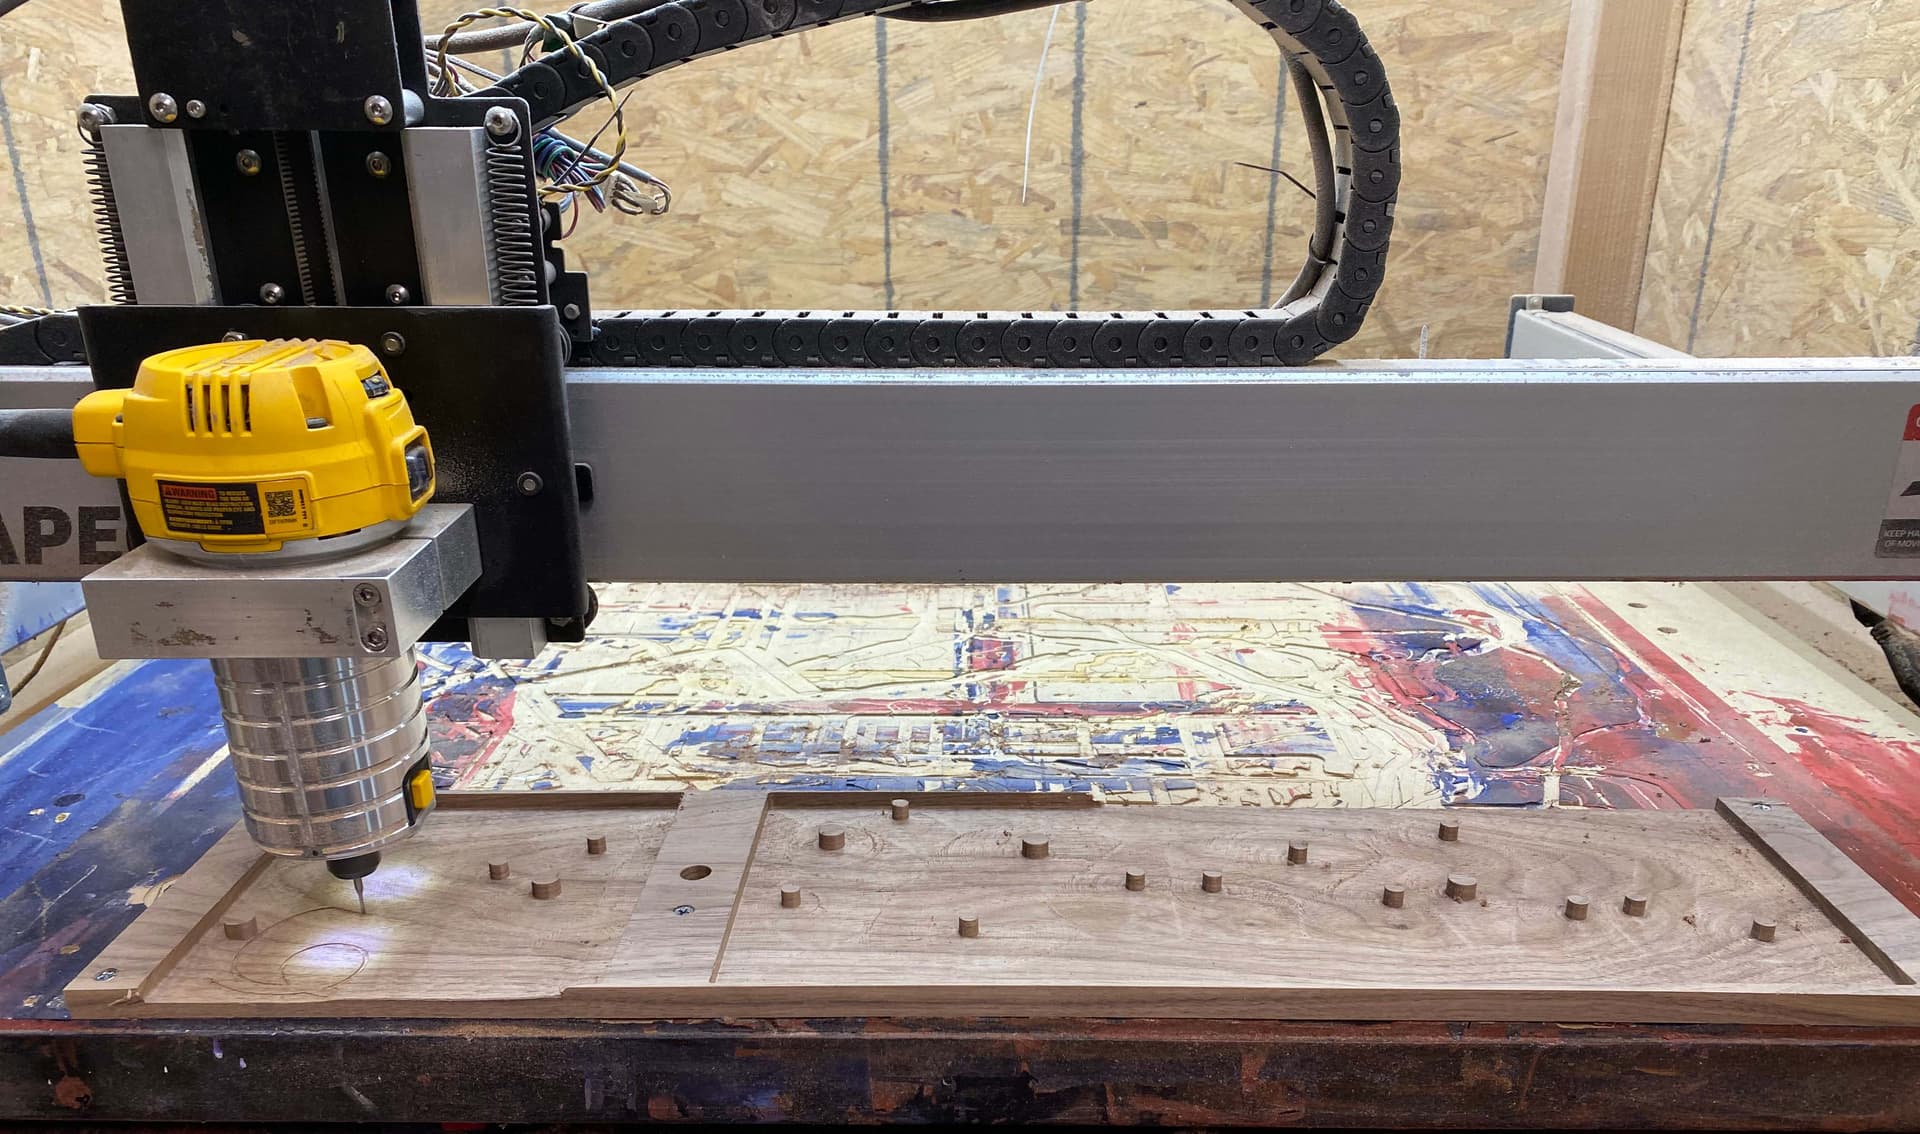
Here are some of the progress pictures. The top one is the carving of the walnut, and the second is a test fit of the walnut on the oak portion being carved.
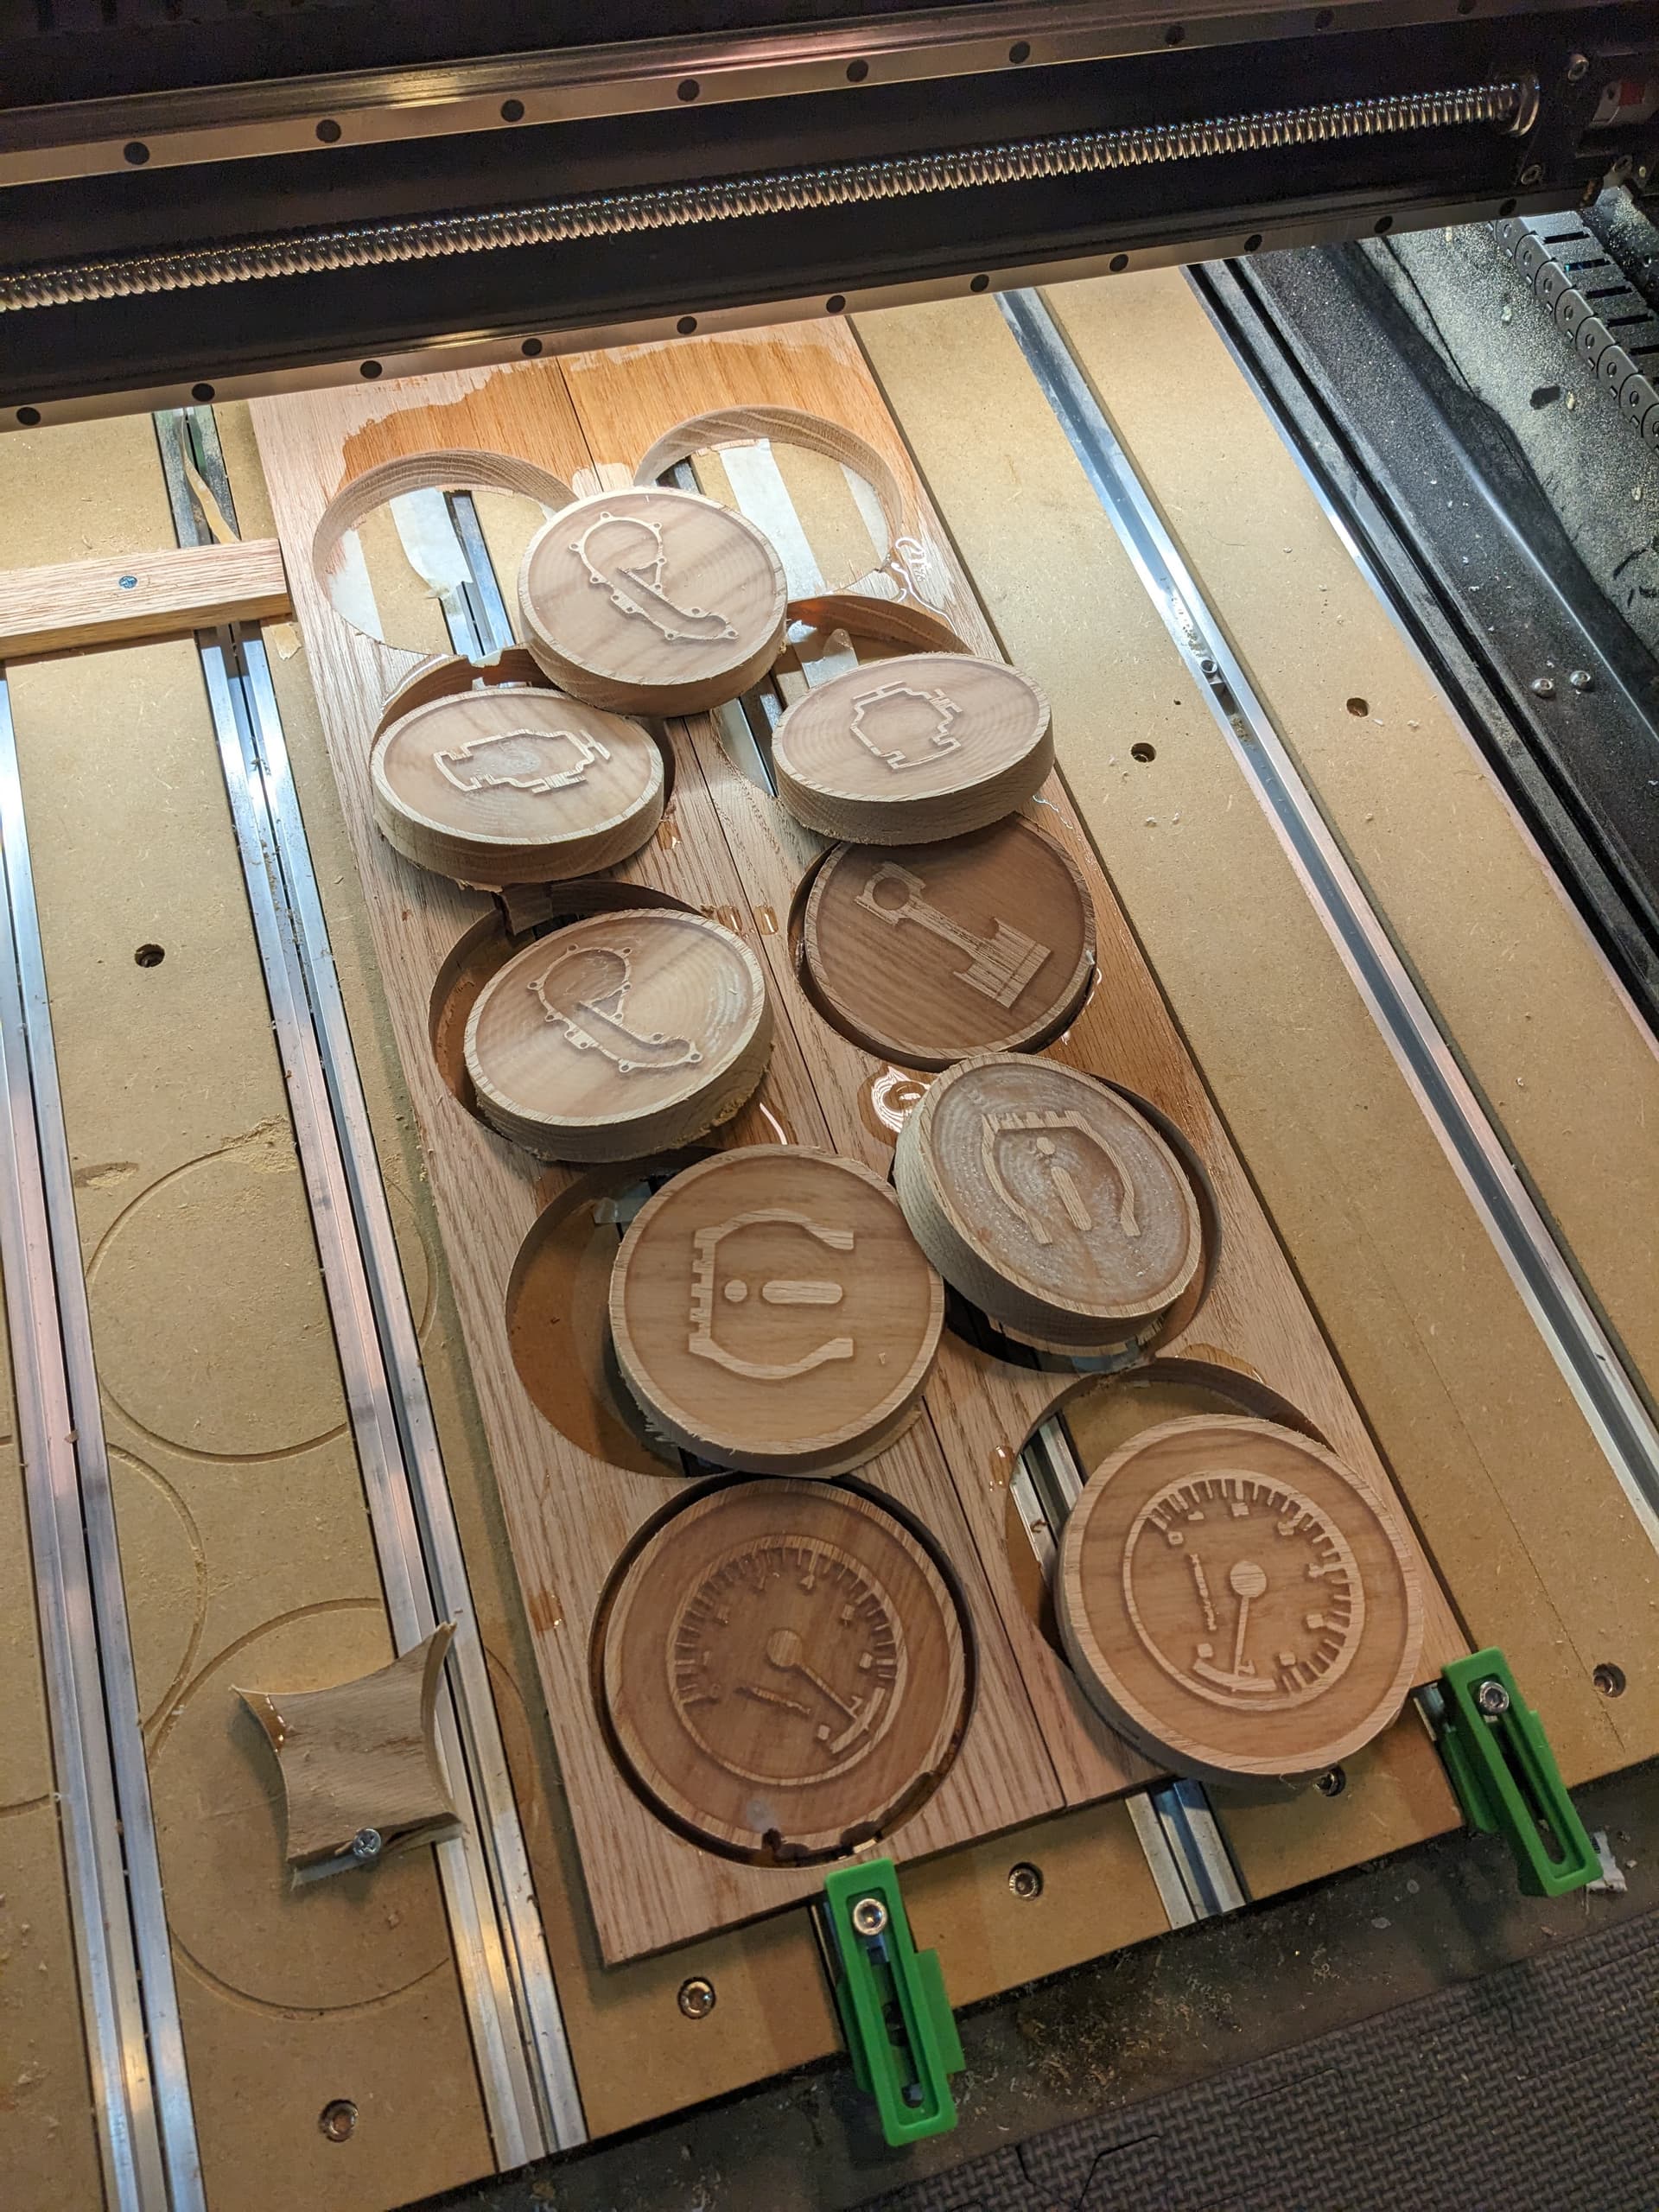
I made a bunch of custom coasters as literally the FIRST cuts on my brand new Shapeoko 5. Just assembled it, and leaned on my experience from the Shapeoko 3 and had it cut 20 coasters all on one gcode file.
After the detail features and pockets were done, I pause the machine, and pour clear epoxy resin in, letting the surface tension bubble up over the top to make sure I get enough for each one.
Resin tips:
-Put each of the 2-part bottle is scalding hot water for 20 minutes to preheat and make it easier to get bubbles out.
-Stir with smooth plastic stir stick, go slow, be thorough to keep bubbles out.
-Pour into mold slowly.
-Don’t be like me and assume the garage floor is flat enough and let the over-pour run off the side of the board and get onto your brand new machine bed and into the T tracks.
-Use small butane torch a couple times over next hour or so quickly over the top to pop all the bubbles near the top.
-Repeat after me: BUBLES ARE THE ENEMY
All this takes place with the wood still firmly mounted to the machine… do not move anything.
Then after about 48-72 hours the remaining part of the toolpath can be ran to plane the cured epoxy surface and cut out the outside diameter freeing each coaster.
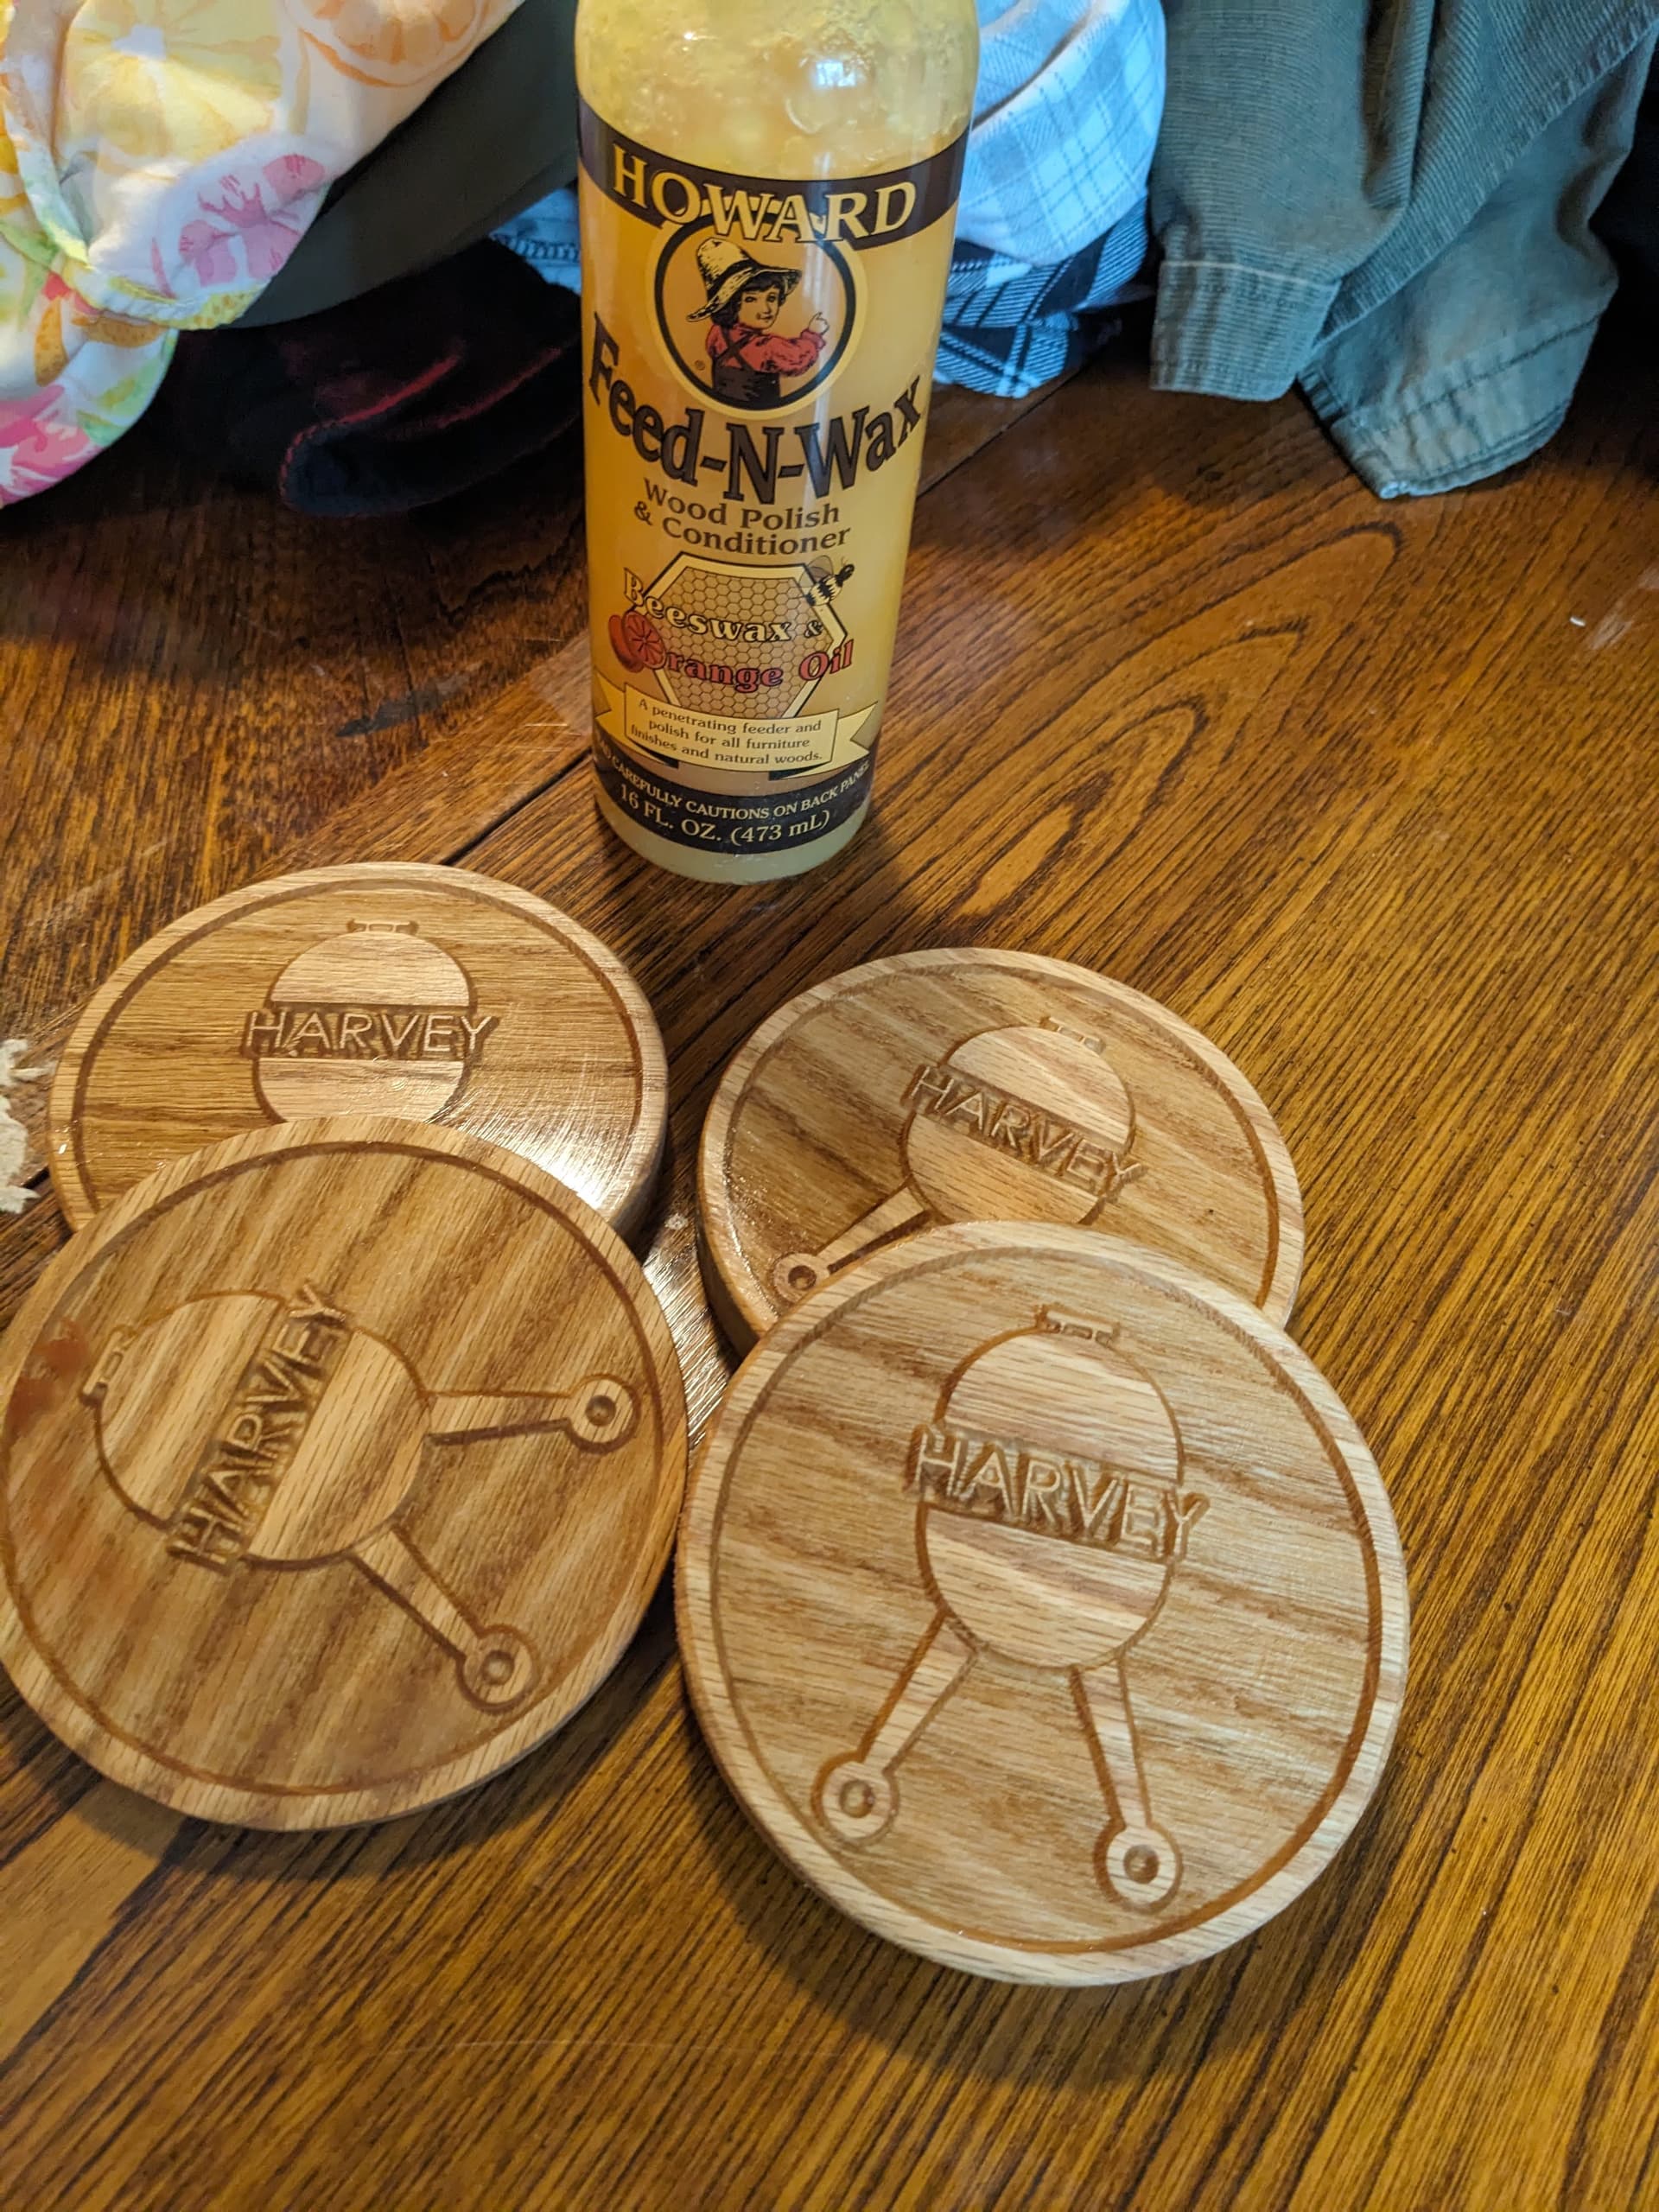
Post processing wise, I sanded the top lightly until the toolmarks disappeared. The final grit used determines how hazy the clear resin looks and how much contrast the raised graphics have from the background pocketed areas.
Apply wax finish to enhance the red oak color, protect, and mostly to hide the flaws in my resin pour!
What I would do different:
-Way too thick for what I was planning, I should have started with thinner oak.
-Should have planed to desired thickness first. I tried to do that after, but ended up shooting one out of the dewalt planer and injured myself… so decided they were good enough after that incident…
-Cut a pocket a little larger than the total diameter as first step to create a levy to guard against accidental resin overspills.
-Plumbed dust collection into the orbital sander at end.
I am really happy with how these ended up looking, the pictures don’t capture how impressive the clear cast 3D effect looks in-person.
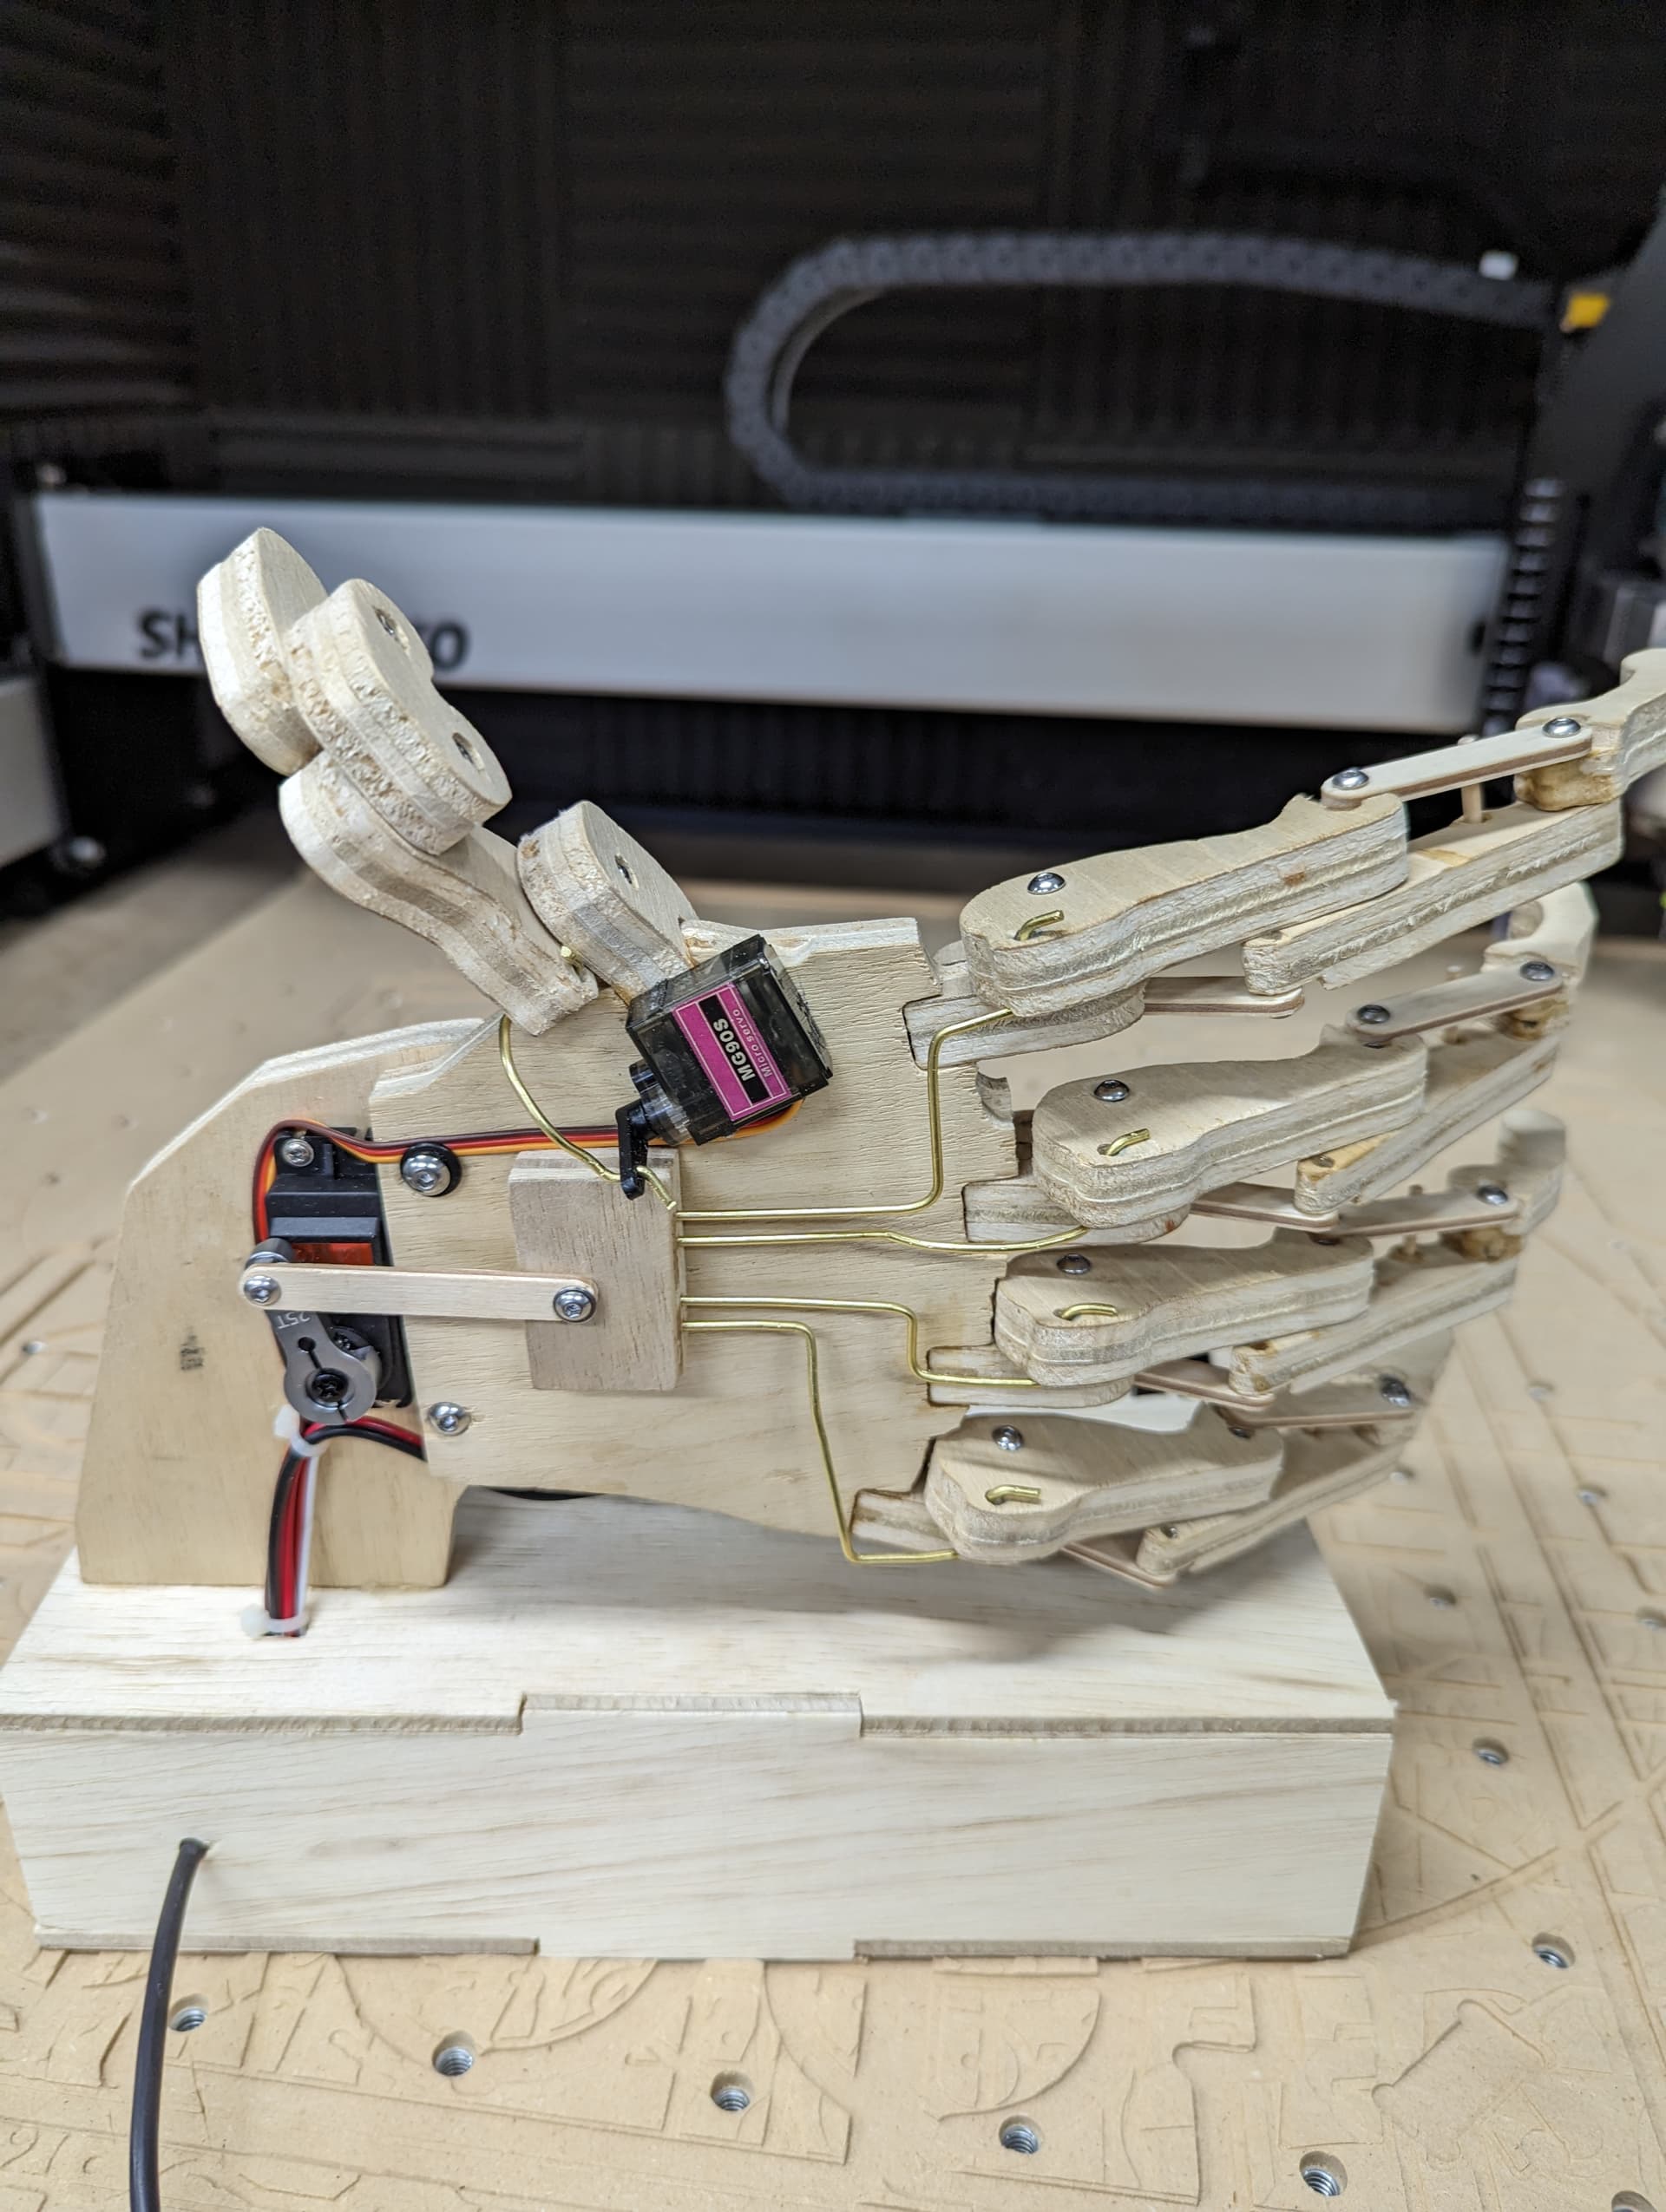
Challenge #30? … HOLD MY BEERThe mechanical beer holder
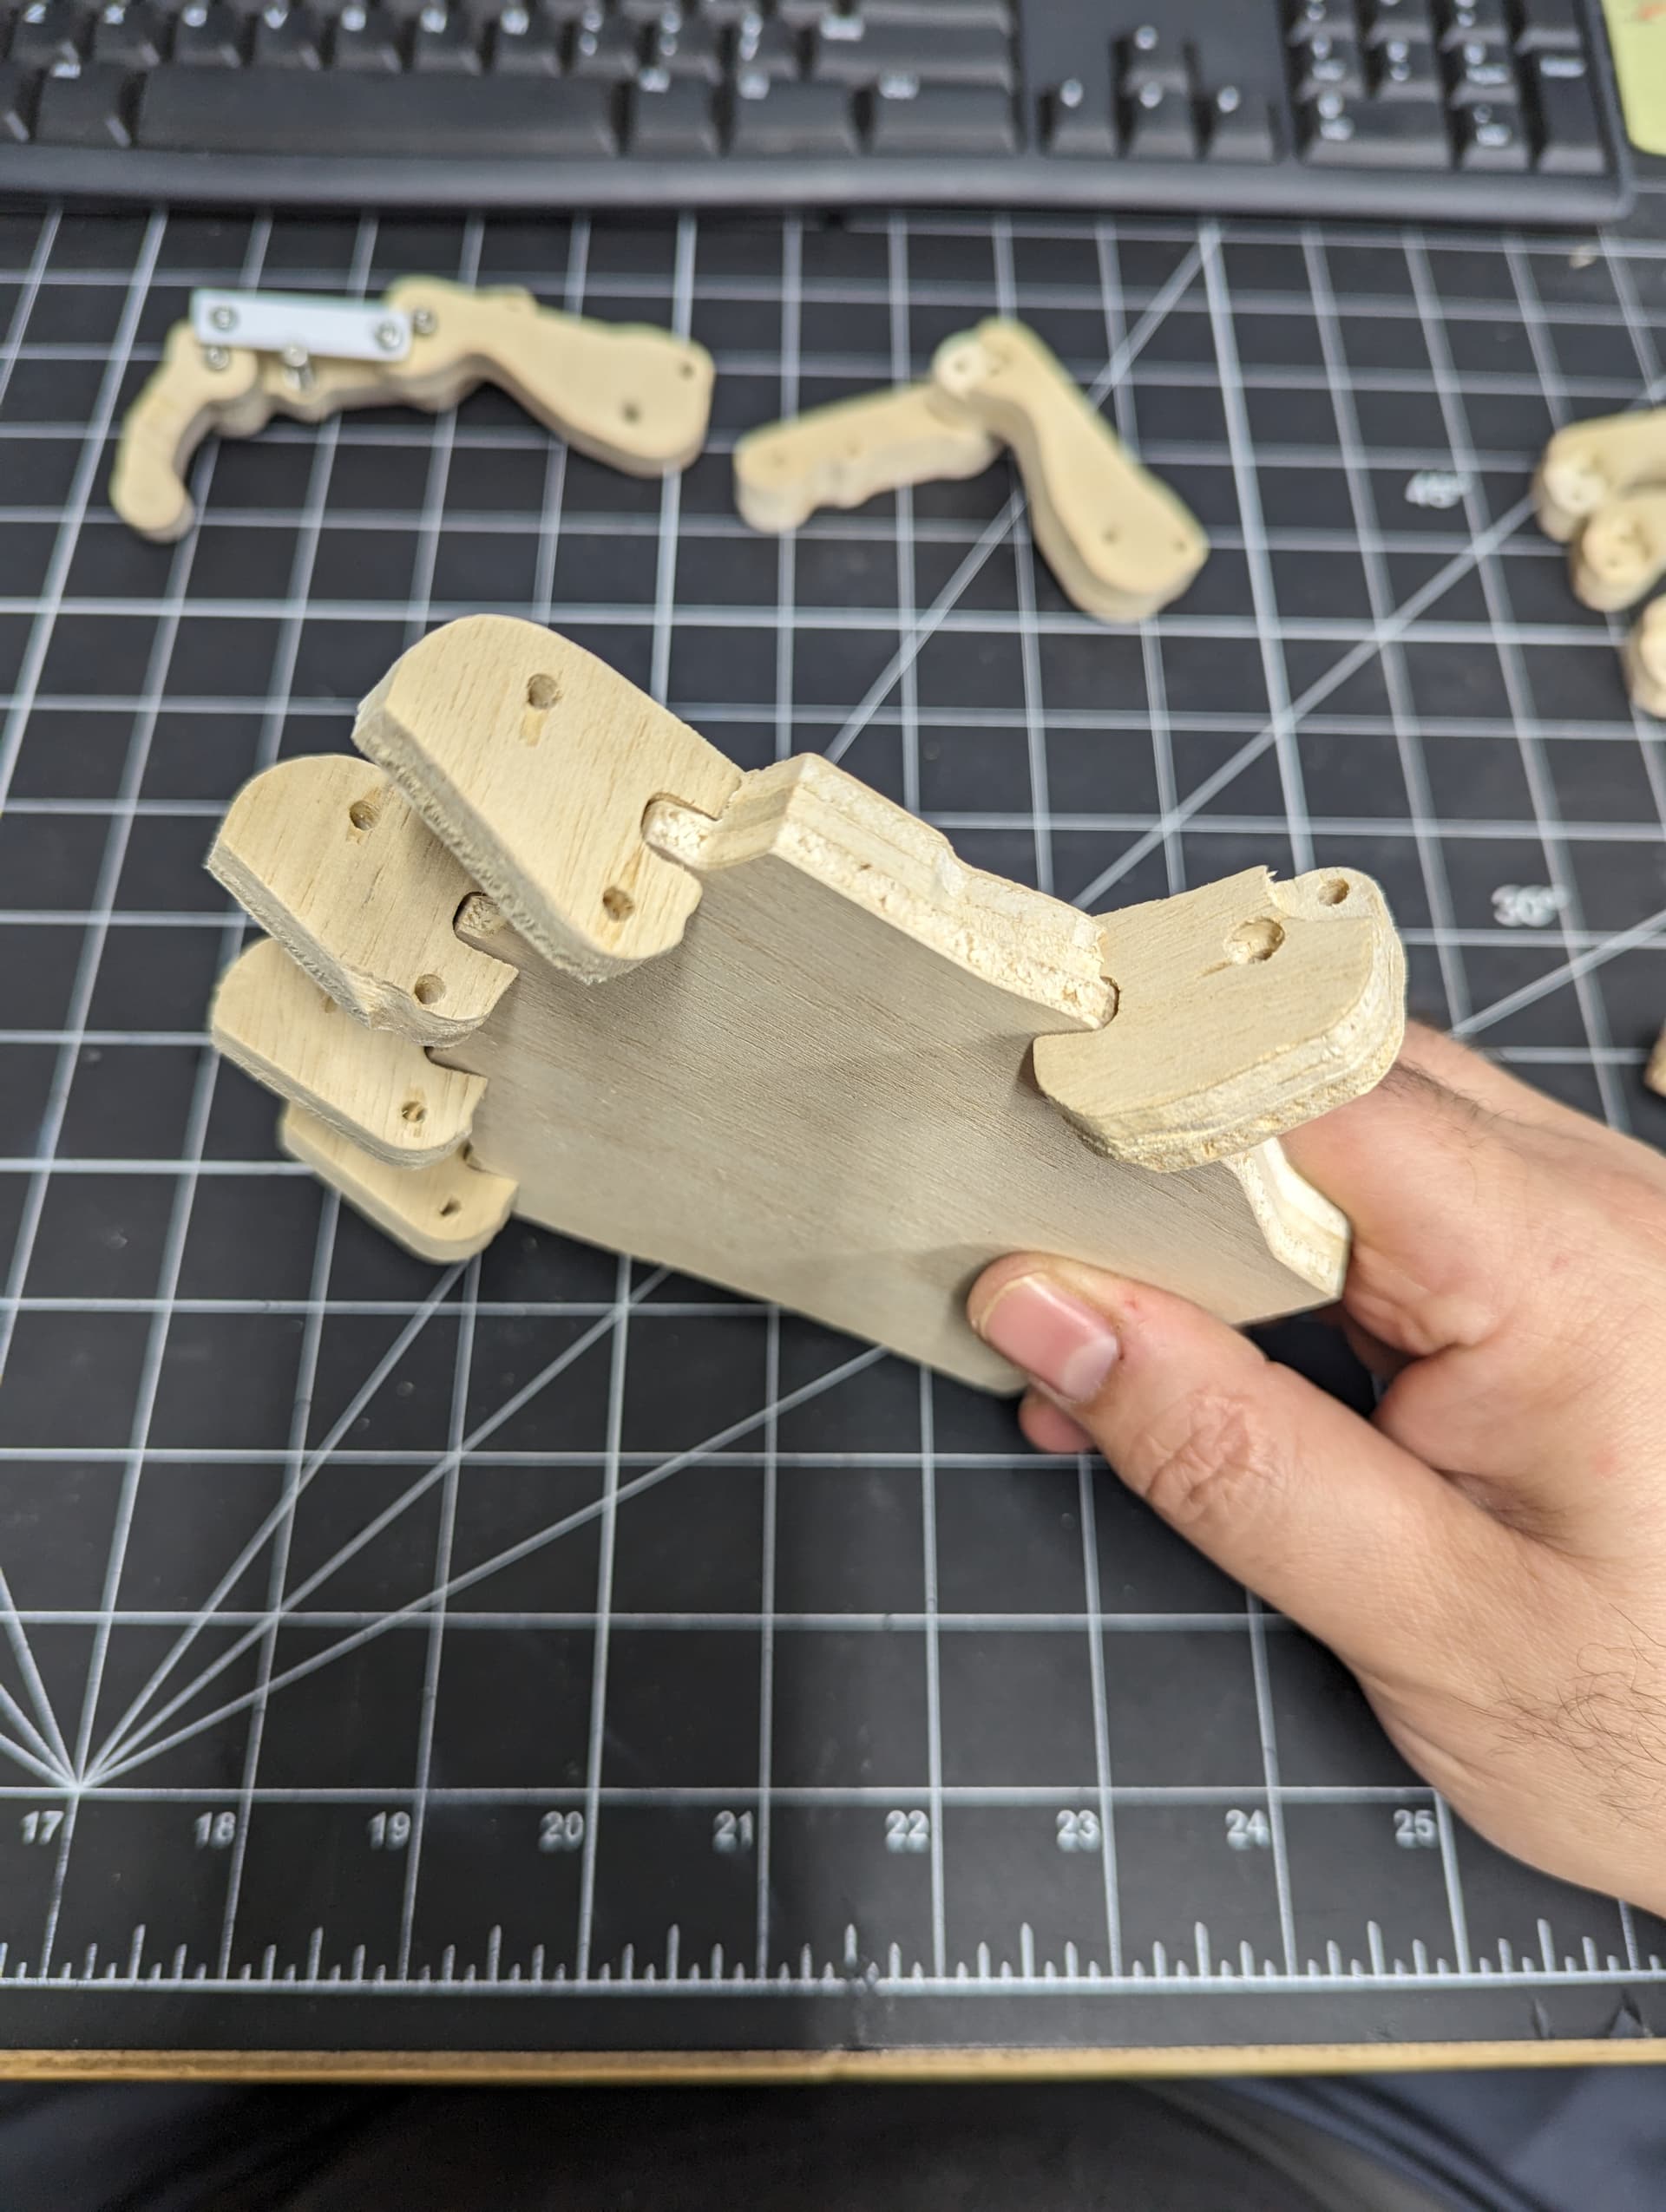
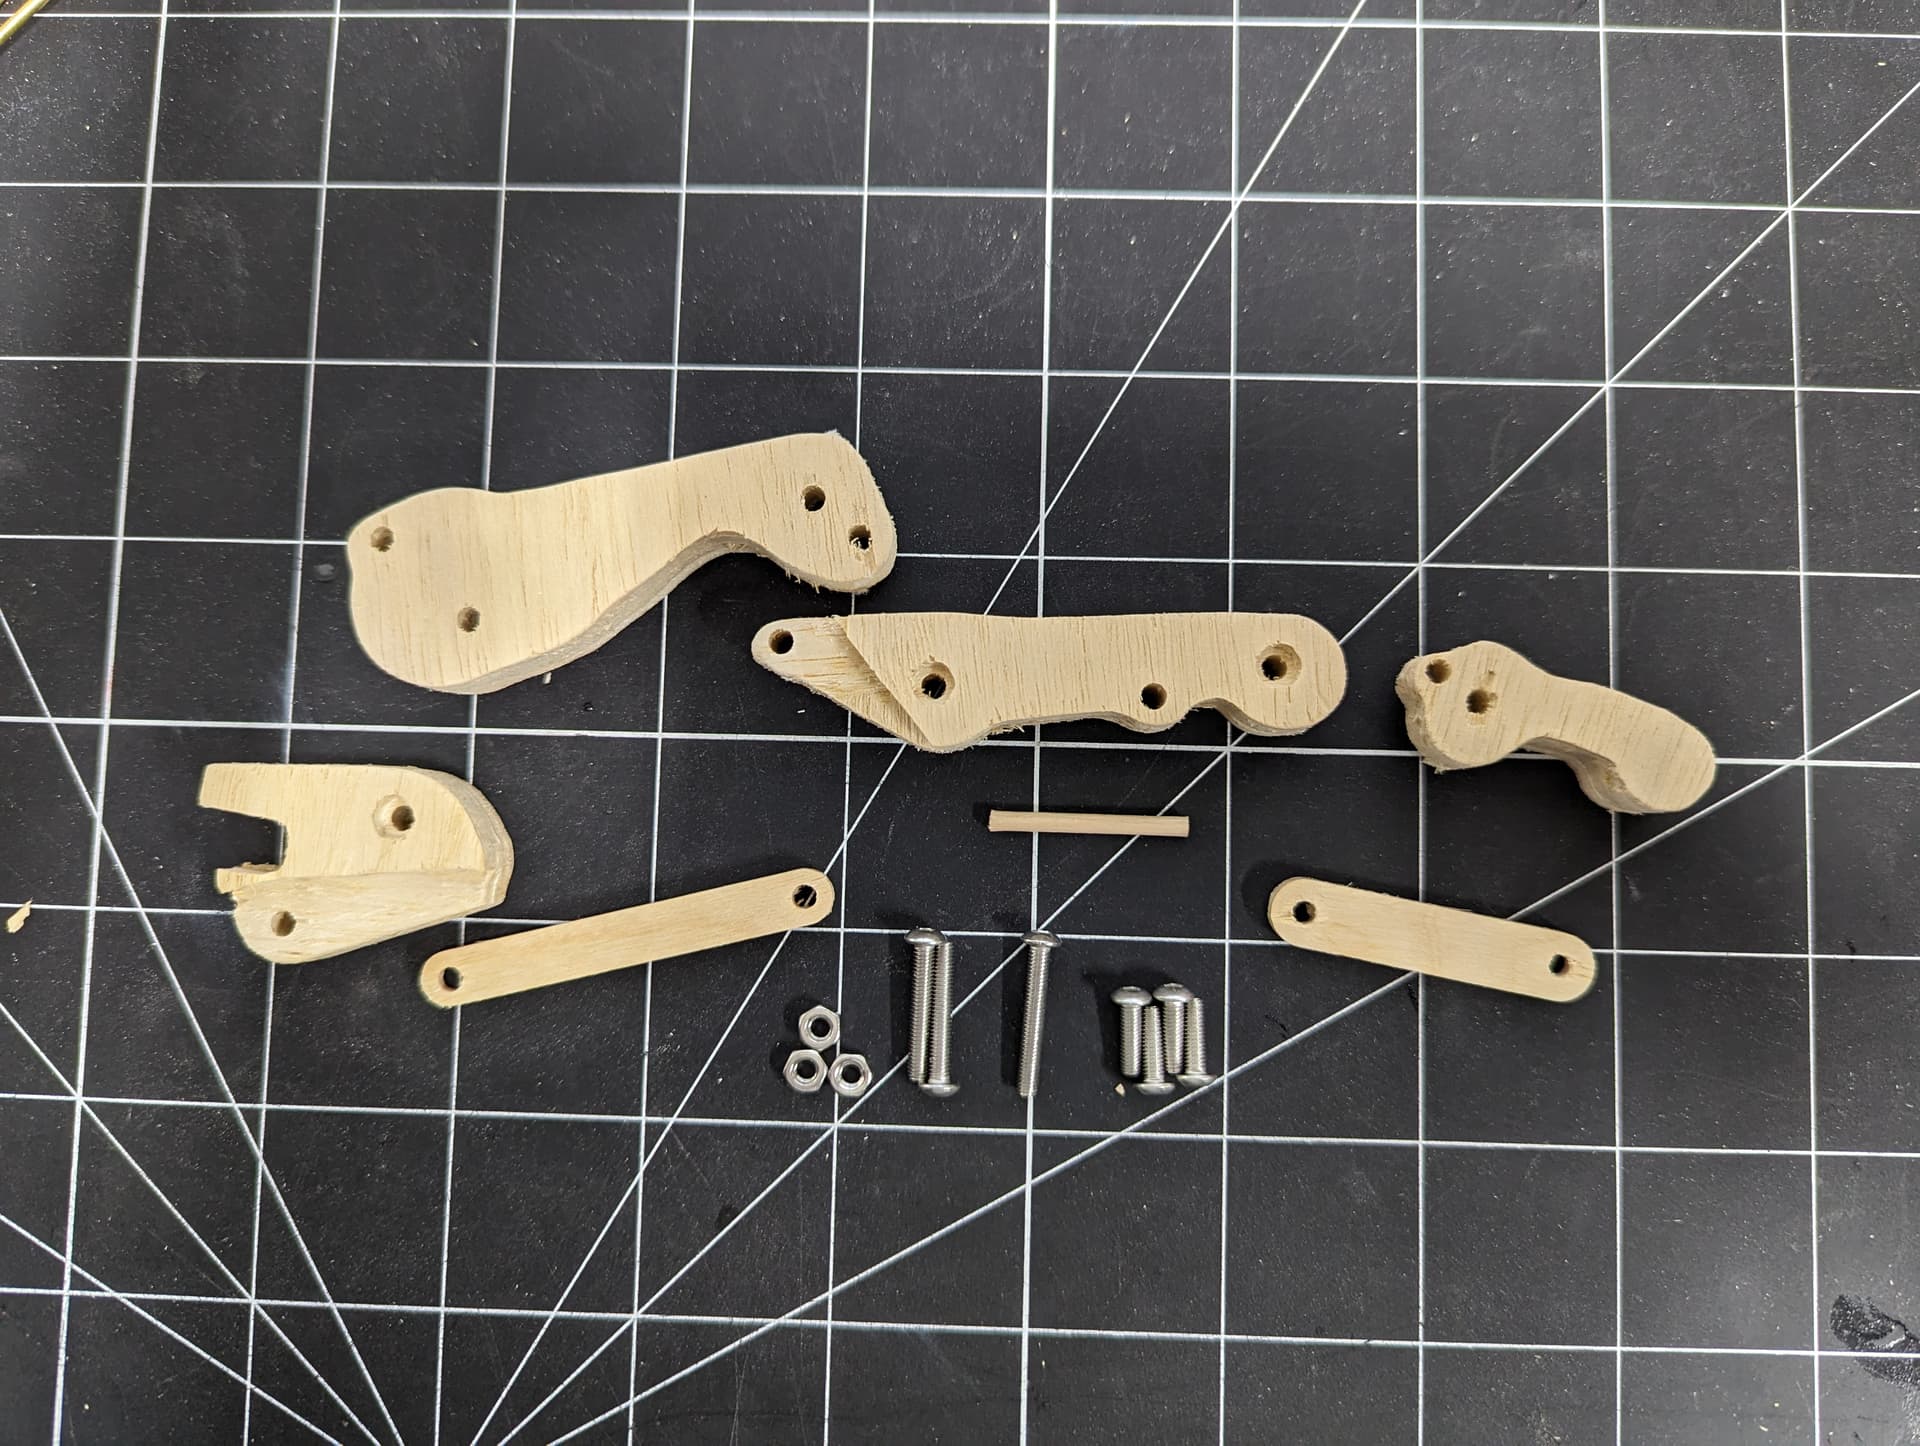
I made this for my Pop’s as we both always use the saying Hold My Beer (I’m looking at you @Luke ). It was pretty challenging as it is comprised of around 93 parts (not including the 46 nuts and M3 screws) Programing an Arduino and making it move where the fingers and thumb don’t bind and it actually holds a beer!!
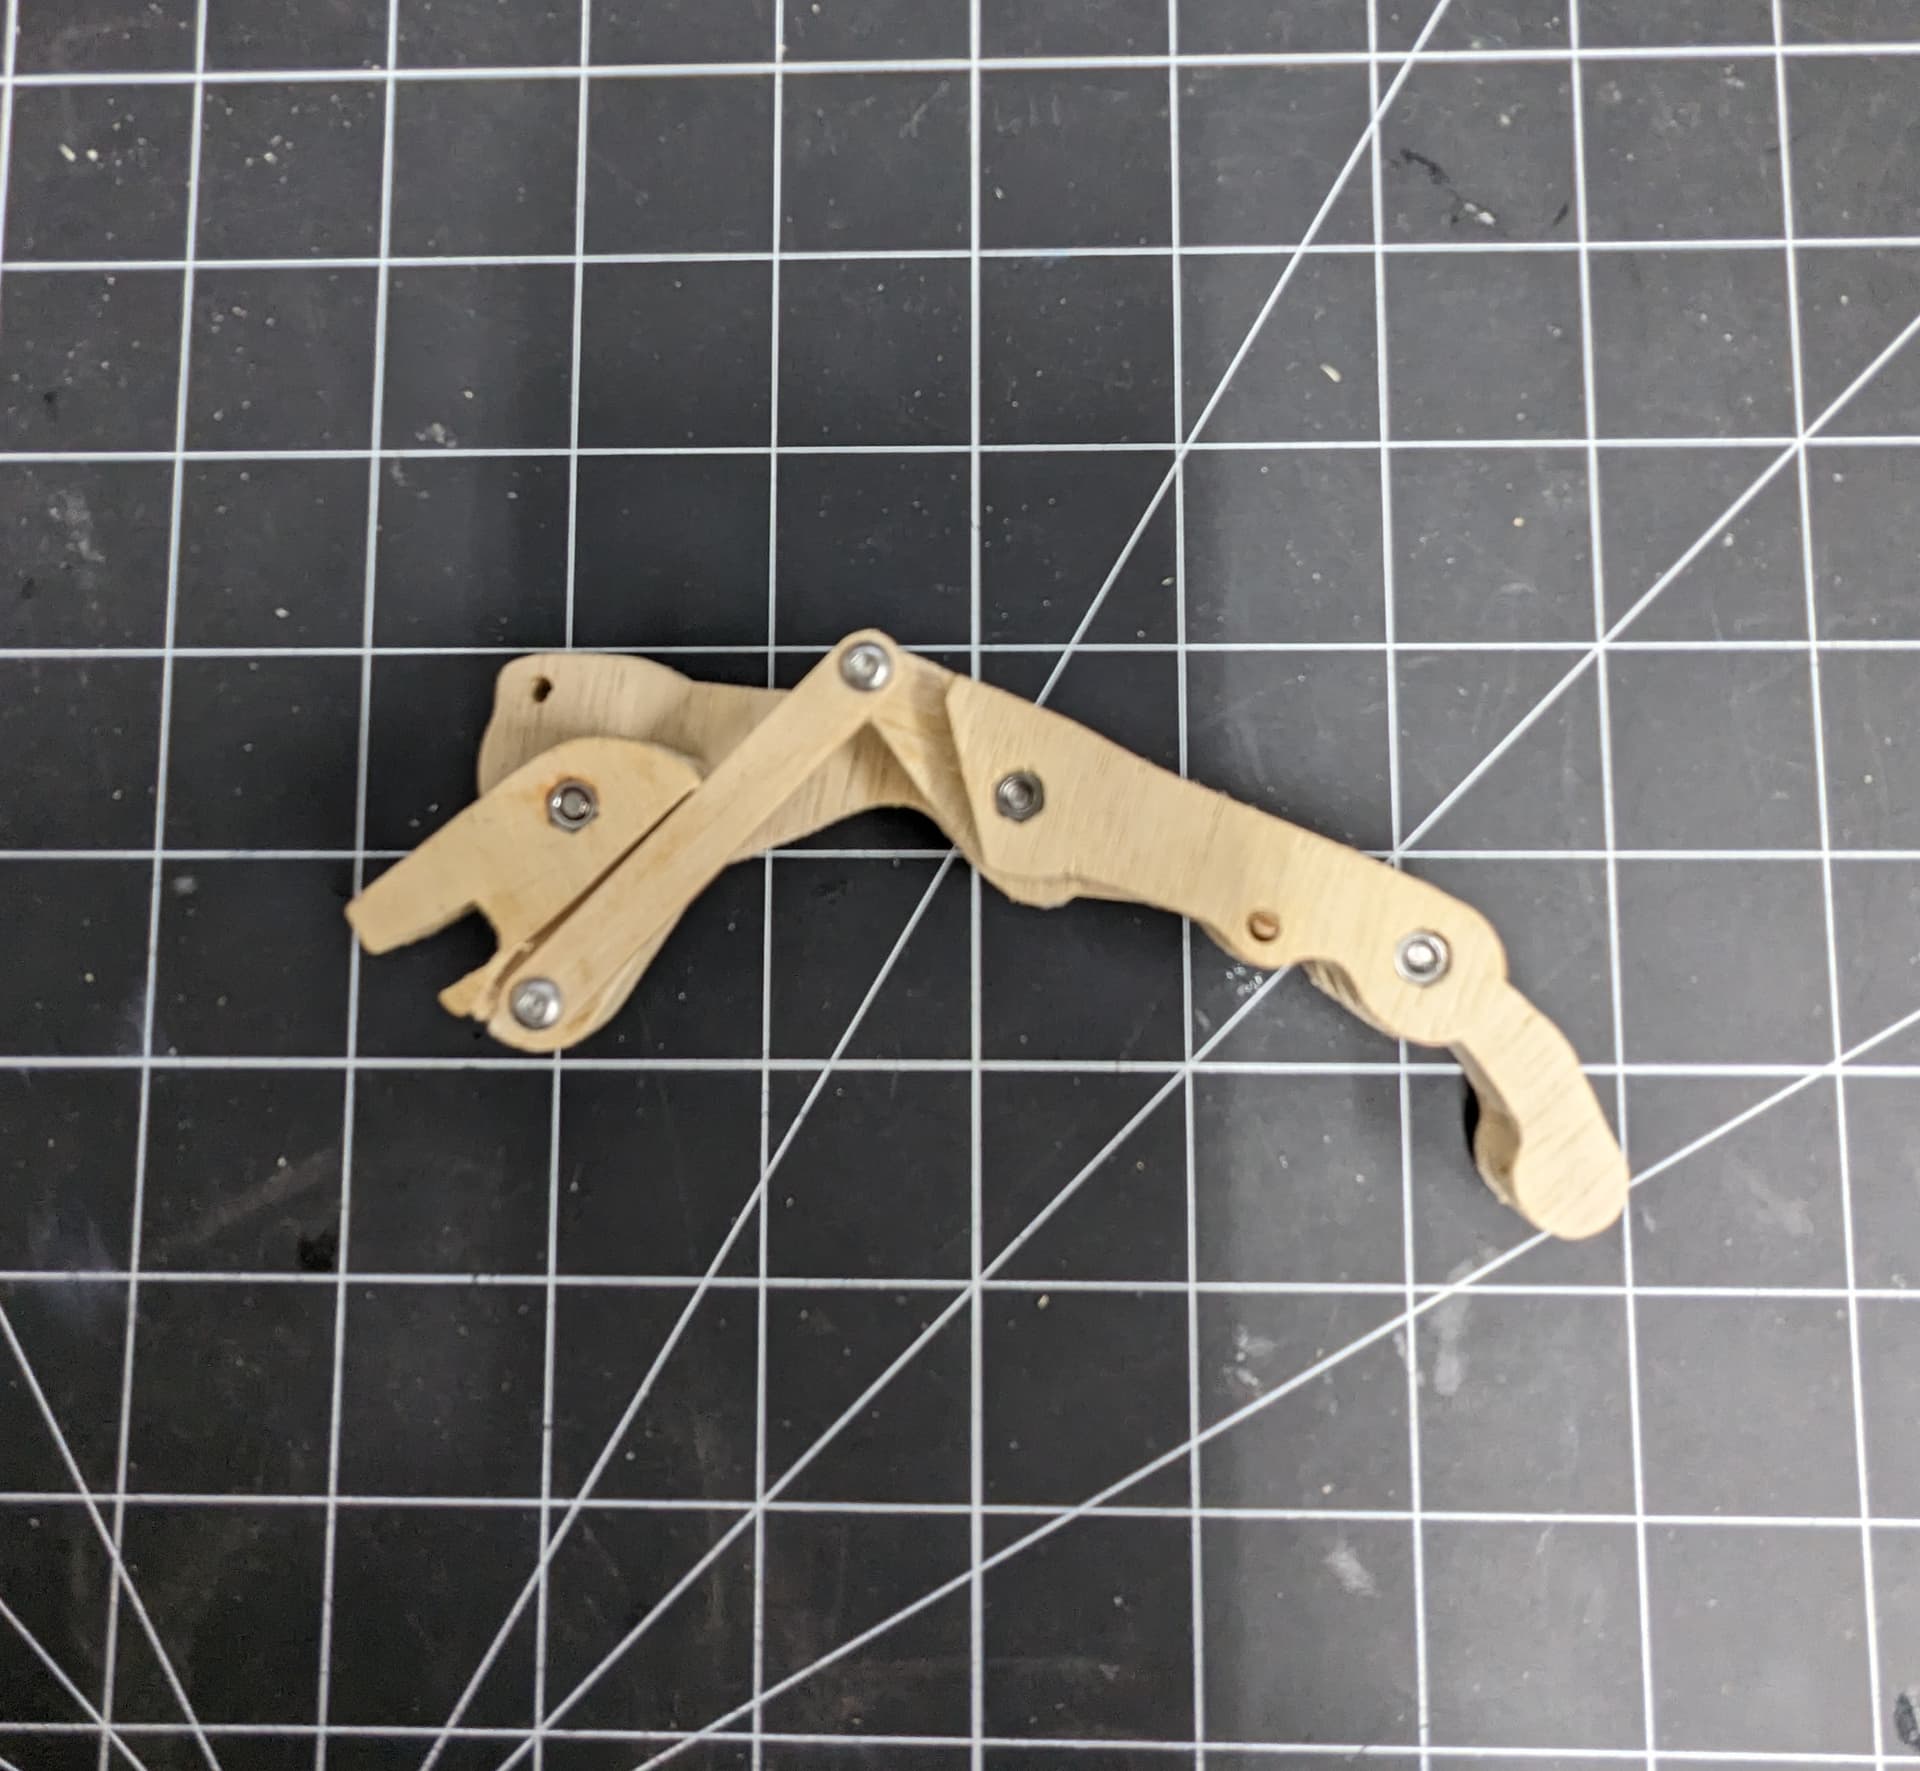
Figuring out the geometry and movement of the fingers and thumb was very much trial and error as you can see in the failed parts picture. But hey, every failure is a lesson learned.
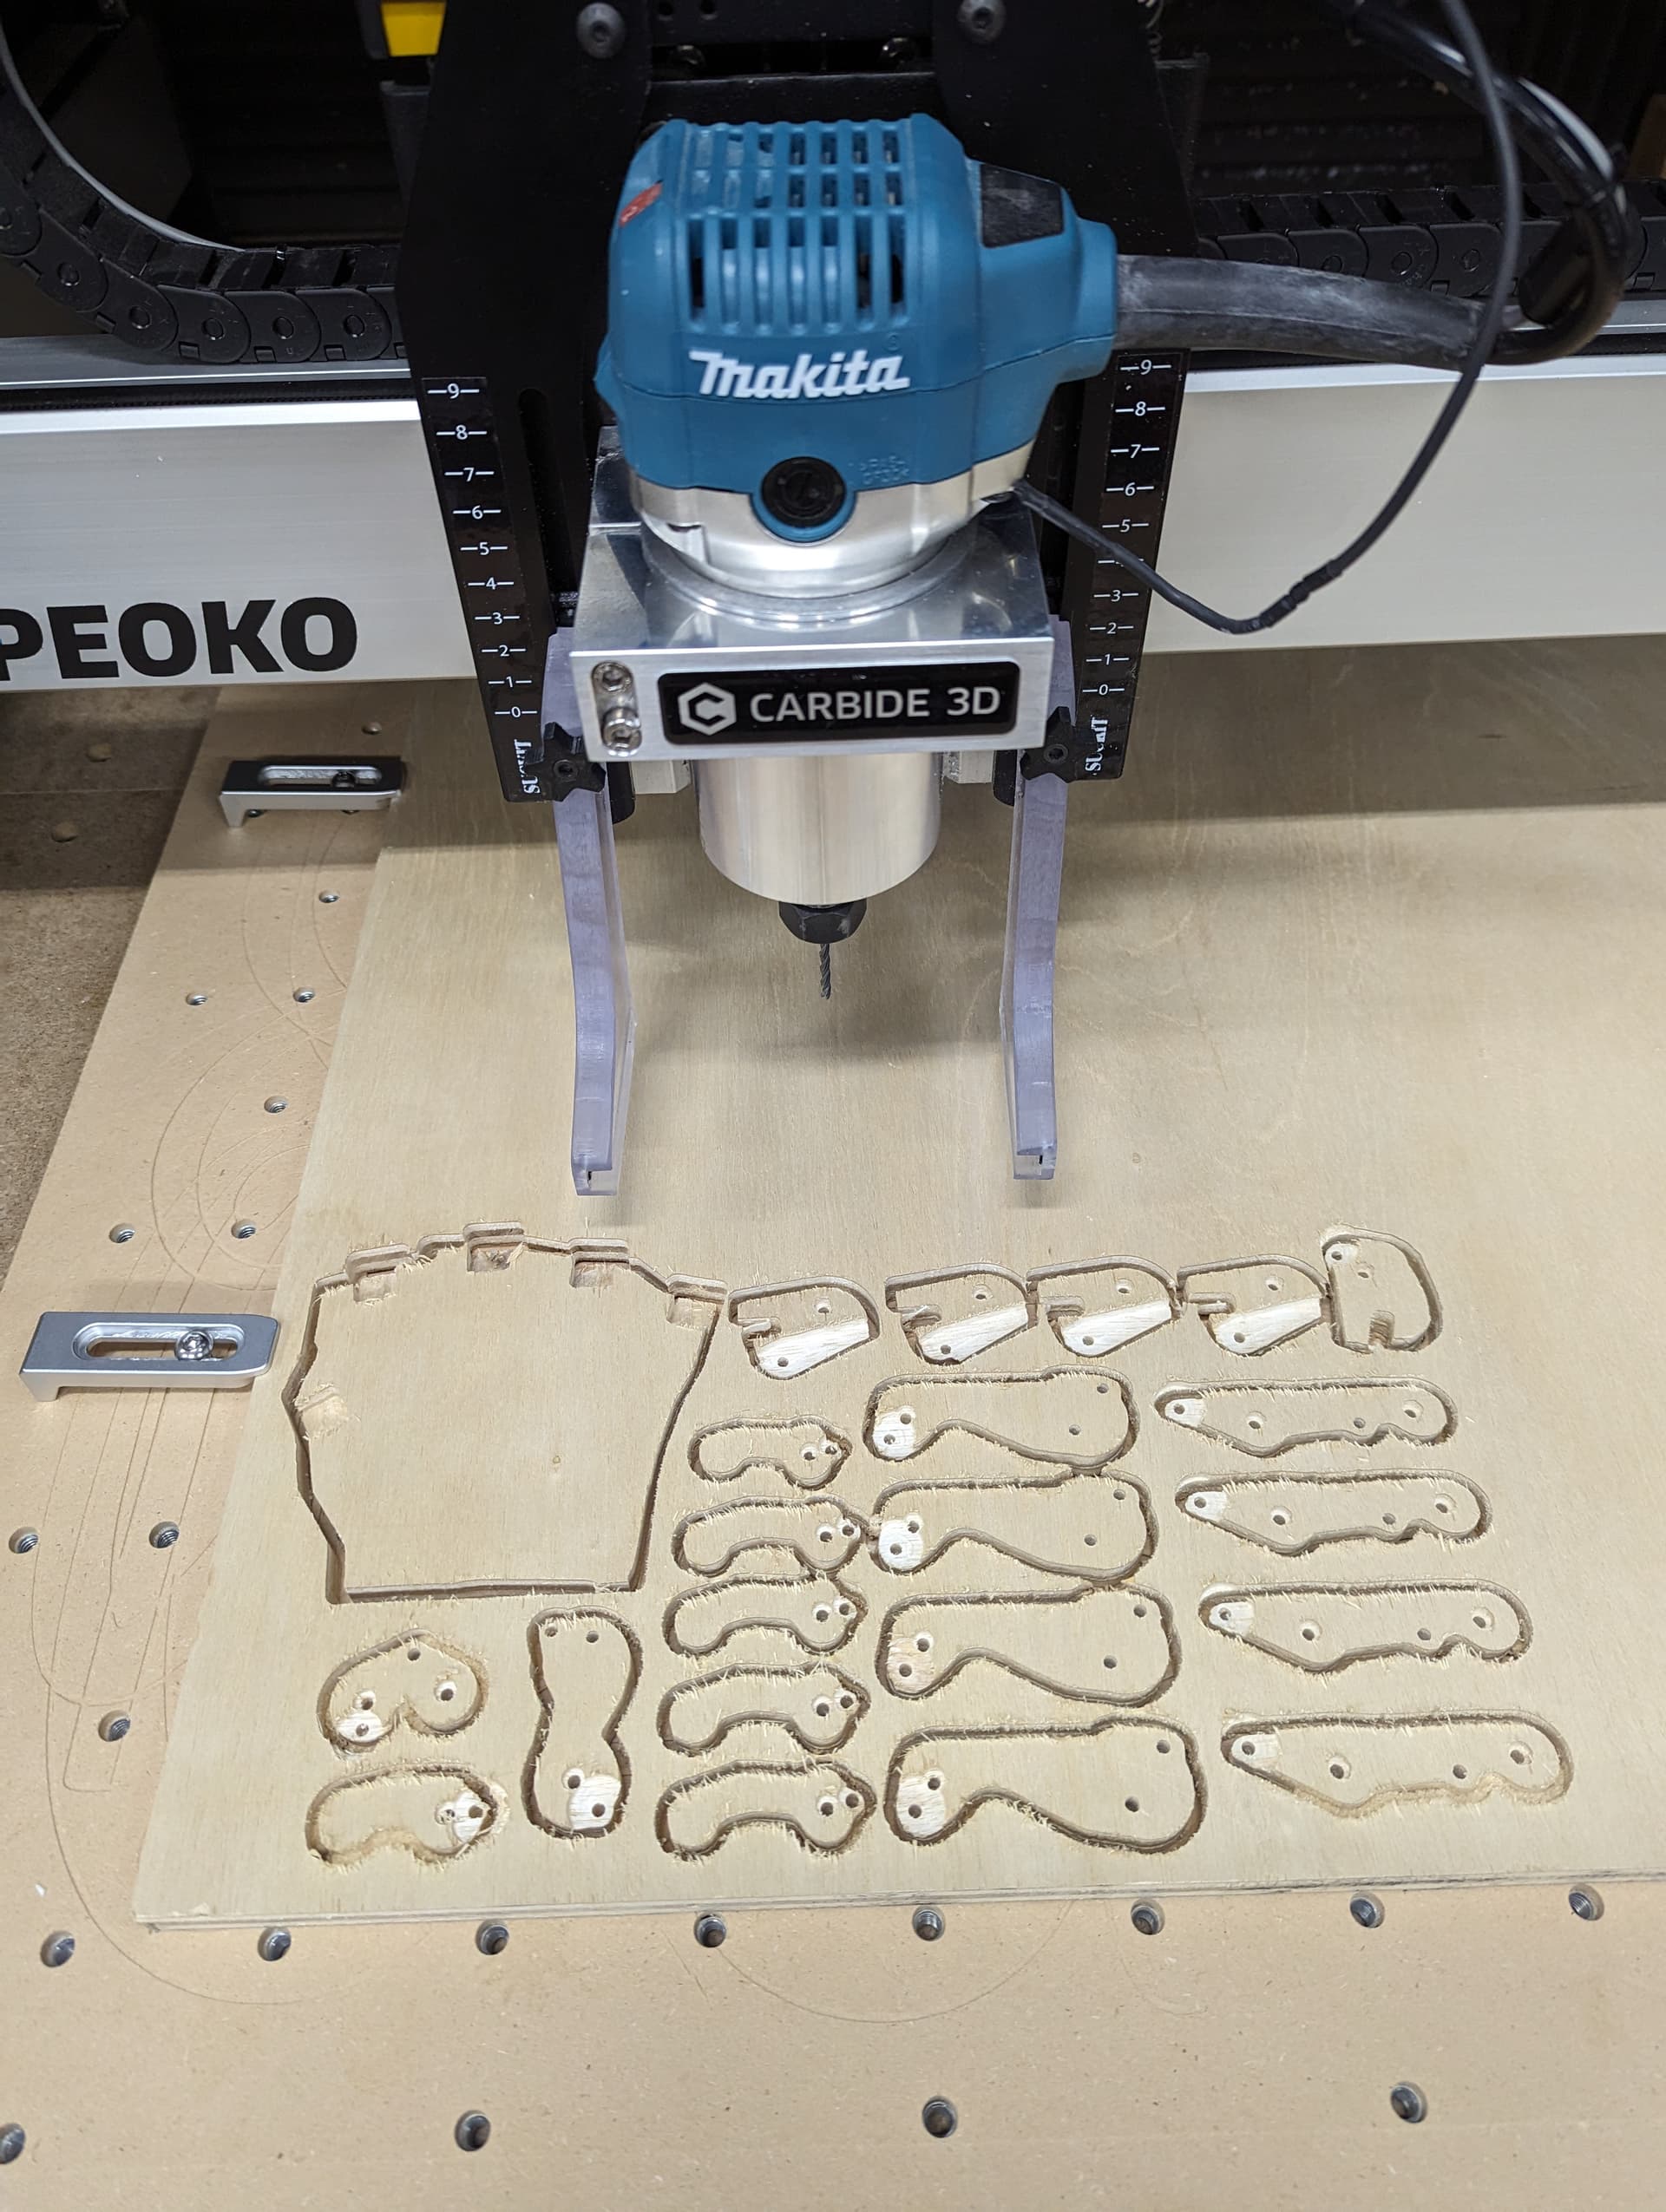
Over 50 parts were cut out on my Shapeoko 3XXL mostly plywood with the letters being Expanded PVC. I have attached the files on CutRocket I just uploaded it so its pending (link might not work) Link
Any votes would be appreciated as I just bought a Z-Plus and a VDF spindle would look mighty fine on my machine LOL but good luck to everyone here, some pretty awesome projects!