Complicated carve has me beat

NRL logo and Navy logo Test 2.c2d (936 KB)

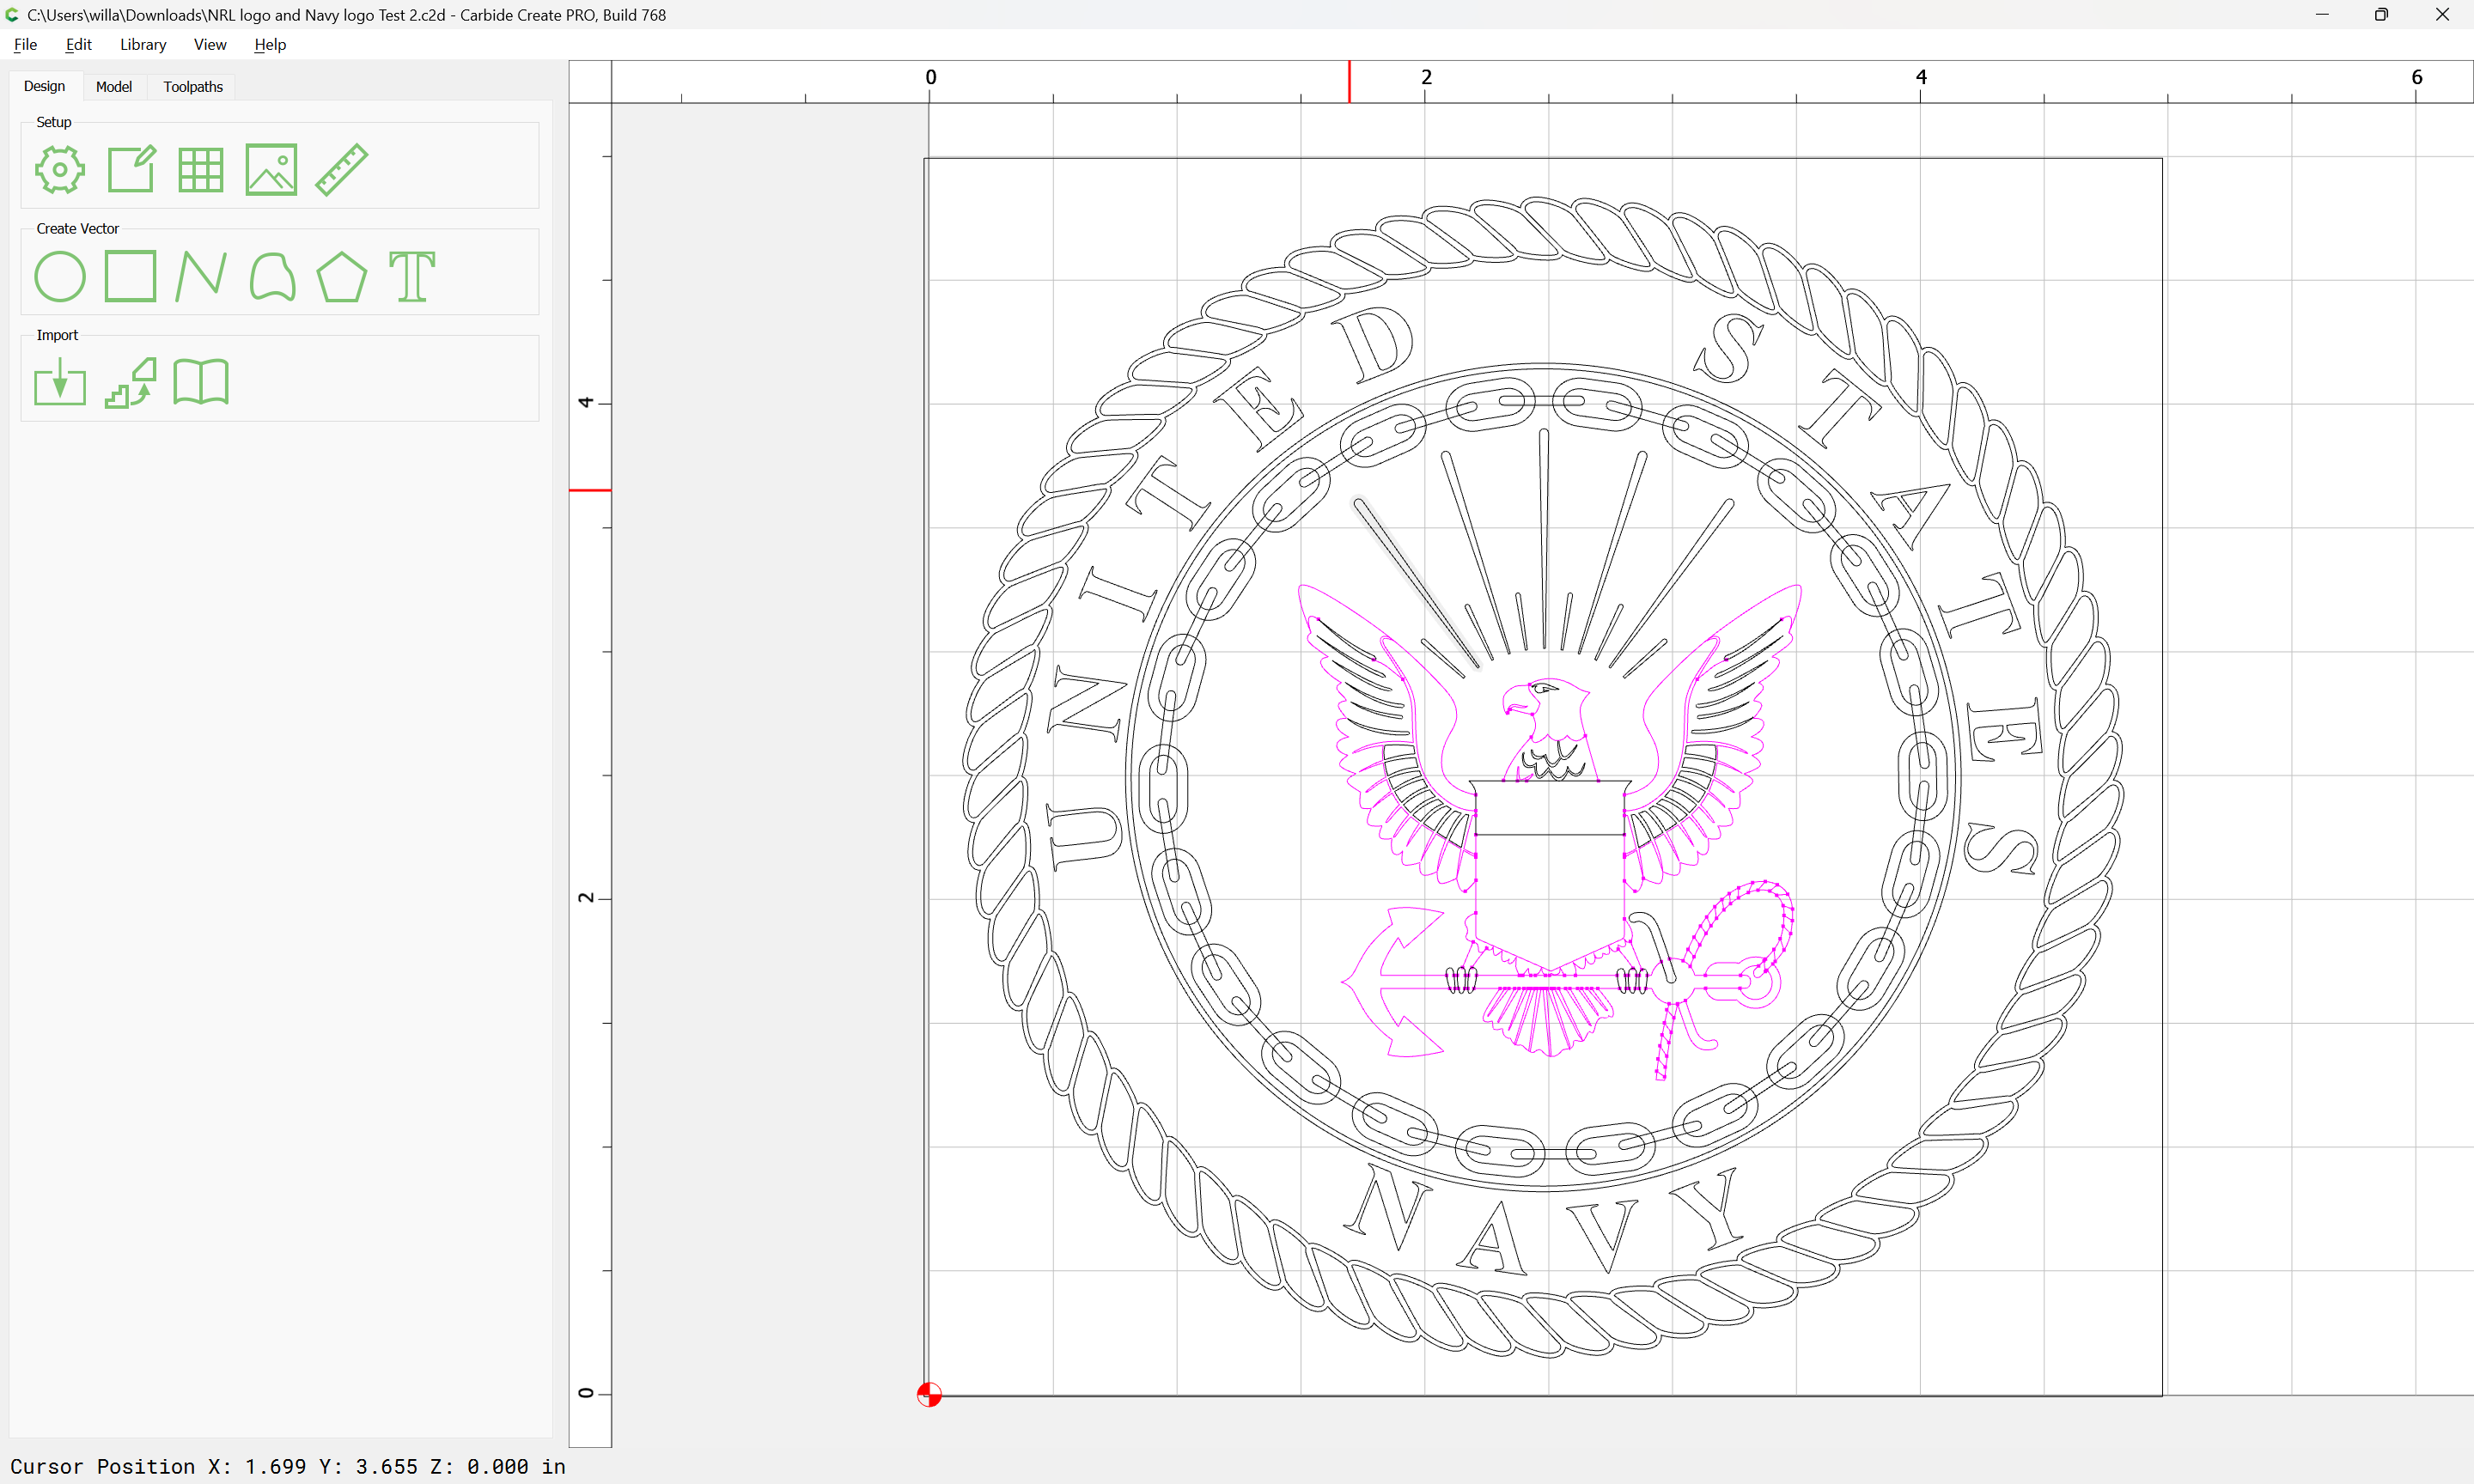
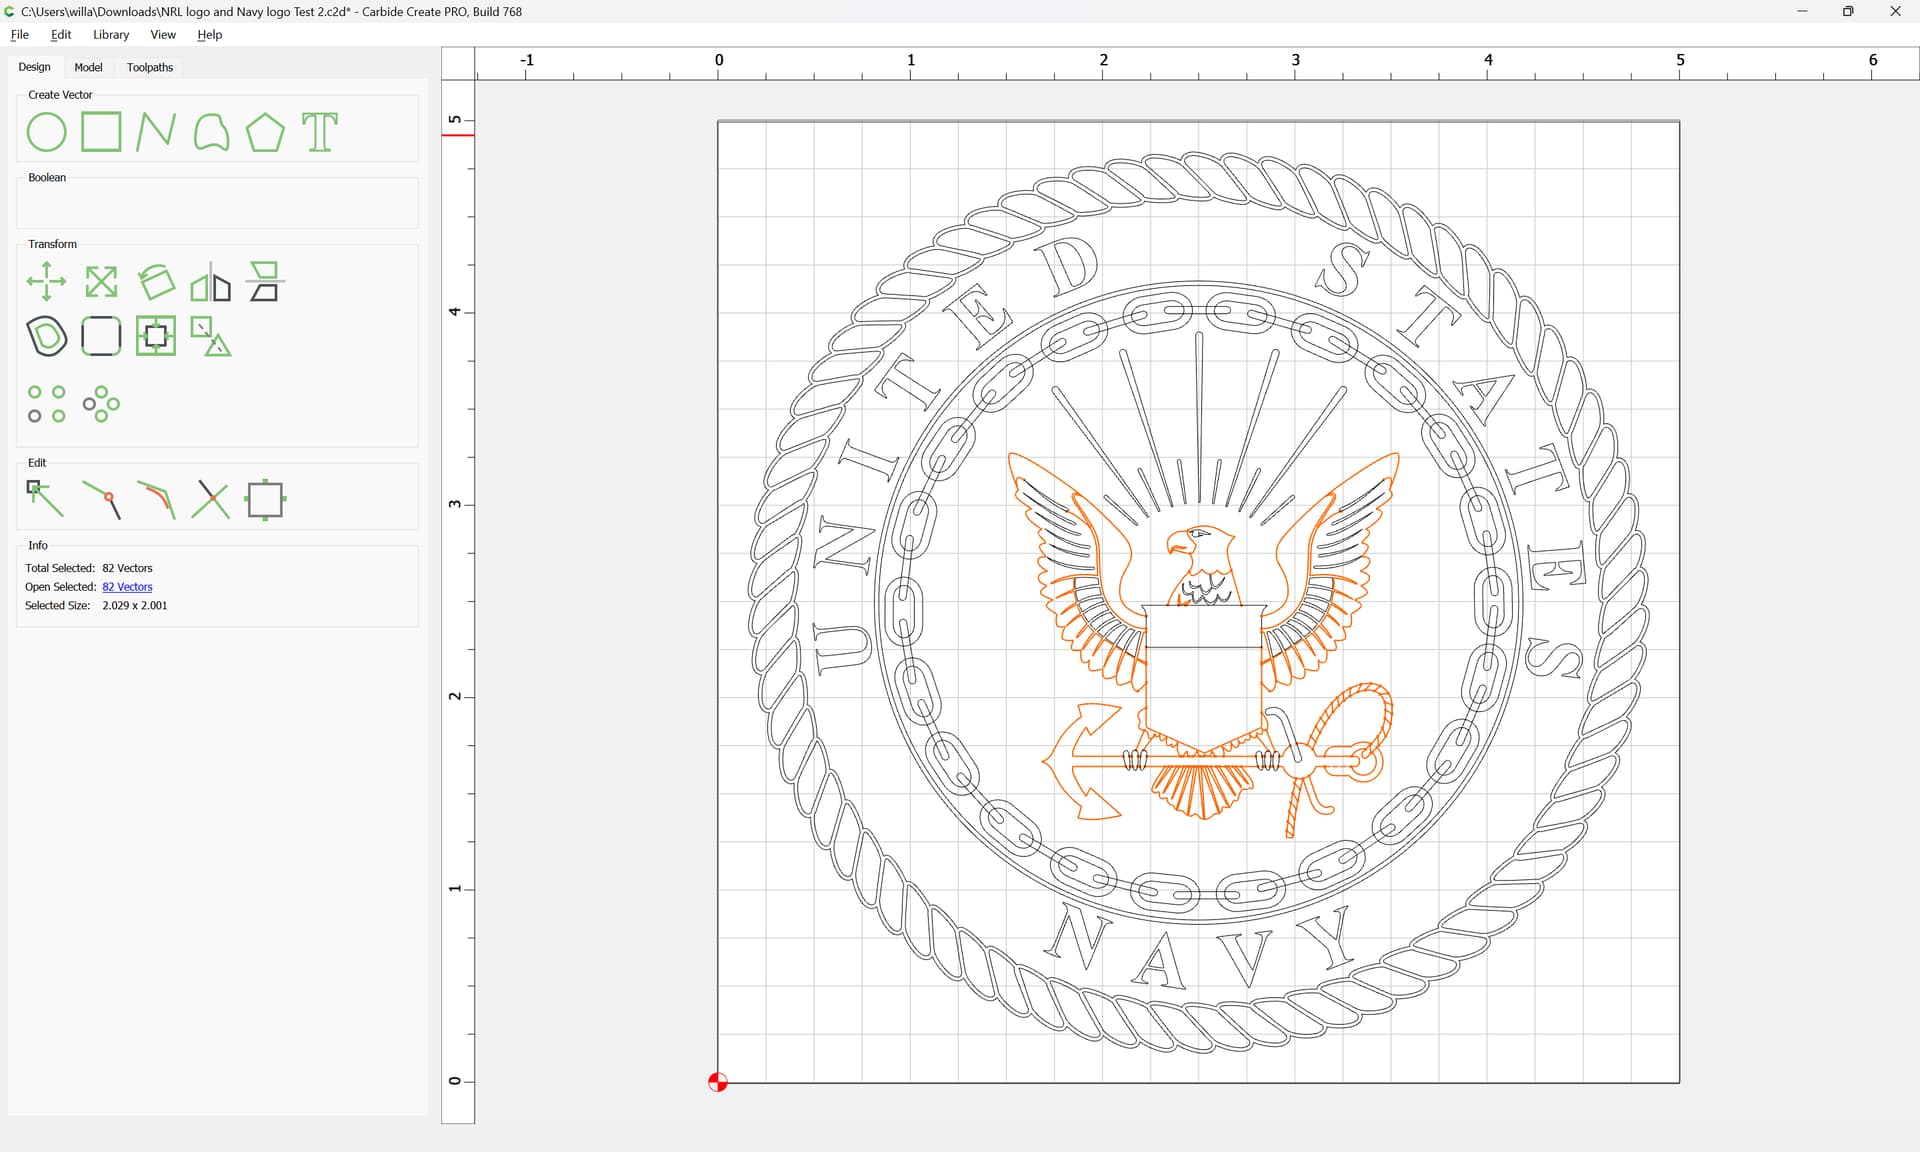
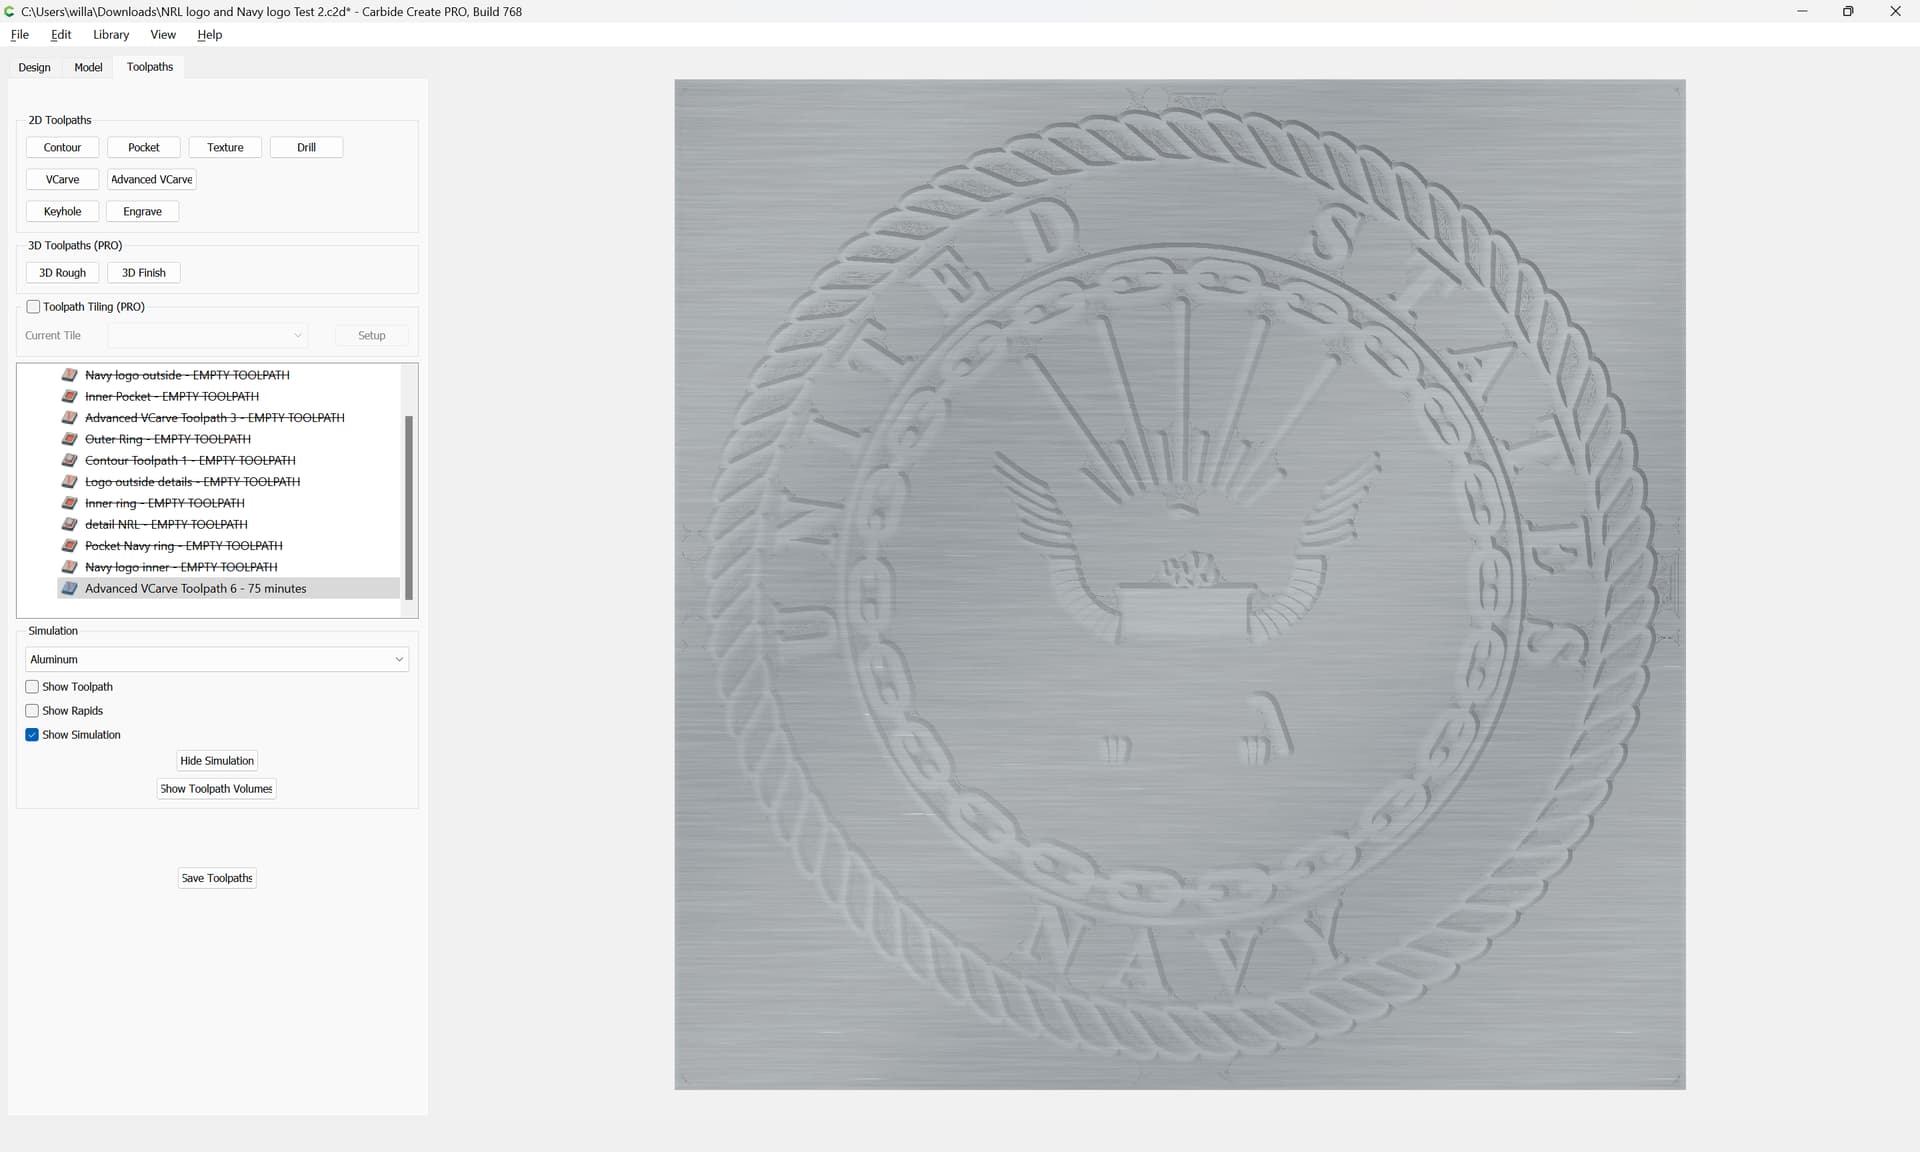
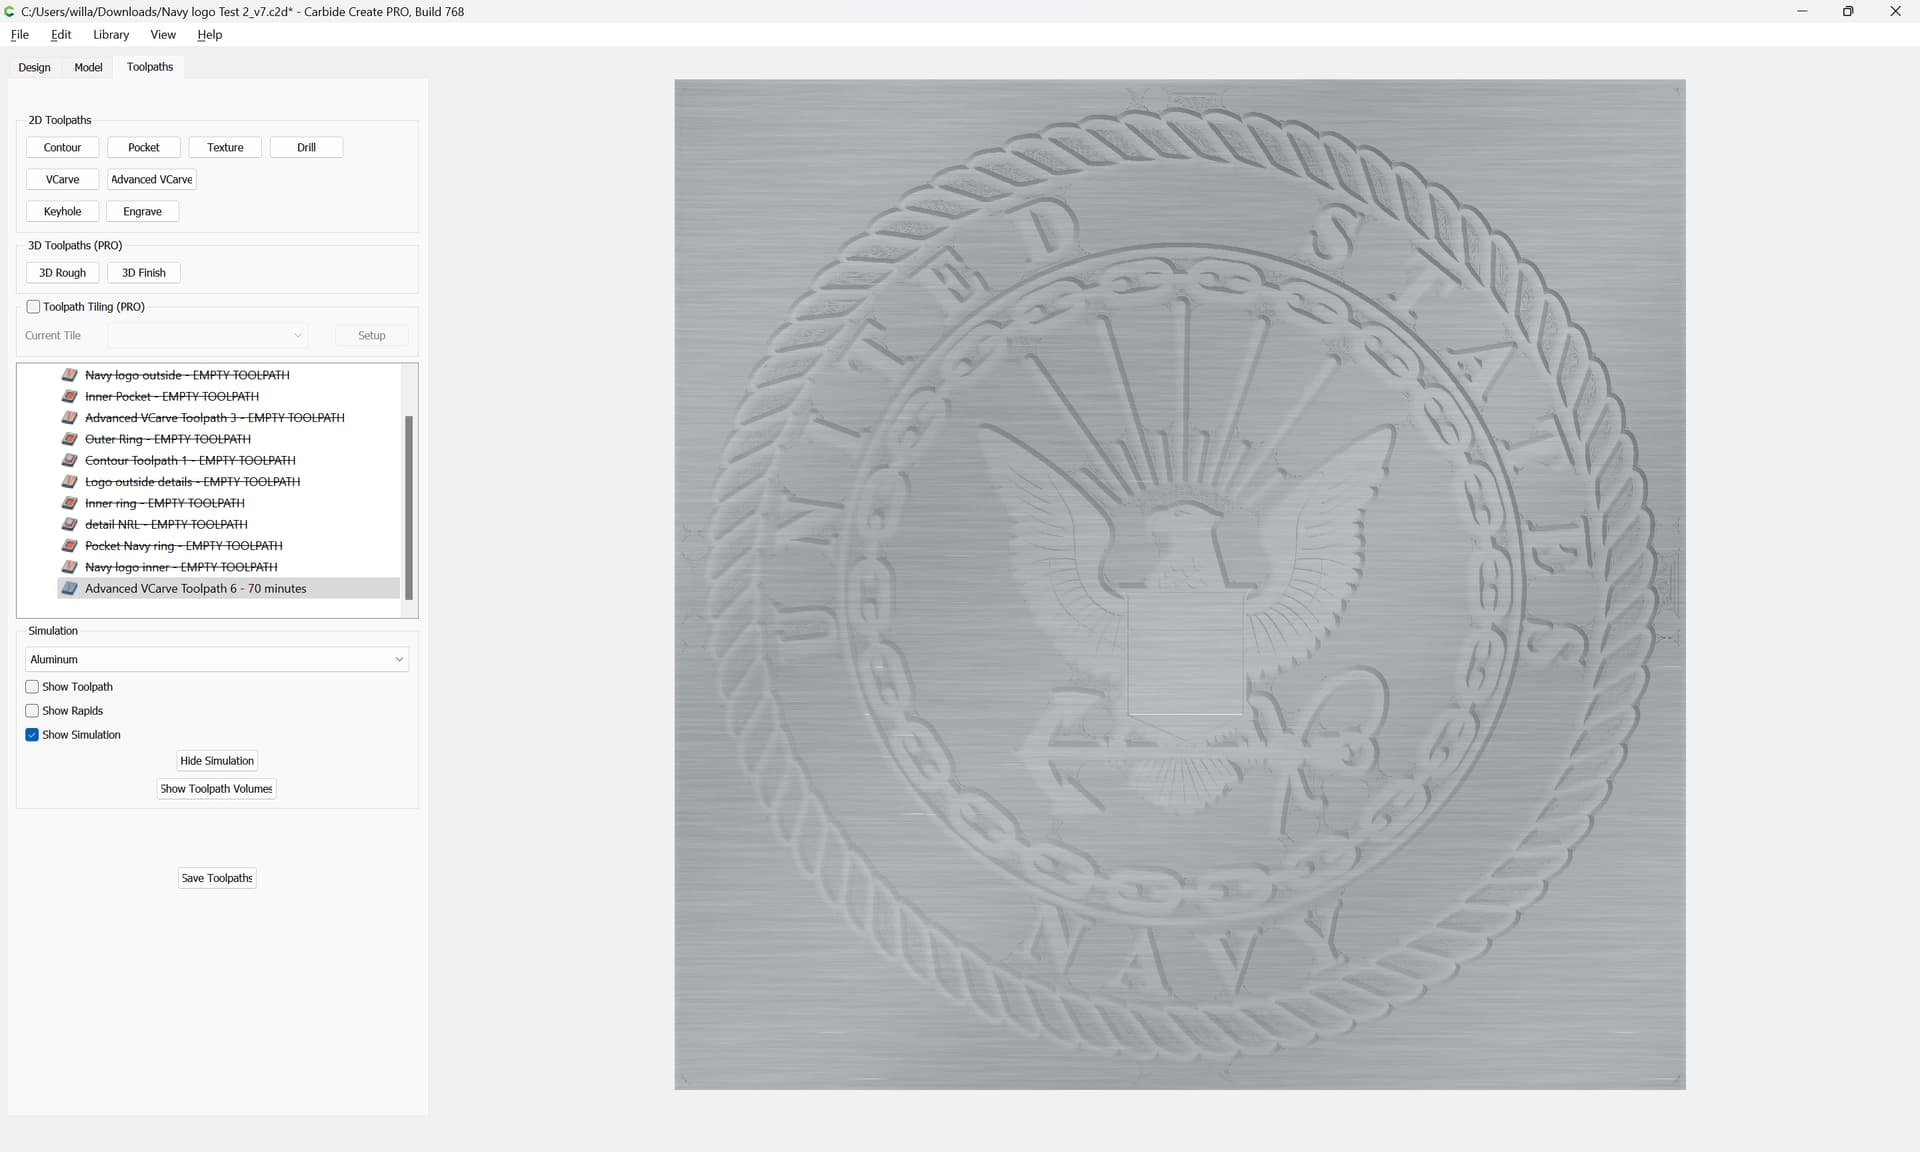
A good buddy is going to retire soon. I am working on a little gift for him. I got the one logo working (the attached file has all of those paths disabled). I have tried a number of options and this is the lazy option – I just selected everything to see what advanced Vcarve will do. I guess it is just a very intricate piece and it’s tricky. Anybody have some suggestions?

Here is what I get with the easy option:

This file has a couple of problems:

  • overlapping/intersecting geometry:

  • open/unclosed geometry (indicated by being magenta):

There was a discussion of a slightly different version at:

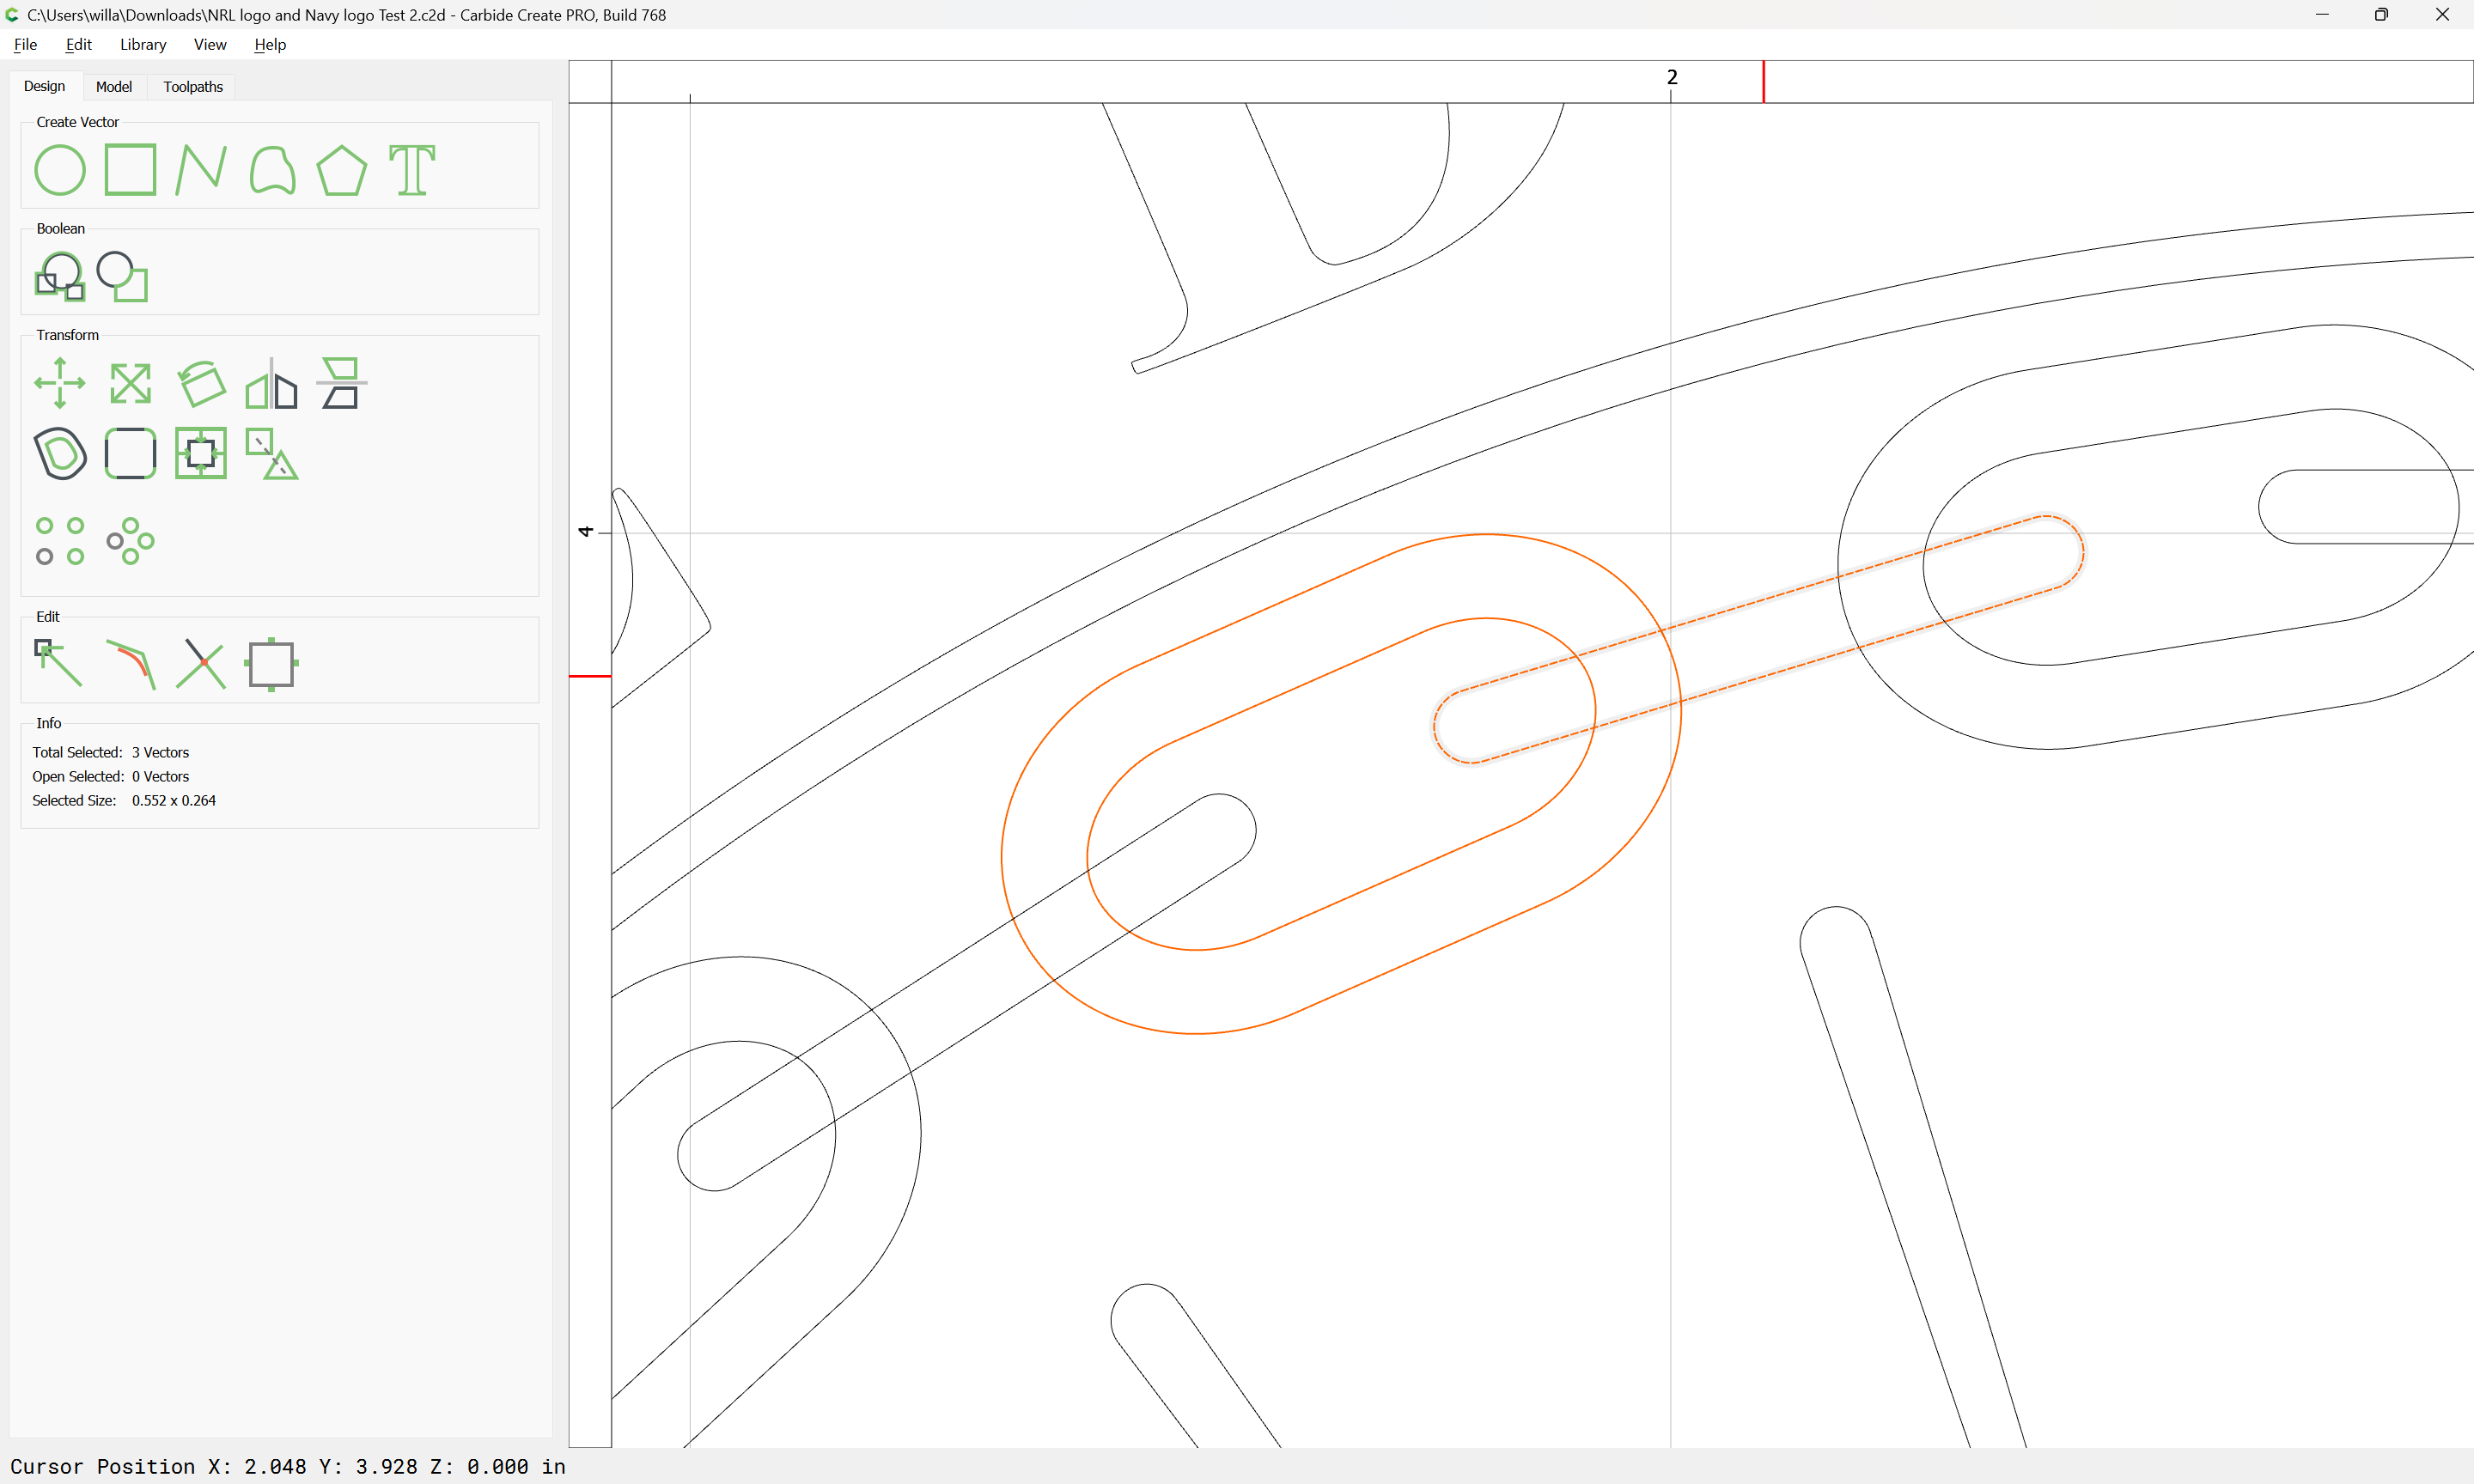
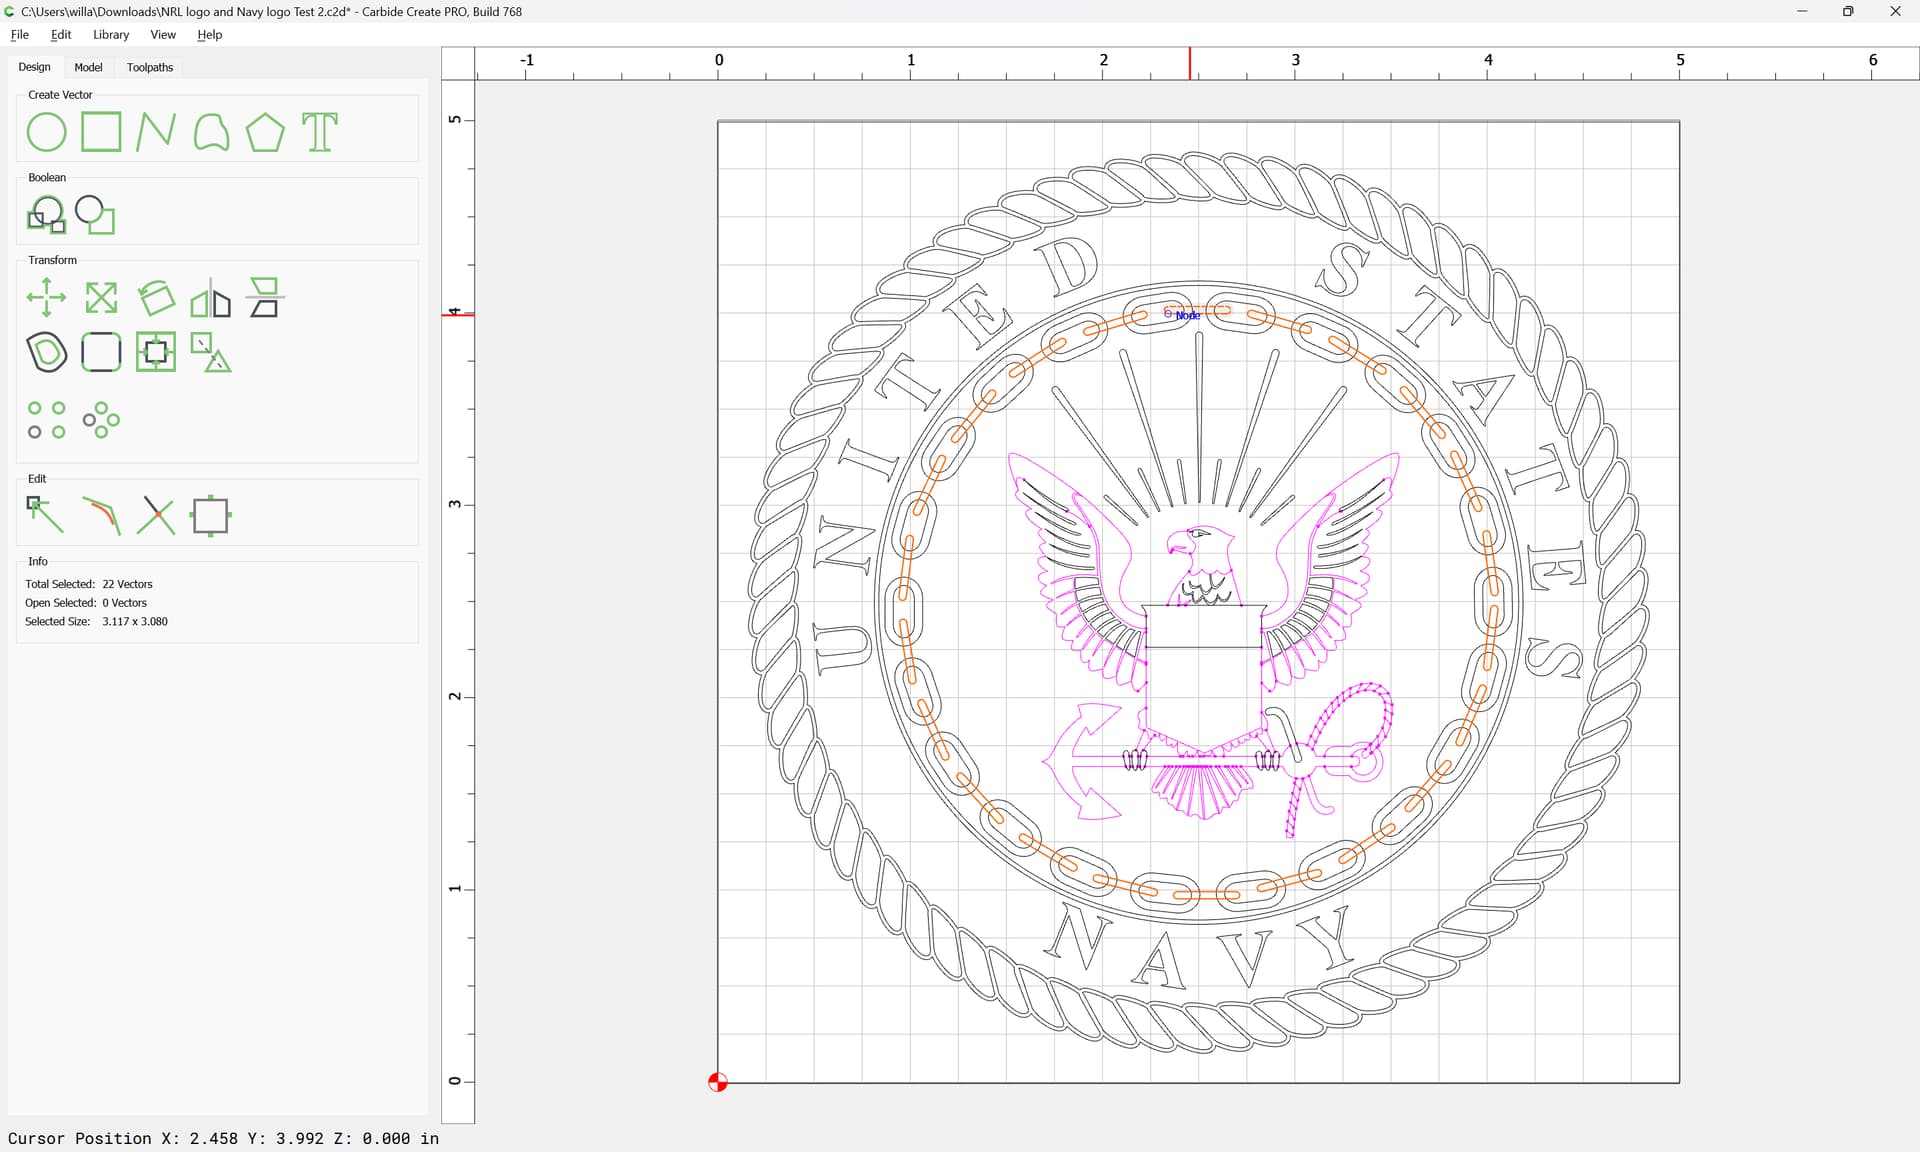
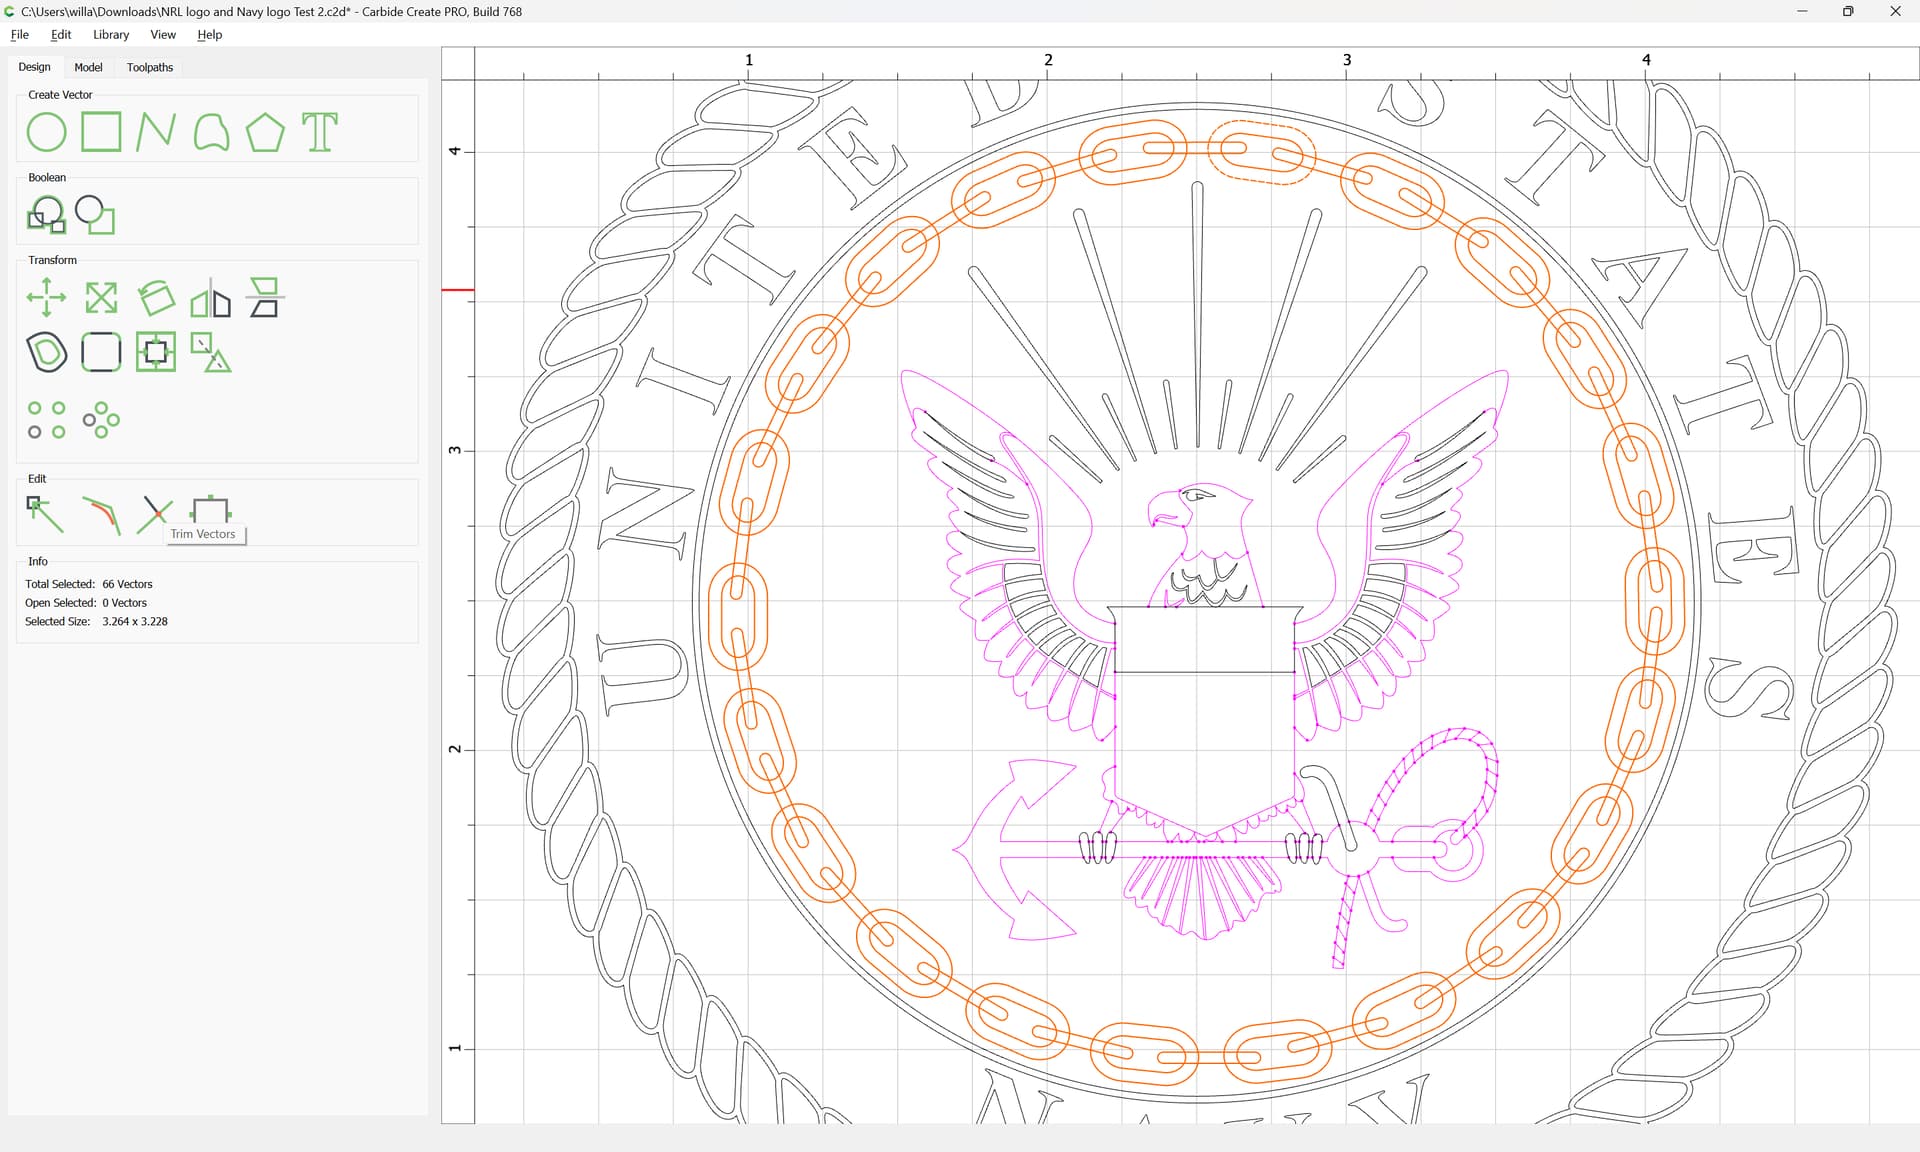
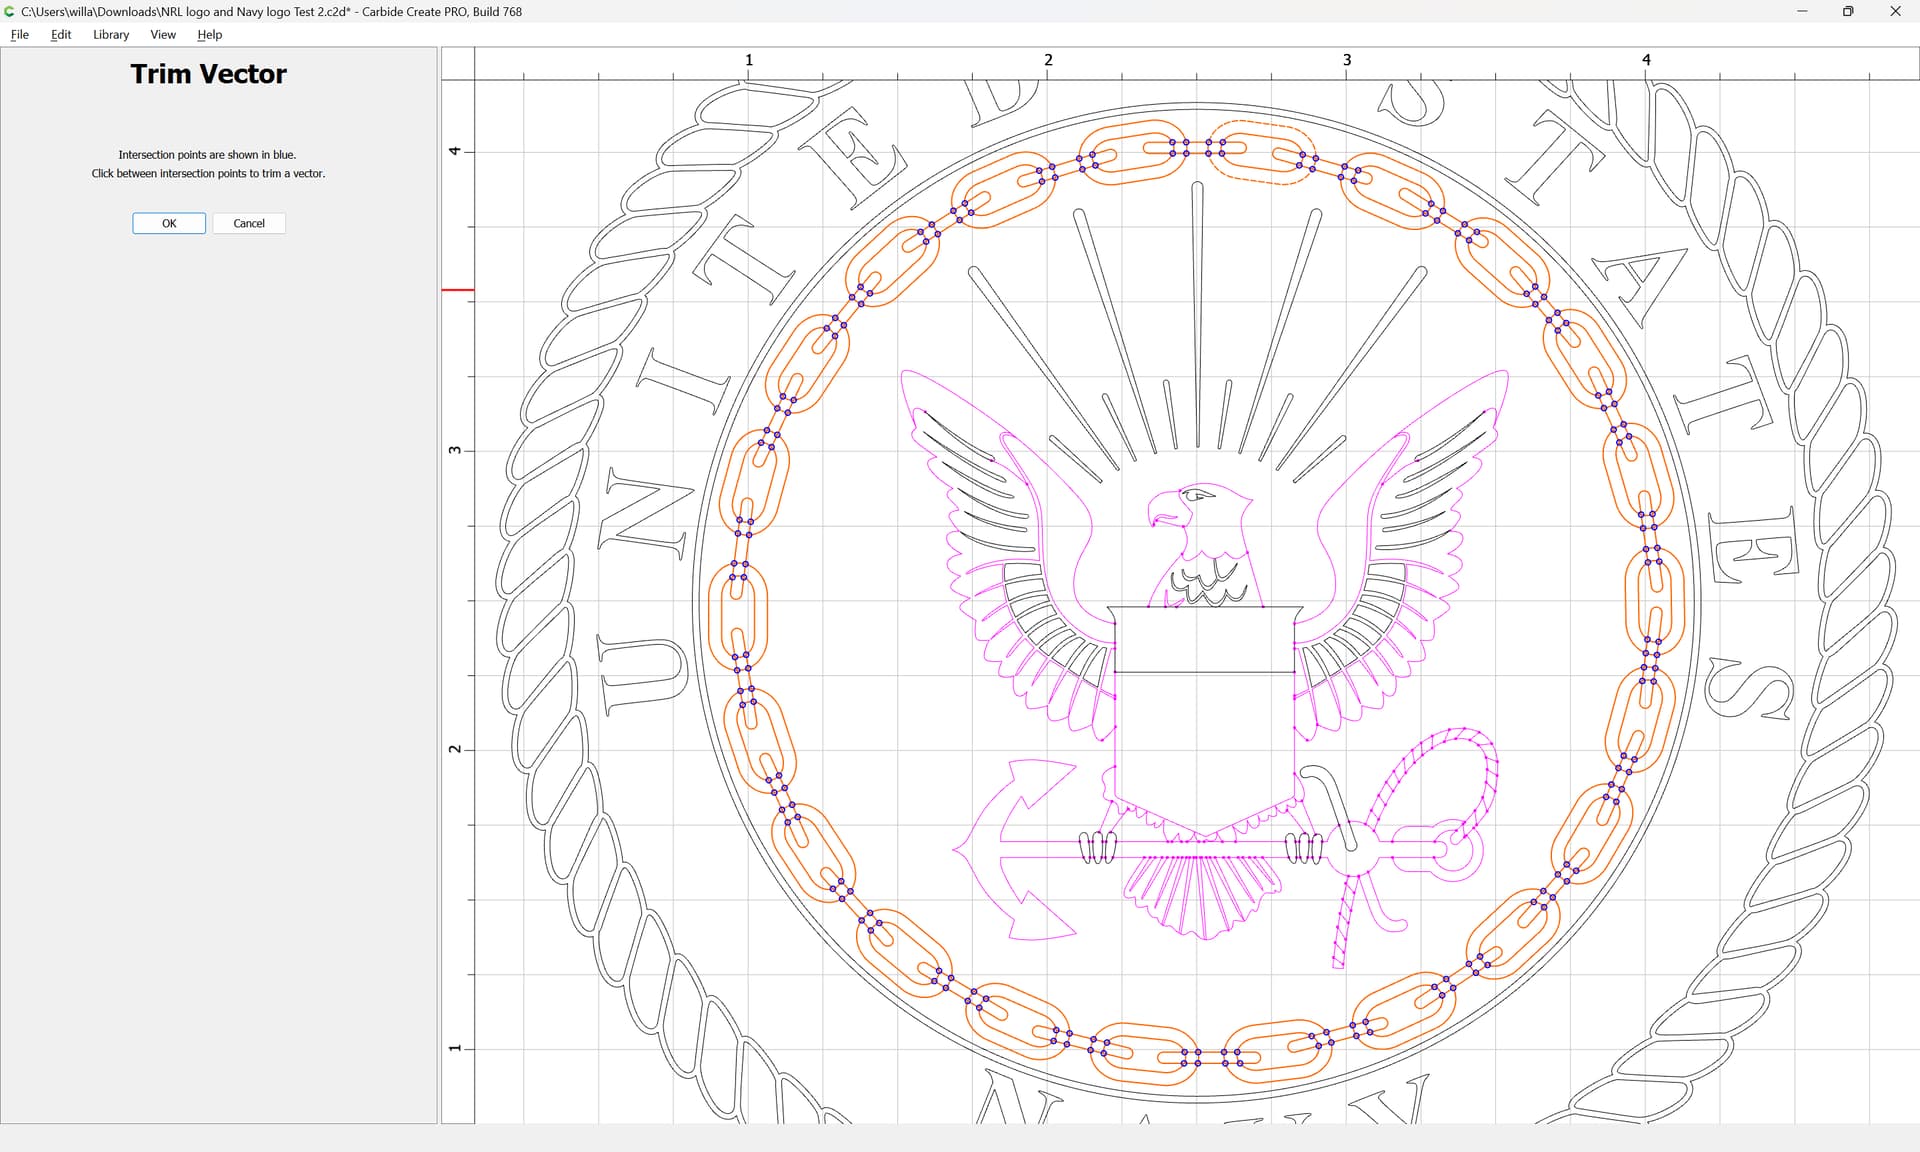
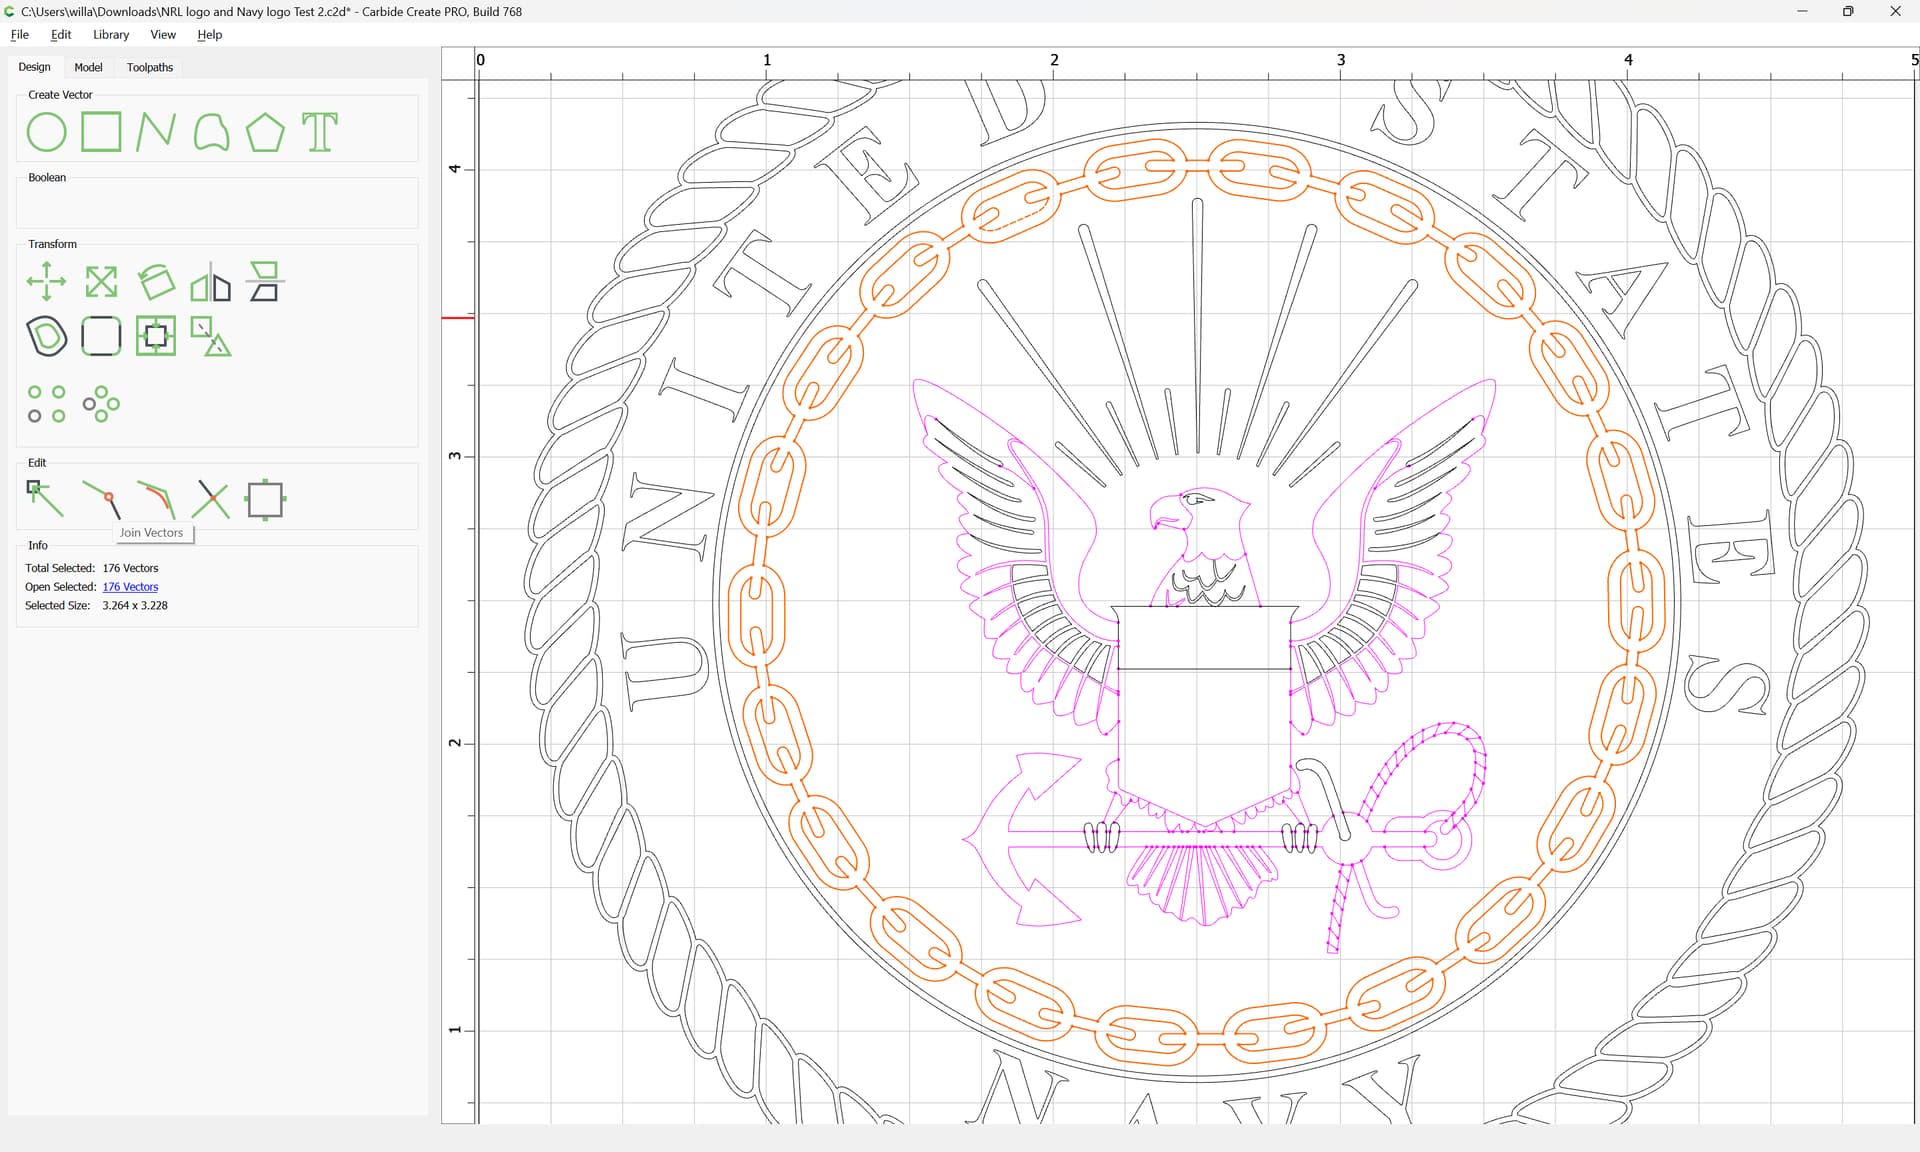
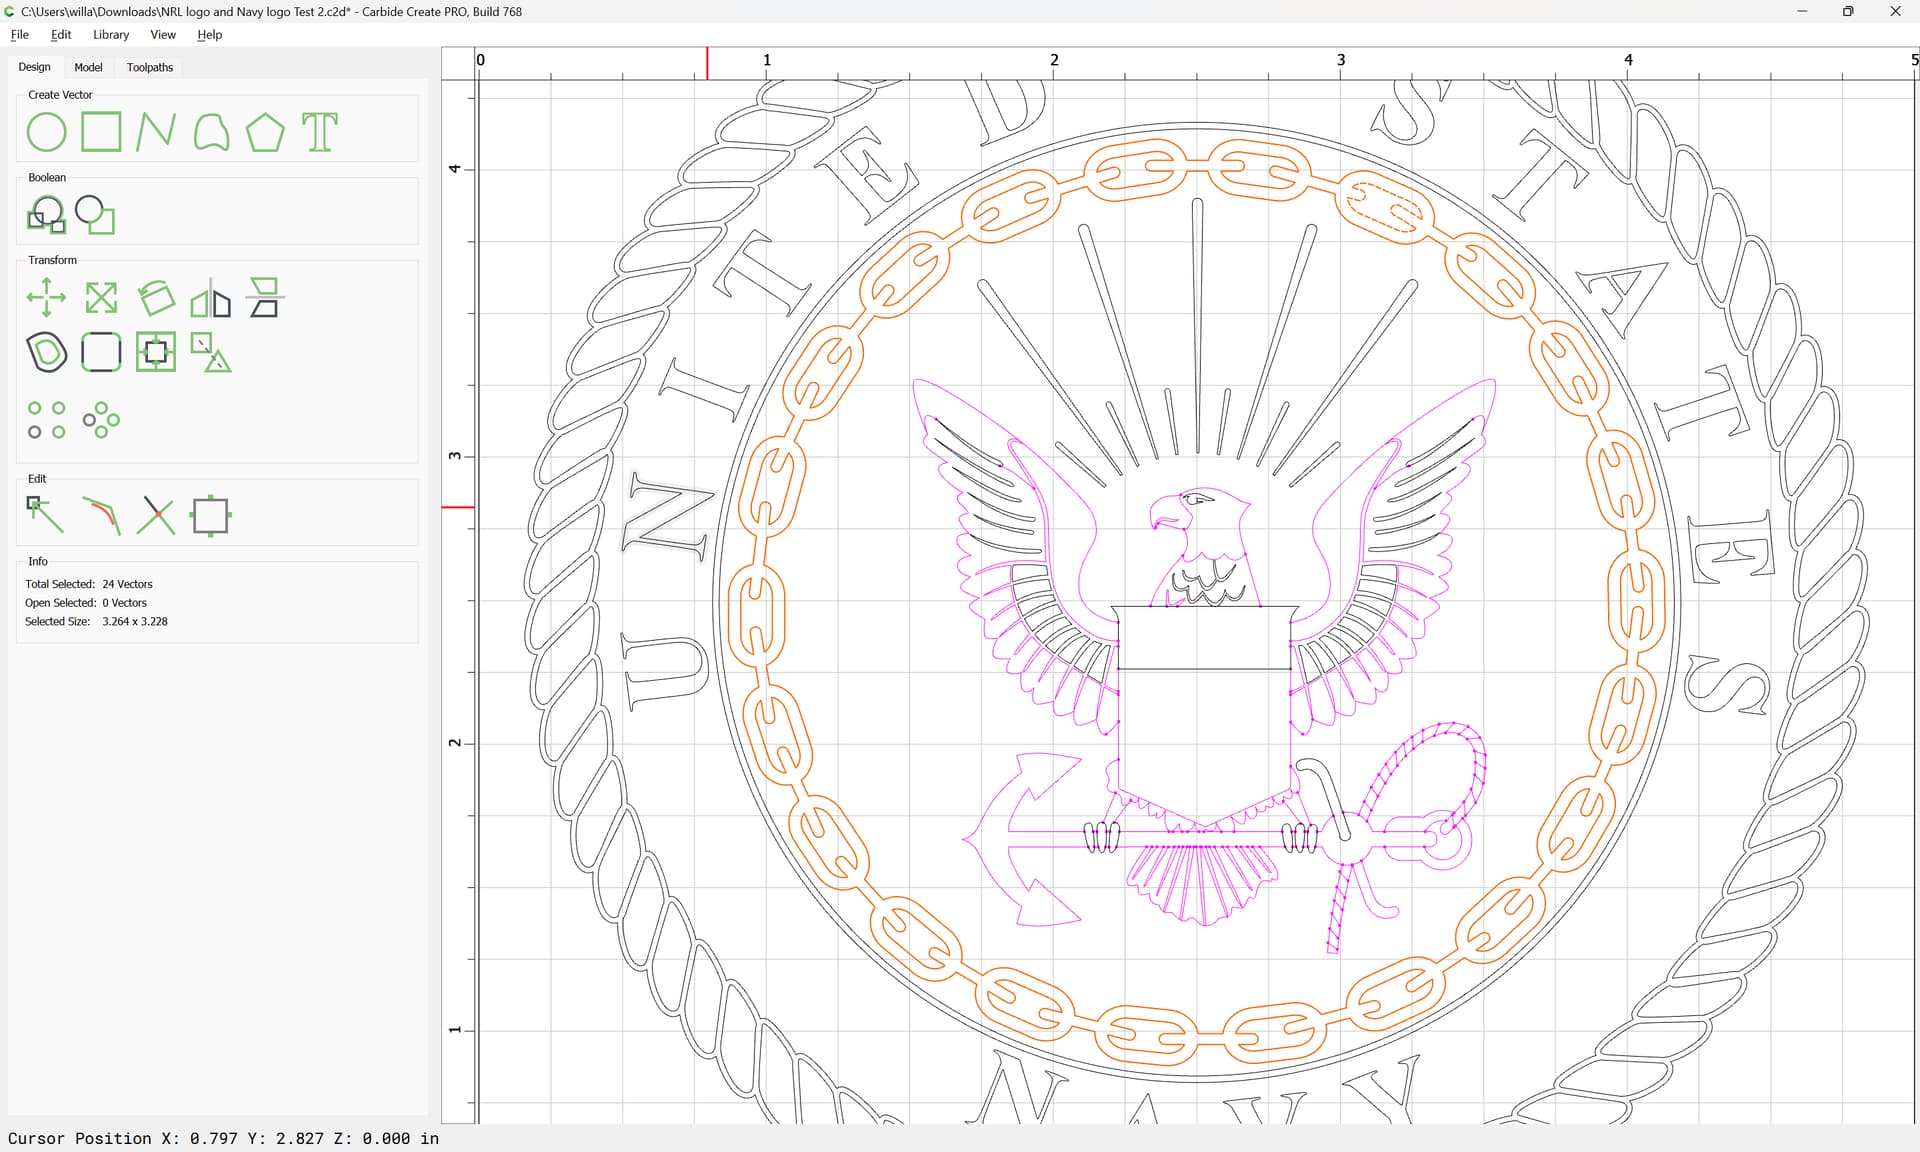
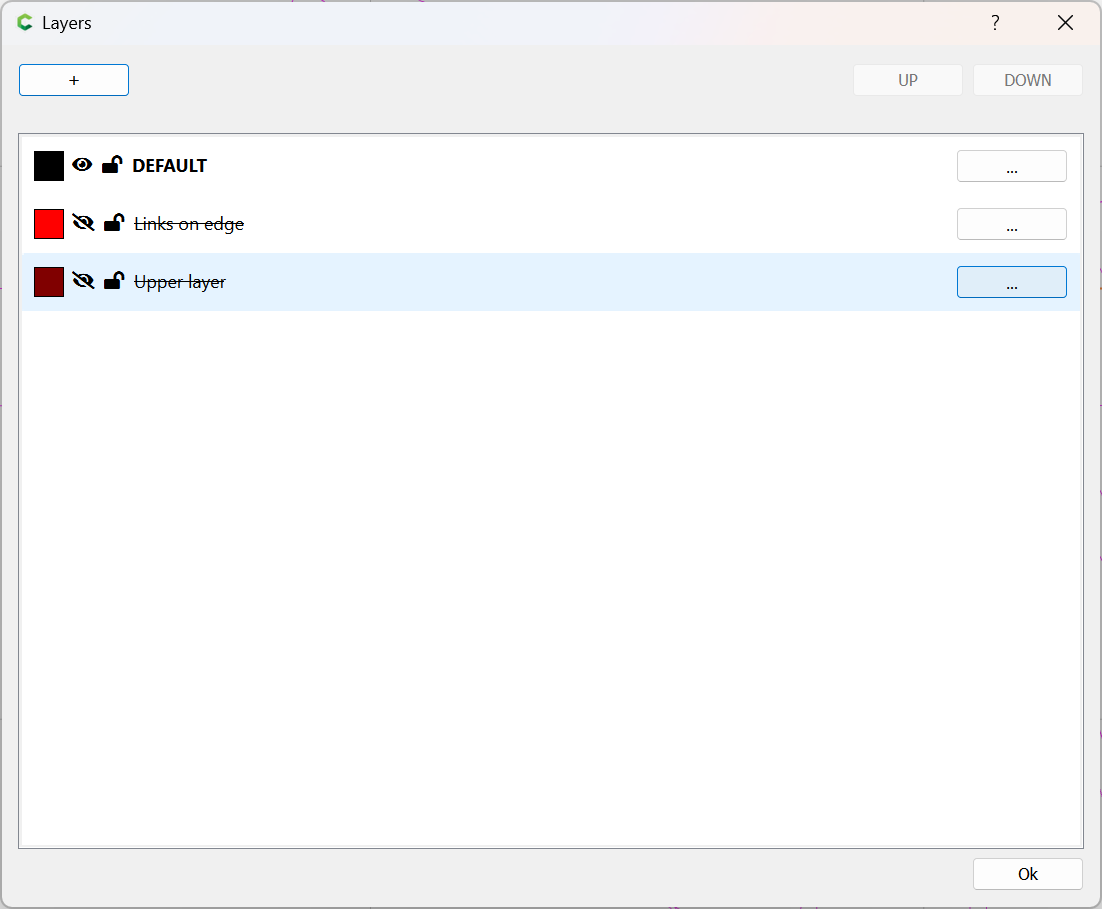
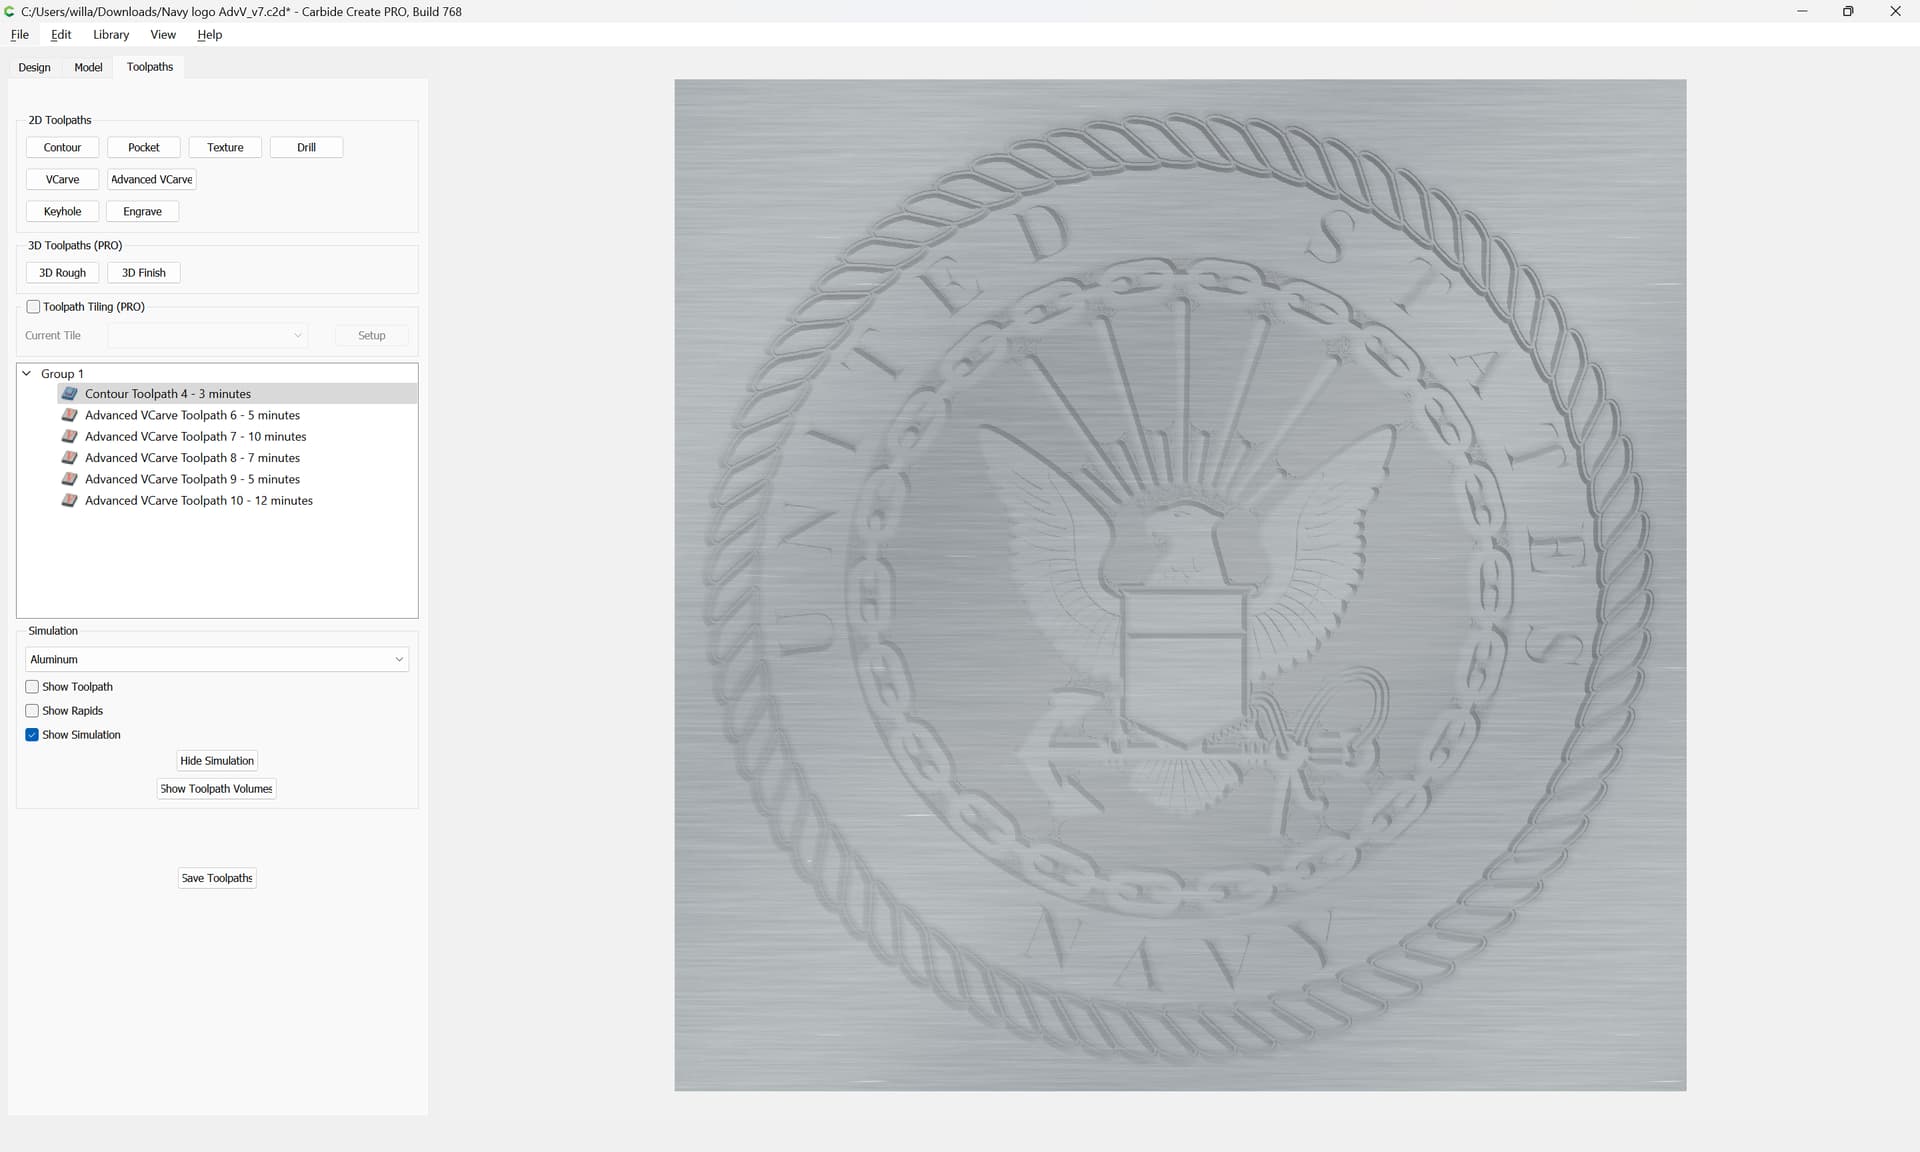
There are a couple of ways that this file could be fixed/modified — one more interesting question is the matter of how the chain might be handled — making it appear 3D could be done in a couple of ways…

Start by selecting the chain links which are on edge:

and copy them to a layer of their own:

then duplicate them to the current layer and hide the geometry on the layer:

Add the balance of the chain geometry to the selection:

and use the Trim Vectors command to remove what is not needed:

continuing until one arrives at:

OK

OK

Use Join Vectors to combine things into a geometry which will then work for V carving:

Yes

which with a bit of adjustment should work well.

This would then simply require joining together the open geometry so that it would be suitable for V carving.

Current state attached as a v7 file:

Navy logo Test 2_v7.c2d (756 KB)

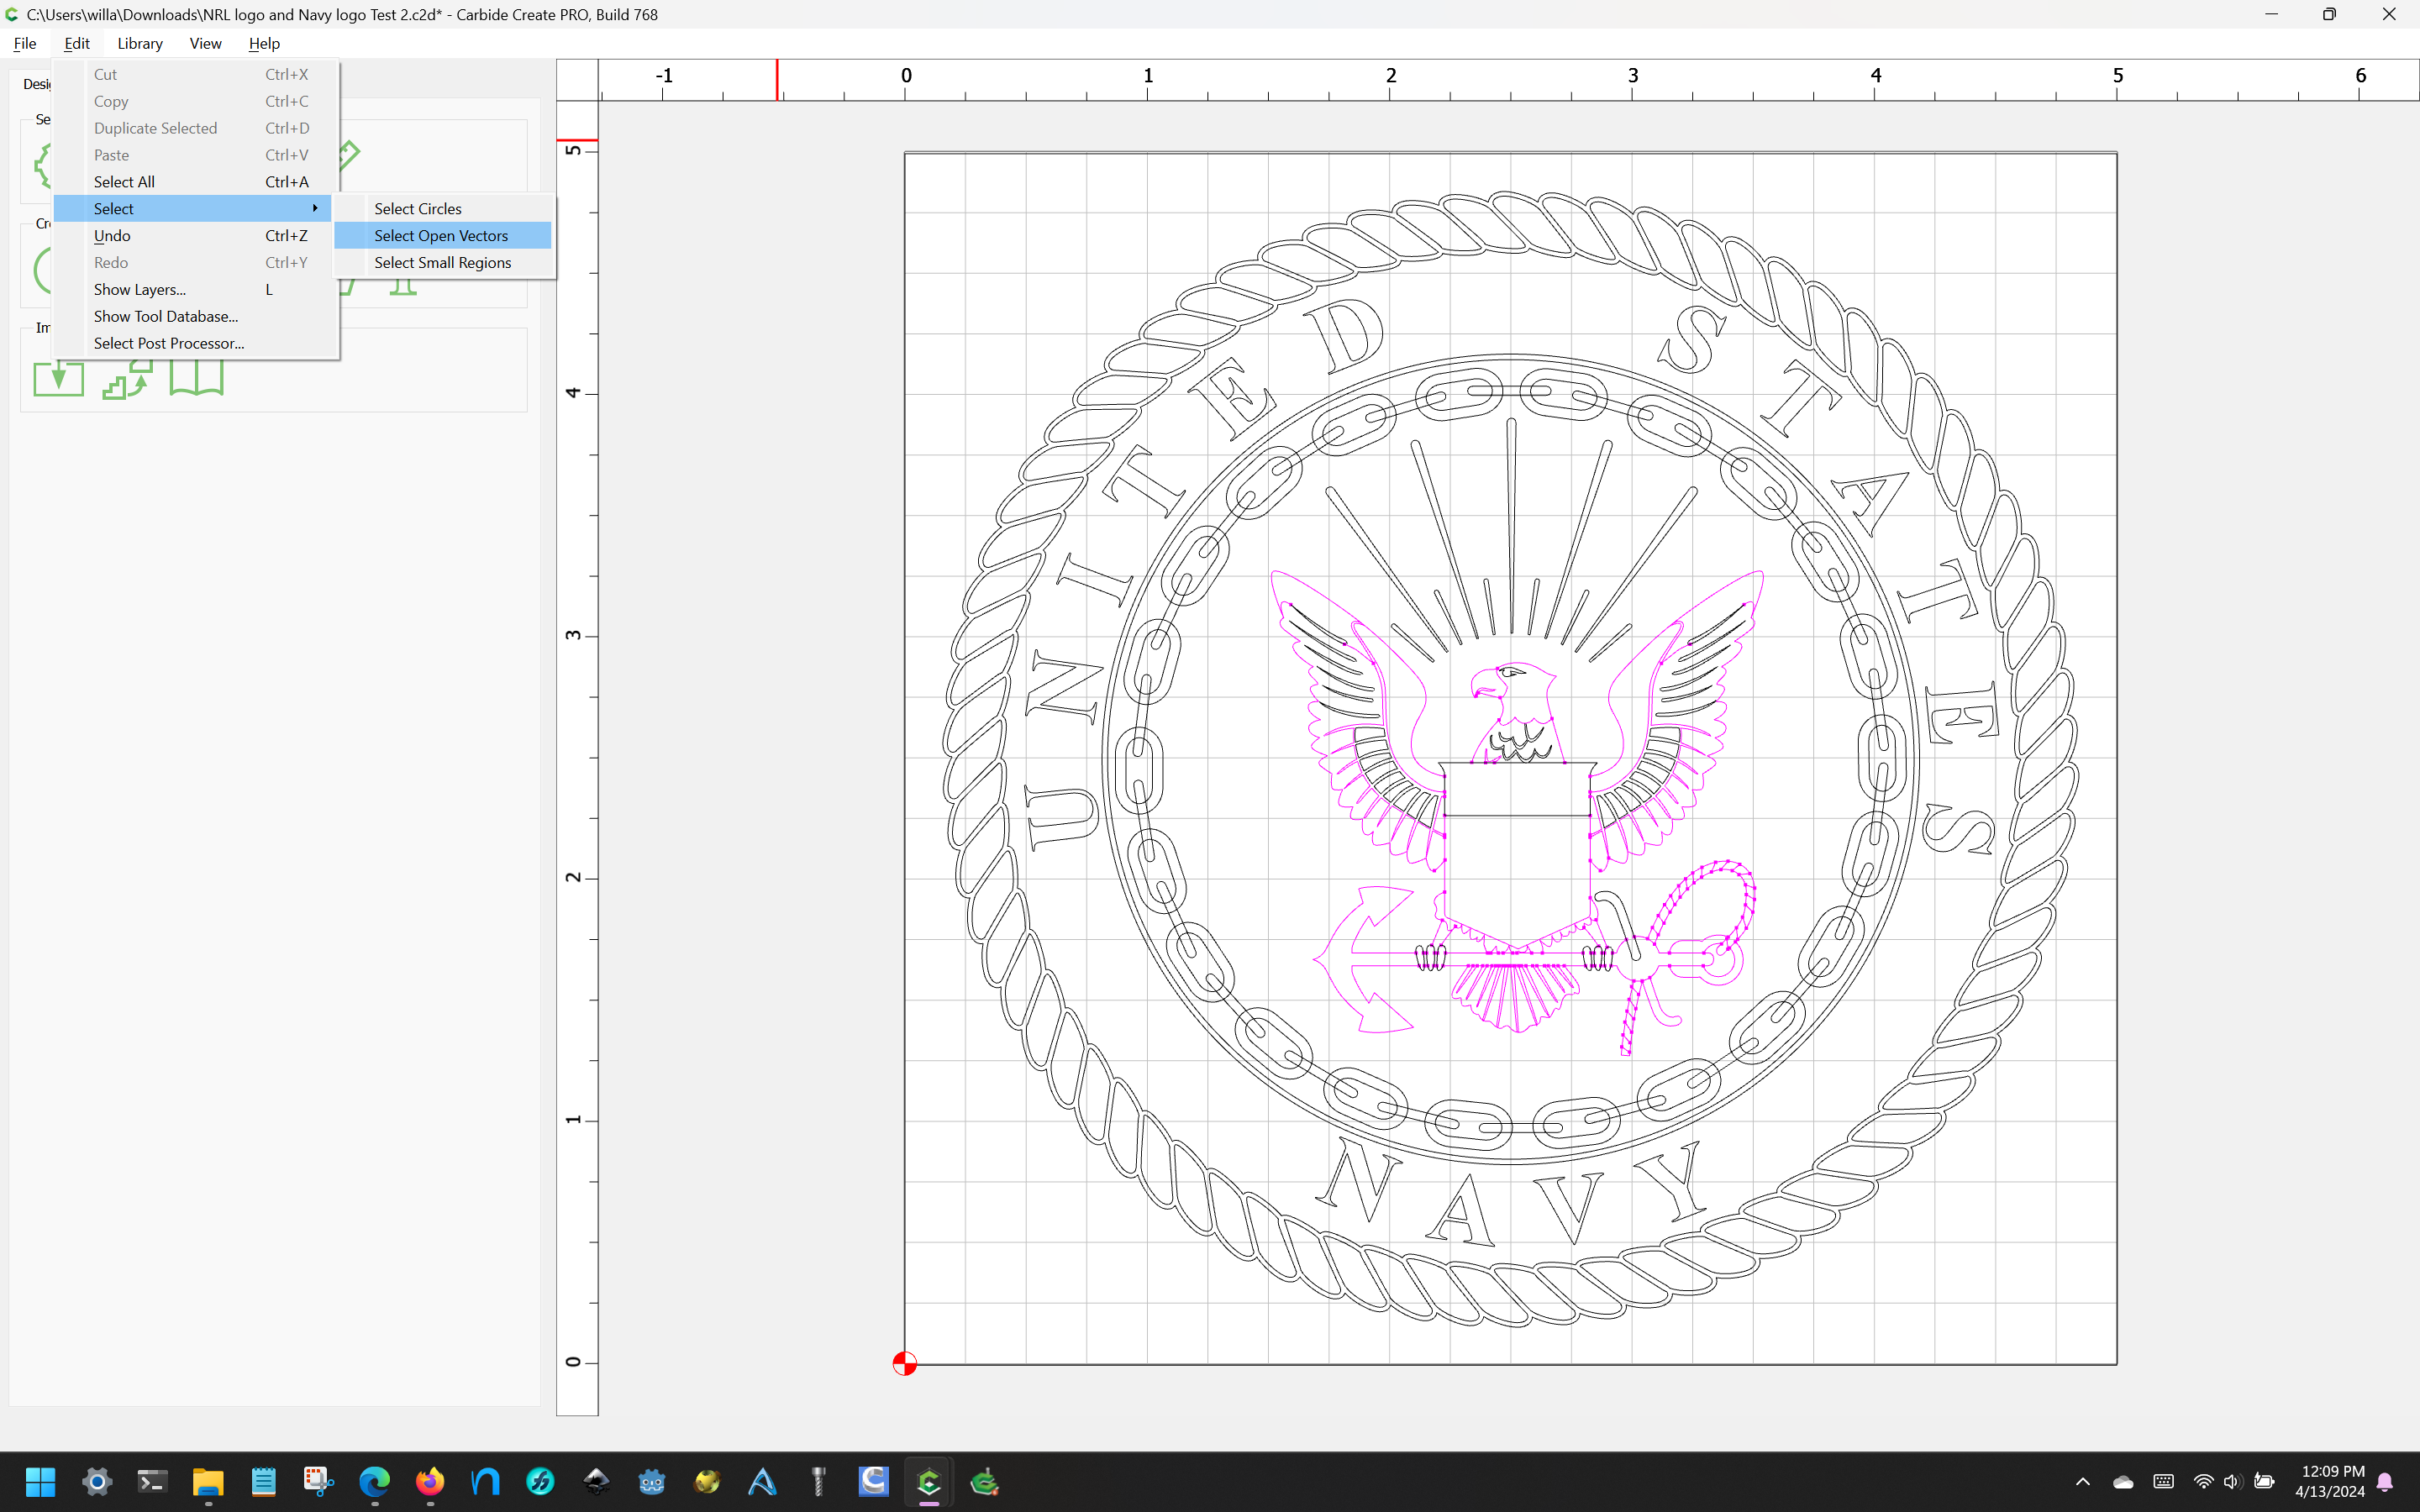
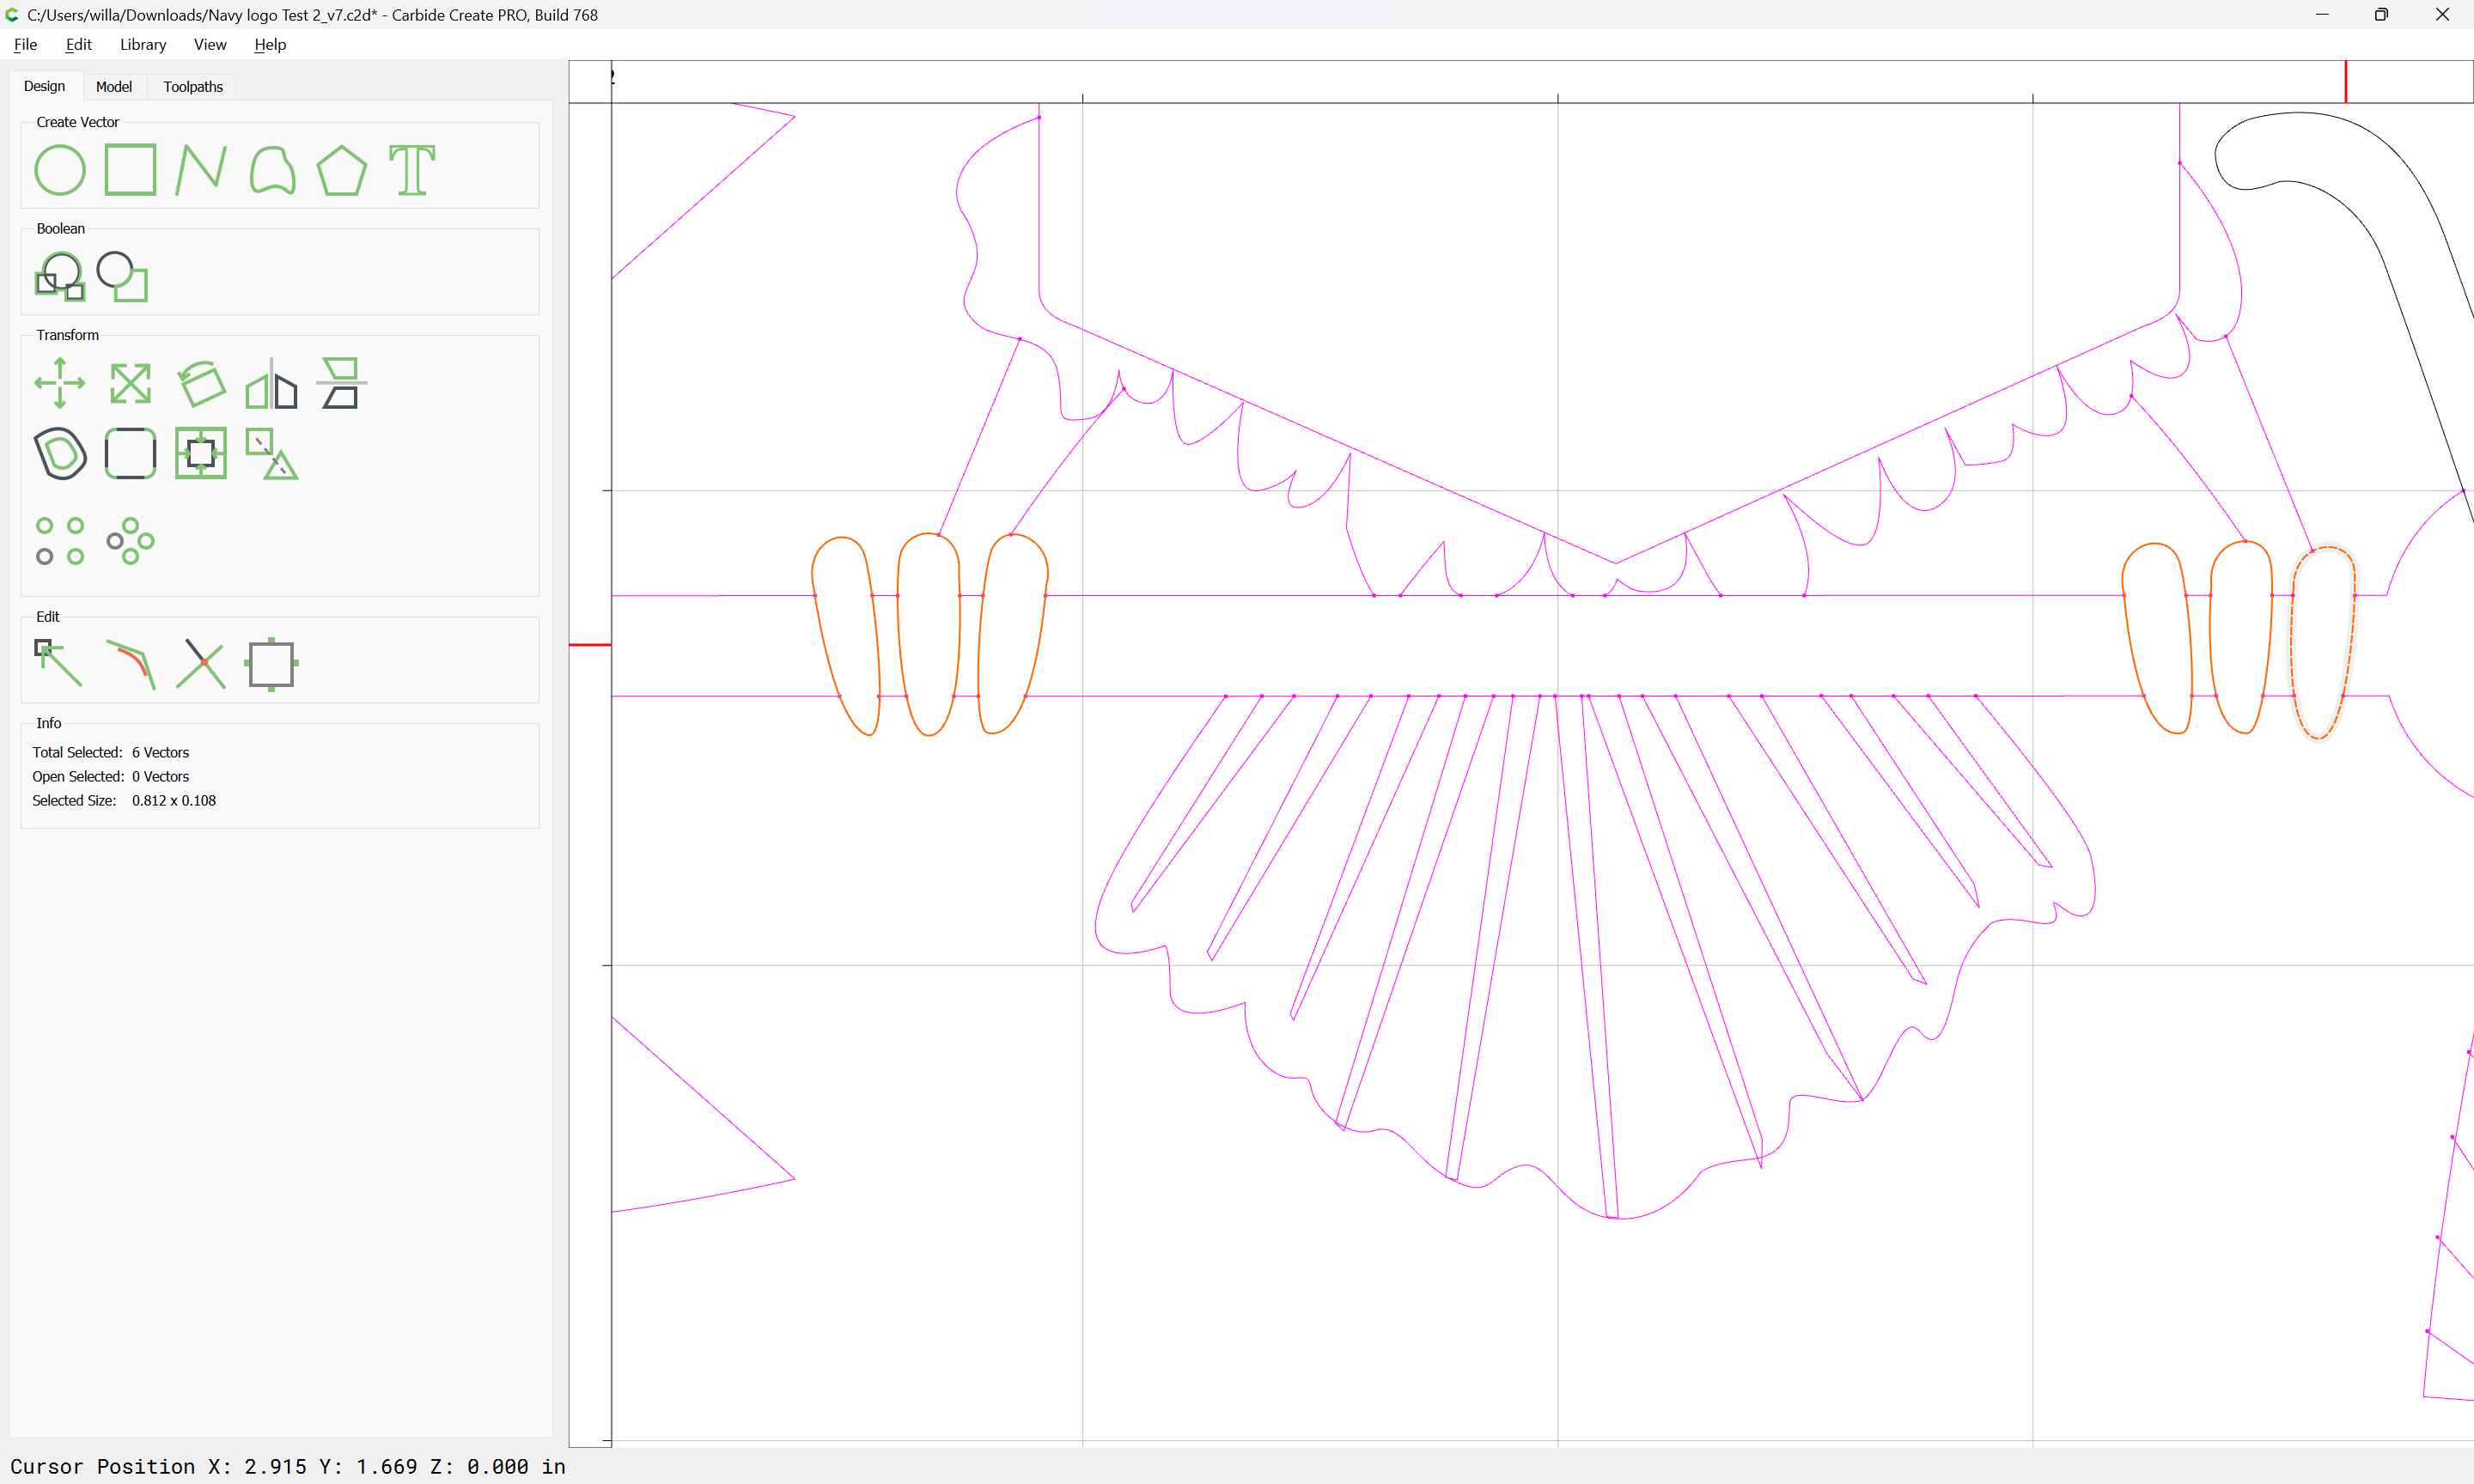
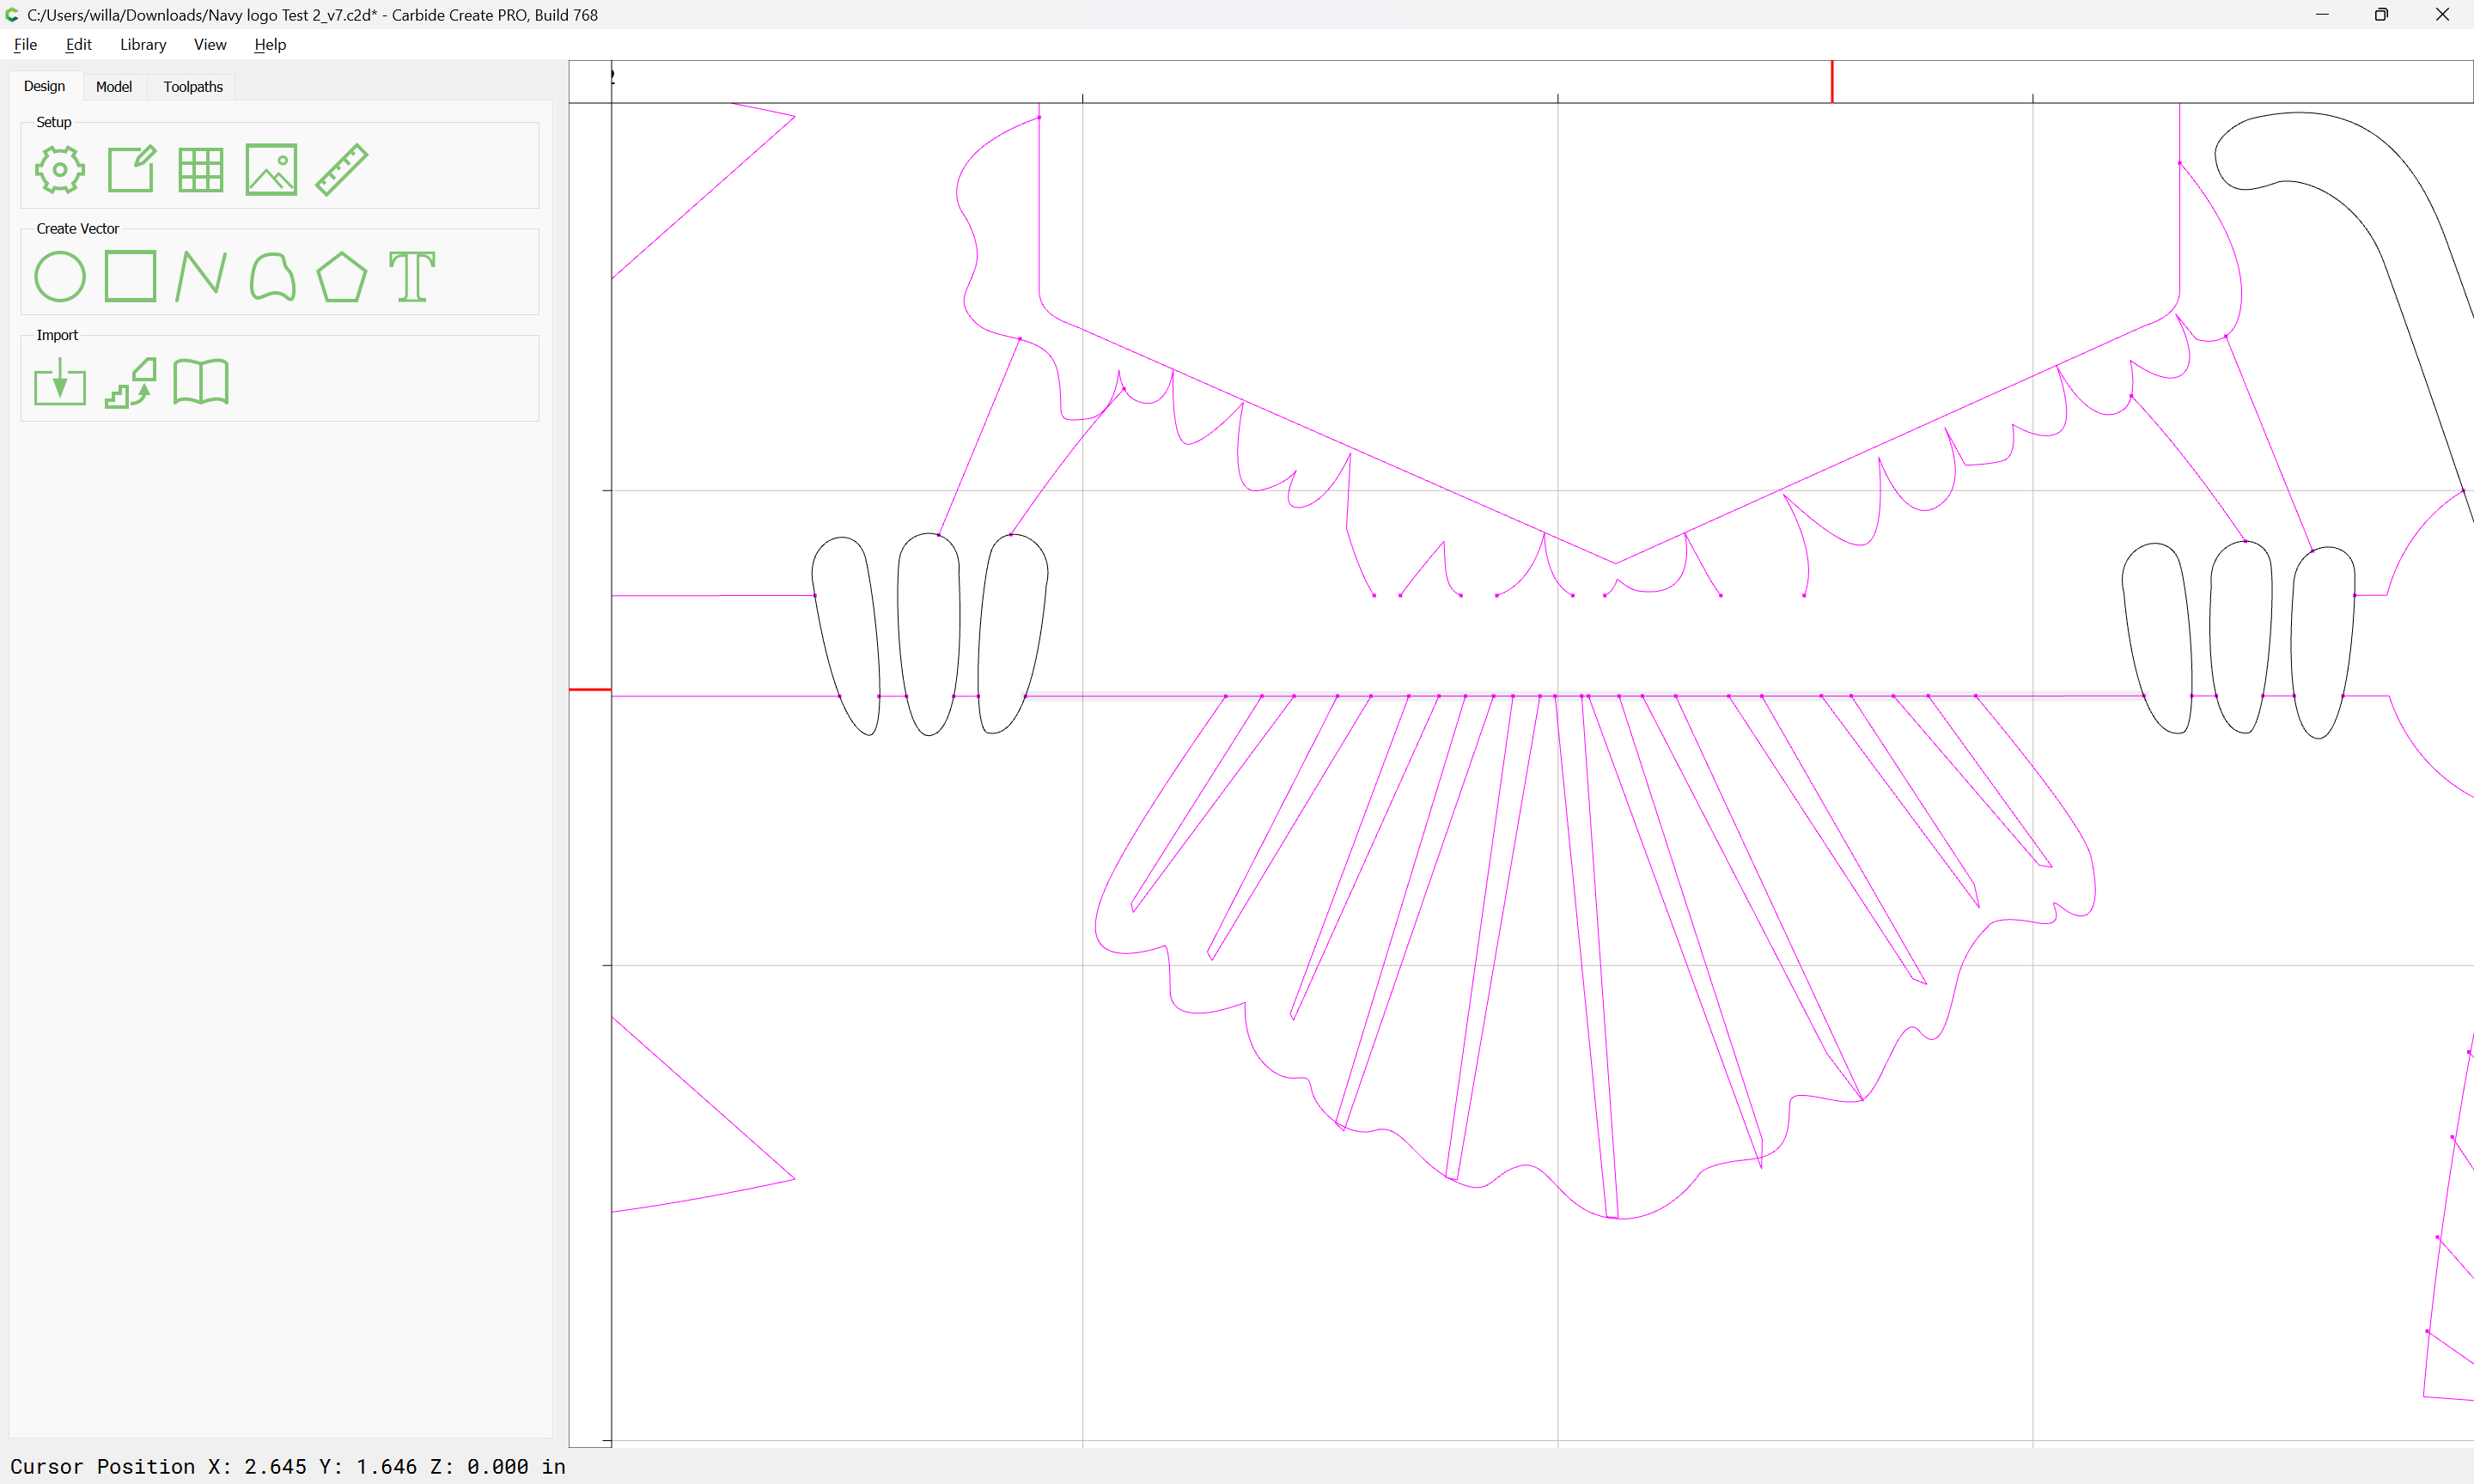
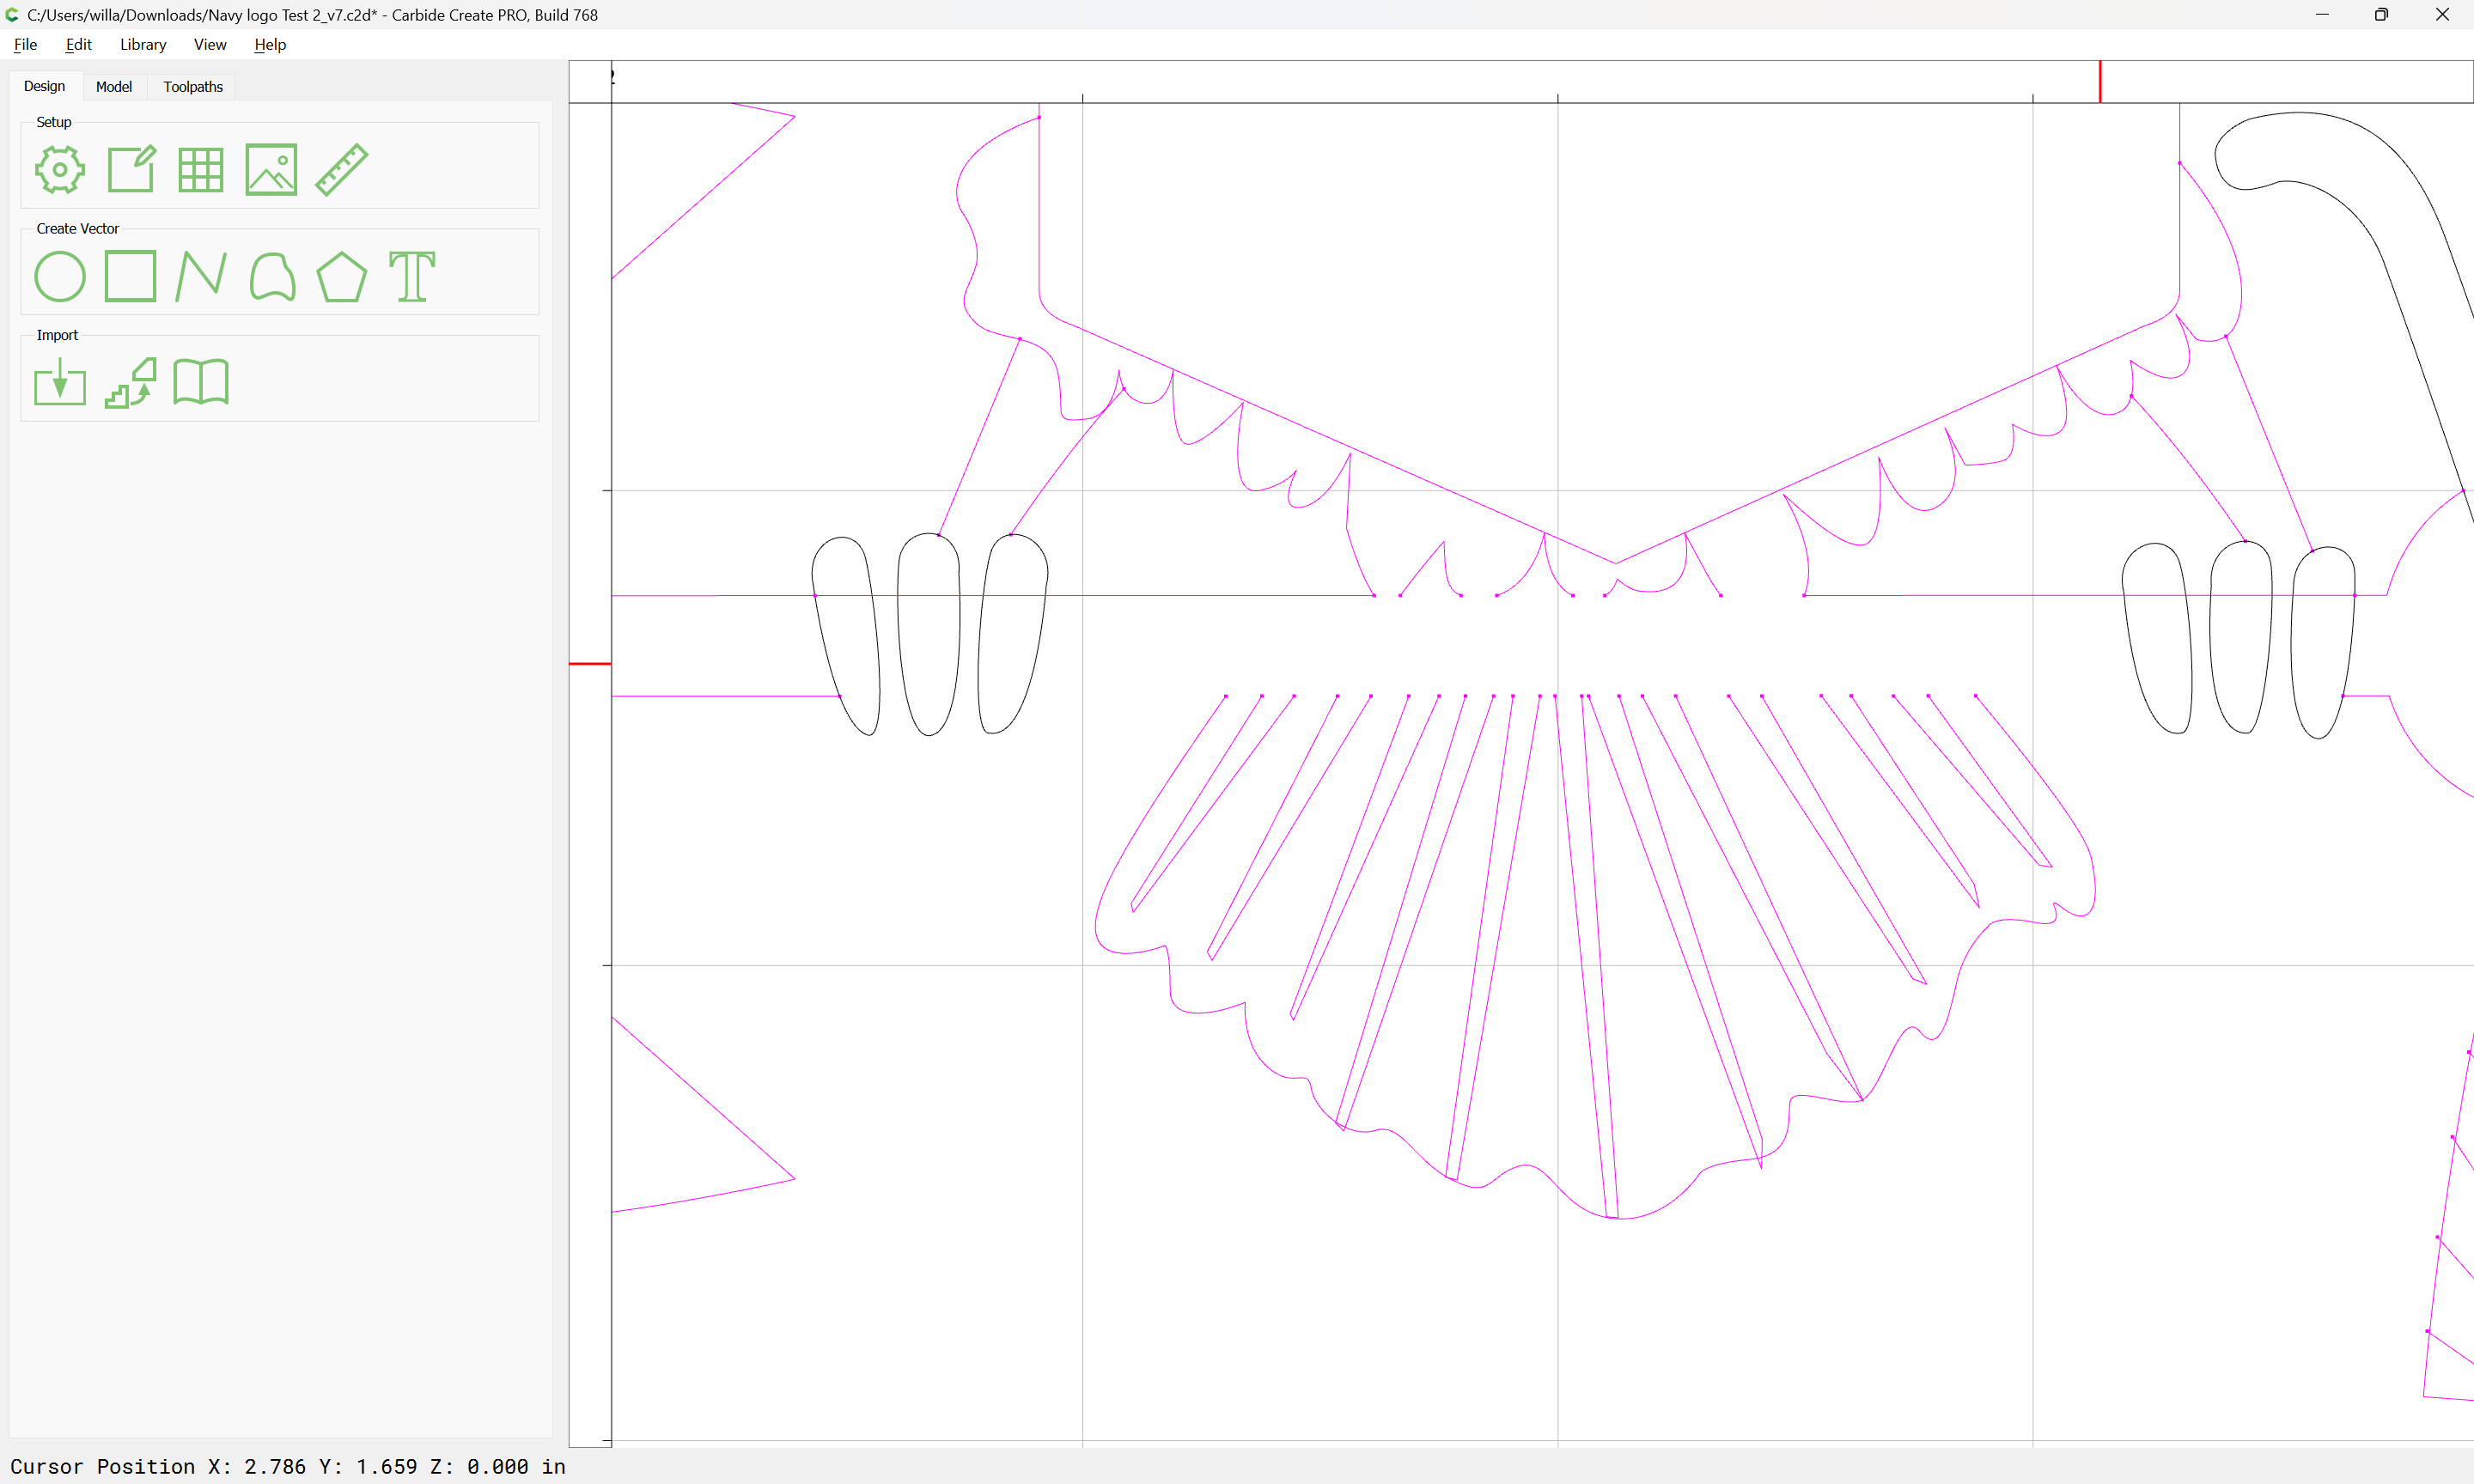
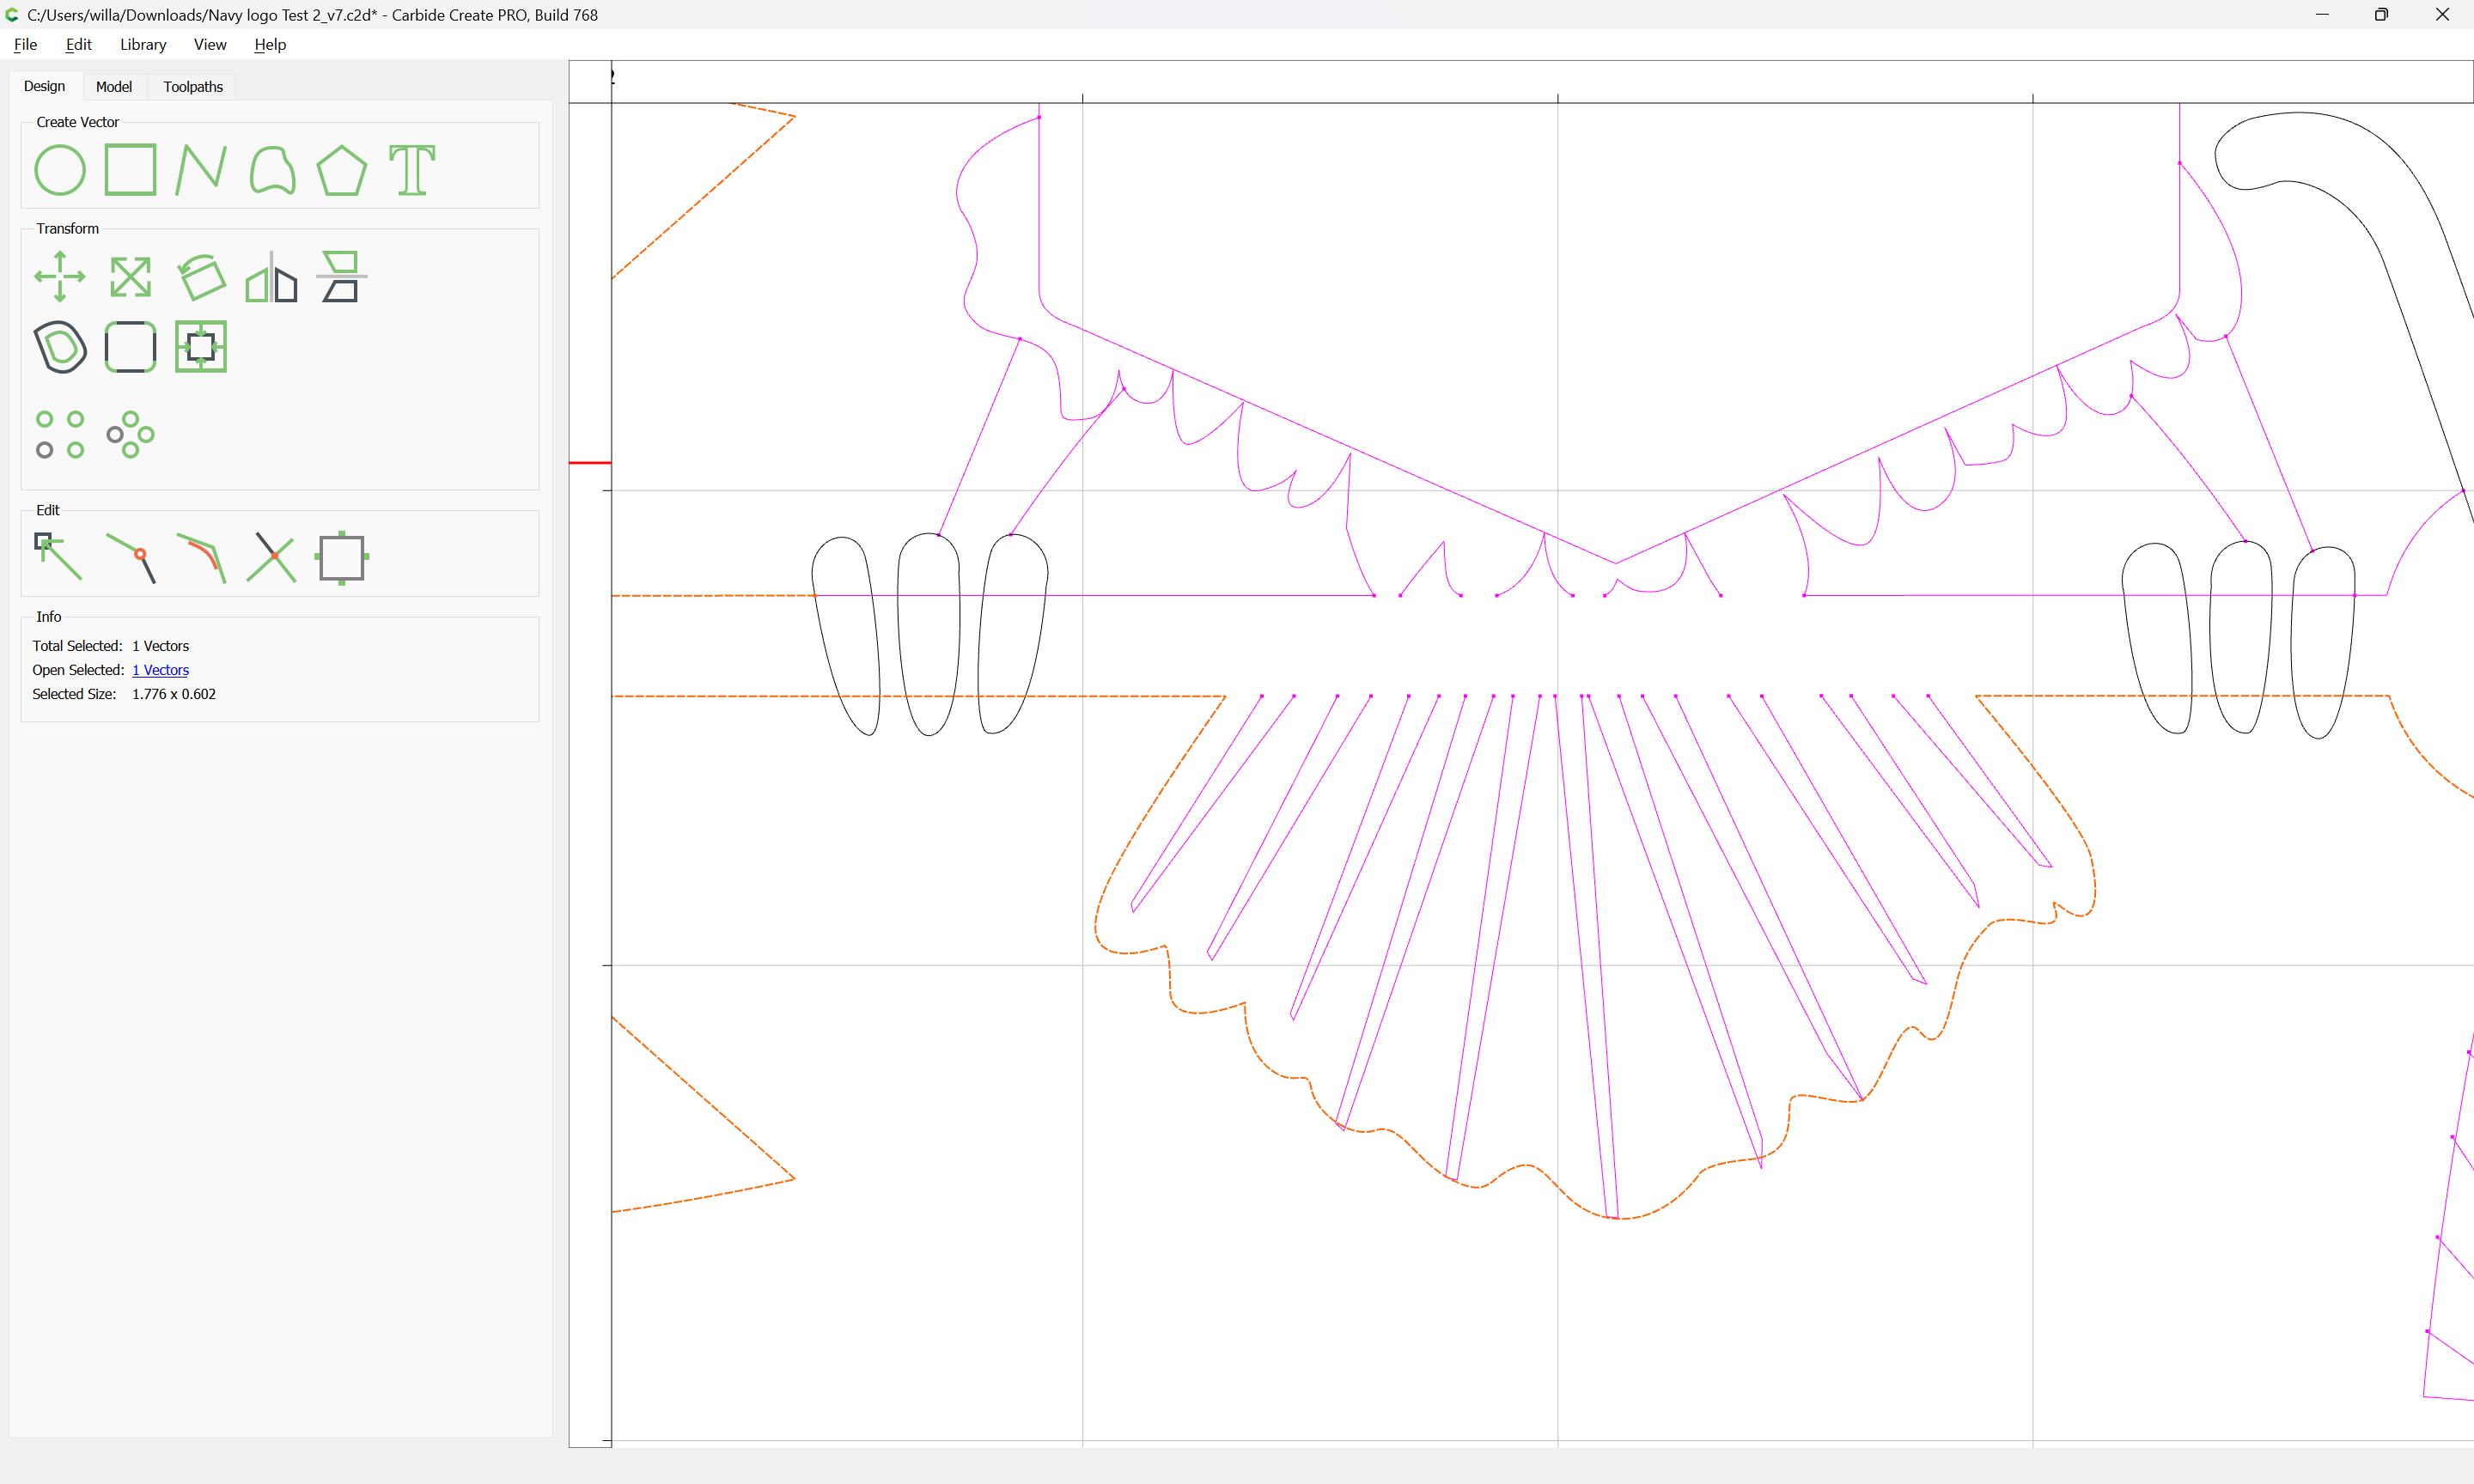
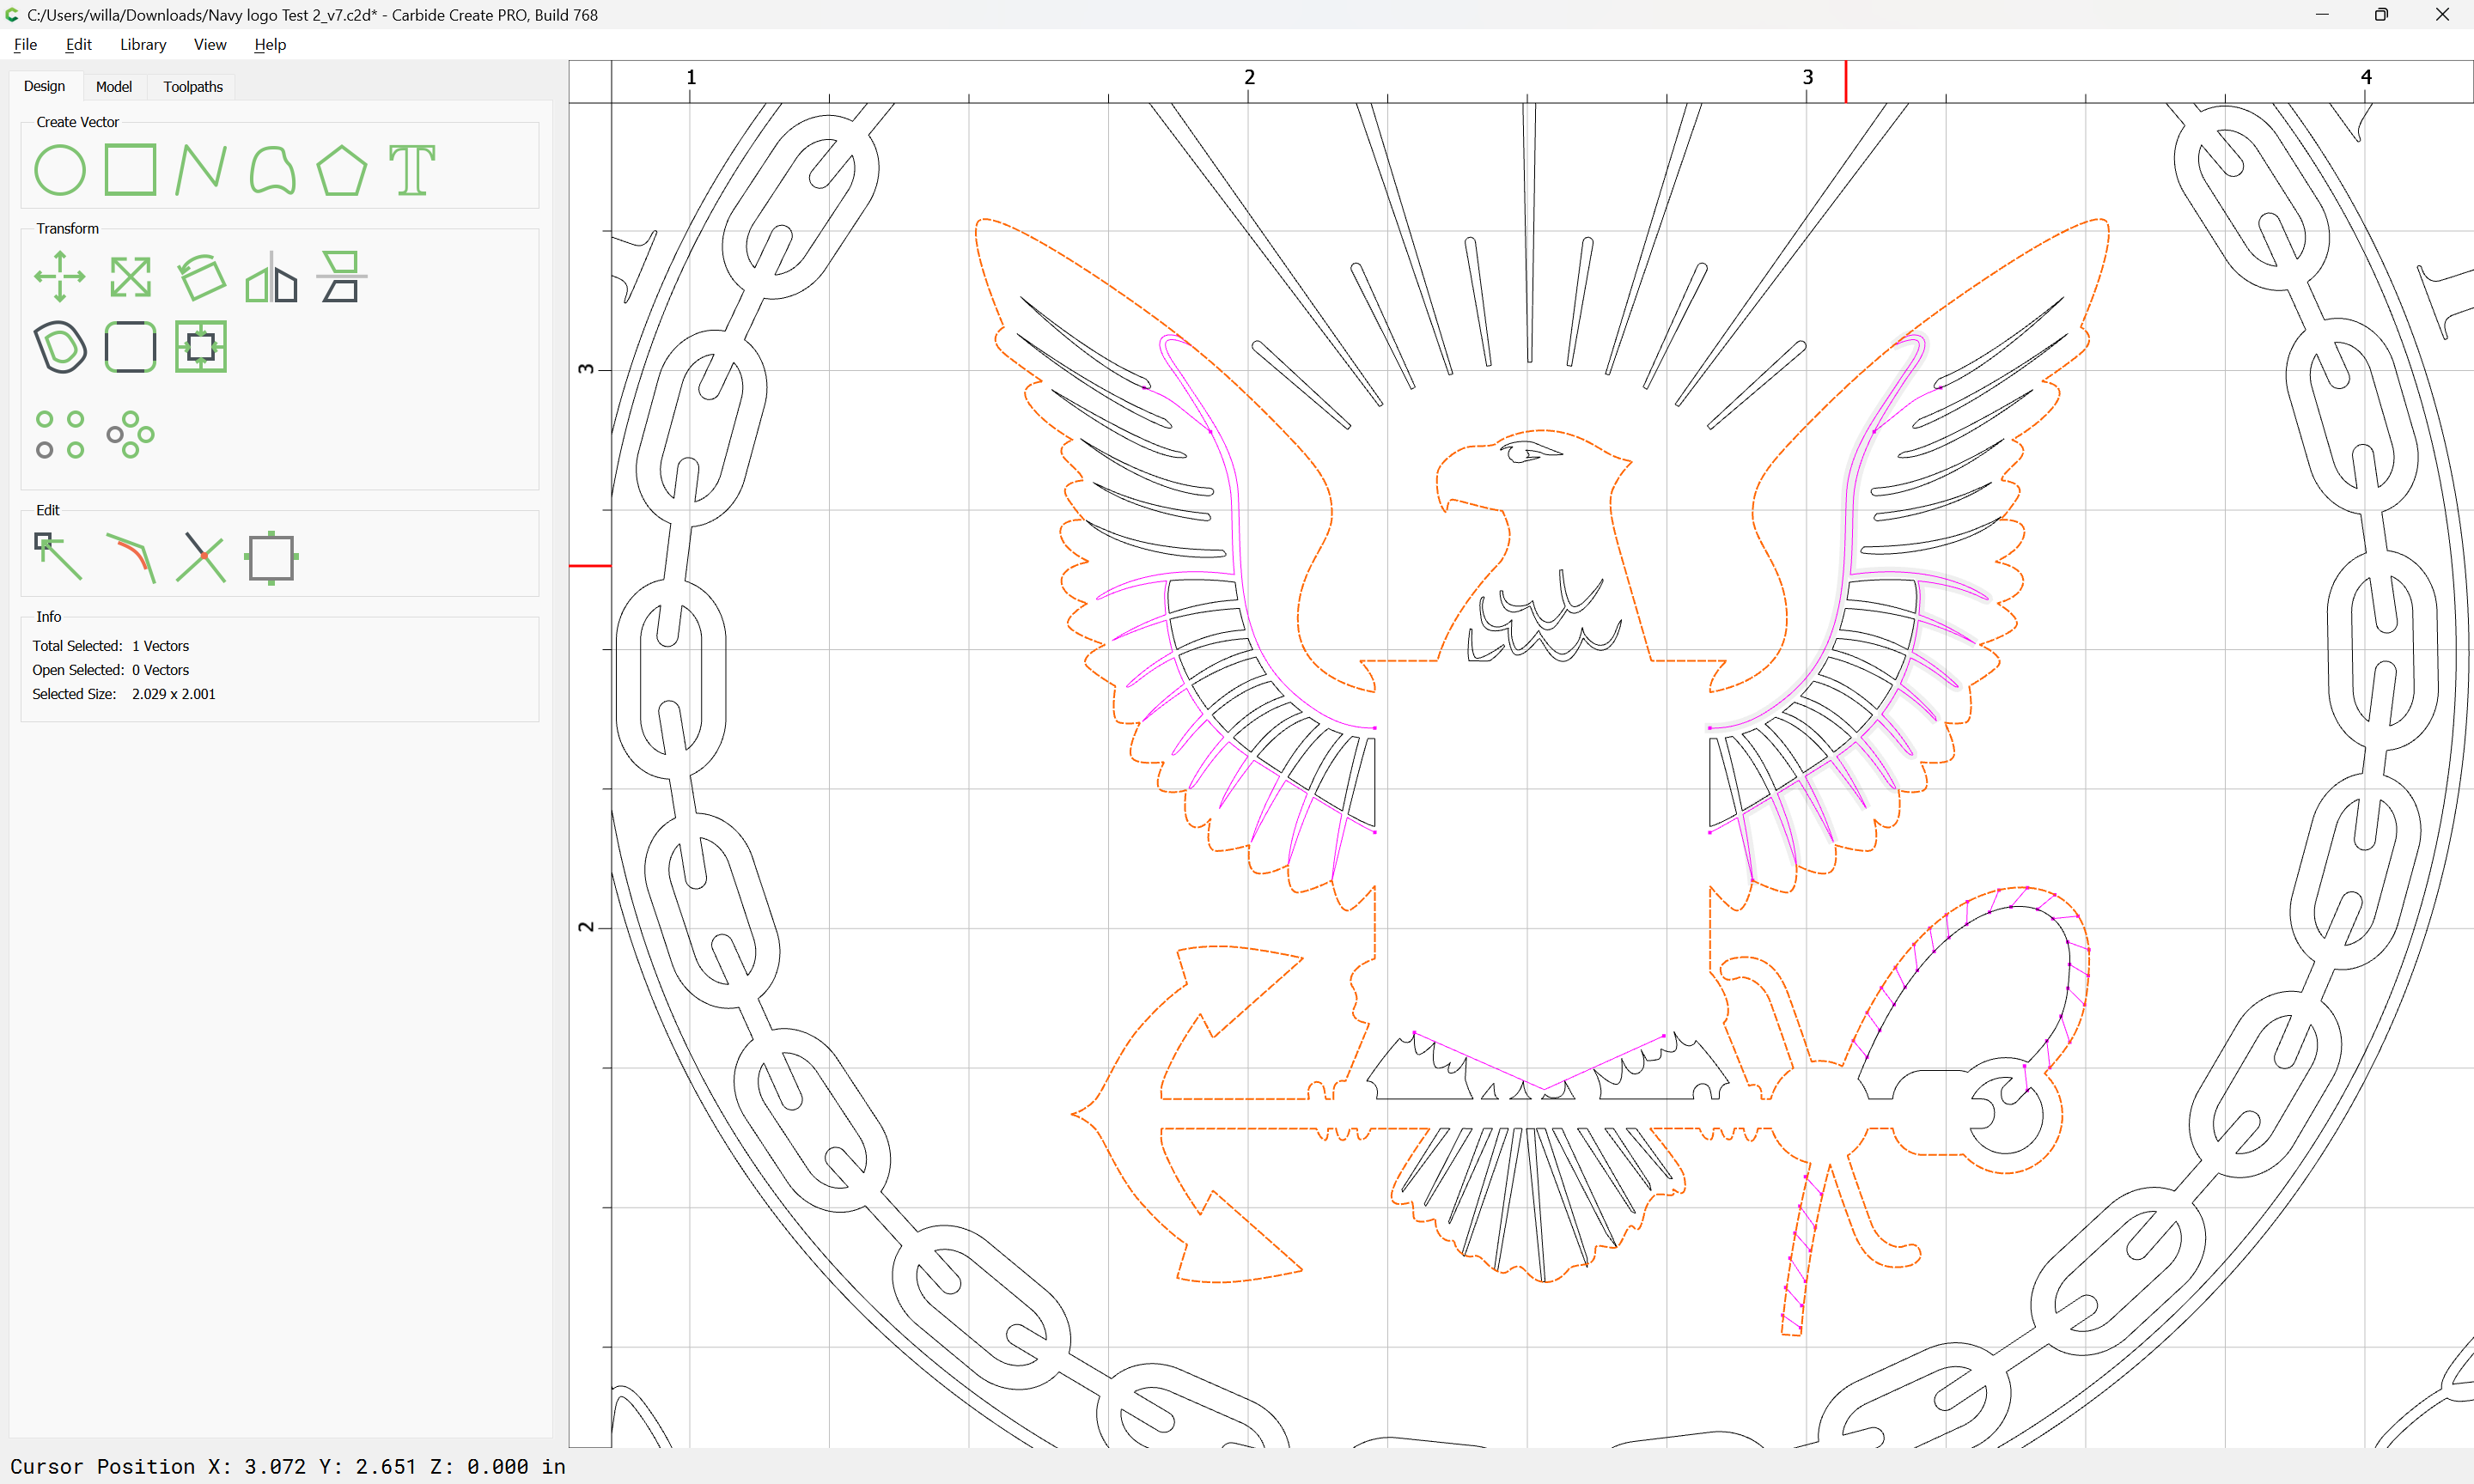
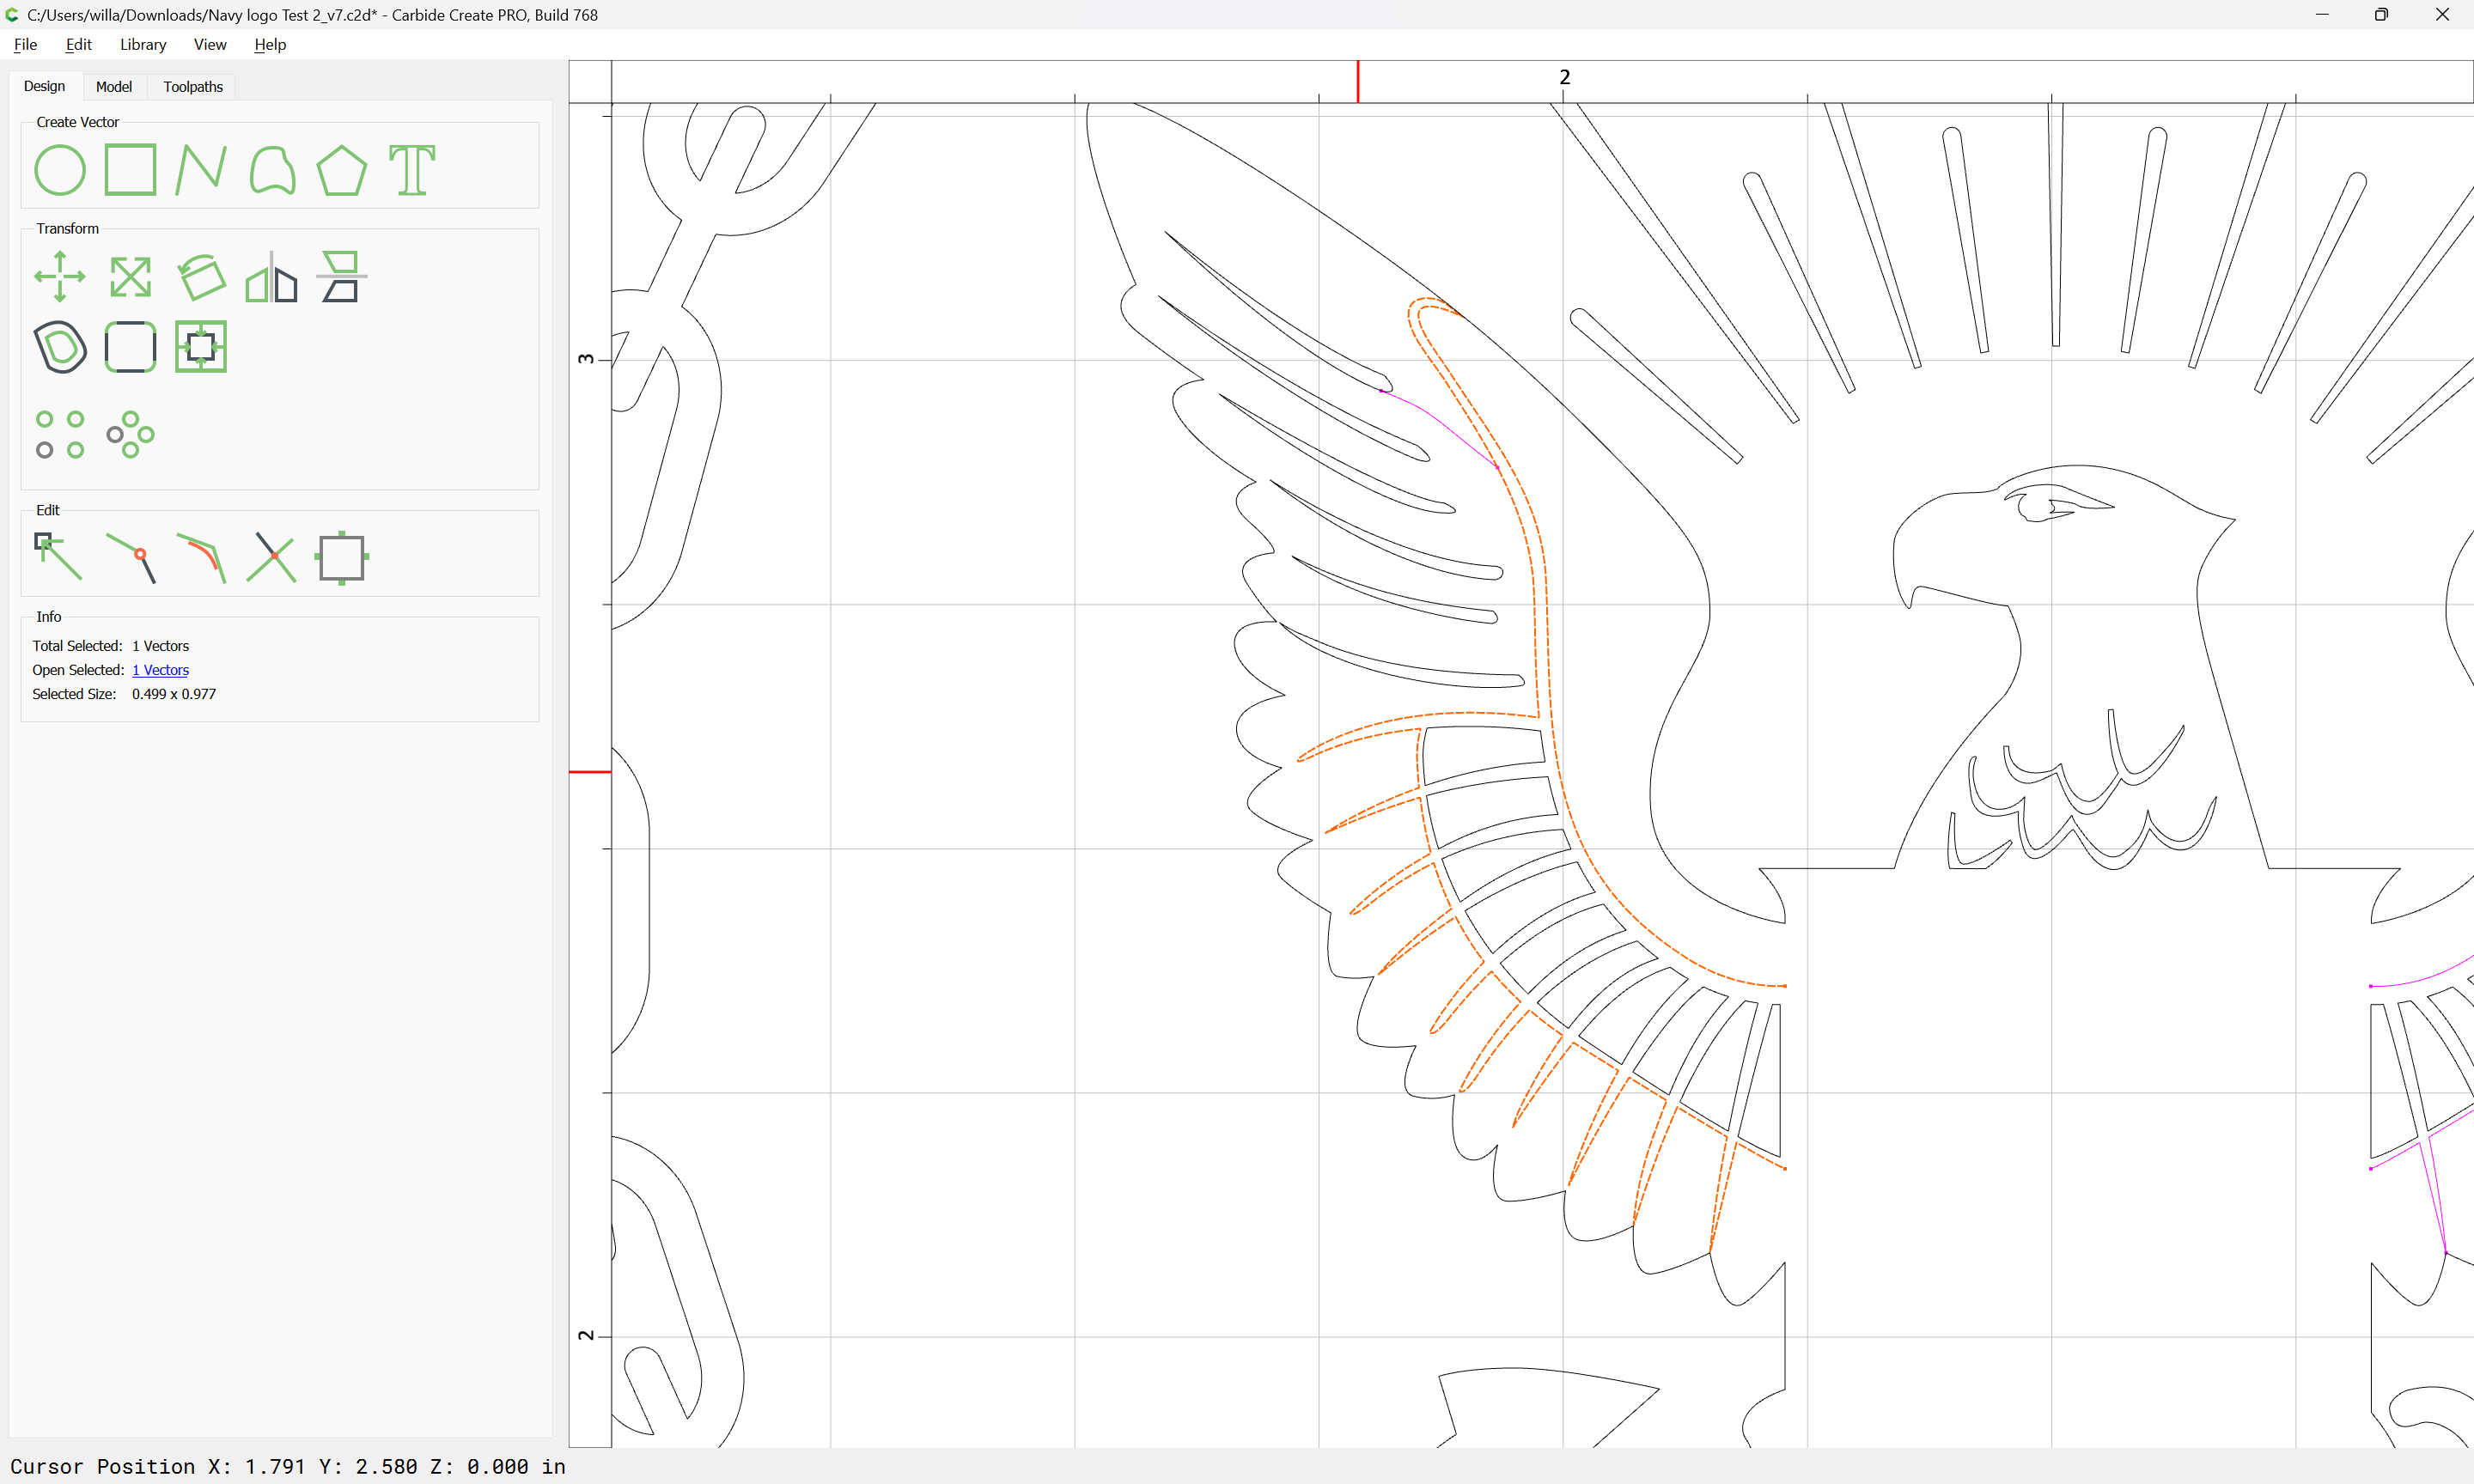
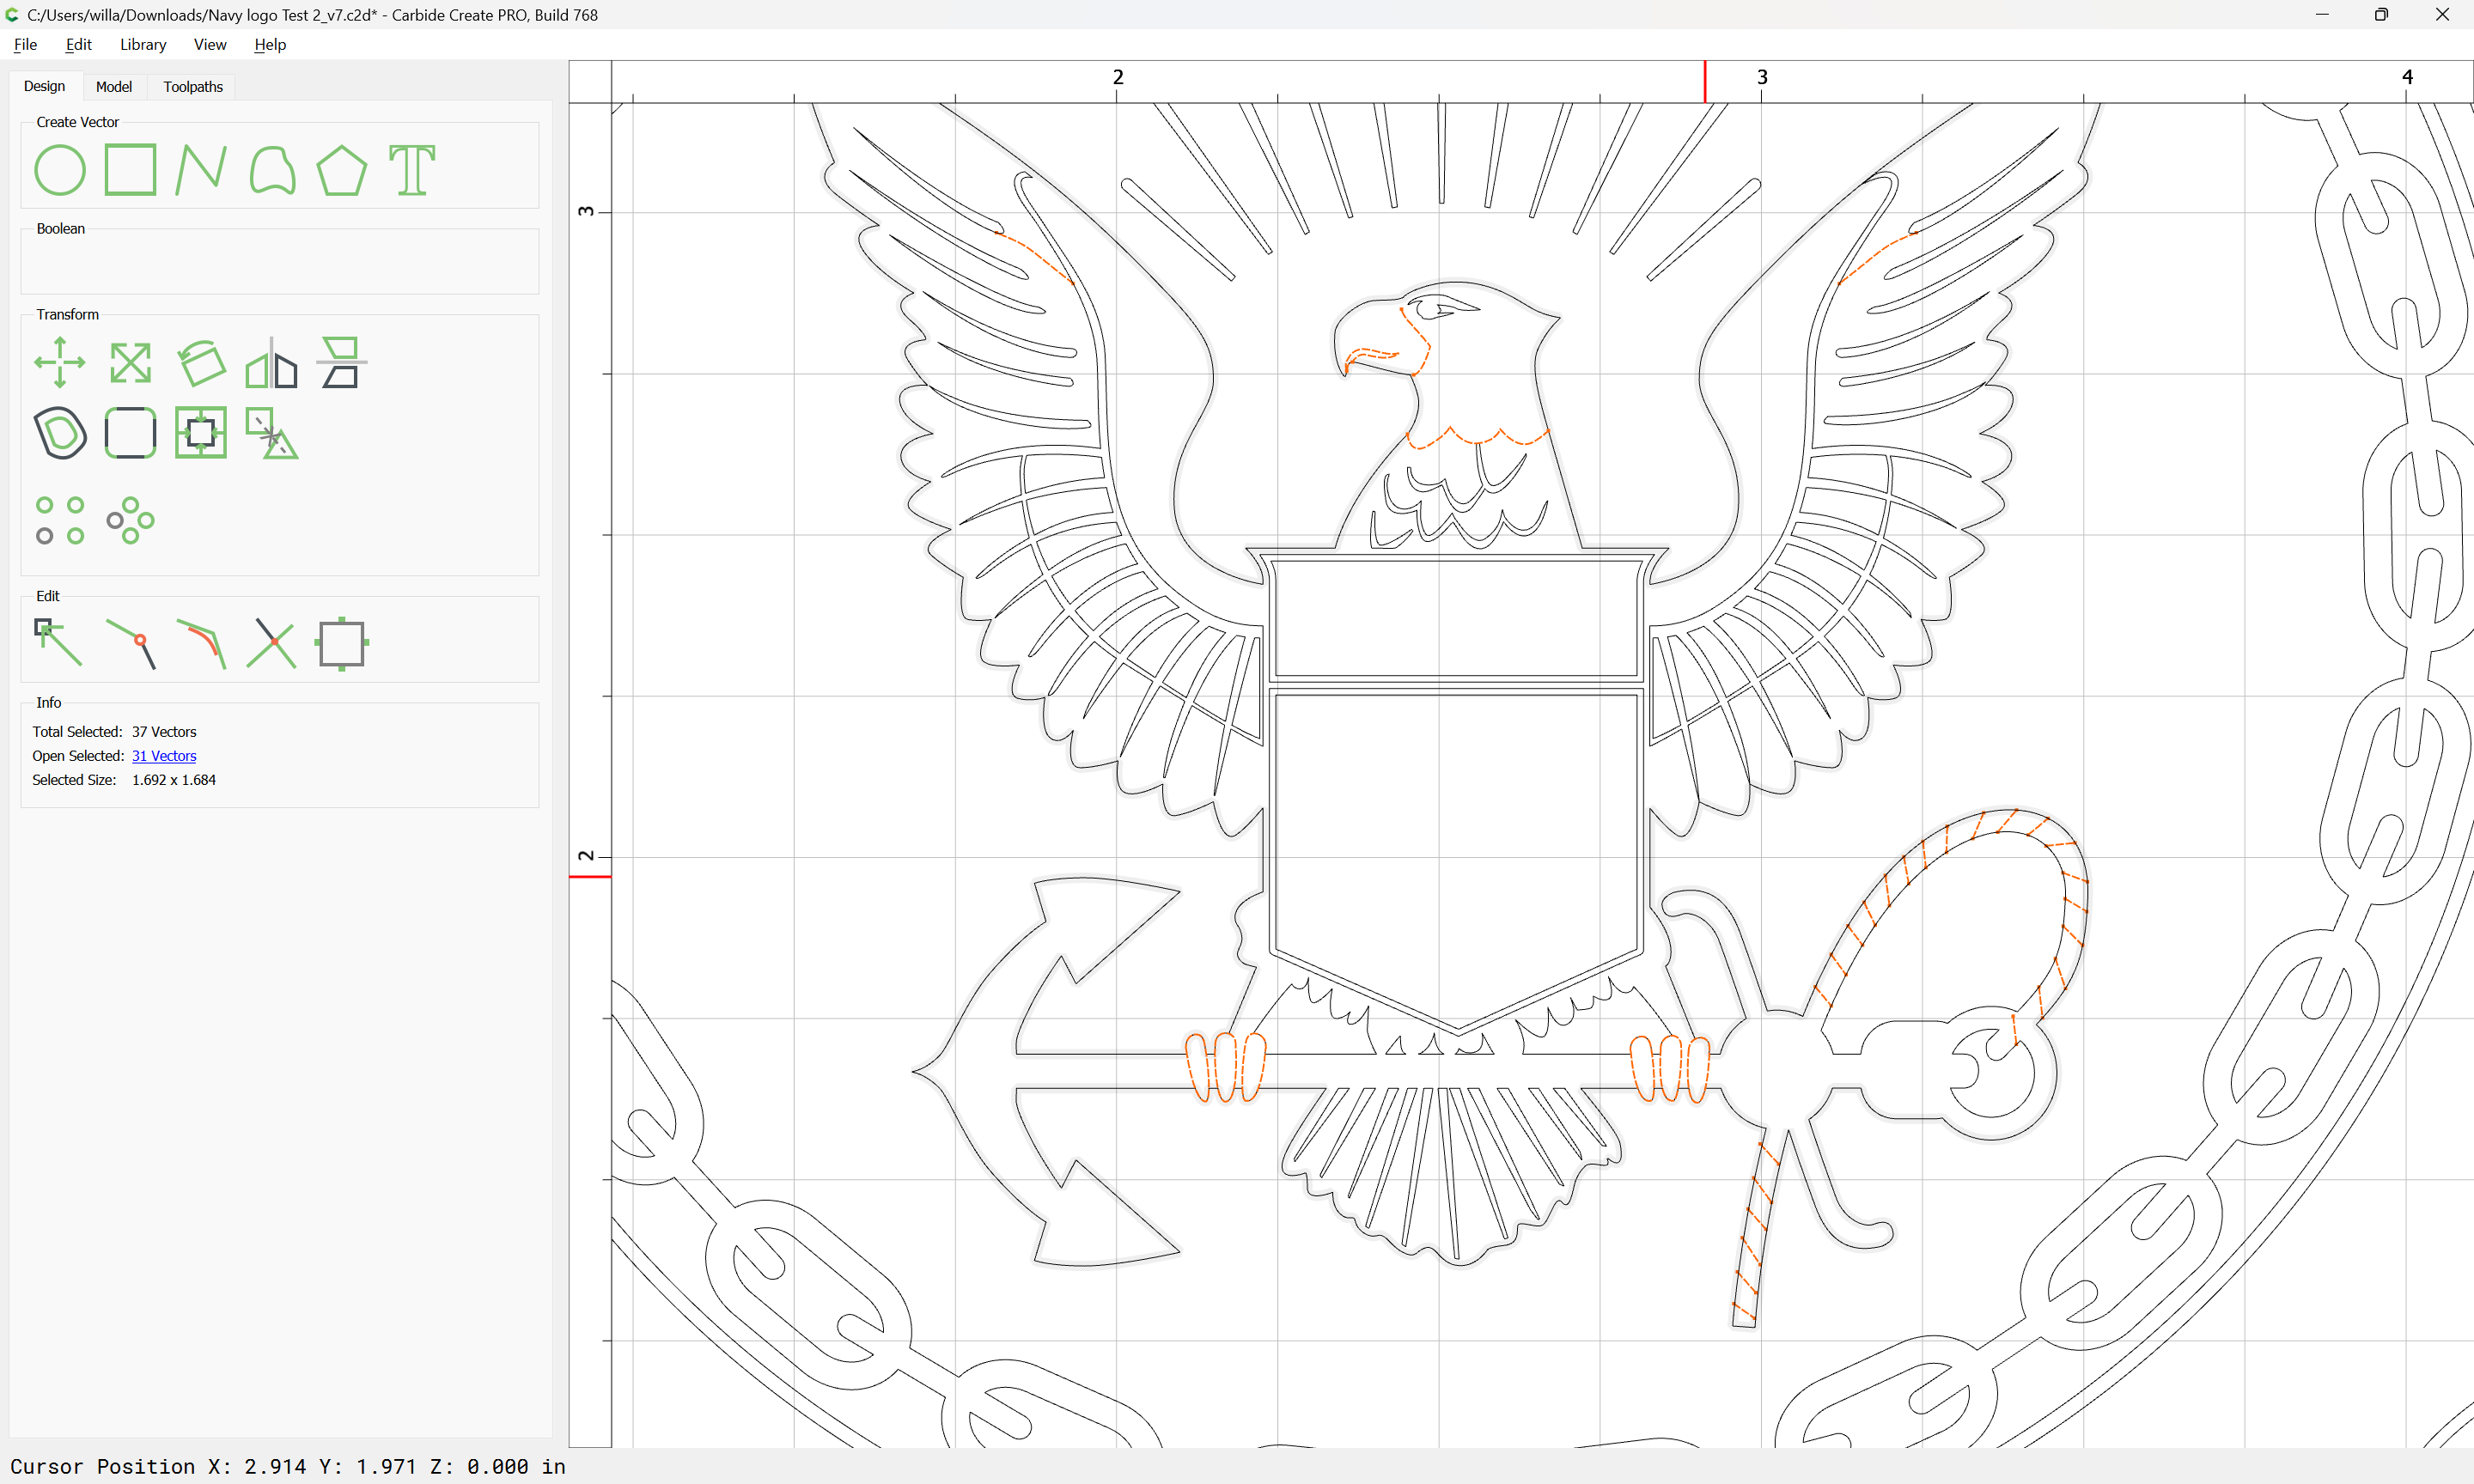
The open geometry has the same problem that the chains had — areas which should be cut higher than others and which aren’t separated — this gets into a traditional art problem known as “figure-ground reversal” as has been discussed previously:

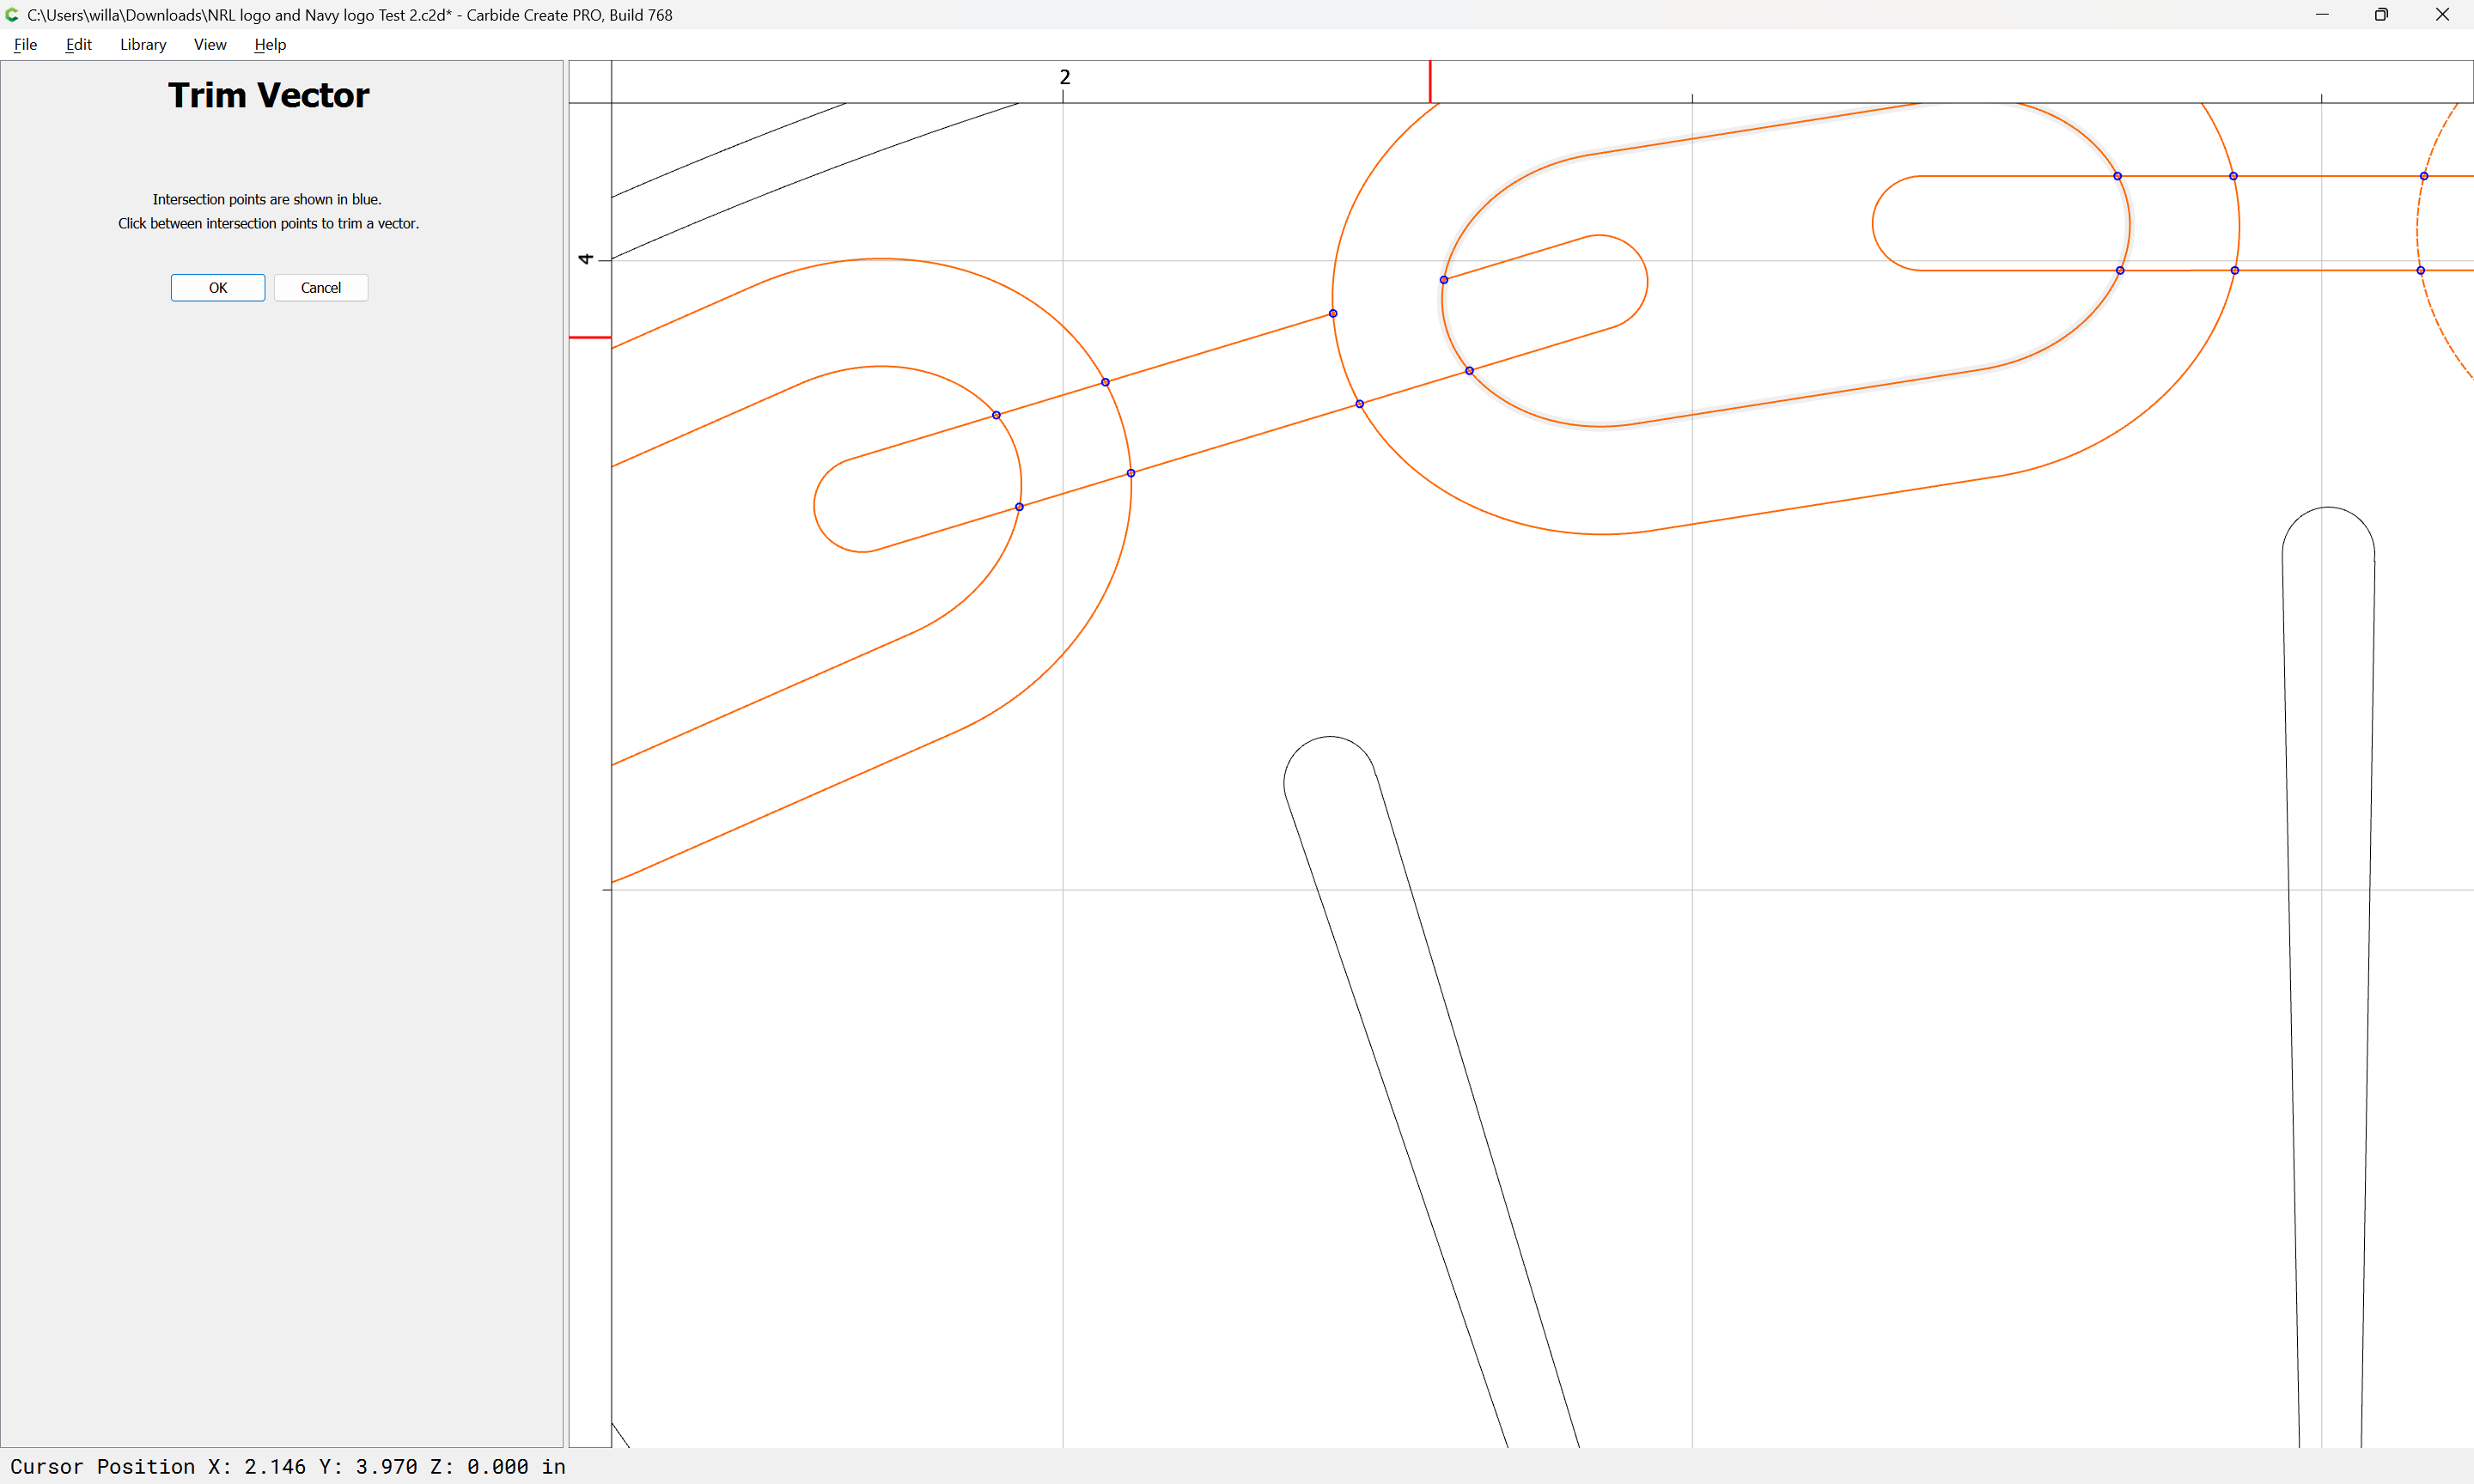
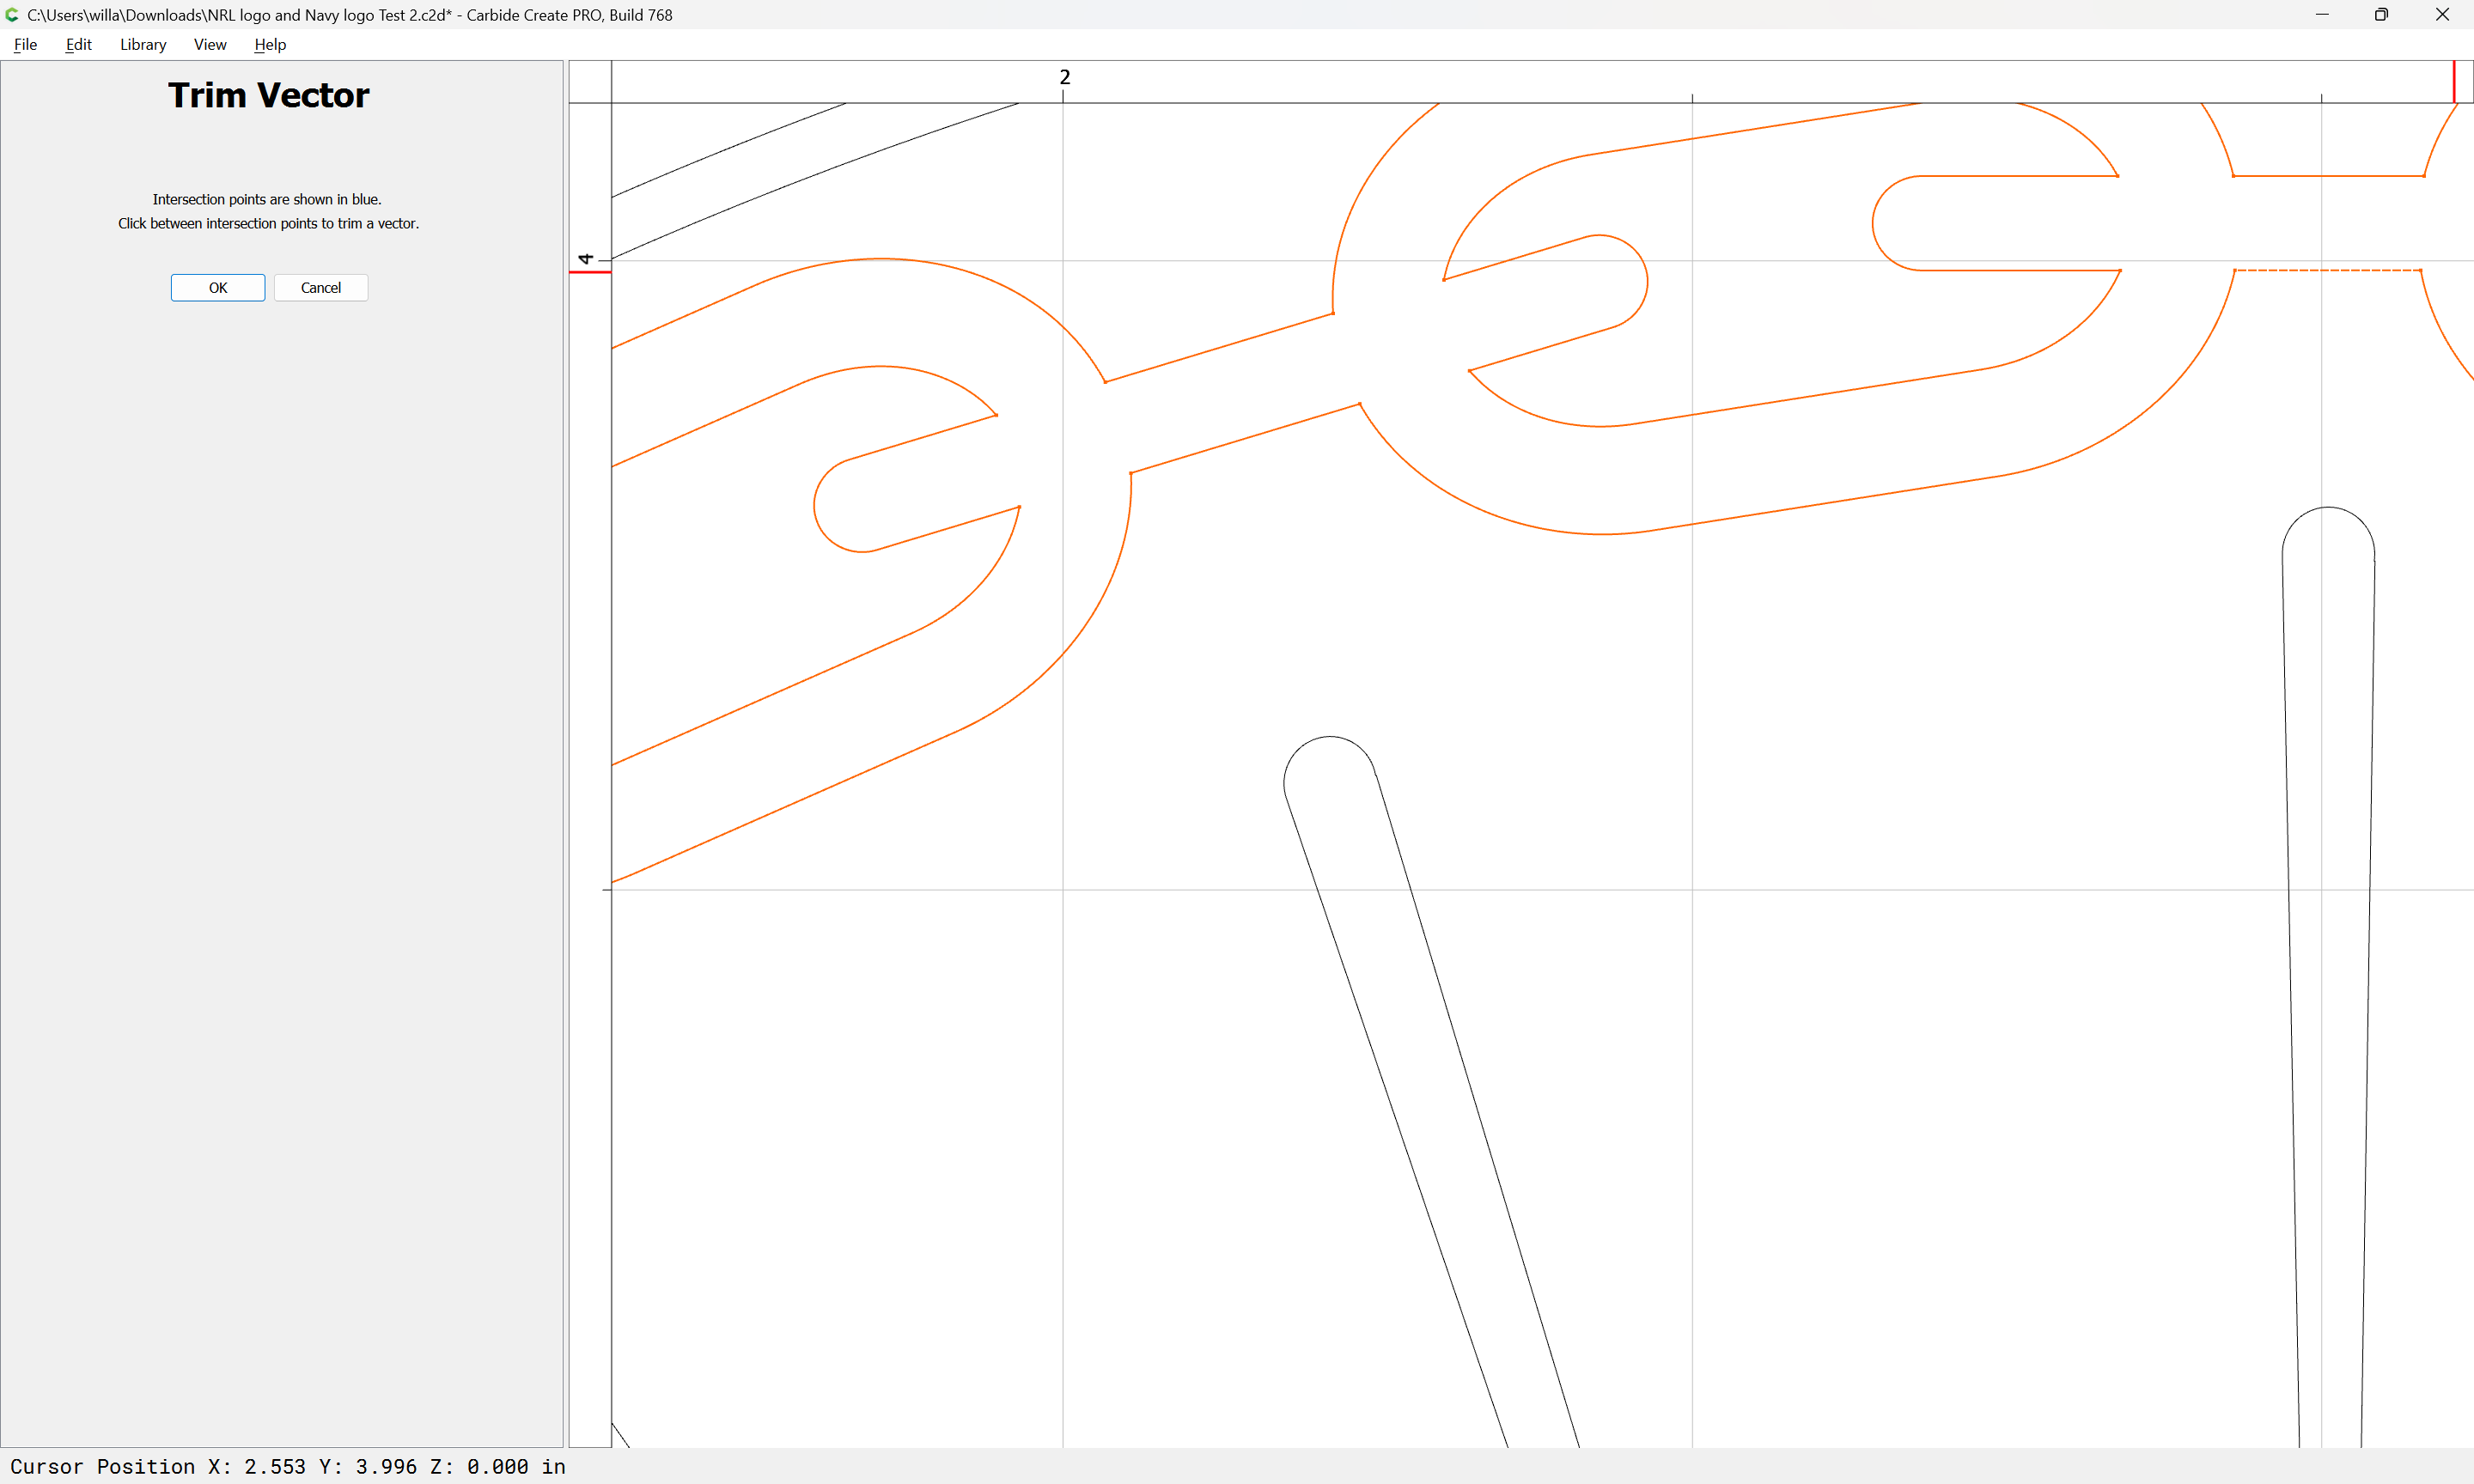
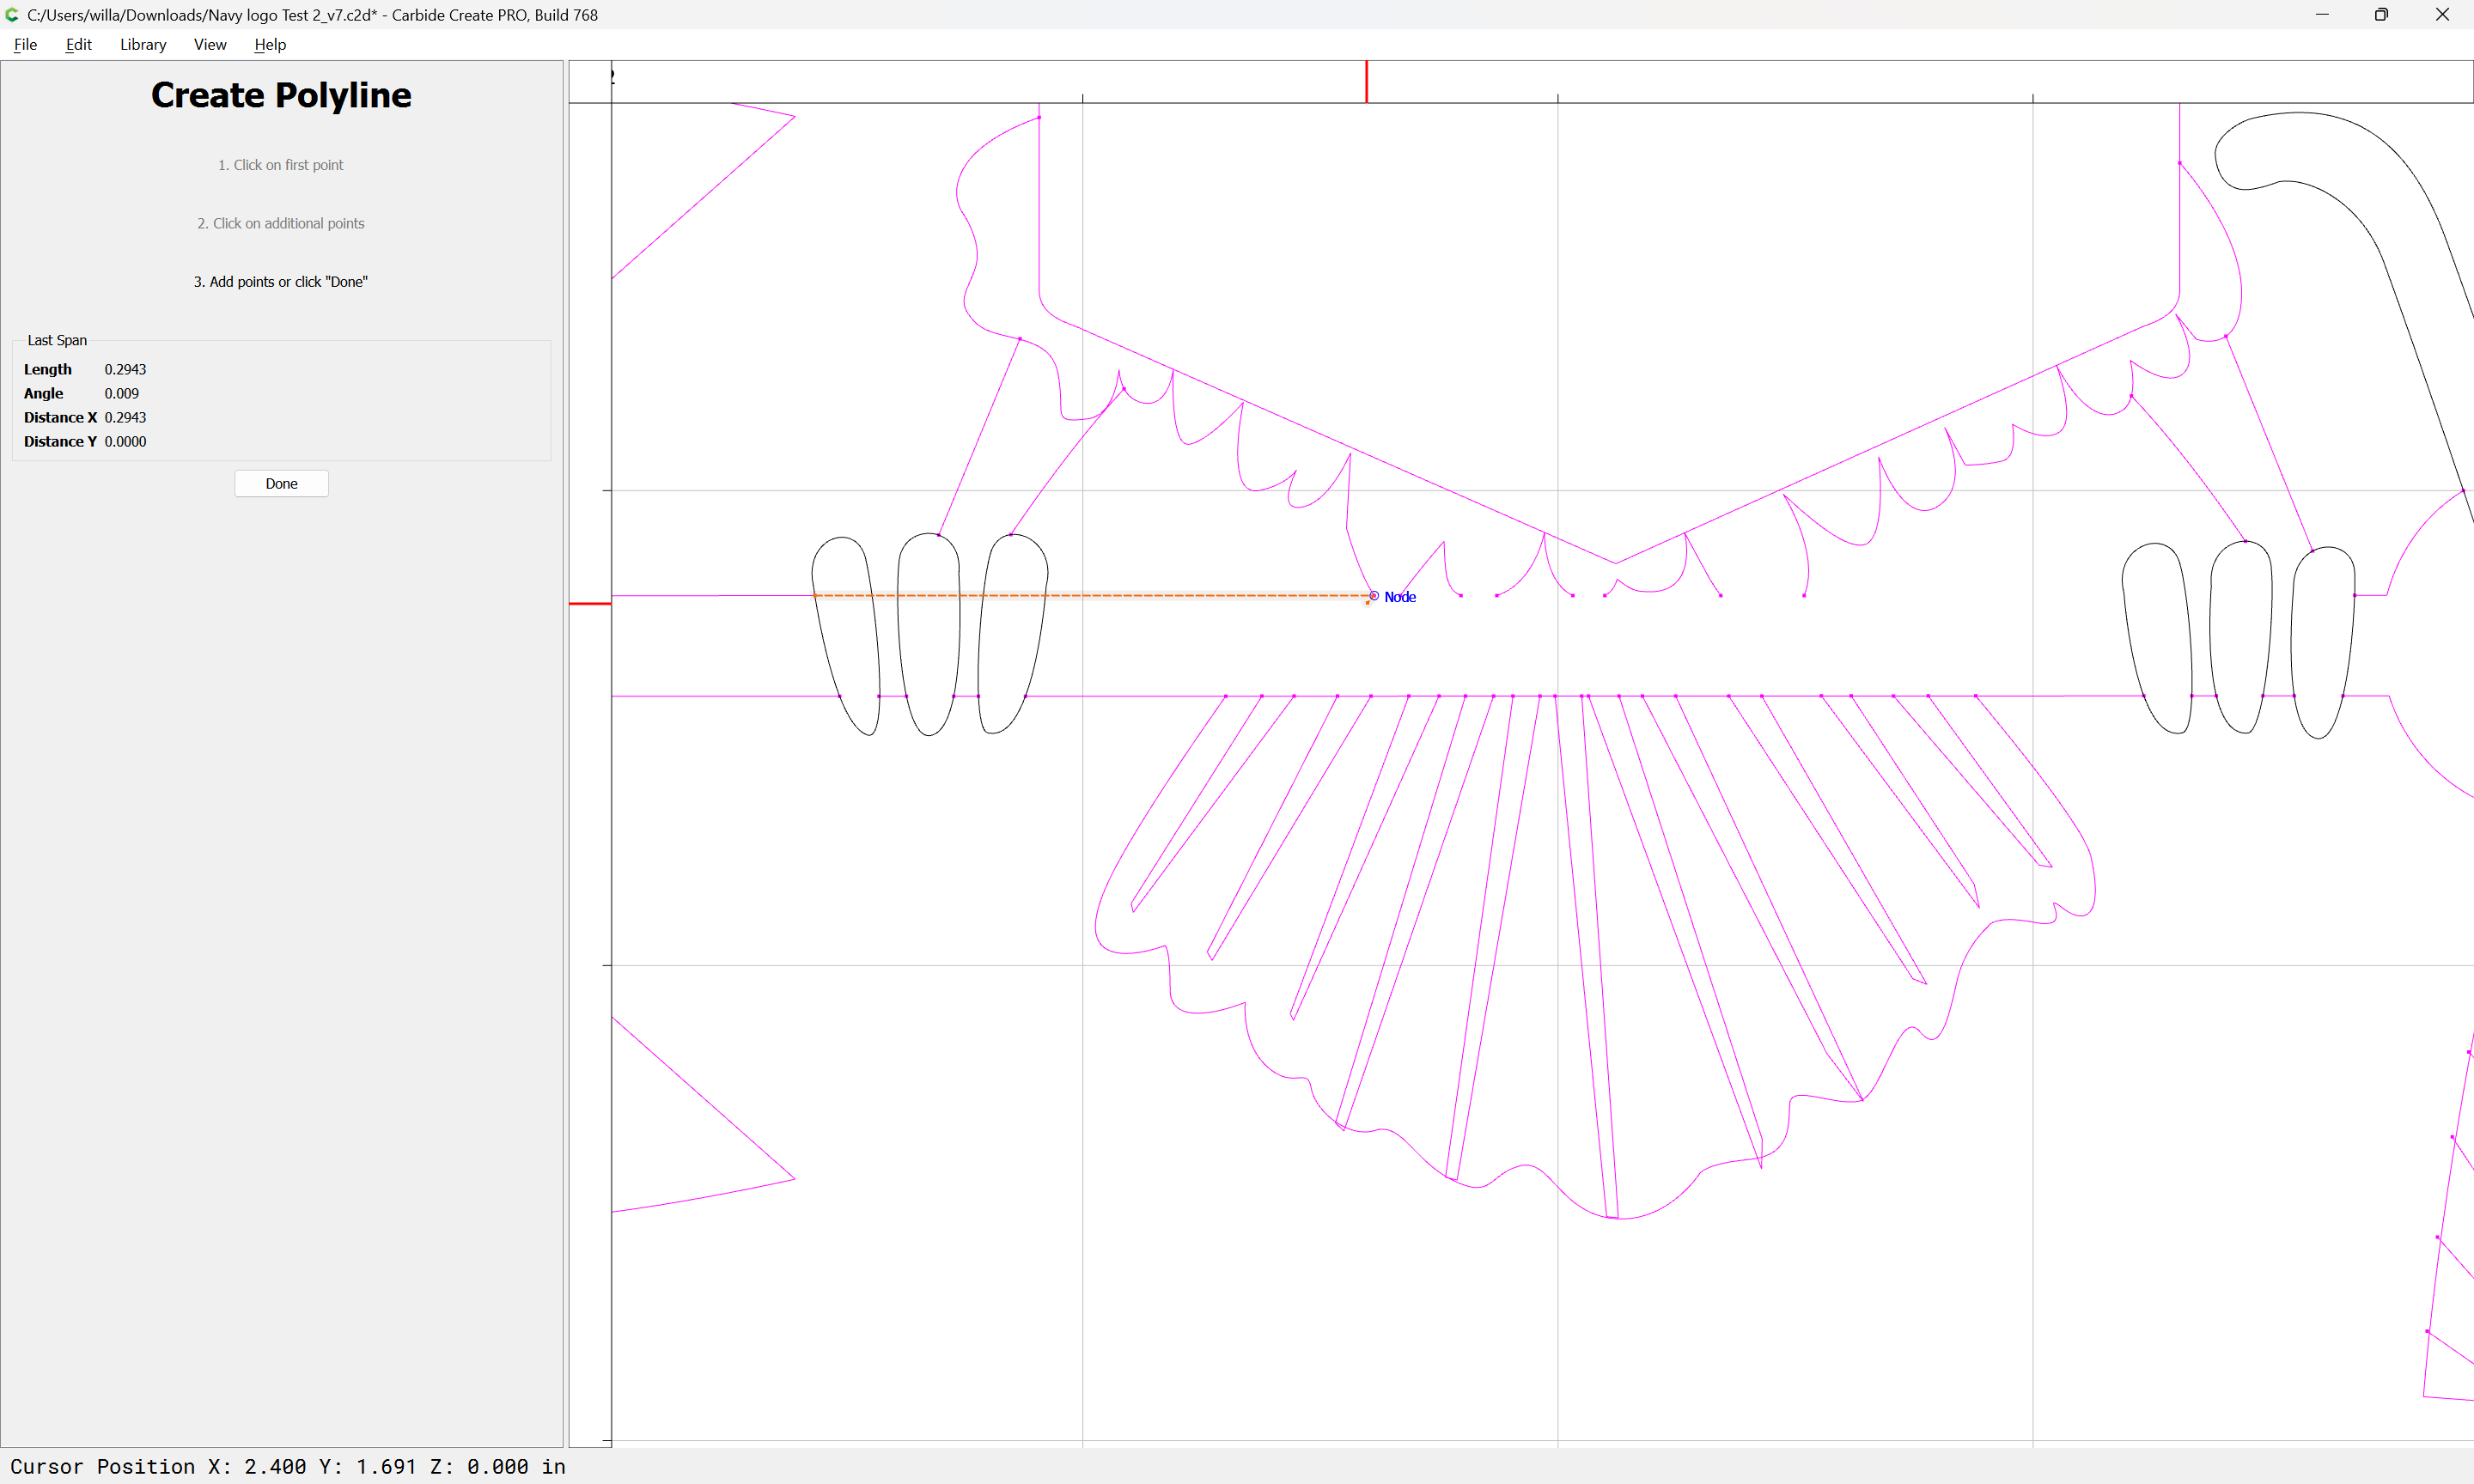
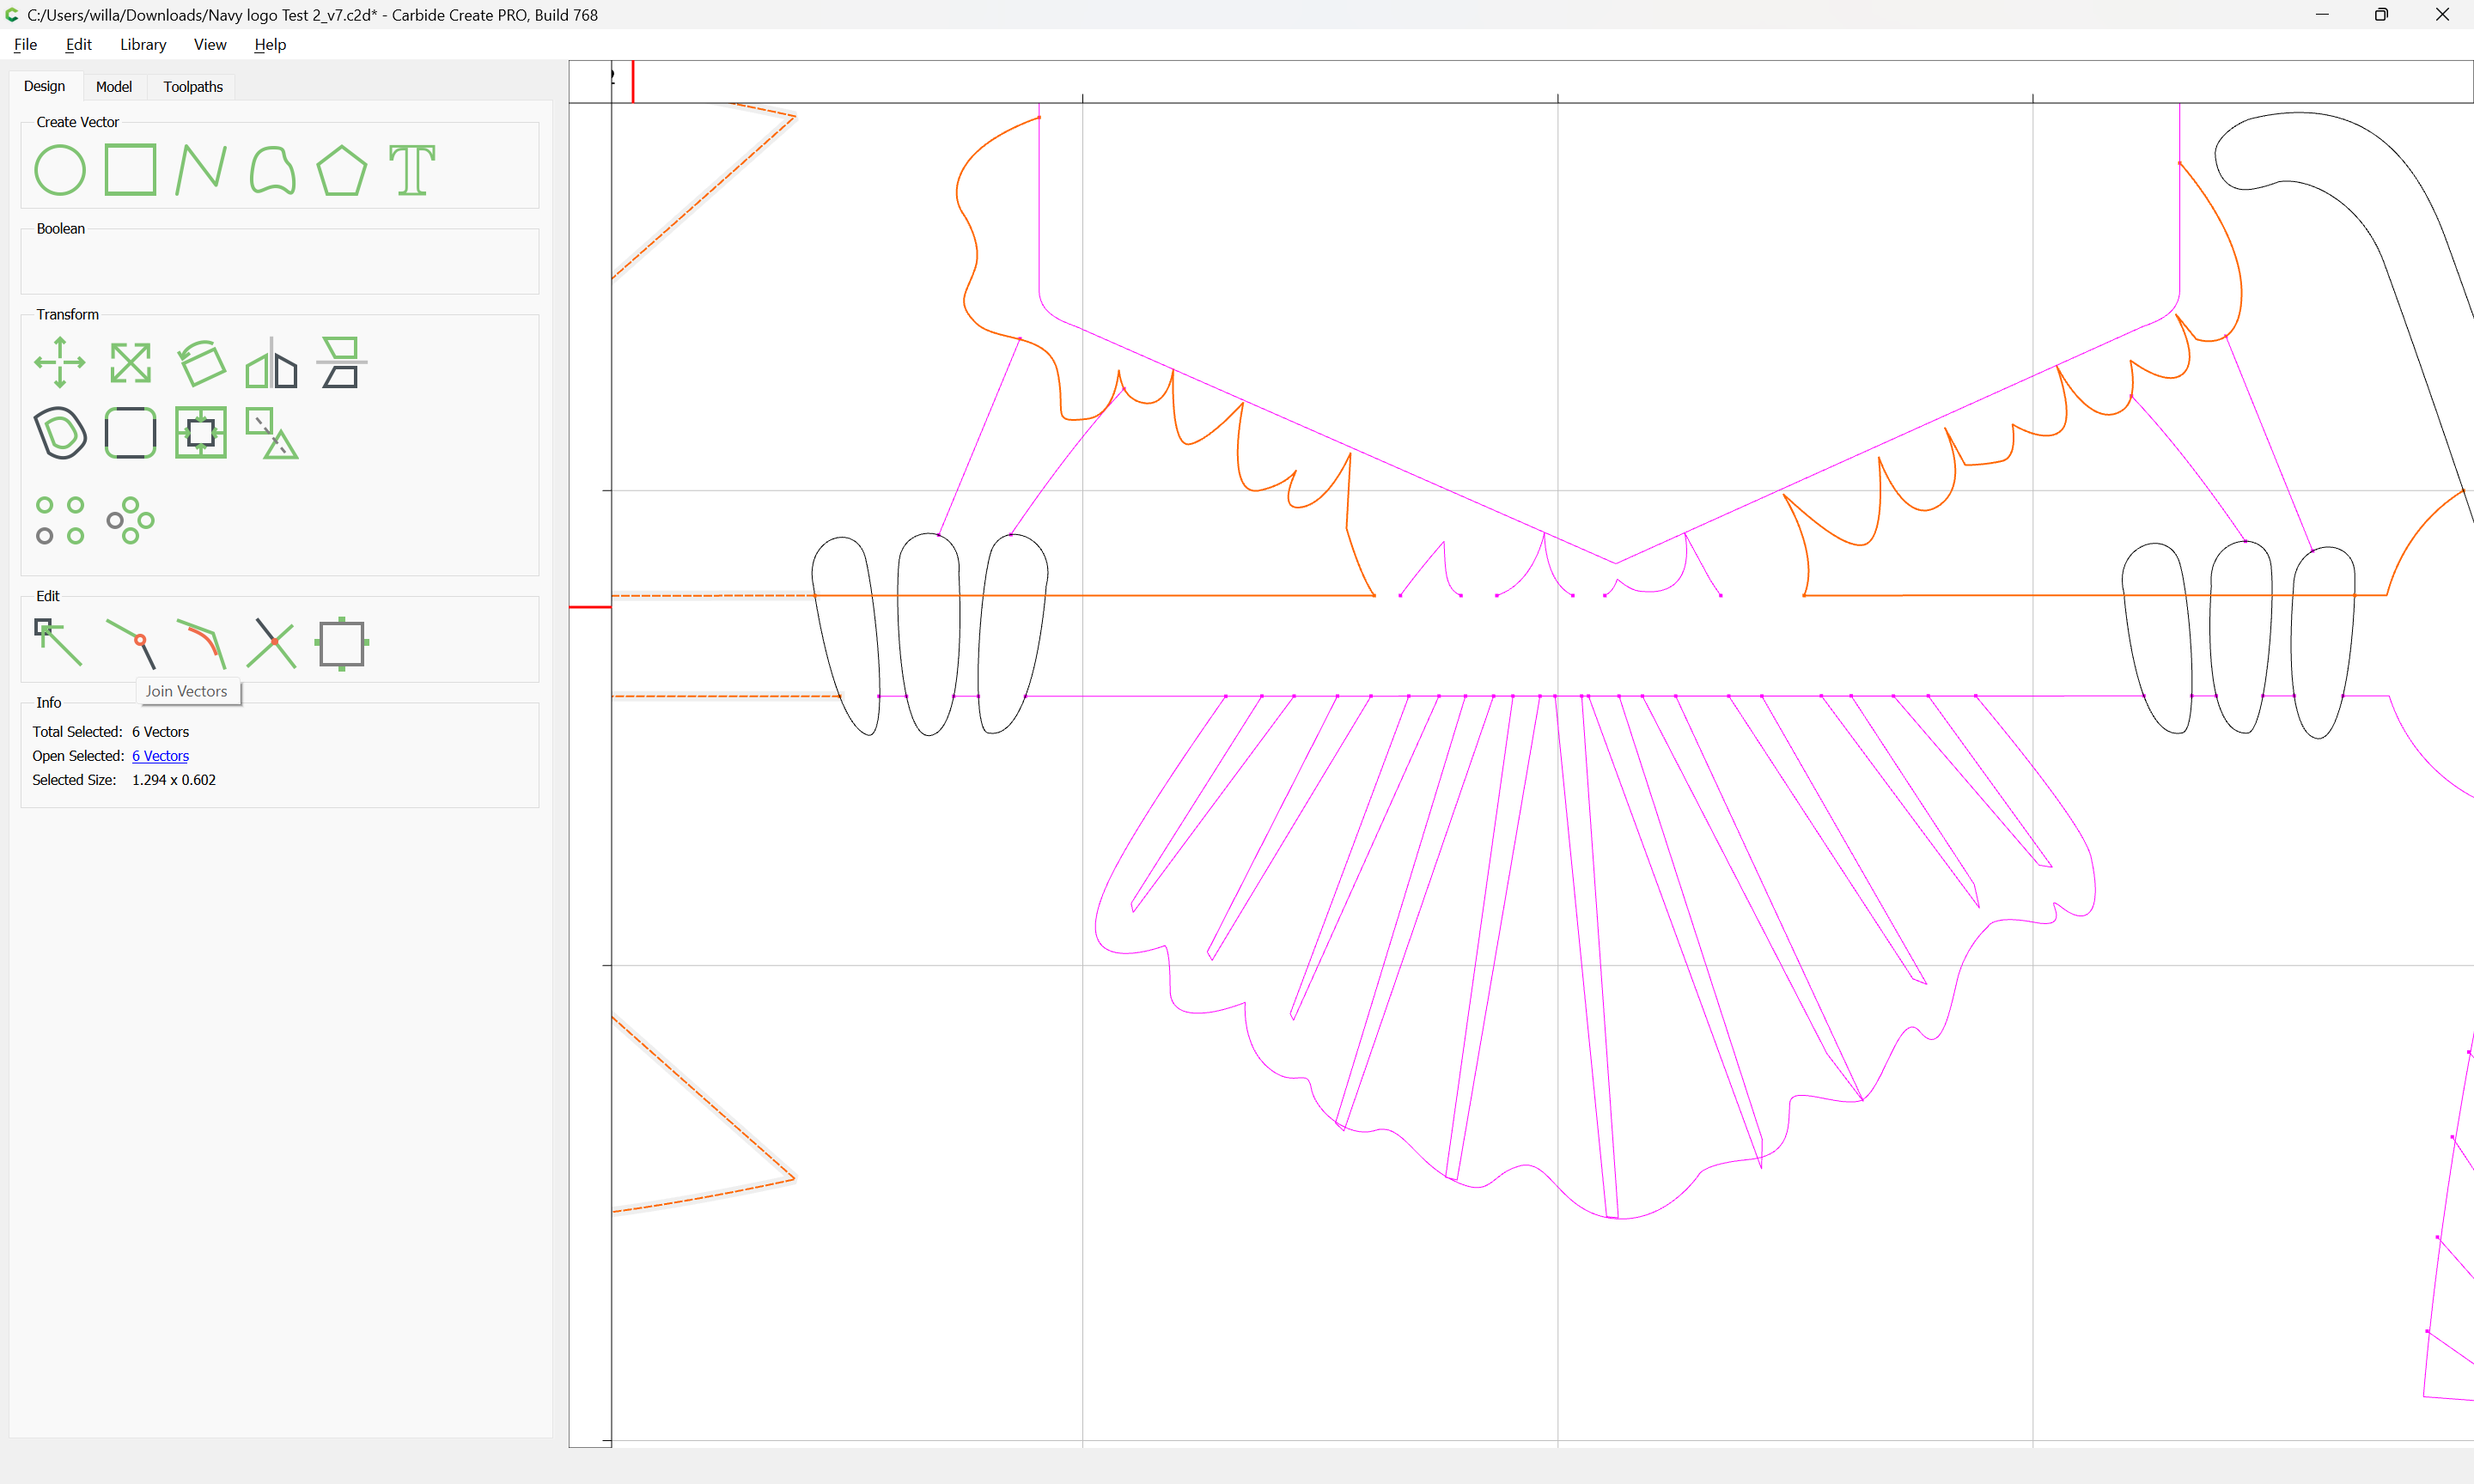
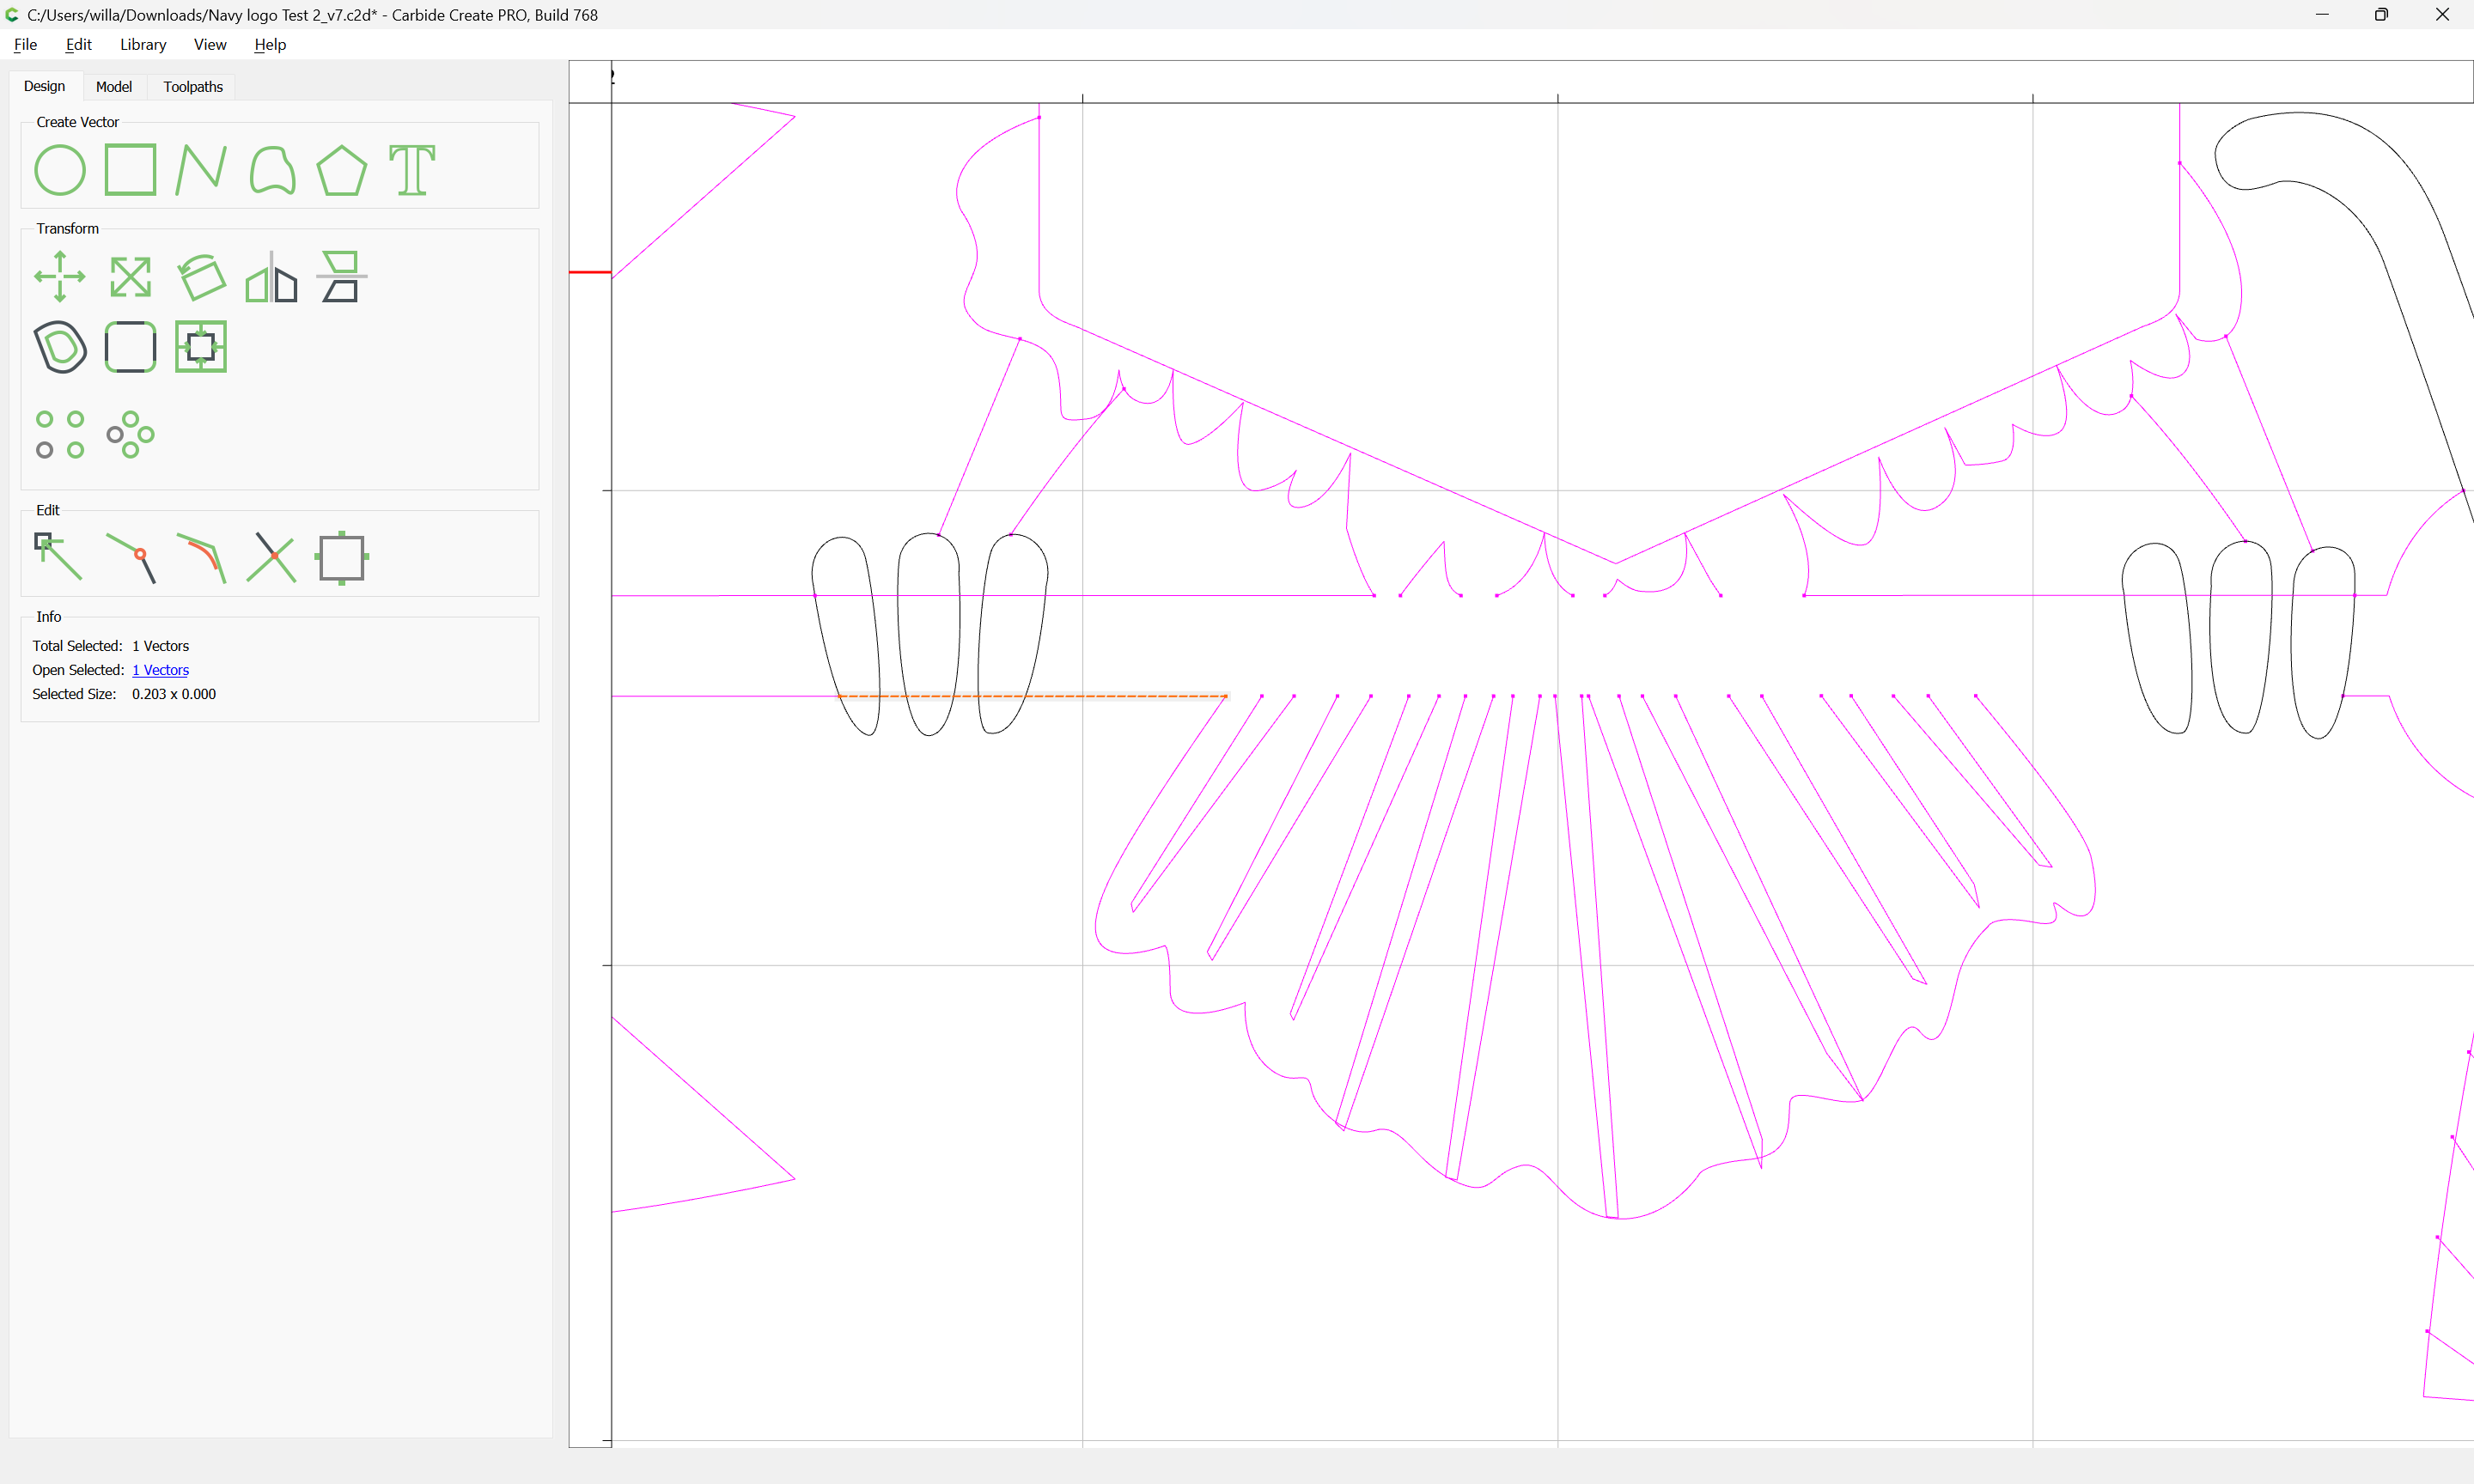
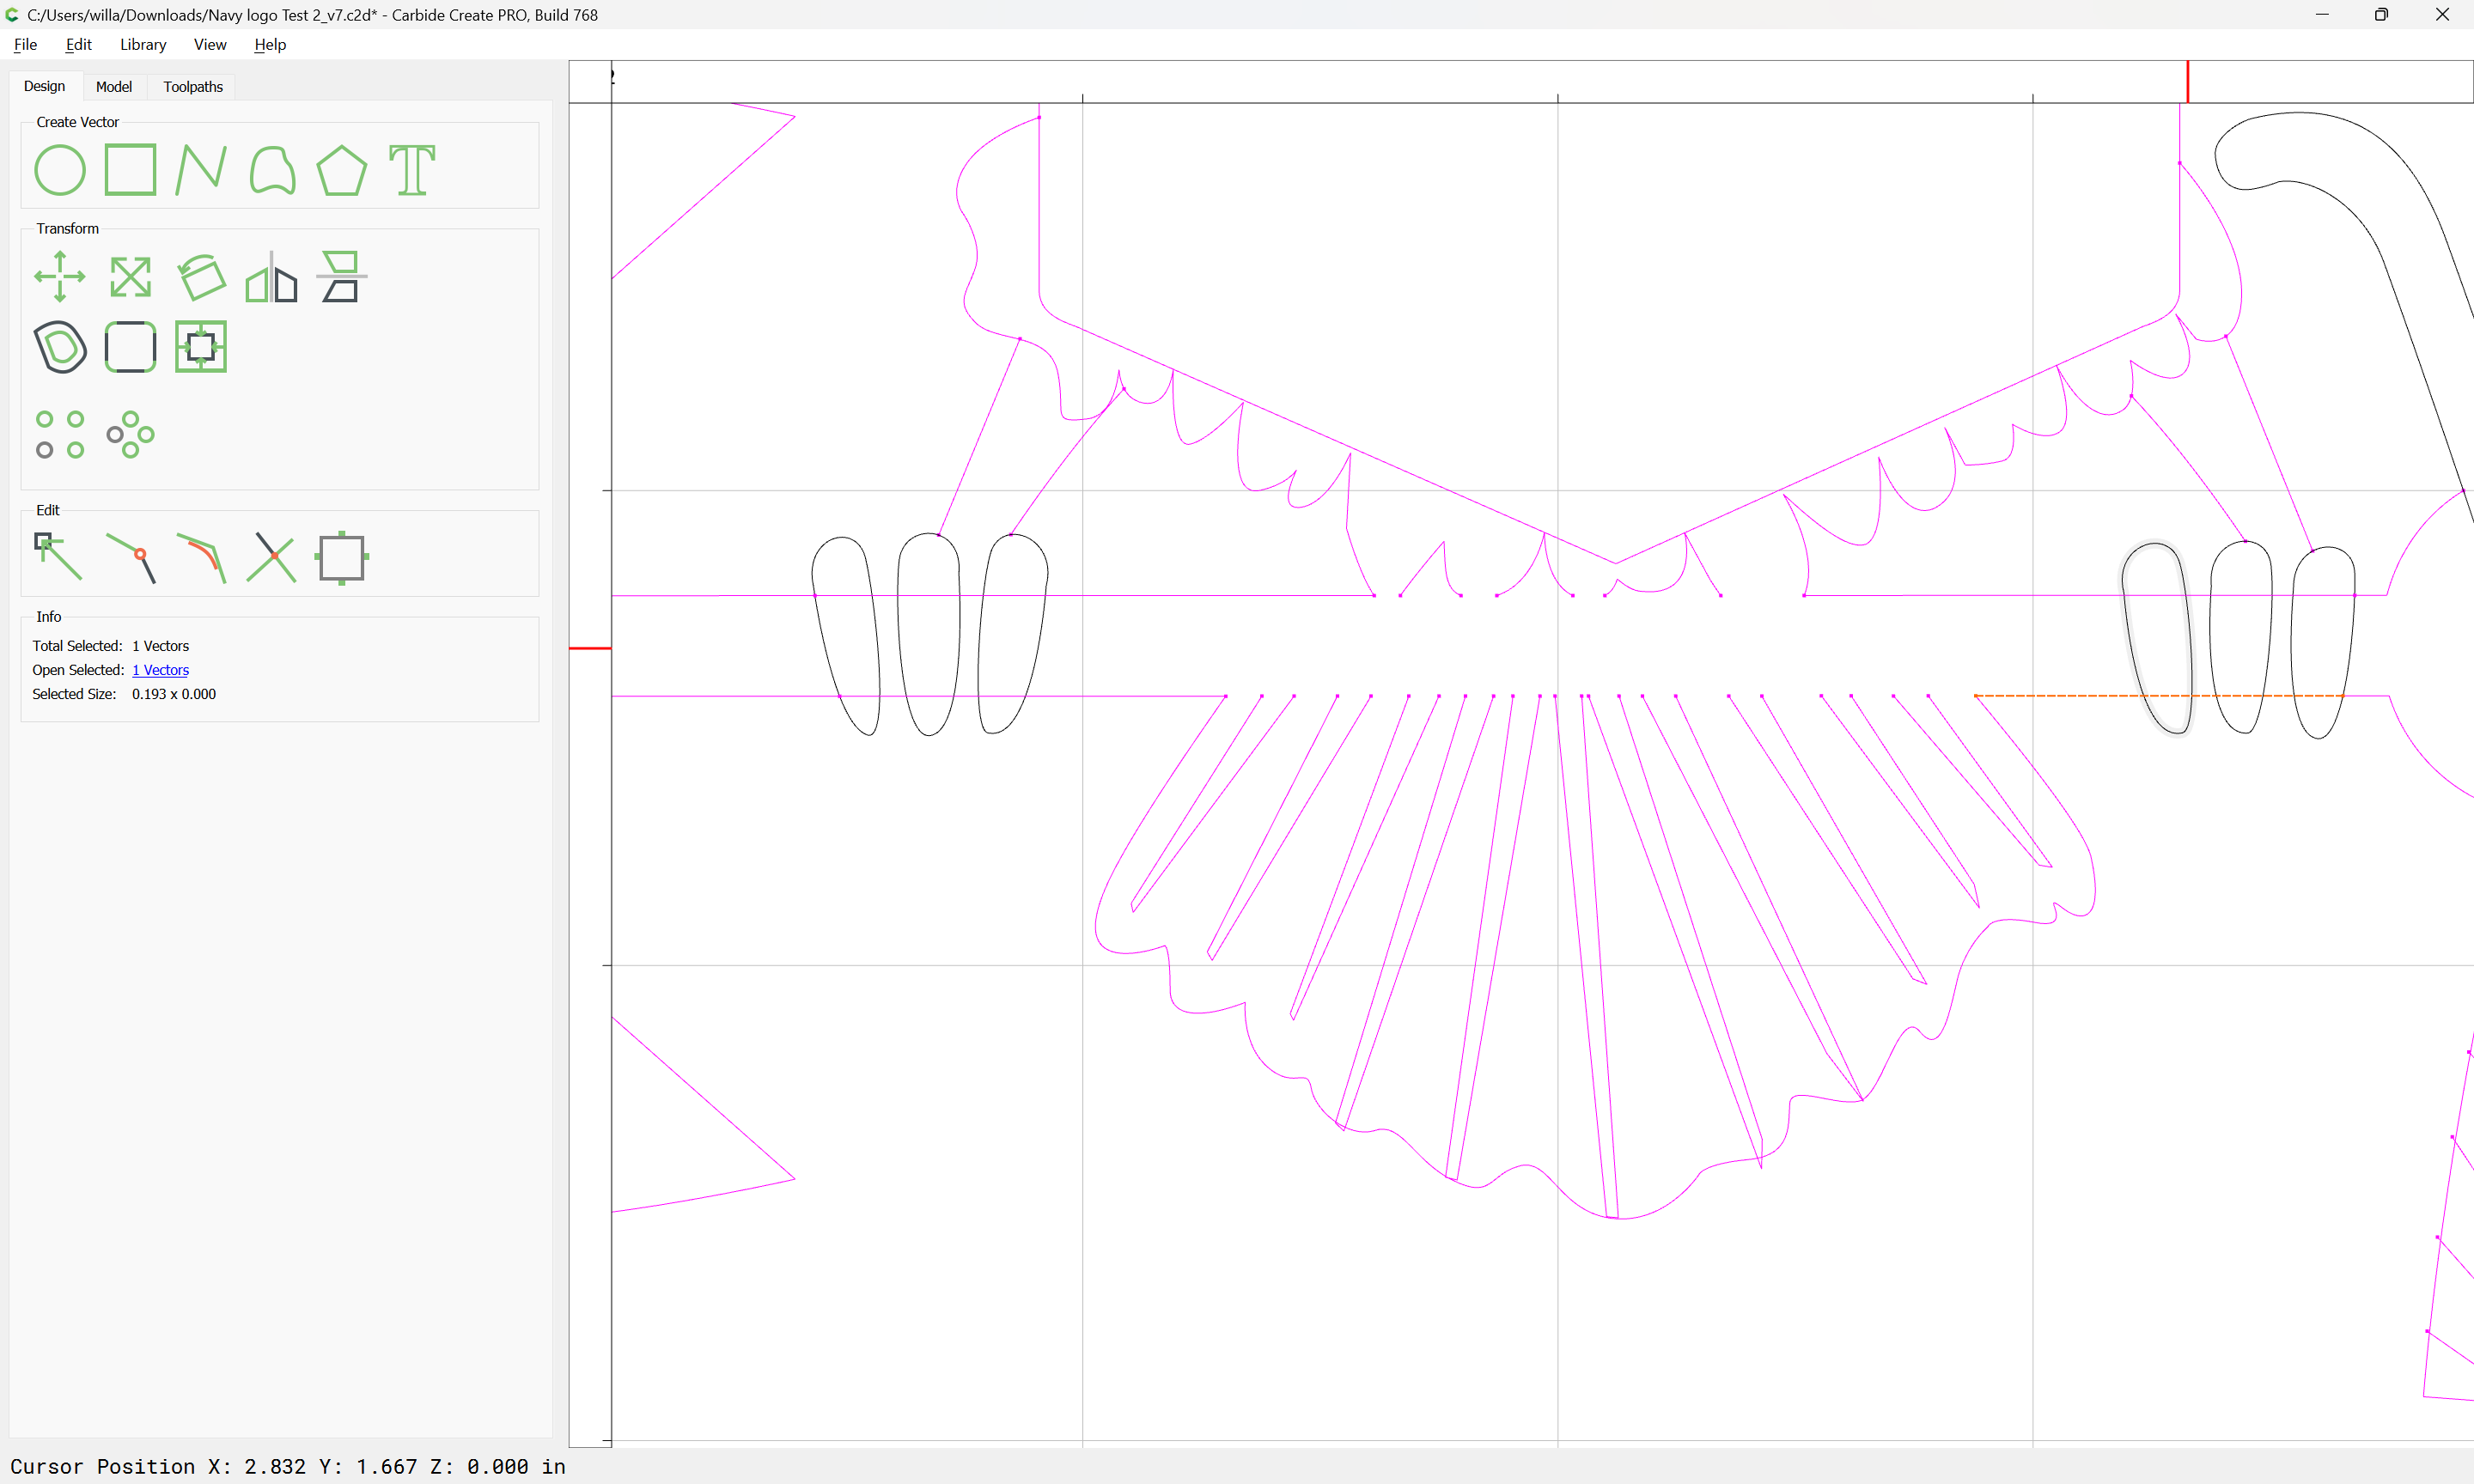
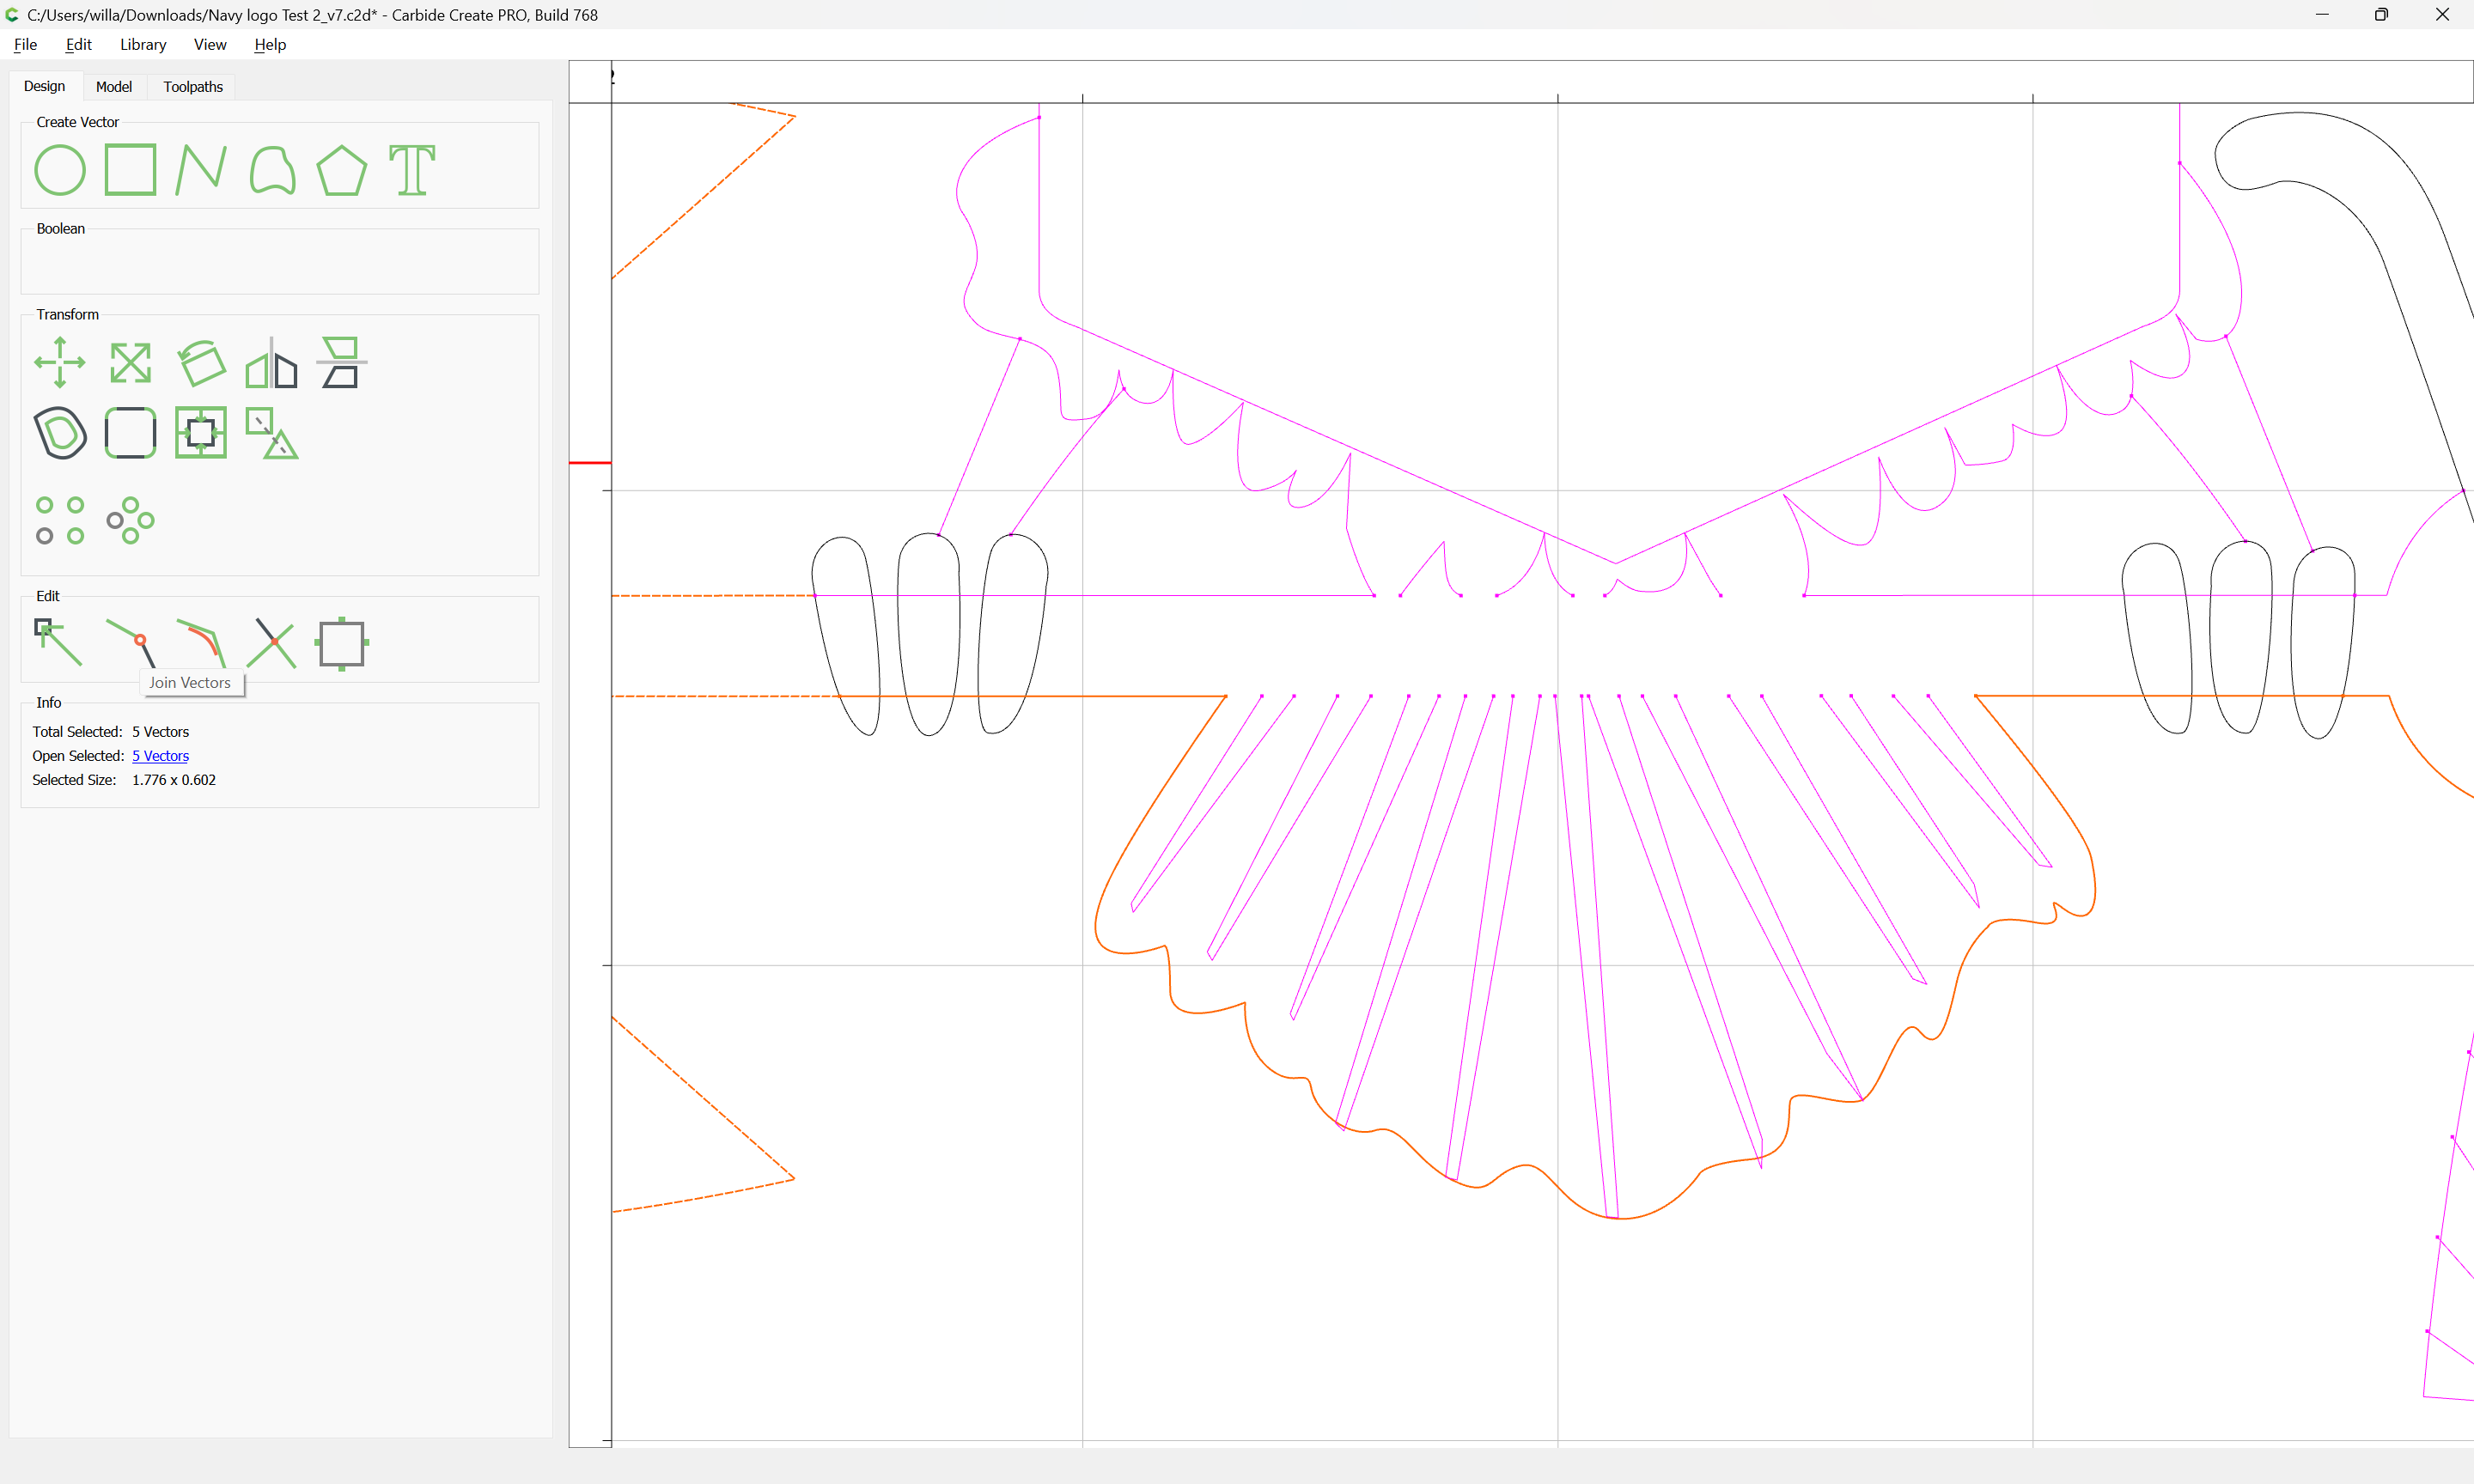
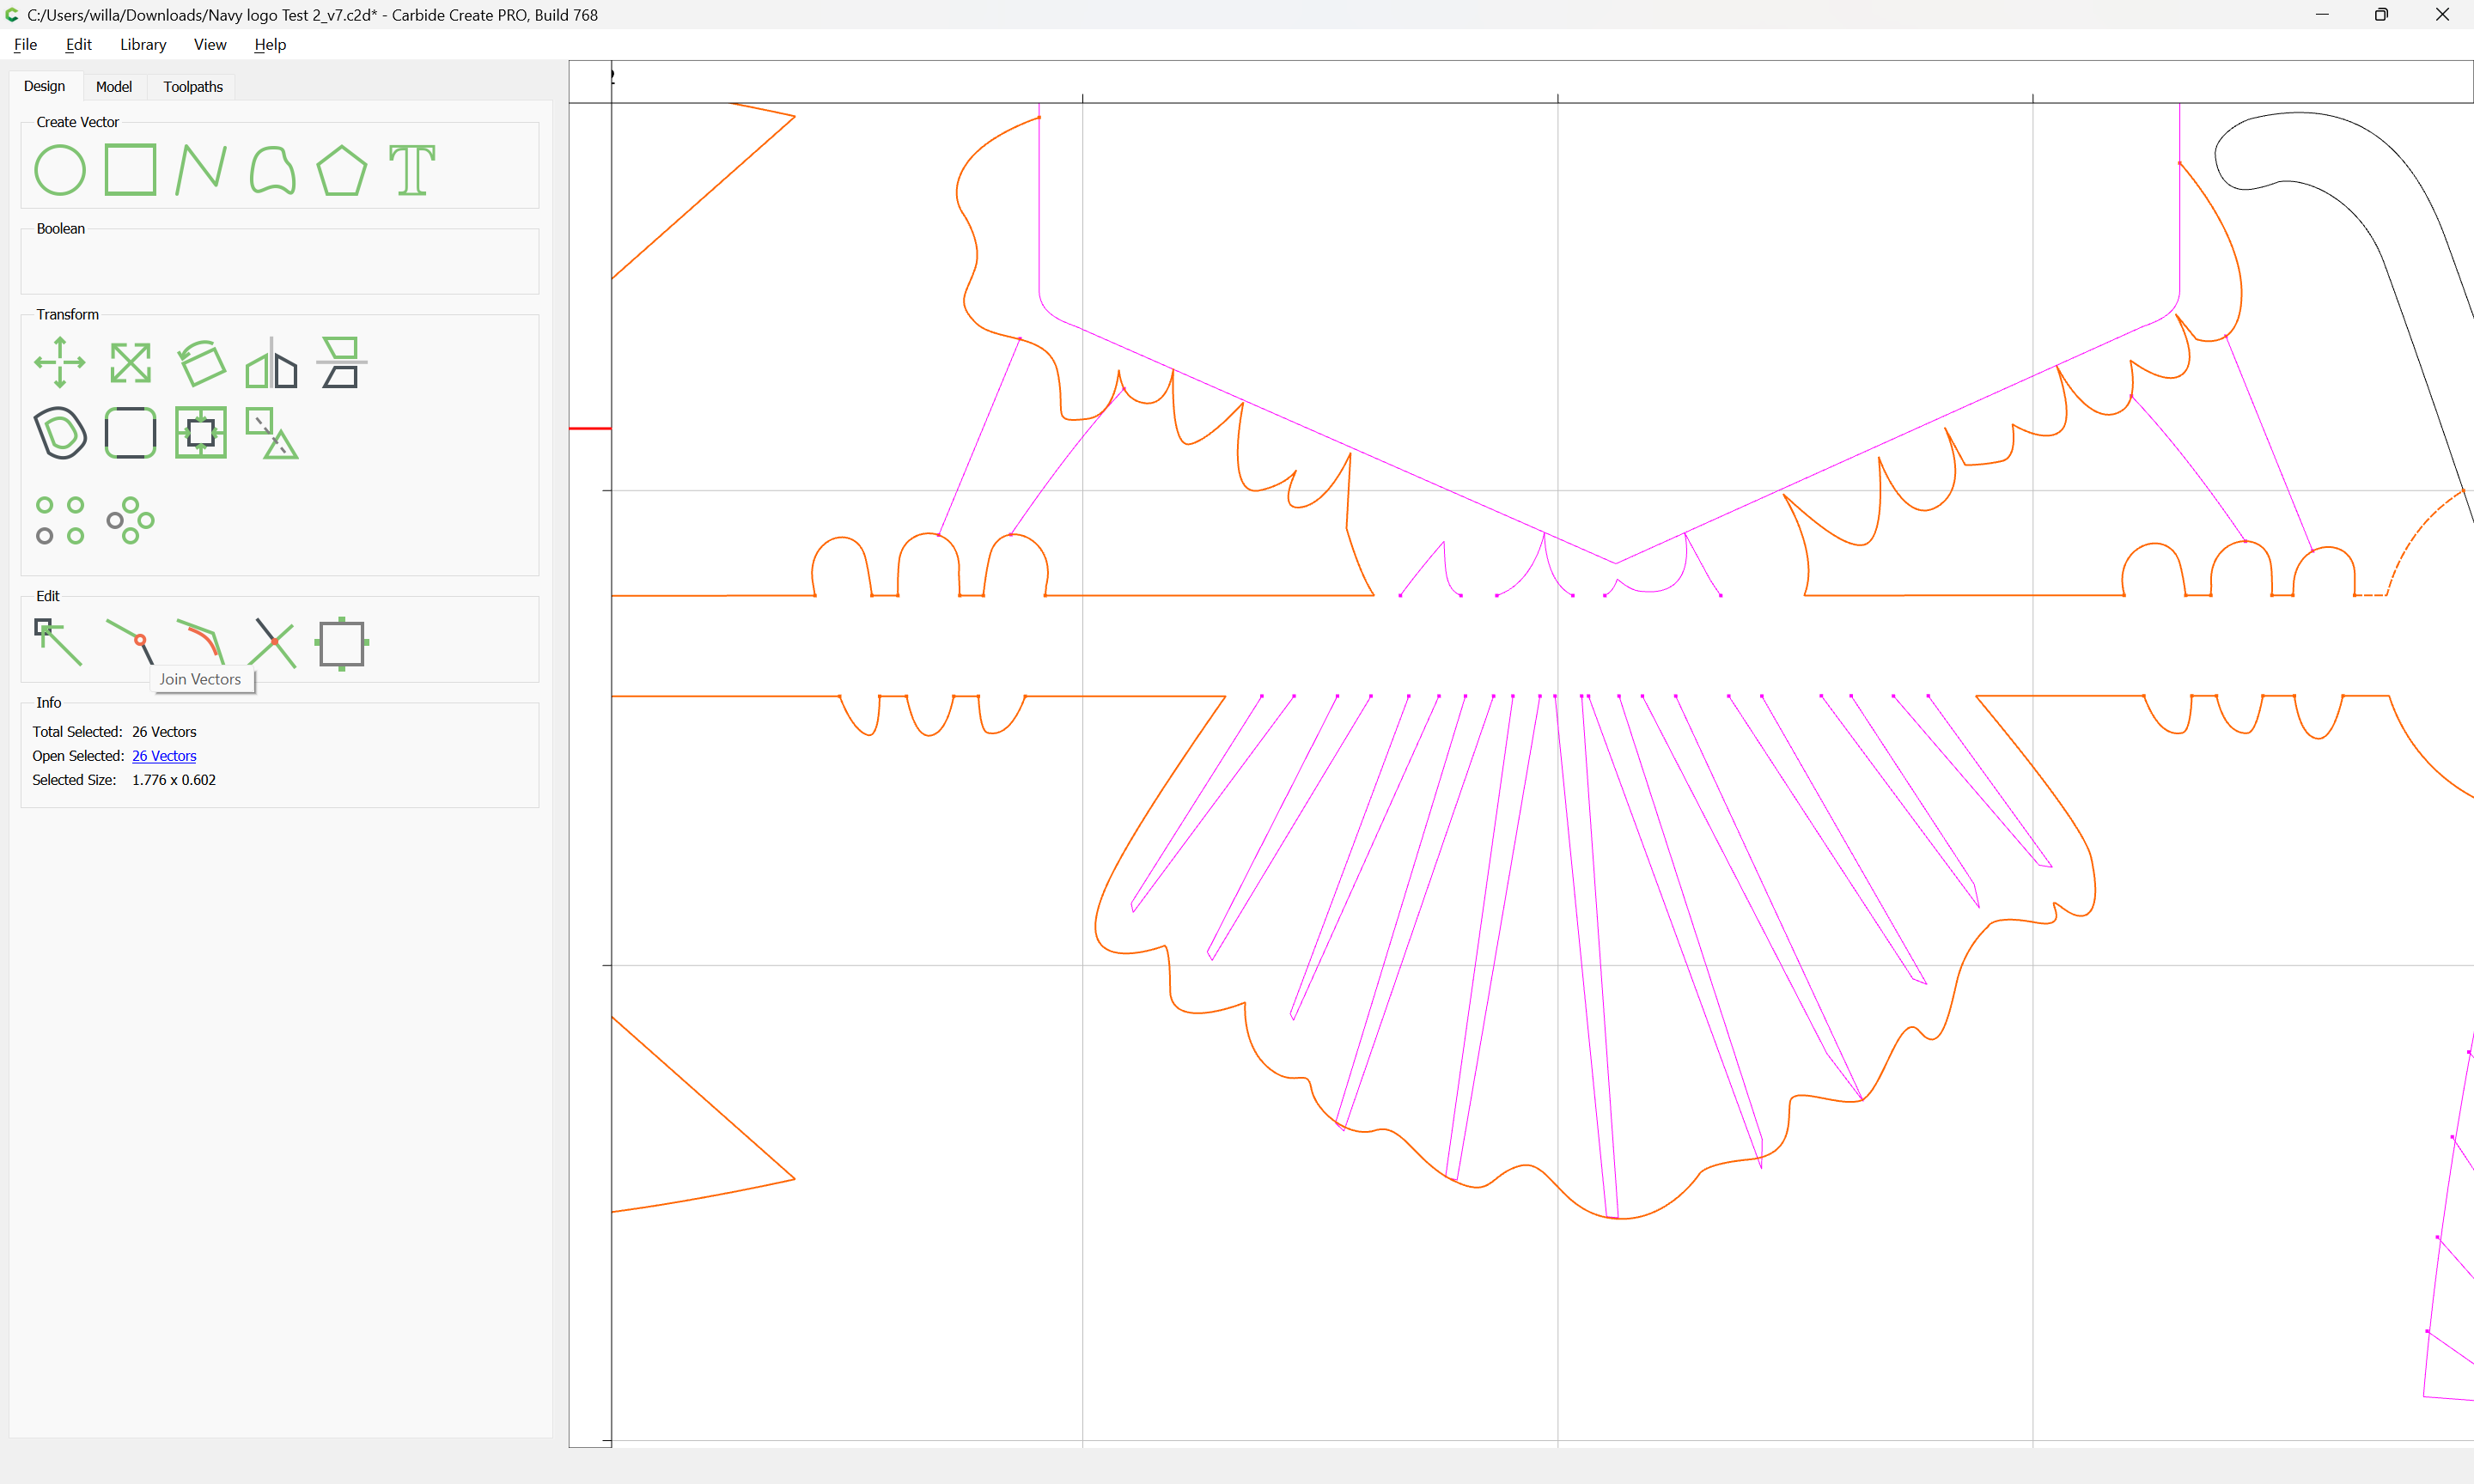
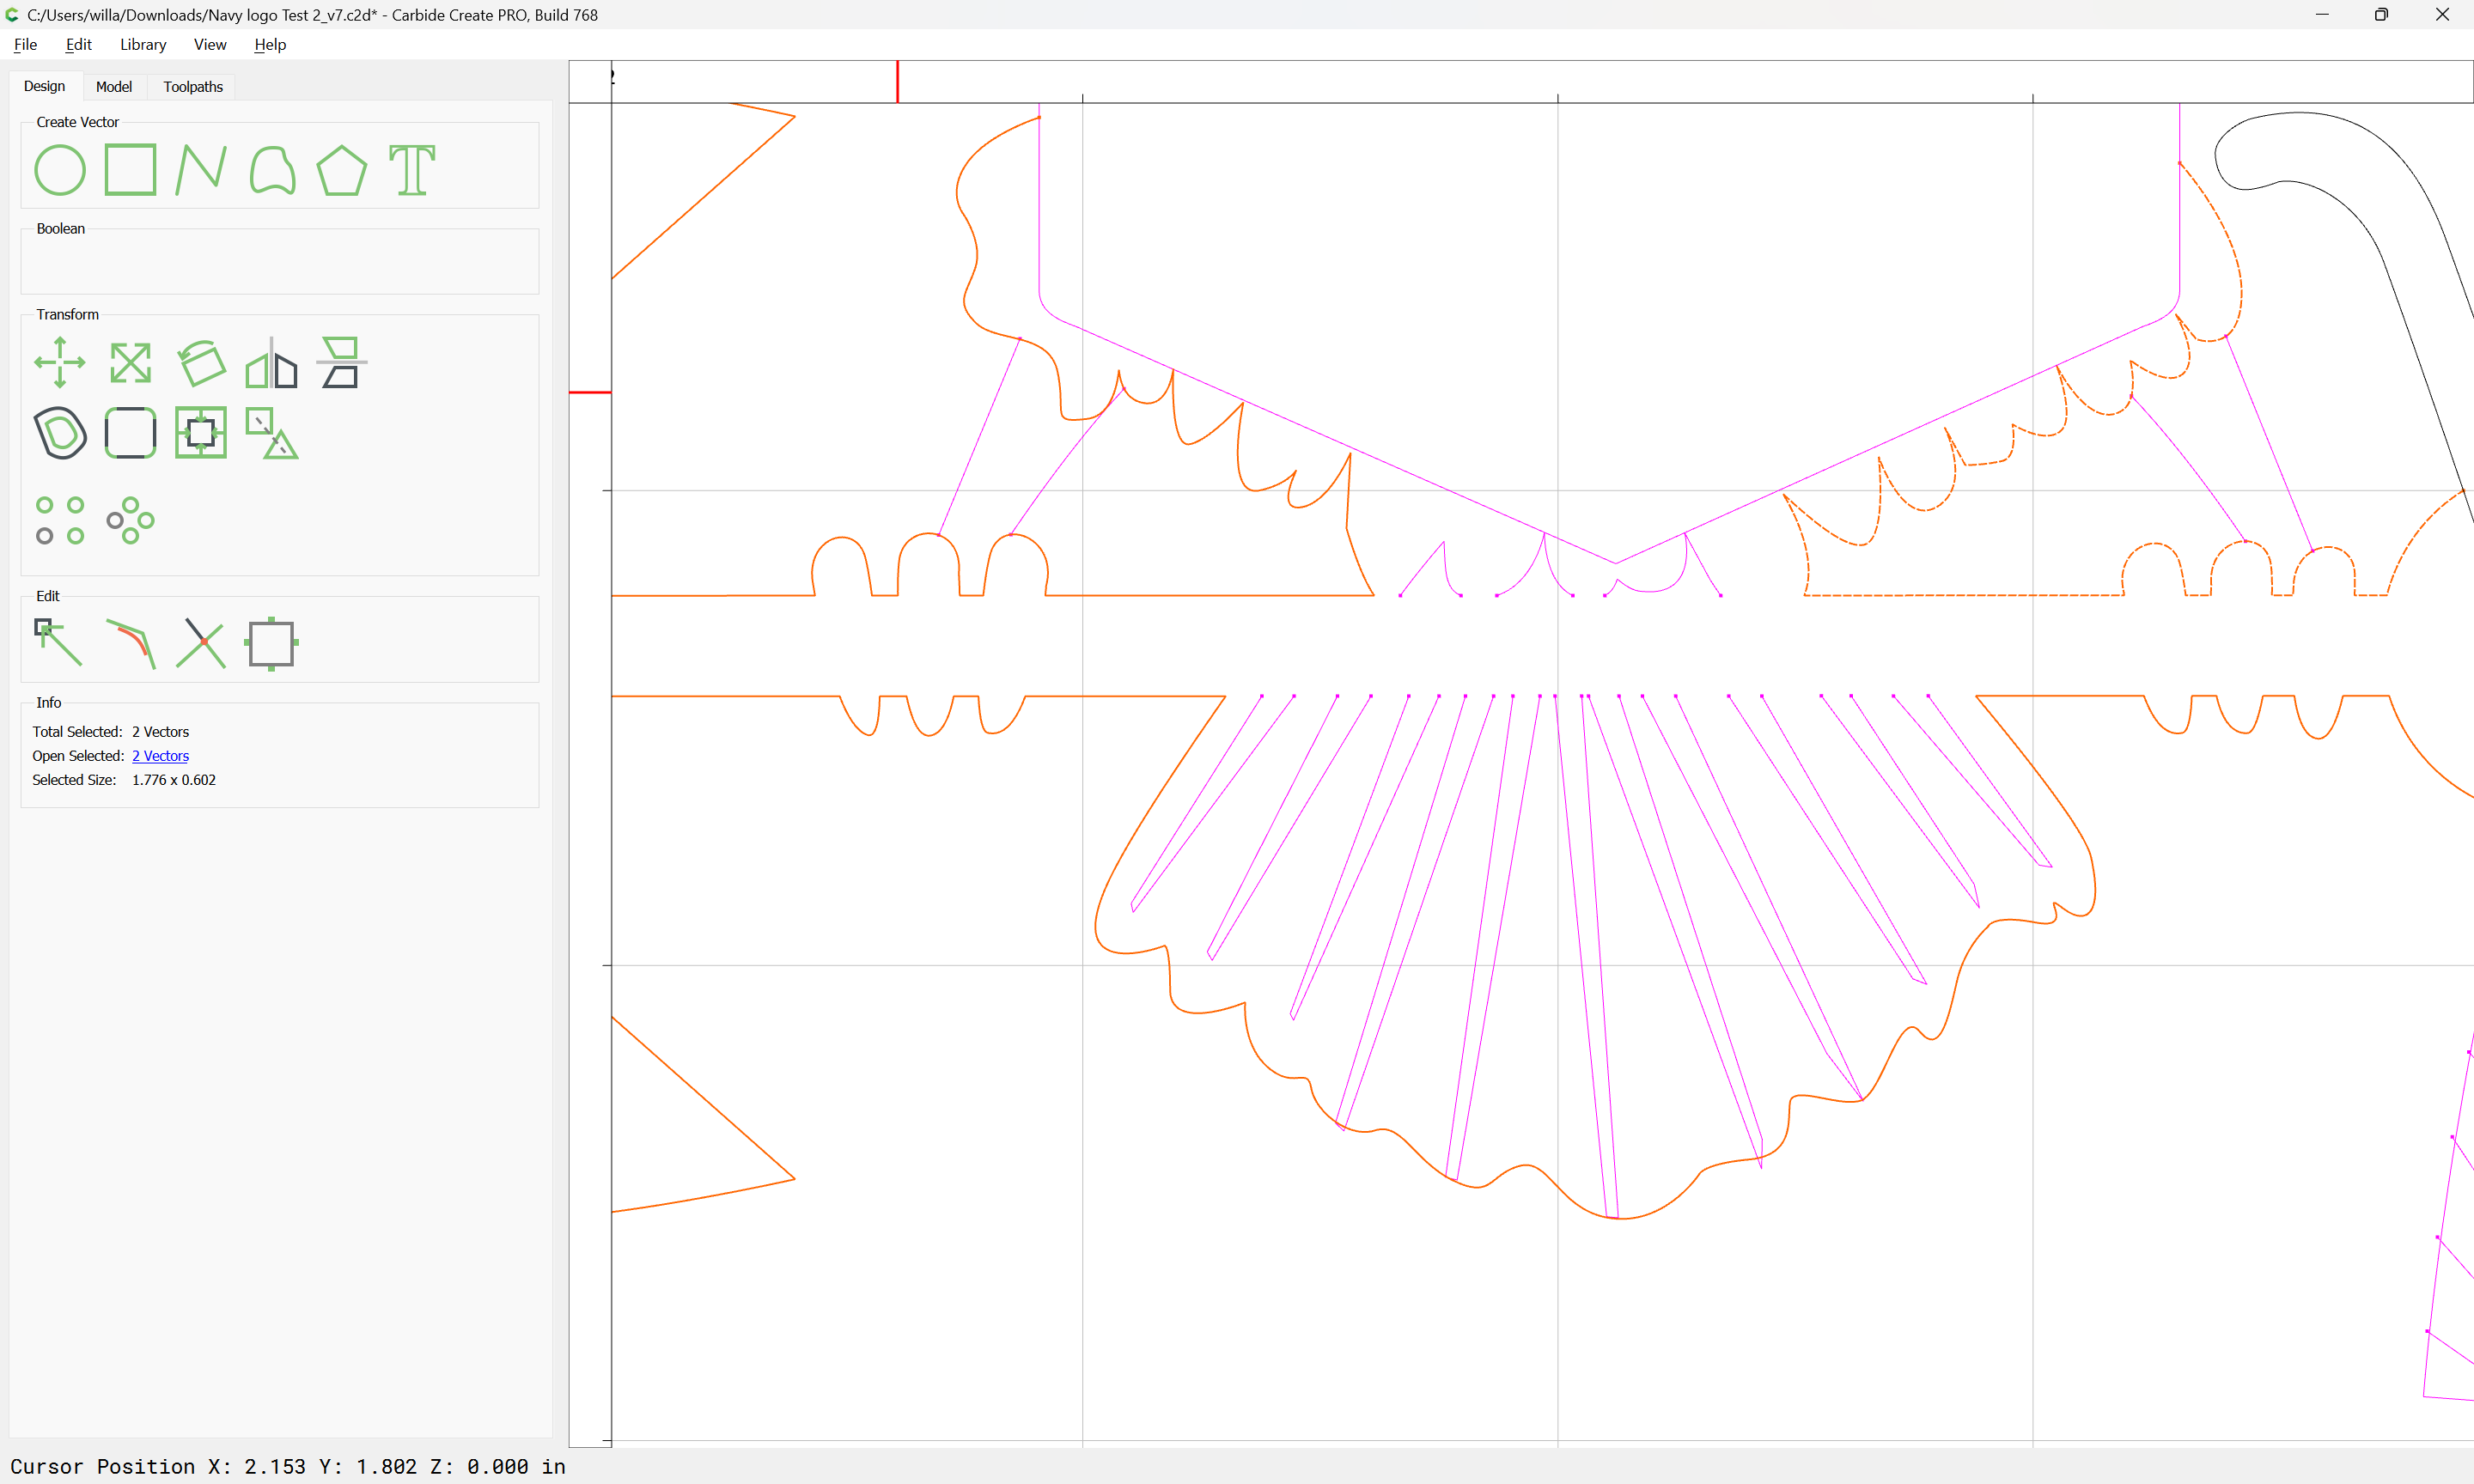
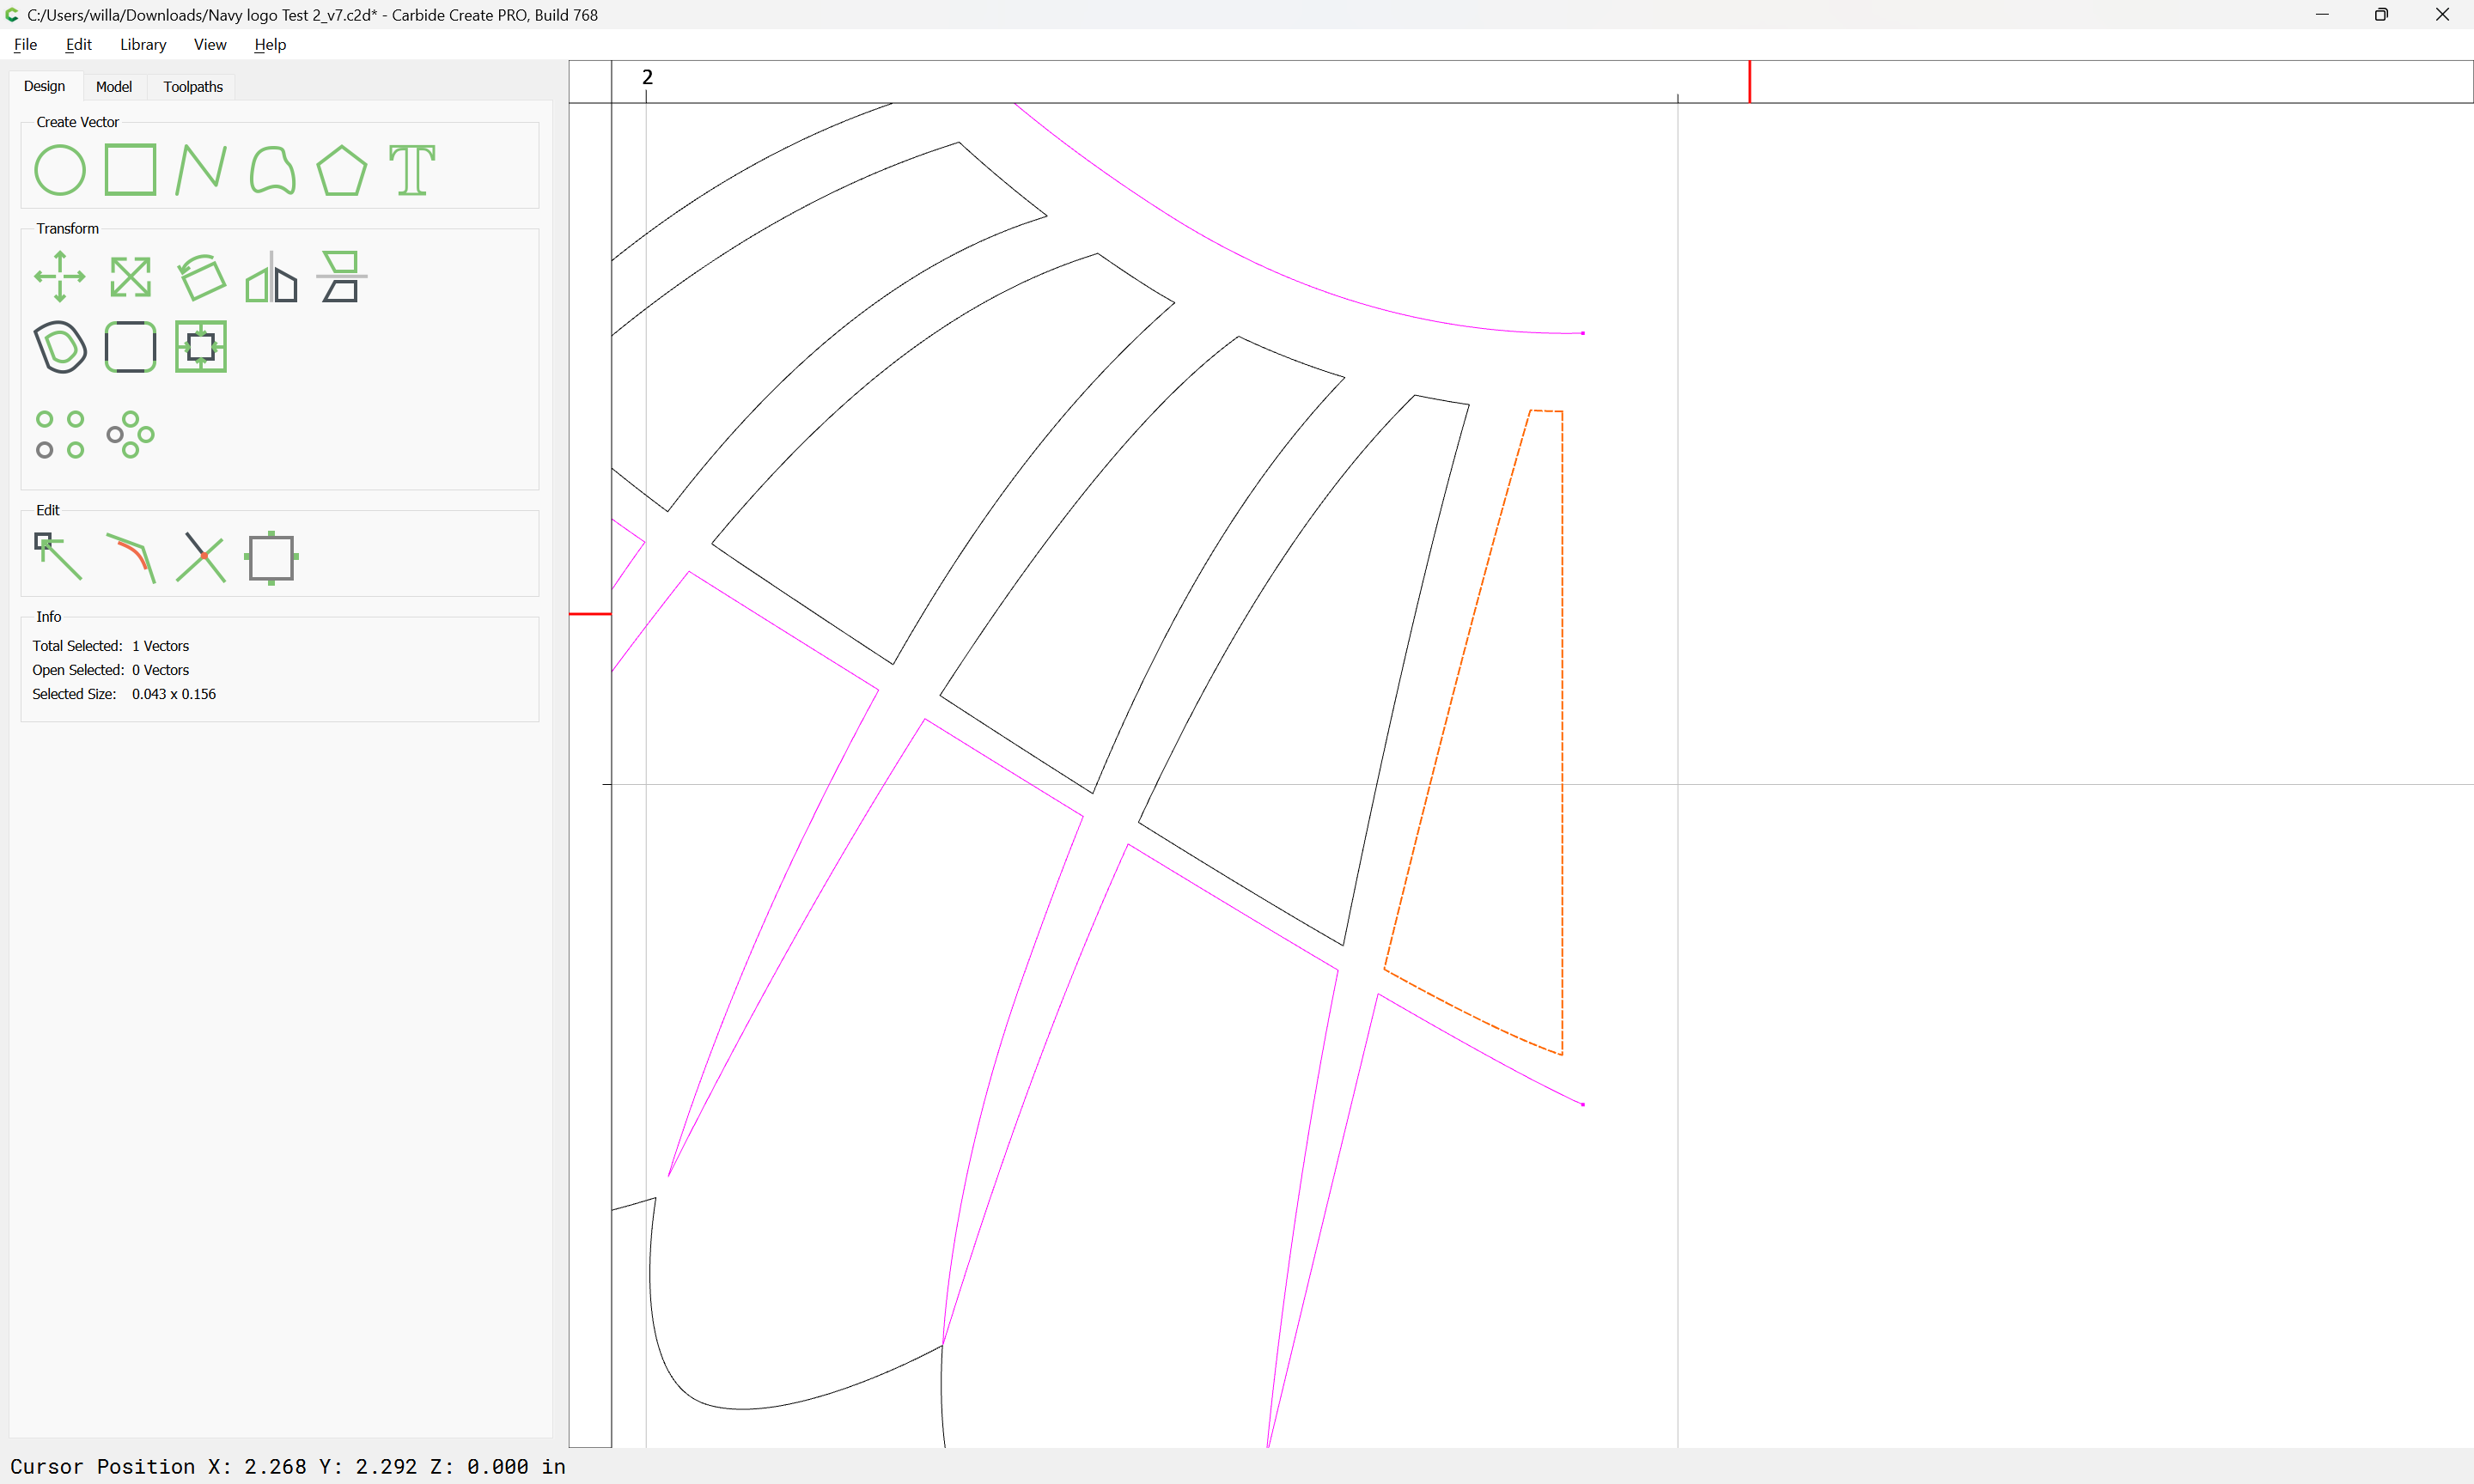
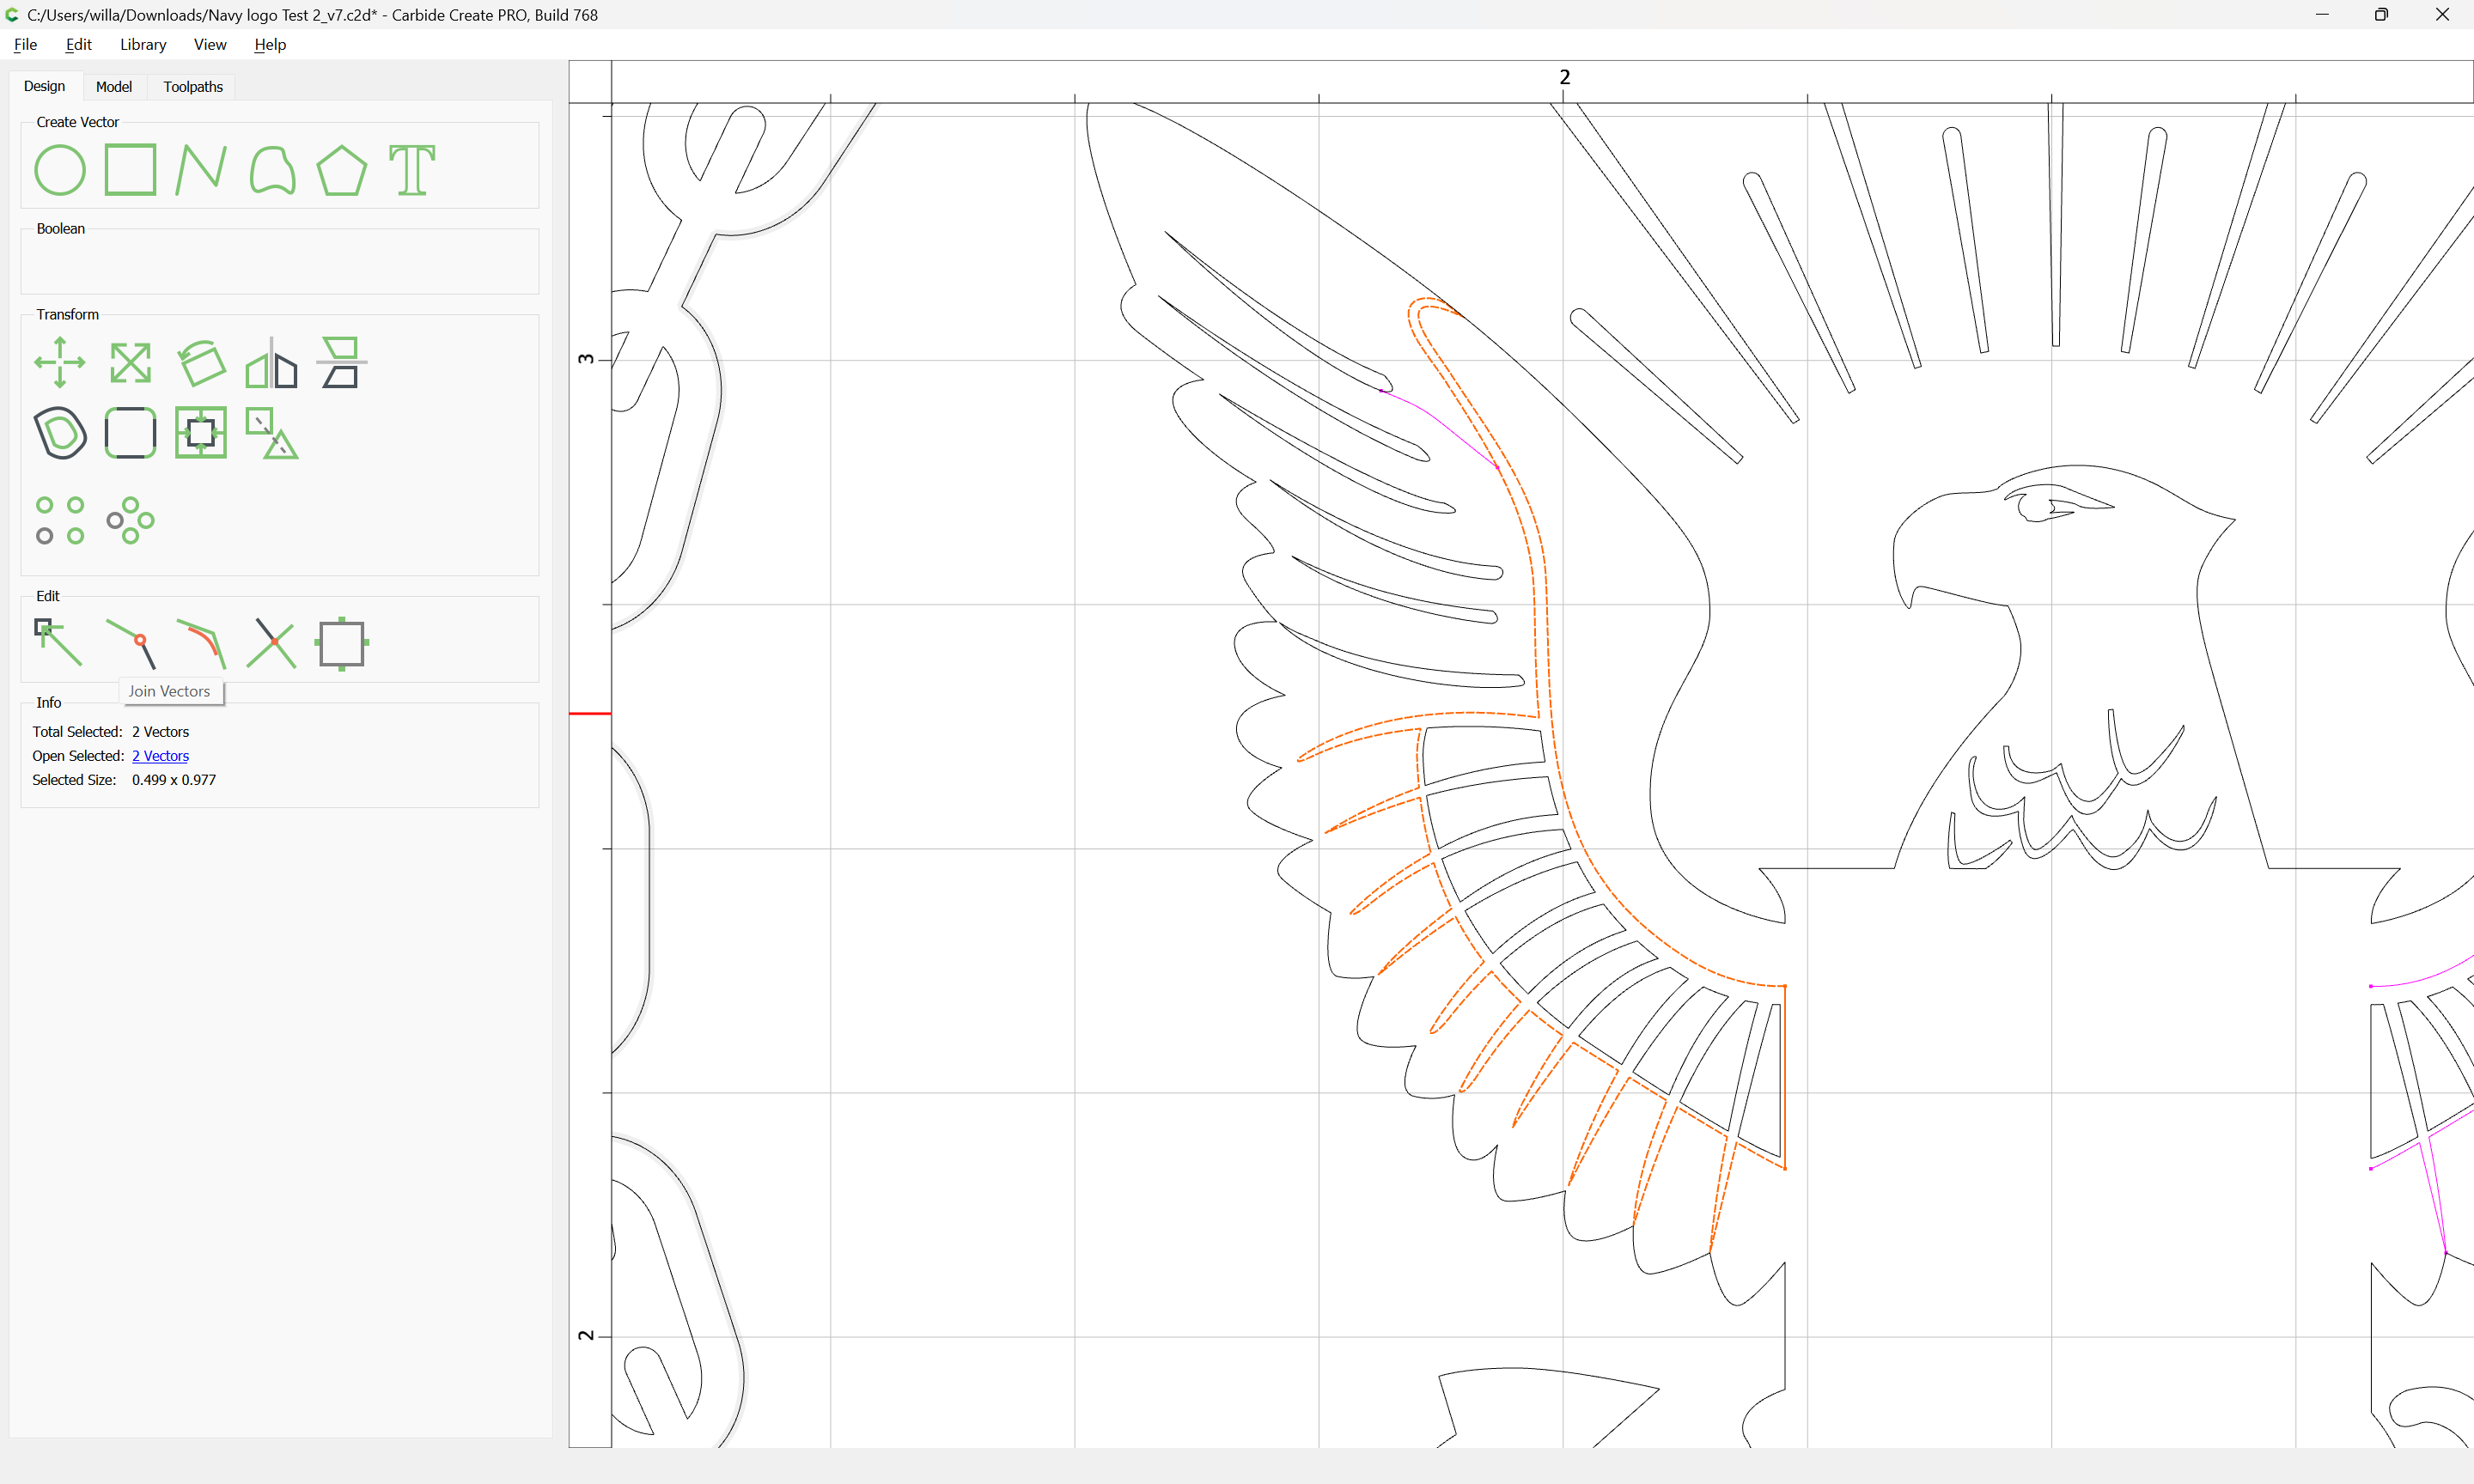
At a minimum it is necessary to section up the closed geometry and join it with the open geometry which forms the balance of the perimeter.

As before, we select the upper level geometry:

and move it to its own layer for later reference and duplicate it in place:

and select the in-between geometry:

delete it:

and then draw in geometry to join together:

and repeat for the lower portion

Then select the overlapping geometry:

and use Trim Vectors to remove what is not wanted:

until one arrives at:

OK

OK

Join Vectors

Repeat this until one has a continuous outline around the design elements in question.

Will,
Thank you. This is really helpful. I wasn’t paying attention to the fact that the file was pretty much broken. This gives me a path forward that is very helpful.

Thank you!

Eventually one arrives at a workable outline:

which when added to the Advanced V carving toolpath:

gets one a bit closer.

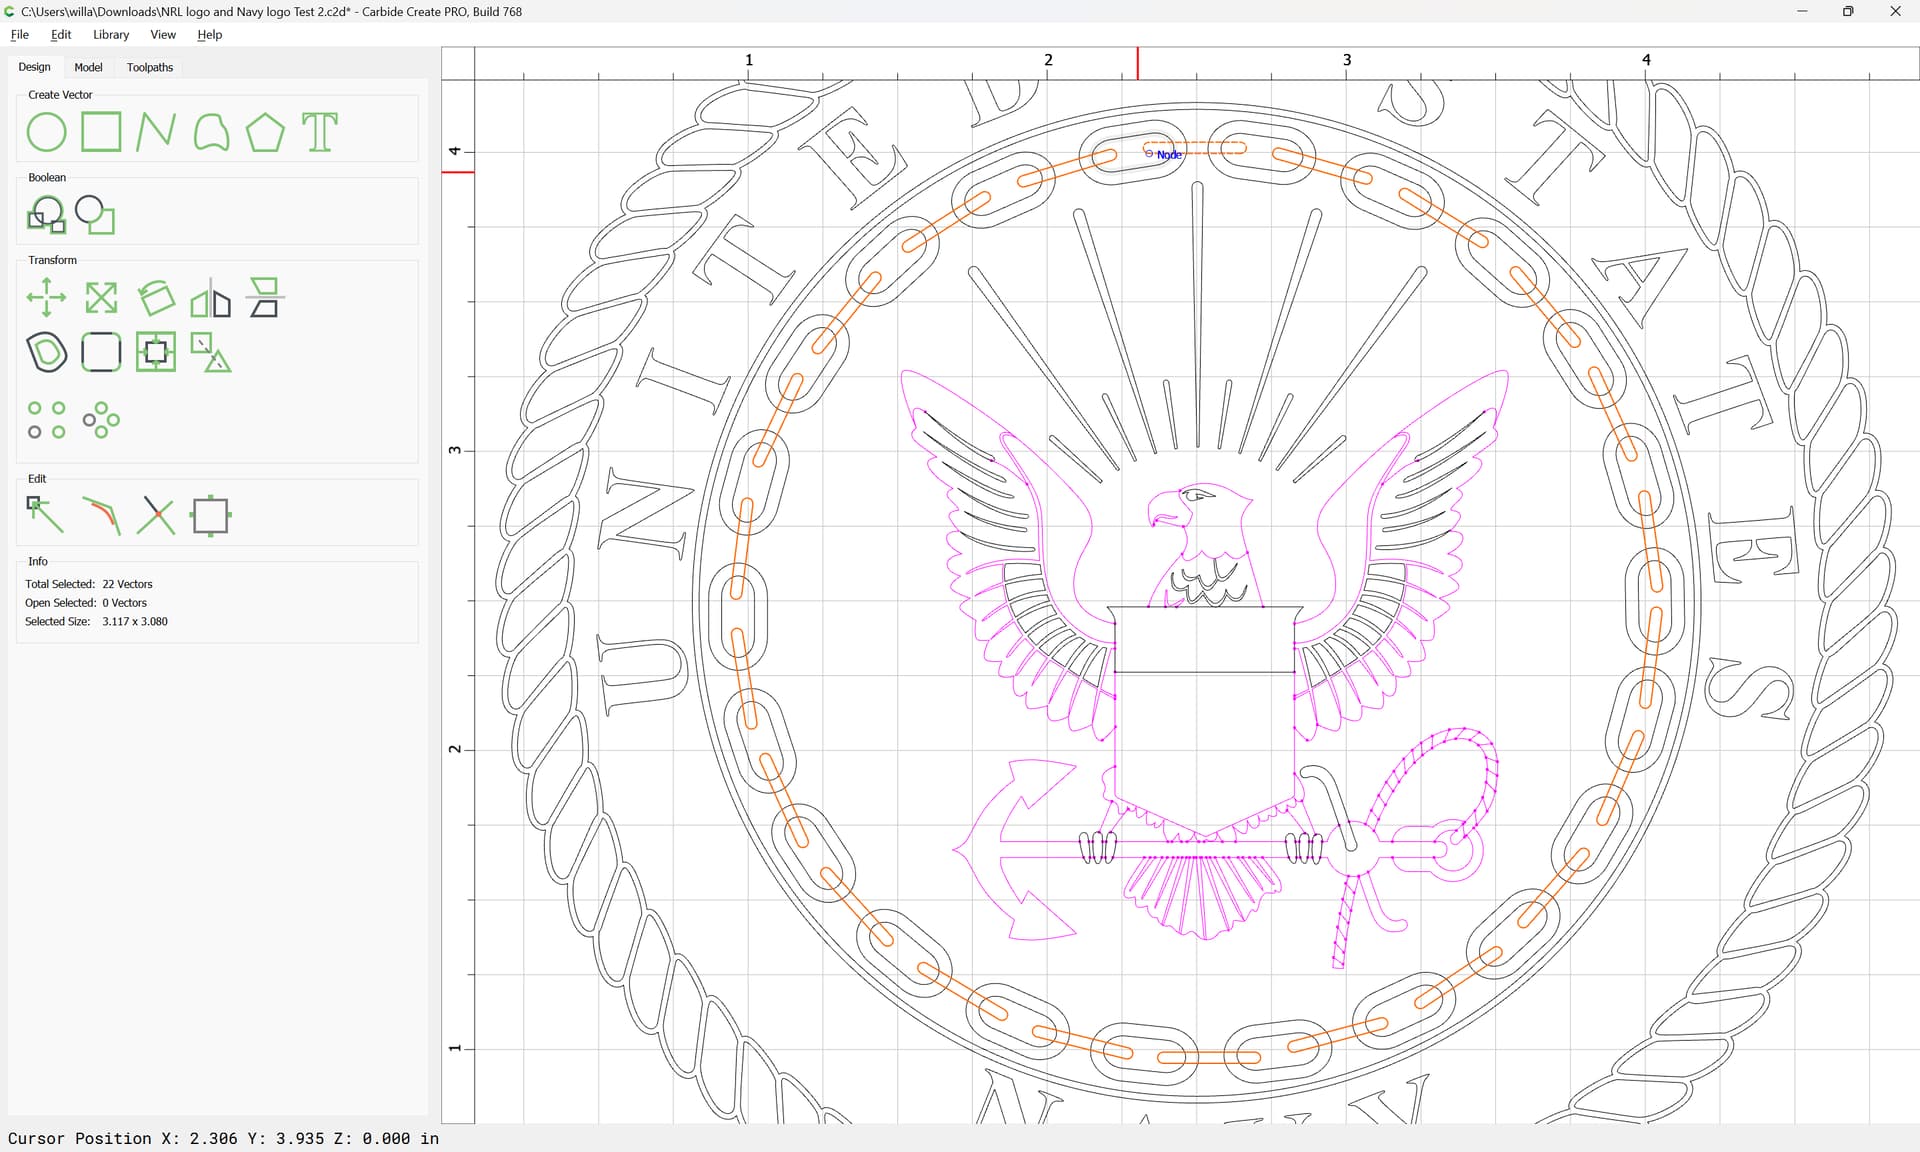
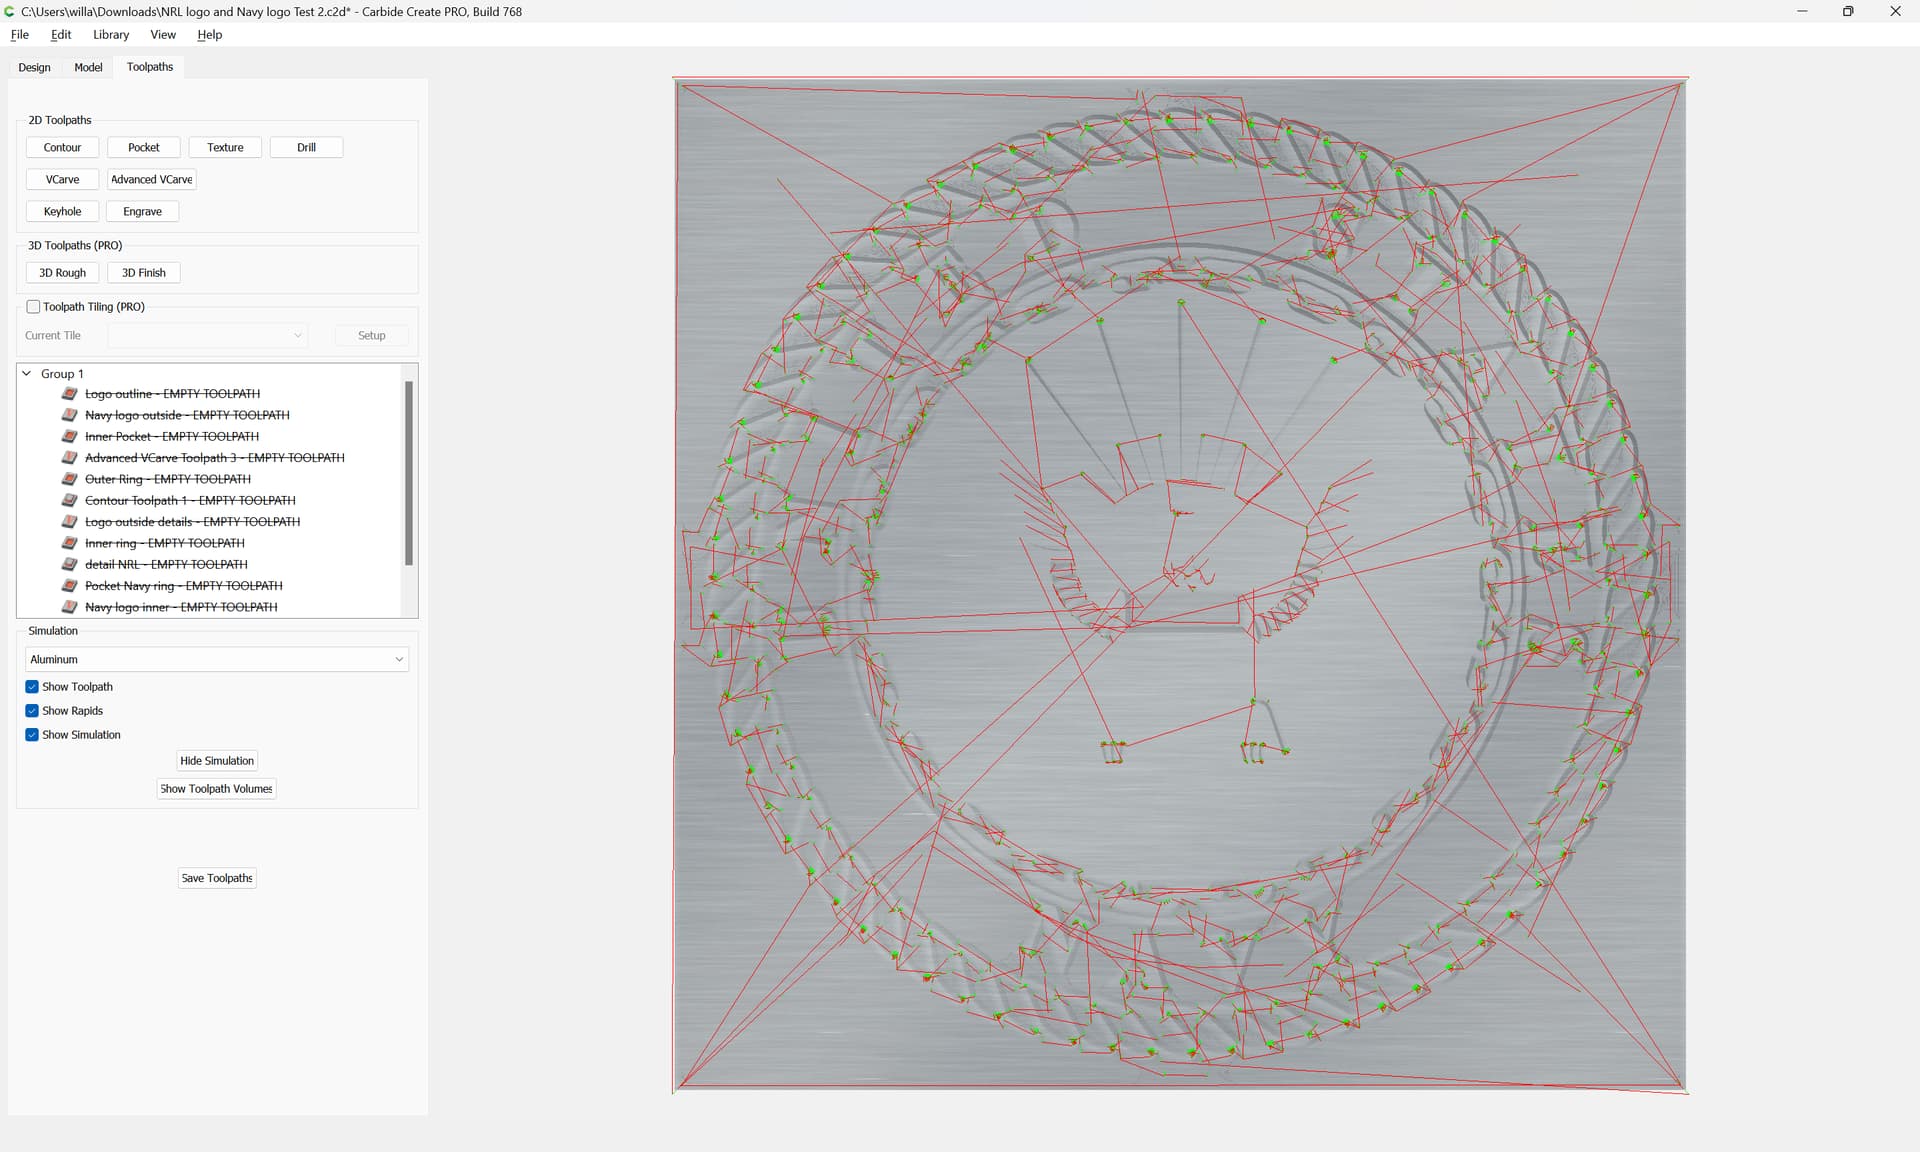
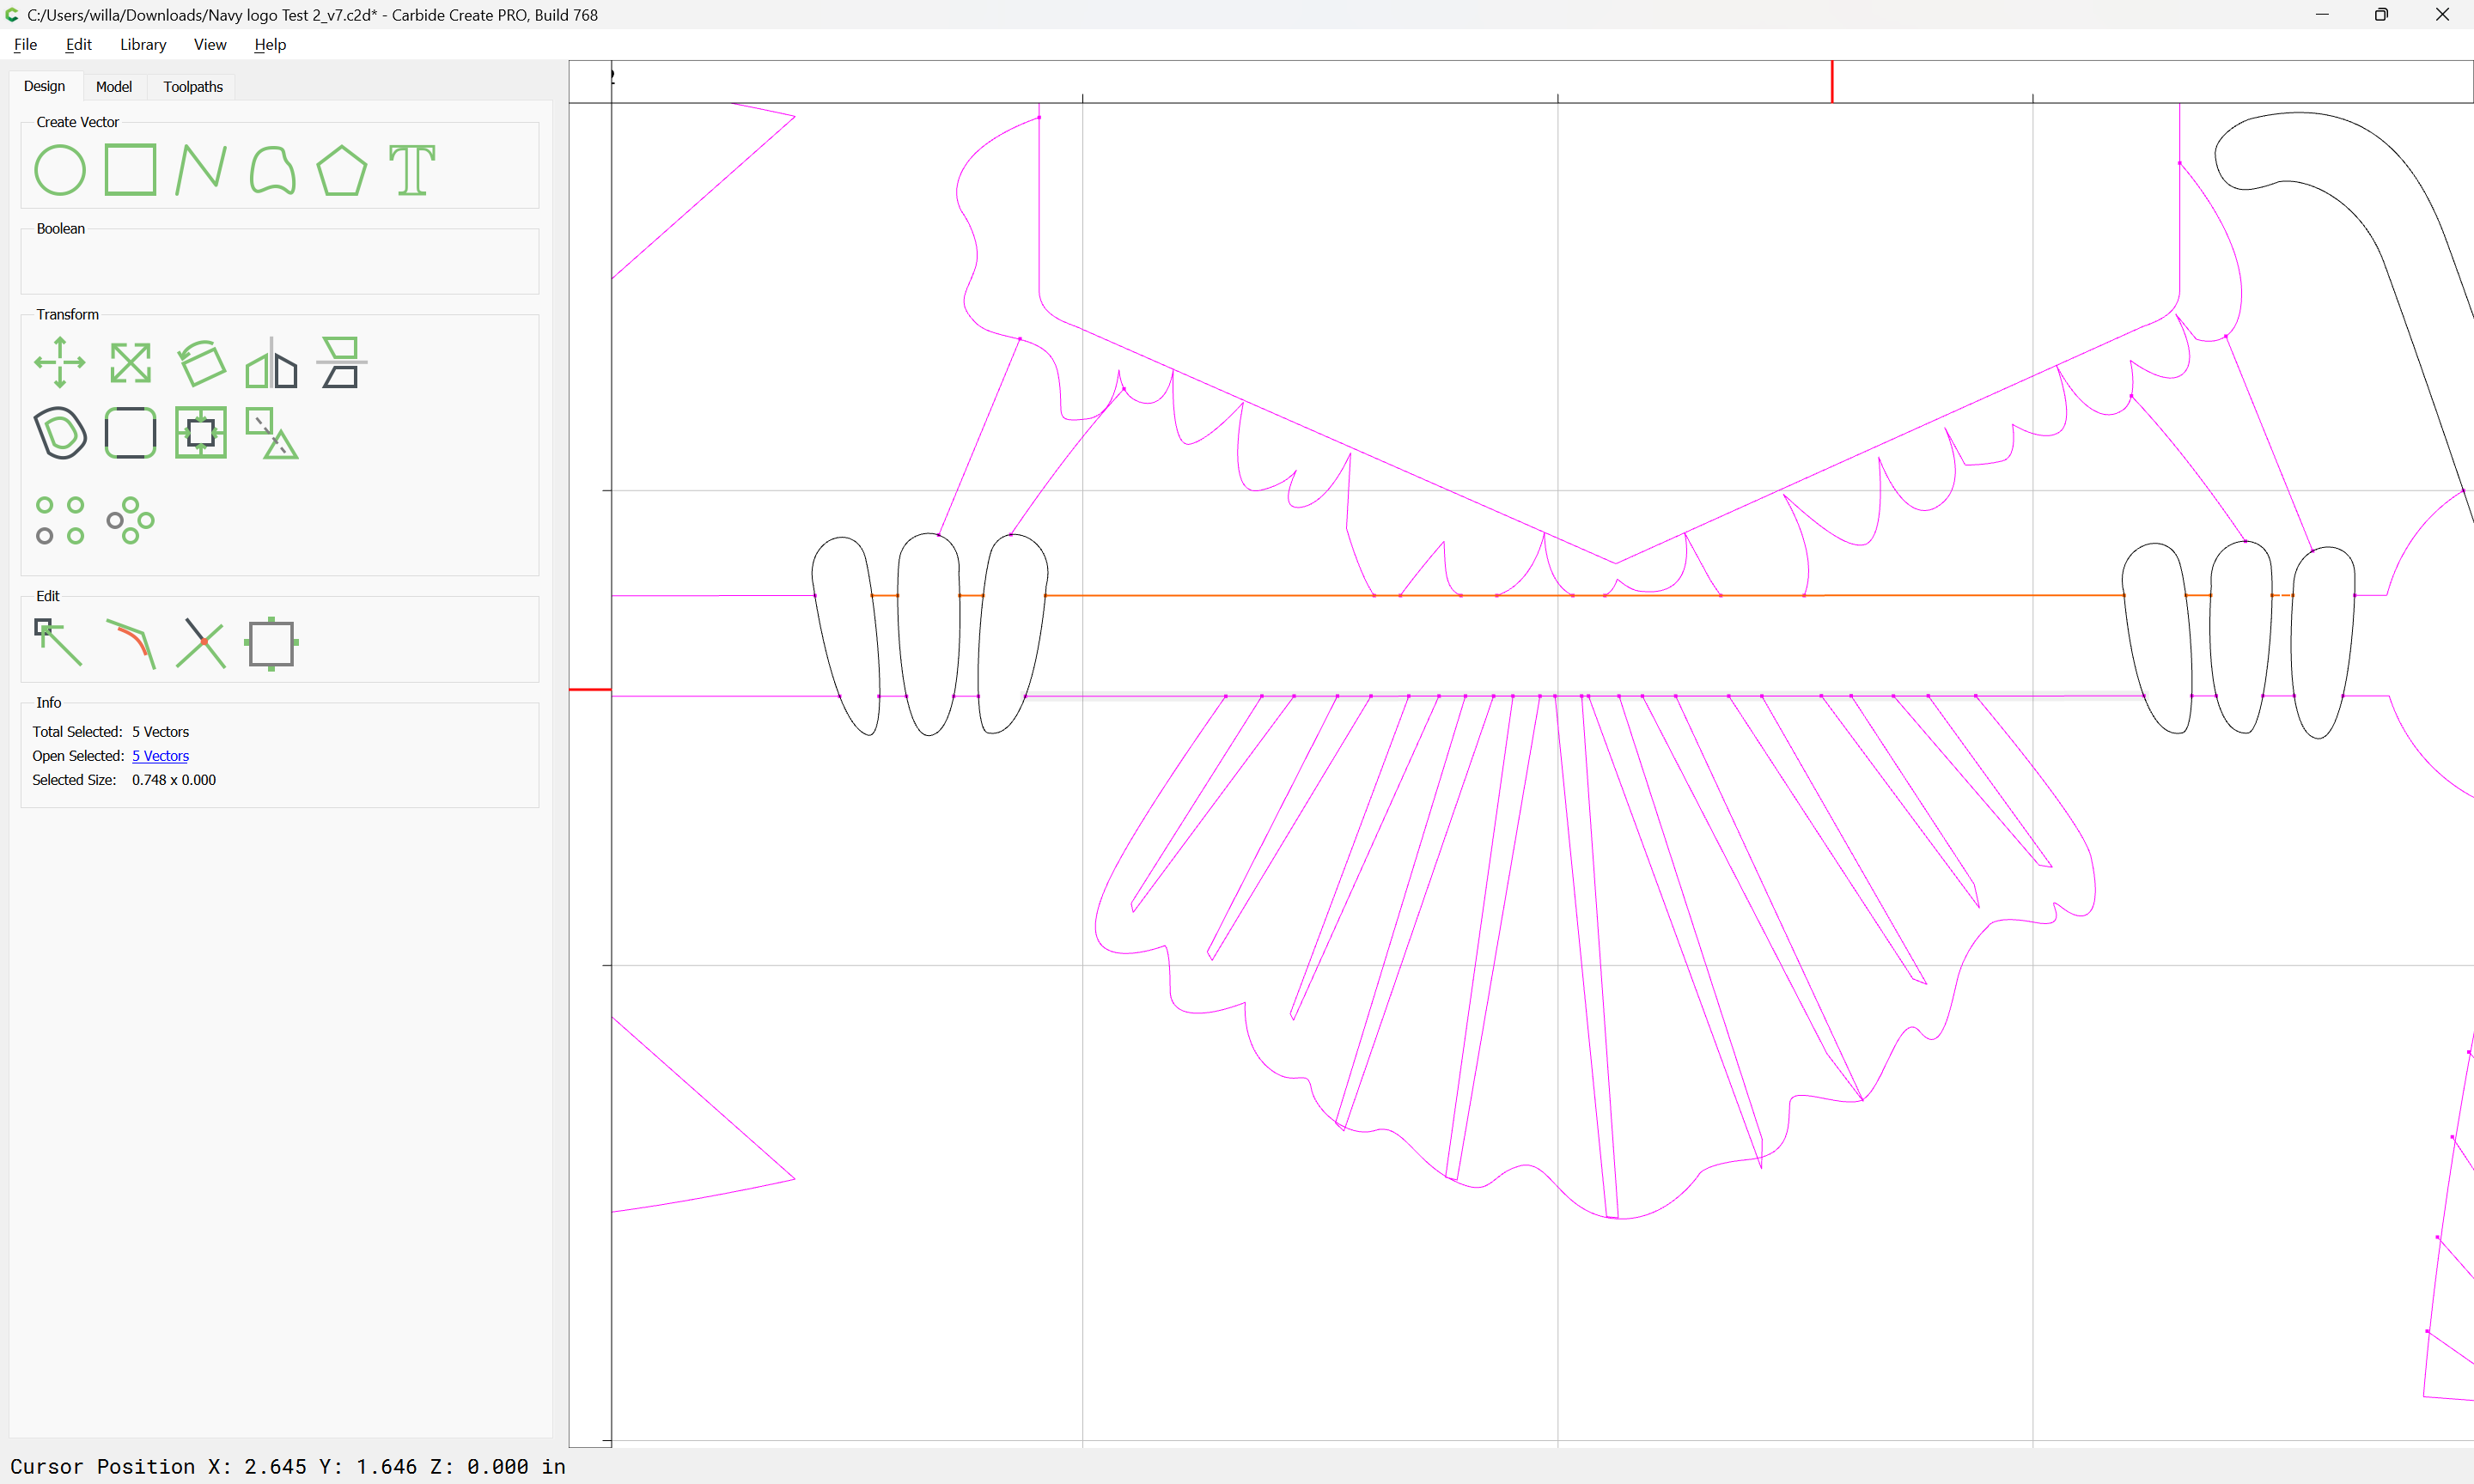
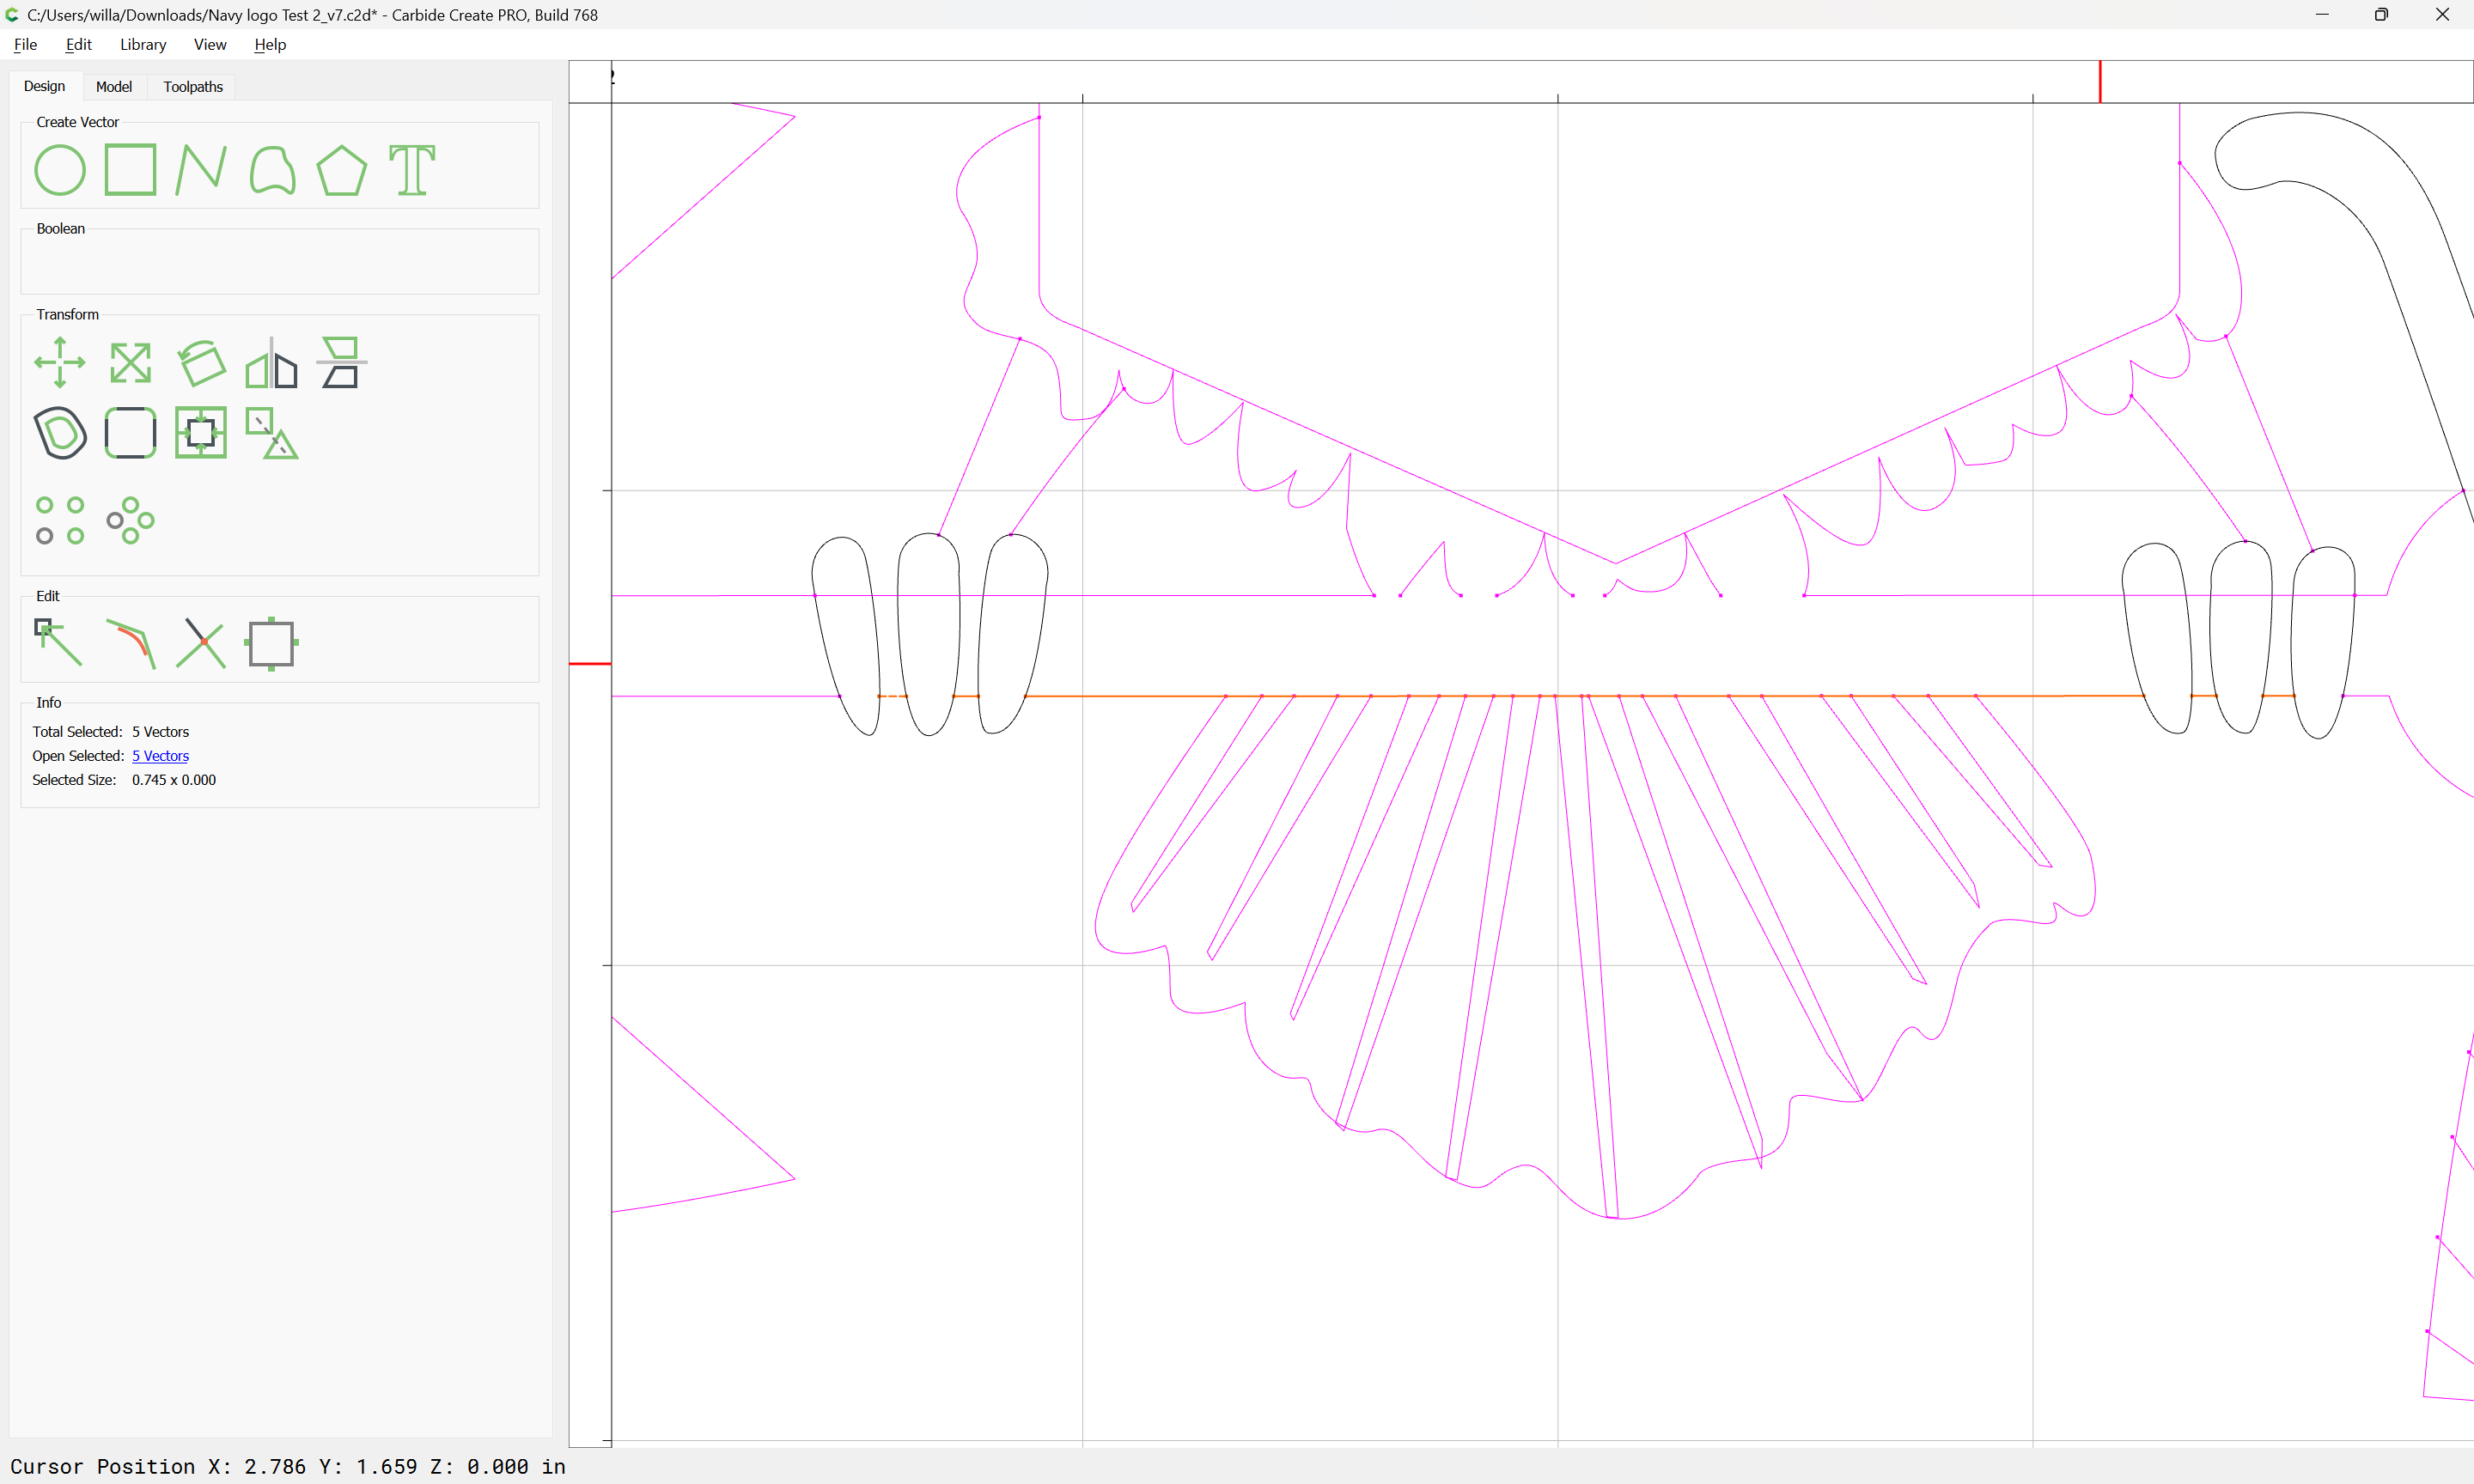
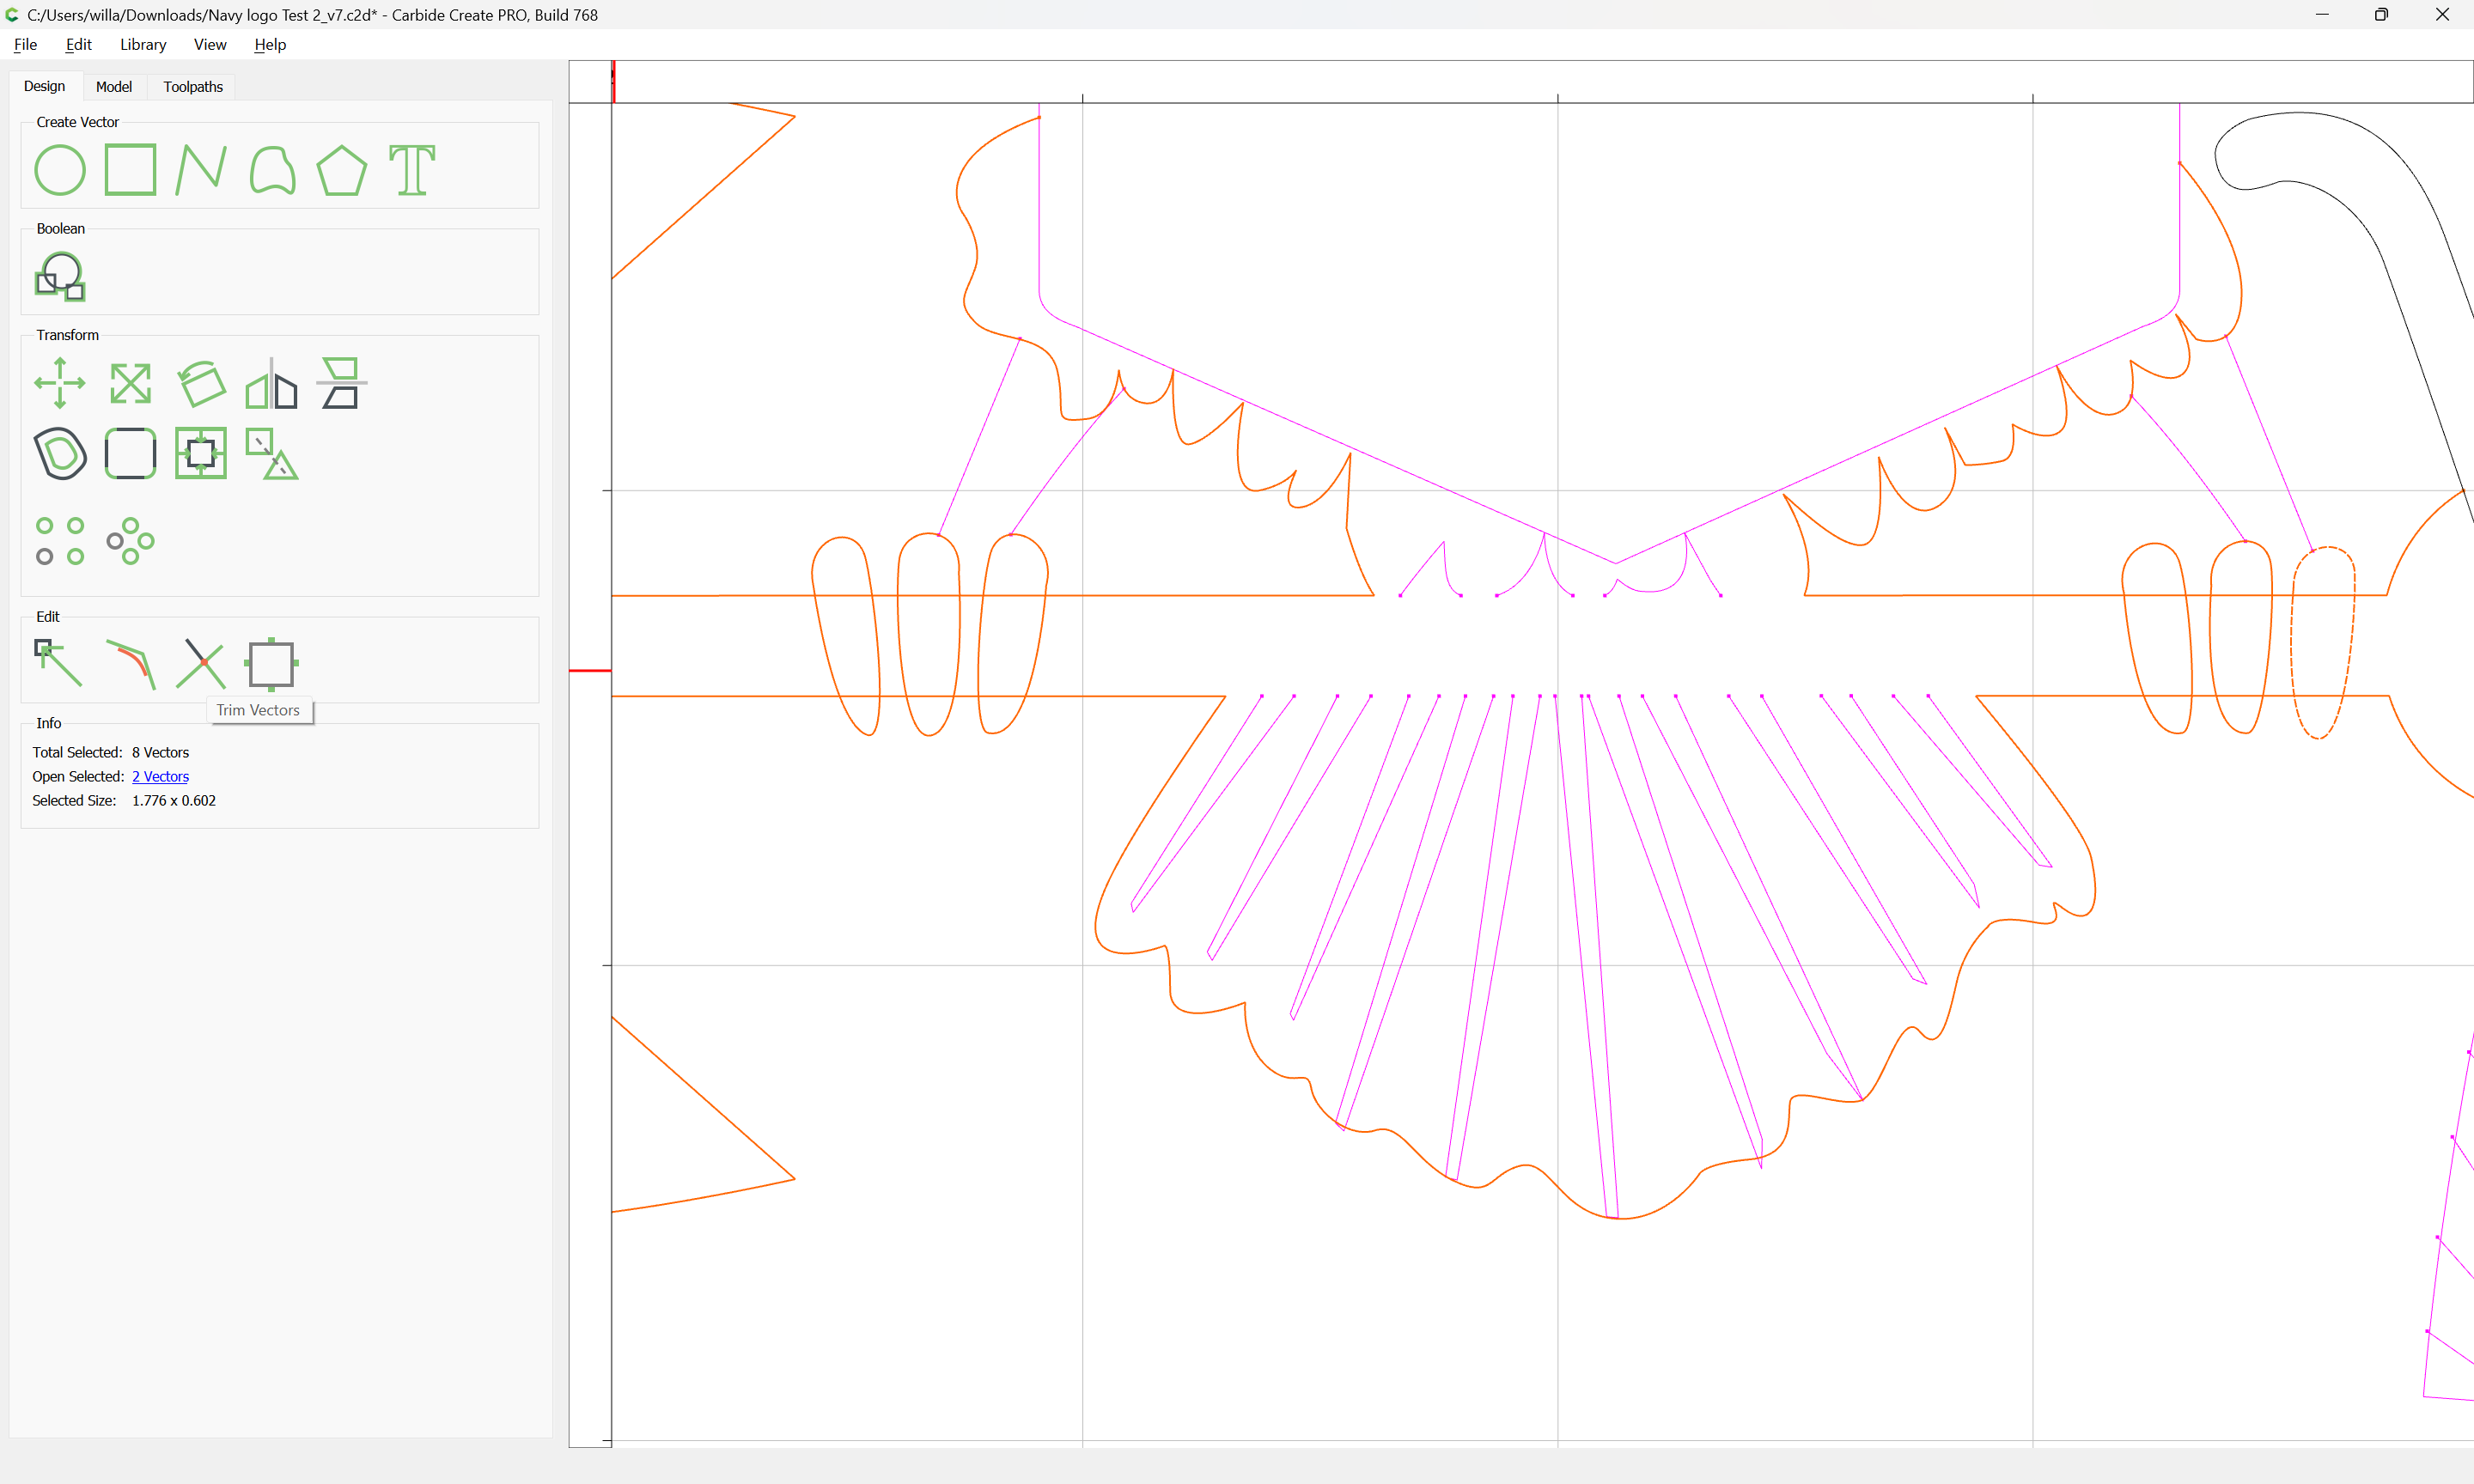
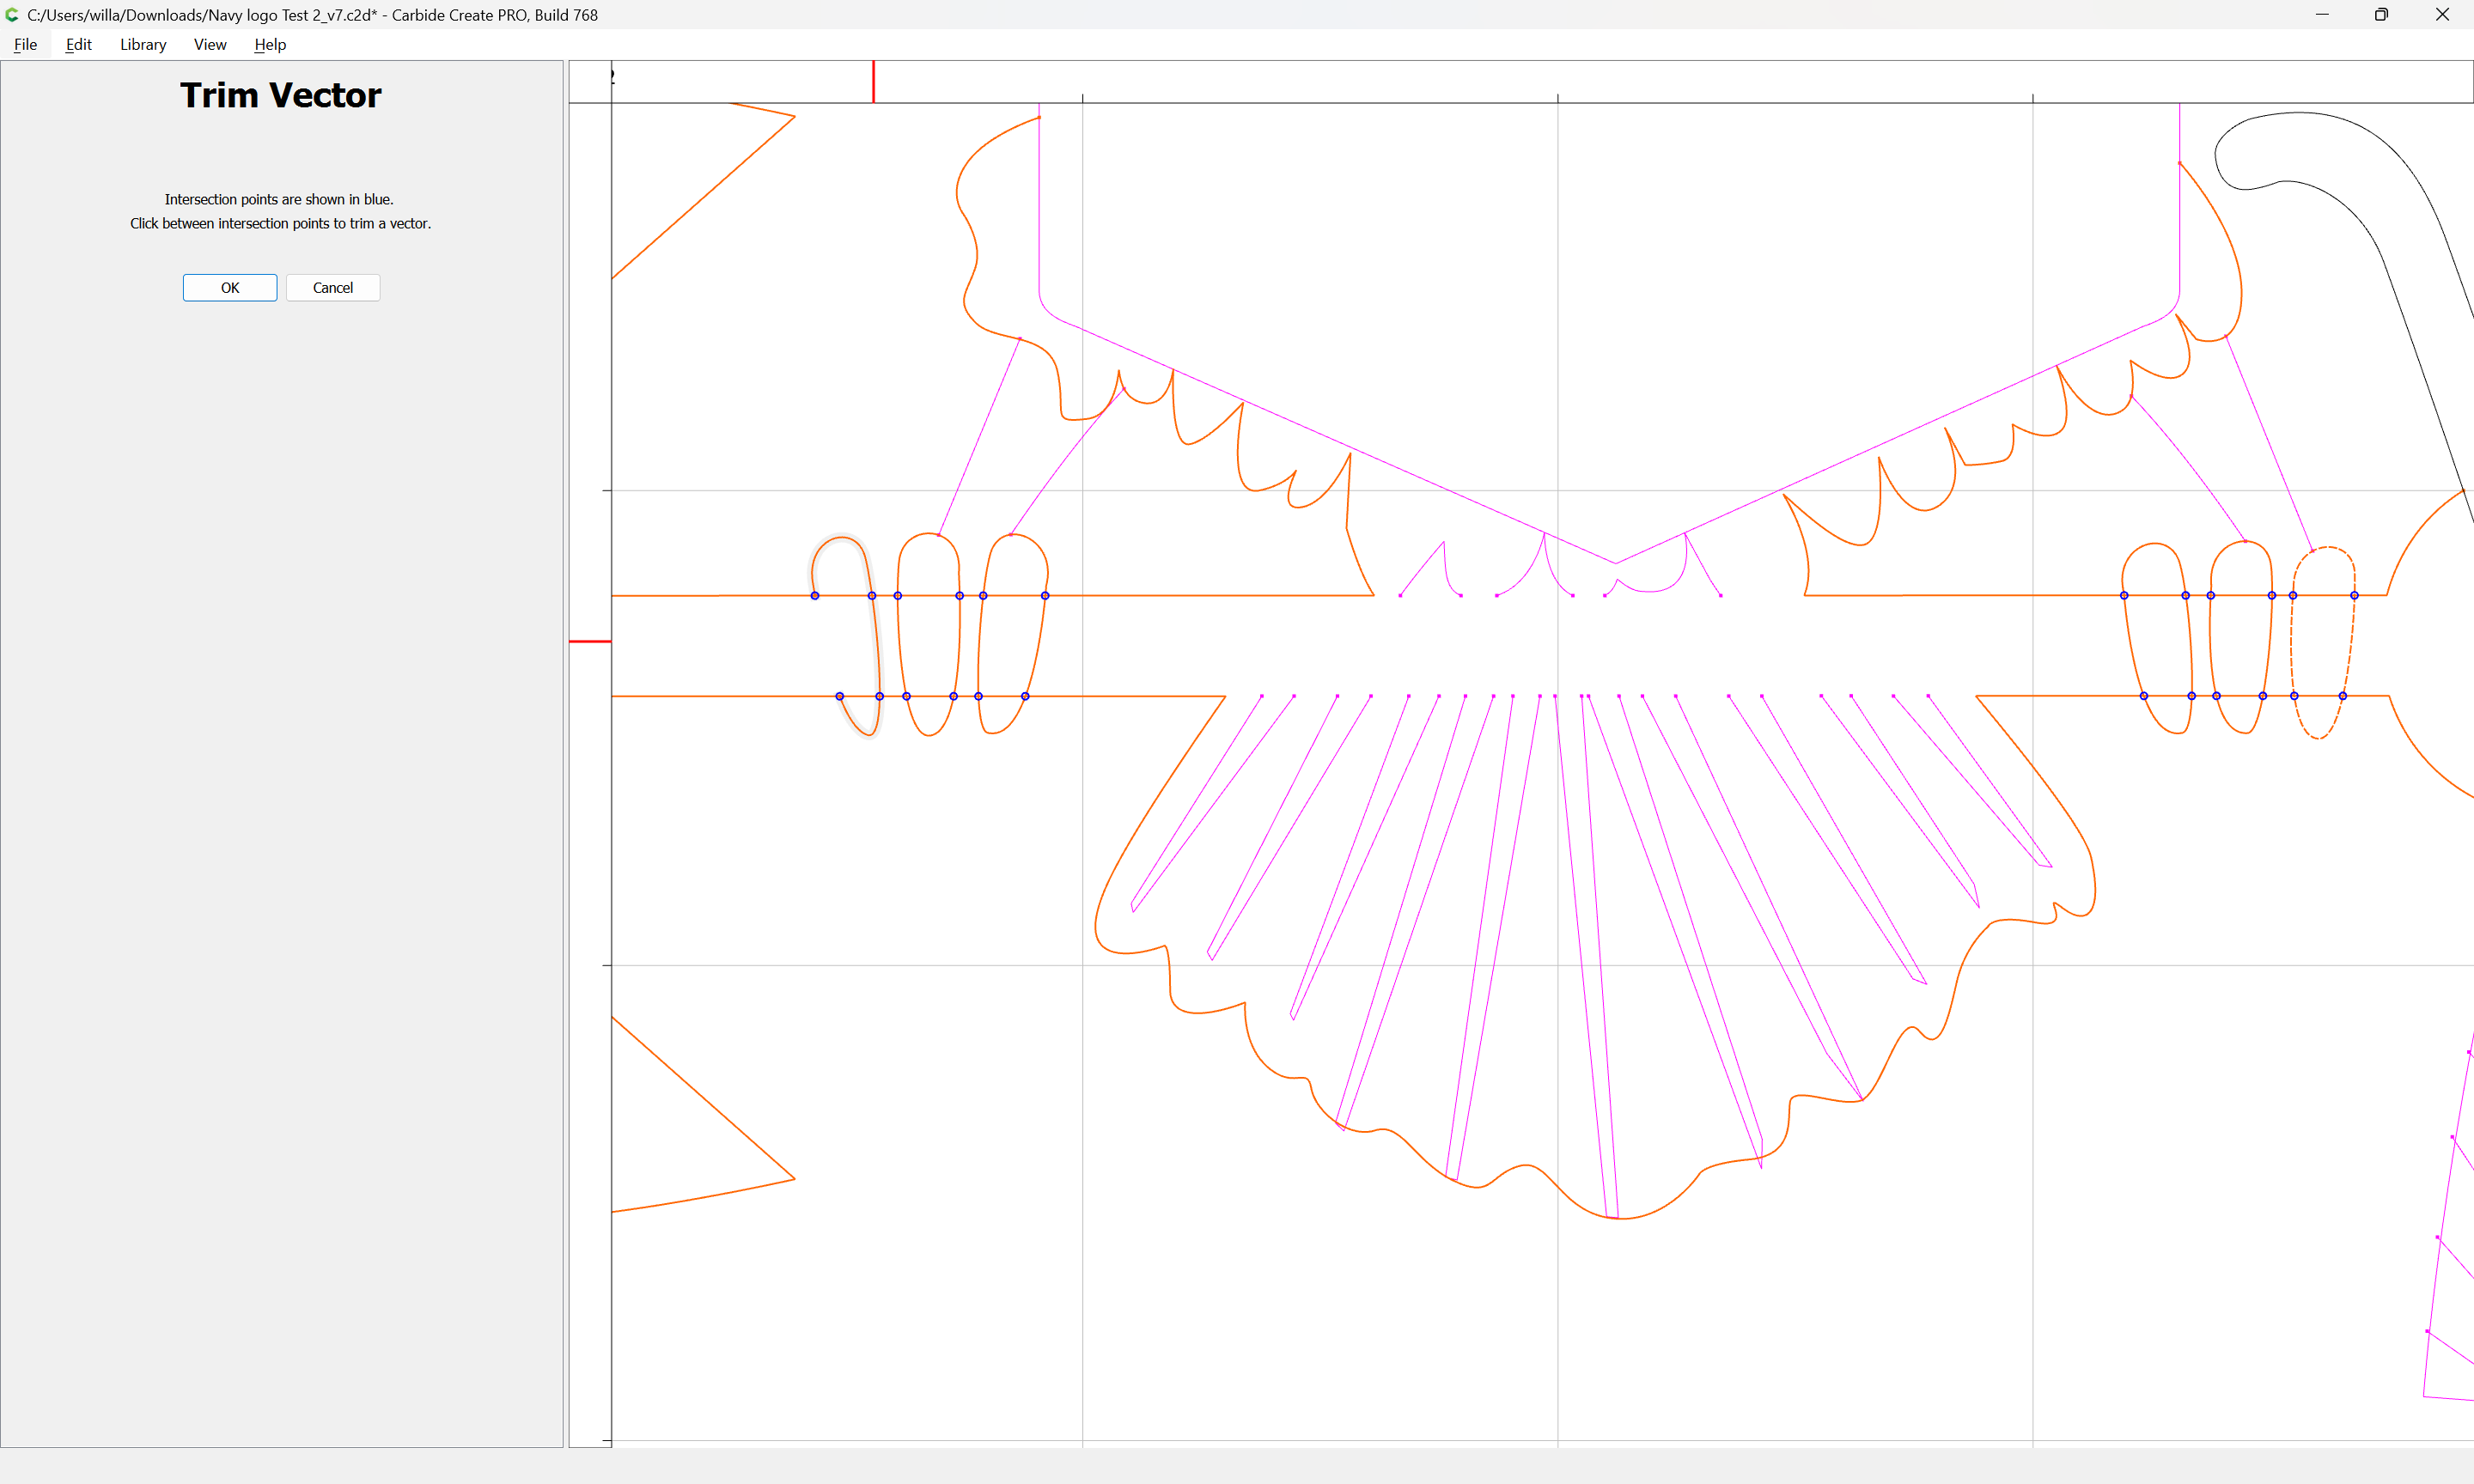
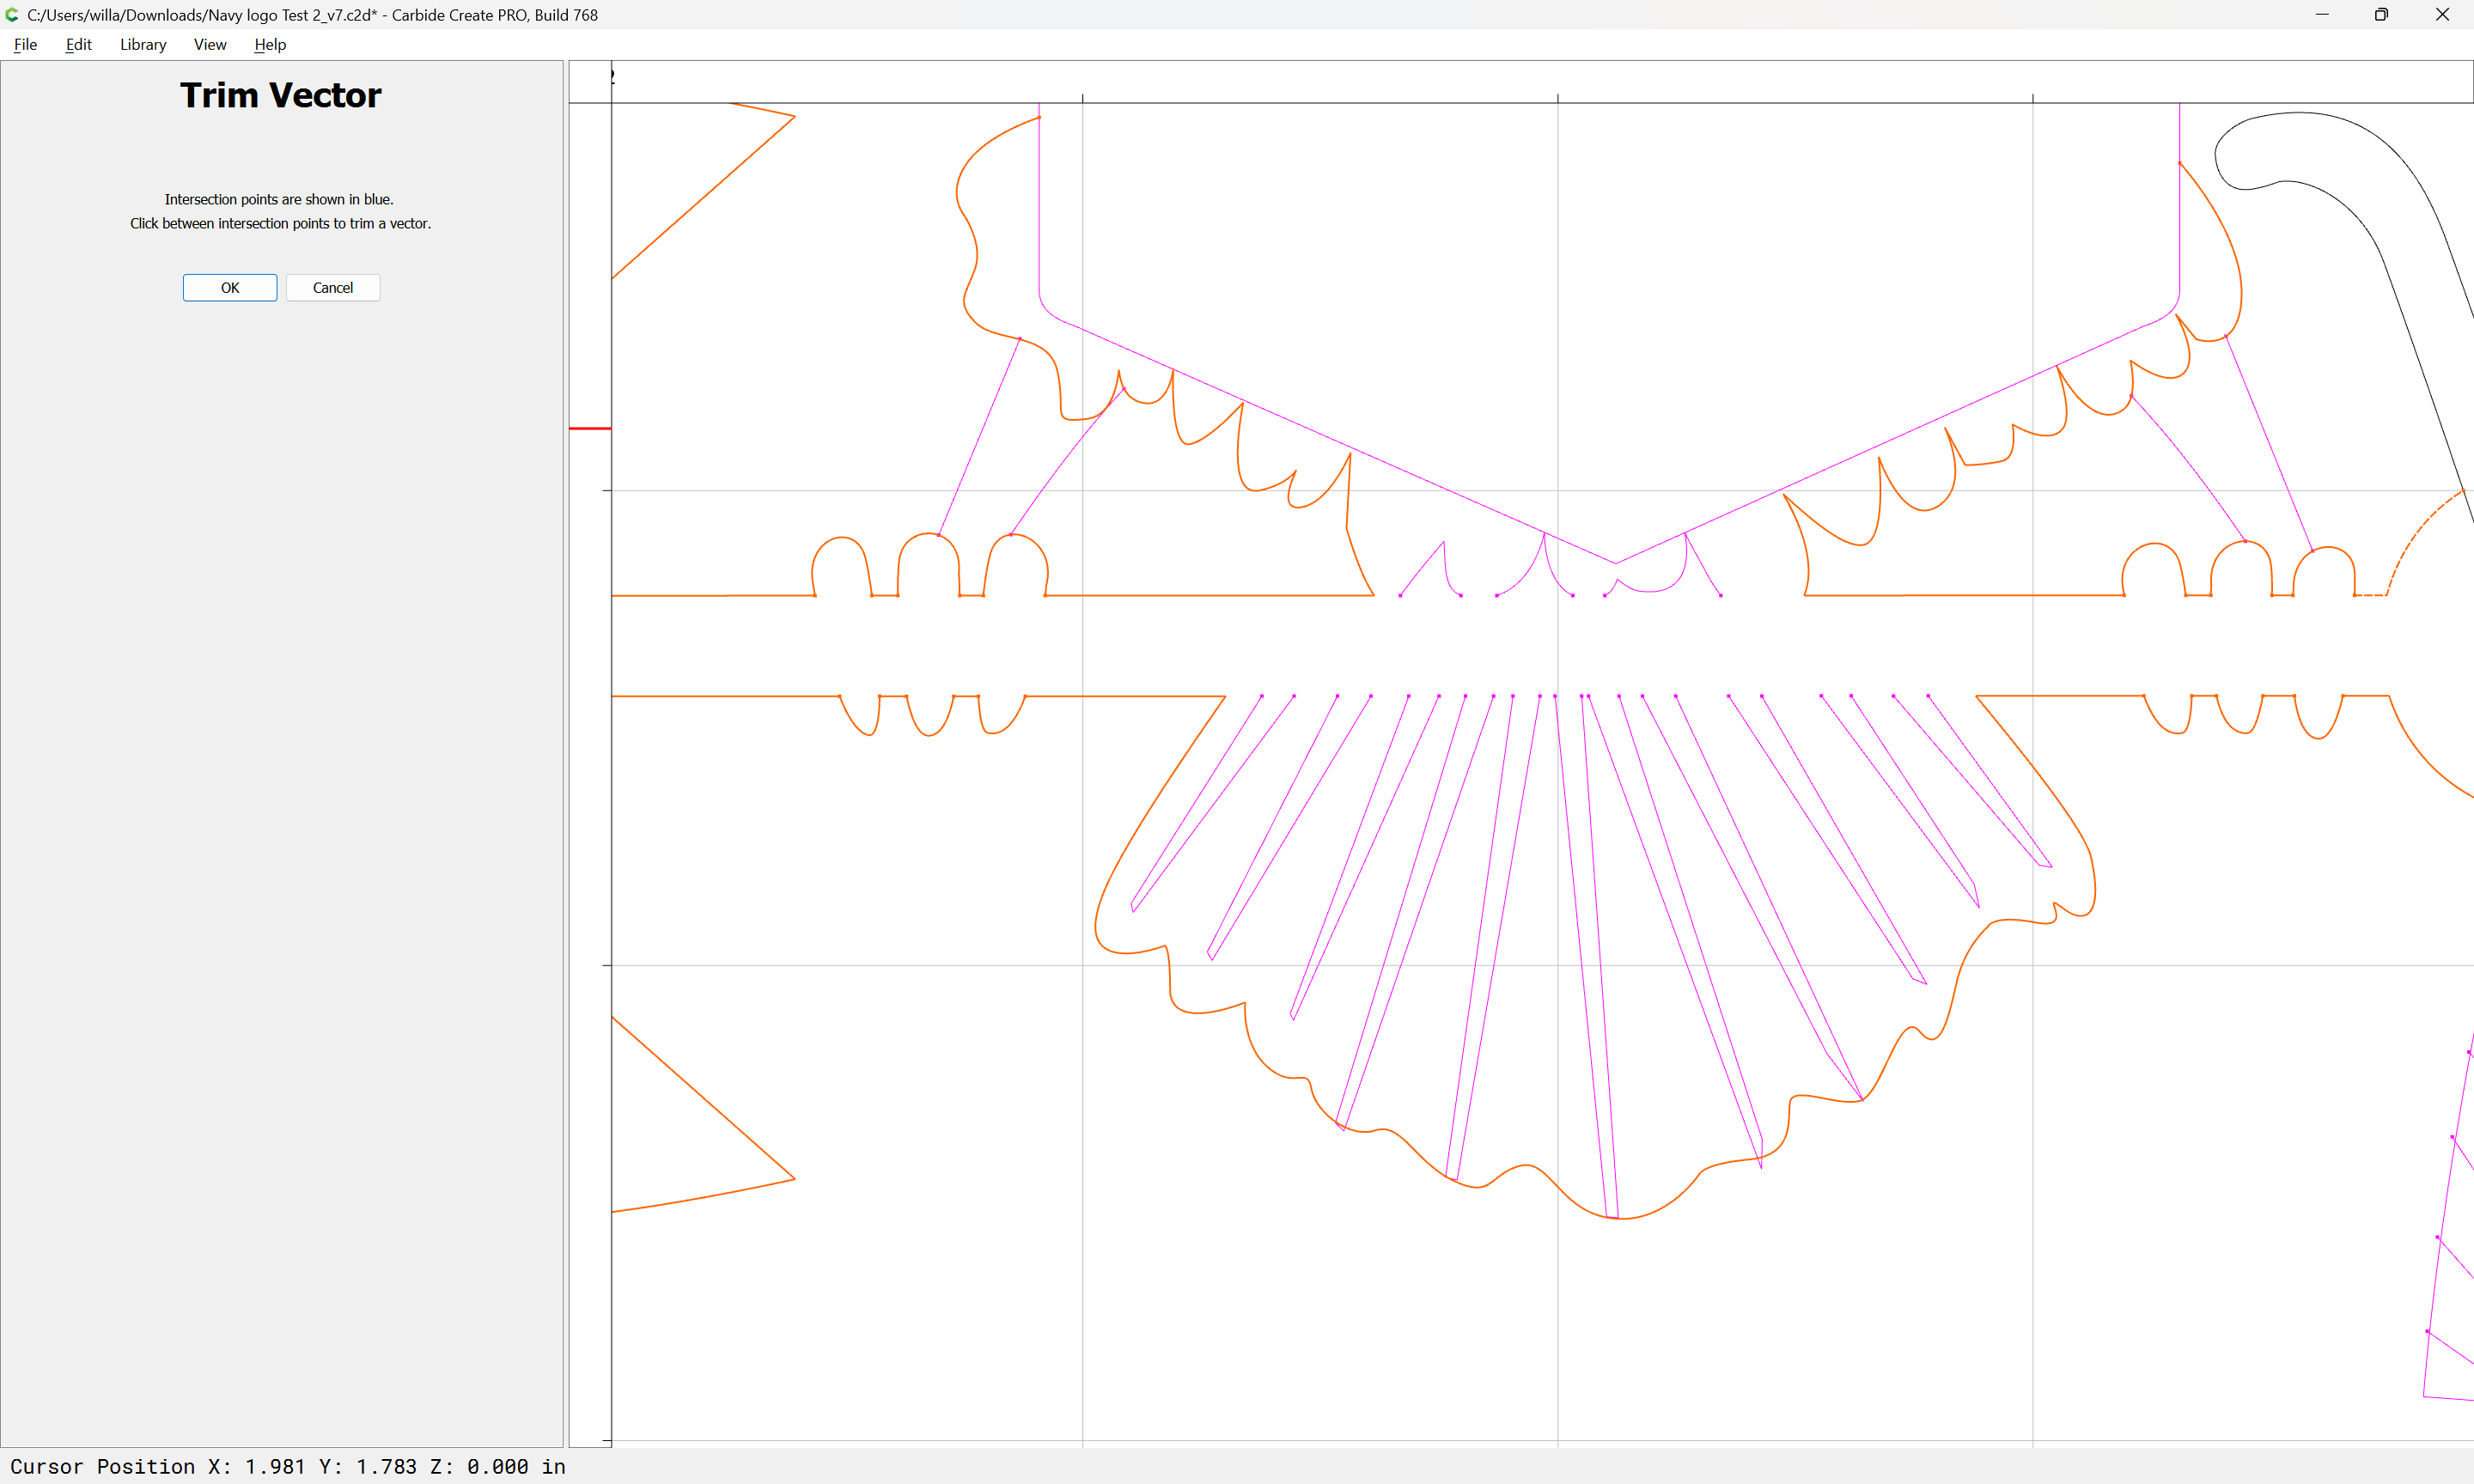
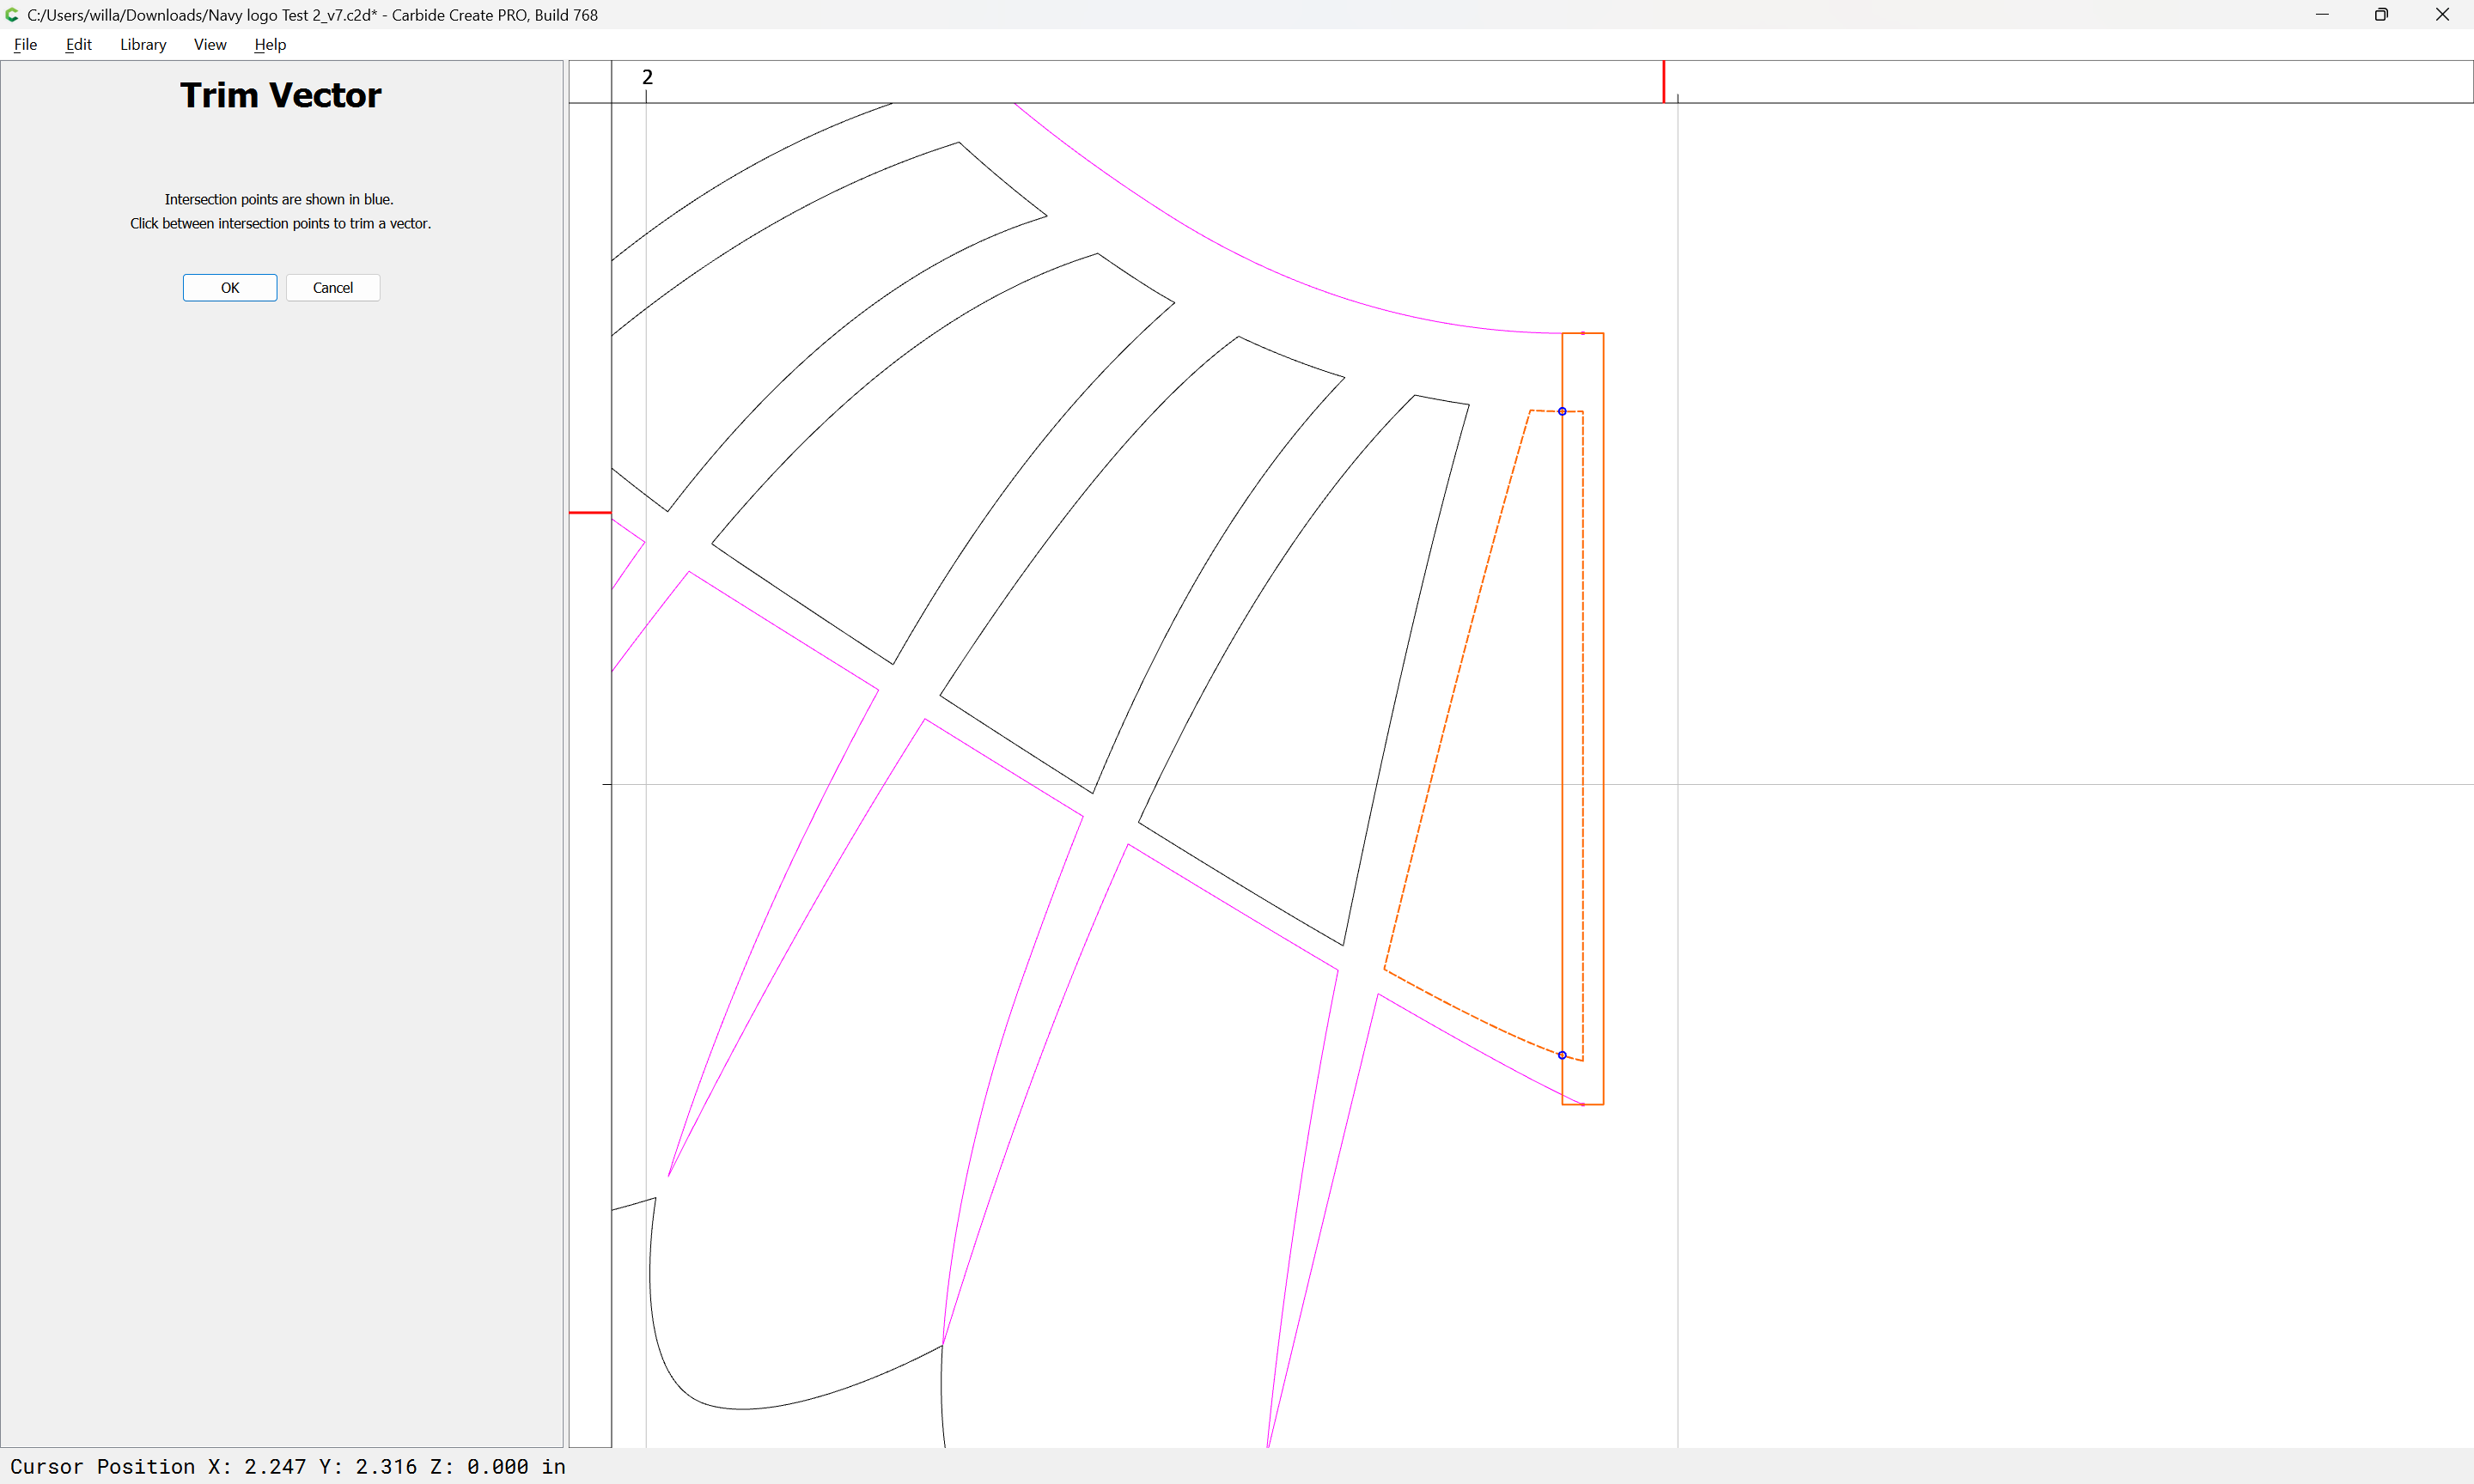
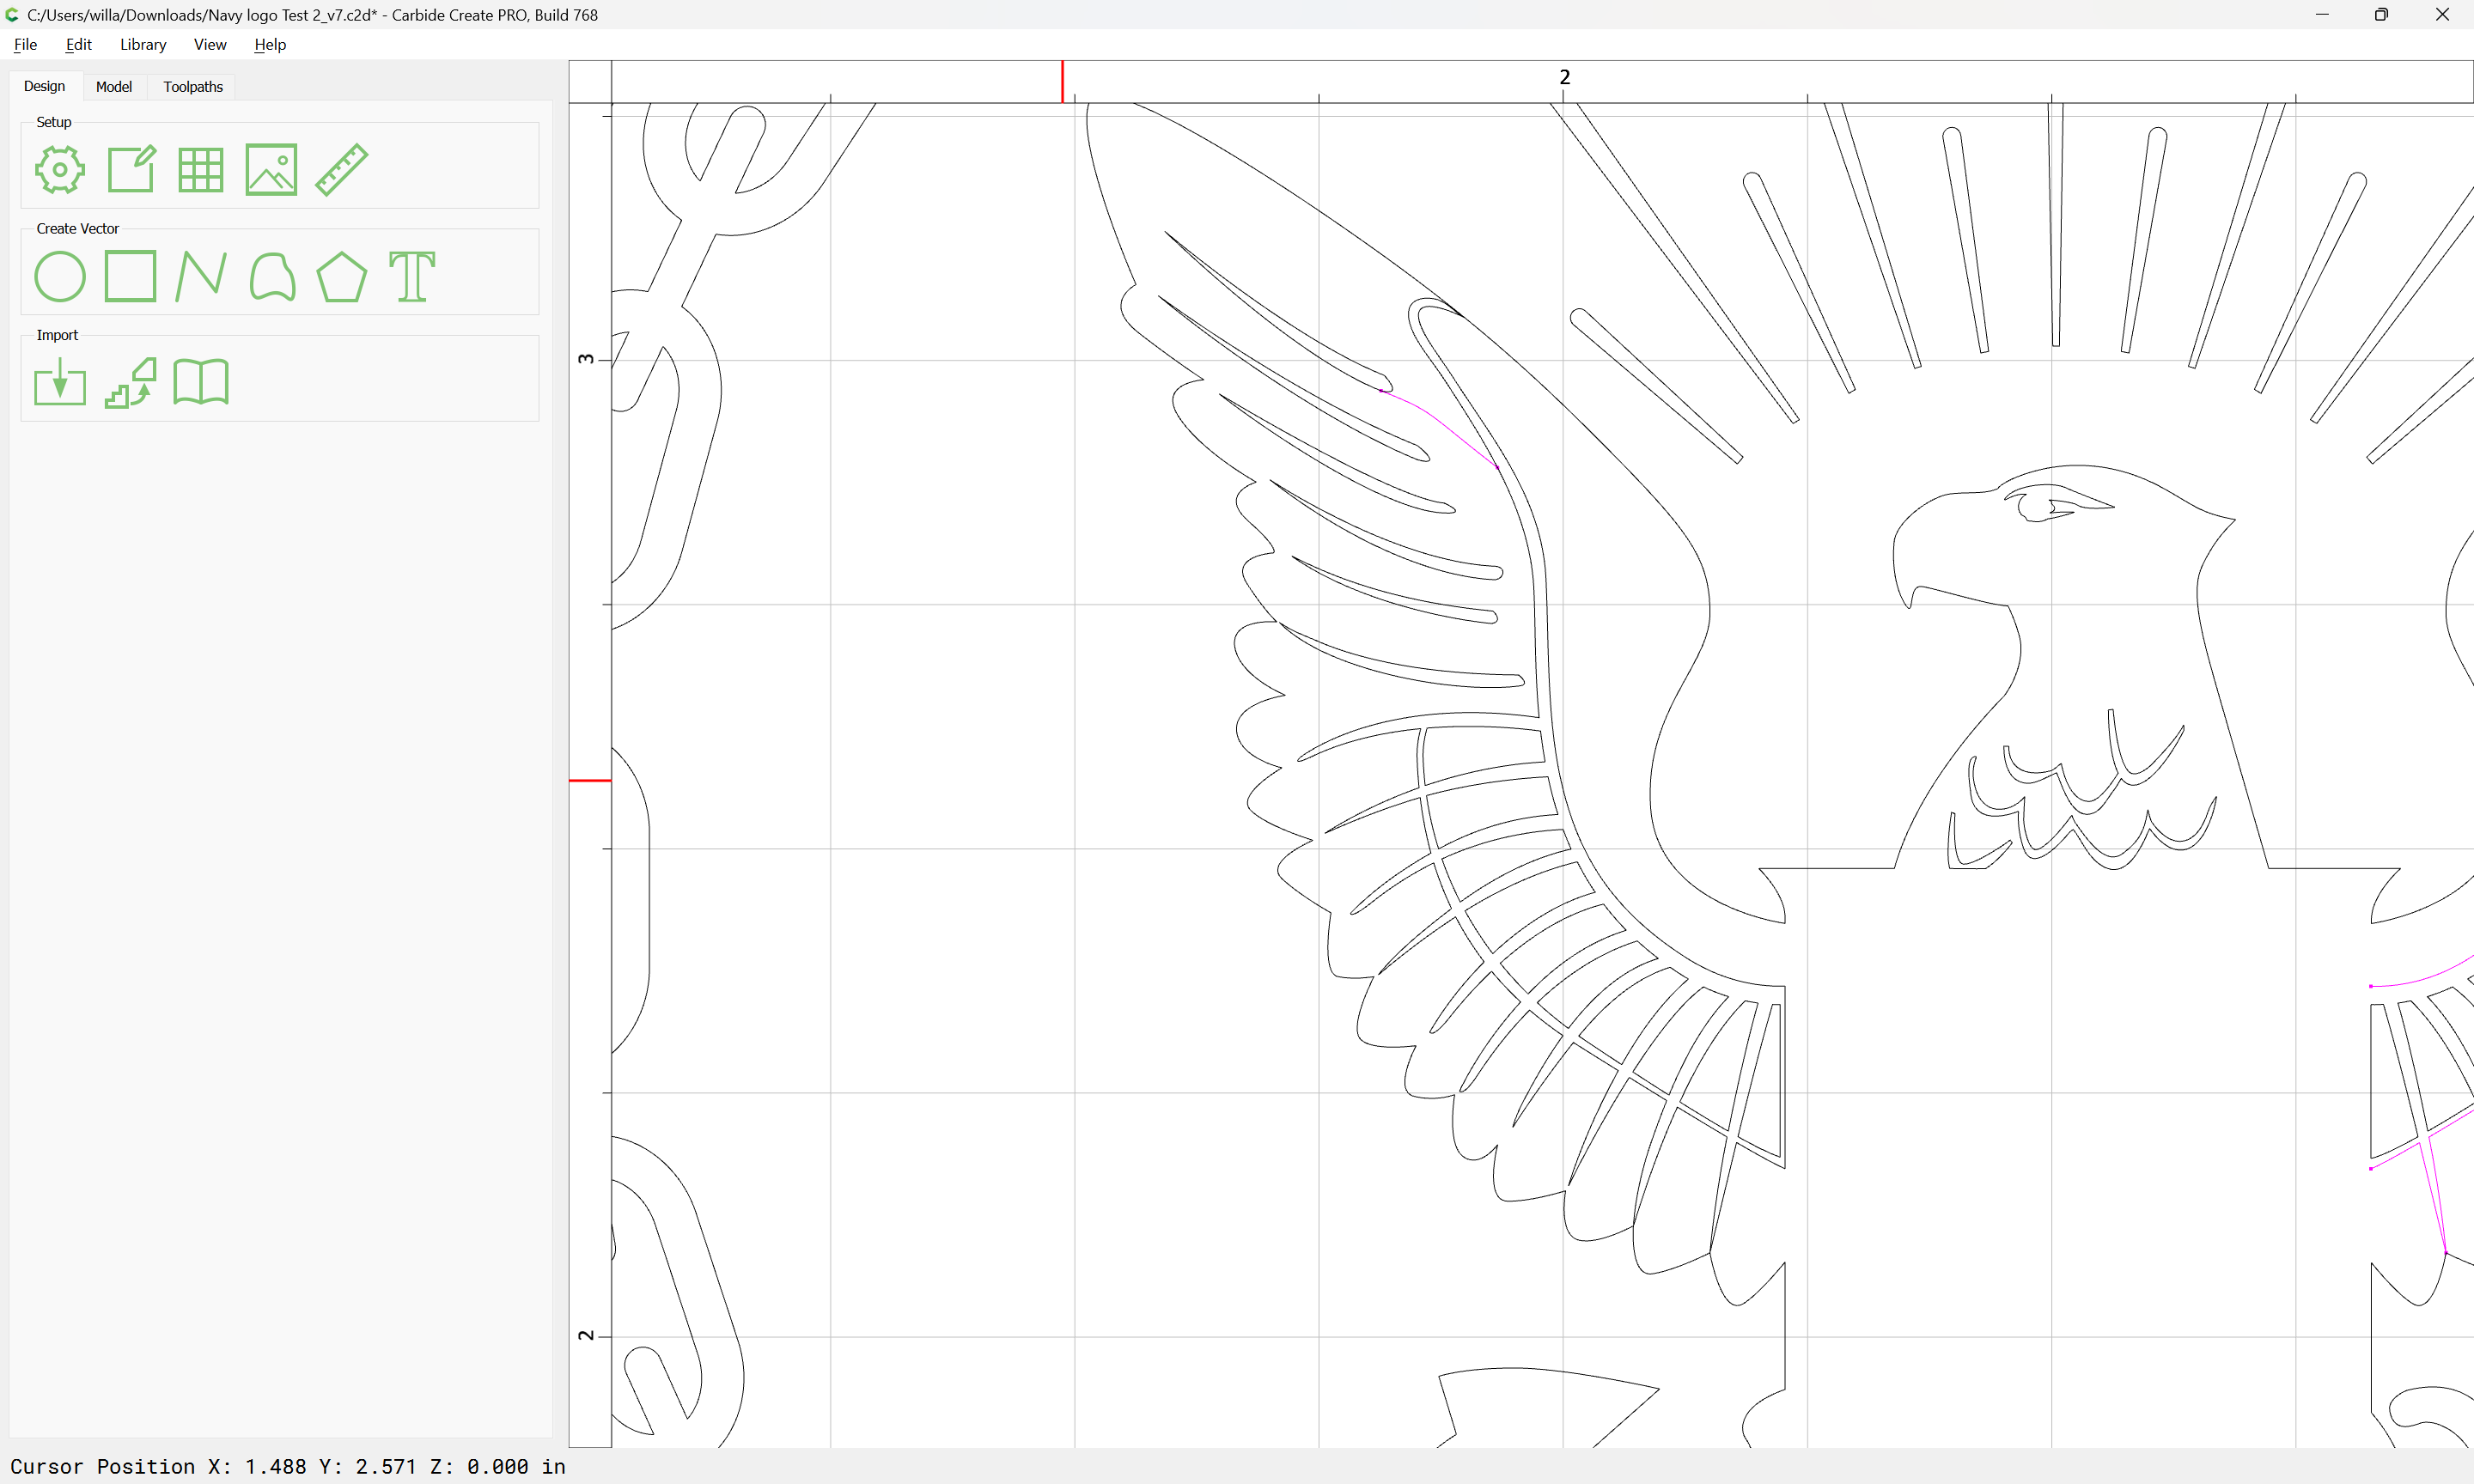
As discussed before, another consideration is “Figure-ground Reversal” — some of the feathers in the wings are being incised when arguably they should be left proud — this can be reversed by trimming away part of one:

and then closing the surrounding geometry:

Repeating this sort of editing for the balance of the design arrives at…

1 Like

which when one then adds a No Offset Contour for the other geometry:

which probably wants a bit of adjustment.

Attached as a v7 file.

Navy logo AdvV_v7.c2d (756 KB)

1 Like

Will,
I don’t have your skill with this. This looks really great. There definitely was a lot of work required to get to the result you produced. I do appreciate the tutorial. I keep playing with the different stages so I can make some progress on my own with these sorts of models.

Thank you.

I’ve written a bit about Carbide Create at:

https://willadams.gitbook.io/design-into-3d/2d-drawing

and

if you get stuck on a file, let us know and we will gladly walk through it with you.

4 Likes